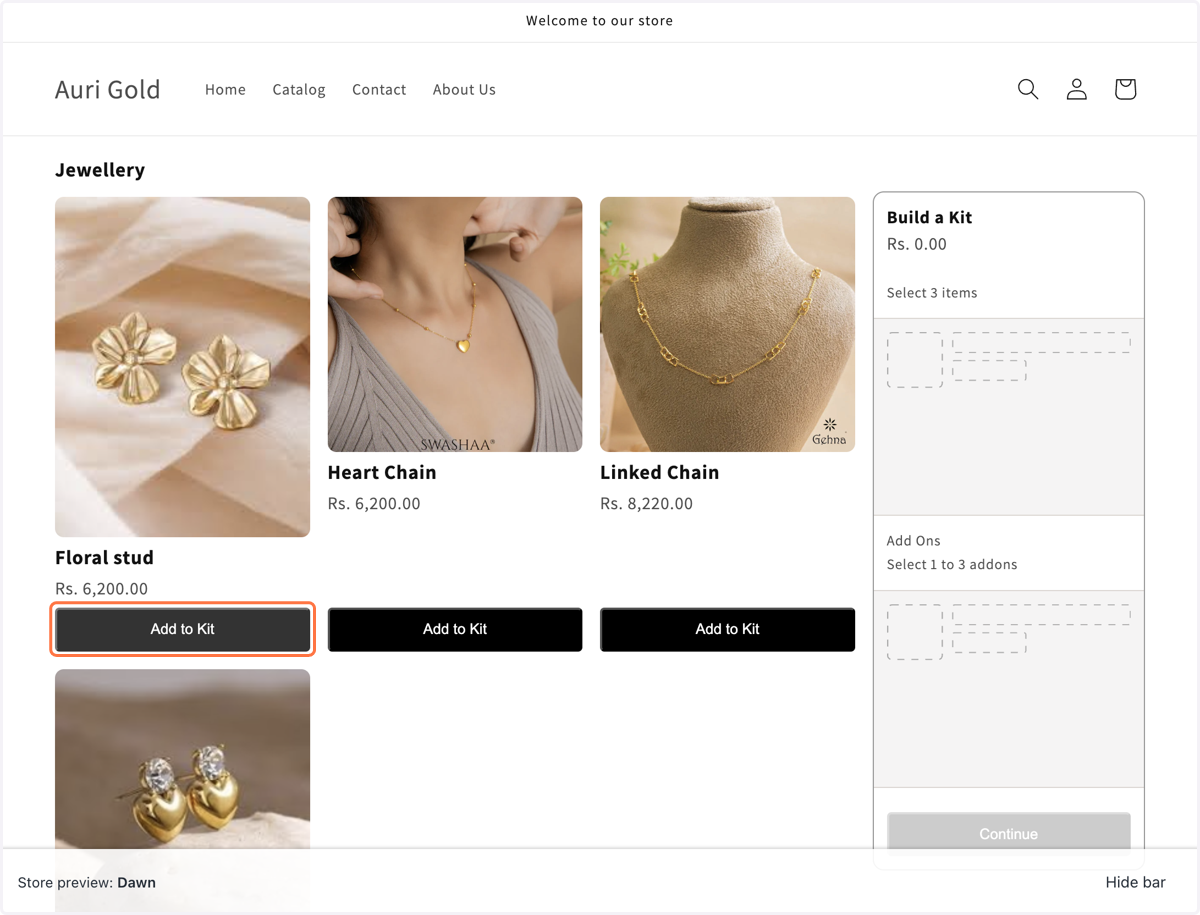
Creating a Mix and Match Bundle in Shopify (With enable quantity as an option)
Create Mix and Match Bundle in the app
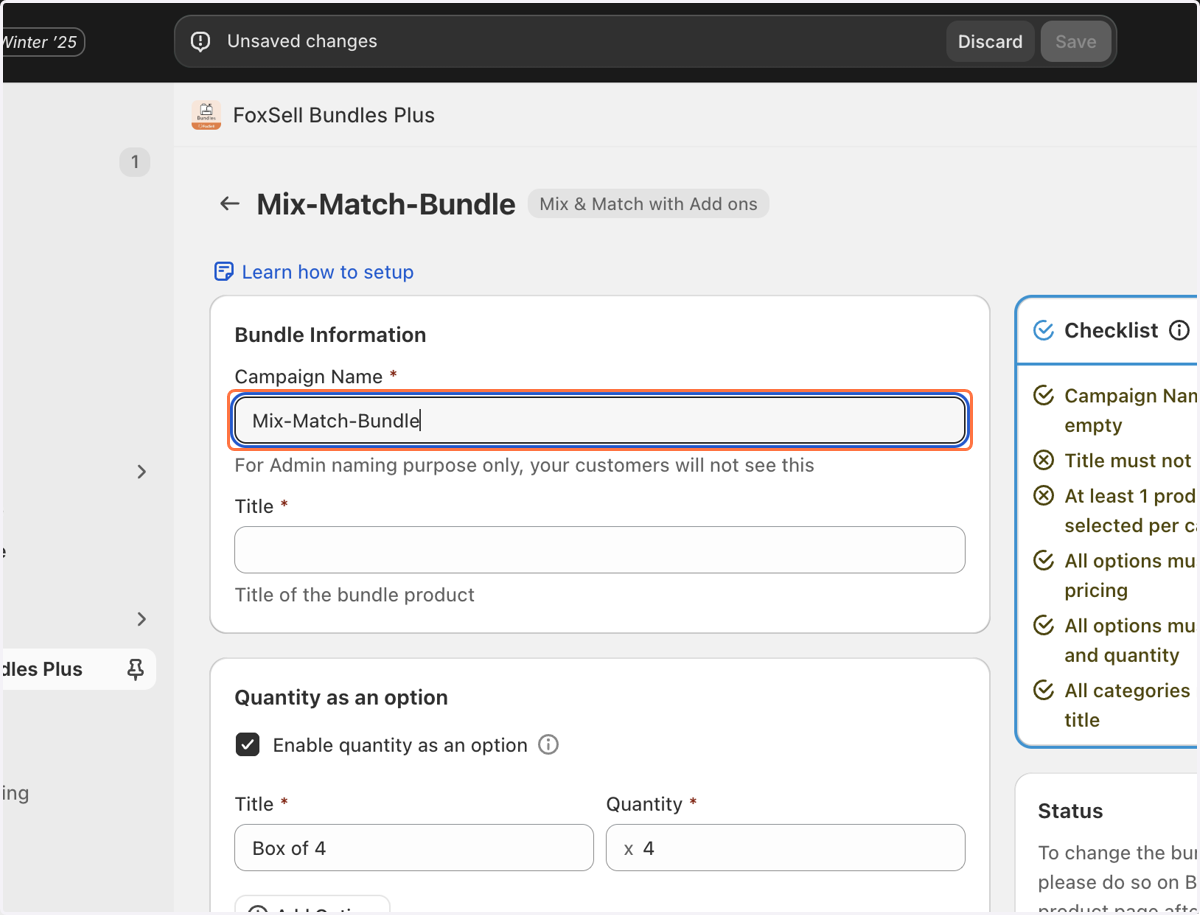
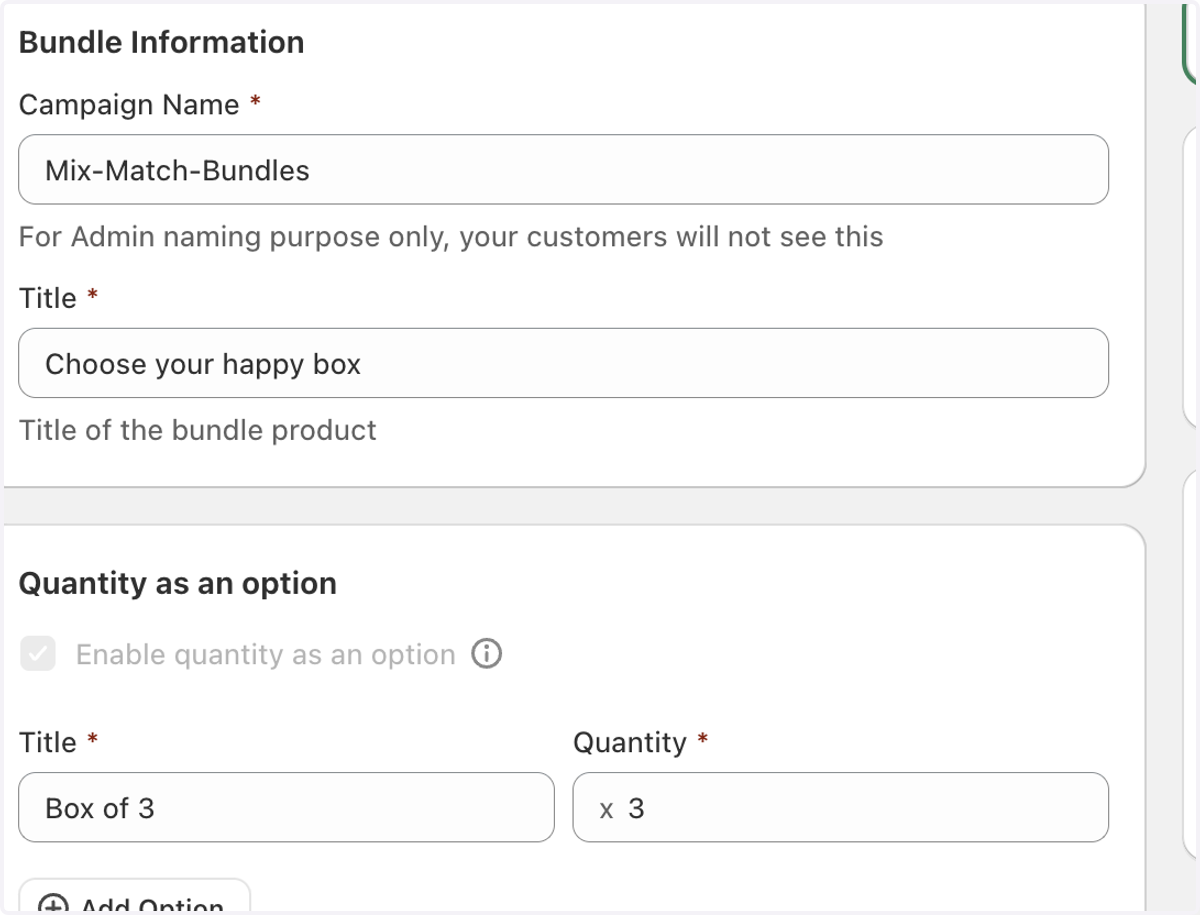
1. Give a title name under bundle information
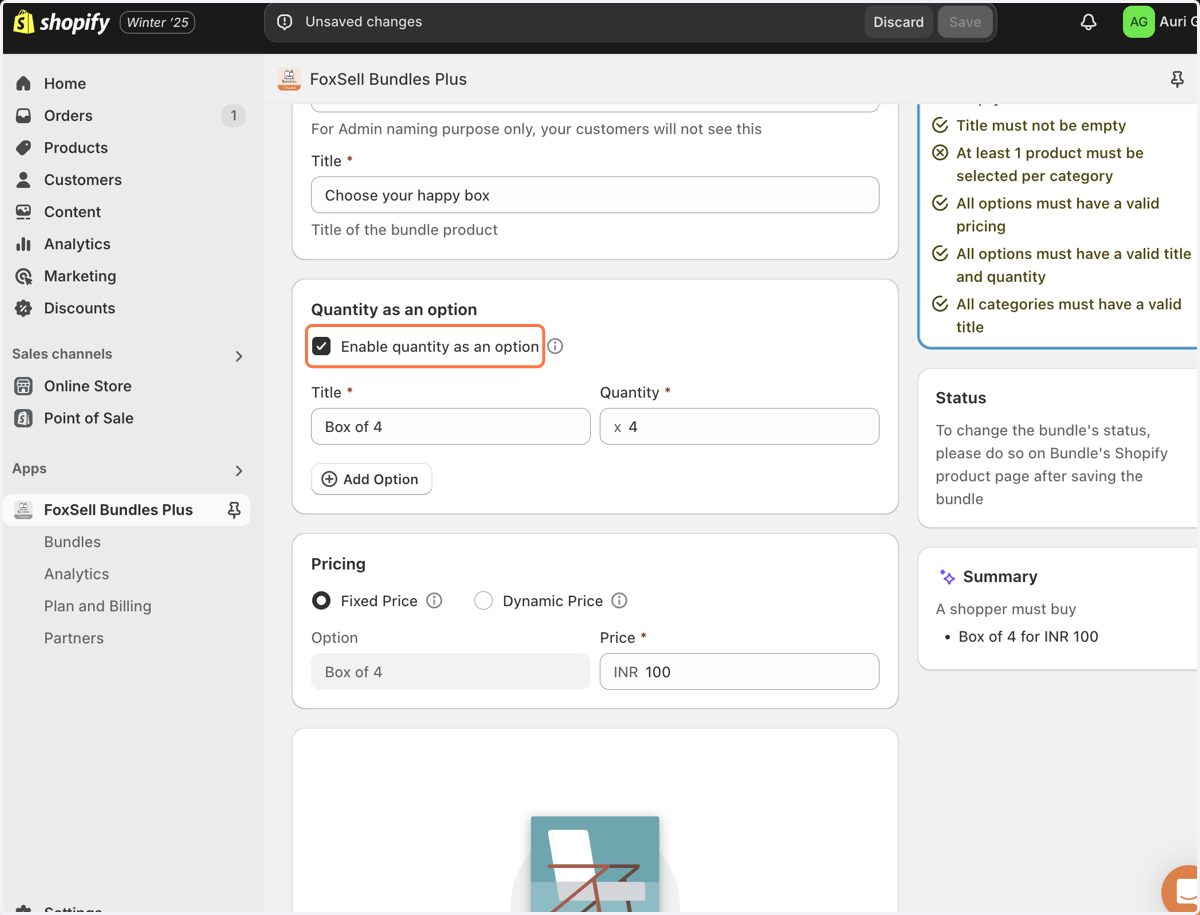
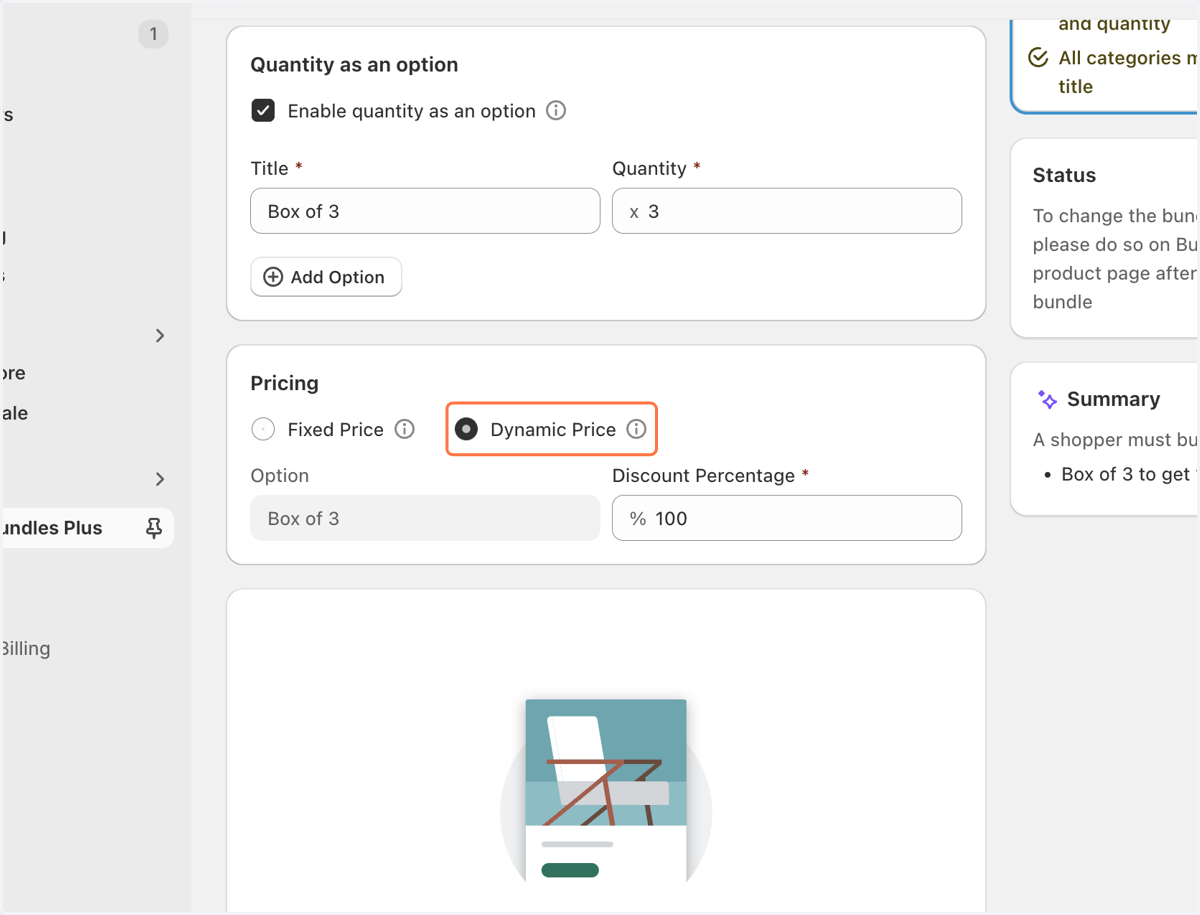
2. Check Enable quantity as an option
Quantity as an Option is suited for bundles like "Box of 4", "Box of 6", "Box of 8" etc.
In case you want create bundles like "Travel Set", "Skin Care Set" where customers can choose X products at each step (or category). Check out tutorial for "Quantity as an option" Disabled
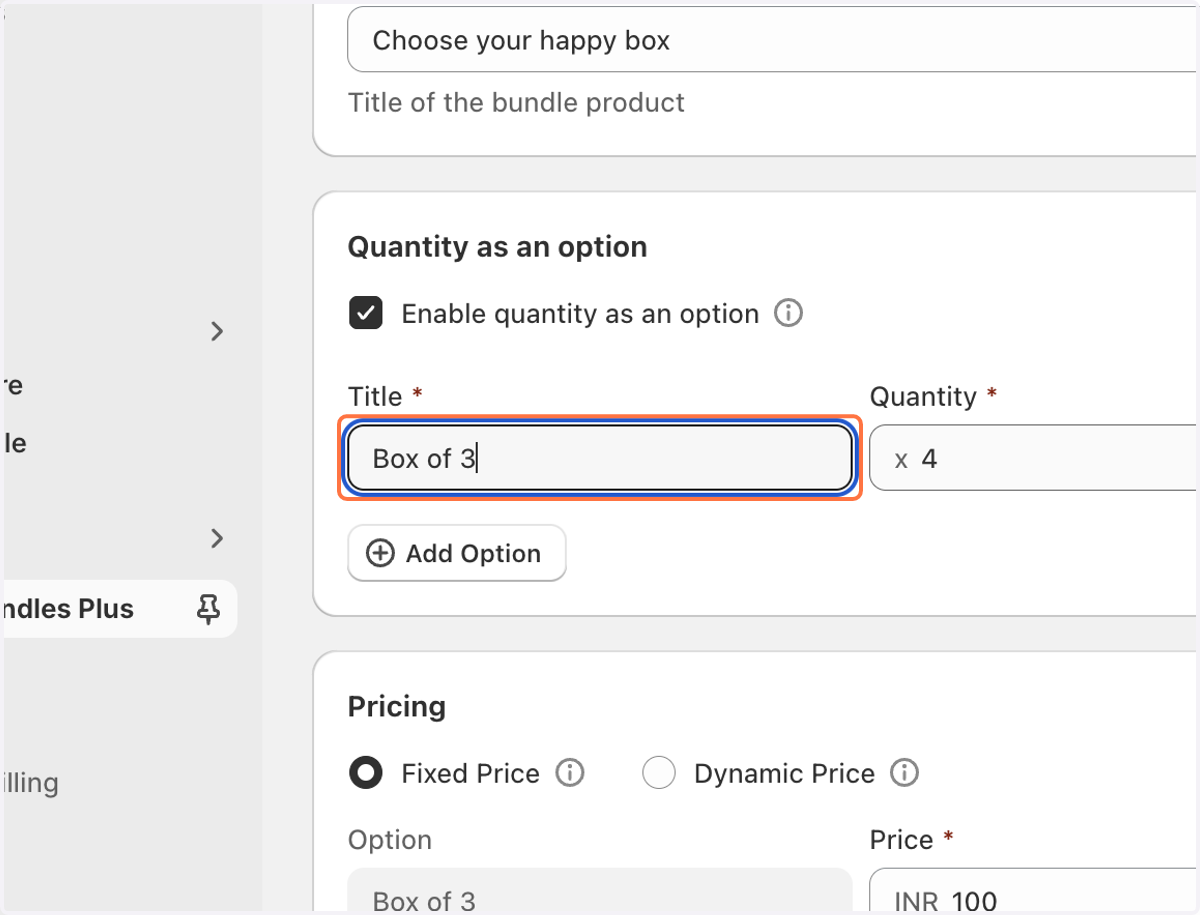
3. You can choose the title under "Quantity as an option"
4. Select Fixed Price or Dynamic Price based on your requirements
Fixed Price: The price of the bundle is set at a fixed amount, regardless of the individual product prices or any other factors.
Dynamic Price: The price of the bundle is calculated dynamically based on the individual prices of the products in the bundle or other factors (like discounts).
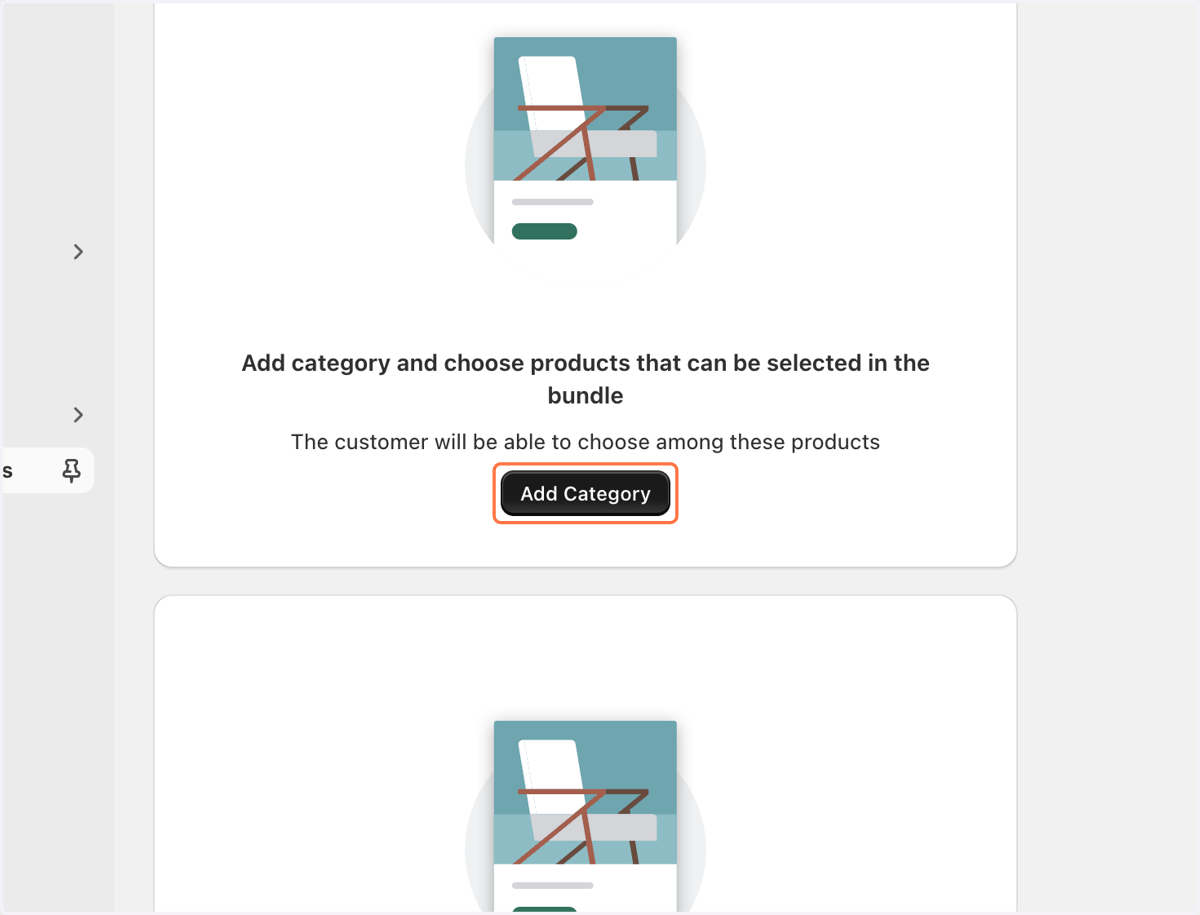
5. Click on "Add Category"
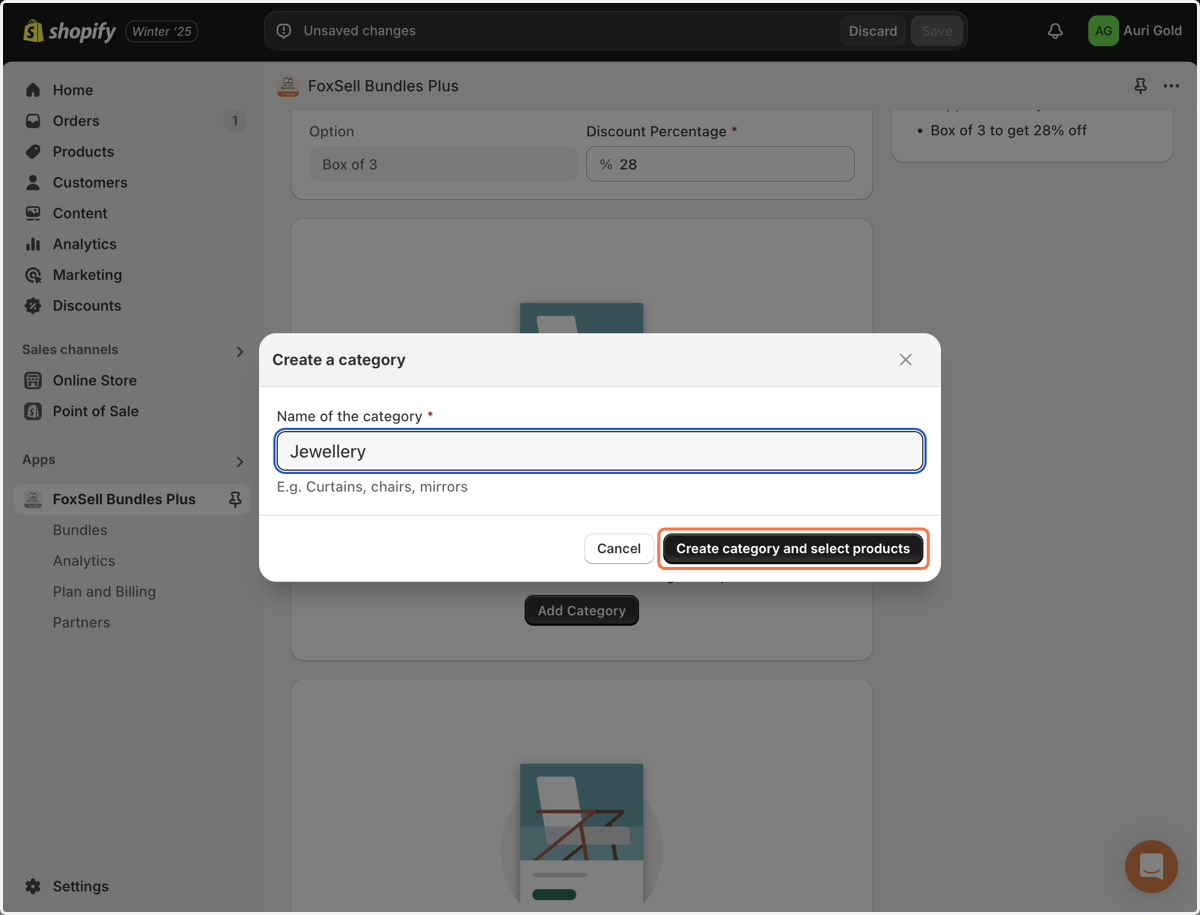
6. Click on Create category and select products"
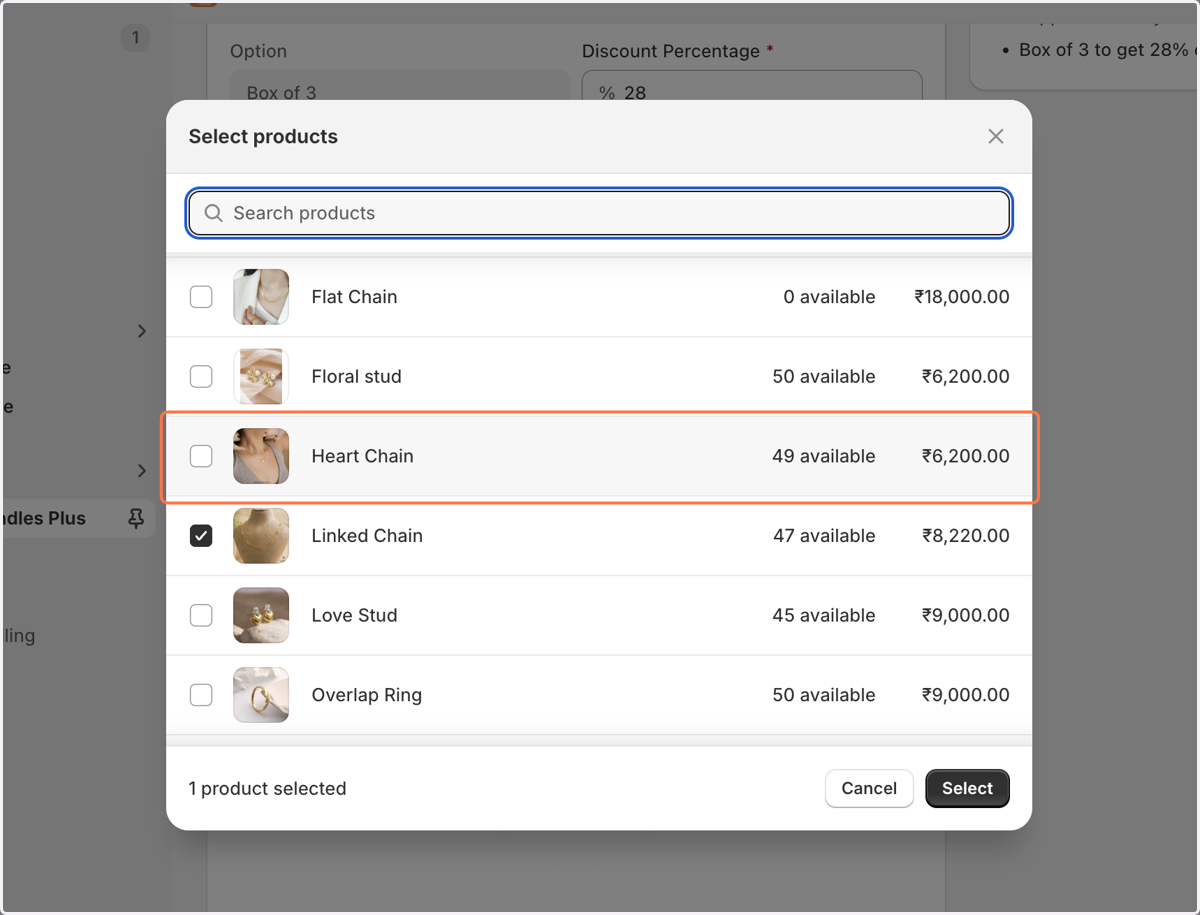
7. You can choose the products
8. You can click on Add Ons
If you don't have any Add Ons/Free Gifts to pair with bundles, you can skip this step
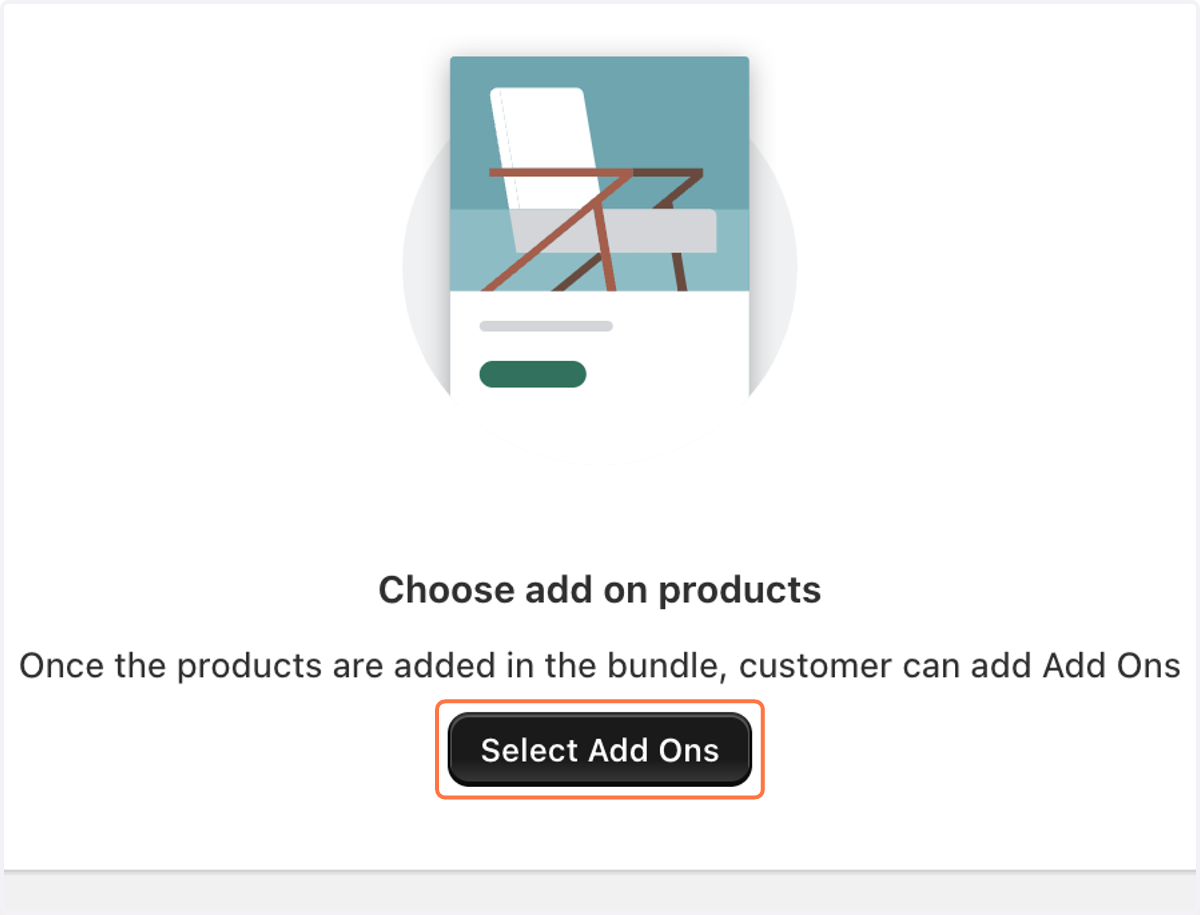
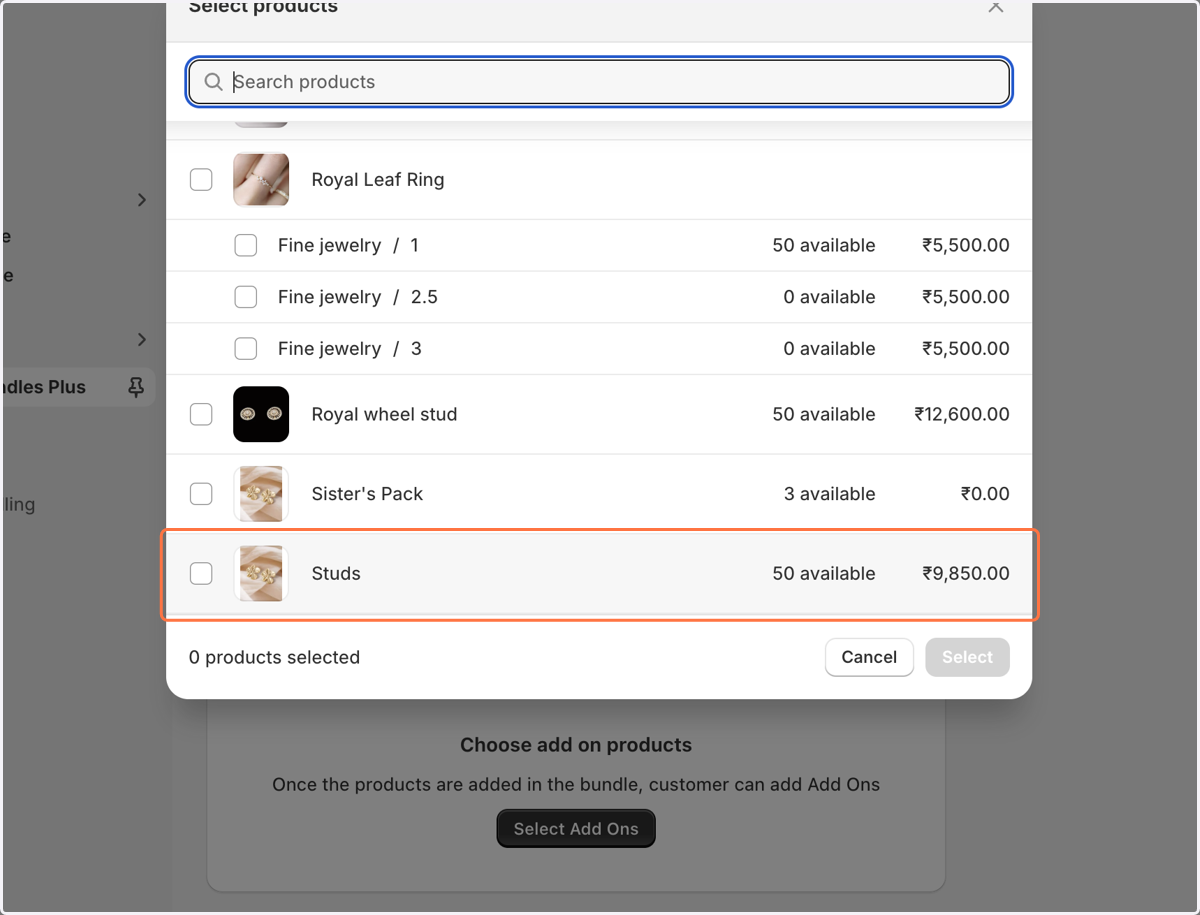
9. Select products for Add Ons
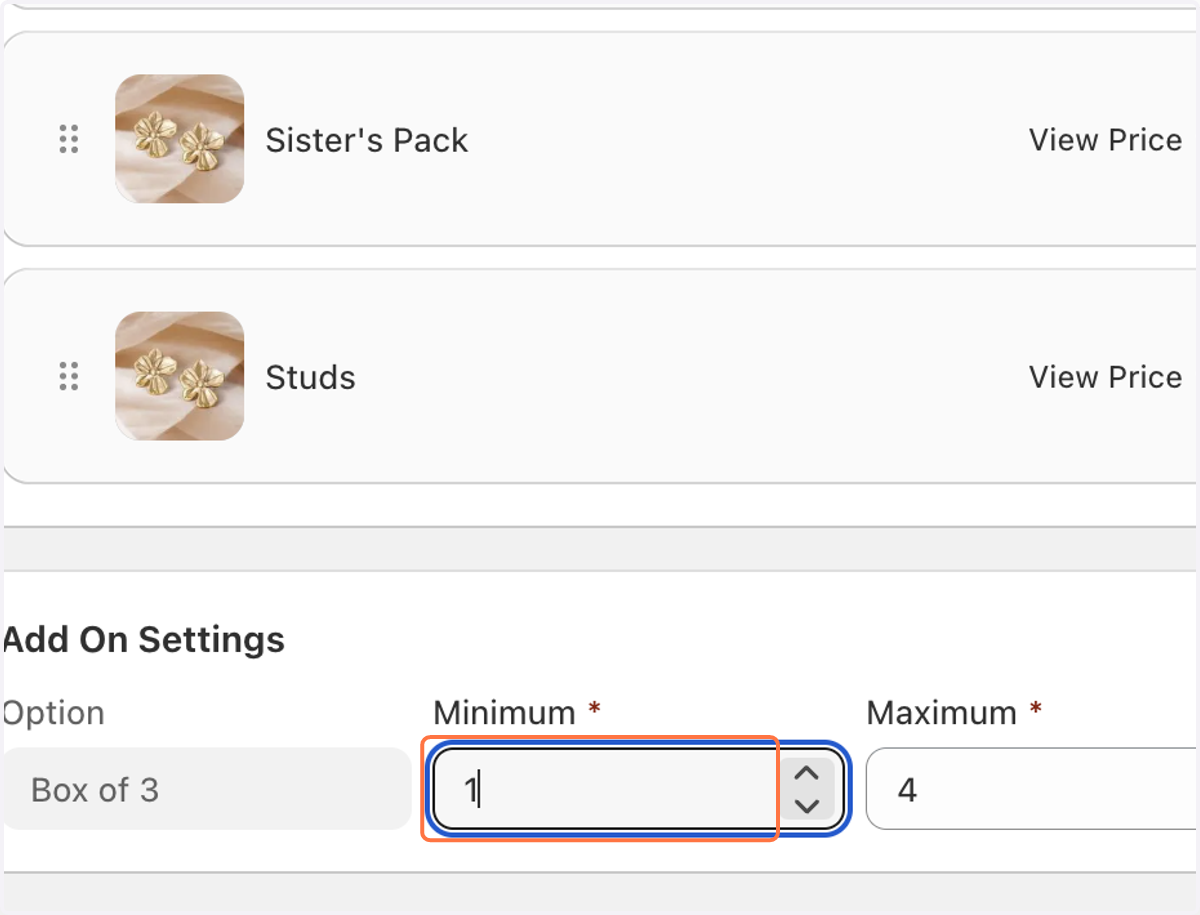
10. Choose Add Ons Settings
11. Click on Save
12. Now click on "View Bundle in Shopify Admin
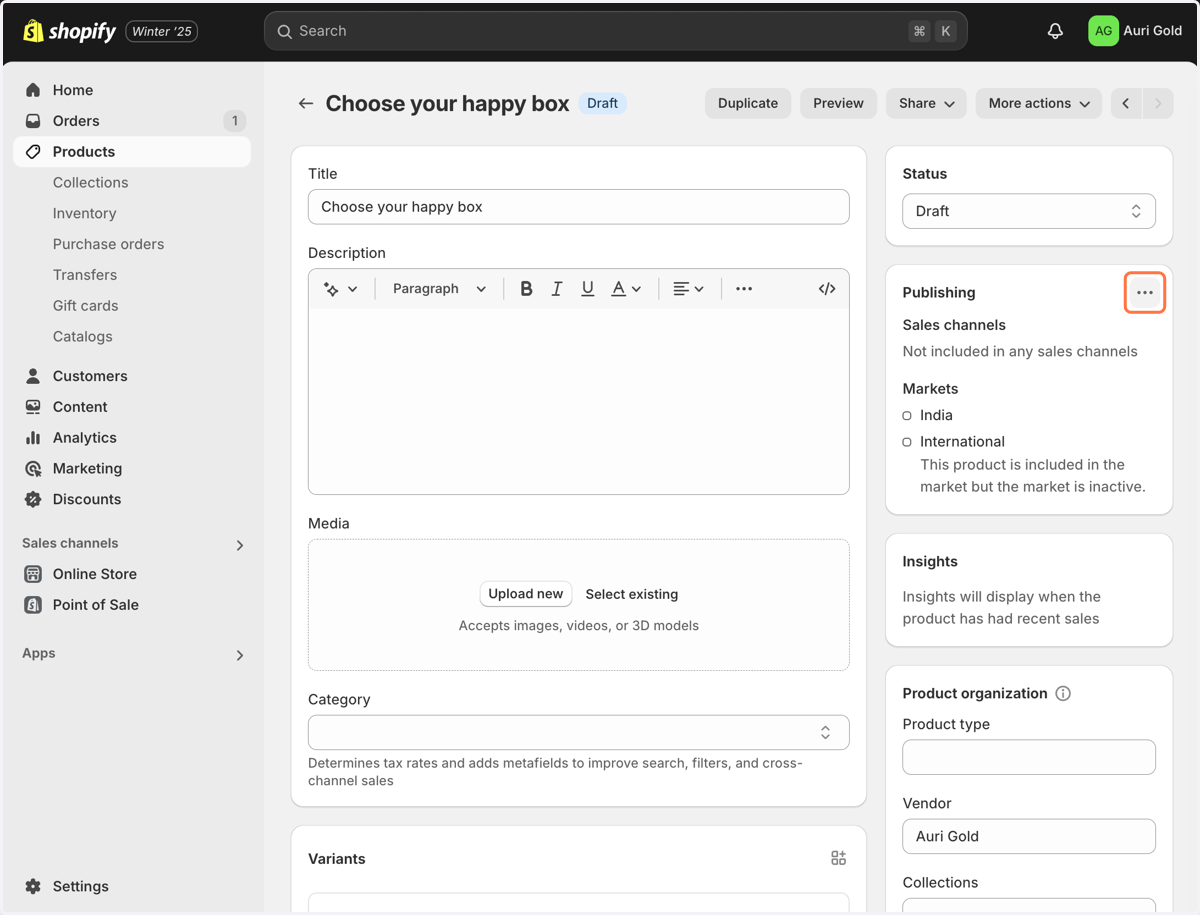
13. Click on Manage
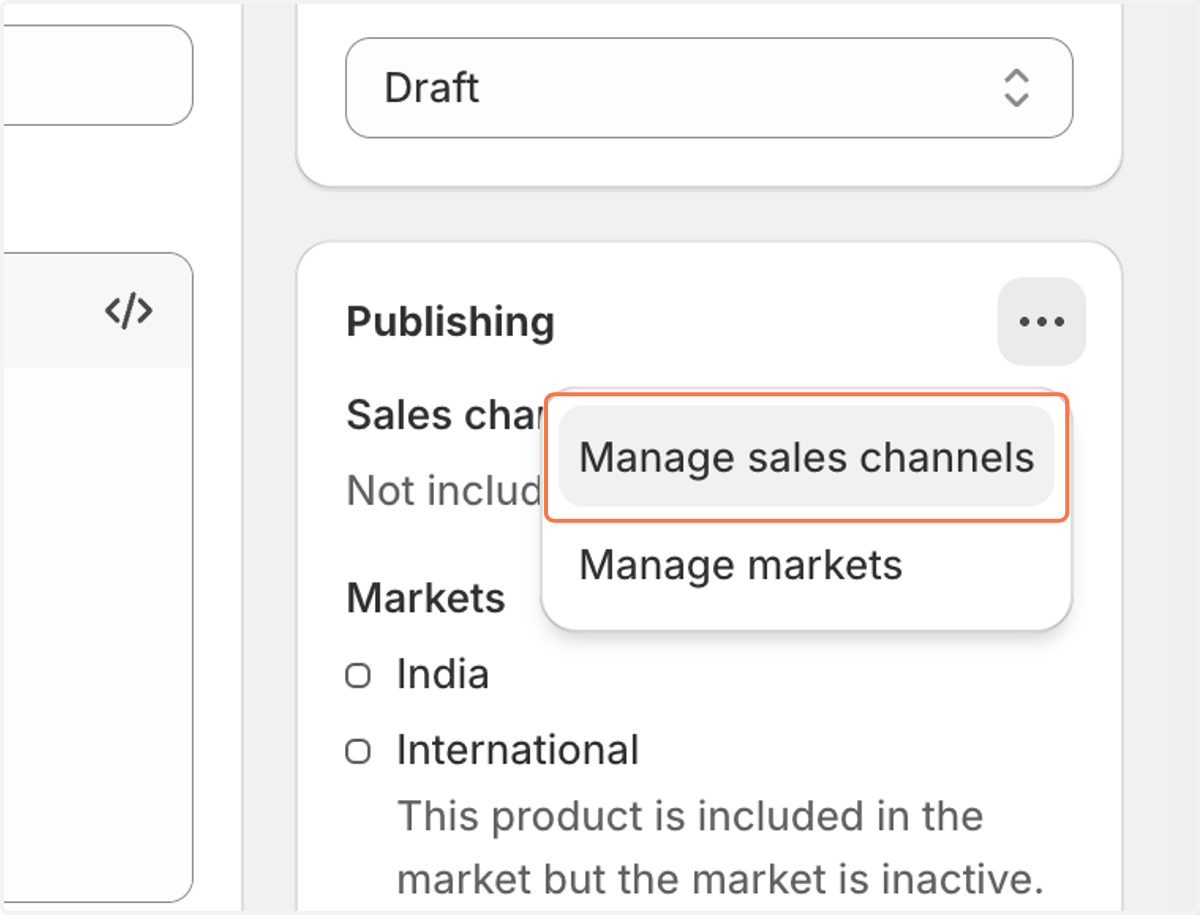
14. Click on "Manage sales channels
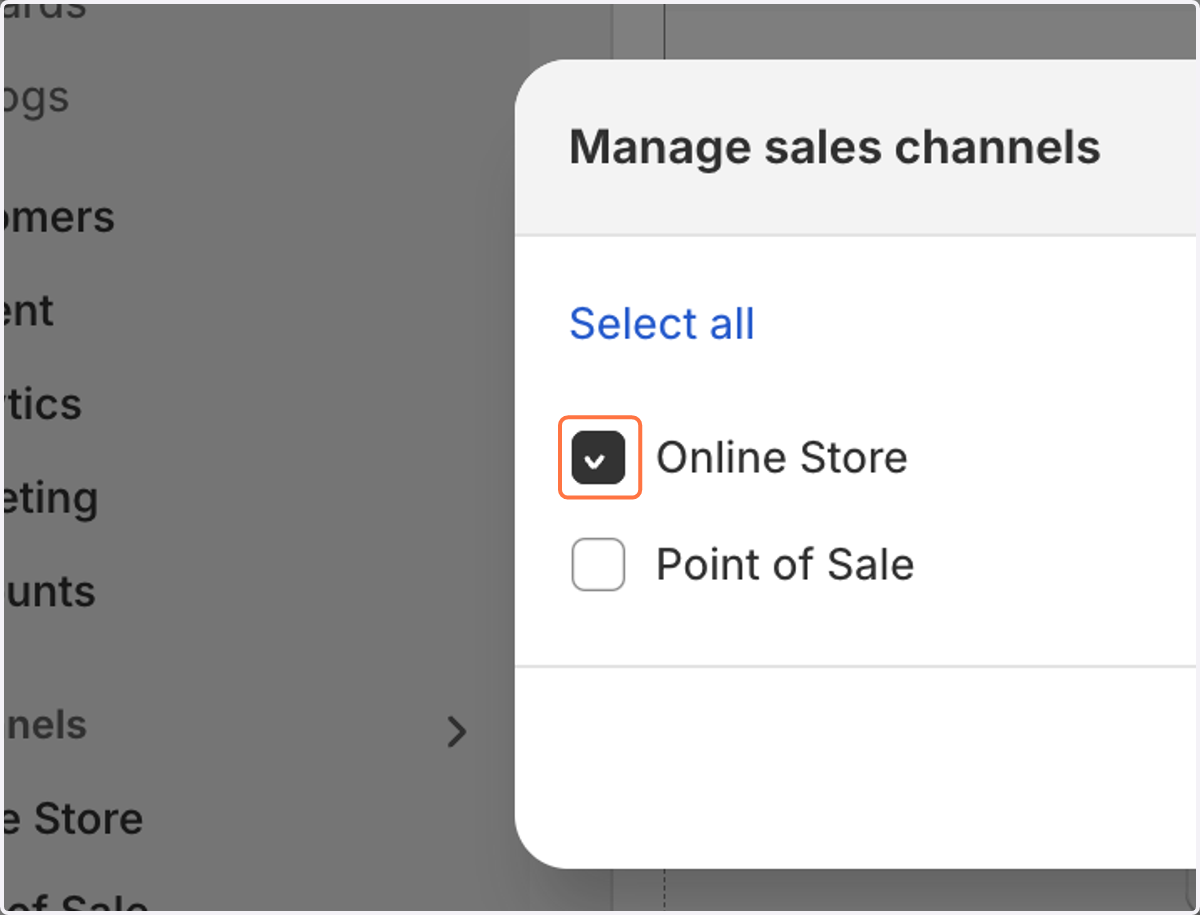
15. Check Online Store
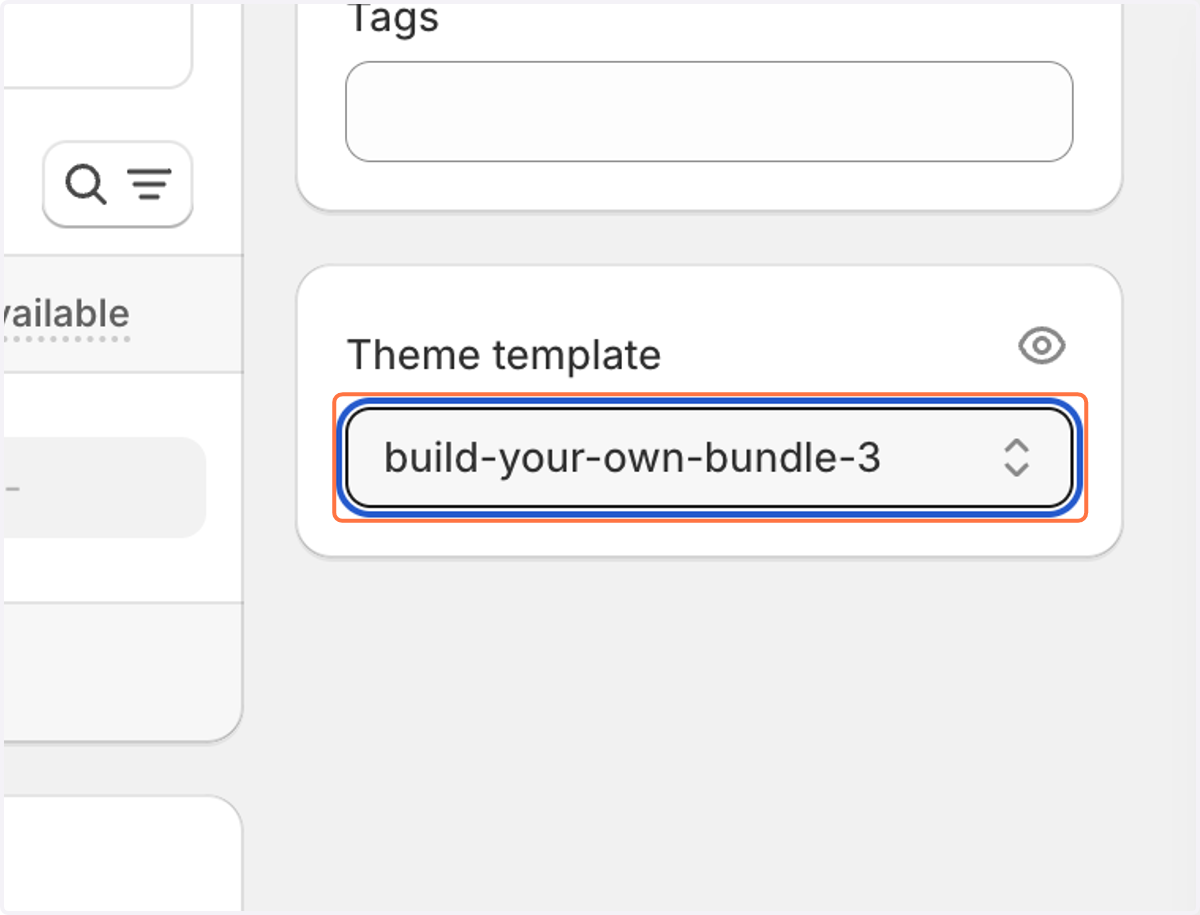
16. Select your theme as shown below
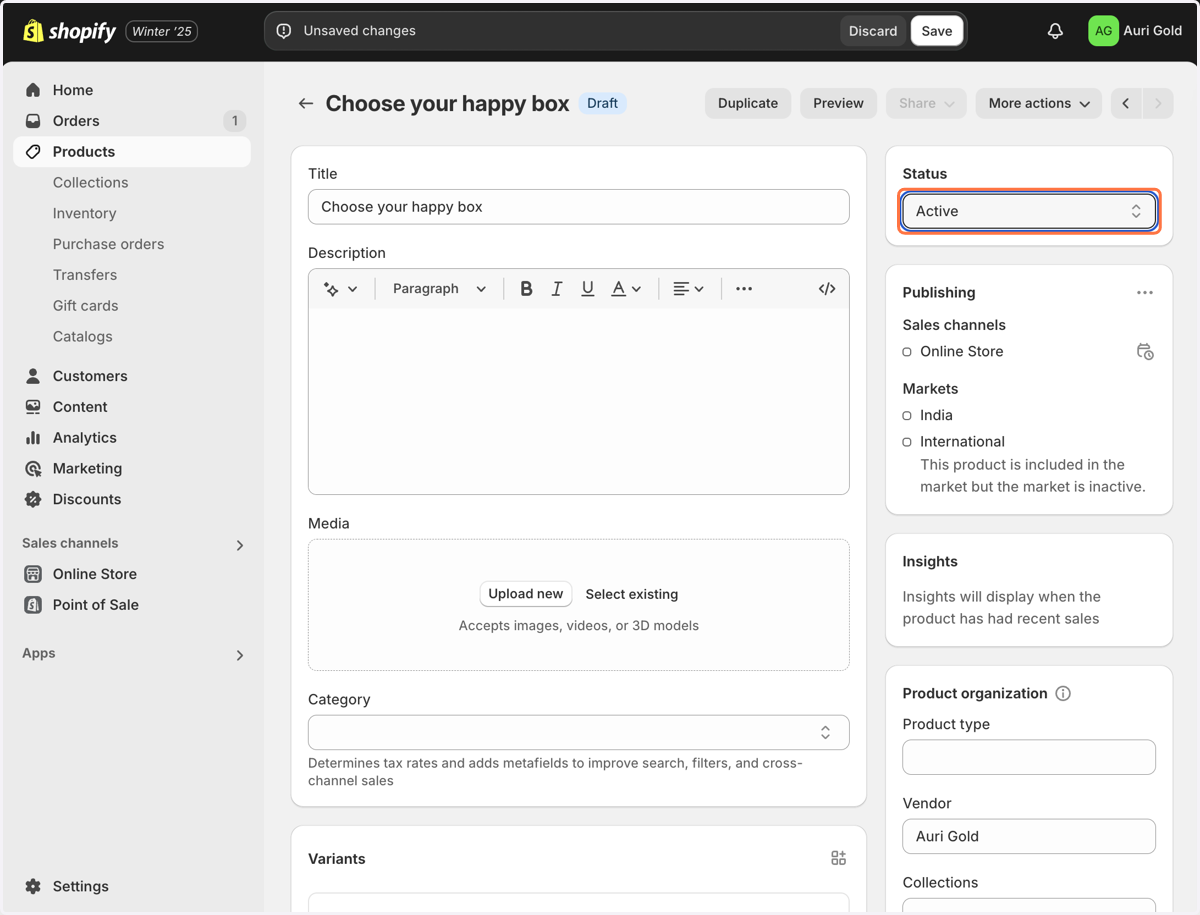
17. Select Active from "Status"
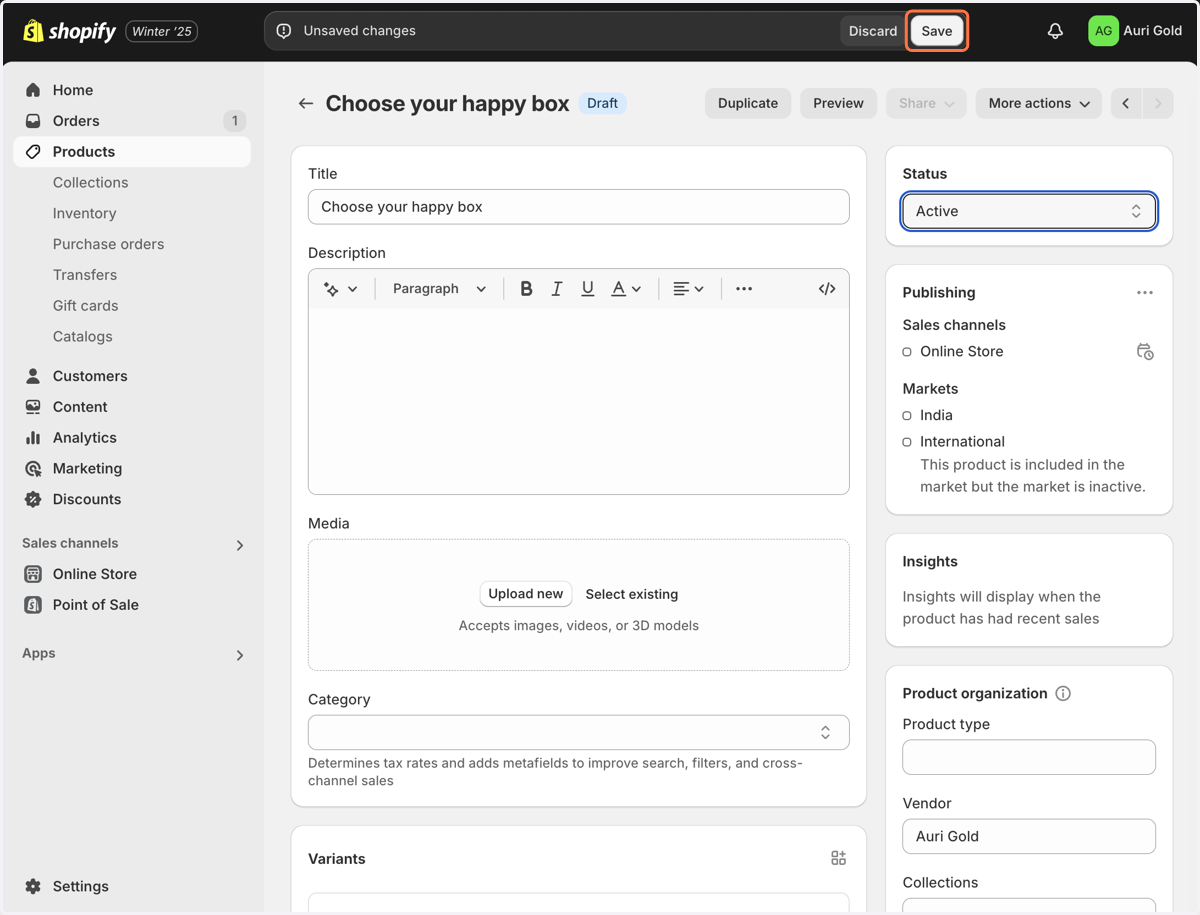
18. Click on Save
19. Click on Preview
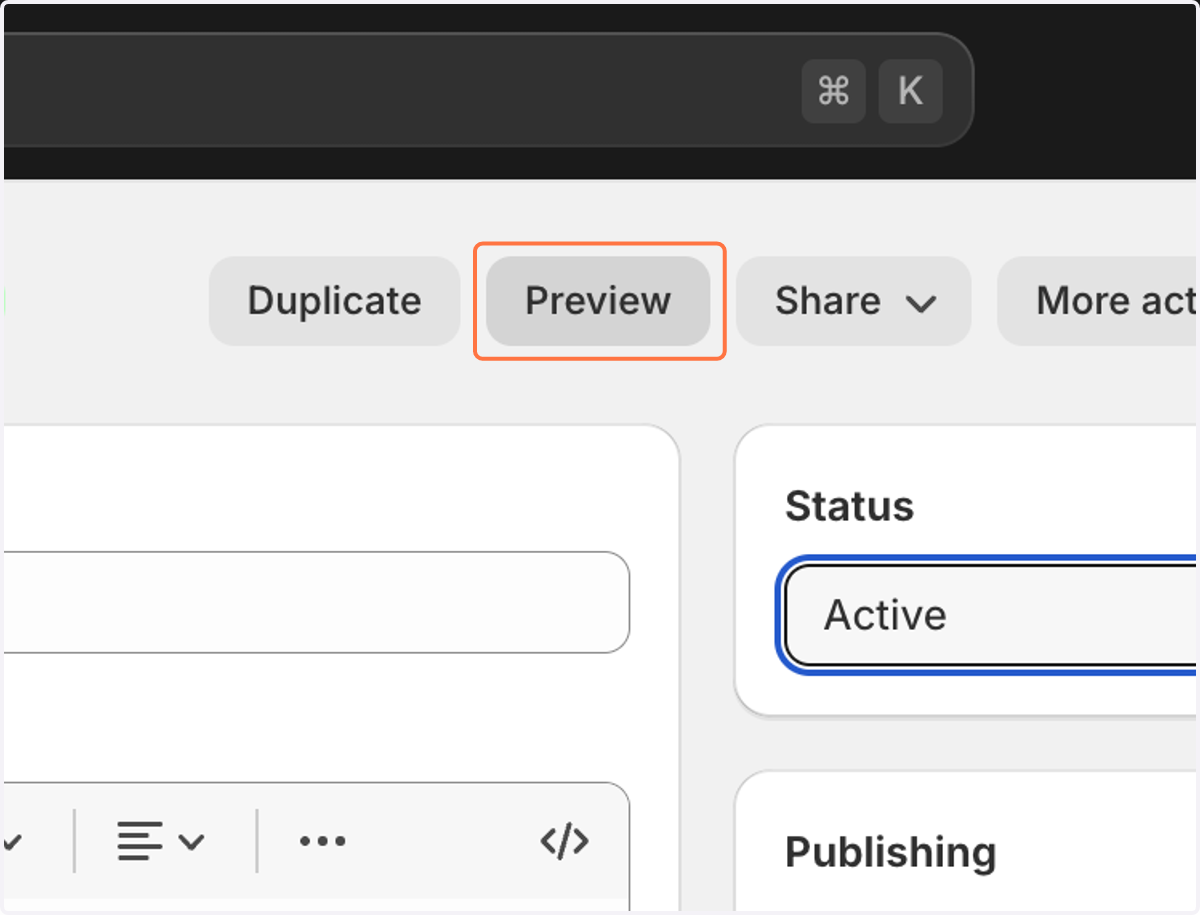
20. The preview is shown as below