Multi Product Custom Product
This tutorial will explain how to set up a product which links to various additional "Child" products.
It's possible to create a product landing page that has multiple products linked to it so rather than having multiple products pages across a category you could link several 'child' products to a 'Parent; product. An example would be a Poster product where you have multiple sizes available A1, A2, A3 and A4 but have a 'Parent product' as Poster, and then your 'child' products are the sizes.
1. To begin, create or import several generic "Stock" product types
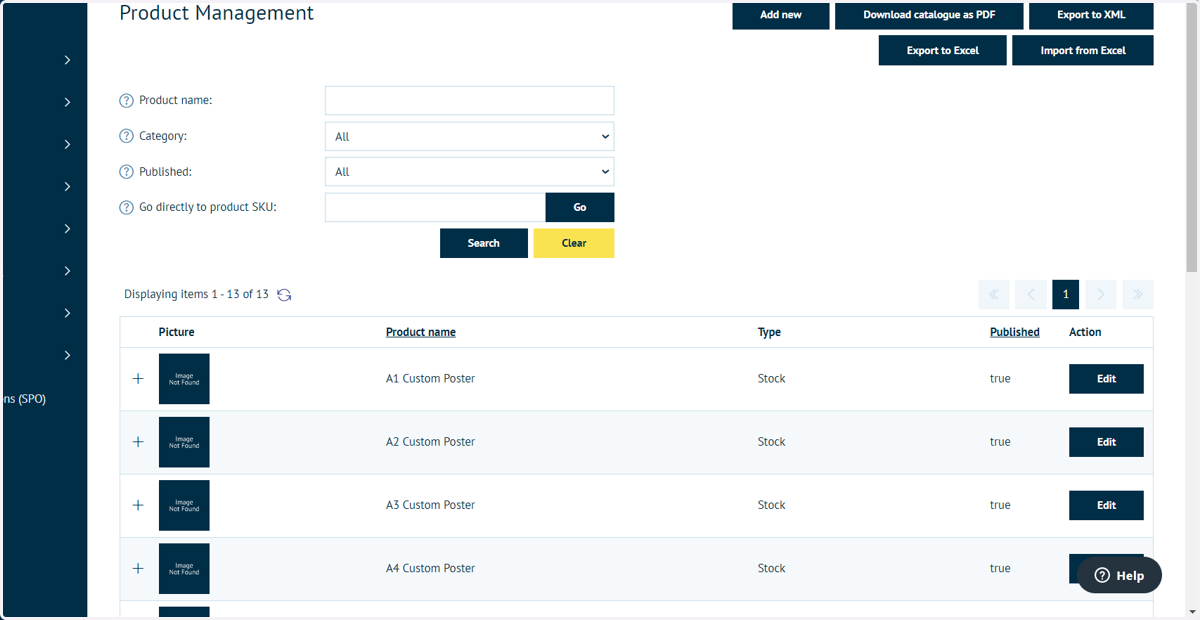
Firstly you will need create all your products including the product types and also including your 'parent' product.
These are all basic products at this stage. There is no differentiation between the product types or levels.
2. Click on Catalogue
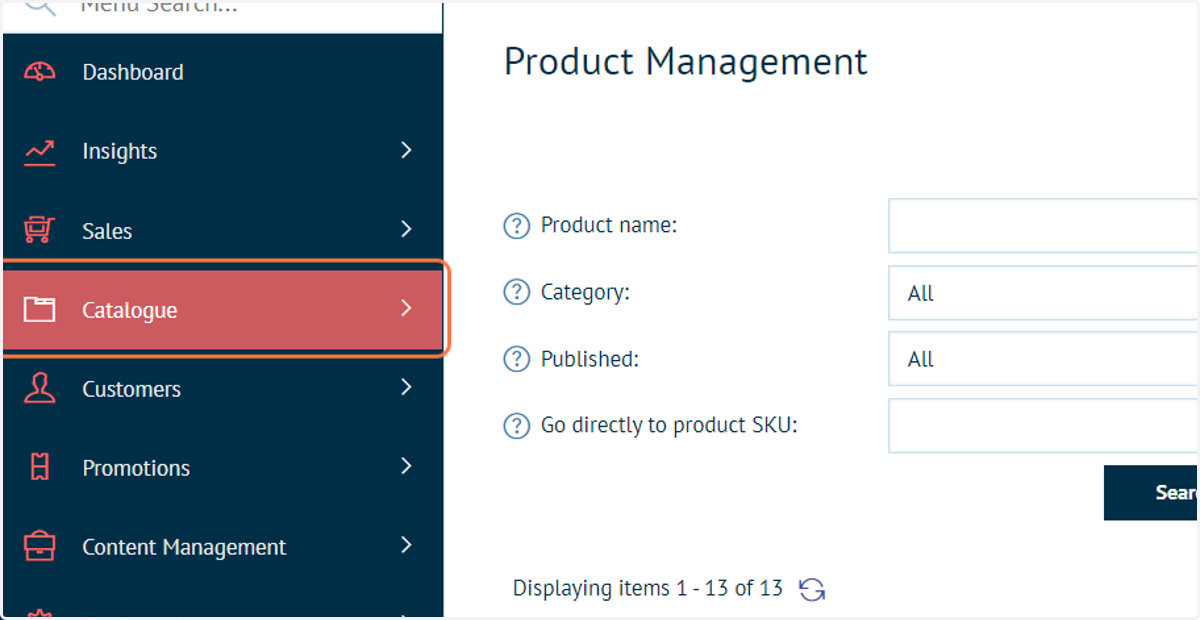
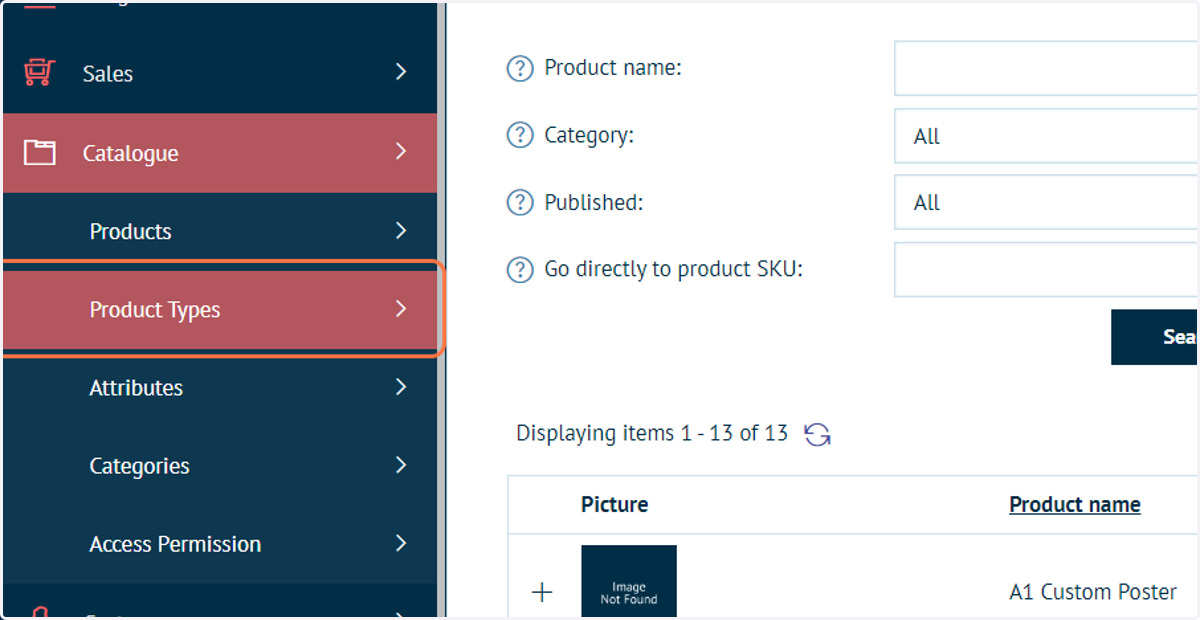
Once you have these created you need to then navigate to the custom product section (Catalogue > Product Types > Custom Products) to create the MultiProductCustomProduct.
You may need to raise a request with the helpdesk to allow access to this product type.
3. Click on Product Types
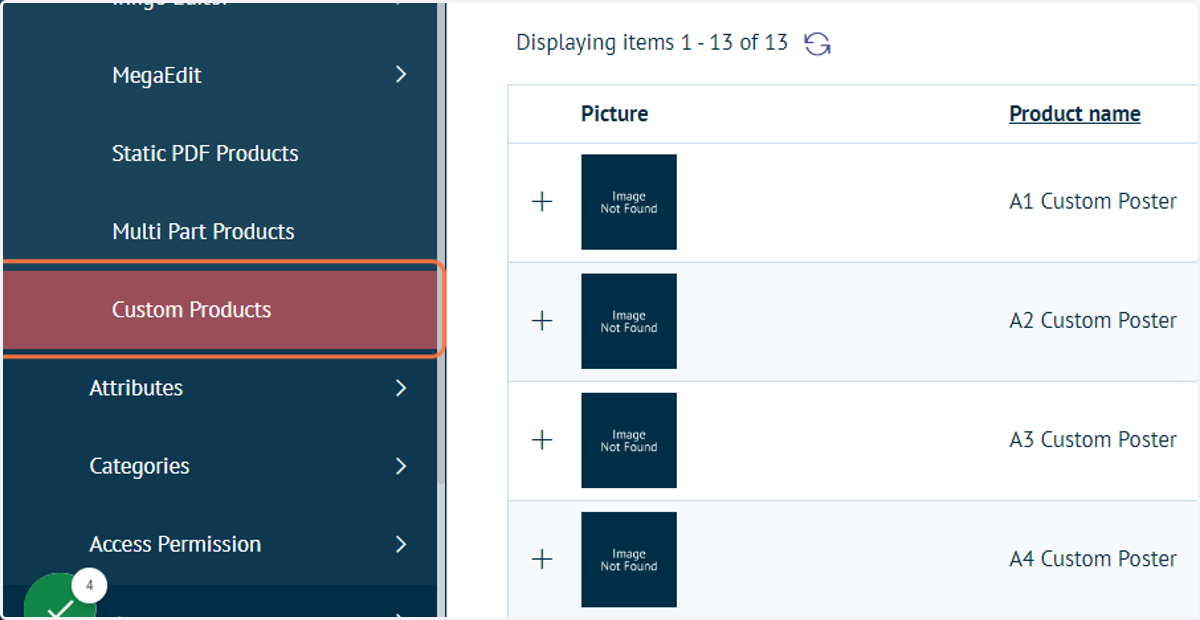
4. Click on Custom Products
This screen contains details of all currently set up Custom Products.
Custom Products cover more than just the Multi Product configuration covered here. These will be covered in other tutorials.
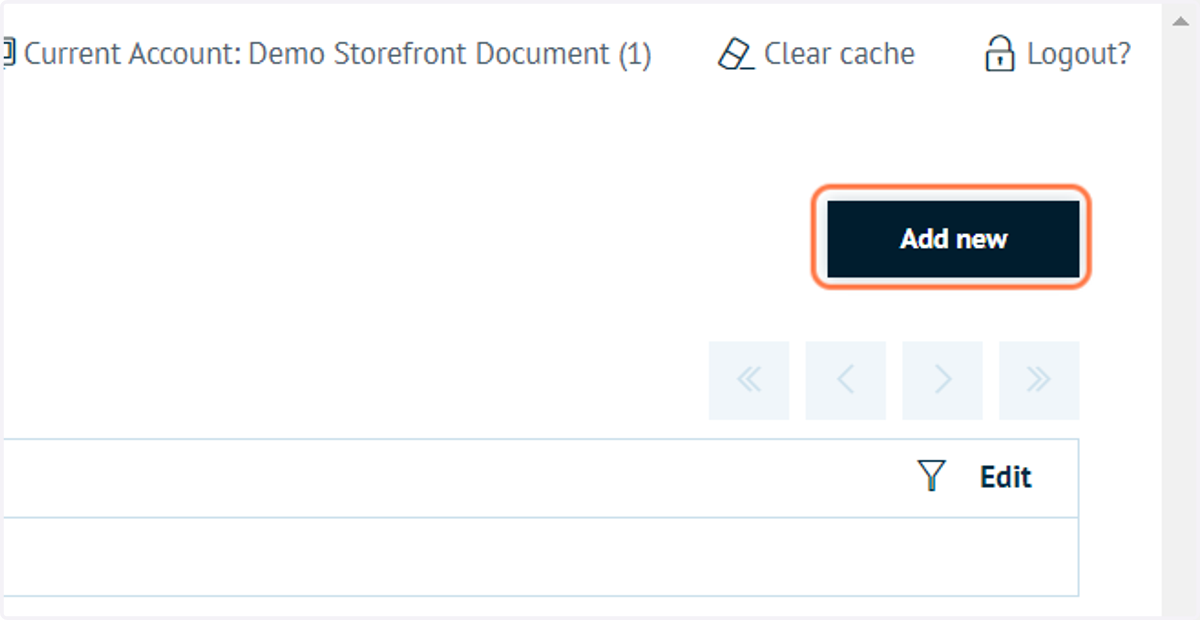
5. Click on Add new
Next, we need to add a new Custom Product.
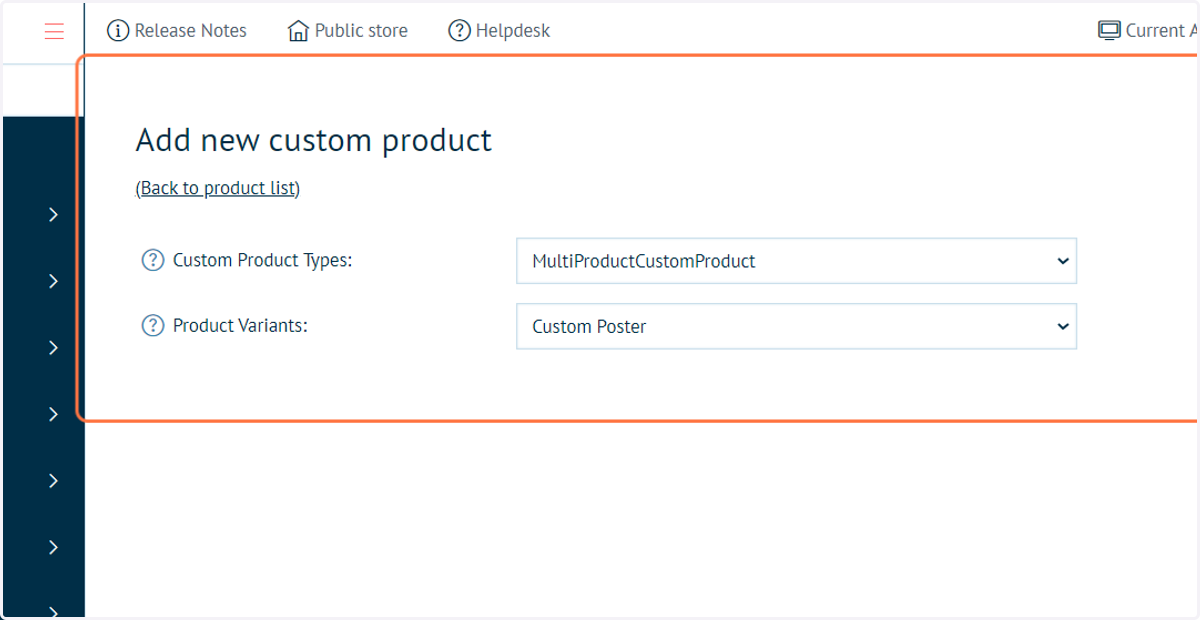
6. Select "MultiProductCustomProduct" and your 'parent' product
When in the custom product section you will need to Add new product and select the MultiProductCustom product type and select your 'parent' product to use as the master landing page item.
7. Click on Add new Custom Product
8. Select your 'child' products
Once the product is created you will then be required to select your child products that you wish to display collectively on the Parent page.
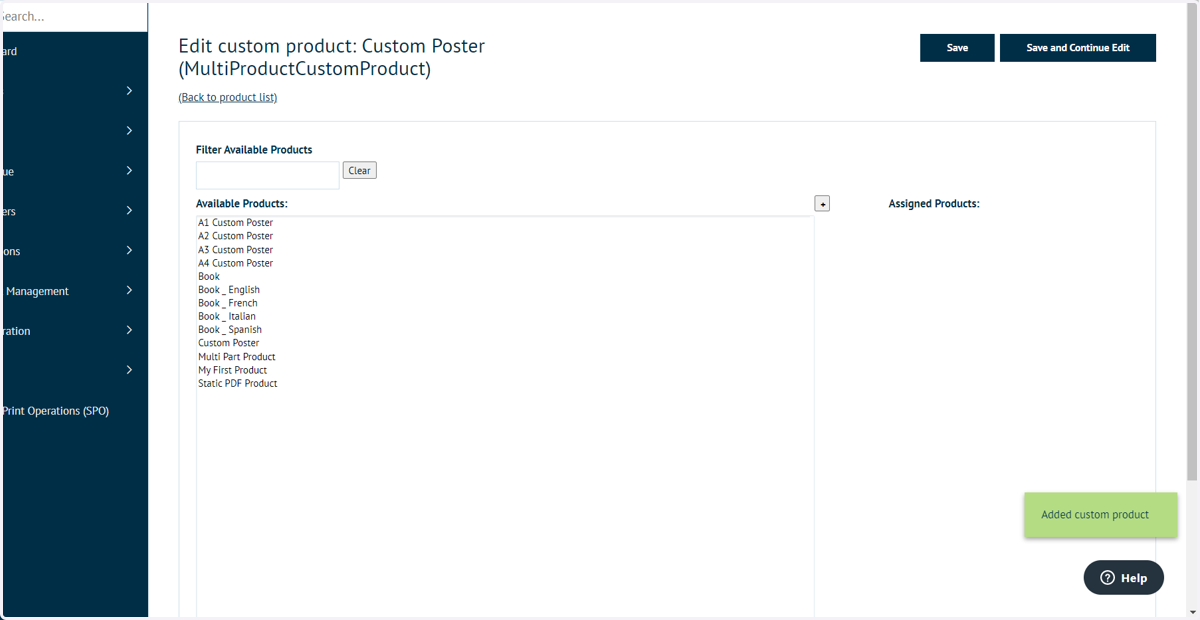
9. Click on +
Select you items individually or select all together as a group and click the '+' button to add them together.
Once you have clicked the '+' button you will a section for each product where you can define some data for each child product.
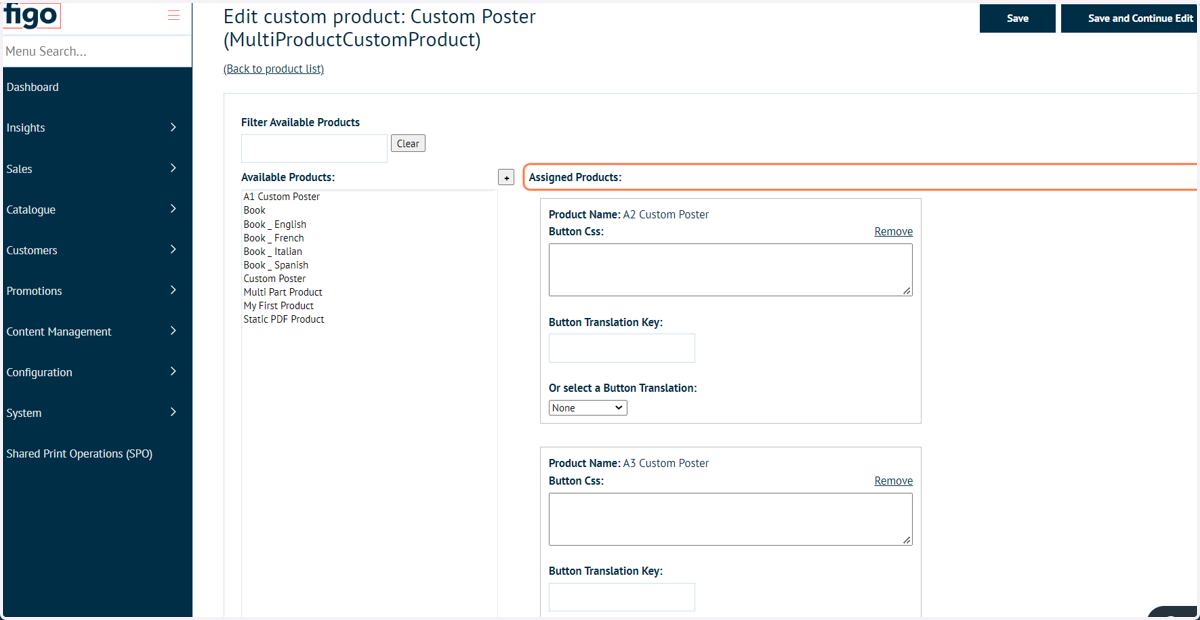
10. Enter additional information for each child product.
The options for each product are:
Button css: - This allows you to custom the buttons look and feel using css
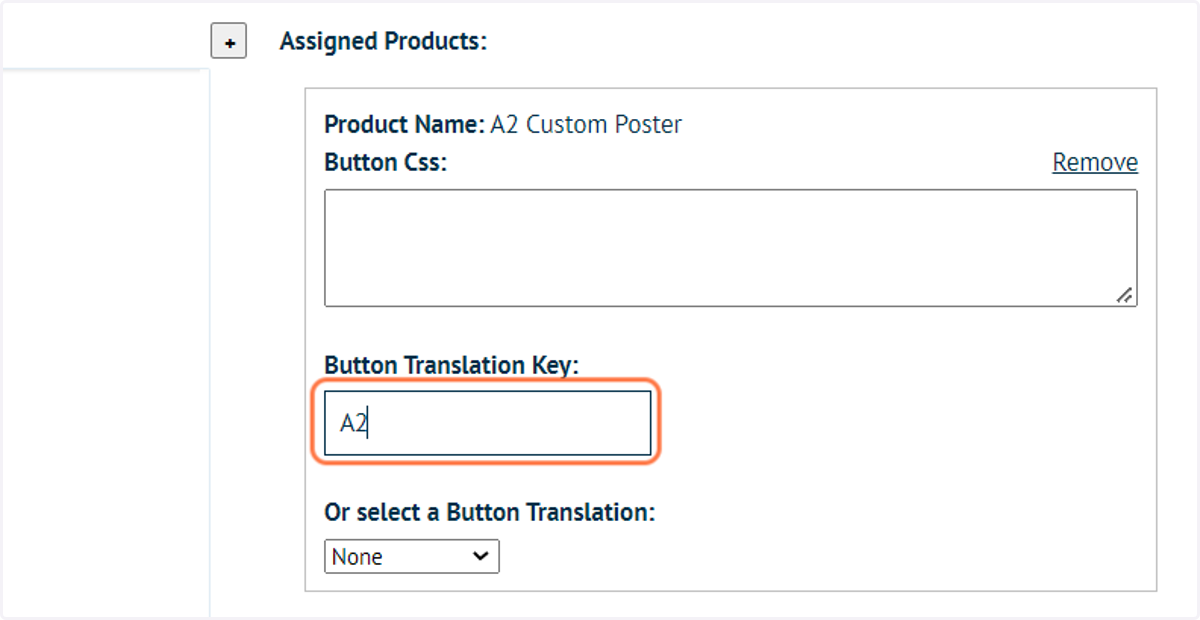
Button translation Key: - This is the custom name for the button you can add
Or select a Button translation: - These are preset selections to name the button None, Start, Add to Basket and Upload a PDF
In this example we will give the products the button names of each size so A1, A2, A3 and A4.
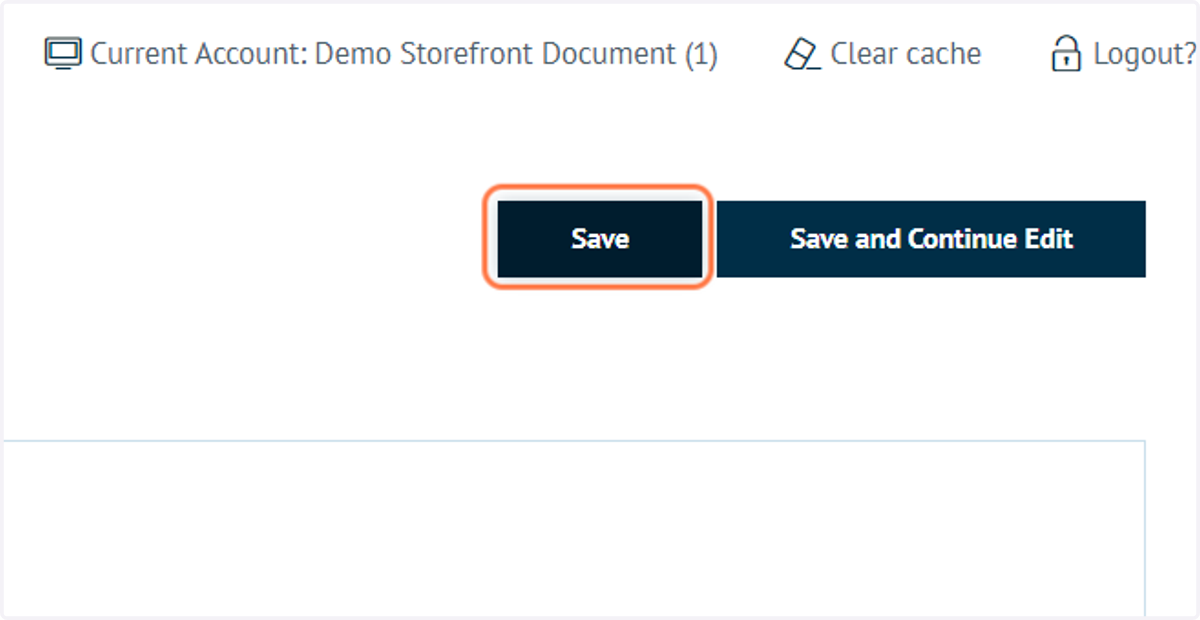
11. Click on Save
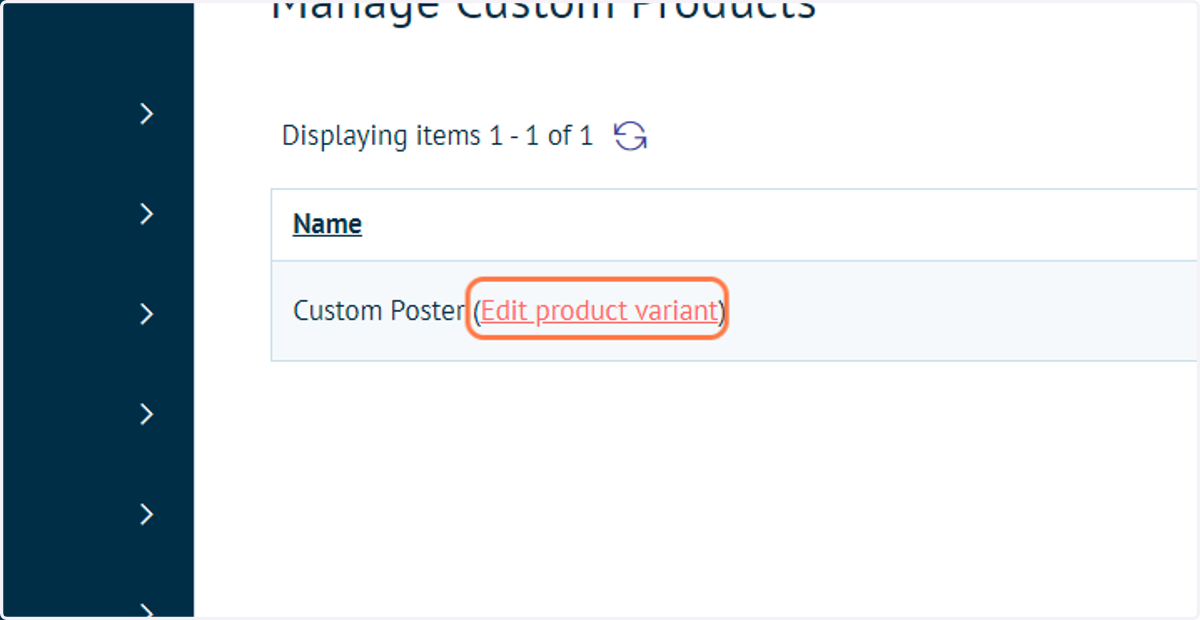
12. Click on Edit product variant
Now, we will view our new products on the storefront.
13. Click on View product page
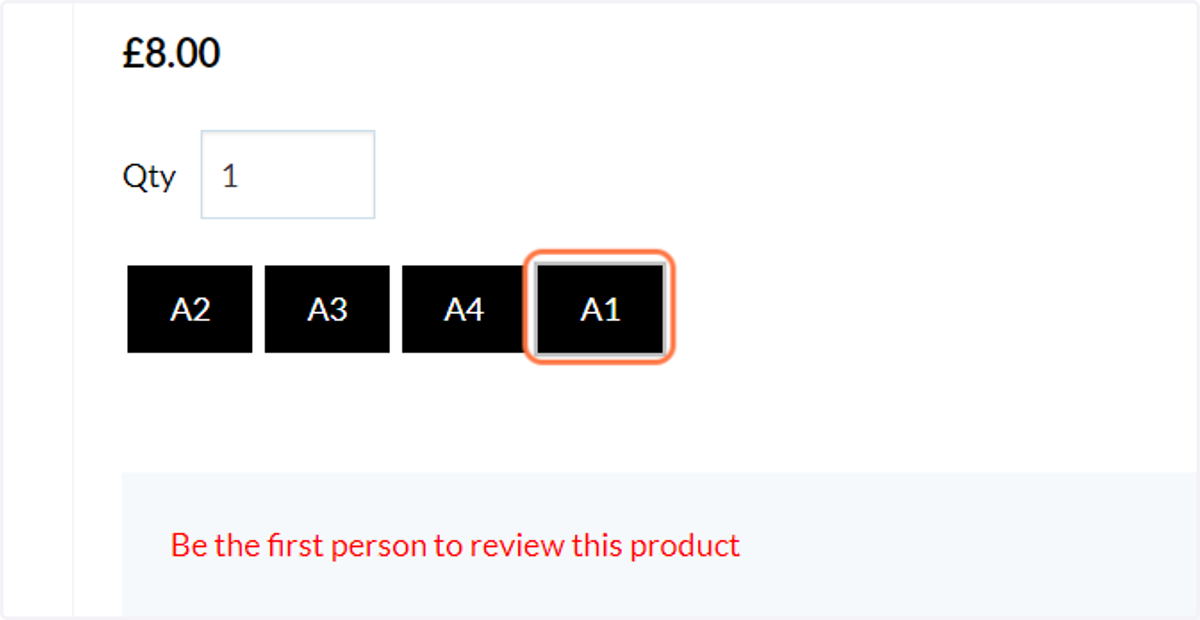
14. Your 'parent' product landing page will display with links to 'child' products
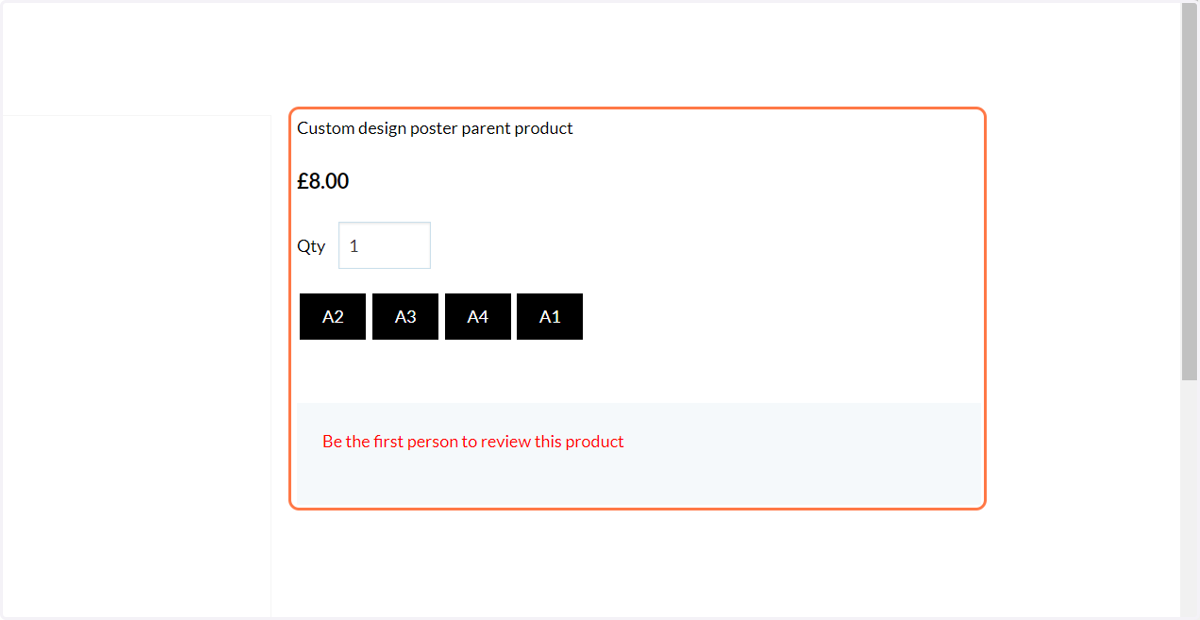
15. Click one of the 'child' product links to launch the product
As you can see the user now has the option to select one of these buttons and it will launch the product of the corresponding child product. If the child products are going to be Editor based products then you will need to set them to Skip product details page which is under the product info tab and product settings section of each product. This way the editor launches instead of the landing page loading.
NOTES: The Parent and Child products must ALL use the same pricing setup and be included using the same product group. Ultimately the Parent product will dictate the price of all the child products so it's imperative that they all share the same product group for accurate pricing when adding to cart.