Mapping shipping services and placing your first order
In this tutorial, we will cover the simple process of linking the services defined within Easypost to your Infigo storefront. We will also learn how to enable and disable specific services, along with applying additional settings such as a price uplift for a particular service.
Once complete, we will simulate placing an order on our storefront, to see the user experience of this process, along with the resulting information passed to Easypost.
Our Easypost plugin supports the ability for Easypost to control the services and the shipping rates that you display to your customers as part of the checkout flow.
The rates that are returned are calculated based on many factors:
The items being ordered and thus the parcel sizes and number of parcels required to fulfill the shipping requirements (see our configuration article to understand the different options available)
The originating address of where you are producing the parcels and the carrier will be collecting them from
The shipping address of where the parcel is being shipped to. This is taken from the shipping address information entered by the customer during the checkout process.
The negotiated rates that you have configured against your carrier accounts that you have linked to in your Easypost account.
Easypost
1. Go to www.easypost.com
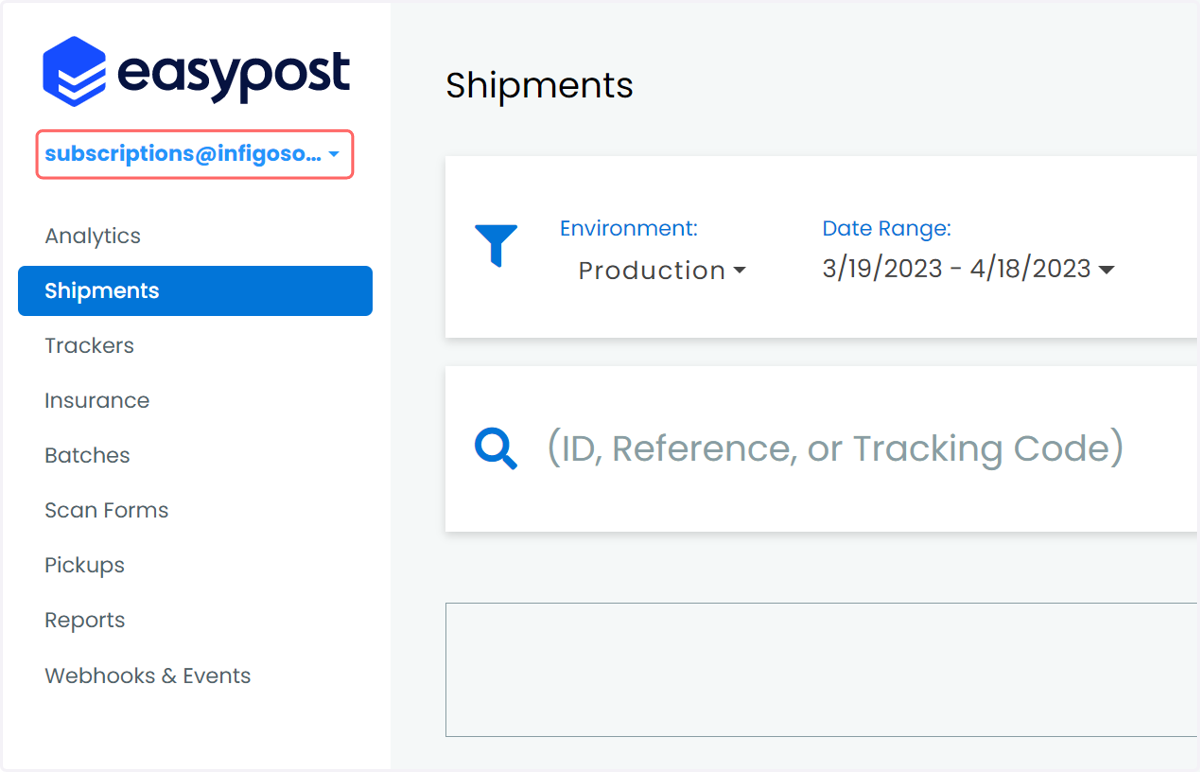
2. Within your Easypost account, click your email address to bring up additional menu options
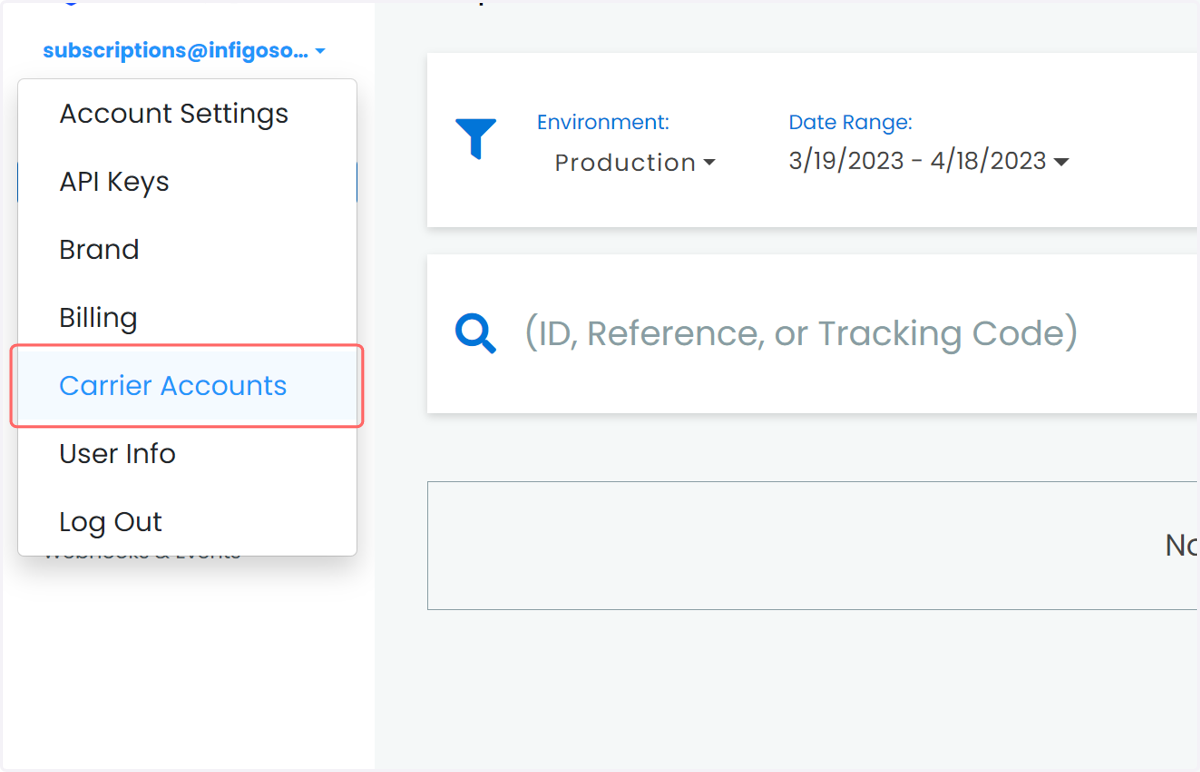
3. Click on Carrier Accounts
The Carrier Accounts screen allows us to link additional carrier accounts to our Easypost account, which we can then pass to Infigo.
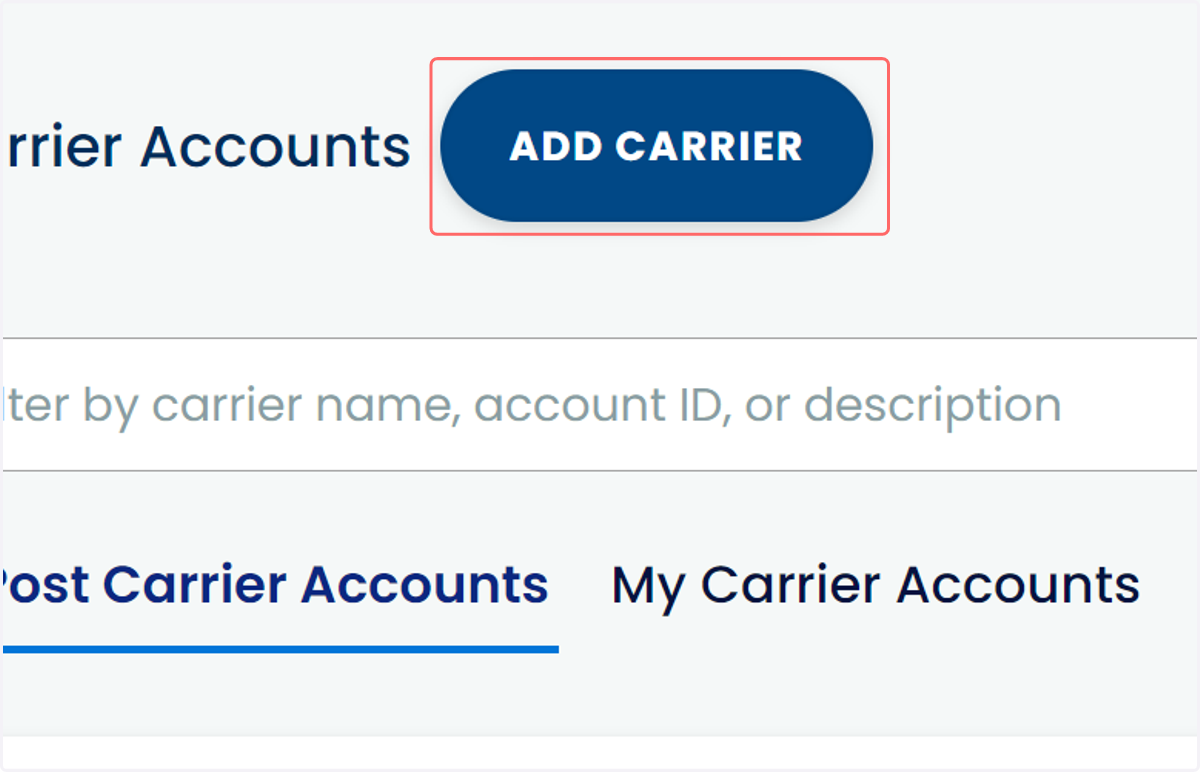
4. To add your account details for a new carrier, click Add Carrier.
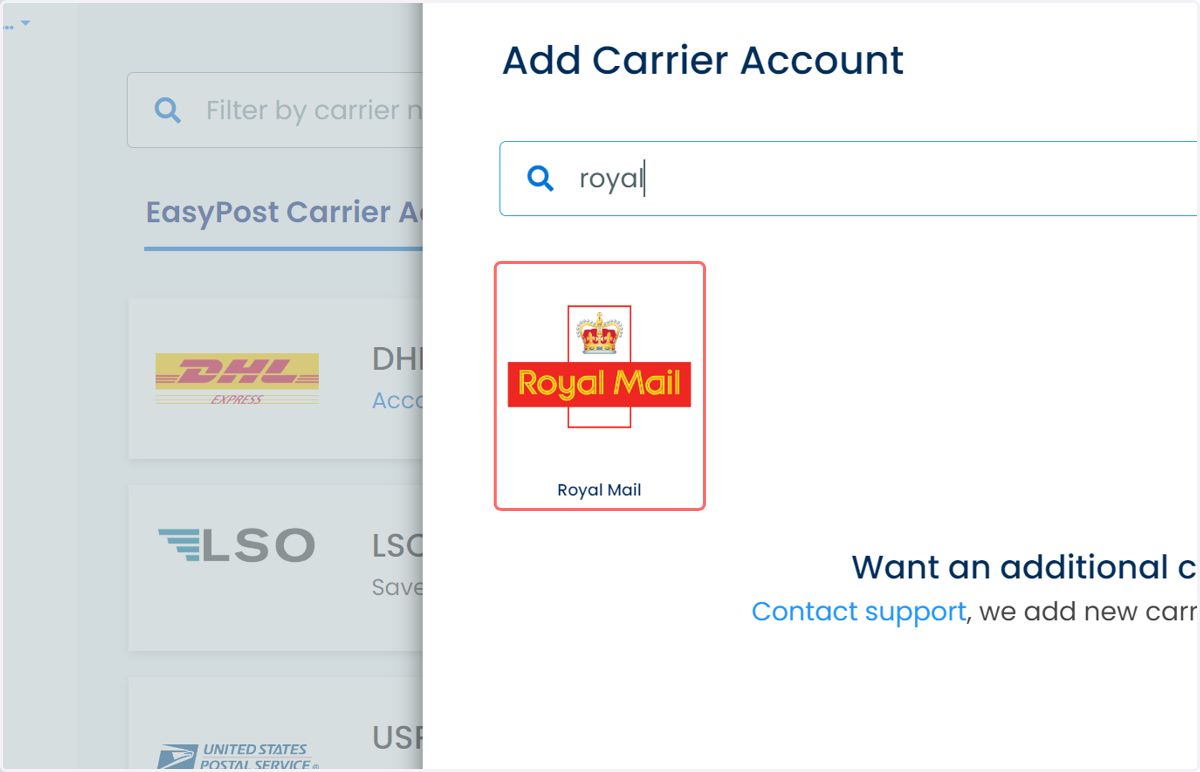
5. Search for your carrier and select it
If your carrier is not currently supported, Easypost can be contacted directly to try and address this.
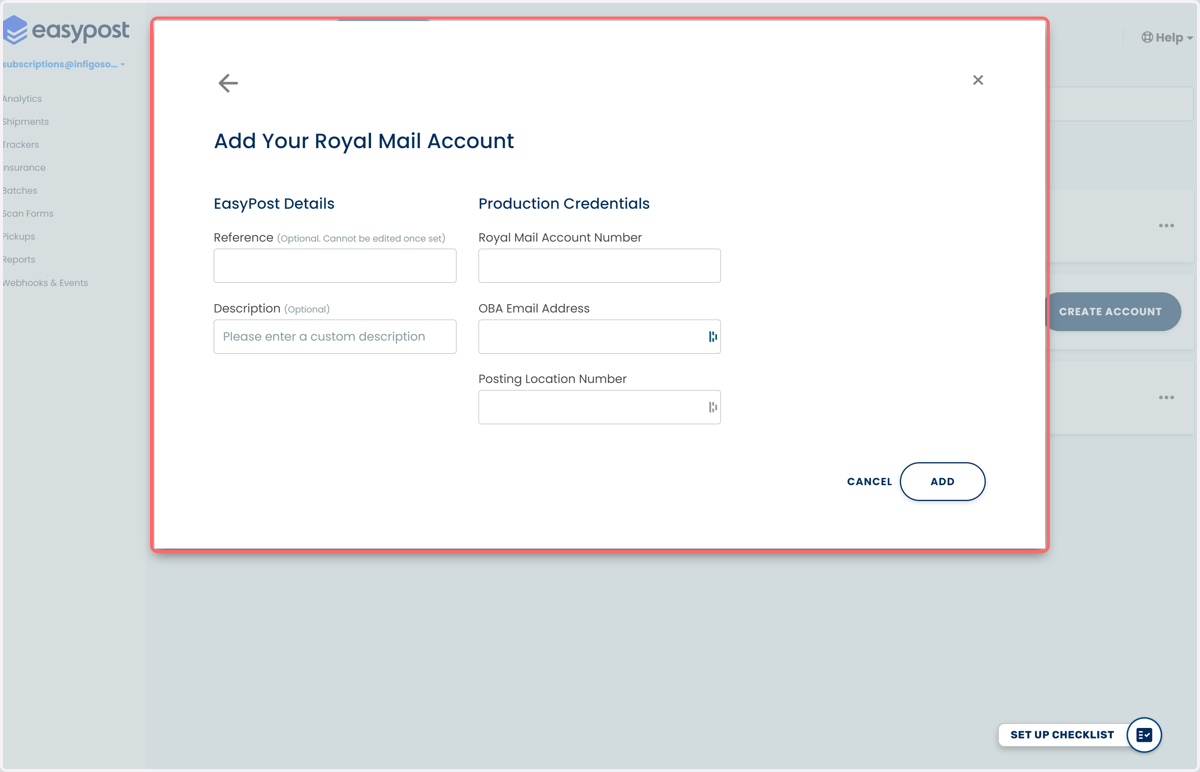
6. Complete your account details and click Add
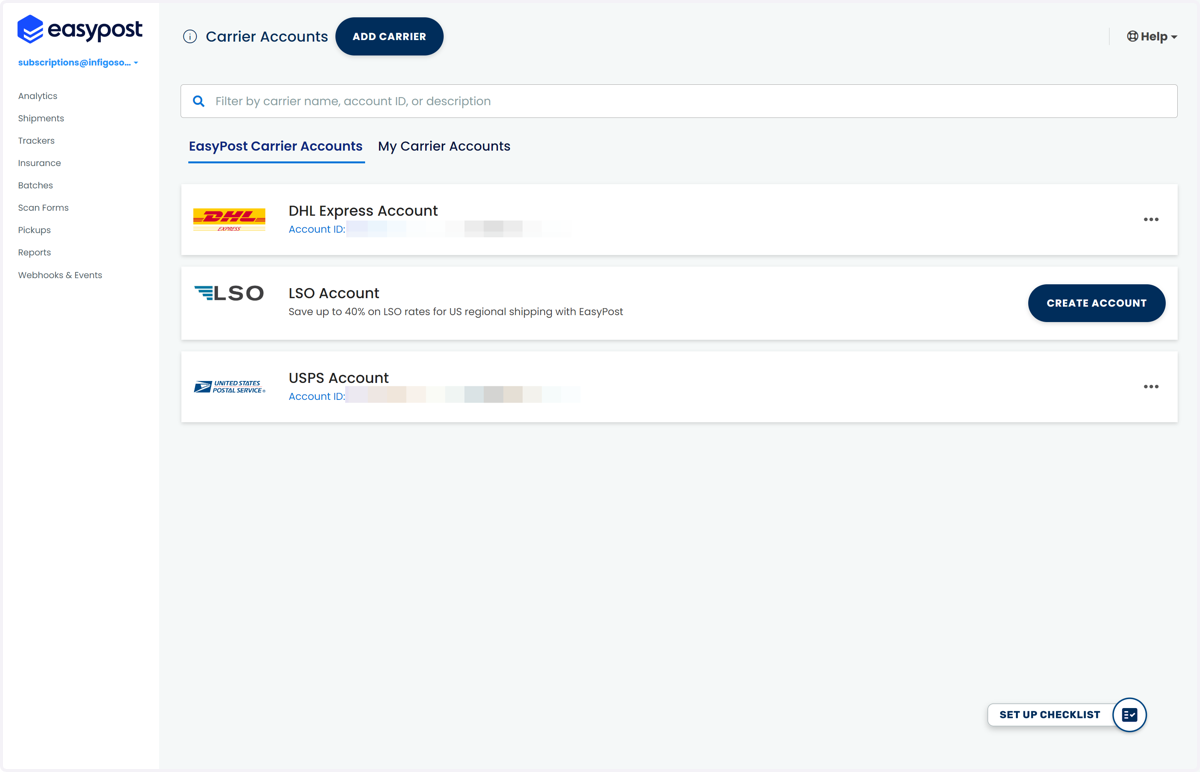
7. Your linked carriers will be displayed within your Easypost account
These linked accounts can be further edited, if required.
Infigosoftware
8. Navigate to your Infigo admin area
Next, we will learn how to select which services to offer.
9. Navigate to Connect Plugins
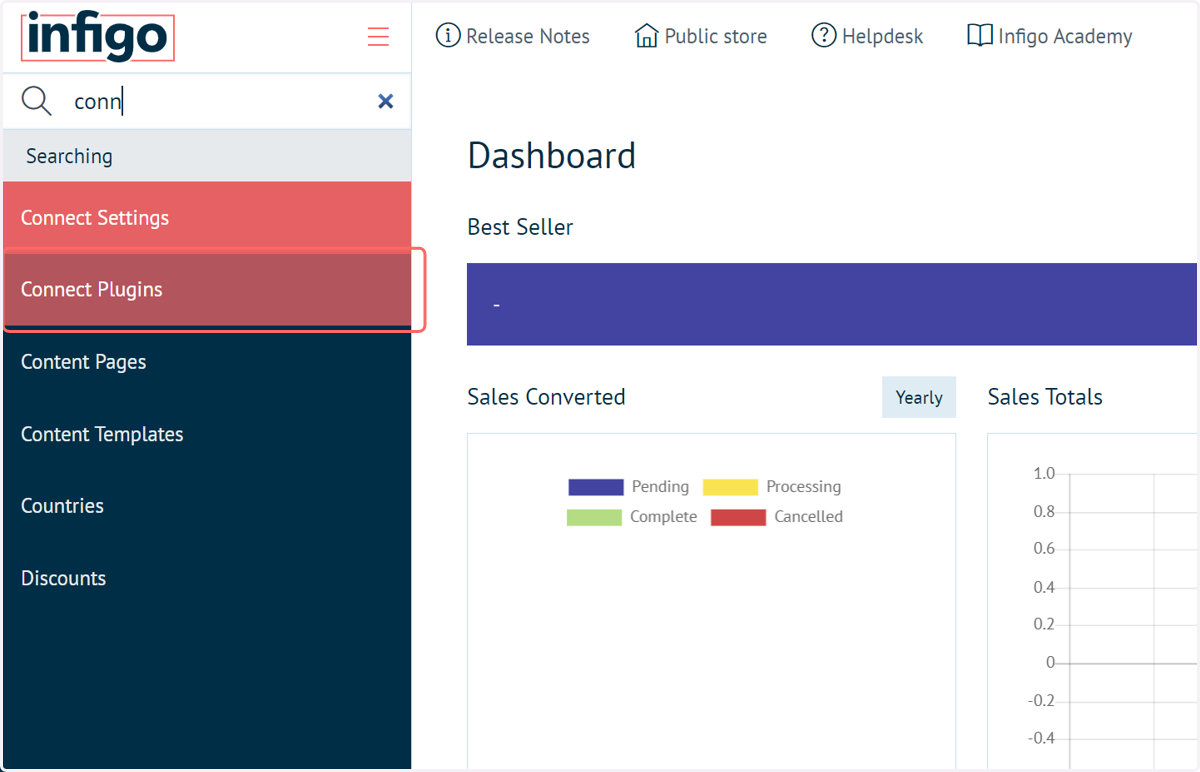
10. Click on Configure in the Easypost row
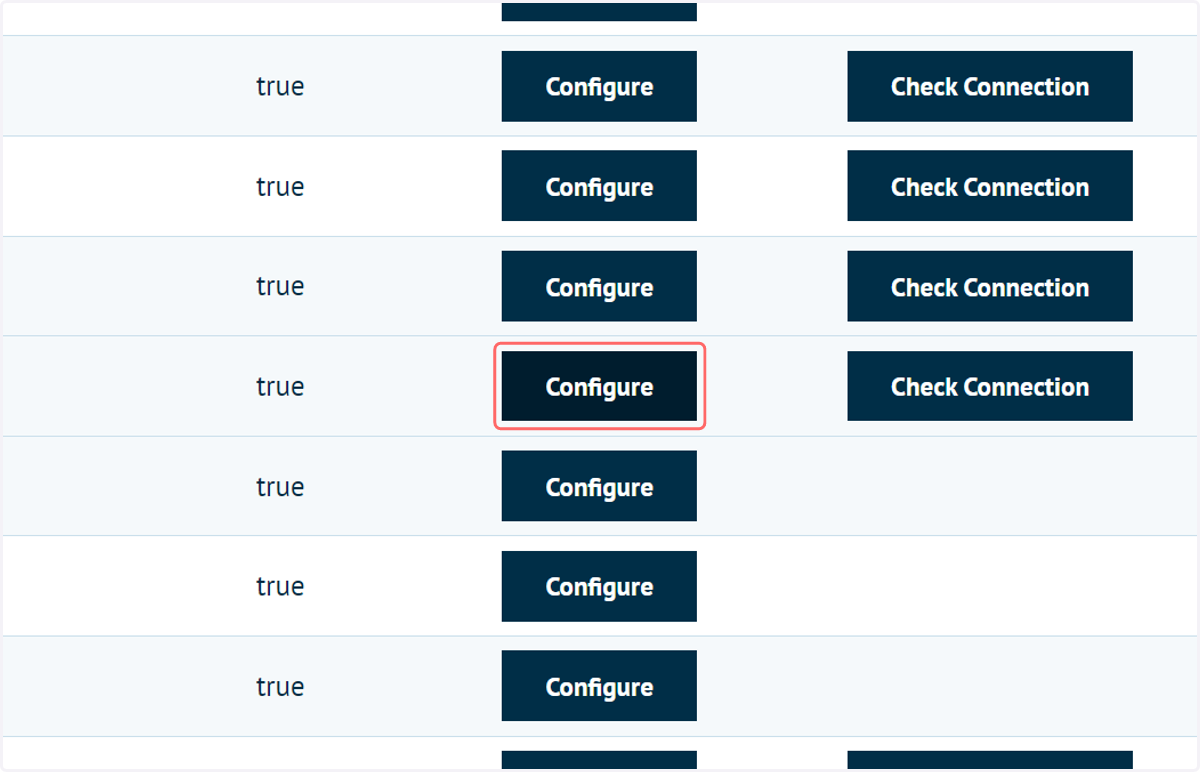
11. Navigate to the General section
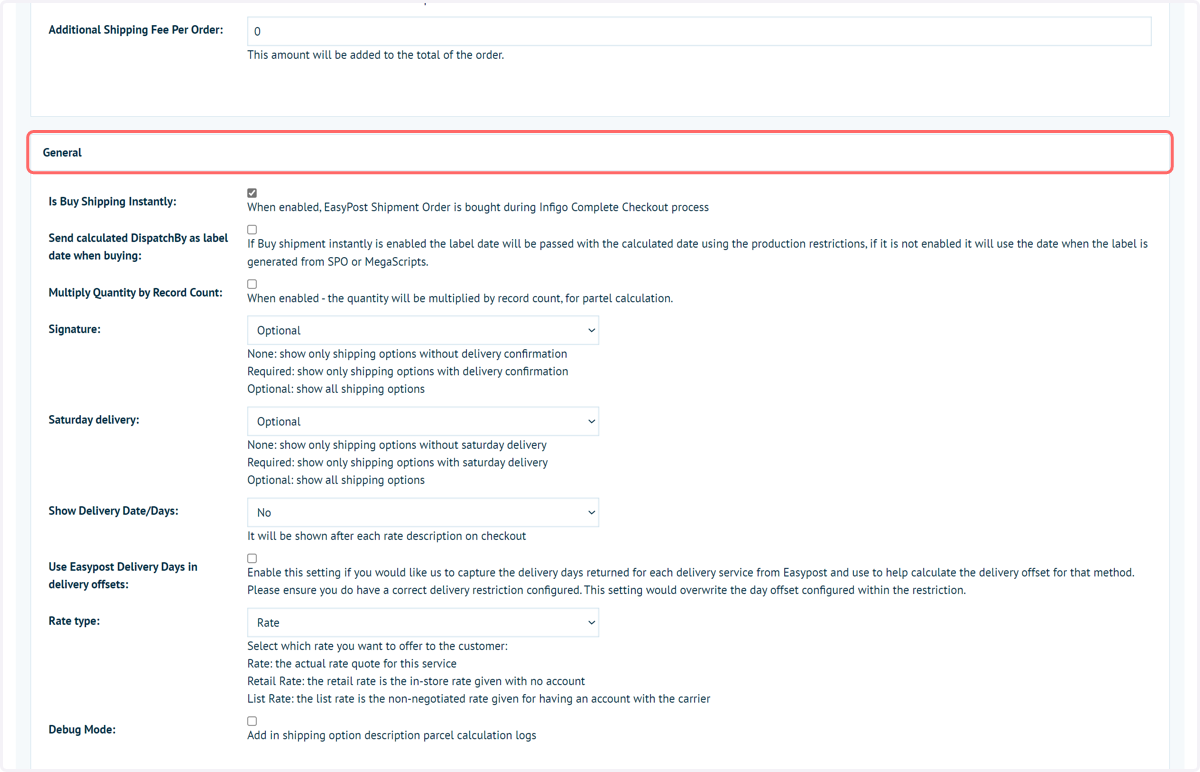
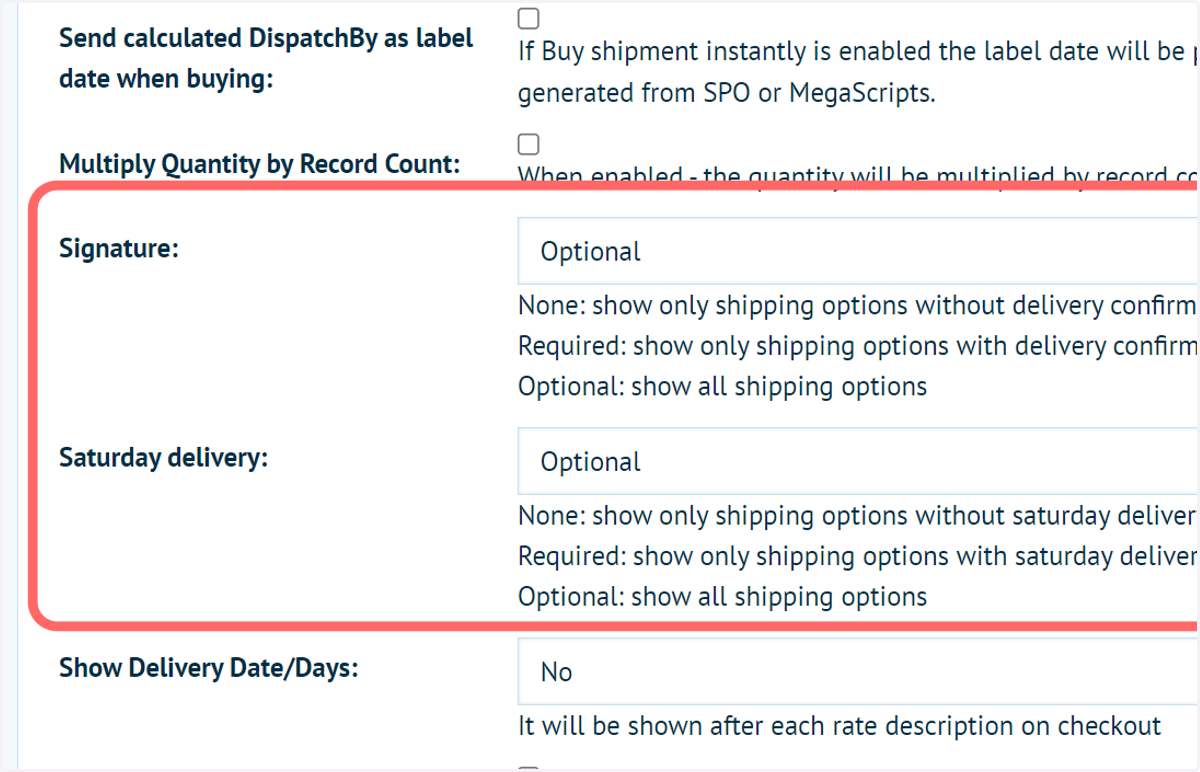
12. Signature and Saturday Delivery
Signature
This is a dropdown that allows you to decide if you want to include services to your customers that require a signature. You have 3 options to choose from:
None - No services requiring a signature will be returned
Required - Only services requiring a signature will be shown
Optional - All services will be shown, both requiring and not requiring a signature
Saturday Delivery
Similar to the Signature setting above, this is a drop down that allows you to decide if you want to include services that will deliver on a Saturday. With the same three options as above.
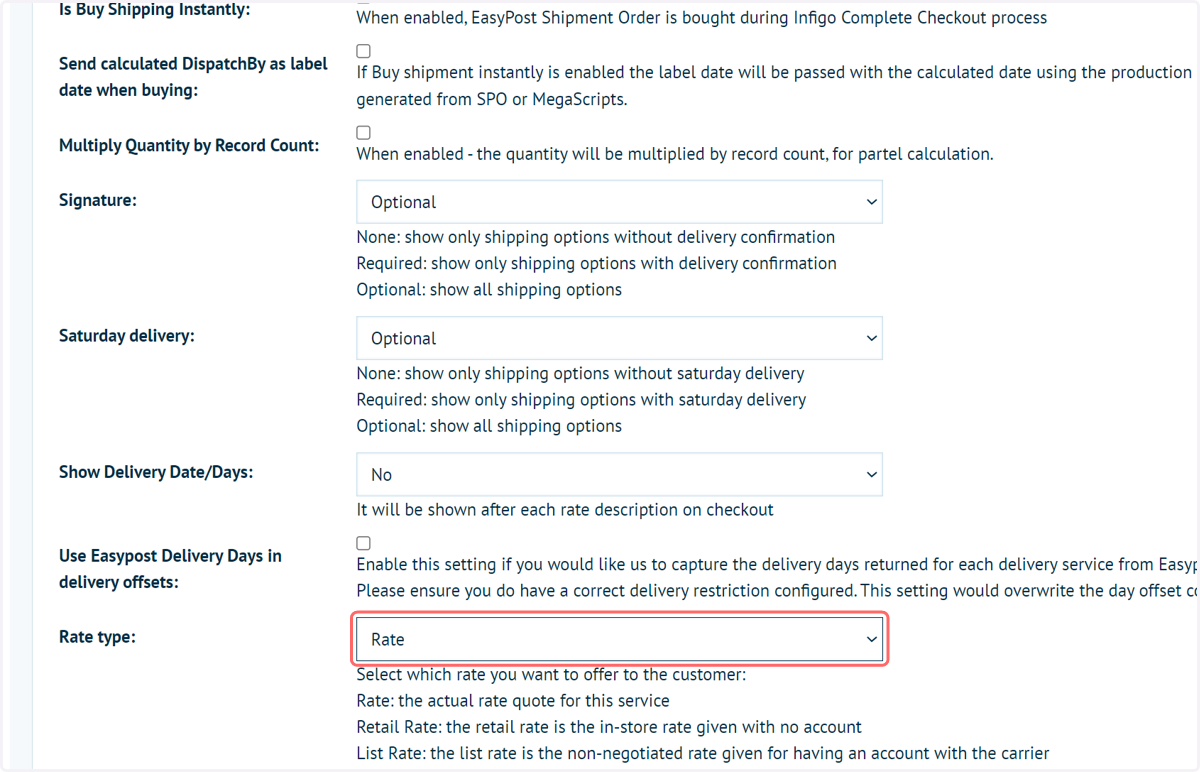
13. Select a Rate type
Within our Easypost plugin we provide you with the option to choose which rates you offer to your end customers. Within the General settings section of the plugin there is a setting called 'Rate Type' and here you can choose between 'Rate', 'Retail Rate' and 'List Rate'.
Rate - This is the actual quote rate for this service on that specific carrier account. Usually includes any discounts or pre-arranged negotiated rates.
Retail Rate - The retail rate is the in-store rate given when no account is used
List Rate - This list rate is the non-negotiated rate given when you have an account with the carrier
This allows you to control which rate you want to offer to your end users and, knowing the rates that you will pay the carrier allows you to determine how much profit you want to make on the service.
14. Navigate to the Carriers and Services section
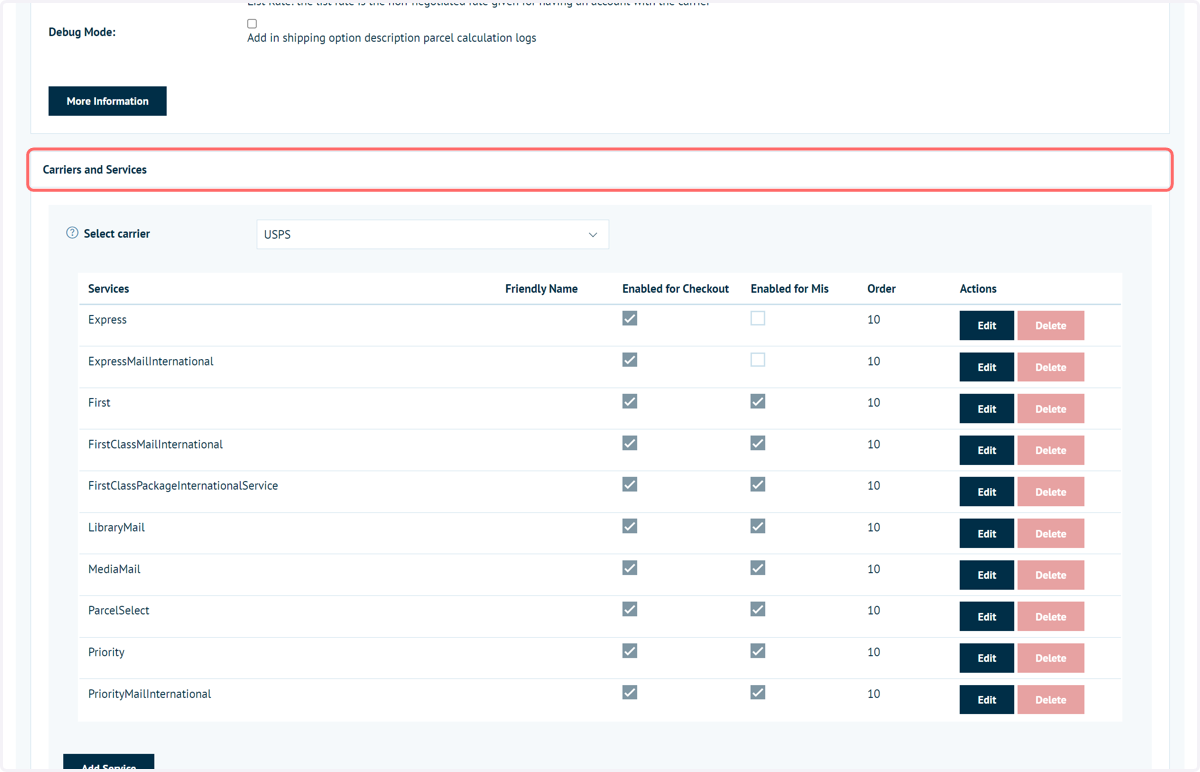
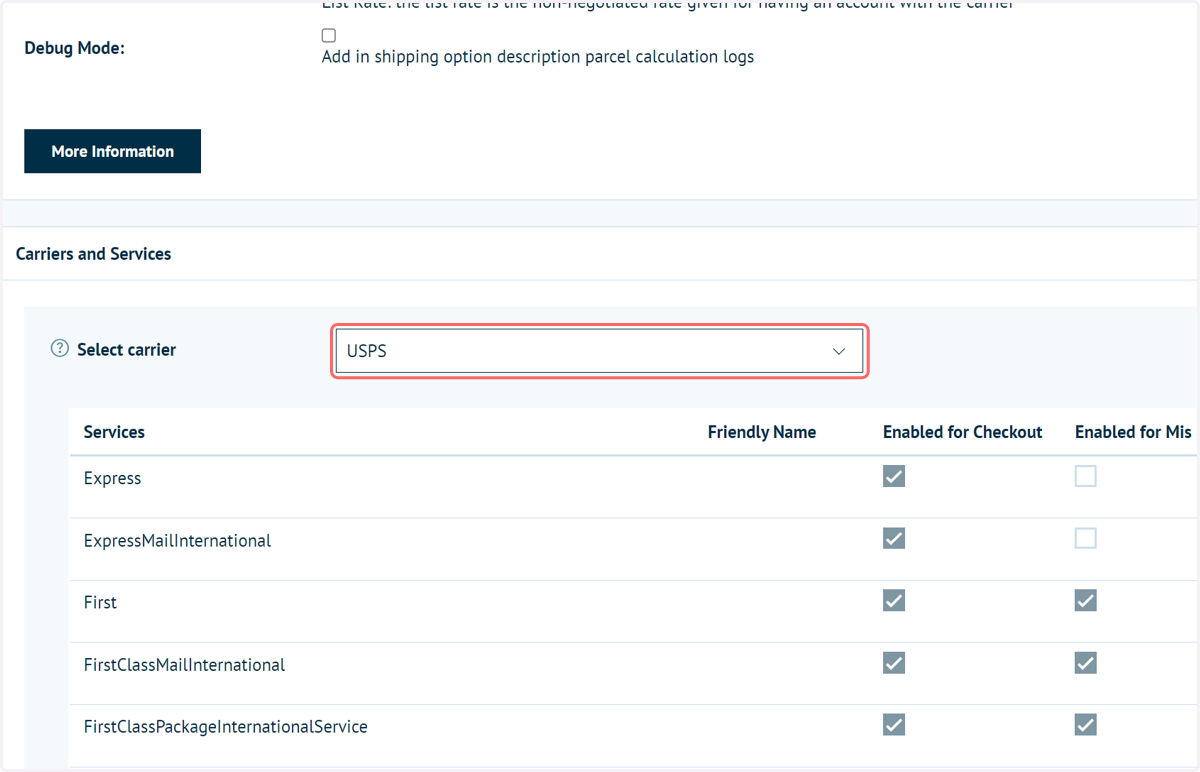
15. Select the carrier for which you wish to edit available services
By default, all services are available for all of your linked carriers. You will be required to work through the list of carriers and manage the services you wish to offer to your clients.
This method is due to the information we receive via the Easypost API.
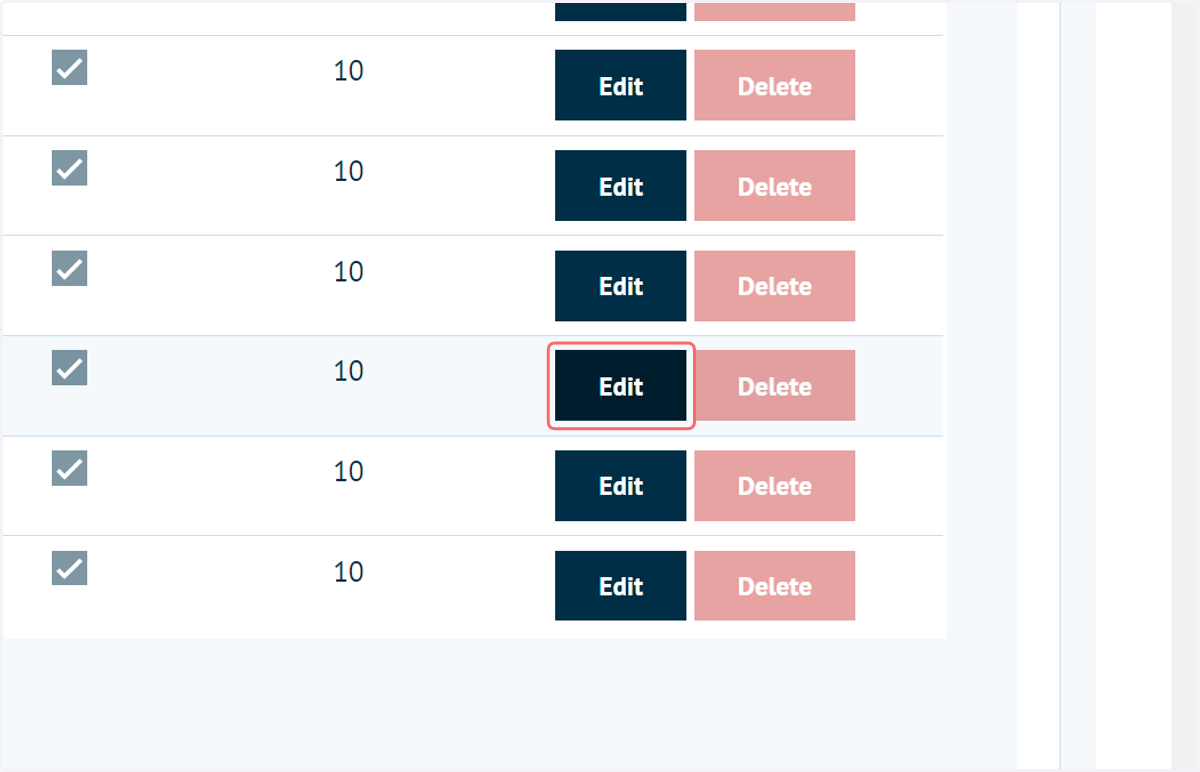
16. To edit the availability of a service, click on Edit
17. Service configuration details become available, allowing finer control over that particular service offering
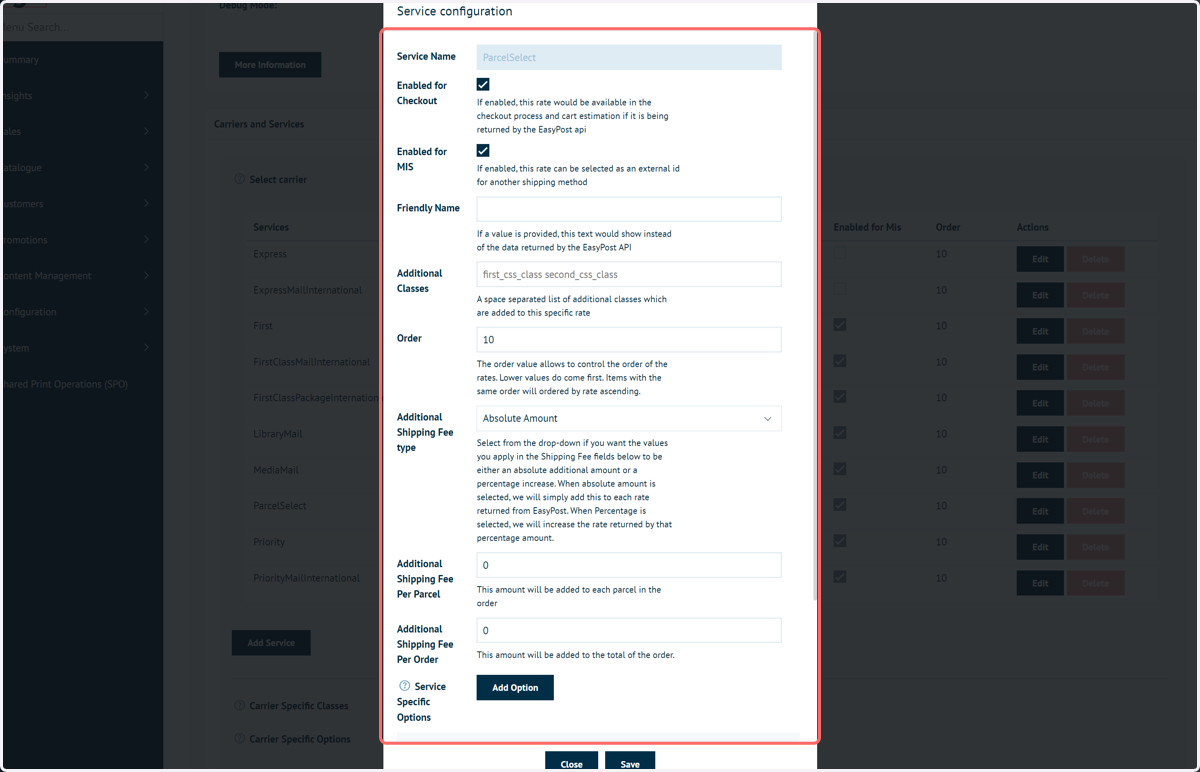
18. Enabled for Checkout and Enabled for MIS
Enabled for checkout: allows you to decide if this service should be shown to the end customer during the checkout process with the Easypost live rate. (This is also determined if you have Easypost live rates enabled or not)
Enabled for MIS: this determines whether or not you want to allow mapping of an Infigo shipping method to this service. It will not be shown to the customer in the front end.
Friendly Name: Allows you to customise the name of the service that is shown to the end customer
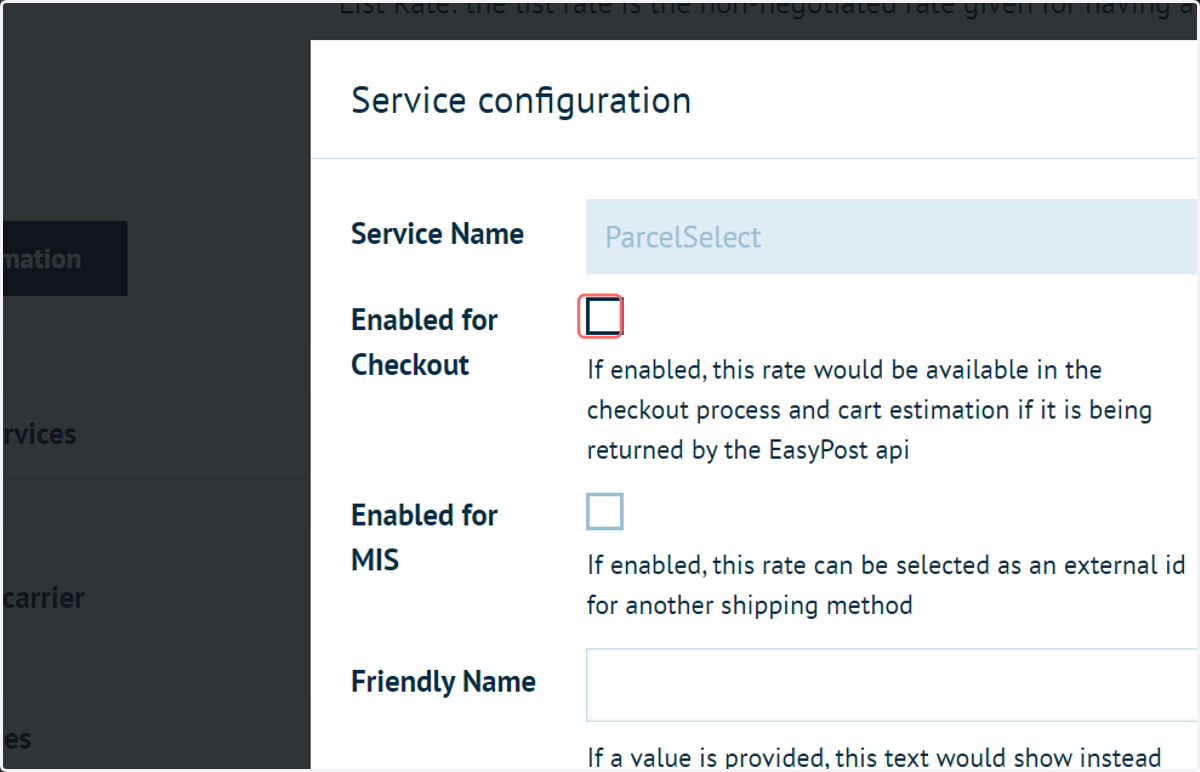
19. Additional Classes and Order
Additional Classes: If you wish to control the styling of each service you can add a custom CSS class name here and it will appended in the DOM, allowing you to control specific styling to specific services.
Order: This is the display order this service will appear in in the checkout.
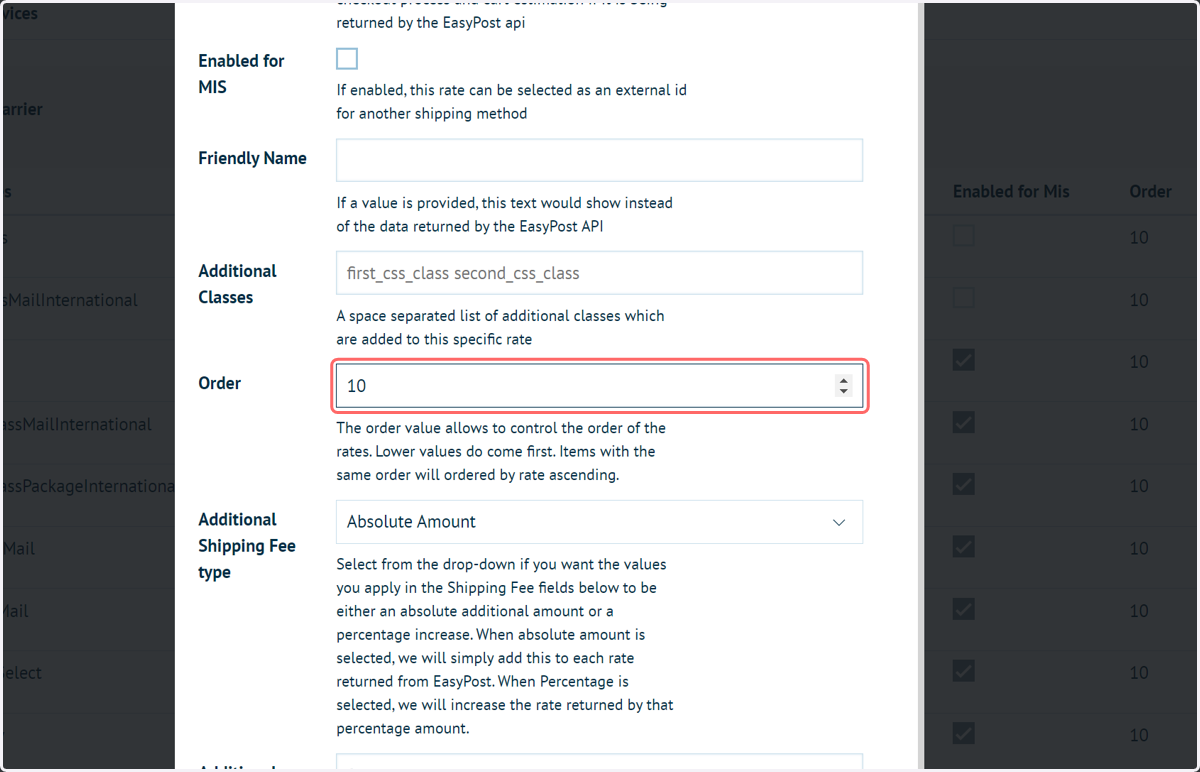
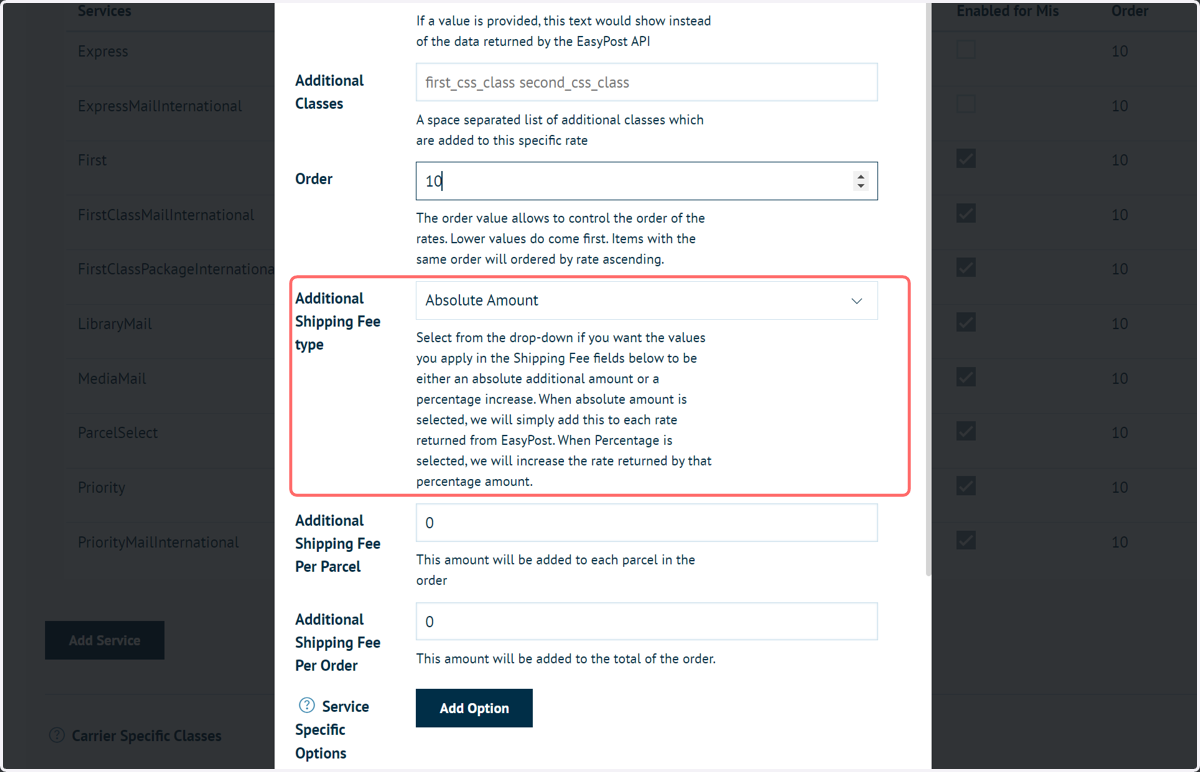
20. Additional Shipping Fee
Additional Shipping Fee type, Additional Shipping Fee Per Parcel, Additional Shipping Fee Per Order: As per the storefront wide setting, we allow for you to add an uplift to the returned rate from Easypost. These settings allow you to control this on a service by service basis. If the uplift will be a fixed amount increase or percentage, an amount that should be applied at a parcel level and an amount that should be applied at an order level.
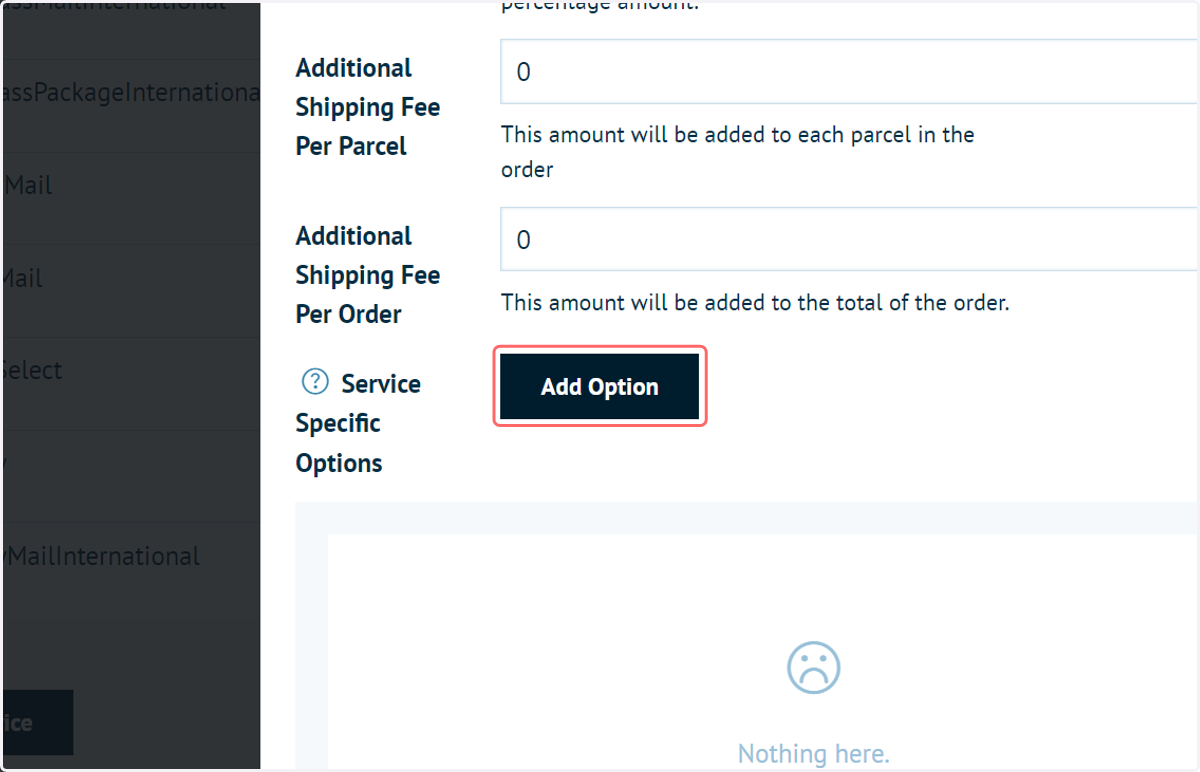
21. Service Specific Options
Service specific options: This should only really be used with advice and support from our Customer Support team.
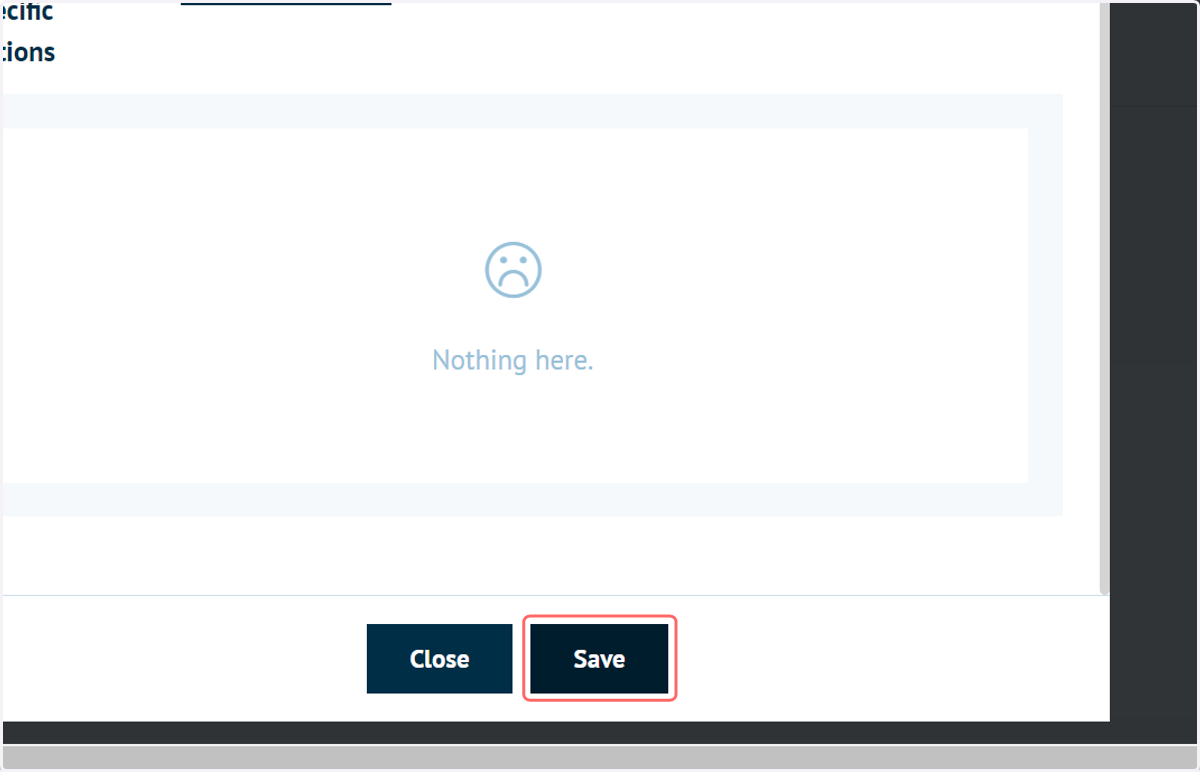
22. Click on Save to apply changes to this service
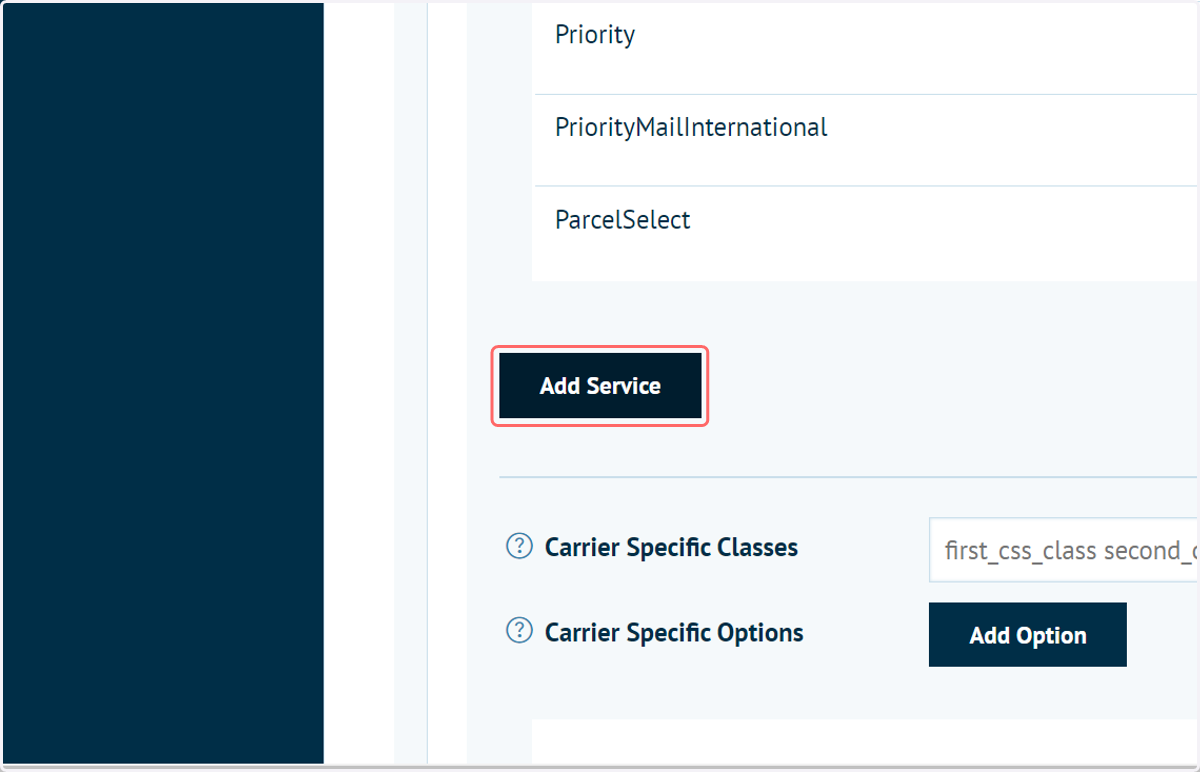
23. New services can be added using the Add Service button
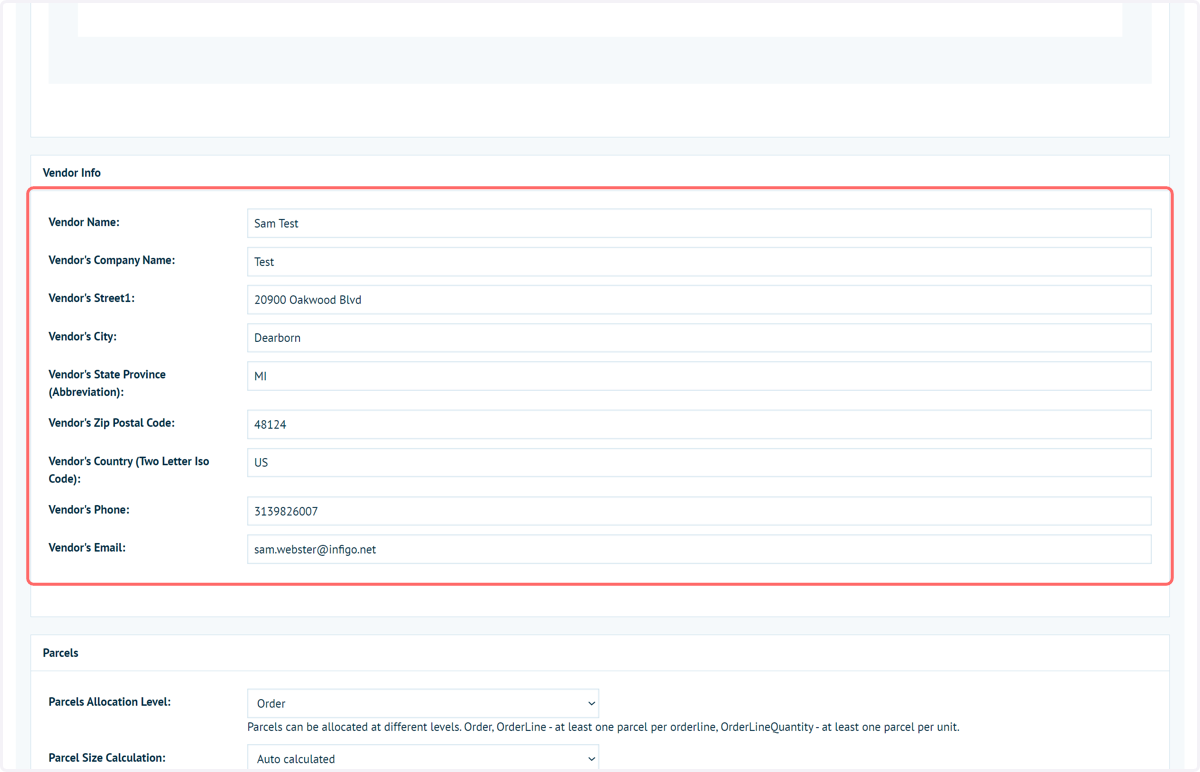
24. Input Vendor Info
In order to successfully submit an order using Easypost for shipping, we are required to complete the Vendoe Info section.
This acts as a source for the outgoing parcel, giving Easypost the information it needs to accurately calculate shipping costs.
25. We will now simulate placing an order. Navigate to your storefront.
26. Add an item to your basket and Checkout
Note, there are additional settings for Easypost that we have not yet configured. To test the connection with Easypost at this stage, it is best to have a sample product with the following details defined:
Weight (product variant settings)
Dimensions (product variant settings)
Also ensure that you have Easypost enabled as a delivery method in the Delivery Computation area.
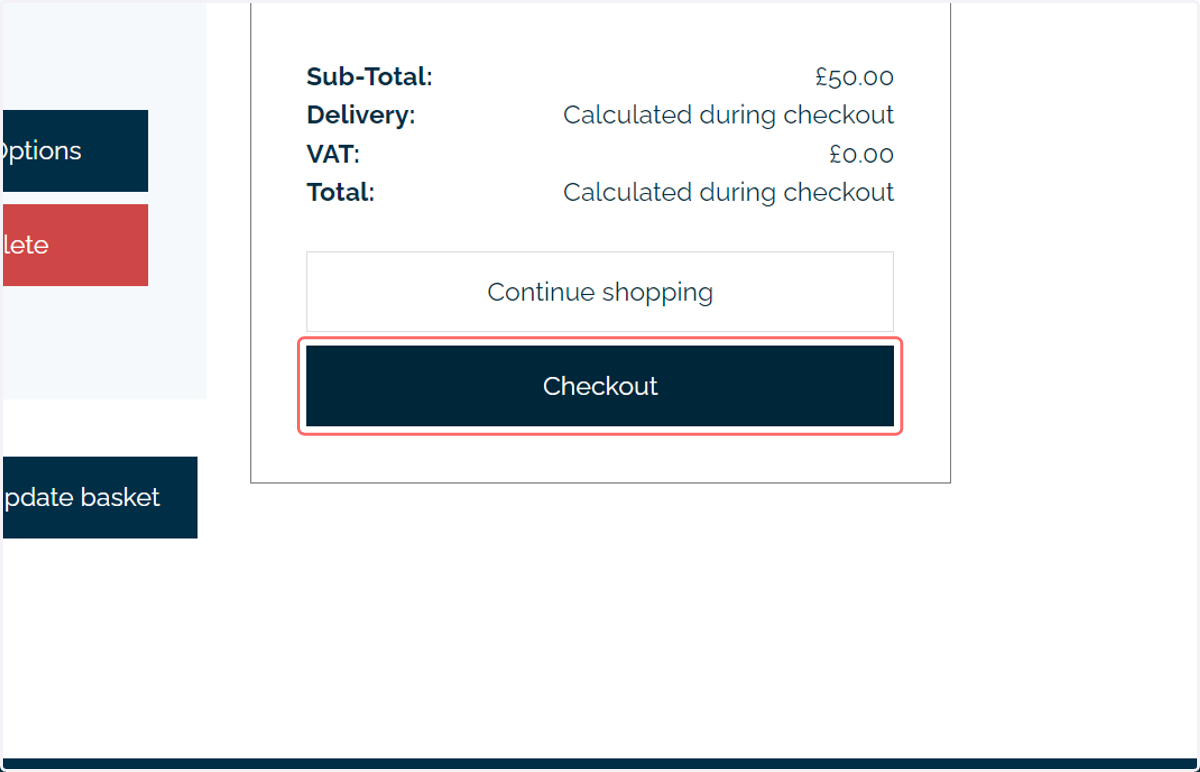
27. Input a delivery address and click Continue
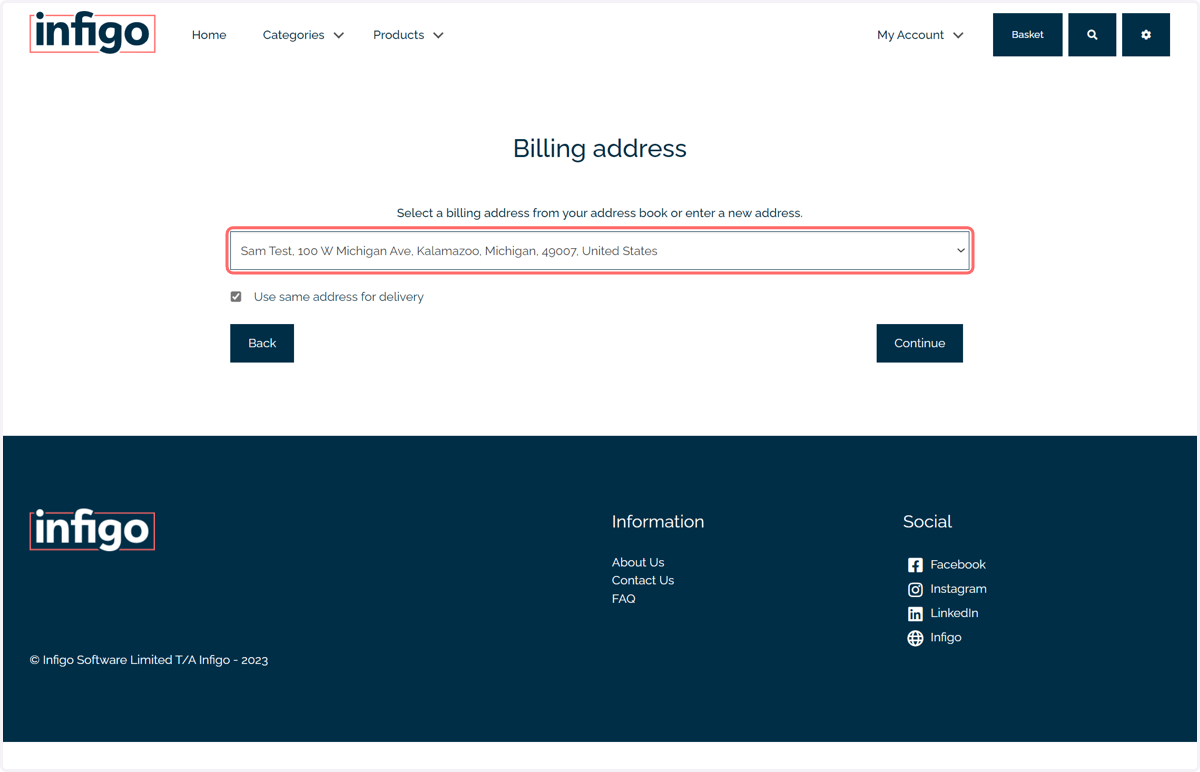
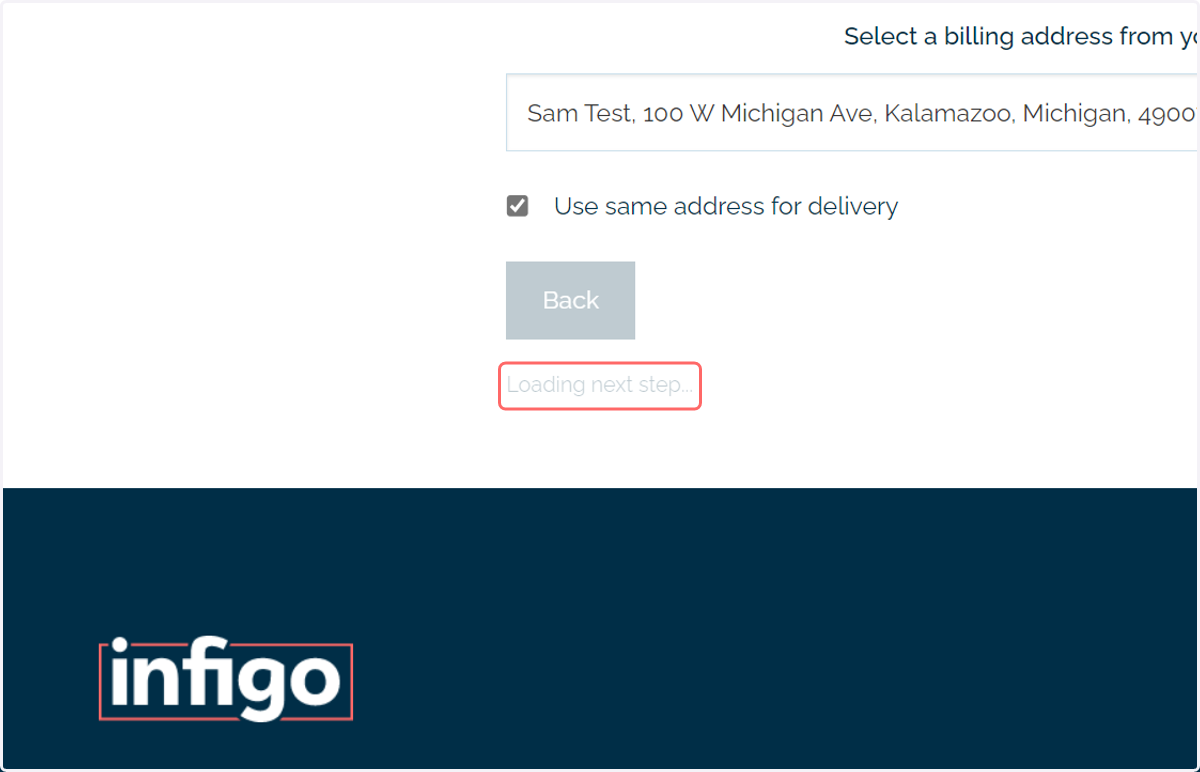
28. The "Loading next steps..." tag will appear. It may take a few seconds to progress to the next screen, as Infigo queries Easypost for available services and rates
29. Available services, along with rates will be displayed and can be selected by the user
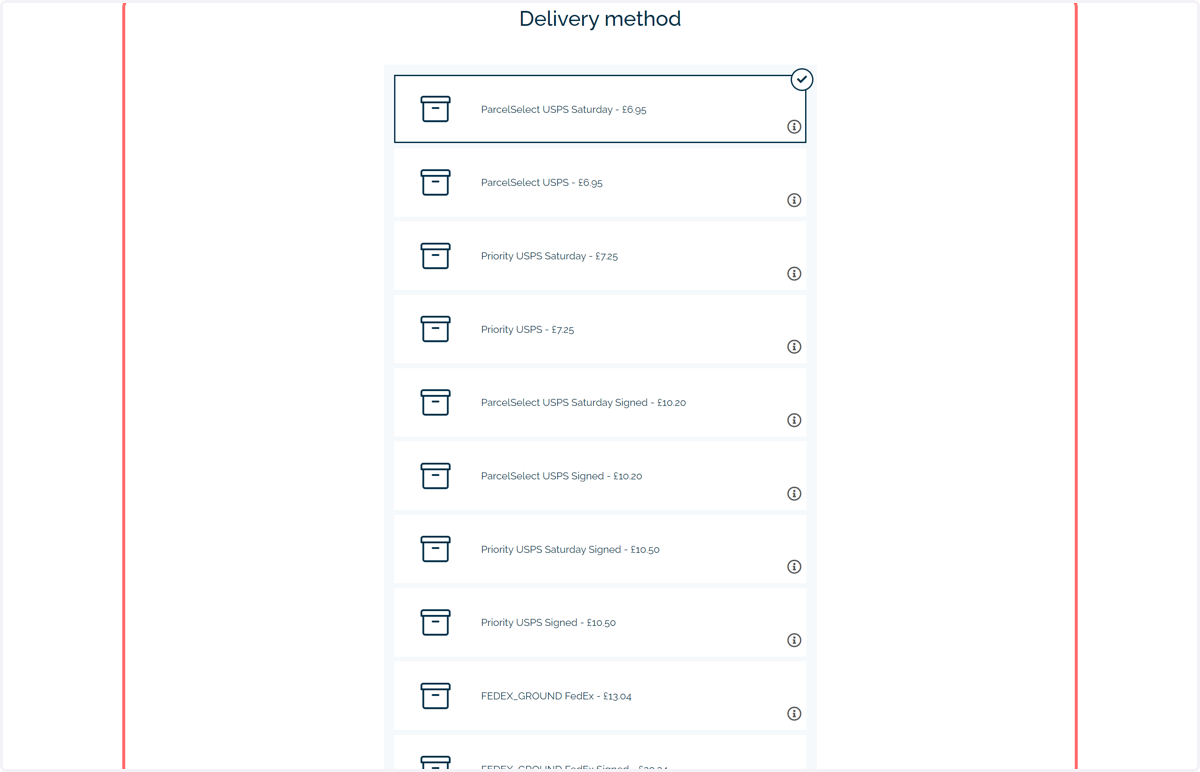
30. Select a service and click Continue
Easypost
31. Enter payment information and click Continue
32. Go to www.easypost.com
With the order placed, we are ready to see how this information has been passed to Easypost
33. Click on Shipments
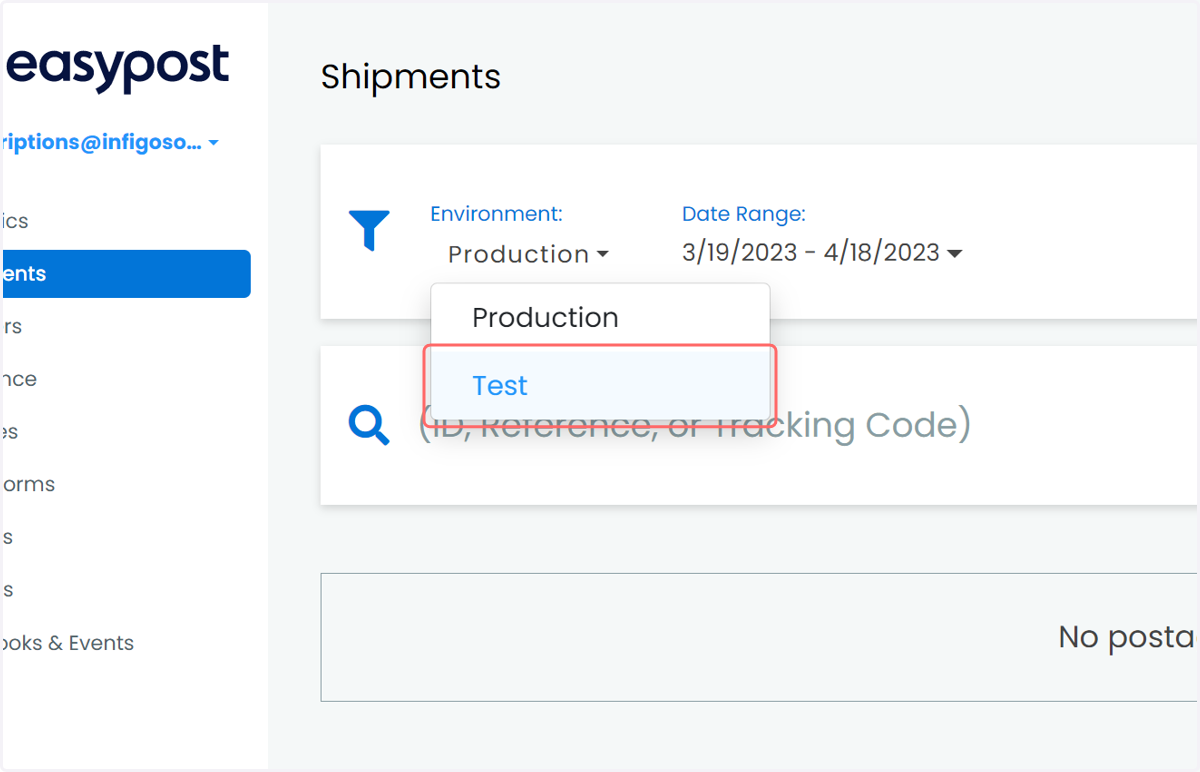
34. Select your environment
In our example, we have been using the Test environment
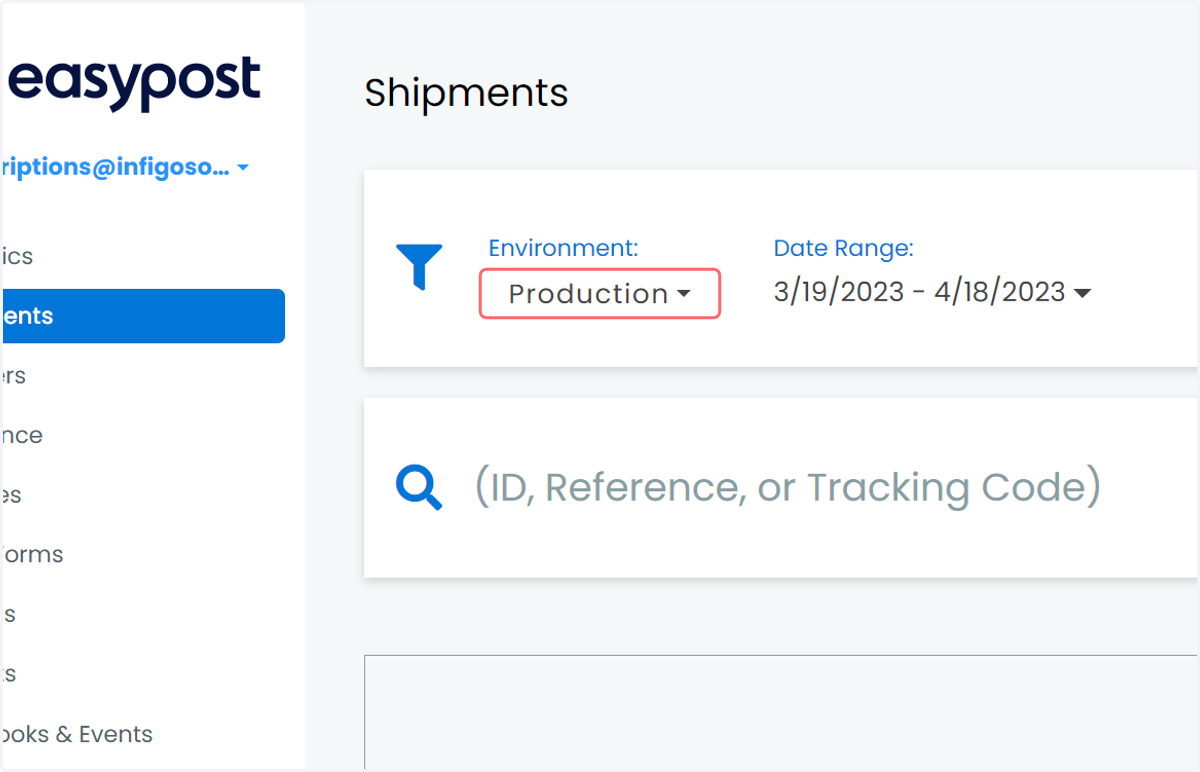
35. Click on Test
Infigosoftware
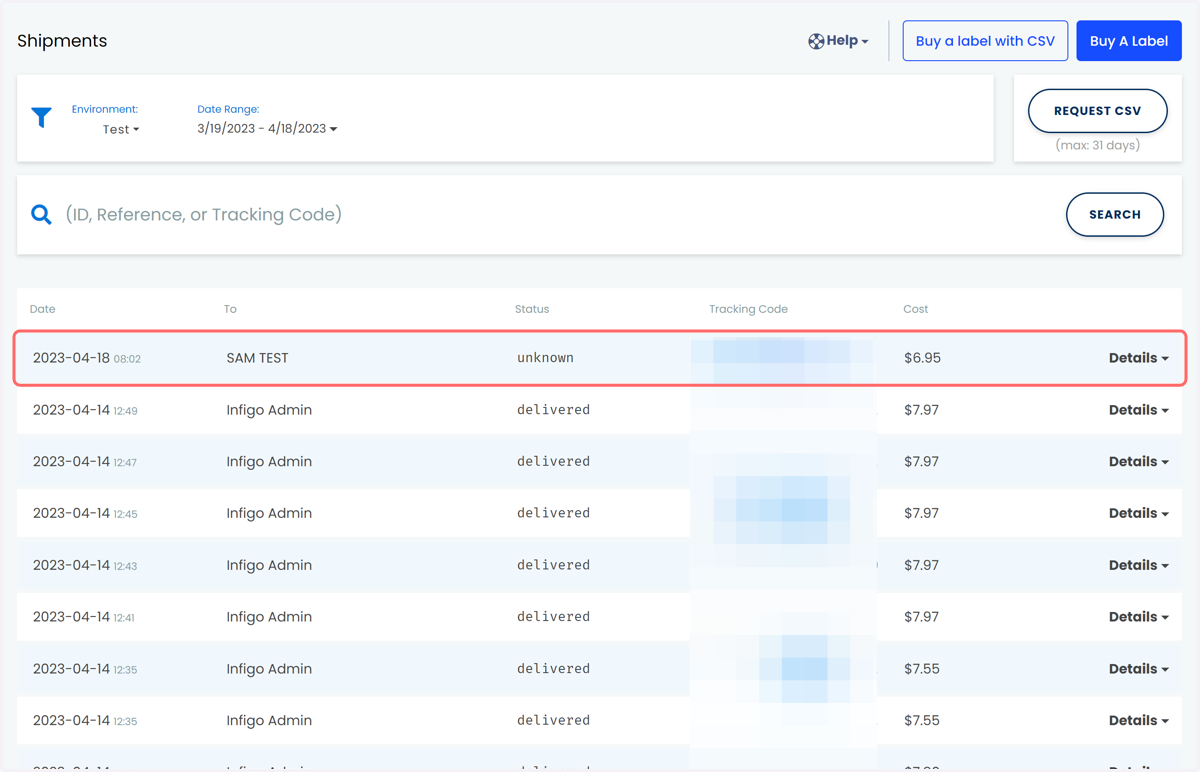
36. The new order will appear in the list of shipments
This can be expanded to reveal additional information.