Clipart in MegaEdit
In this tutorial, we will investigate the use clip art images within your MegaEdit products.
Whilst having many similarities with the Image galleries, clipart categories vary in a few ways.
Clipart will not interact with image frames.
Customers cannot upload new clipart, but can be allowed access to predefined clipart categories.
1. Navigate to MegaEdit General Data
First, we will create a new clipart category with some uploaded imagery.
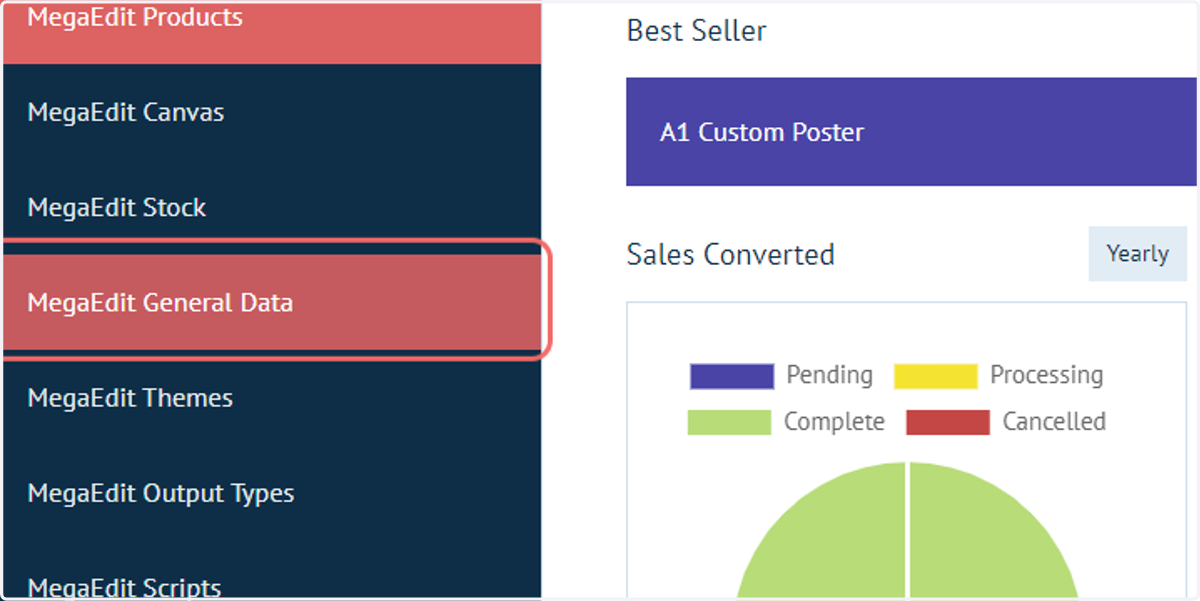
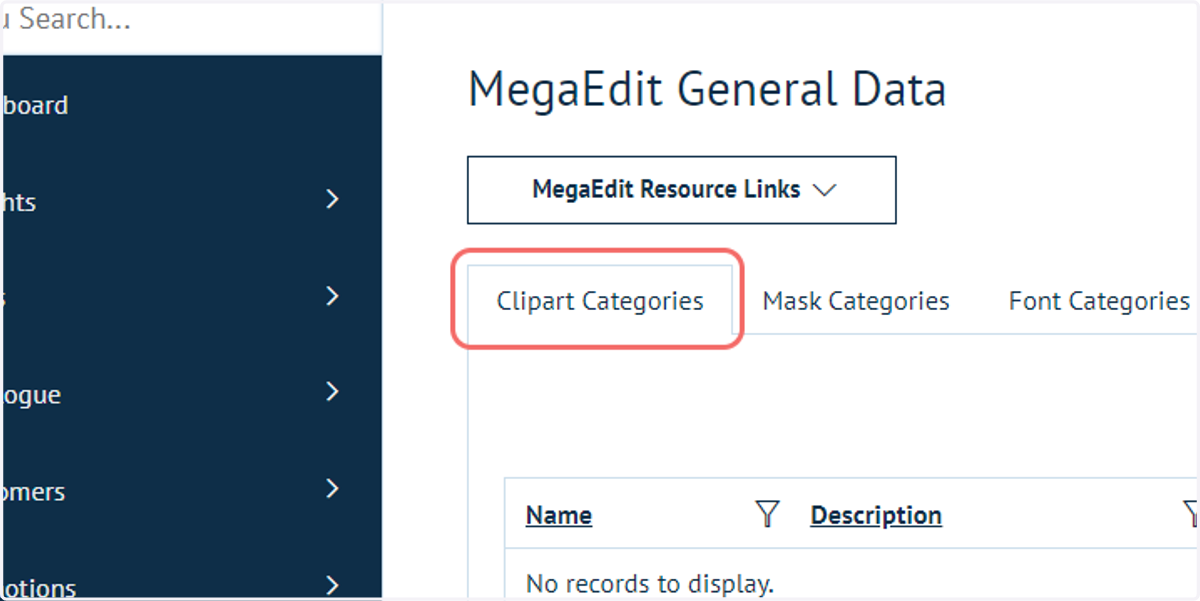
2. Click on Clipart Categories
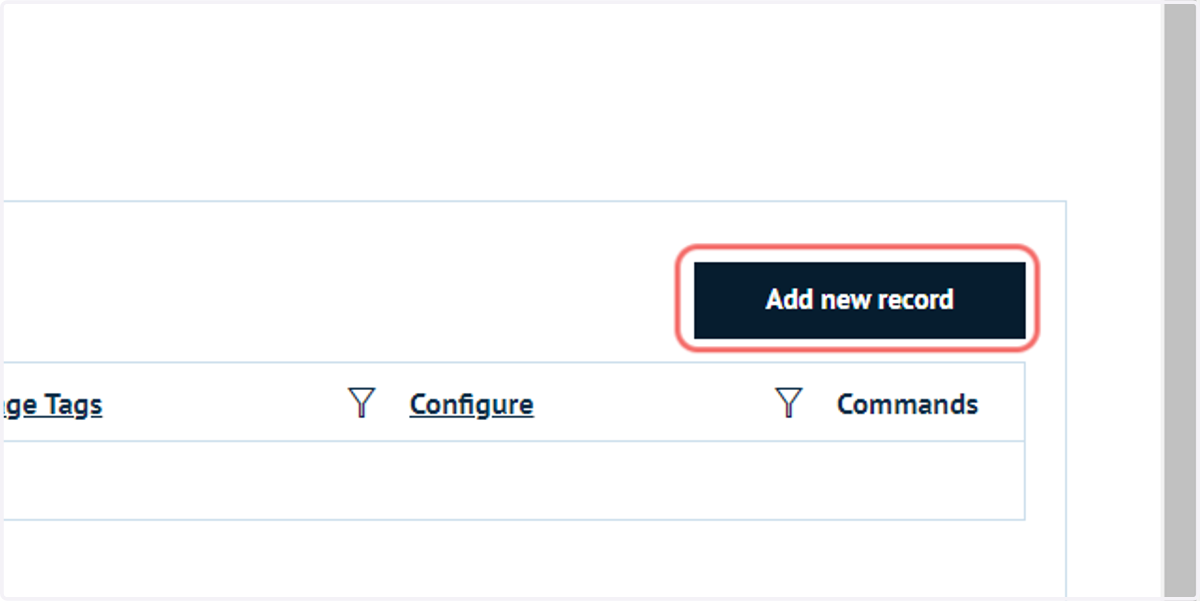
3. Click on Add new record
4. Type a Clipart Category name and description
Here, the administrator can also choose whether to make this clipart category only available to administrators, or to both administrators and customers.
"Show only for admins" would be used when pre-defined templates are being configured, for which customers will not need to alter any imagery.
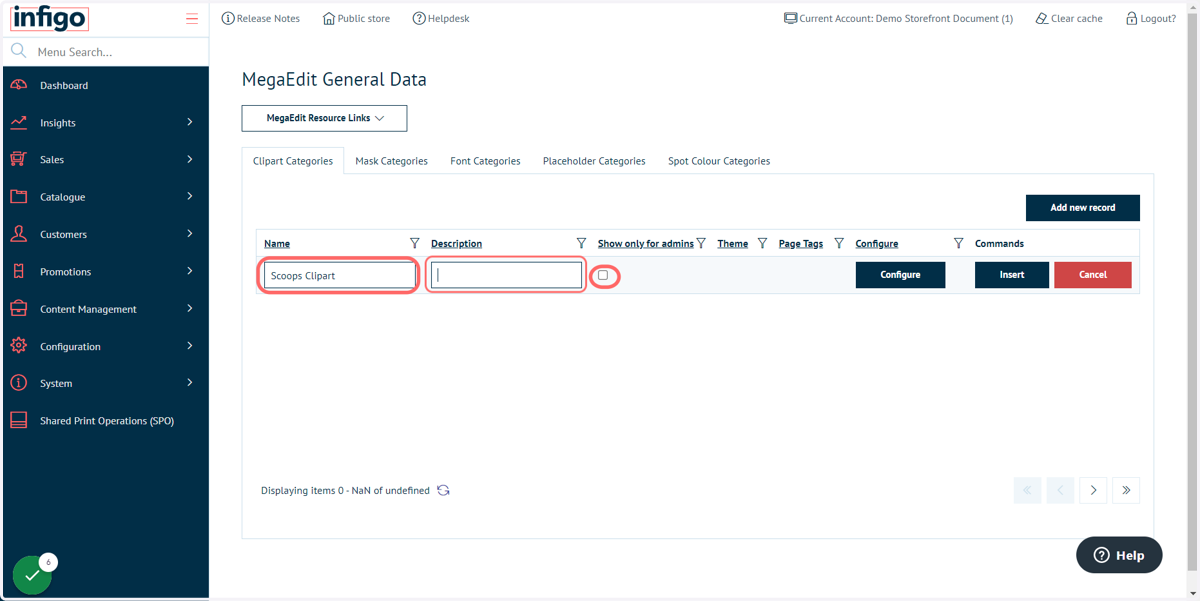
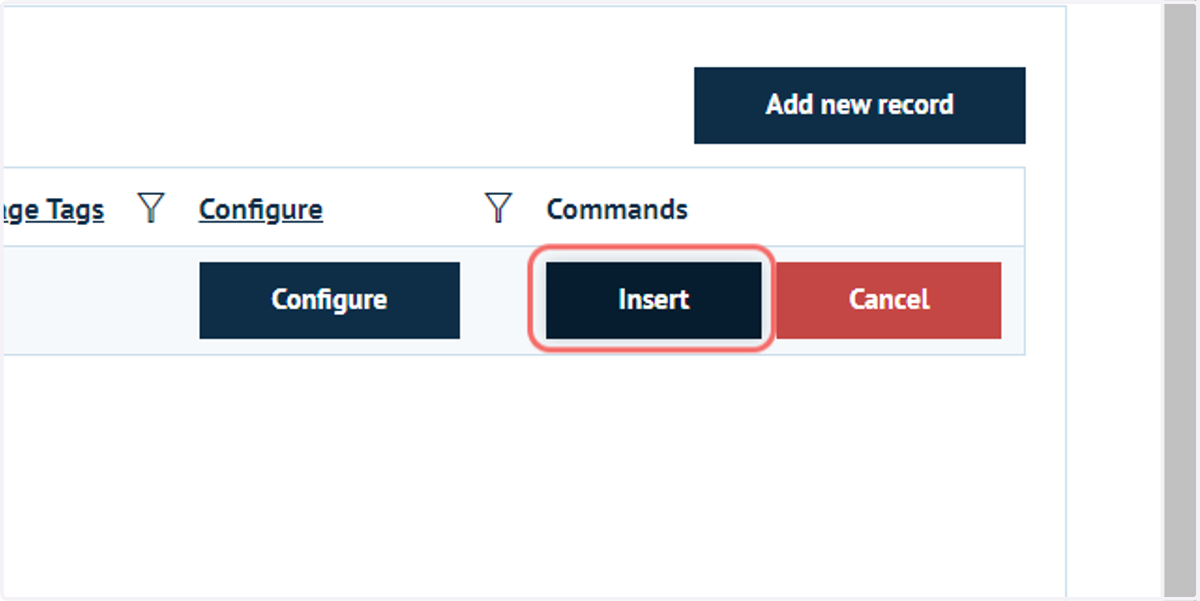
5. Click on Insert
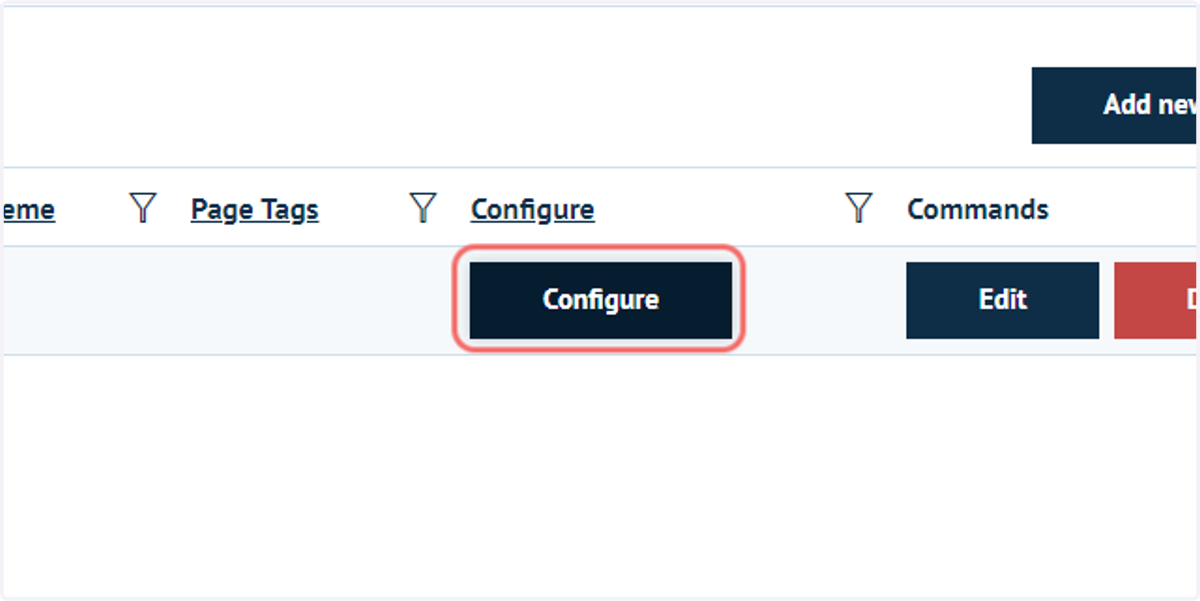
6. Click on Configure
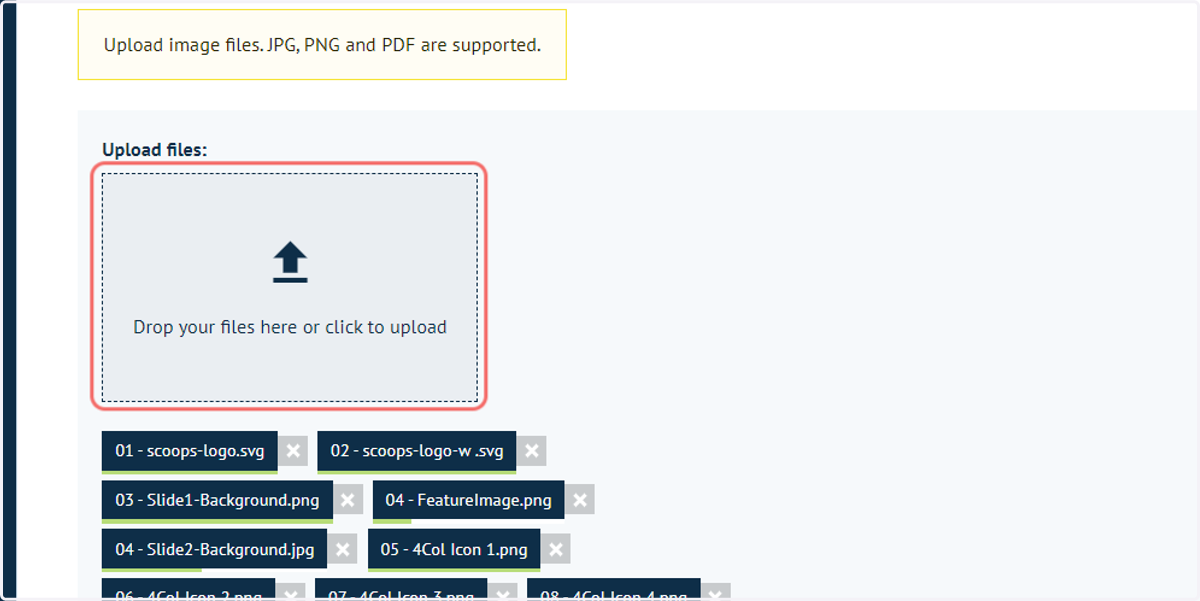
The Configure screen will allow you to upload clipart to that category.
7. Only JPG, PNG and PDF files are supported in this upload area.
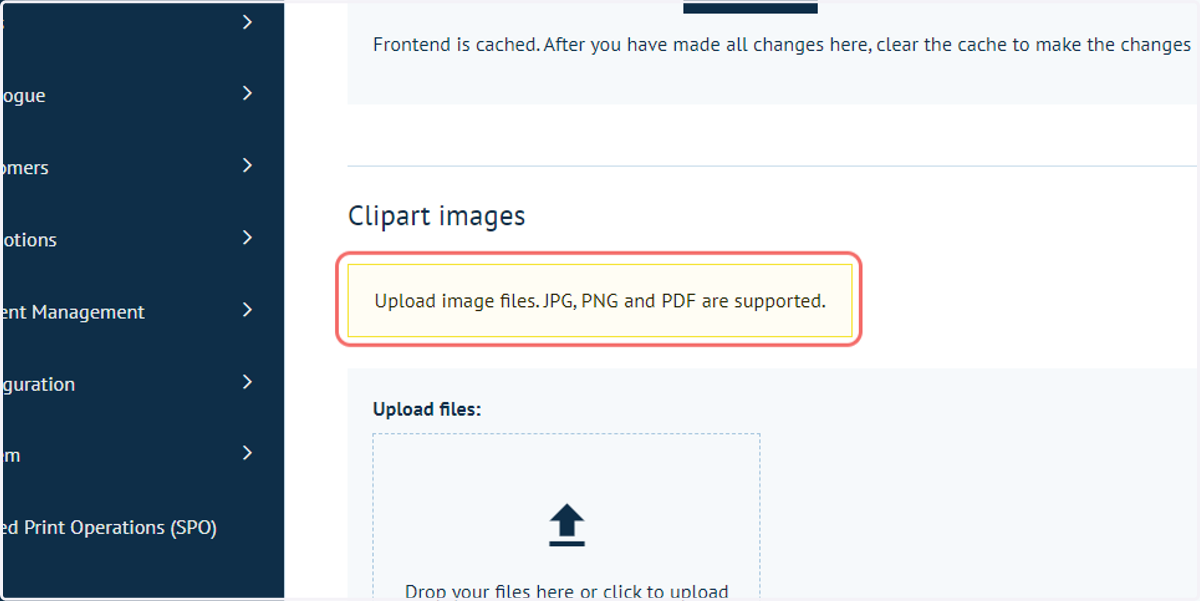
8. Click the upload box and select your required images
You can multi-select images in the file explorer. Images do not have to be uploaded one by one.
Upload progress will be displayed next to the individual file names being uploaded.
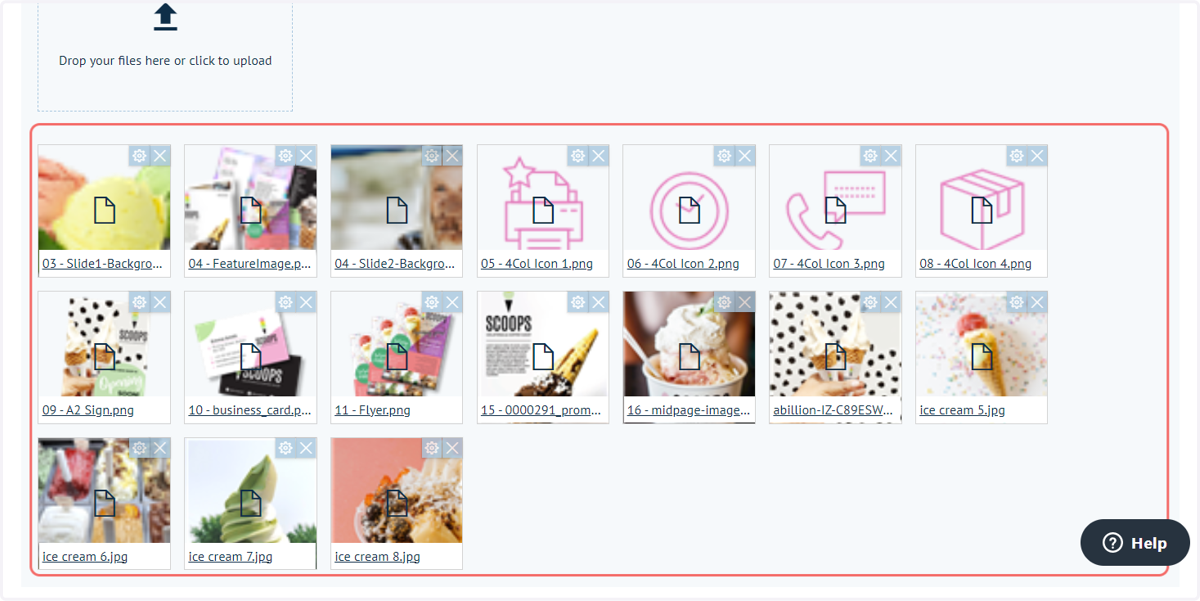
9. Successful uploads will display an image thumbnail
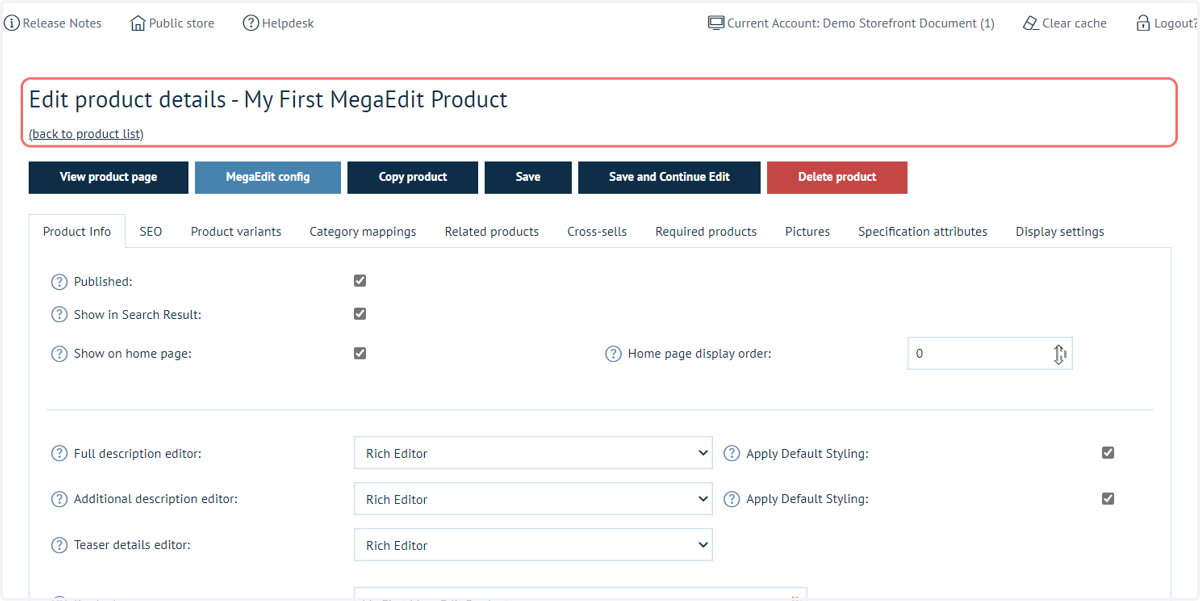
10. Navigate to a MegaEdit product in the catalogue
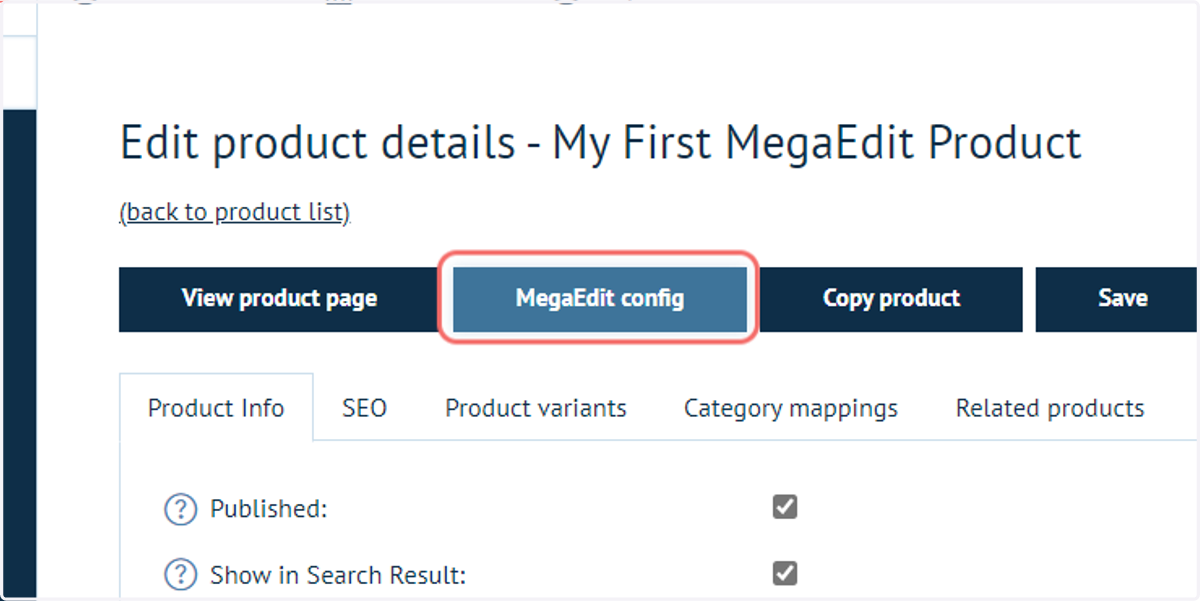
11. Click on MegaEdit config to configure MegaEdit related elements of this product
12. Click on Clipart
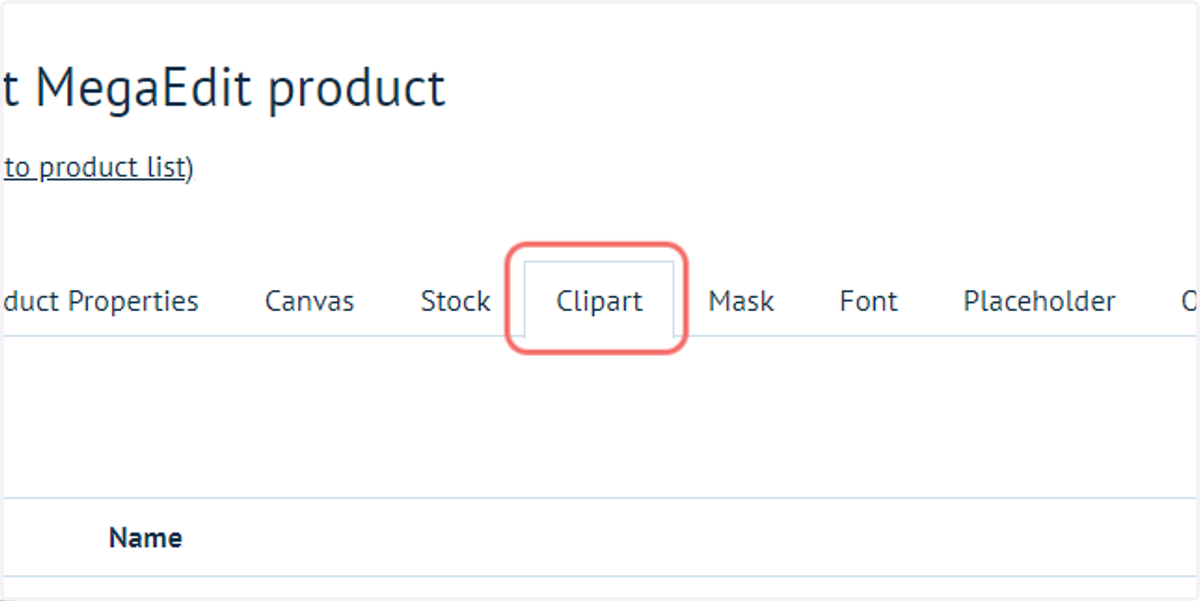
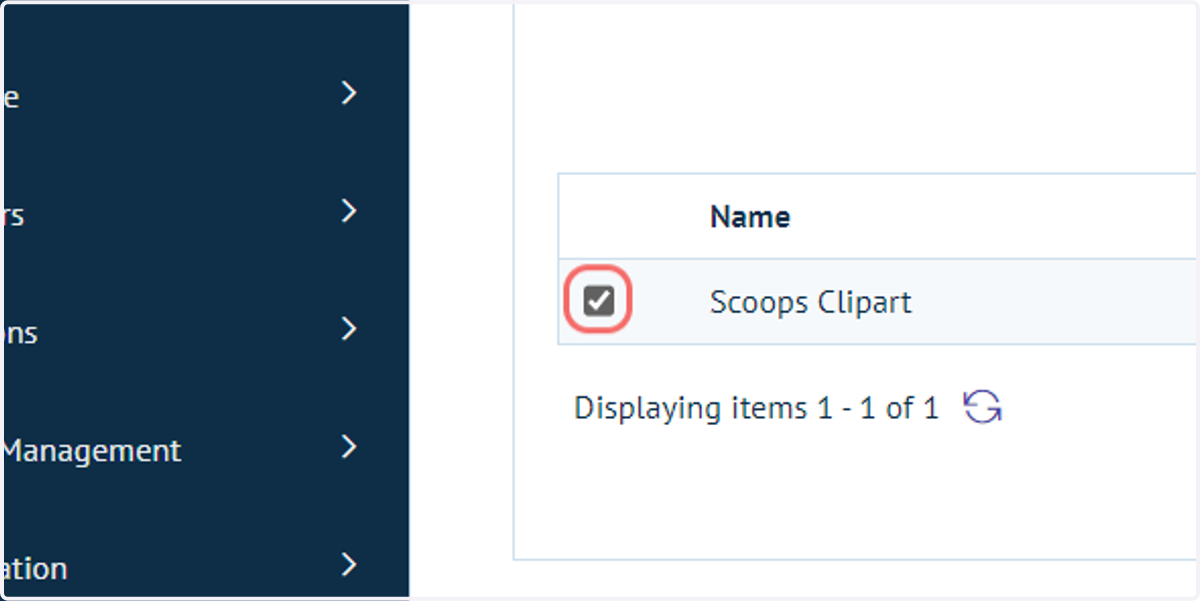
13. Select the clipart categories you wish to use with this product
14. Click on Save changes
15. Launch your MegaEdit editor from your product landing page on the storefront
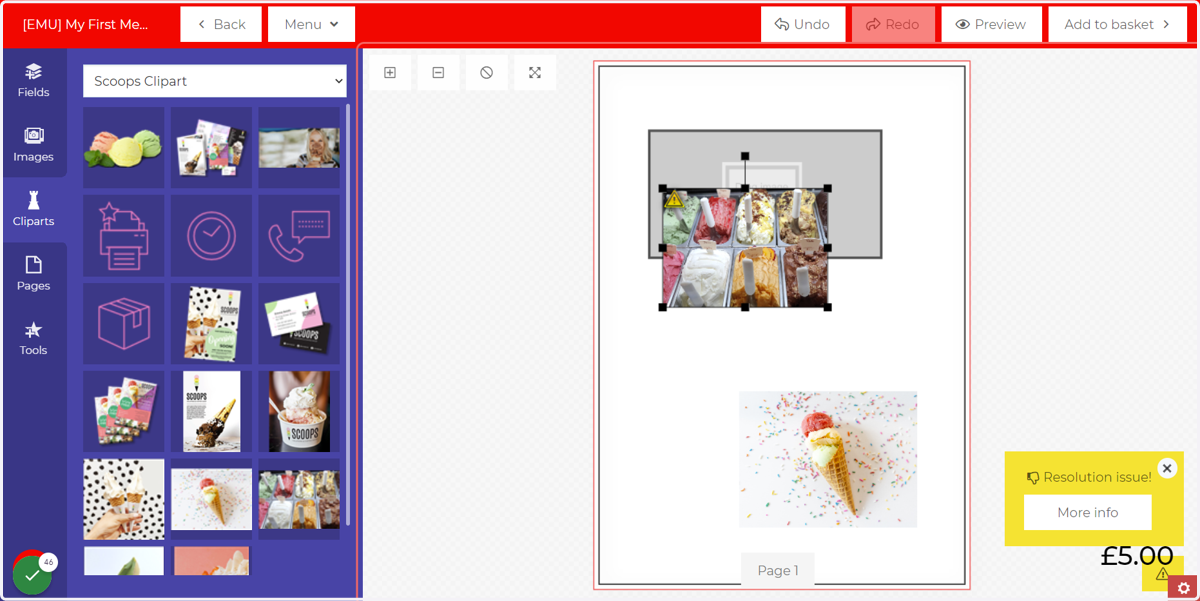
A new tab named Clipart will be displayed on the left. This will provide access to available categories.
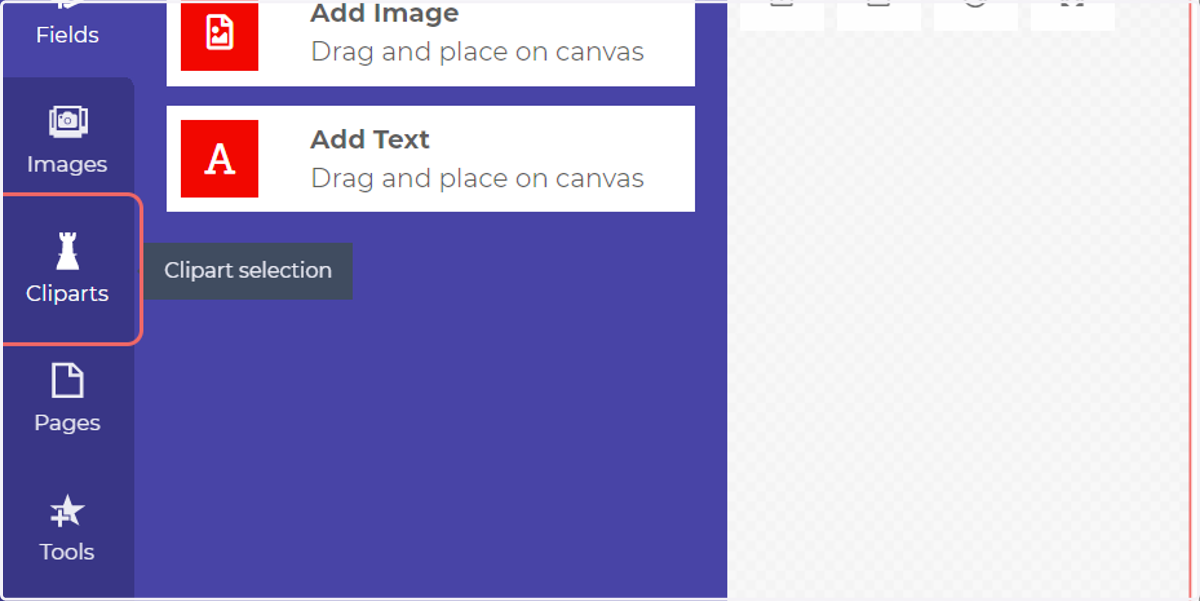
16. Add clipart to your canvas
Select a clipart category using the dropdown on the Cliparts tab, then simply drag and drop images on to your canvas.
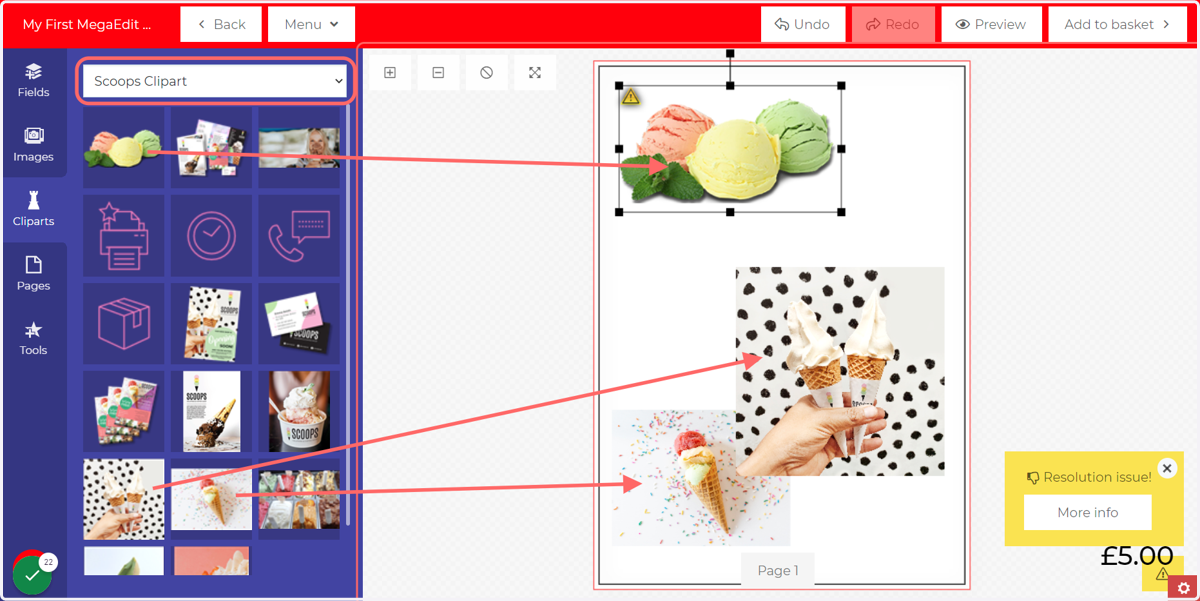
17. Check for issues
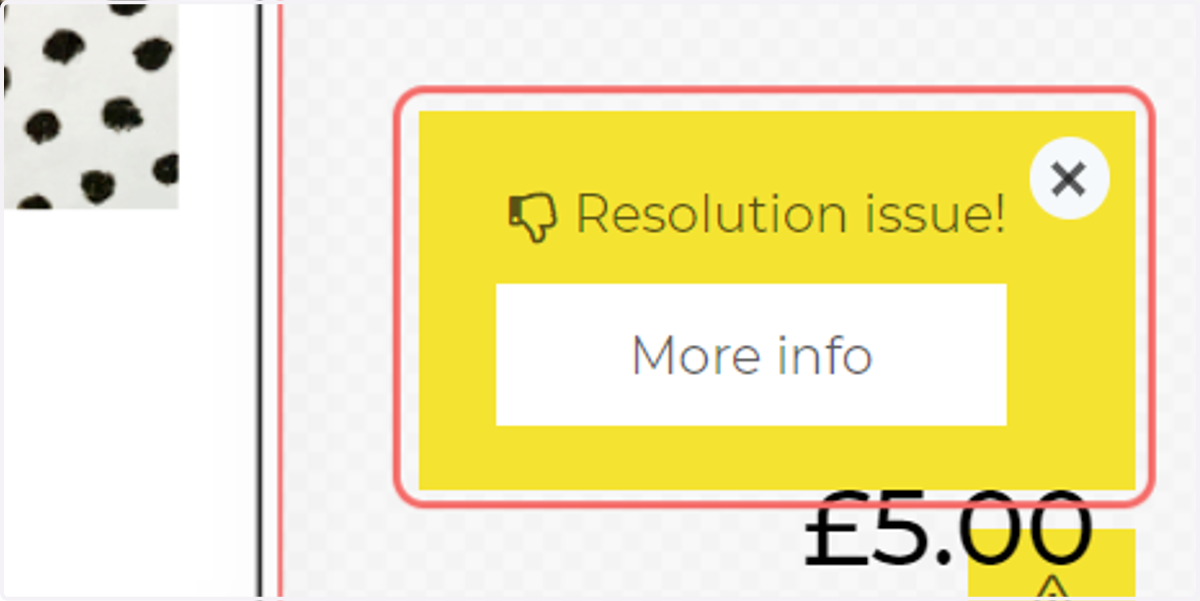
If a clipart has been scaled such that the image quality will be poor, a warning will appear informing you of resolution issues.
Clicking More info will provide further details and provide suggestions on how to resolve the issue.
18. Image Options tab
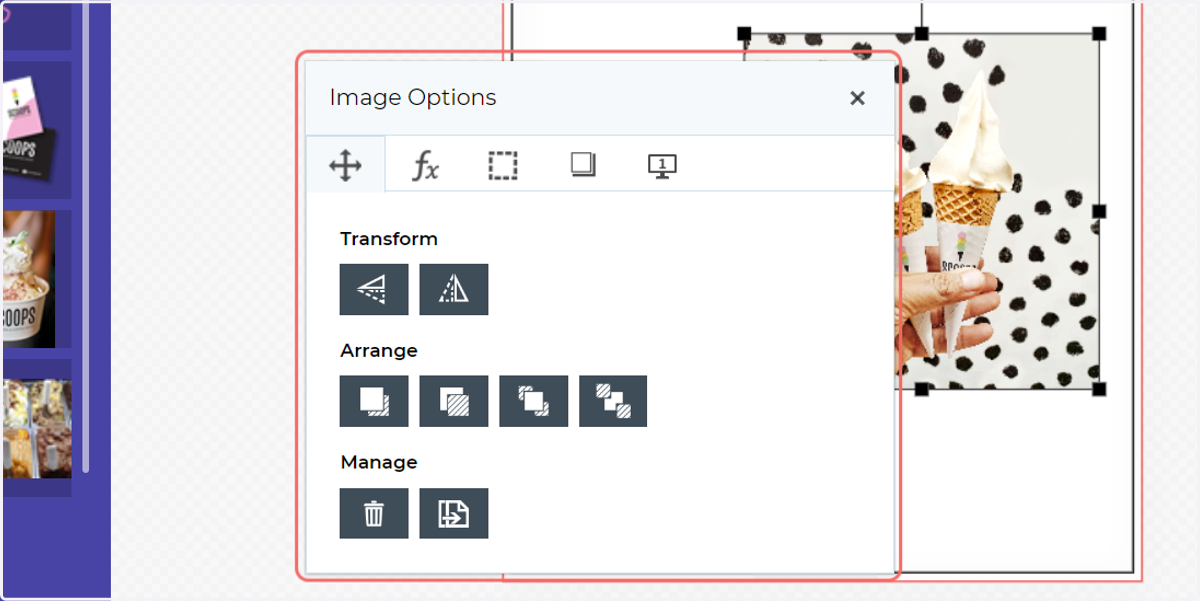
Double click on a clipart image to open the Image Options tab.
This tab contains many of the same options seen on the image frames.
The Image Options tab will allow you to customise your clipart. On this tab, you can:
Flip the clipart
Rearrange the order, moving the clipart forwards or backwards on the canvas
Delete the clipart
Duplicate the clipart
19. Effects Options tab
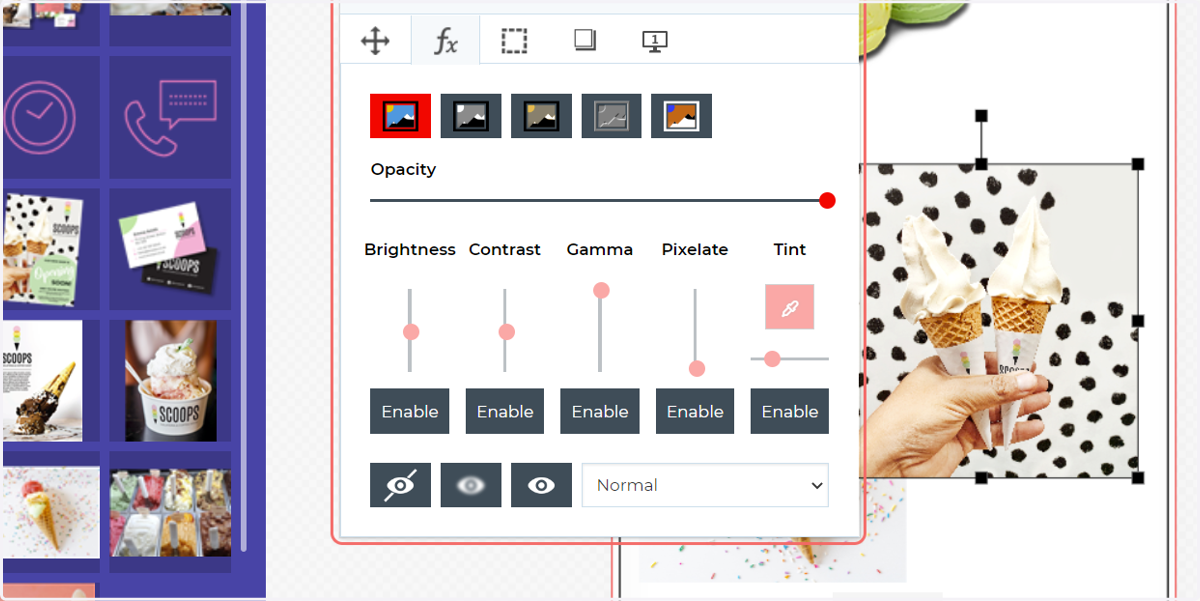
On this tab, you can:
Change the image effect (such as black and white or sepia)
Change the image opacity
Control image edit options such as brightness, contrast or tint
Apply sharpness or blur
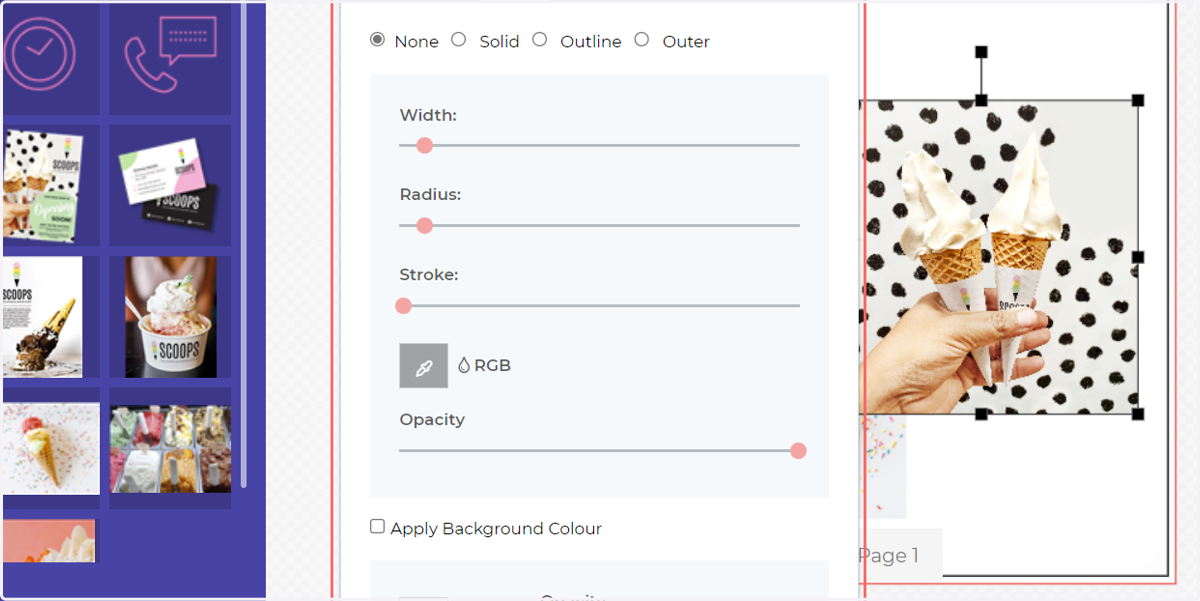
20. Border and Background Options tab
On this tab, you can:
Apply different border styles to your image
Control the design of the border, such as the colour or corner radius
Apply a background colour with opacity control
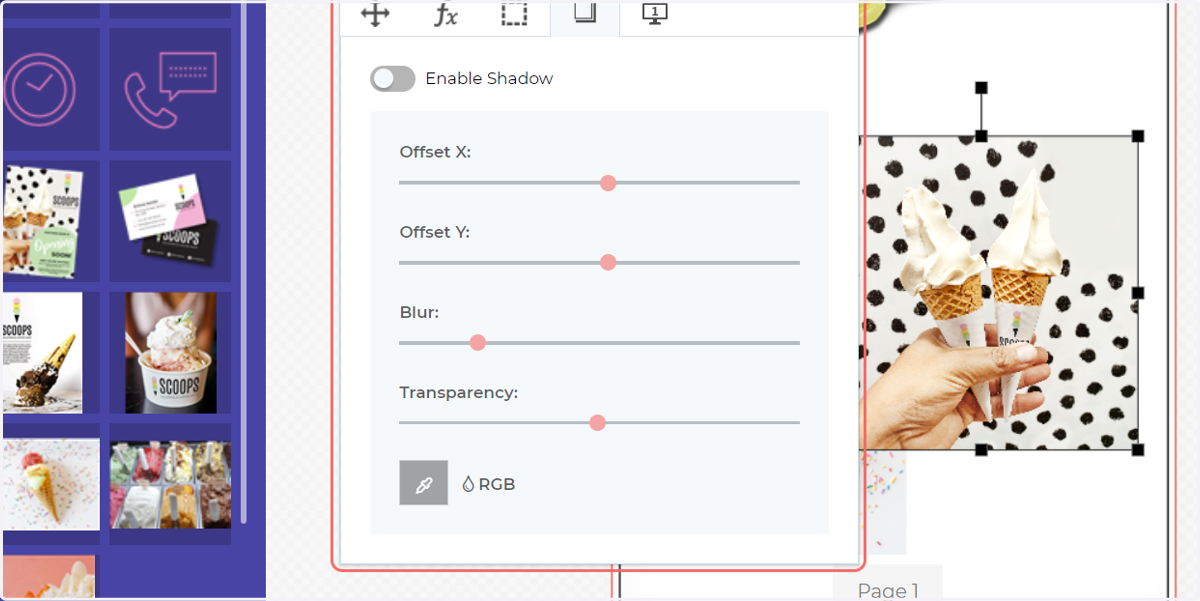
21. Shadow Options tab
On this tab, you can control:
Enable or disable a shadow on the chosen image
Control the position, blur and transparency of the shadow
Control the colour of the shadow
22. Details tab
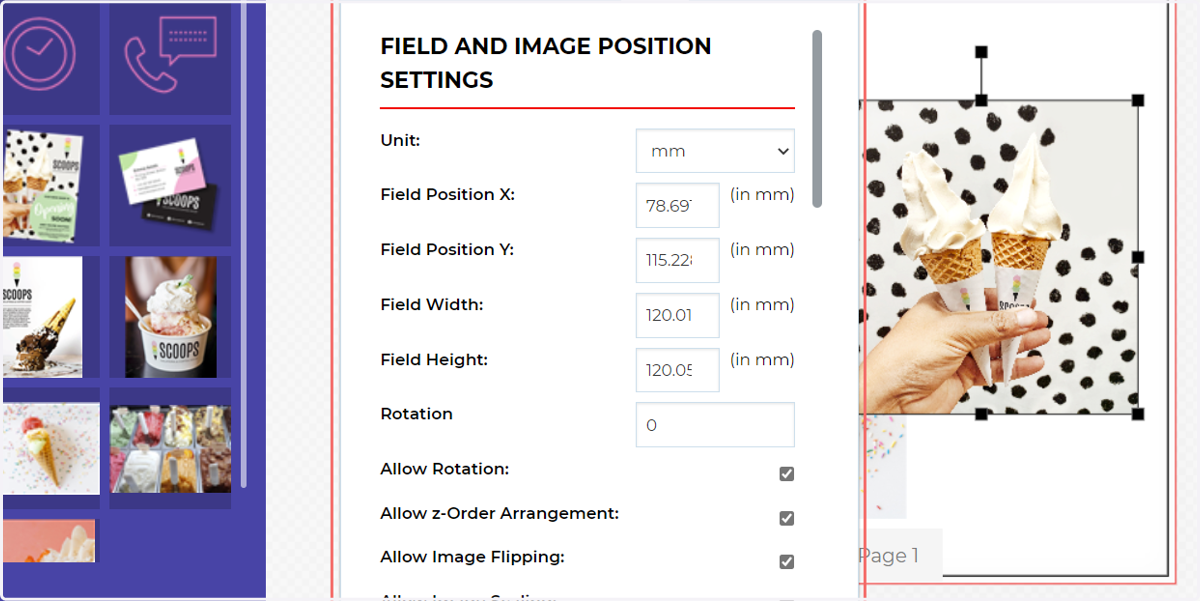
From an administrator and template designer perspective, the Details tab is the most critical. Within here, you can control the clipart customisation options that a customer is able to access.
There are many options in this tab, essentially enabling or disabling the individual customisation options discussed in the previous steps.
In addition, a few regularly used options are listed below:
Restrict movement direction to certain axes
Do Not Select - customers cannot select the image frame and therefore cannot access the Image options or transform it
Do Not Delete - Prevents the user from deleting the image frame
Do not open popup - The pop up with image settings will not be reachable
Help text - Provide helpful tips to a user
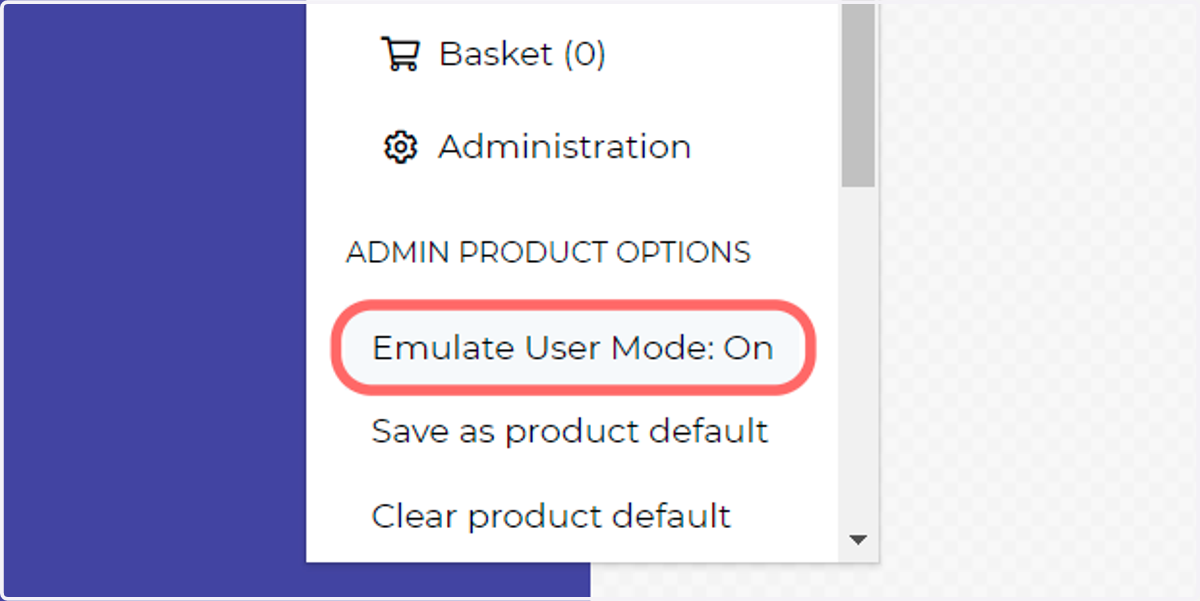
23. Click on Emulate User Mode
An administrator can interact with clipart as a customer would by navigating to Menu and selecting Emulate User Mode.
24. Customers adding additional clipart
If a clipart gallery is accessible to your customers and not set to admin only, they will be able to add additional images by dragging and dropping from the Cliparts tab.
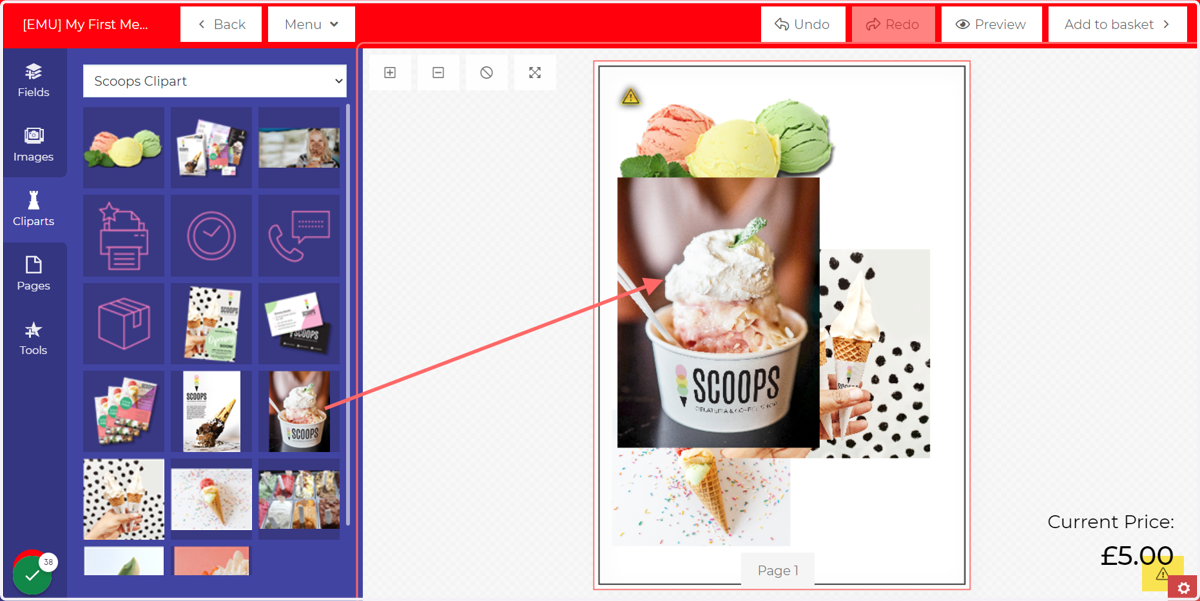
25. Clipart will not interact with image frames
Unlike images shown in the Images tab, Cliparts will not interact with image fields.