Fonts in MegaEdit
In this tutorial, we will learn how to upload additional fonts for use within our MegaEdit products.
MegaEdit Products require fonts to be installed locally on the server. You need:
A print ready font file: This needs to be a TrueType font file (*.ttf). Certain Type1 and Type3 are also supported. The font needs to be embeddable.
One or more web ready font files
Recommended is at least a TrueType or OpenType file (*.ttf or *.otf), which is supported by most browsers (IE requires installable flag to be set)
For best compatibility, upload fonts in the following format: .woff, .ttf, .otf, .svg, *.eot. For an overview look at CanIUse.com for the various formats.
NOTE: even though the print ready TrueType font can be used for the web as well, it is not recommended. Instead, use a special version generated for the web.
Please use the Font Squirrel tool. This allows to upload your original font and it will convert it to various web optimized formats. Use this even for TrueType or OpenType fonts.
As an alternativ, the font creator may be able to provide you with web optimized versions of the font.
The license for this font to use it in printing. And, to perform the web preview, you need a @font-face license. By uploading font files on this page you agree that the fonts are legally eligible for web embedding and printing.
Infigosoftware
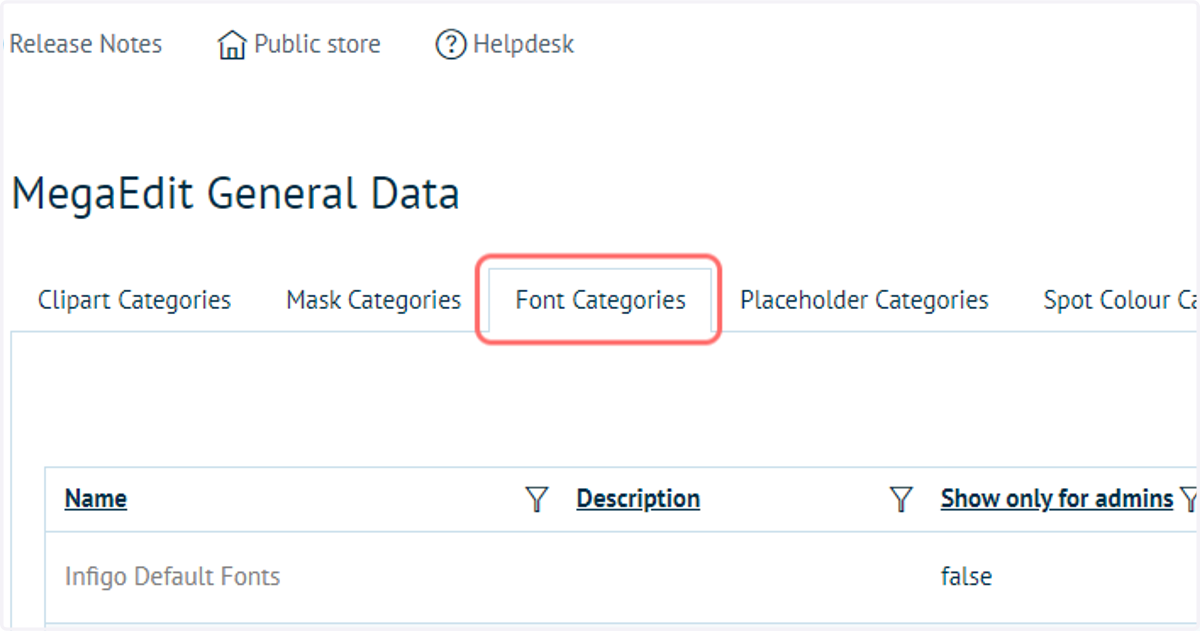
1. From the MegaEdit General Data area, click on Font Categories
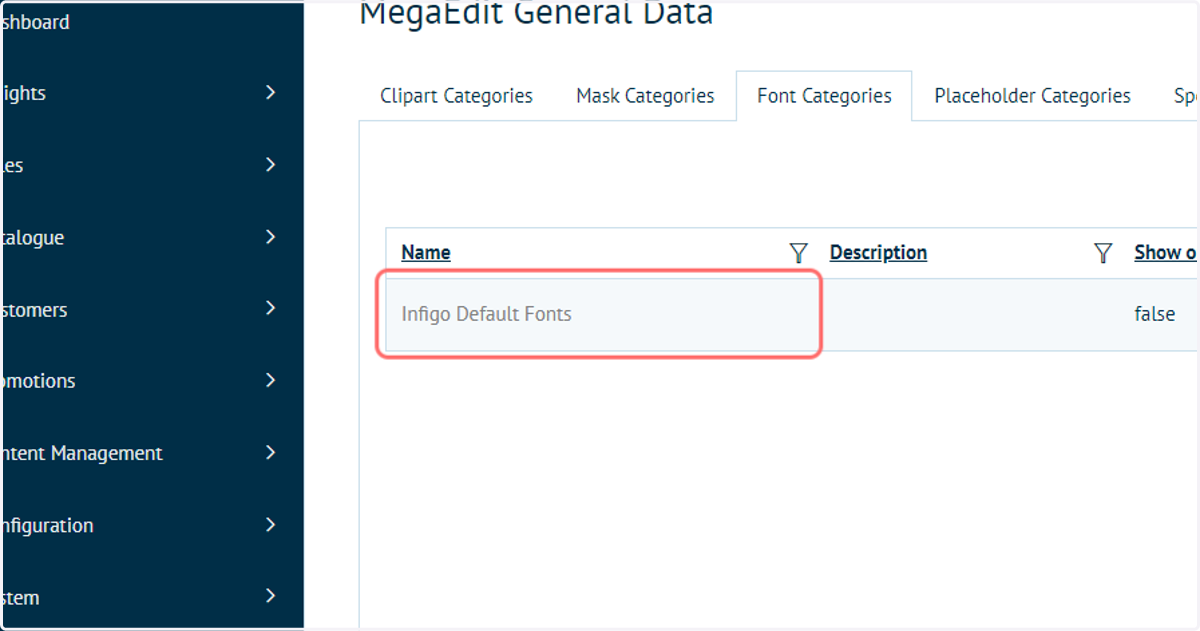
2. Infigo Default Fonts
Infigo provide a set of 12 default fonts with an open production license. You are able to use these straight out of the box.
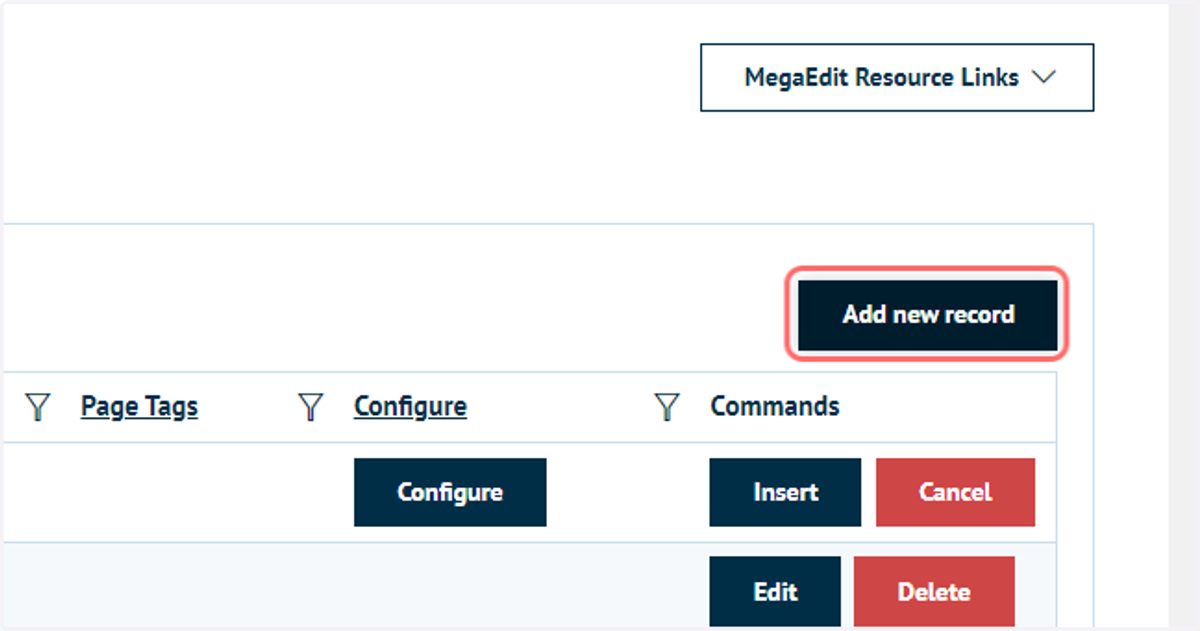
3. Click on Add new record
This starts the process of uploading additional fonts for use within MegaEdit.
4. Type a name for the font category
Depending on how these fonts are to be used, you may decide to name the font category after the specific product it will be used upon.
Alternatively, for a font which may be used on multiple products, it is recommended to create a font category per font family.
In this example, we will create a Roboto category for that entire font family.
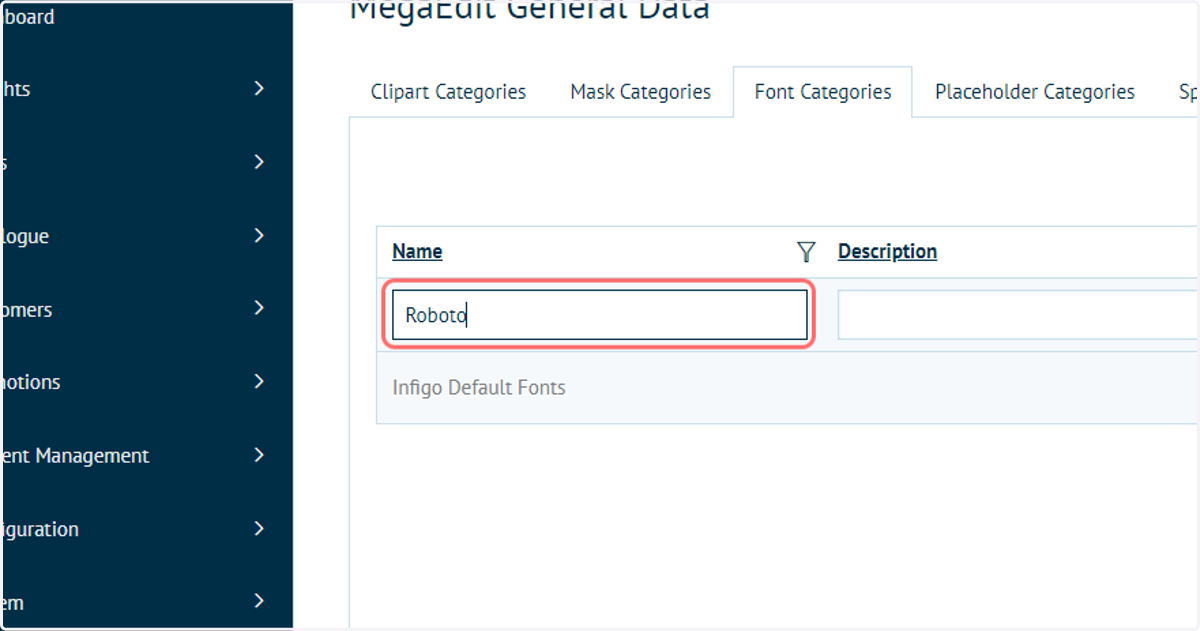
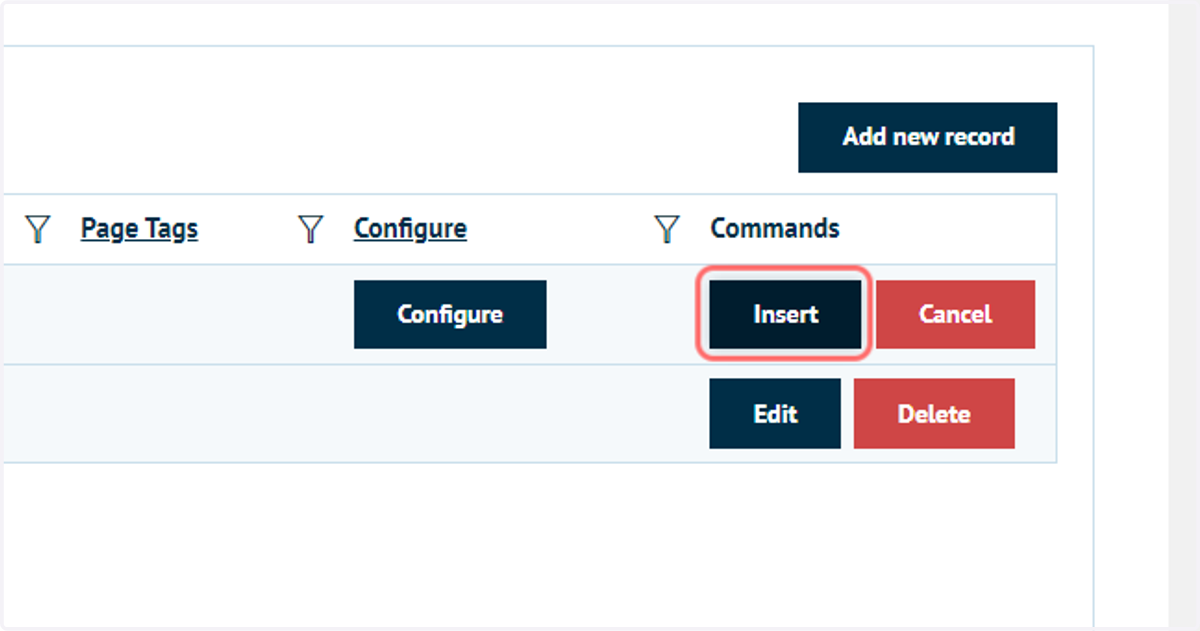
5. Click on Insert
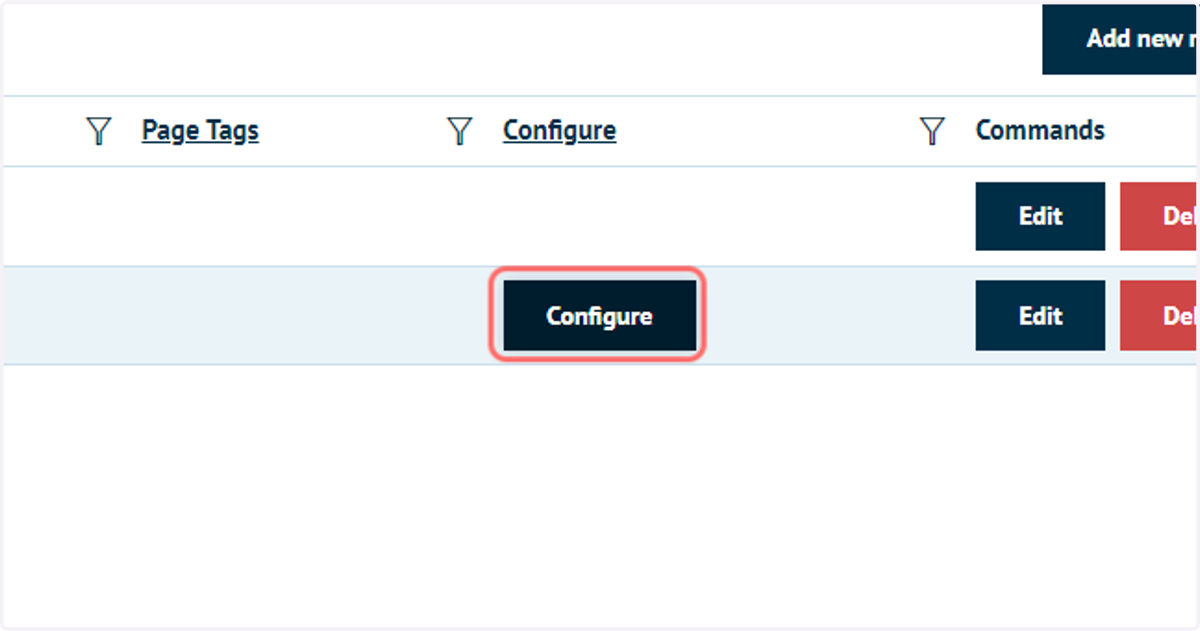
6. Click on Configure
Infigosoftware
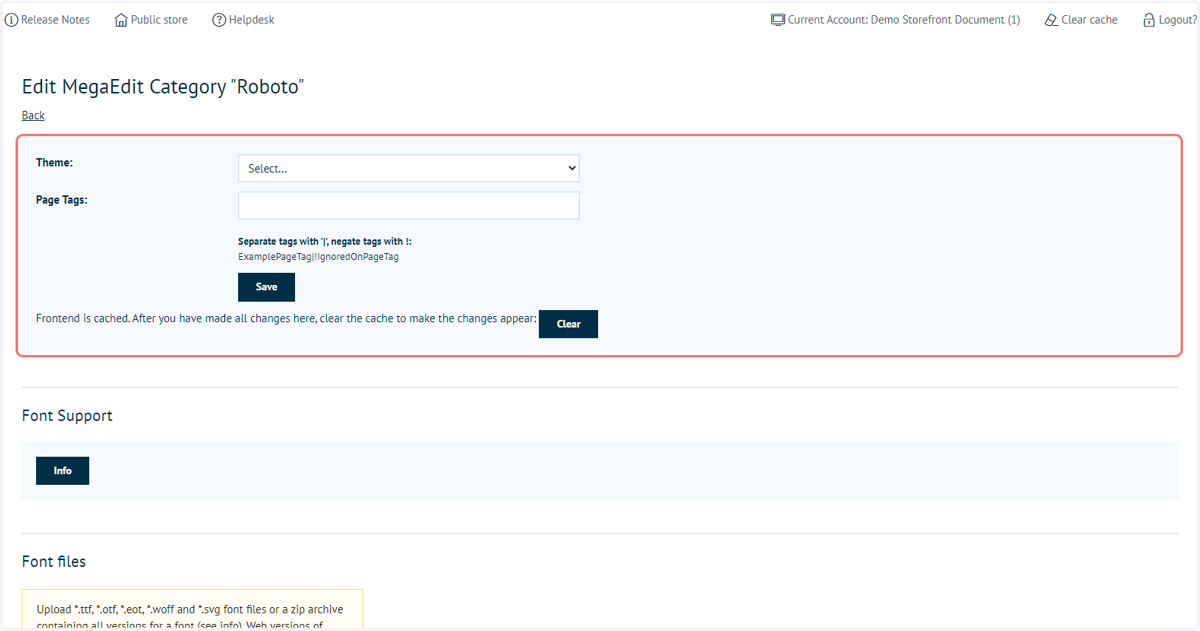
7. Page tags for fonts
Currently, page tags are not supported for font categories, so these options should be ignored.
8. Click on Info
Additional information on font uploads can be found by clicking the Info button.
Two options are available for font installation; manual and automatic.
How to install: Manual
The controller is selecting fonts by using a naming convention. You simply need to upload the fonts on this page and use a specific naming pattern. The following rules apply:
The name of the print ready font file determines the font name used in the system. The name must not start with "web_" or "baseFont_". Also, please note the rules for bold and italic versions outlined below.
The name of the corresponding web fonts follow this format: "web_{print ready name}.{extension}".
Example for "Aldo_Open-WebFont":
Aldo_Open-WebFont.ttf (Print version)
web_Aldo_Open-WebFont.eot (Web preview version)
web_Aldo_Open-WebFont.svg(Web preview version)
web_Aldo_Open-WebFont.woff(Web preview version)
web_Aldo_Open-WebFont.ttf(Web preview version)
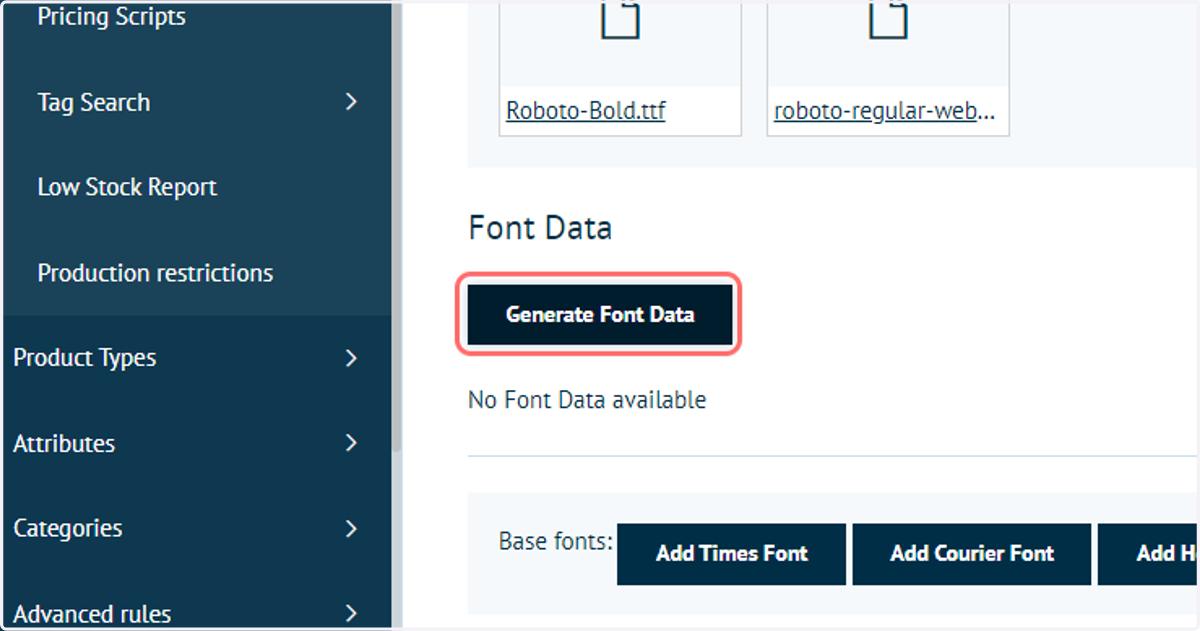
Once you have uploaded all fonts, you can generate the font configuration via the "Generate Font Data"-button. You can then review the fonts and the found web versions. The modified configuration will be used until the next time the "Generate Font Data"-button is pressed, not when the actual fonts are changing.
Every time this button is pressed the old configuration will be overwritten.
The font family name of the font may contain only alpha nummeric characters, hypens and underscores. An underscore is automatically replaced with a space on the drop down for the user to increase readability.How to install: Automatic
There is a simpler approach, if you want to use the TrueType file generated by Font Squirrel. The following steps are required:
Go to Font Squirrel, upload your font and select the optimized package. A ZIP-file will be created for download.
Note: Do always upload exactly one font and generate the zip archive. Font Squirrel does support multiple fonts in one package, but those files will not be used correctly.
Upload this ZIP file here, the archive will be extracted and the fonts will be named automatically. You can always overwrite individual fonts by simply uploading a new file with the proper name as described in the manual process.
In order to generate the configuration, use the "Generate Font Data"-button as it is described above.
Built in Fonts
There are 3 fonts available which are built in and are supported by most web browsers, so no additional files are required. Those are:
Times
Courier
Helvetica
In order to use those fonts, a dummy font file can be added through the three buttons below. Simply deleting the dummy files will remove the base fonts from the selection. The base fonts always support bold and italic variantions.
Bold and Italic
In the Acrobat font world, the font faces for bold and italic versions are separate font files. In order to support those variations, you have to upload the font multiple times. In order to tell the system the usage type of that specific font, we will use again a naming convention. We will use the following prefixes:
Bold: b_
Italic: i_
Bold and Italic: bi_
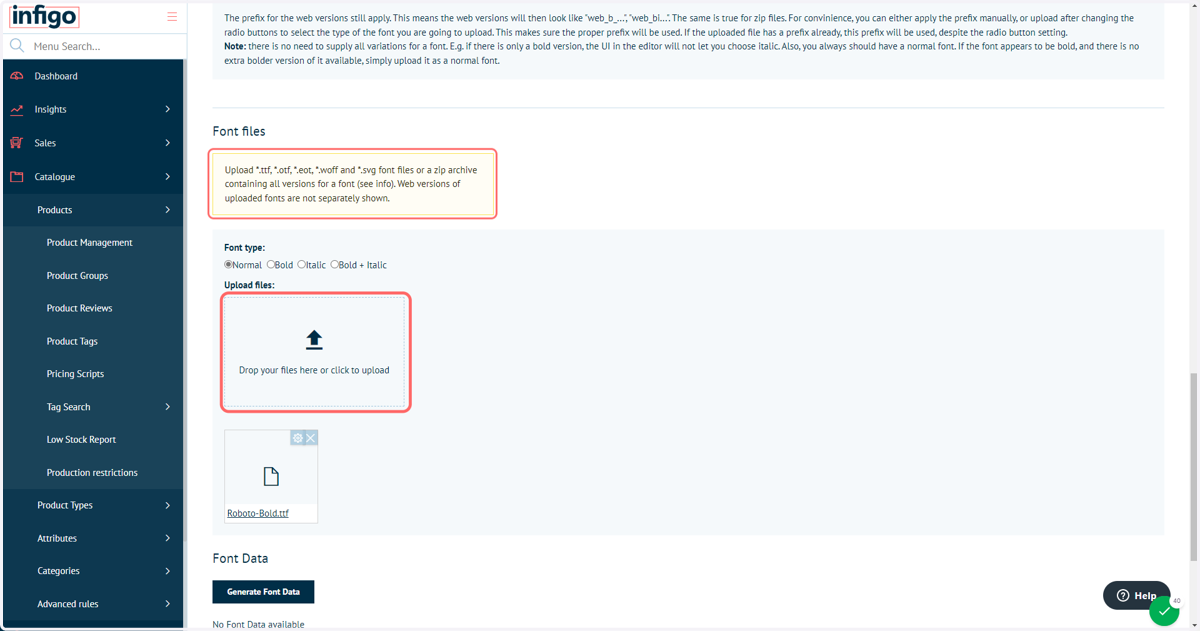
The prefix for the web versions still apply. This means the web versions will then look like "web_b_...", "web_bi...". The same is true for zip files. For convinience, you can either apply the prefix manually, or upload after changing the radio buttons to select the type of the font you are going to upload. This makes sure the proper prefix will be used. If the uploaded file has a prefix already, this prefix will be used, despite the radio button setting.
Note:there is no need to supply all variations for a font. E.g. if there is only a bold version, the UI in the editor will not let you choose italic. Also, you always should have a normal font. If the font appears to be bold, and there is no extra bolder version of it available, simply upload it as a normal font.
9. Navigate to a webfont generator website, such as Font Squirrel
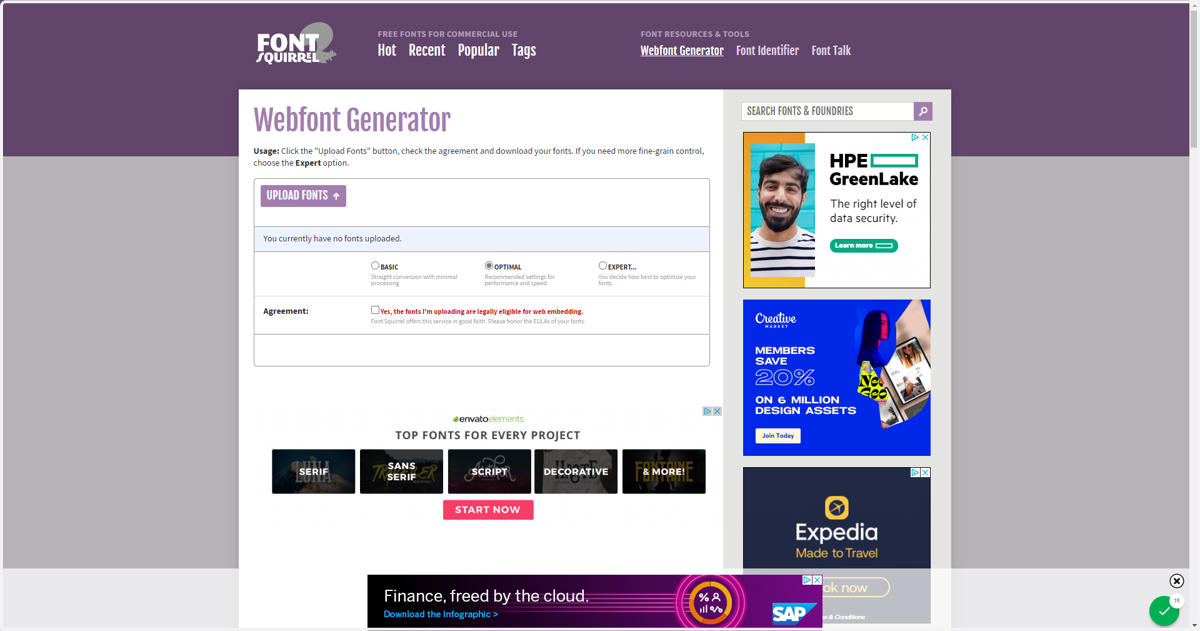
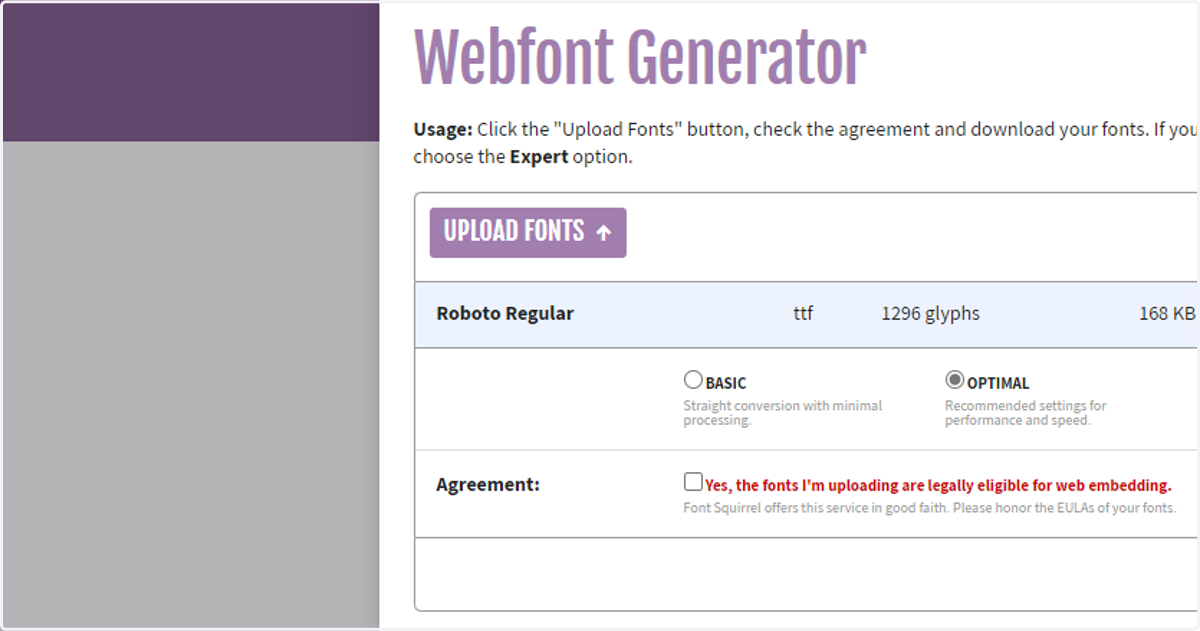
10. Click on Upload Fonts and select a valid font file
Each font needs to be uploaded individually, there is no mass upload function available on Font Squirrel.
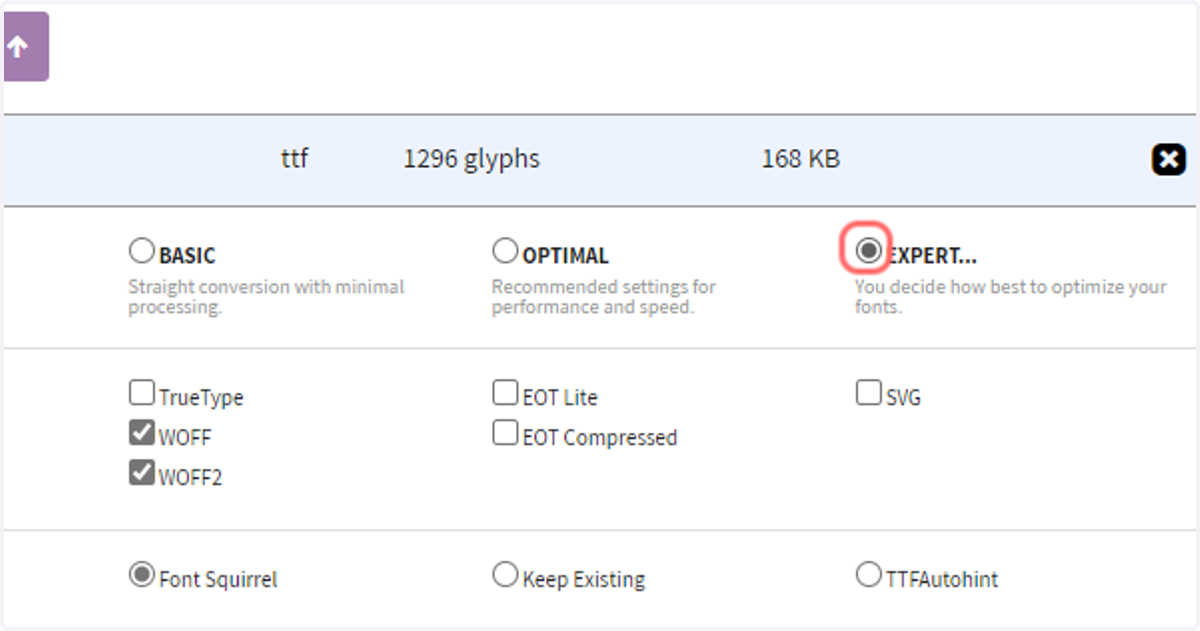
11. Select "expert"
Basic, optimal and expert primarily control the number of webfonts generated from your font file.
Infigosoftware
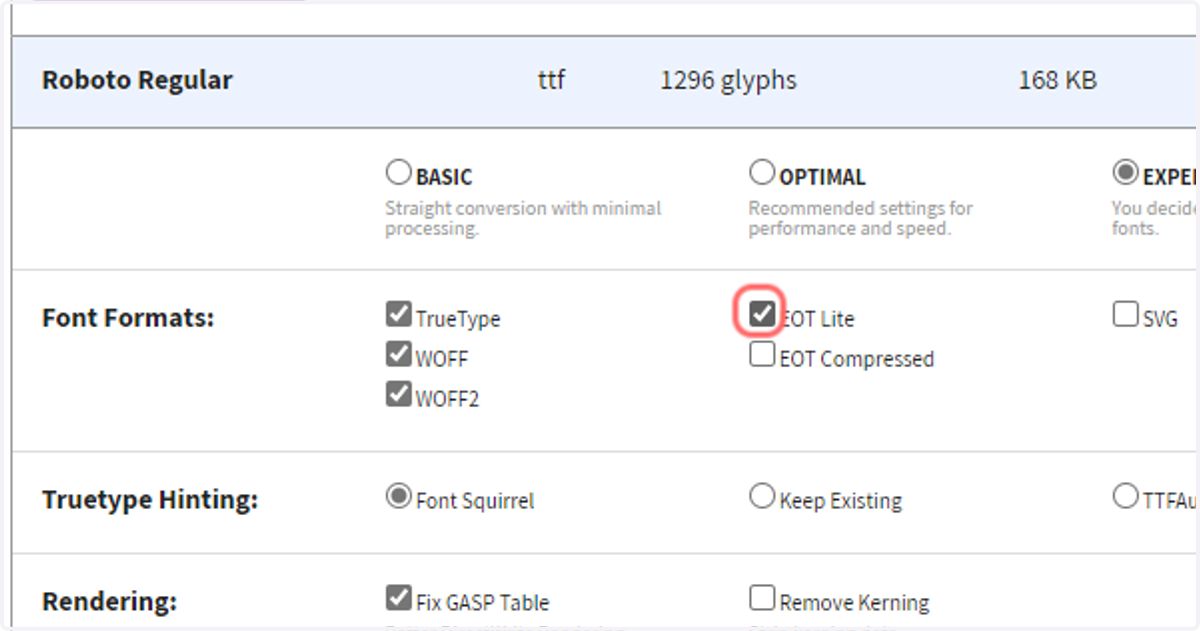
12. Select the font formats you wish to generate
Only one EOT can be selected, with either being suitable for our purposes
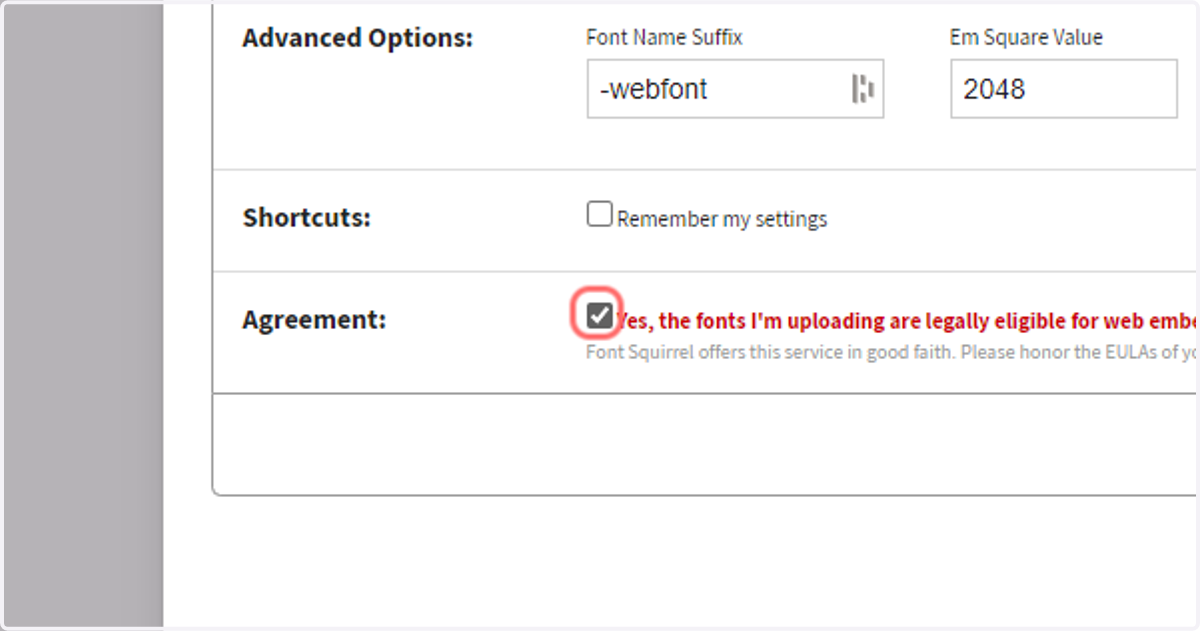
13. Check Yes, the fonts I'm uploading are legally eligible for web embedding.
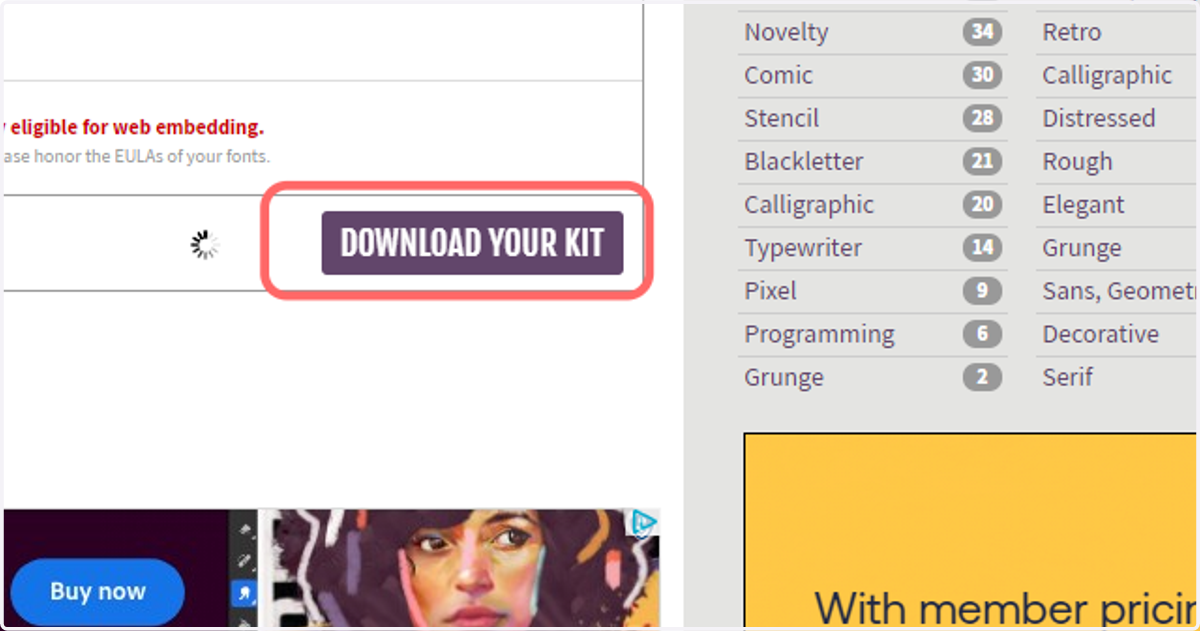
14. Click on DOWNLOAD YOUR KIT
This will download as a zip file after some processing time.
15. Navigate to Transfonter and click Add fonts
Transfonter is another option for generating webfont kits
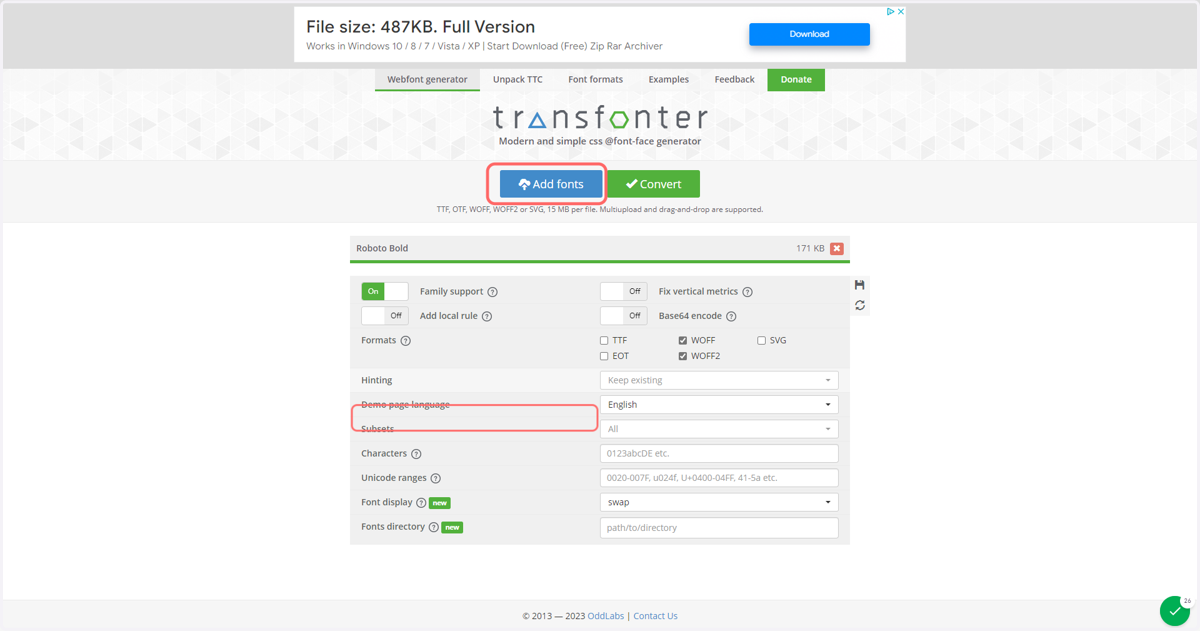
16. Select your desired font formats
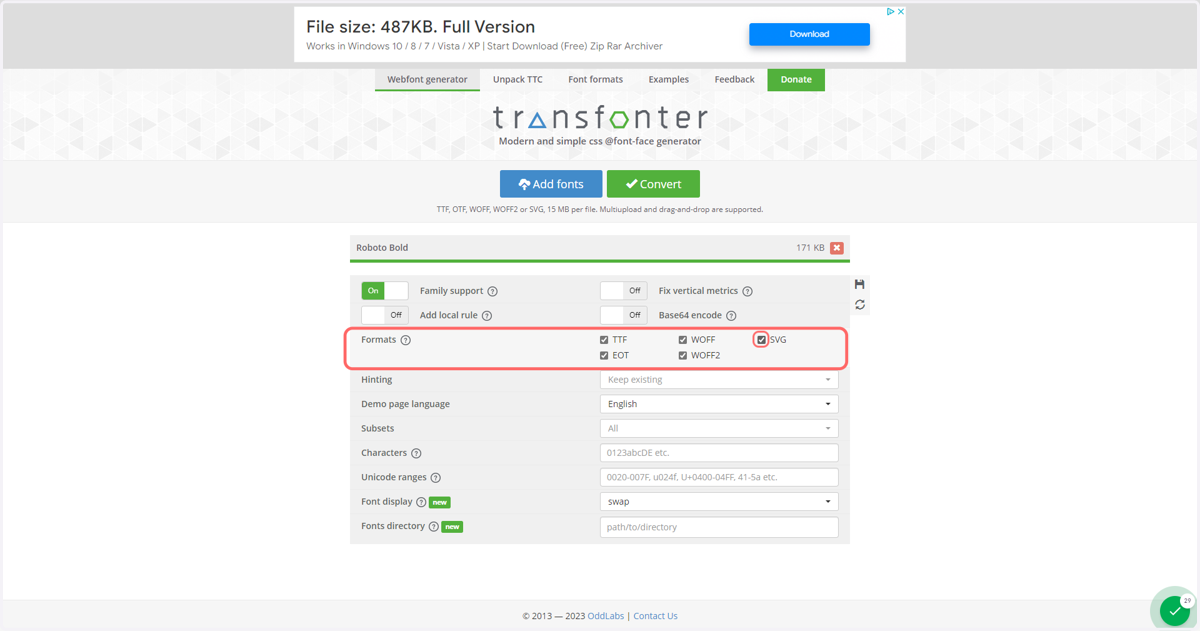
Fontsquirrel
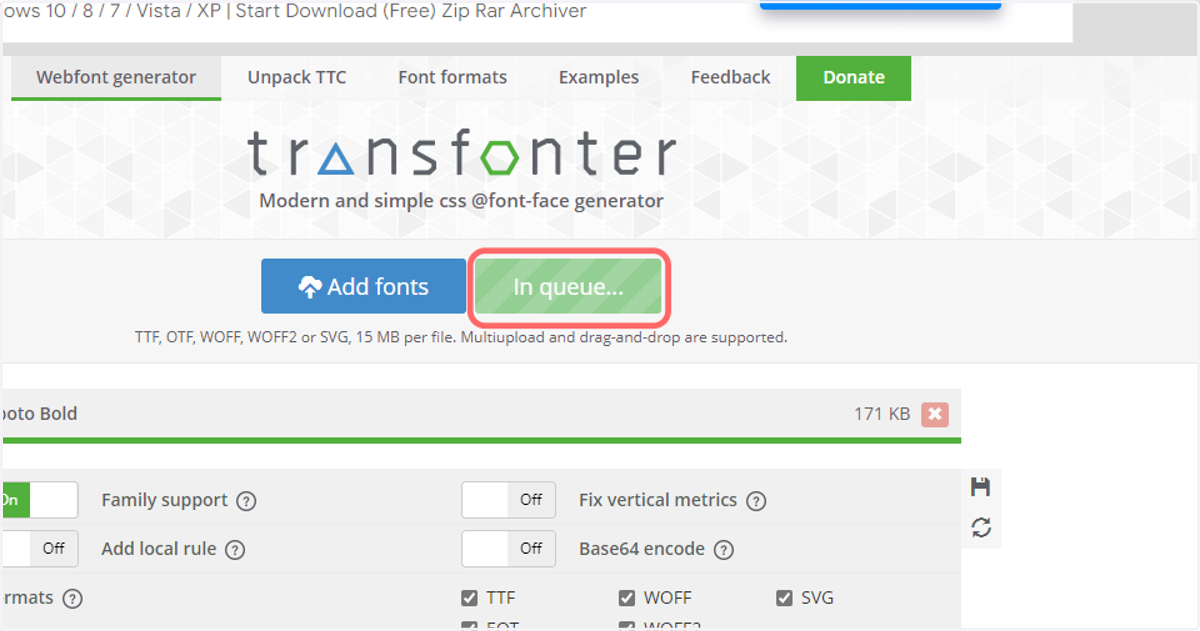
17. Click on Convert
Your webfont will now be processed
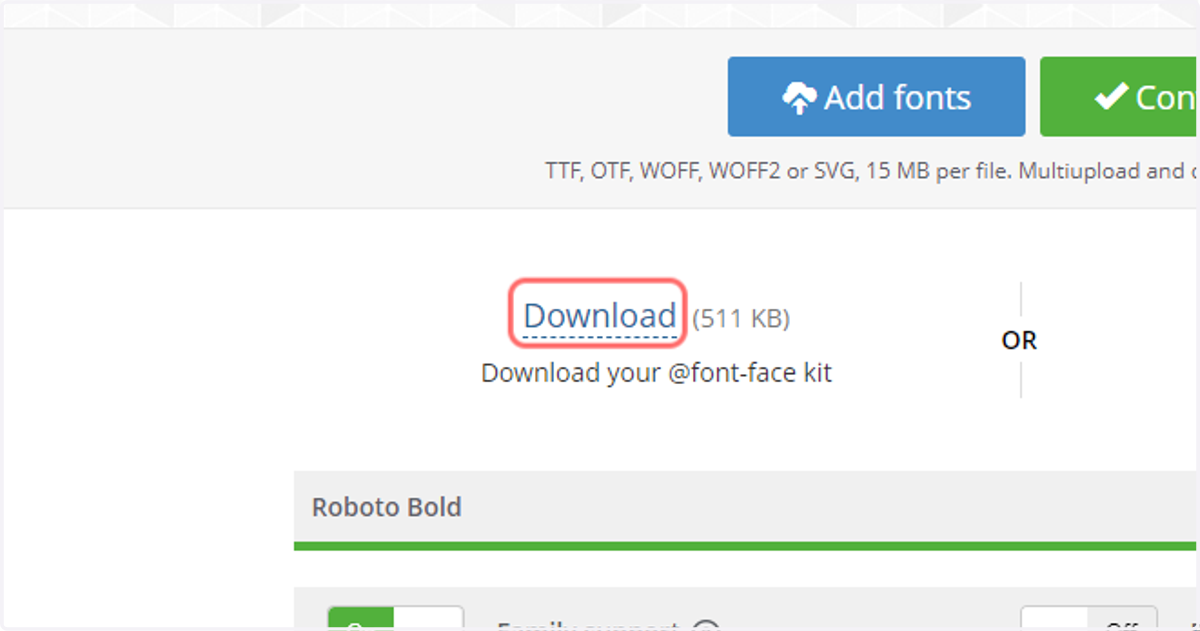
18. Click on Download
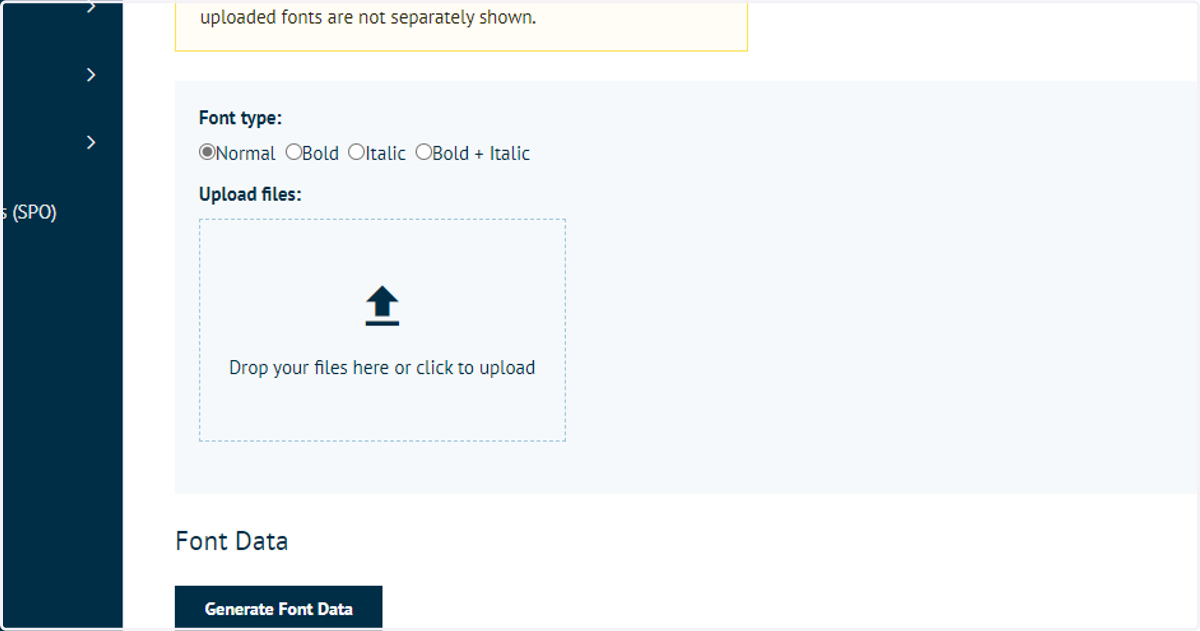
19. Return to the Infigo font category specification page and select a font type to upload
Before uploading a webfont kit to Infigo, select the font type to be used.
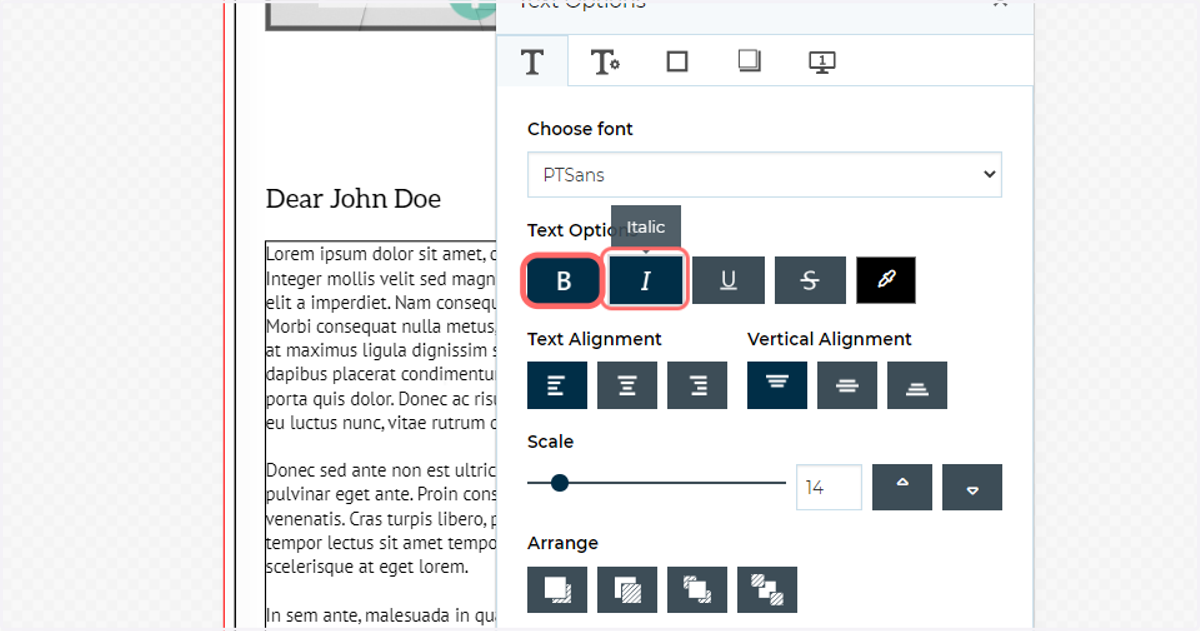
The options of Normal, Bold, Italic, Bold + Italic relate to the bold and italic buttons in the MegaEdit UI editor.
We do not have to assign fonts to a specific font type. We can add all fonts as a Normal type and they will simply appear within the list of available fonts. However if you do this, the bold and italics buttons in the UI will be disabled.
Our first example will focus on this methodology, where we will simply create a list of available fonts.
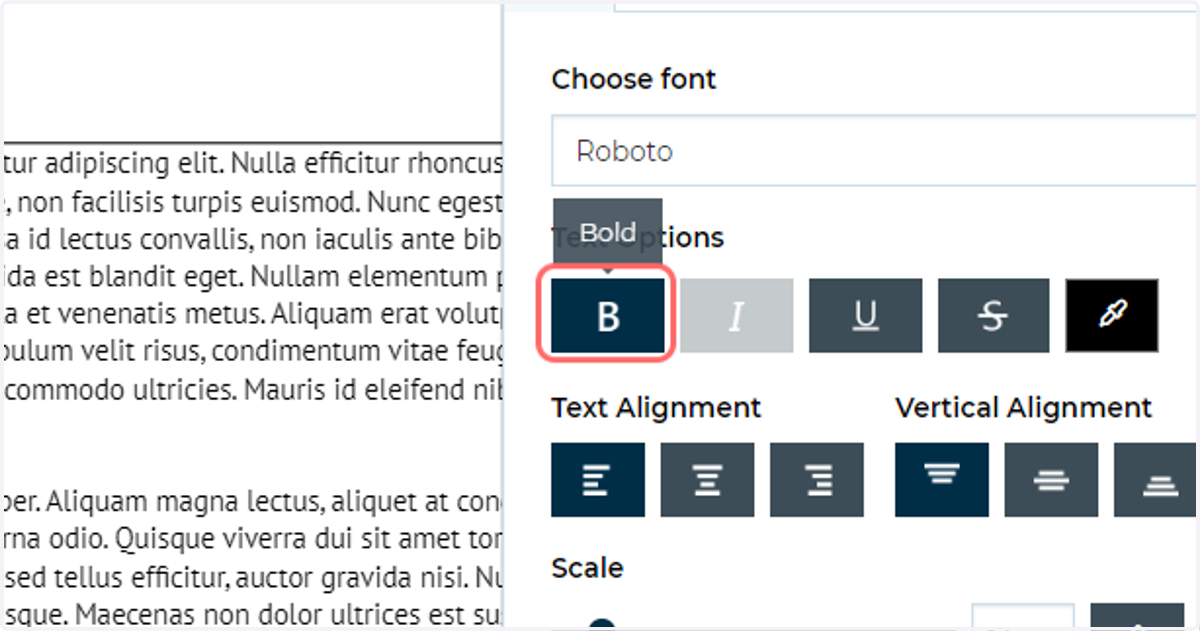
20. Bold and italics buttons within the MegaEdit editor UI
21. Upload your webfont zip files to the upload area
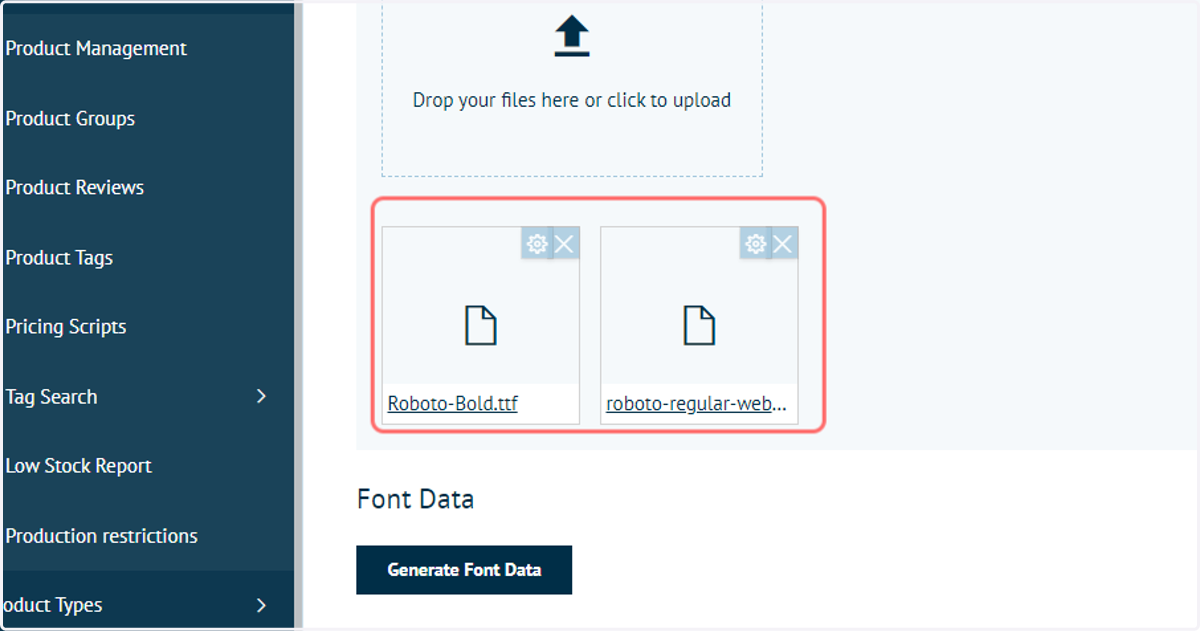
22. Uploaded webfonts will be displayed
23. To generate the relevant data to use these fonts, click on Generate Font Data
24. Click Edit to review and amend font data
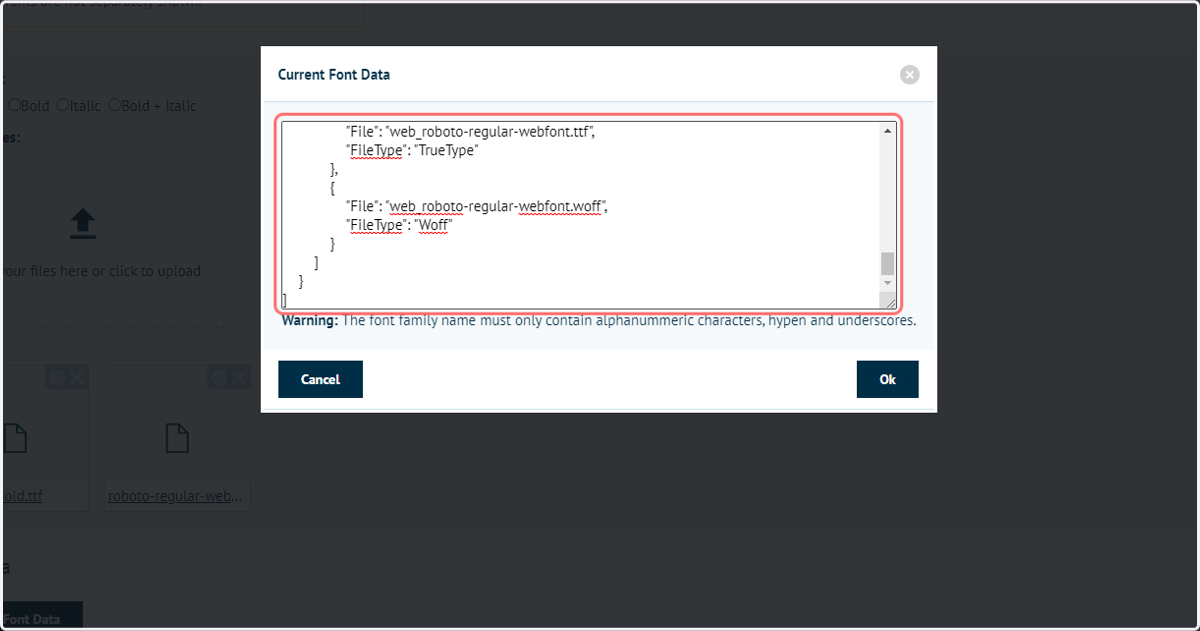
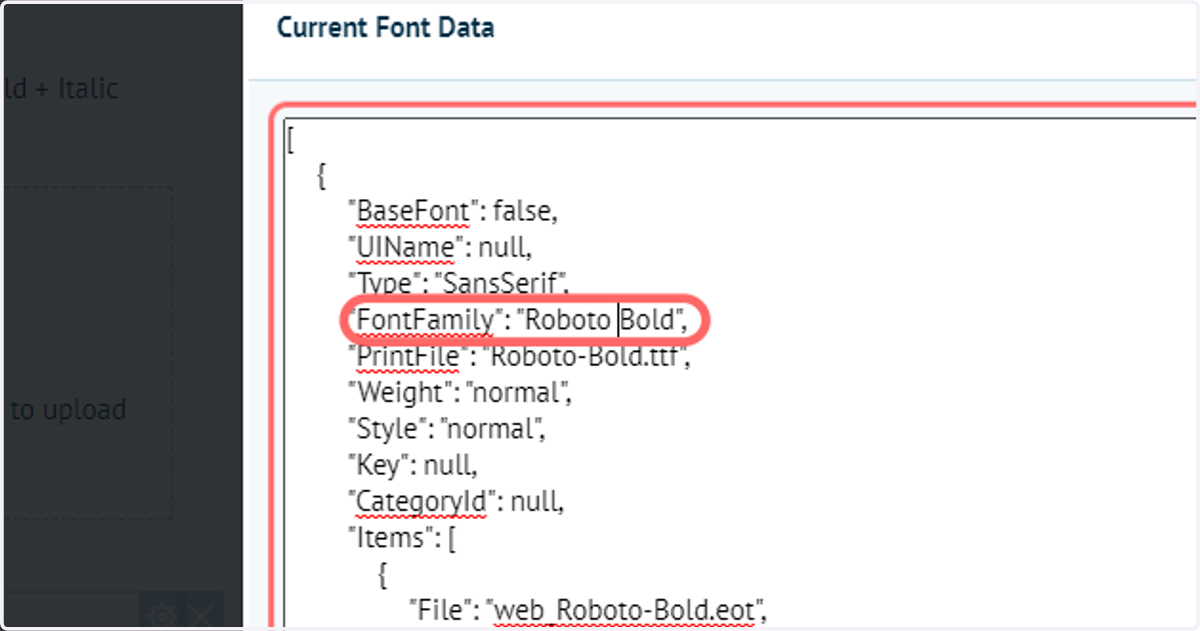
25. You can change the Font Family name to create a more user friendly name within the UI
Do not change the PrintFile name, as this links to the uploaded font data.
Transfonter
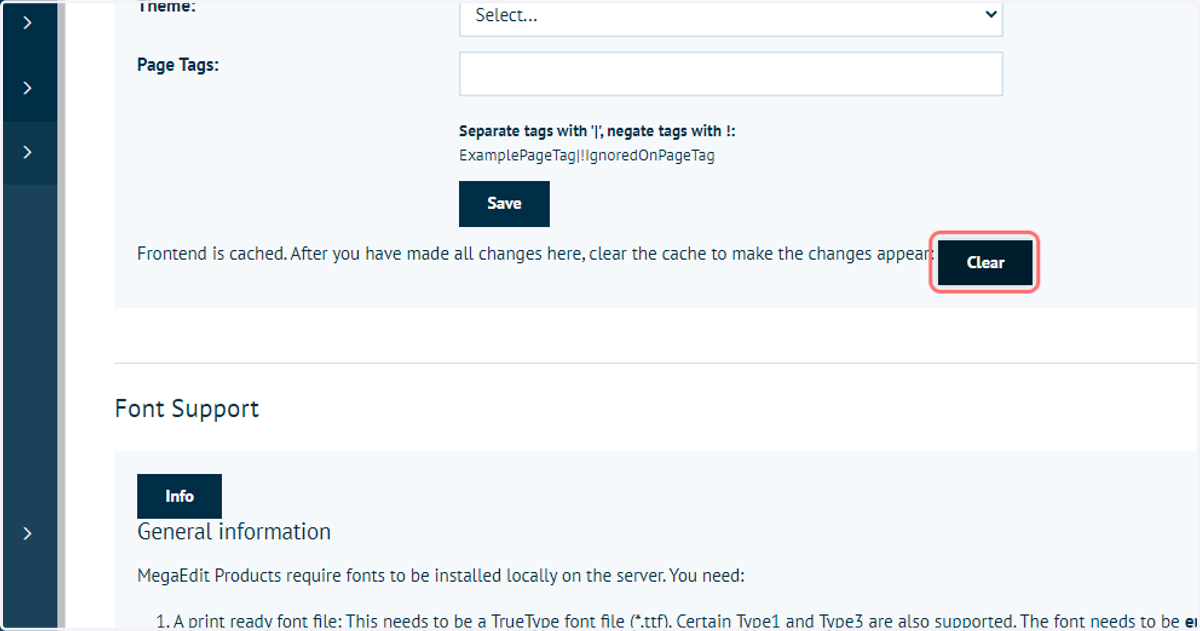
26. Click on Clear
We must clear cached information to ensure that our newly uploaded fonts will display correctly for us.
This will not be an issue for an end user, simply for administrators with a lot of data already cached as we have been working on our products.
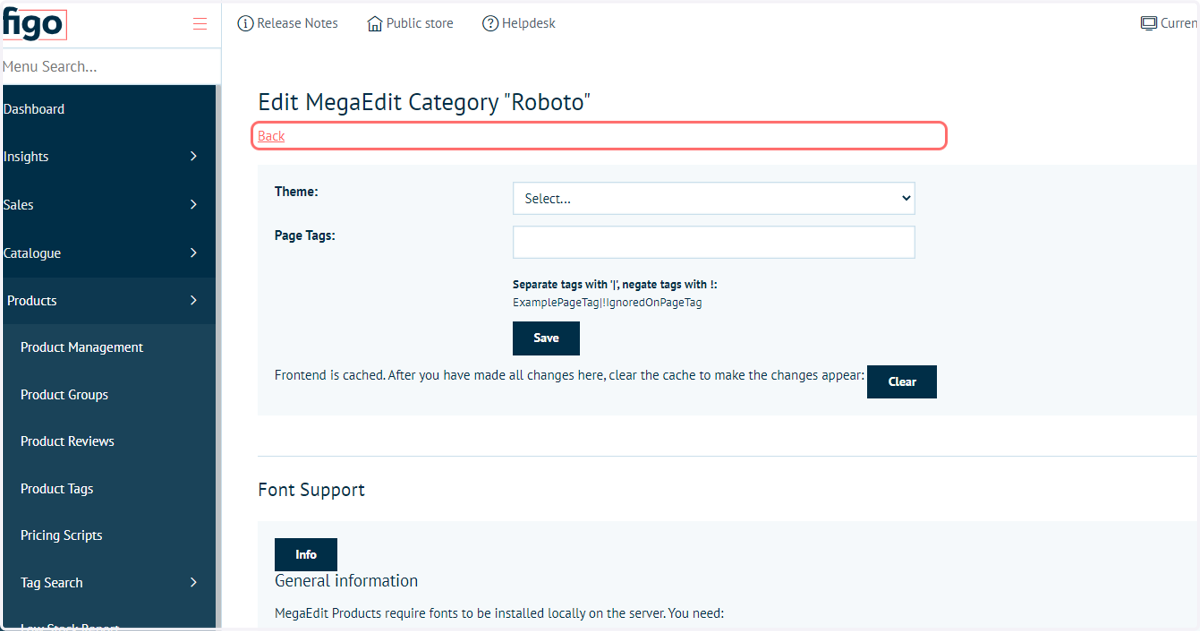
27. Click on Back
Next, we must assign our newly created font family to our MegaEdit product.
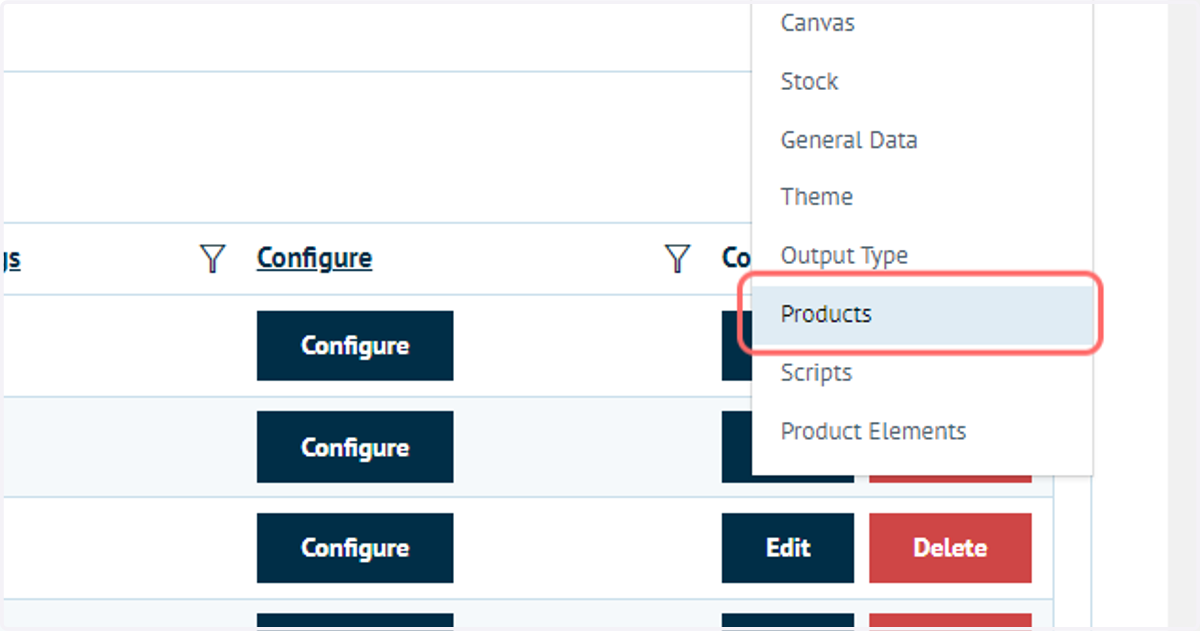
28. Click on Products
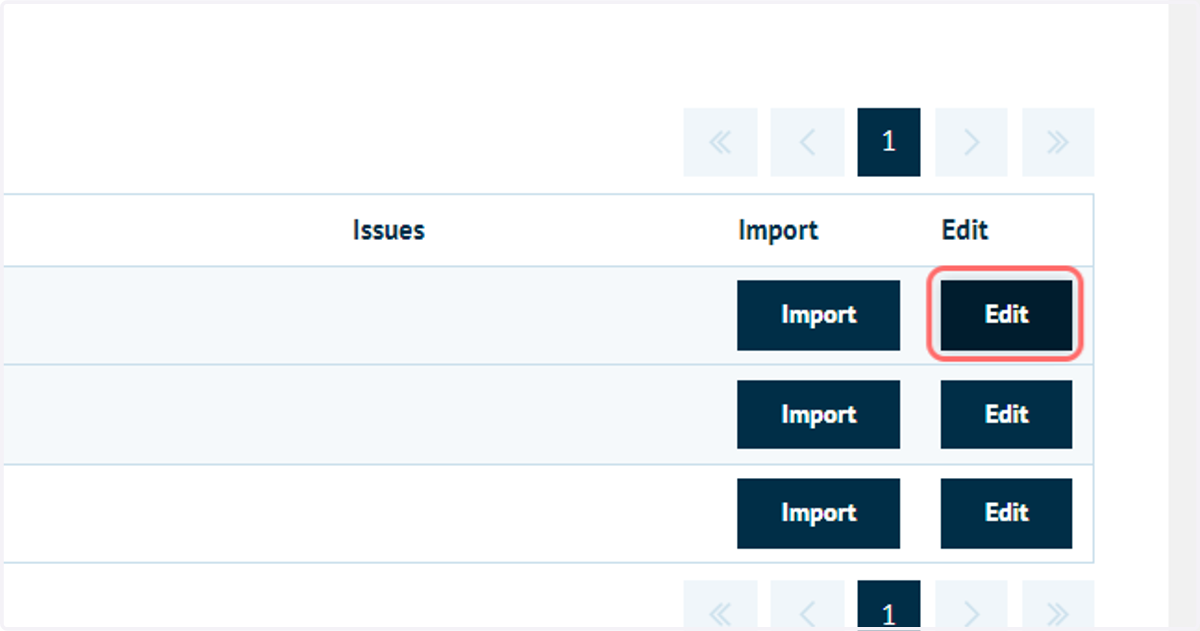
29. Click on Edit next to one of your MegaEdit products
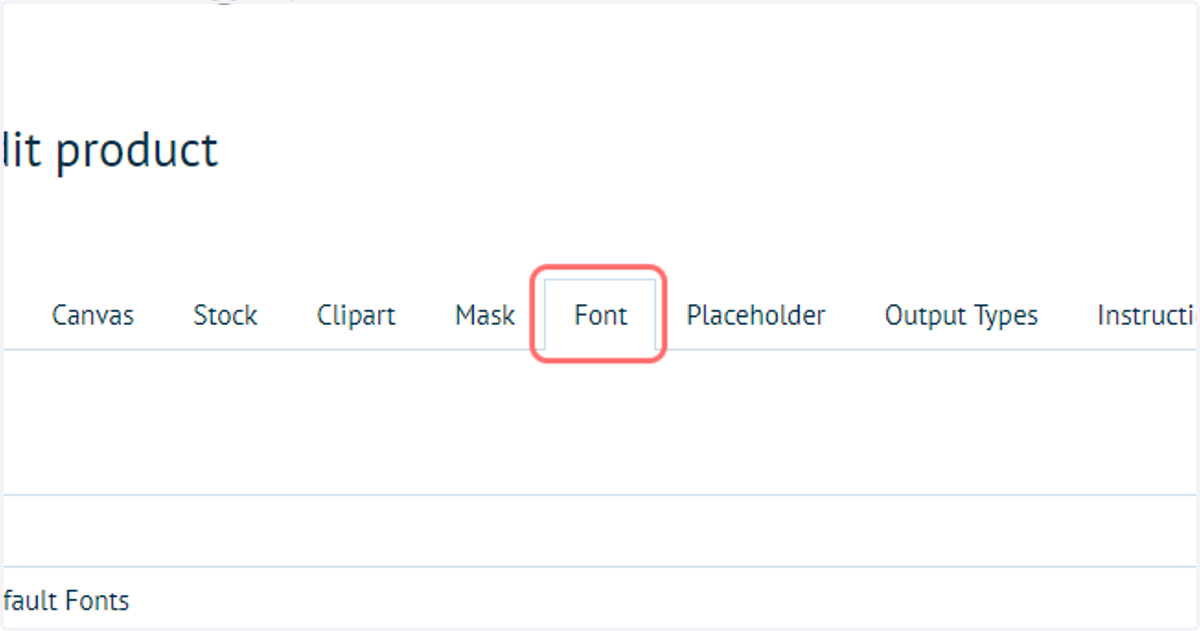
30. Click on Font
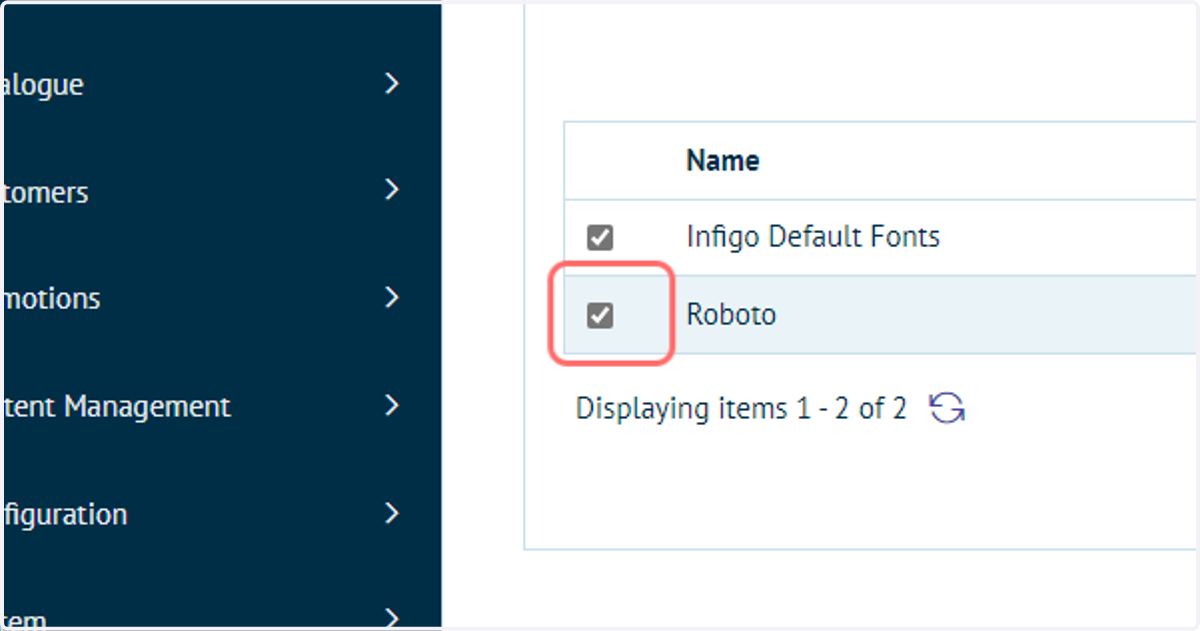
31. Check the newly created font category
Infigosoftware
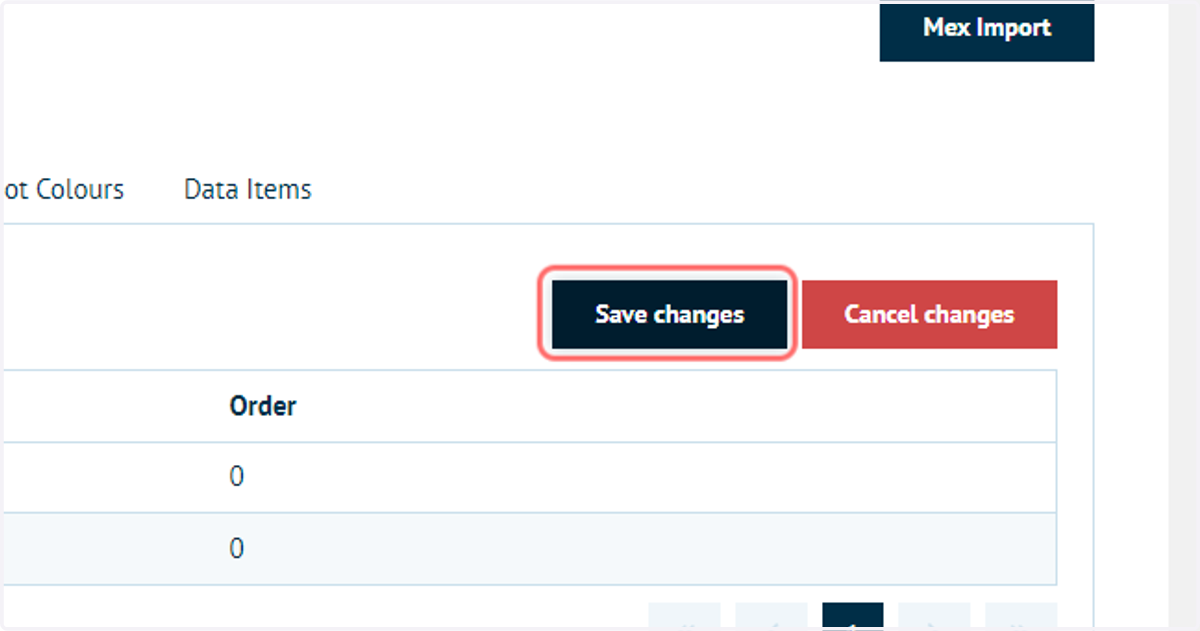
32. Click on Save changes
33. Click on Clear cache
Again, we are ensuring that we are starting from scratch in terms of cached data. It is also recommended to clear your browser cache.
34. Relaunch your MegaEdit product
35. Your newly uploaded fonts will be available in the Choose font list
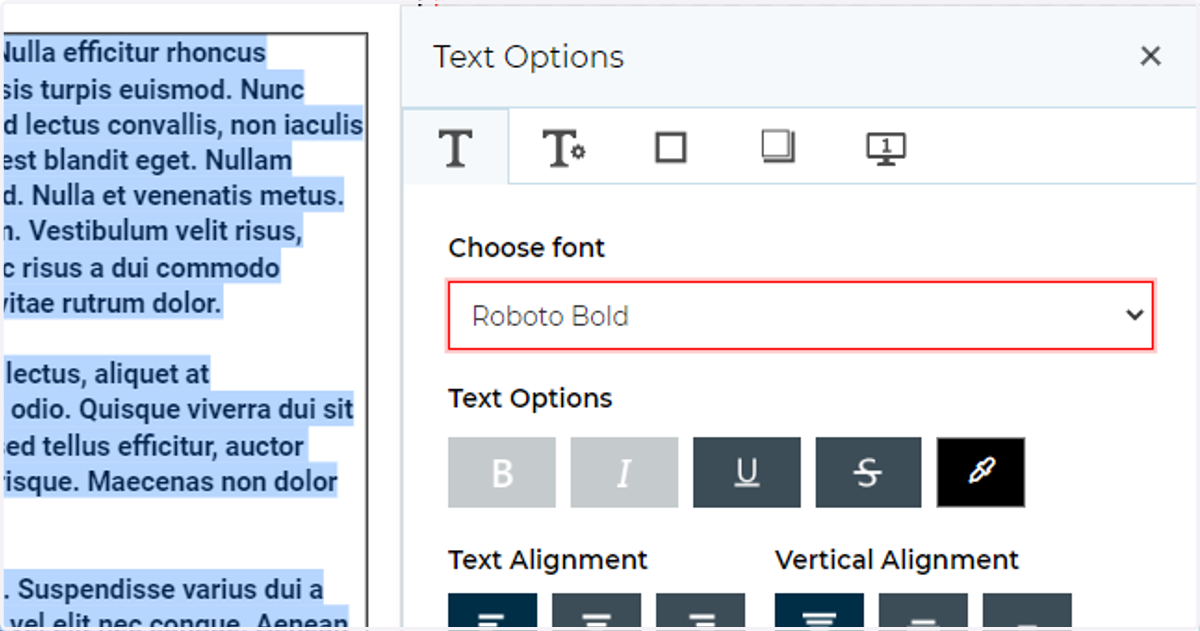
36. Note that using this method, the Regular and Bold options are separate entries in this list, and are not linked to the bold button in the UI
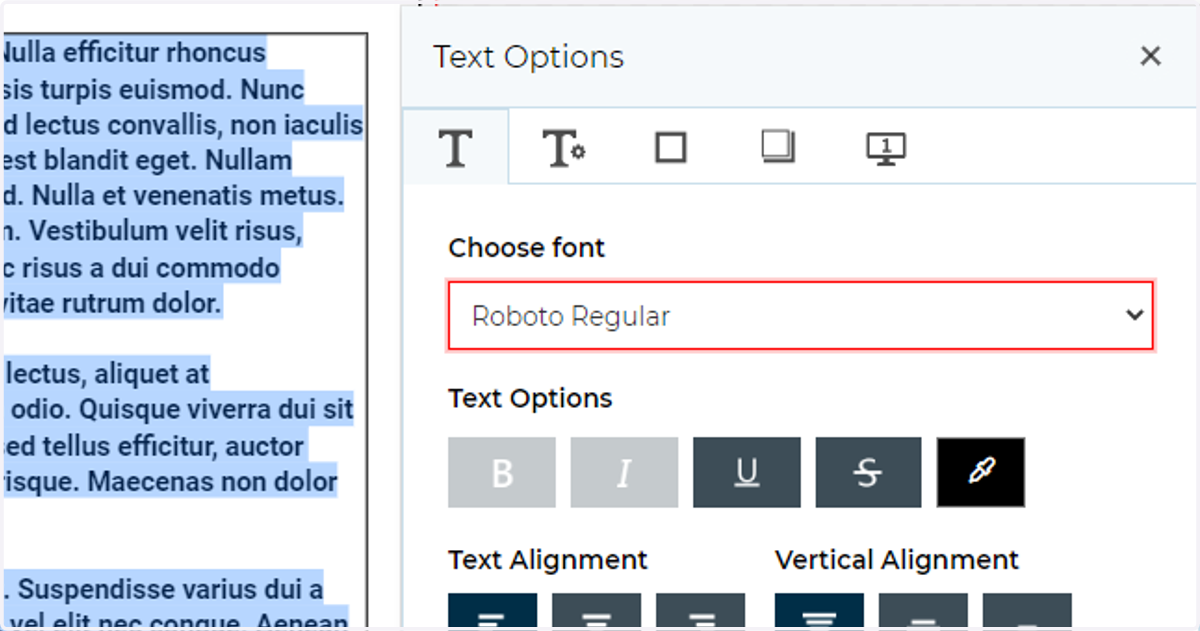
37. Linking our font options to UI icons
We can also configure our font category to make the Roboto font family a single line item, with the bold and italic font options linked to the corresponding buttons in the UI.
To begin, navigate back to your font category configuration settings
38. Delete the bold version of the font
We will need to reupload this using a slightly different methodology.
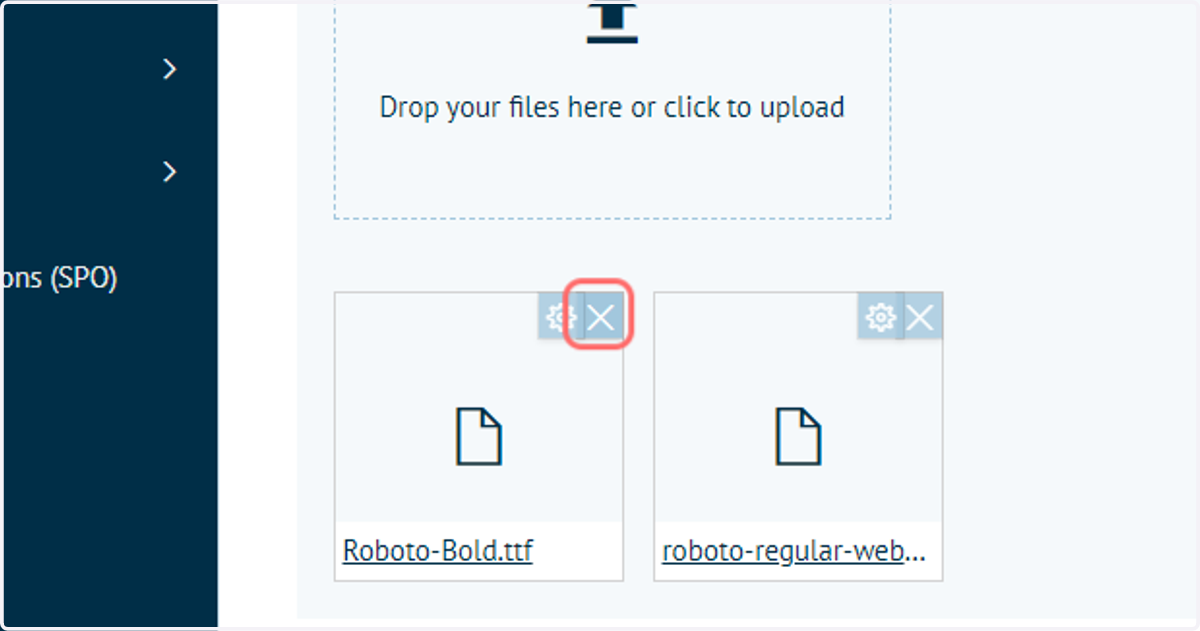
39. Select "bold" and re-upload the bold webfont zip
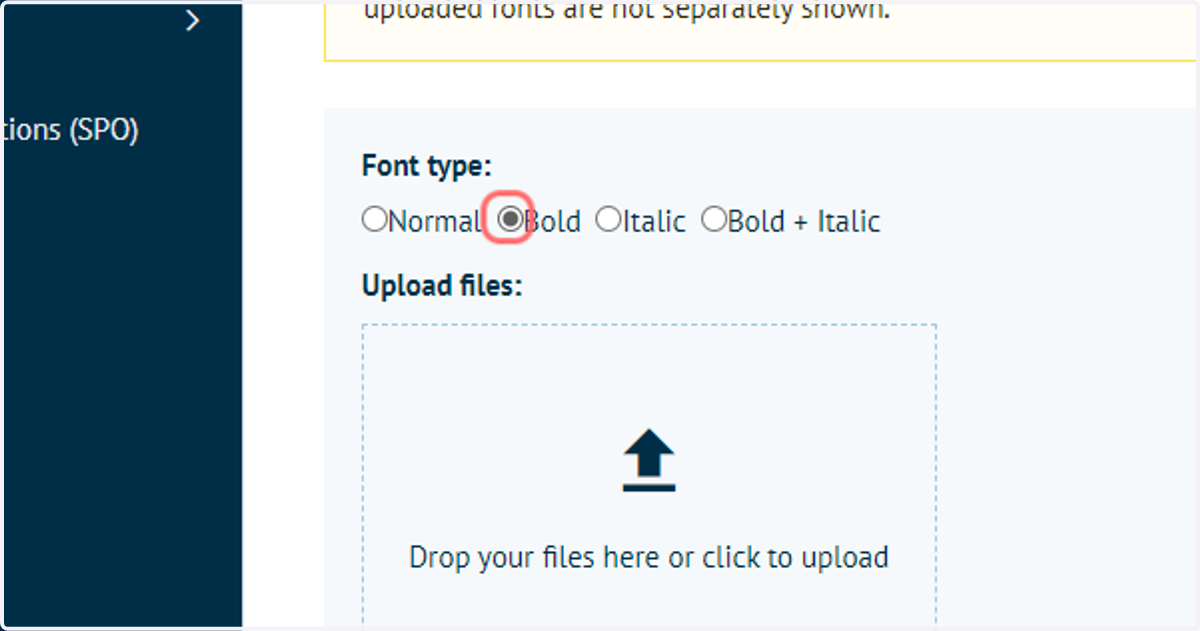
40. The uploaded font will show a "b_" prefix, indicating the font was uploaded with Bold selected
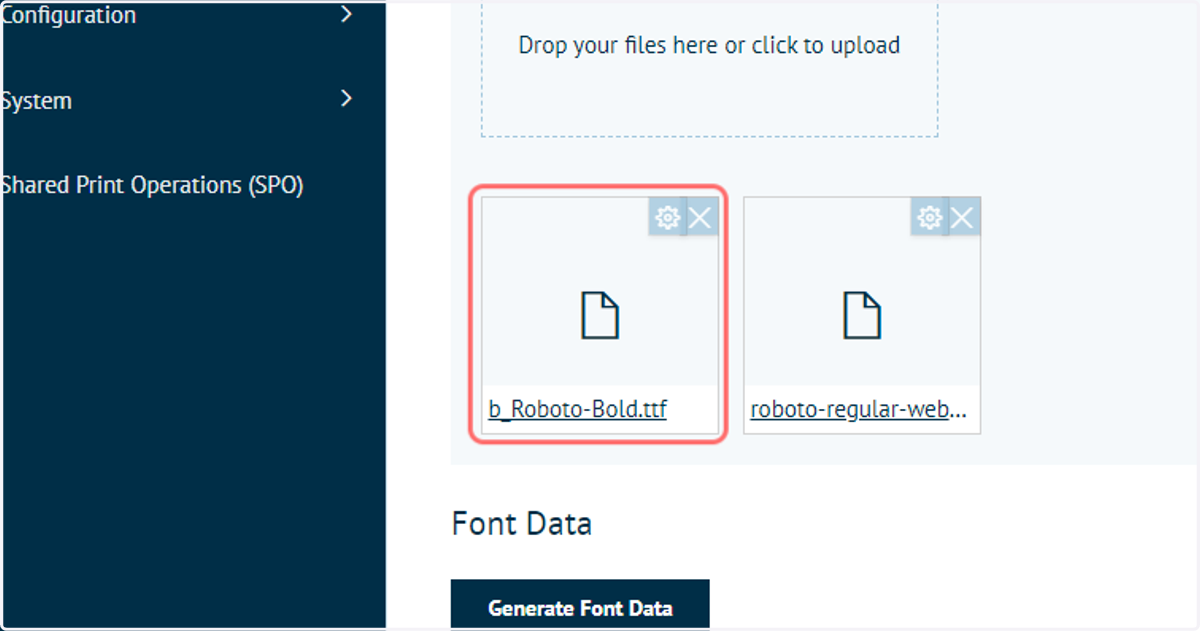
41. Click on Generate Font Data
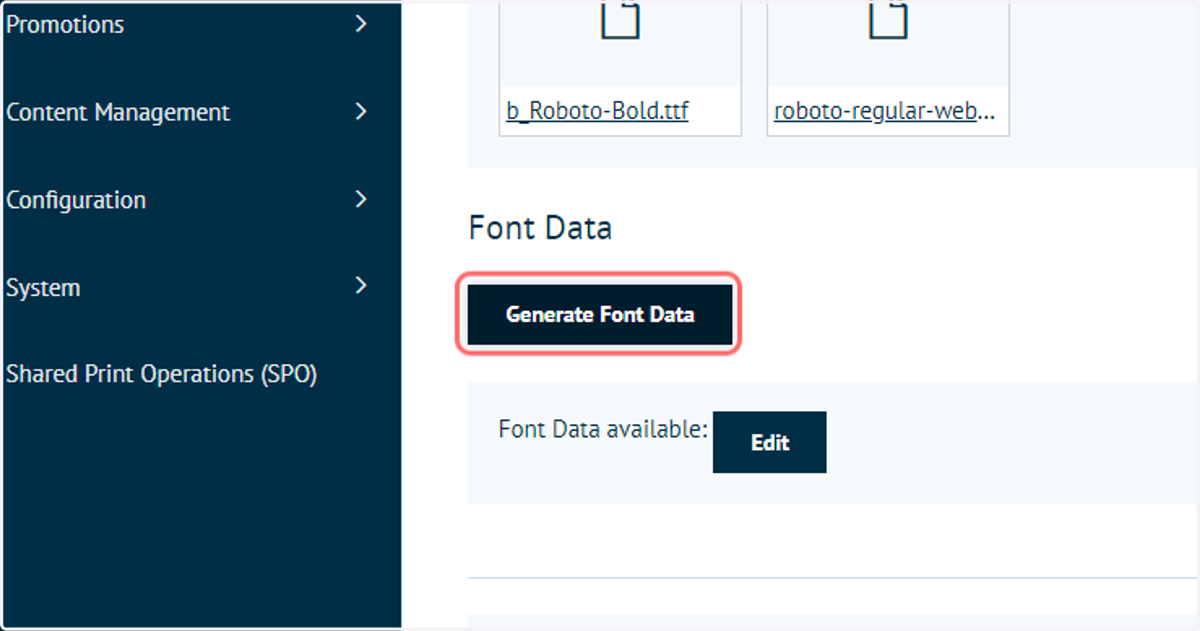
42. Click on Edit
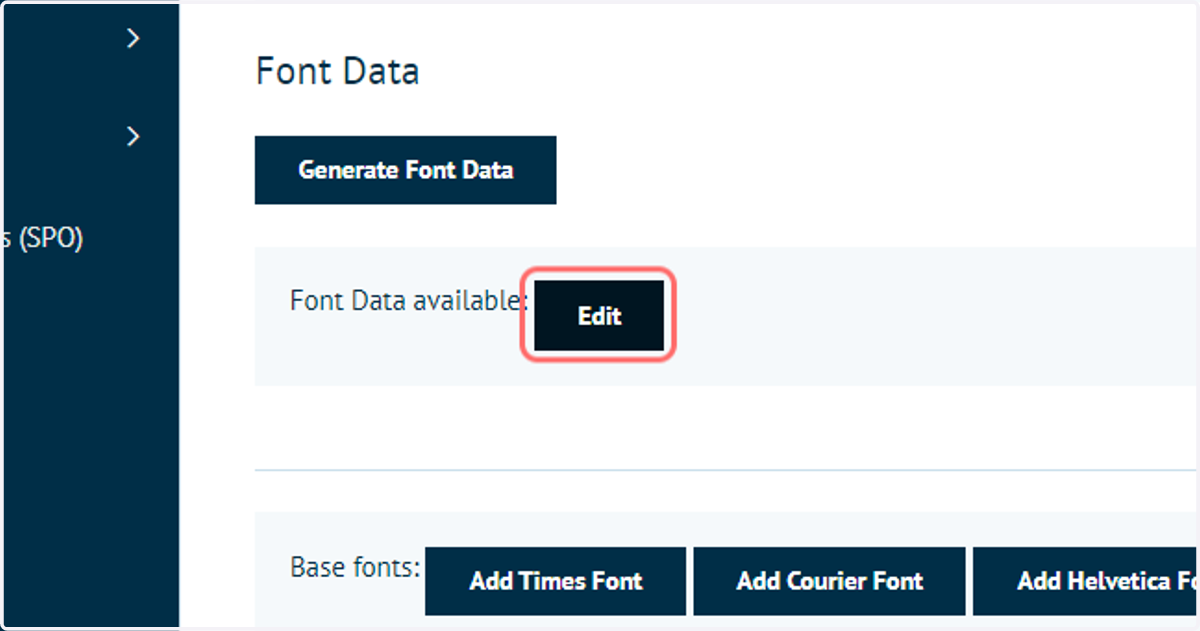
43. Manage font family names
To ensure the regular, bold and italics versions of the font are all linked under a single font entry, we must ensure the Font Family name is identical for each entry.
In this example, we have changed the Font Family name to "Roboto" for both uploaded fonts.
Note: Each font will have its own Font Family name.
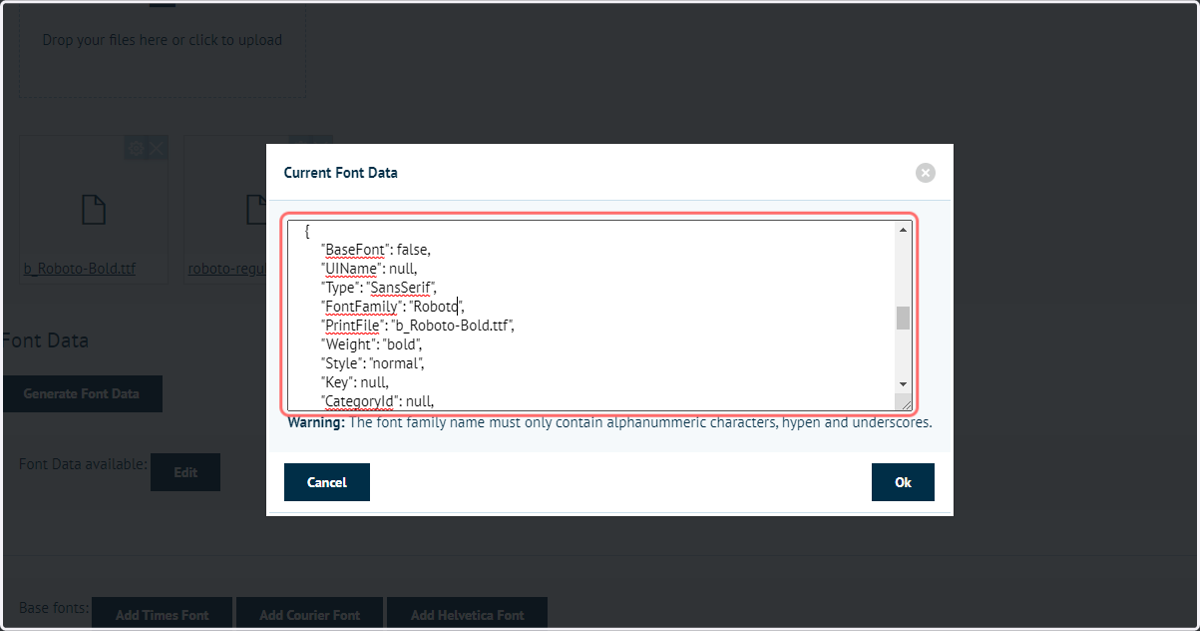
44. Click on Ok
45. Click on Clear
Clear cache
46. Click on Clear cache
Clear admin cache and manually clear your browser cache.
47. Relaunch your MegaEdit product
Your font will now be shown as a single line item, with the relevant text options now available for selection.
In our example, a bold version of the font has been linked, however Italics is still unavailable as we have not uploaded this font variation.