Sending Additional Job Reference Data
We support the ability to send additional Job Information with every job using printIQs Job Reference fields.
This tutorial will demonstrate how to set up the mapping so this data can be exchanged.
Infigosoftware
1. Type "connect"
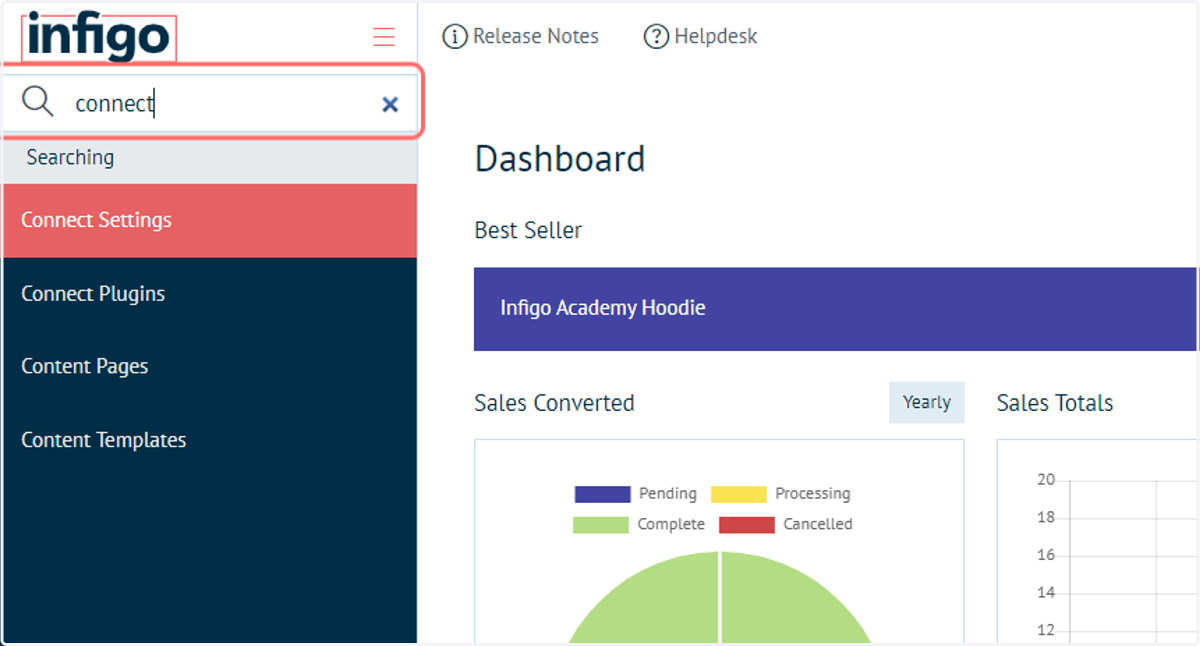
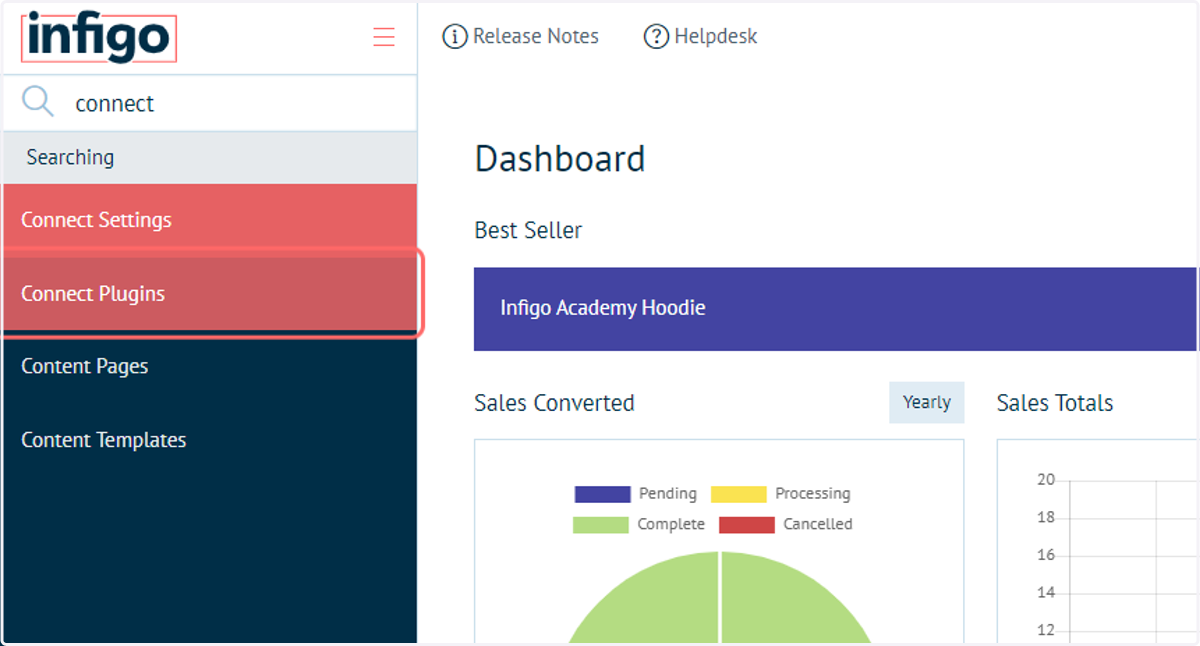
2. Click on Connect Plugins
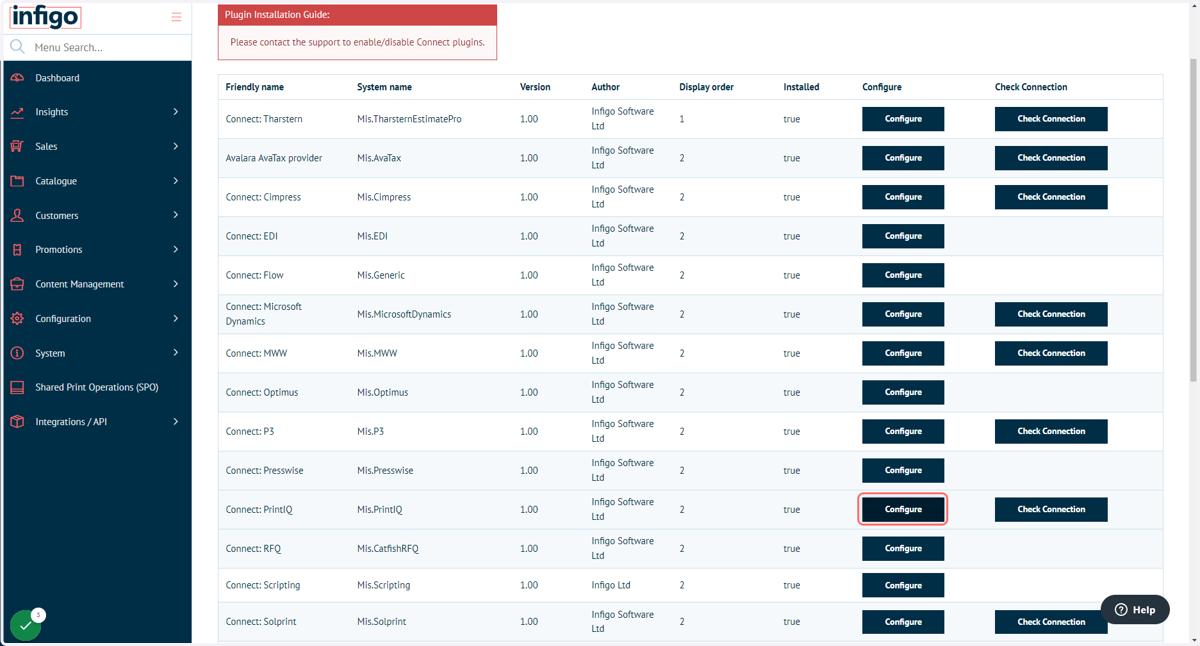
3. Click on Configure next to the Connect:PrintIQ plugin
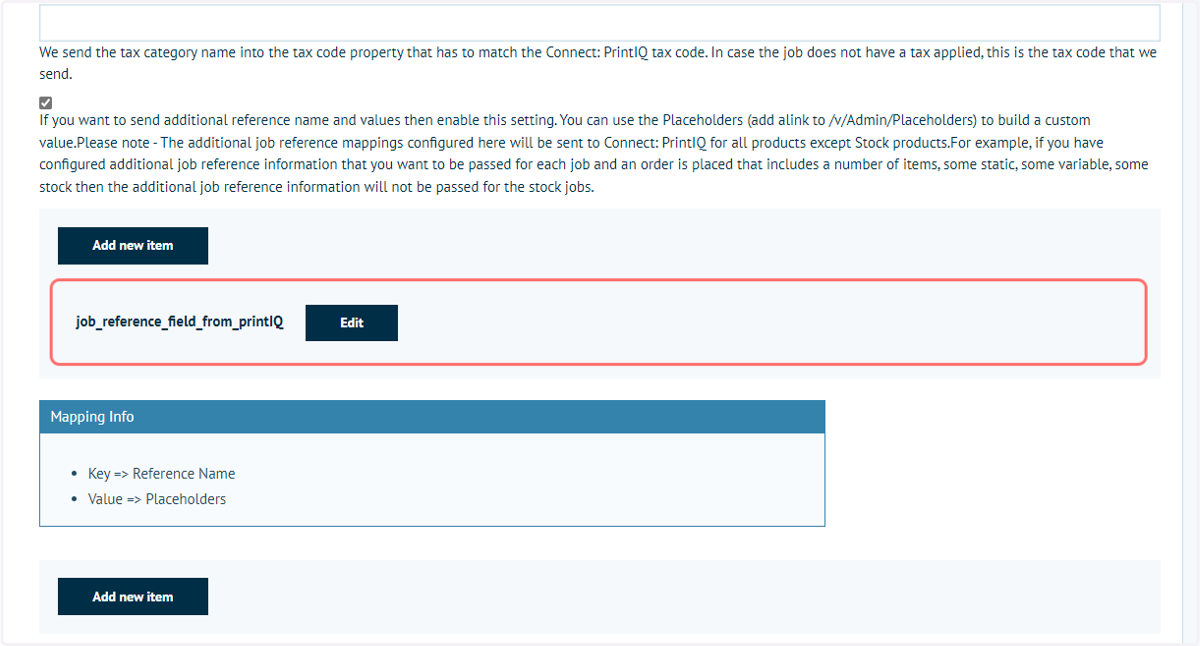
4. Check Send additional Reference fields
Once enabled you will be presented with a mapping UI that will allow you to determine what Job Reference field in printIQ information is passed into, and what value we pass for that reference.
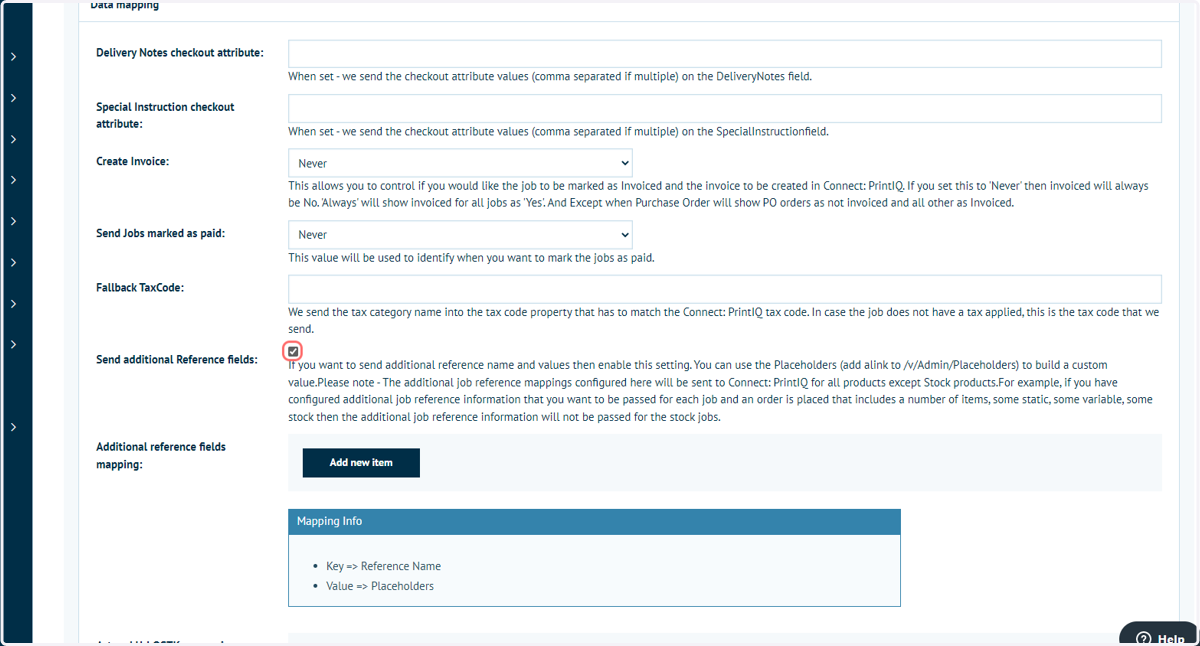
5. Click on Add new item
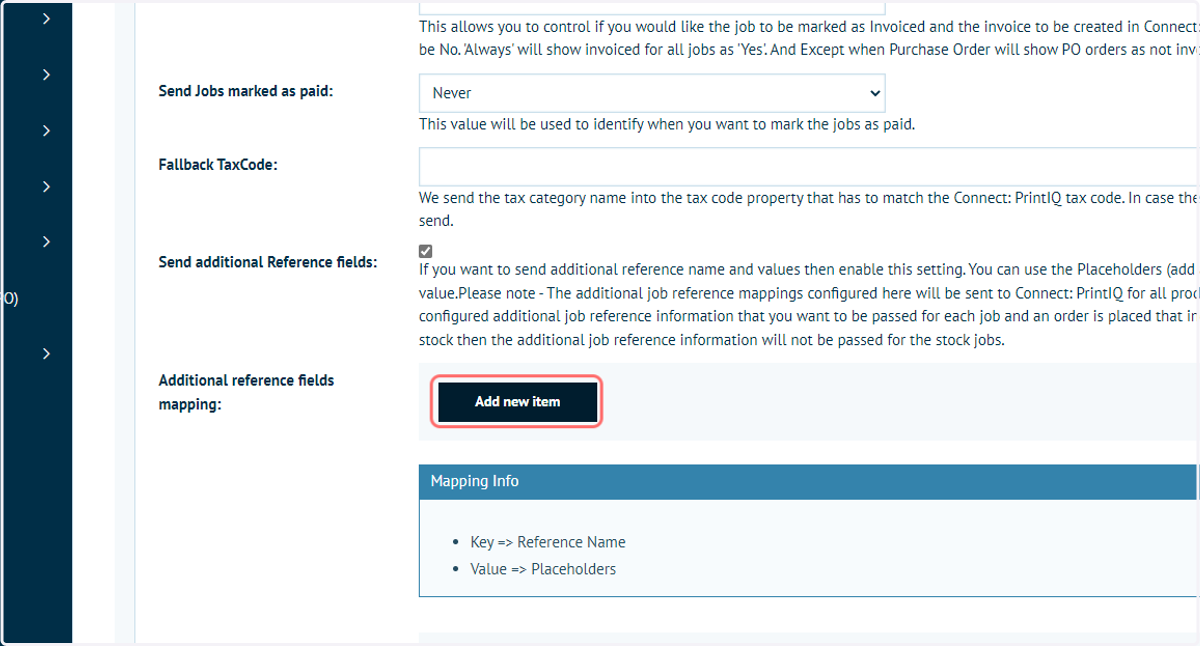
6. Explore inputs
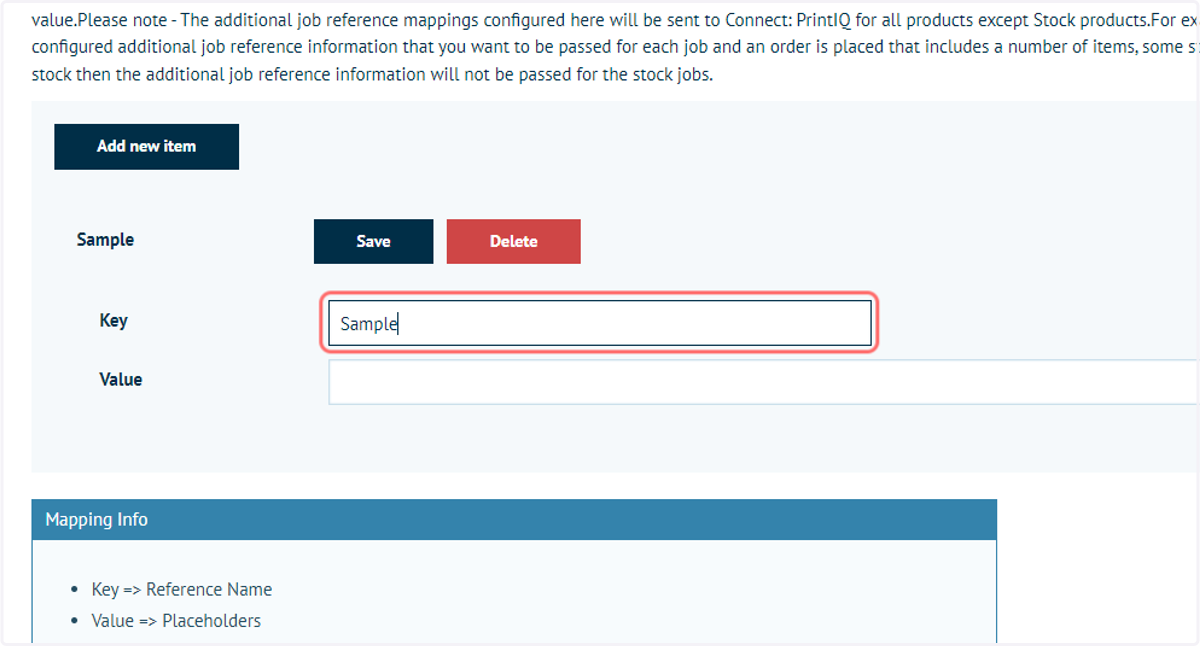
You will be presented with two paired text fields.
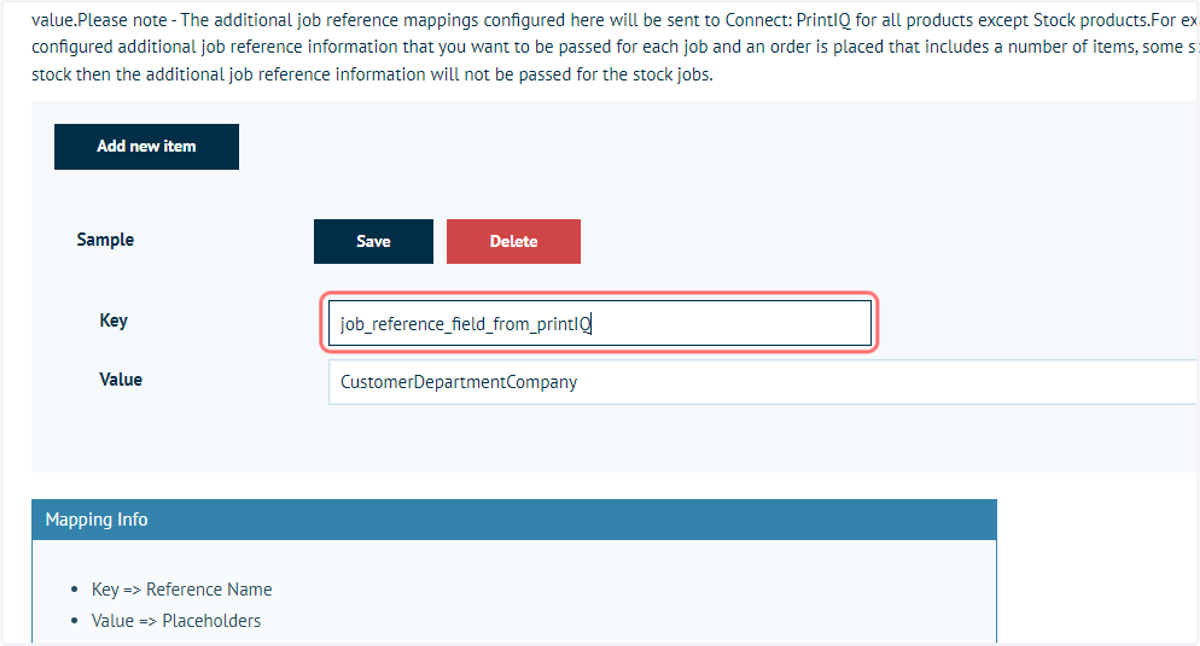
The 'Key' which is the name of the Job Reference Field as it appears in printIQ exactly.
The 'Value' which you should populate with an Infigo placeholder(s) to build up the value you want to be passed.
7. There is a complete list of placeholders in admin where you can search for Order specific or Orderline specific placeholders.
8. Type "placeholder"
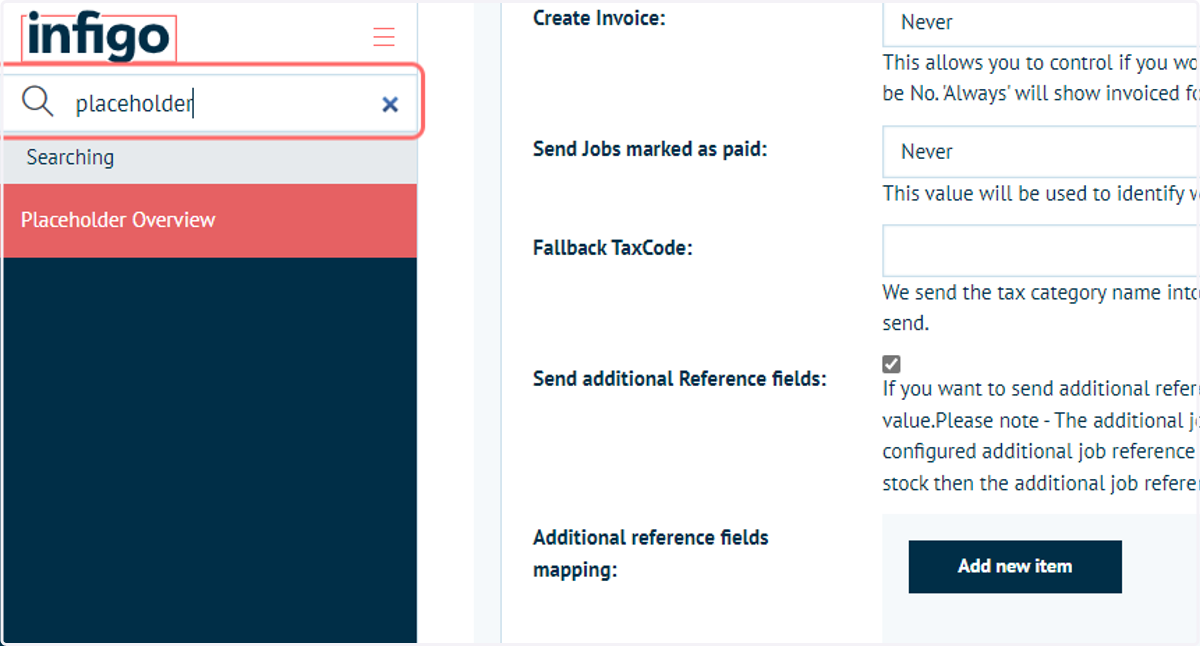
9. Open Placeholder Overview in a new tab
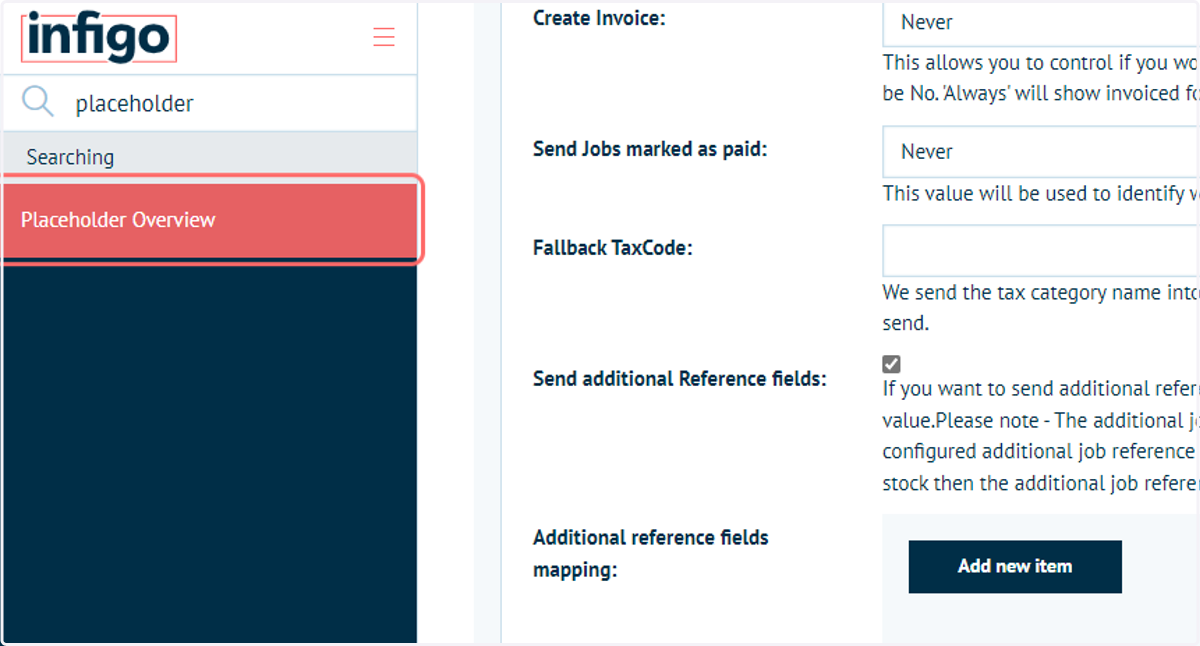
10. Search for relevant placeholders
Order-specific placeholders are officially supported for things like Invoices and Packing Slips (which are at an Order context) and Orderline specific placeholders are officially supported for things like Job Tickets (which are at an Order line item context).
Note: Some Order specific placeholders will still work on job tickets, and some Orderline specific placeholders will work on Invoices and Packing Slips, however this would not be an officially supported configuration and may not work as expected.
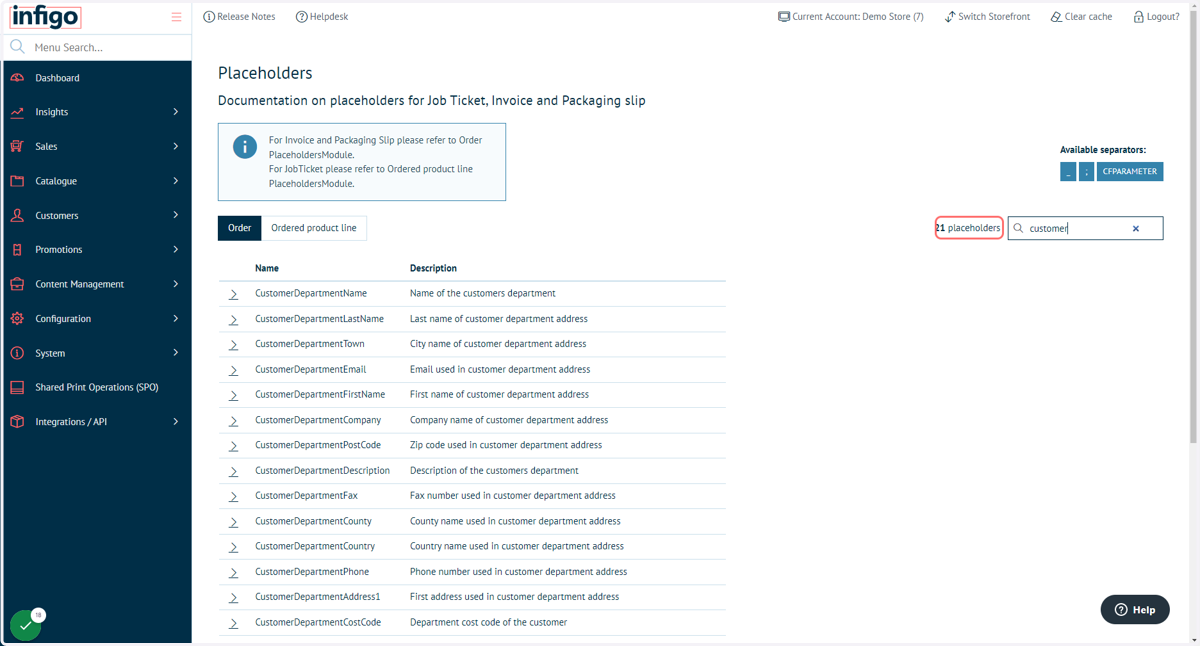
11. Click on > button
If you click the > next to a placeholder in the list, you will see that it expands to give you an example of how to use the placeholder, as well as a brief description of what it's for.
A placeholder when used throughout the system should be included within a starting and ending percentage symbol. For example:
%JobId% - is the correct way to use a placeholder that will be replaced with the Job ID value
%CustomName% - is the correct way to use a placeholder that will be replaced with the Job Custom Name value.
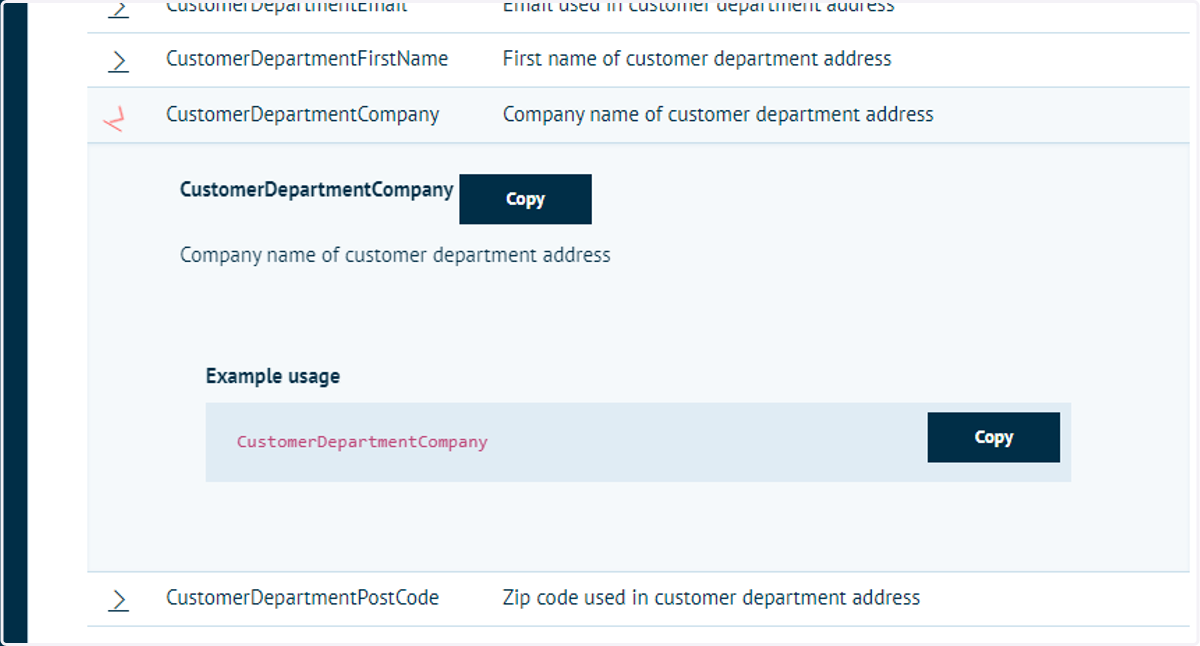
Infigosoftware
12. Click on Copy
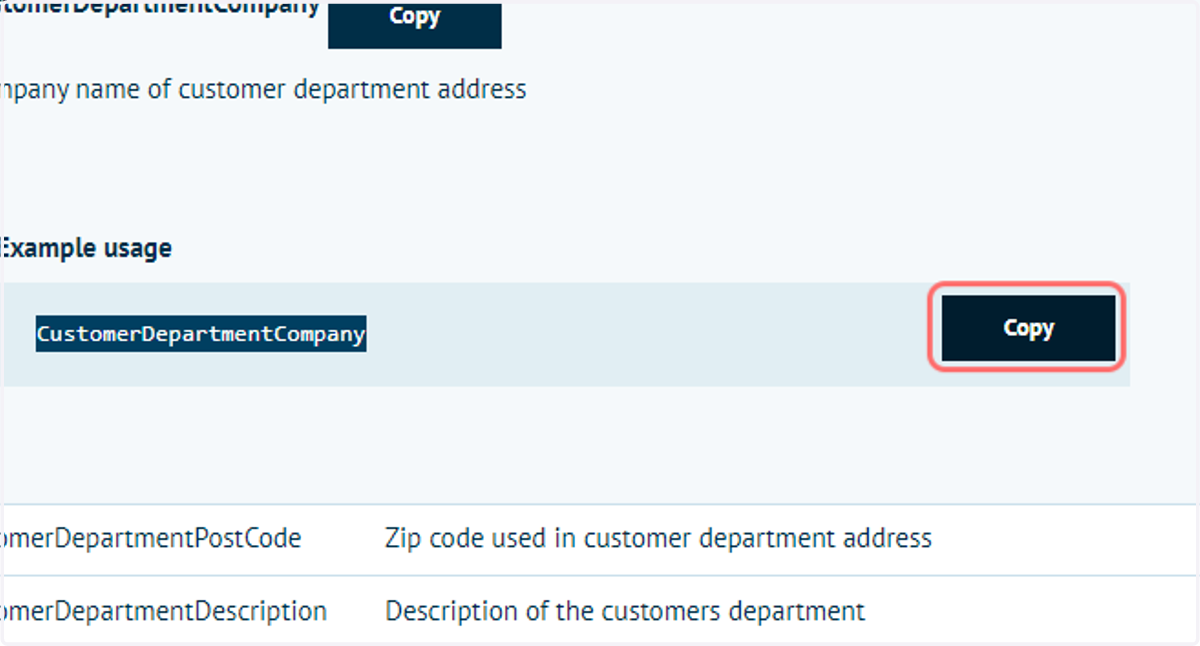
13. Paste Placeholder into Value field
The 'Value' which you should populate with an Infigo placeholder(s) to build up the value you want to be passed.
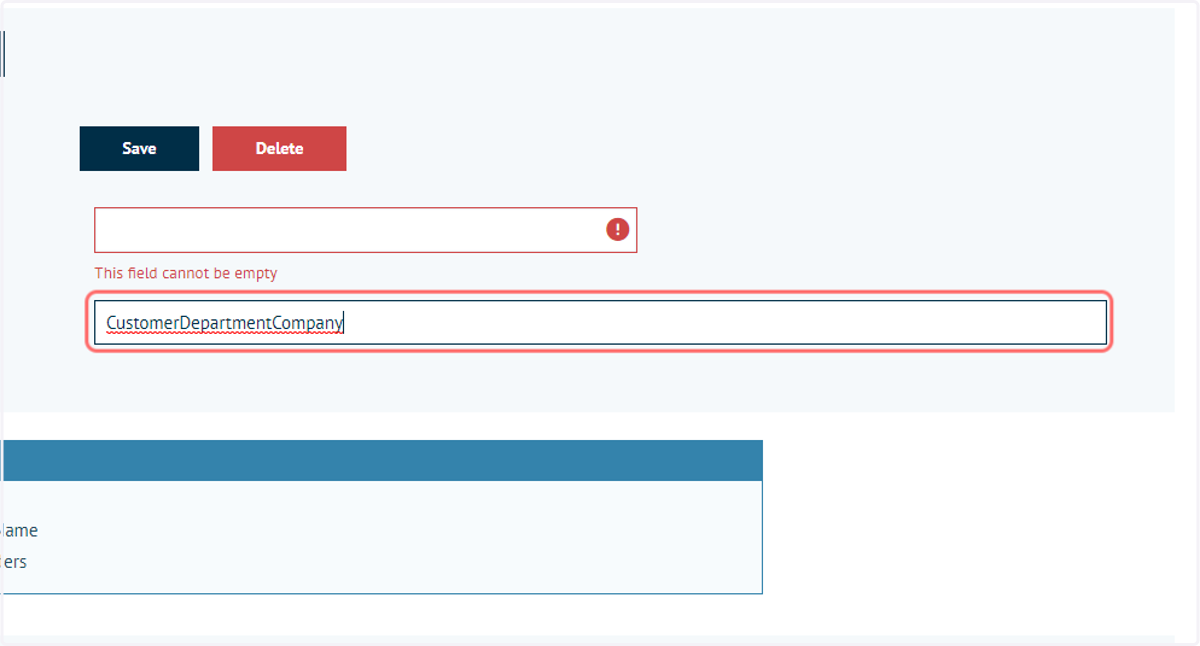
14. Type a job reference from PrintIQ into the Key field
The 'Key' which is the name of the Job Reference Field as it appears in printIQ exactly.
Infigosoftware
15. Click on Save to store this information. Remember to also hit Save at the top of this screen