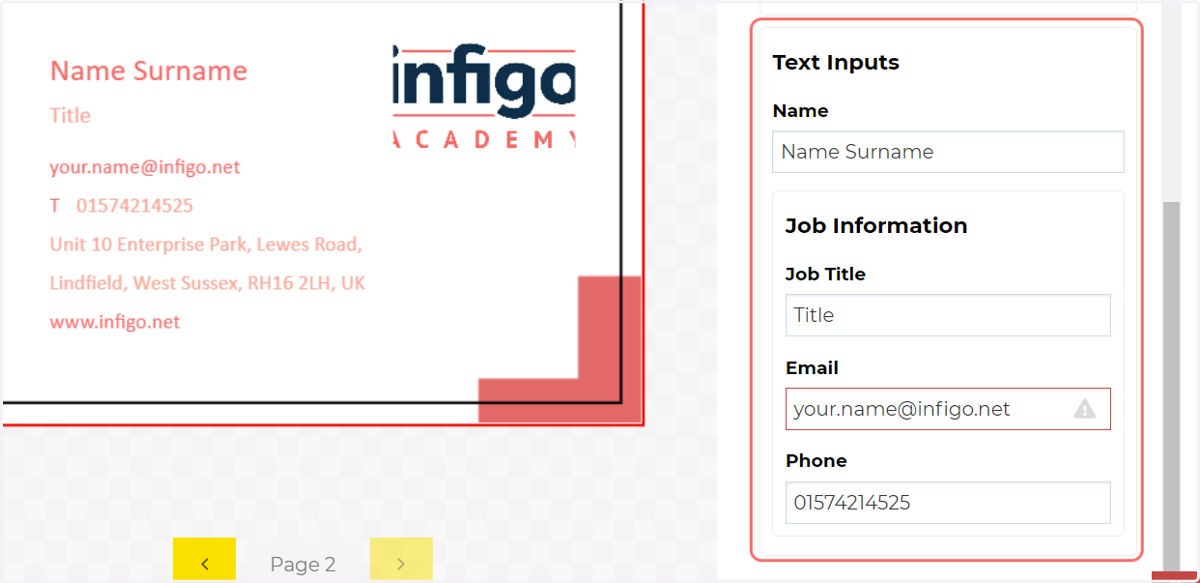
Building a form in Invent for use in MegaEdit
In this tutorial, we will learn how to build and customise the form your users will utilise to customise their products.
In your form you can order add and remove your variables, re-order them, group them and choose where you would like them to be displayed to the user.
adobe
1. Navigate to the Variables tab on the Invent plugin within InDesign
Ensure you have some variables specified before proceeding to the next steps.
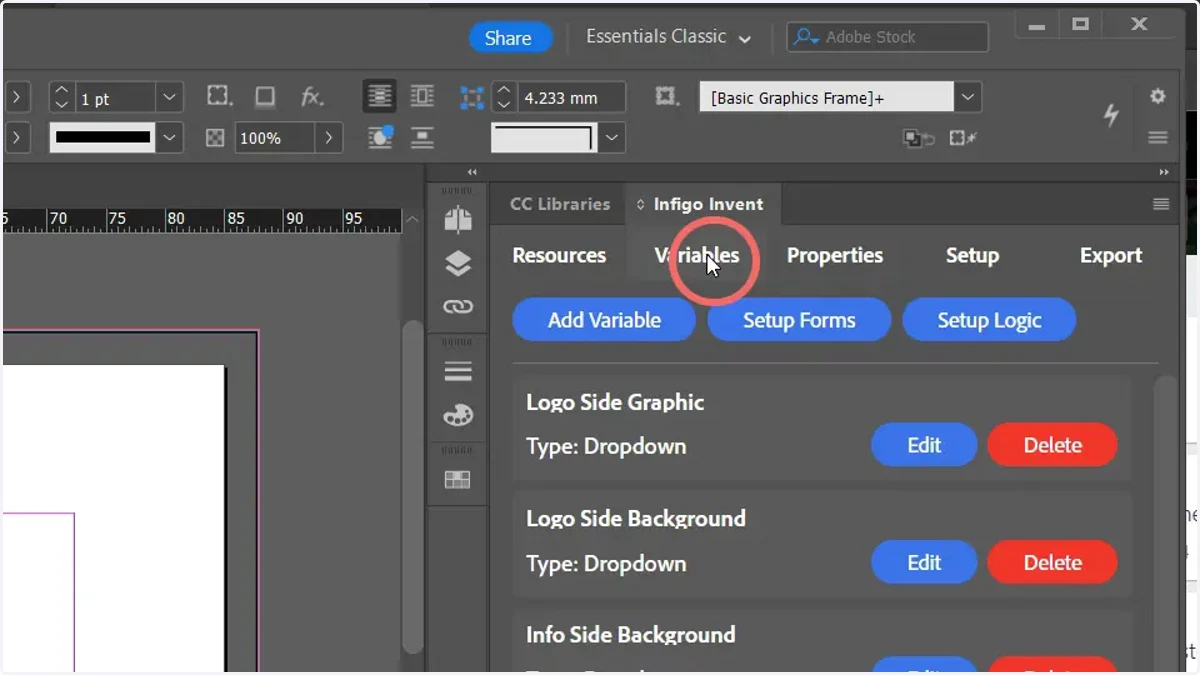
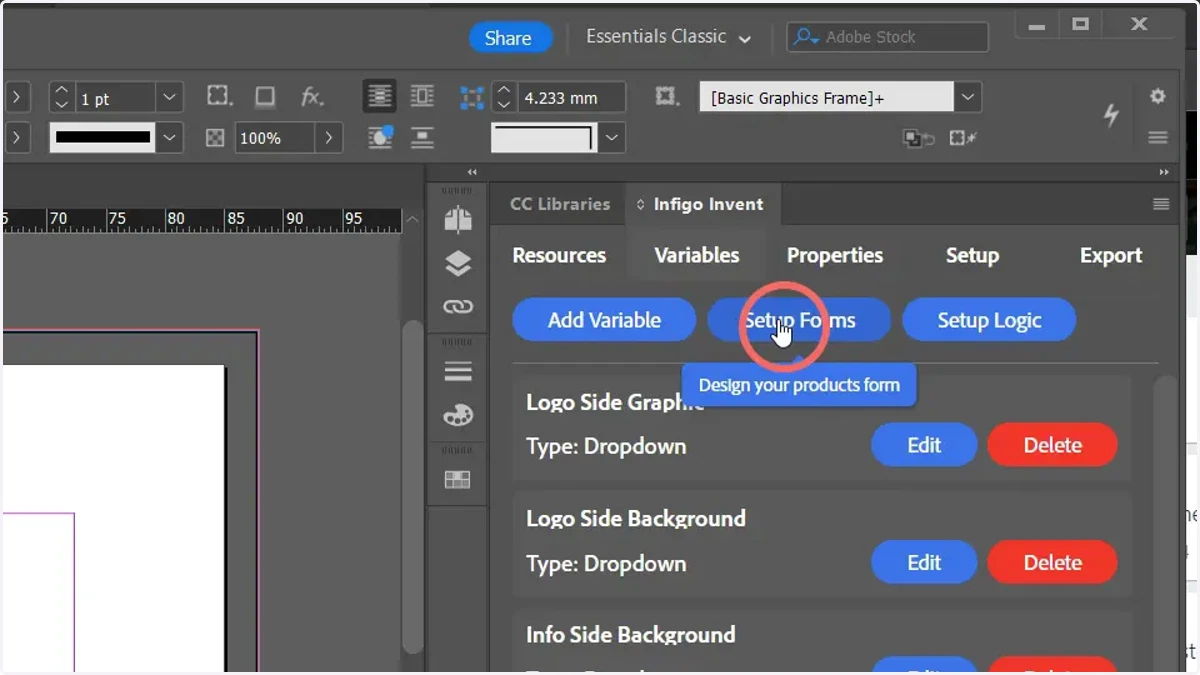
2. Click Setup Forms
A new pop up will appear showing the form designer.
By default the form designer will create you a single form and all your available Variables will be added to it. This means the form will appear on all pages, and so will all the variables.
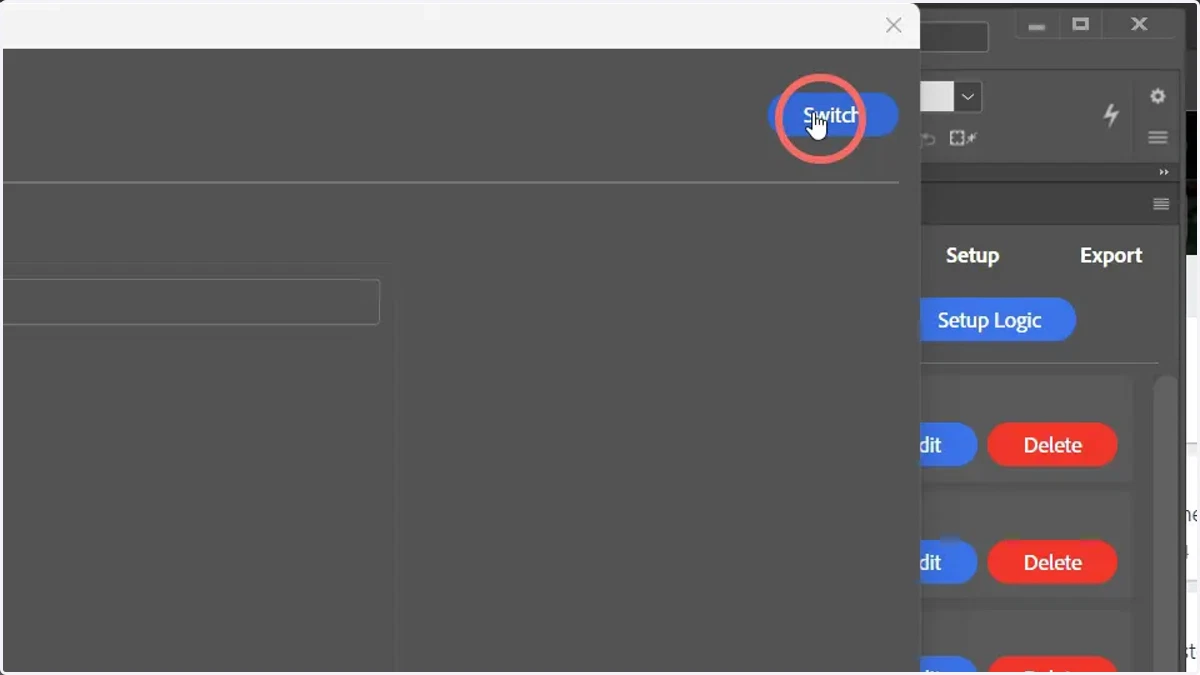
3. In order to change the type of form you want to use simply click on the 'Switch' button in the top right hand corner on the Form Designer popup.
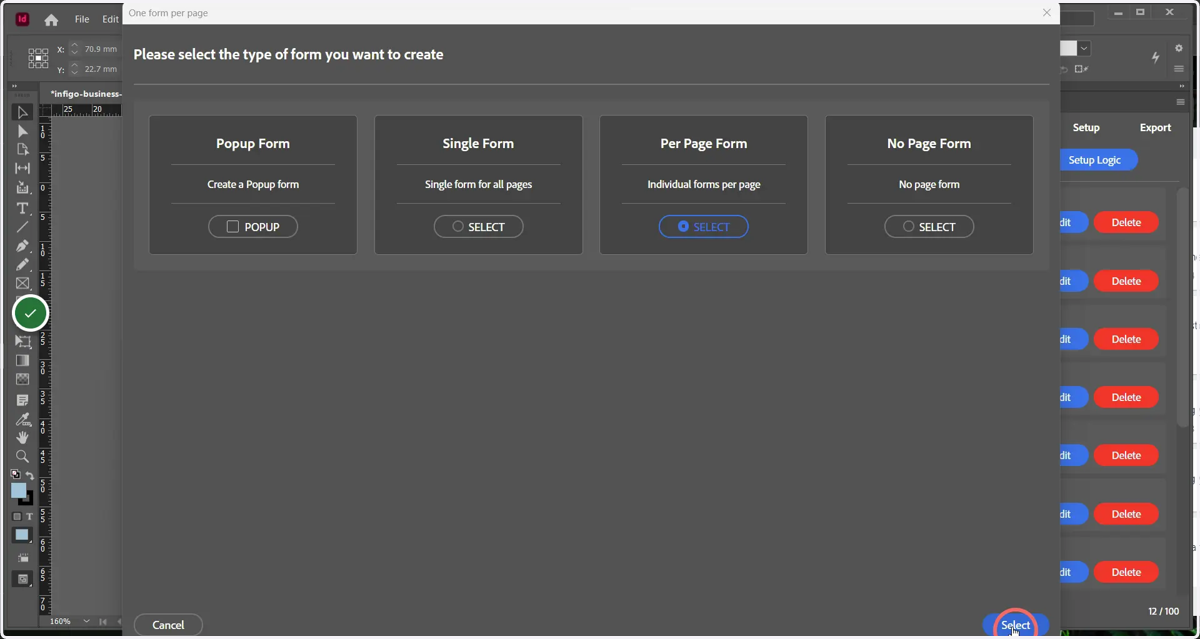
4. Select a form design template
We have several options for how you want the form to be displayed:
Single Form - This is the default value and means all variables assigned will always be shown on all pages
Single Form as a Popup - An additional option that allows you to, instead of taking up space for the form in MegaEdit instead show a button that when clicked will display the form in a popup.
Per Page Form - This allows you to have a different form for each page of your product. Here you can control which variables should be displayed on which page form allowing, in some situations, better contextual editing for the end user.
Per Page Form as a Popup - Similar to above but the button will display the relevent form depending on which page you are on in MegaEdit.
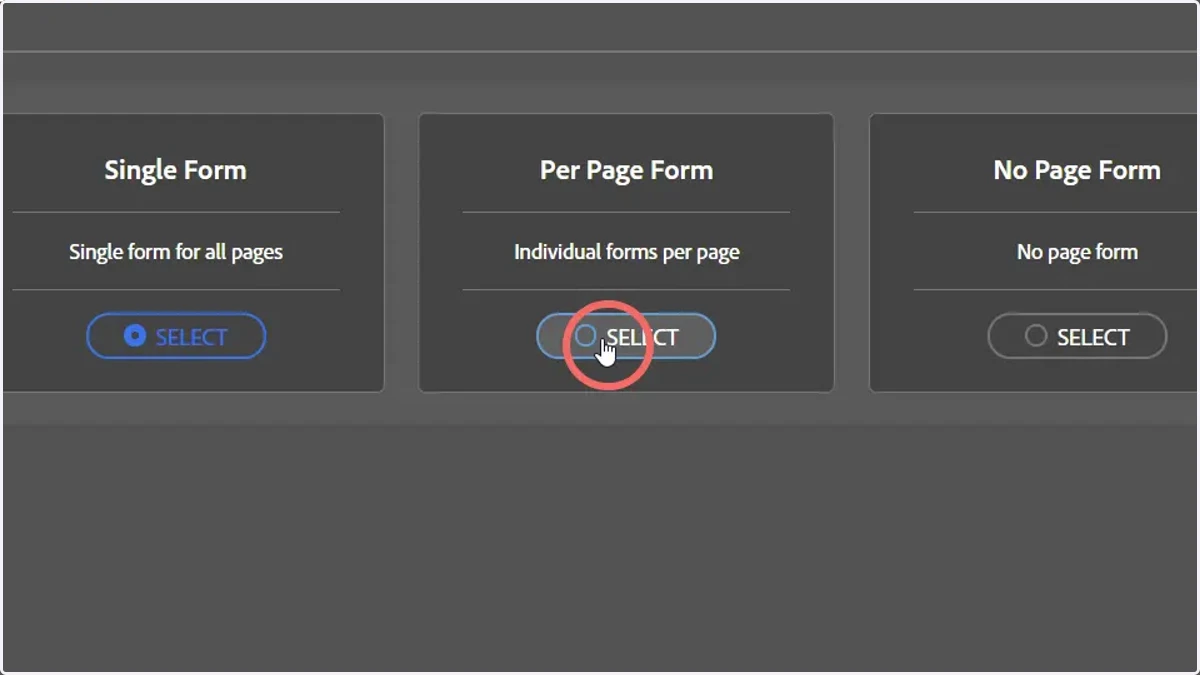
5. Click Select to confirm your form template choice
In our example, we have chosen the "Per Page Form" option.
As we are using a business card template, this results in 2 pages covering the front and back of the card.
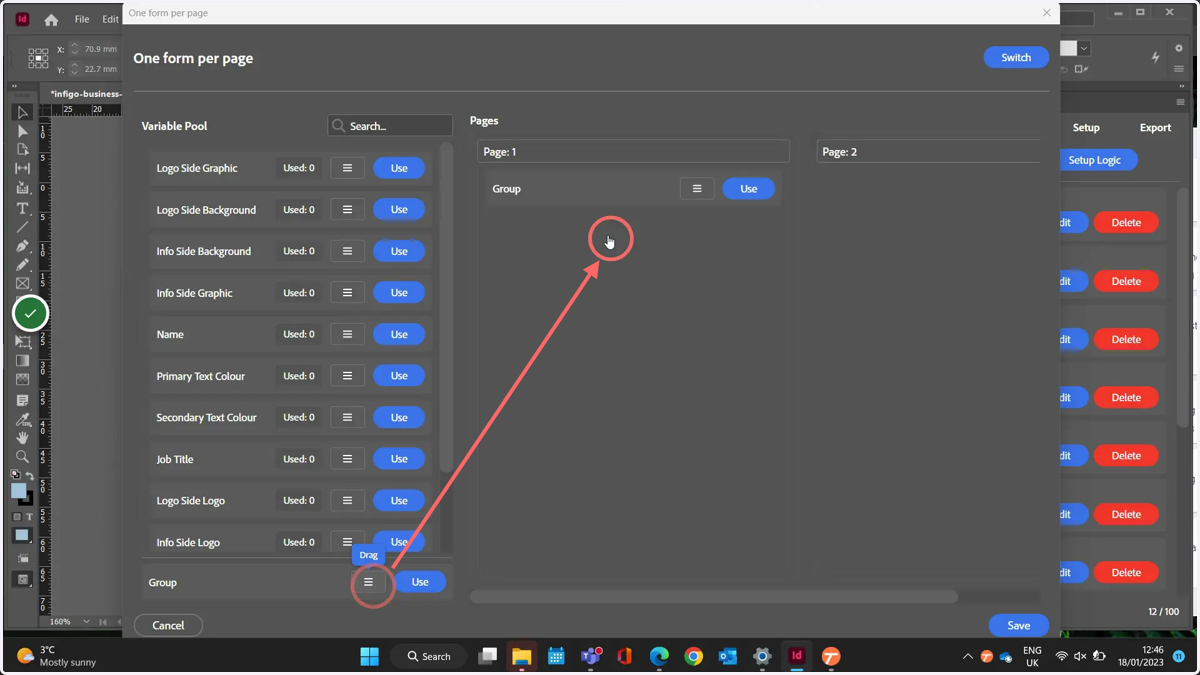
6. Variable Groups
Infigo supports the ability to group Variables to make a form more structured and visibly appealing to the end user.
There are two ways to create a group.
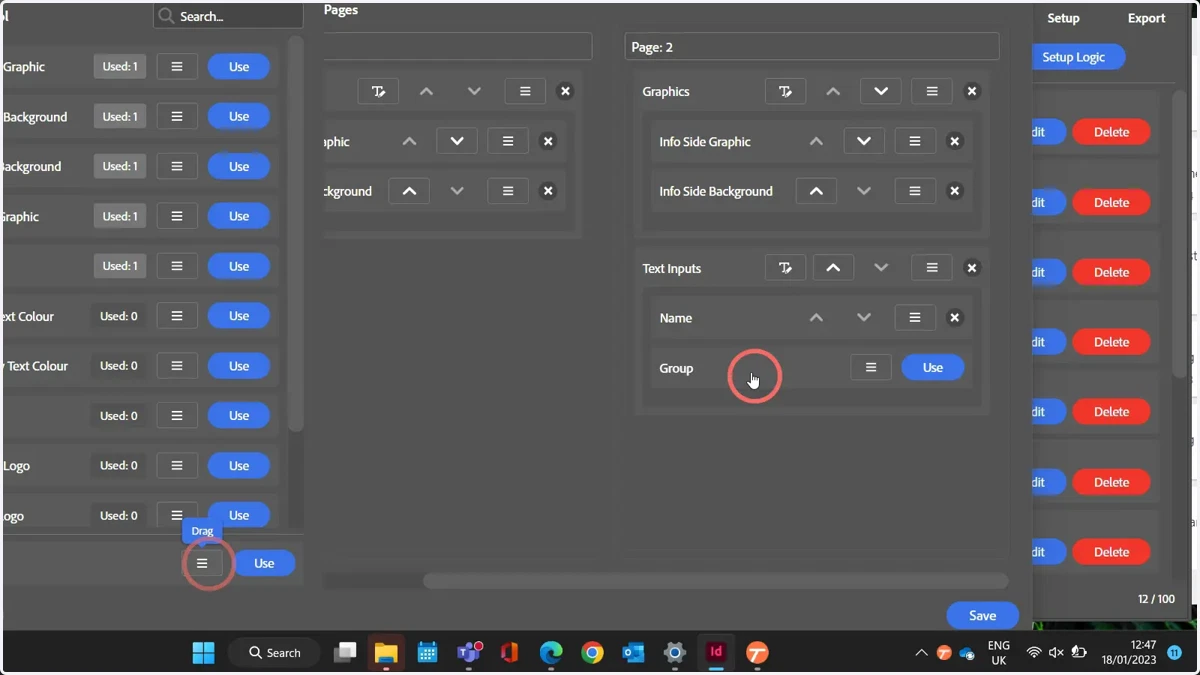
You can drag and drop from the burger icon on to the page templates to the right.
Alternatively, click the 'Use' button next to the group entry. It will then prompt you to name it and select its default location.
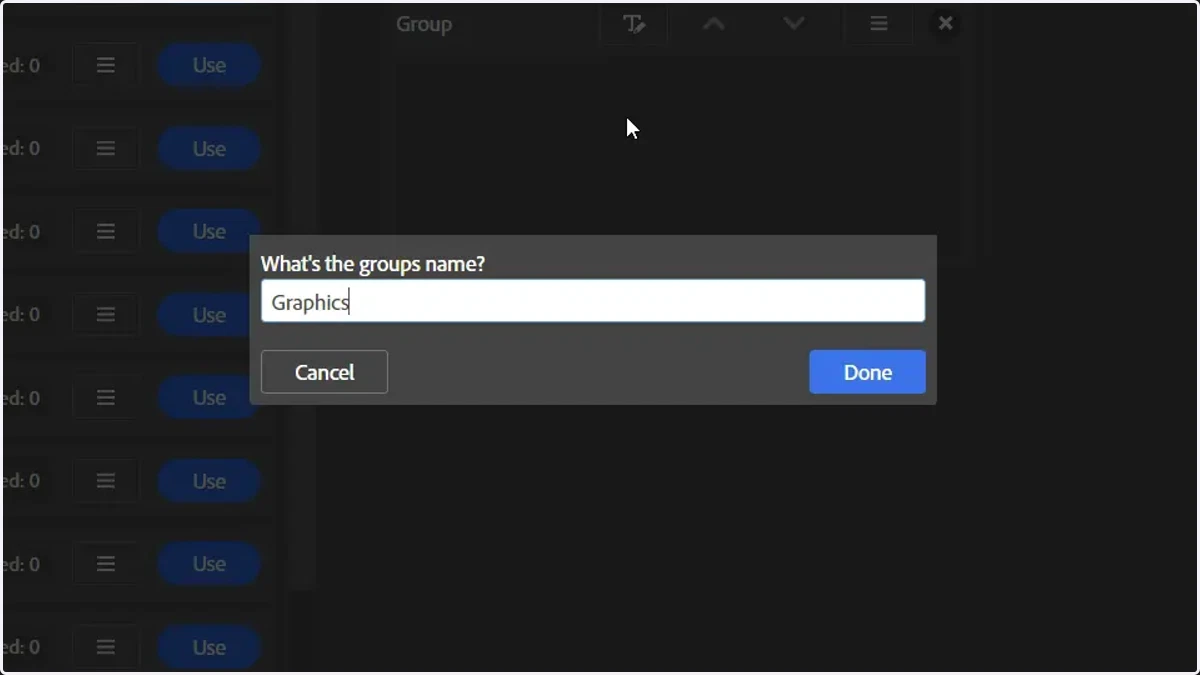
7. Enter a name for your group
This name will appear as part of the UI.
8. Variable group created
Once added you will notice the group containers added to your Form, ready for you to start adding variables to them
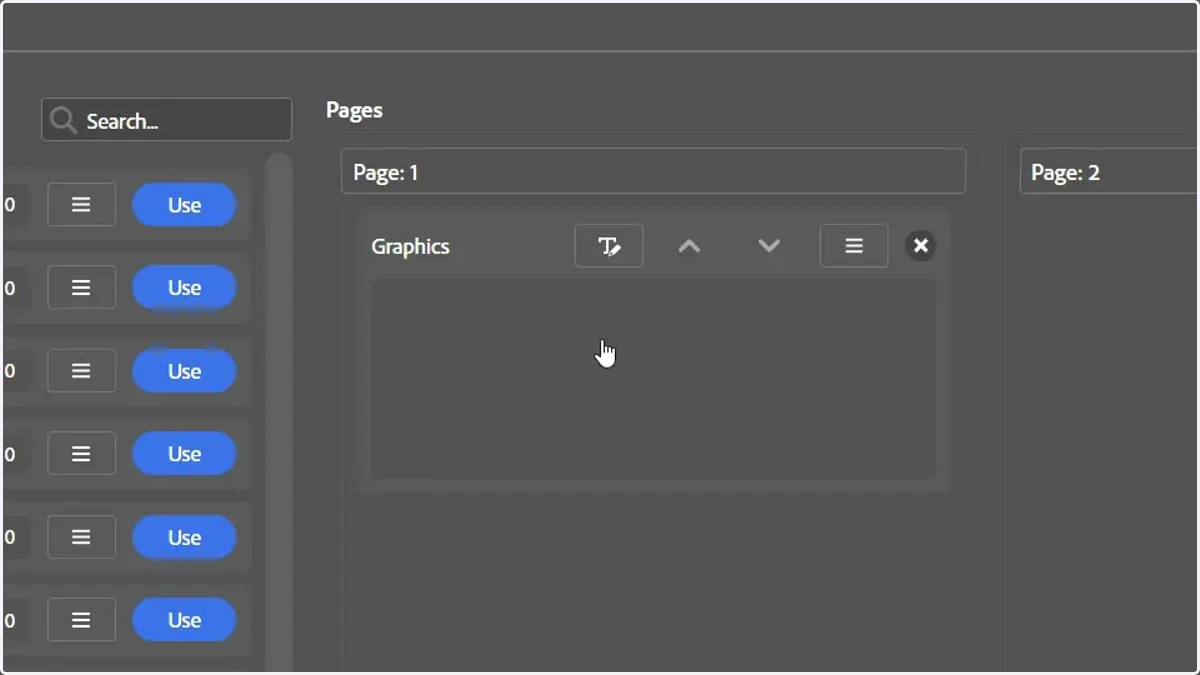
9. Add variables to the newly created group by dragging and dropping from the burger icon
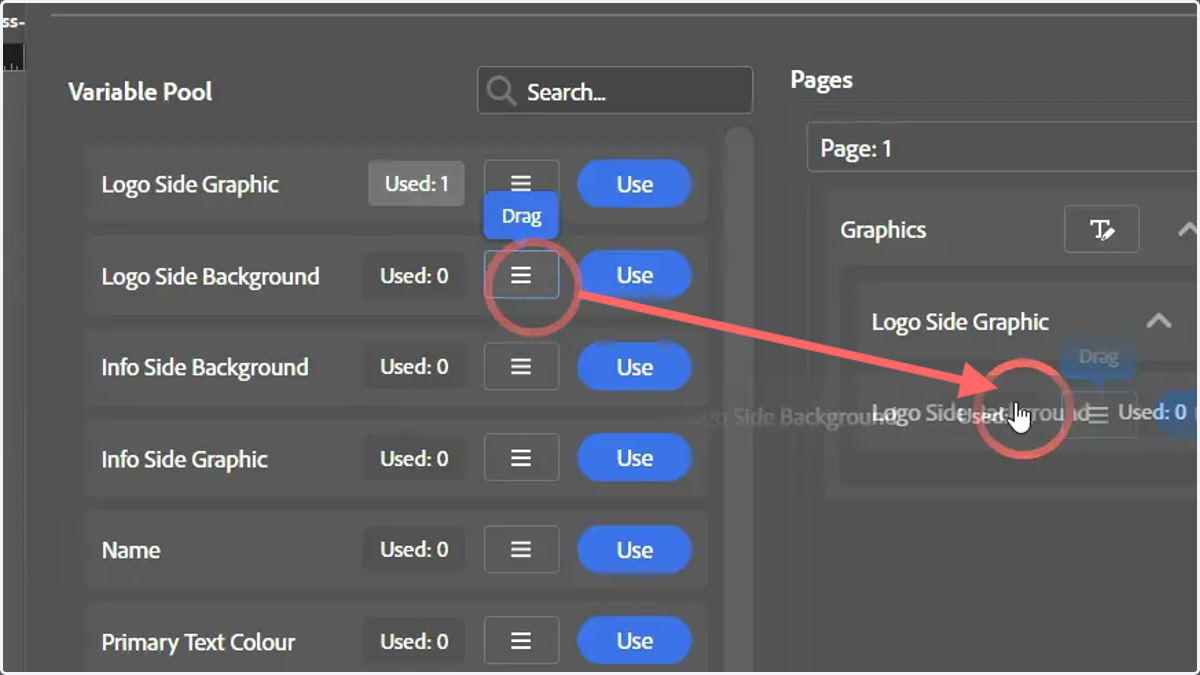
10. With the Per Page Form template, you will have individual columns per template page.
These can all be constructed and formatted using the same methodology
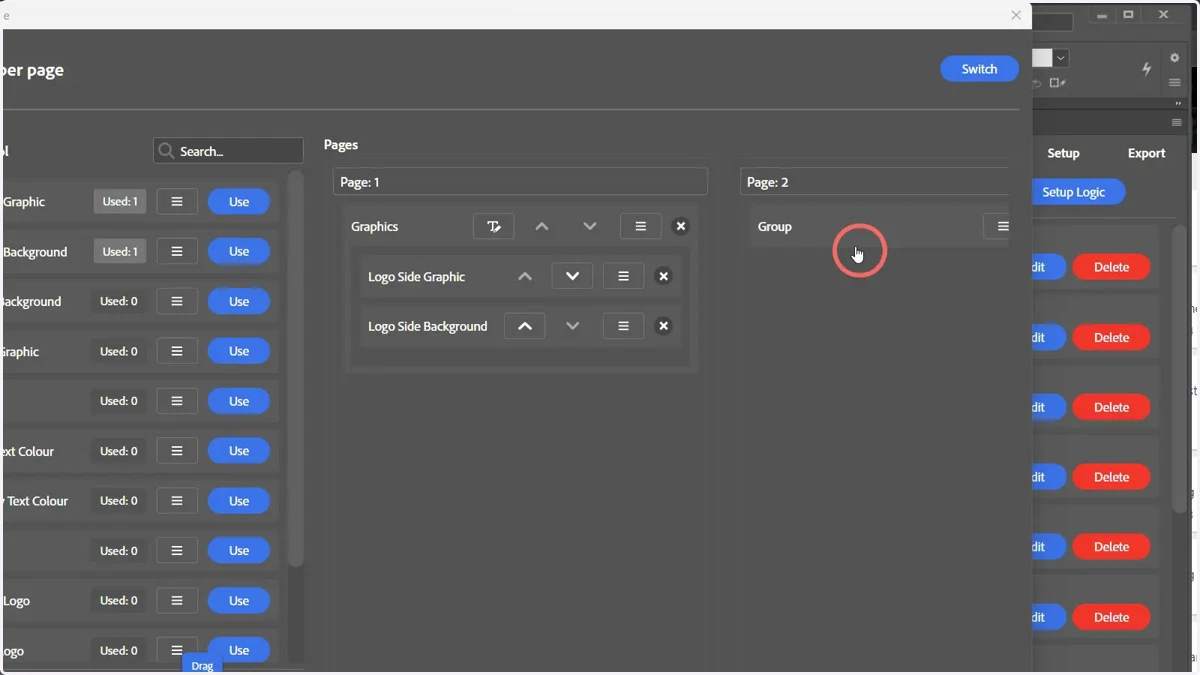
11. Variables do not have to be added inside groups
Individual variables can be placed outside of specified groups, if required.
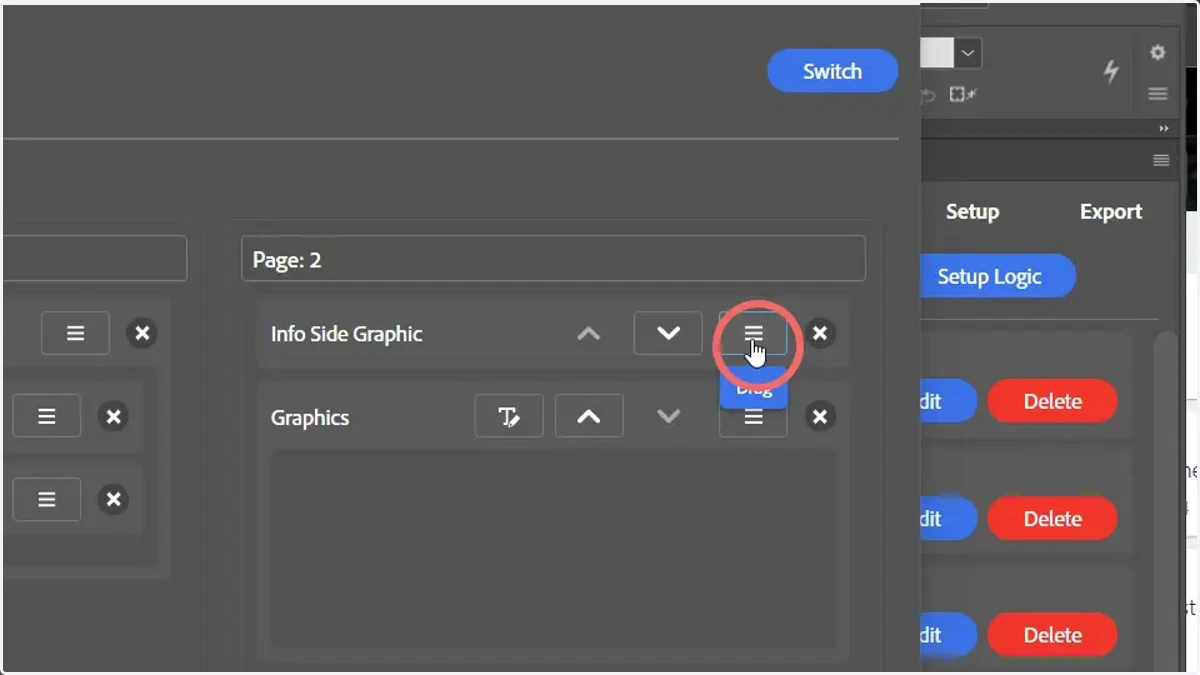
12. Groups can be nested within another group
You can have groups placed within other groups. Simply add them to an existing group using the methodology outlined in previous steps.
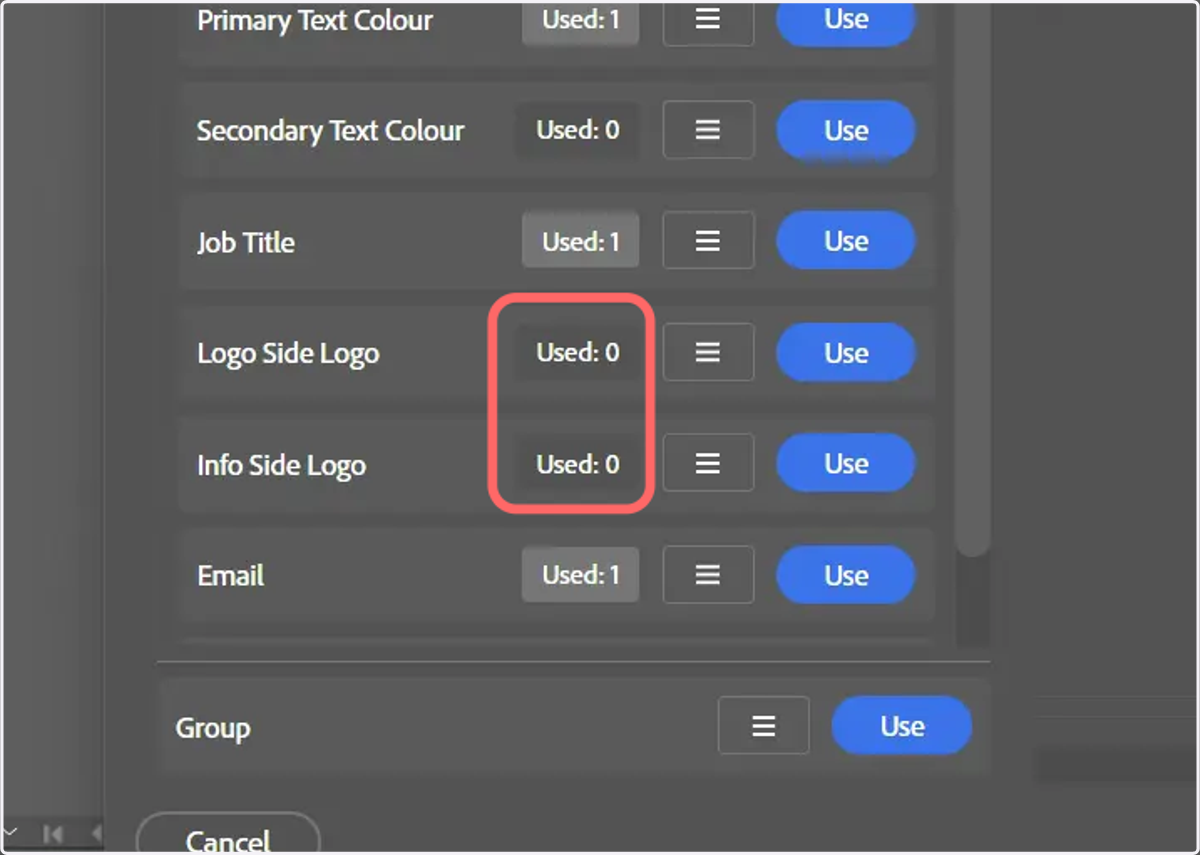
13. You do not need to use all variables on your form
Variables do not have to be visible on your form to be used as part of your template. They can be changed by other means, such as form logic.
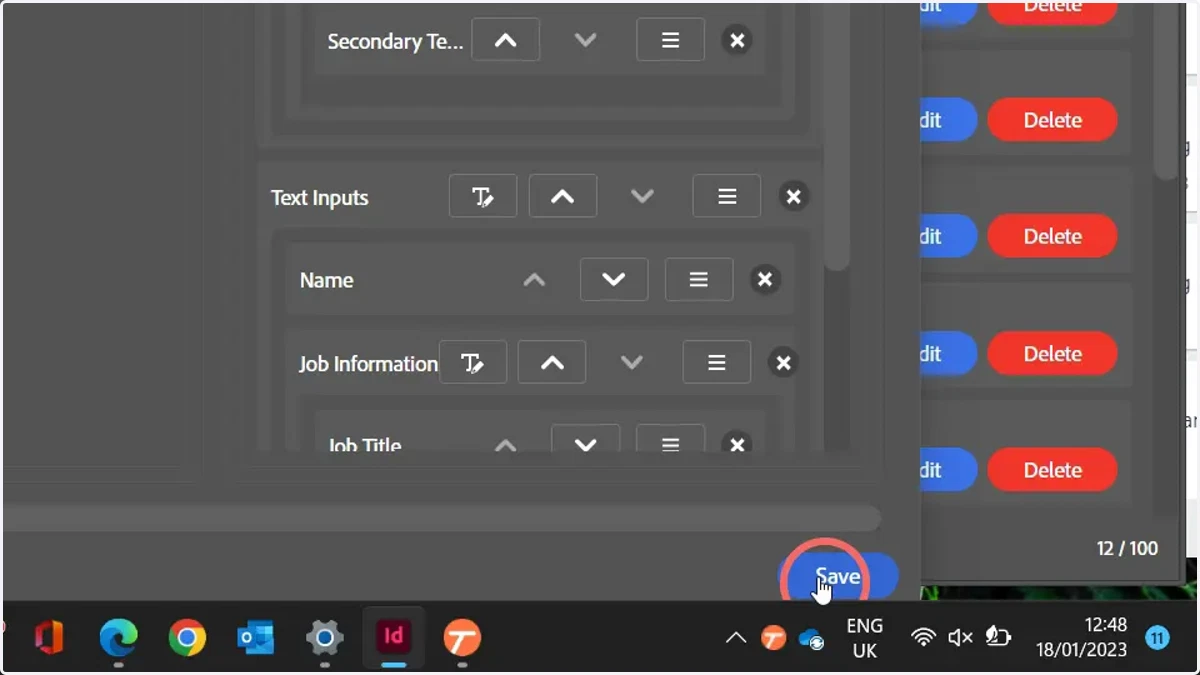
14. Once the form is constructed, click Save
15. Export your template as an MEX file, as outlined in previous tutorials
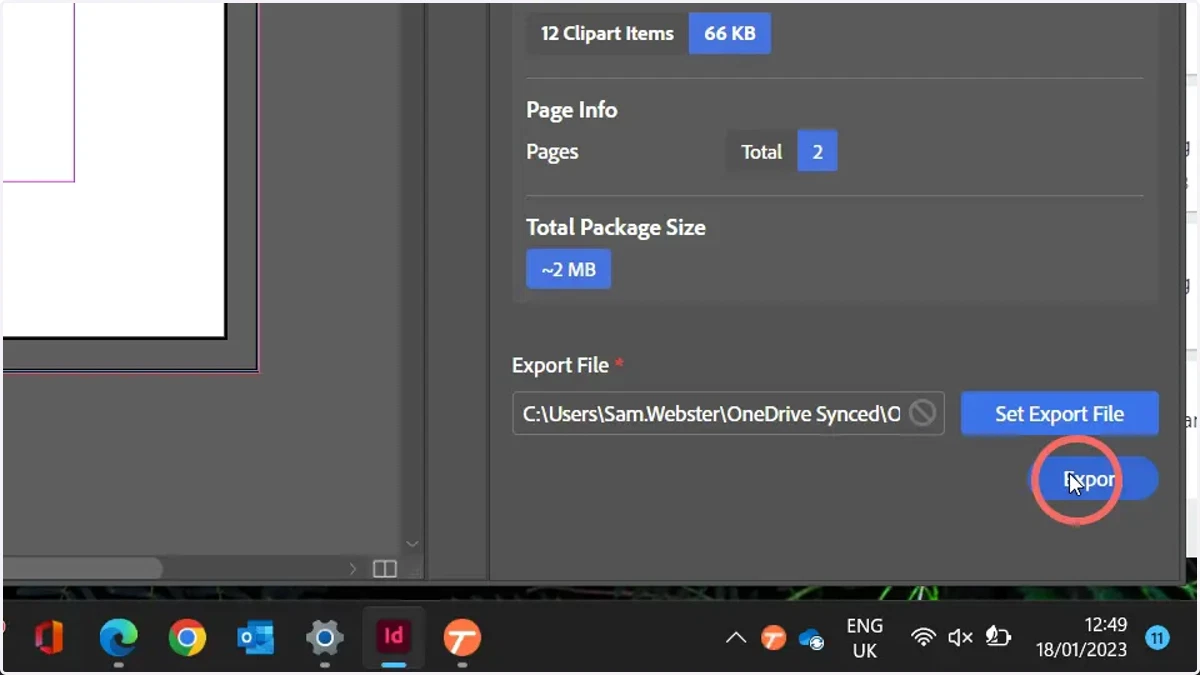
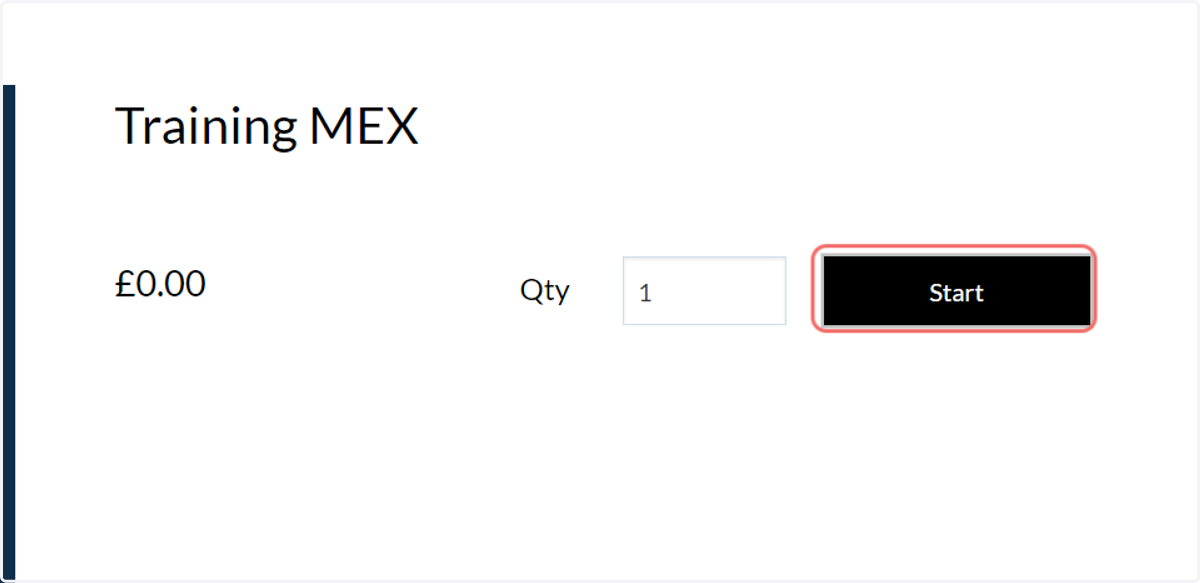
16. Update the MEX file used by your MegaEdit product and launch the product
17. MegaEdit form
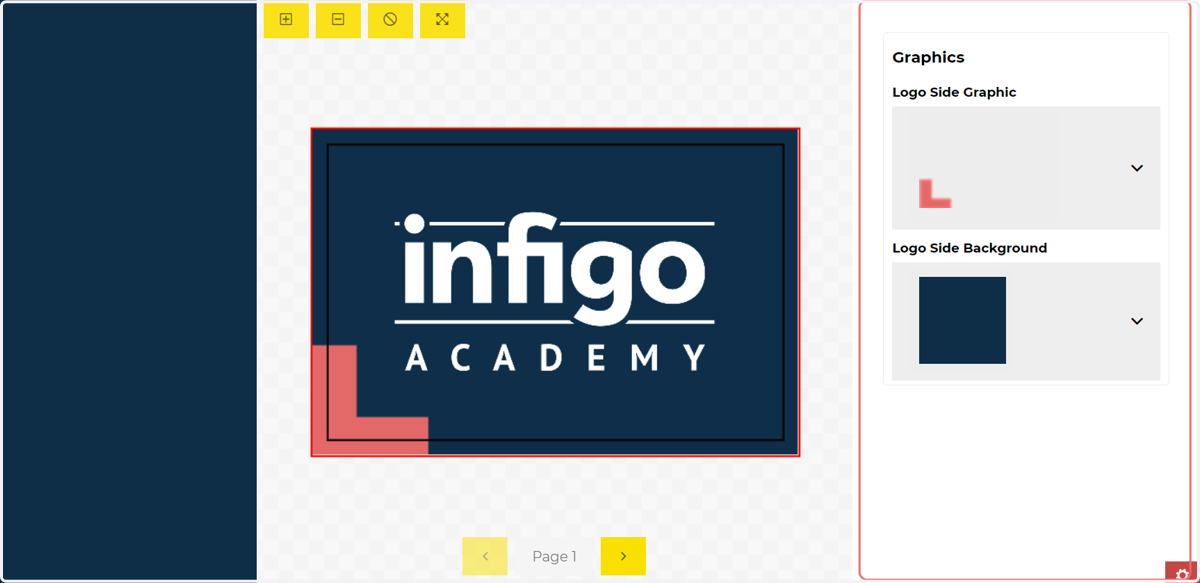
18. MegaEdit form
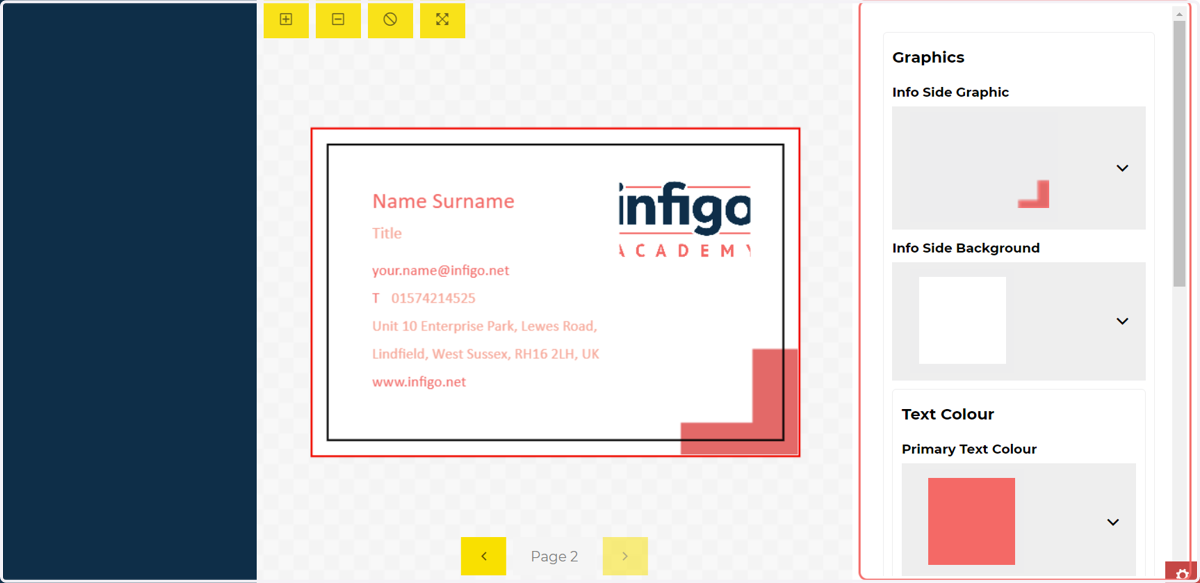
19. MegaEdit form