How to Create Quote & Pricing Content

FollowUpCRM

  1. 1. Click on your name in the top right corner
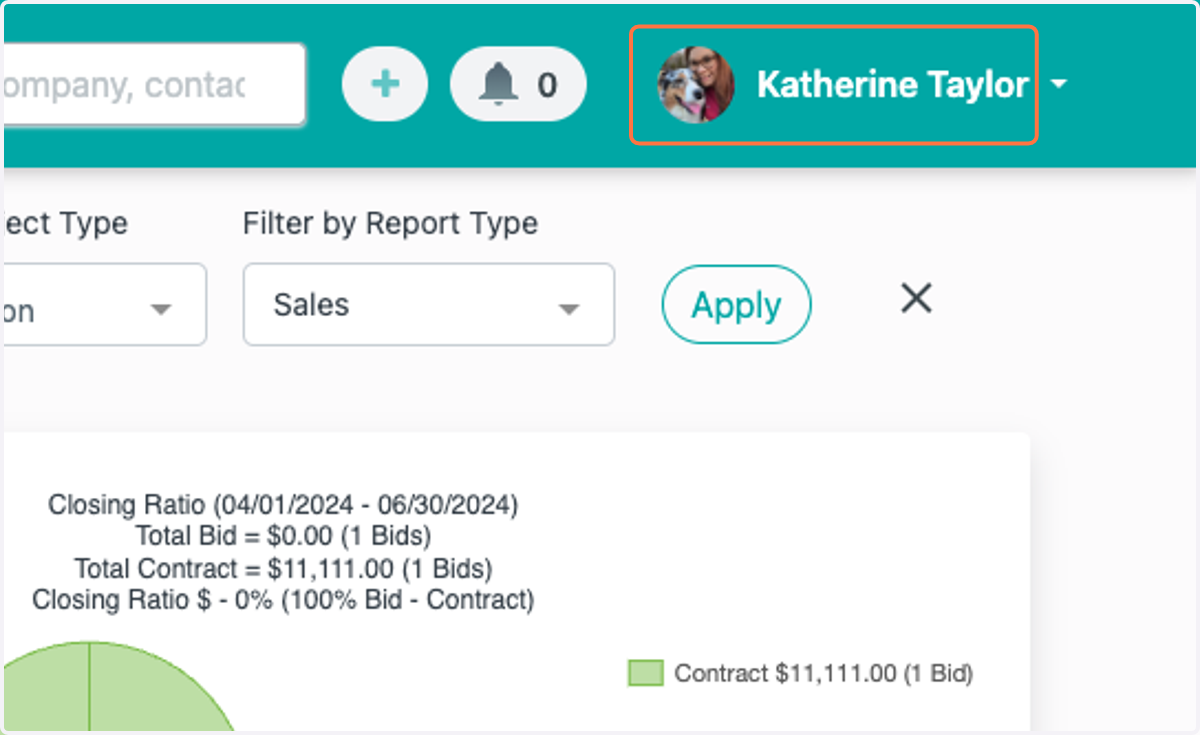
    Click on your name in the top right corner
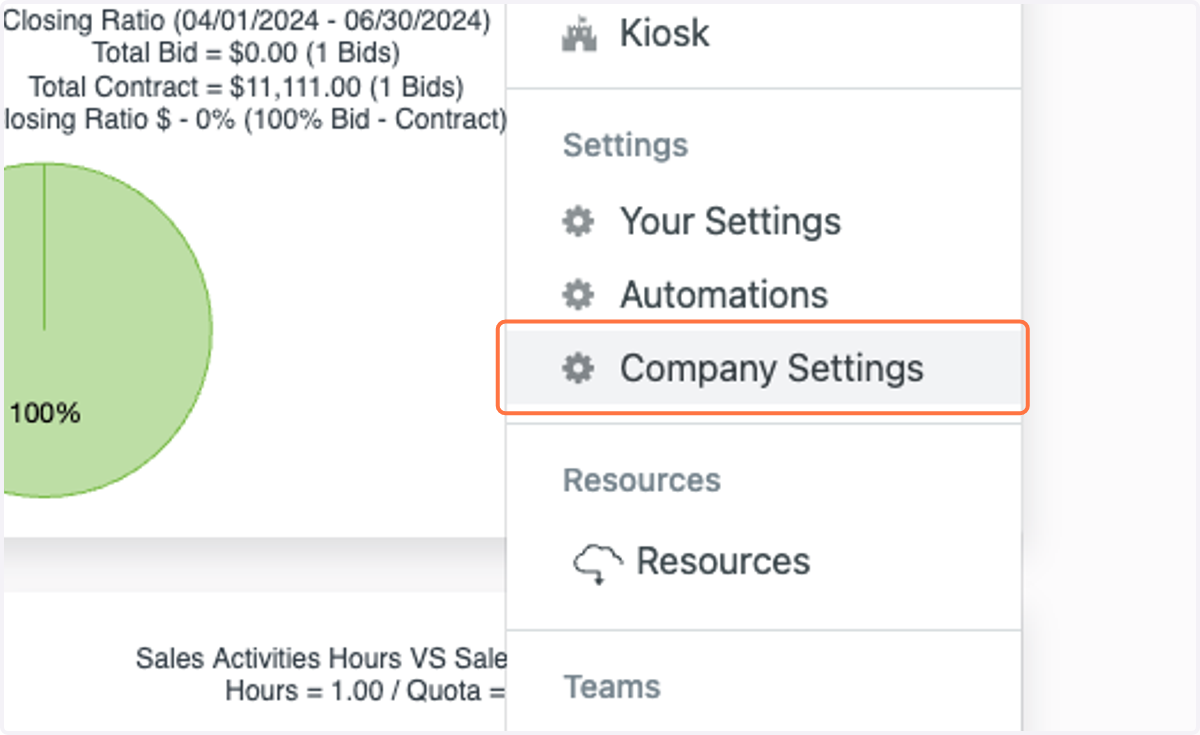
  2. 2. Click on Company Settings

    Click on Company Settings
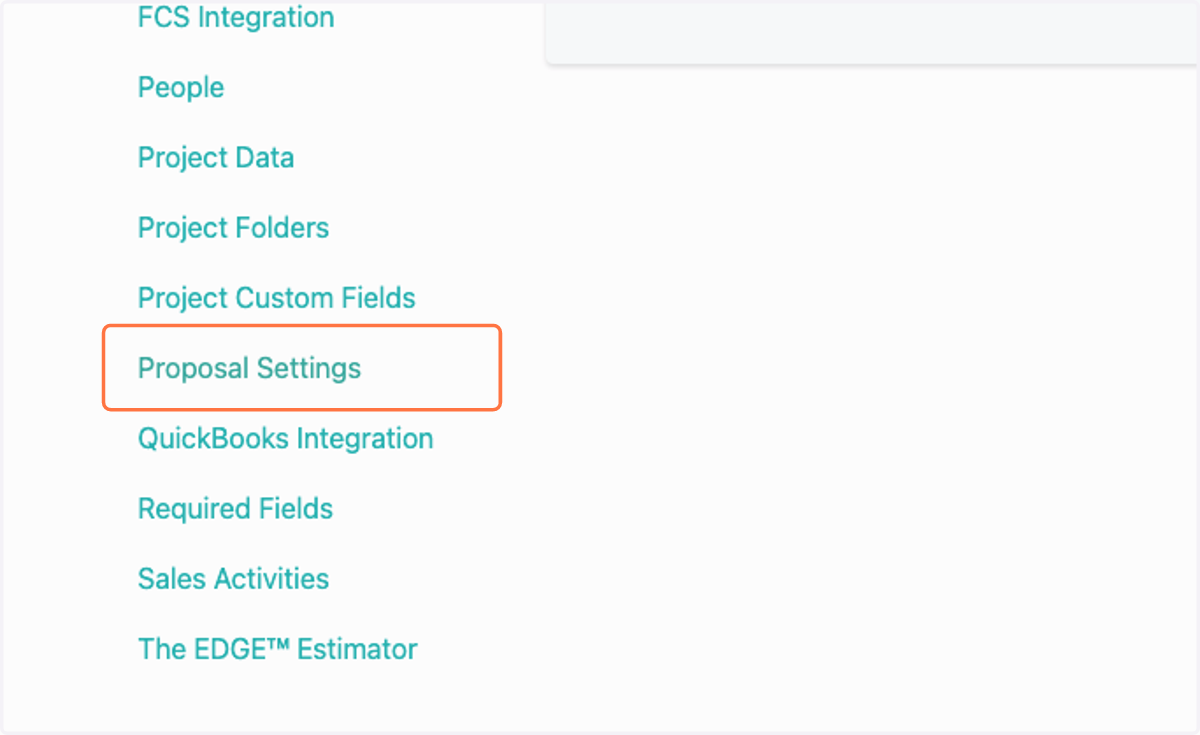
  3. 3. Click on Proposal Settings

    Click on Proposal Settings
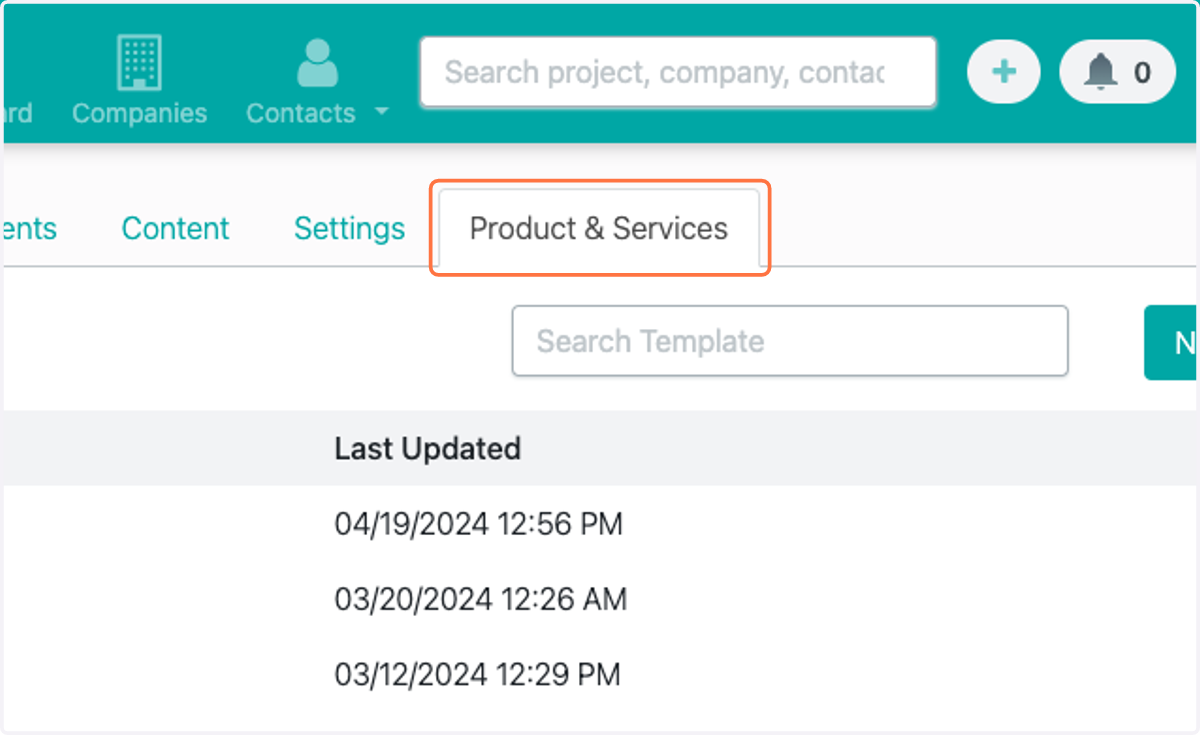
  4. 4. Click on Product & Services

    Click on Product & Services
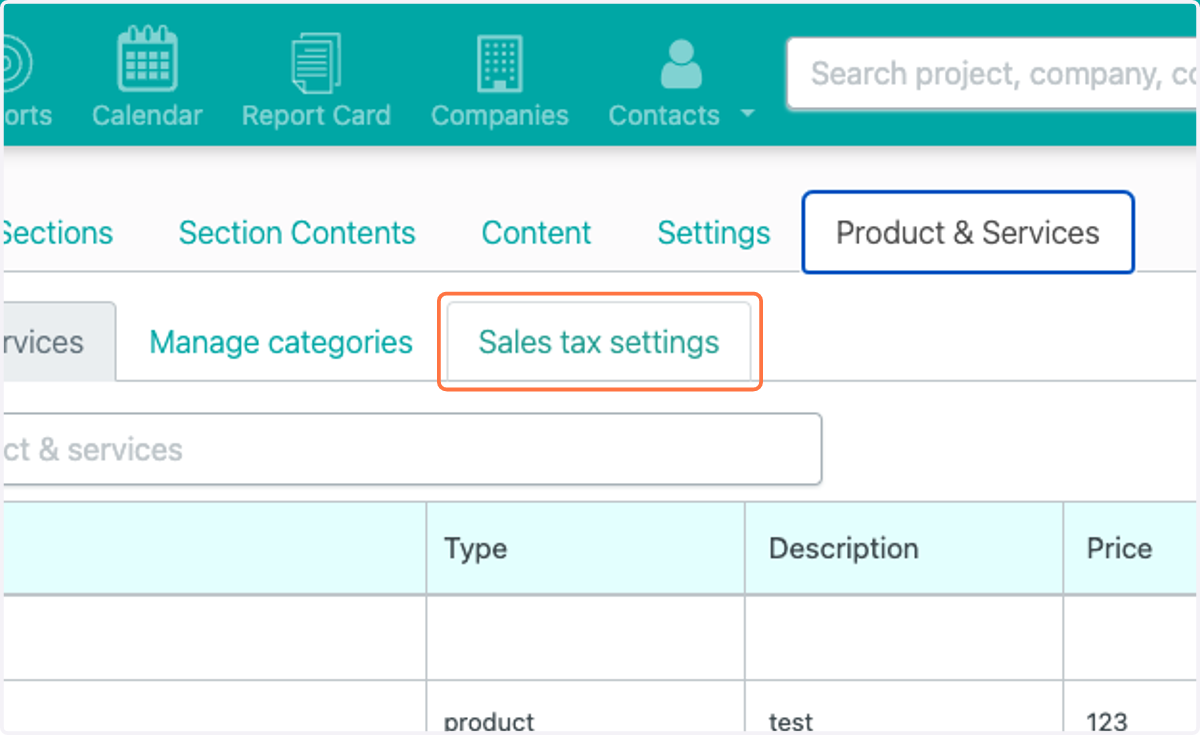
  5. 5. Click on Sales tax settings

    Click on Sales tax settings
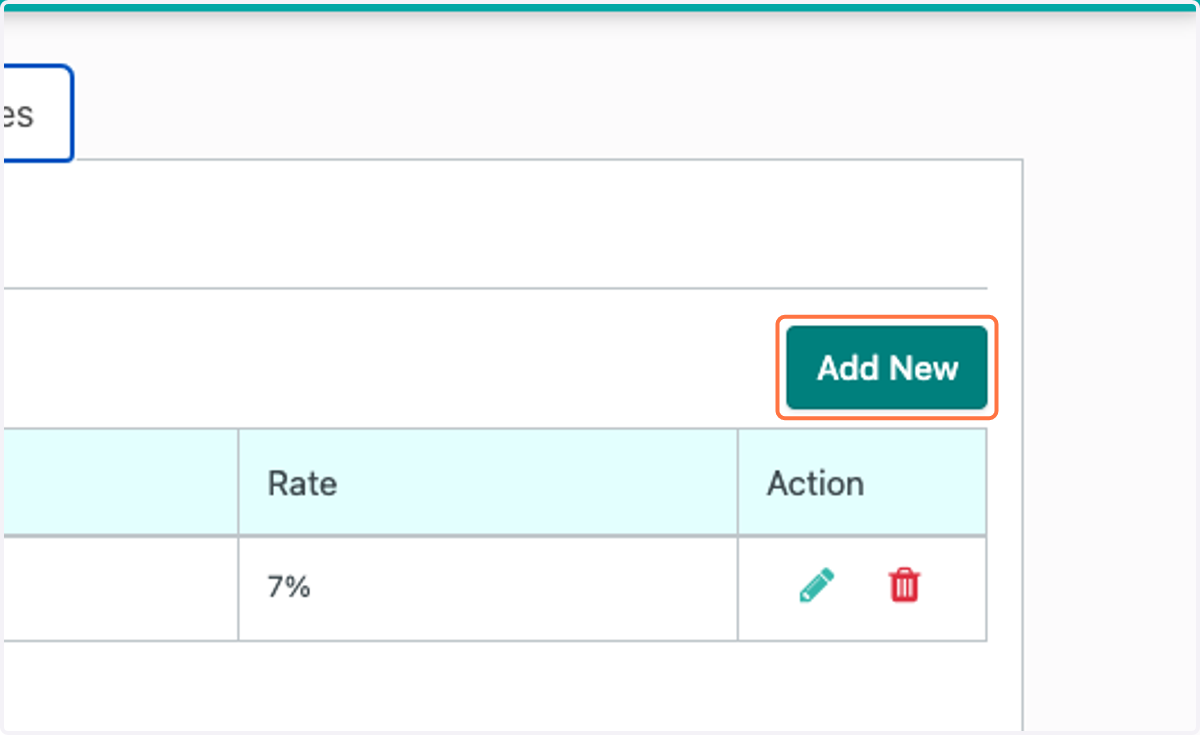
  6. 6. Click on Add New

    Click on Add New
  7. 7. Select Type (Single or Combined), Enter Name and Rate
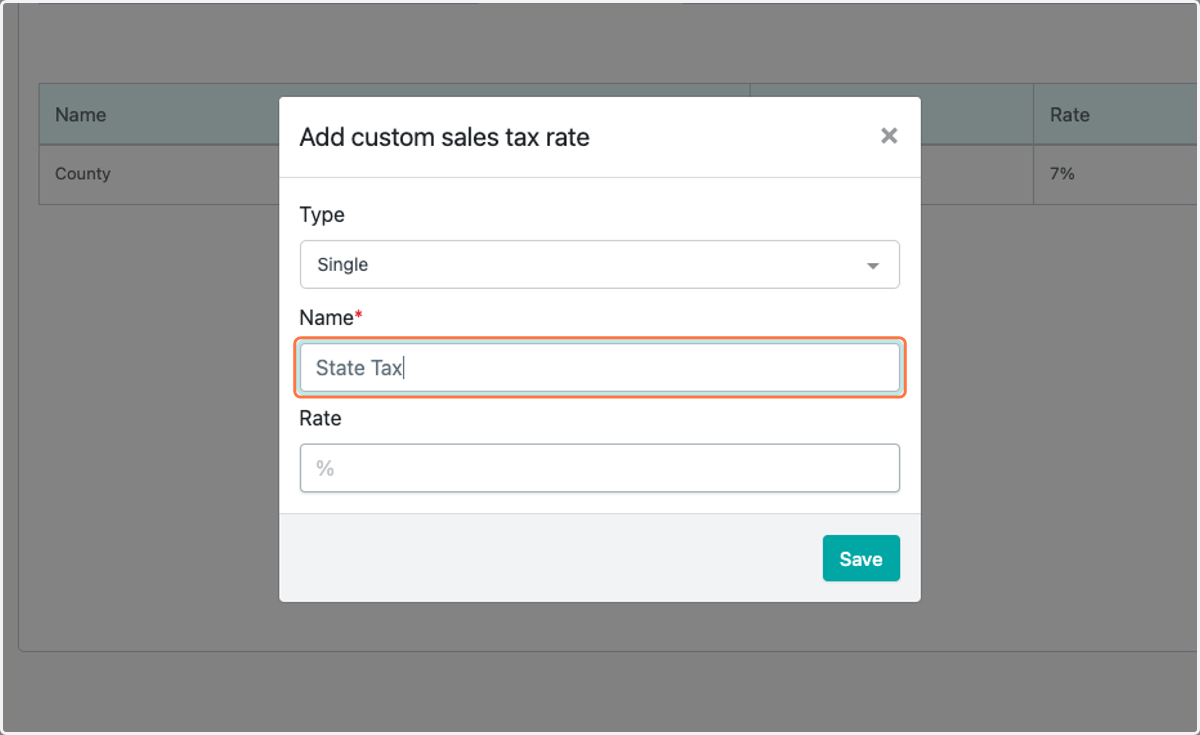
    Select Type (Single or Combined), Enter Name and Rate
  8. 8. Click on Save

    Click on Save
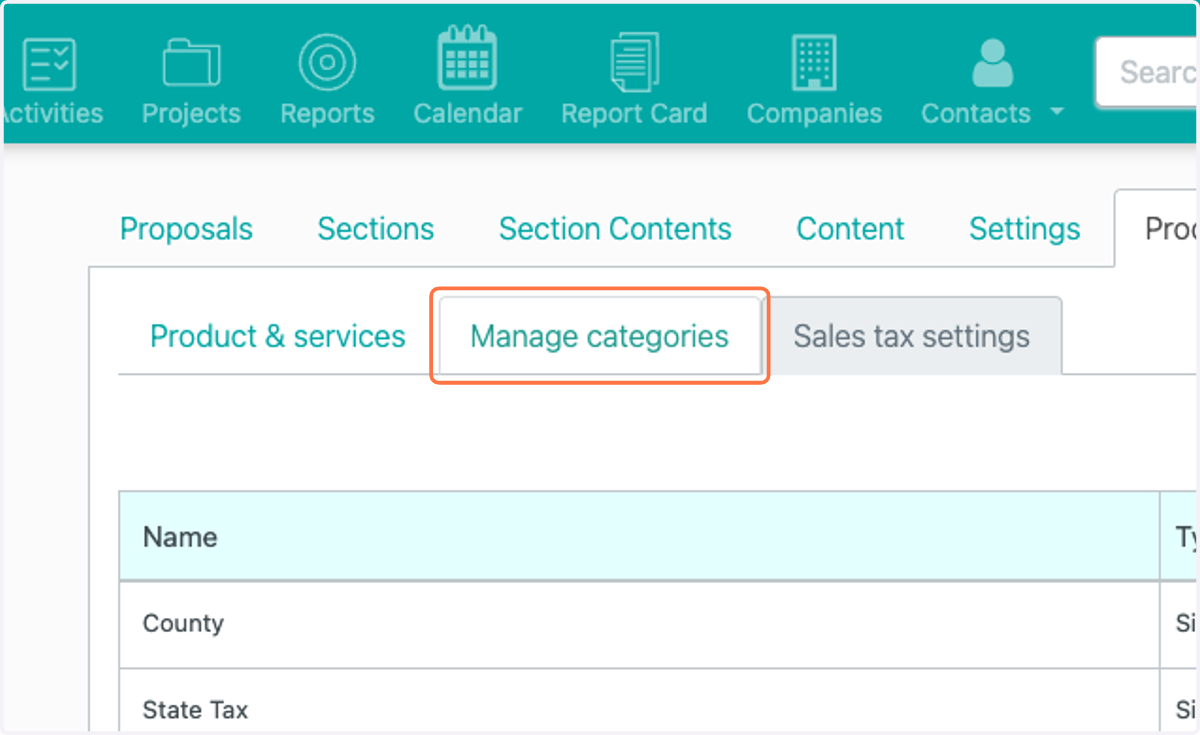
  9. 9. Click on Manage categories

    Click on Manage categories
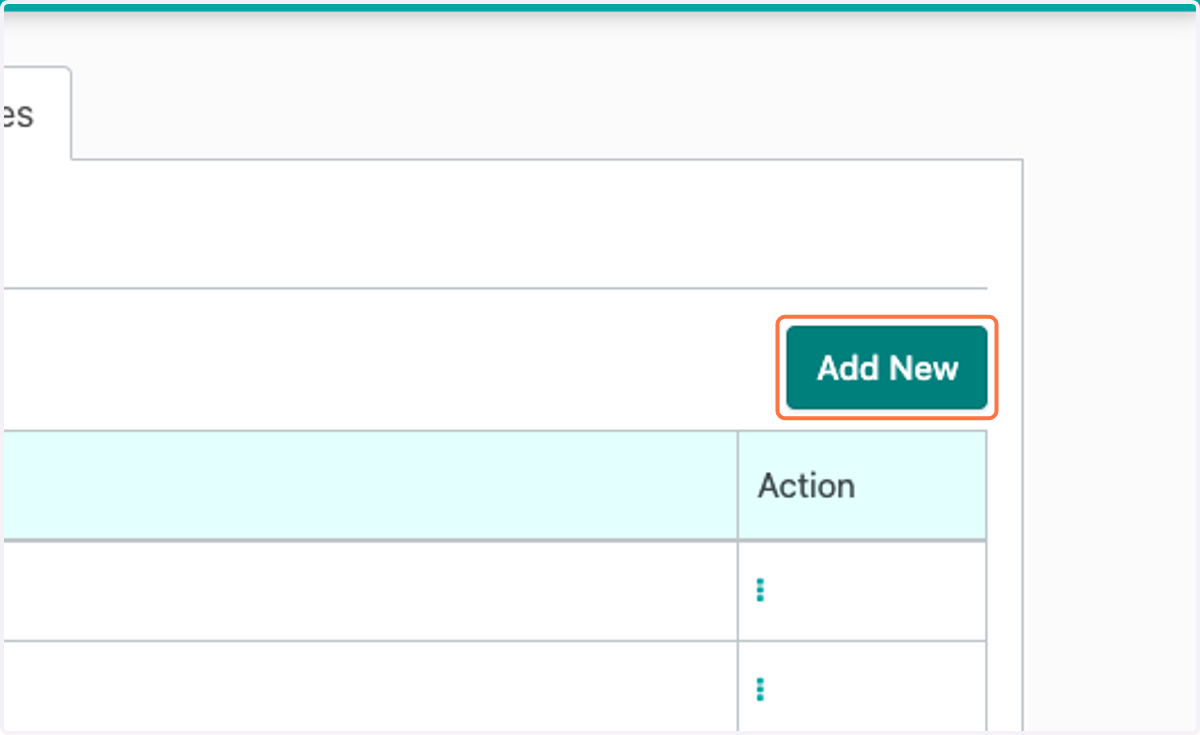
  10. 10. Click on Add New

    Click on Add New
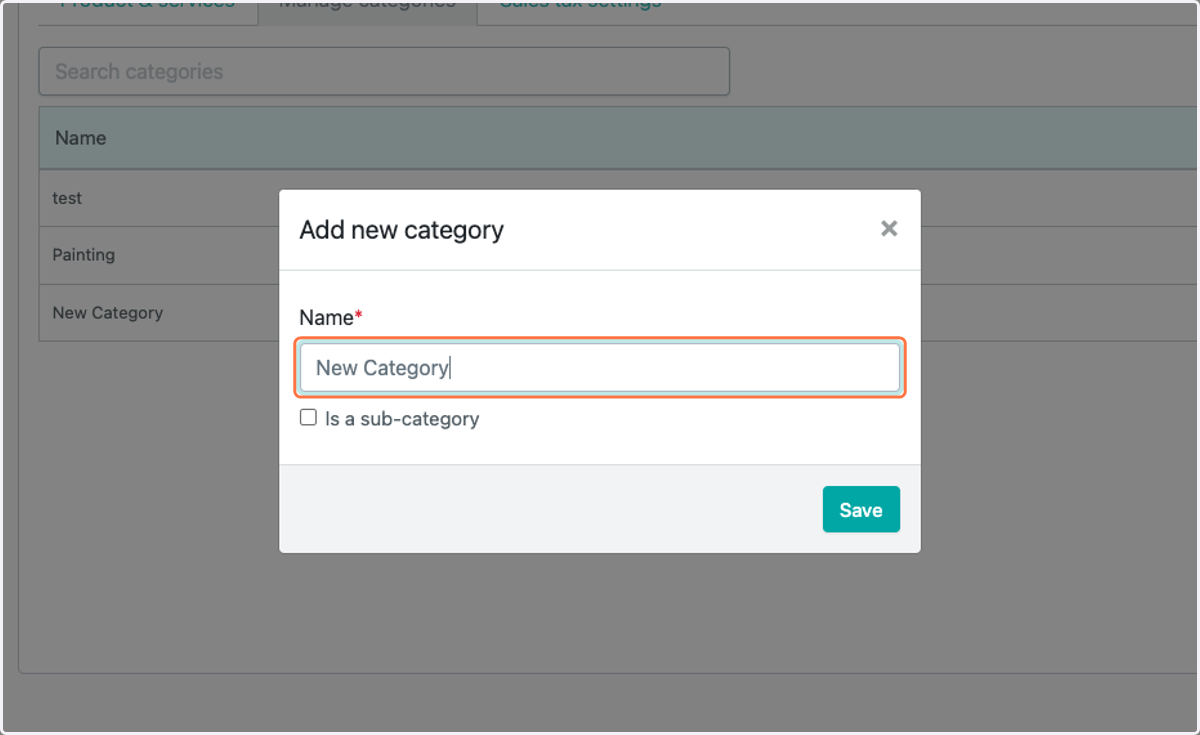
  11. 11. Type category name

    Type category name
  12. 12. If you are adding a subcategory, select "Is a sub-category" checkbox
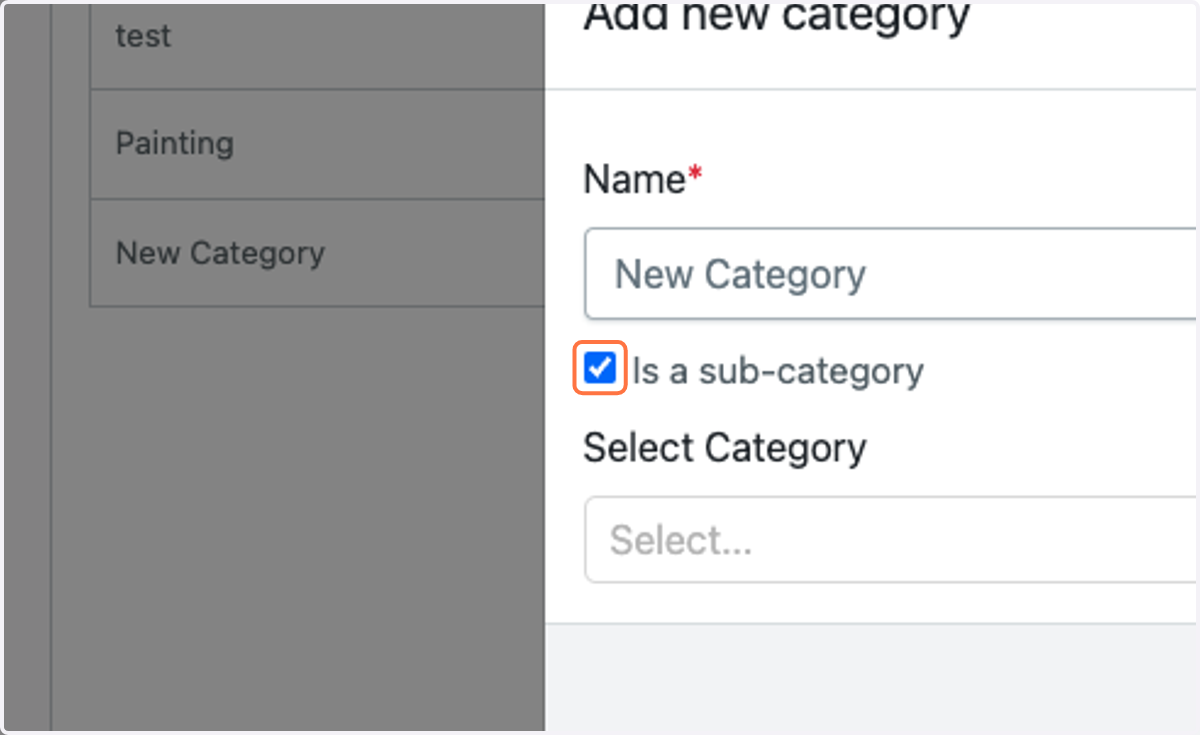
    If you are adding a subcategory, select "Is a sub-category" checkbox
  13. 13. If you are adding a subcategory, select primary category
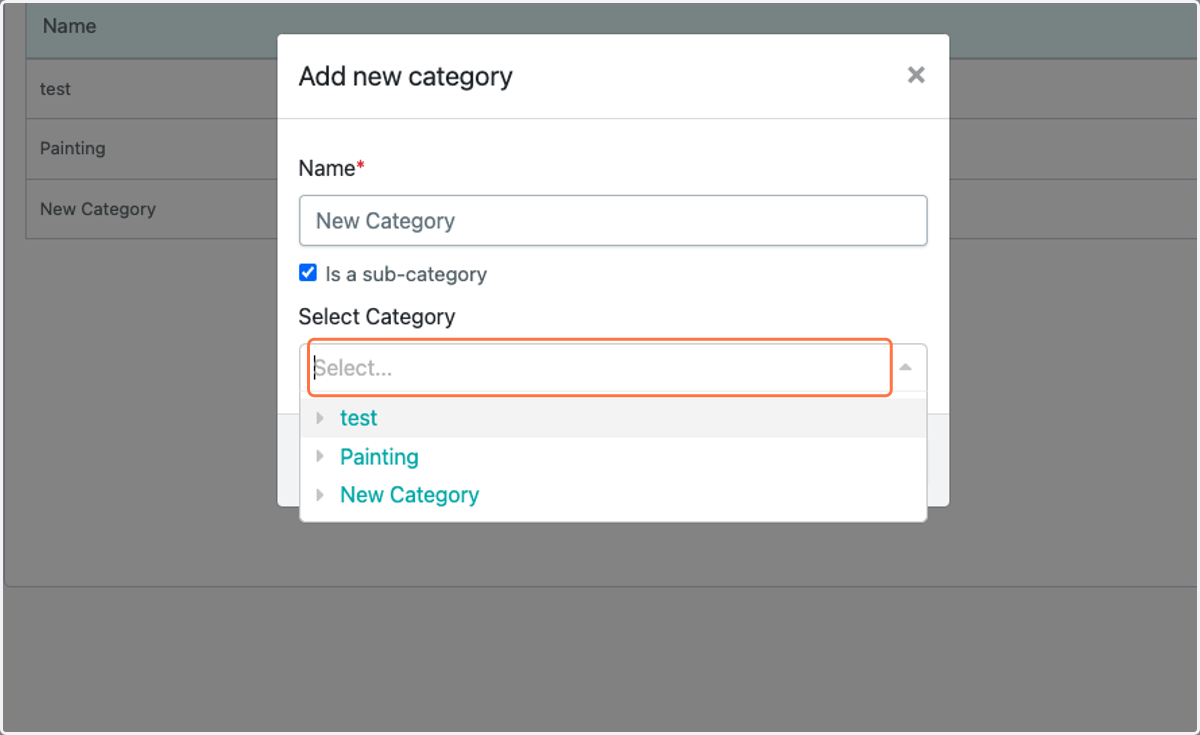
    If you are adding a subcategory, select primary category
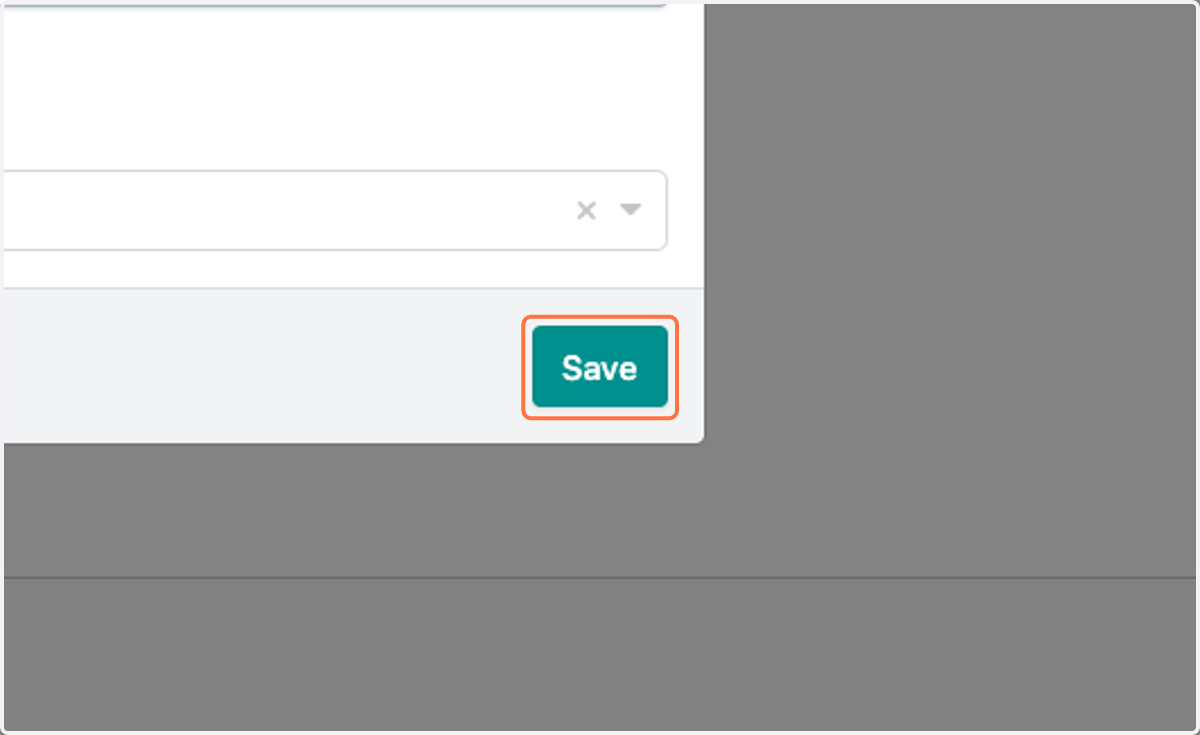
  14. 14. Click on Save

    Click on Save
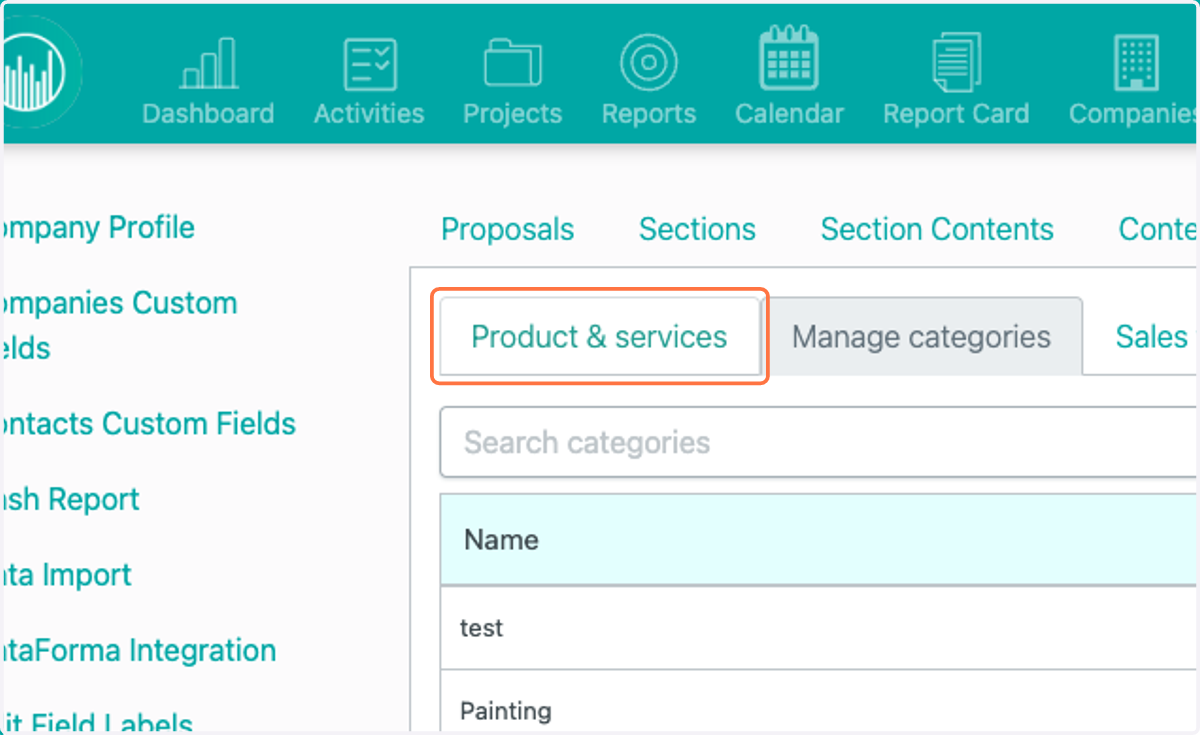
  15. 15. Click on Product & Services

    Click on Product & Services
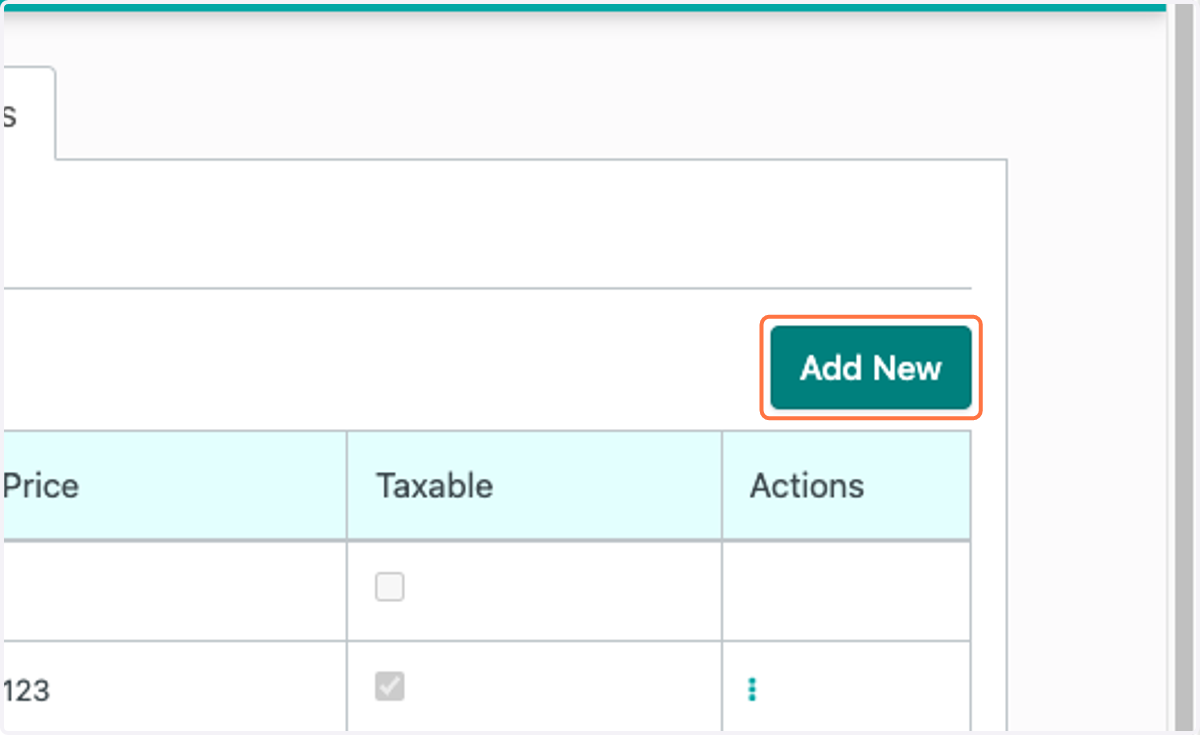
  16. 16. Click on Add New

    Click on Add New
  17. 17. Select "Product or Service" or "Bundle"
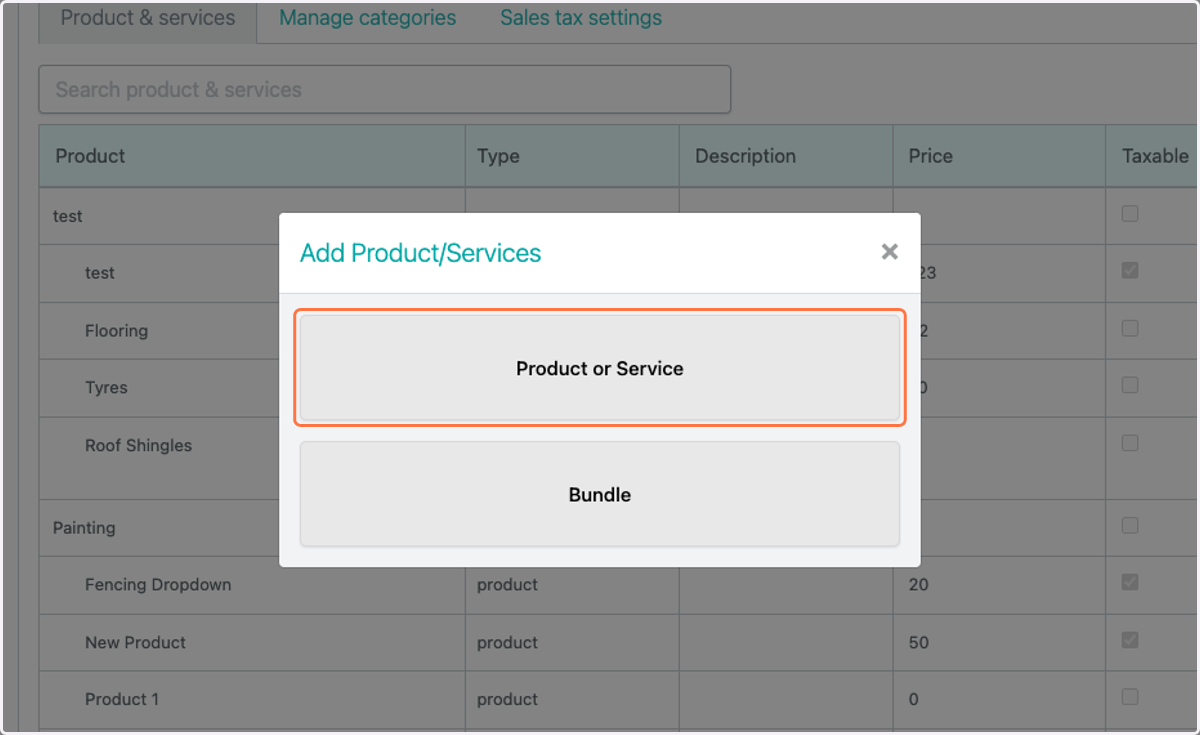
    Select "Product or Service" or "Bundle"
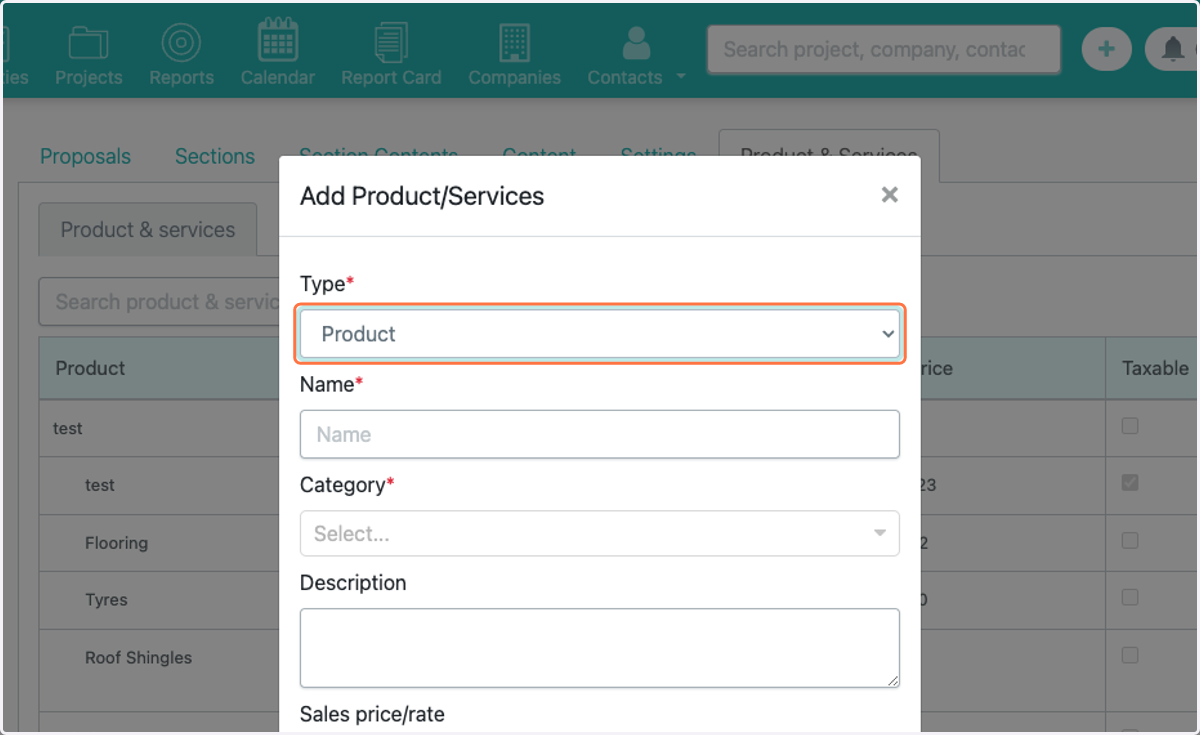
  18. 18. Select Type (Product or Service)

    Select Type (Product or Service)
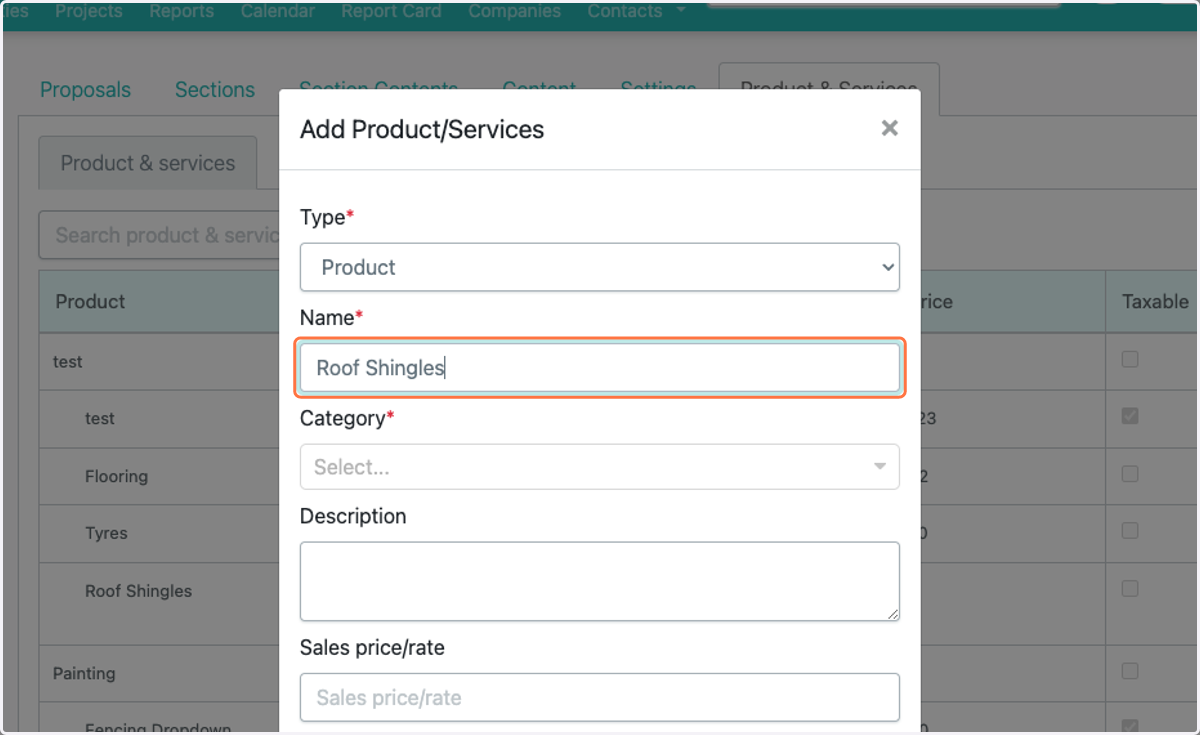
  19. 19. Type Product/Service Name

    Type Product/Service Name
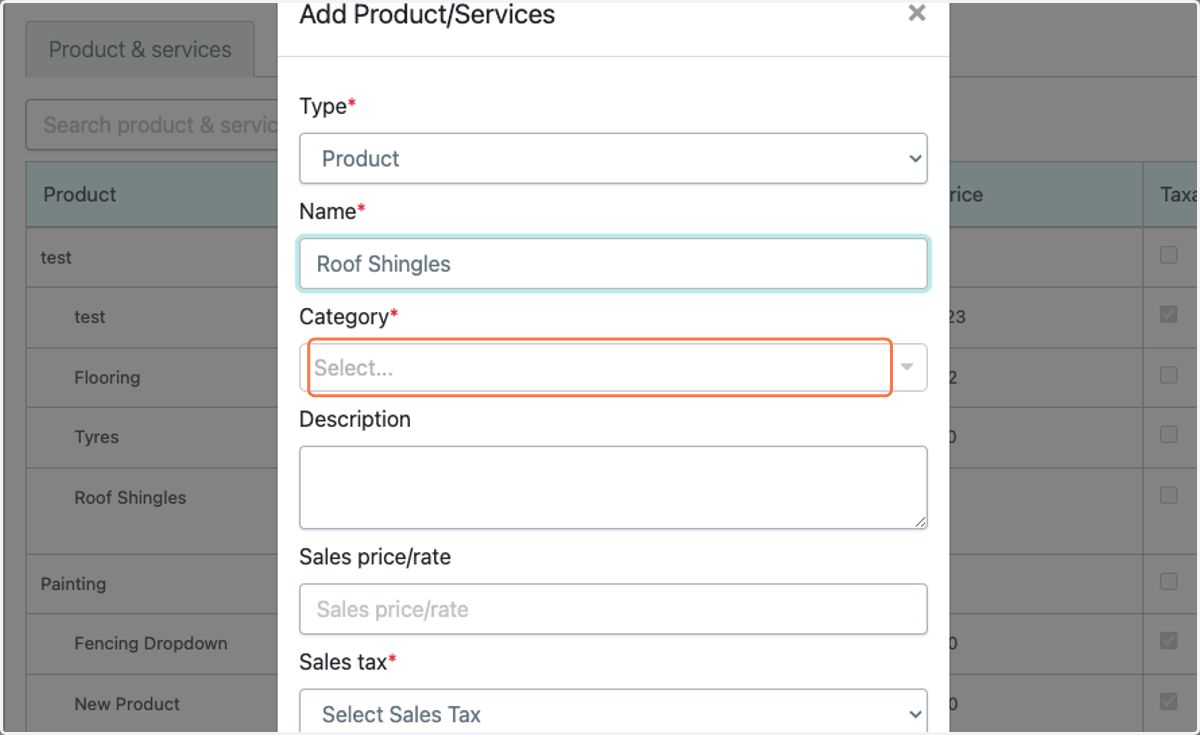
  20. 20. Select Category

    Select Category
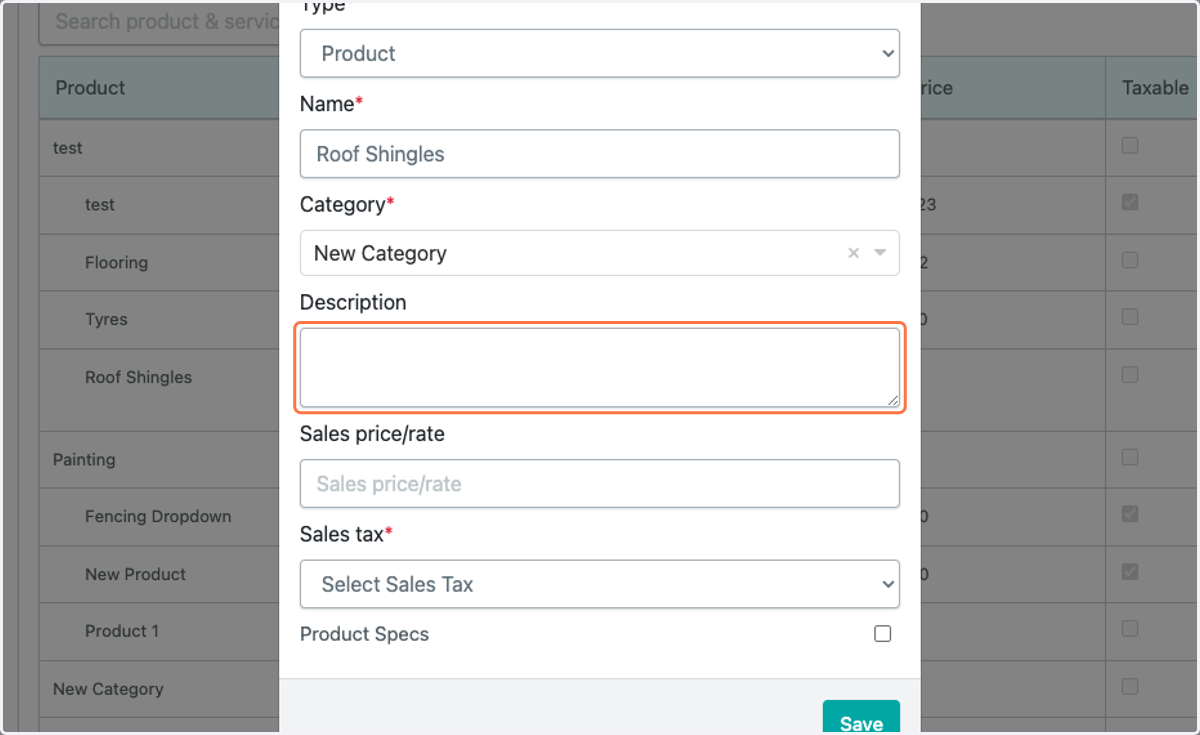
  21. 21. Add a description

    Add a description
  22. 22. Add a sales price/rate and select Sales Tax (Taxable or Non-taxable)
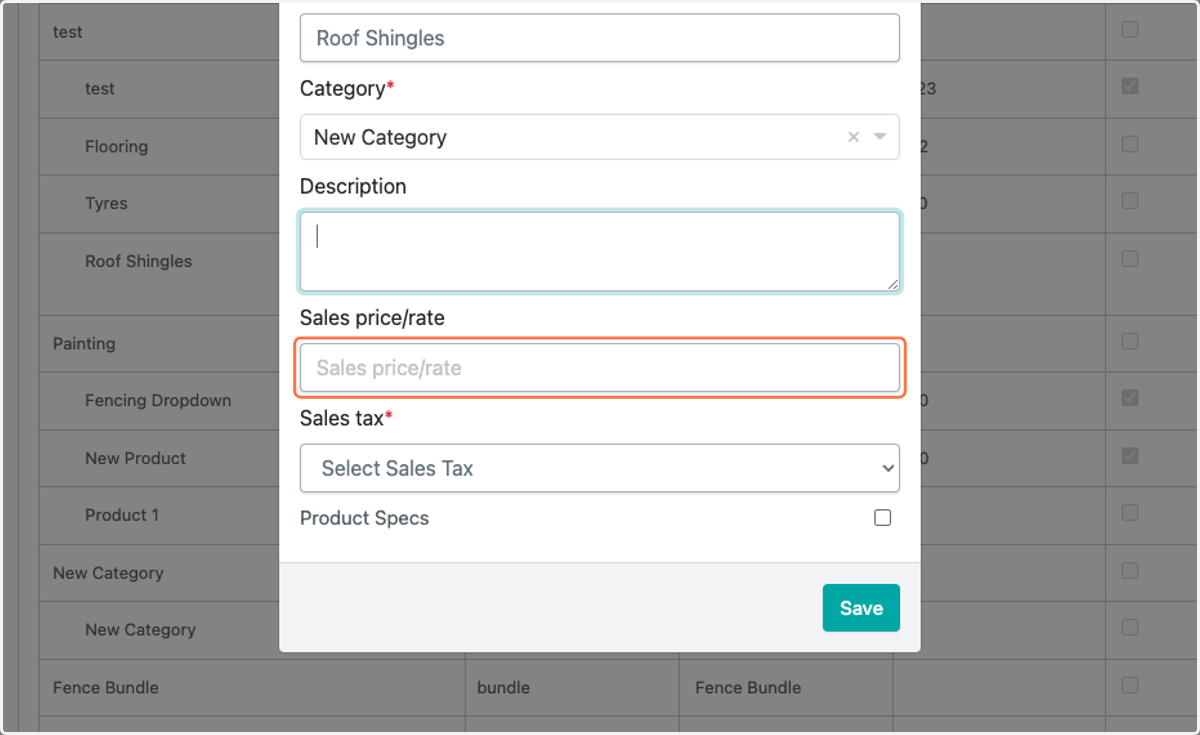
    Add a sales price/rate and select Sales Tax (Taxable or Non-taxable)
  23. 23. To add additional details check Product Specs
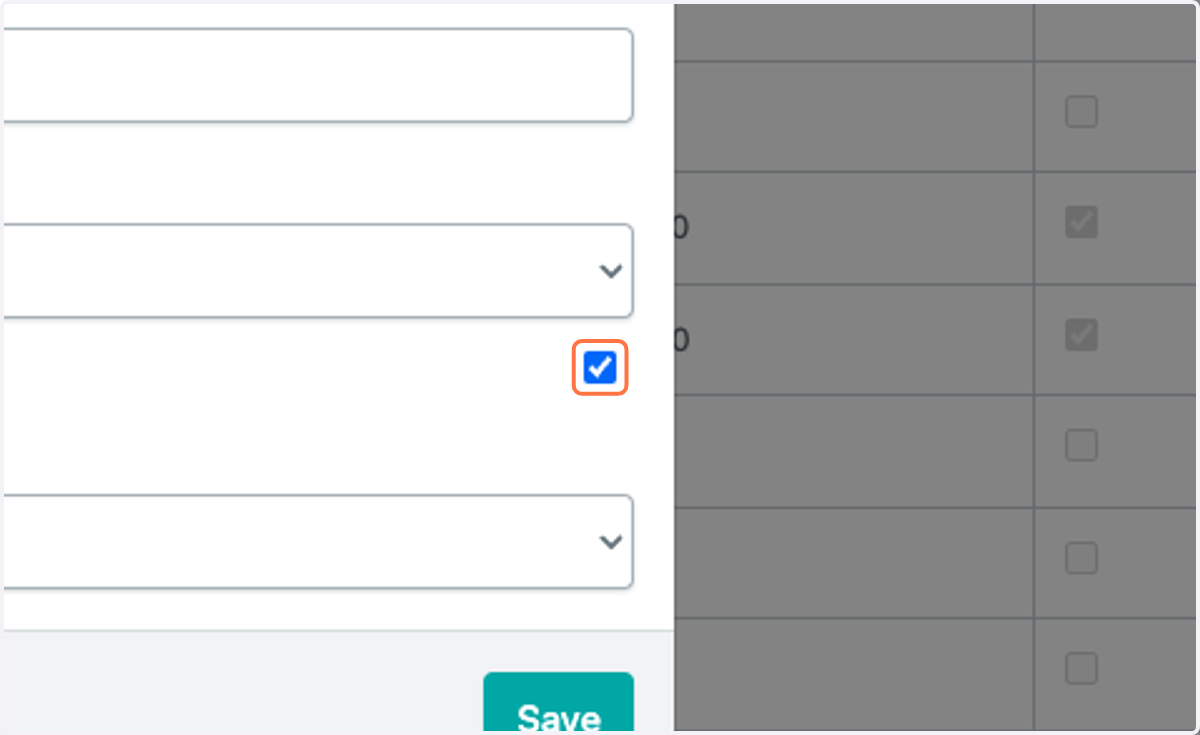
    To add additional details check Product Specs
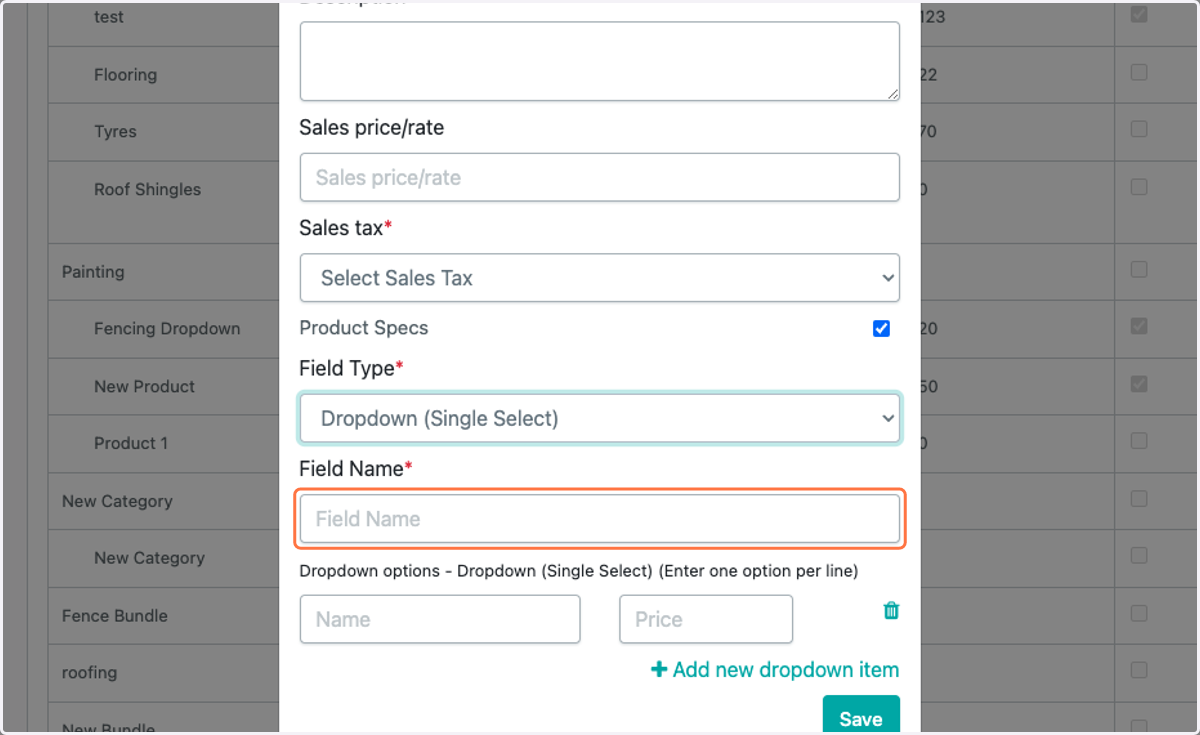
  24. 24. Select Field Type (Single Select, Multi Select, Radio, Text)
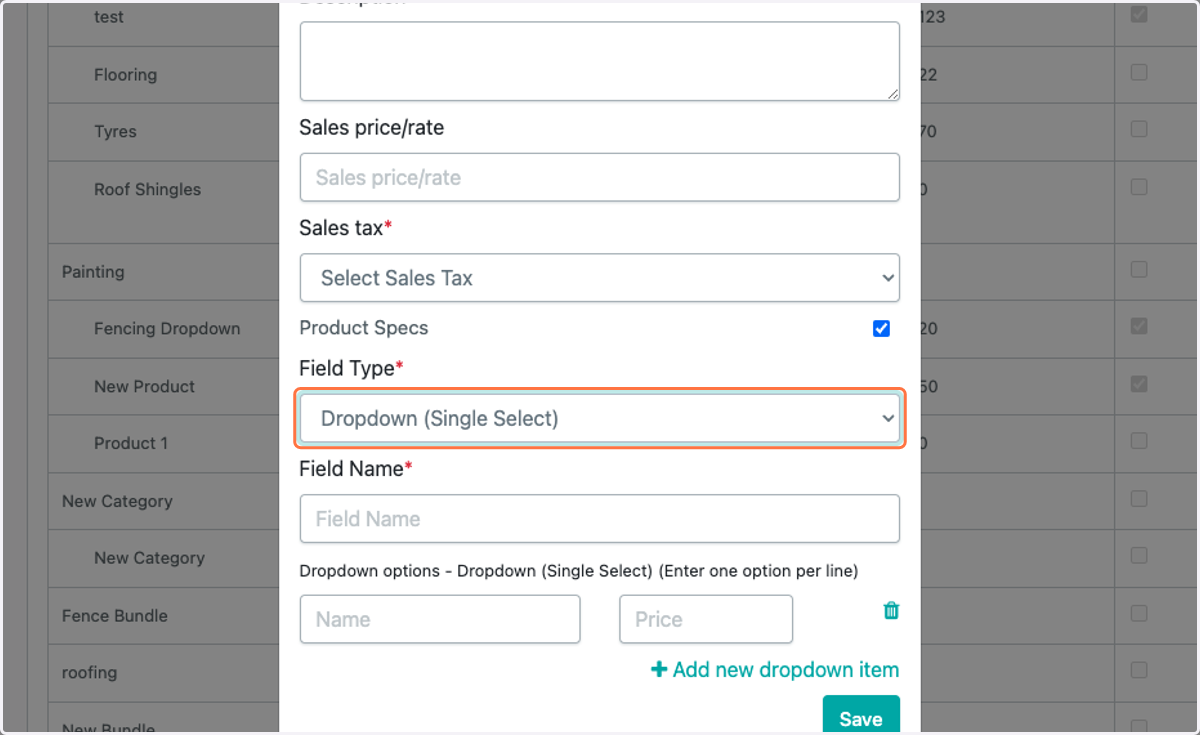
    Select Field Type (Single Select, Multi Select, Radio, Text)
  25. 25. Enter Field Name

    Enter Field Name
  26. 26. Add additional information if needed (dropdown selections, prices etc)
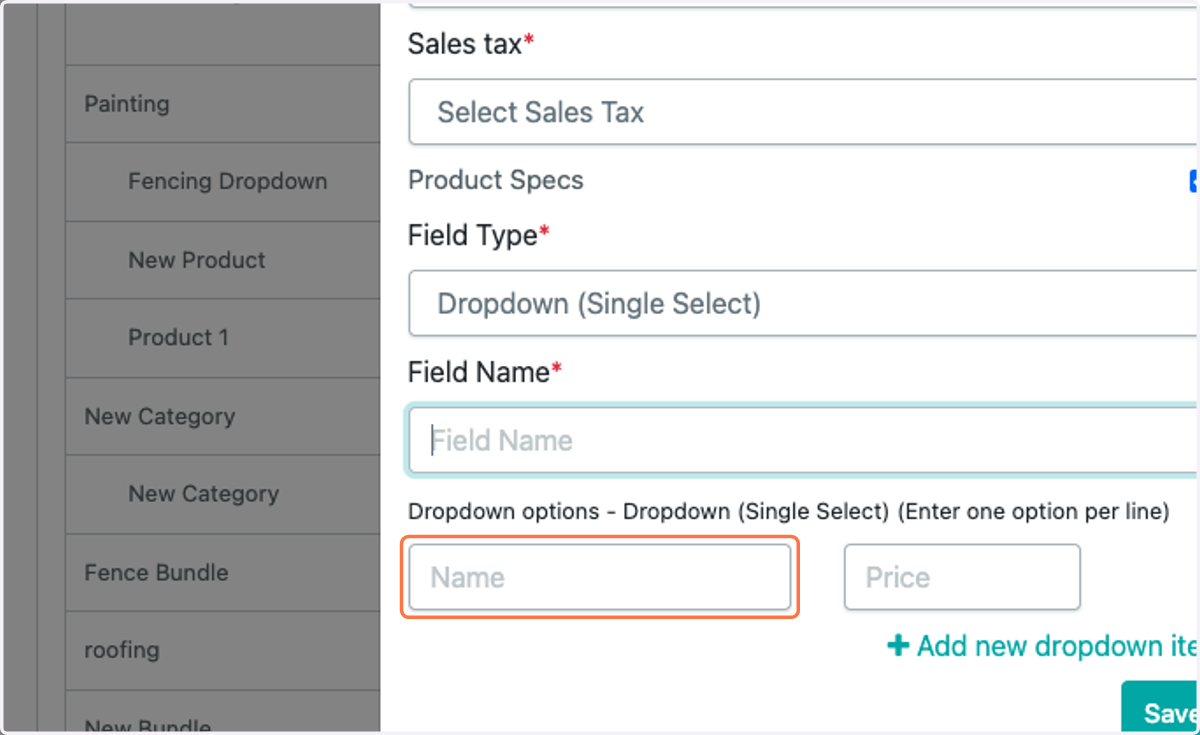
    Add additional information if needed (dropdown selections, prices etc)
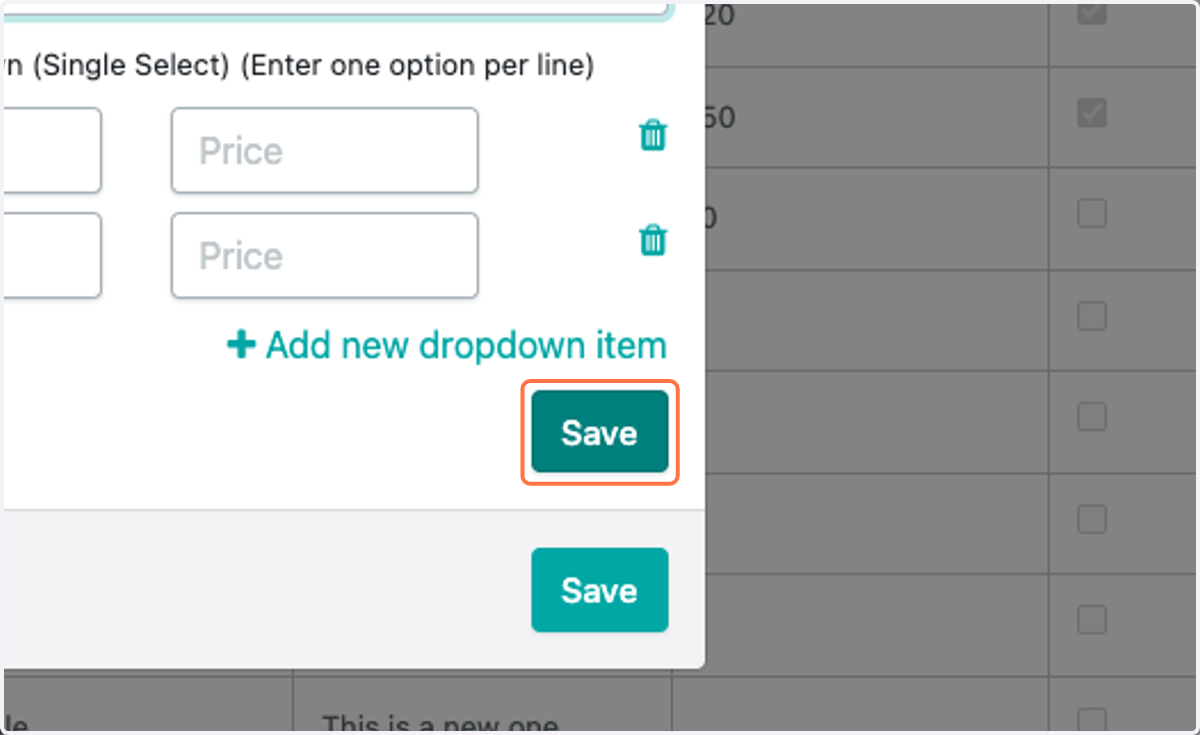
  27. 27. Click on Save

    Click on Save
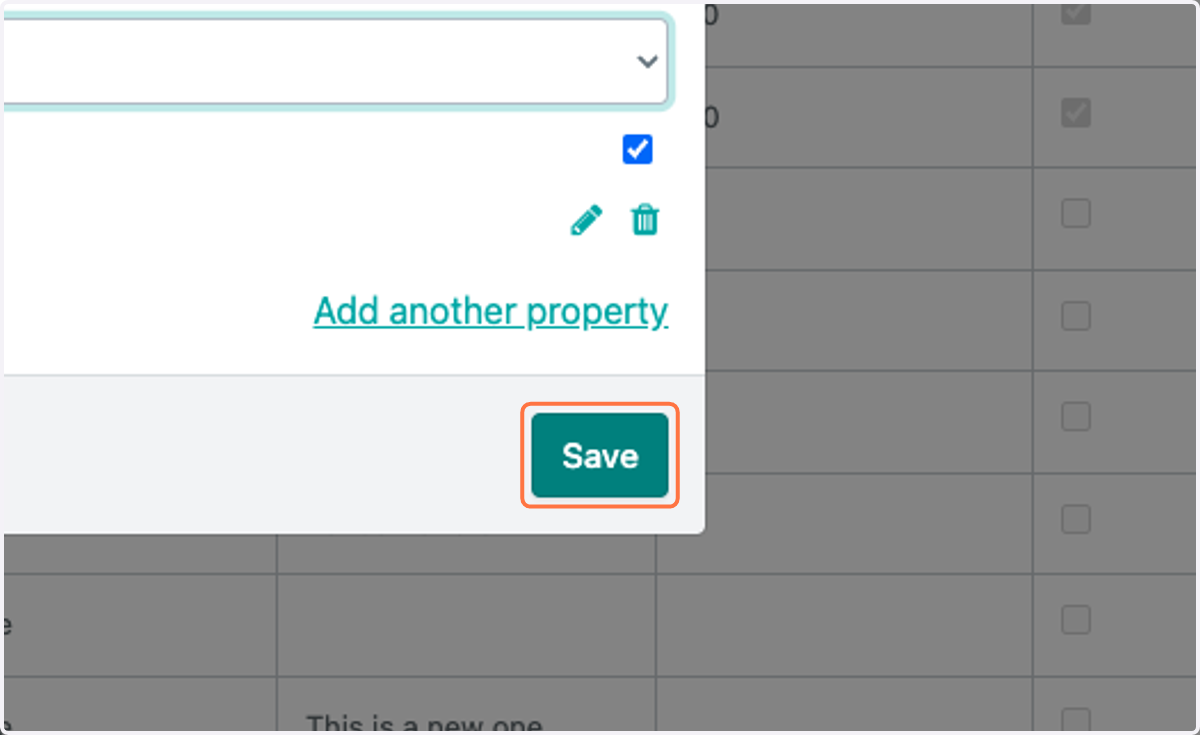
  28. 28. Click on Save

    Click on Save
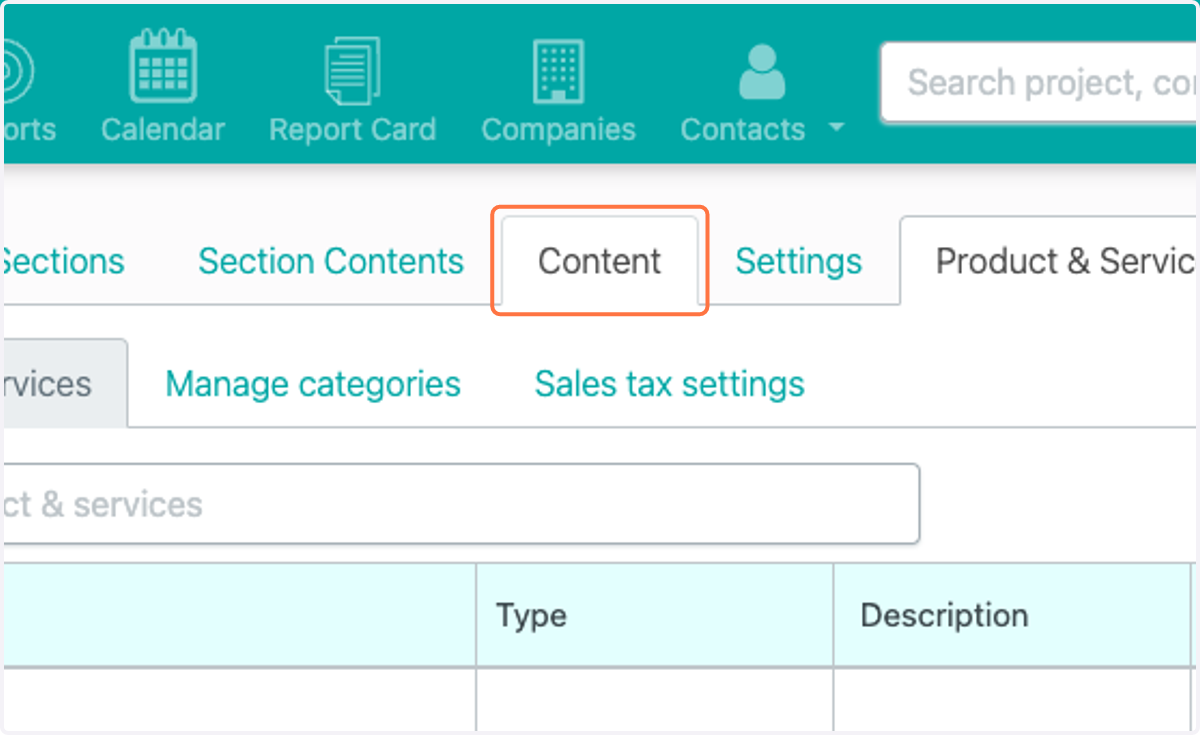
  29. 29. Click on Content

    Click on Content
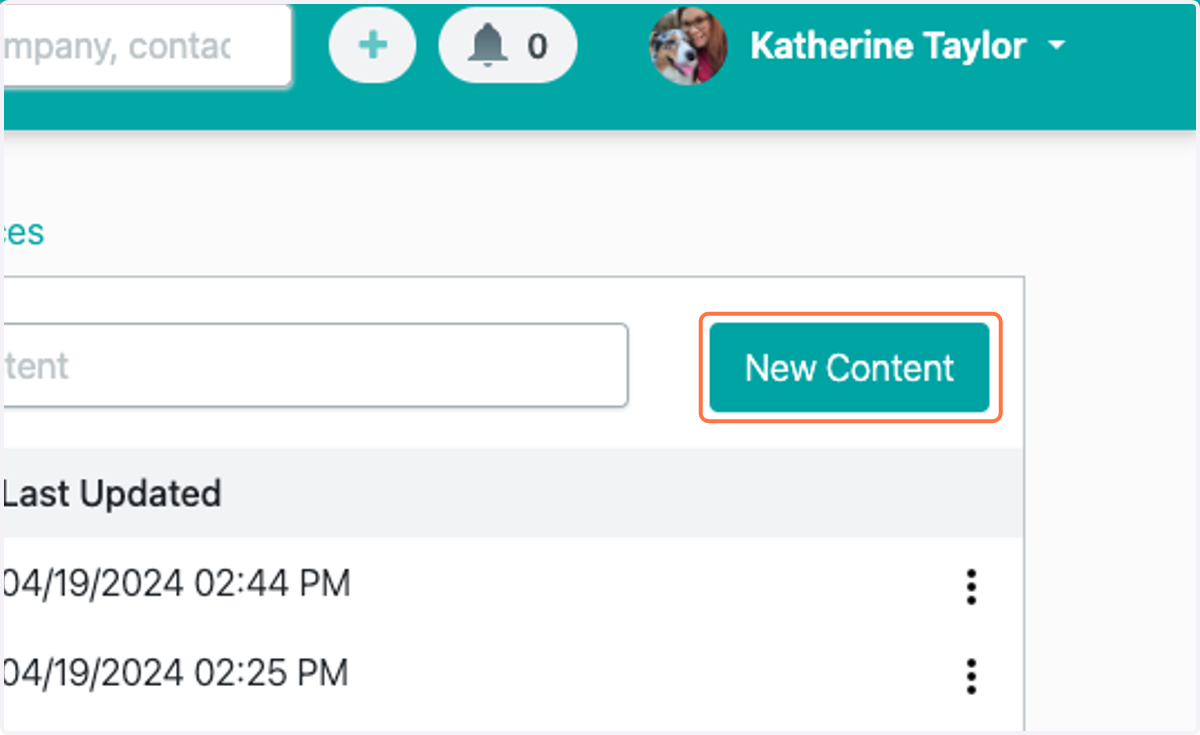
  30. 30. Click on New Content

    Click on New Content
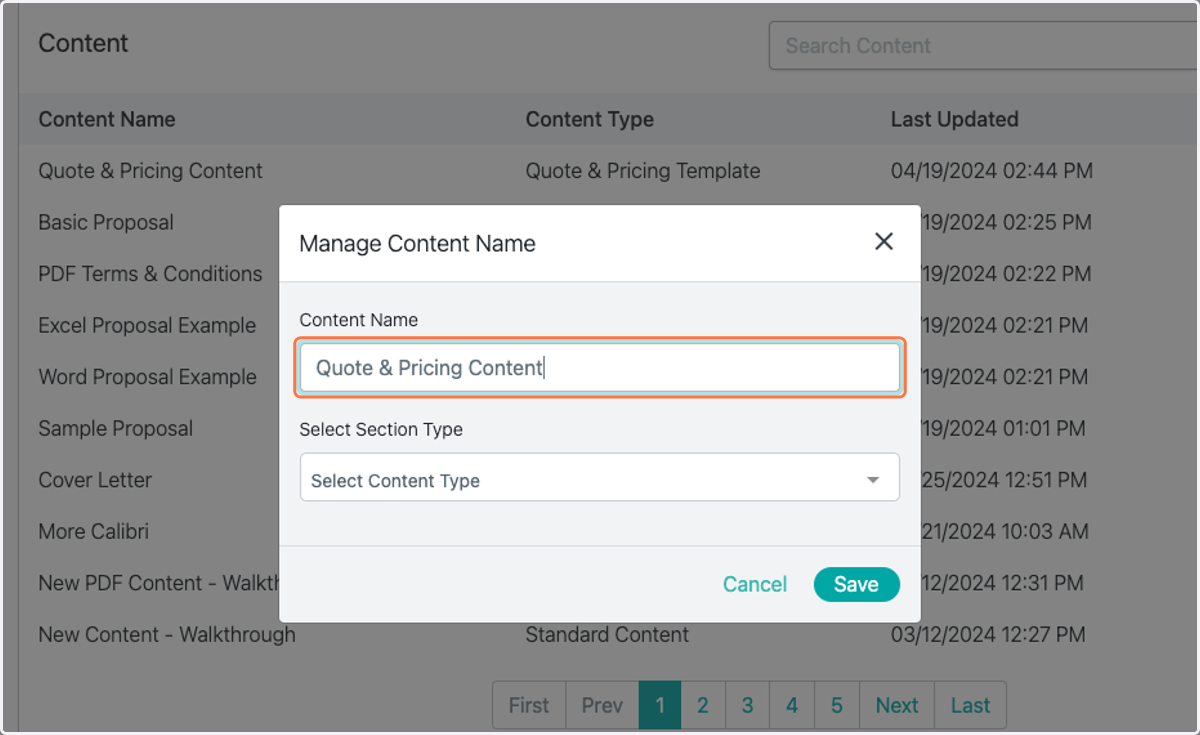
  31. 31. Enter Content Name

    Enter Content Name
  32. 32. Select Section Type "Quote & Pricing Template"
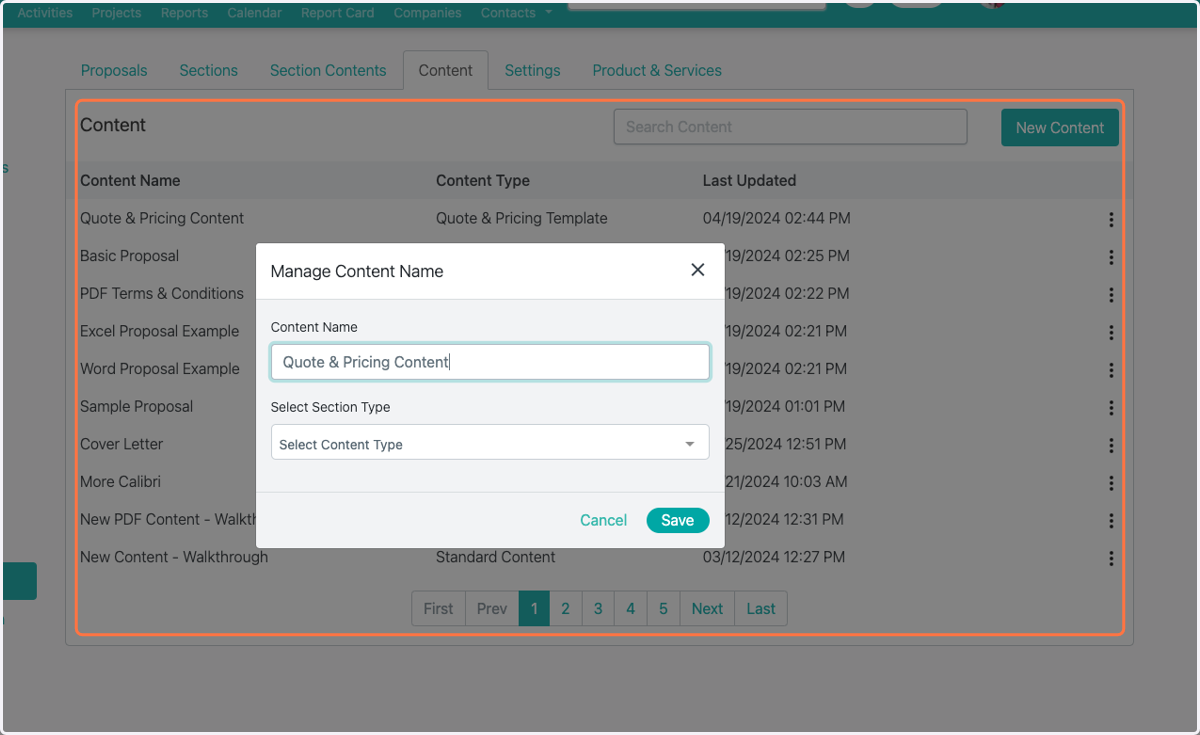
    Select Section Type "Quote & Pricing Template"
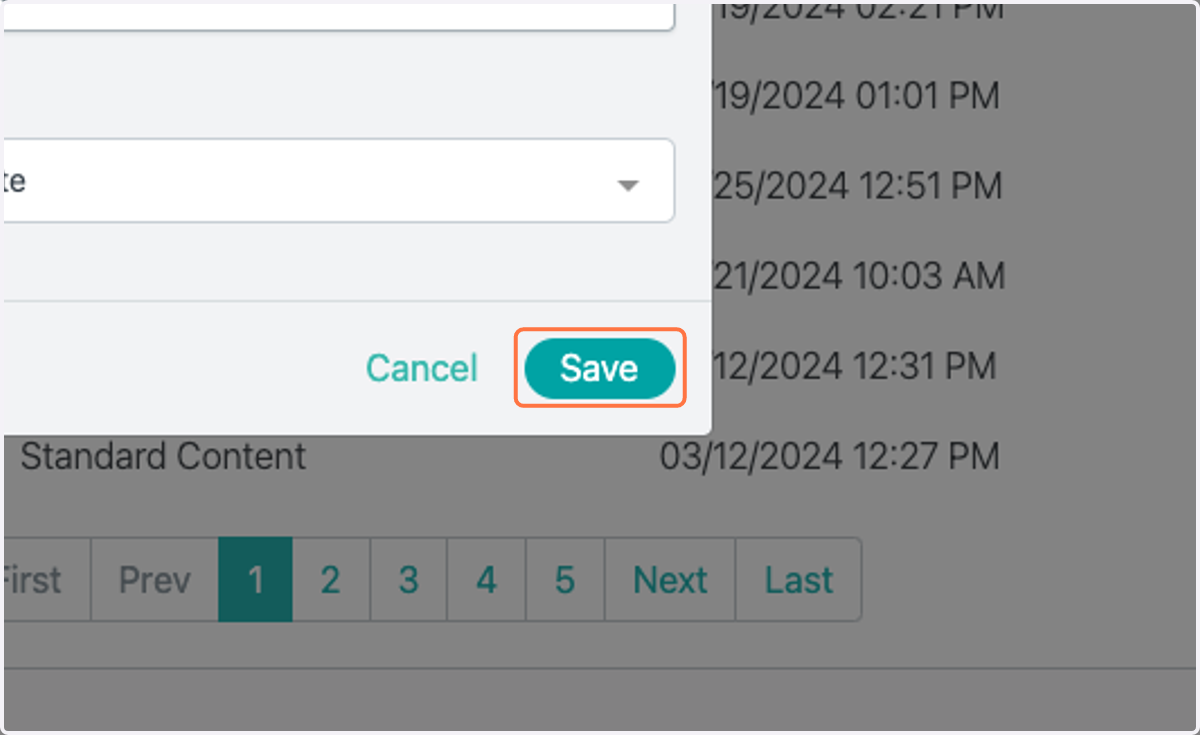
  33. 33. Click on Save

    Click on Save
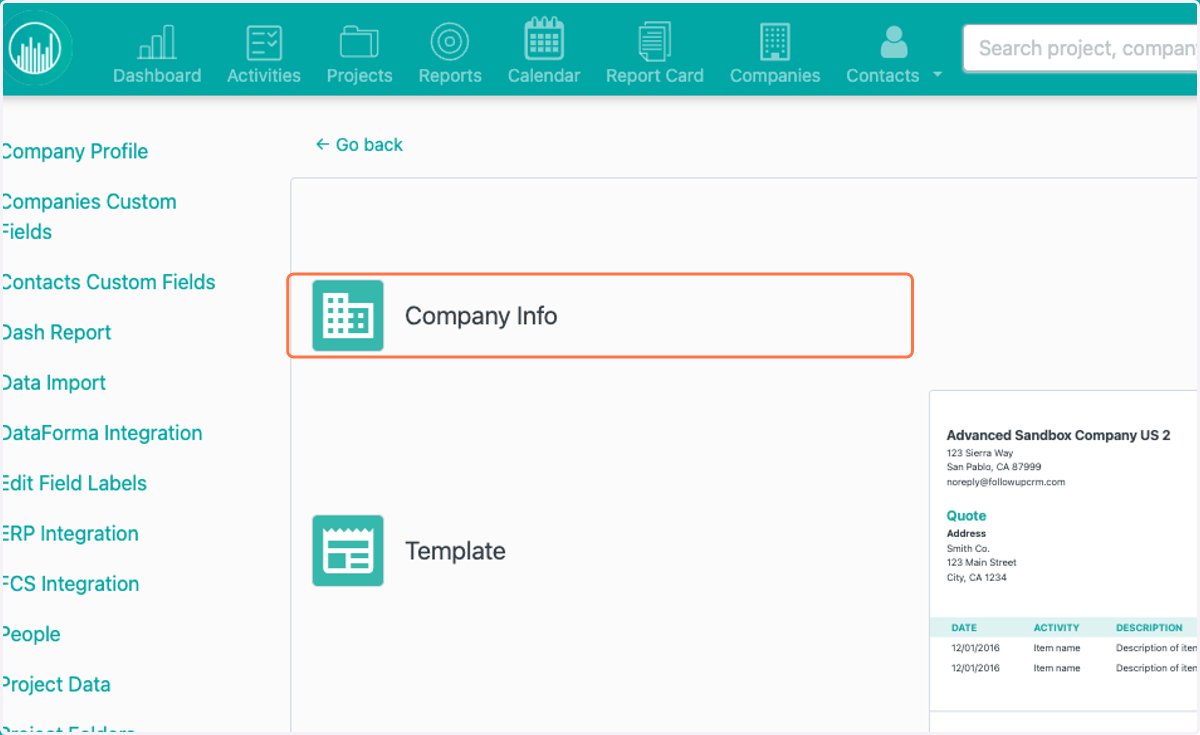
  34. 34. Add Company Info

    Add Company Info
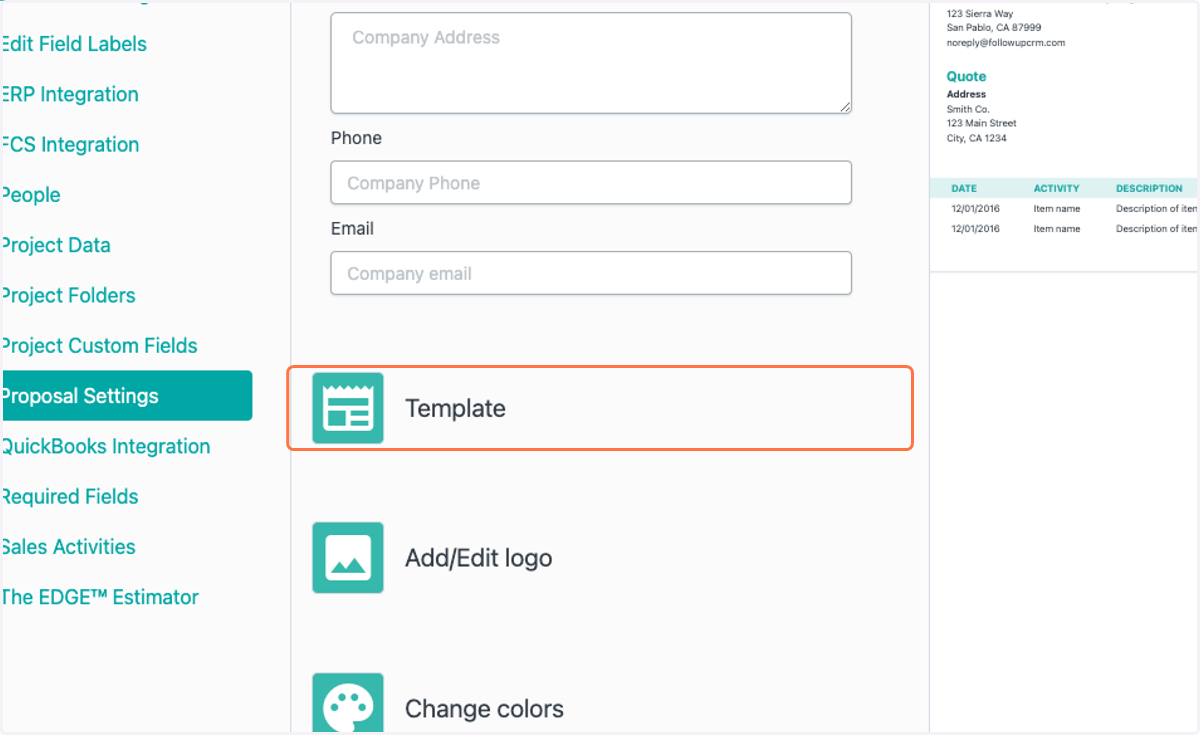
  35. 35. Select Template type

    Select Template type
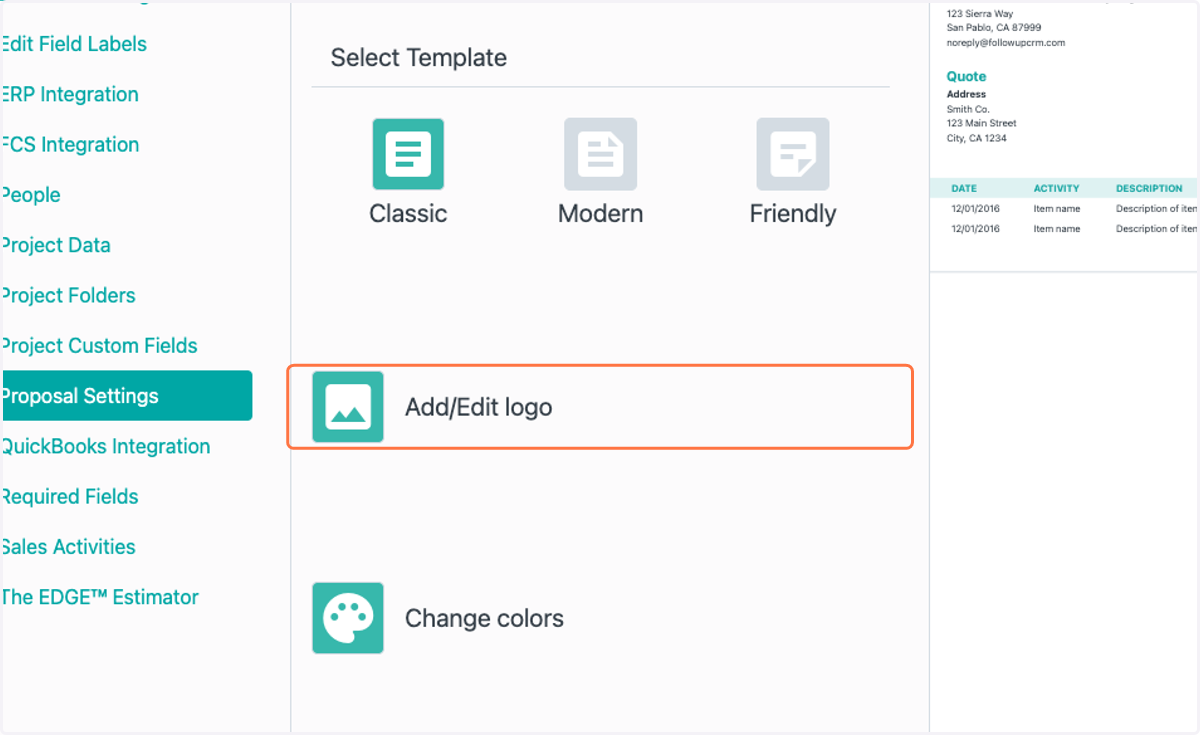
  36. 36. Add/Edit Logo

    Add/Edit Logo
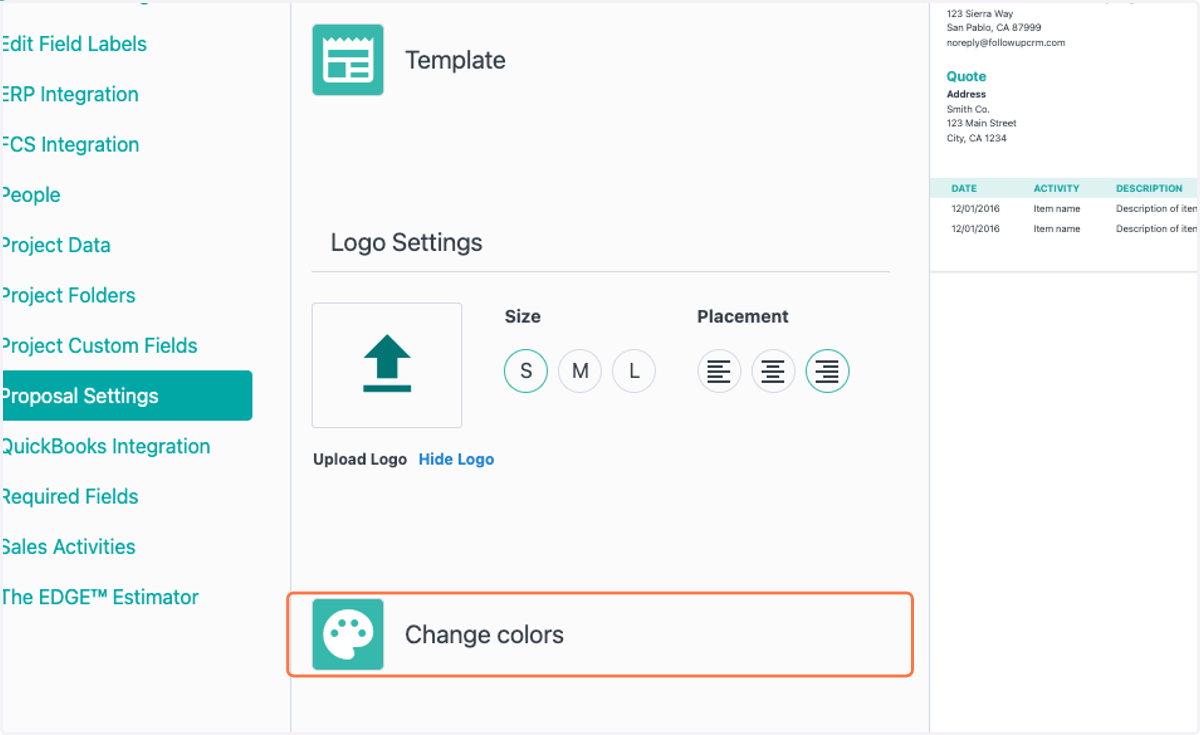
  37. 37. Change template colors

    Change template colors
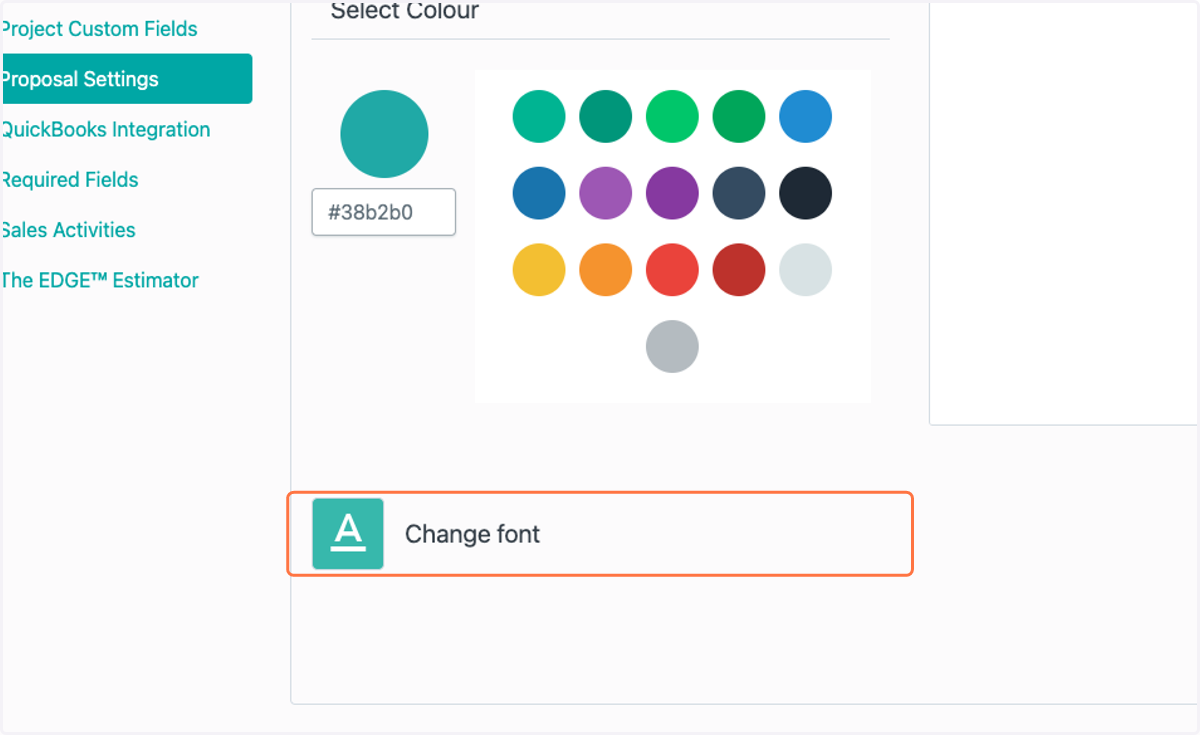
  38. 38. Change template font

    Change template font
  39. 39. Click on Save

    Click on Save