coreFORCE Advanced - Memberships: Using Pricing Structures For Member Pricing Online
In this guide, we will explore how to use Pricing Structures on coreFORCE Advanced to apply a 10% margin to product departments. This approach allows you to effectively offer a discount to your members as a benefit of being a range member. It is recommended to implement these "discounts" using margin or markup calculations, ensuring that your costs are accurately reflected based on your distributor accounts.
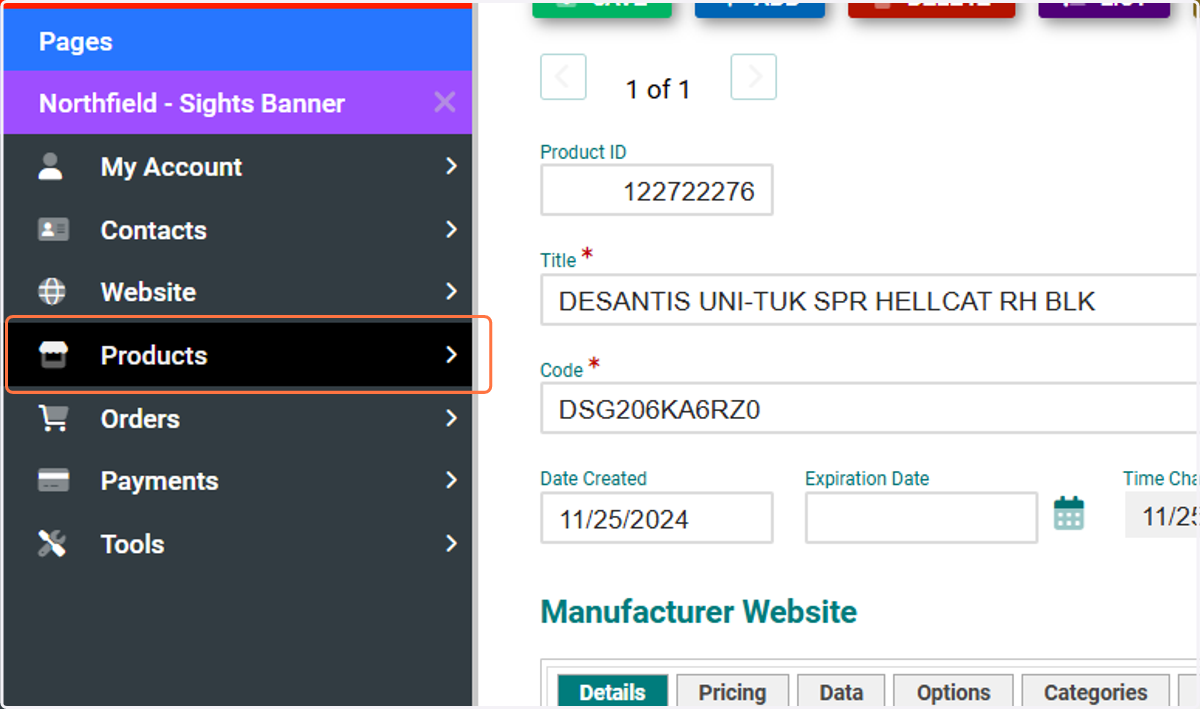
1. Click on Products
Navigate to the Products menu on your coreFORCE Admin Page.
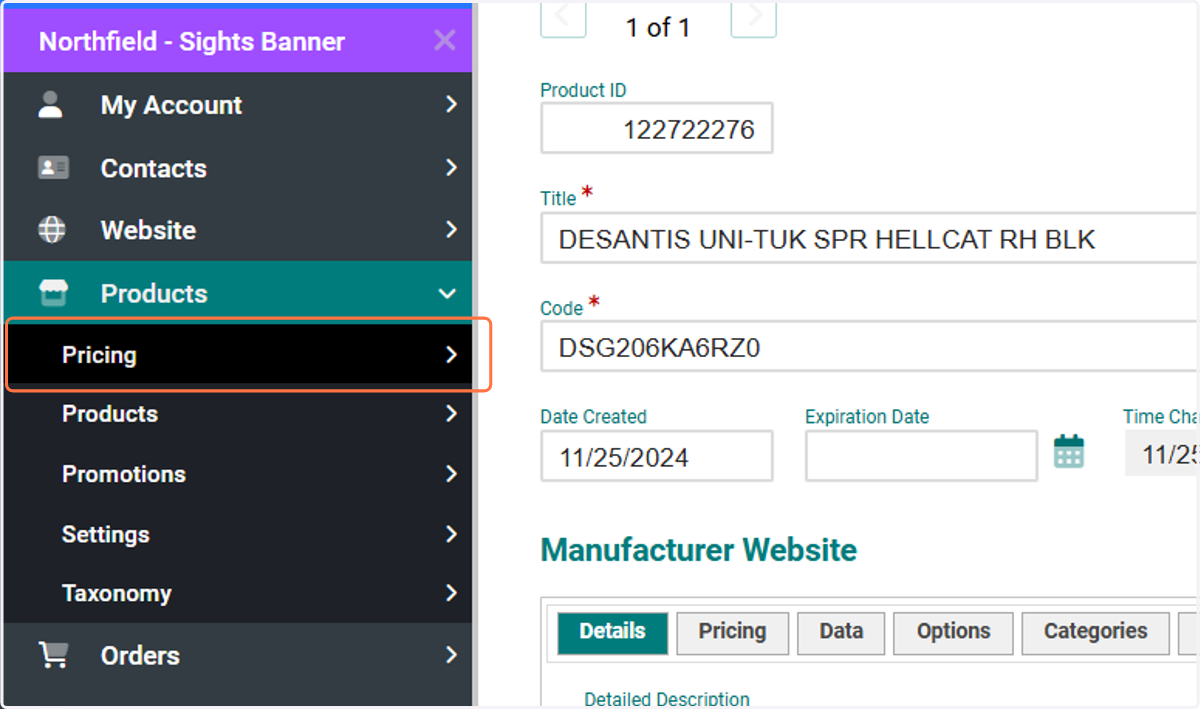
2. Click on Pricing
Under the Products menu, locate the Pricing submenu.
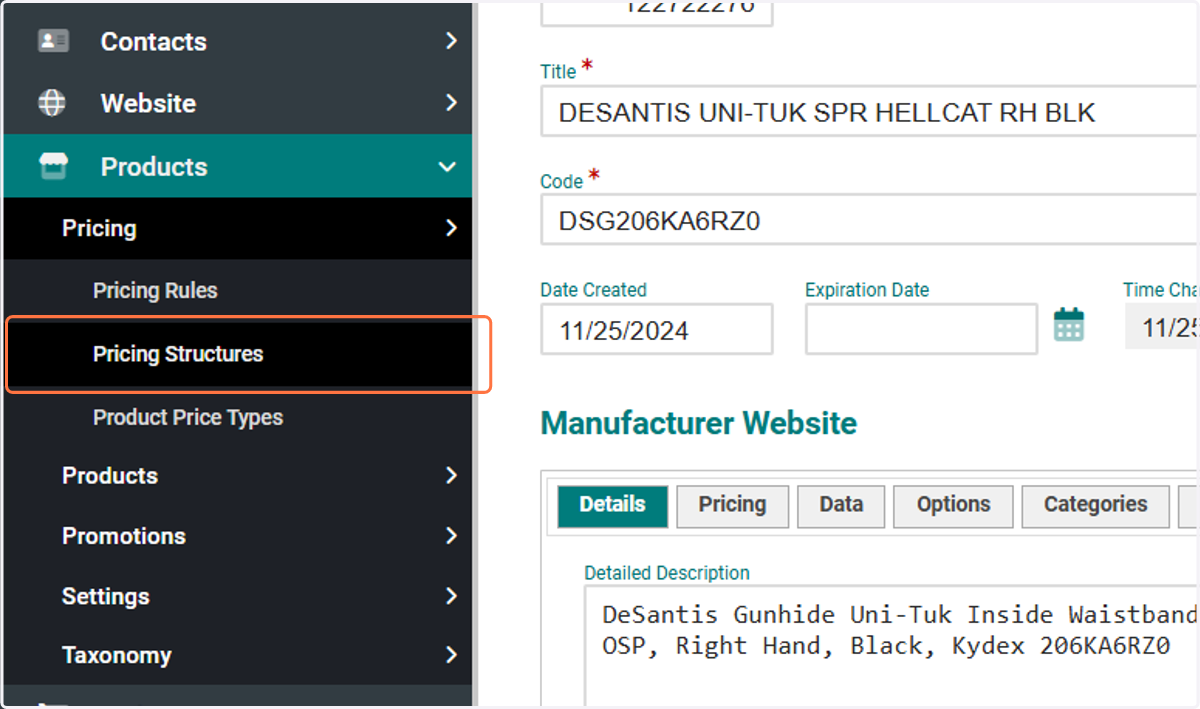
3. Click on Pricing Structures
Under the Pricing submenu, locate Pricing Structures. Here, you can establish member-specific pricing structures, enabling your general clients and members to see different displayed selling prices for products.
4. Pricing Structure Dashboard
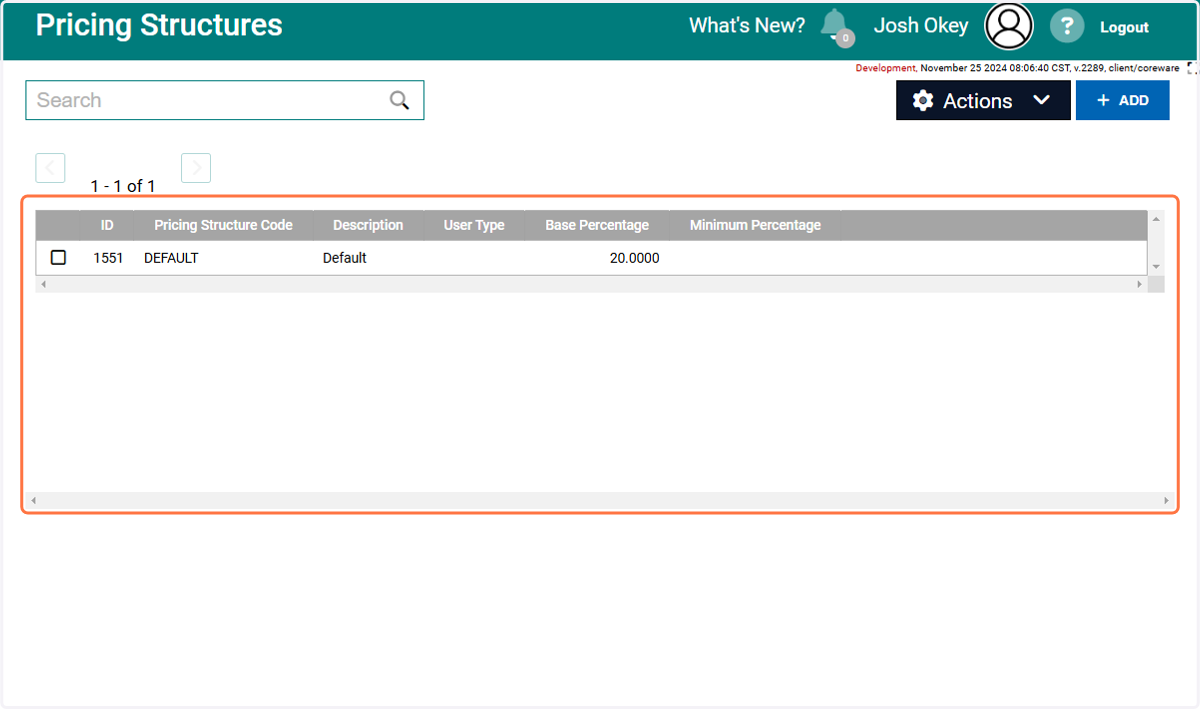
On the Pricing Structure dashboard, you can view all the existing structures already created in coreFORCE.
5. Click on ADD
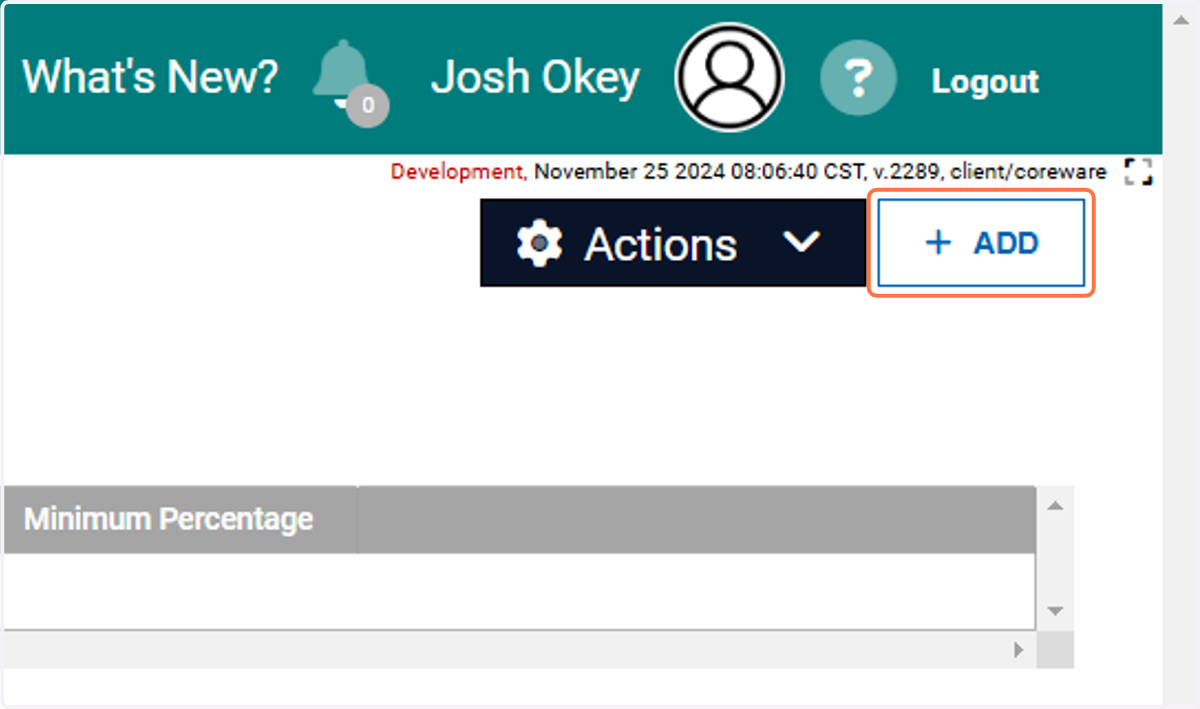
In the top right-hand corner of your Pricing Structure screen, click the Add button to create a new structure.
6. Description
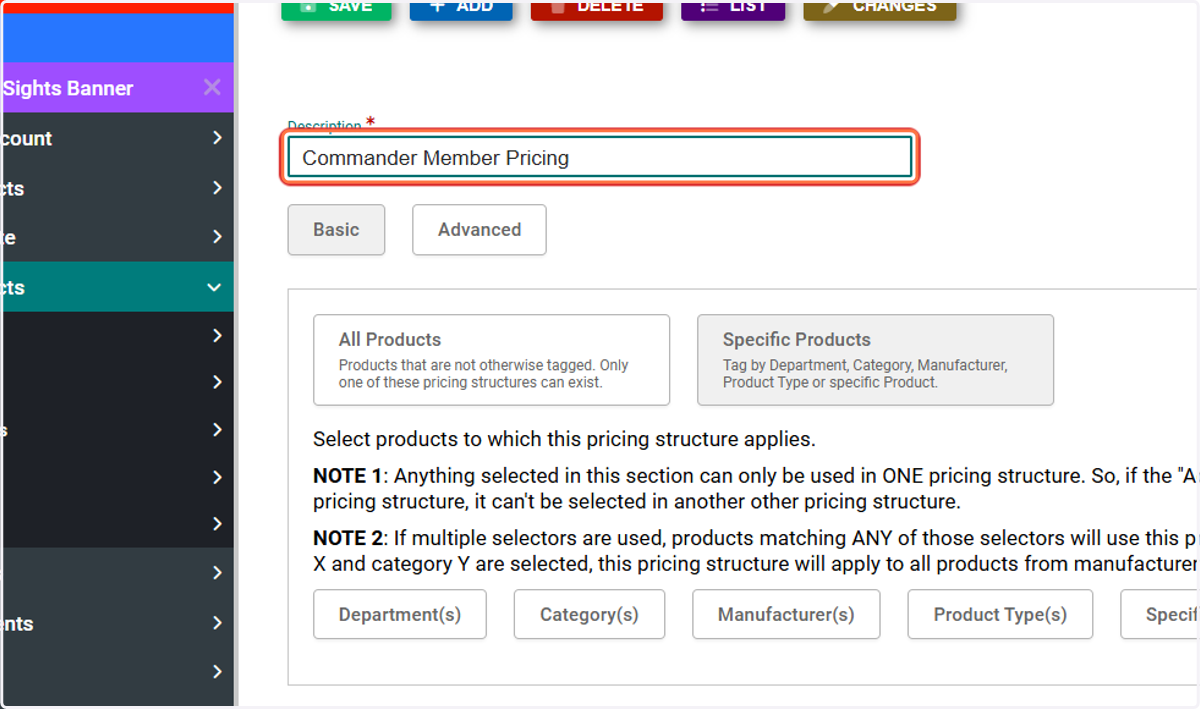
In the Description field, enter a detailed description to ensure the structure is easily identifiable for future reference.
7. Pricing Structure Code
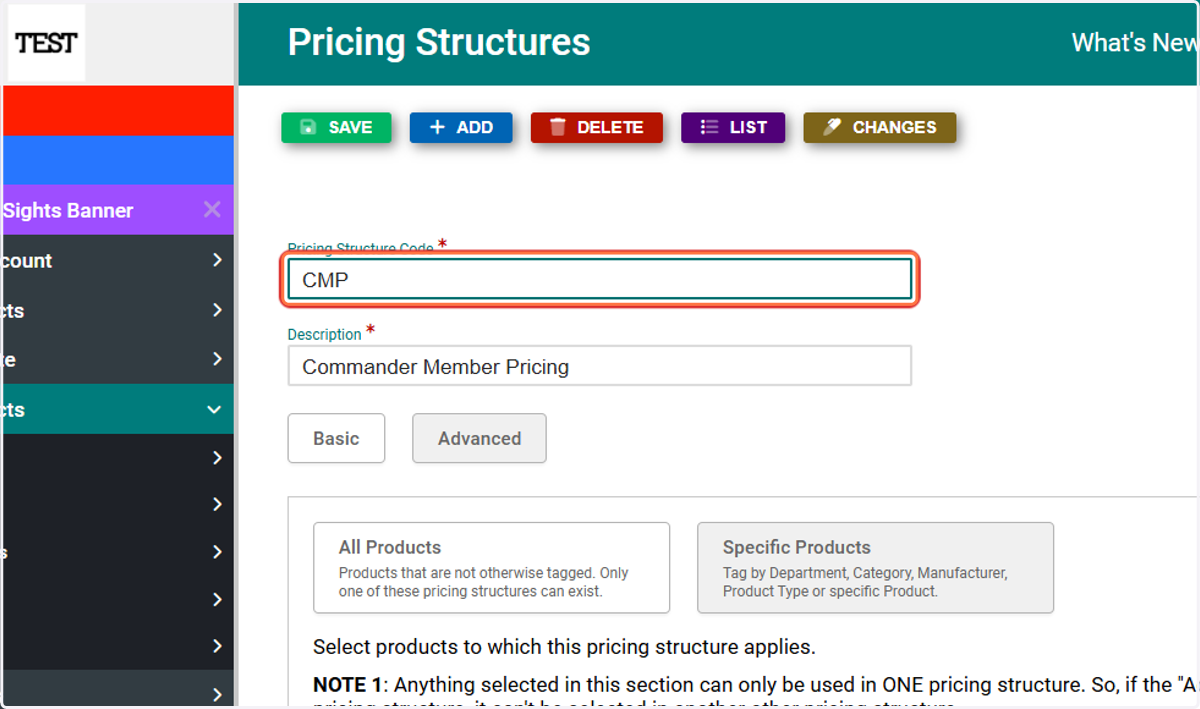
After you establish a Description, the Pricing Structure Code field will appear. Enter a short and easily identifiable code. For example, in this guide, we used CMP for Commander Member Pricing.
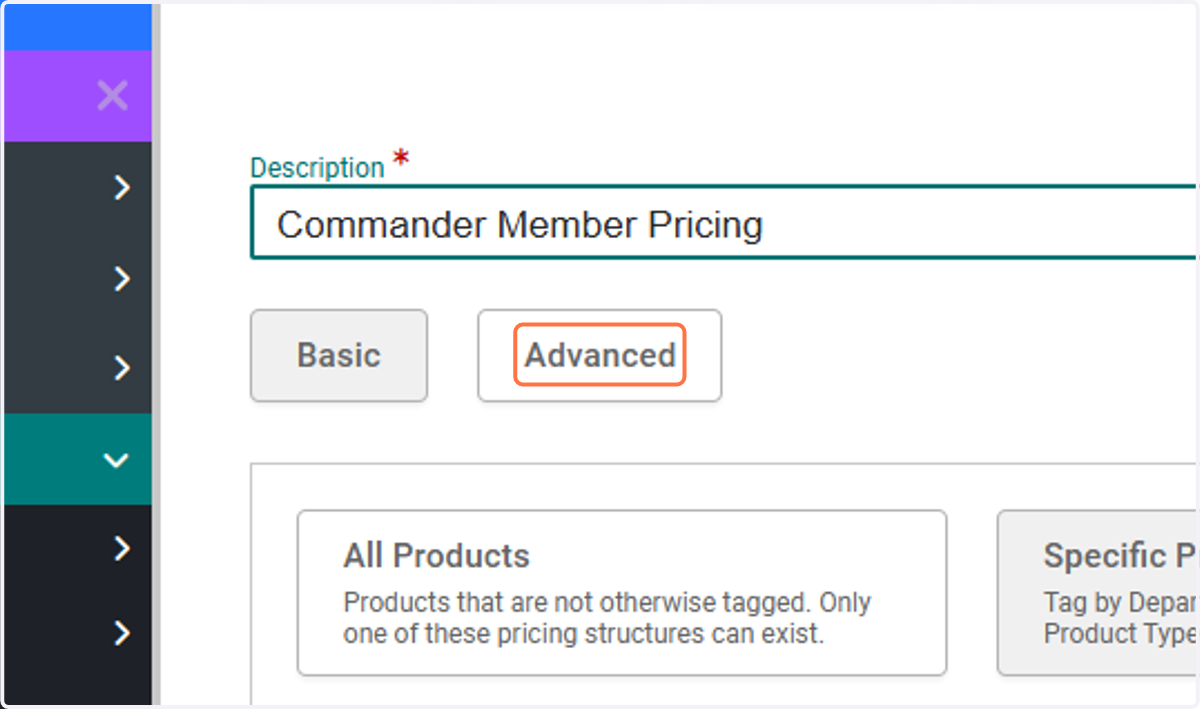
8. Click on Advanced
For this structure, we will use the Advanced Features option. This allows you to tie a User Type to the pricing structure, ensuring it applies specifically to your member user types.
9. Selections
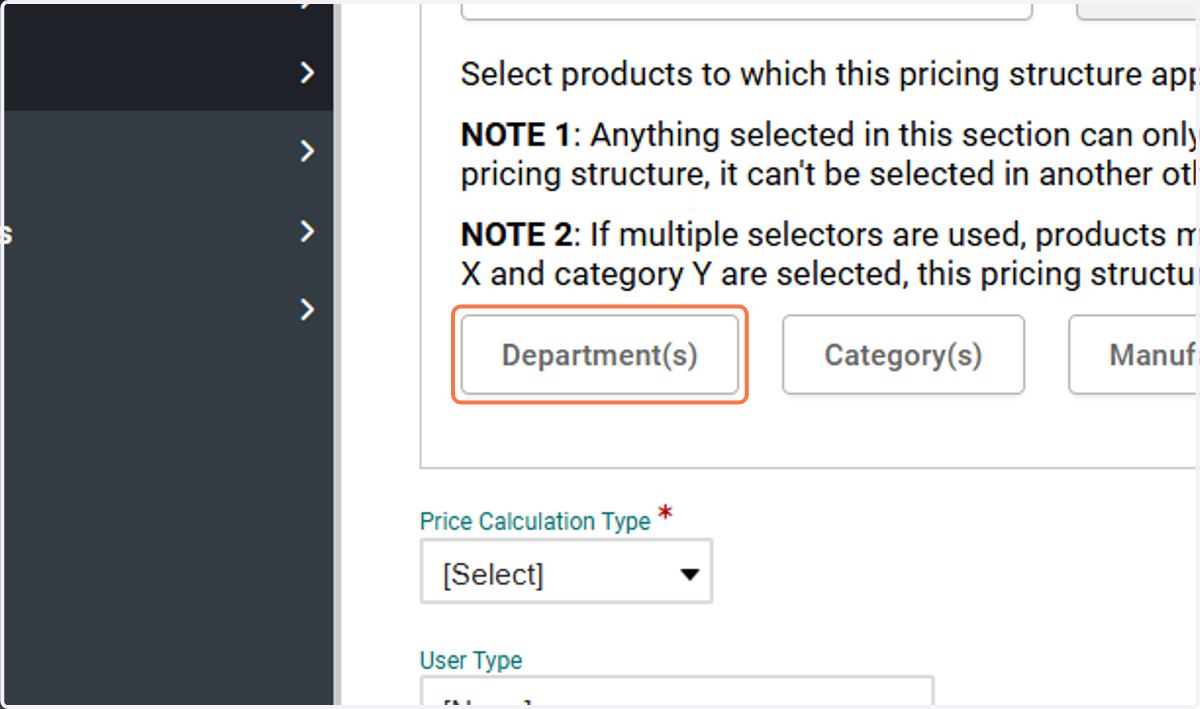
In this example, I will specify certain Departments for the members' benefits. This will include any Categories that fall under these departments in your established taxonomy.
Note 1: Any selection made in this section can only be used in one pricing structure. For instance, if the Accessories department is selected in this pricing structure, it cannot be selected in any other pricing structure.
Note 2: If multiple selectors are used, products matching any of the selected criteria will use this pricing structure. For example, if both Manufacturer X and Category Y are selected, this pricing structure will apply to all products from Manufacturer X as well as all products in Category Y.
10. Choose Departments
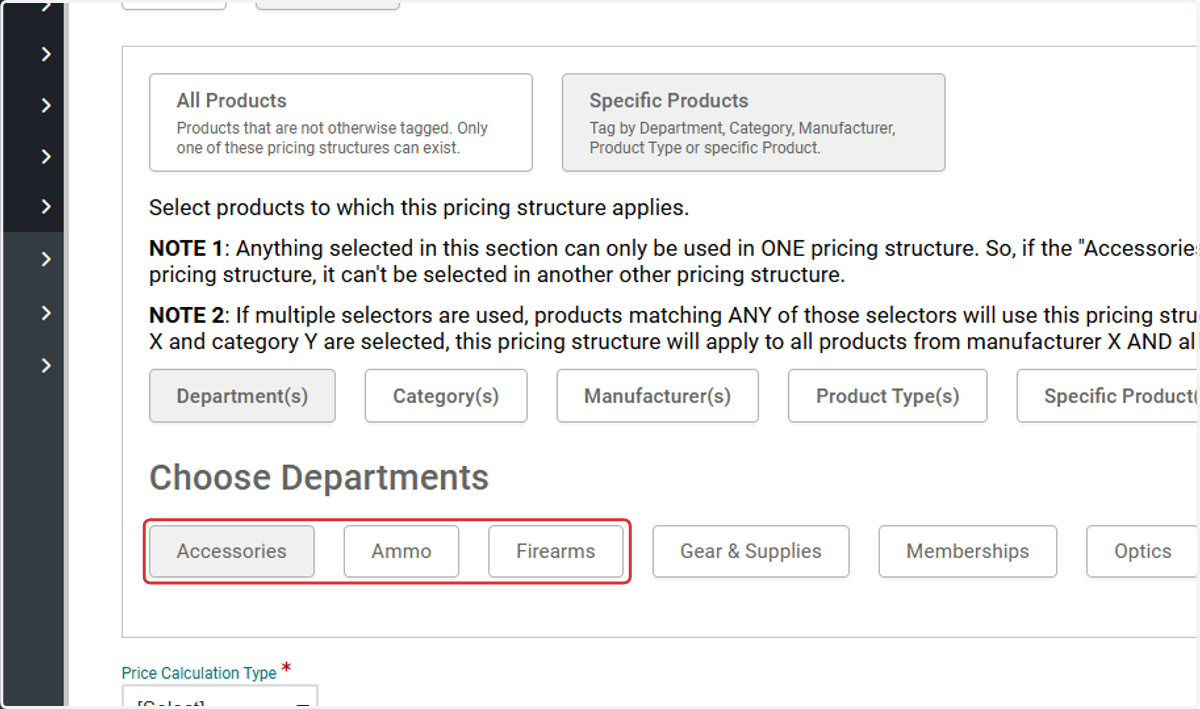
After selecting your Department criteria, the established departments will appear. In this example, I will select Accessories and Firearms.
11. Price Calculation Type
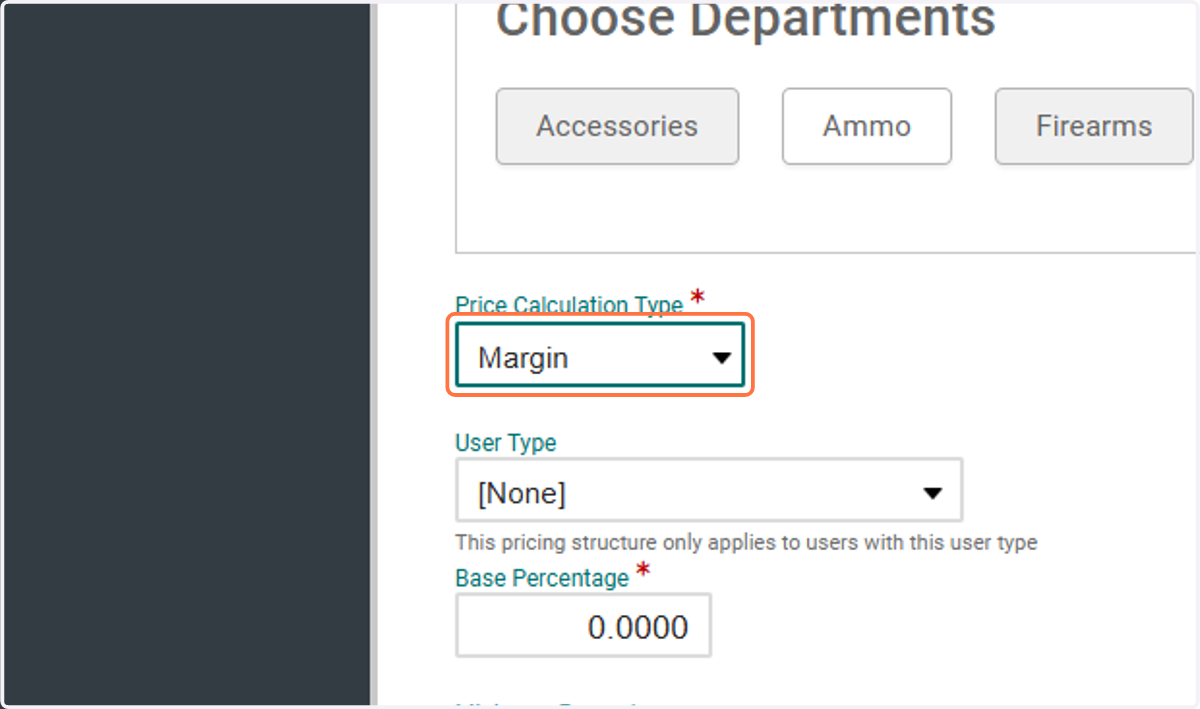
In the Price Calculation Type field, you can choose from Discount, Margin, or Markup. For this example, I’ll use Margin. Our previously established pricing structure has a default margin of 20%. Here, we will set a 10% margin for our members, effectively giving them a 10% discount on all Accessories and Firearms.
Note: The Discount pricing structure type is not recommended for most retail dealers. This type is based on the List Price, which is intended to represent MSRP but is often missing or incorrect in distributor data feeds. Markup and Margin are based on Cost, making them far more reliable.
The Discount pricing structure type is generally only used by distributors or manufacturers who define their own pricing.
12. User Type
Select the established User Type that this pricing structure will apply to. This ensures that users with a membership will receive the discount. If a product does not fall under this pricing structure, the system will default to the standard pricing structure you have established.
For more details on how pricing structure priority works, refer to this document on understanding pricing structures in coreFORCE.
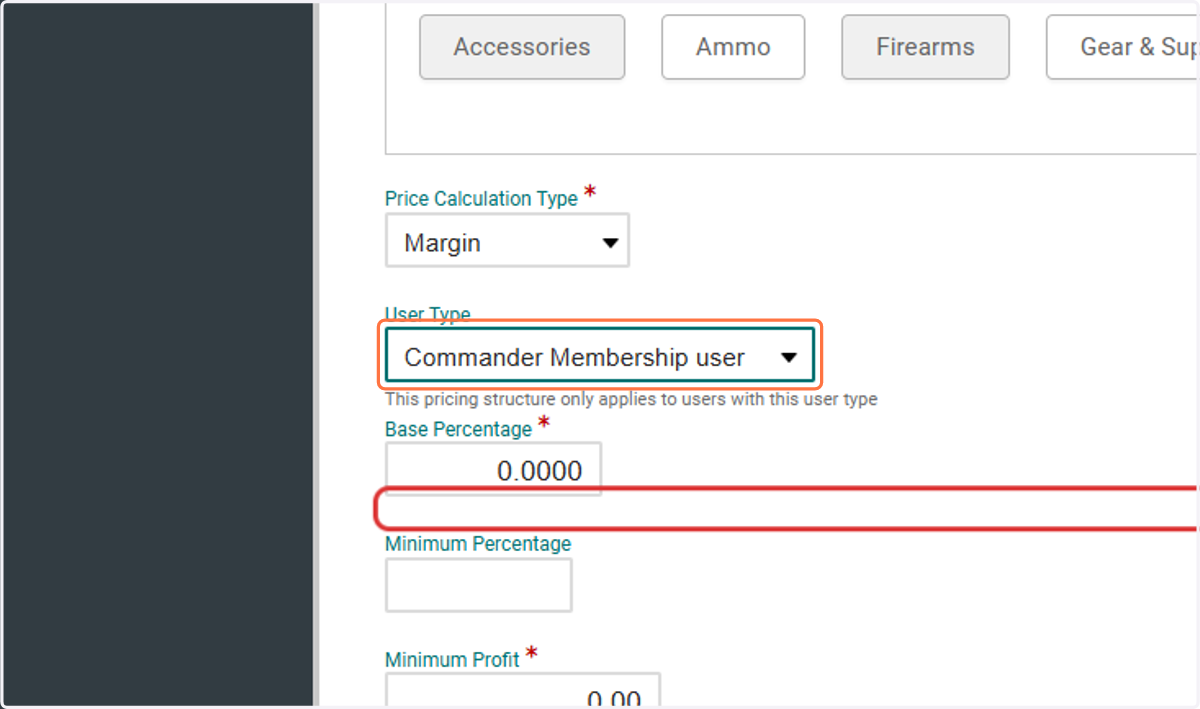
13. Base Percentage
Since the Price Calculation Type in this example is based on a margin, you need to establish the base Margin Percentage. For this example, we have set it to 10%.
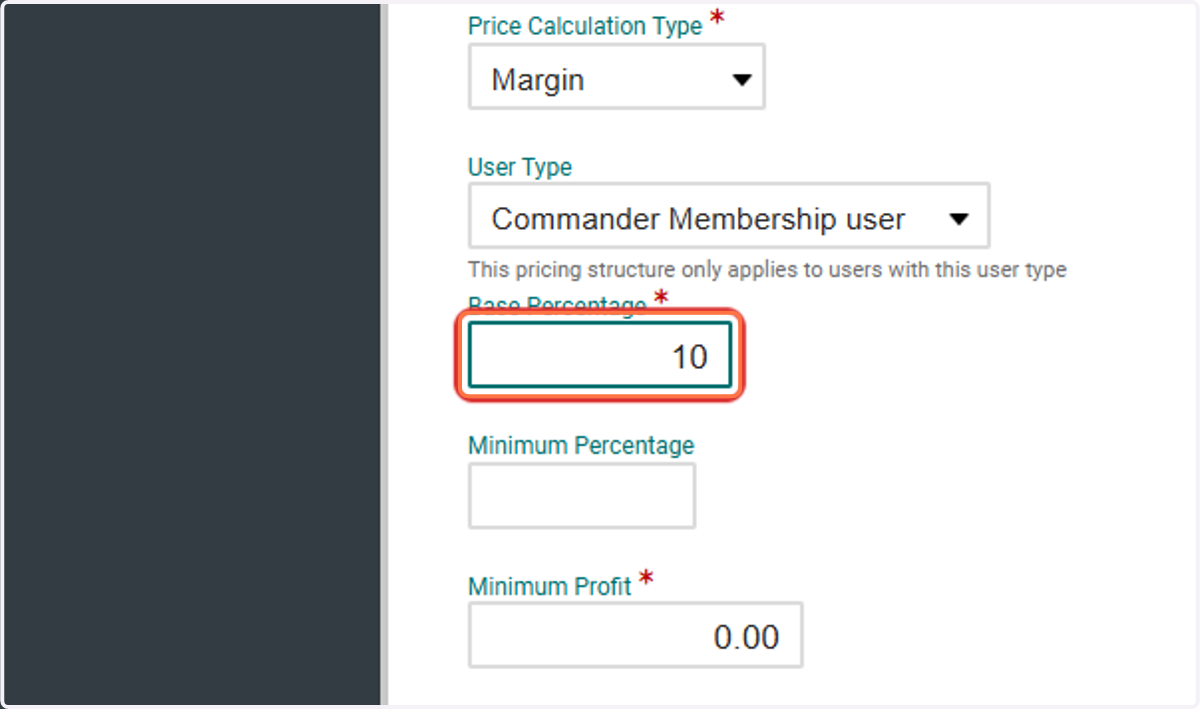
14. Additional Options
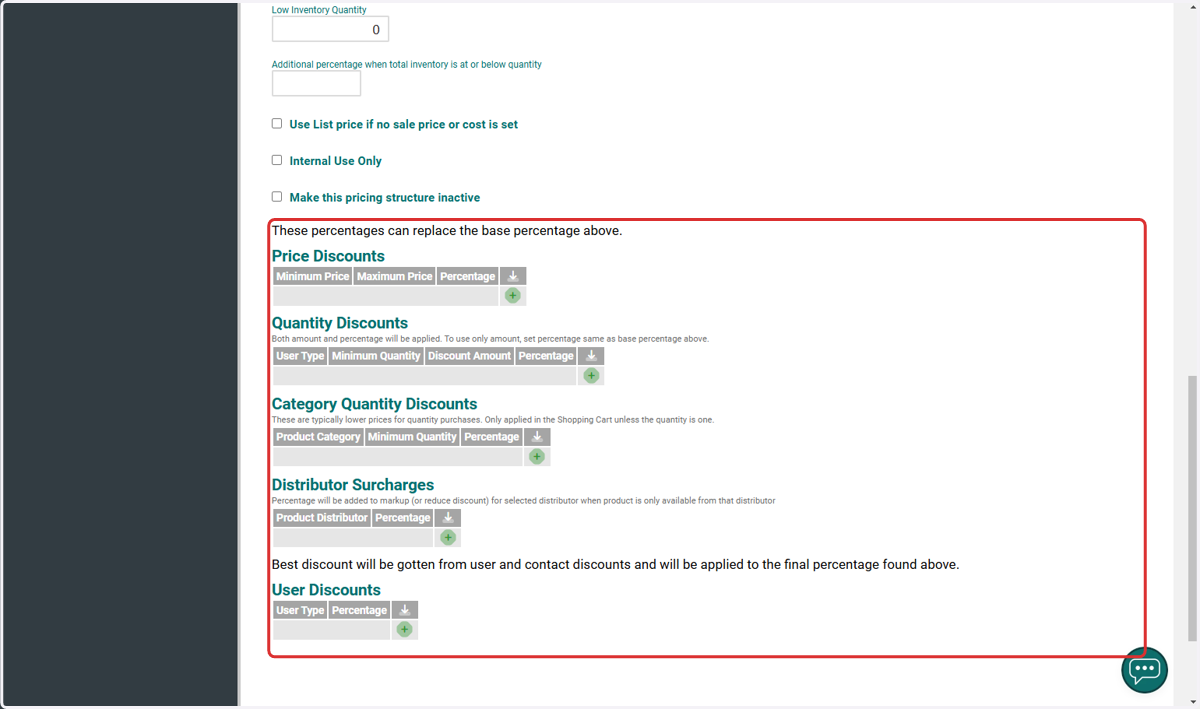
You also have the option to configure the discount based on Pricing Tiers, Quantity Discounts, or by adding Additional Charges to your pricing structure.
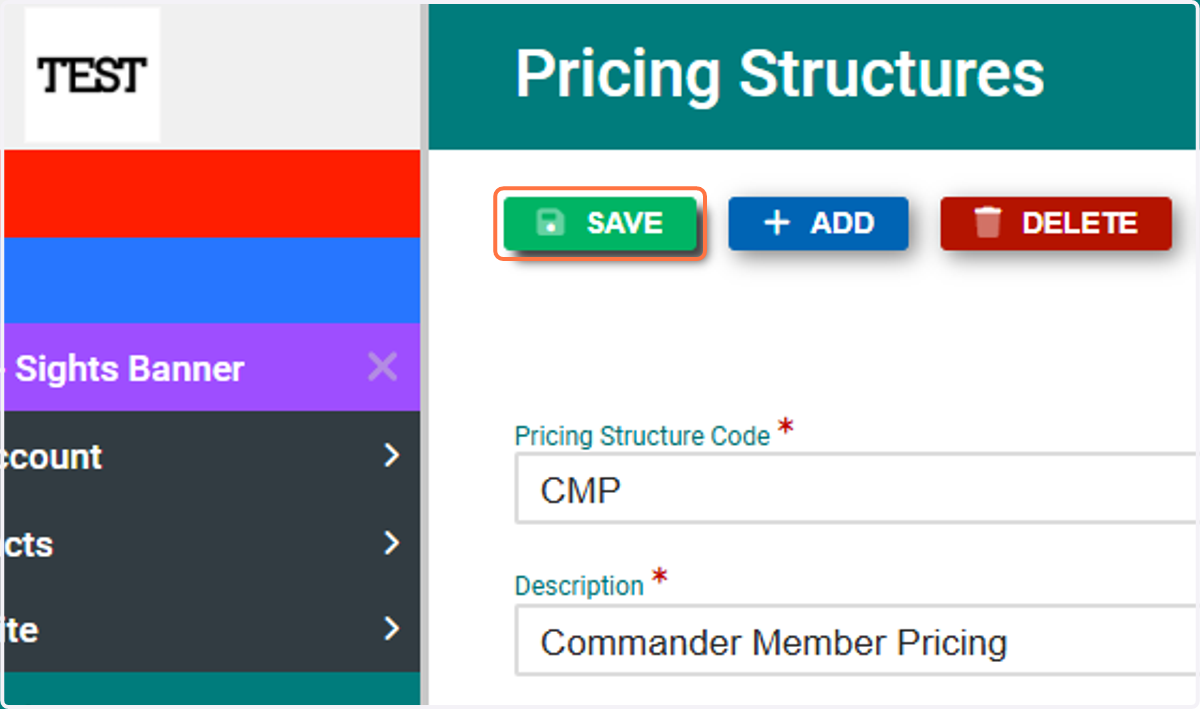
15. Click on SAVE
Click on SAVE to finalize your new pricing structure.
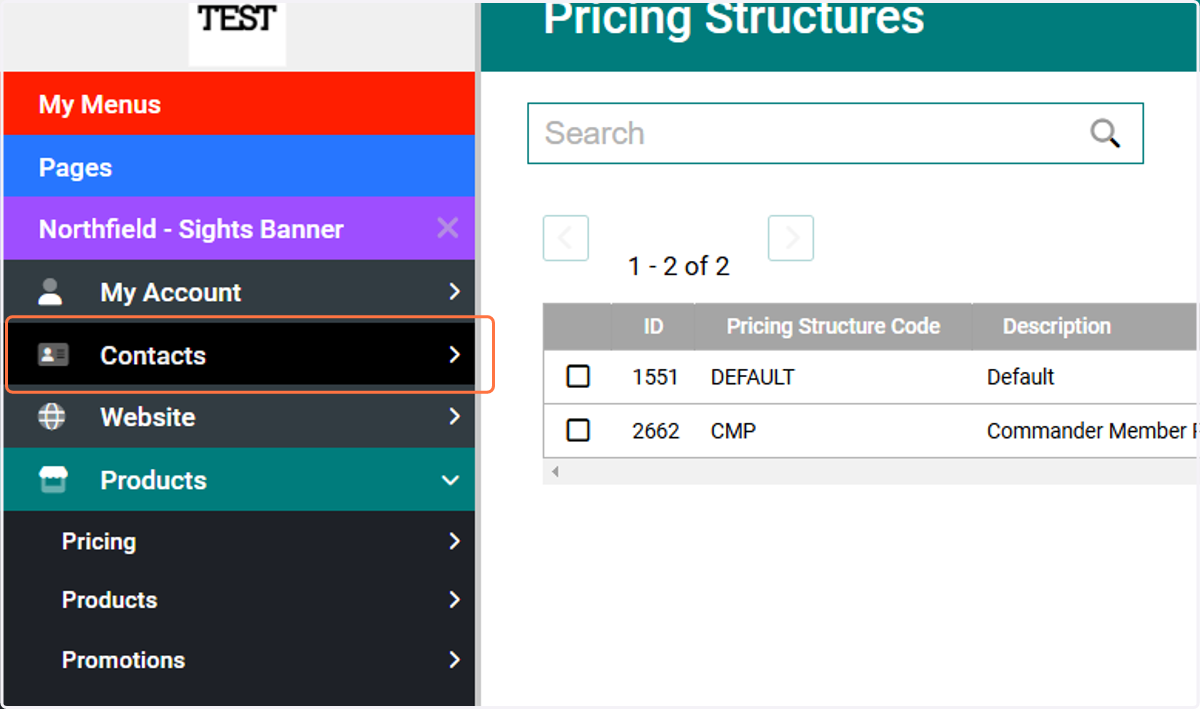
16. Click on Contacts
Next, navigate to Contacts on your admin menu.
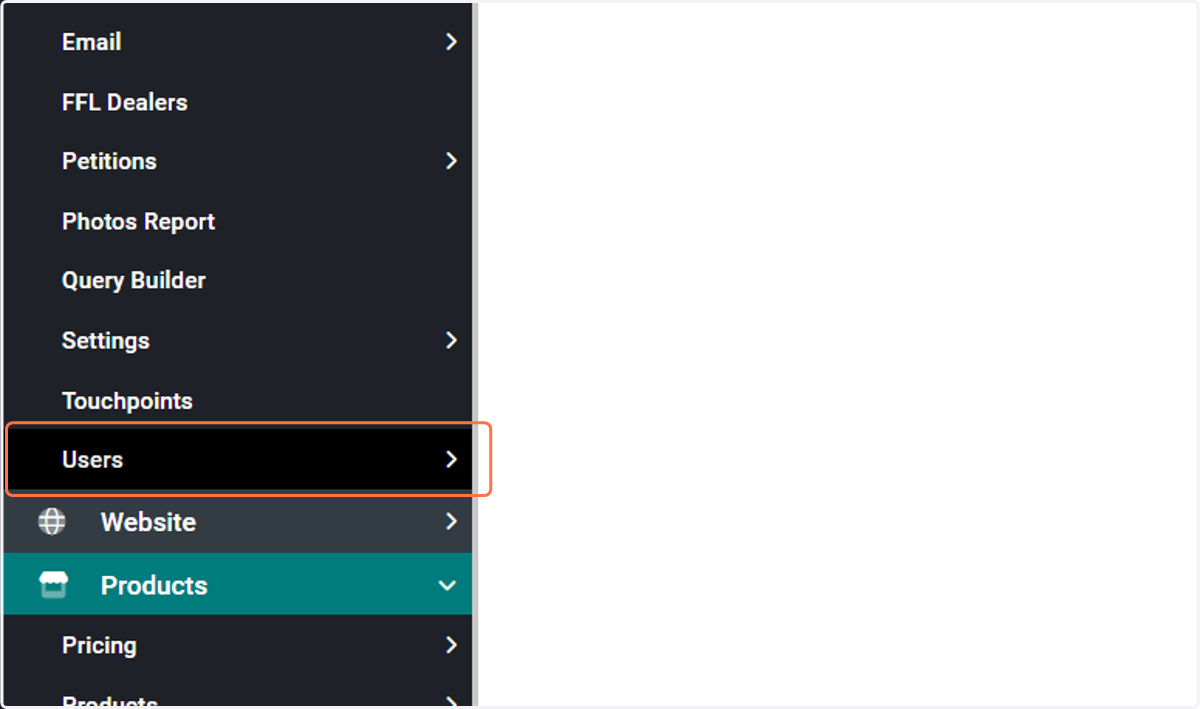
17. Click on Users
Under the Contacts menu, locate the Users submenu.
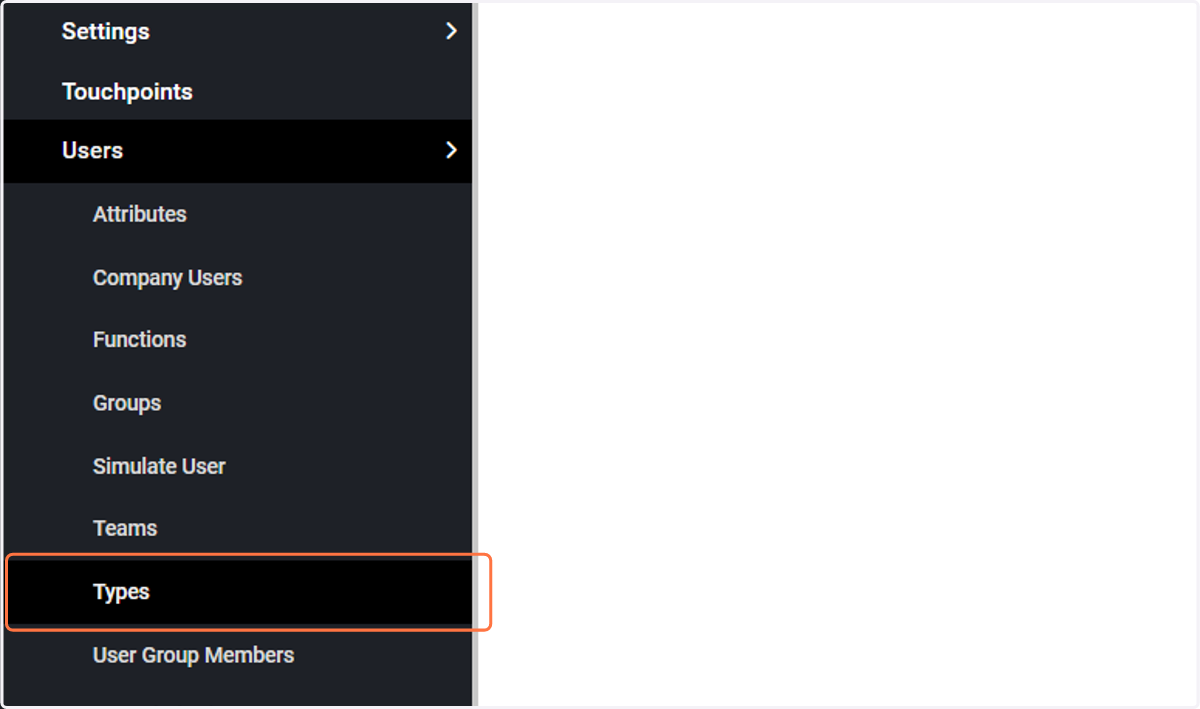
18. Click on Types
Now, locate the Types menu under your Users menu. Here, ensure that your membership User Type is set to the user or the newly established Member Pricing Structure.
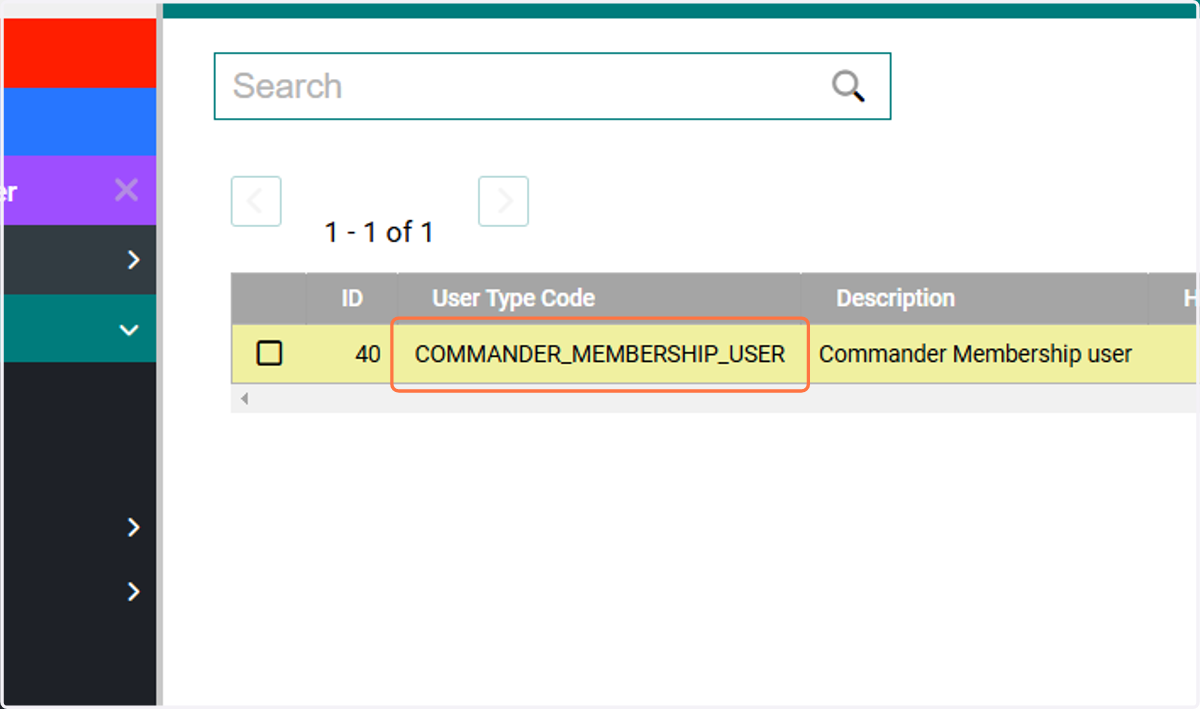
19. User Type Code
Click on your established User Type on the dashboard to modify and make changes as needed.
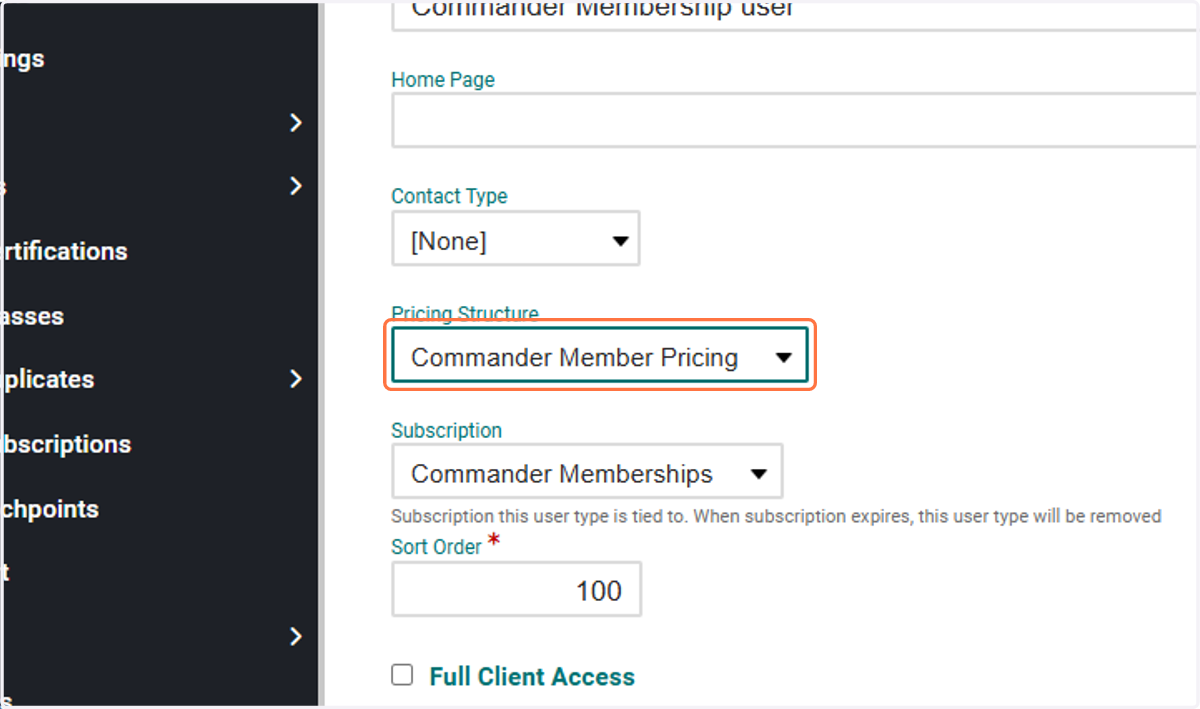
20. Pricing from Pricing Structure
Locate the Pricing Structure drop-down box for this User Type. Select the pricing structure you are enabling for your member pricing.
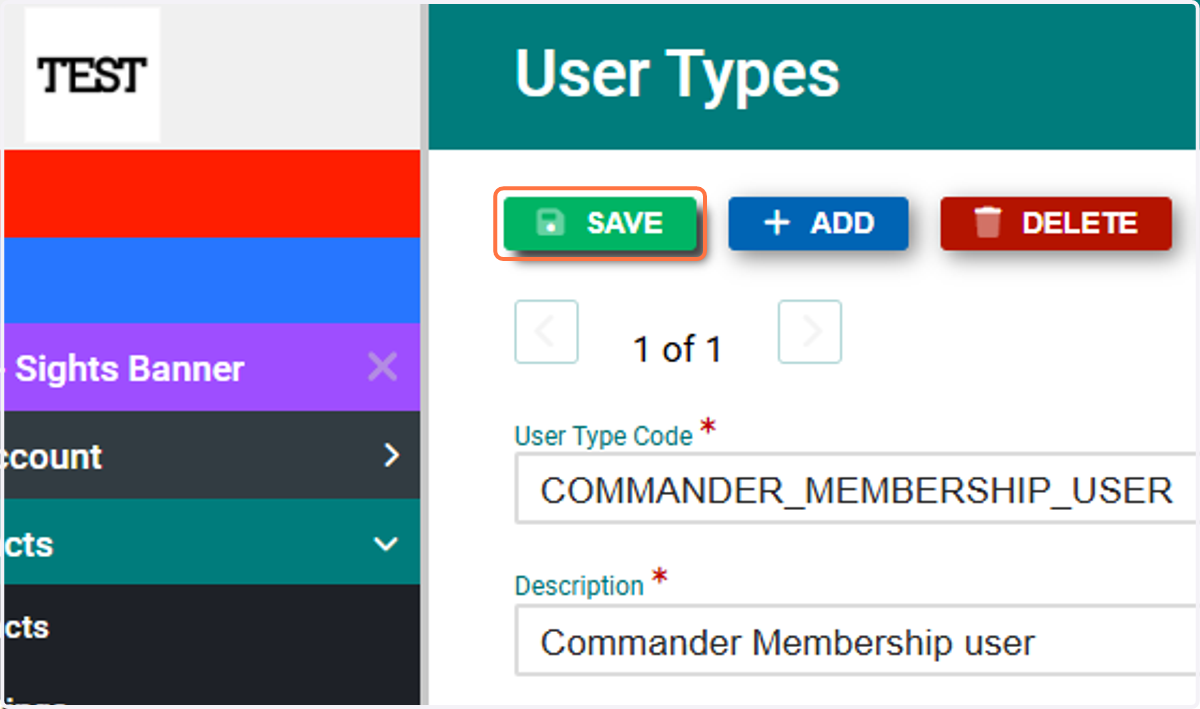
21. Click on SAVE
Click Save to apply and save your edits to the established User Type.
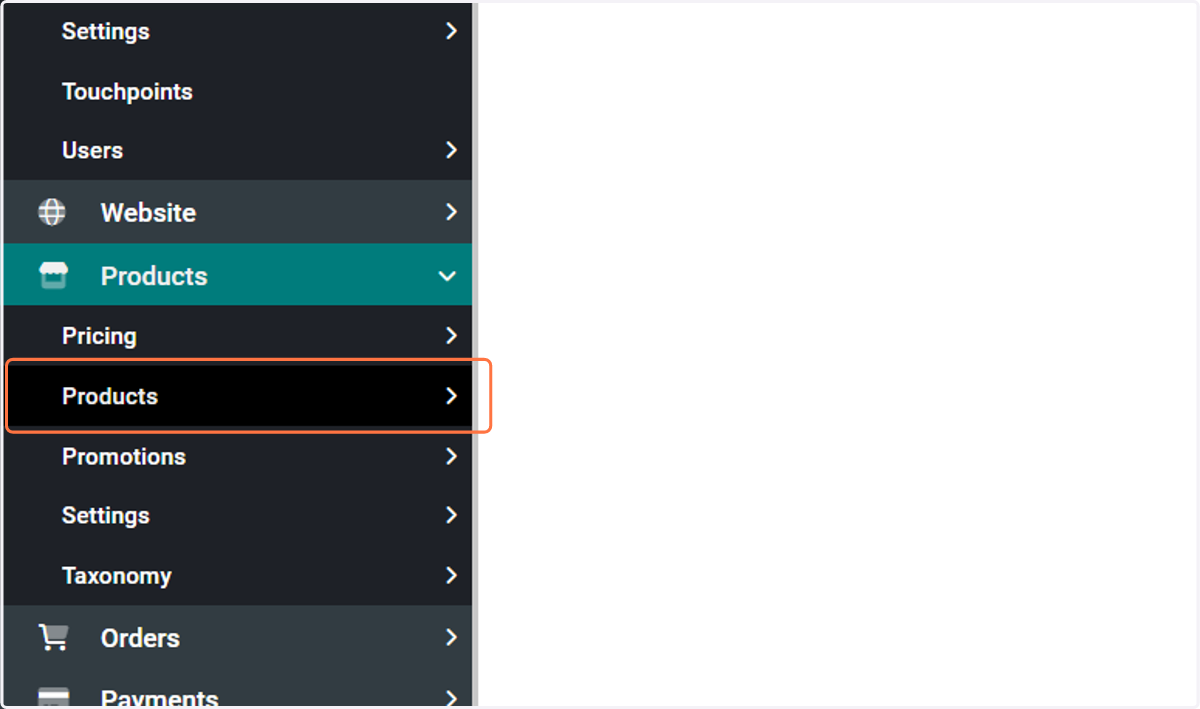
22. Click on Products
Next, navigate to Products. This will allow you to verify that a product meeting the criteria is using the correct pricing structure.
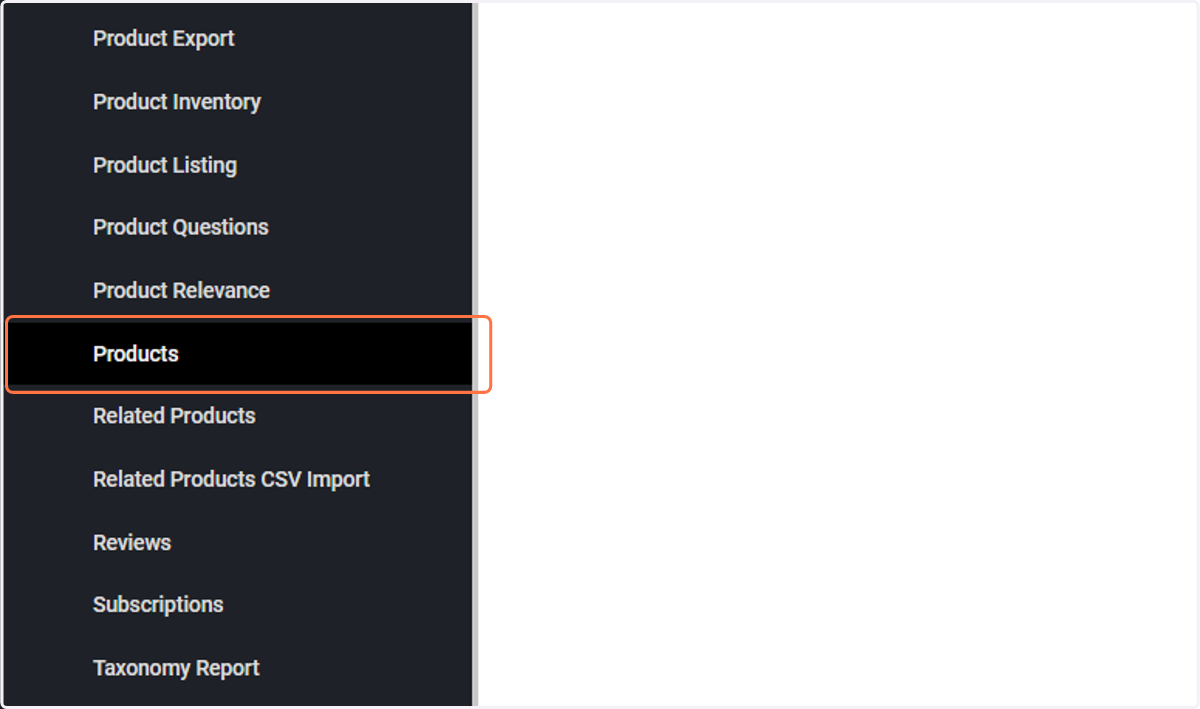
23. Click on Products
Next, locate the Products submenu under your Products menu.
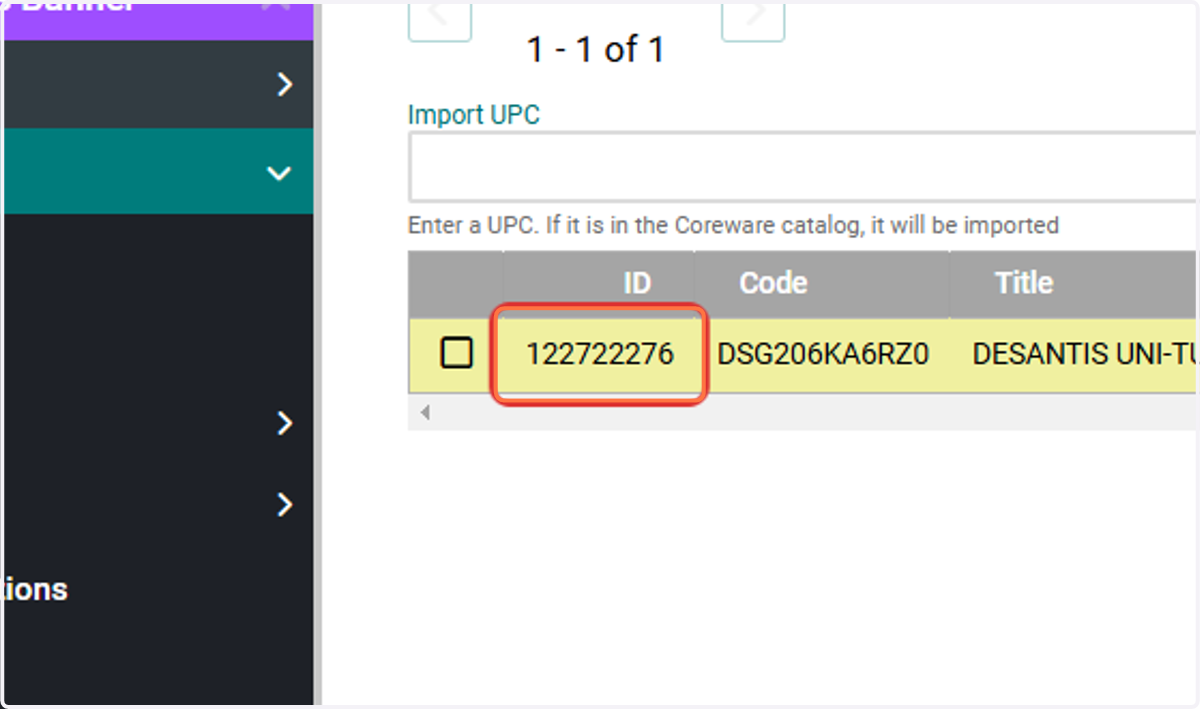
24. Search and Select Your Test Product
In the Products dashboard, search for and locate your product.
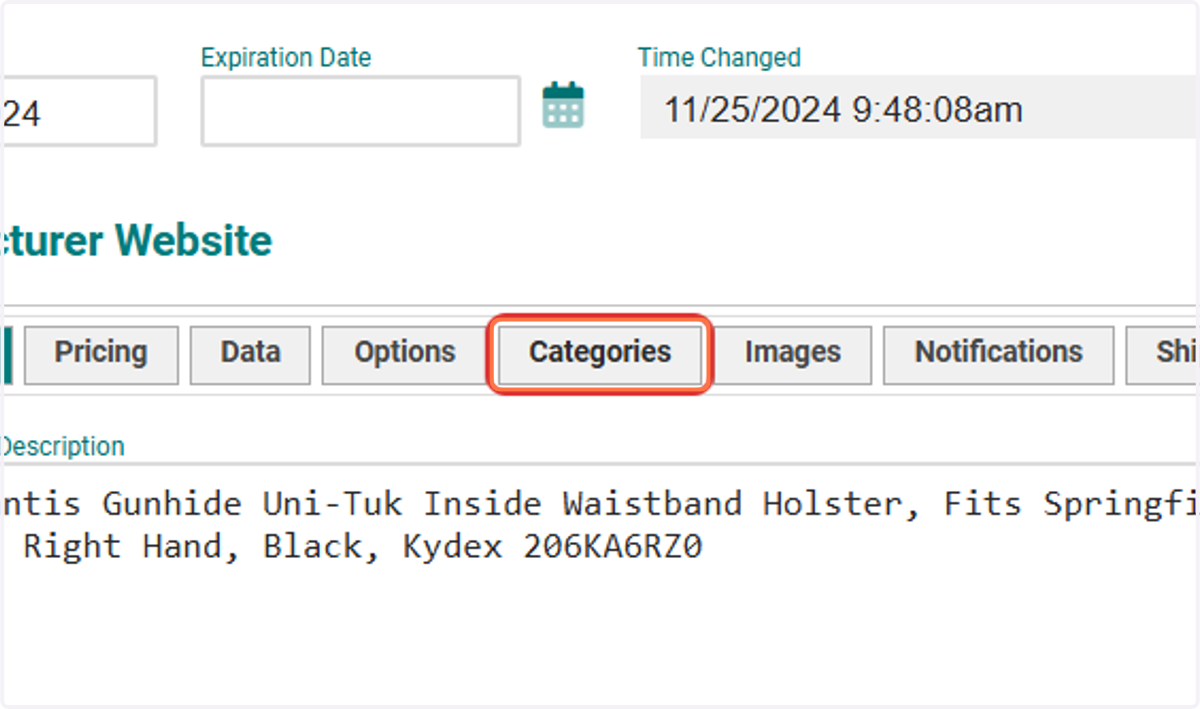
25. Click on Categories
Navigate to the Categories tab of your product setup. Here, you can verify that the product is assigned to the department established for the members' price rule.
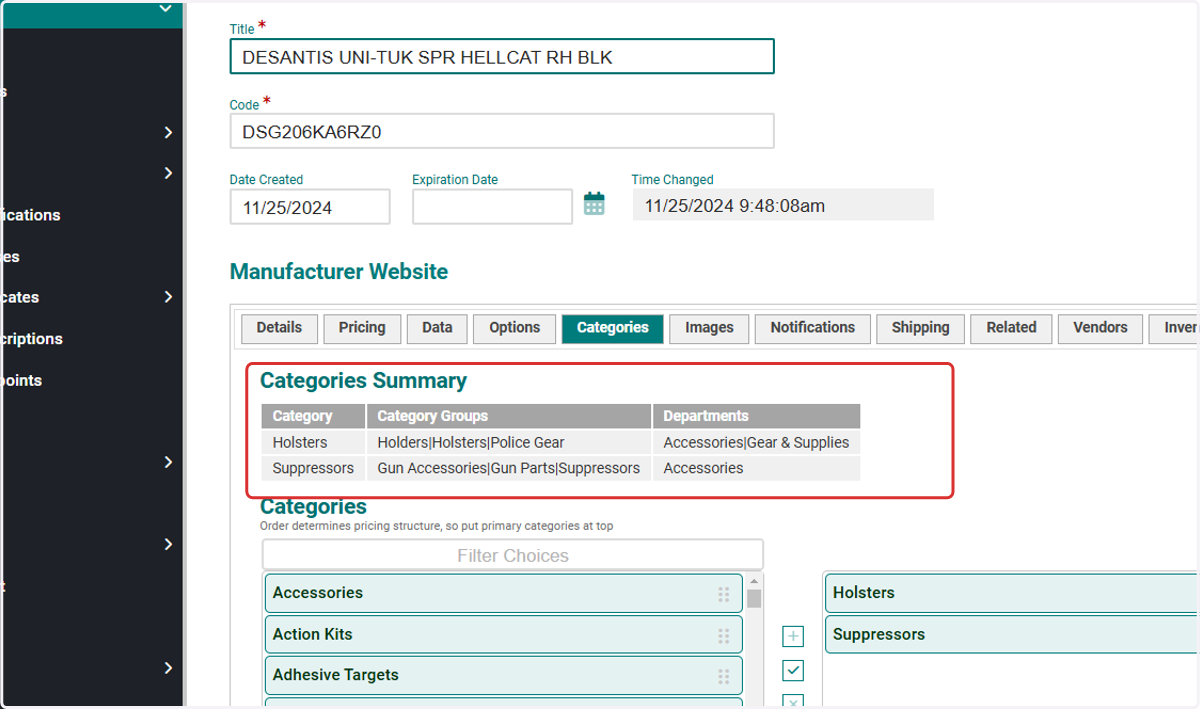
26. Categories Summary
In the Categories summary, you can confirm that this item qualifies for member pricing because it falls under the Accessories department.
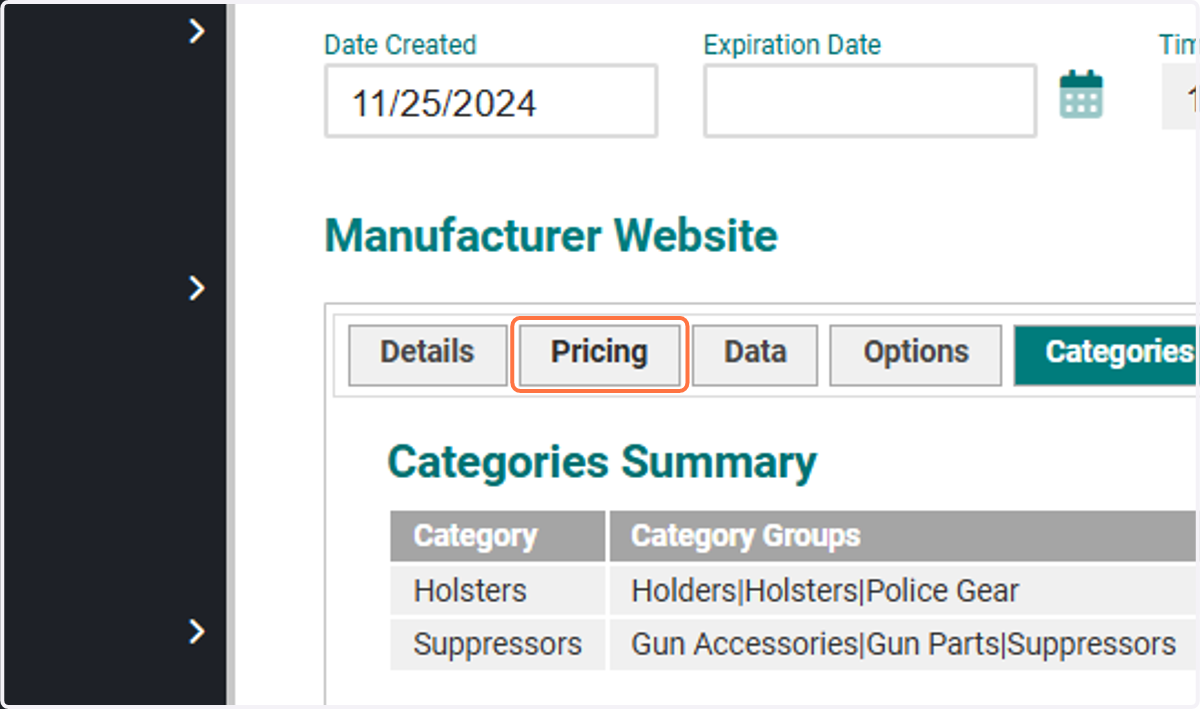
27. Click on Pricing
Now we can navigate to the pricing tab to identify the pricing structure calculations.
28. Calculation Log
In the Calculation Log, you can observe how the default pricing structure calculates its pricing. For this item, it applies a sale price of 60.40, which reflects the default pricing structure's 20% margin.
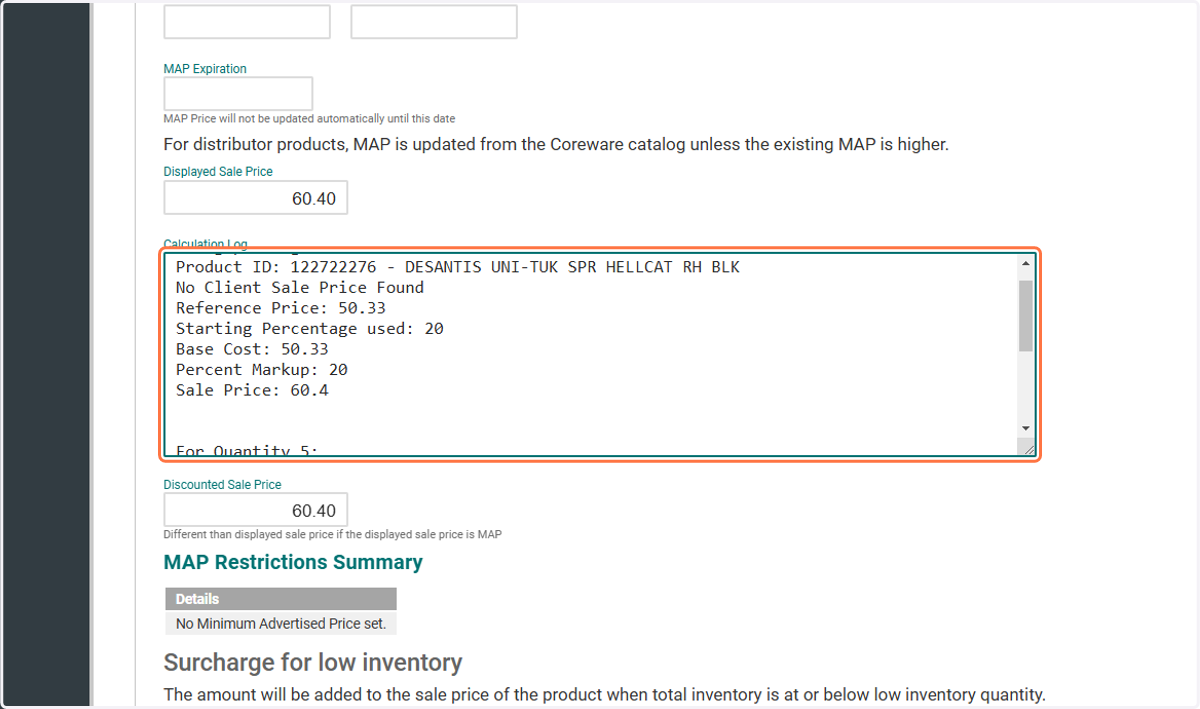
29. Inspect
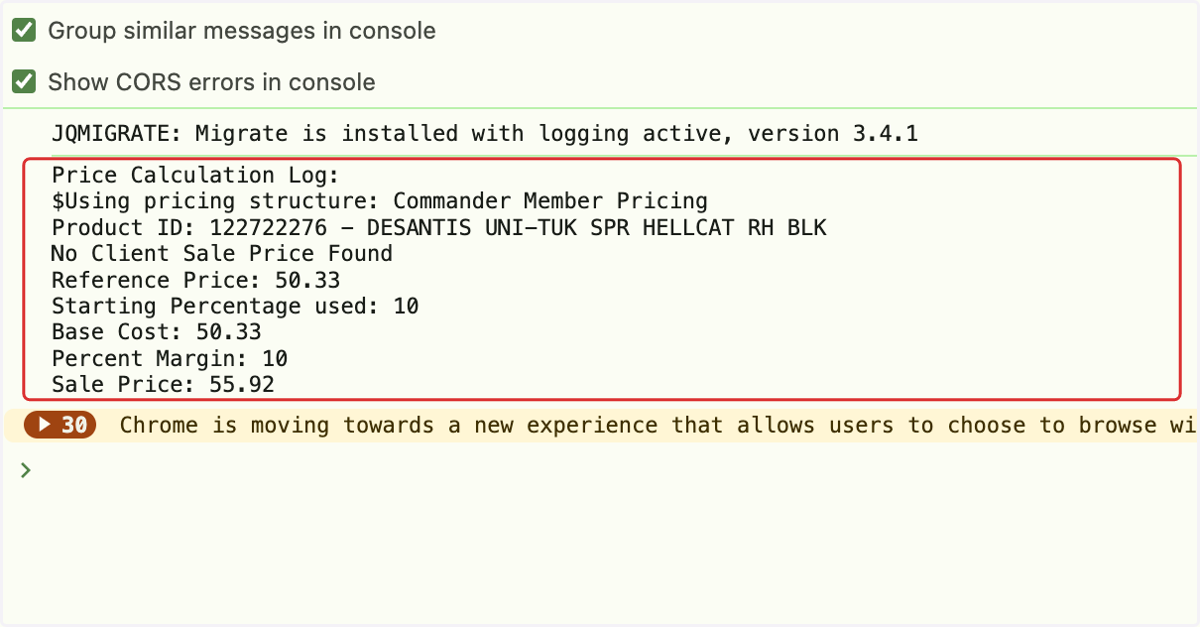
If you right-click on the Calculation Log and select Inspect, you can verify other pricing structures in the Console of your browser. This provides additional insights into how different pricing structures are applied.
30. Click on VIEW
On your product page, you can also click View to see the product and its pricing displayed online. However, if your admin account does not have an active subscription with the User Type assigned to your profile, the member pricing will not be displayed.
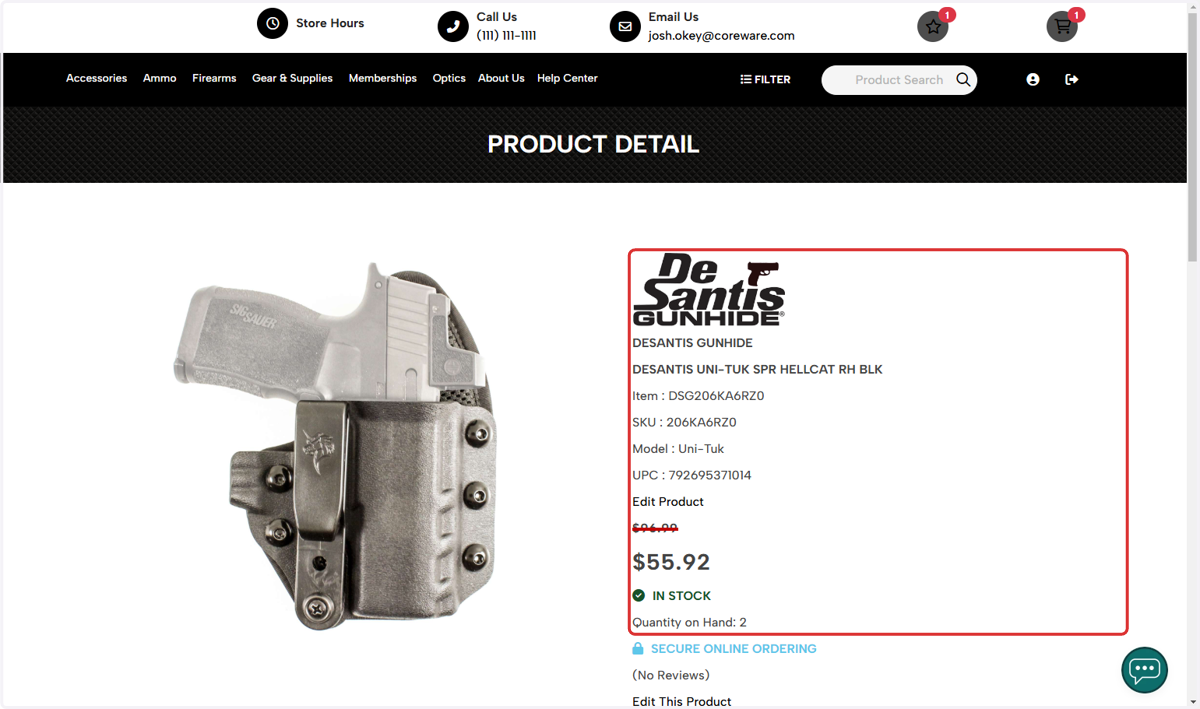
31. Product Details
On the customer-facing side of your site, on the product detail screen, you can confirm that your user is set to receive member pricing. This is evident as the displayed price reflects a 10% margin, compared to the default pricing structure of a 20% margin.