coreFORCE Advanced - Memberships: Establishing Member Benefits with Promotions
Establishing member benefits in coreSTORE can provide added value to your membership program. This guide will walk you through the process of creating these benefits and highlight a few examples of how they can be used. For instance, you might choose to offer discounts on specific categories like Range Ammo, waive sign-up fees, or provide free shipping. While these are just examples, you have full flexibility to tailor benefits to suit your members' needs. Whether you choose to implement these perks or explore others, coreSTORE makes it easy to enhance your membership offerings.
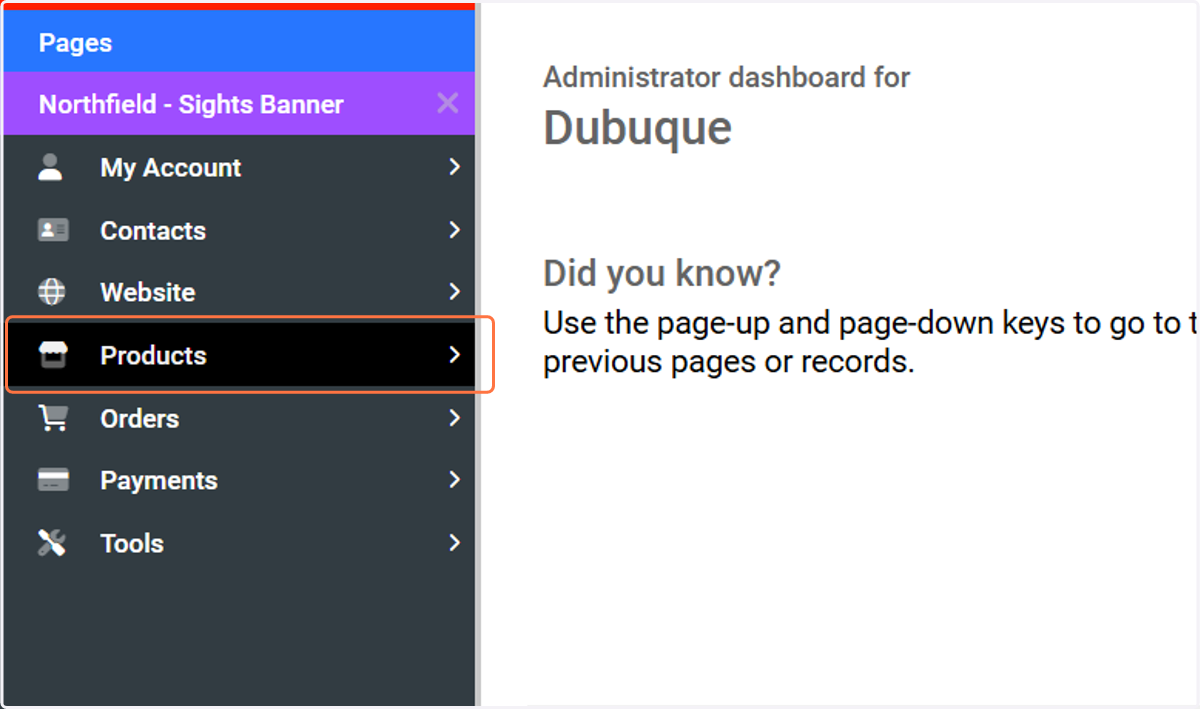
1. Click on Products
On your coreFORCE Admin Page, go to the Products menu to get started.
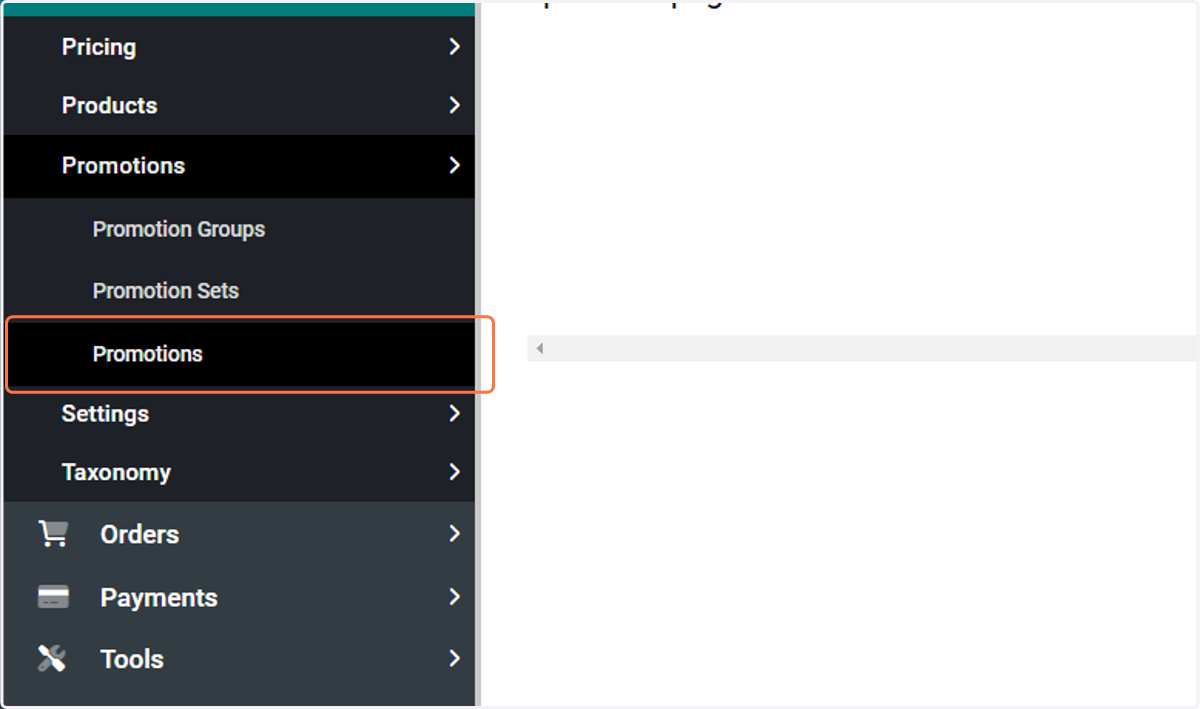
2. Click on Promotions
Locate the Promotions submenu.
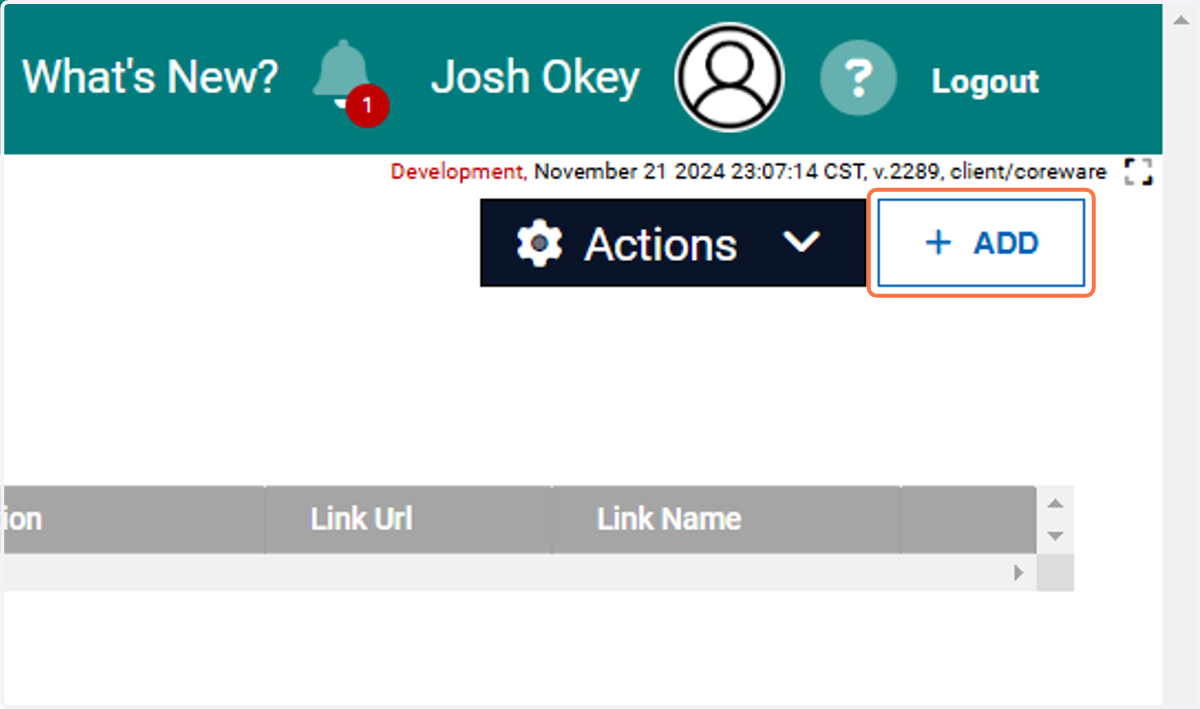
3. Click on ADD
In the top right-hand corner of your Promotions dashboard, click Add to create a new promotion structure.
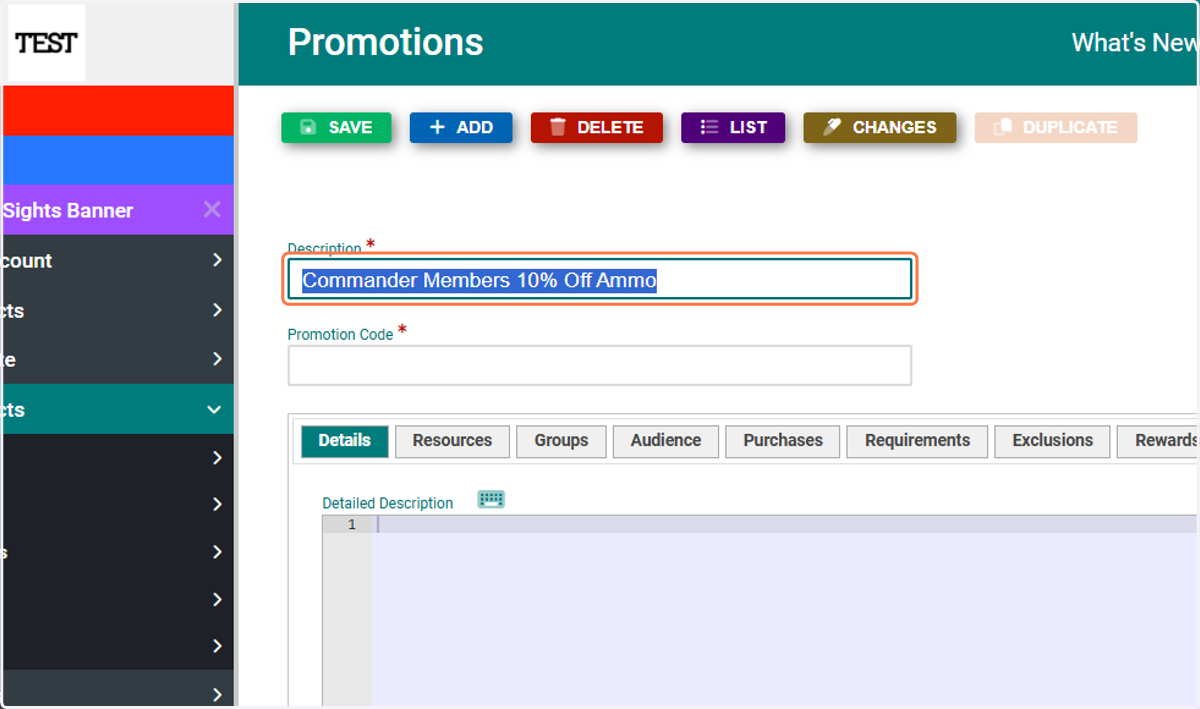
4. Description
In the Description field, enter an easily identifiable name. This is especially helpful if you offer multiple membership types or have other active promotions, allowing you to quickly make updates or changes in the future.
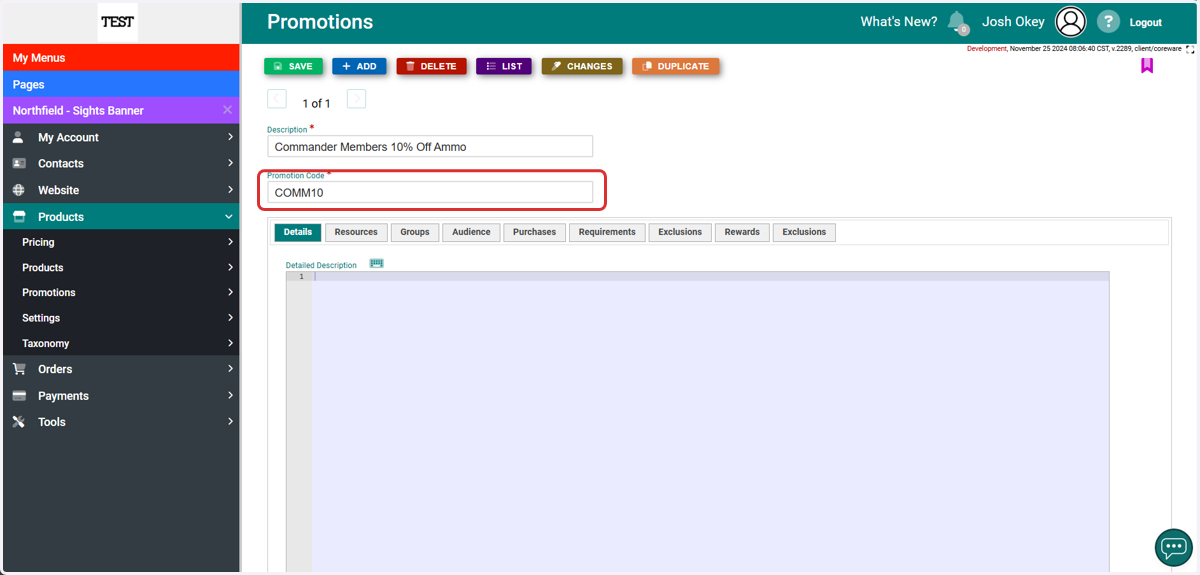
5. Promotion Code
It is recommended to keep your Promotion Codes uniform, and short as if this is not setup to auto apply promotion your clients will be required to enter the code manually.
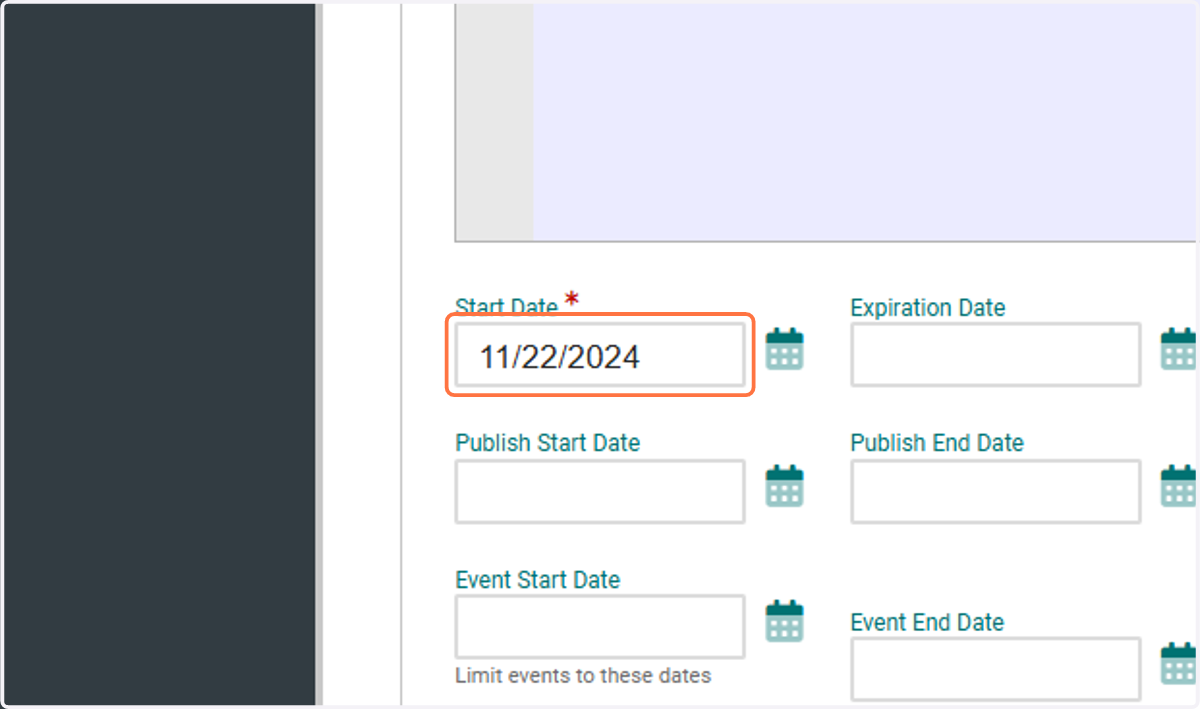
6. Click on Start Date
In the Start Date field, the system will automatically populate today's date. Update this field to reflect the date you want members to begin receiving the established benefit.
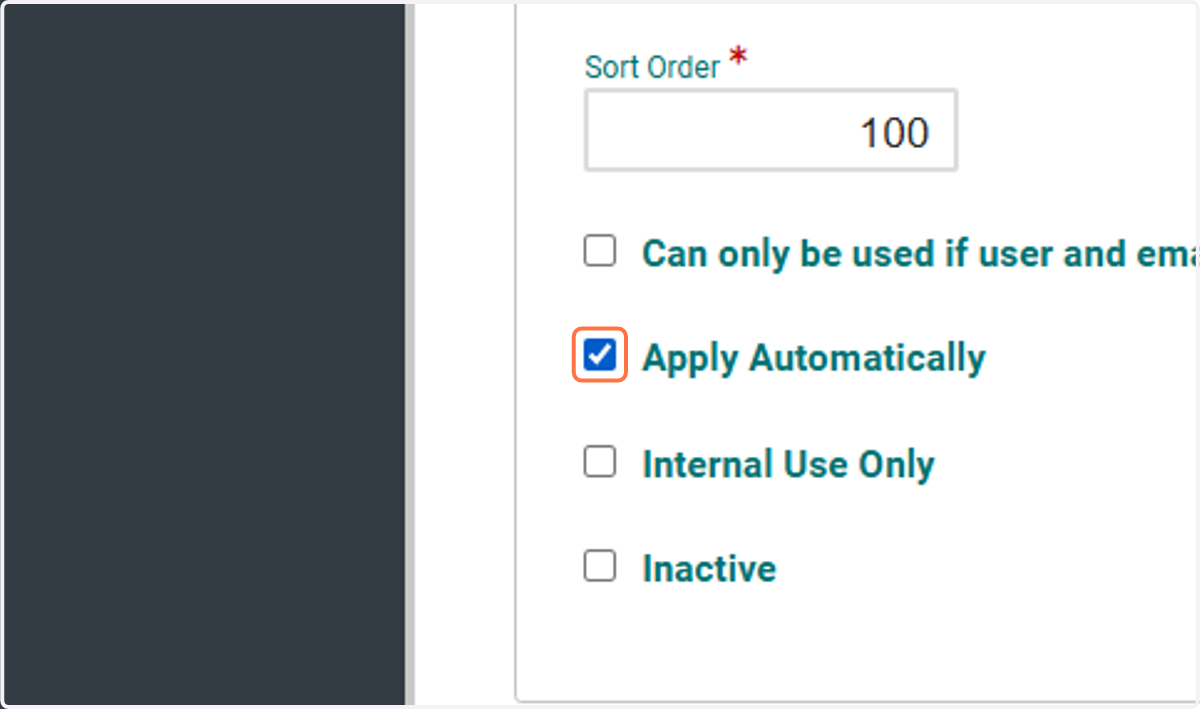
7. Apply Automatically
Since this is a member benefit, ensure the Apply Automatically option is checked on the Details tab. This setting ensures that at checkout, users will not need to enter a promotion code for the specified discount. The benefit will automatically apply, but only for users with the designated User Type.
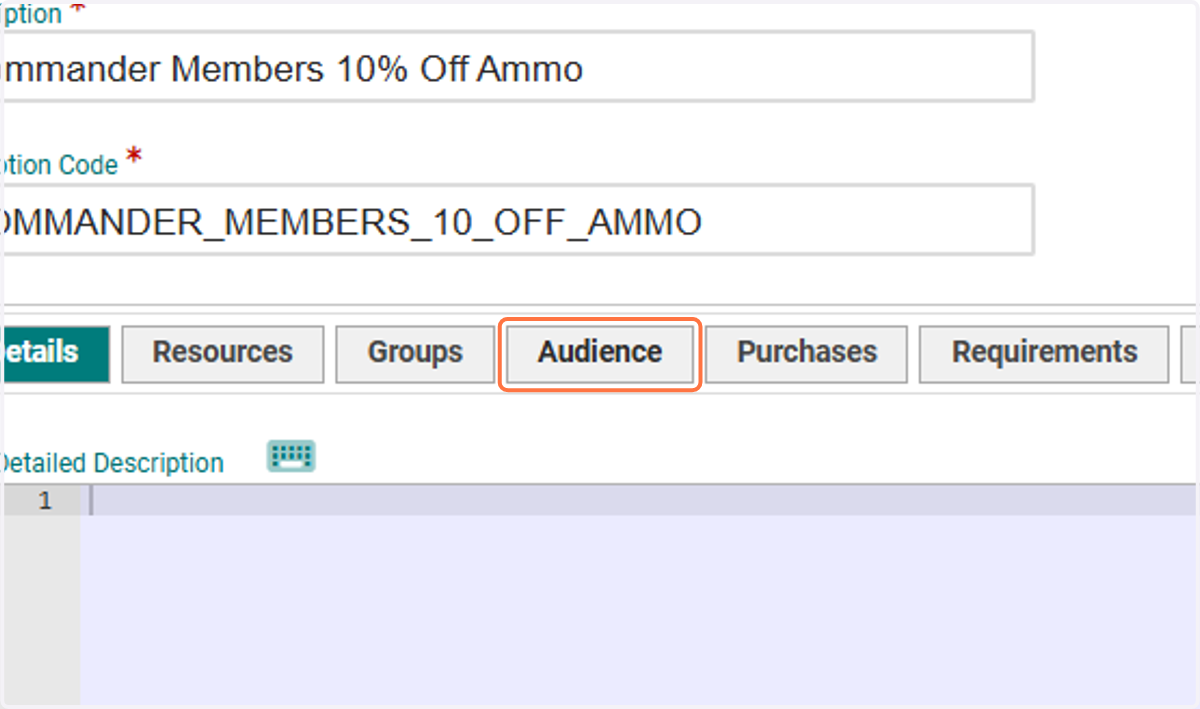
8. Click on Audience
Next, navigate to the Audience tab of your new promotion. Here, you can identify the User Type eligible for this benefit. If you are offering multiple memberships, you can assign multiple User Types to ensure they qualify for this promotion.
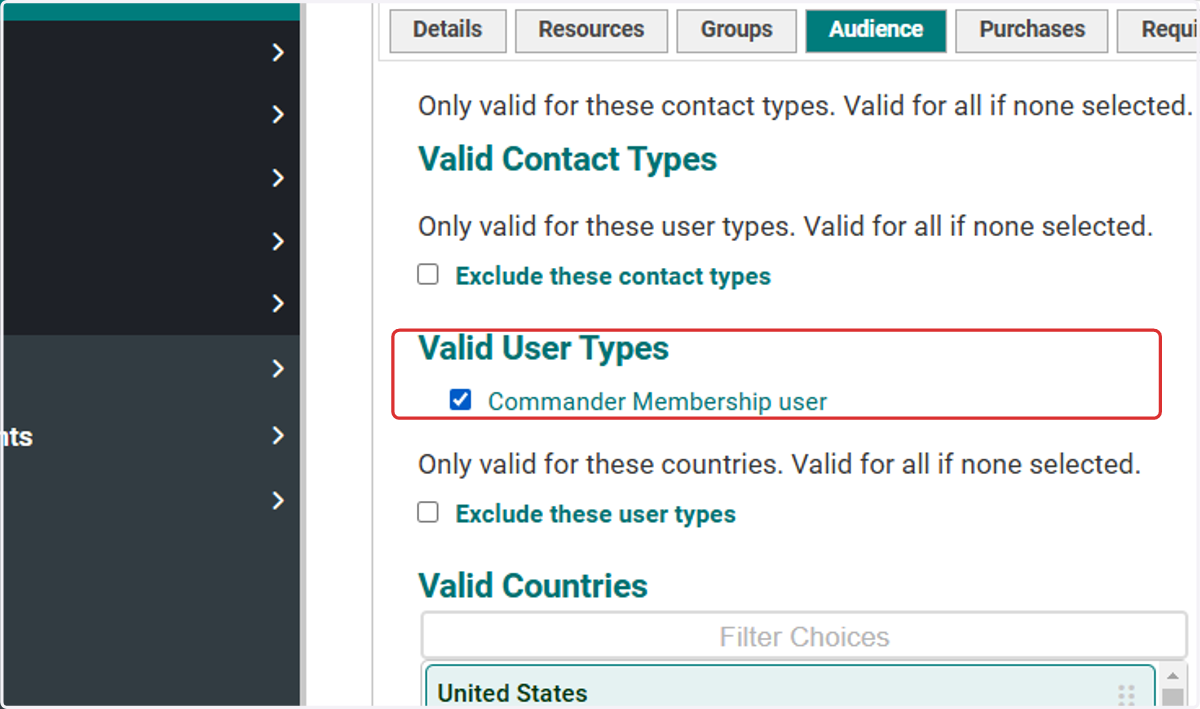
9. Valid User Types
Locate the Valid User Types selection and apply a checkmark to all user types that will receive this benefit's promotion.
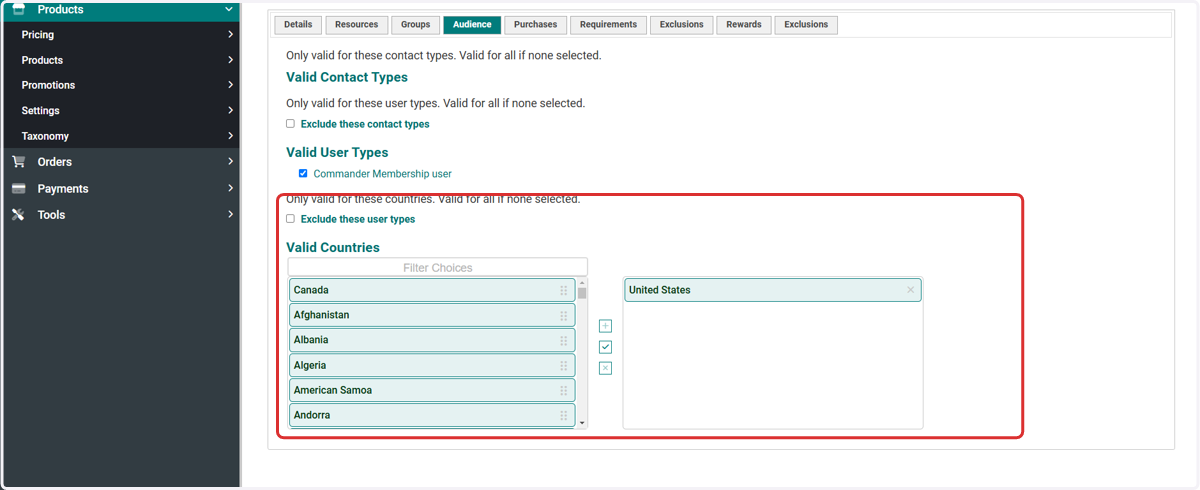
10. Valid Countries
You may want to define the Countries where this promotion is allowed. However, this is usually not an issue since the customer must purchase the membership to access the benefits. You can leave this field blank to make the promotion available in all countries.
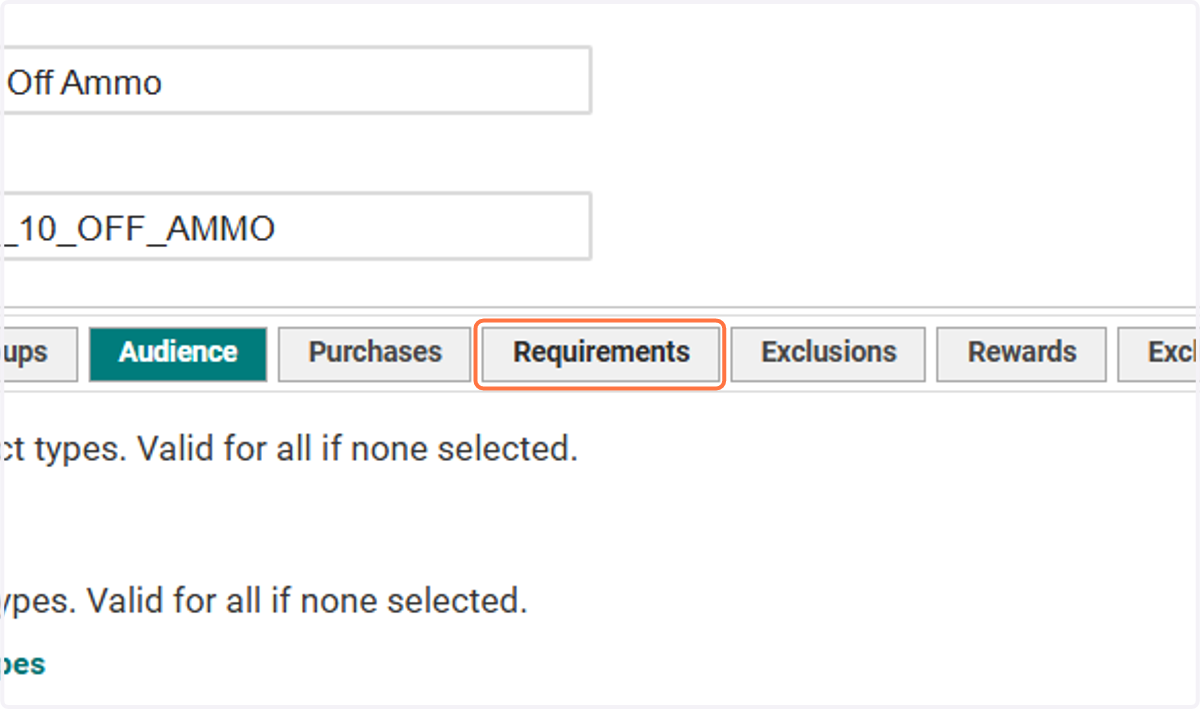
11. Click on Requirements
Next, navigate to the Requirements tab of your promotion setup.
12. Product Category Requirement
In this example we will be using the product Categorey Requirements, their is a plethroa of ways to configure this for individual products, departments, tags etc. But as this example is for 10% off all Ammo we will be defining the requirement by. In your deployment with the default taxonomy it is recommended that you would do this by department to cover all categories, unless you do want to specify just one specific category.
Please Note - if more than one requirement is selected, the cart has to fulfill all the requirements to get the reward (e.g. if it's ammunition and firearms, you'll only get the discount if you buy ammo and a gun).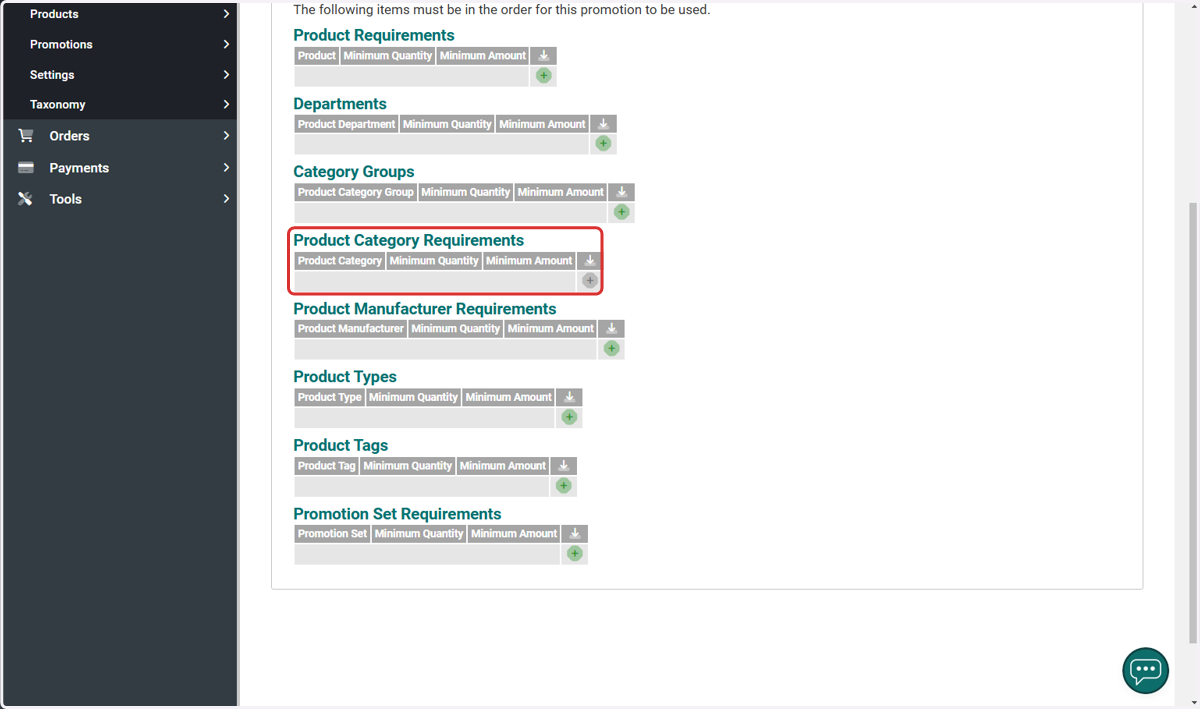
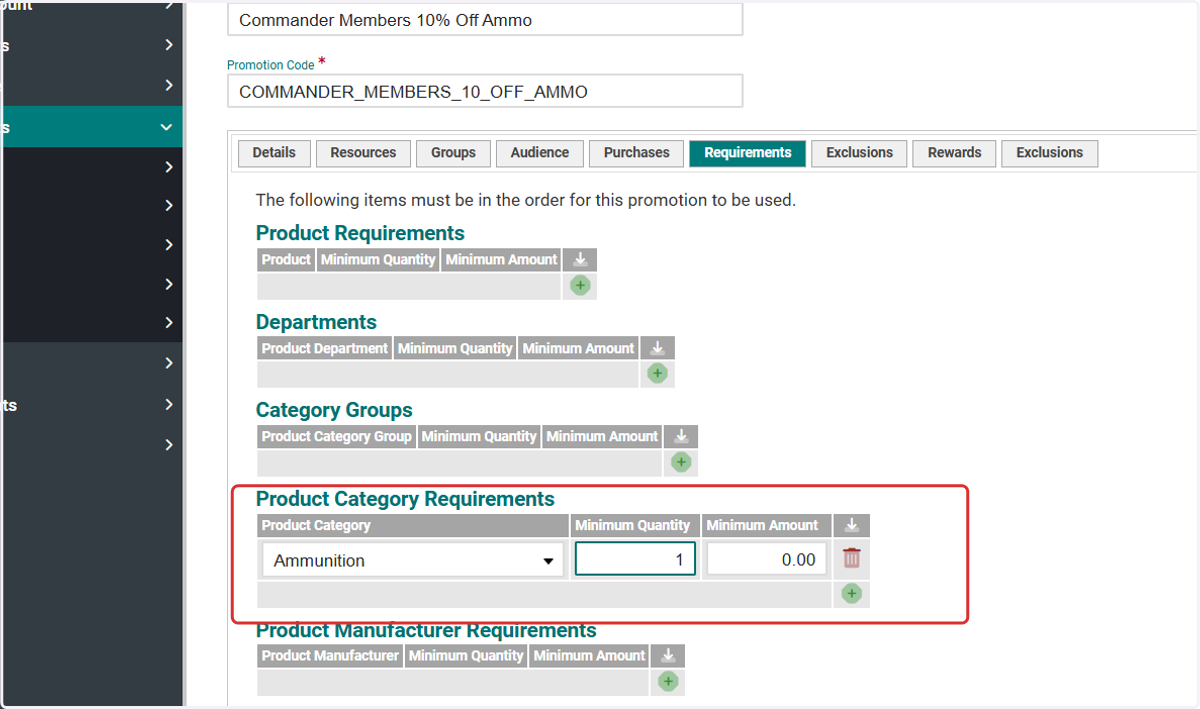
13. Product Category Requirements
With the information established in this example, the requirement specifies that at least one product from the Ammunition category must be in the user's shopping cart for the discount to apply.
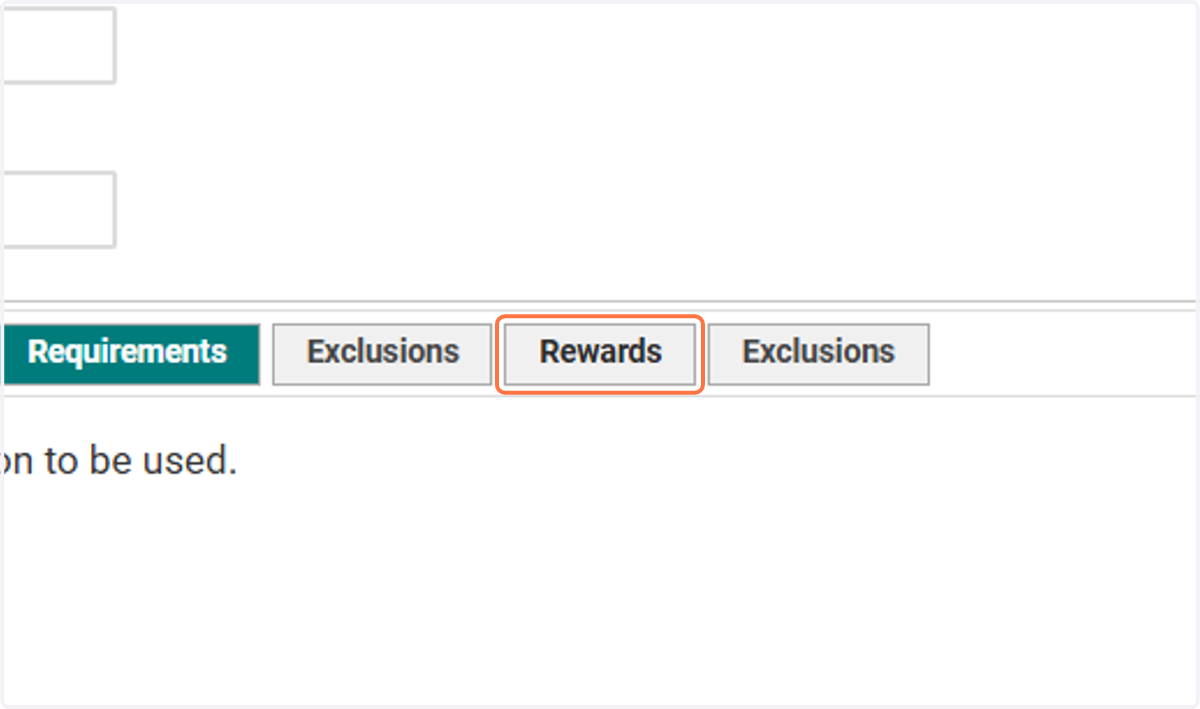
14. Click on Rewards
Next, navigate to the Rewards tab of your promotion setup. Here, you will configure the discount applied as part of the member benefits when an Ammunition product is added to the shopping cart.
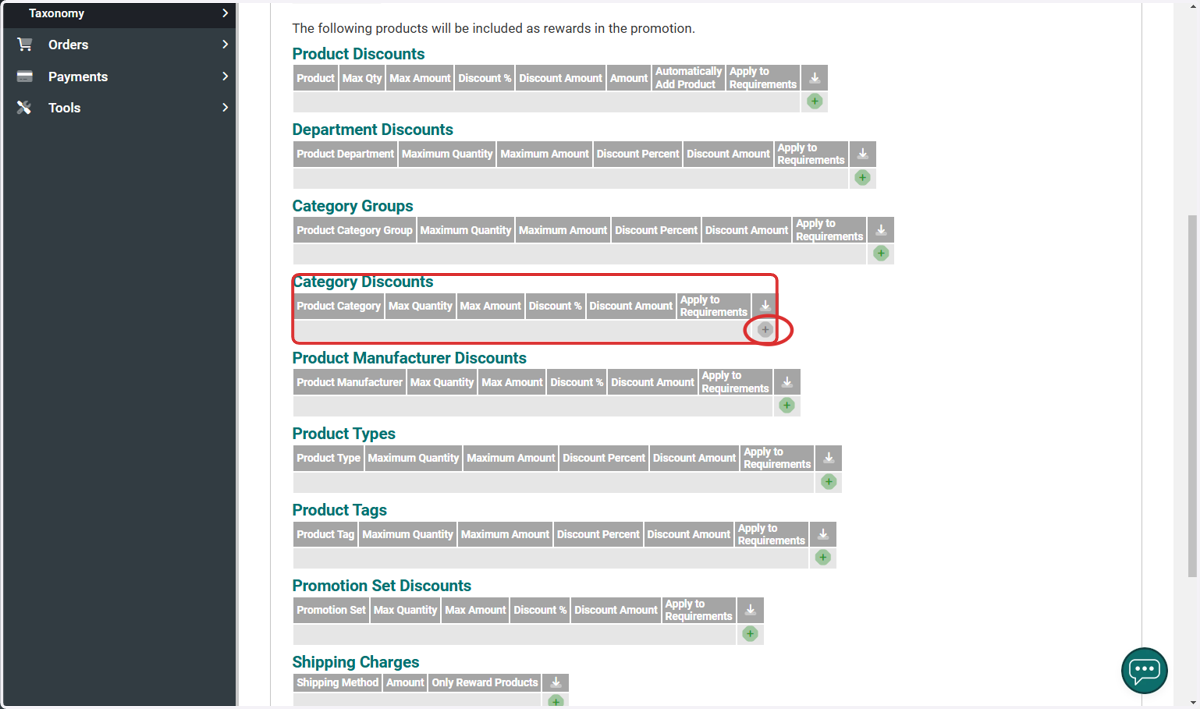
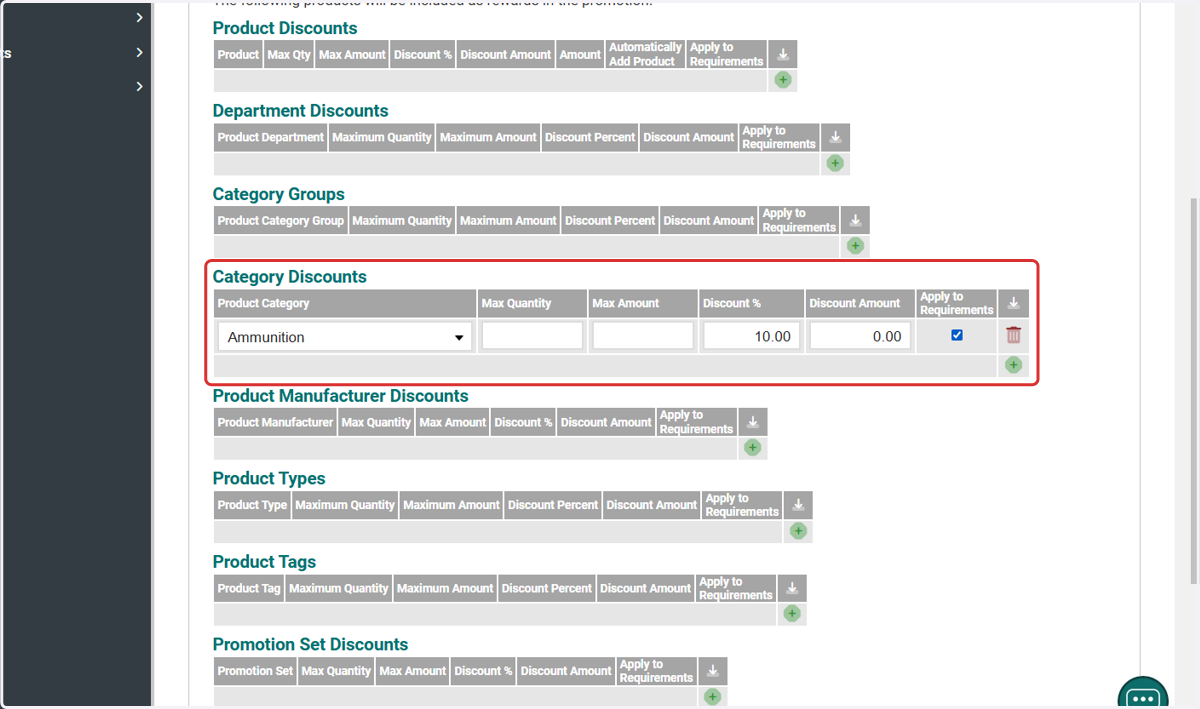
15. Category Discounts
Click the plus box in the Categories Discount section to create the rewards the customer will receive with this discount.
16. Established Member Reward
As shown in the example below, the setup for the Category Discount Reward specifies that any item in the Ammunition category will receive a 10% discount if it meets the requirements we previously established. In this case, the requirement is that at least one item from the Ammunition category must be in the shopping cart.
17. Click on SAVE
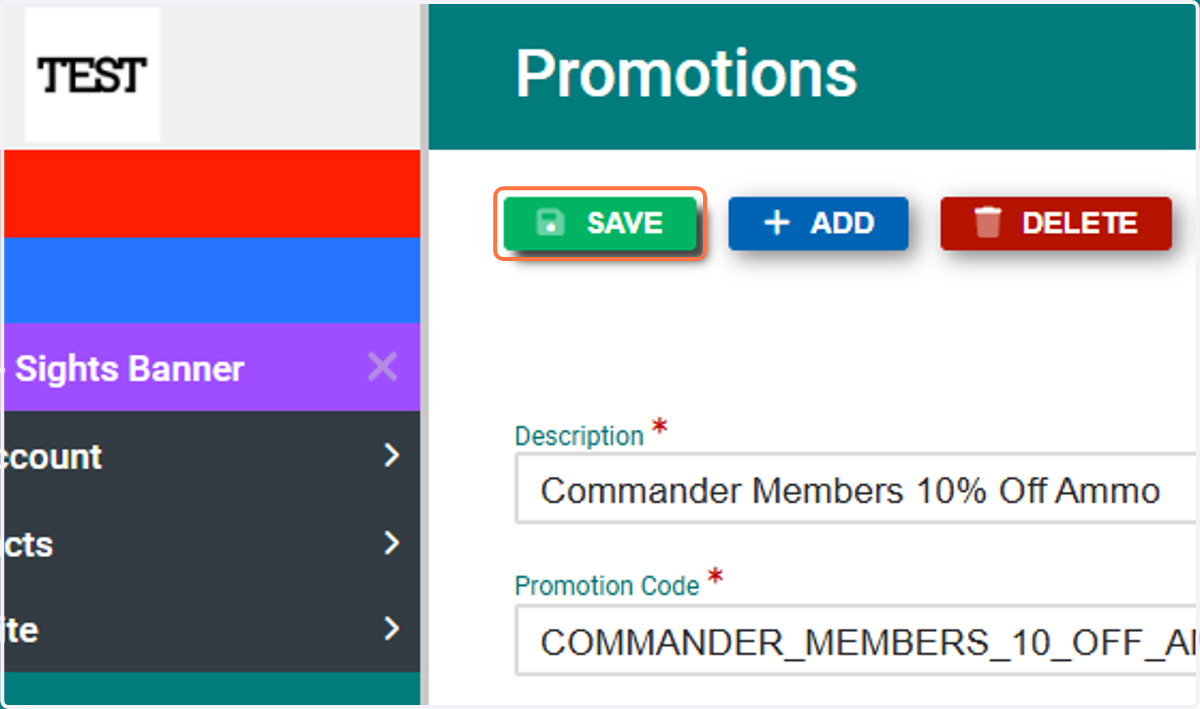
Click SAVE to finalize your newly created promotion.
18. Customer Facing
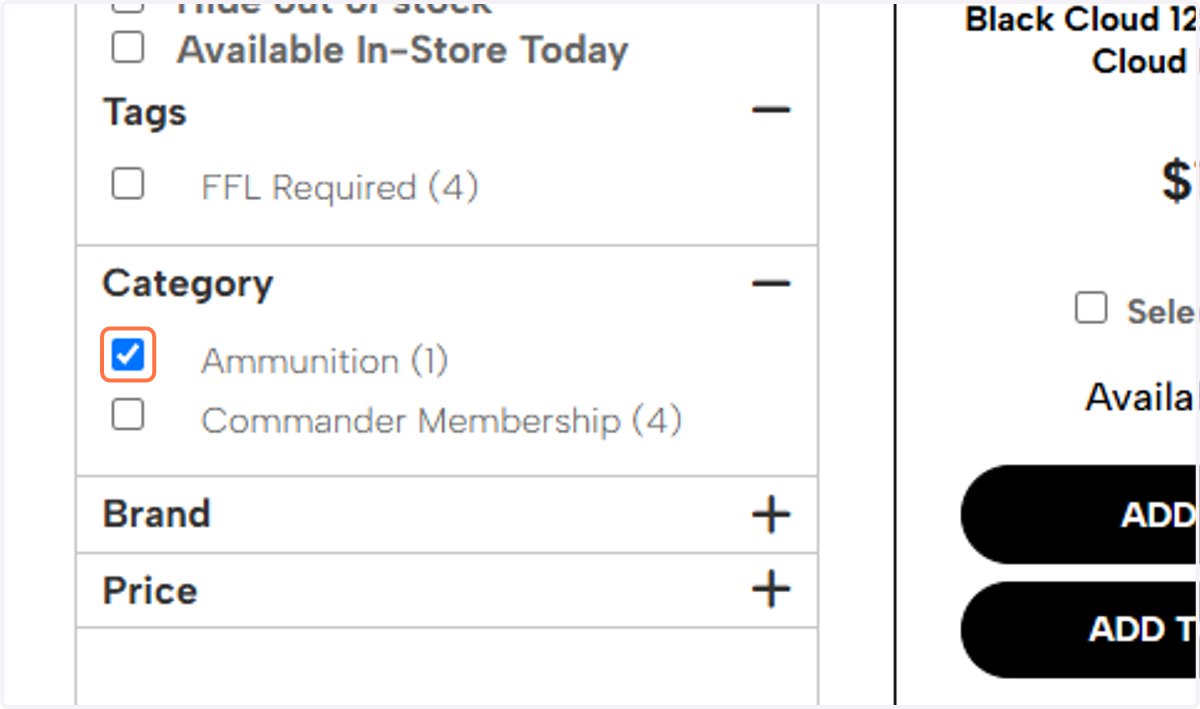
Next, ensure you test your promotion to confirm it has the desired effect. Please note that for the promotion to work, the user you are logged in with must have the established subscription and User Type. In this example, I’m locating my Ammunition item in the shopping cart to verify the discount applies correctly.
19. Click on ADD TO CART
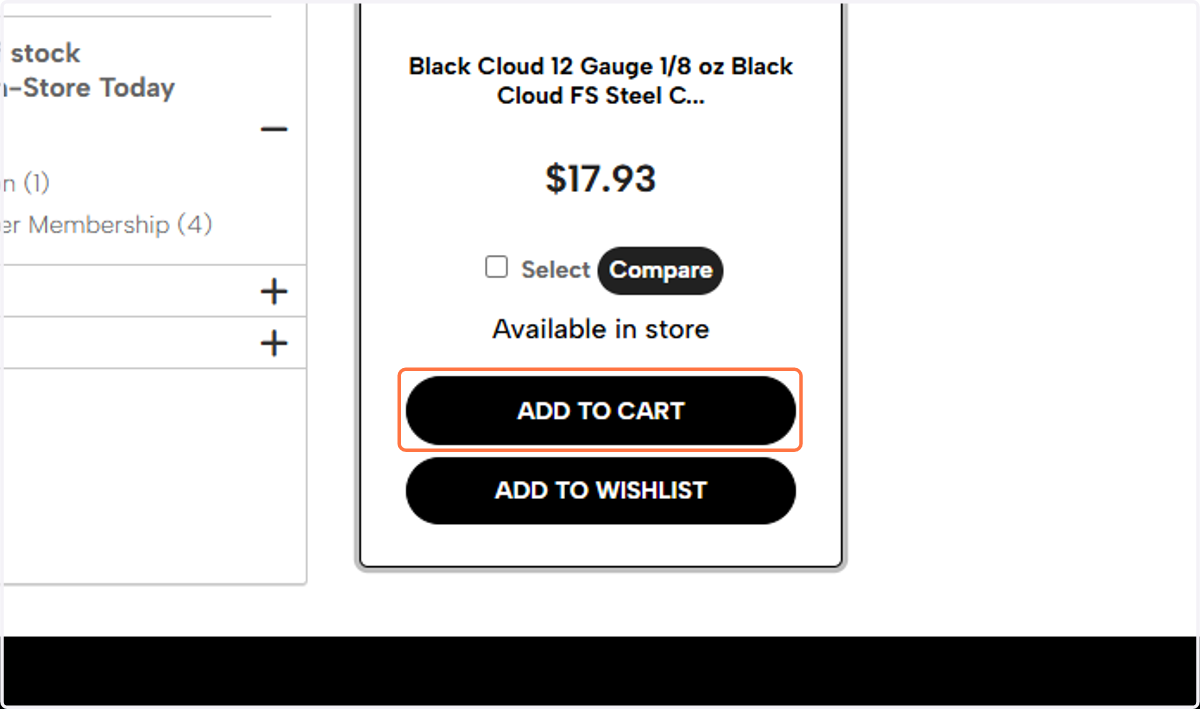
Add the promotion product to your shopping cart.
20. Click on CHECKOUT NOW
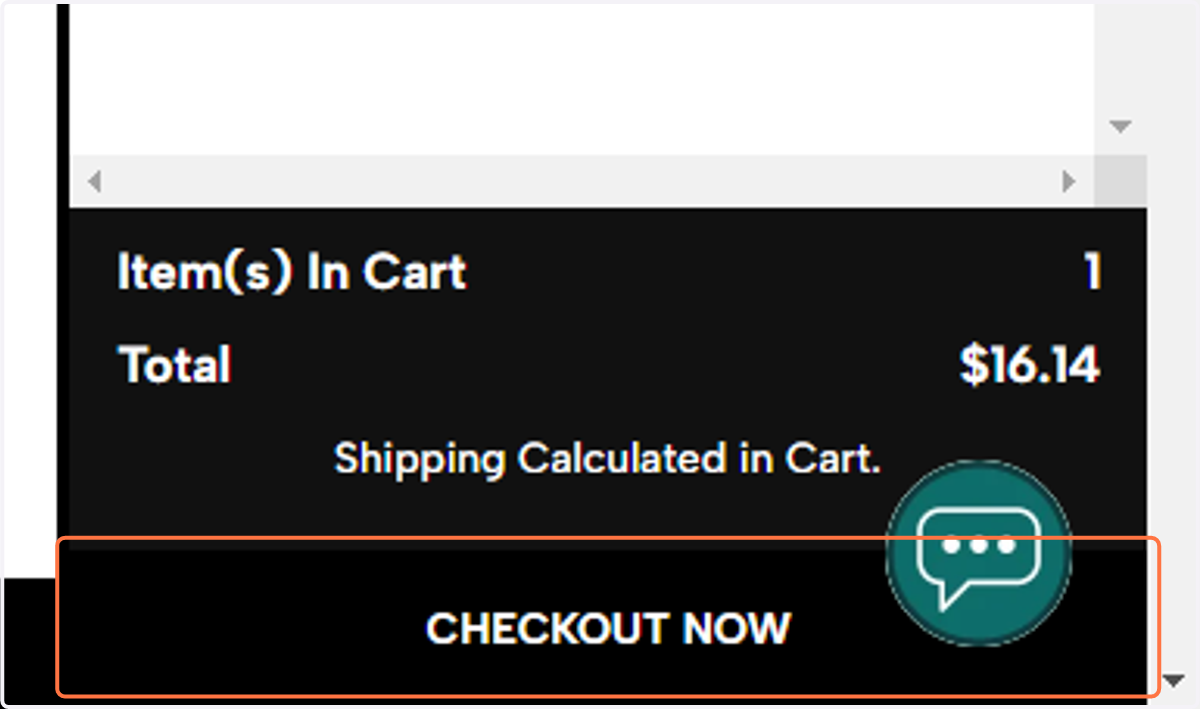
Click Checkout Now to proceed to the checkout page and view the applied promotion.
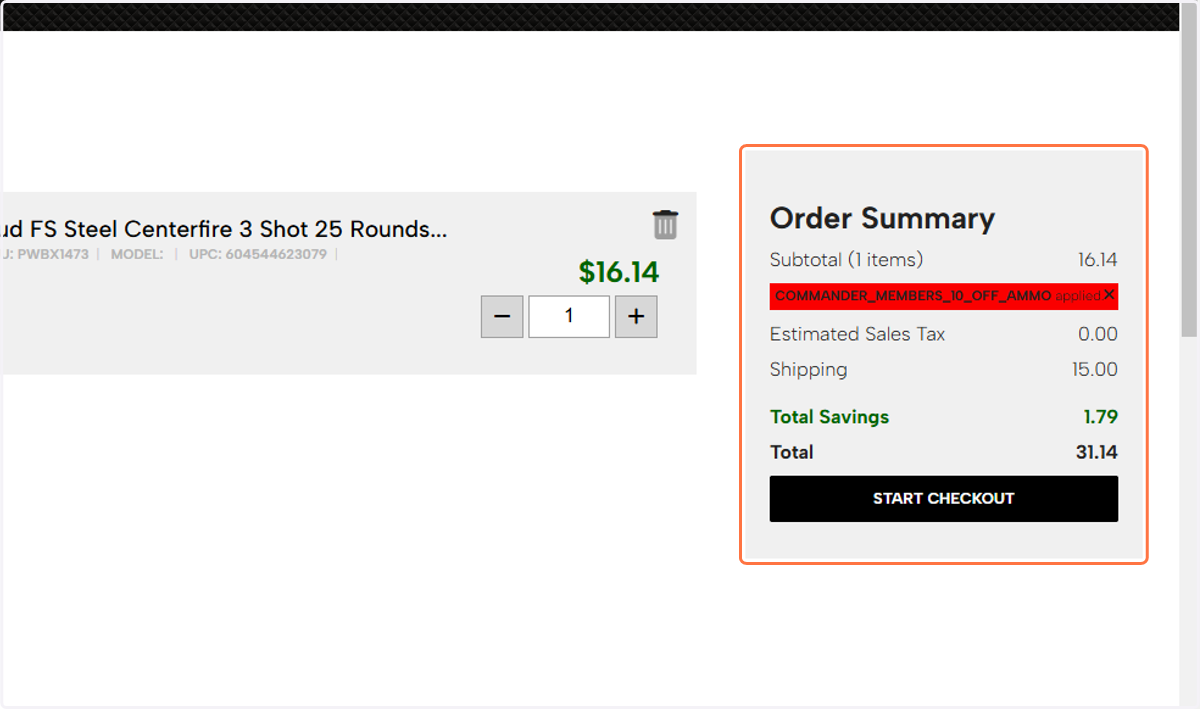
21. Order Summary
On the checkout page, you will see an Order Summary tile. Here, you can verify the Promotion Code and the total savings applied as part of your promotion benefit.