Default approval workflow on the front-end
In this tutorial, we will show how the default configuration of the approval workflow appears to both standard users and approver users.
We will begin by placing the order as the standard user.
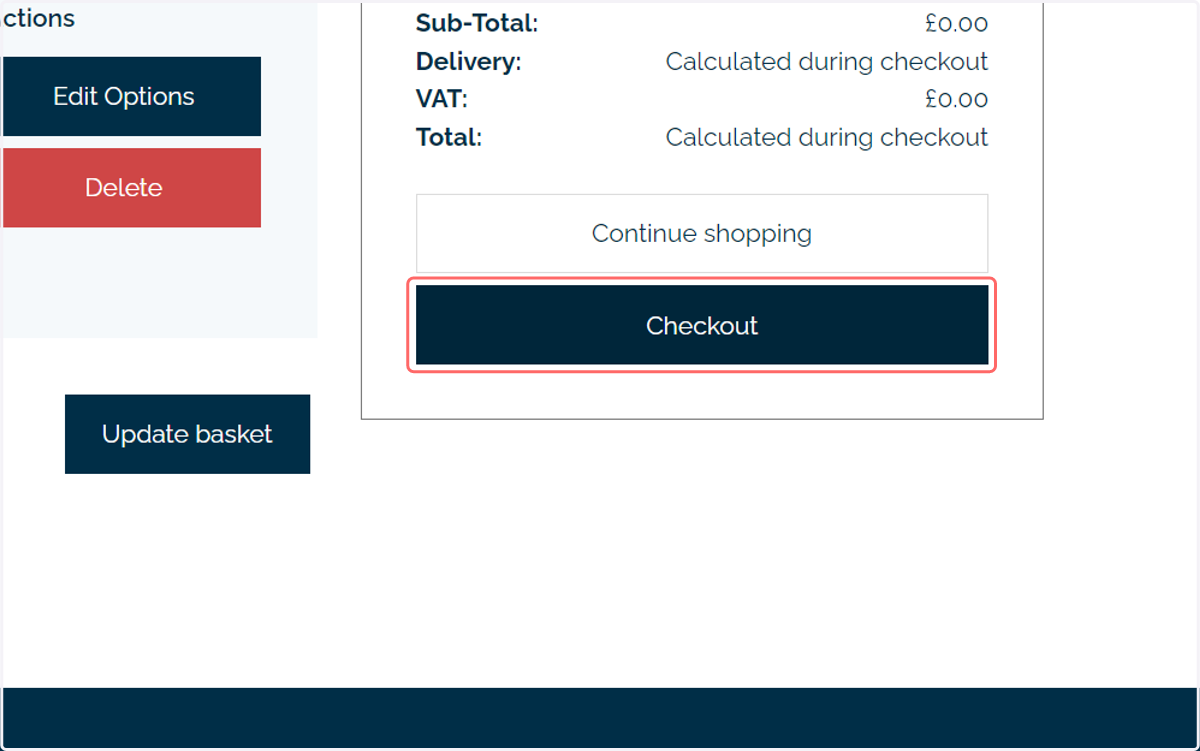
1. Click on checkout and navigate through the checkout process
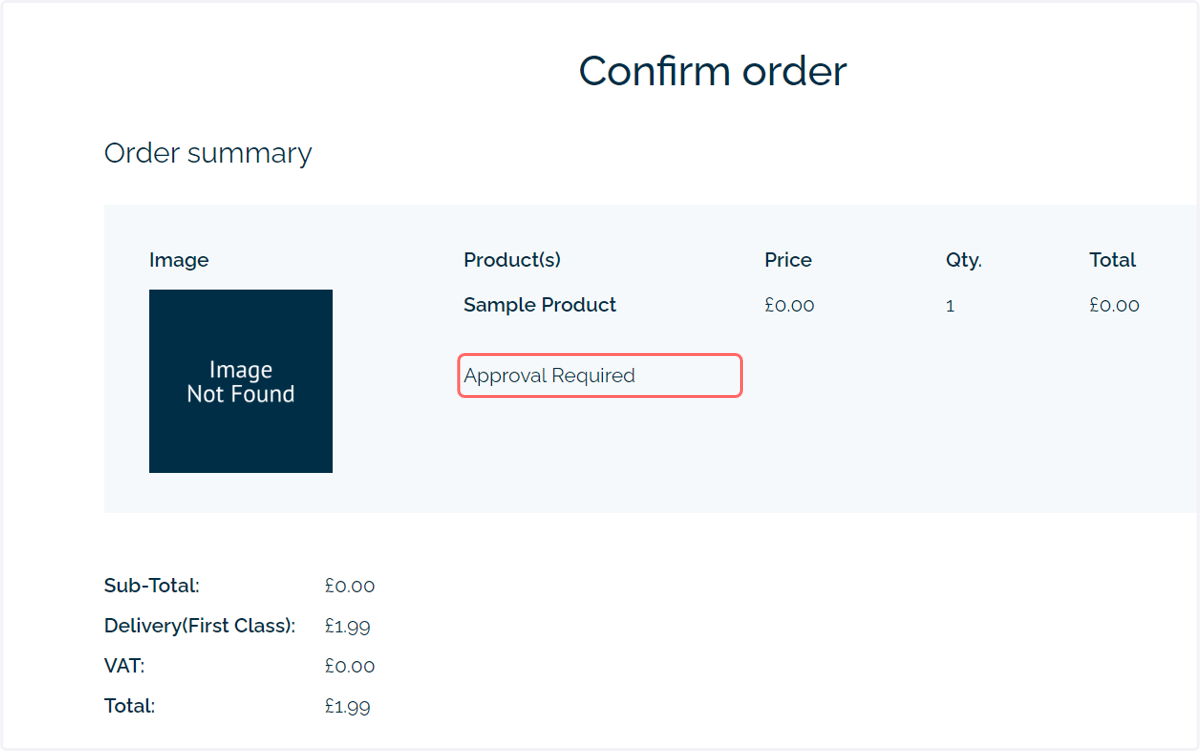
2. If required, a note will be displayed indicating an orderline requires approval
3. Click on Confirm to submit the order for approval
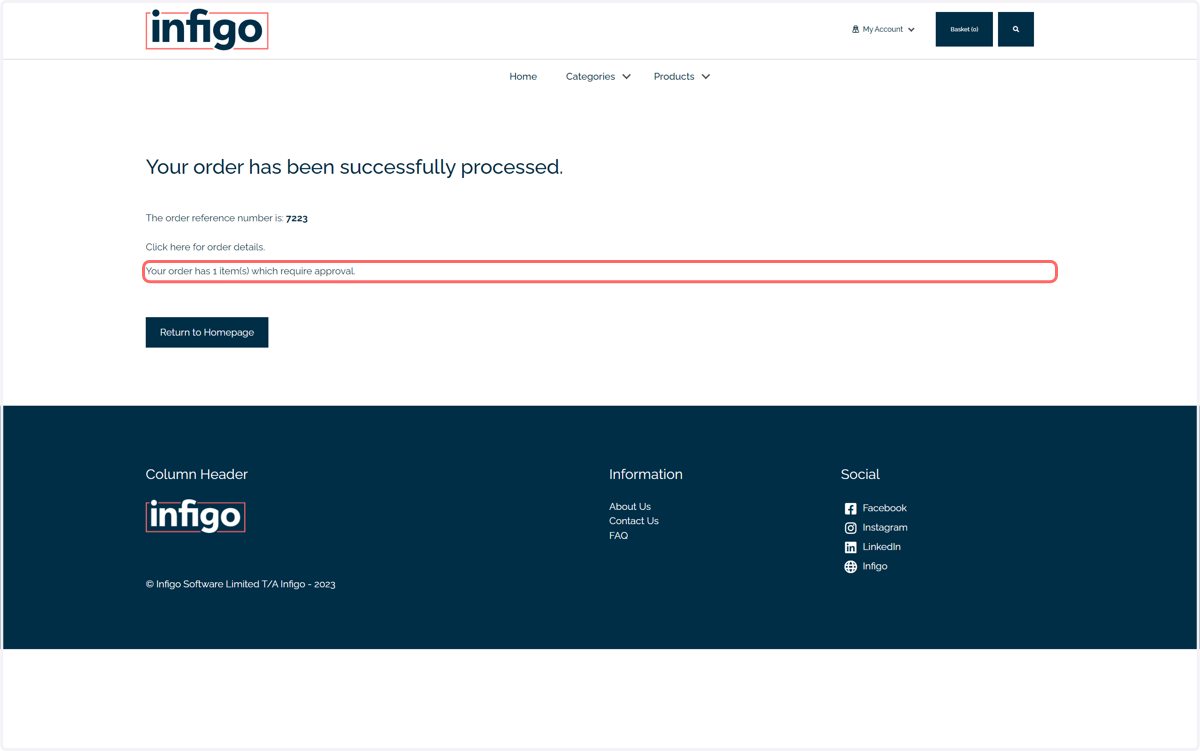
4. Messages will be displayed informing the user of items requiring approval in this order
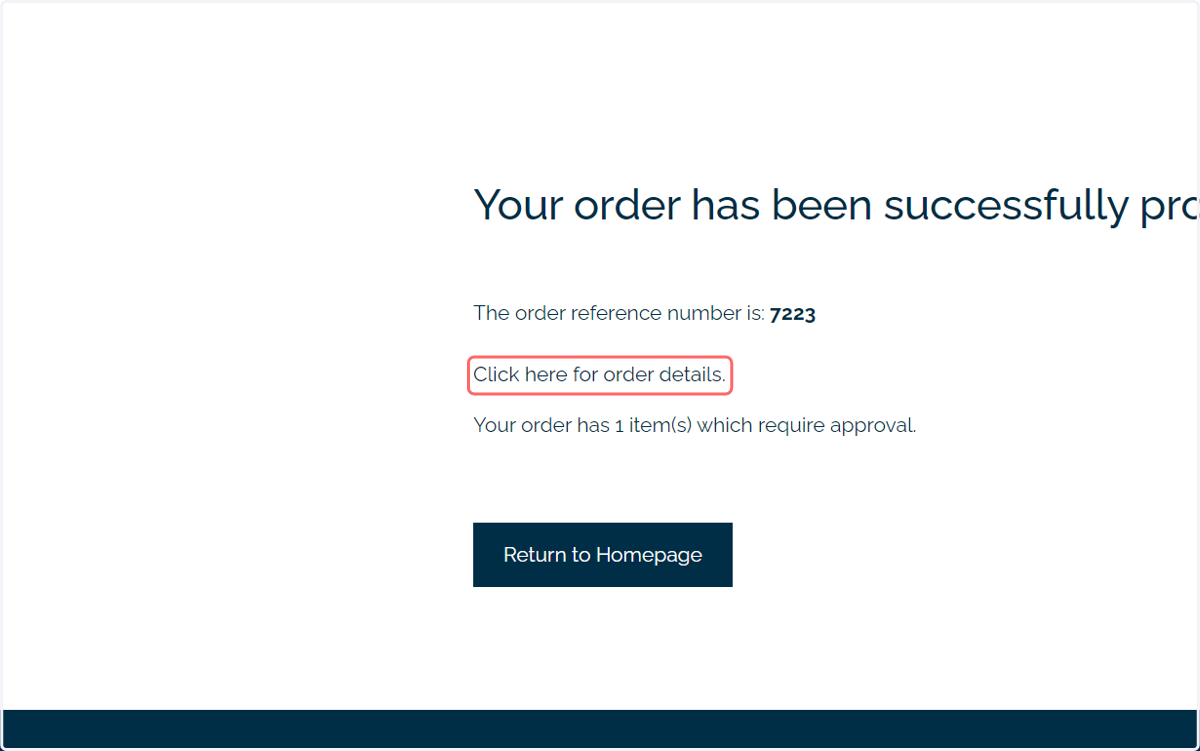
5. Click on Click here for order details.
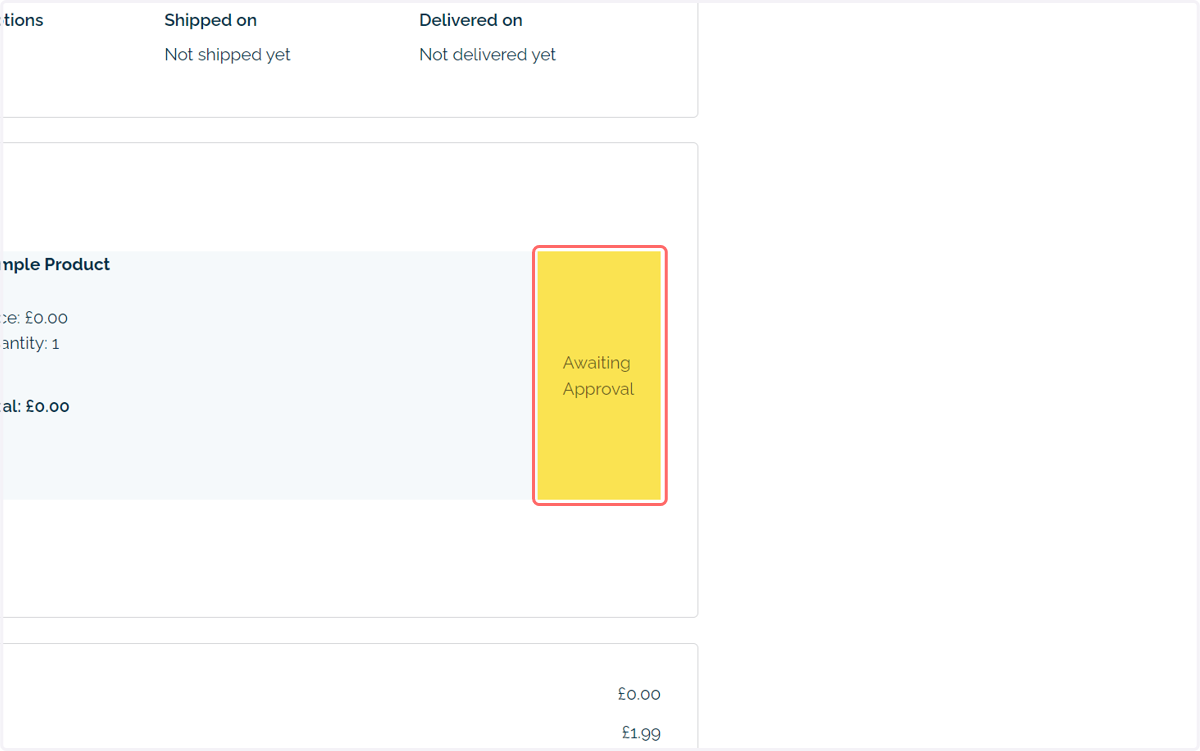
6. Approval status will be displayed within the order details
7. Next, we will see the continuation of the workflow from the Approver perspective
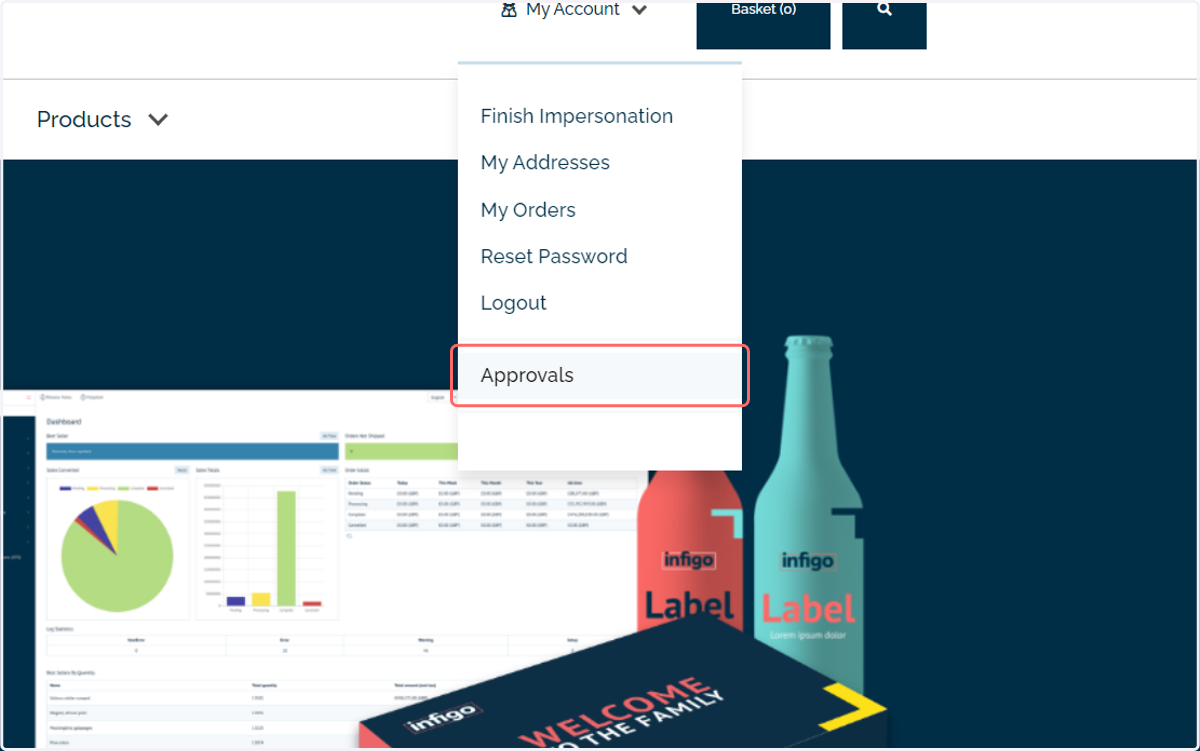
8. Click on Approvals
Alternatively, the user can navigate to the approval page by adding "/approval" to the storefront URL.
E.g: https://training.infigosoftware.com/storefrontname/approval/
9. All jobs awaiting approval will be displayed in the Approval page
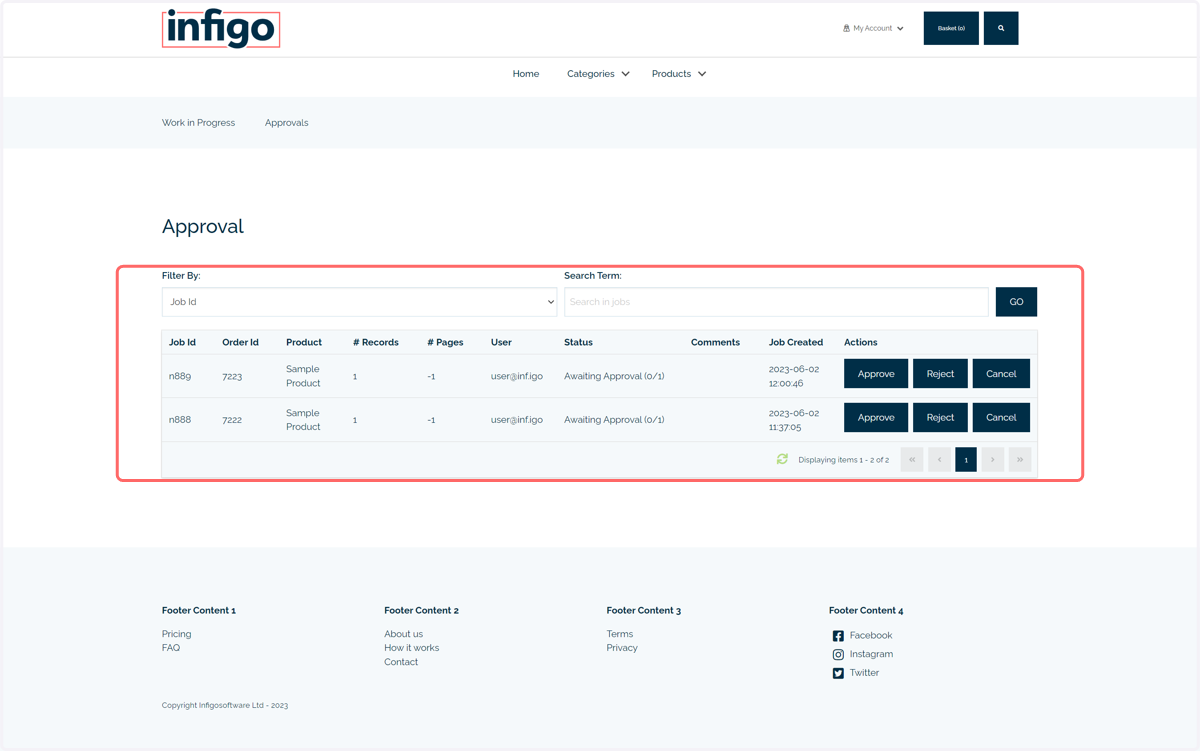
10. The approver can choose to approve or reject a job
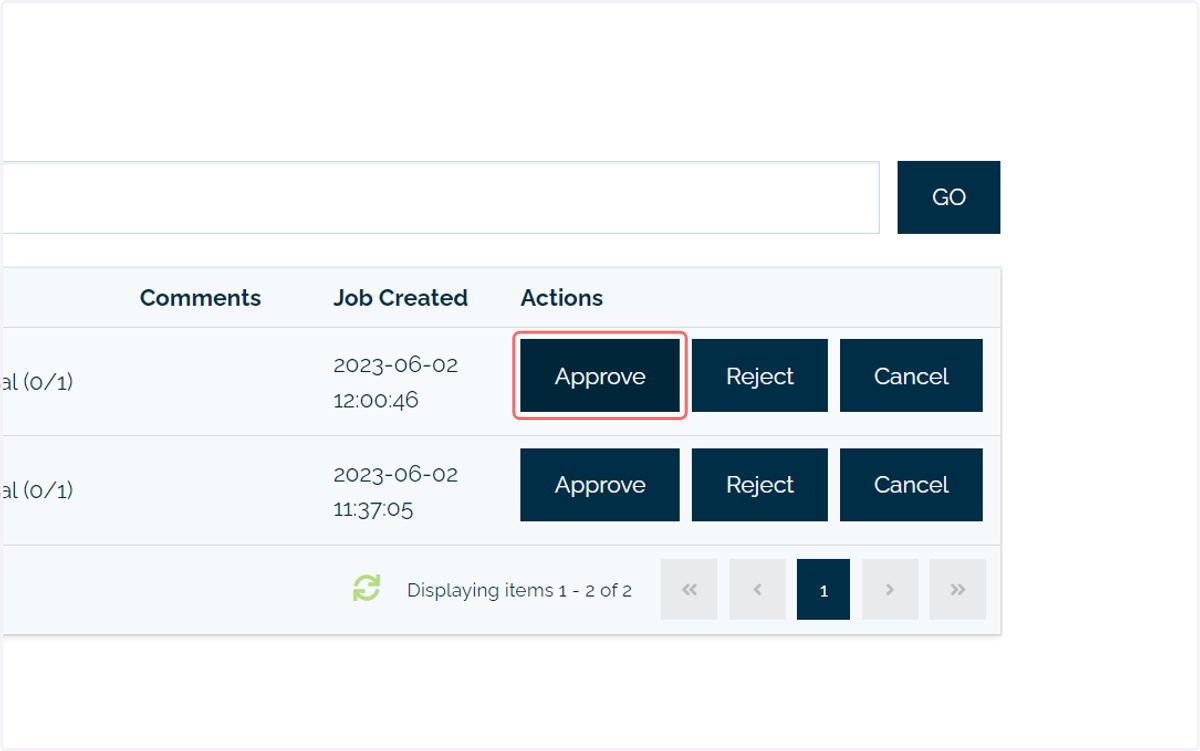
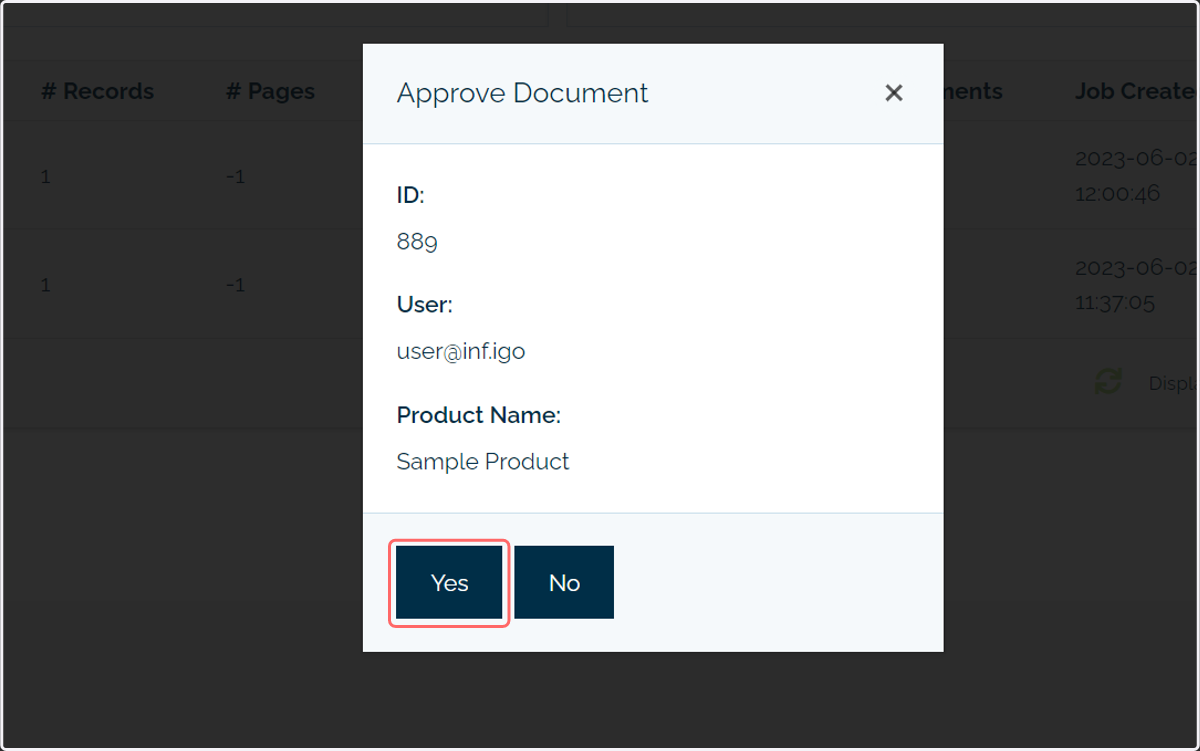
11. Click on Yes
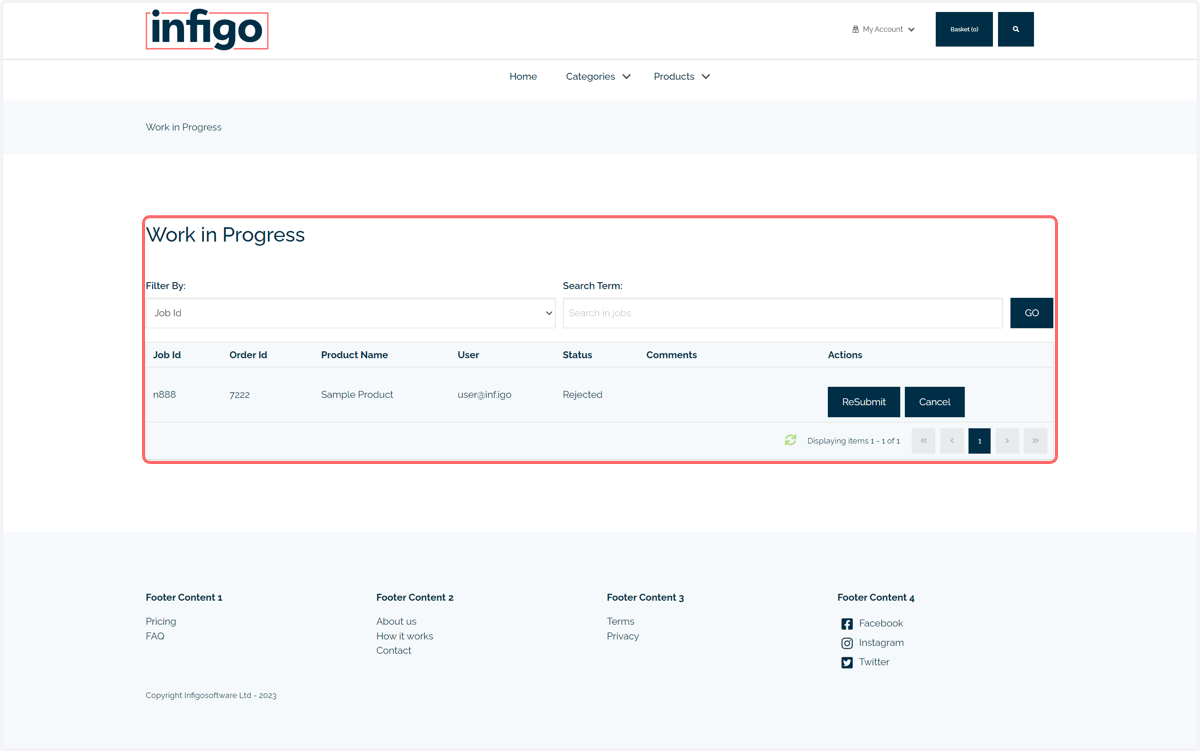
12. We will now continue the approval workflow as the standard user, to see how this information is relayed to them
13. Rejected jobs will be displayed in the Work in Progress screen
From here, users have the ability to resubmit or cancel jobs.
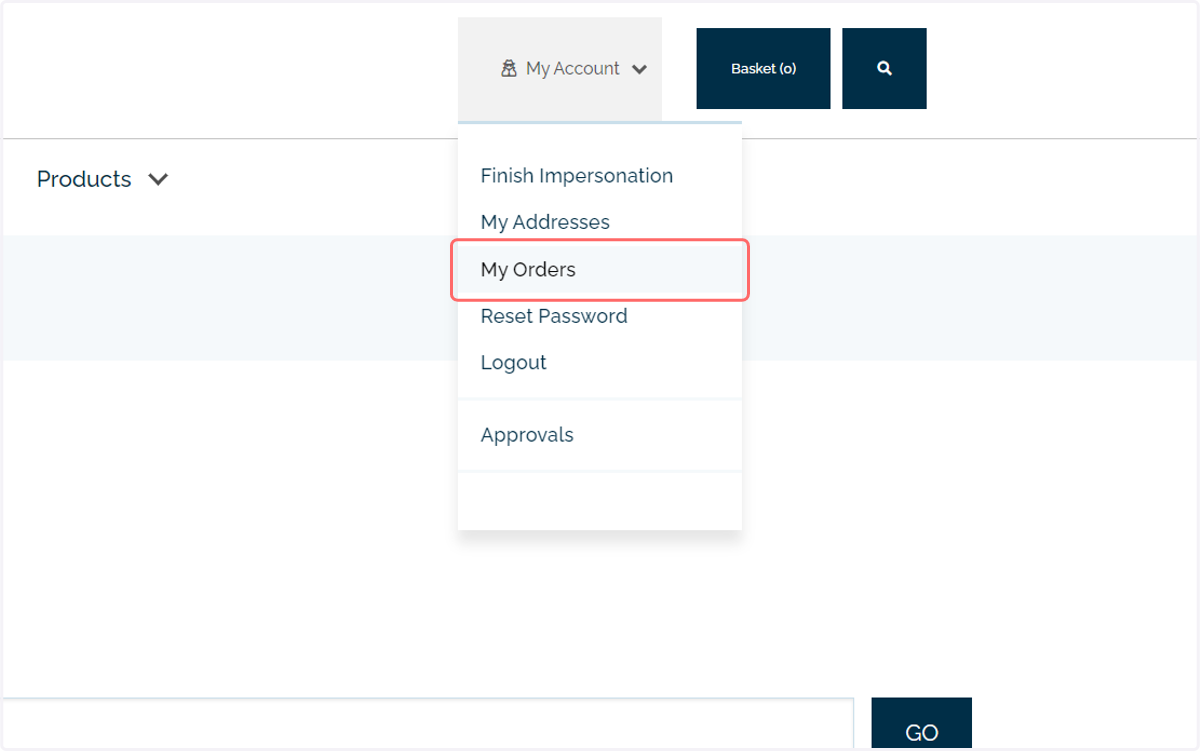
14. Click on My Orders
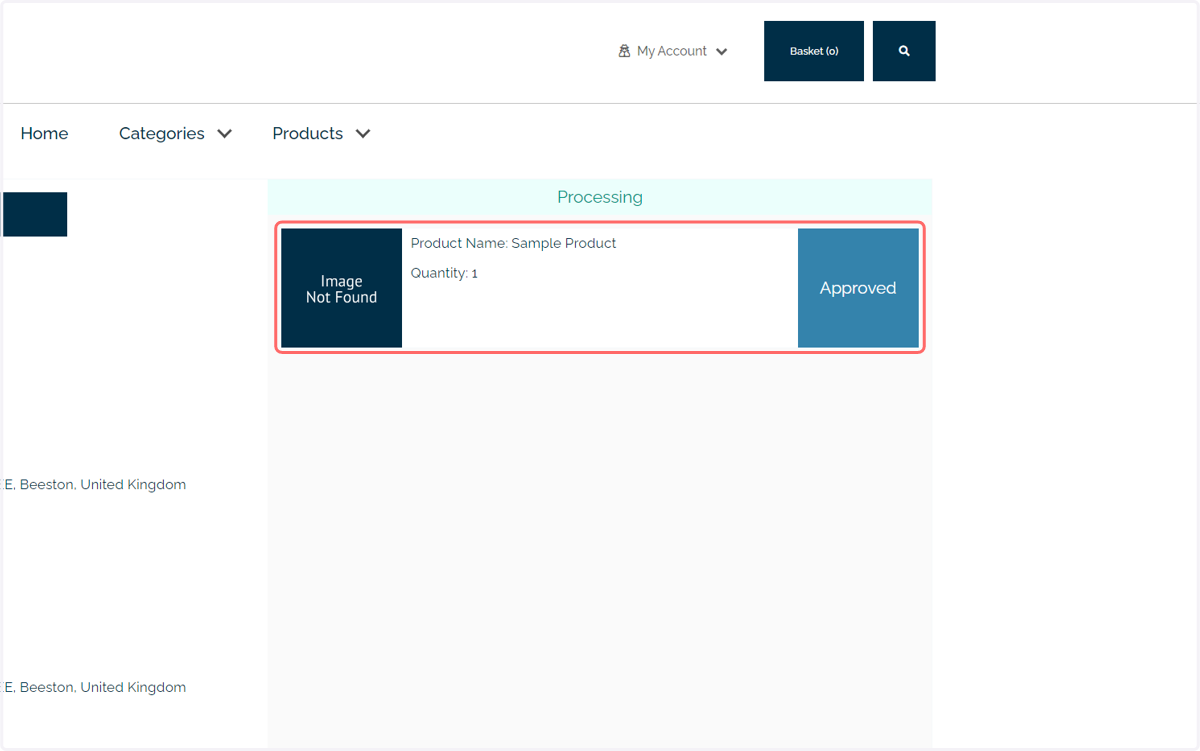
15. Approval status of jobs can be seen from the My Orders screen
16. Navigate to Shared Print Operations
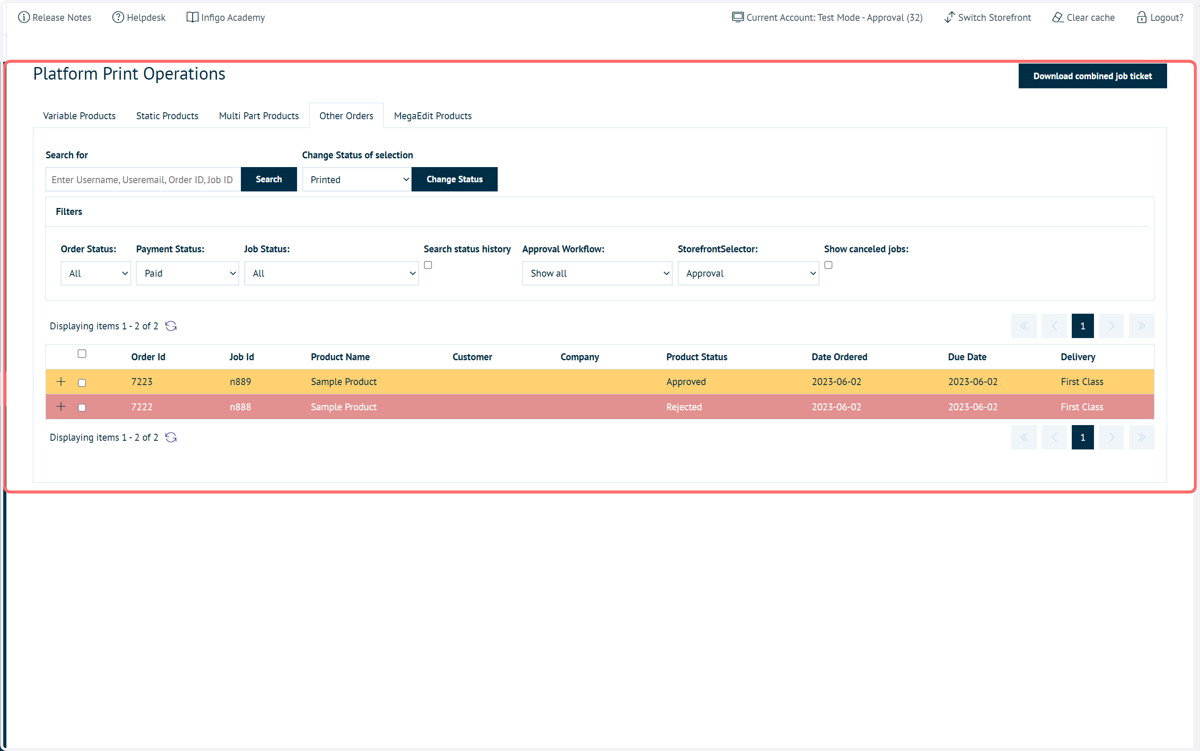
Approval status of jobs will also be displayed within Shared Print Operations to the admin team.