Enabling and Connecting Easypost
In this tutorial, we will learn how to enable our Easypost plugin within Infigo, along with information on accessing additional Easypost plugin settings and testing the link.
Prior to completing these steps, you need to have purchased our Easypost plugin and have created an account with Easypost.
Infigosoftware
1. Navigate to Connect Settings
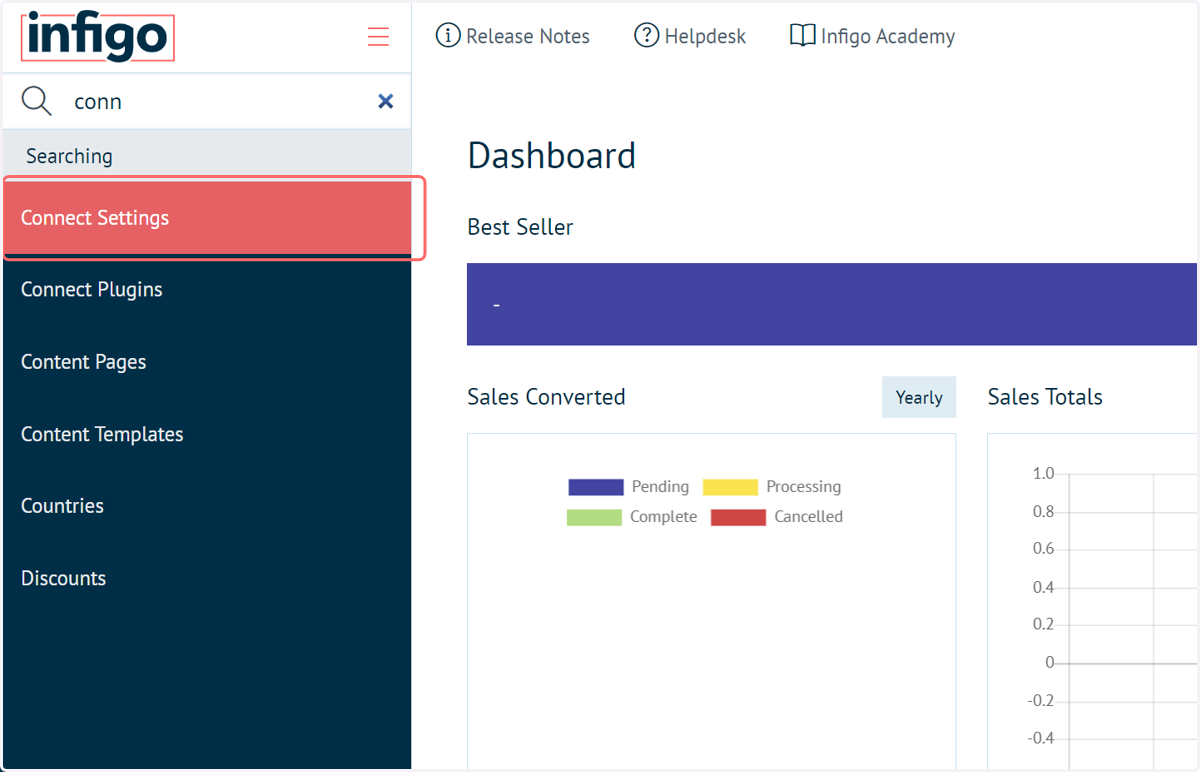
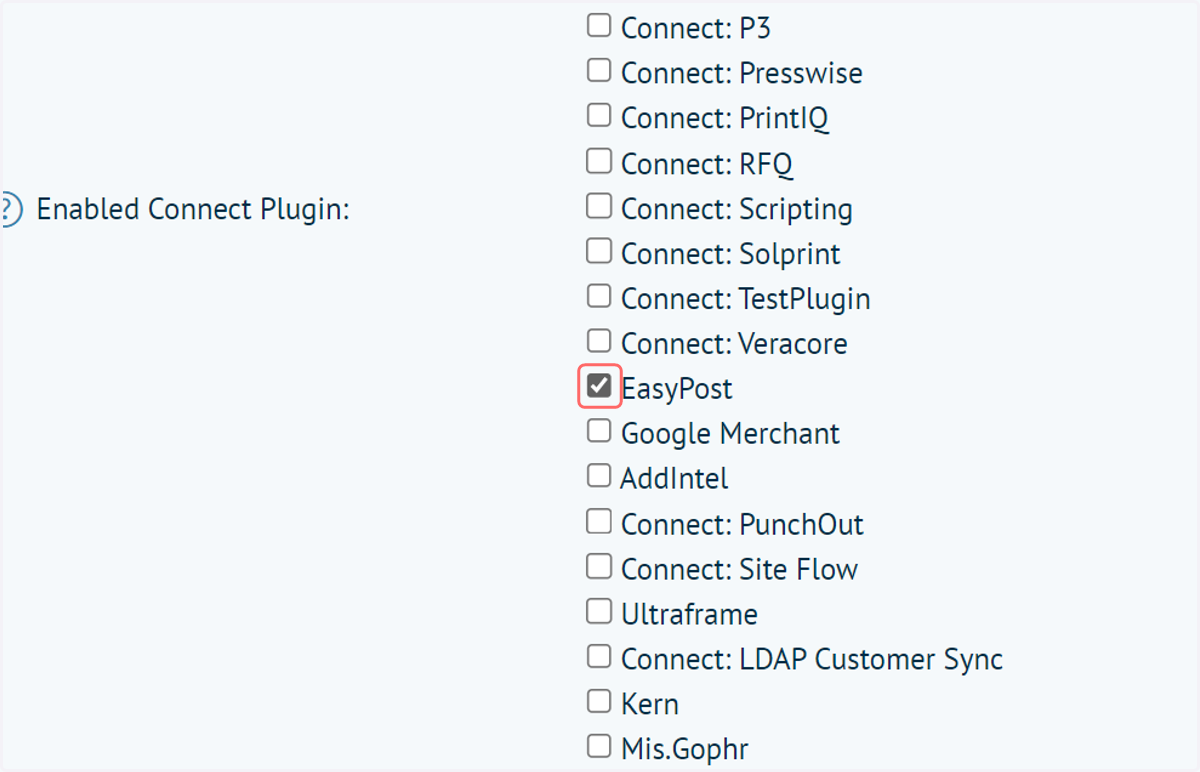
2. Check Easypost in the "Enabled Connect Plugins" section
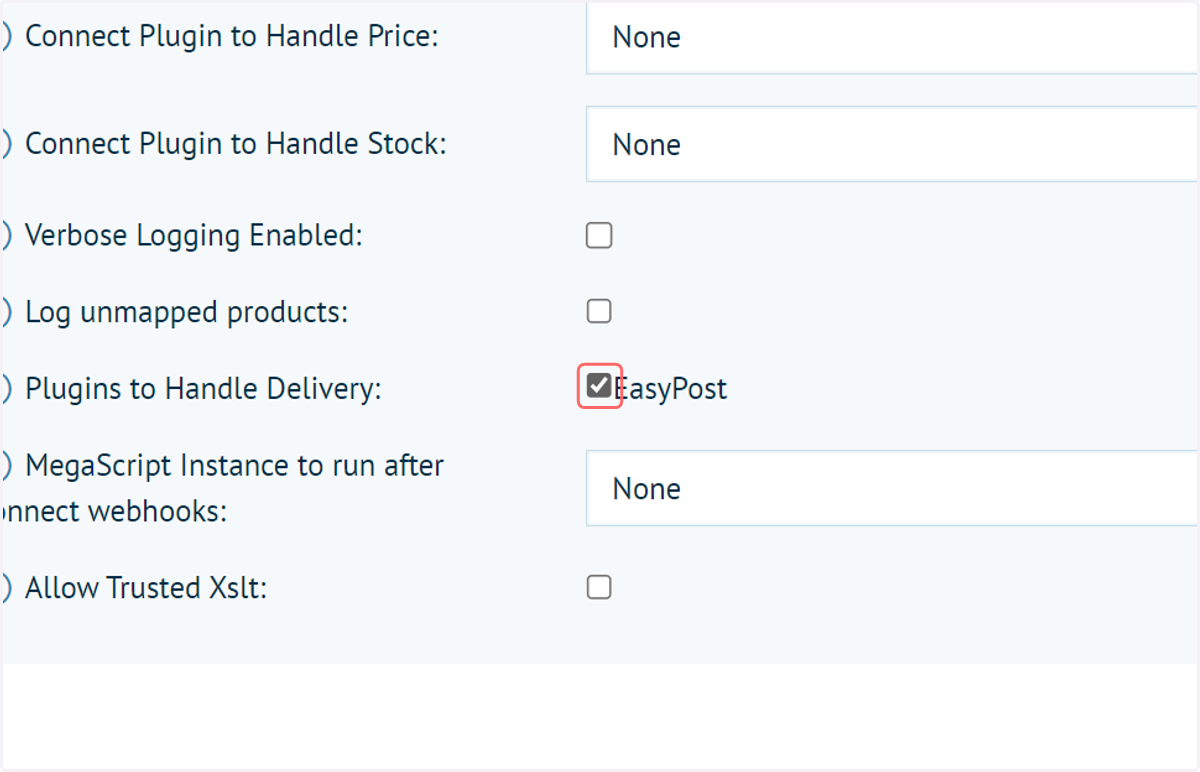
3. Check EasyPost in the "Plugins to Handle Delivery" section
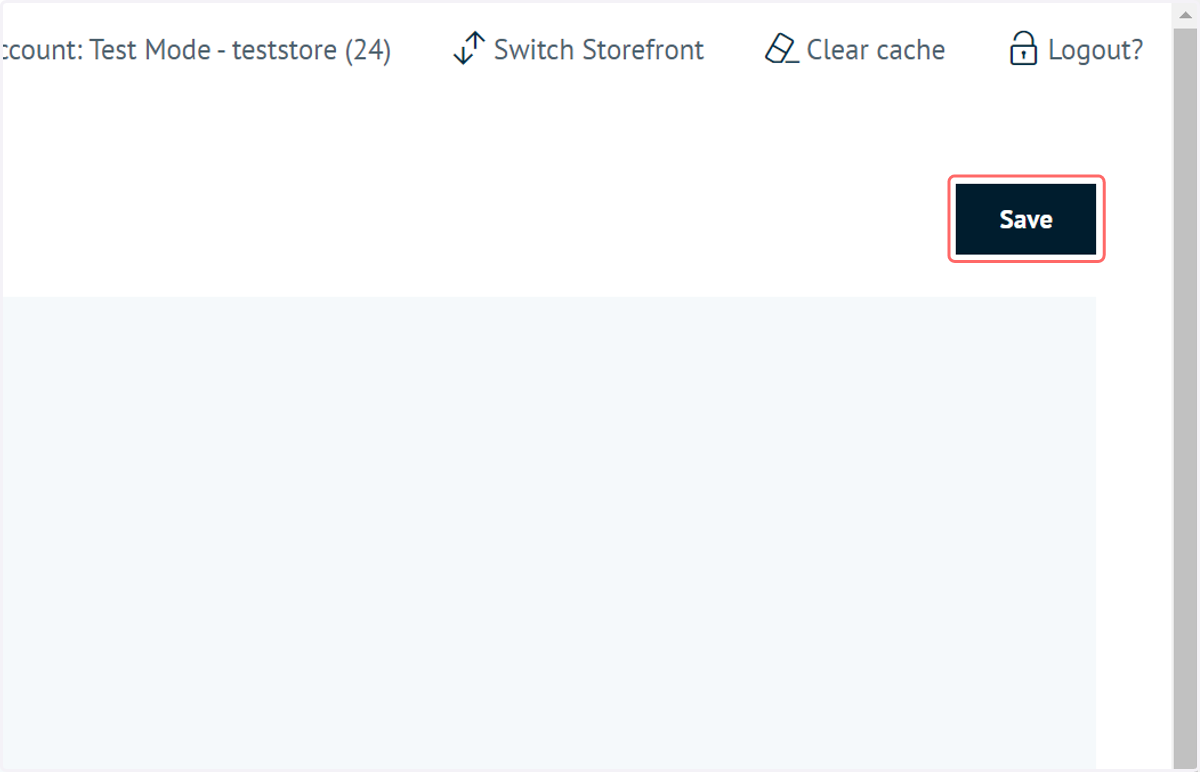
4. Click on Save
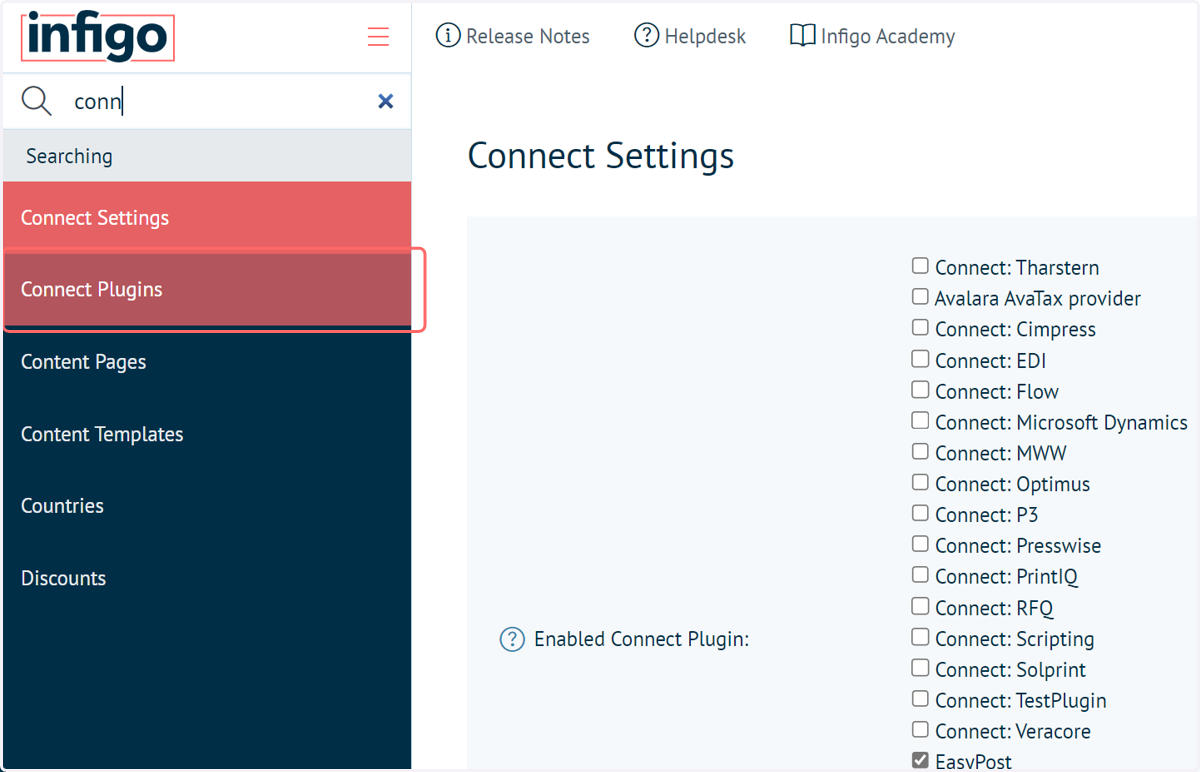
5. Navigate to Connect Plugins
Now navigate to MIS Plugins to configure the connection and how you want it to behave.
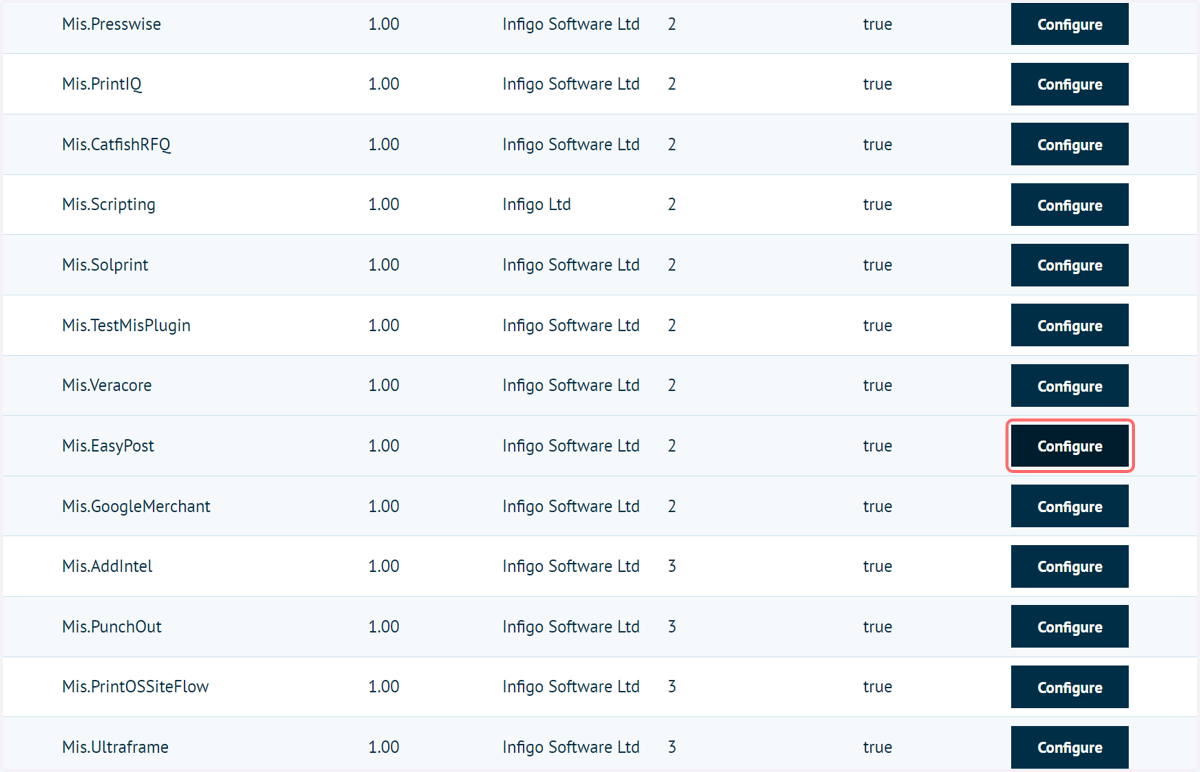
6. Click on Configure next to the Easypost entry
Easypost
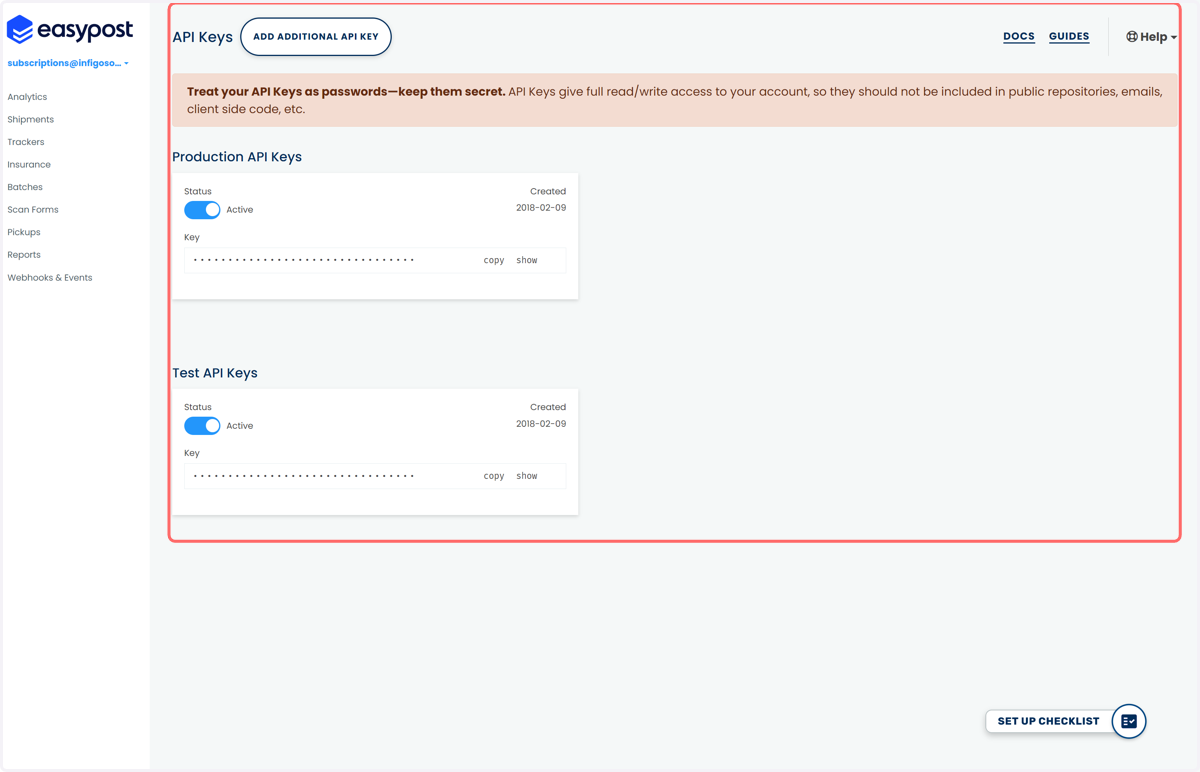
7. Locate Easypost API keys
Navigate to your Easypost account and locate your API keys as shown below. Begin by clicking on your email address
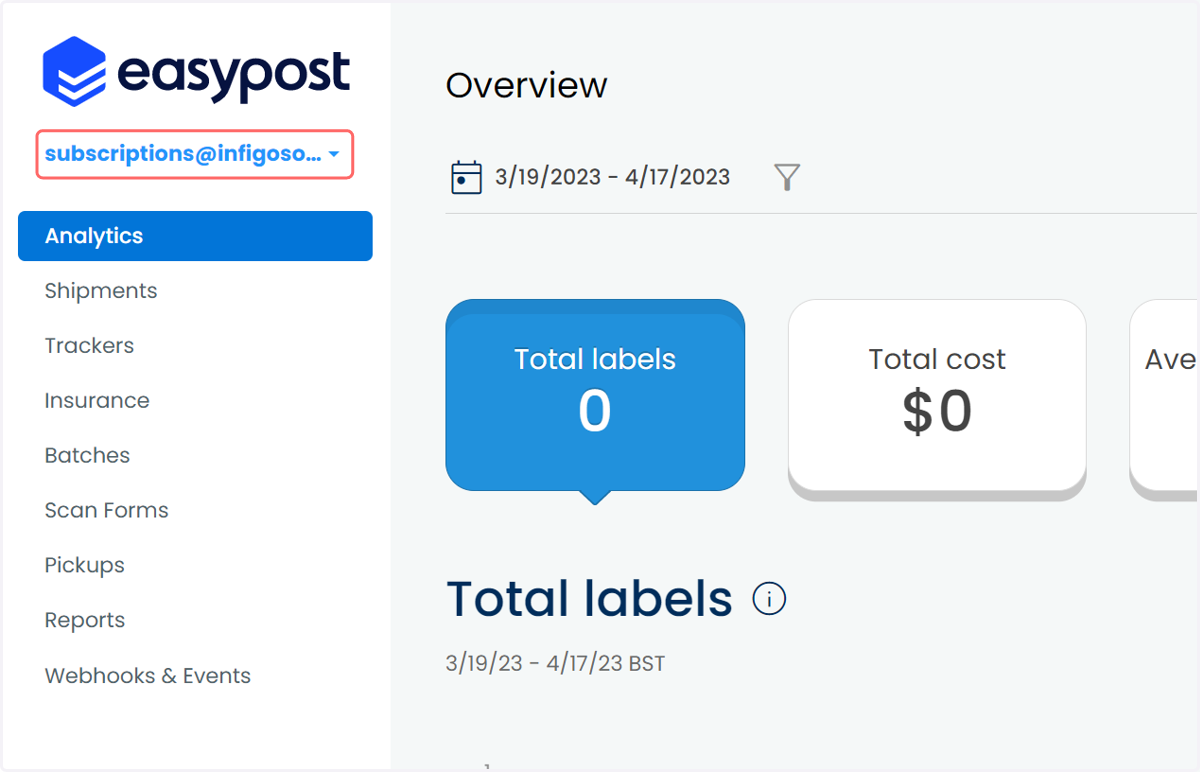
8. Click on API Keys
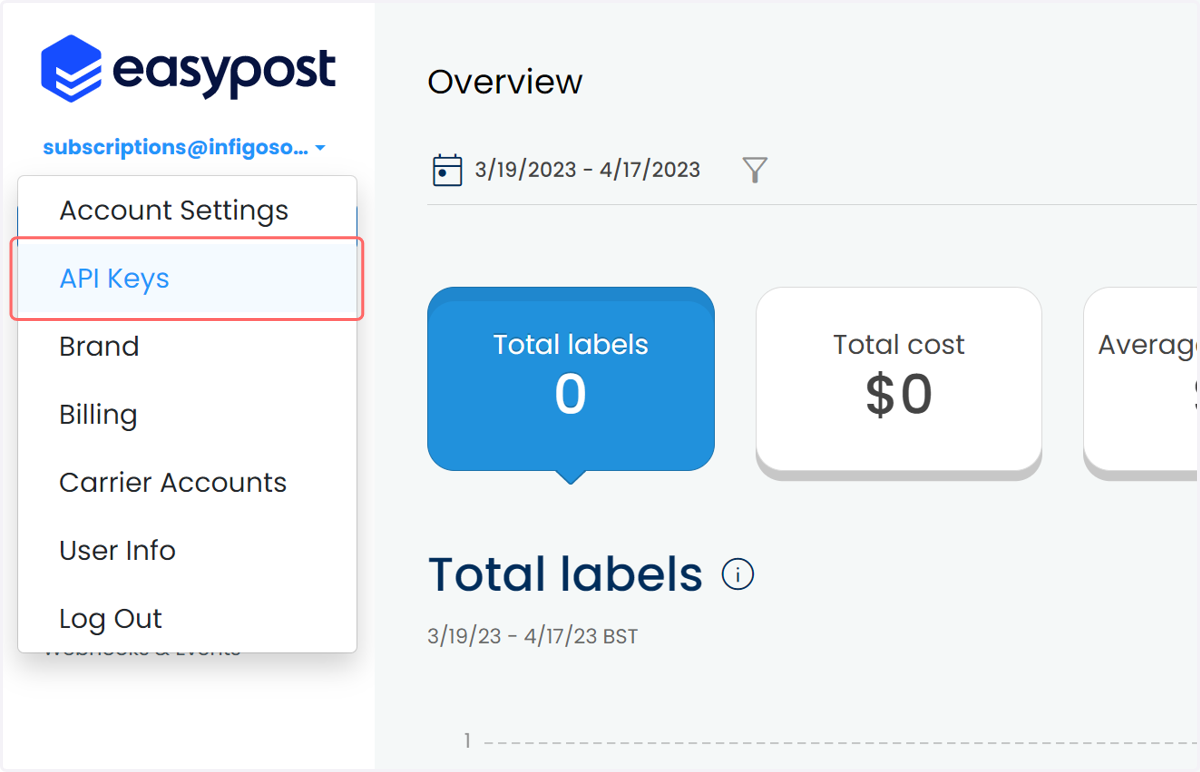
9. Test and Production API keys are available
Infigosoftware
10. Input API Keys into Infigo
In order to establish a connection the following fields need to be populated
API Key – This API Key can be obtained from your Easypost account (see here for more details) and can either be your Test API Key or your Production API key depending on whether you're testing this and do not want to have shipments actually created with your shipping providers, or using it in live production.
Production API Key – This API Key can also be obtained from your Easypost account and should be the production API Key always as this is used to fetch your list of available carriers mapped to your Easypost account.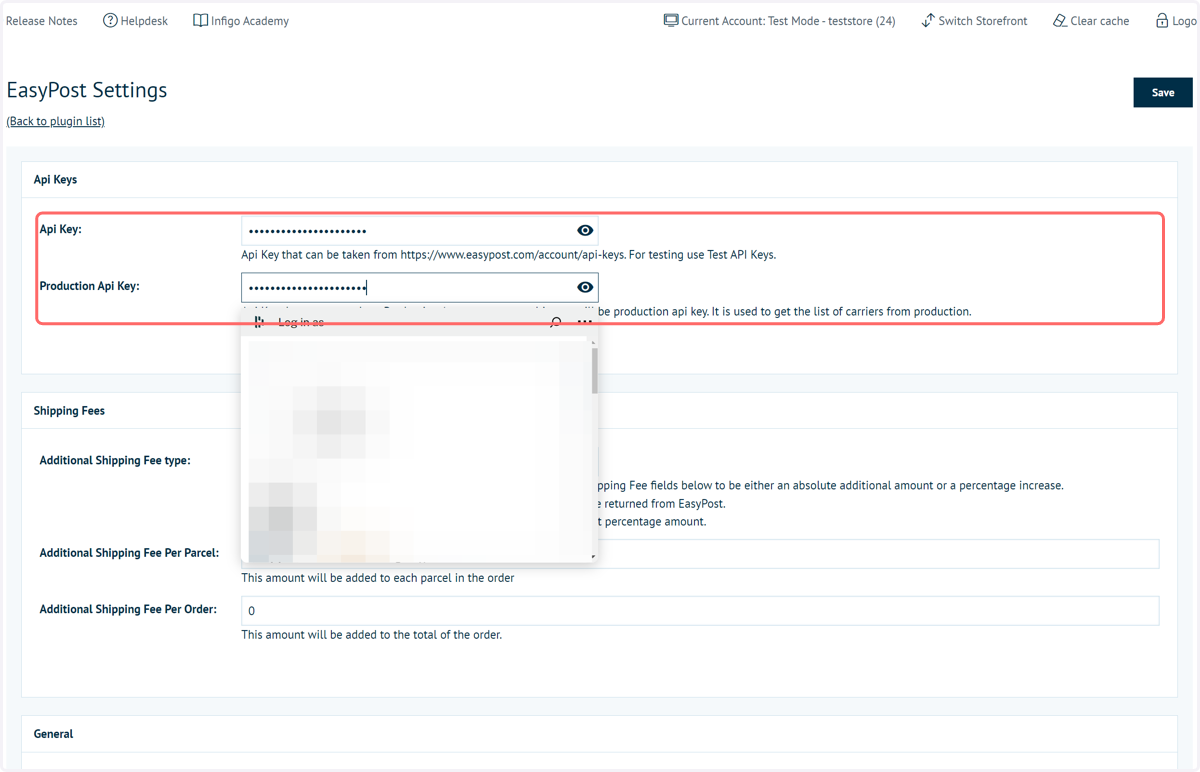
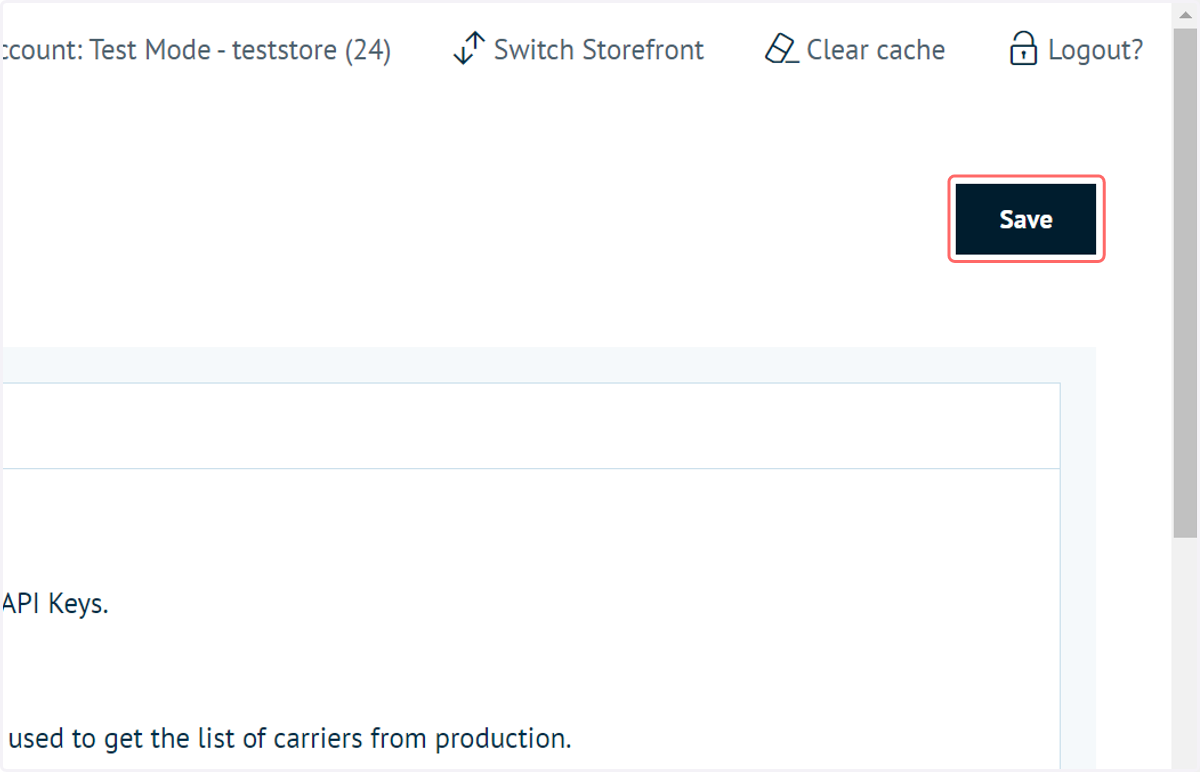
11. Click on Save
12. Click on (Back to plugin list)
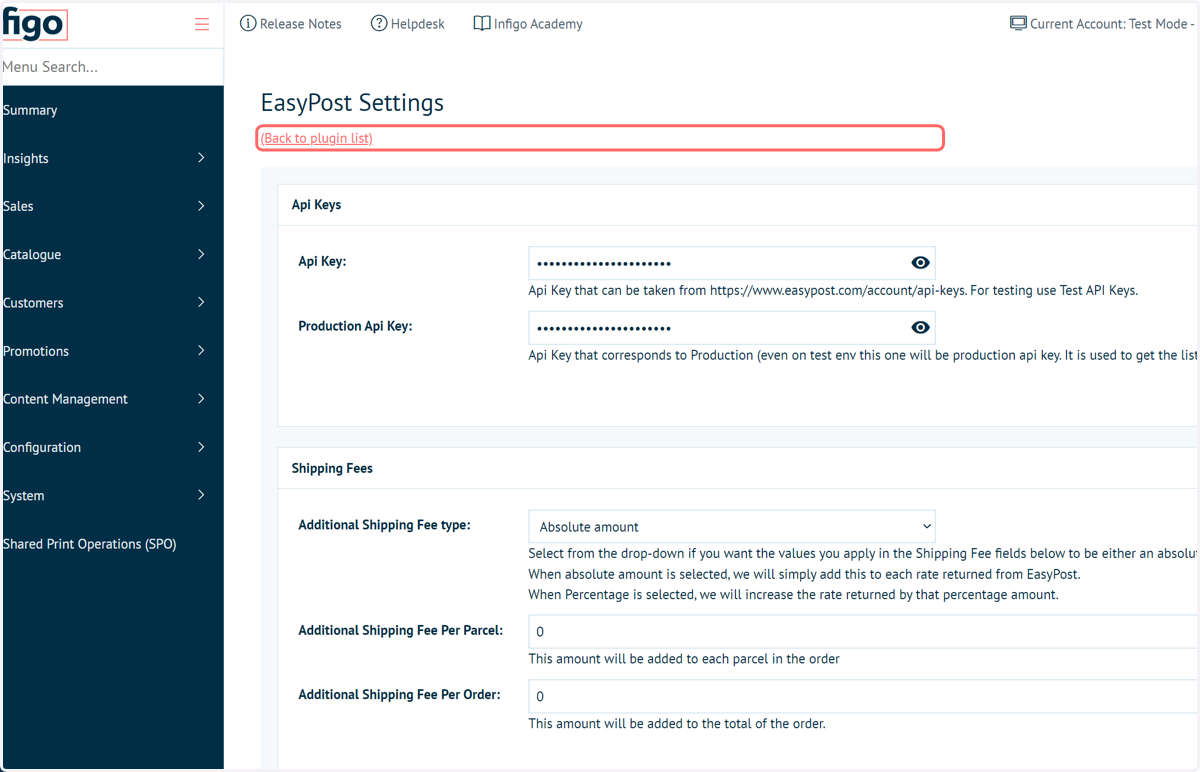
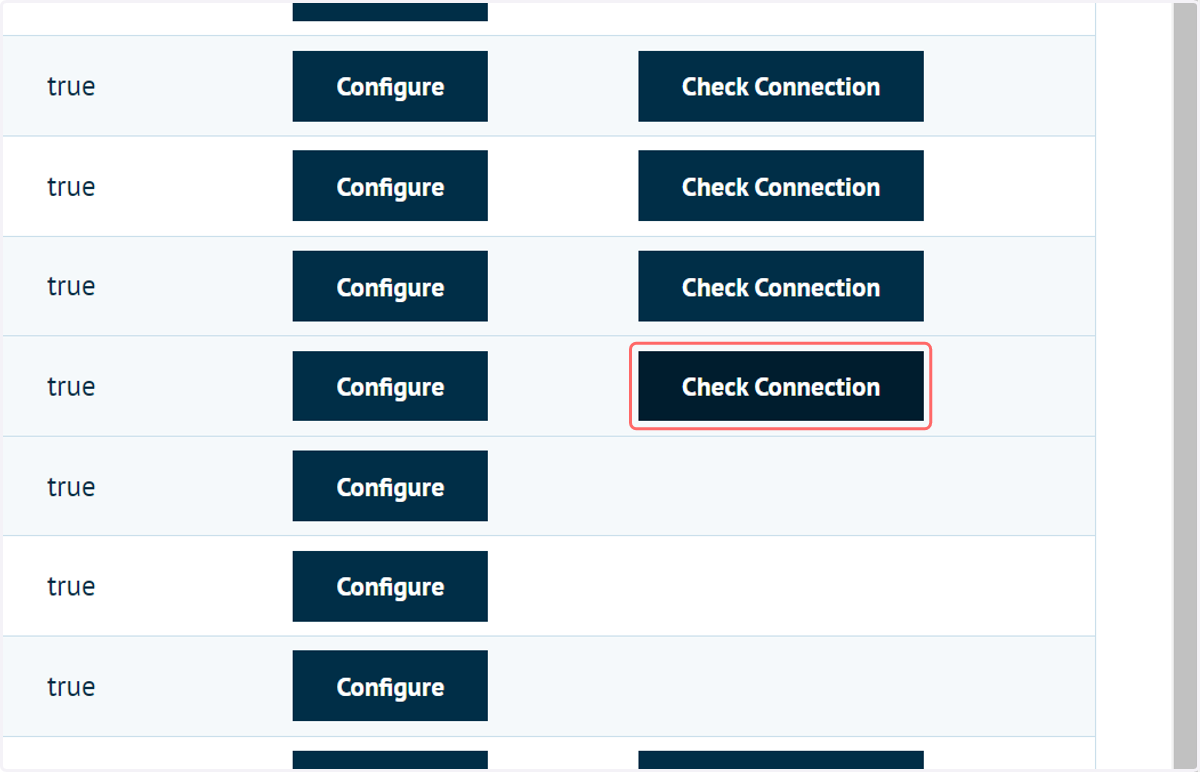
13. To test whether the connection is available, click Check Connection
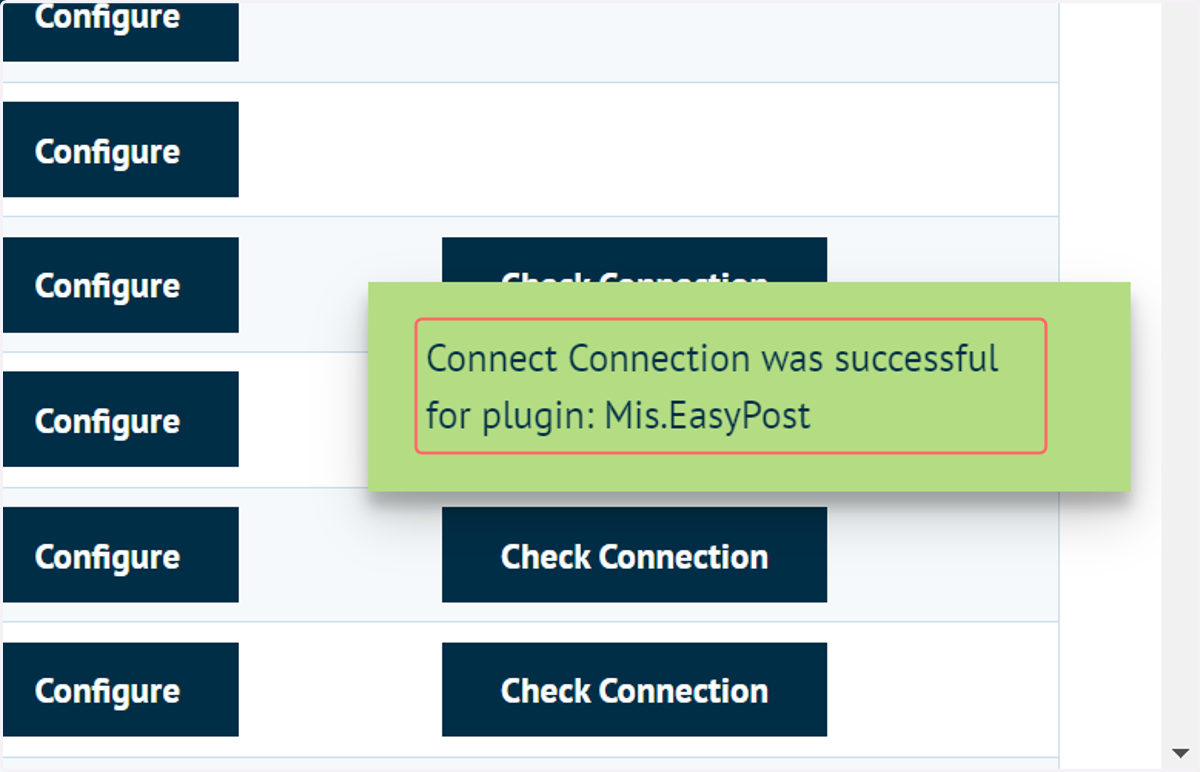
14. A pop up message will confirm success or failure of the connetion
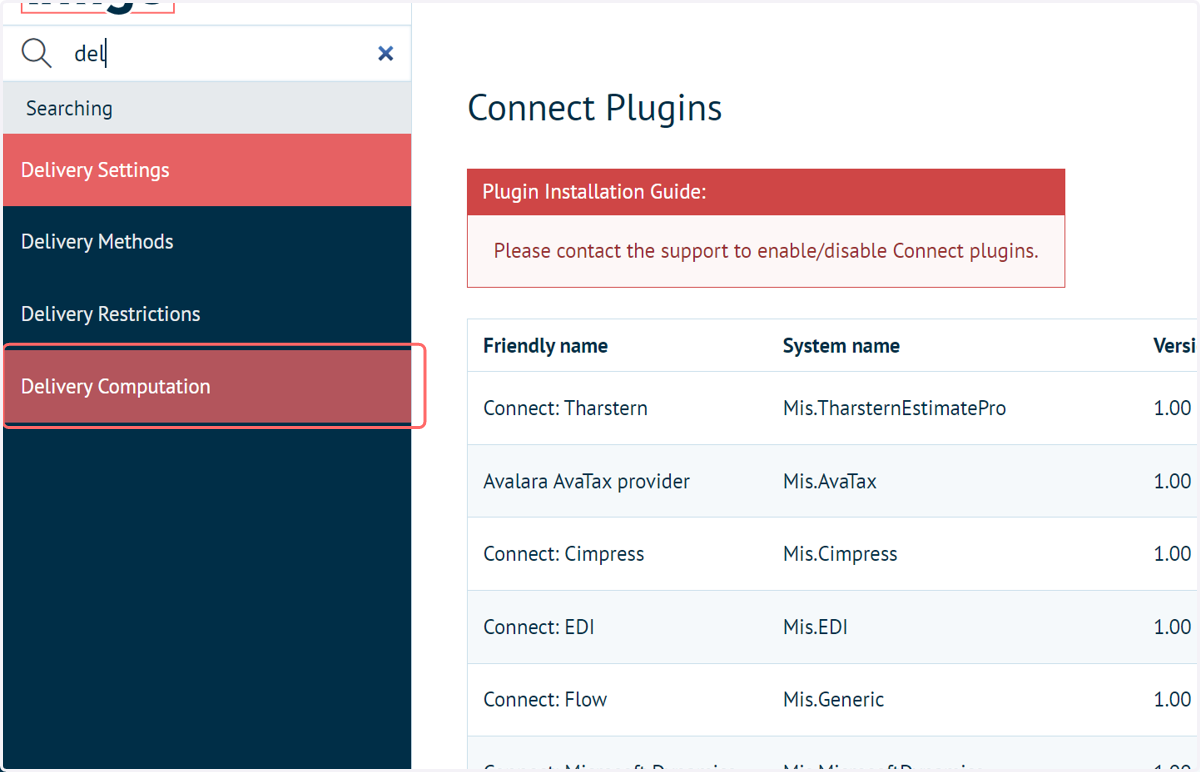
15. Navigate to Delivery Computation
Easypost configuration settings can also be obtained through the Delivery Computation screen.
16. Clicking on Configure next to the Easypost entry will simply return you to the same configuration screen in which we entered the API key information (Connect Settings)
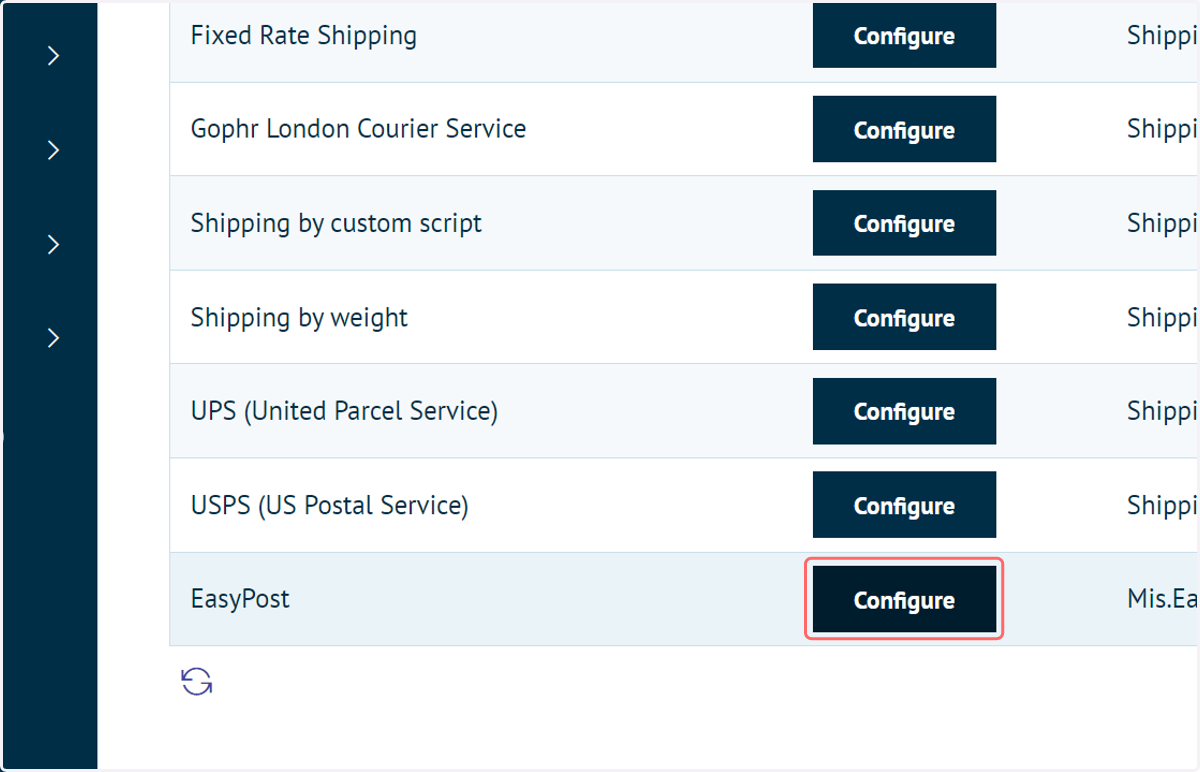
17. If using Easypost to provide delivery options, be sure to enable it in your Delivery Computation window.
To begin, click Edit next to the Easypost entry
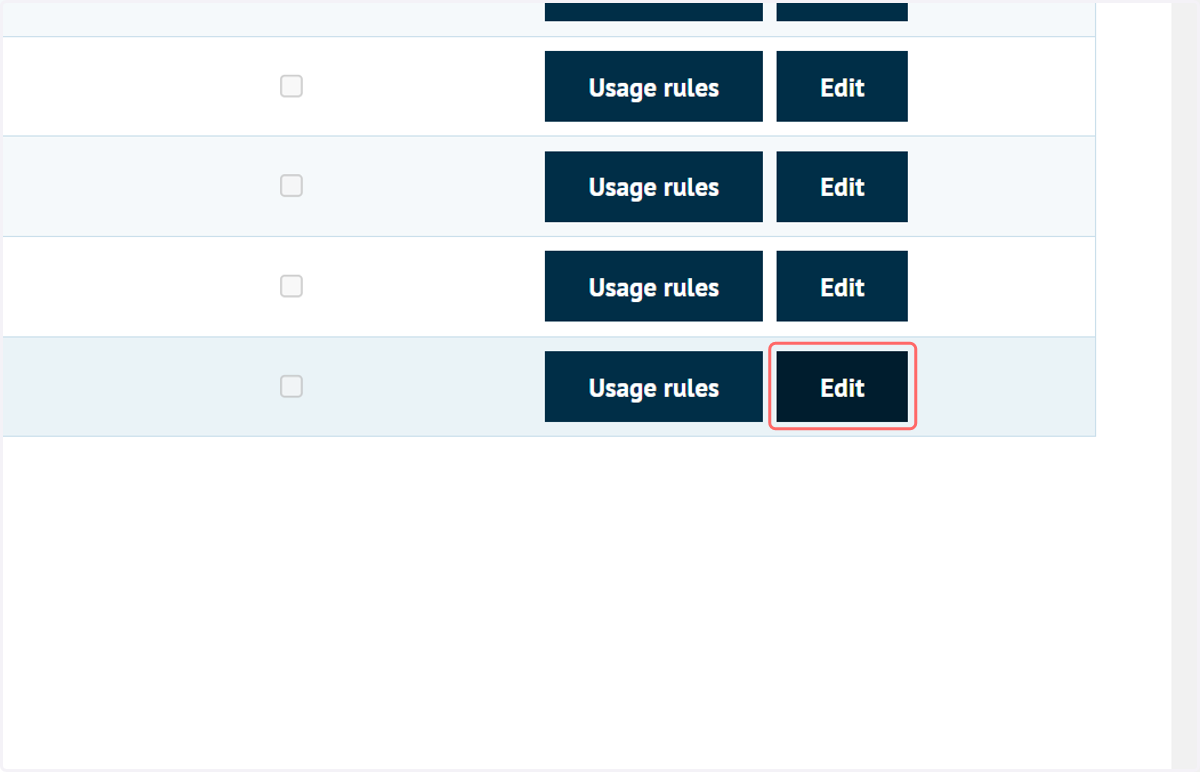
18. Enable the check box
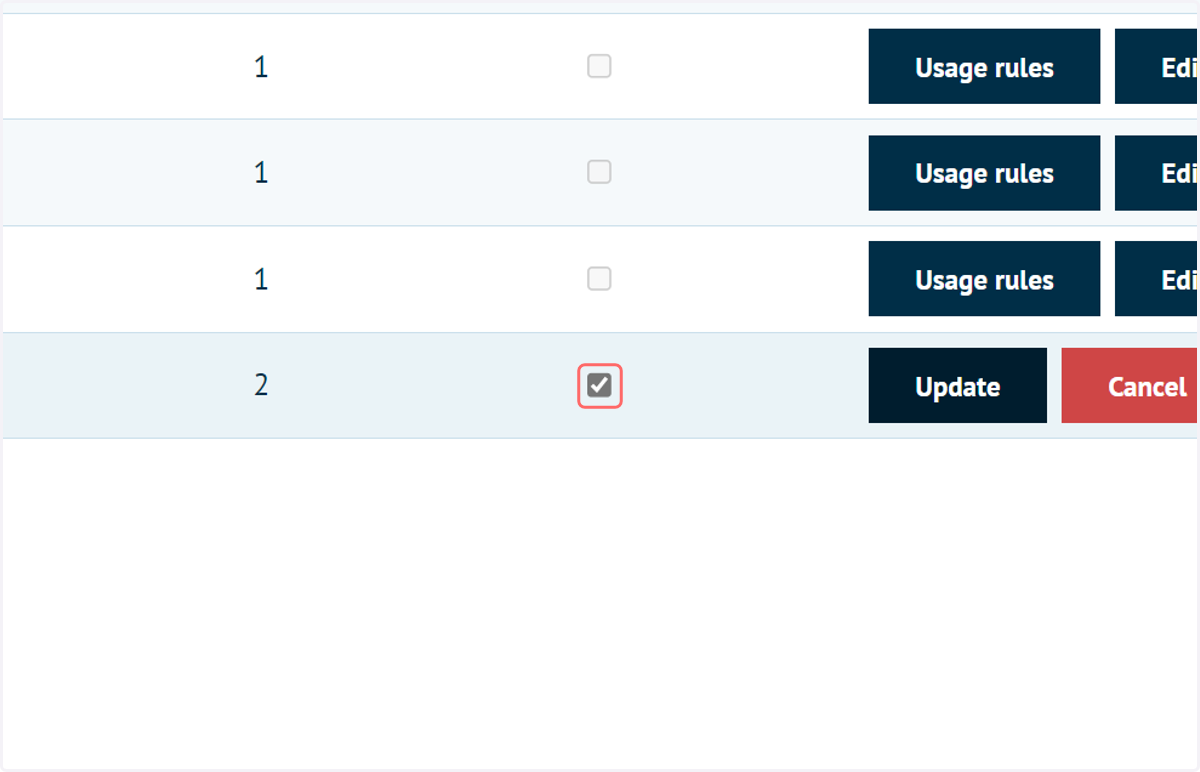
19. Click on Update