Uploading/Removing Pictures to/from the Emergency Action Plans
The EAP system allows users to attach pictures of evacuation routes, emergency assembly areas, areas of refuge, etc.
EHSA Login
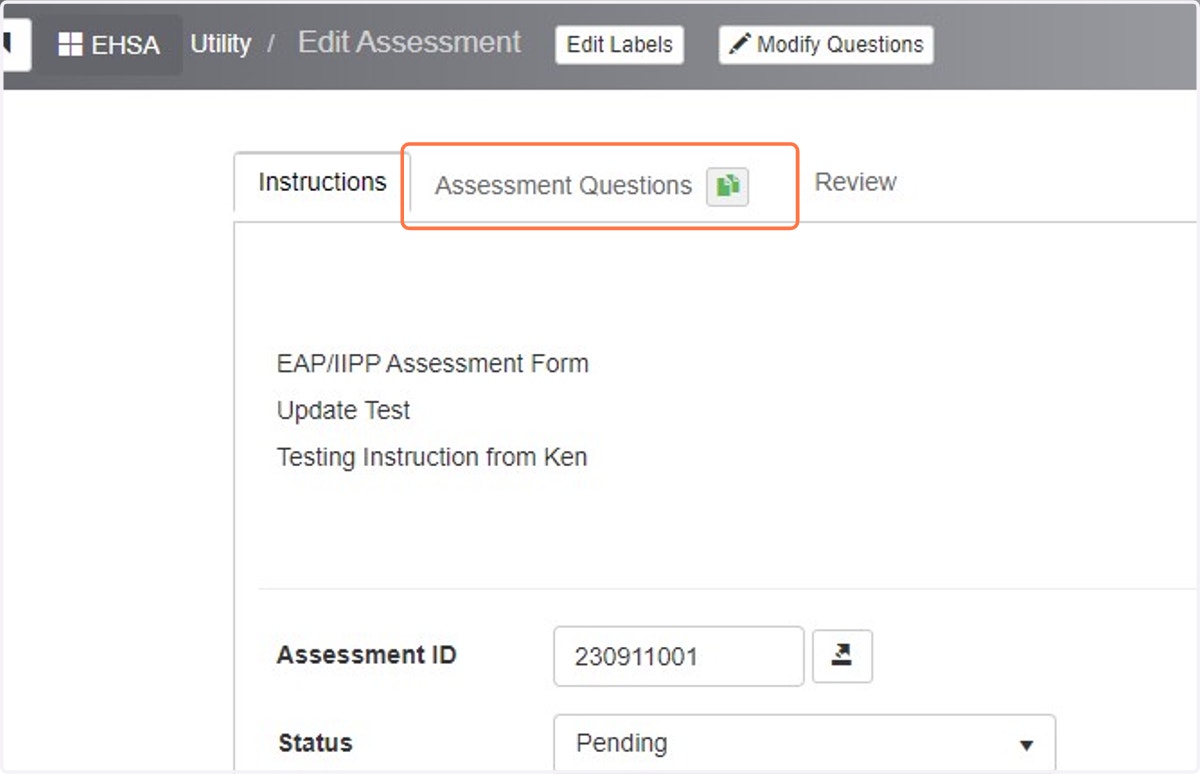
1. Navigate to the Assessment Questions tab
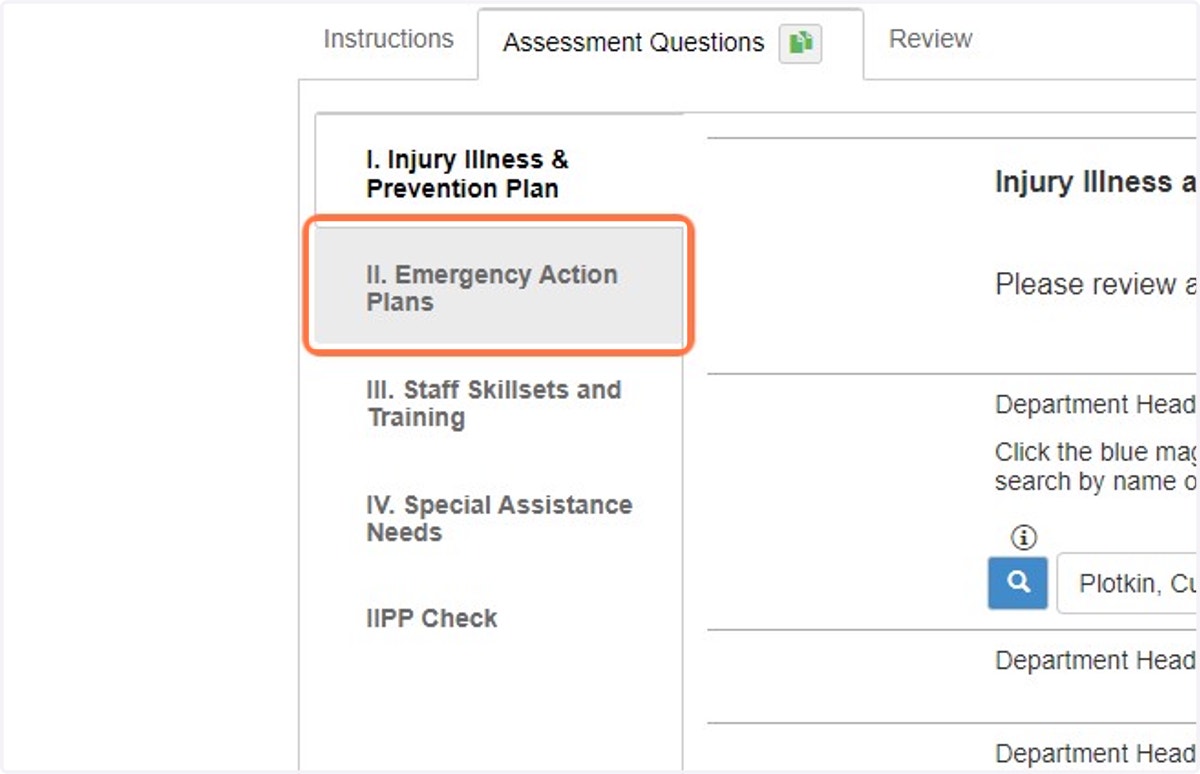
2. Navigate to the Emergency Action Plan section.
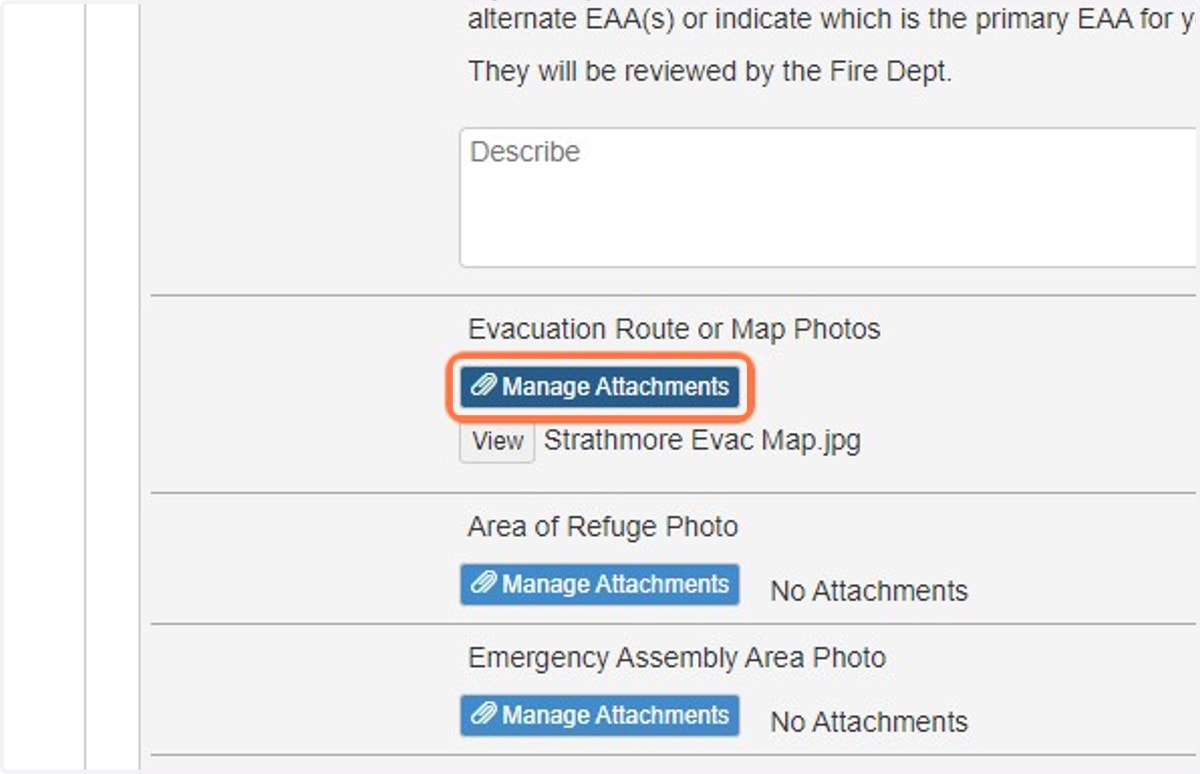
3. Photos may be attached for evacuation routes, areas of refuge, and emergency assembly areas. Click on the blue "Manage Attachment" buttons corresponding to the type of photo you wish to attach.
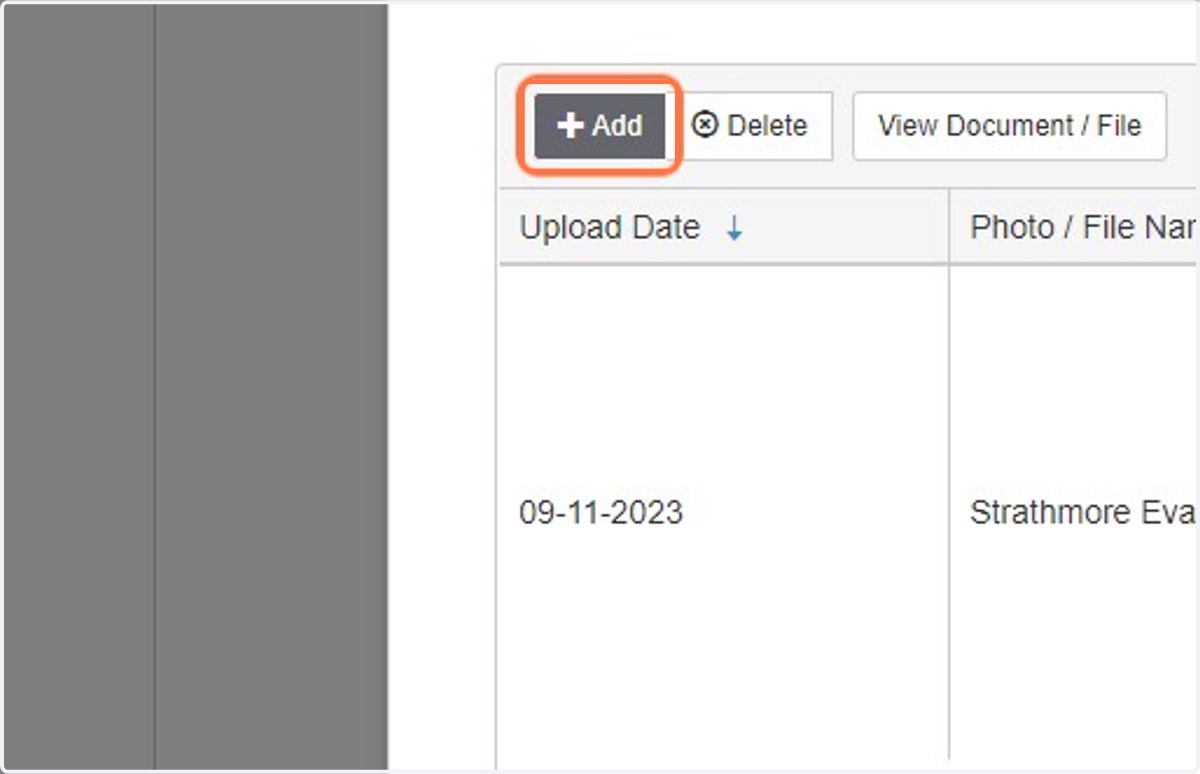
4. A new window should open showing the "Attached Documents" table. This table will display all previously attached documents. To add a new document, click on the "+Add" button.
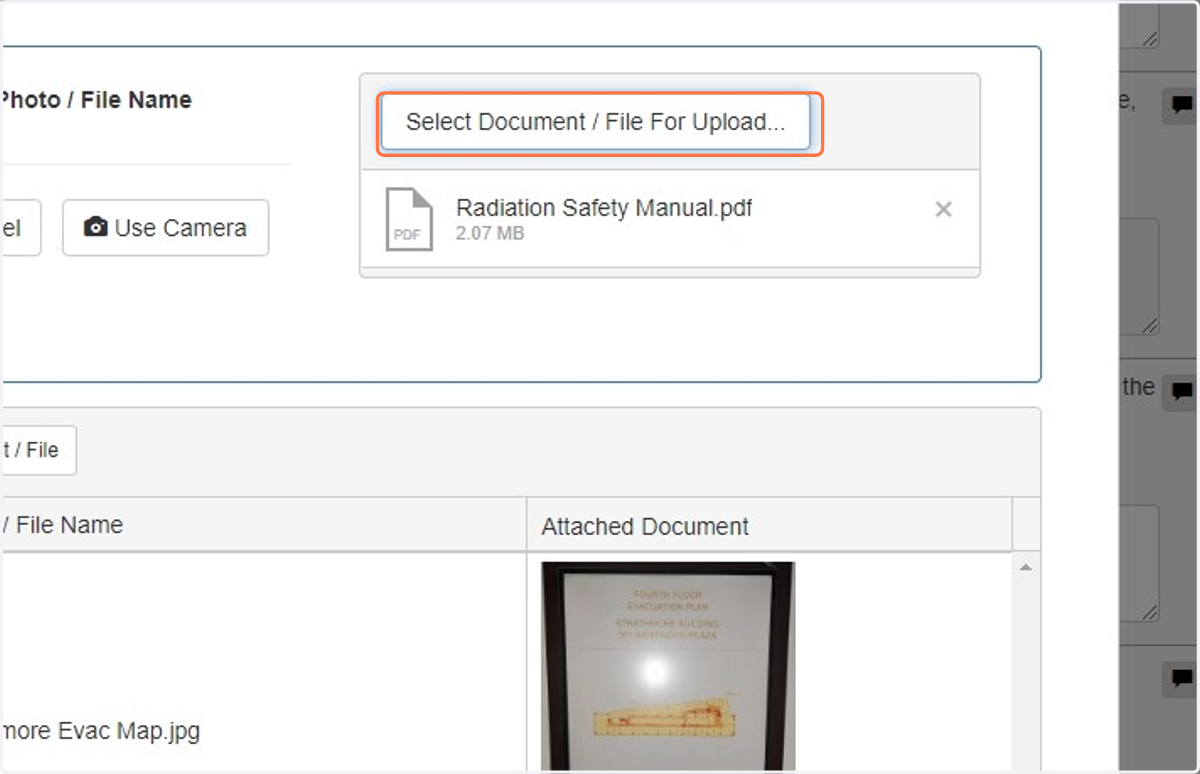
5. Click on the "Select Document/File for Upload..." button to select a file from your local file directory.
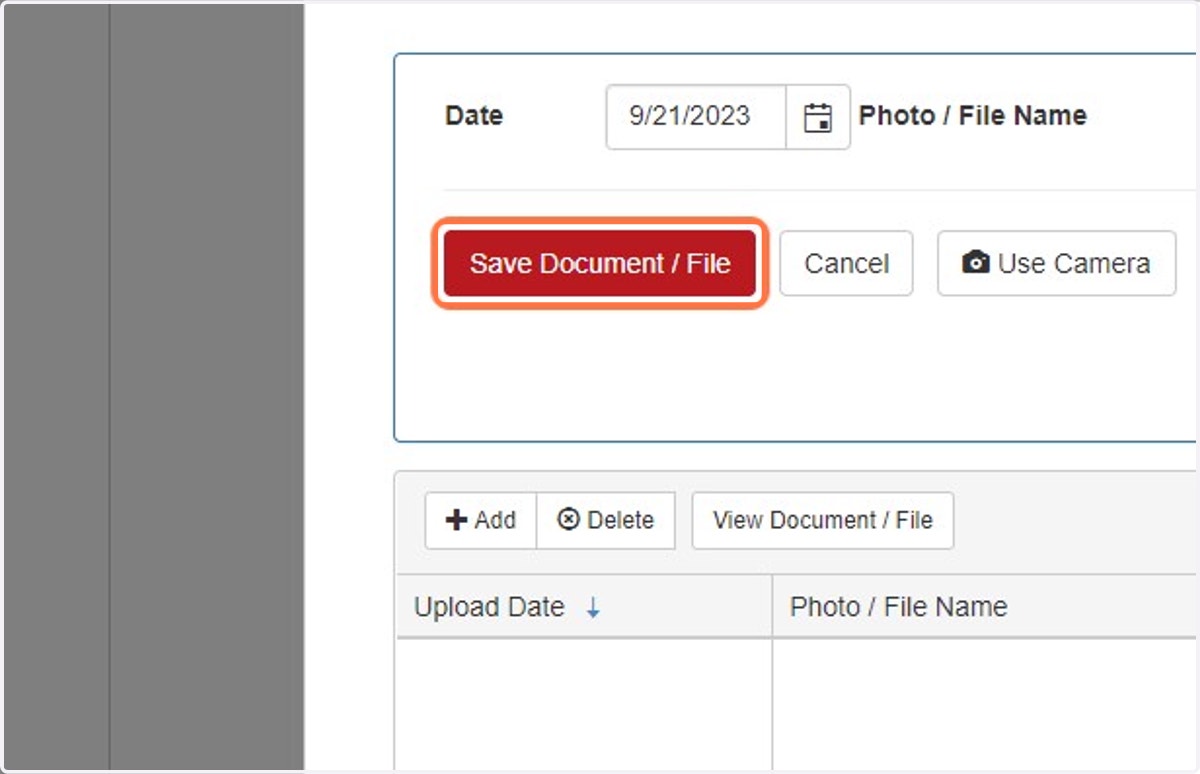
6. Once the correct file has been selected, click on the red, "Save Document/File" button. This will attach the photo/file to the EAP.
7. The new photo/file should now appear in the table of attached documents.
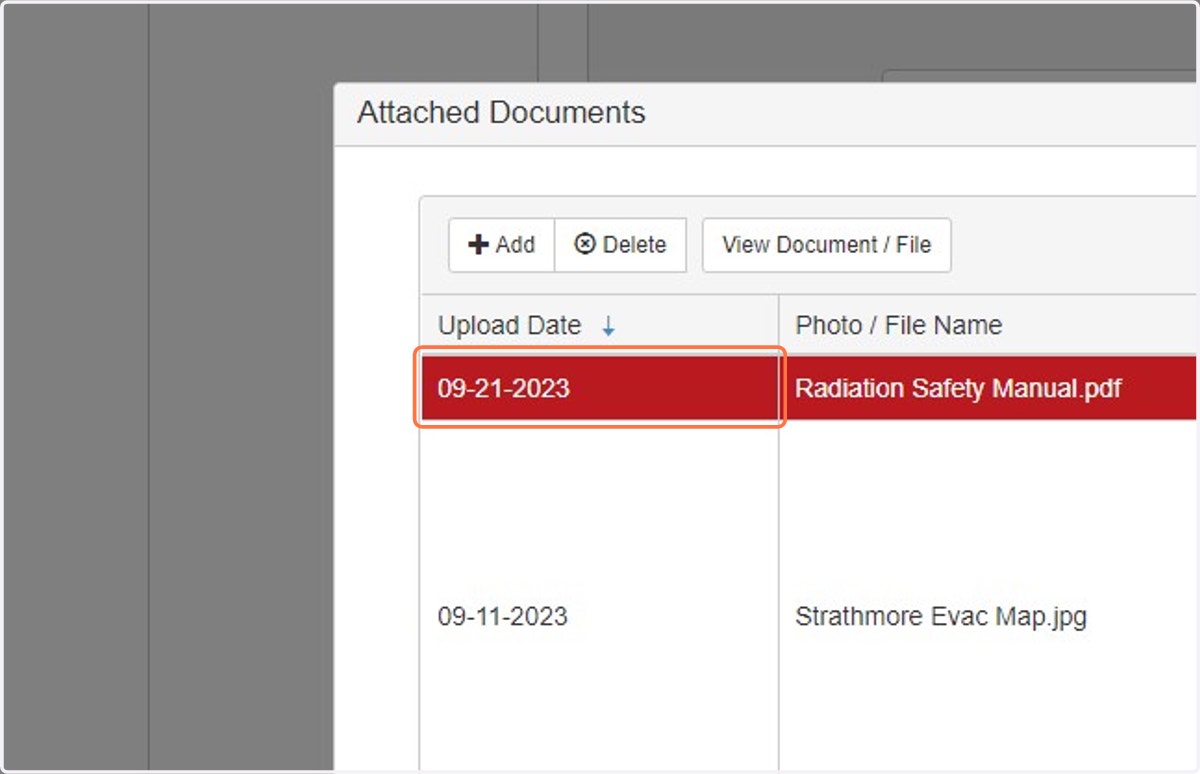
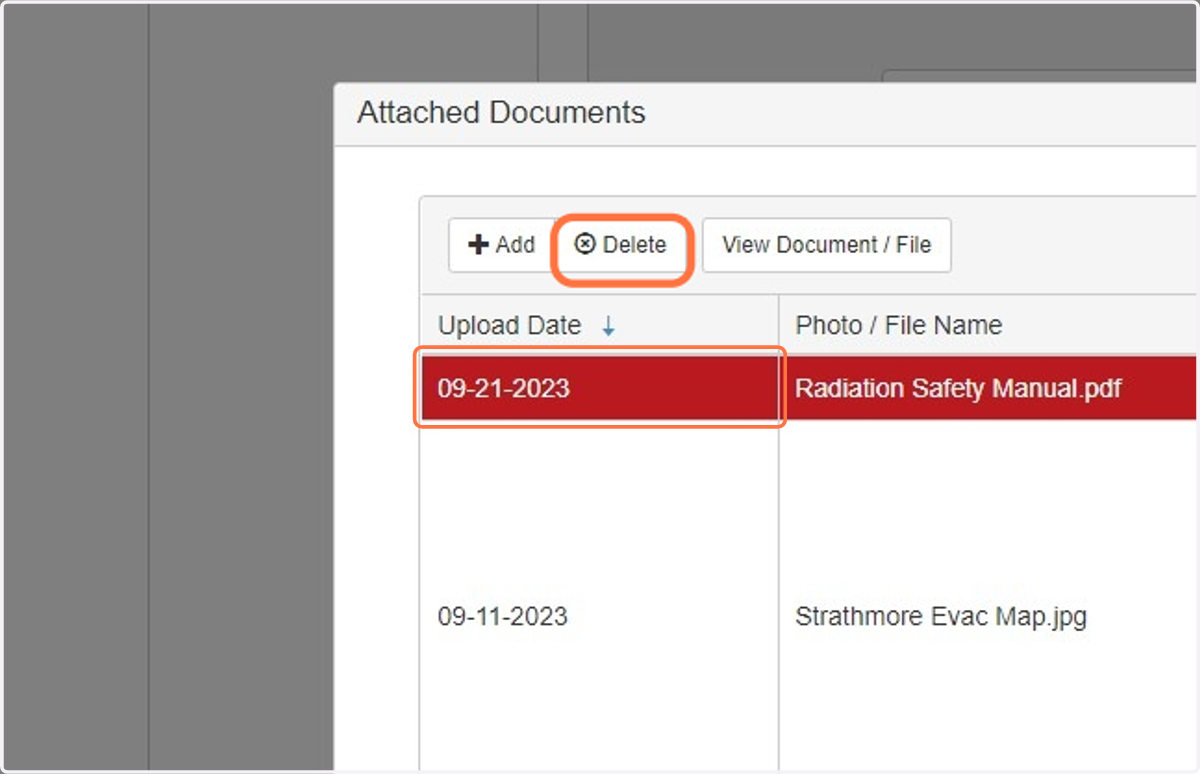
8. To delete the file, click on the row where the item is listed, it should be highlighted in red. Click on the "Delete" button to remove the file.