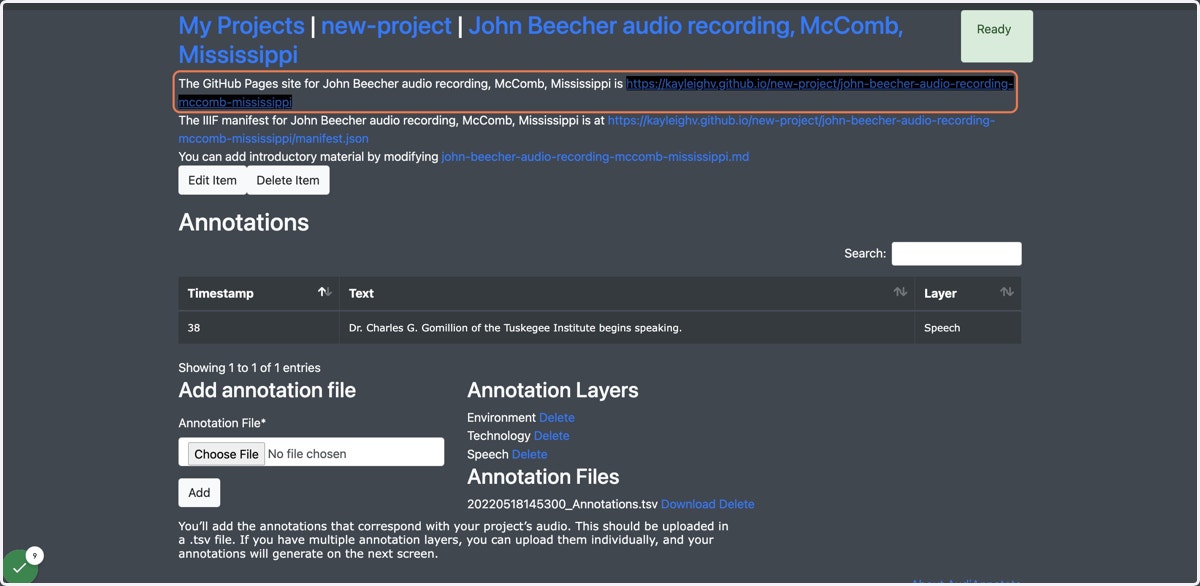
Adding Annotations
Brumfieldlabs
1. Navigate to your projects page in AudiAnnotate
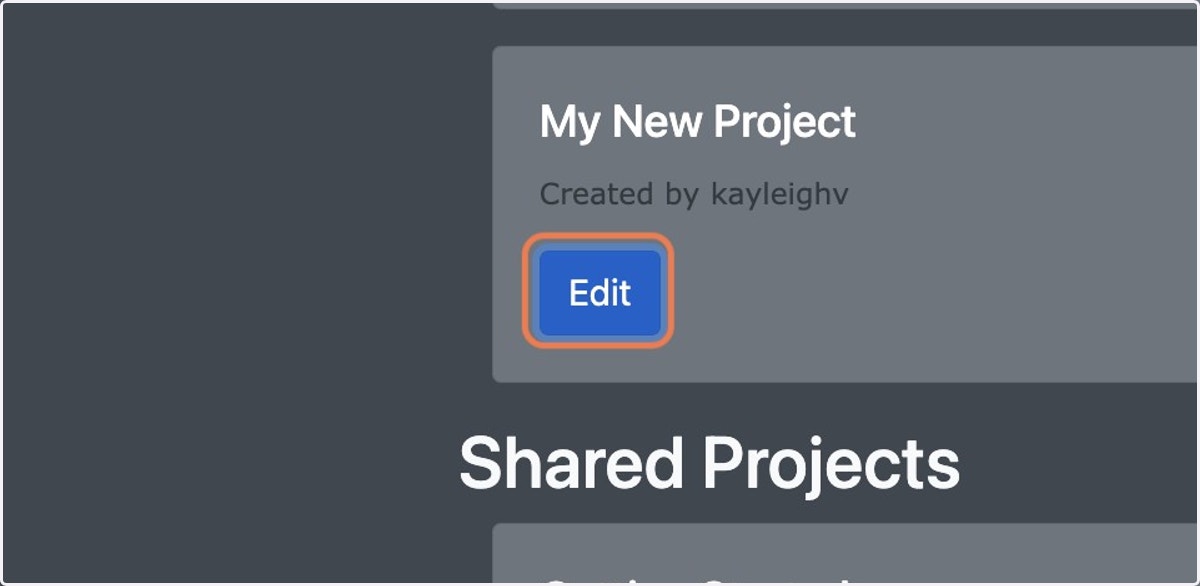
2. Select “Edit” for the appropriate project
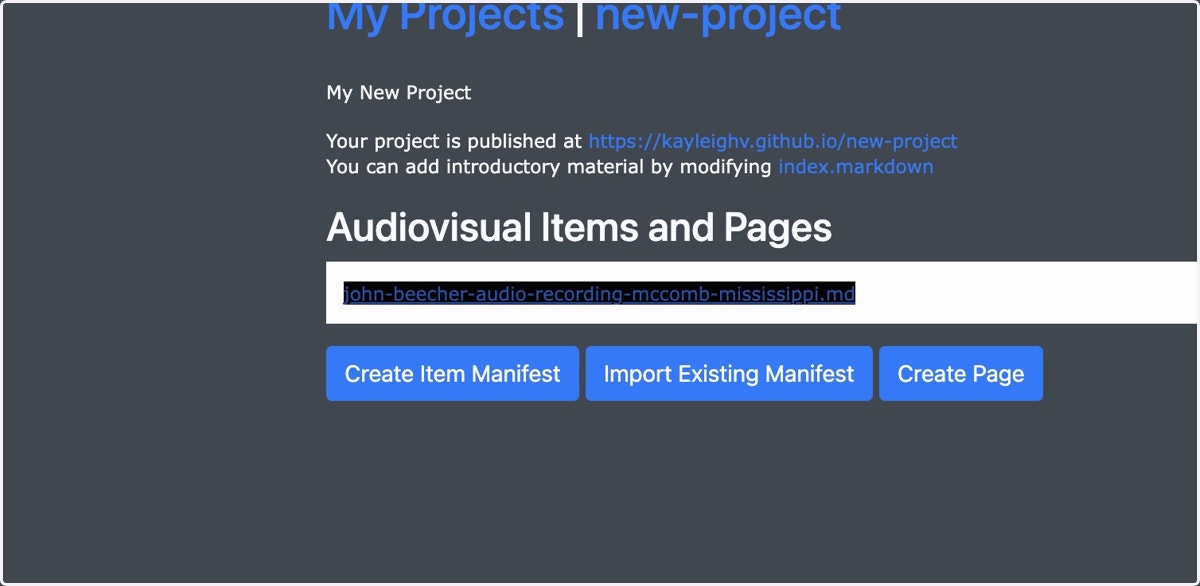
3. Select the title of the audiovisual file to which you would like to associate annotations
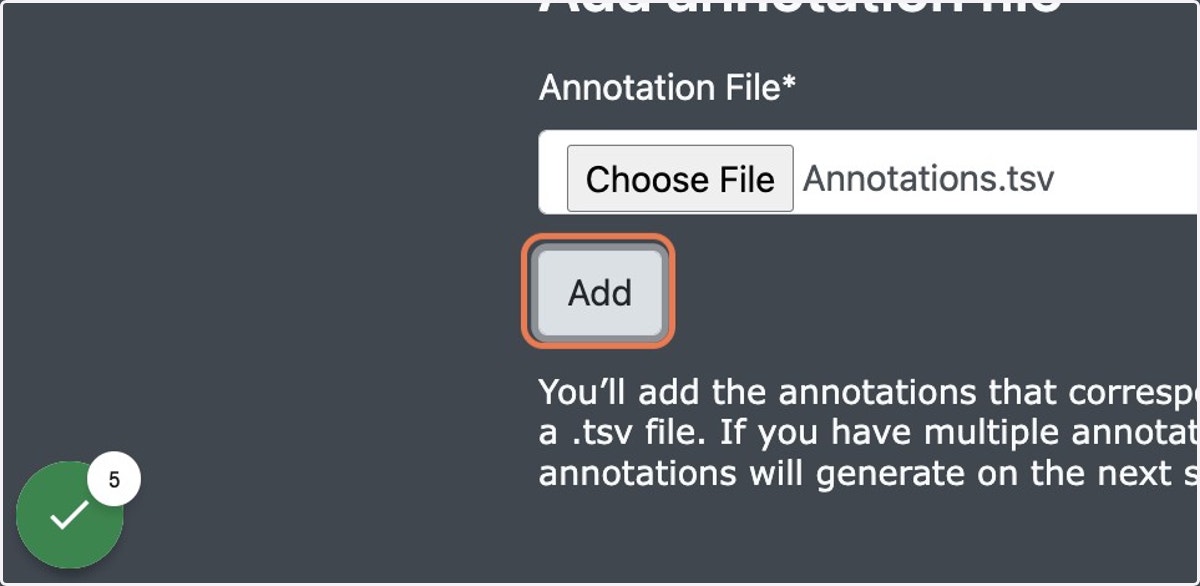
4. Select “Choose file" and find your annotation file
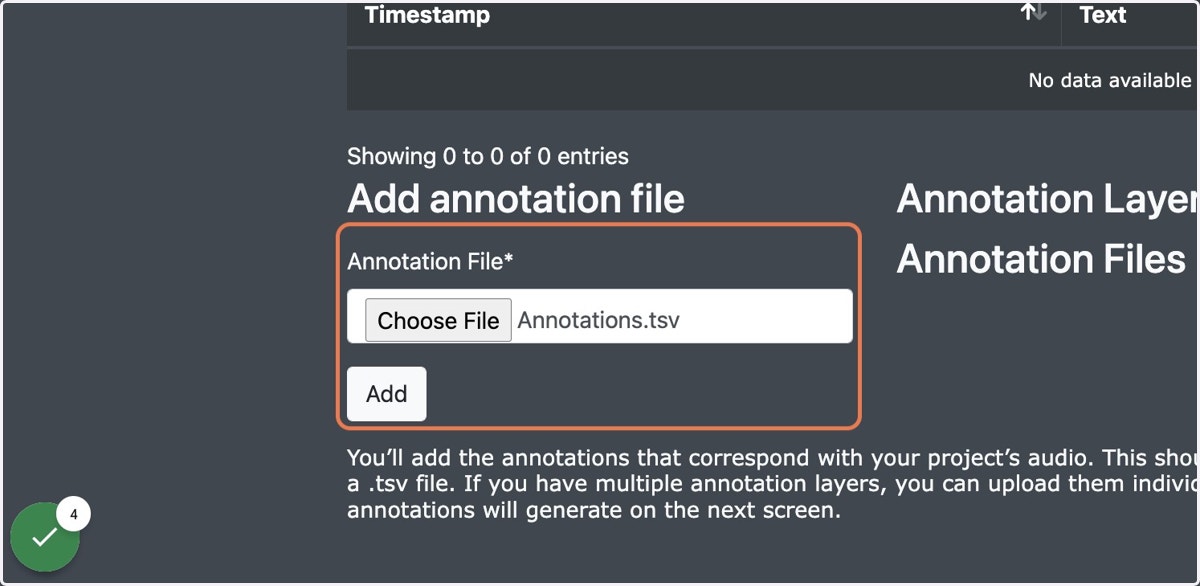
5. Select “Add”
This will generate your annotations and align them in the IIIF manifest with the audiovisual file.
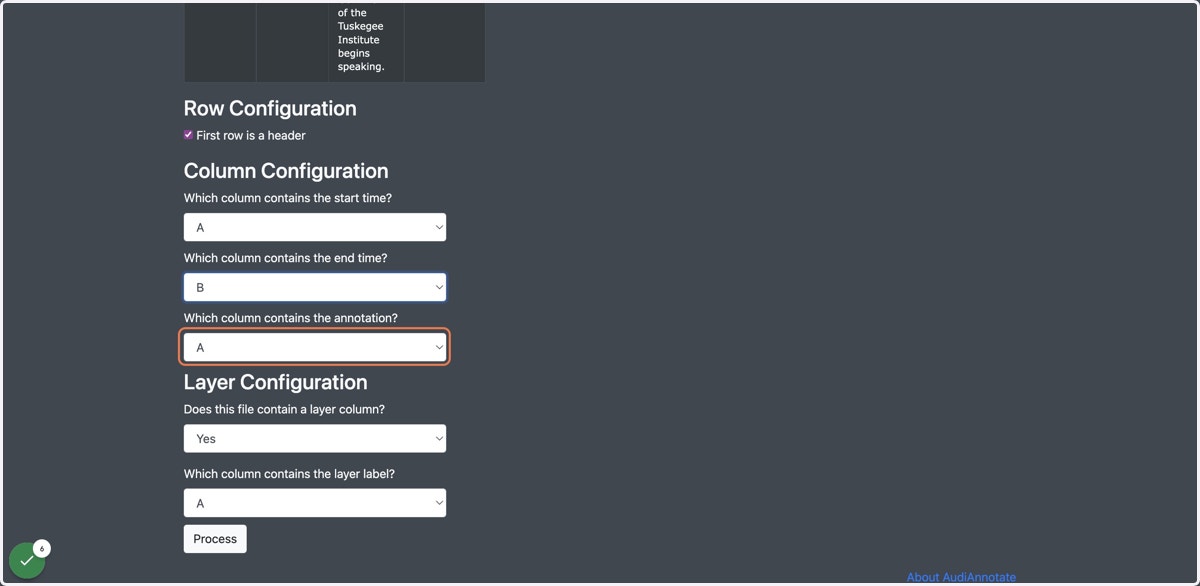
6. Configure your file so the application knows how to read each column
Under “Row Header,” uncheck the check box if the first row is not your column titles/header
Under “Column Configuration” use the drop-downs to select the appropriate label for each column that corresponds to start time, end time, and annotation
If your file contains an additional column with a layer label, select “yes” on the dropdown under “Layer Configuration” and select the appropriate column. If your file does not have a column for layer label, select “no” in the dropdown. You will then be prompted to name your layer in the field “Annotation Layer Label.”
Brumfieldlabs
7. Select "Process"
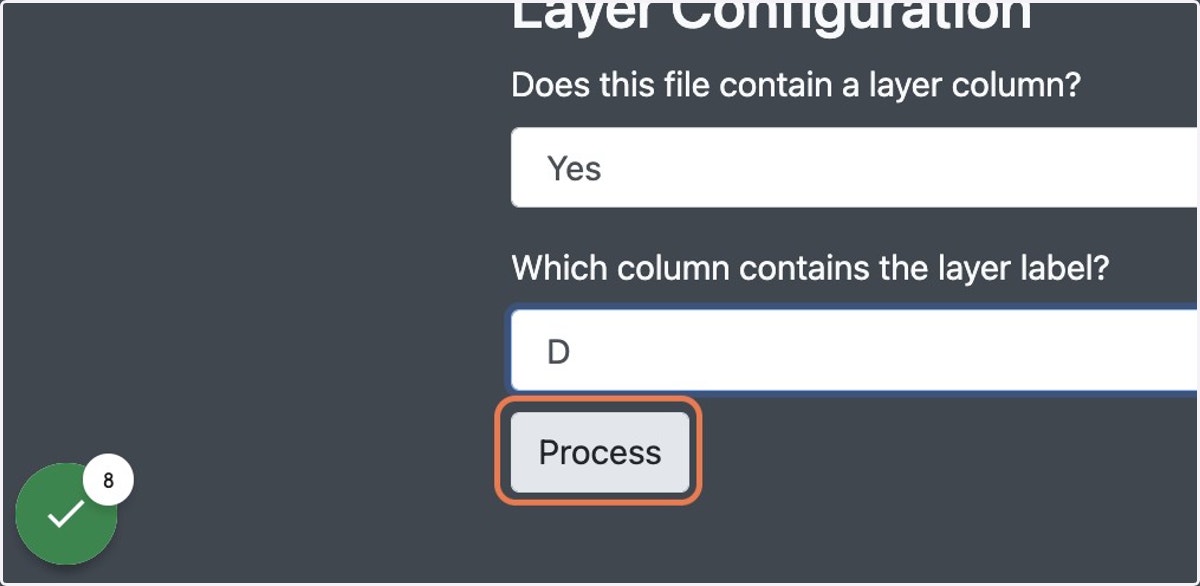
8. Once you see the green "Ready" alert in the top right of the screen, you can visit you project site to see your annotations