Change your navigation style
Learn how to change your navigation style in Responsive Framework.
Bu
1. Go to your website
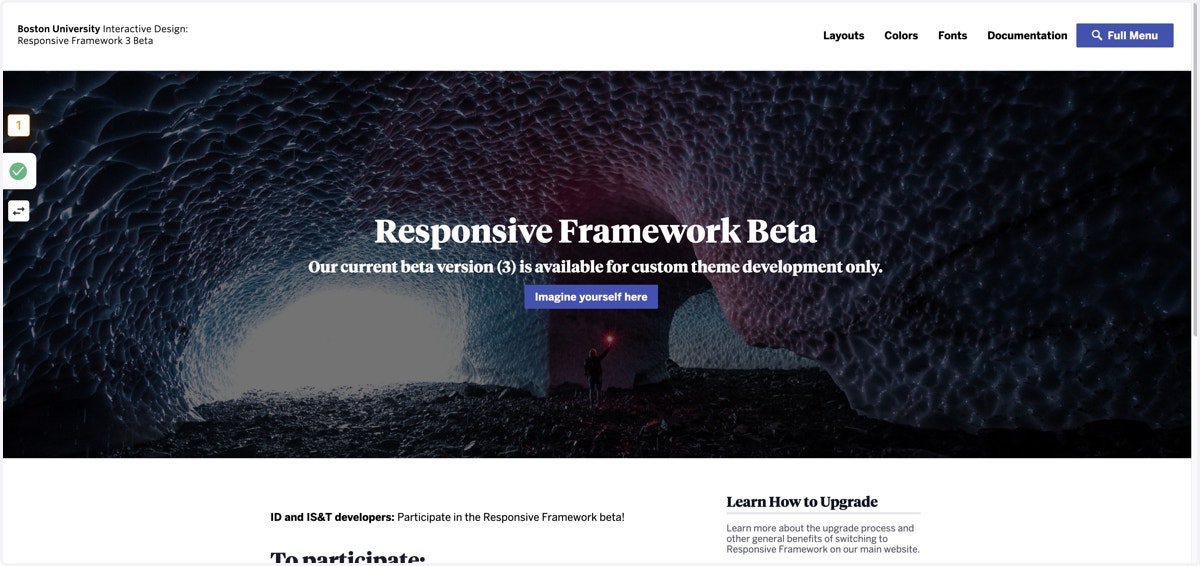
Visit the website you'd like to change. In these instructions, I'll be using the demo website to demonstrate how to change your site navigation.
2. Log in to the WordPress Admin
You can log in by adding /wp-admin to the end of the URL in your URL bar.
3. Go to the Customizer
Click on Appearance > Customize in the menu bar to visit the customizer.
4. Click on Navigation Style
5. Select a navigation style
Choose a new navigation style from the options in the menu. The preview will change to reflect what the new navigation will look like.
6. Preview the navigation on different devices
Use the bottom controls to check how your new navigation will look and function on different sized devices. Some navigation styles work better with longer navigation labels than others.


Bu
7. Click Publish
When you are happy with your changes, click Publish to make them live on your site.
8. Exit the Customizer
Click the X at the top of the panel to close out of the customizer.
9. View your live site
Click on the site title in the WordPress admin bar to view the changes on your live site.


