Configuring Connect: Flow for different suppliers
Here, we will learn how we can configure the Connect: Flow plugin to push different information to different suppliers specified on our storefront.
For example, if one supplier expects the data via email and another expects it via FTP then we are able to accomplish that using this functionality.
Suppliers are configured independently within Infigo, and creating supplier entries will not be the primary focus of this tutorial. Other Infigo Academy resources exist around that topic.
Other than with Connect: Flow, suppliers are primarily used with Infigo's RFQ module.
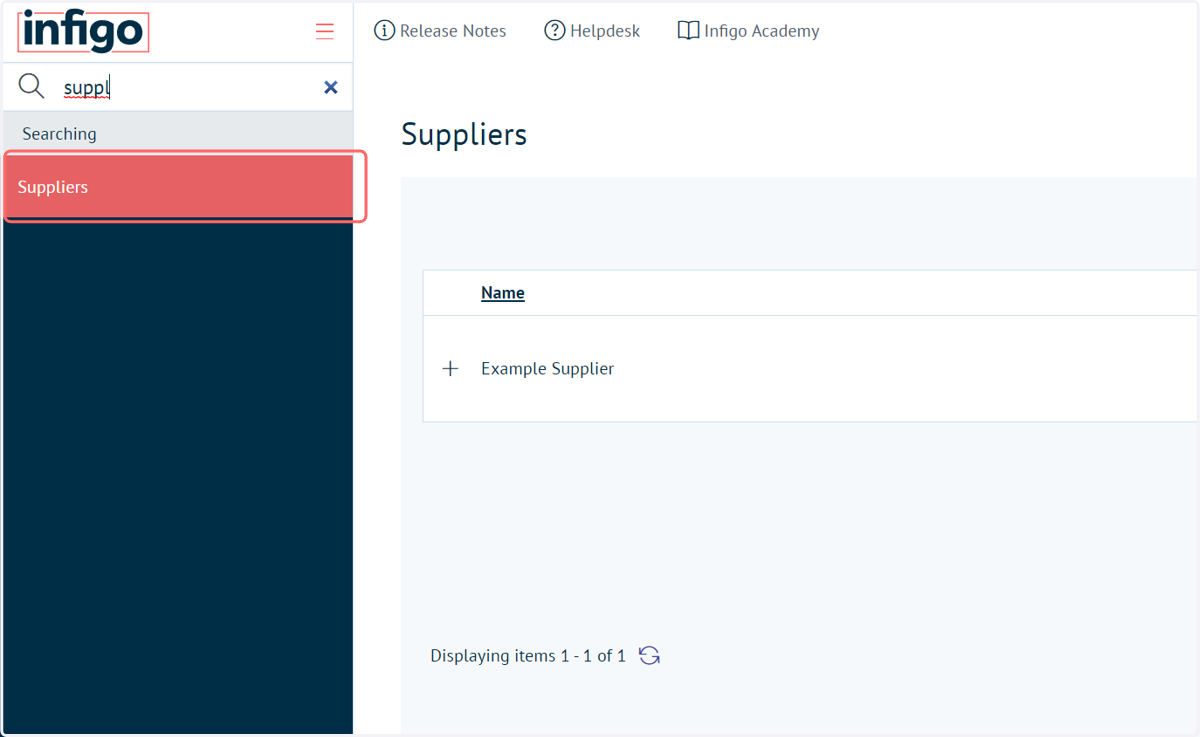
1. Navigate to Suppliers
2. Supplier configuration
Suppliers are configured in their own unique area within the Infigo admin area.
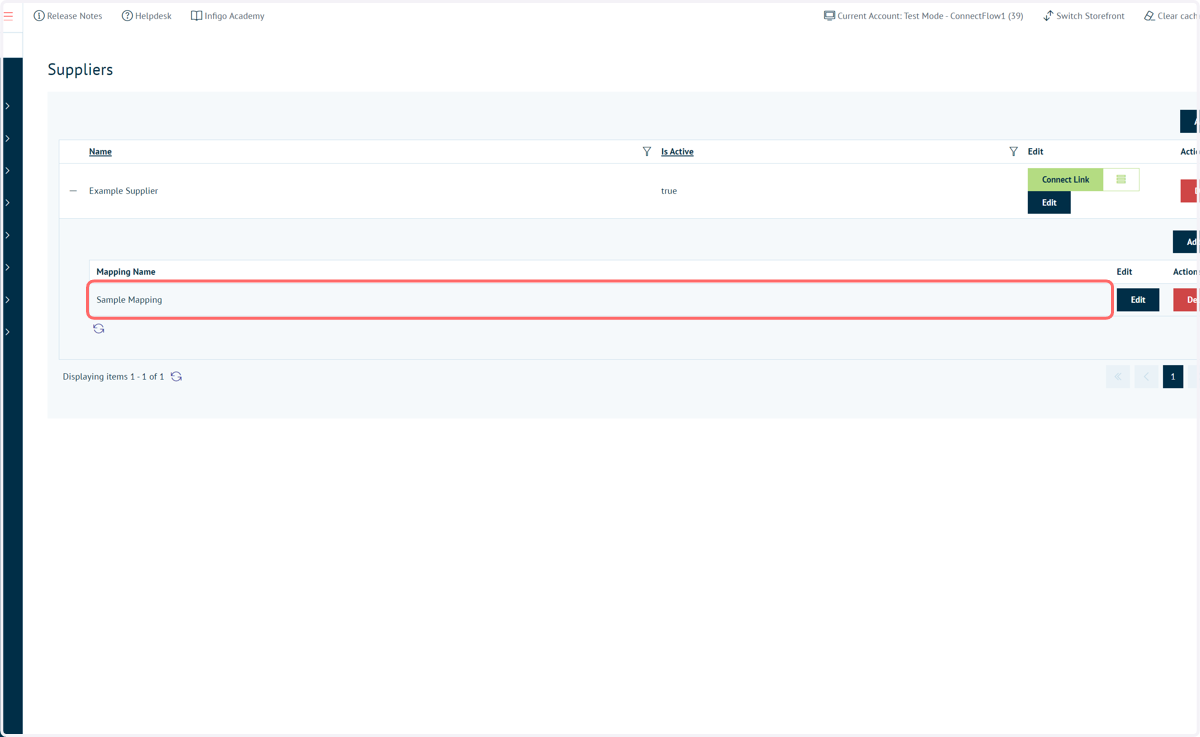
Their setup is straightforward, with suppliers requiring contact details such as an address and email address.
Once the supplier is created, mappings can be applied. These allow admins to define which products, categories, etc are applicable to that particular supplier.
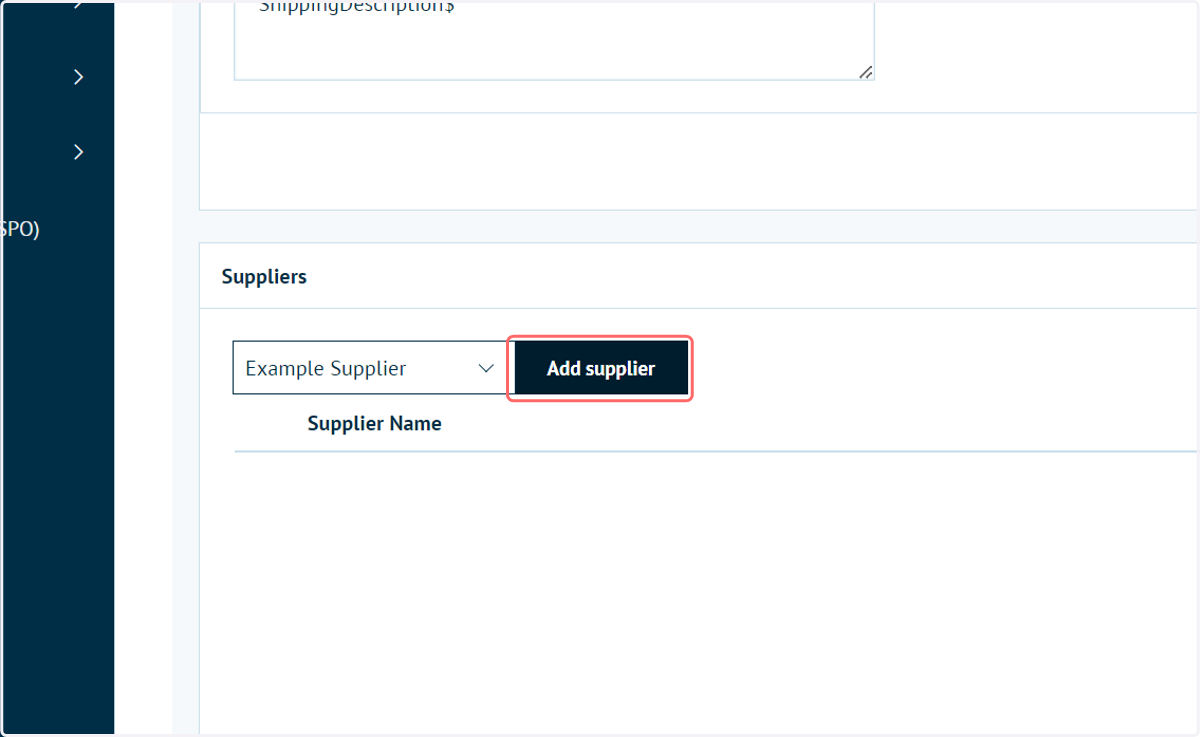
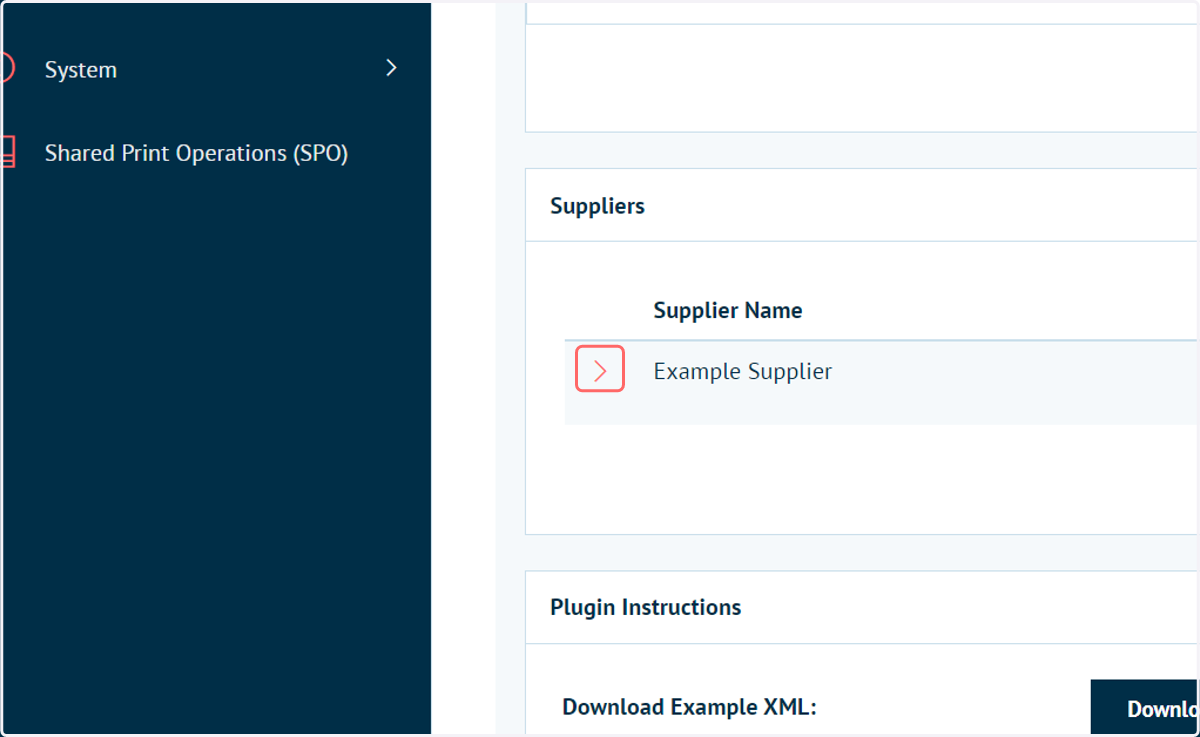
3. Navigate to the Suppliers section on the Connect: Flow configuration settings. Select a supplier and click Add supplier.
4. Click the > button to show additional details
The majority of these options are identical to what we see in the main Connect: Flow configuration settings.
The version of the settings under each supplier allows you to configure the behaviour of the plugin on a supplier-by-supplier basis.
For example, if a supplier has "Product 1" mapped to them, but not "Product 2", an order including a job of "Product 1" will trigger this version of the Connect: Flow settings.
A job of "Product 2" will either trigger the settings based on a supplier with "Product 2" mapped to them. Alternatively, if "Product 2" is not mapped to any supplier then the main settings will be utilised.
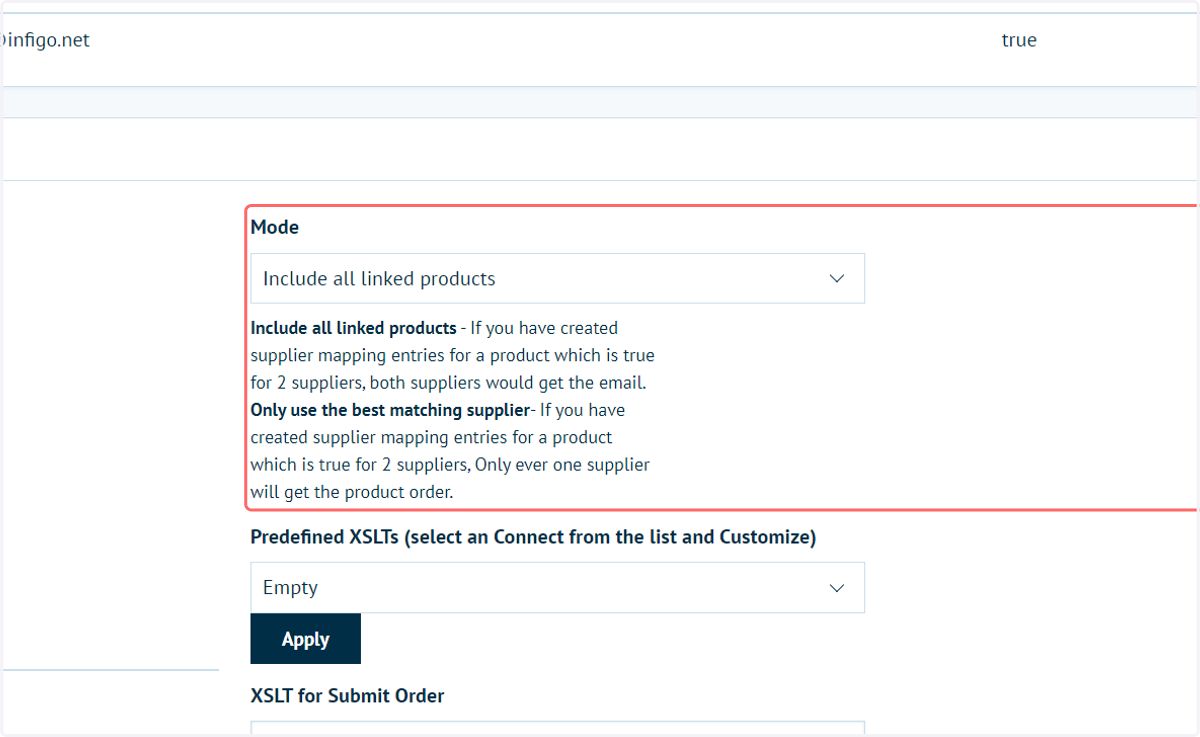
5. Select a product mode
This option allows you to select whether all products mapped to this supplier trigger the supplier linked actions of this plugin.
Include all linked products - If you have created supplier mapping entries for a product which is true for 2 suppliers, both suppliers would get the output
Only use the best matching supplier- If you have created supplier mapping entries for a product which is true for 2 suppliers, Only ever one supplier will get the product order..
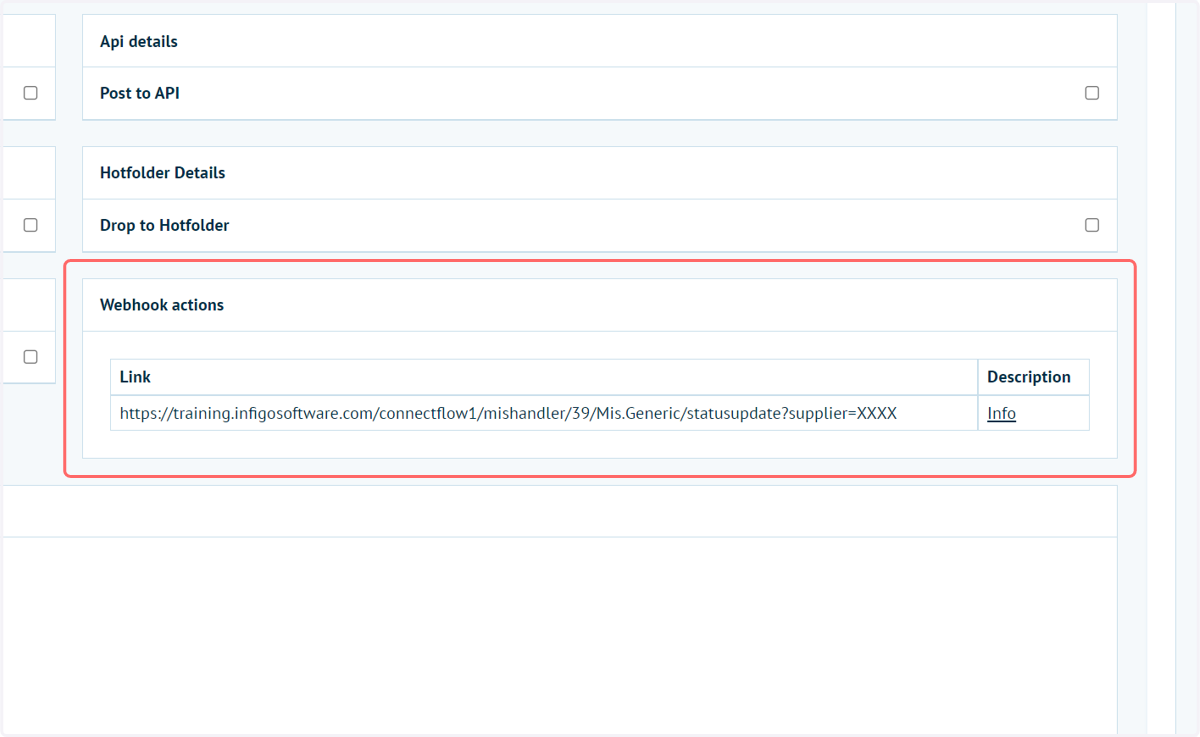
6. Webhook actions…
If utilising webhooks, note that the link will change based on the supplier.
7. Scroll down the page and navigate to the Message Template instructions
In order to trigger status updates via webhooks, the admin would be required to create some new Email Message Templates.
These templates can target individual suppliers, so they receive particular information when a specific job status is set.
Alternatively, the templates can be a general update. This is essentially a fallback in case no specific message template has been defined for a supplier/status configuration.
If a supplier is used within the Connect: Flow settings, we will see if there is an active message template for the current status and supplier.
If yes we will use that template, otherwise we will check if there is an active message template named "ProductionManagement.GenericMis.StatusUpdate.General.{statusname}" available and use that.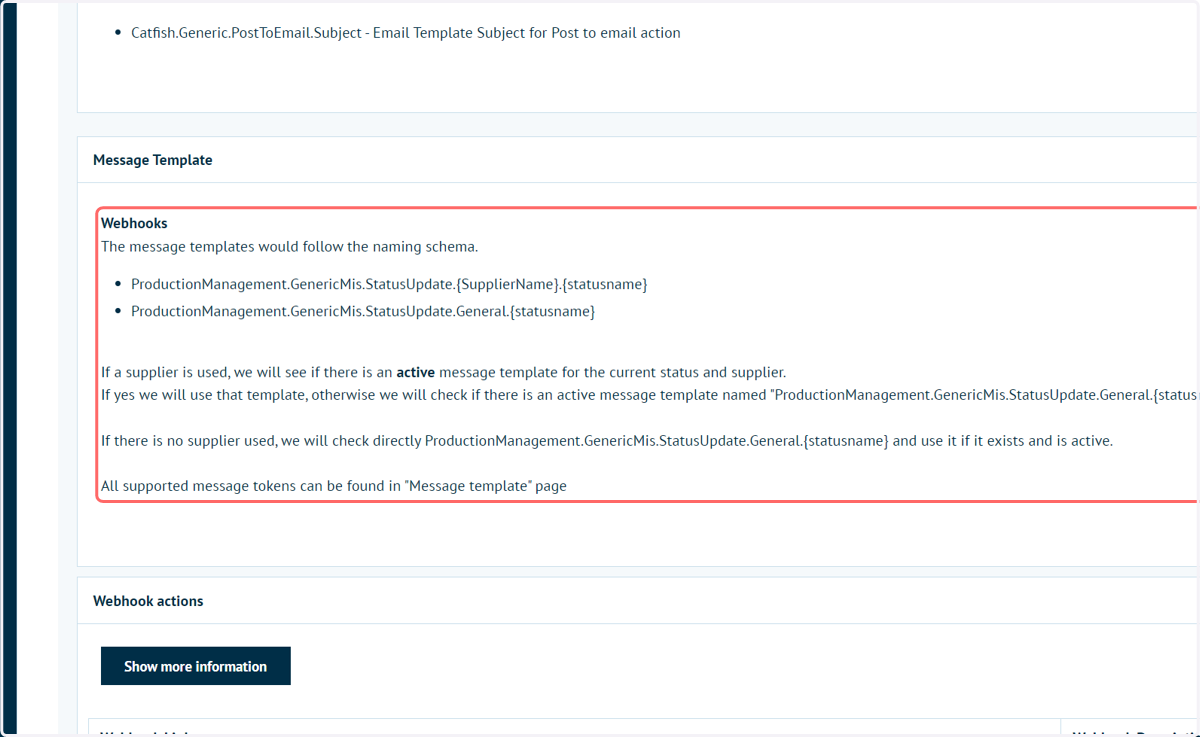
8. To create a new message template, navigate to Email Message Templates
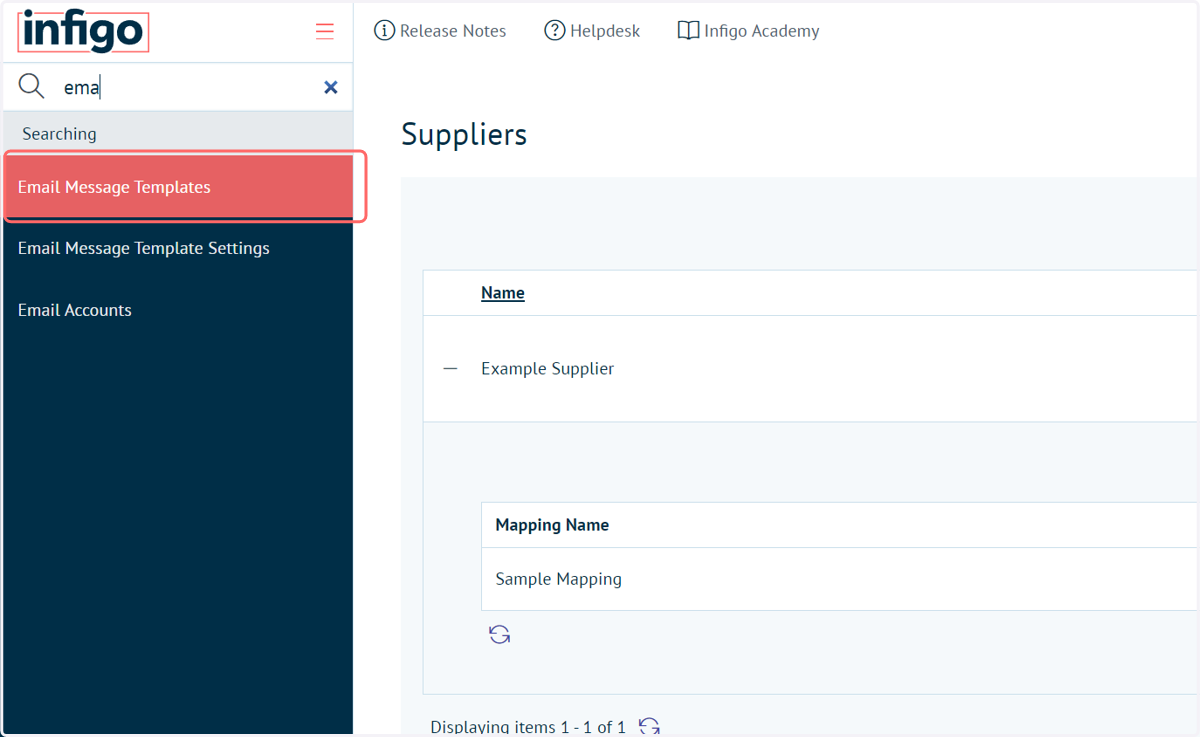
9. Click on Custom
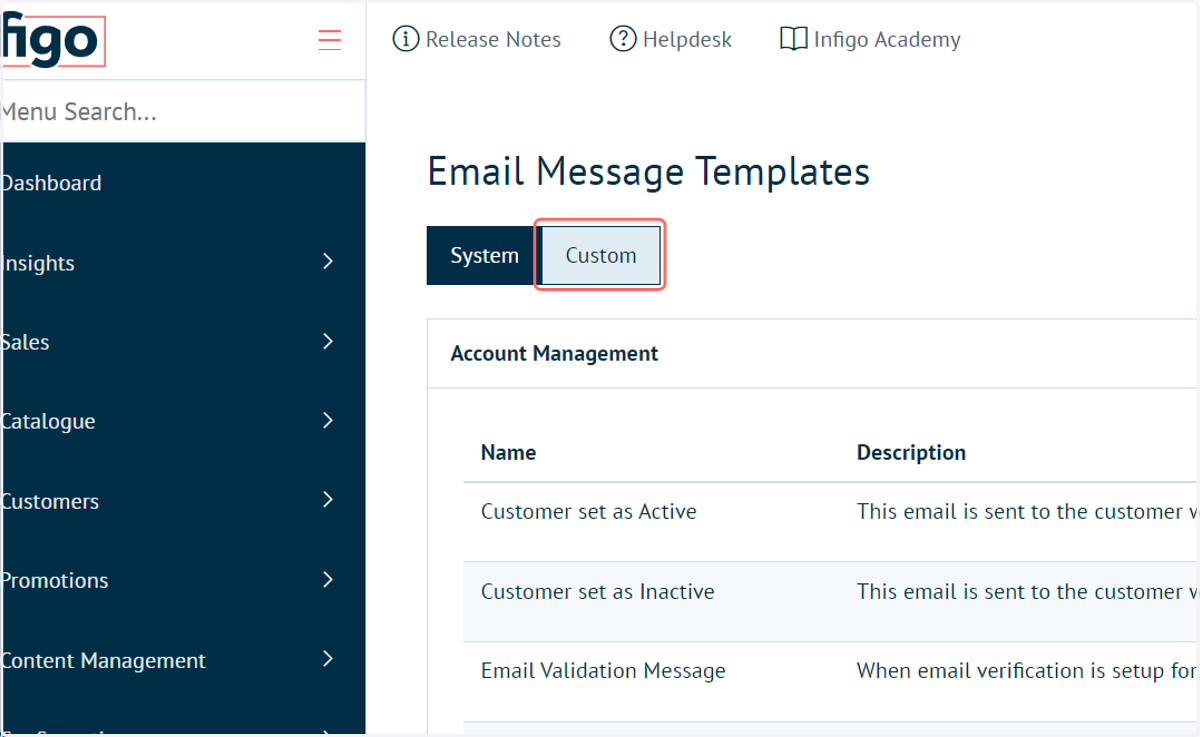
10. Click on Add New
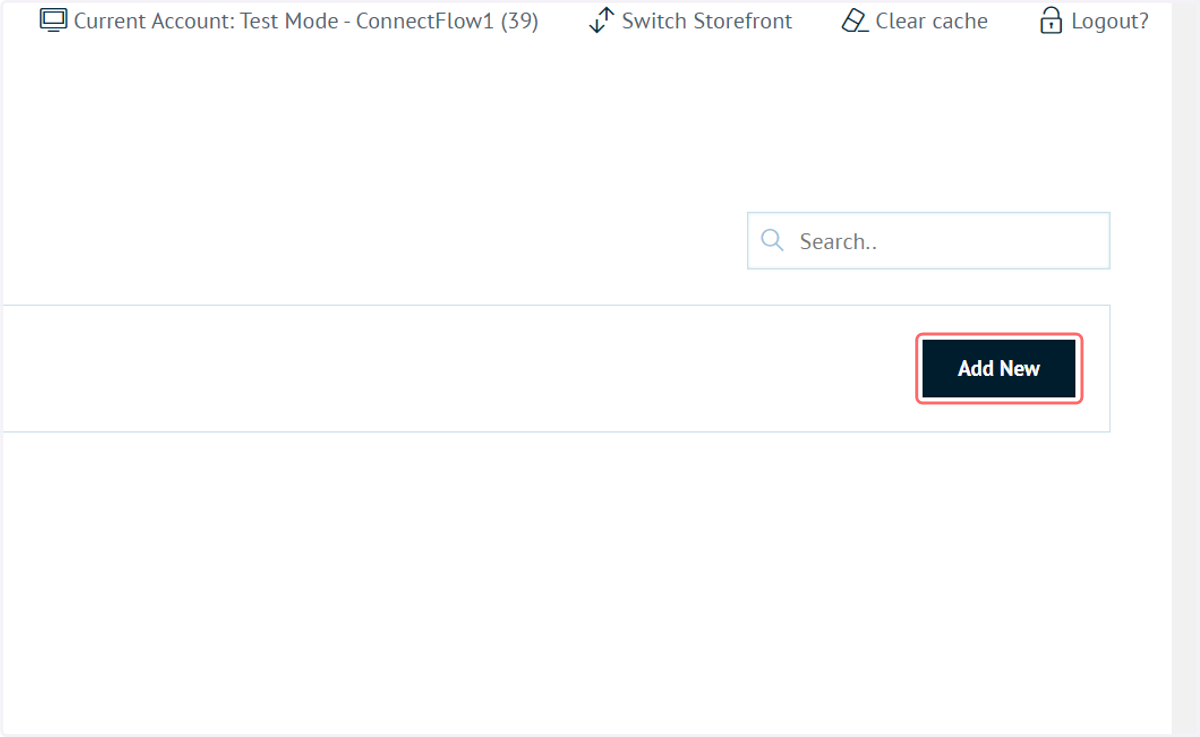
11. Click on Name
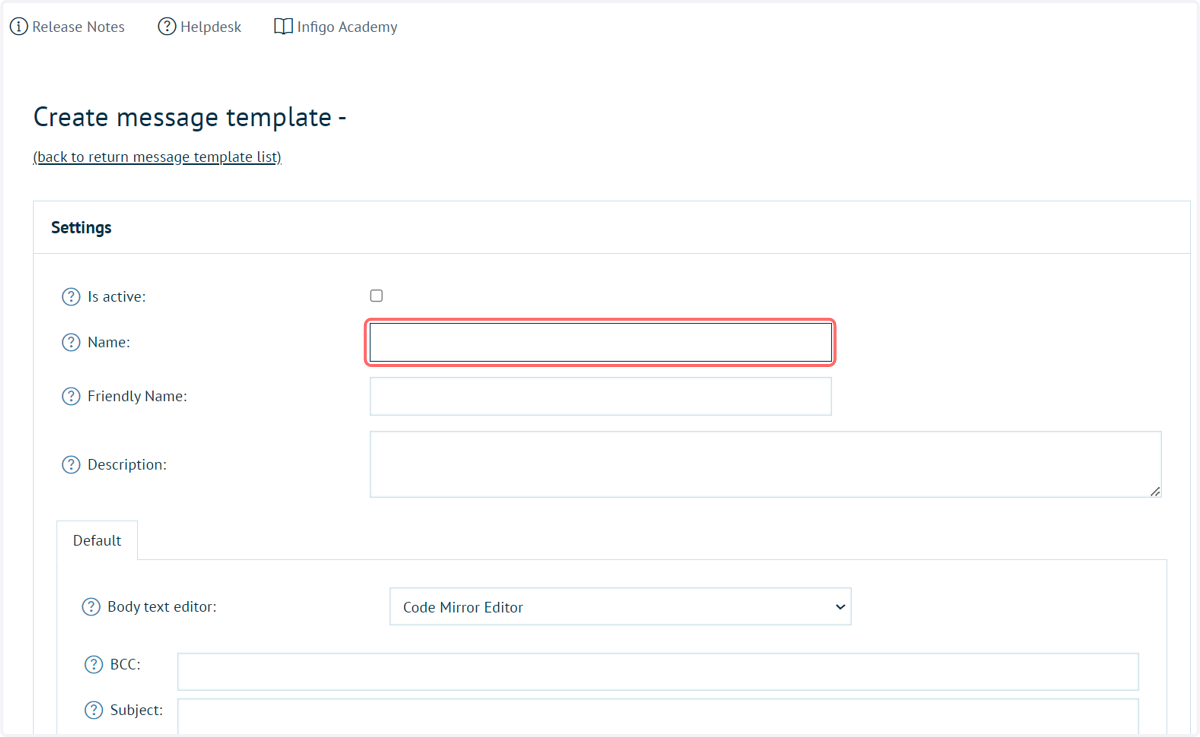
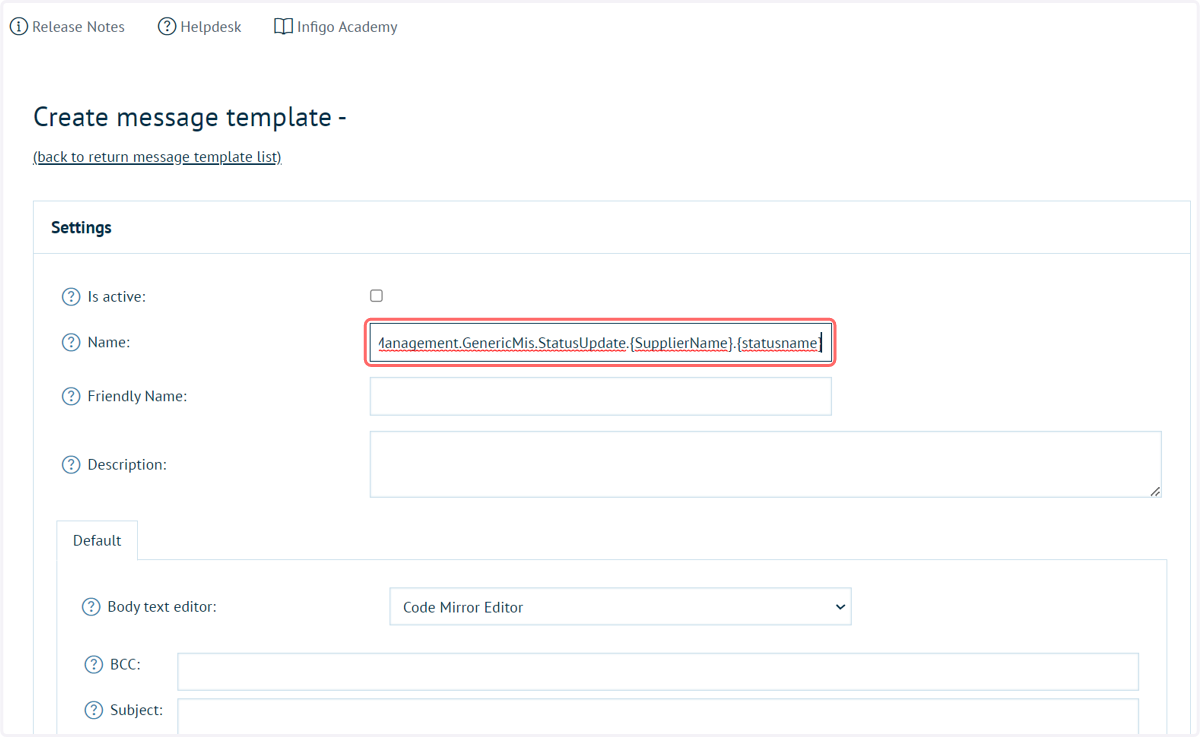
12. The "Name" field must be correctly populated for this function to work
Applicable naming conventions are:
For specific suppliers:
ProductionManagement.GenericMis.StatusUpdate.{SupplierName}.{statusname}
For any supplier:
ProductionManagement.GenericMis.StatusUpdate.General.{statusname}
Available status options include:
shipped -> can use TrackingNumber
printed
awaitingApproval
awaitingData
awaitingParts
awaitingProof
inArtworking
inFinishing
inPacking
inProduction
inReprographics
onHold
misAssetsOk
misAssetsFailed
cancel
custom -> can use CustomStatusHeader/CustomStatusDescription properties