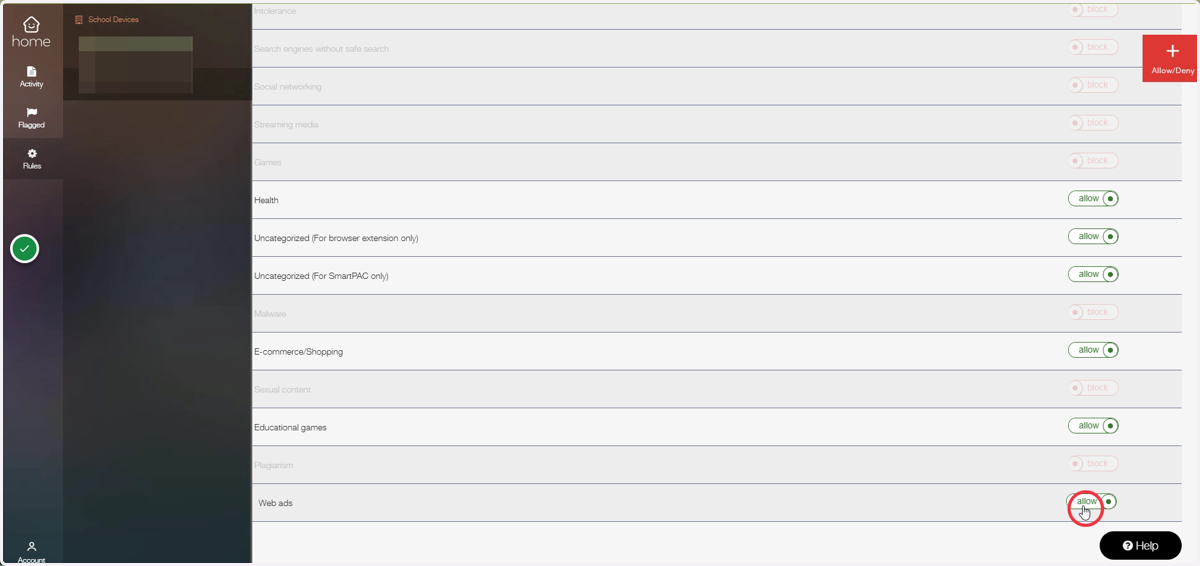
Securly for Parents Settings
Go to securly.com and sign in to your account. Once you're signed in, you can access your settings and preferences.
If you don't yet have an account, see the steps above this for an explanation about how to set it up.
1. On the left side of the screen you will see your three menu options.
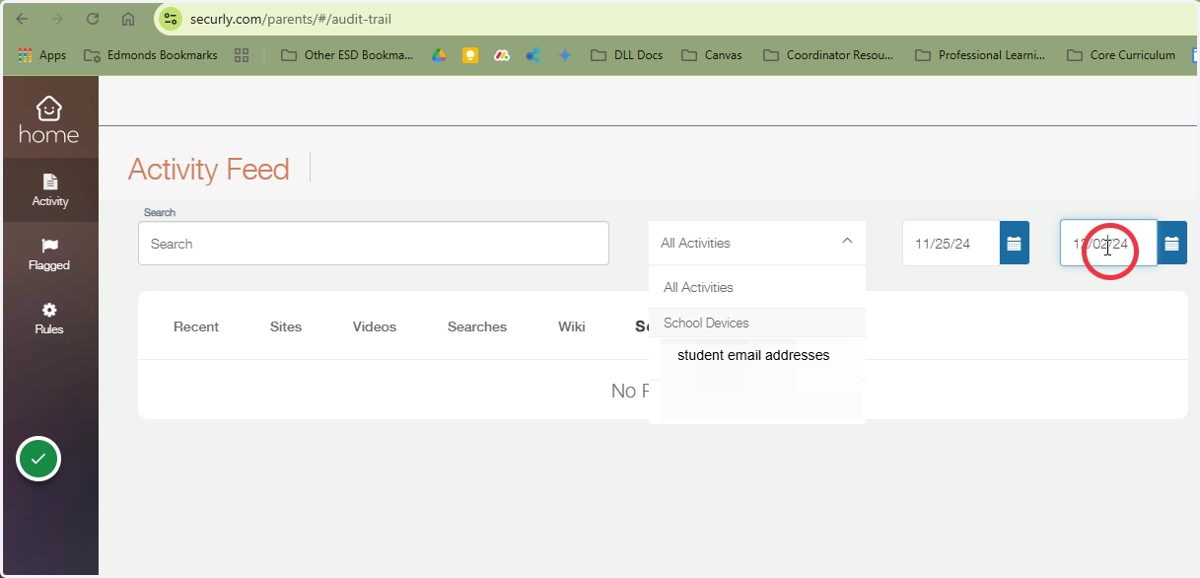
Click activity to view the activity feed for your student.
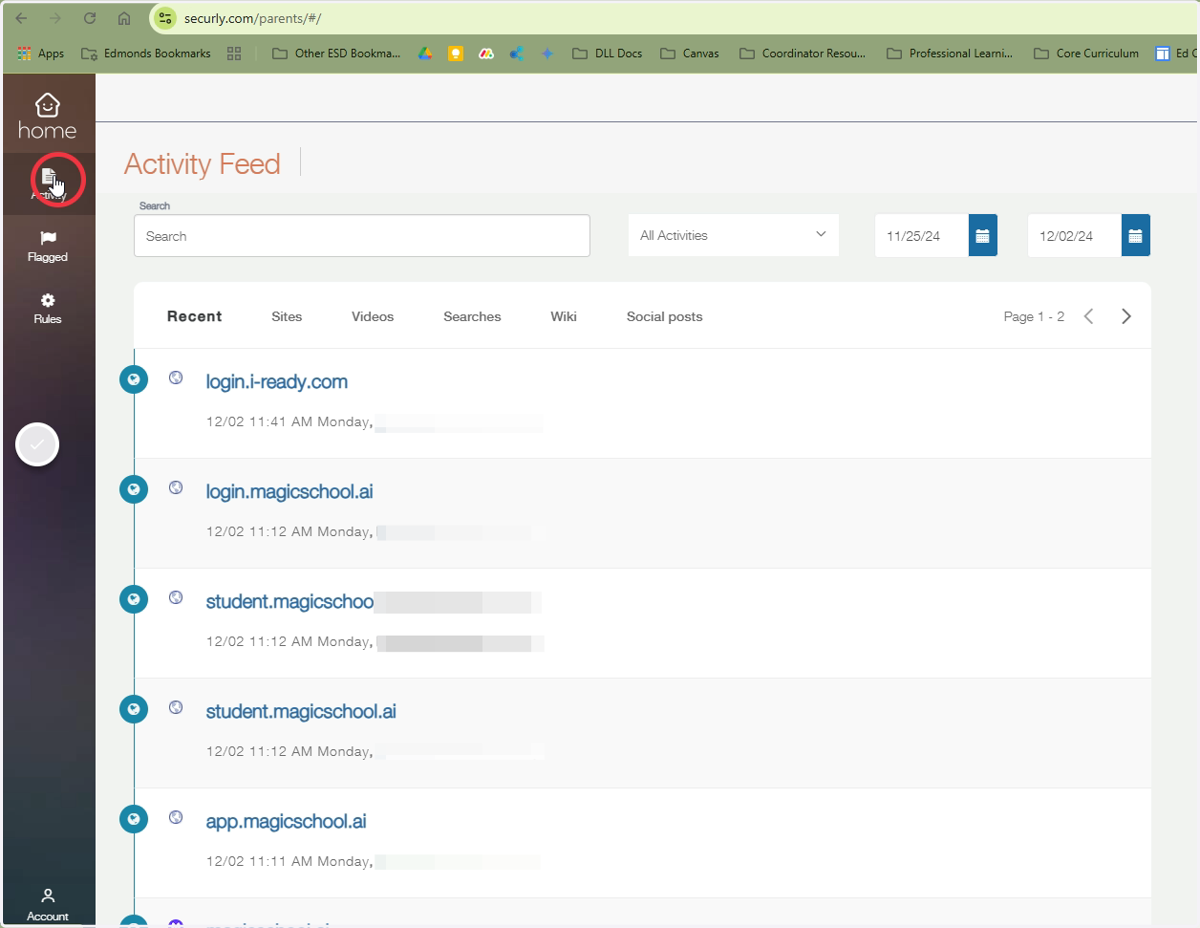
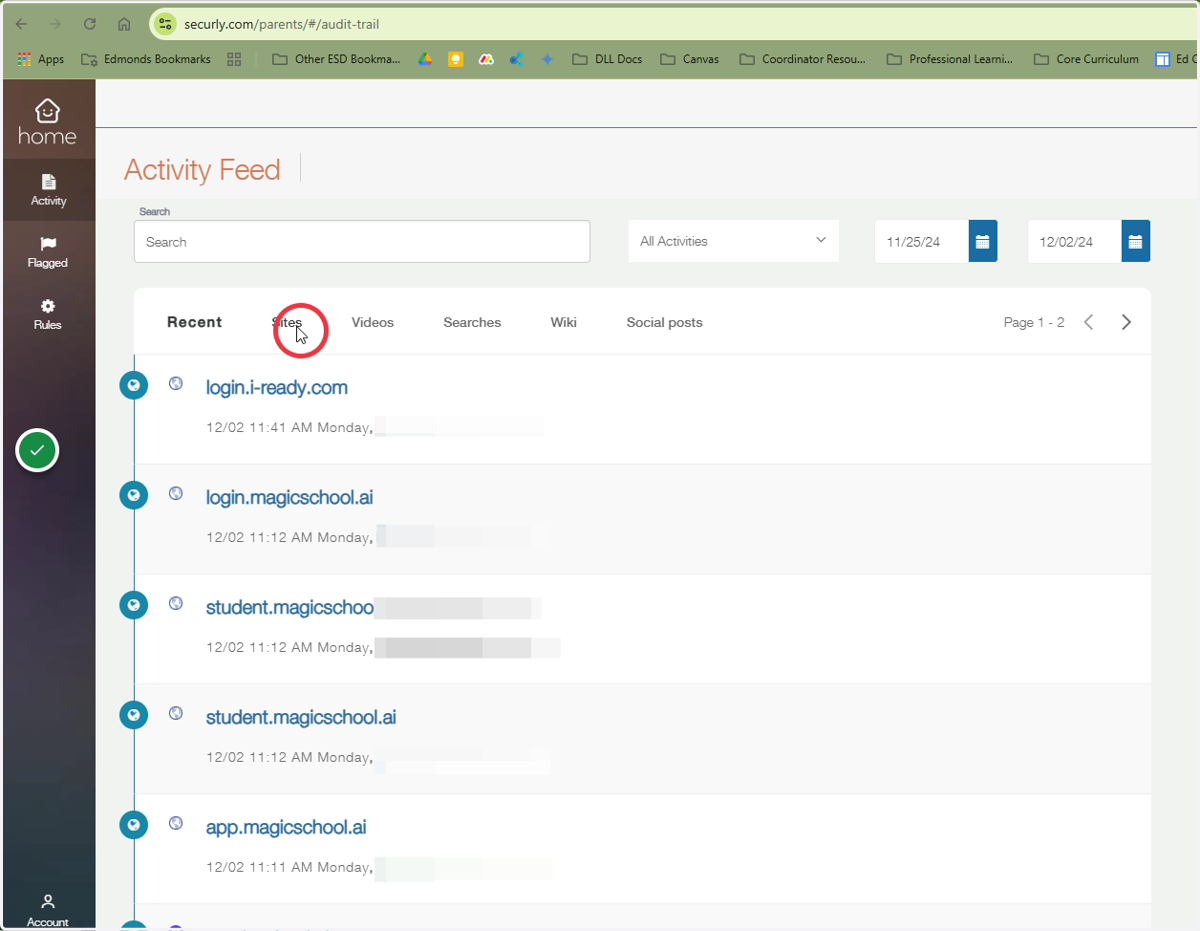
2. There are various options under the activity feed
Click a menu item to see those categories
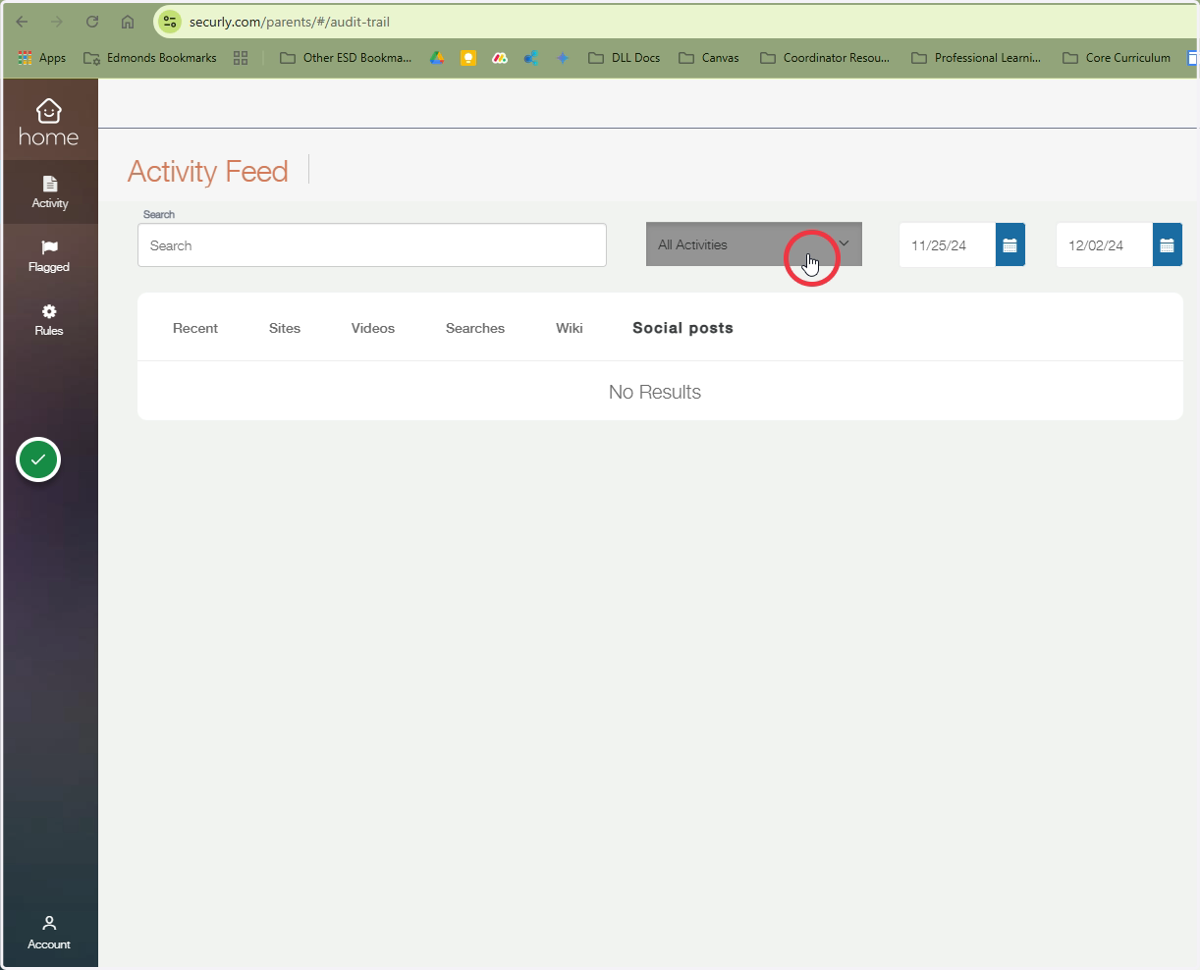
3. Toggle between students if needed
Click all activities to toggle between your students if you have more than one student in ESD.
4. If you want to look at a different date range, click the date field and select the new date range.
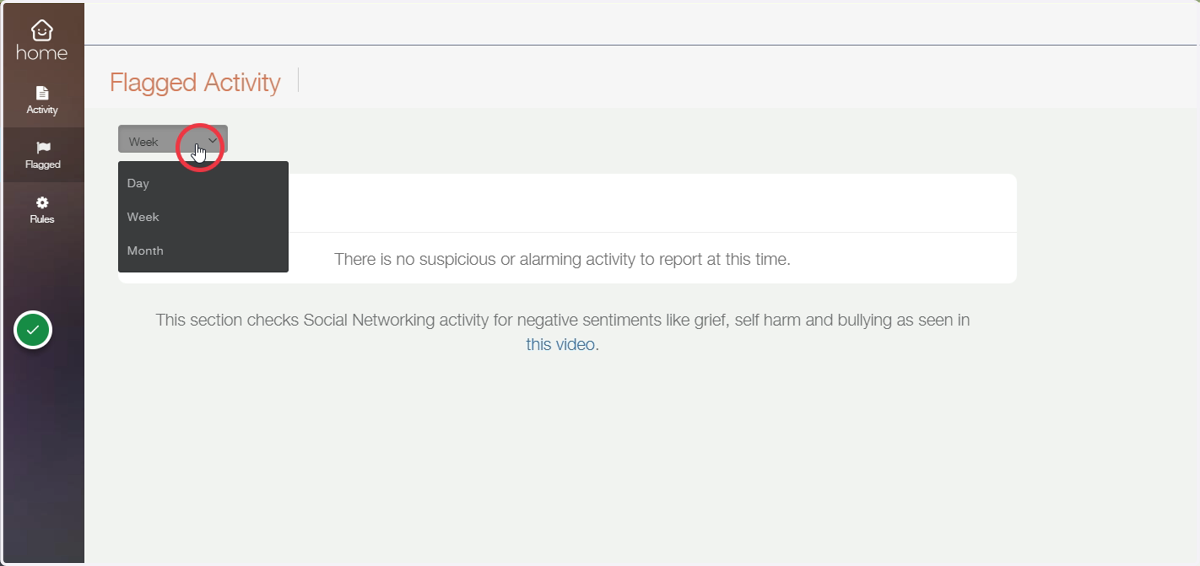
5. Click "Flagged" to view a list of content flagged by Securly for review.
In addition you can toggle to view content by day, week or month.
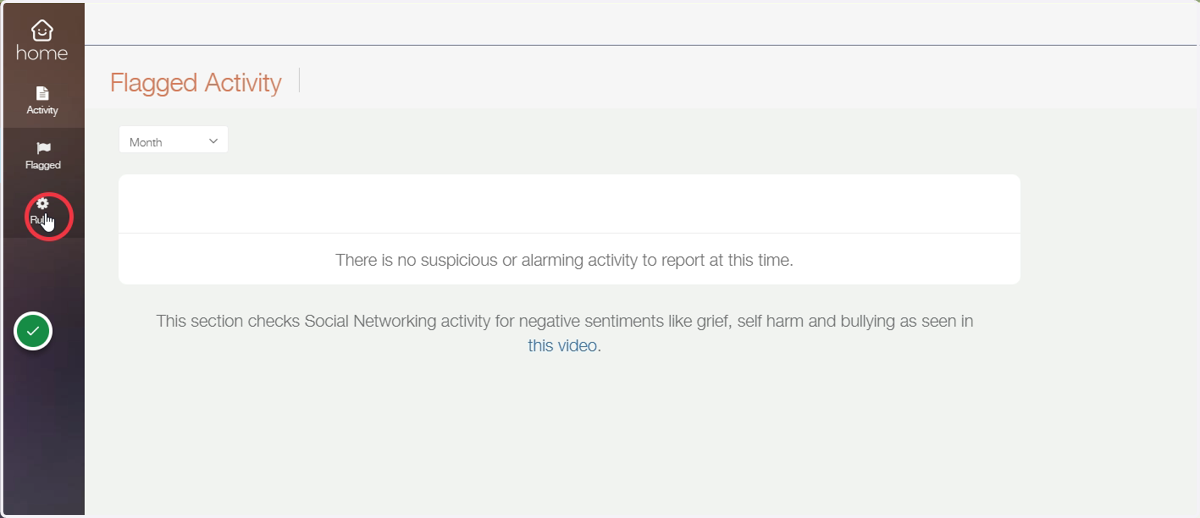
6. Click "Rules" to go to the rules section of the Securly for Parents tool.
Here you can configure rules for blocking or allowing specific websites at home for each of your students.
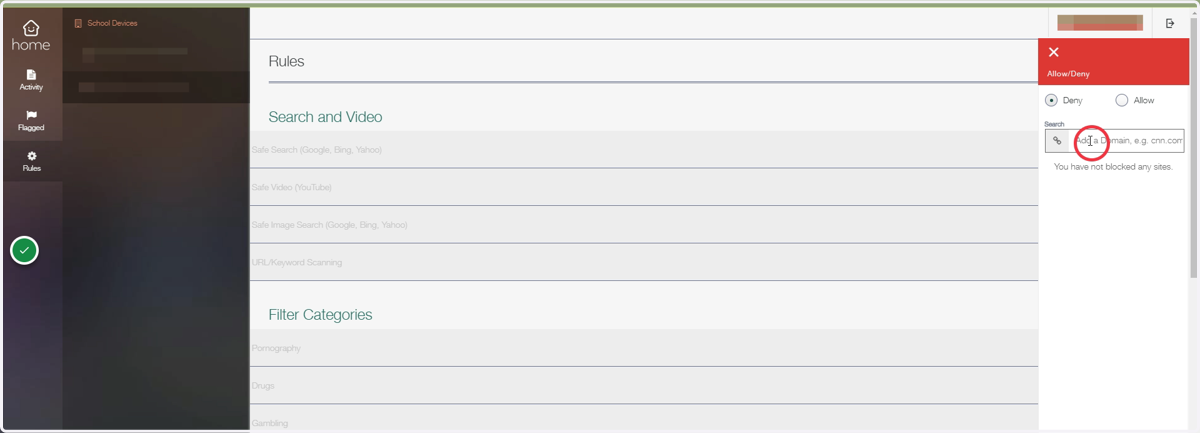
7. Click Allow/Deny to start creating a rule
Then complete the steps to allow or deny the specific website you have selected.
8. Other settings
You may also choose to enable or disable specific settings that are allowed in the rules settings page. Hover over each item to see a short definition.