Limiting access to products using Access Permissions | The basics
In this tutorial, we will take a look at the fundamentals of Infigo's Access Permission functionality. This allows a Storefront Administrator to create rules controlling customer access to products.
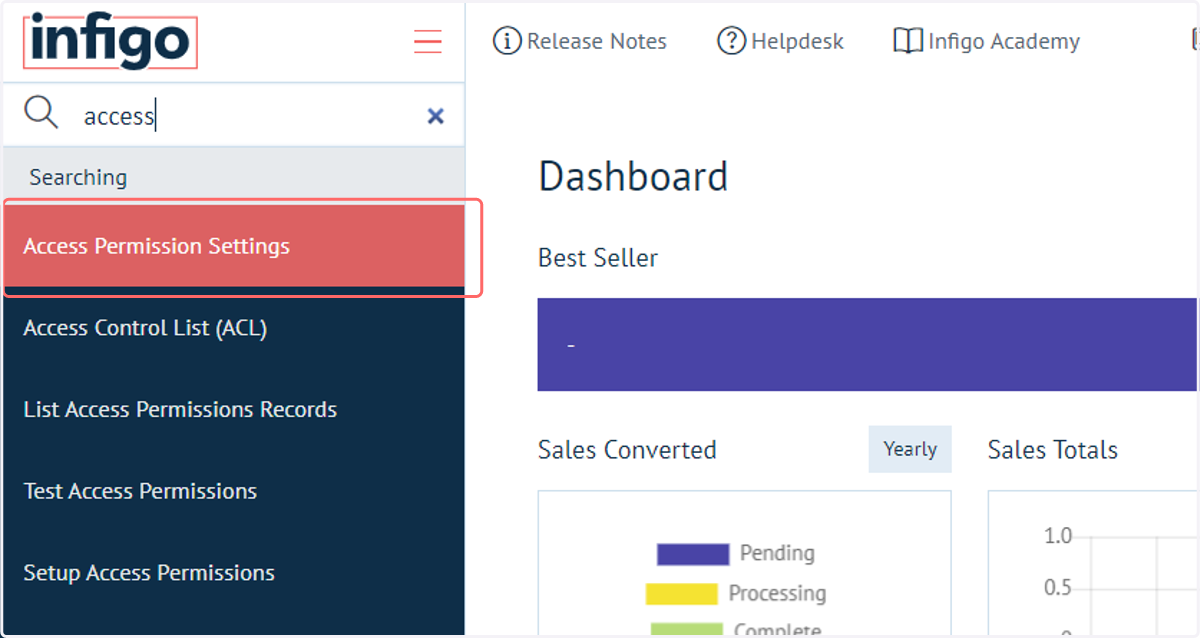
1. Navigate to Access Permission Settings
To begin, we will configure the general Access Permission settings
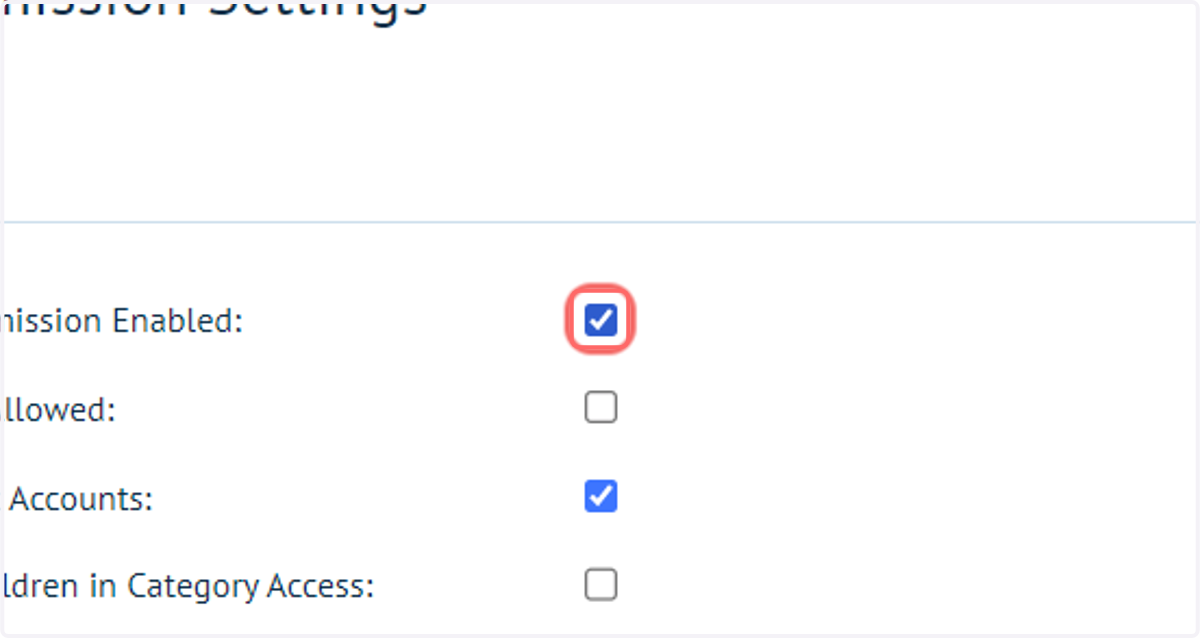
2. Check Access Permission Enabled
Access Permissions Enabled - Controls the overall access capabilities within the selected storefront.
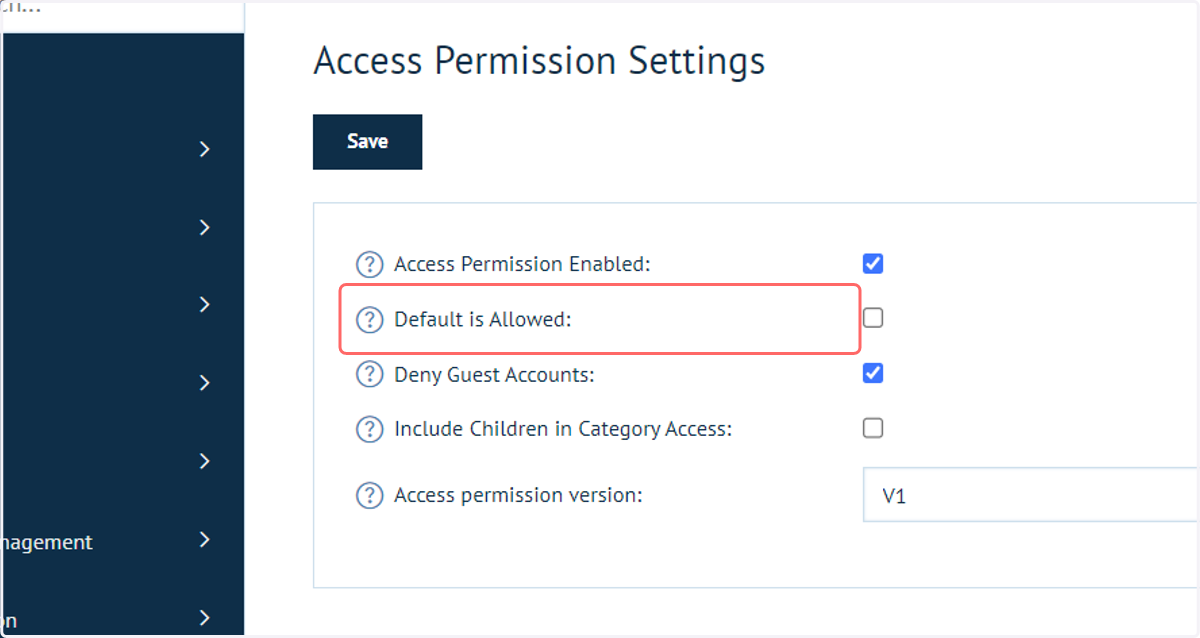
3. Click on Default is Allowed:
Default is allowed - Products, categories or otherwise sitting outside of defined rules are allowed to be viewed by all customers, in a Default configuration.
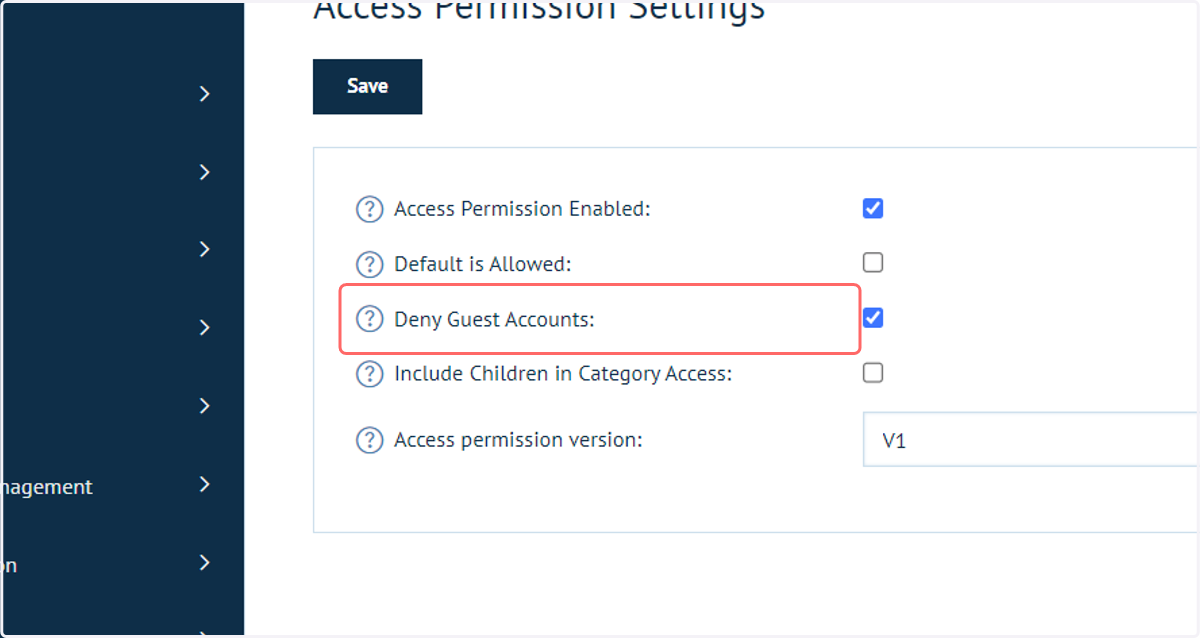
4. Click on Deny Guest Accounts:
Deny Guest Accounts - Global restriction on guest accounts
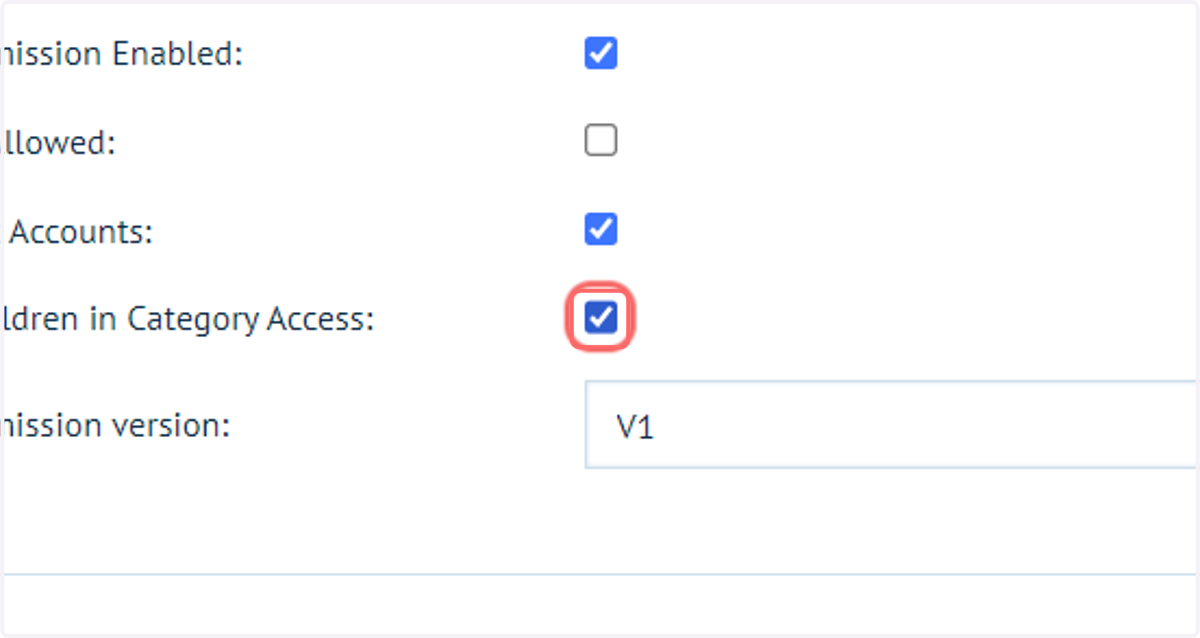
5. Check Include Children in Category Access
Include Children in Category Access - Controls whether a category named in a permissions rule is treated in isolation, or the rule filters down to children of that category.
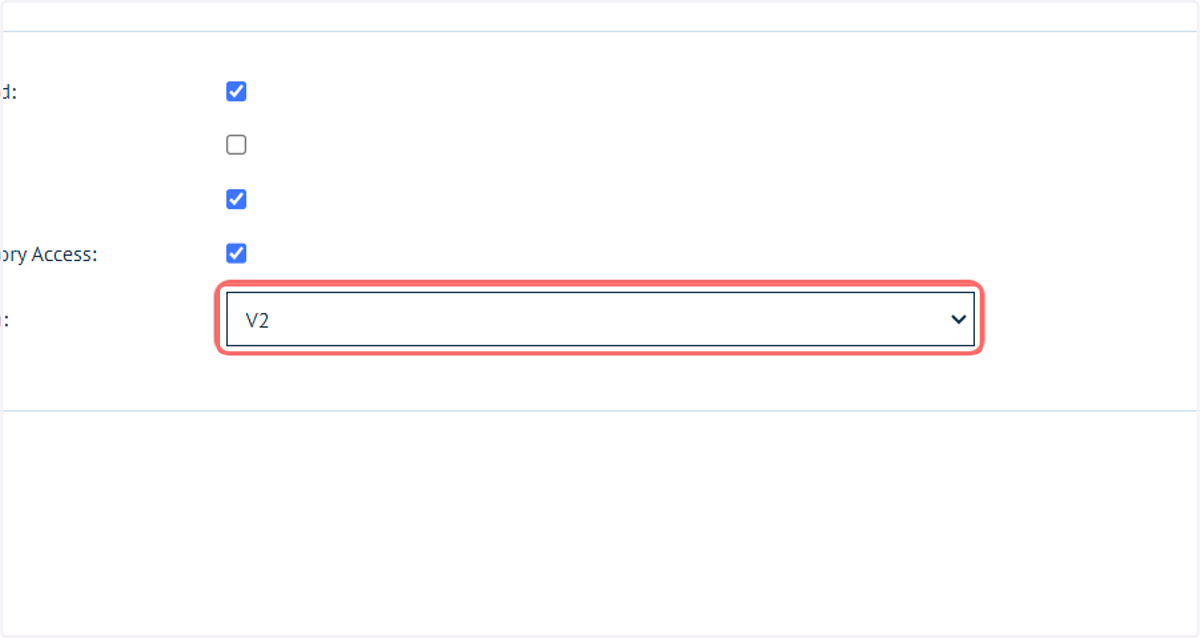
6. Select V2 from Access permission version
Access permission version - A selection between V1 and V2. V2 is encouraged for all new Infigo users or those just introducing Access Permissions.
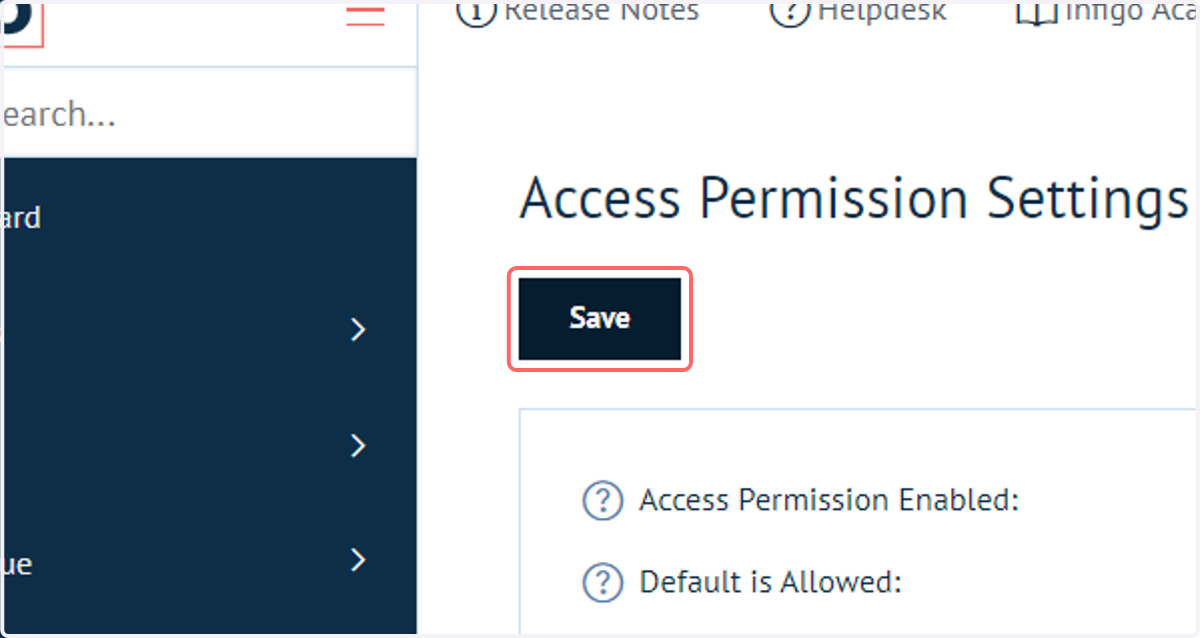
7. Click on Save
8. Navigate to Setup Access Permissions
This screen is where you can define or edit access permissions within your storefront.
We will break our permission configuration into three major groups:
Scopes - A method of defining the users you wish to apply permissions to.
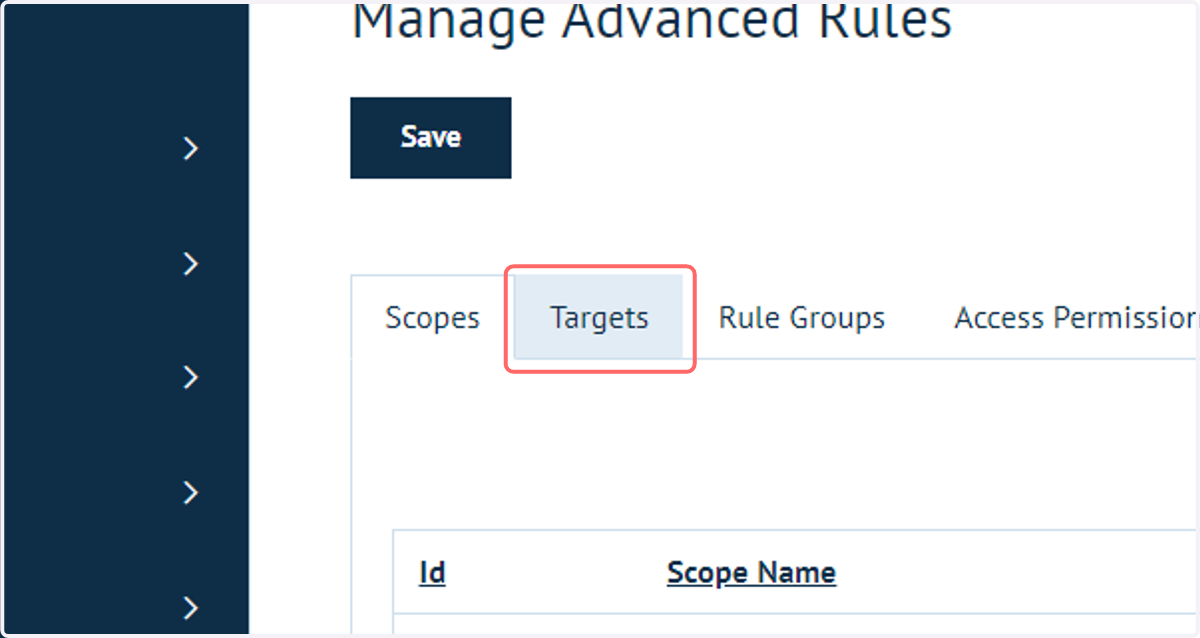
Targets - A method of defining the products or categories you wish to apply permissions to.
Rules - An area to combine Scopes and Targets, to give certain users (Scope) access, or restrict access, to certain products or categories (Target).
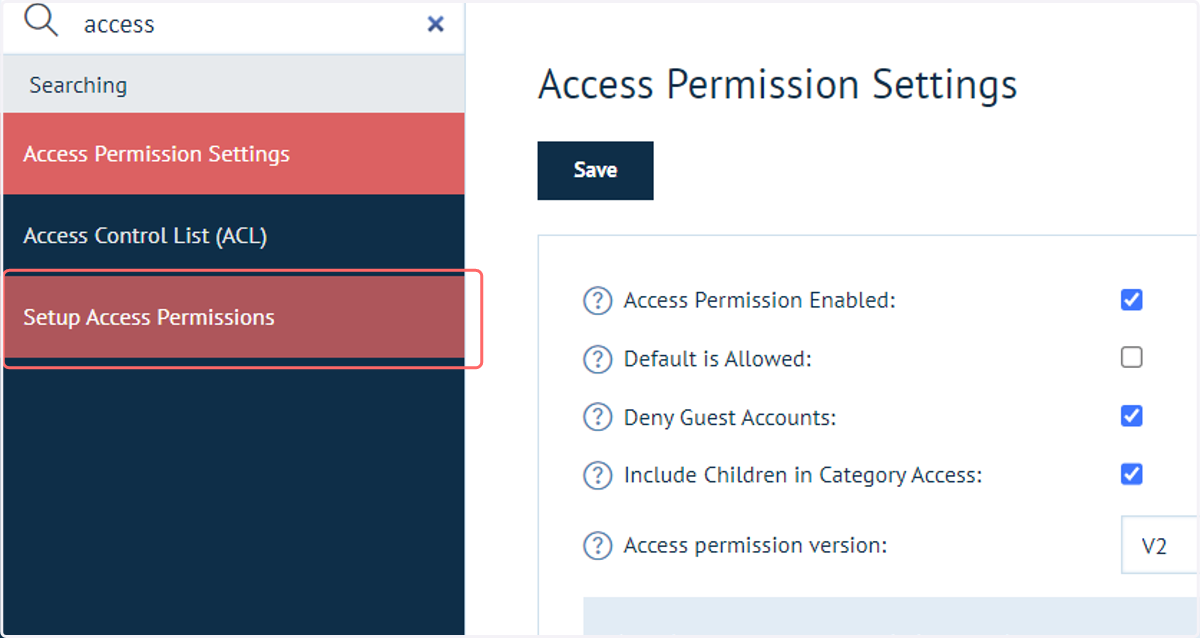
9. Click on Scopes
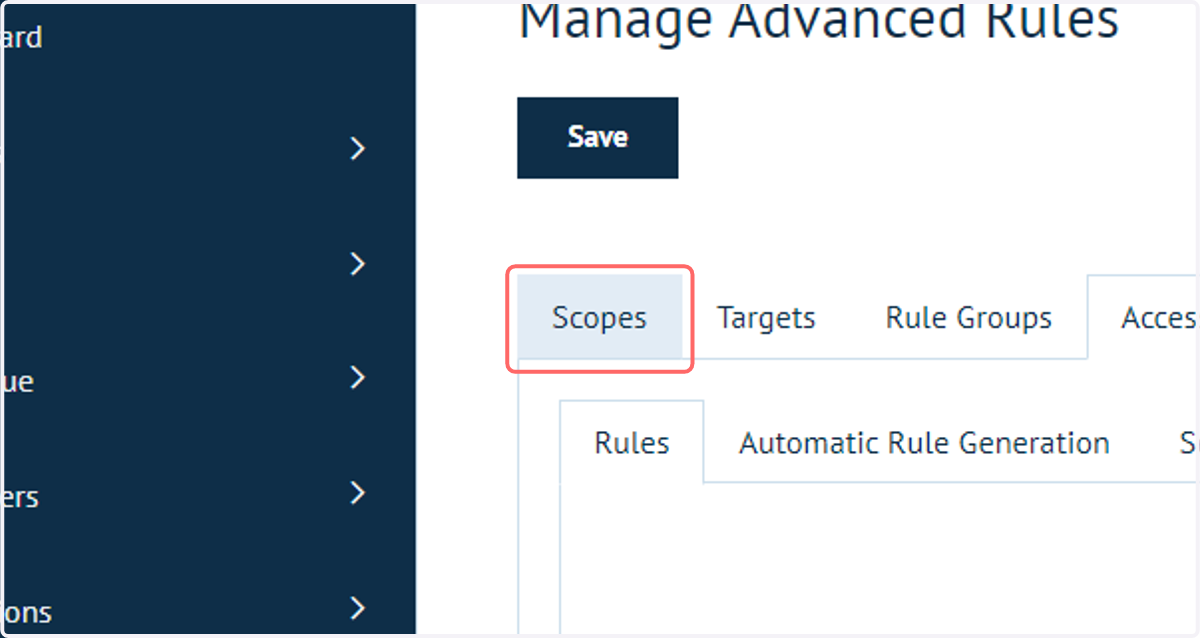
10. Click on Add new scope
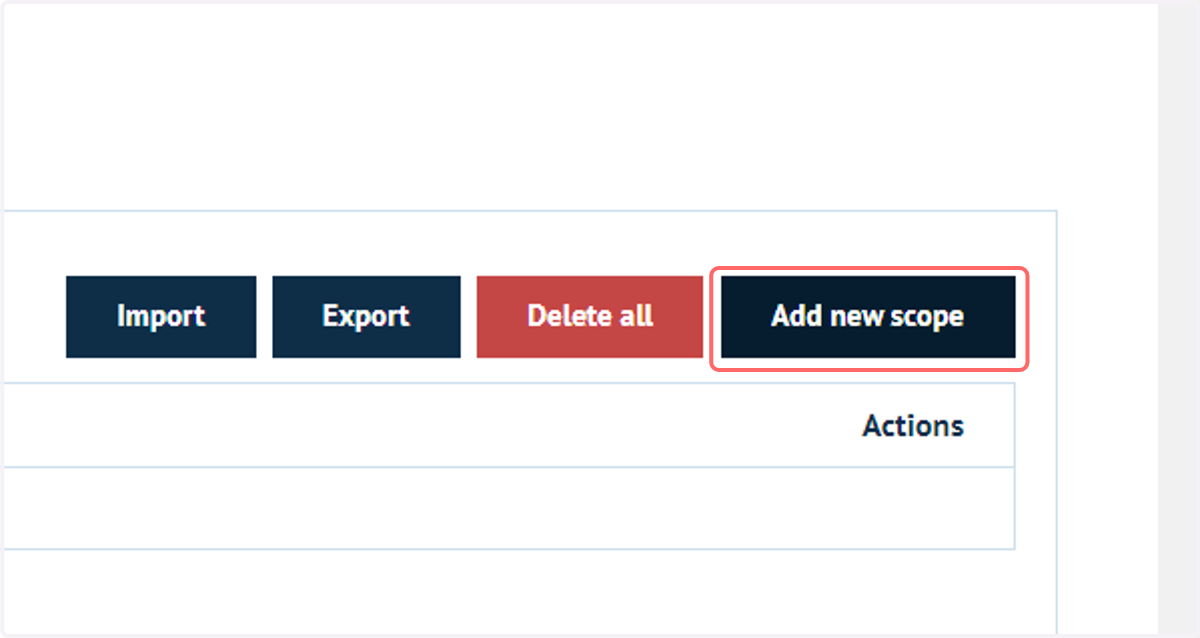
11. Scopes
Scopes define the users you wish to apply Access Permission rules to.
There are numerous ways of defining scopes, with examples including:
All customers - A blanket scope covering all customers specified on the storefront. The other specification methods will become unavailable when this is selected.
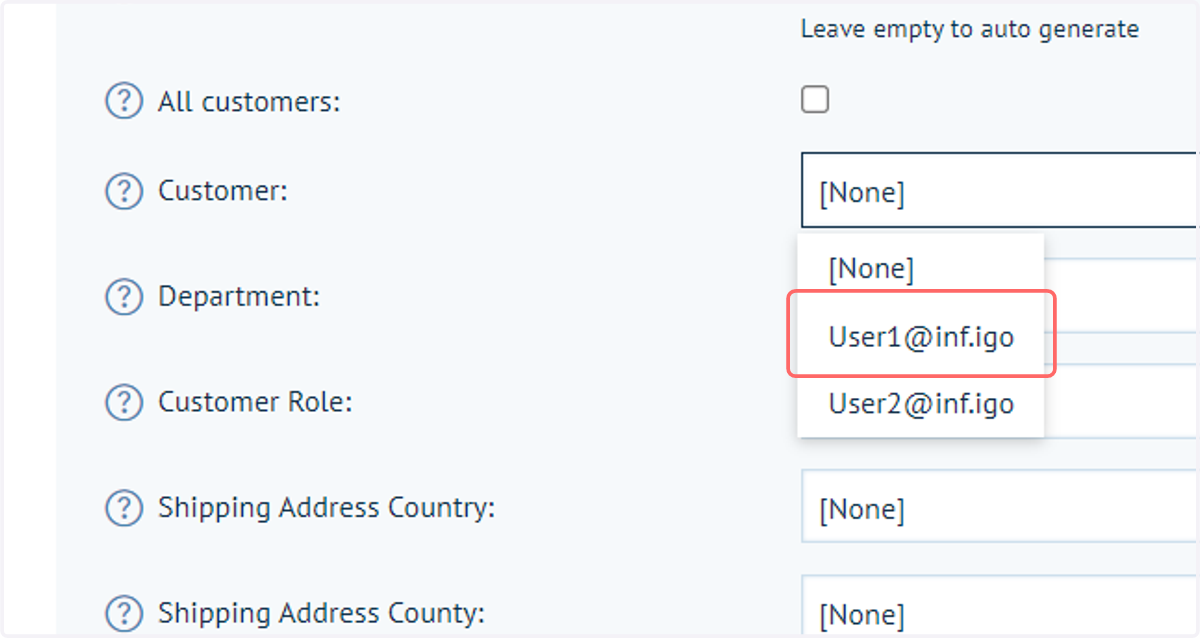
Customer - Select an individual customer account to apply as a scope
Department - Departments are groups of customers such as particular companies or areas within a company. Specifying a department on a scope will mean any rules apply to all customers within that department.
Country - Scopes can be created to apply to particular countries. This is useful if, for example, certain products are only available in certain regions.
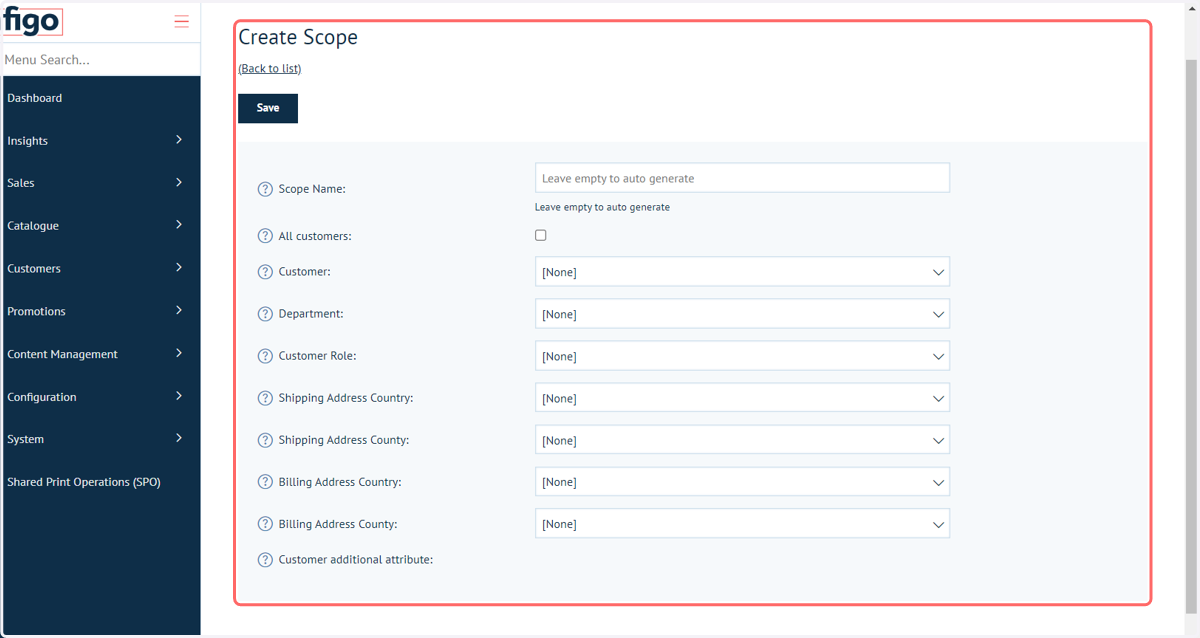
12. In our example, our scope will cover one specific customer account
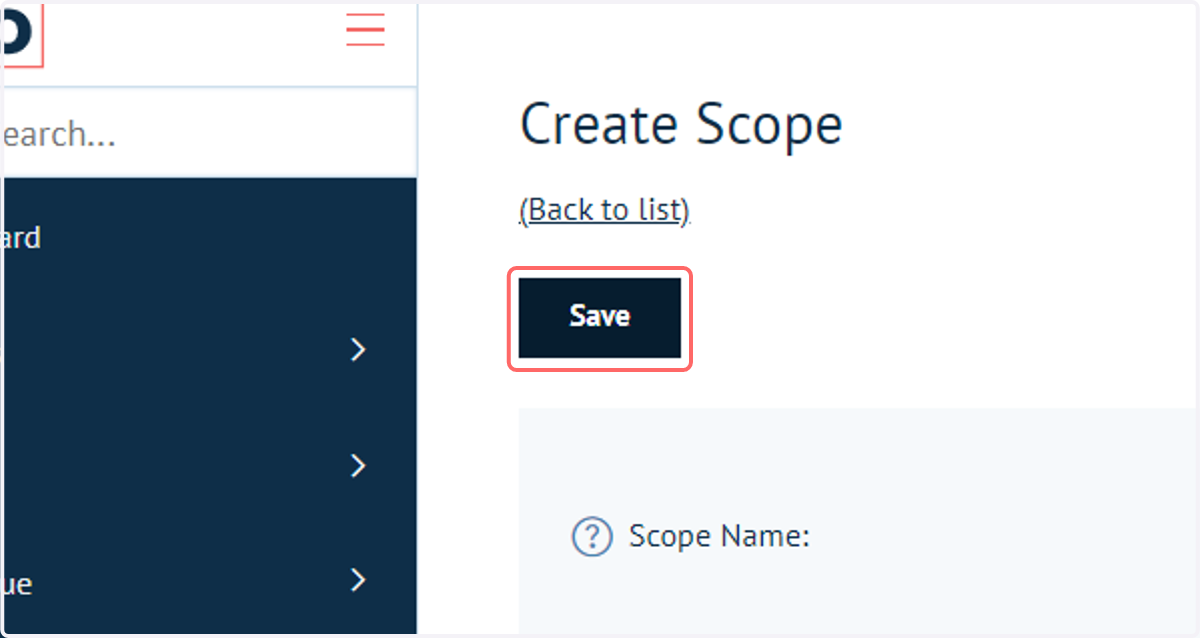
13. Click on Save
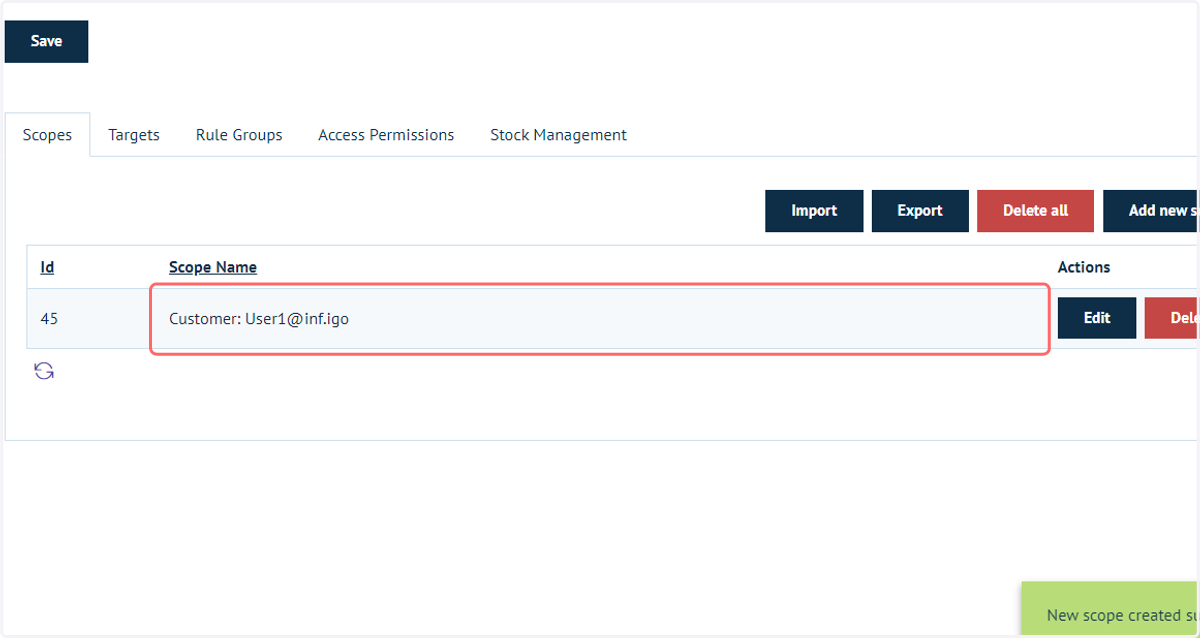
14. The scope is now visible in the scopes list
15. Click on Targets
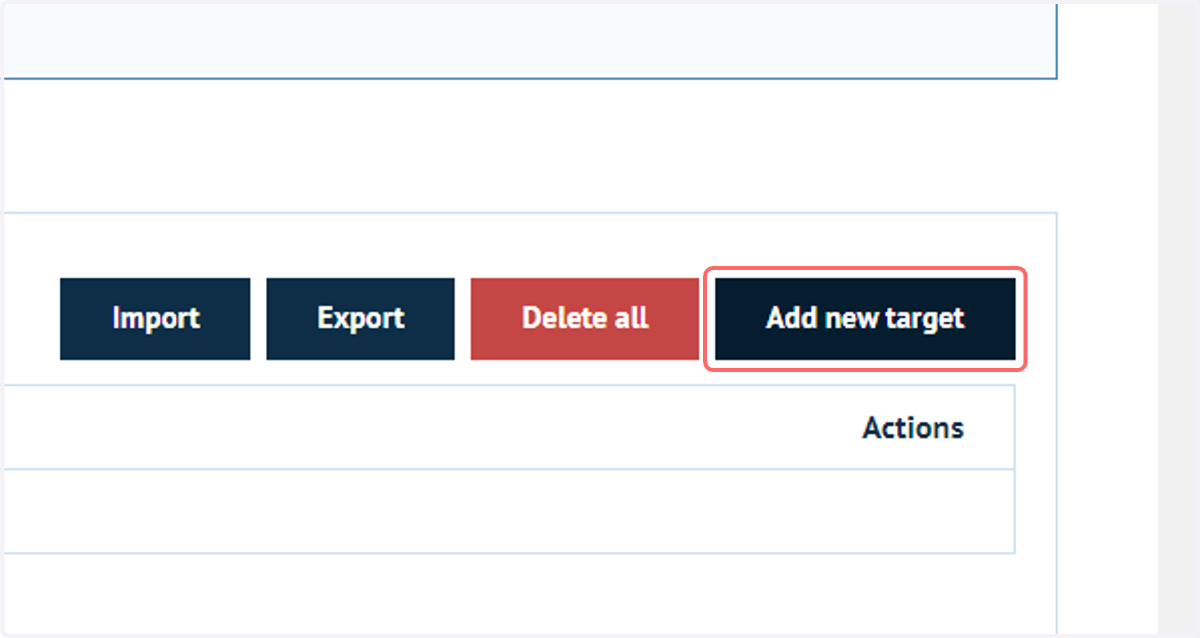
16. Click on Add new target
Targets are a means of specifying the products you wish to be included as part of your Access Permissions rules.
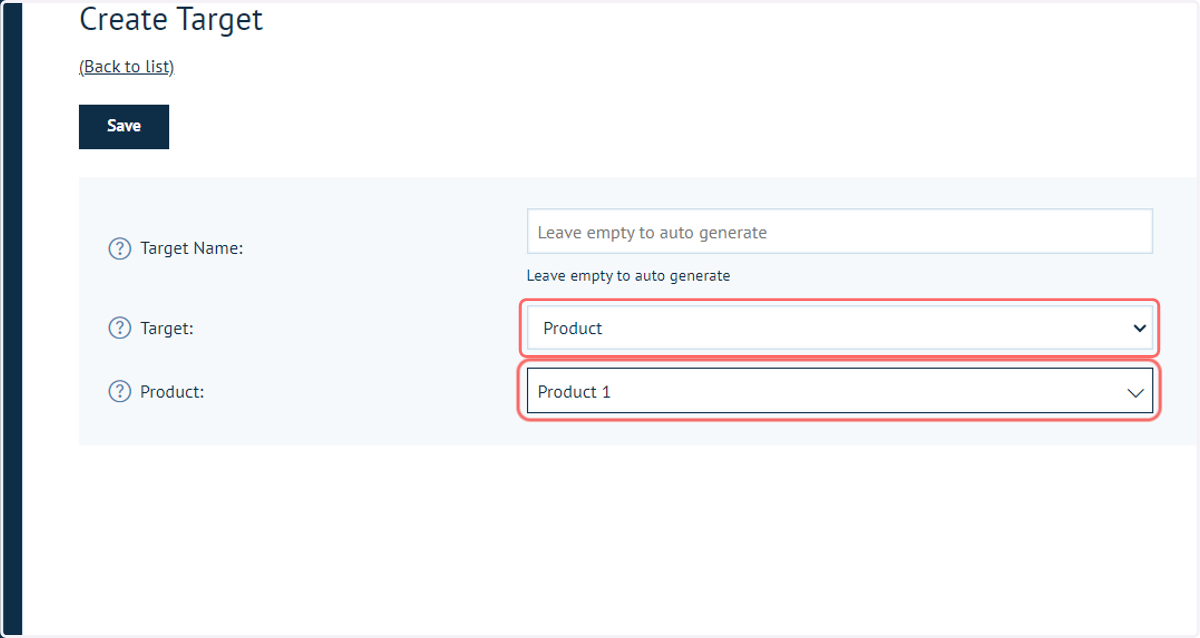
As with scopes, there are numerous methods of defining the entities covered by a target, such as individual products or entire categories.
Included in the target specification is an "All" setting, which allows rules to be applied to all products at once.
17. In our example, we will select an individual product
18. Click on Save
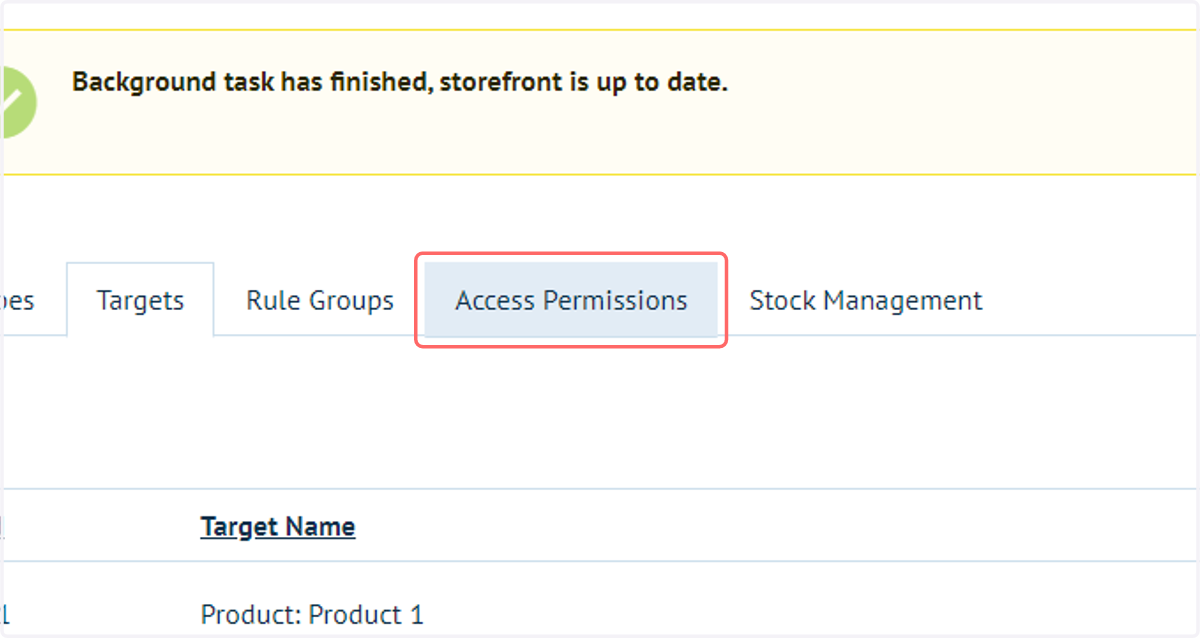
19. Click on Access Permissions
20. Click on Rules
We are now ready to generate Access Permission rules. To do this, we will combine the scopes and targets we have previously created
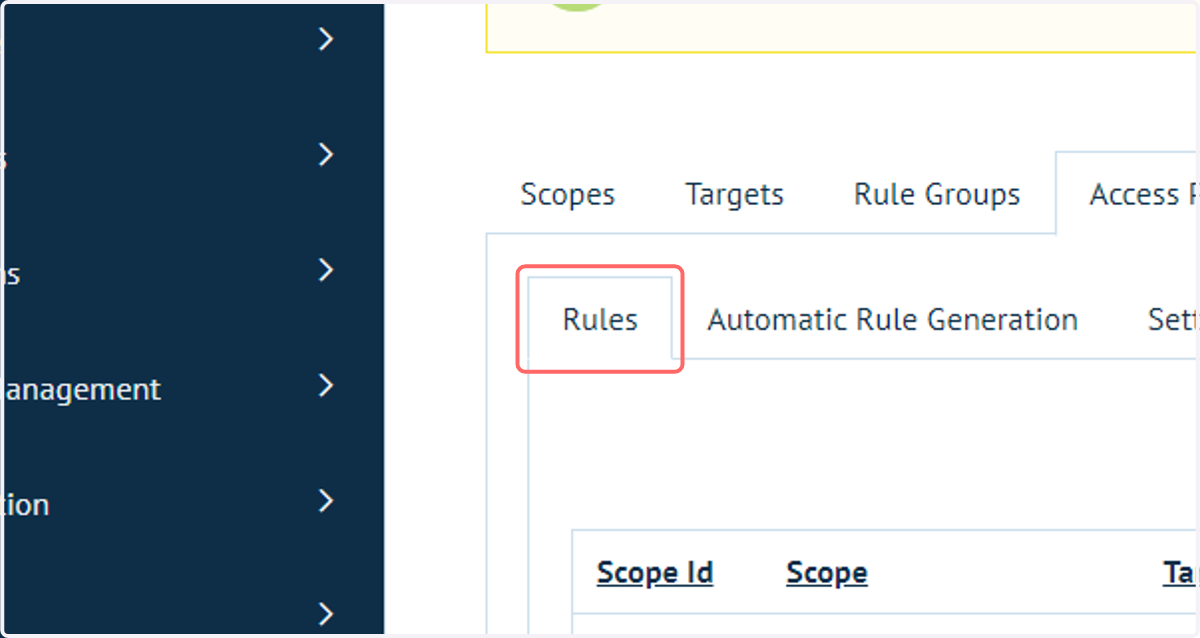
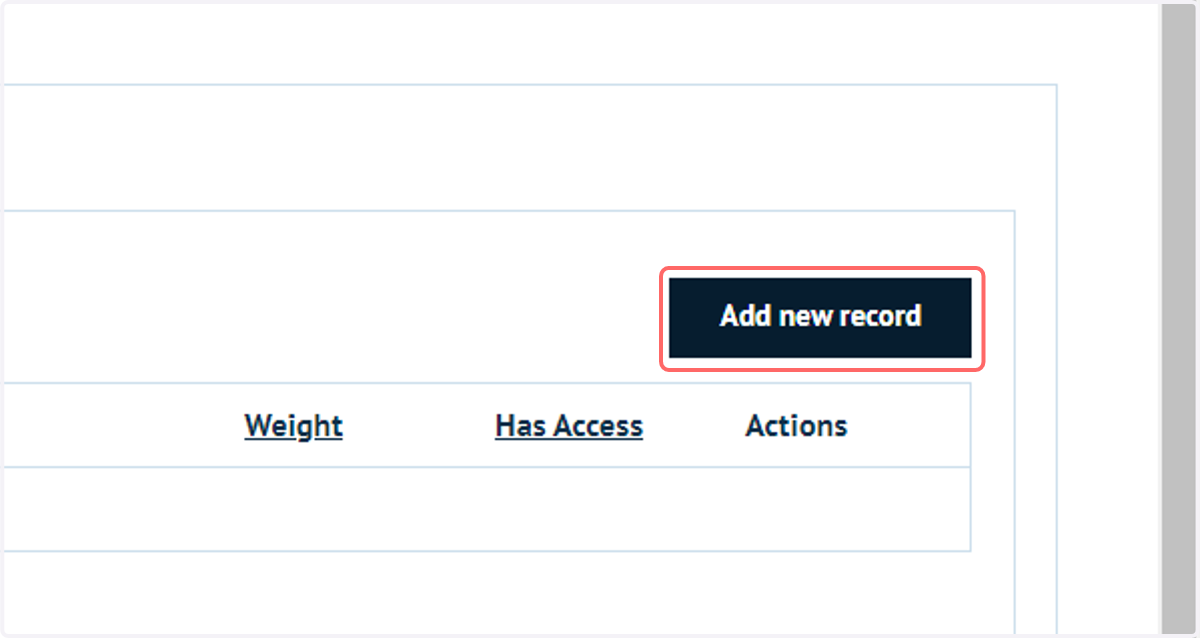
21. Click on Add new record
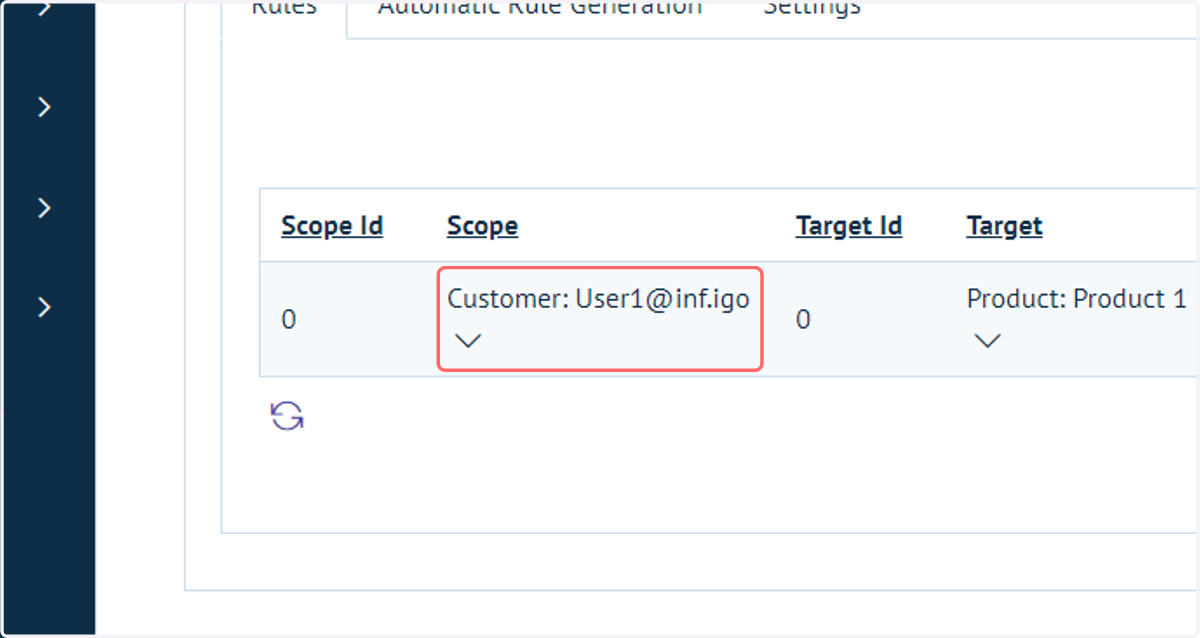
22. Select a Scope to utilise
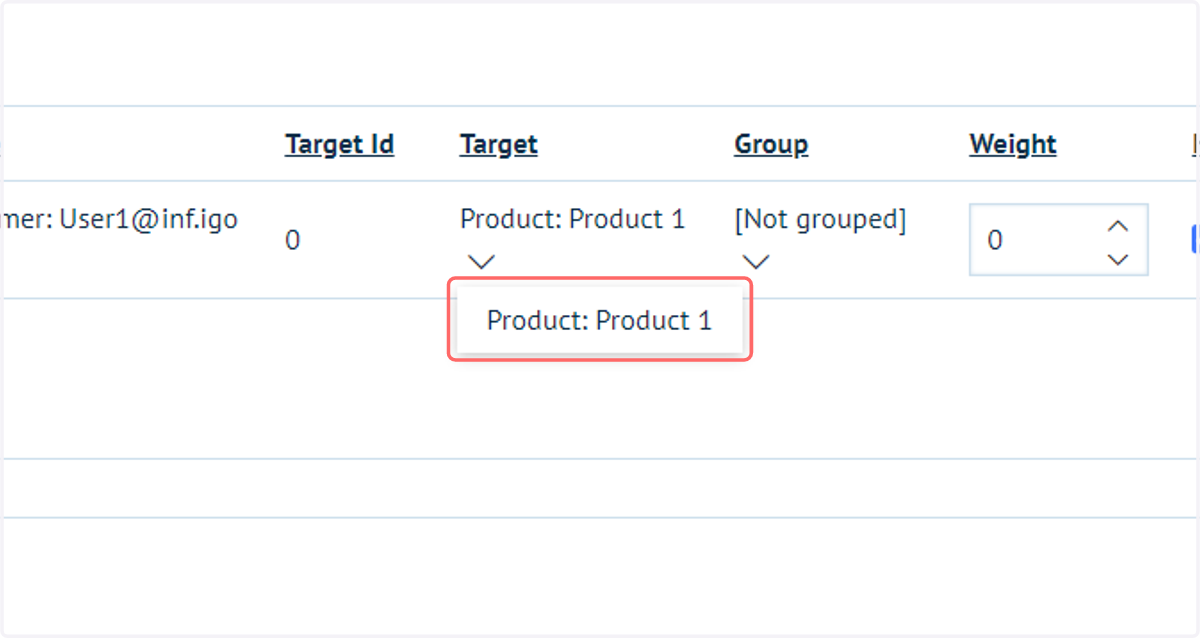
23. Select a Target to utilise
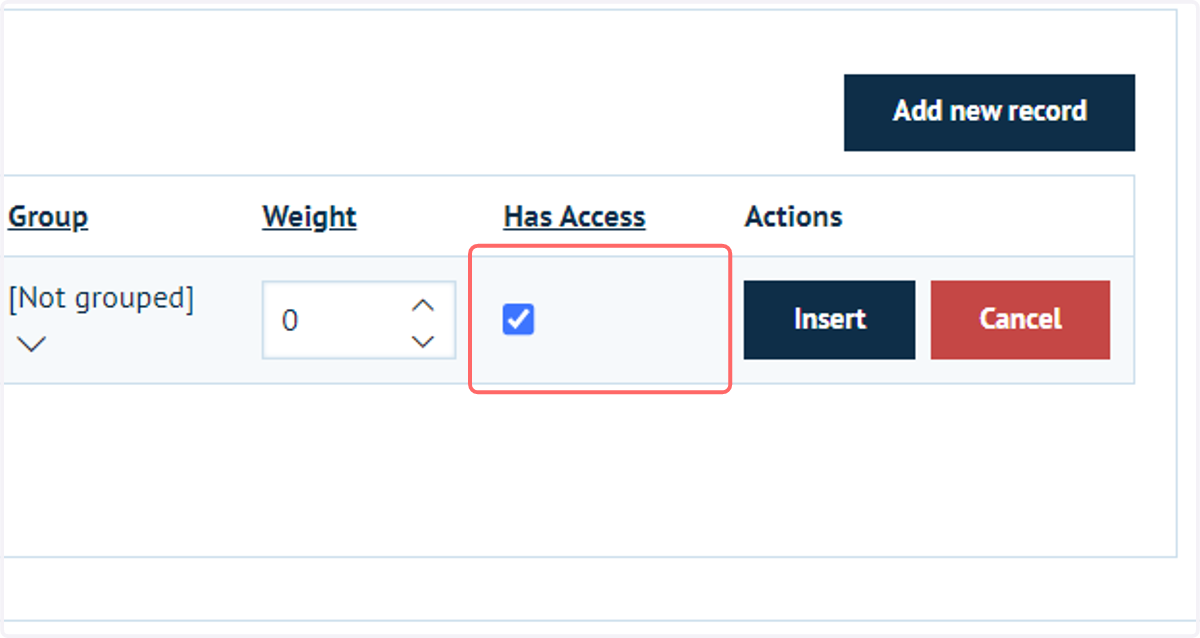
24. Use the Has Access checkbox to specify whether access is granted or denied if the scope and target conditions are met
A checked box will grant access to the target for the scope.
An unchecked box will deny access to the target for the scope.
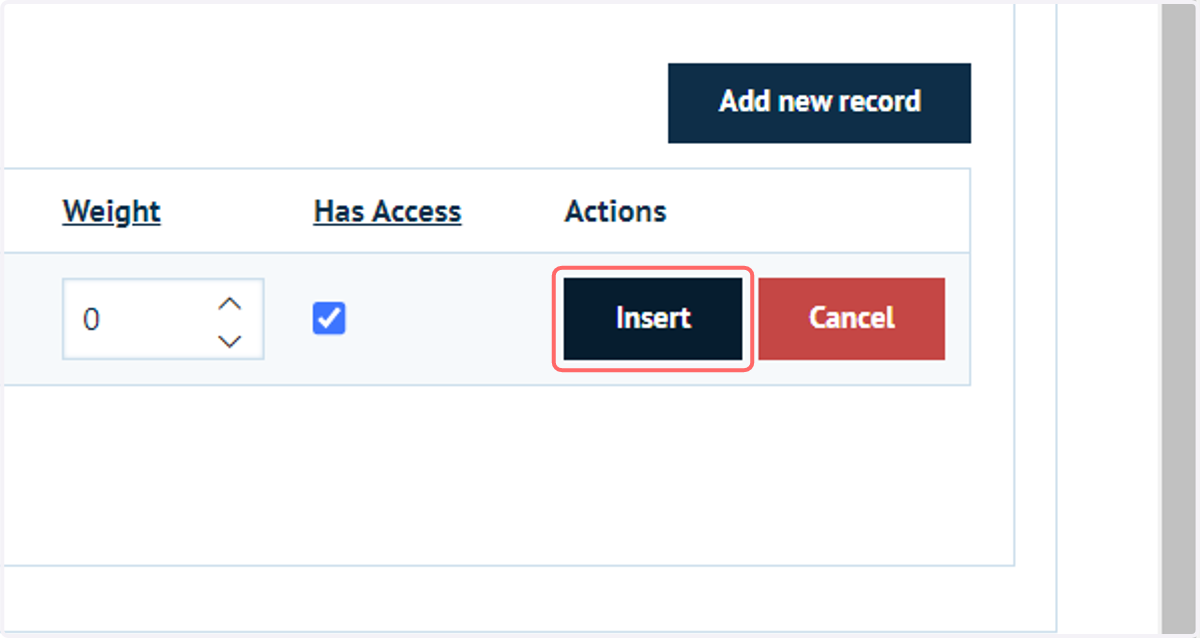
25. Click on Insert
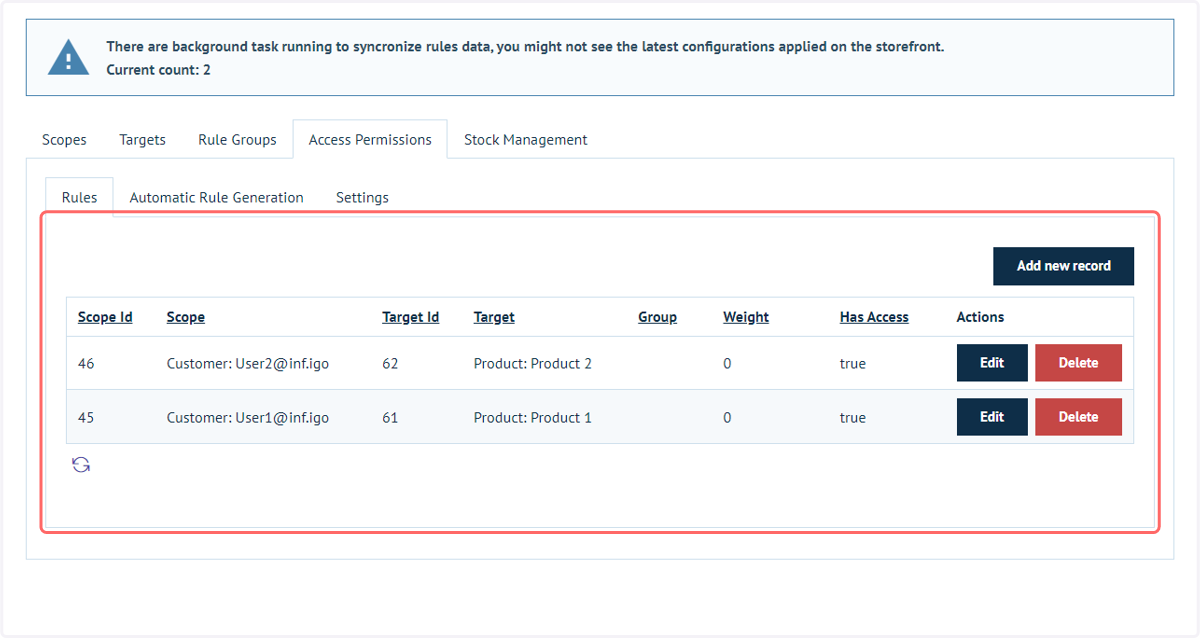
26. Multiple scopes, targets and rules can be created and applied
27. Next, we will impersonate our two customer accounts to see how this configuration appears on the fron-end
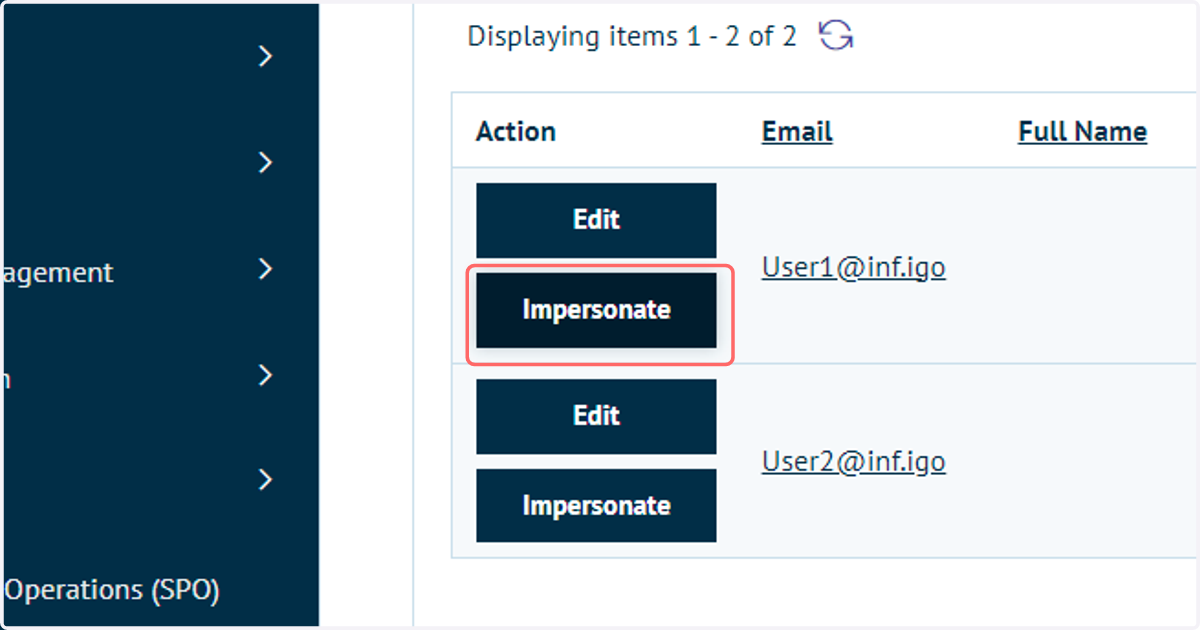
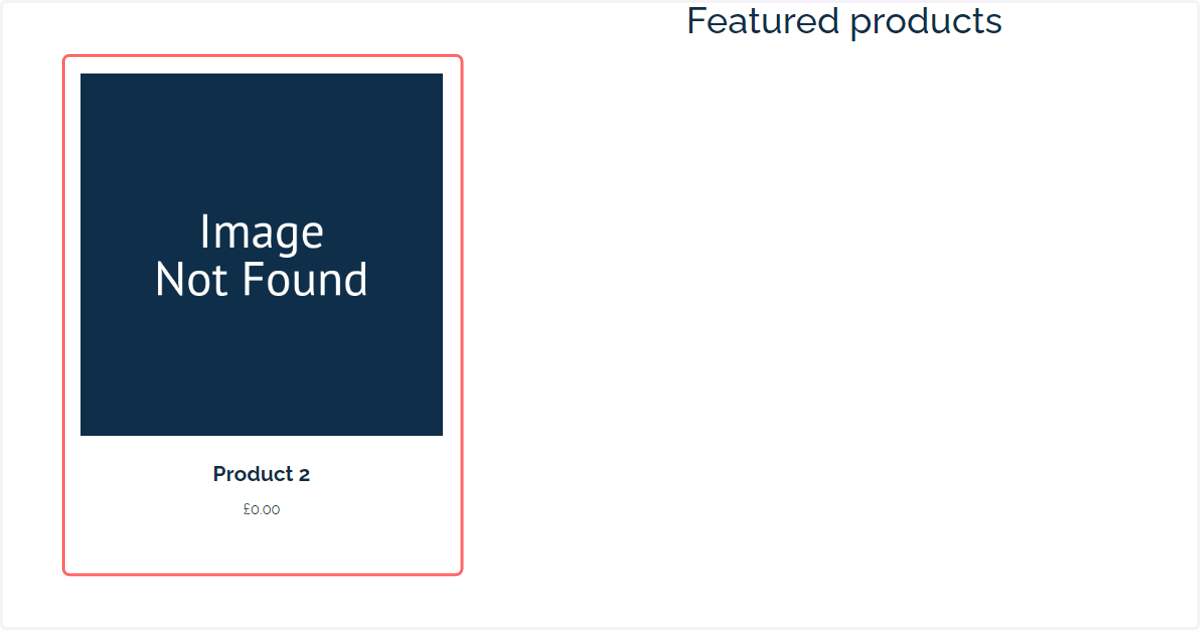
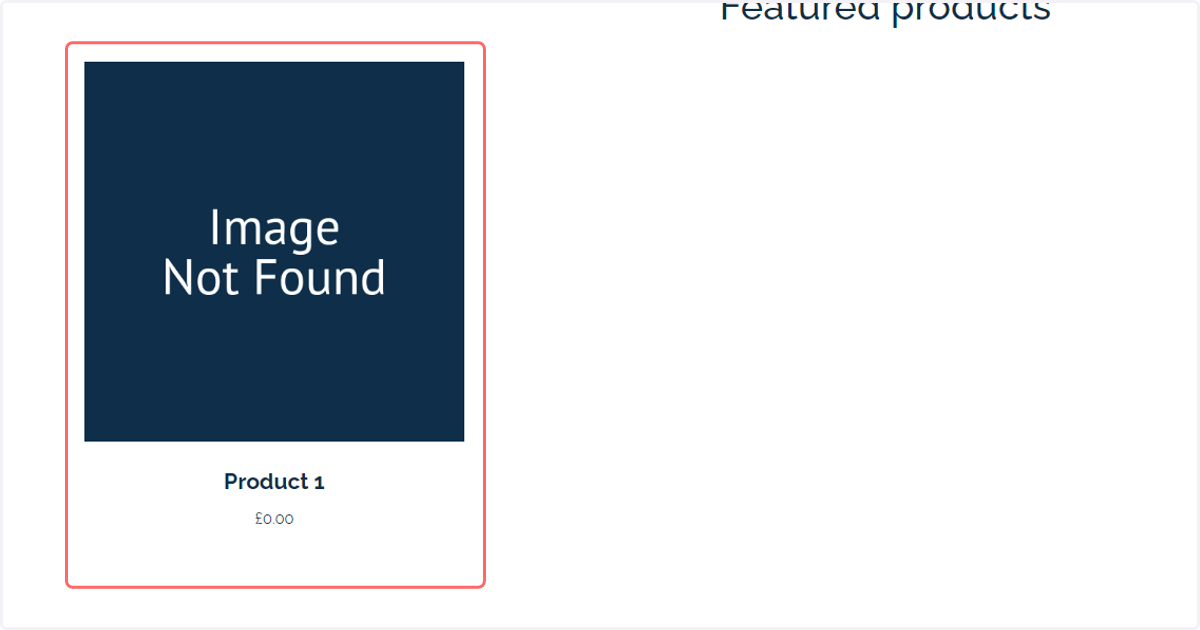
28. Only Product 1 is visible to User 1 based on our Access Permission rule
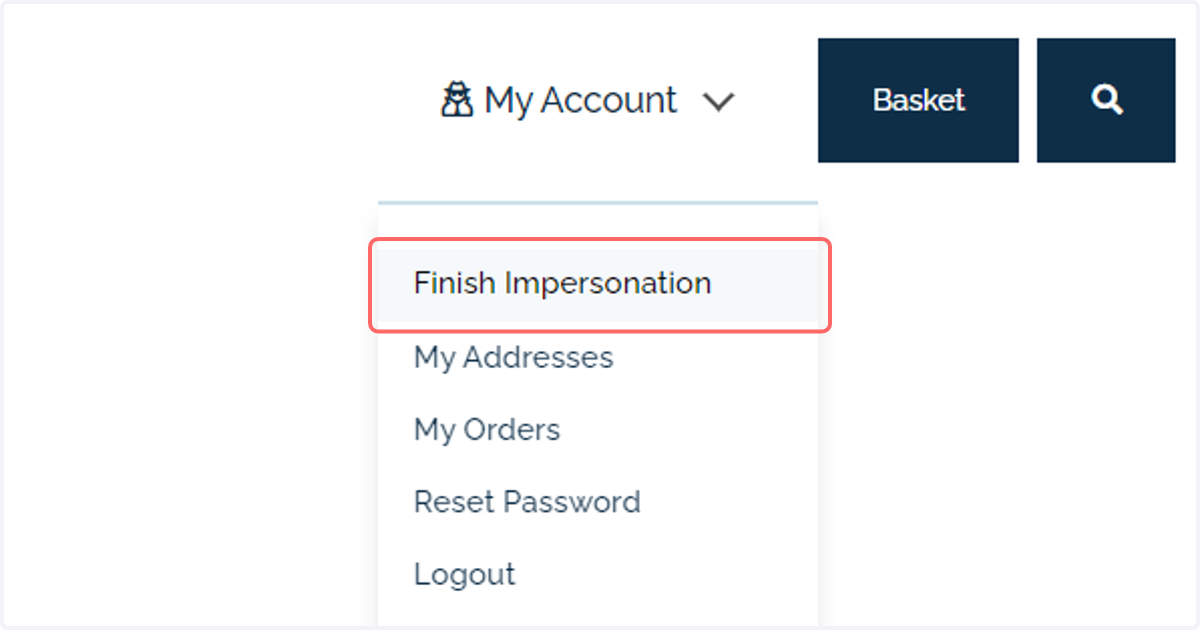
29. Click on Finish Impersonation
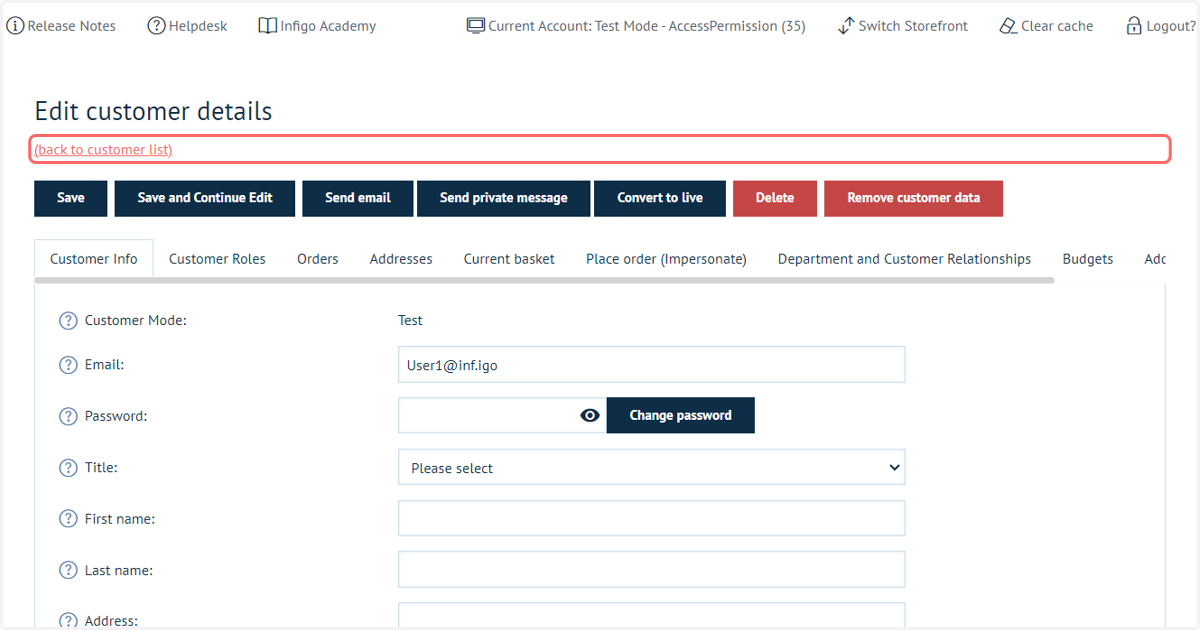
30. Click on (back to customer list)
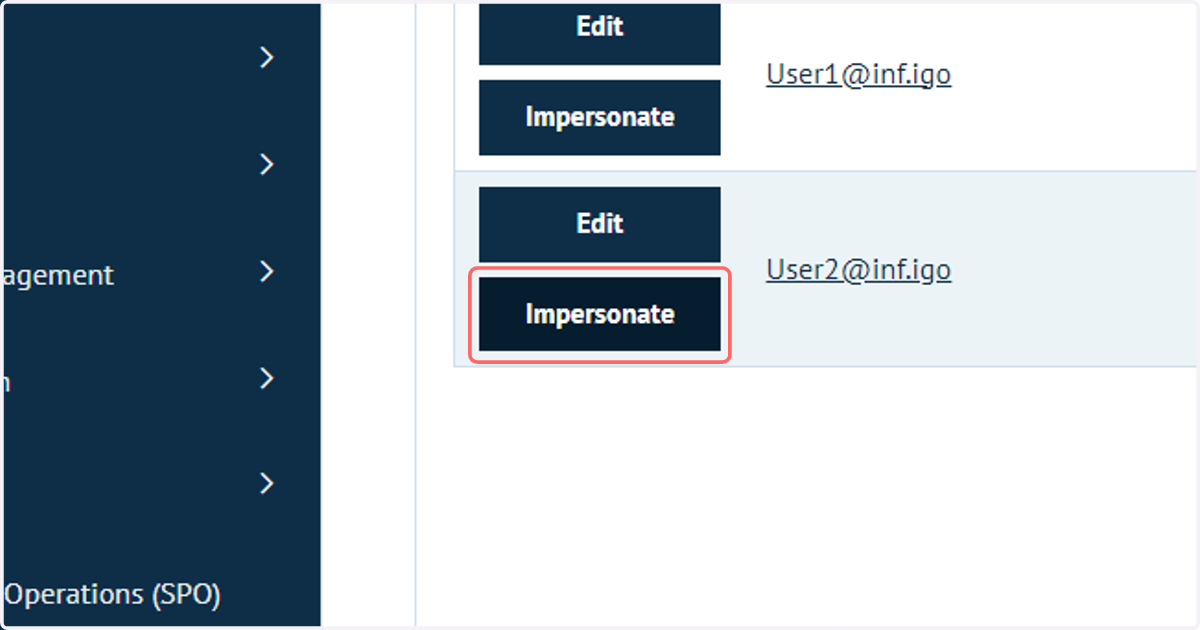
31. Click on Impersonate
32. Only Product 2 is visible to User 2 based on our Access Permission rule