Product Attributes
In this tutorial, we will learn about product attributes.
Product Attributes allow you to specify options, add-ons, and features to products.
Examples of Attributes within the web to print market include things like: Lamination, Product Colour, Bubble Wrap packing, Paper Stock, Allowing your users to Upload their artwork or media files etc.
These can be specified to add cost to the product, or to flag up a feature to the printer once the order is placed.
Infigosoftware
1. Our Goal
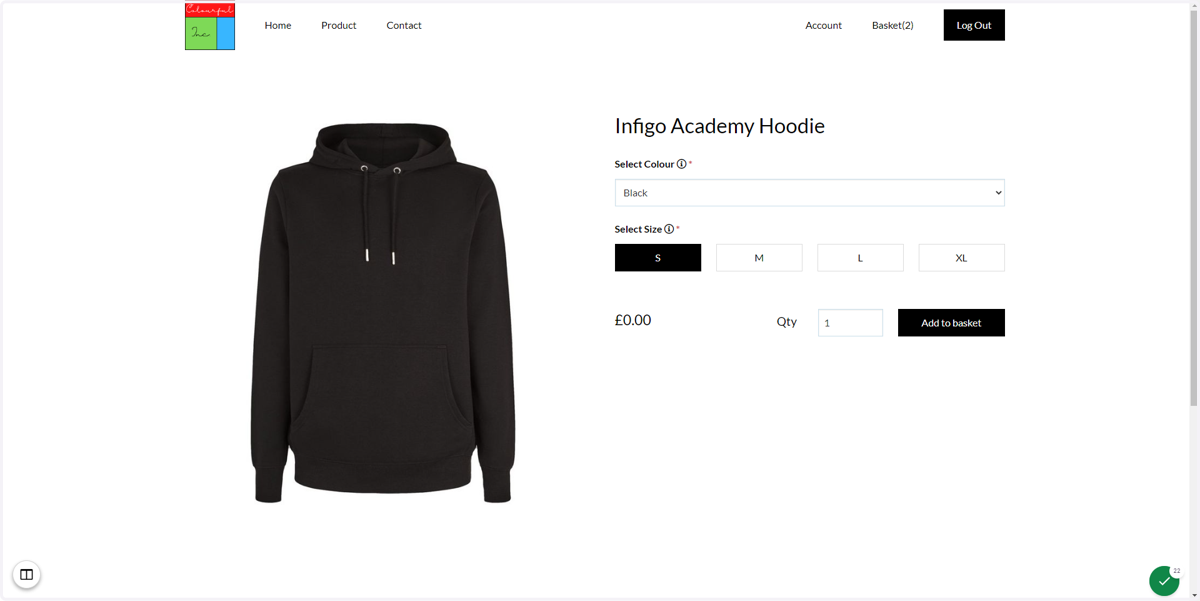
In this example, we will define a colour and size attribute to a clothing product on our storefront.
We will investigate advanced attribute options such as attribute logic (allowing or restricting the values of attribute B based on the selected value of attribute A) and attribute combinations (allowing changes in product details based on attribute selection).
2. Create a basic stock product
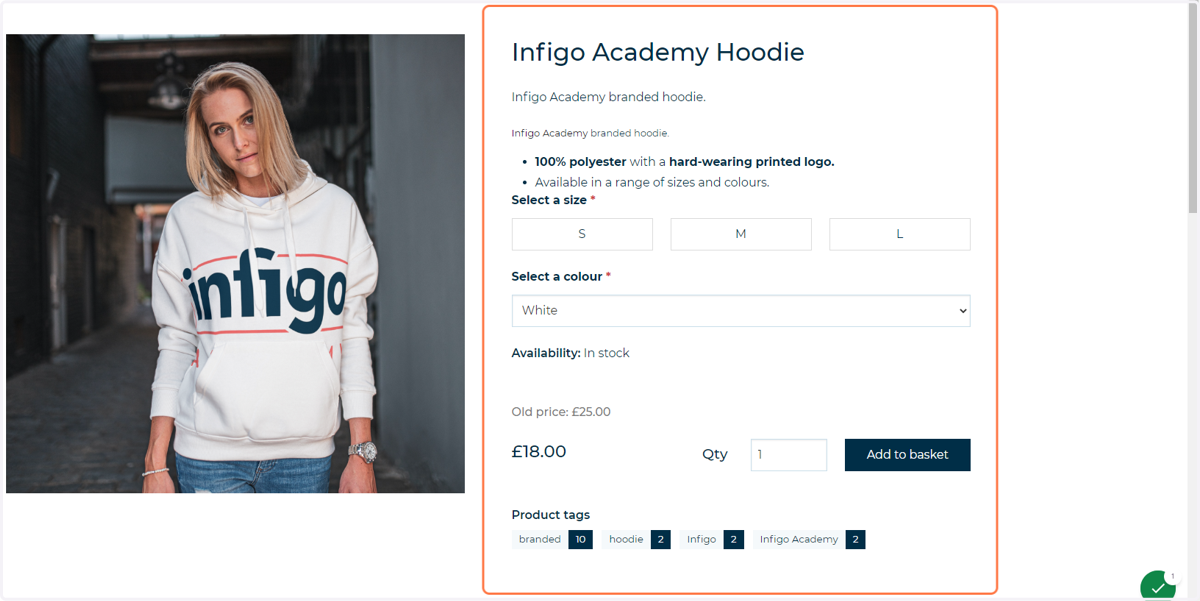
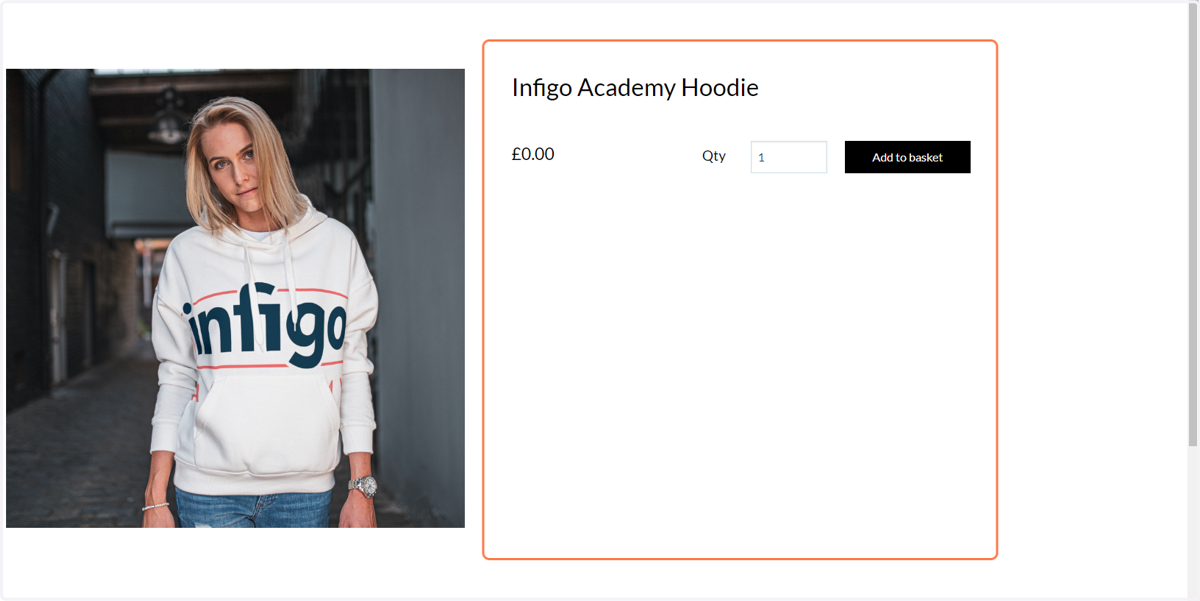
To begin, we have created a basic stock product.
All that has been defined in this product is a product name and an image.
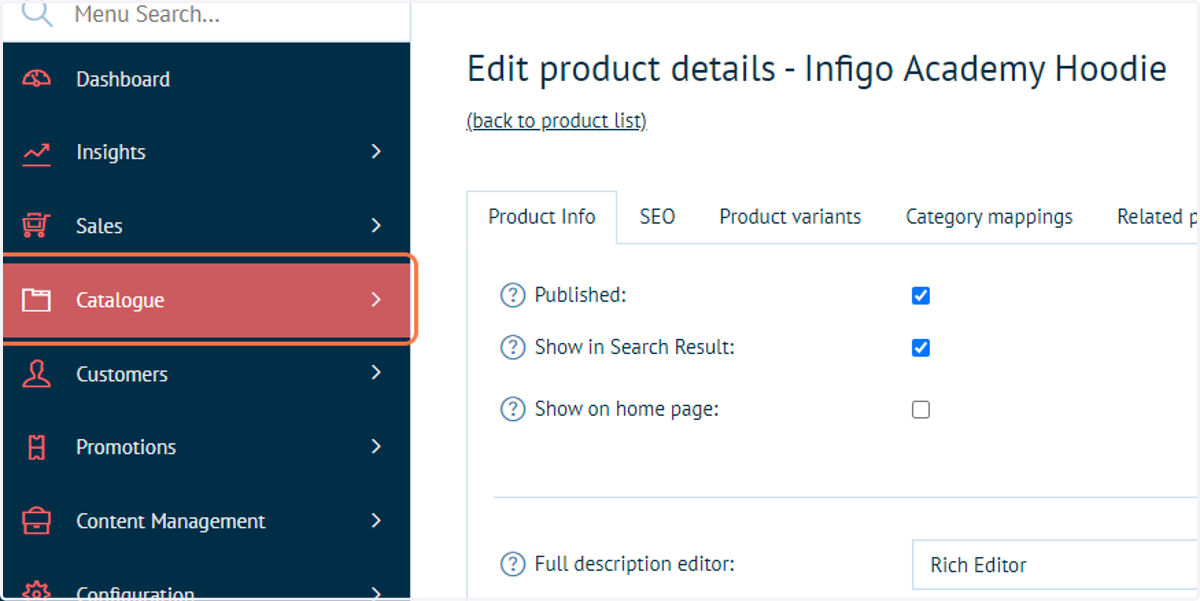
3. Click on Catalogue
Within Infigo's admin area, we will begin by creating an attribute group.
An attribute group is a selection option which sits on a storefront level and can be applied to multiple products or product groups.
An example of an attribute group would be clothing size, where the specification could be applied to numerous items of clothing.
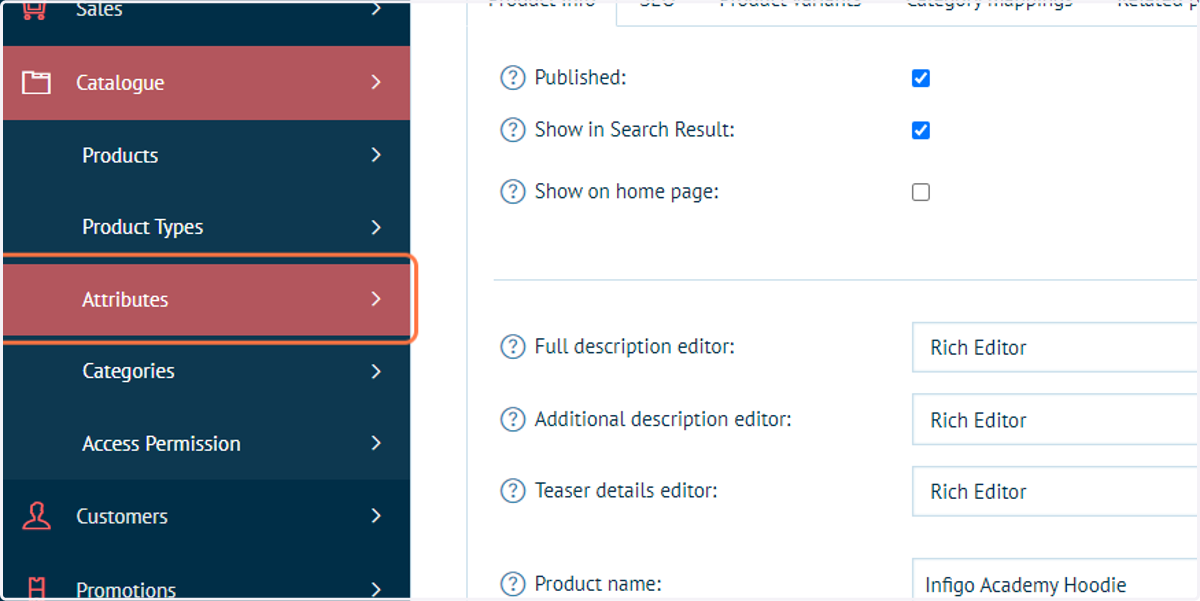
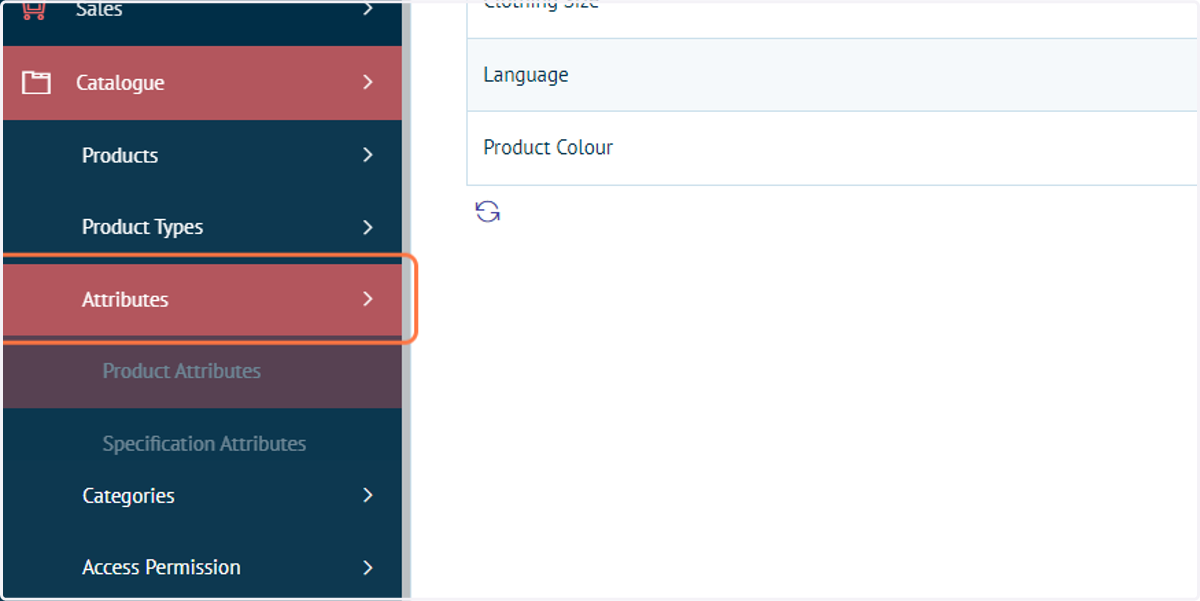
4. Click on Attributes
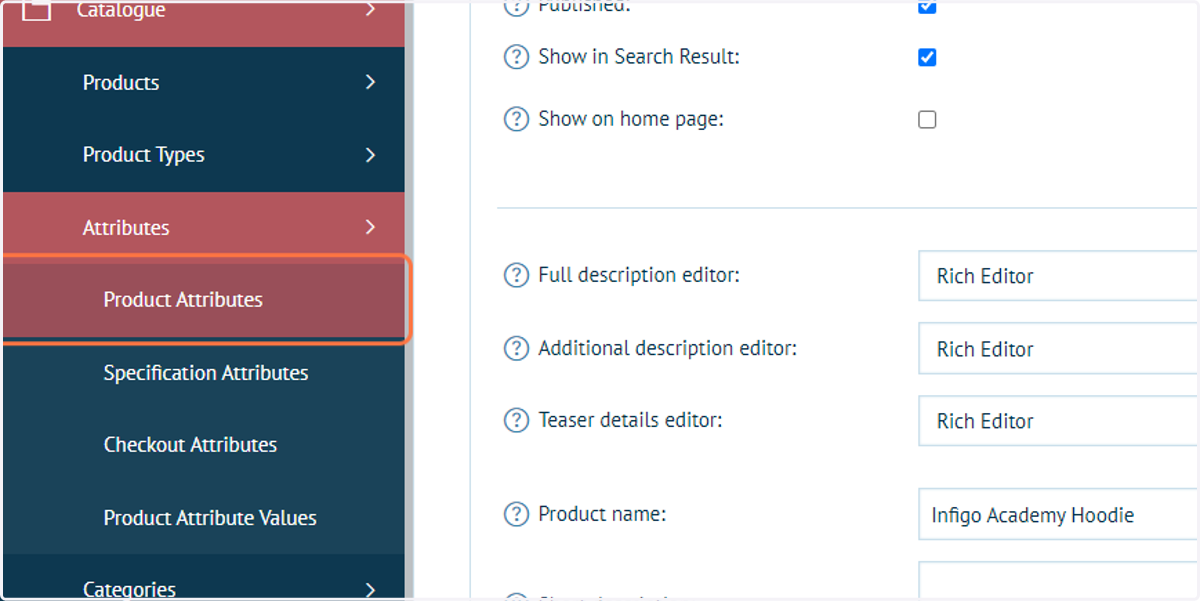
5. Click on Product Attributes
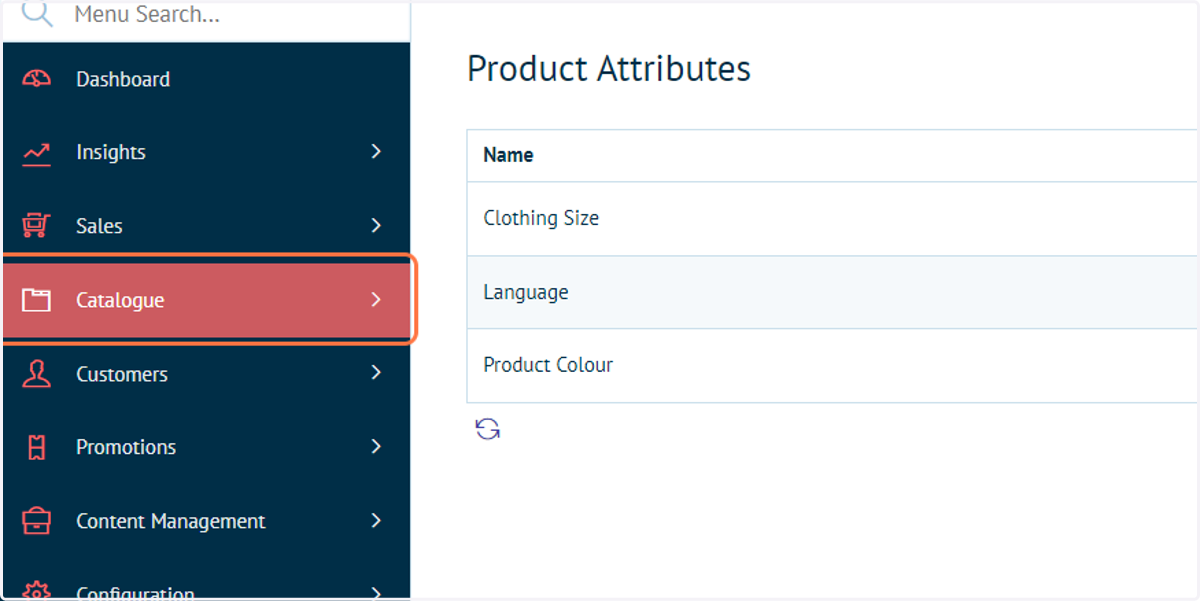
All created attribute groups are listed on the Product Attributes screen.
Entries added to this list are not automatically associated with any products and are created independently of the product catalogue.
6. Click on Add new
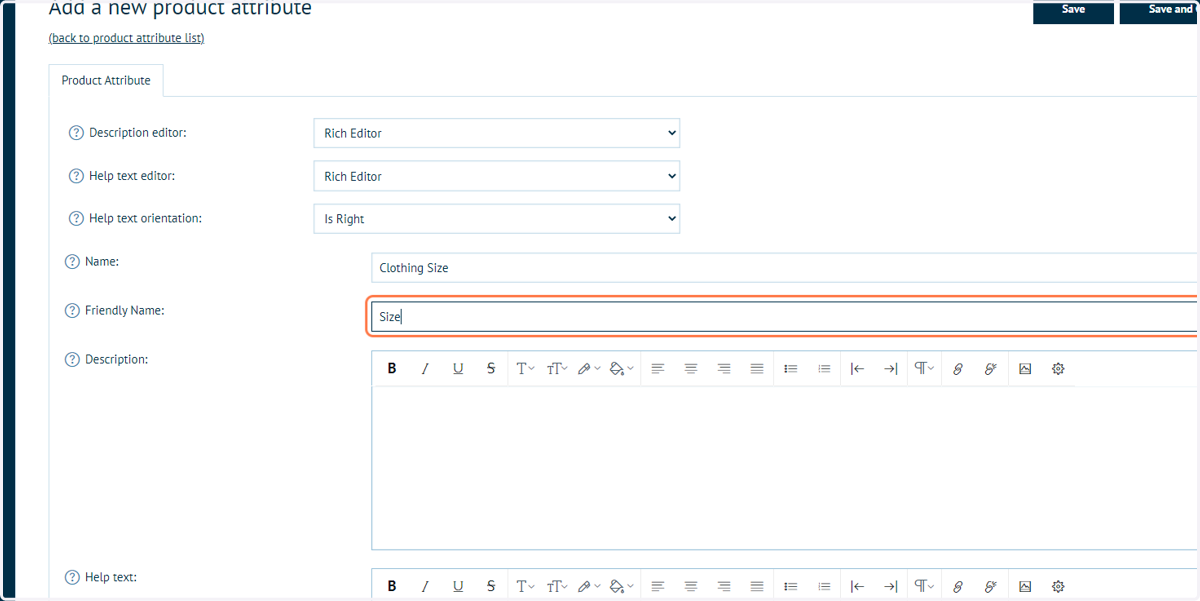
We will create a new attribute detailing clothing size.
7. Type "Clothing Size" in the attribute name
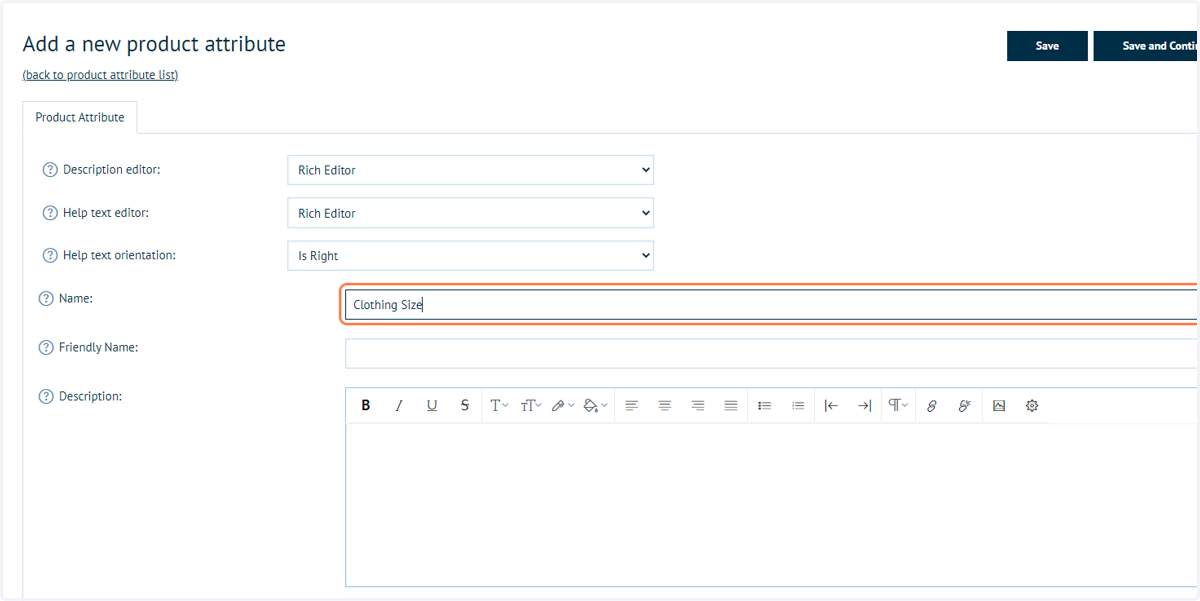
8. Type "Size" in Friendly Name
The friendly name is the text which appears on the storefront front end.
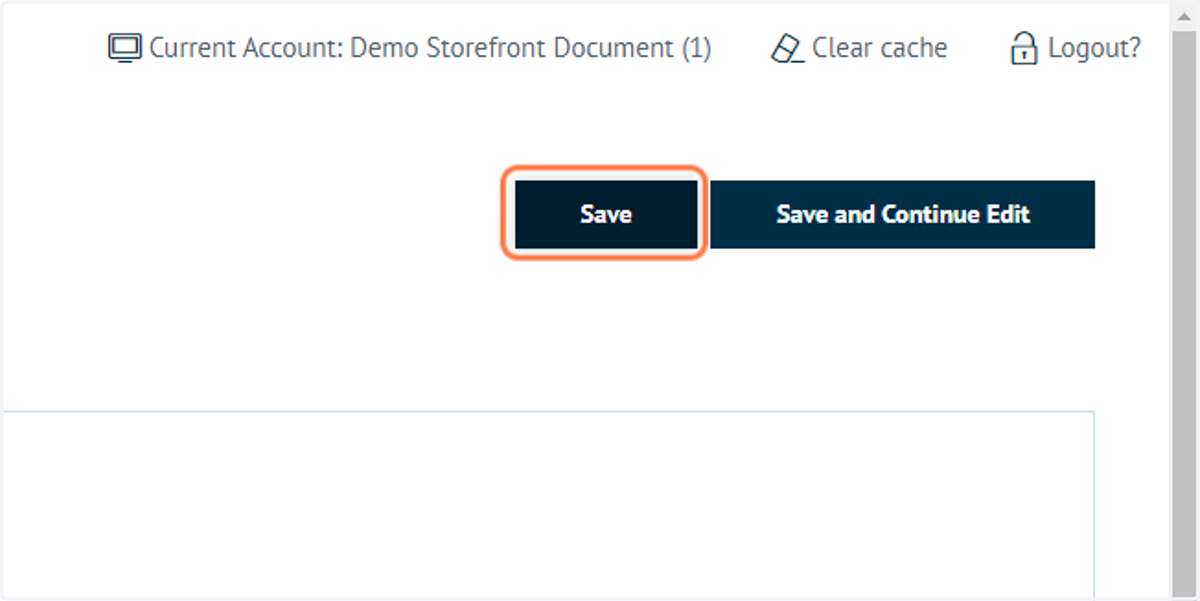
9. Click on Save
10. Click on Catalogue
We have a choice whether to pre-define some values for this attribute (such as small, medium and large).
Pre-defining attribute values can save time, as they will be available each time that attribute is used on a product.
It's also possible to define any attribute values on a product-by-product basis.
11. Click on Attributes
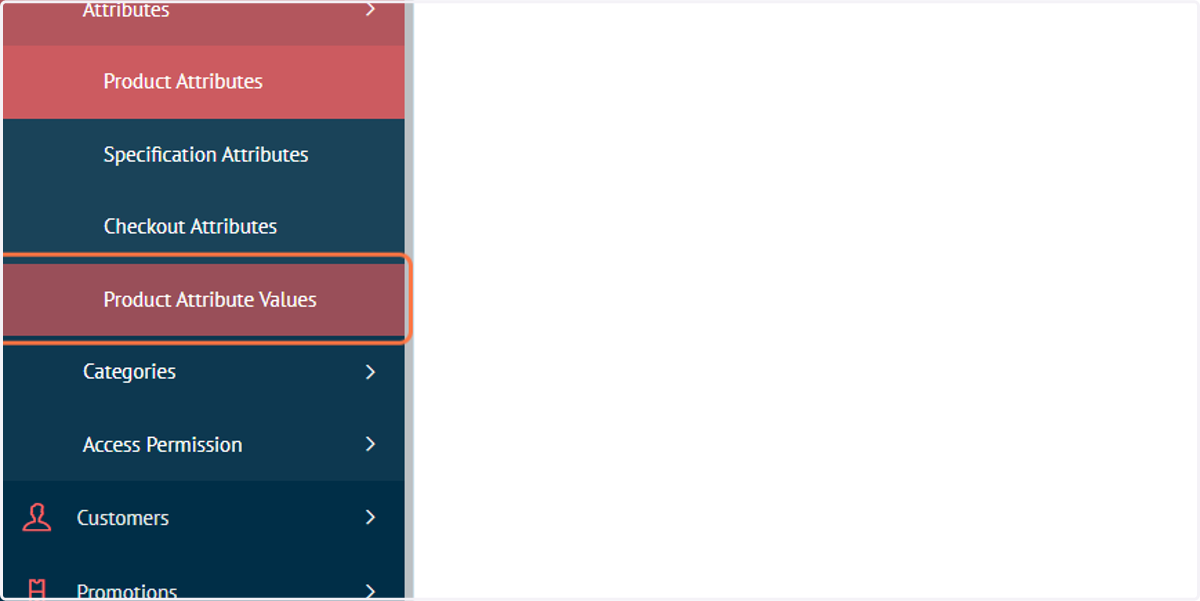
12. Click on Product Attribute Values
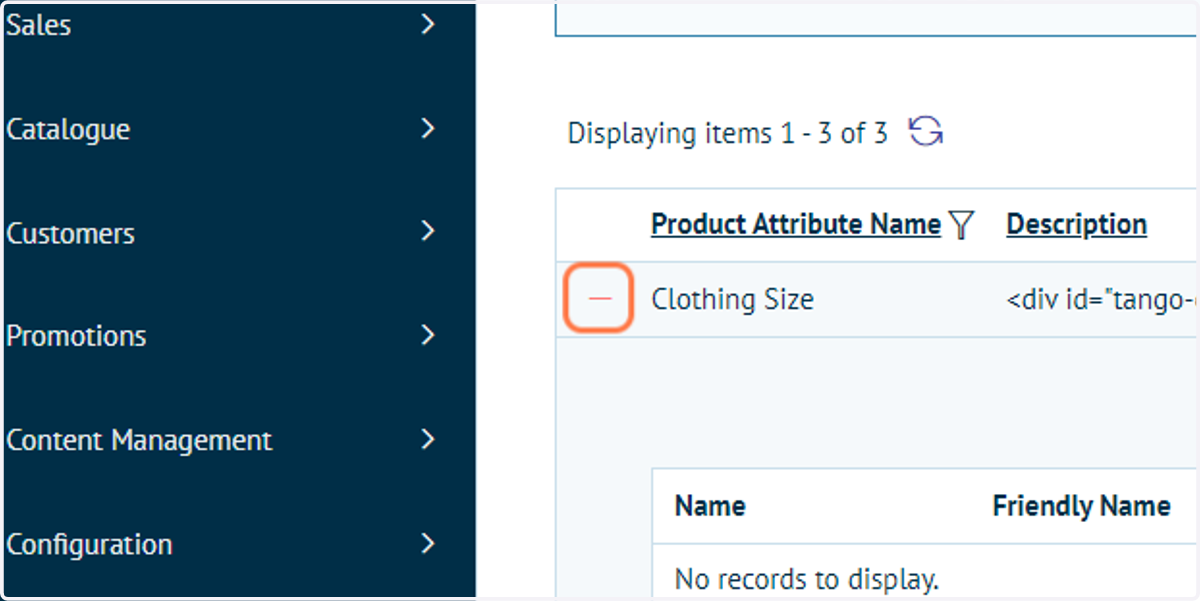
13. Click on the '+' symbol
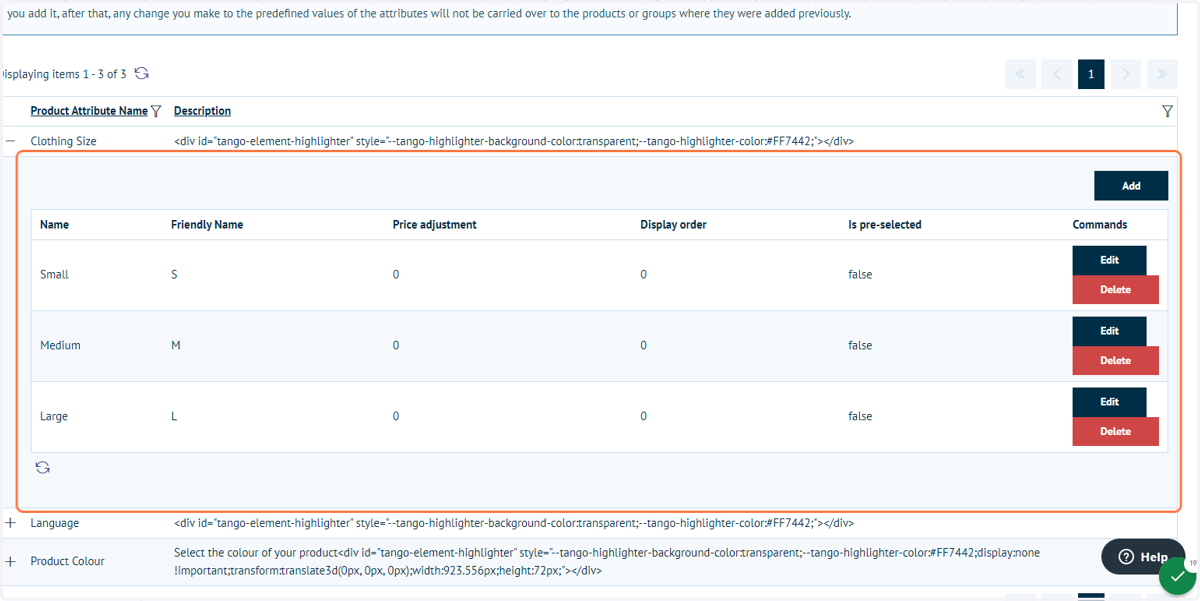
This will reveal a table showing any pre-defined values for this attribute.
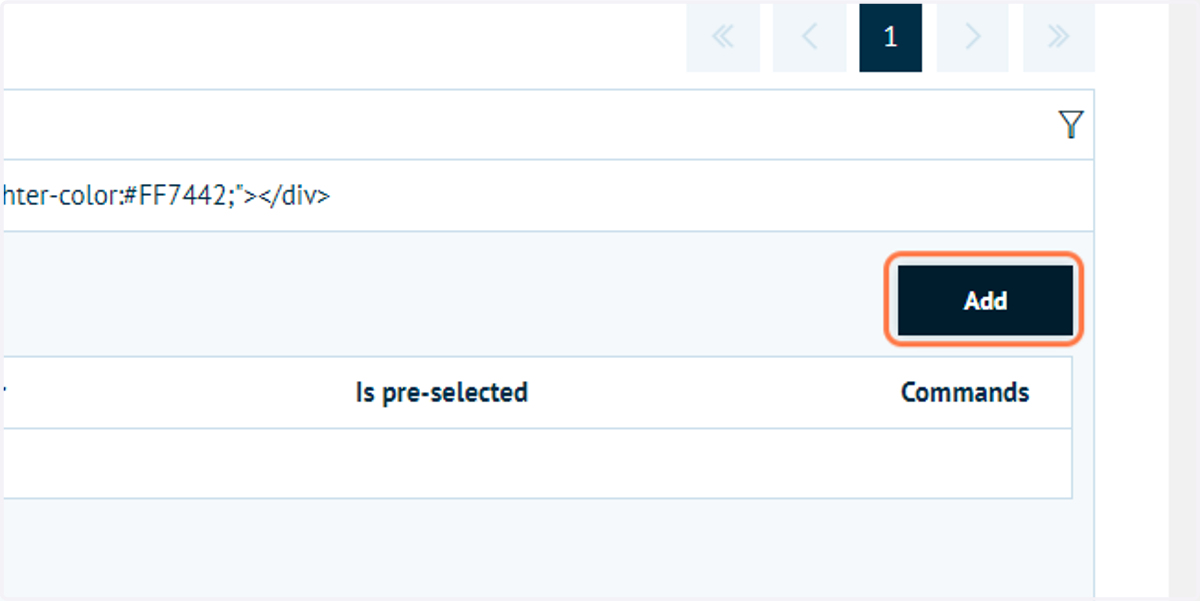
14. Click on Add
Click Add to define a new attribute value.
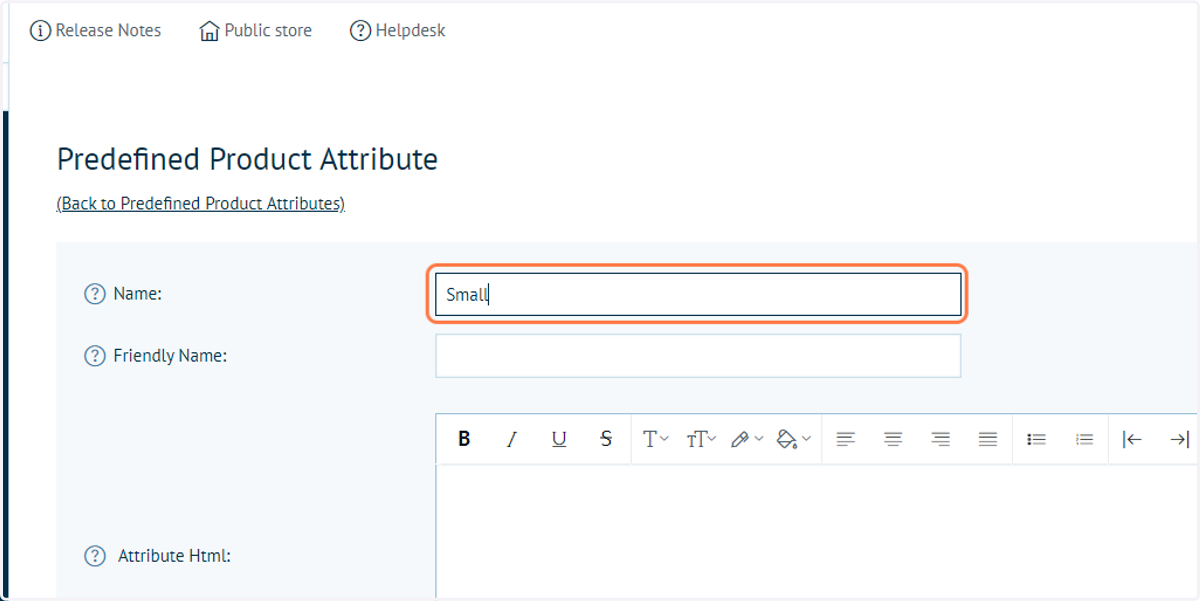
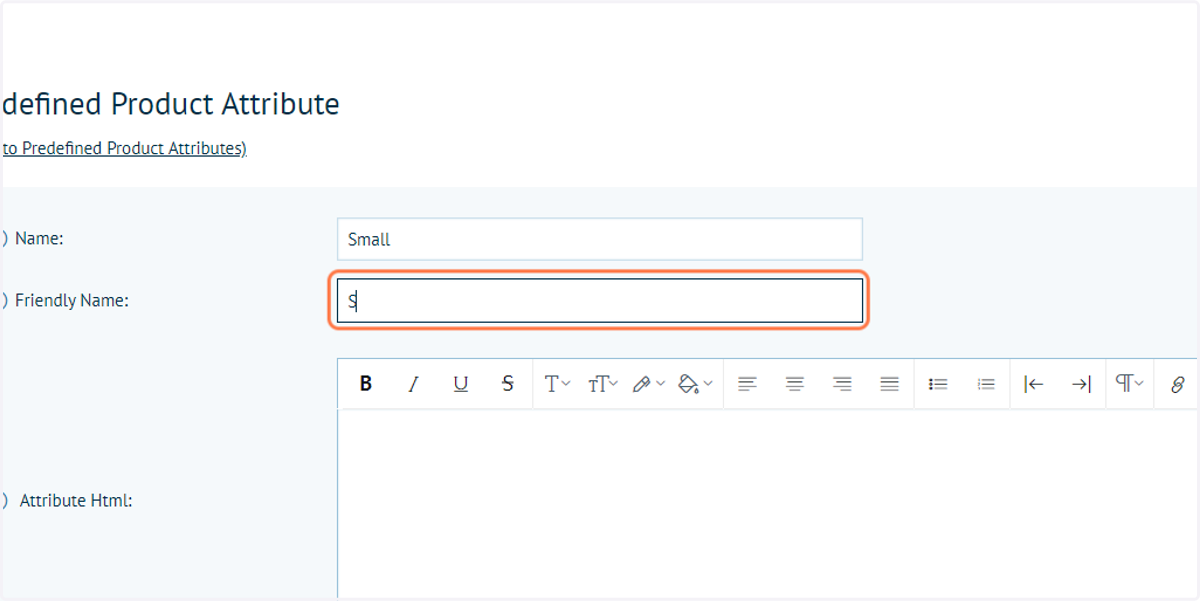
15. Type "Small" in the Predefined attribute value name
16. Type "S" in Friendly Name
The friendly name is the text which appears on the storefront.
For our clothing size option, we will abbreviate small, medium and large to S,M and L.
17. Investigate other options
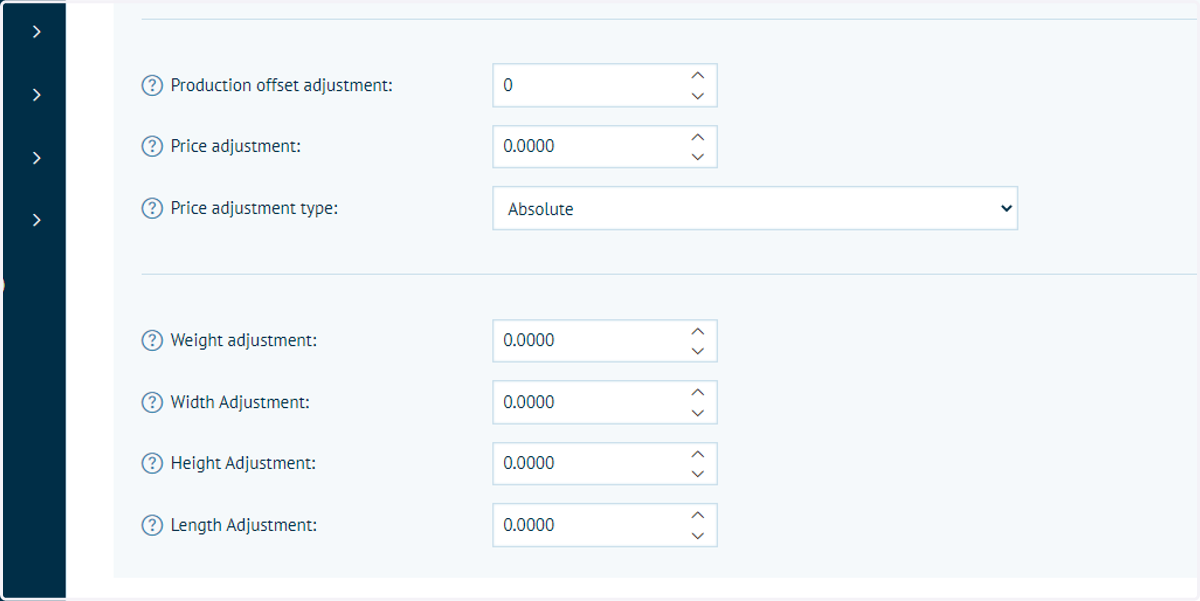
Specific attribute values may change the weight or cost of a product, which needs to be taken into account upon selection.
This screen allows an administrator to define any price adjustments (absolute or percentage), weight adjustments or dimensional adjustments.
Please note, the adjustment values are adding or subtracting from the core product value. For example, if your product is priced at £10, then adding a price adjustment value of 2 will result in a £12 product.
18. Click on Save
19. Create two other pre-defined attribute values
Create attribute values for small, medium and large.
20. Click on Catalogue
Next, we will specify that our clothing size attribute is to be used on our clothing product.
We will begin by navigating to the product variant settings of that product.
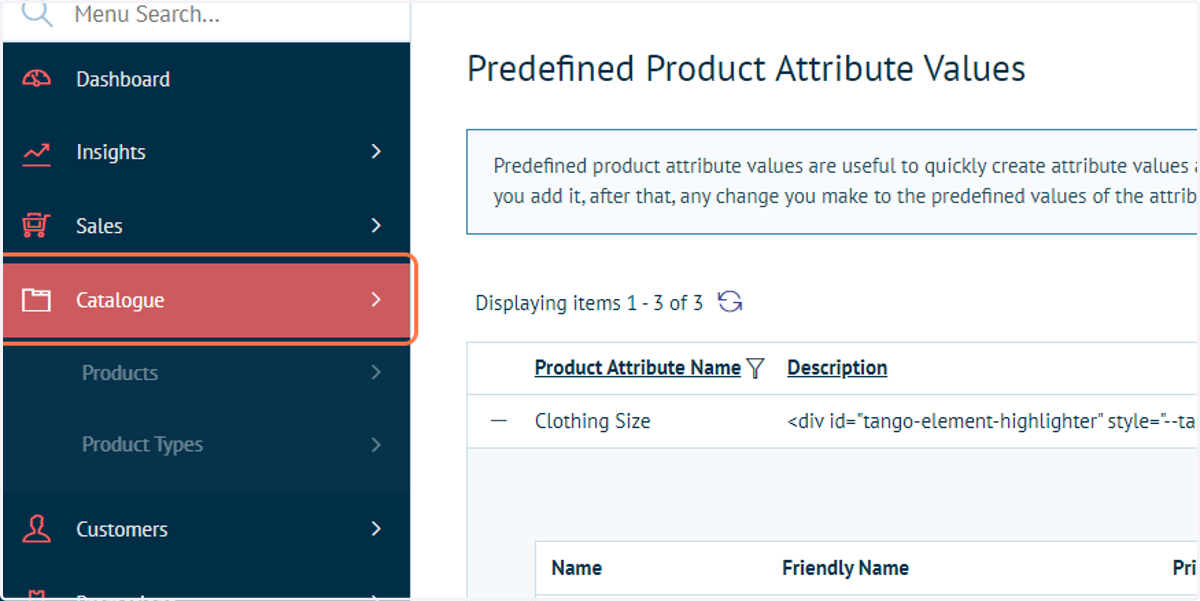
21. Click on Products
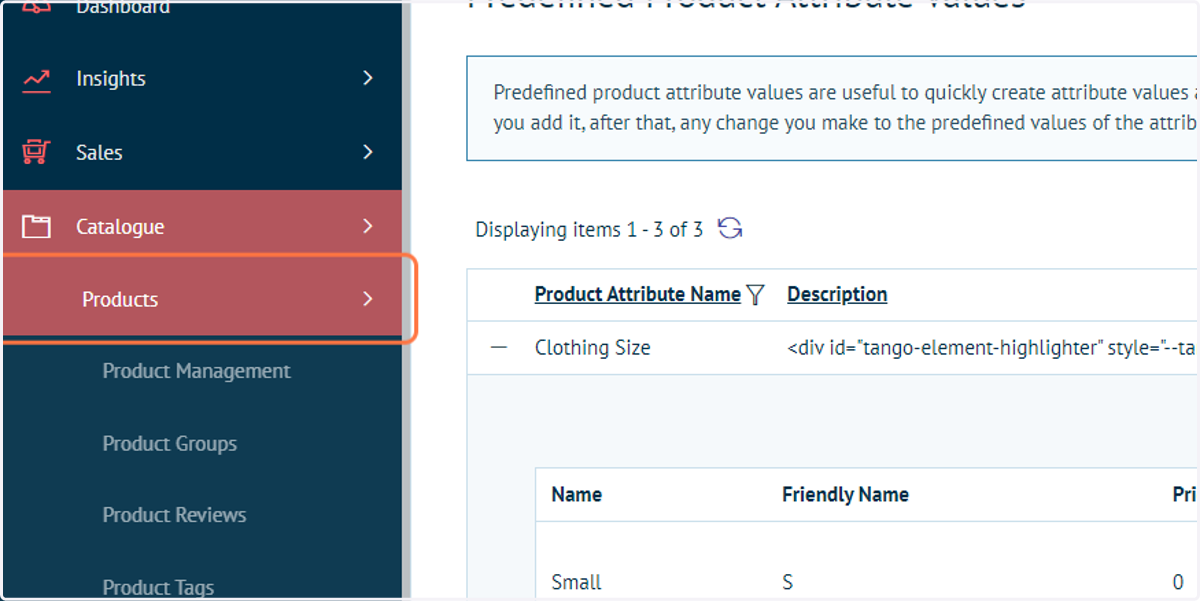
22. Click on Product Management
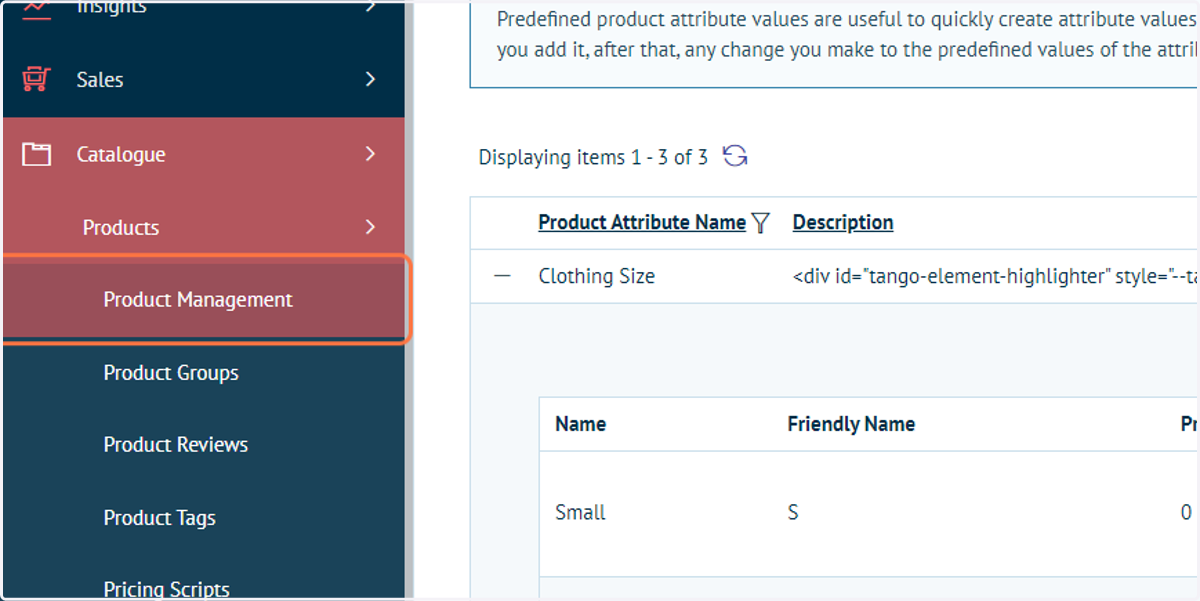
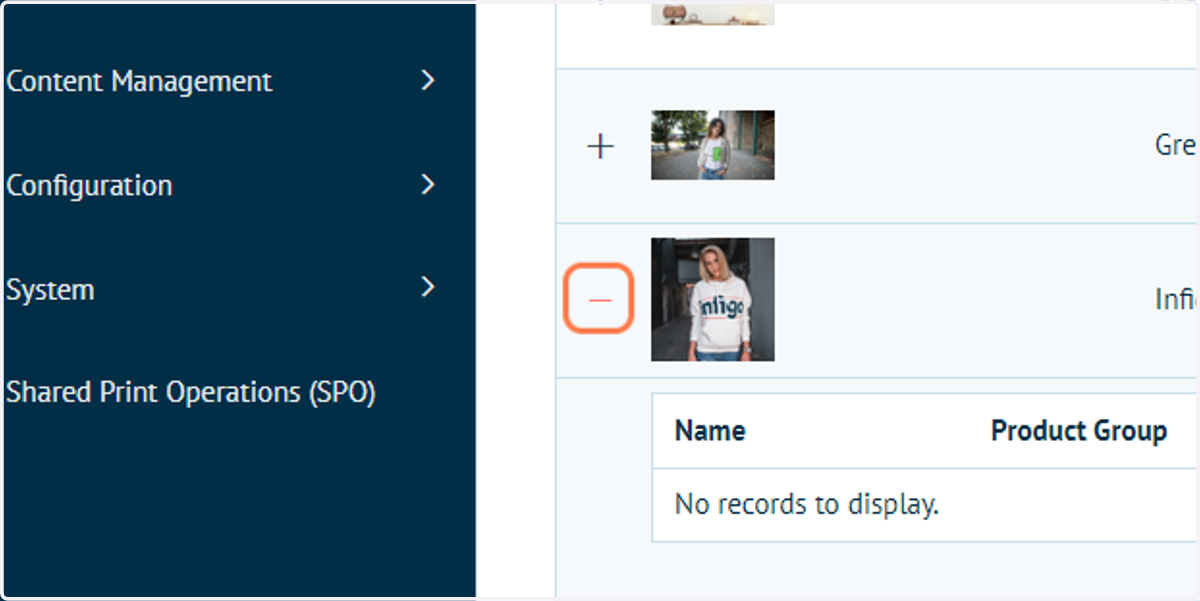
23. Click on the '+' icon next to the product requiring the attribute
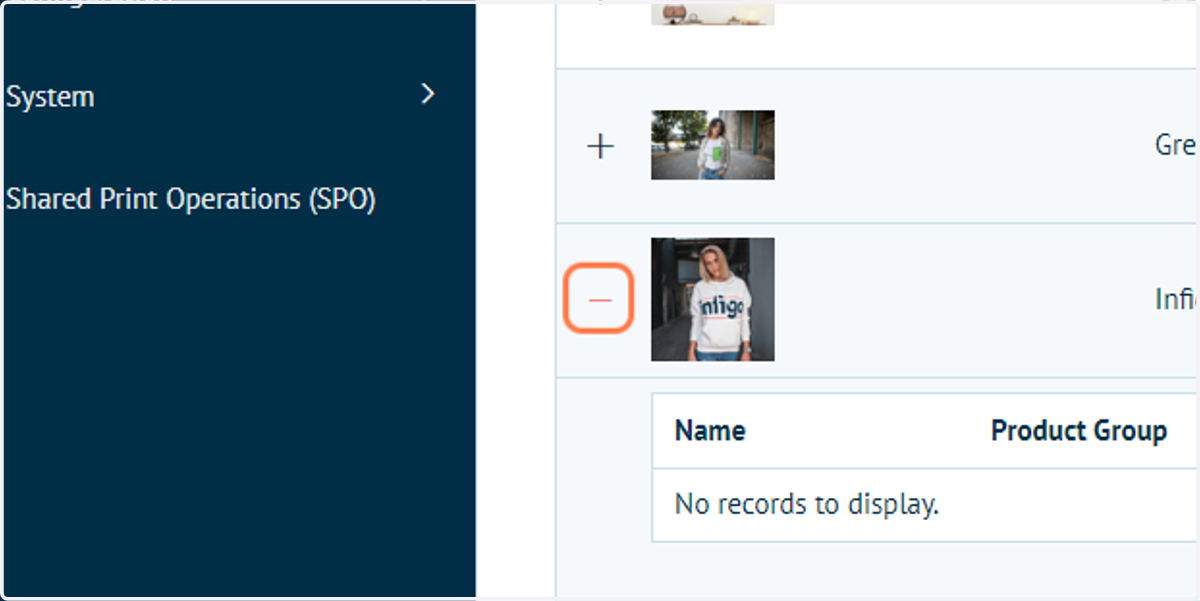
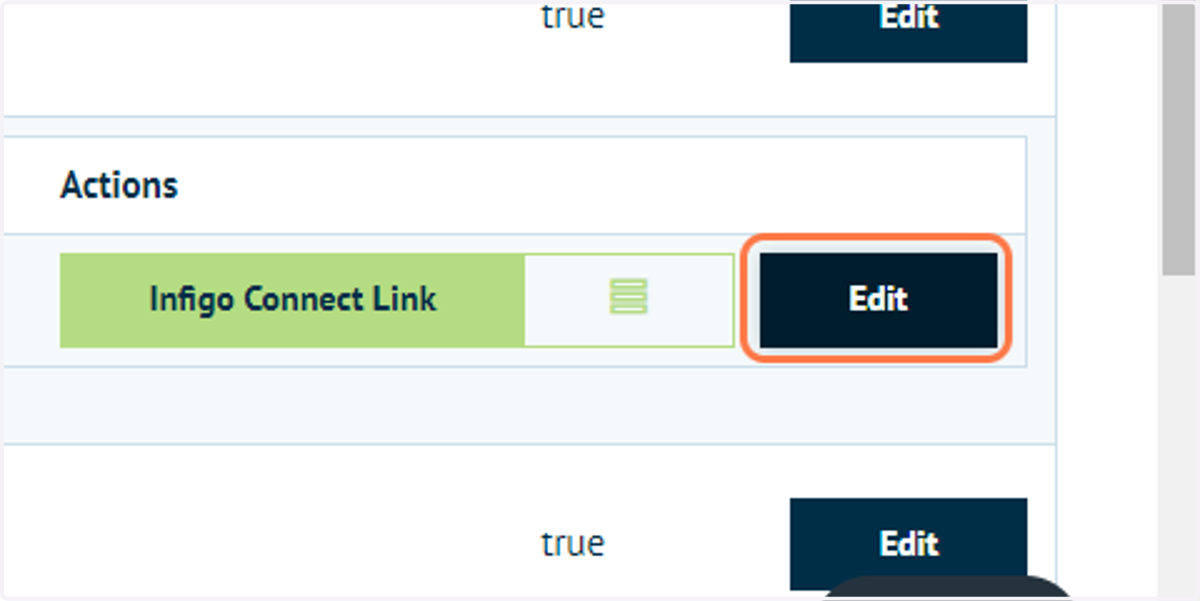
24. Click on Edit to access the product variant settings
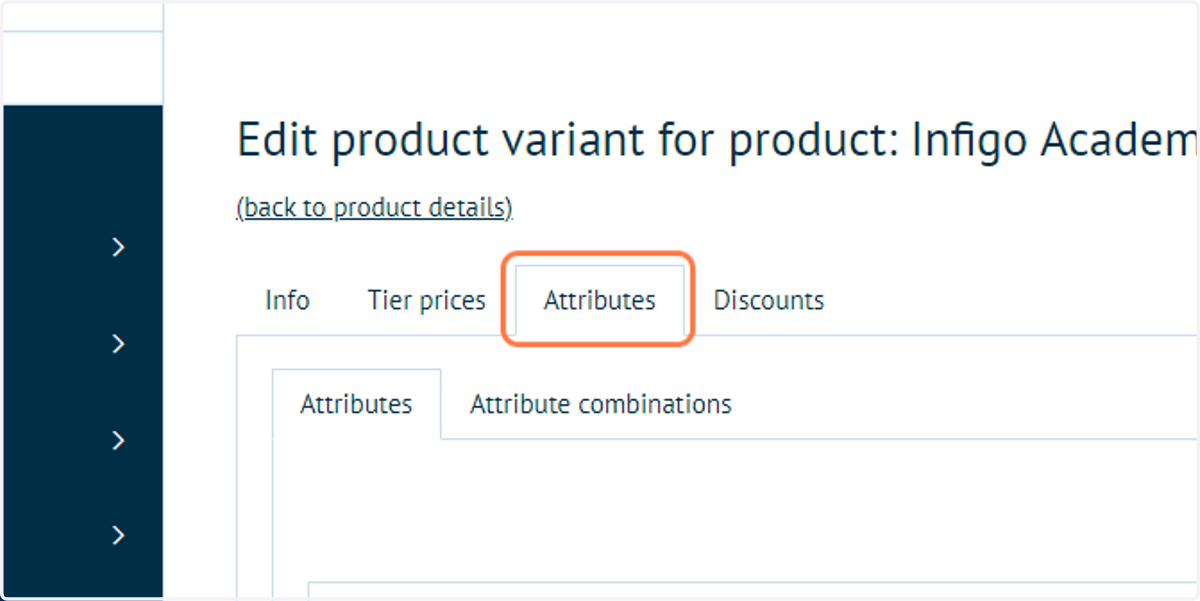
25. Click on Attributes
The product variant settings contains an Attributes tab for all attribute related tasks.
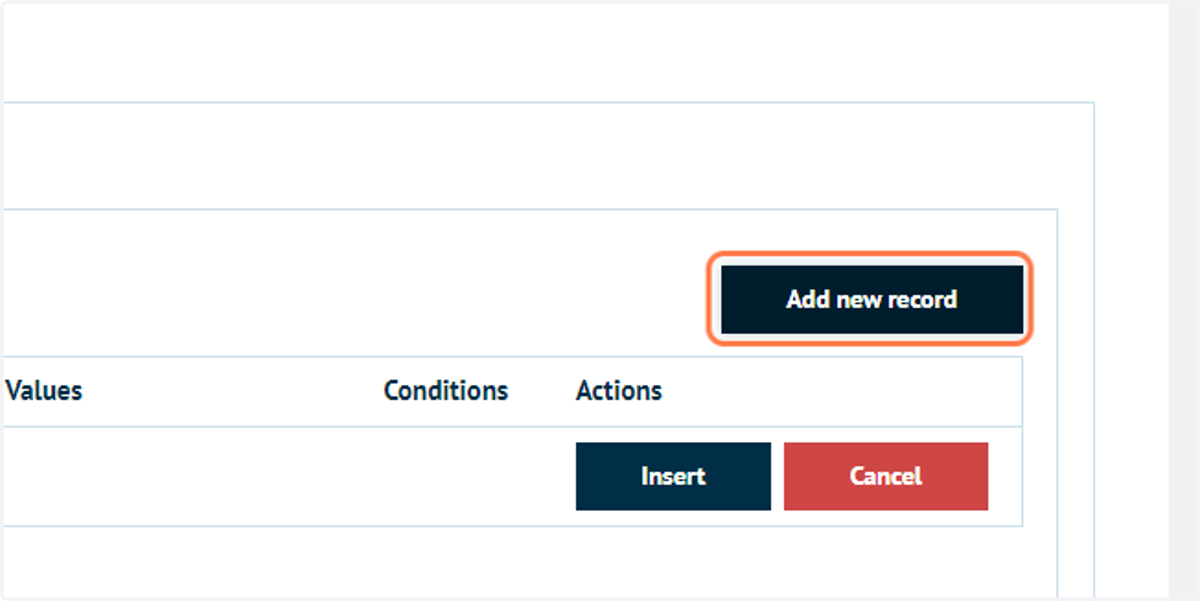
26. To assign an attribute to a product, click on Add new record
27. Select the required attribute
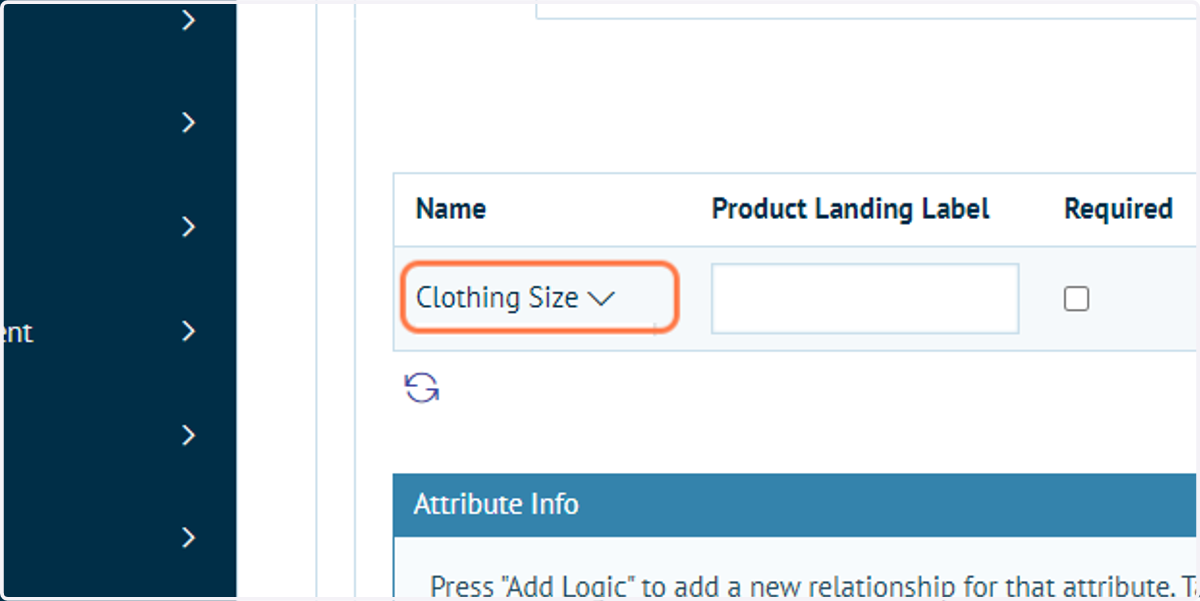
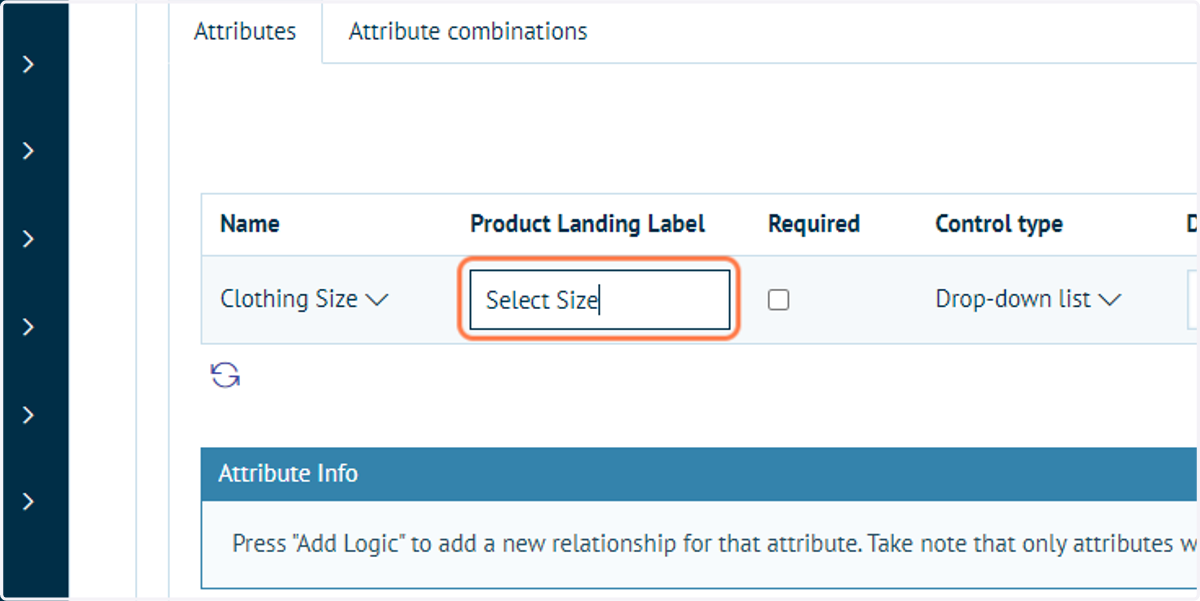
28. Type "Select Size"
The Product Landing Label is text appearing on the storefront which acts as a title for that particular attribute.
Infigosoftware
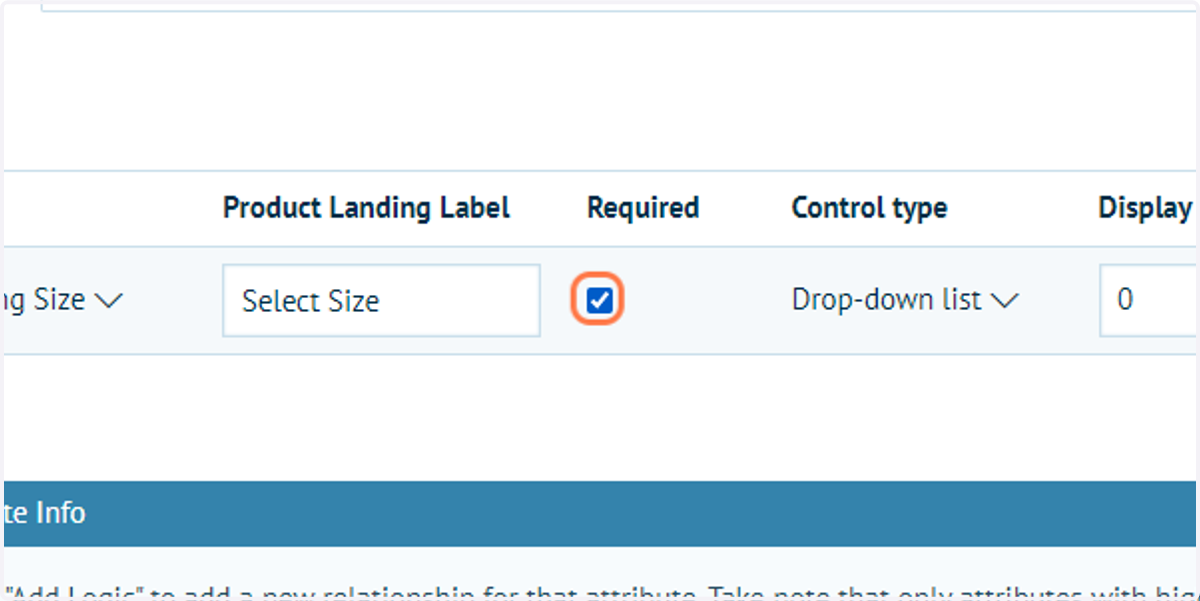
29. Check IsRequired
Select this option if the customer MUST make a selection
30. Click on Radio button list
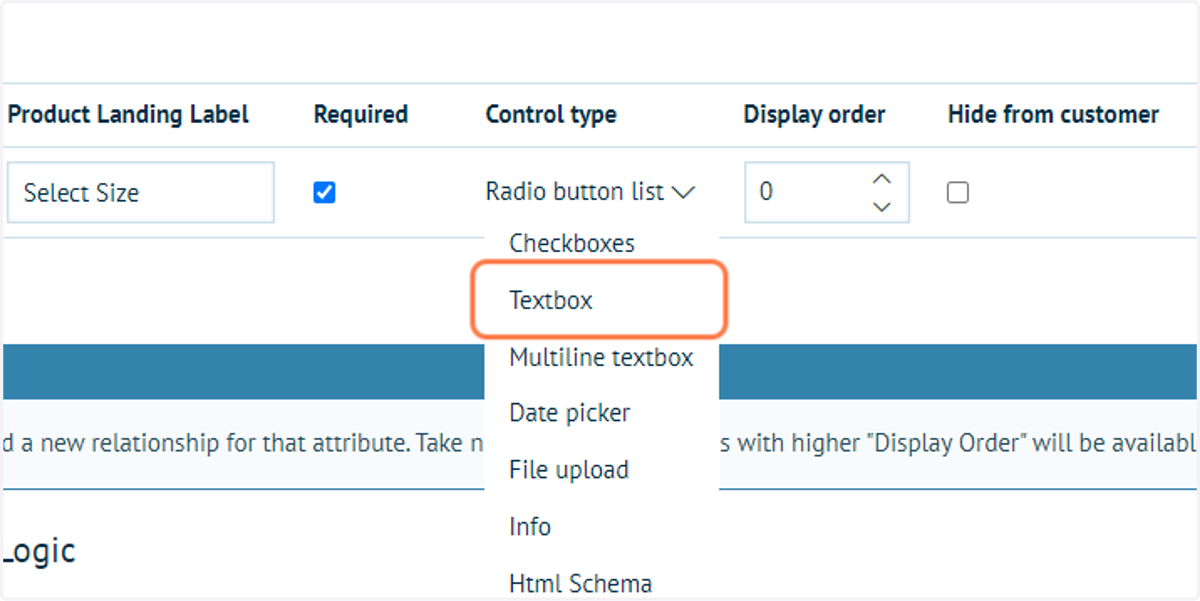
Numerous control types are available, allowing customers to specify their inputs in different ways.
These control types include:
Dropdown List
Radio Buttion
Checkboxes
TextBox
Multiline Textbox
Date Picker (Customers can select an specific day)
File Upload (Customers can upload their own artwork etc)
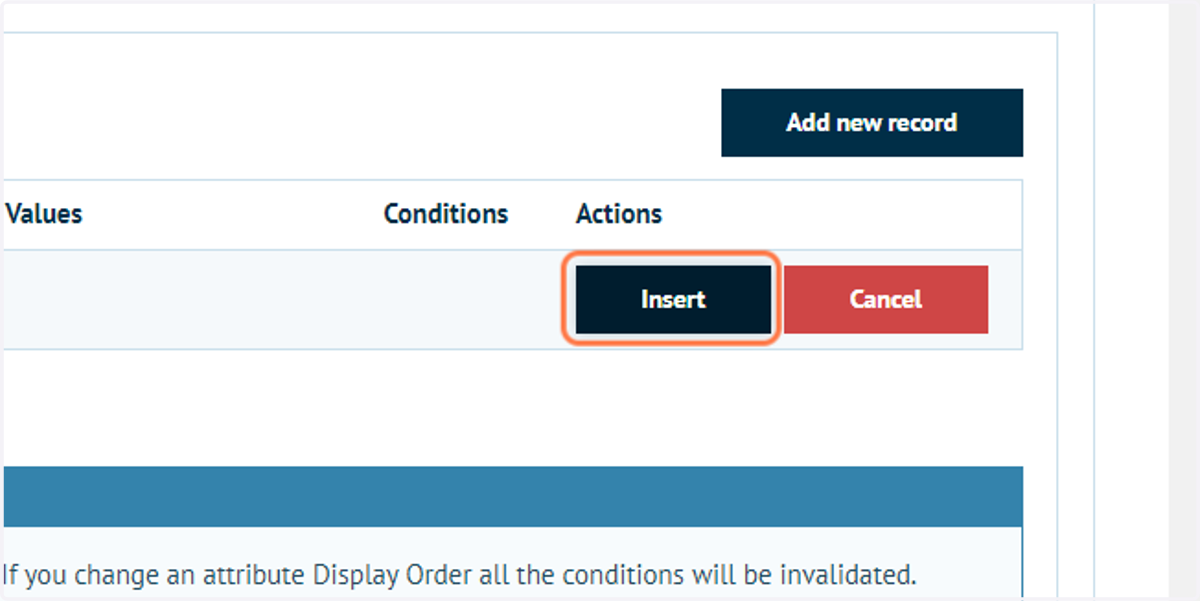
31. Click on Insert
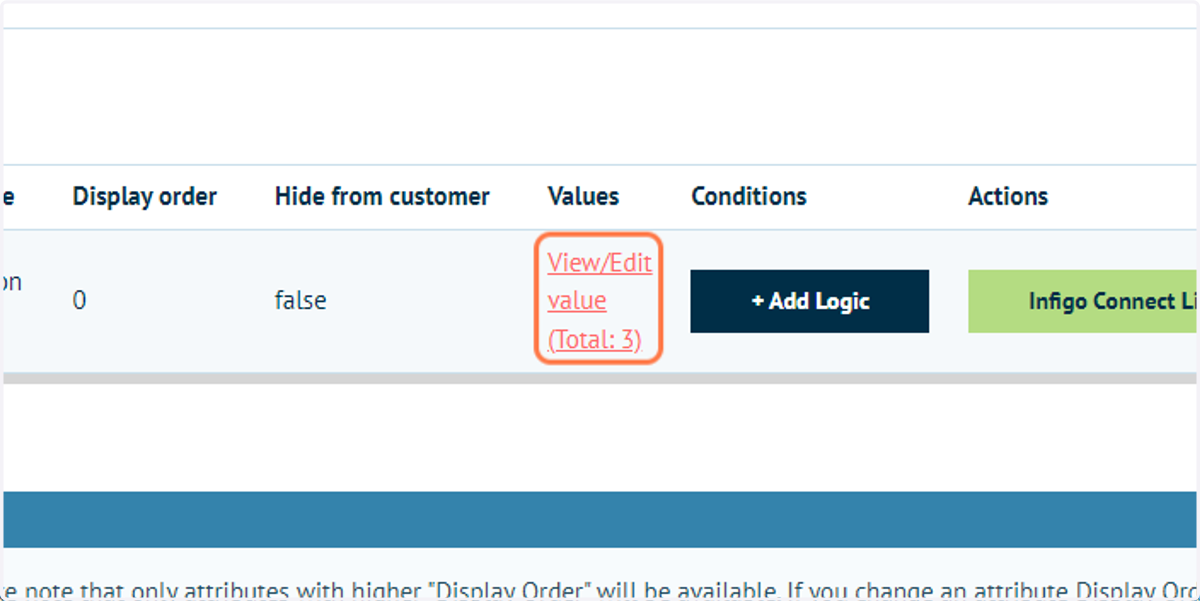
32. Click on View/Edit value (Total: 3)
As we have pre-defined some values for the clothing size, the attribute is already registering three available values.
These are not fixed. We are able to add additional attribute values or remove pre-defined ones for this product, by clicking on this link.
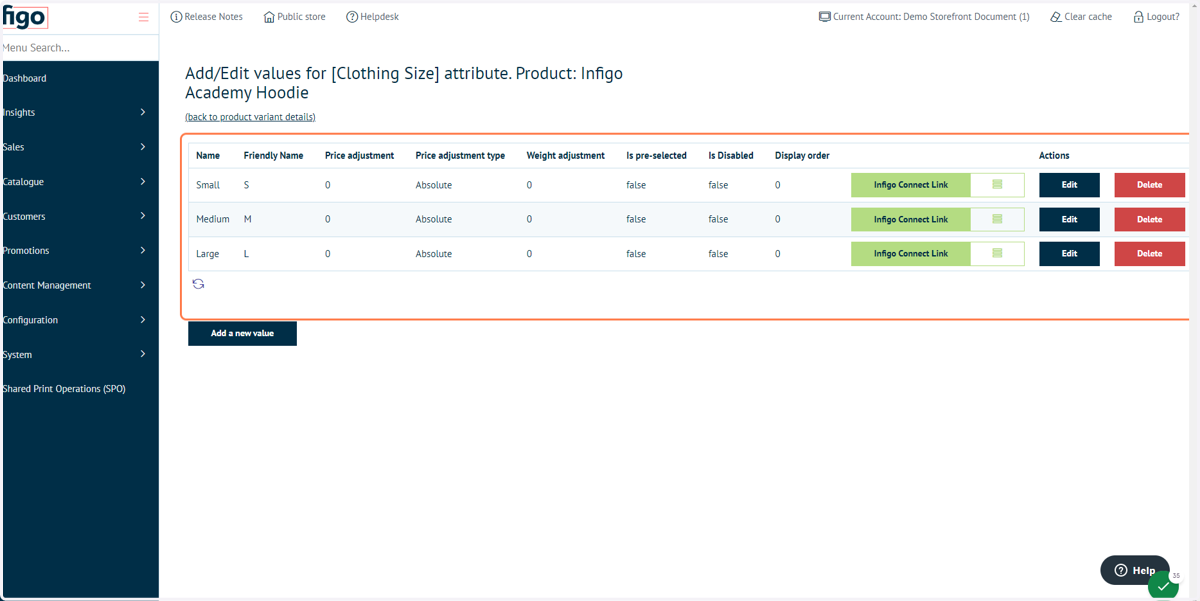
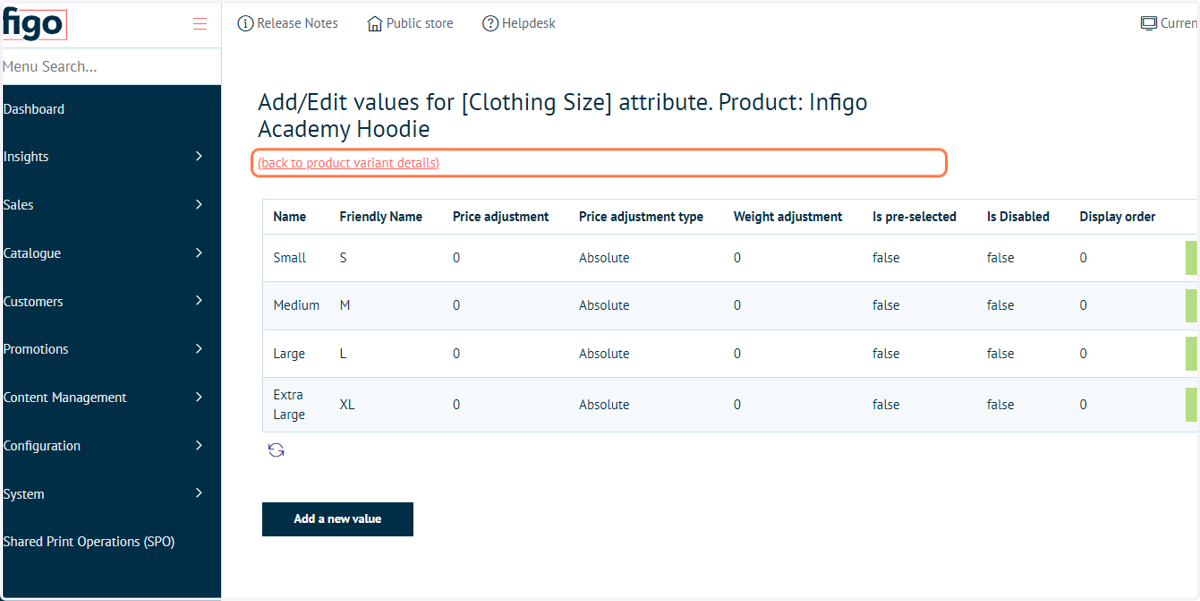
33. Review attribute values
Using the Add a new value button, we will add an additional XL option.
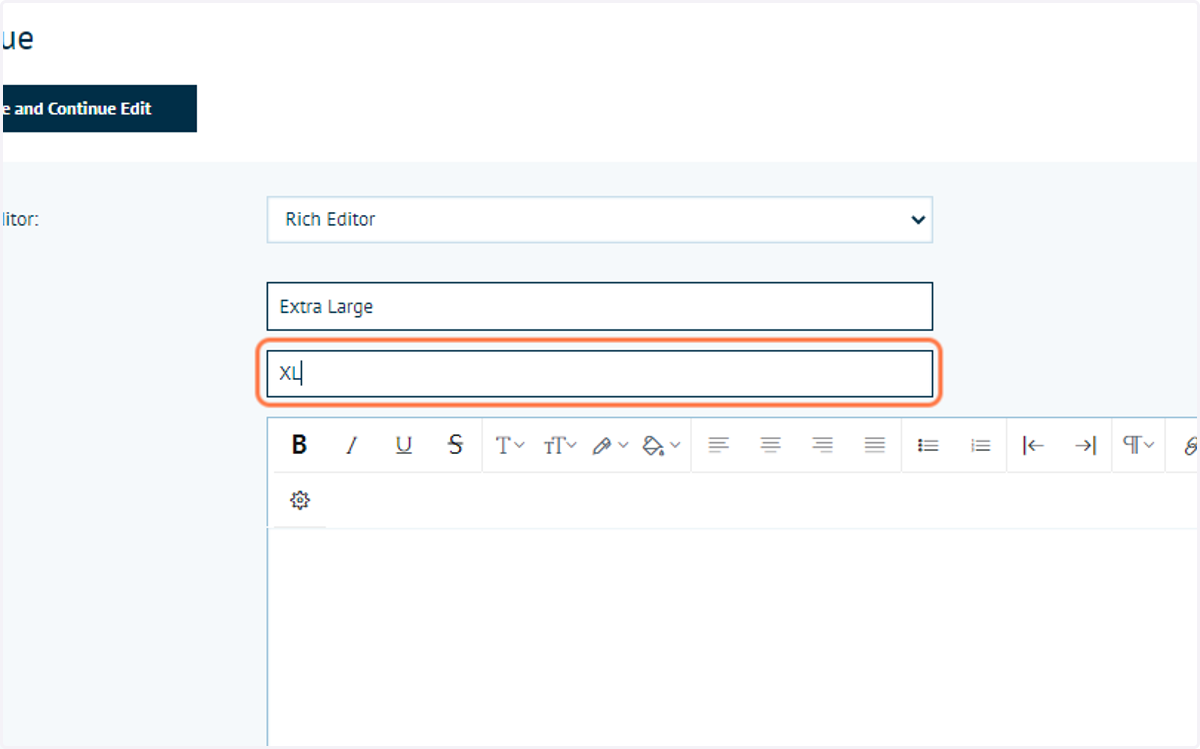
34. Type attribute value details
The options on this screen are the same as those available when pre-defining an attribute value.
This includes price and weight adjustment.
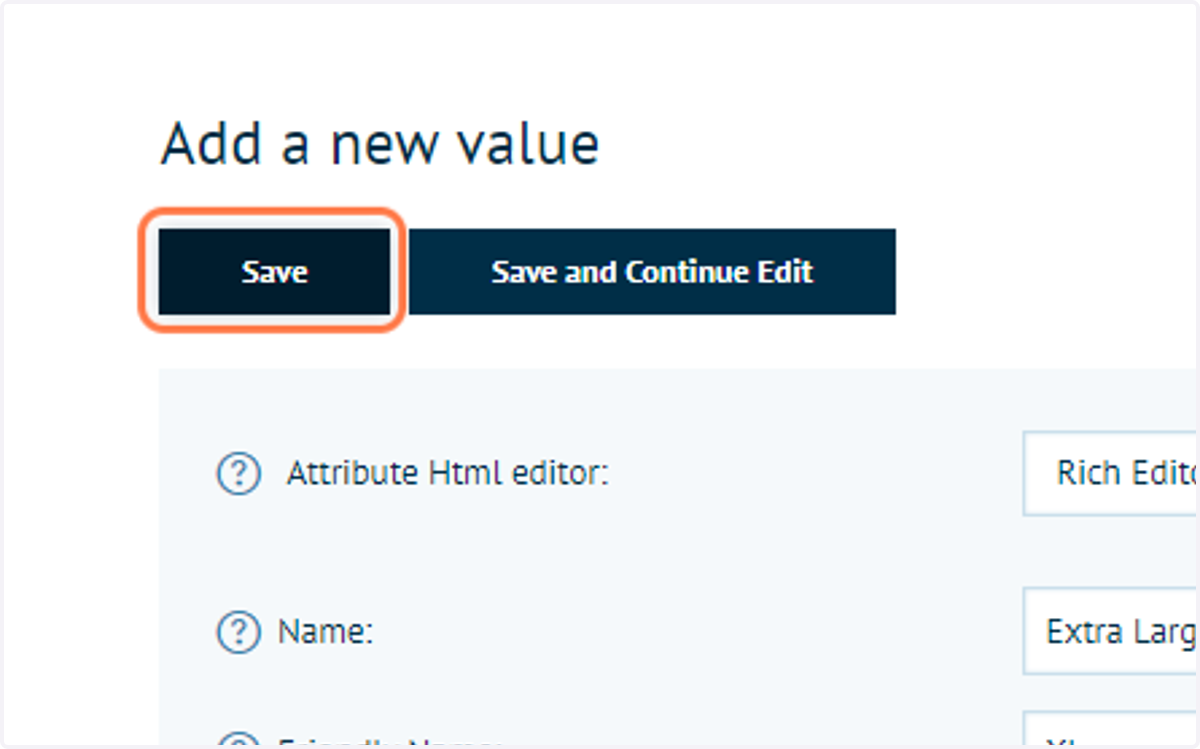
35. Click on Save
36. Click on (back to product variant details)
Infigosoftware
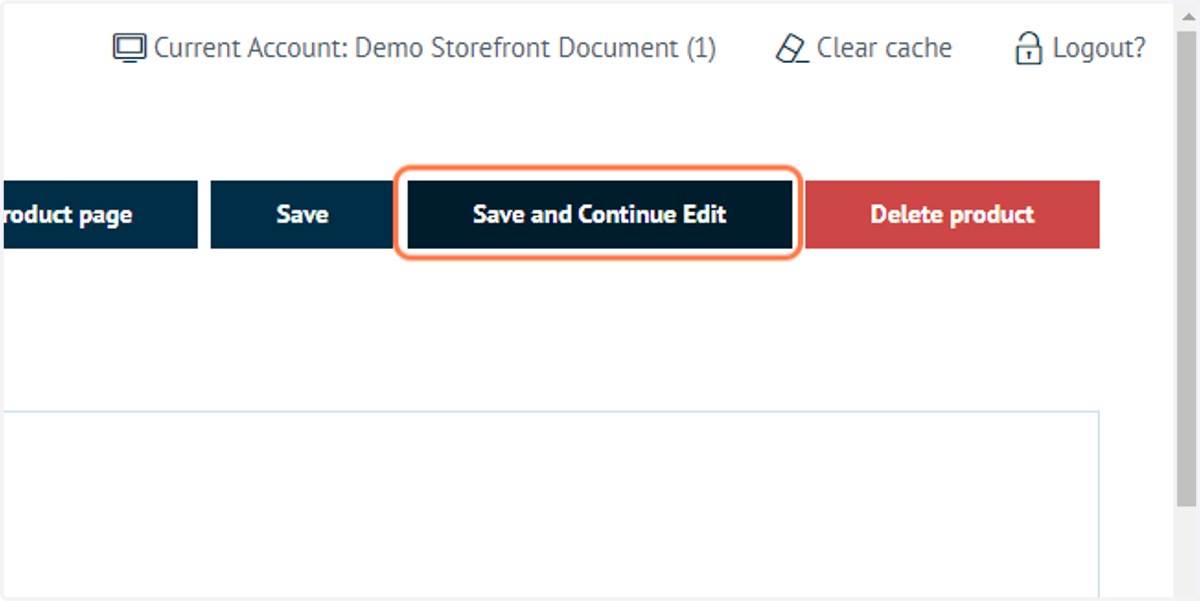
37. Click on Save and Continue Edit
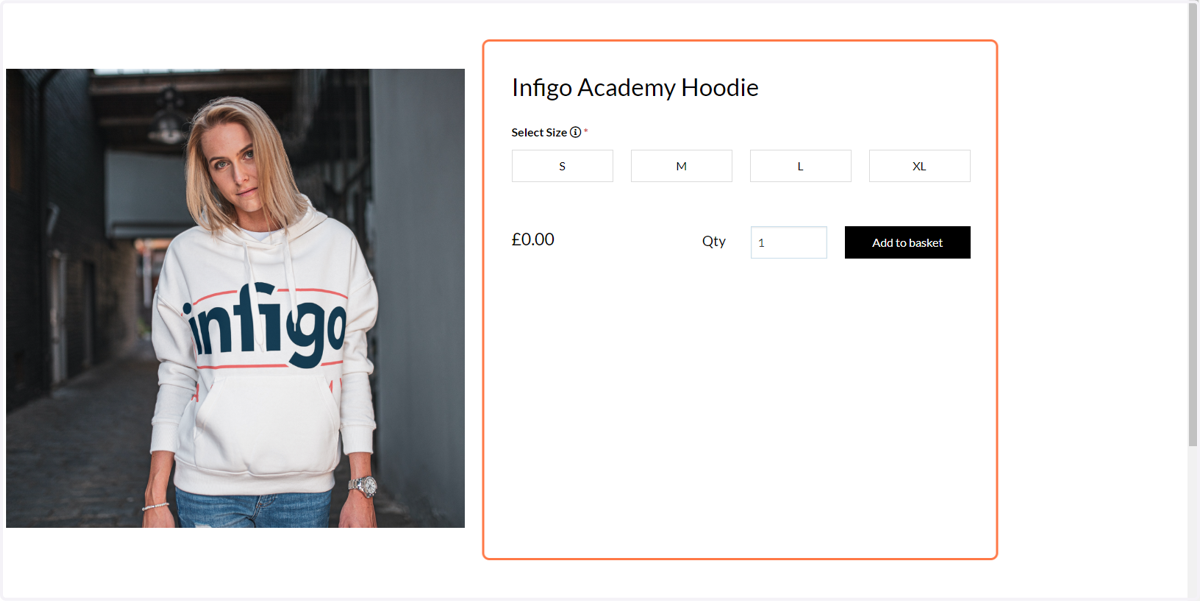
We will now review these changes on our storefront.
38. Your specified attribute values will be available for selection
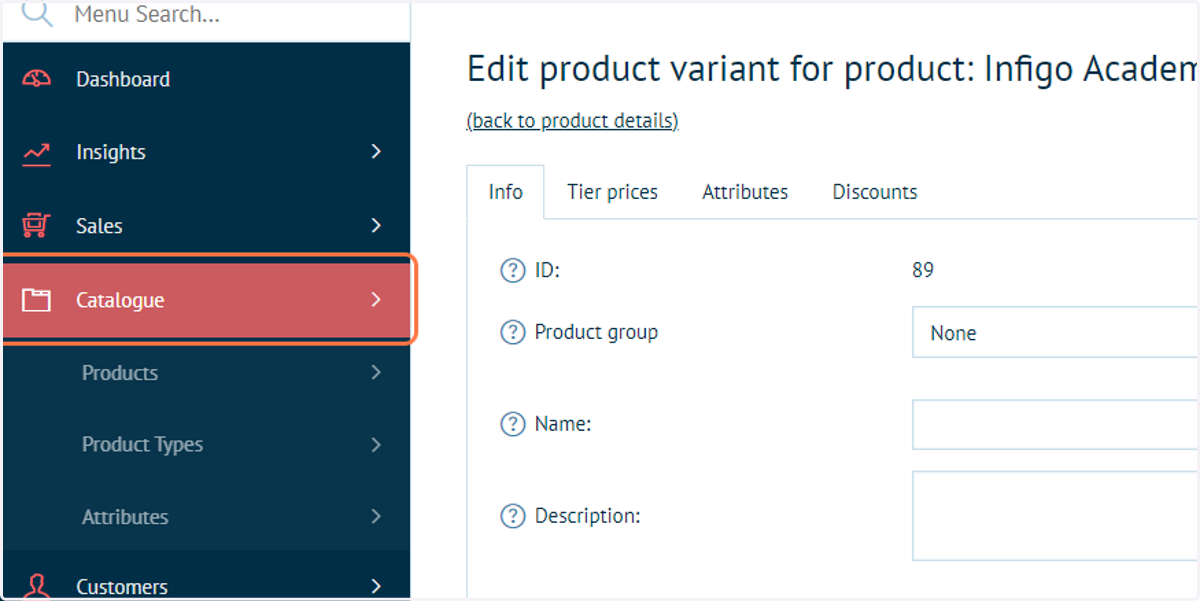
39. Click on Catalogue
We will now define a second attribute group allowing customers to select the colour of our clothing product.
40. Click on Attributes
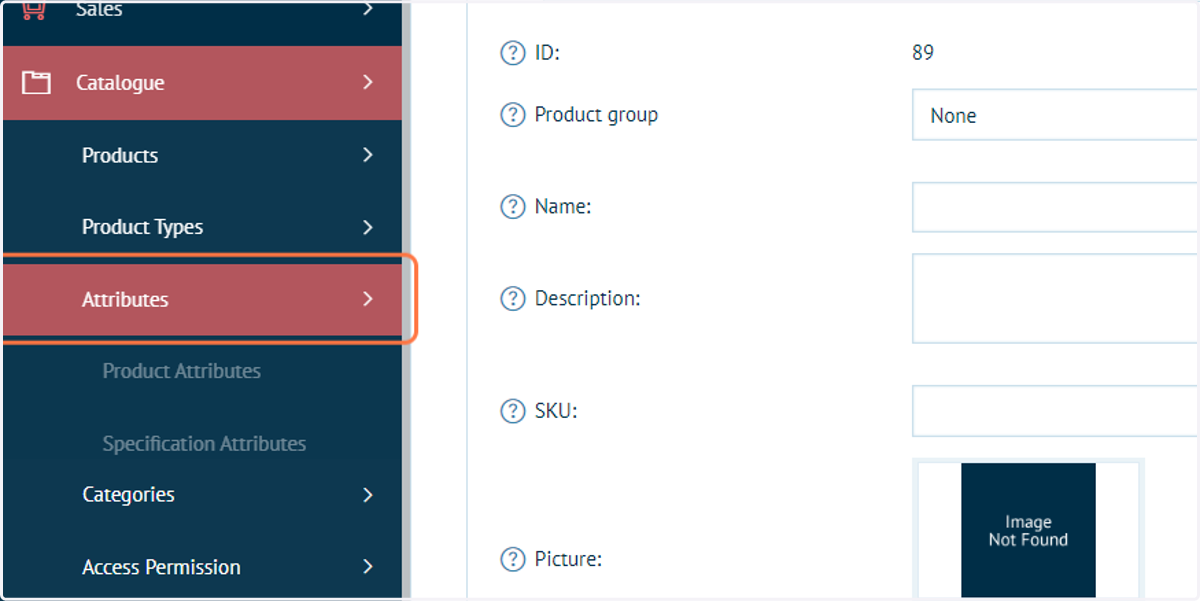
41. Click on Product Attributes
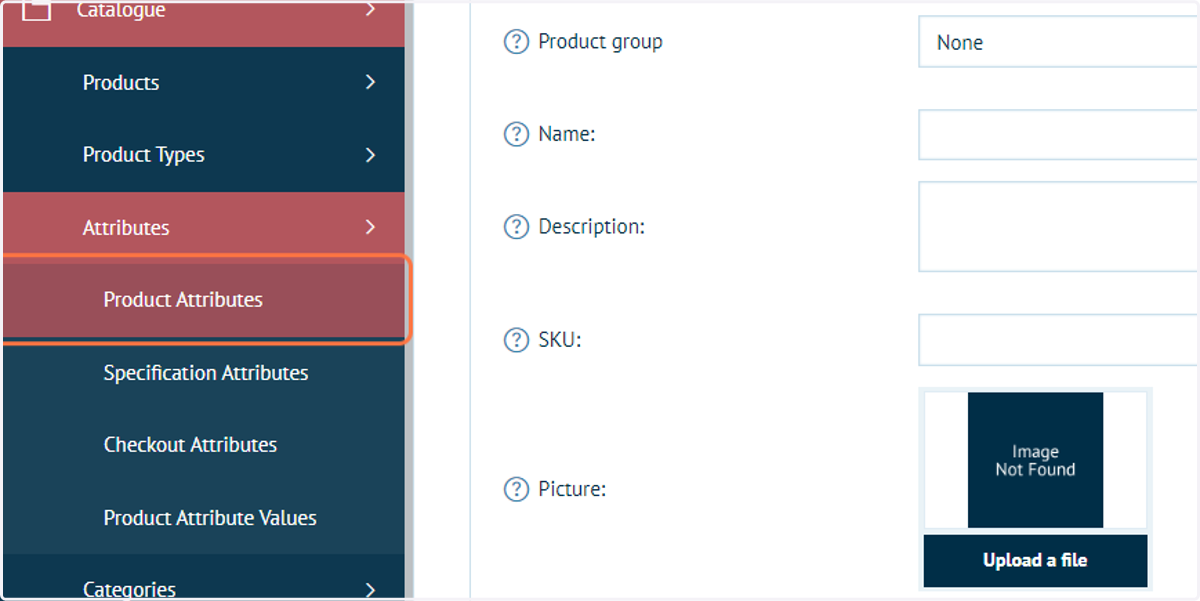
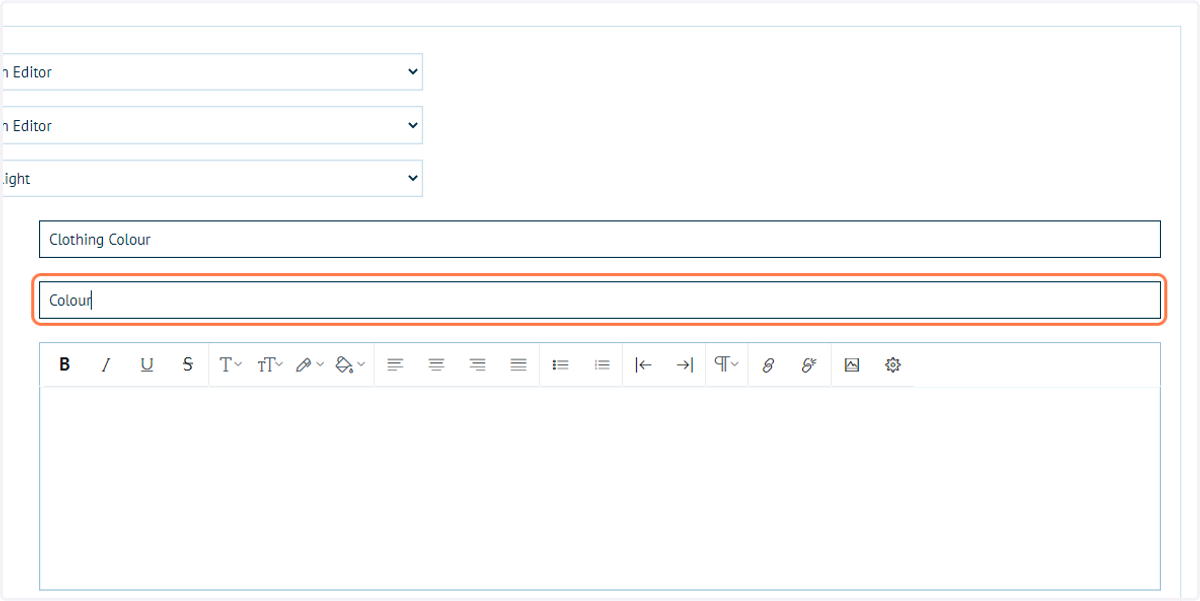
42. Add a new attribute named "Clothing Colour"
43. Click on Save
44. Click on Catalogue
We will apply this attribute for use on our clothing product.
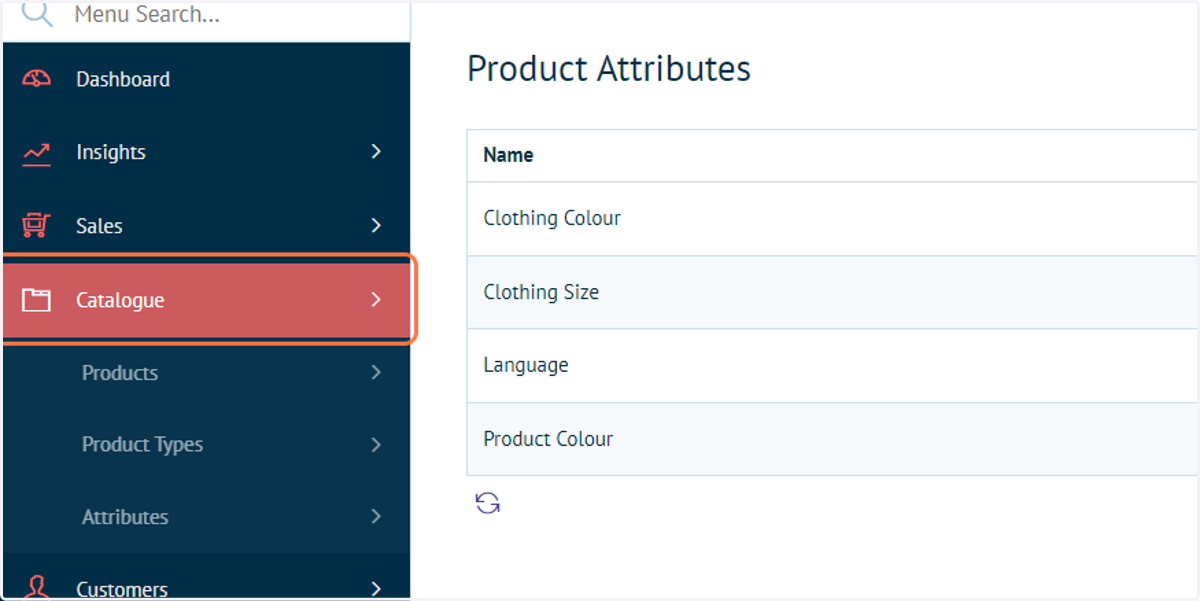
45. Click on Products
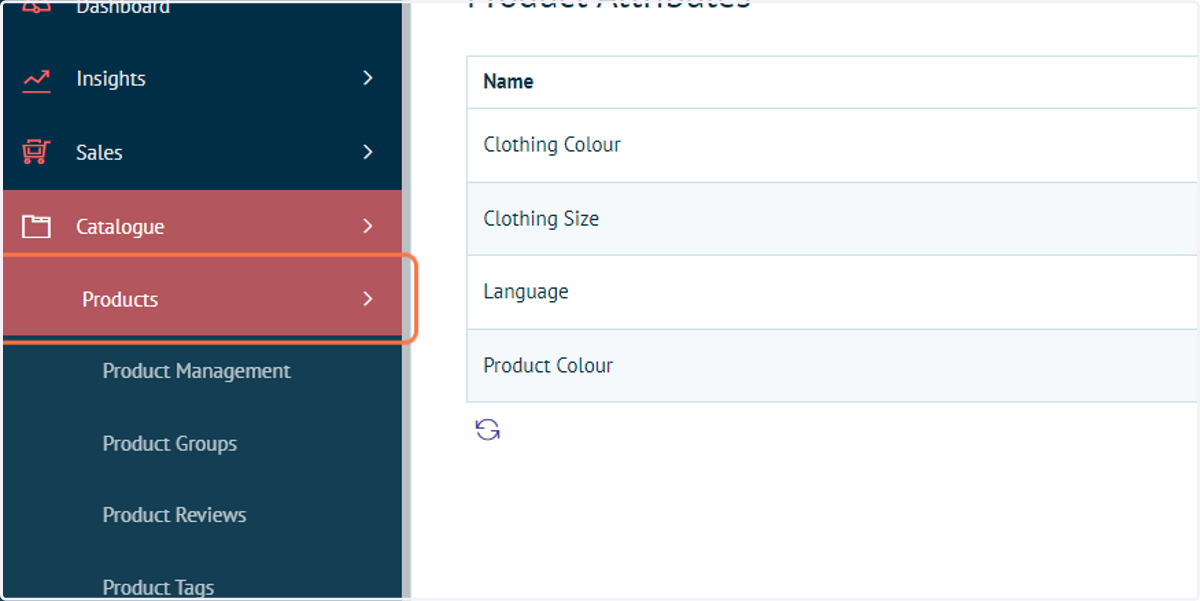
46. Click on Product Management
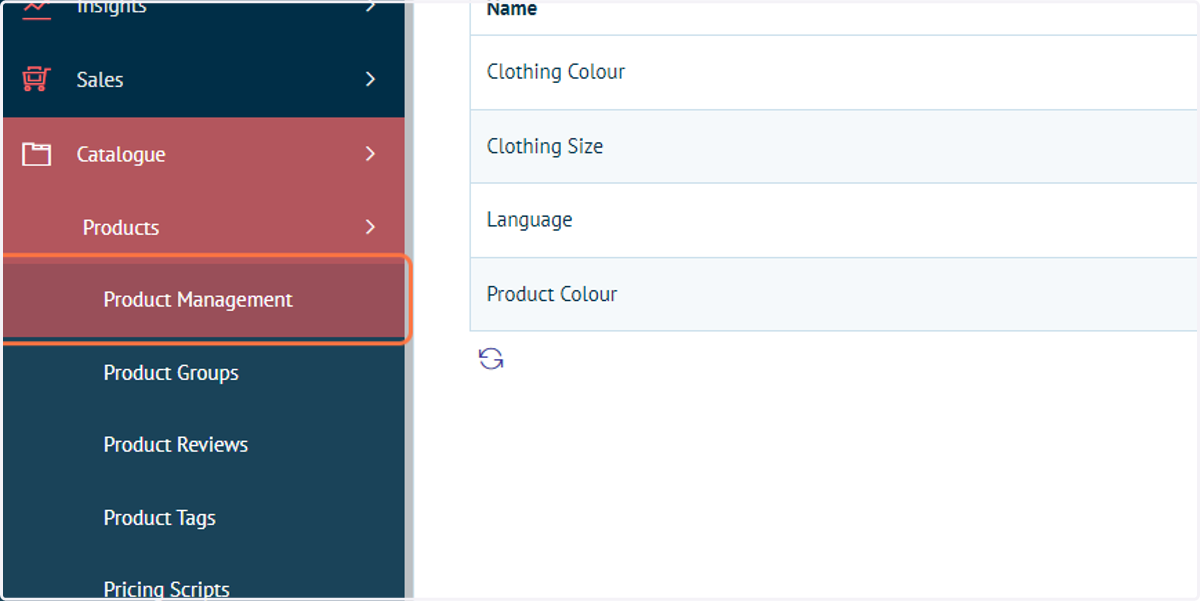
47. Click on '+' icon next to the relevant product
Infigosoftware
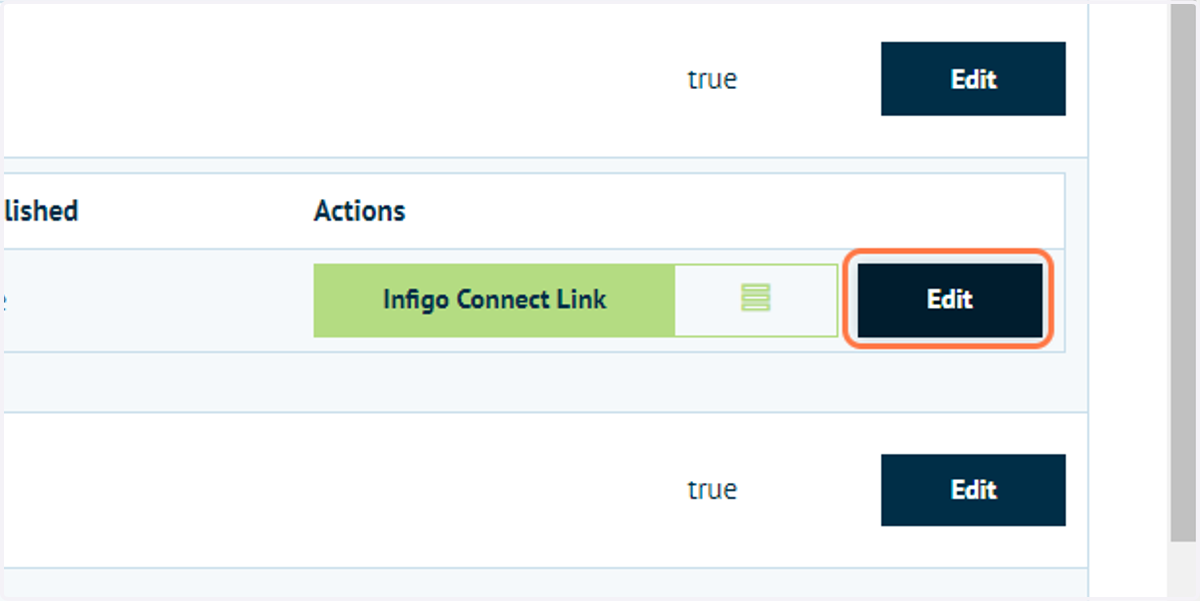
48. Click on Edit
This will open the product variant settings
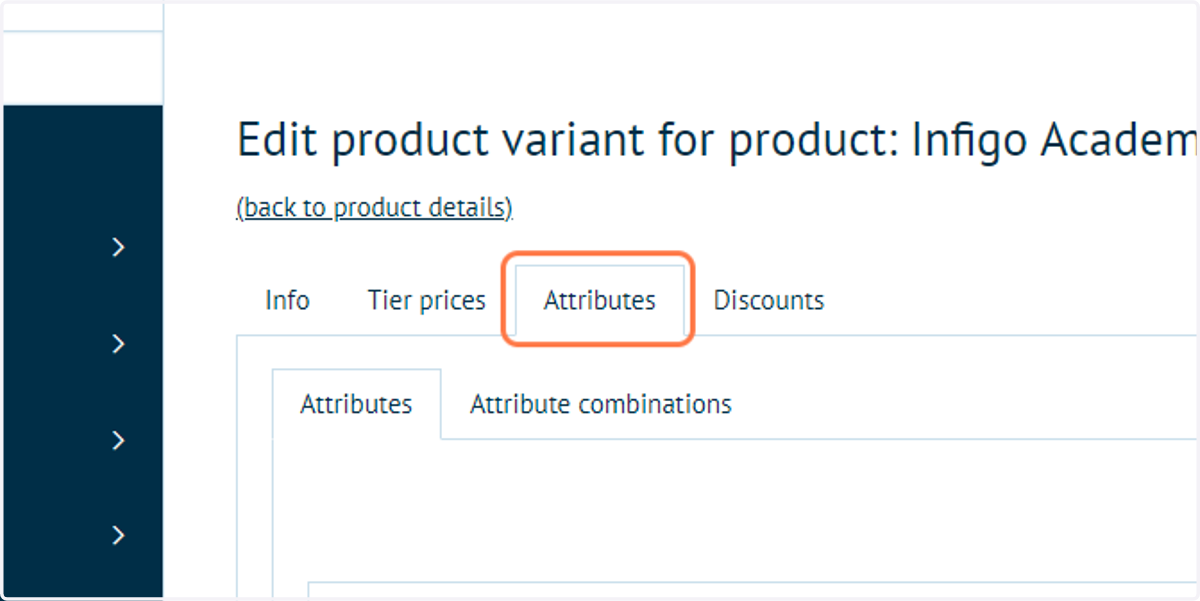
49. Click on Attributes
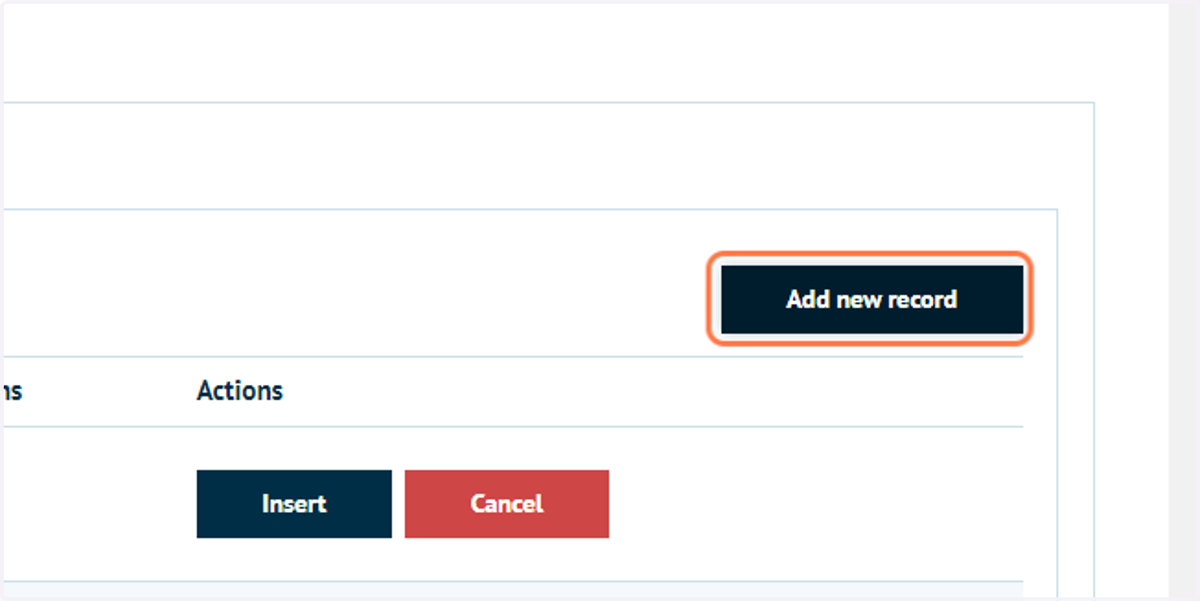
50. Click on Add new record
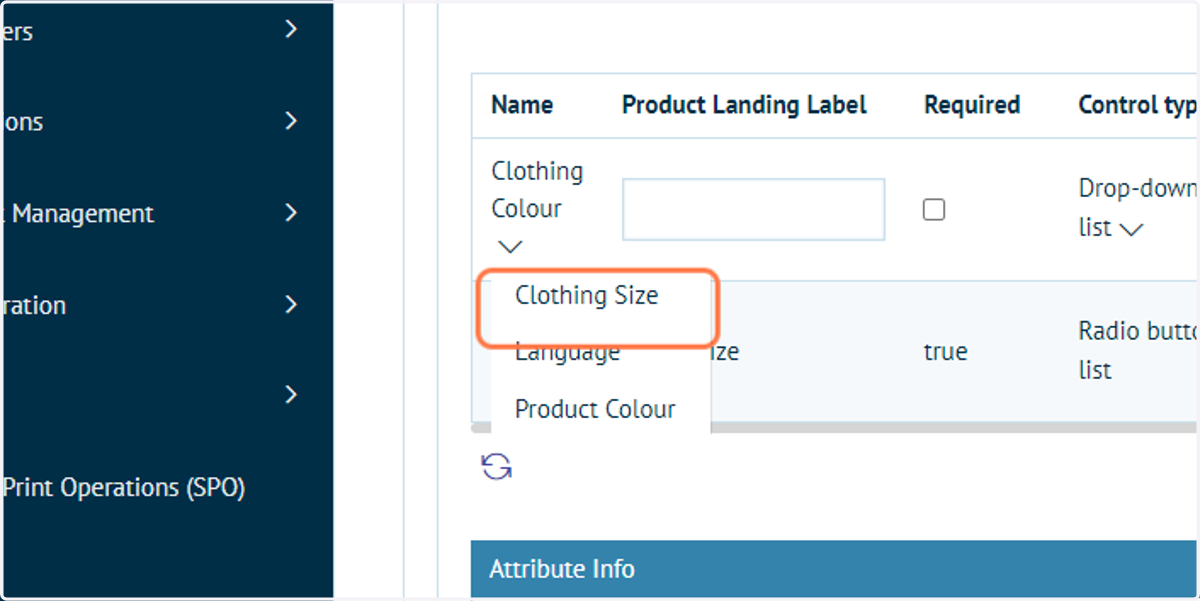
51. Select and complete the appropriate product attribute
Also define a landing label, control type and specify whether the selection is required.
52. Click on Insert
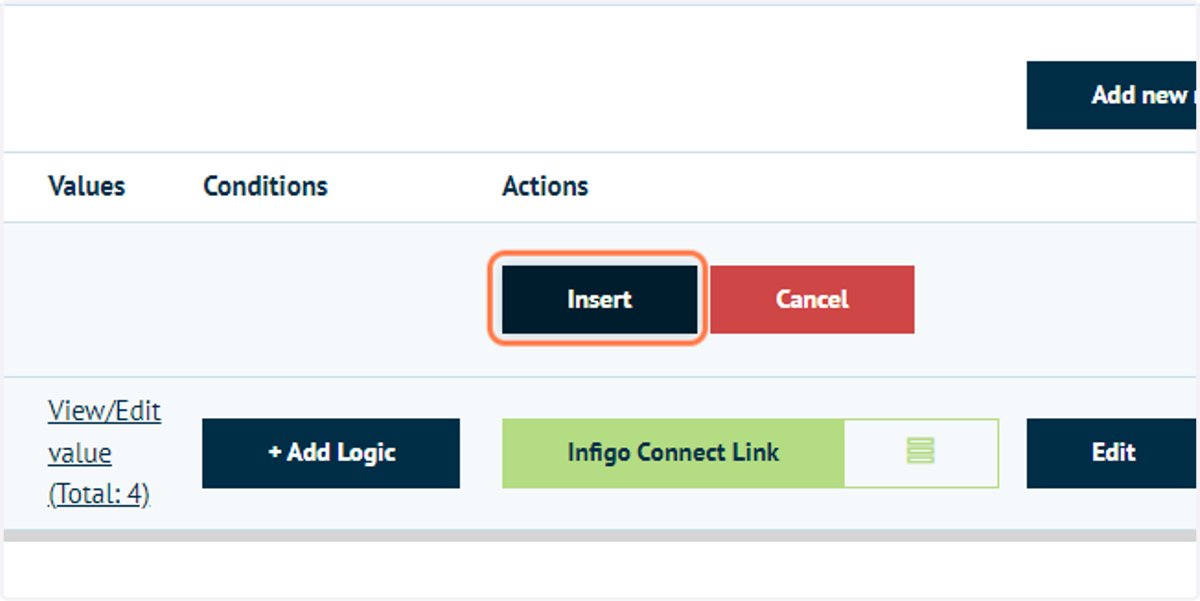
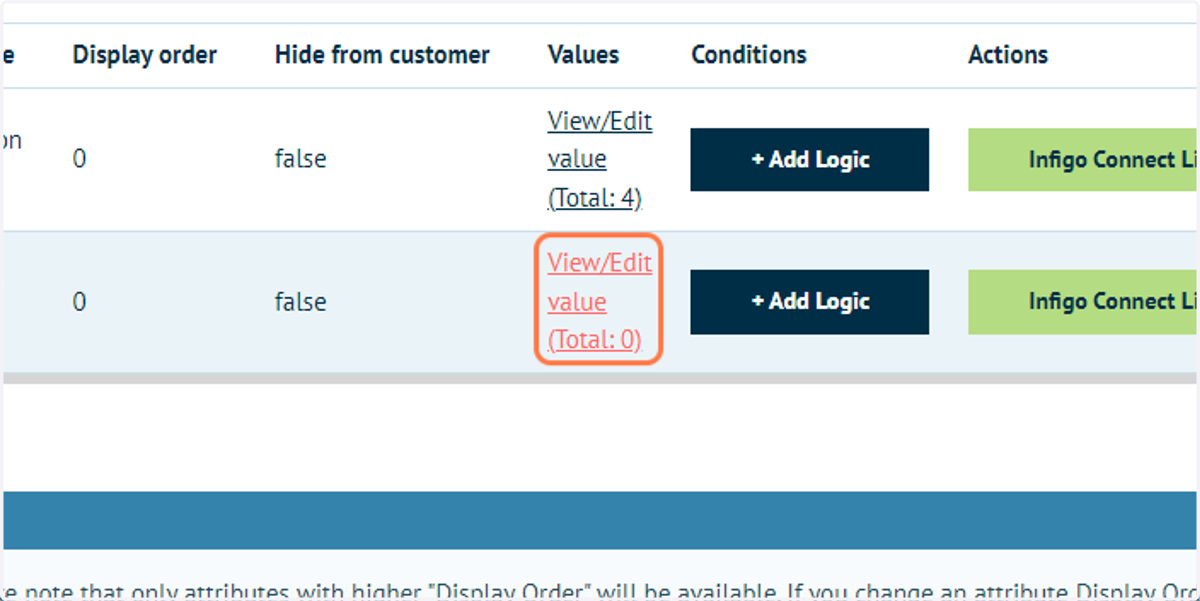
53. Click on View/Edit value (Total: 0)
We have not pre-defined any values for this attribute. Click on this link to define attribute values for this particular product.
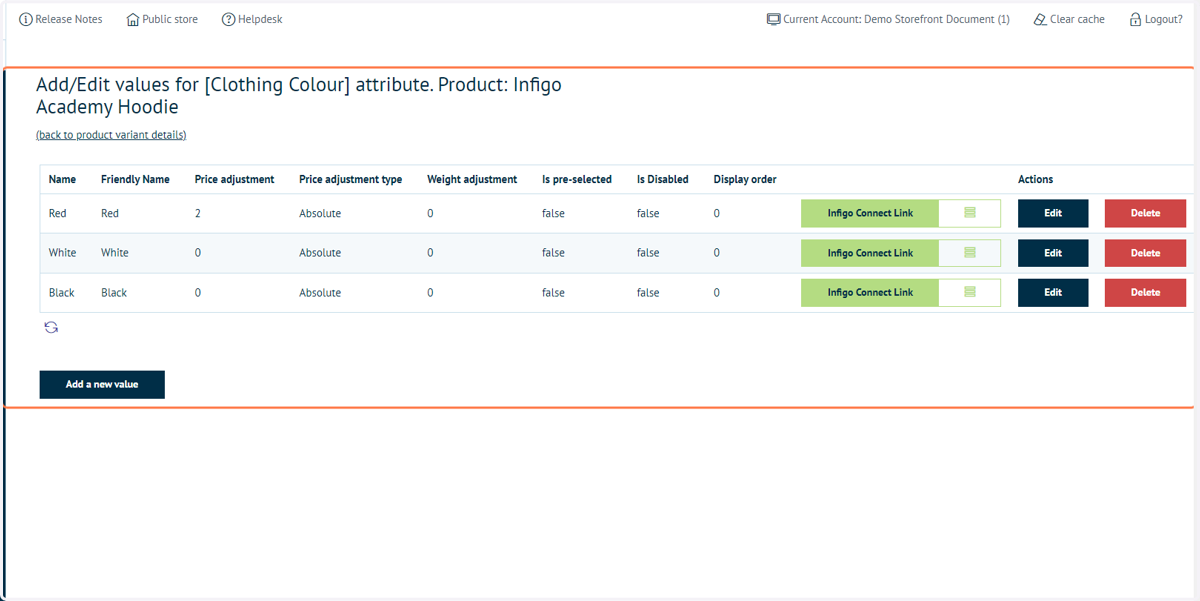
54. Specify attribute values
Add relevant attribute values.
Remember, you can apply relevant price adjustment or weight adjustment values for each attribute value, on this screen.
In our example we will create three attribute values named Red, Black and White.
The Red value will have a price adjustment value of 2.
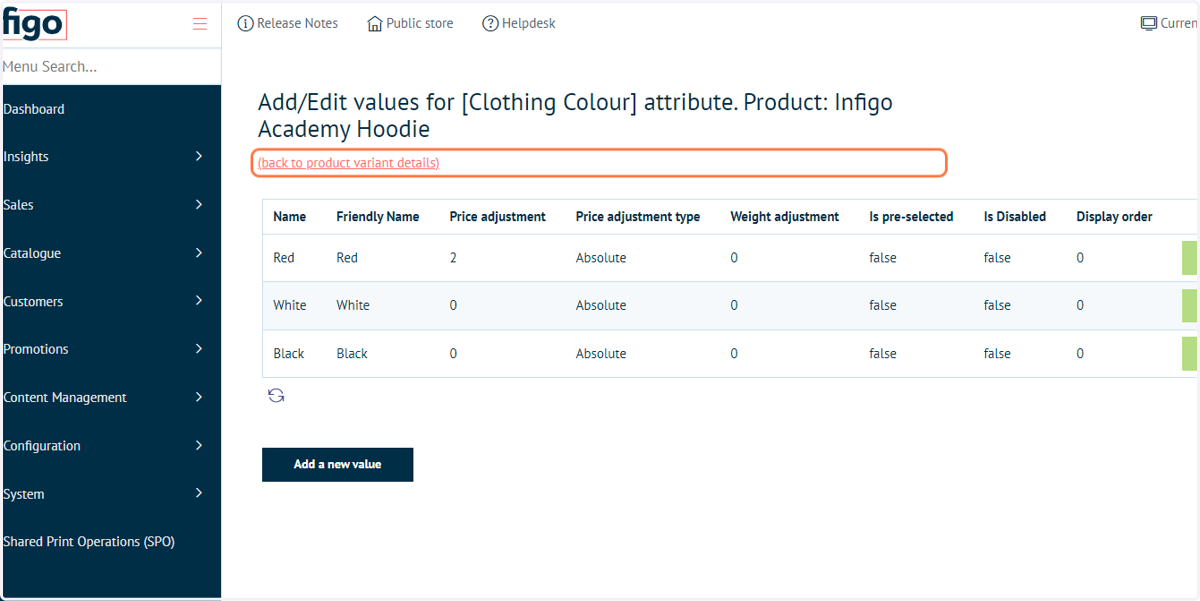
55. Click on (back to product variant details)
56. Click on Attributes
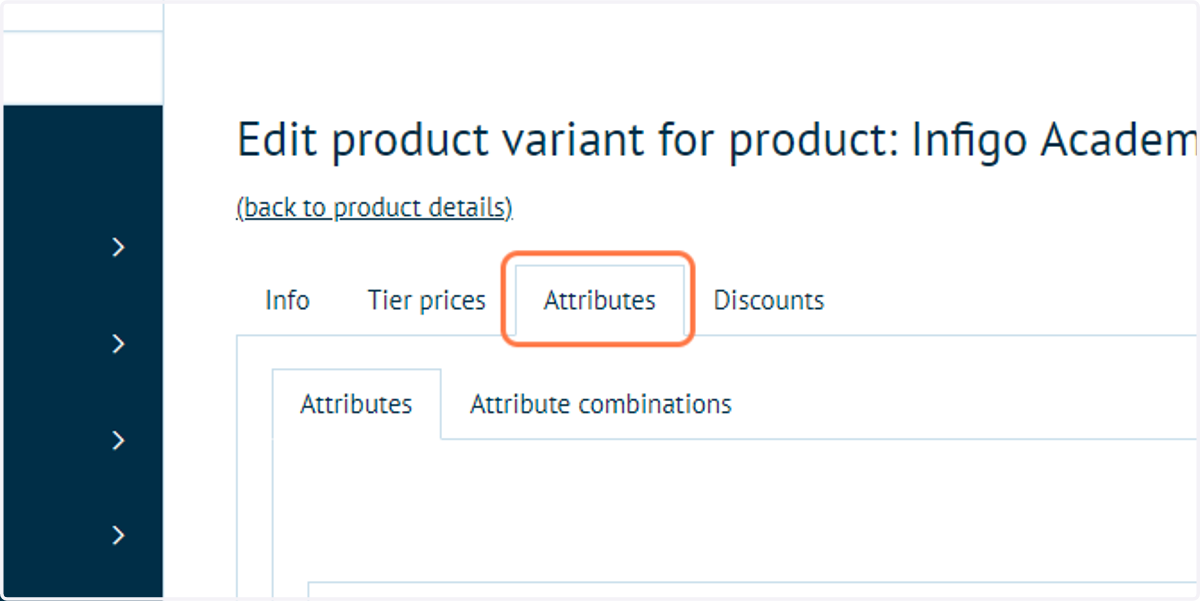
57. Click on Edit
Next, we will apply some attribute logic.
Attribute logic allows administrators to define which values of attribute B are available when a value of attribute A is selected.
Attribute logic can only be applied to attributes with different "Display Order" values. This specifies which attribute has priority when defining logic.
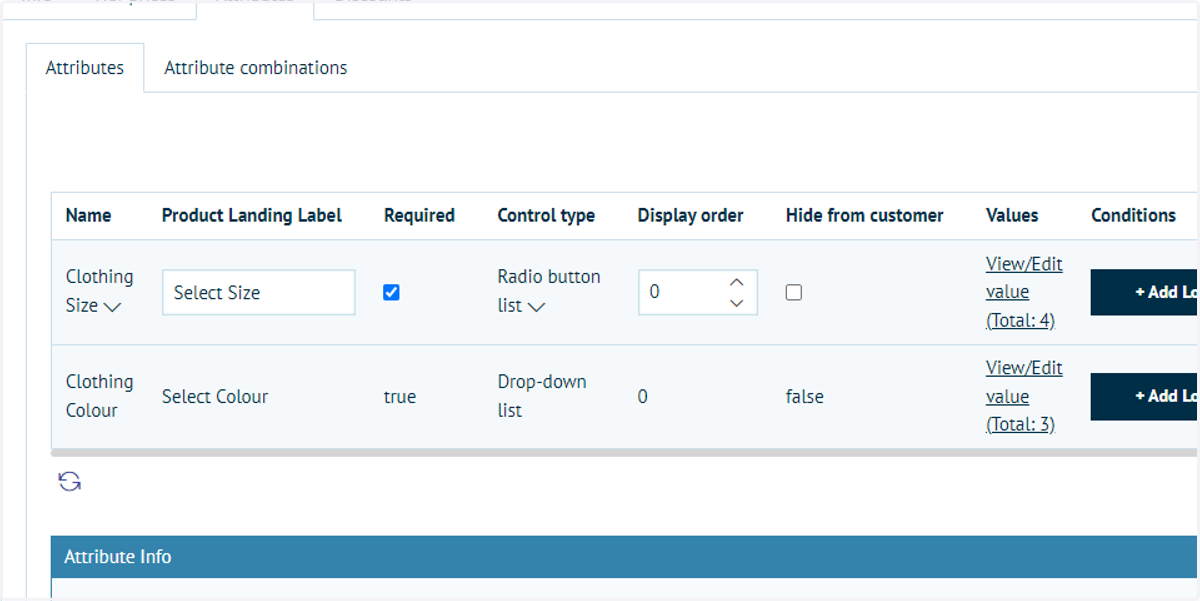
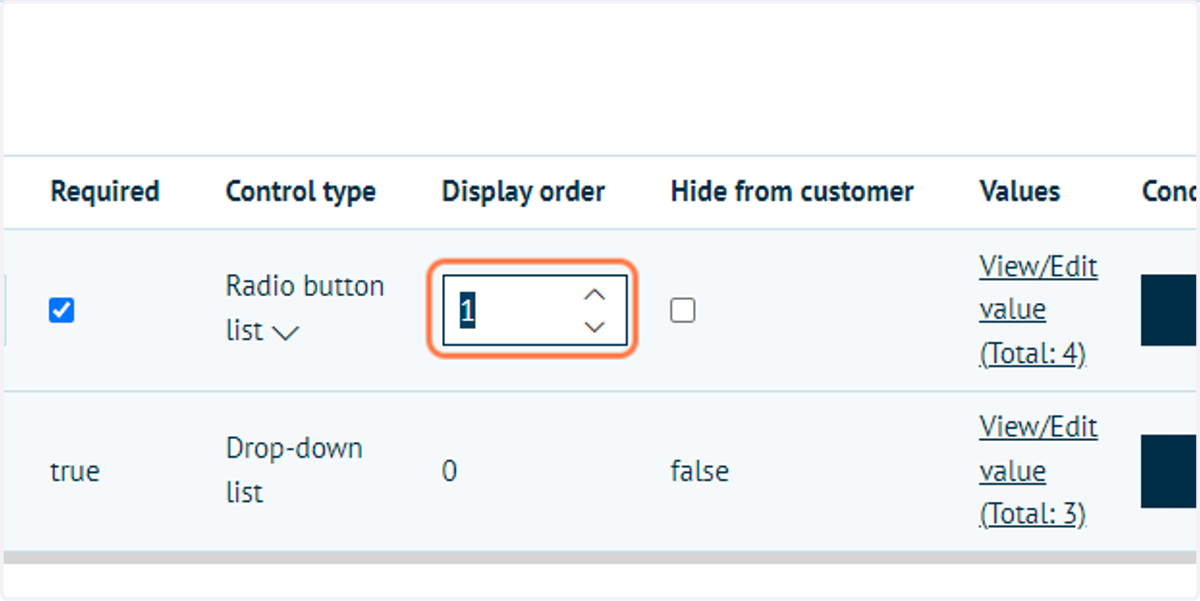
58. Define a higher display order for the Clothing Size attribute.
We will define our logic with the Clothing Size attribute as the priority.
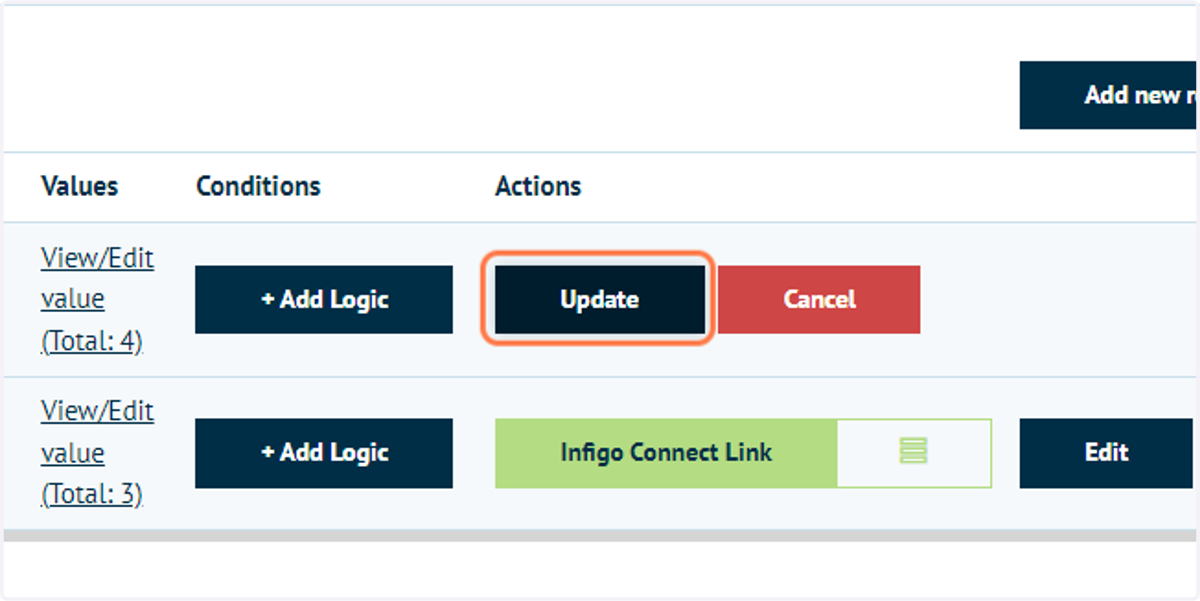
59. Click on Update
Infigosoftware
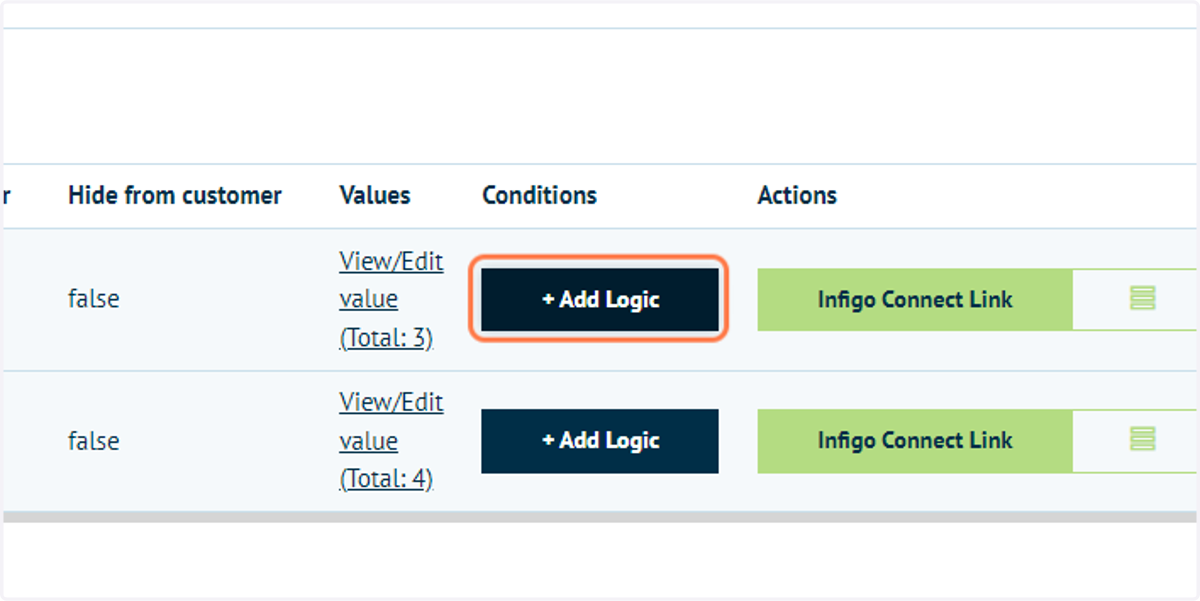
60. Click on + Add Logic
61. Create a logic statement
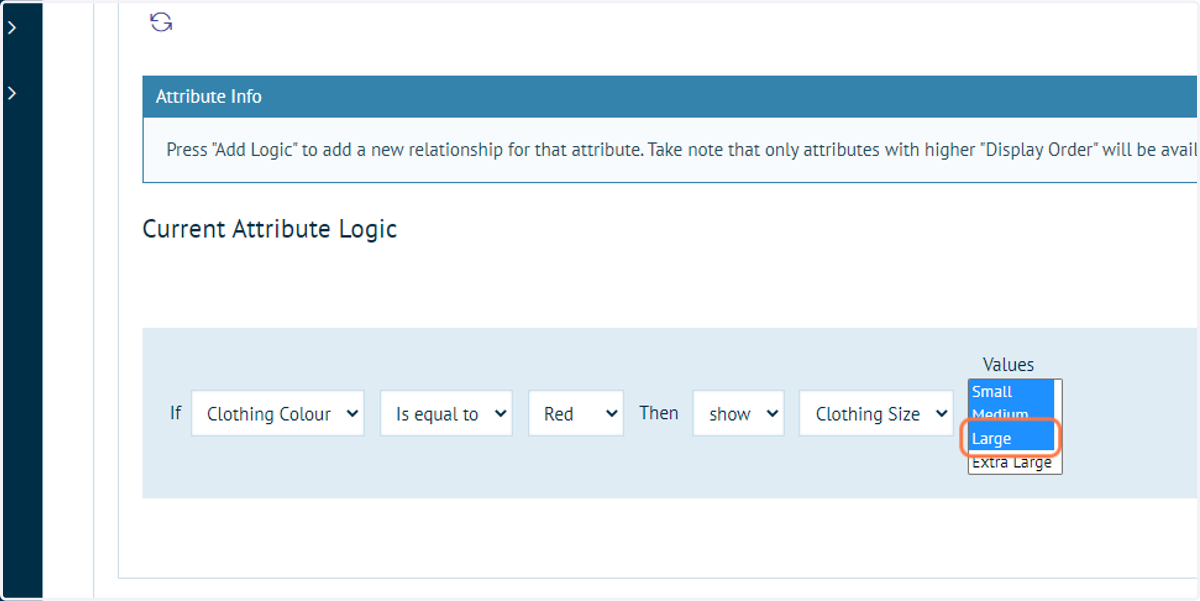
Populate the drop down boxes with the logic you wish to create.
For example, the logic statement in the image below is stating that if Red is selected for the clothing colour, then only the sizes of small, medium and large are selectable. Extra Large will not be available for selection.
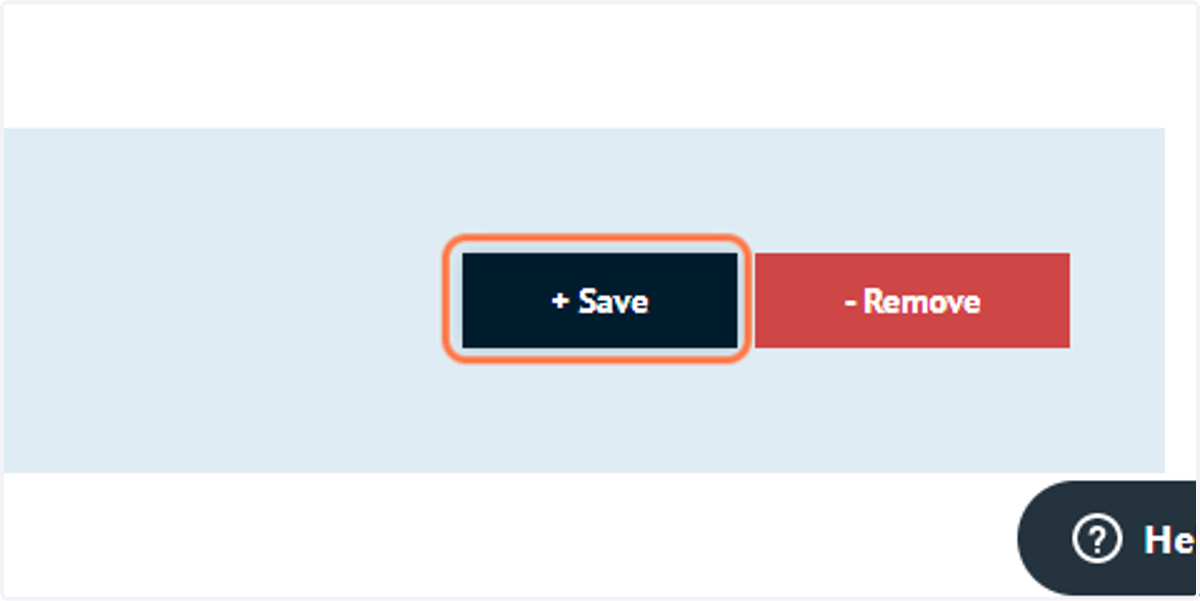
62. Click on + Save
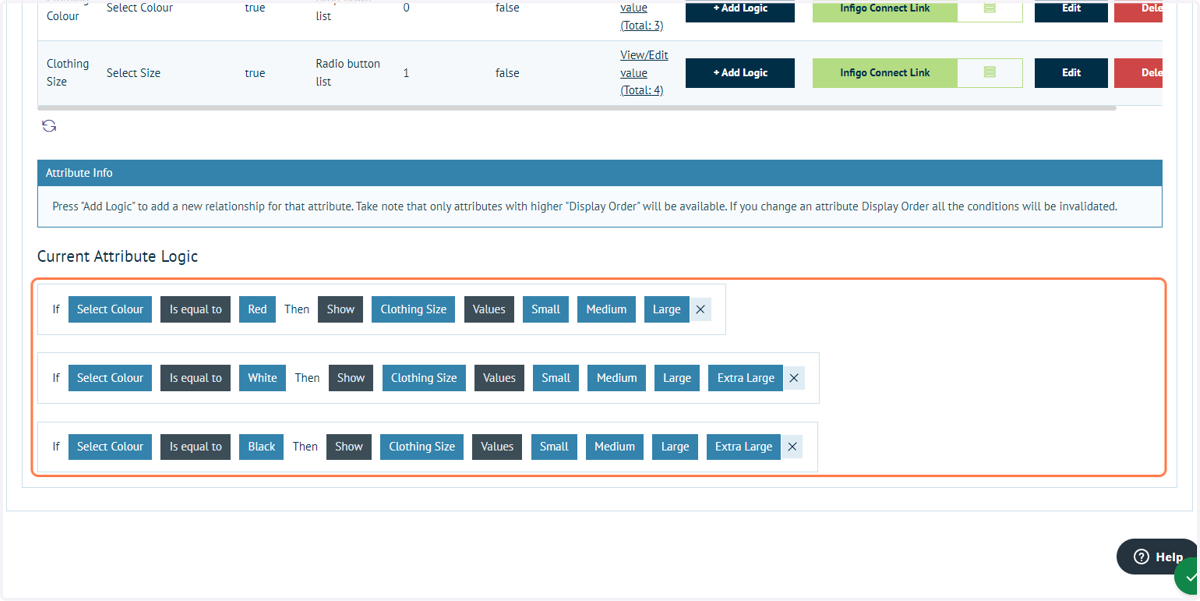
63. Create additional logic statements
Define additional logic statements detailing the behaviour of the White and Black colour selections.
These would not be required if no logic statements were defined for Red.
Infigosoftware
64. Assess these changes on your storefront
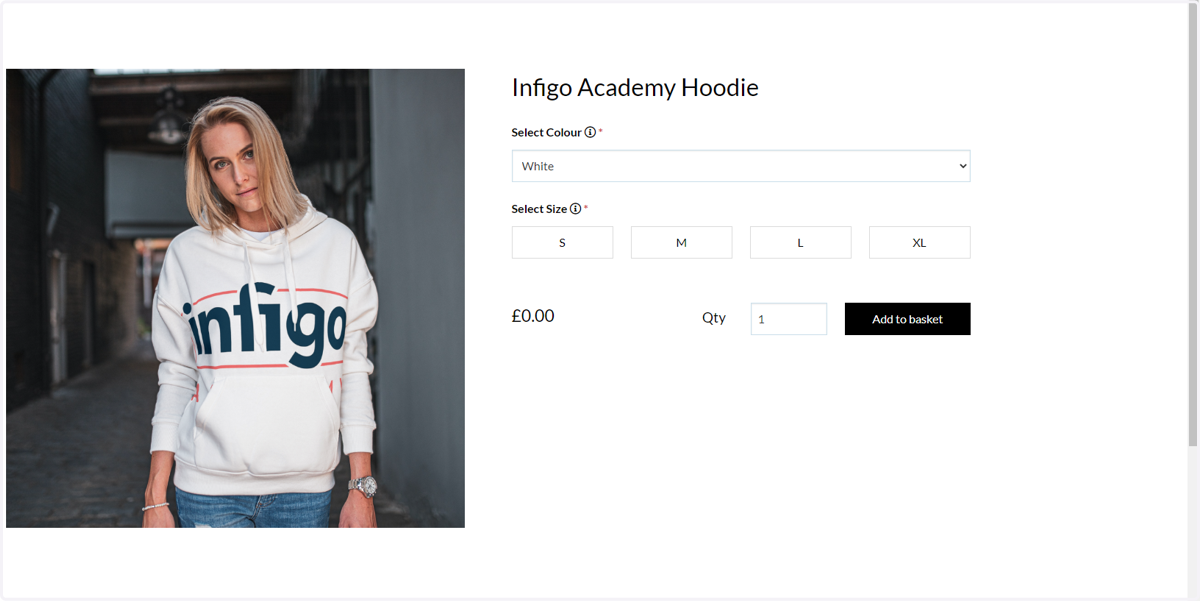
Your product will now contain two attributes for colour and size.
Depending on your selection, you should see changes to available attribute values and to the price of the item.
65. Click on Attribute combinations
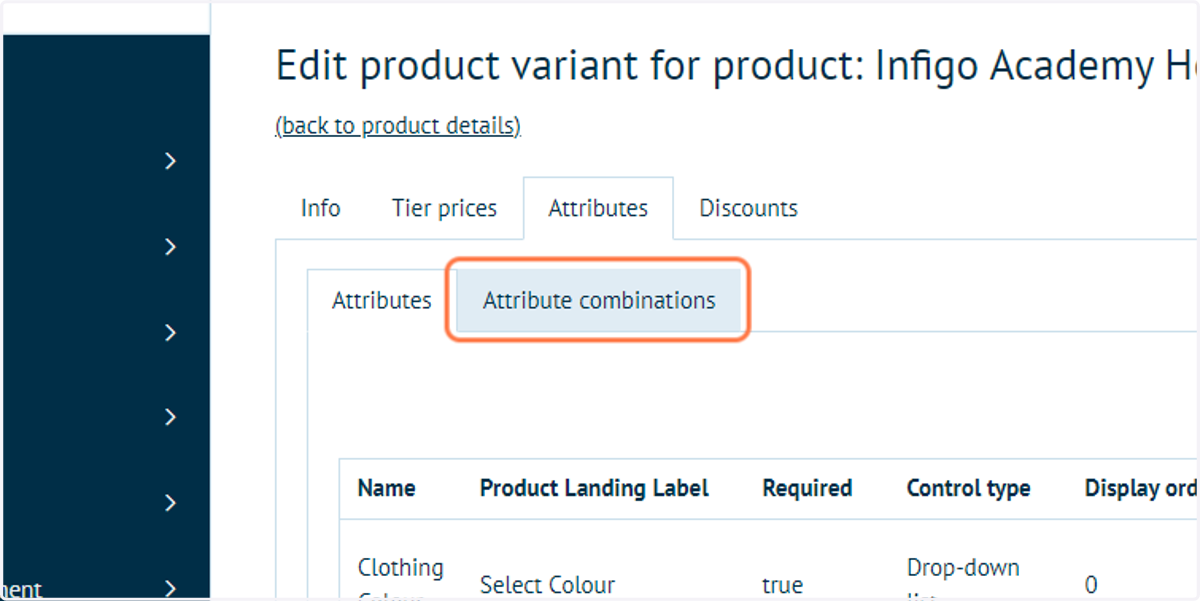
Next, we will apply some Attribute combination options.
Attribute combinations are useful when your 'Manage inventory method' is set to 'Track inventory by product attributes'.
The attribute combination will be used when the attributes selected in the product page match some of the attributes specified in this list of attribute combinations.
Each attribute combination will have a 'Priority' value that will be used in case more than one combination matches the same number of attributes and values ('Score') for the current attribute selection.
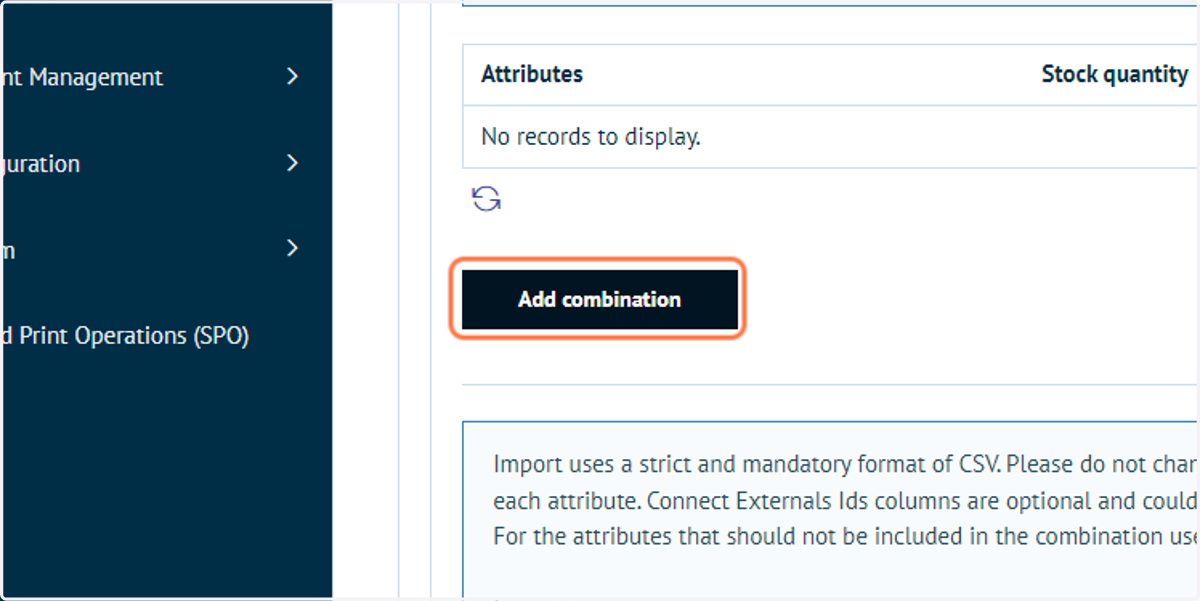
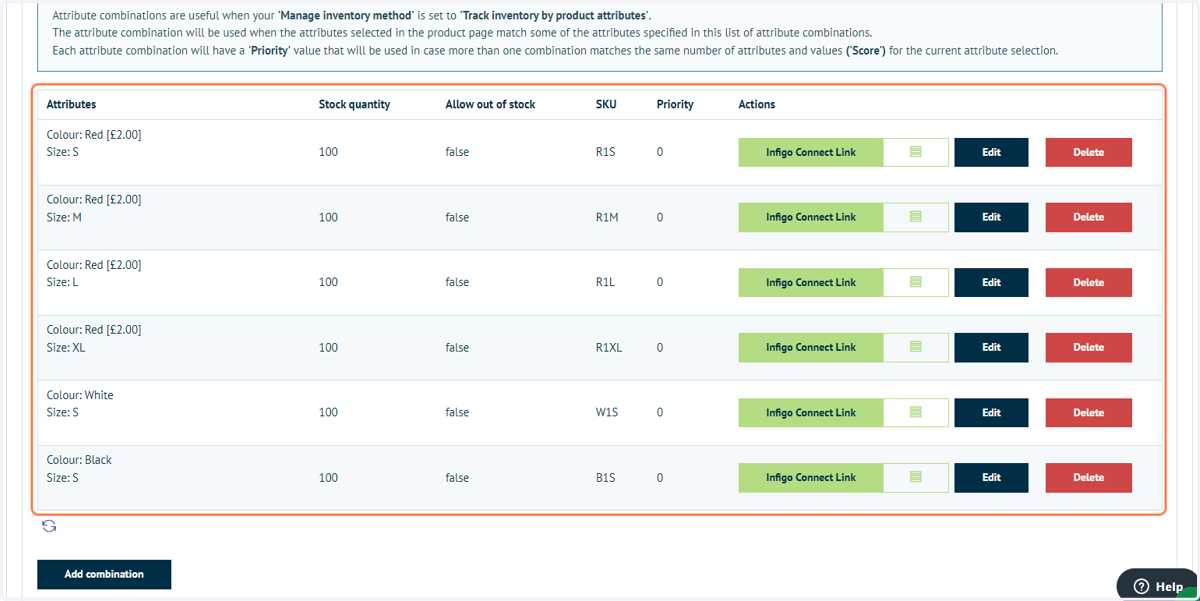
In this example, we will apply some attribute combinations defining stock levels, SKU code and changing the product image based on the combination of selected attributes.
66. Click on Add combination
67. Define combination options and click on Add combination
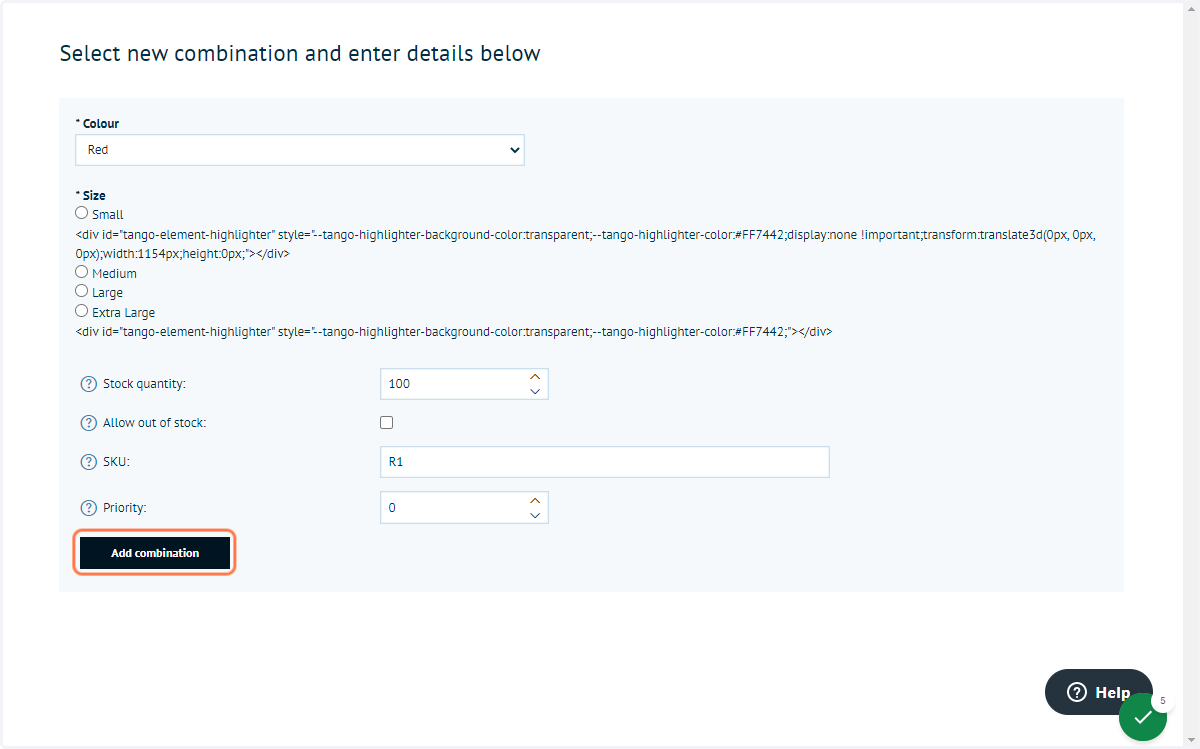
Select the combination of attributes this entry relates to (for example Red and Small).
You can also define the stock quantity of this selection, define a SKU for this selection and define whether this entry has priority over others.
Infigosoftware
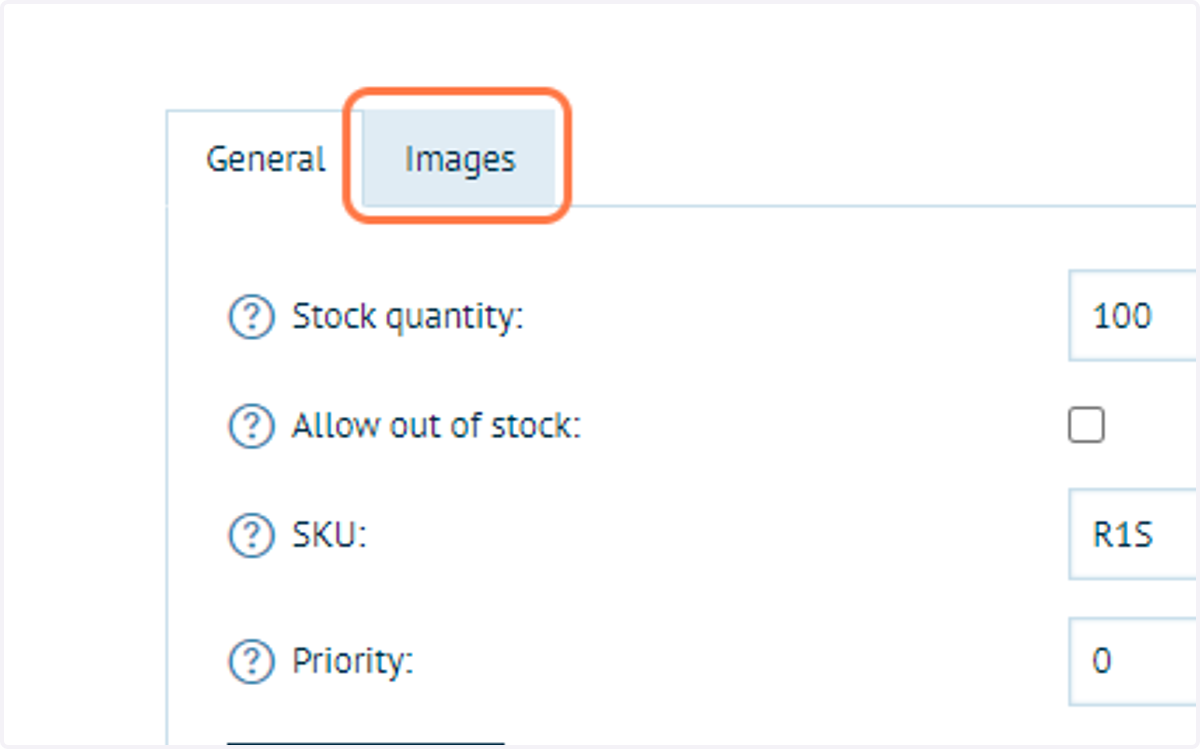
68. Edit the combination just created and click on Images
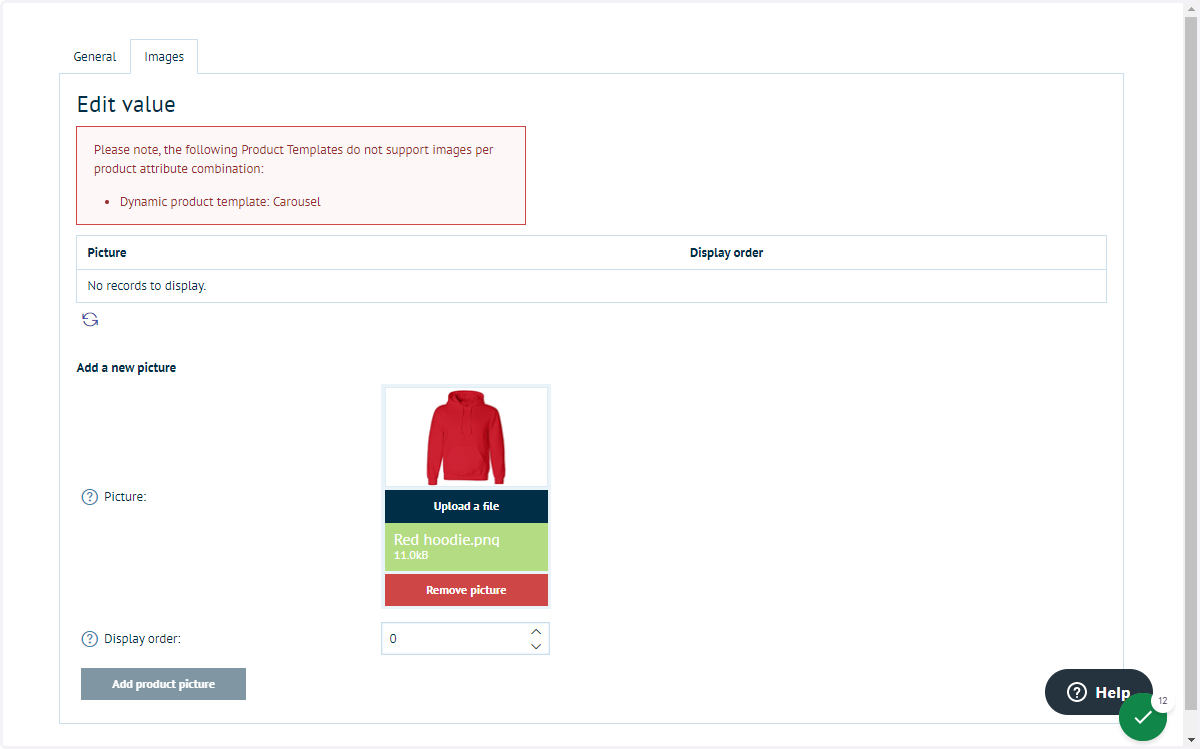
This tab is not available when initially creating the attribute combination.
69. Upload an image file for this combination and click Add product picture
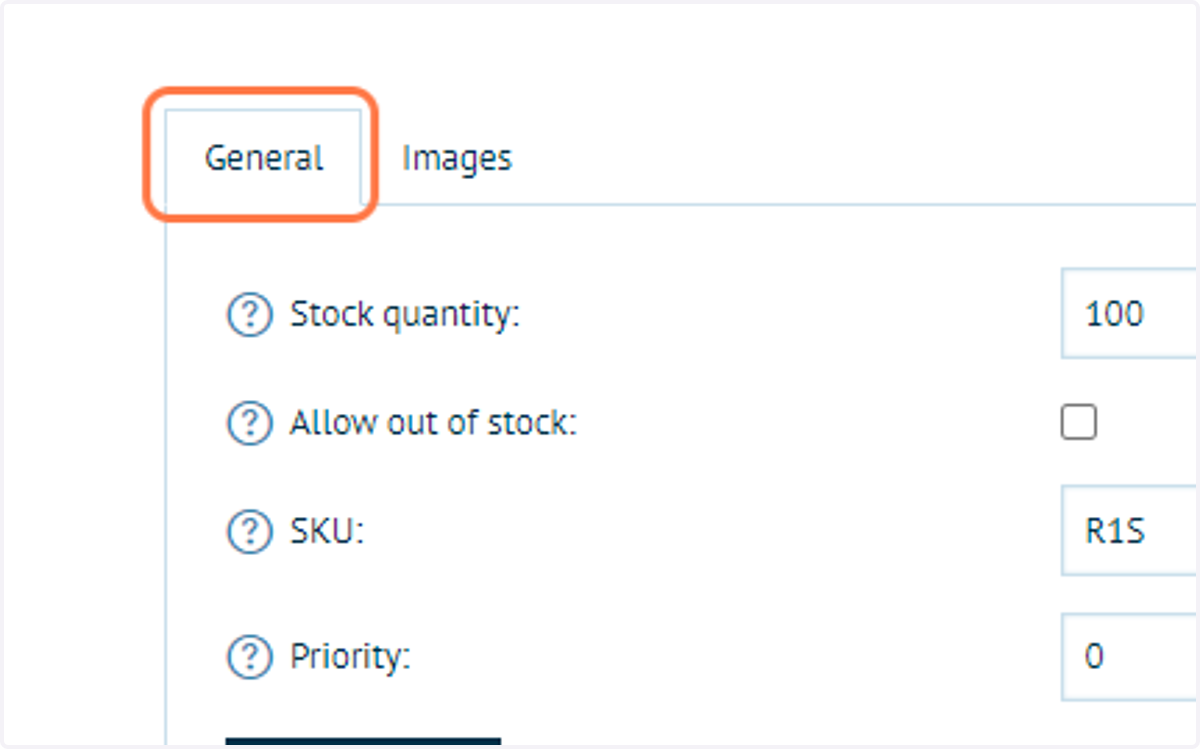
70. Click on General
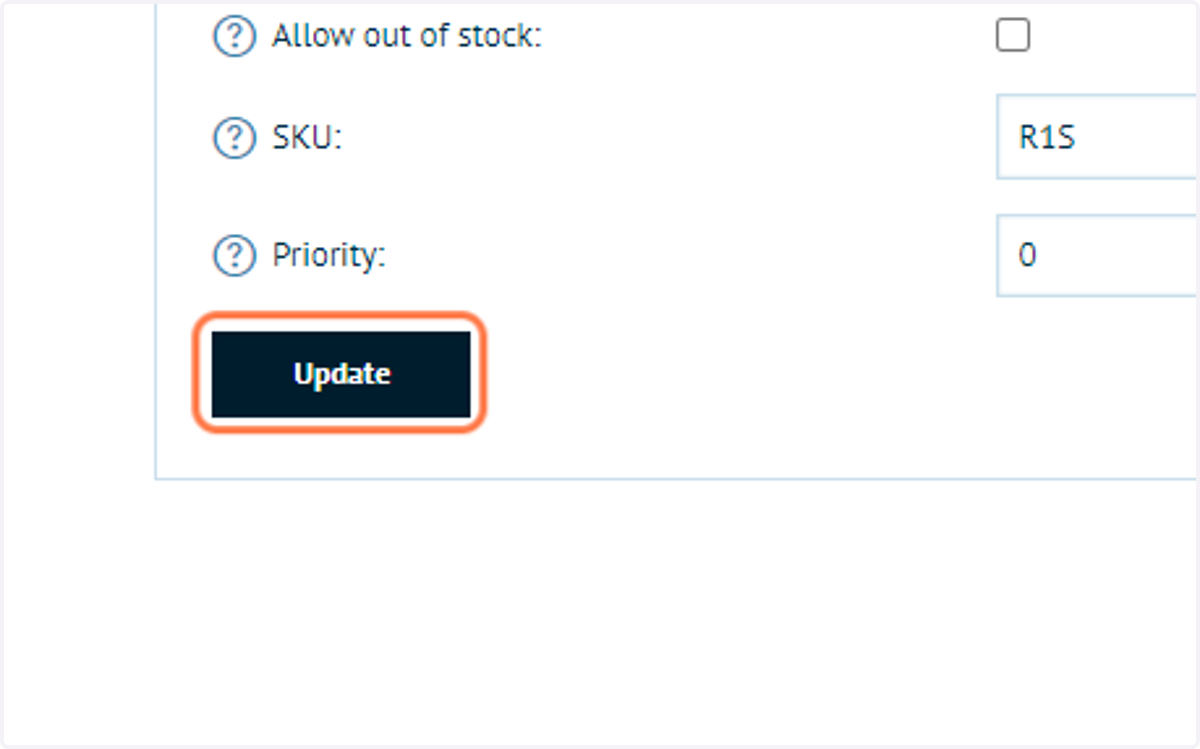
71. Click on Update
72. Create a number of attribute combinations
Create an entry for each attribute combination you wish to detail.
As this can result in a large number of options, Infigo provide an import from CSV tool allowing these to be created in minimal time.
73. Click on Save and Continue Edit
Next, we will view these changes on our storefront.
74. Review changes
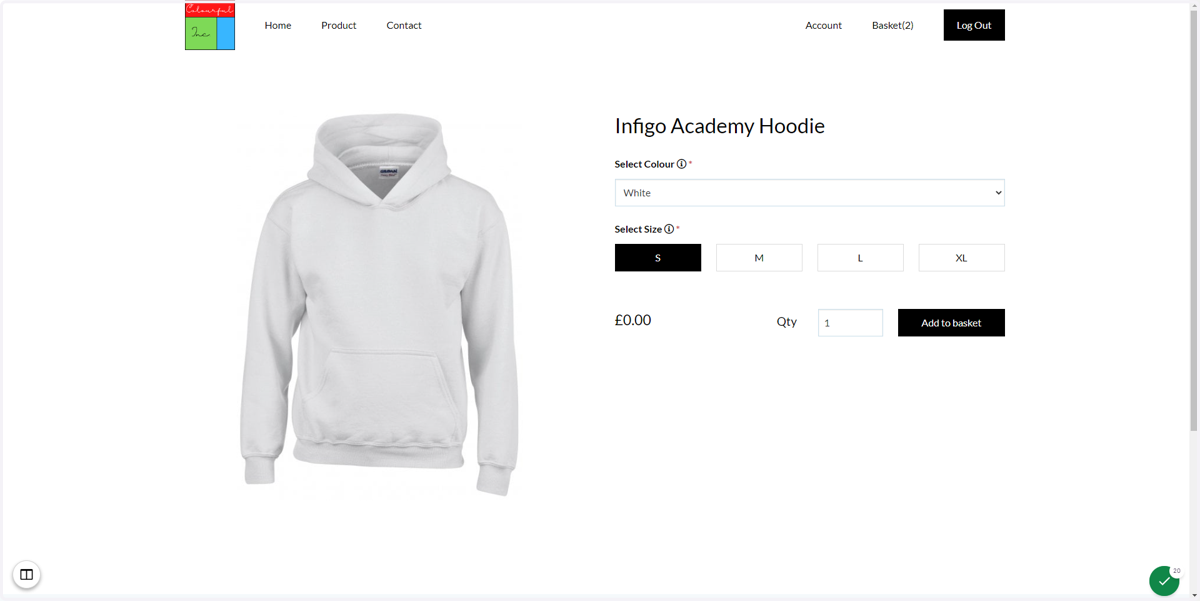
The changing image is the only visible option on our example.
As the colour attribute is changed, the visible image updates due to information specified in the Attribute combinations.
75. Review changes