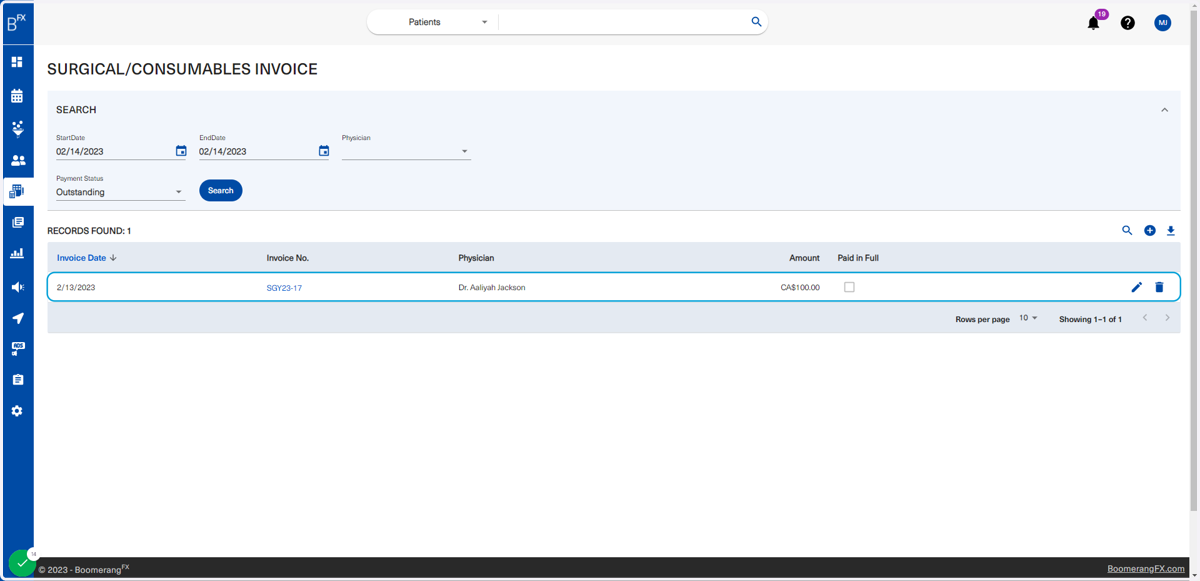
3.0 Accounting Module
Accounting processes allow clinics to manage and organize all internal operations by recording and keeping track of all daily procedures along with transactions and interactions between customers and suppliers.
Boomerangfxalpha
1. Go to BoomerangFX
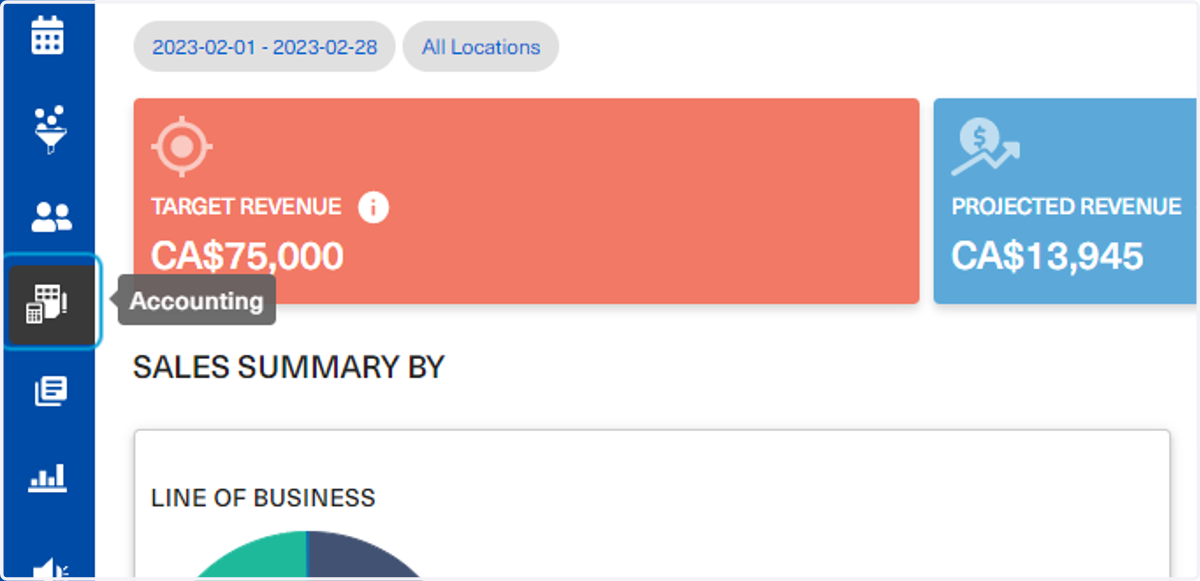
2. To access the accounting selection options, click on Accounting on the left bar menu
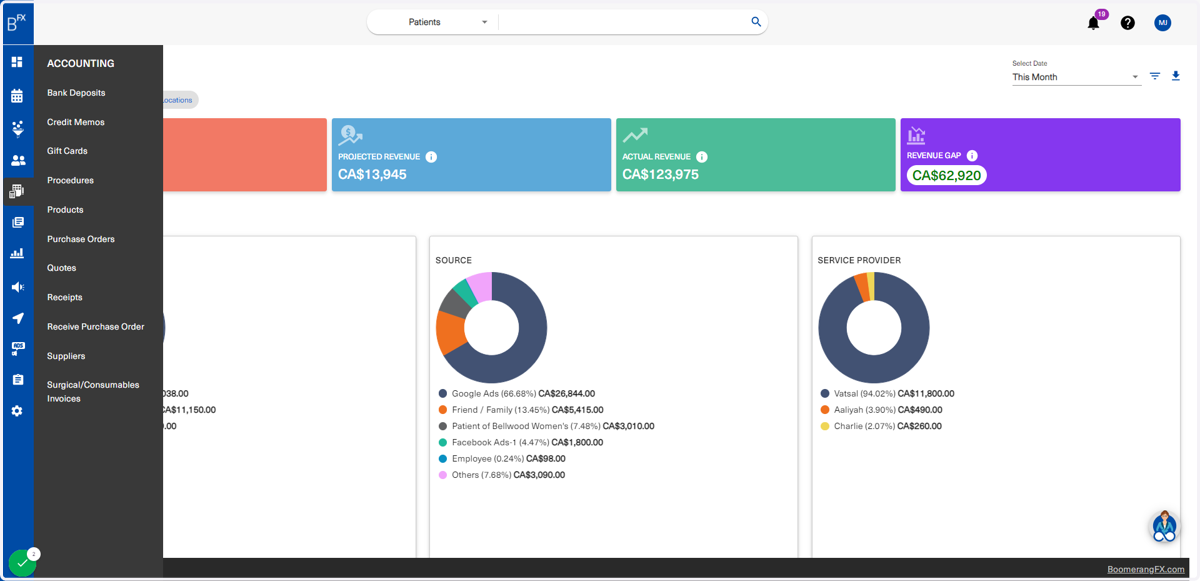
3. The following options in the sidebar menu allow users to complete a variety of accounting processes that are typically done within clinics
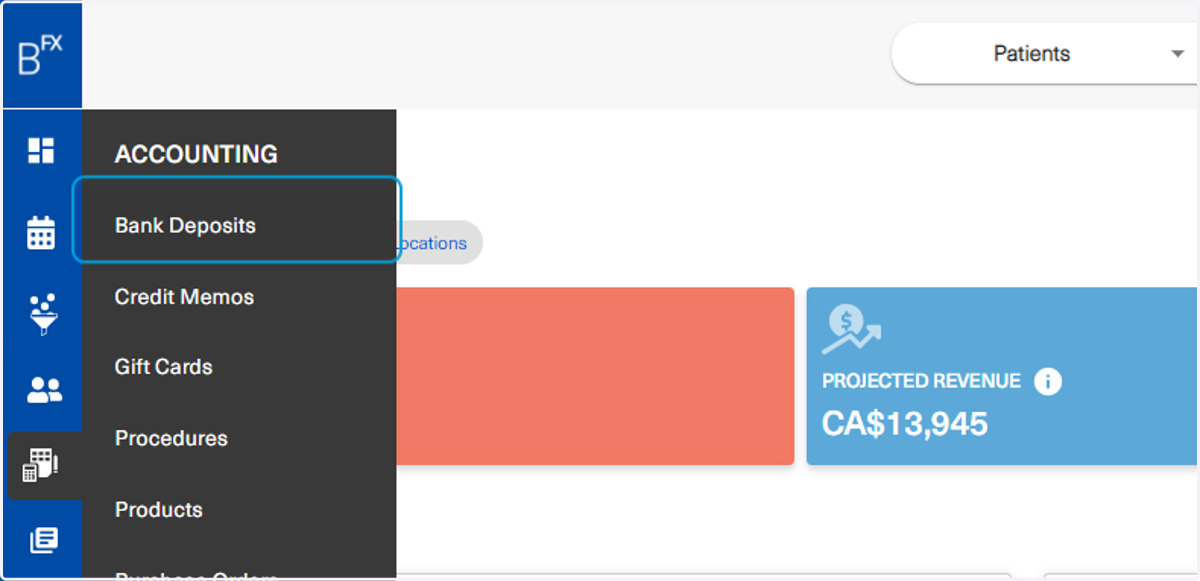
4. Click on Bank Deposits to begin with the first accounting process
5. Under Bank Deposits, clients are capable of viewing all deposits made within a specific timeframe
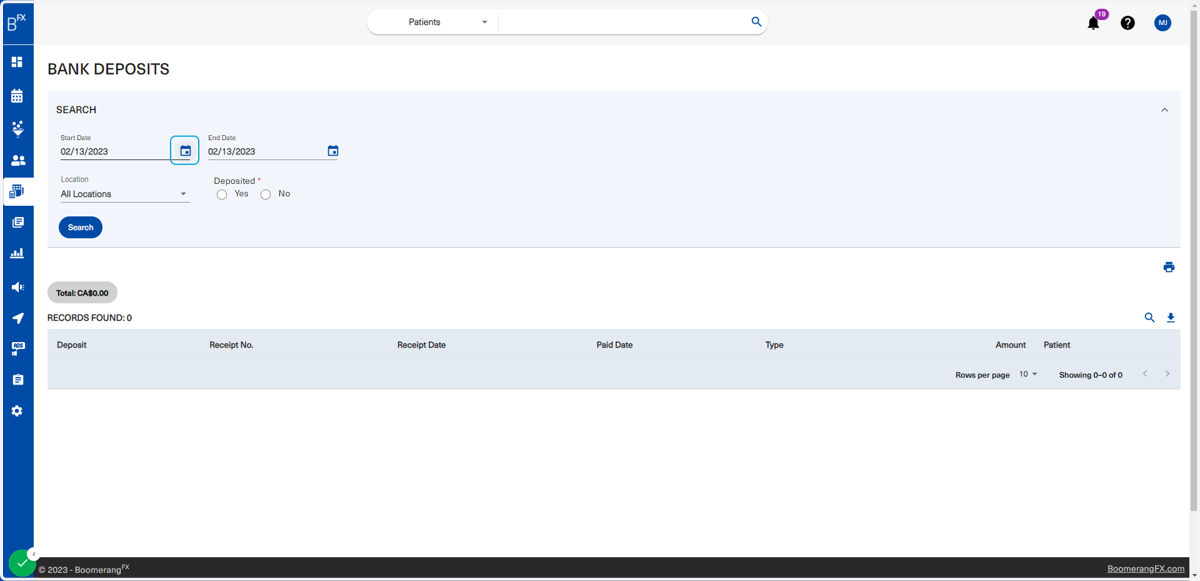
6. Select the start and end dates
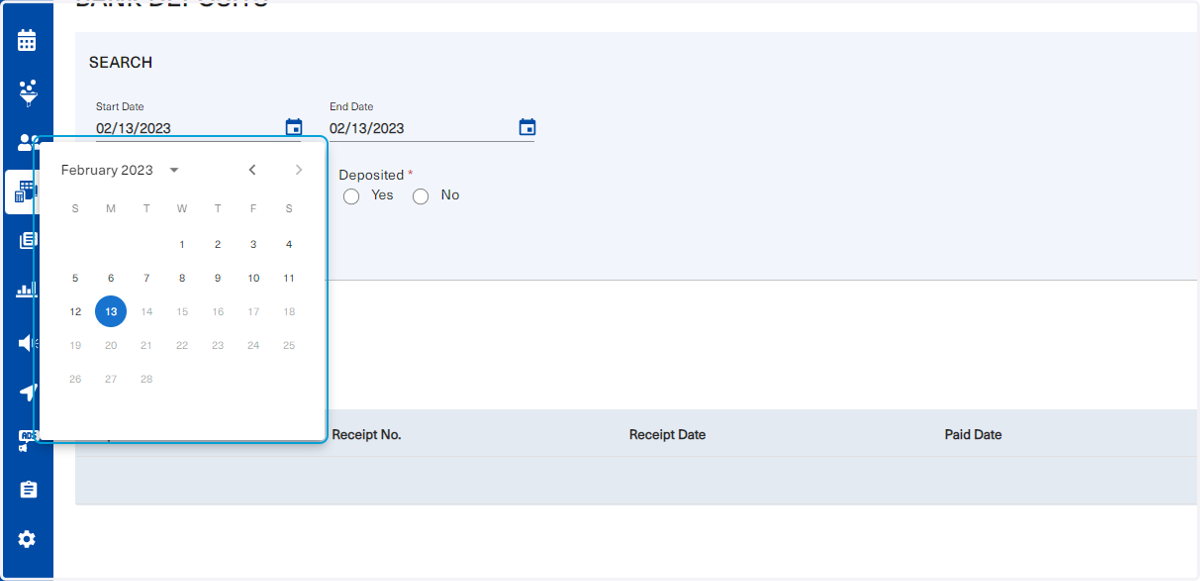
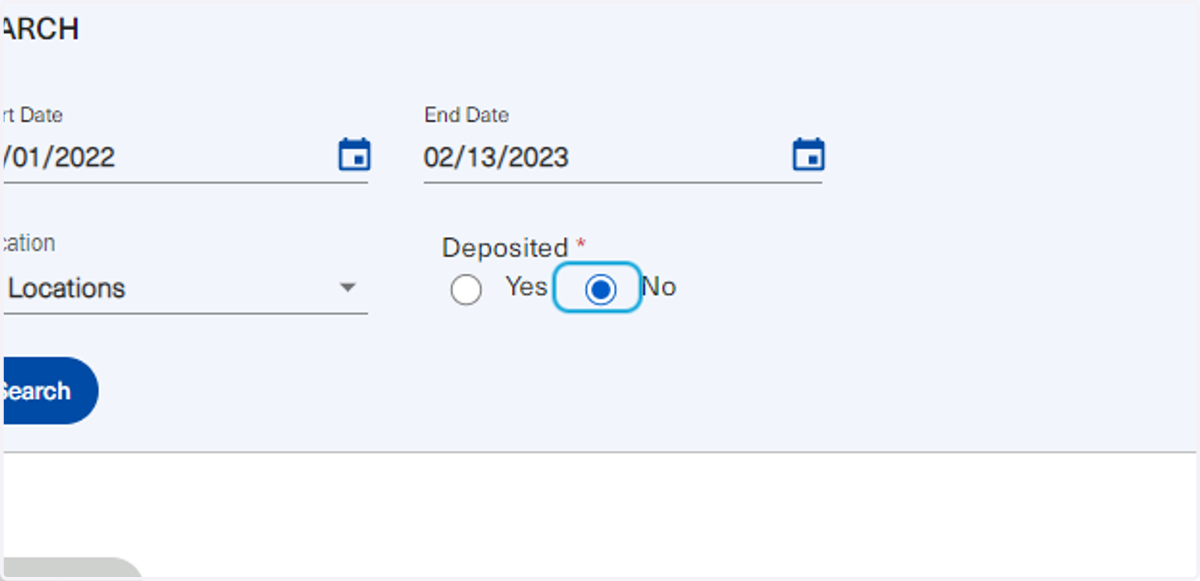
7. Select whether deposited or not
8. Click on Search
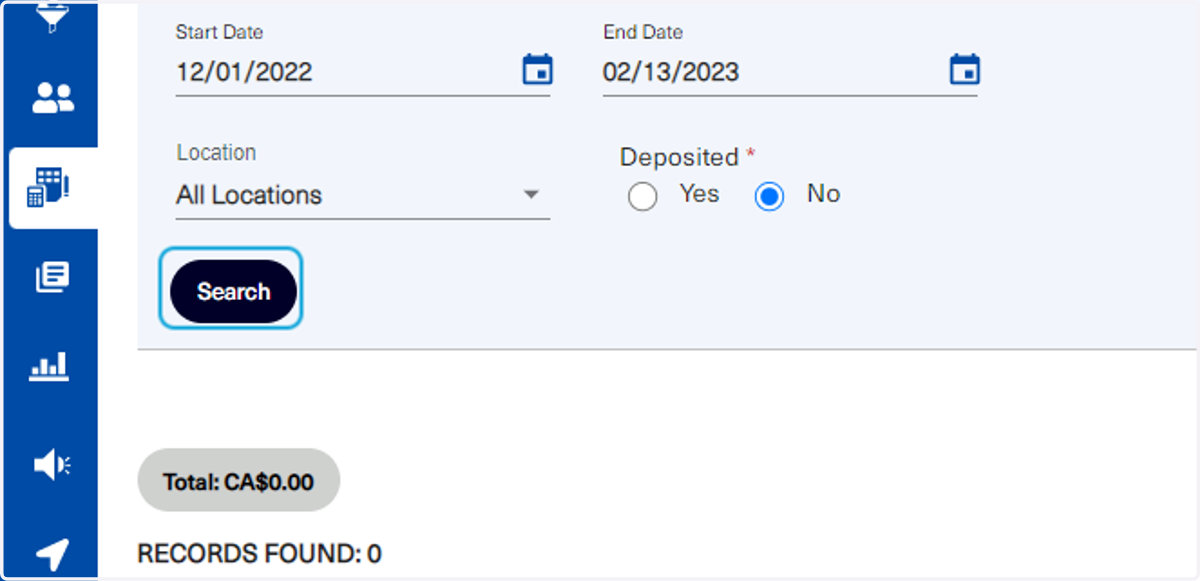
9. A list of the bank Receipts that have not been deposited will appear
If the user clicks on yes in the previous step, bank receipts that have been deposited will appear.
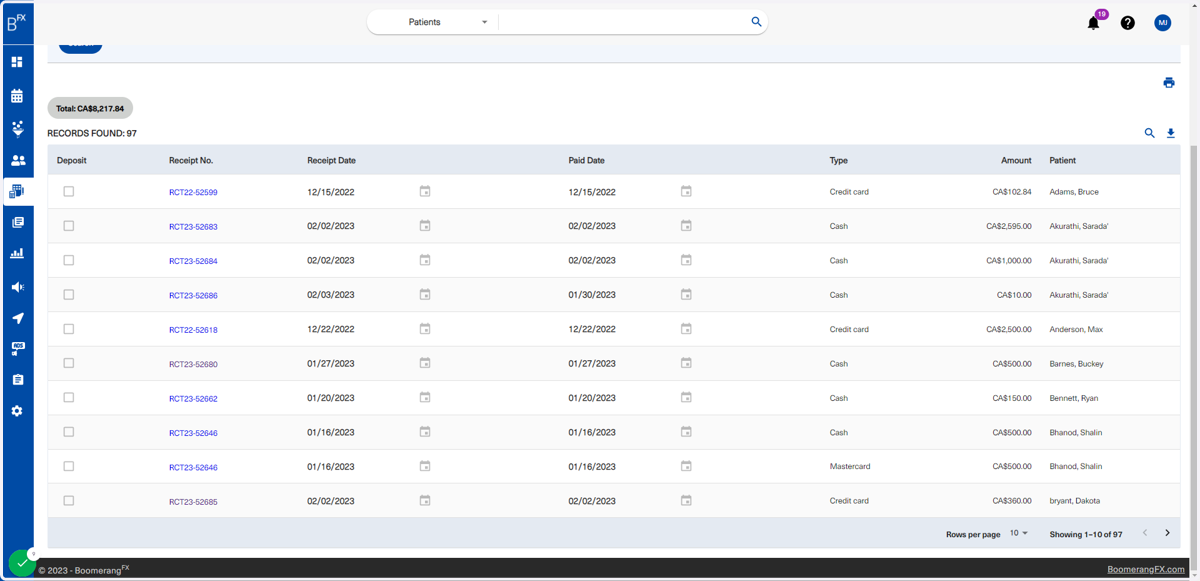
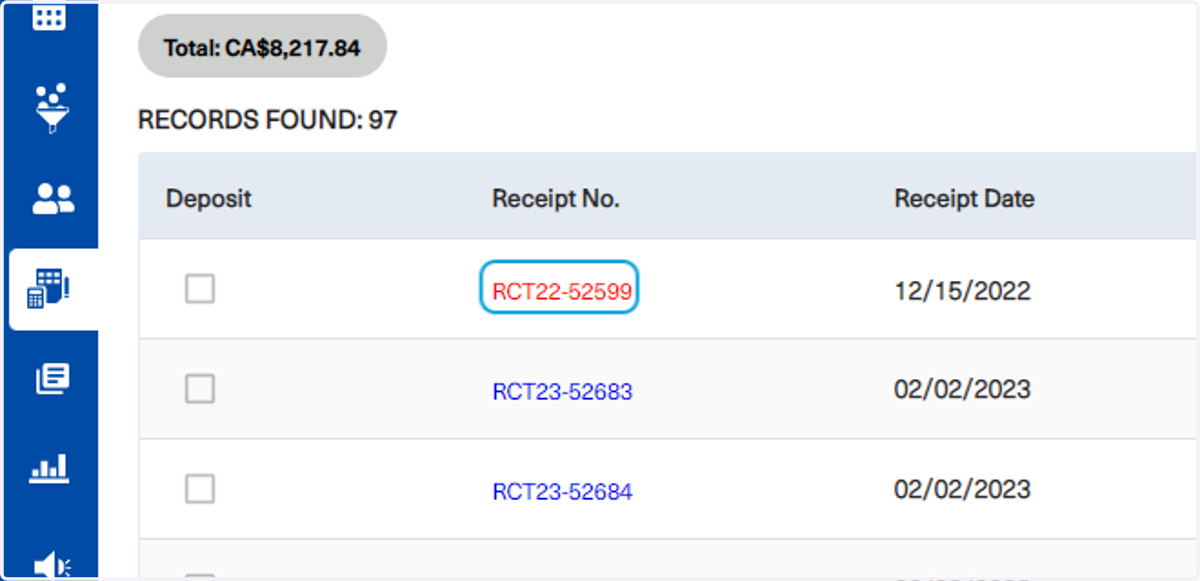
10. Click on the receipt number link to view it
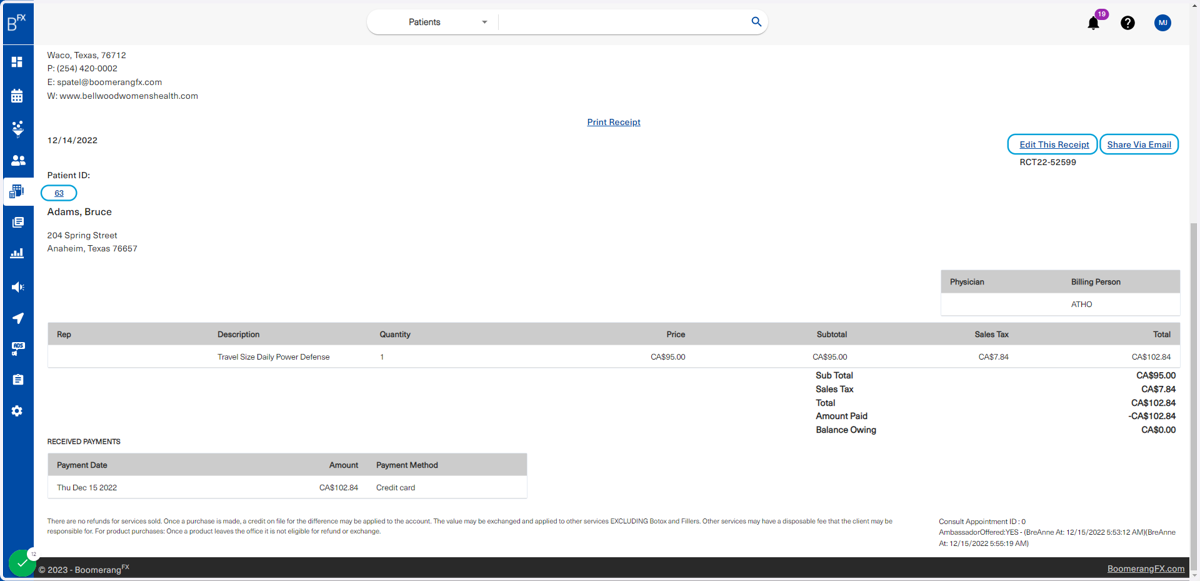
11. Scroll down to view the details of that receipt
All links (in blue and underlined) are clickable.
The number under the label "Patient ID" allows users to navigate to the patient's profile in one click.
"Edit This Receipt" is a provided option
"Share Via Email" is also applicable to this receipt
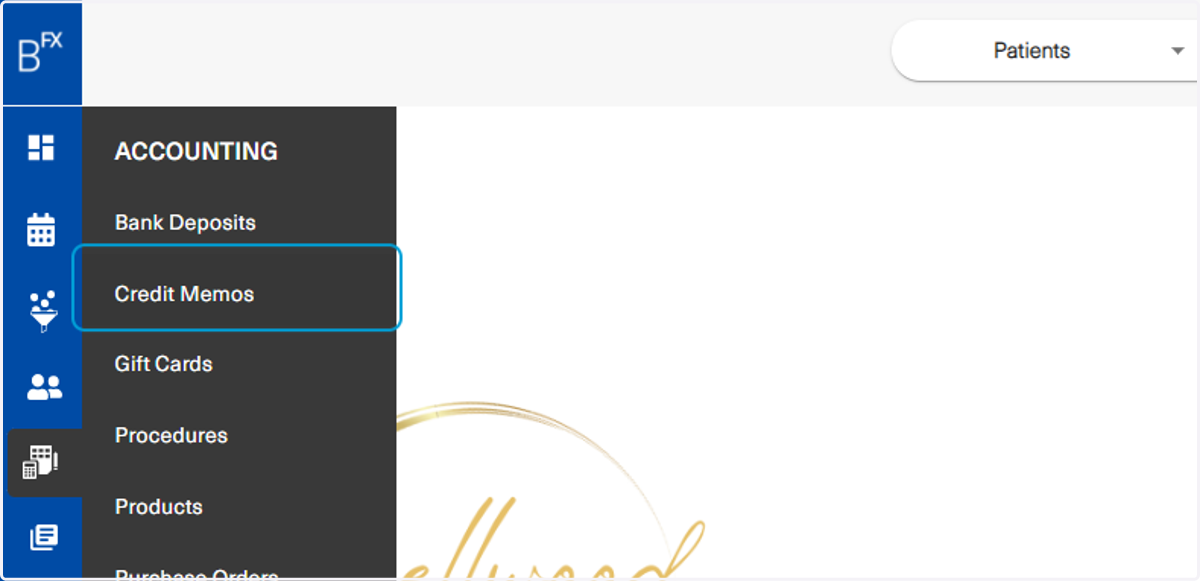
12. To view the credit memos in accounting, click on the accounting label in the left bar menu and then on Credit Memos
13. Credit Memos allow clinics to keep their customers satisfied by giving them the option to be refunded any product or procedure that they are unsatisfied with
Users may create credit memos to avoid refunding in cash especially when the procedure is of high value. The benefit of having a credit memo is giving the customers the option to experience a variety of treatments and products offered which may aid in increasing their loyalty.
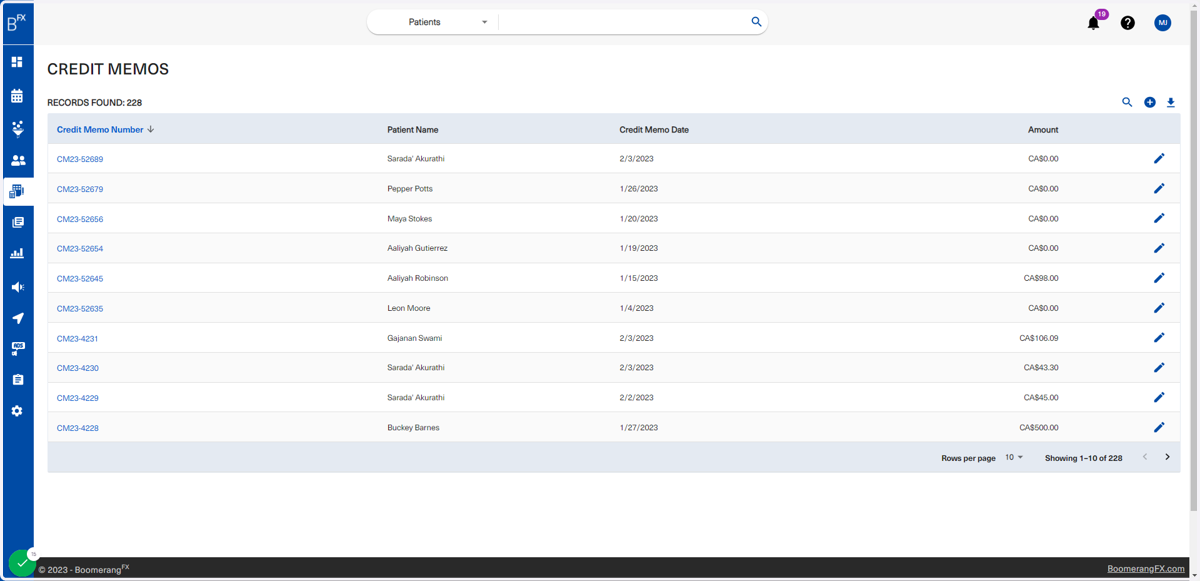
14. By clicking on the credit memo code link, the user will be able to view the credit memo
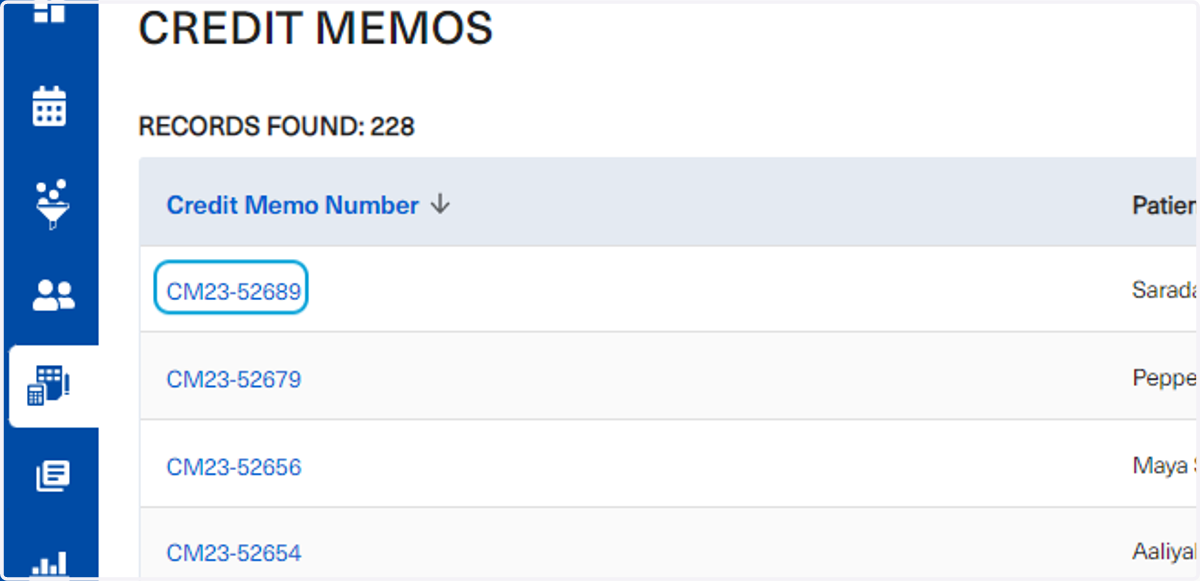
15. This is a preview of the credit memo
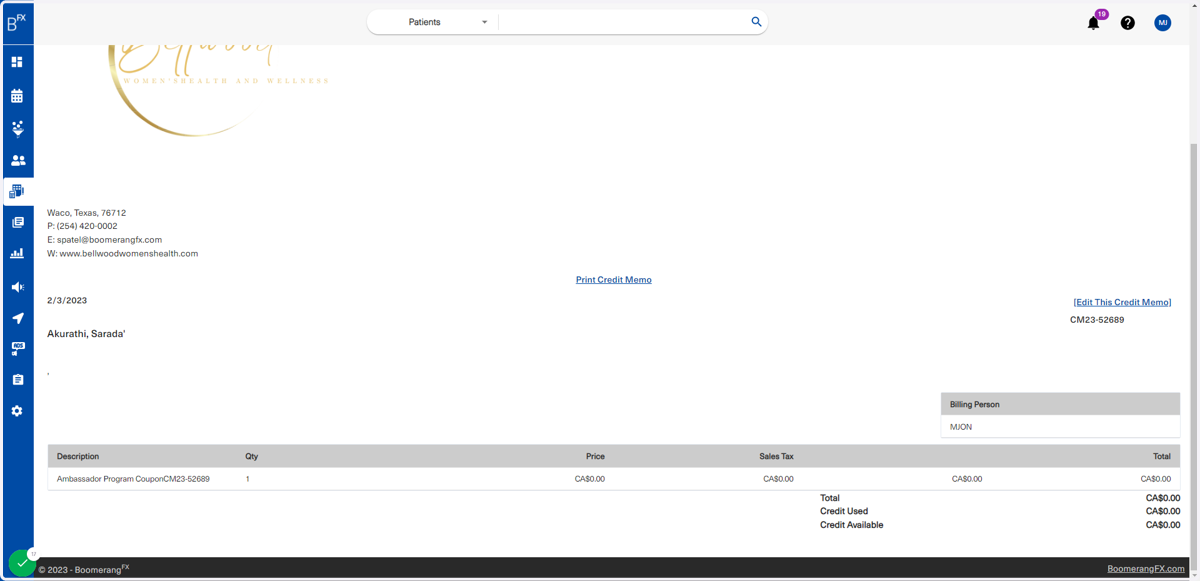
16. In order to add a new credit memo, users may click on the plus icon as shown below
17. Fill out the required information as necessary
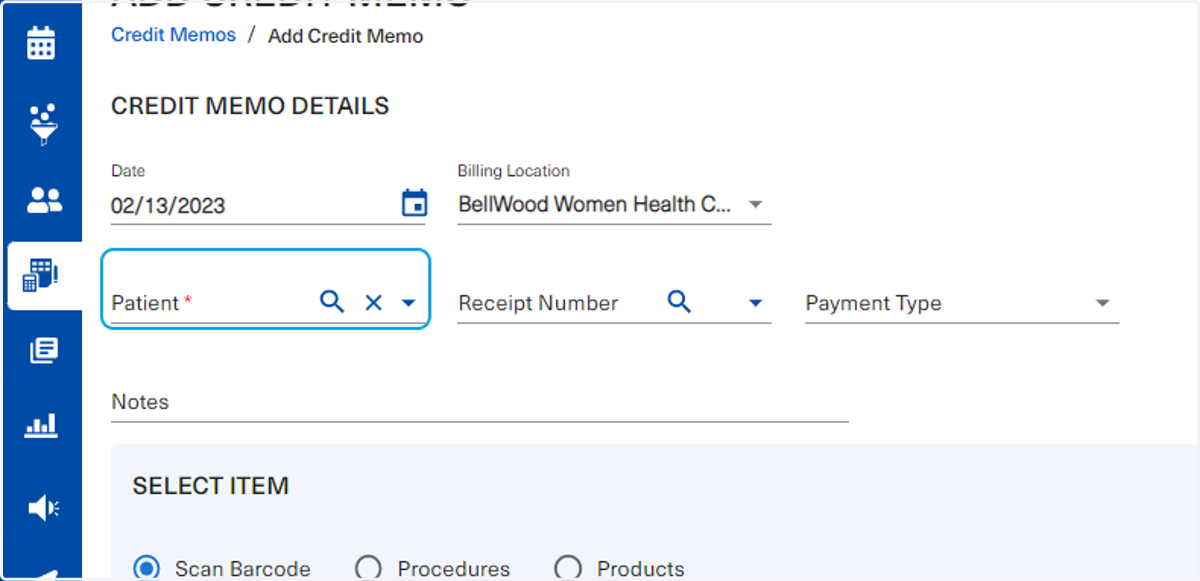
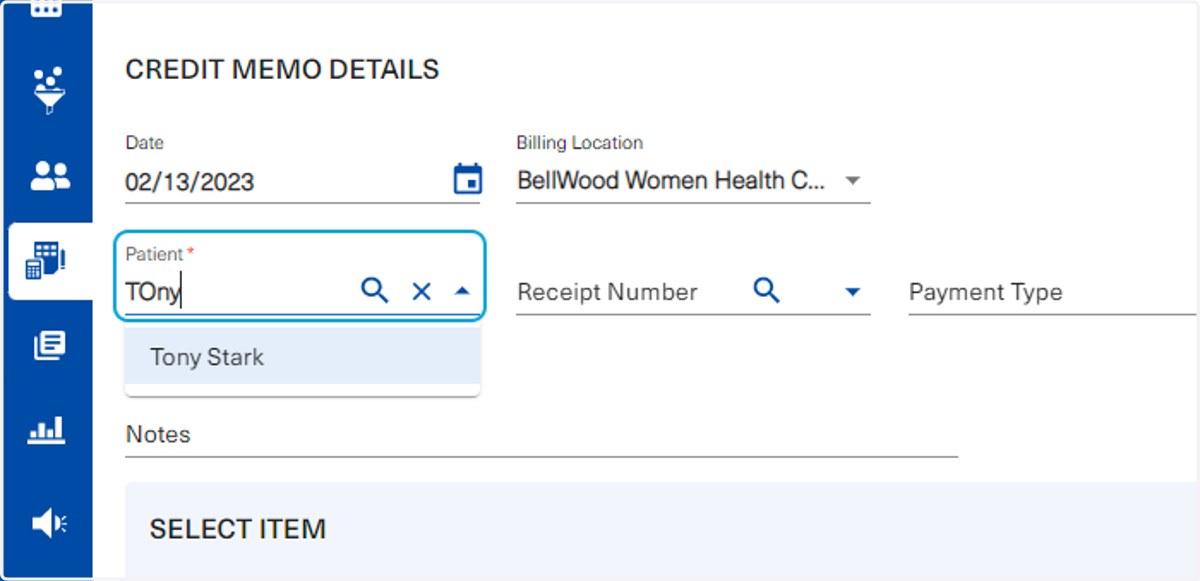
18. Type "TOny"
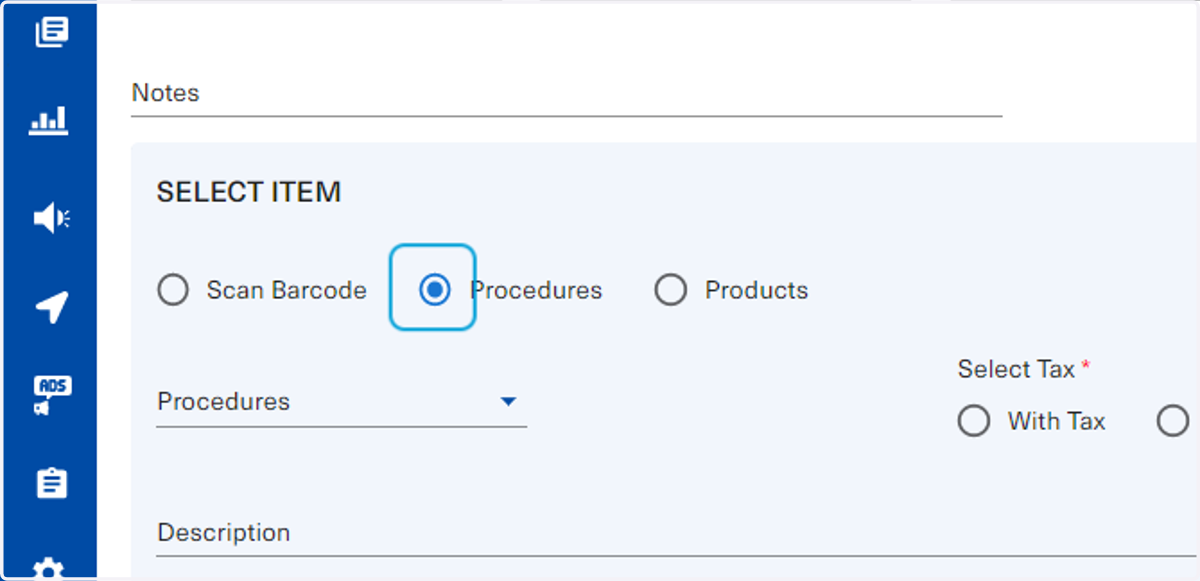
19. Select "procedures"
20. Click on Open
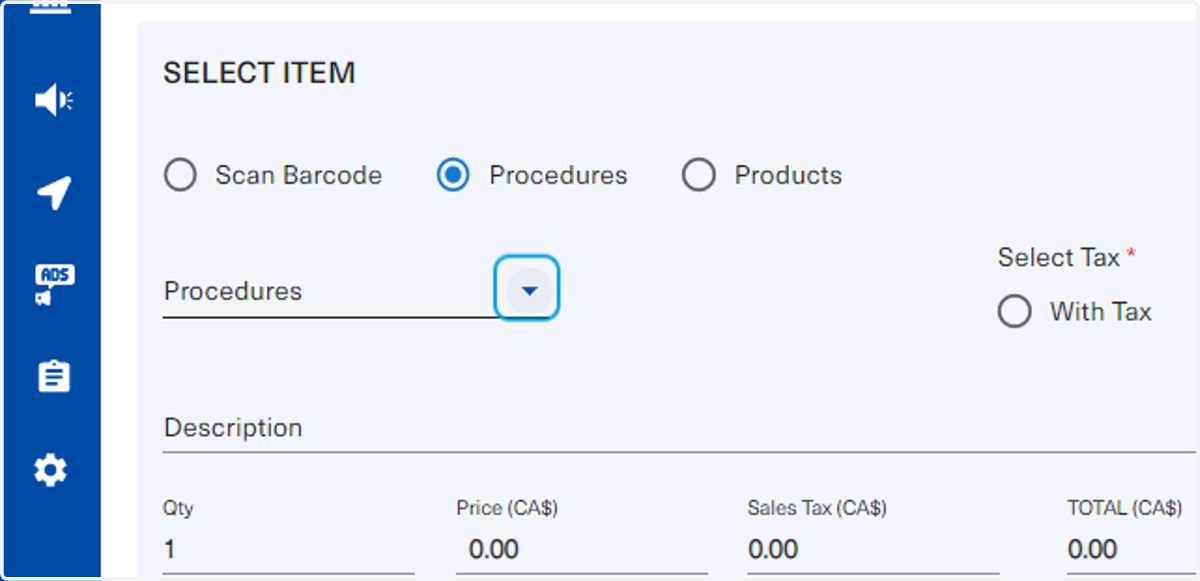
21. Click on option
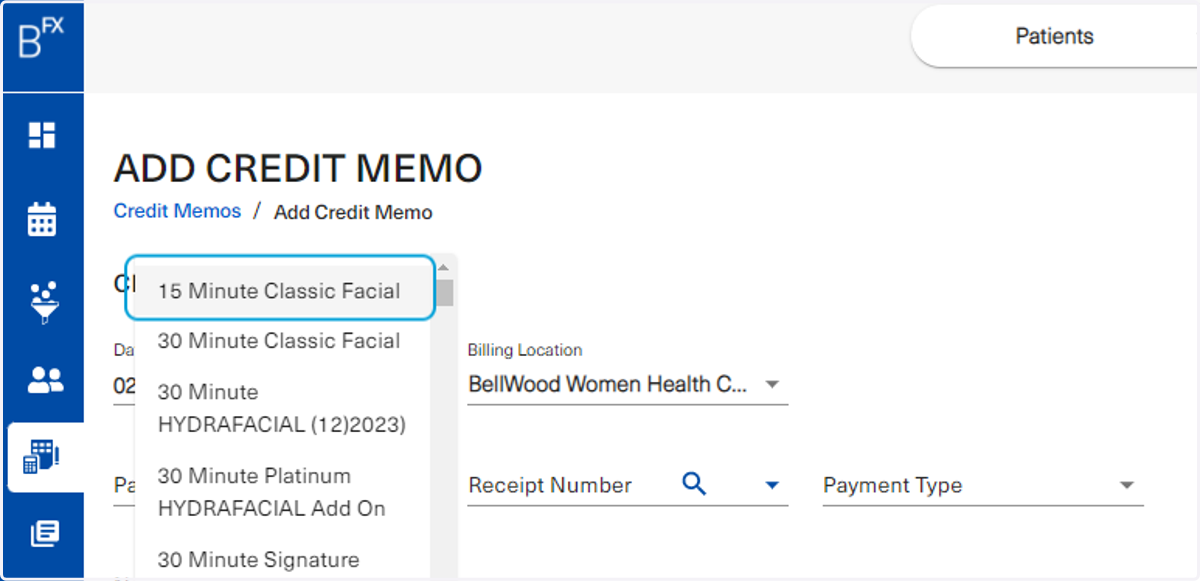
22. Click on Without Tax
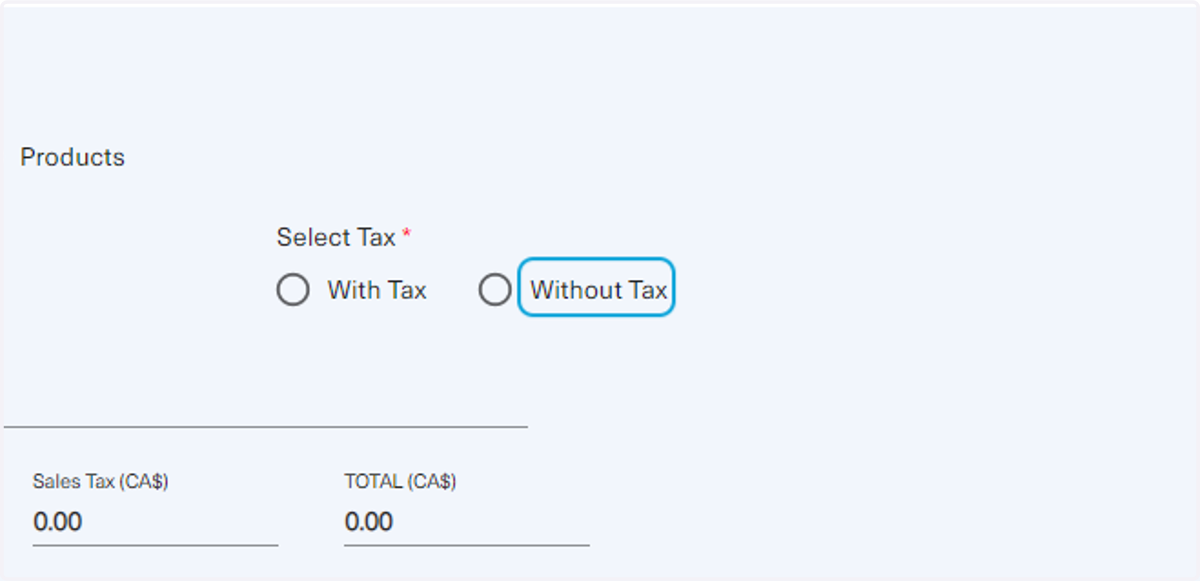
23. Click on Add Item once all fields are filled as necessary
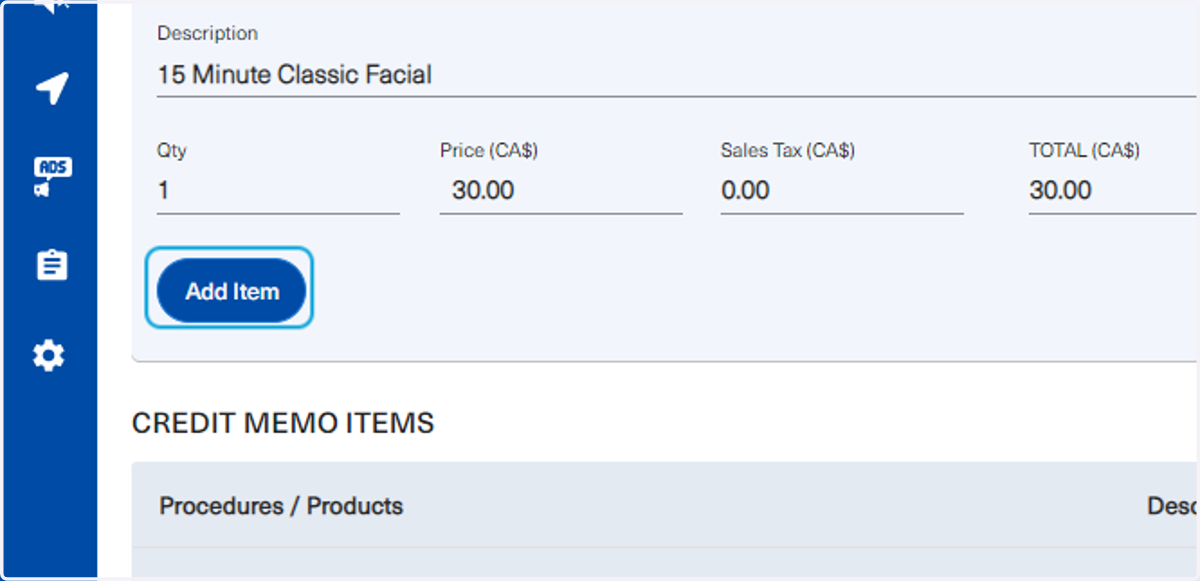
24. The credit memo will populate at the bottom as shown below. To Edit, click on the pencil icon on the right.
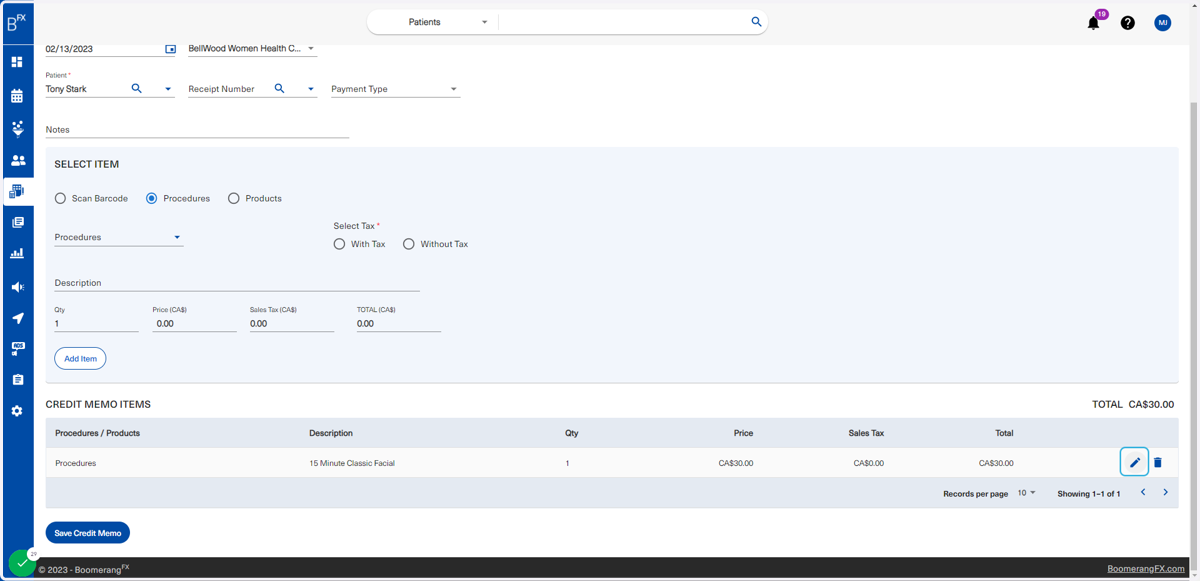
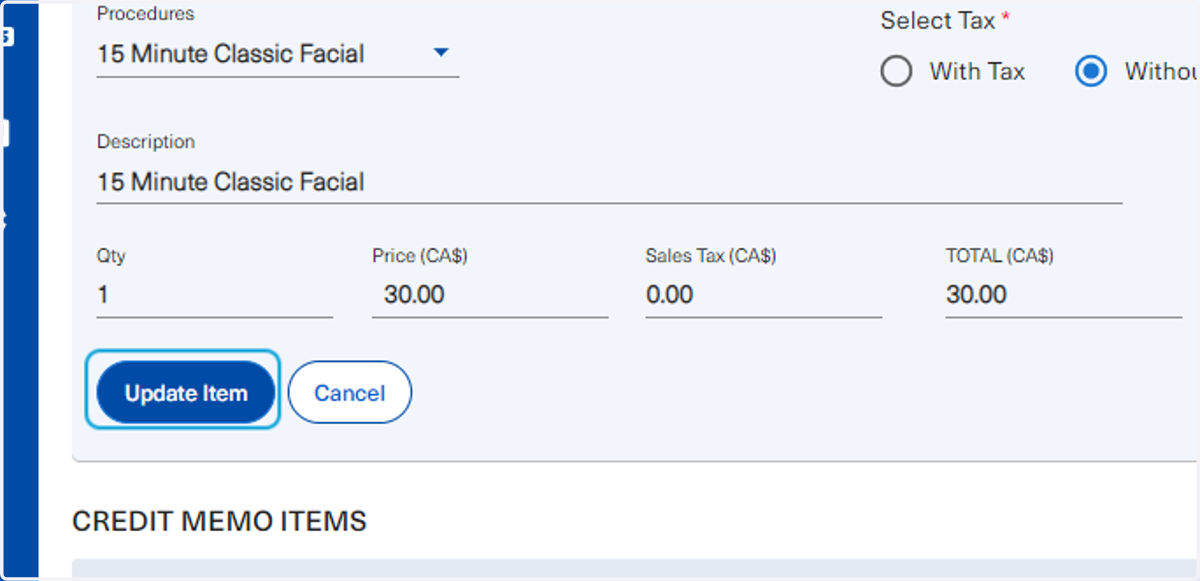
25. Once all edits are completed, click on Update Item to implement all changes made
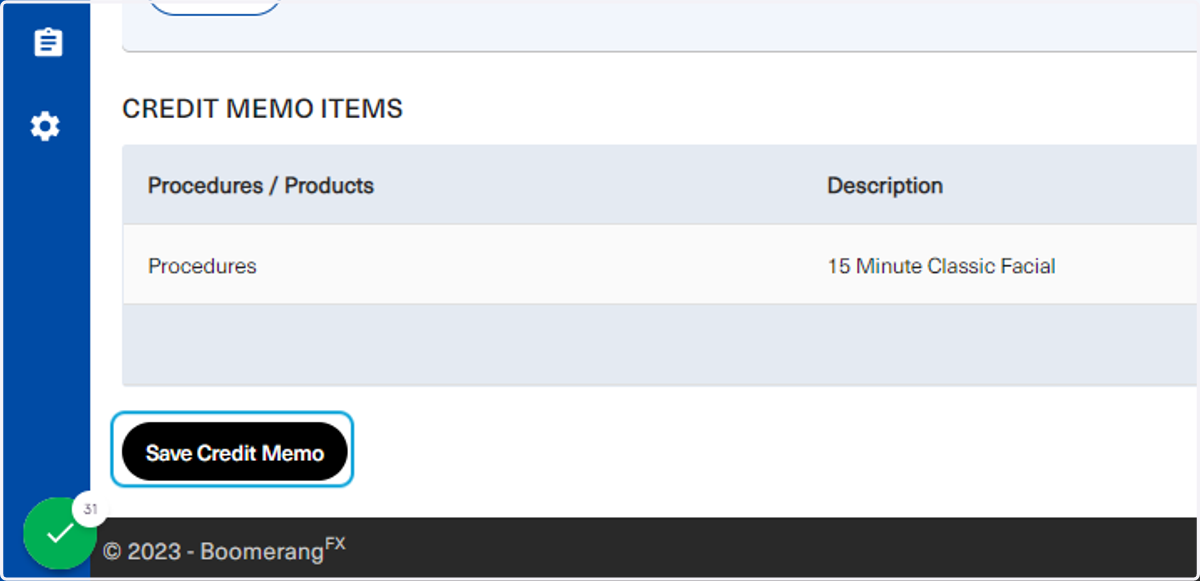
26. To complete creating the credit memo, click on Save Credit Memo
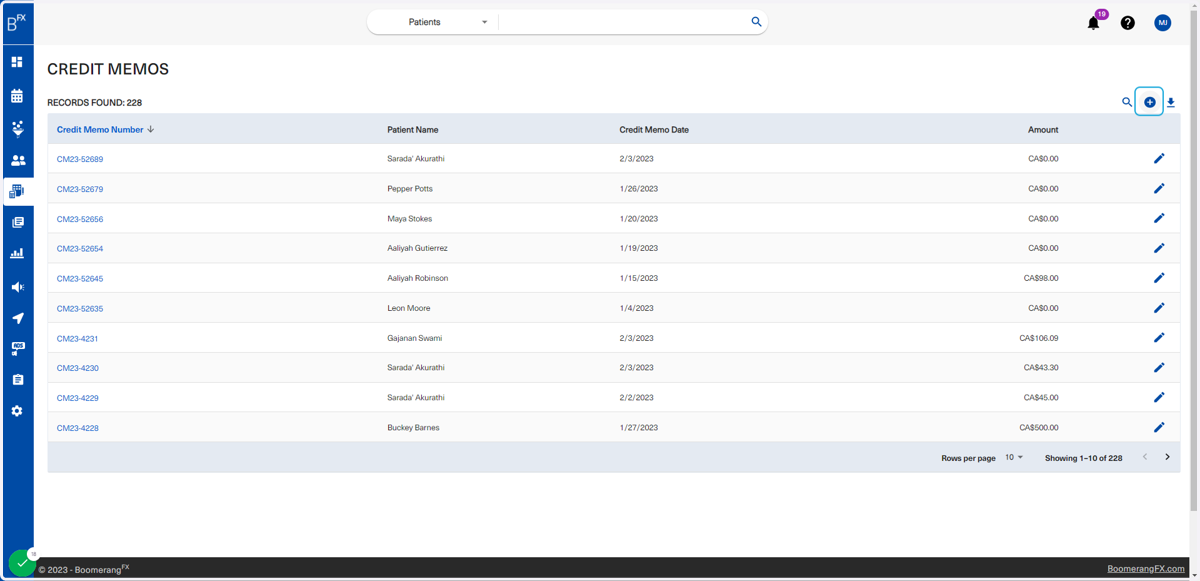
27. The system will redirect the user to the credit memo receipt while providing the option to [Edit This Credit Memo] as shown below
![The system will redirect the user to the credit memo receipt while providing the option to [Edit This Credit Memo] as shown below](https://images.tango.us/workflows/acb361ed-3d41-4452-ad38-3a086c5fd1e6/steps/fb7d3aac-1efd-461c-8c63-a70740d0ae6b/4f8a6cbe-70db-4a94-8735-9eef1fbbb125.png?fp-x=0.5000&fp-y=0.5000&w=1200&border=F4F2F7&dpr=1.00)
28. Gift Cards
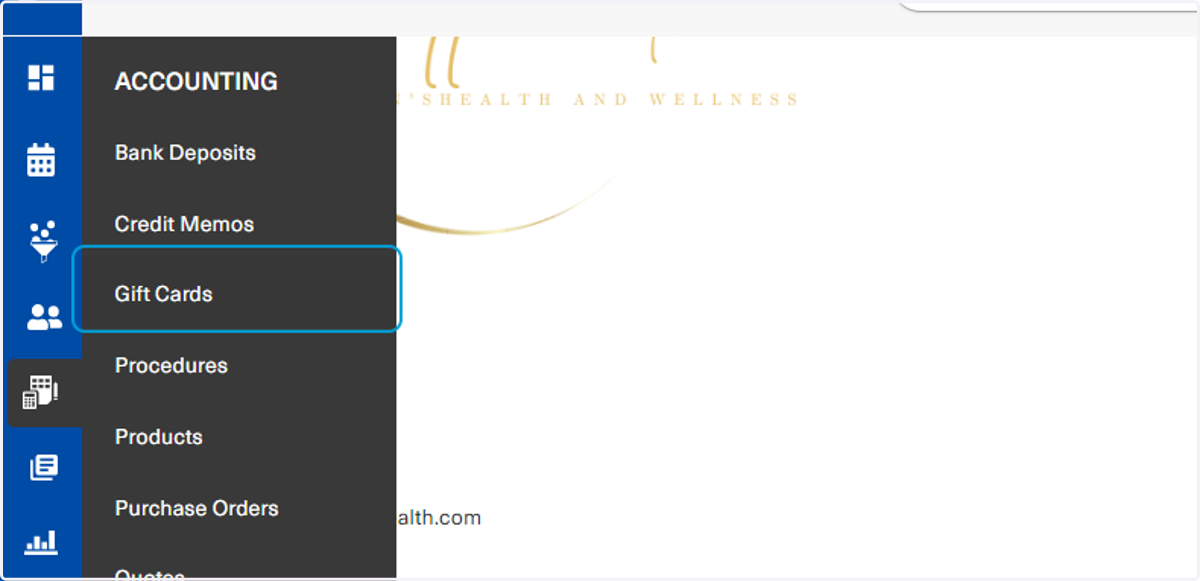
Click on Accounting, then on Gift Cards
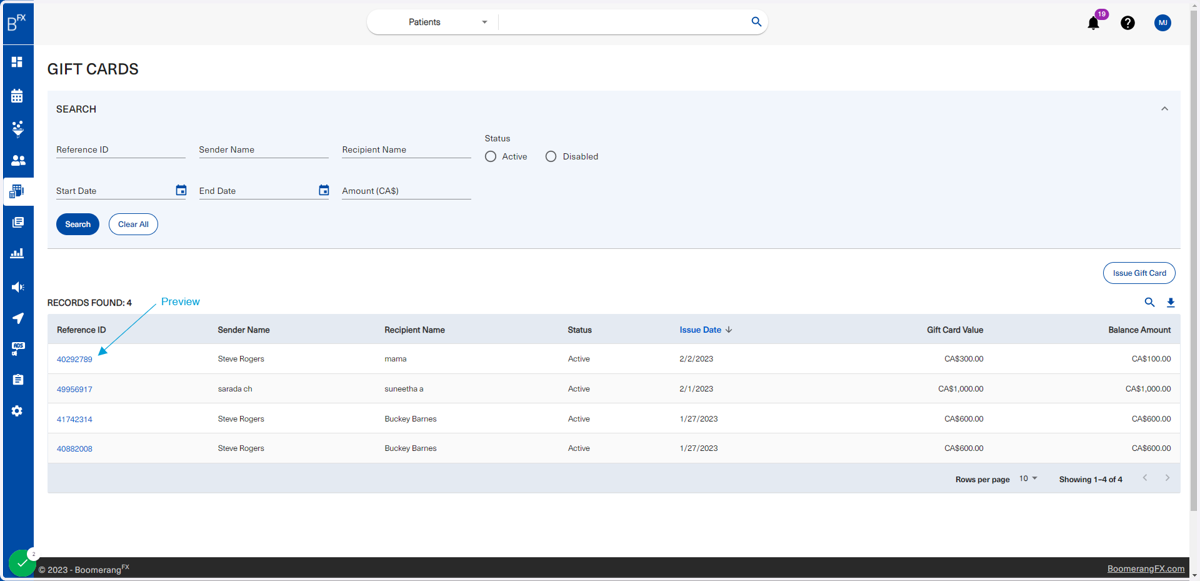
29. Gift Cards are a great way for clinics to grow their customer base by encouraging their patients to invite their friends and family to experience transformational results
Users may preview the gift cards by clicking on the blue reference ID in the list as shown below.
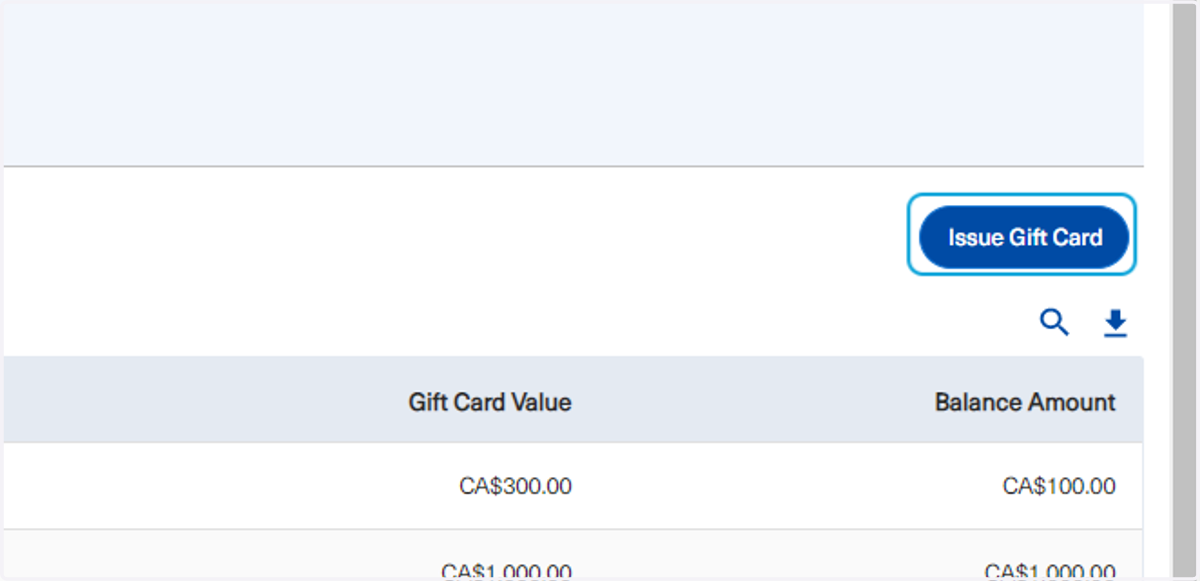
30. To issue a new gift card, click on the following button
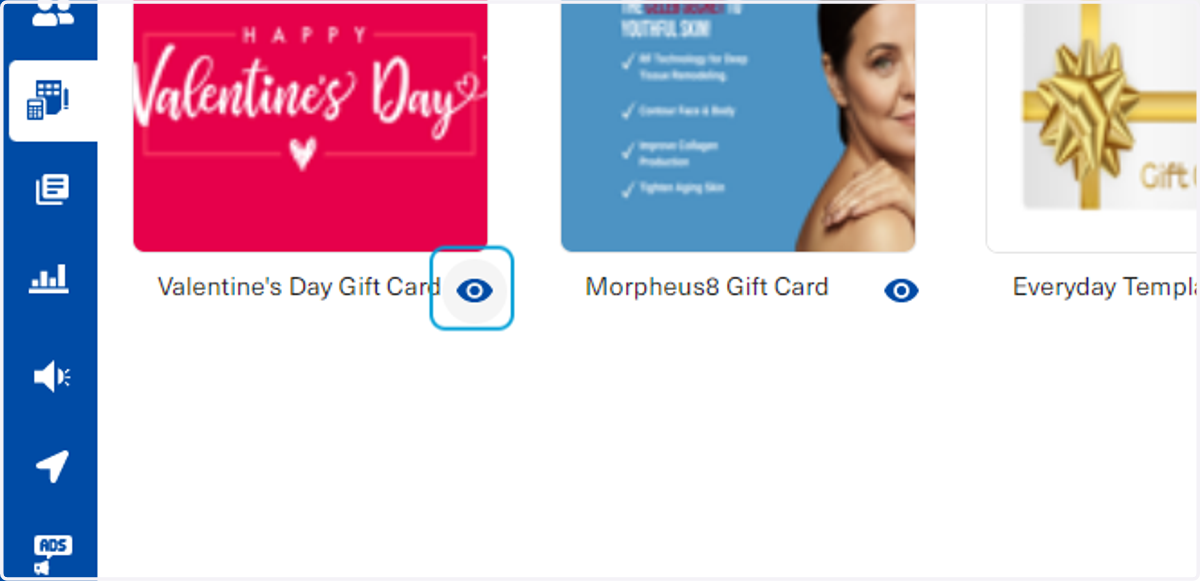
31. To preview a gift card that has been previously created under Setup, click on the preview icon as shown below
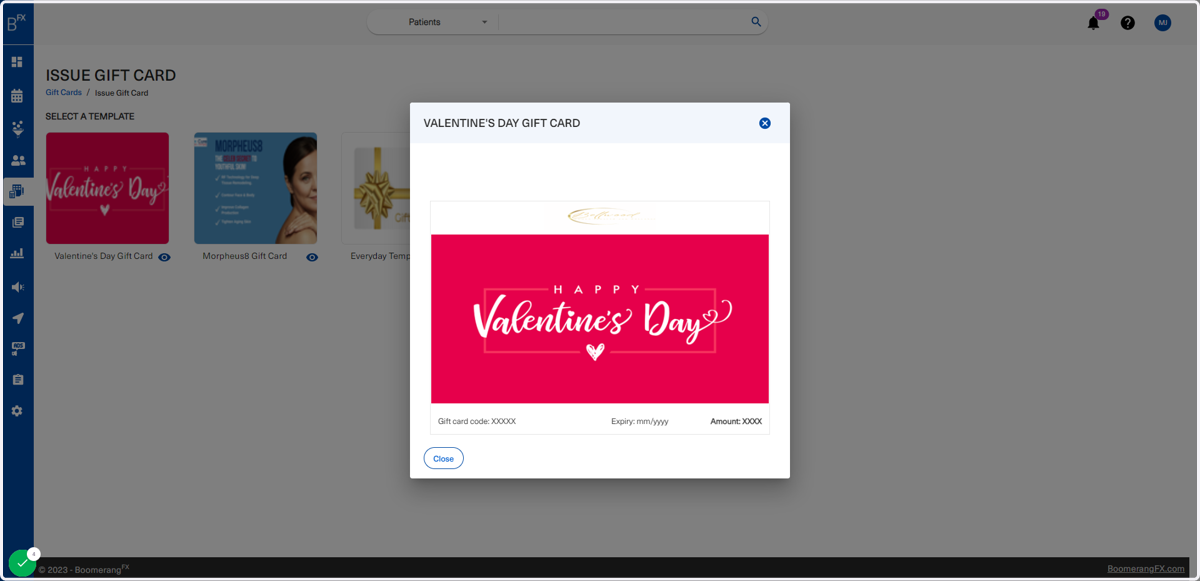
32. This is how the preview will look
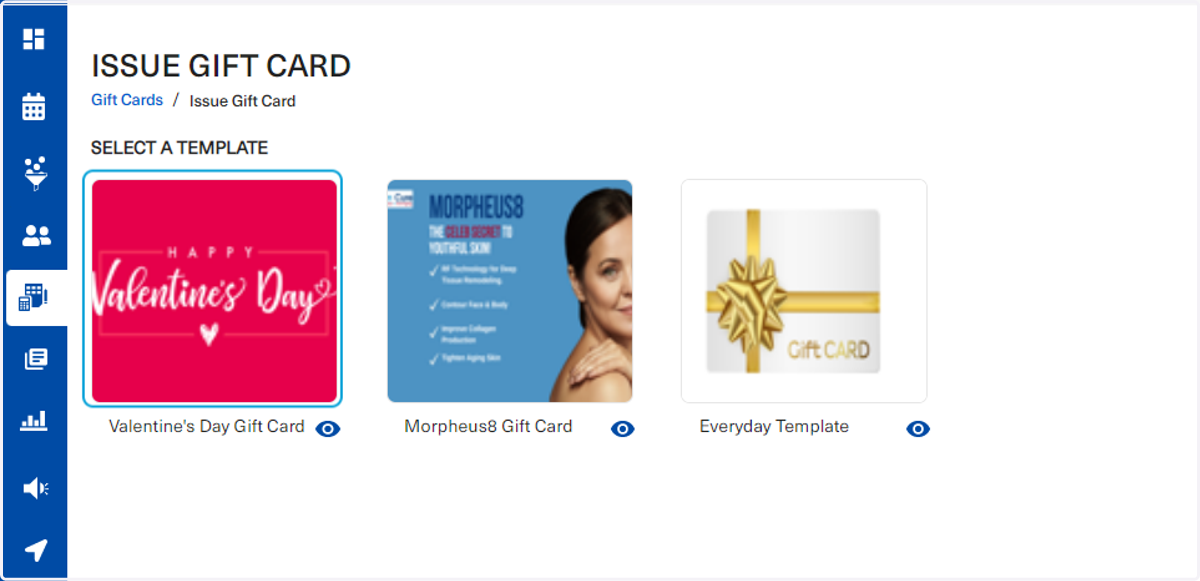
33. Click on the template you wish to issue the gift card in
34. Fill out the fields as necessary
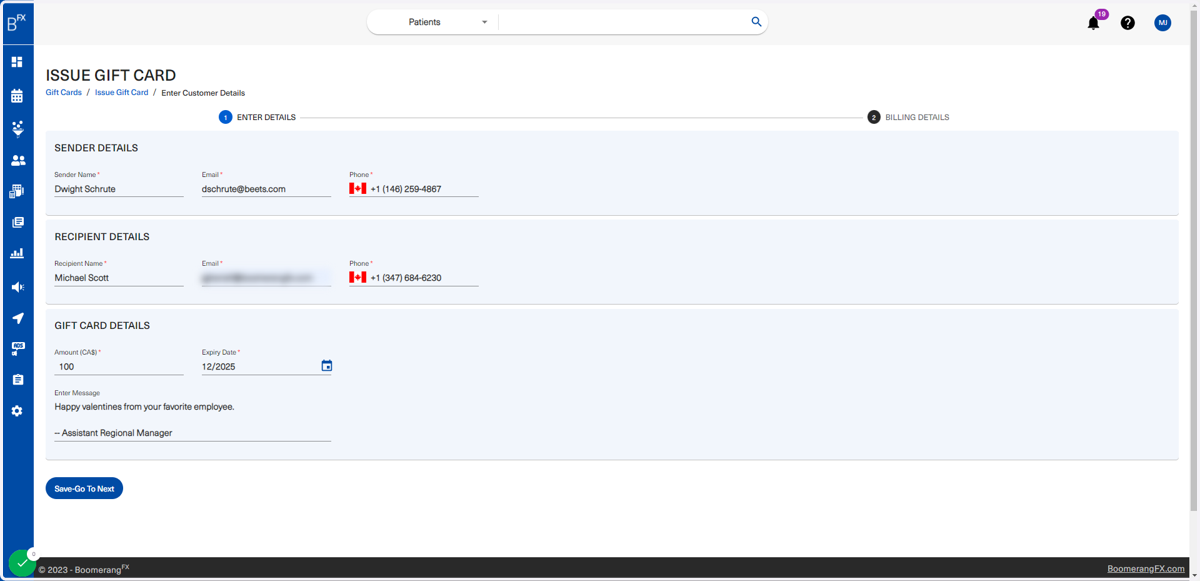
35. Click on Save-Go To Next when ready
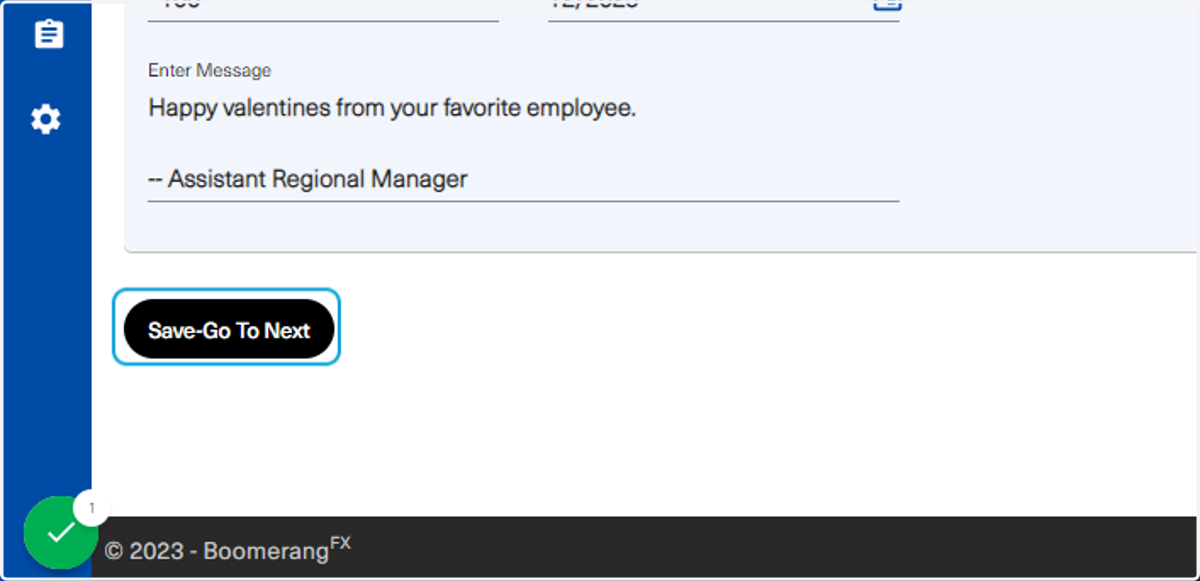
36. Users can choose to Collect Card Payment
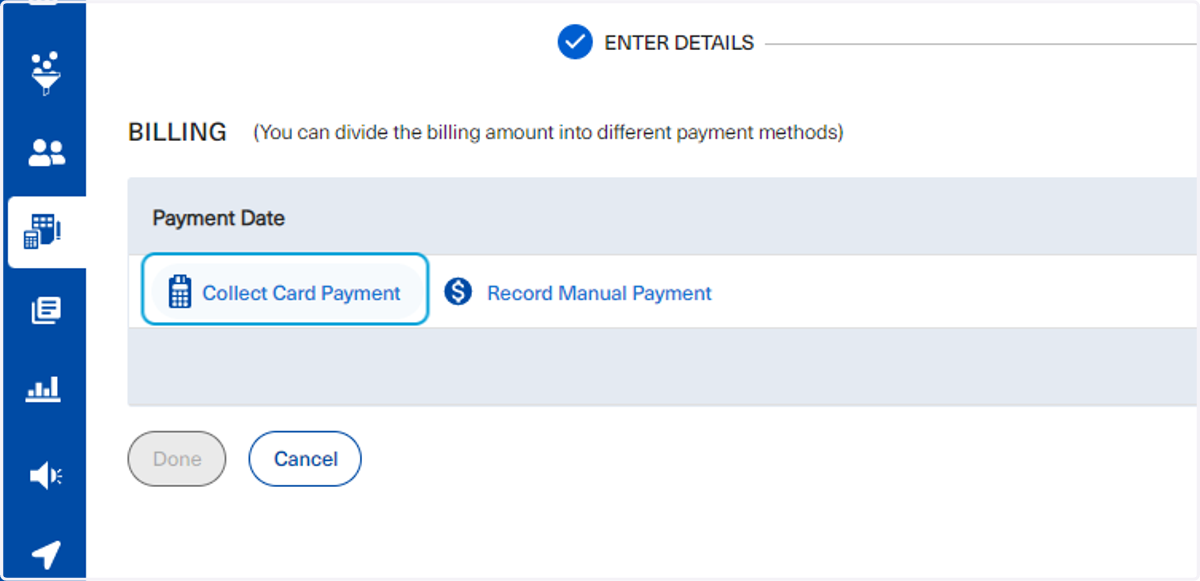
37. This only works when a Stripe account has been set up and activated and the readers are linked
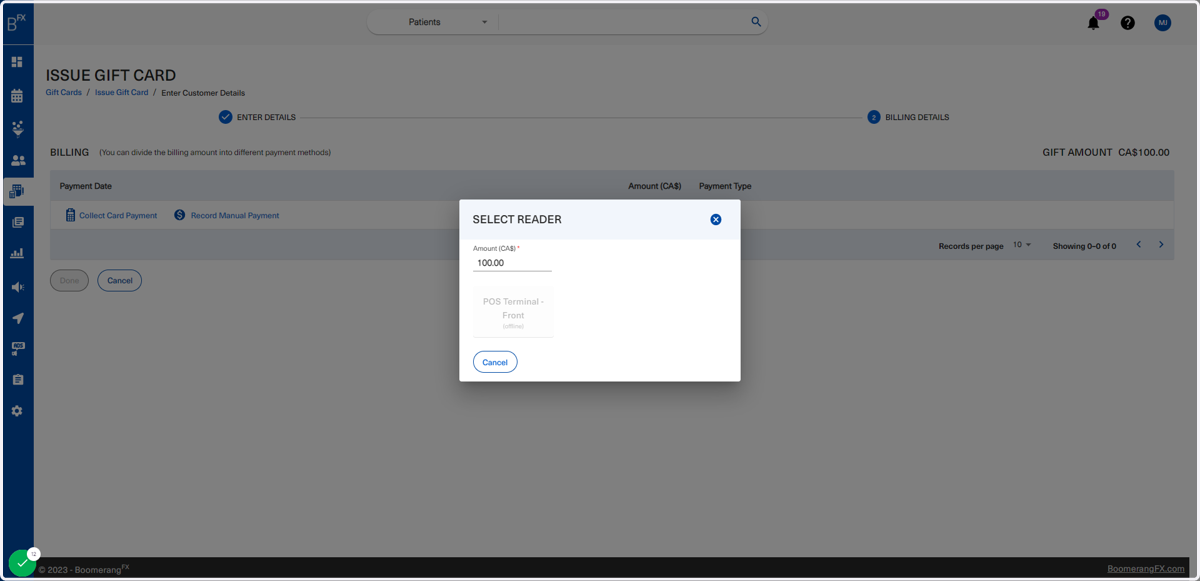
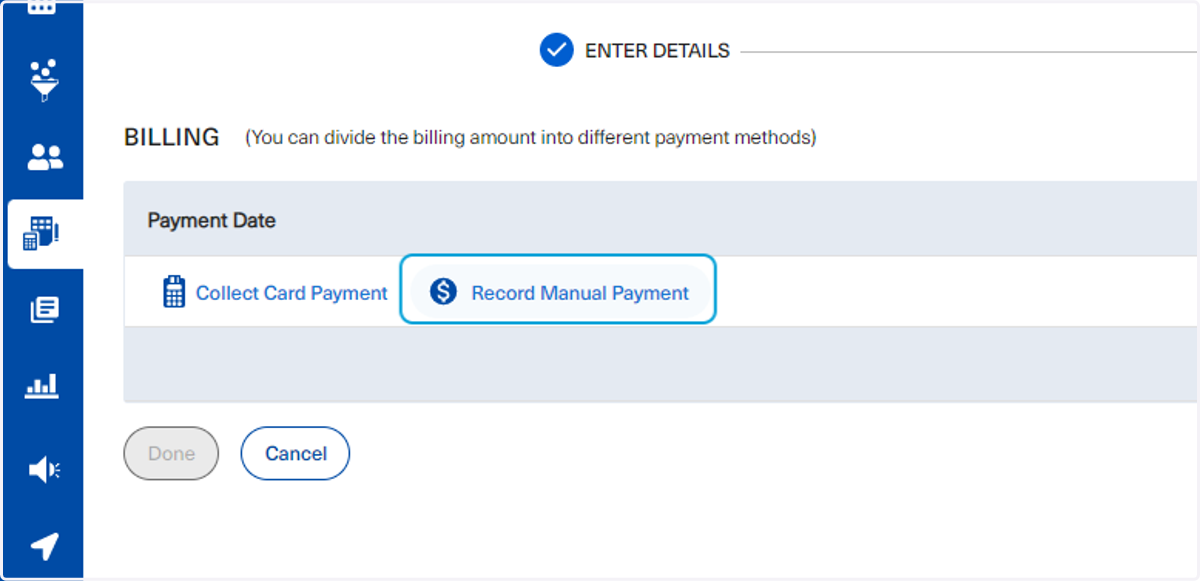
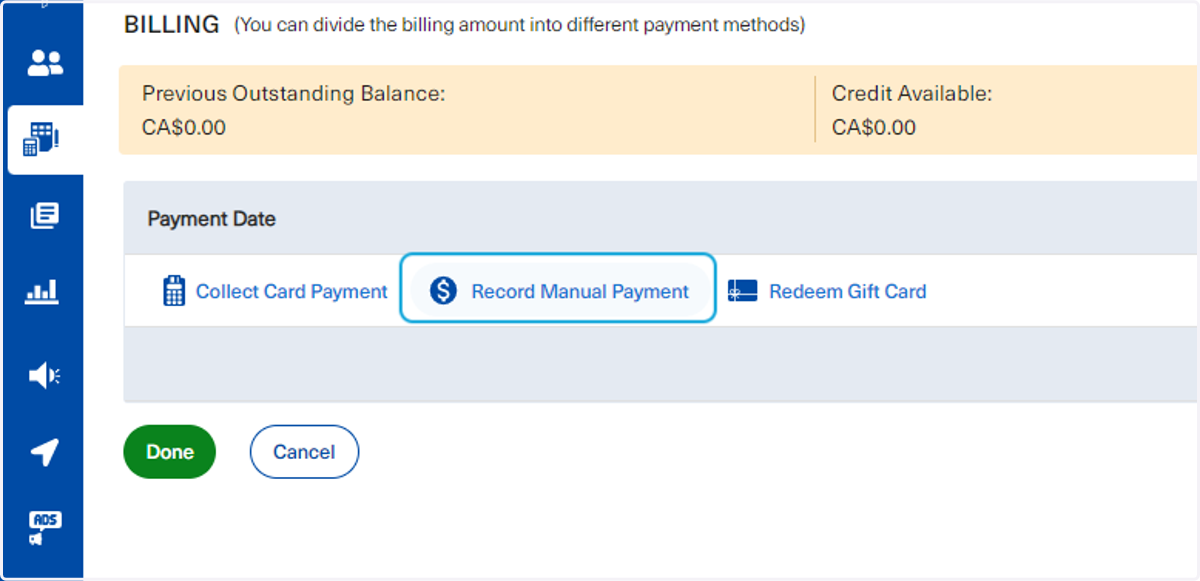
38. To record a manual payment, click on the button shown below
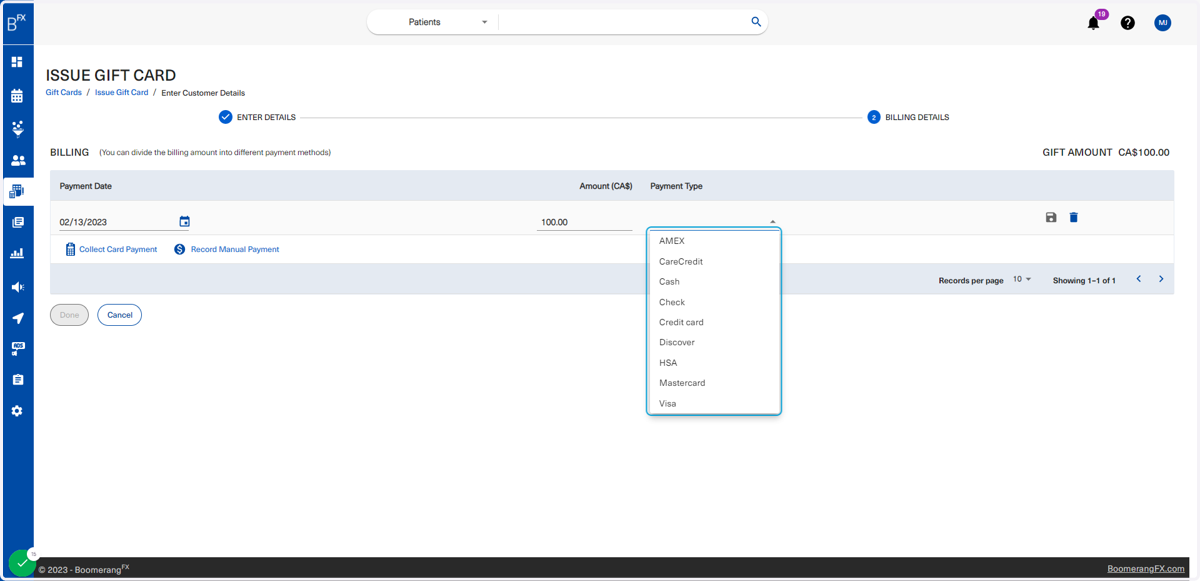
39. Choose the type of payment that suits you
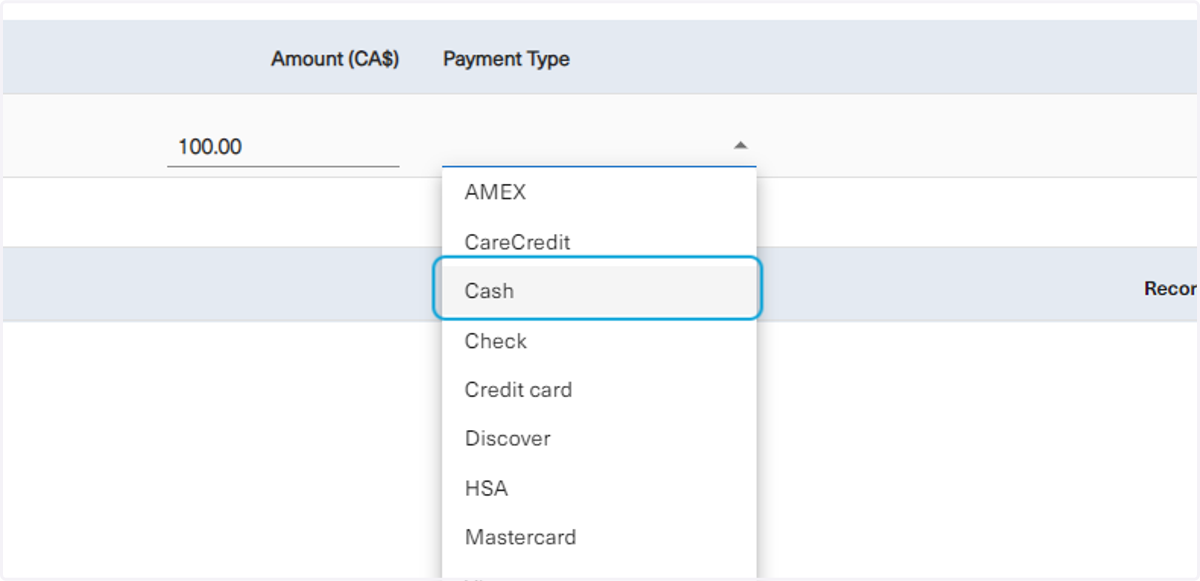
40. Click on option
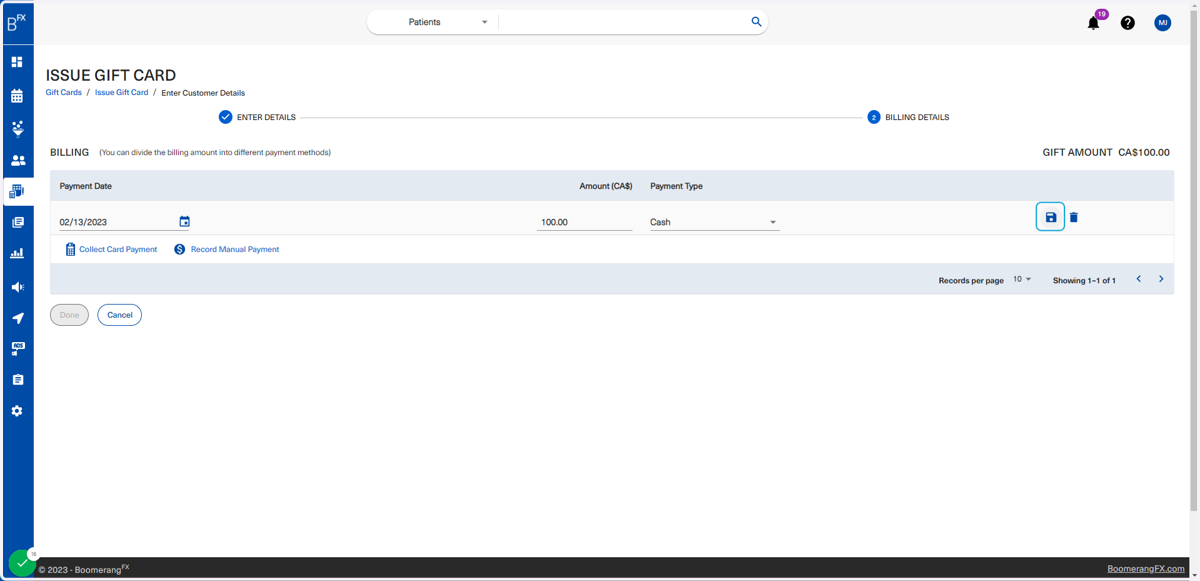
41. Then click on Save
42. To complete the gift card issuing, click on send
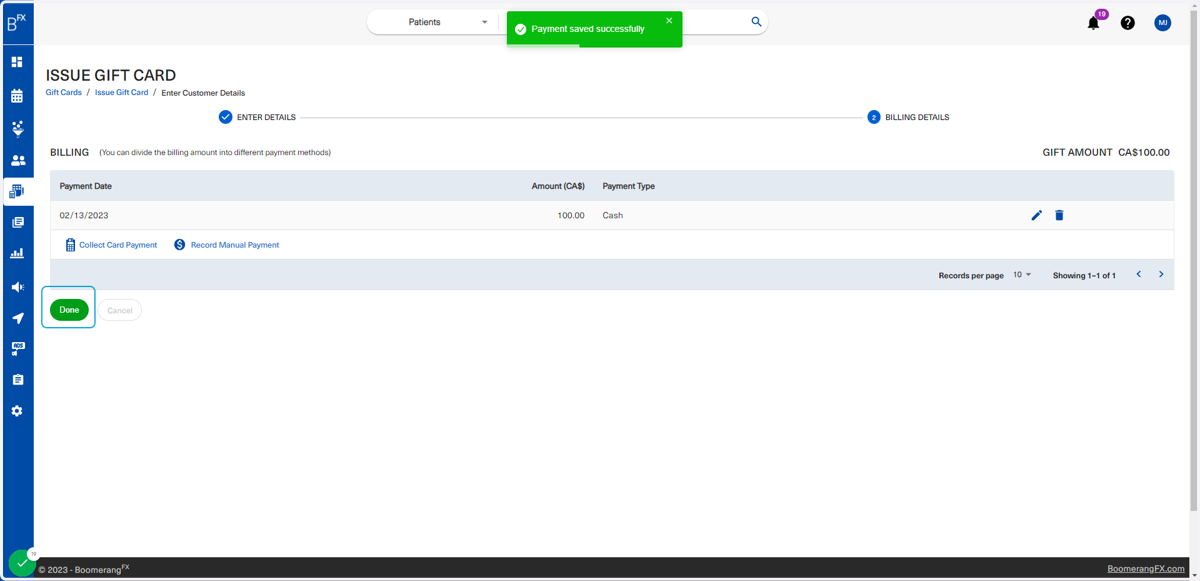
43. The user will be prompted with this pop-up and is free to choose the appropriate option
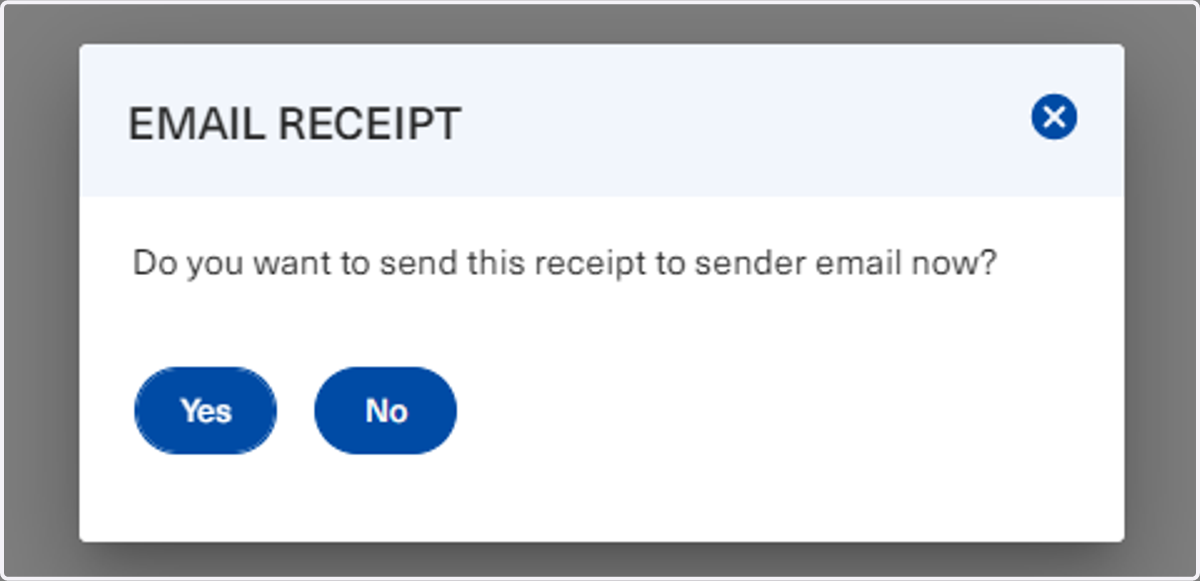
44. Users will be able to see the gift card under the main gift cards page
To see how to redeem a gift card, skip to steps 105 to 112. This is done when checking a patient out.
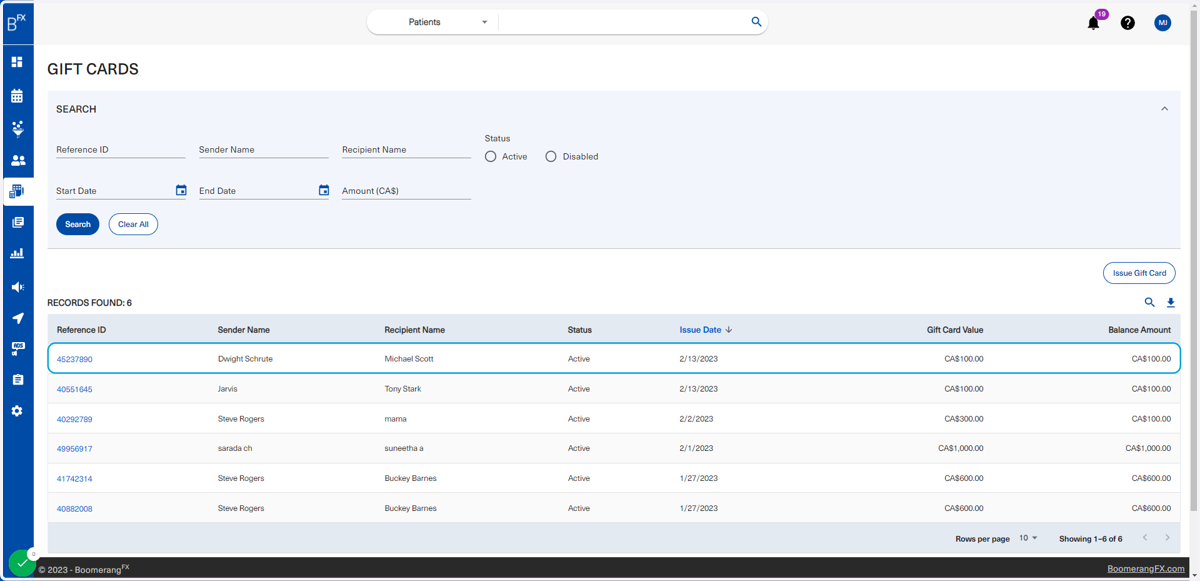
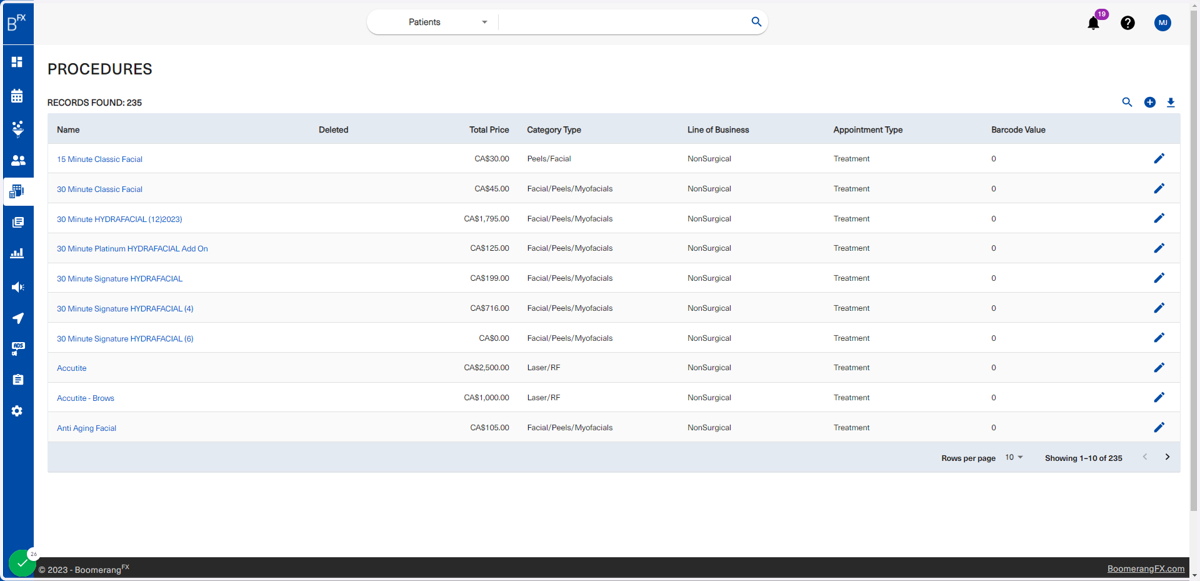
45. To access procedures, click on Accounting, then on Procedures
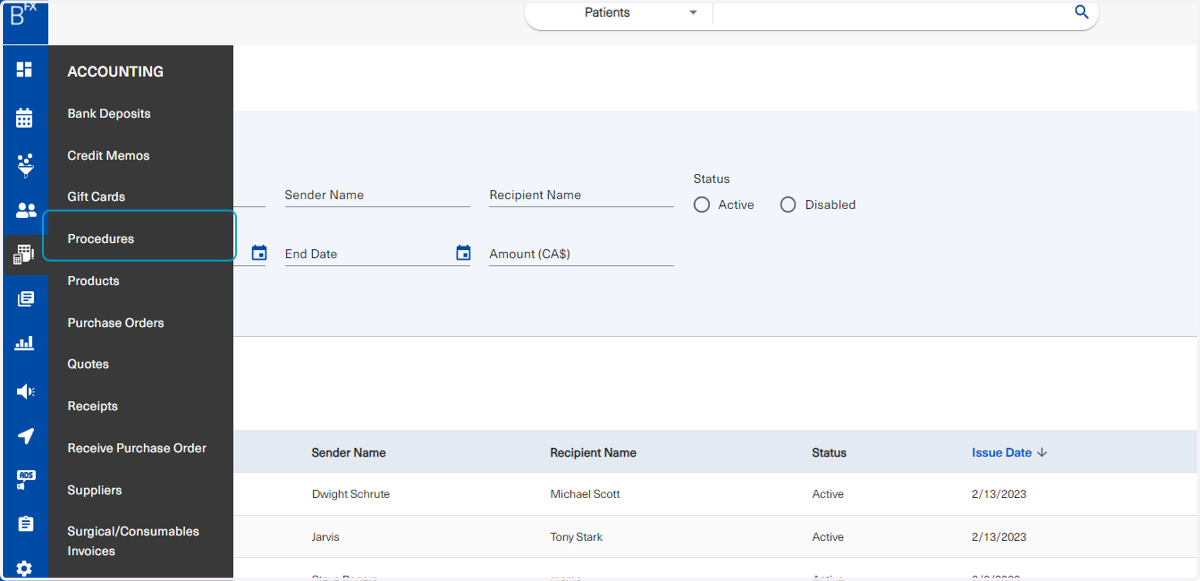
46. Procedures are first configured under Setup, but they are also accessible and can be modified through Accounting
As new procedures become available and older procedures become uncommon, clinics may decide to change the list of procedures offered. This feature is available in Setup and Accounting.
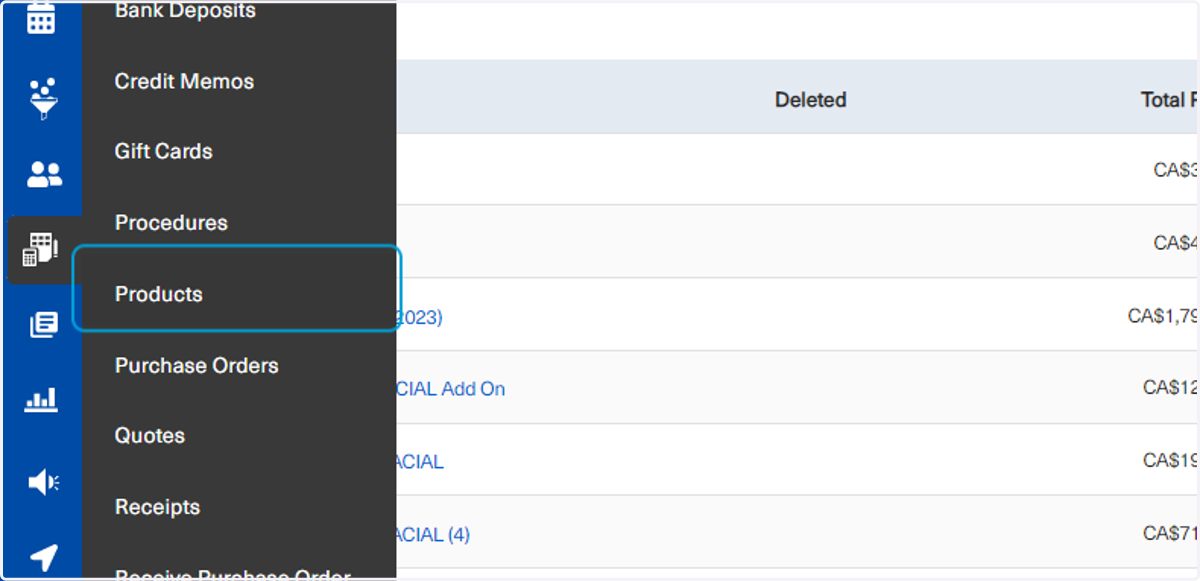
47. To navigate to Products, click on Accounting, then Products
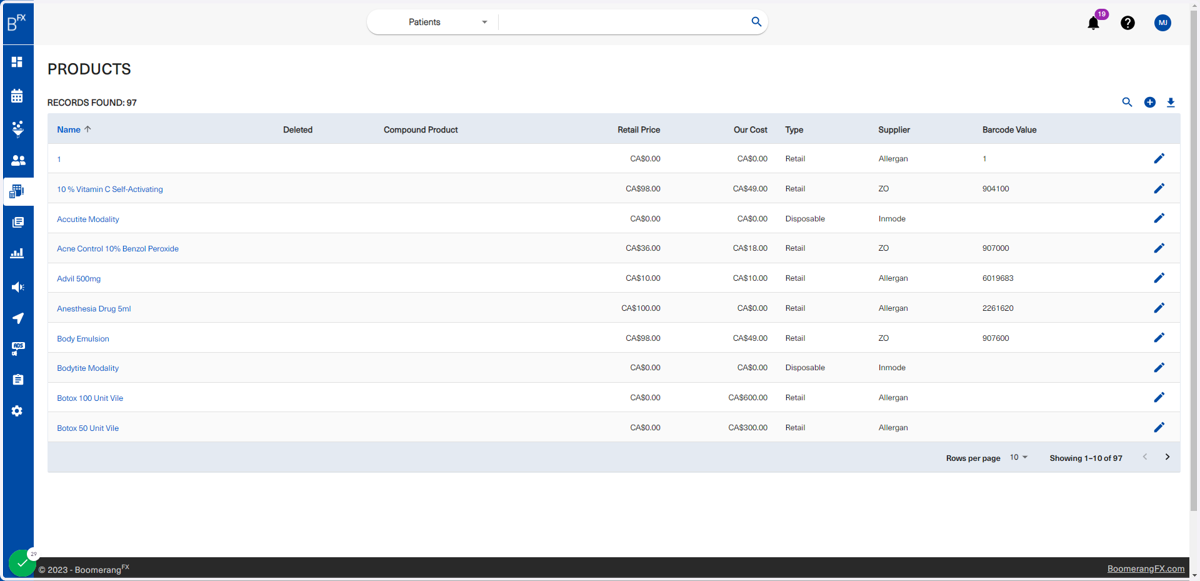
48. When redirected to the list of products, users are capable of adding, editing, and deleting products
Similar to Procedures, products can be modified under Accounting and Setup.
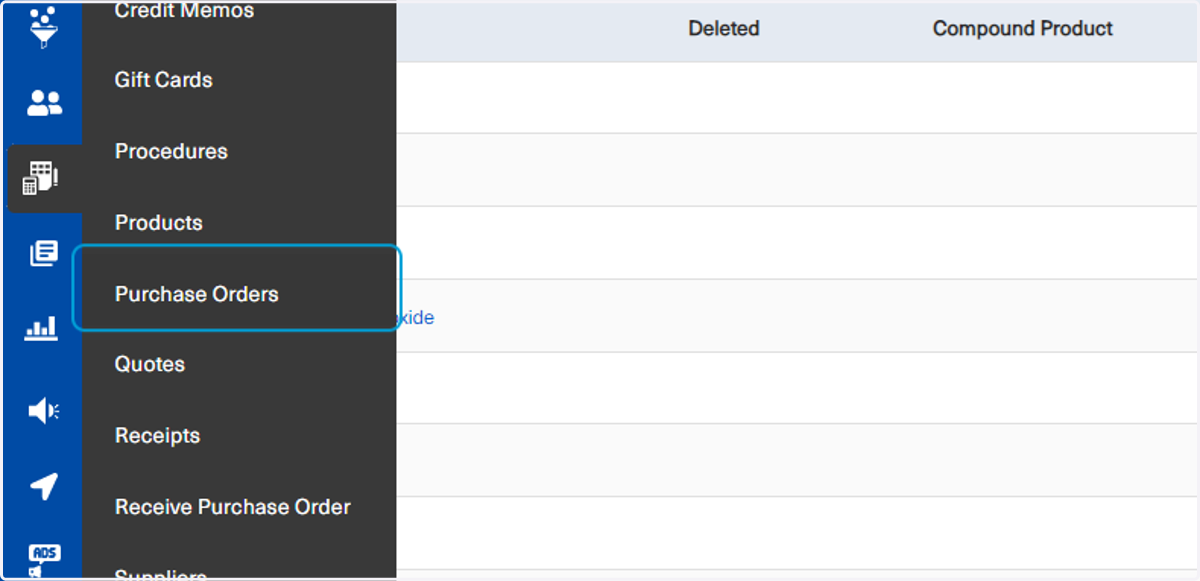
49. Click on Accounting, then on Purchase Orders
50. Users are capable of viewing the purchase orders created within a specific timeframe
Users will choose the start and end dates
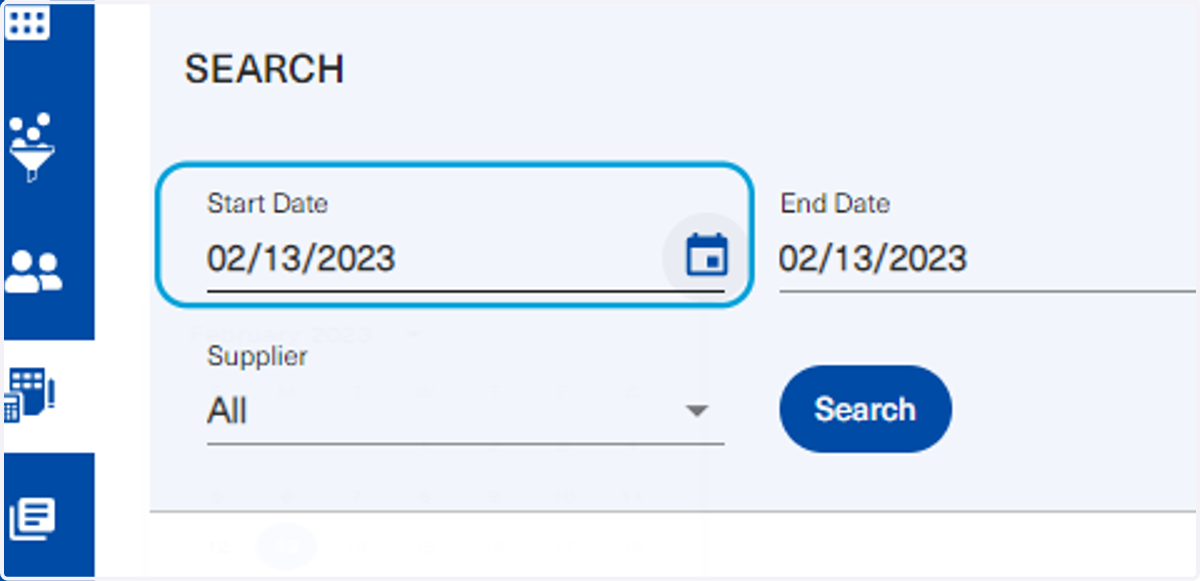
51. Then click on Search
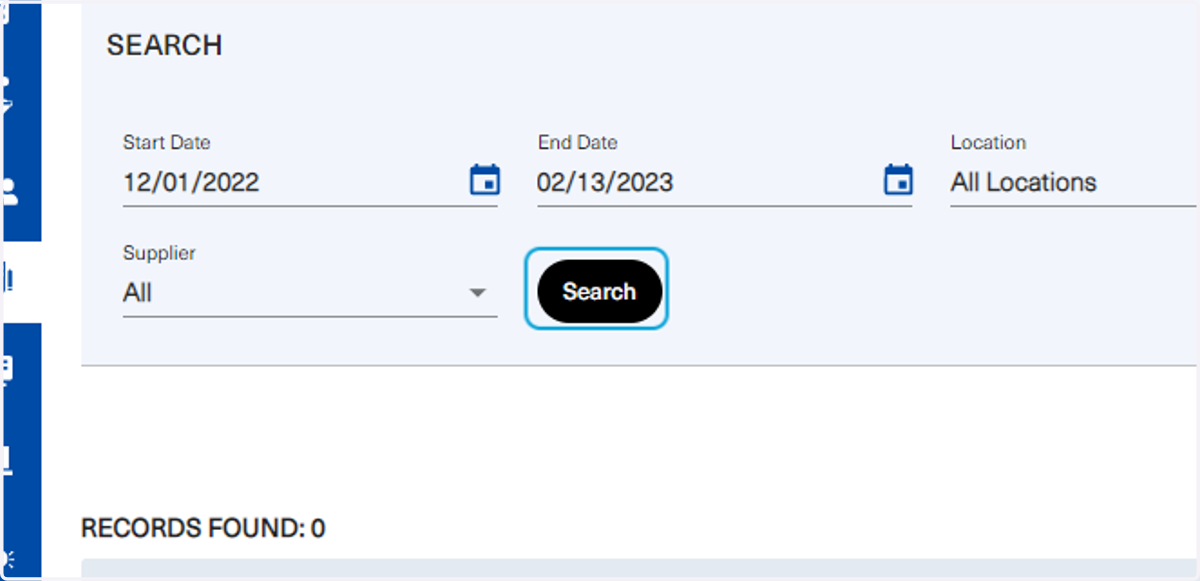
52. Each purchase order number (PO number) in the list shown below is a hyperlink which allows users to view the purchase order receipt
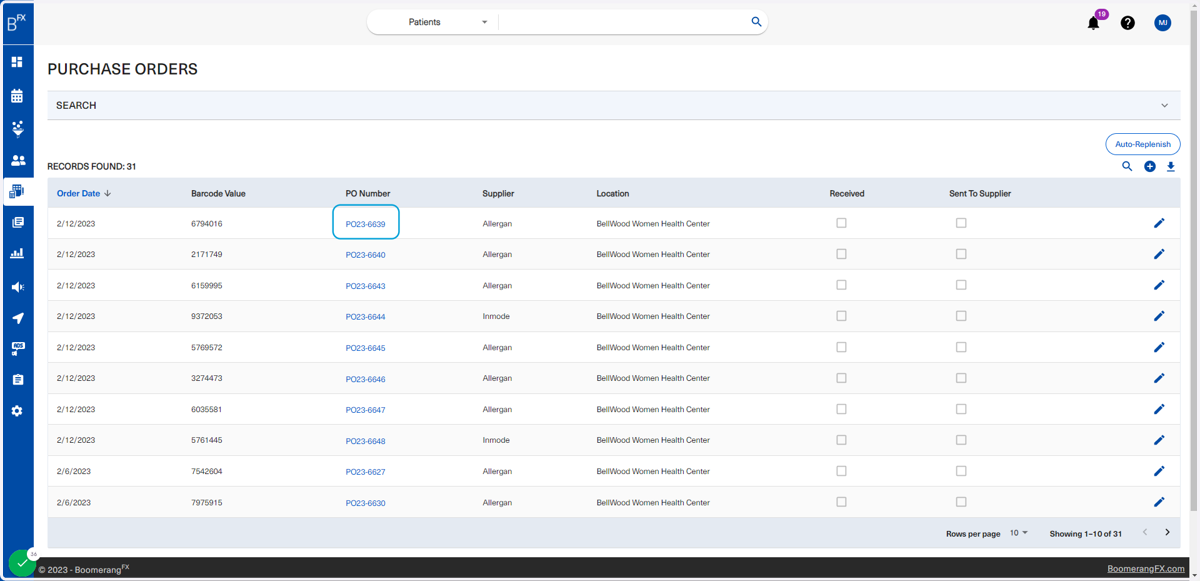
53. This is an example of a previous PO
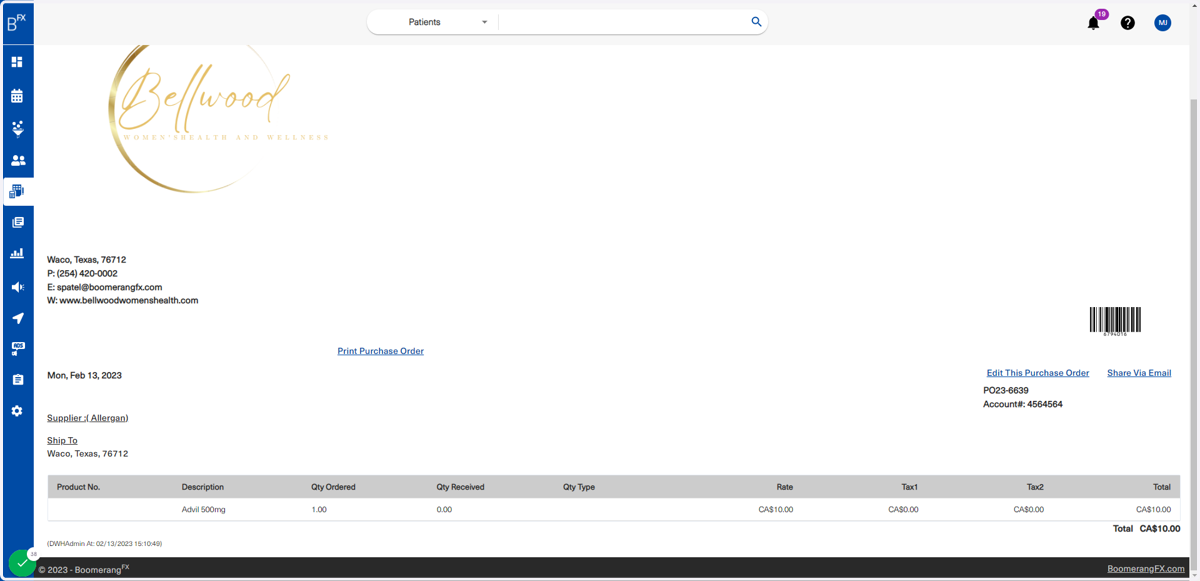
54. To edit an existing purchase order's status, the user will click on the edit icon shown below
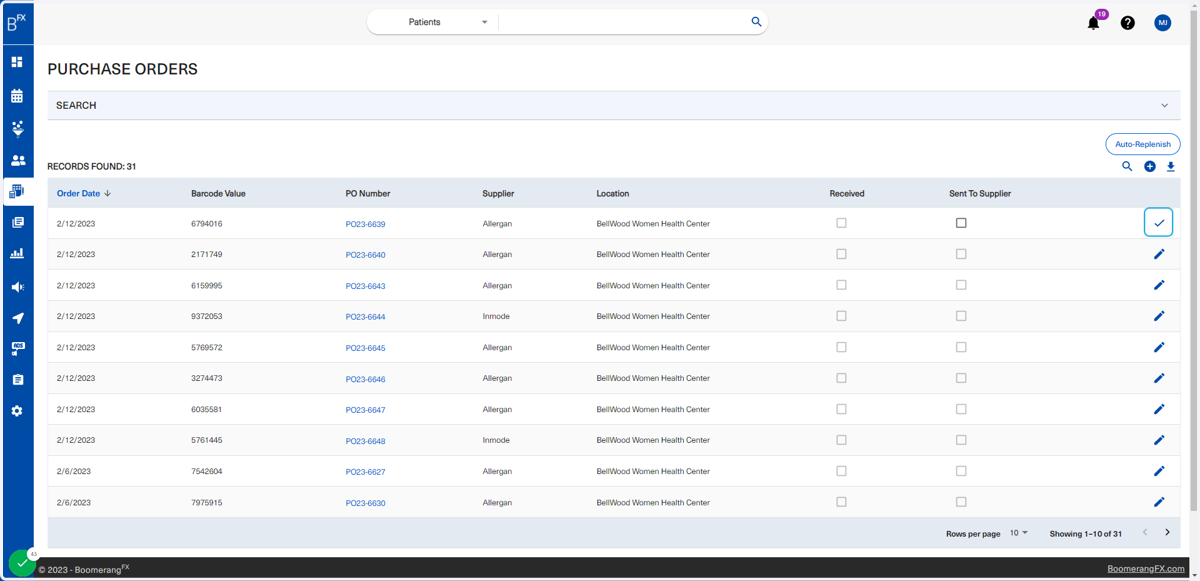
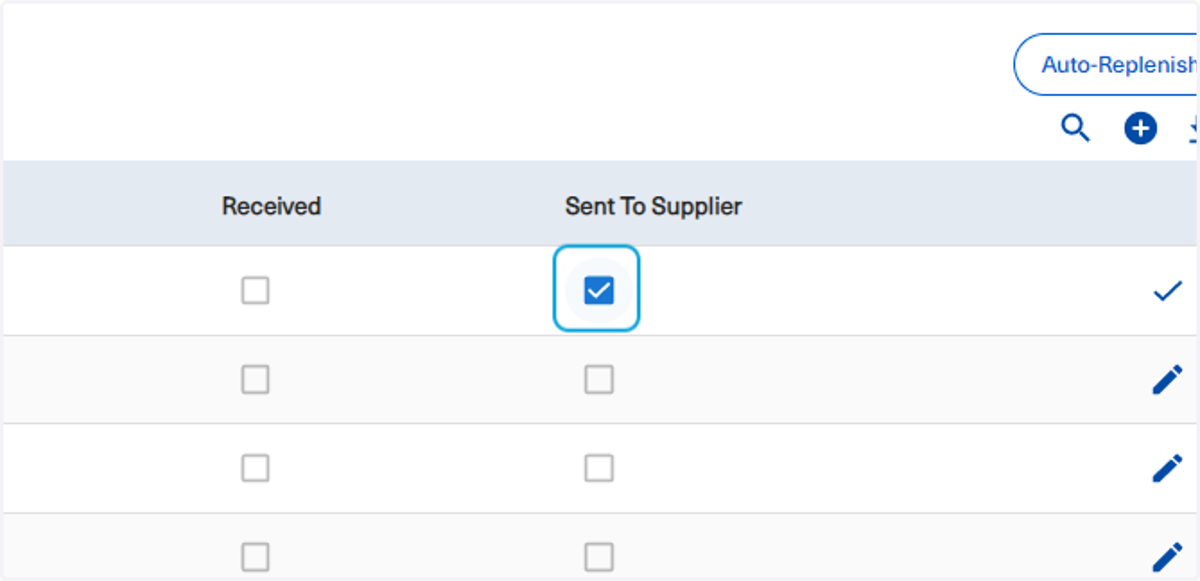
55. Check on
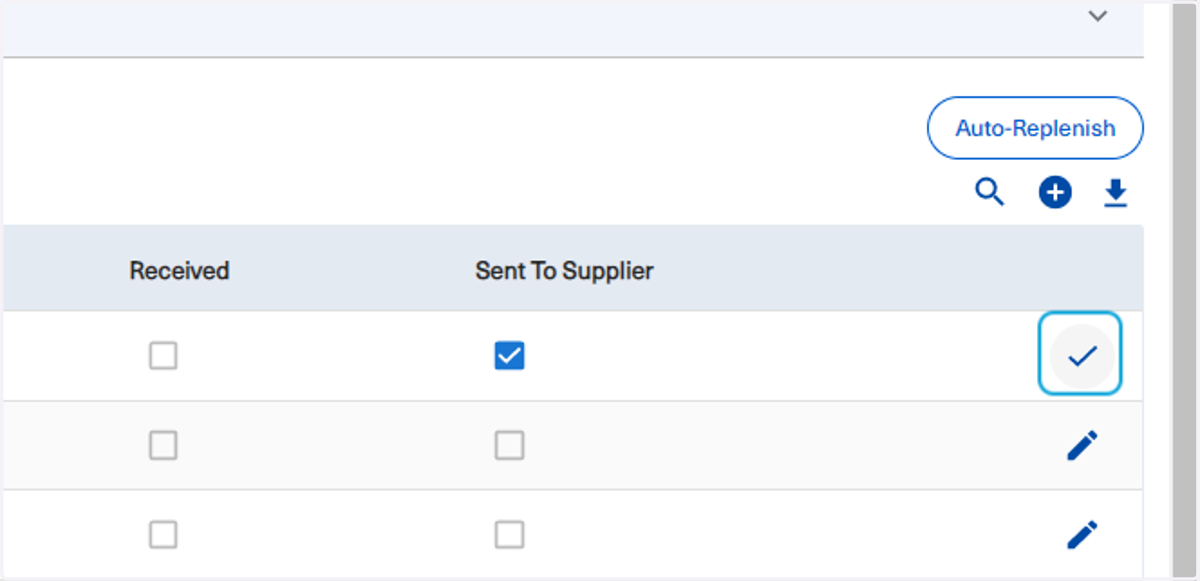
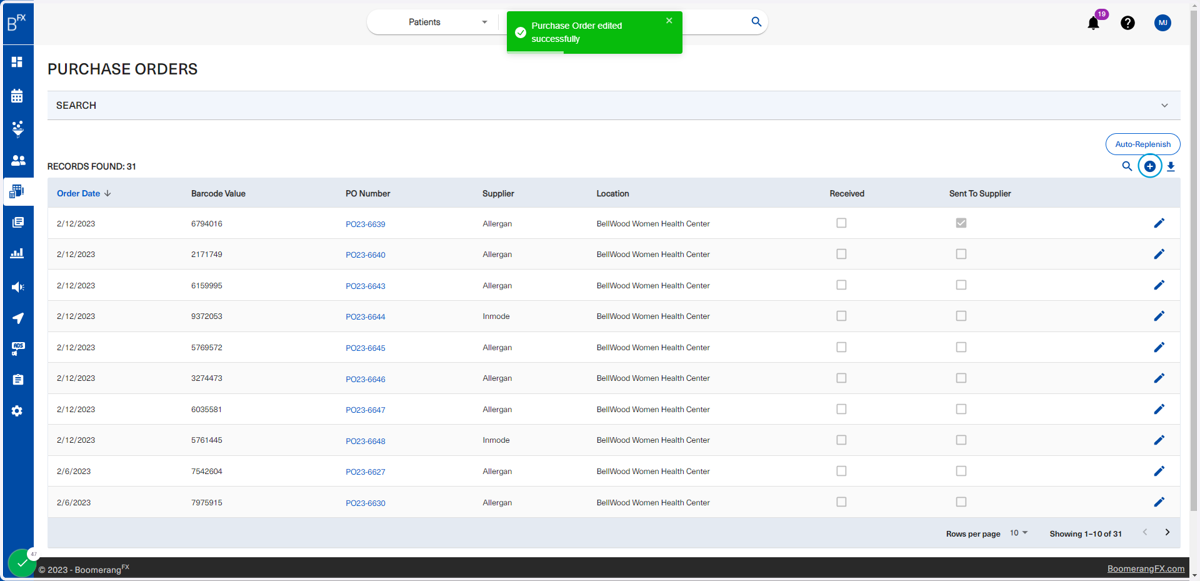
56. Click on the check mark to confirm your edits
57. To create a new purchase order, click on the plus sign
58. A barcode number should be generated in order for the process to be fully functional
Users will click on Generate Barcode to view the number
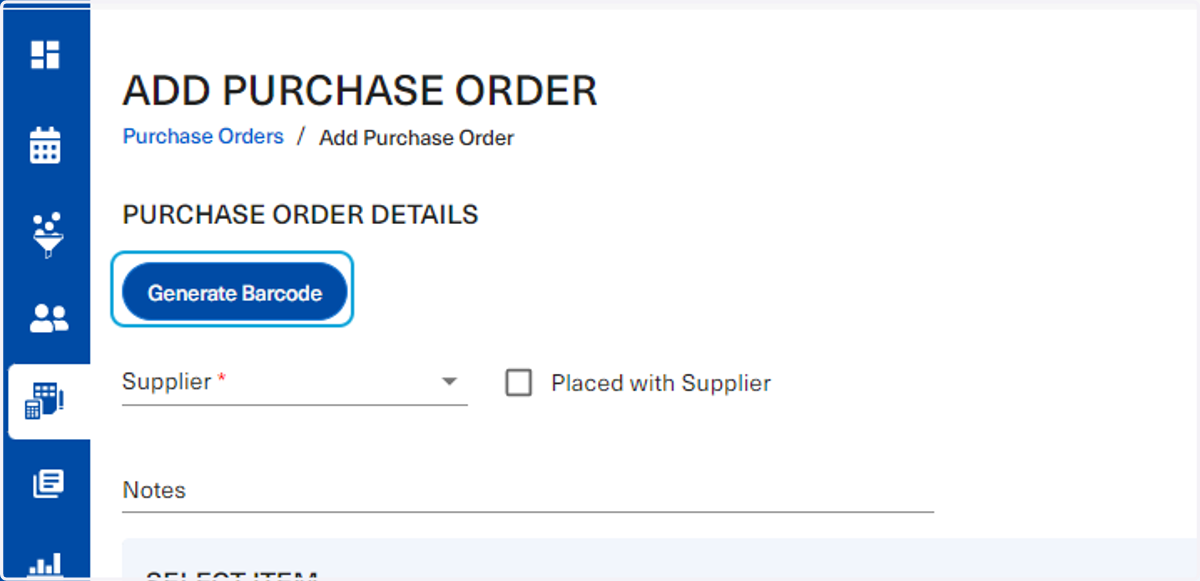
59. This is an example of how it looks like
Users are recommended to keep this number saved for later use. If users own a barcode scanner, they do not need to worry about this step.
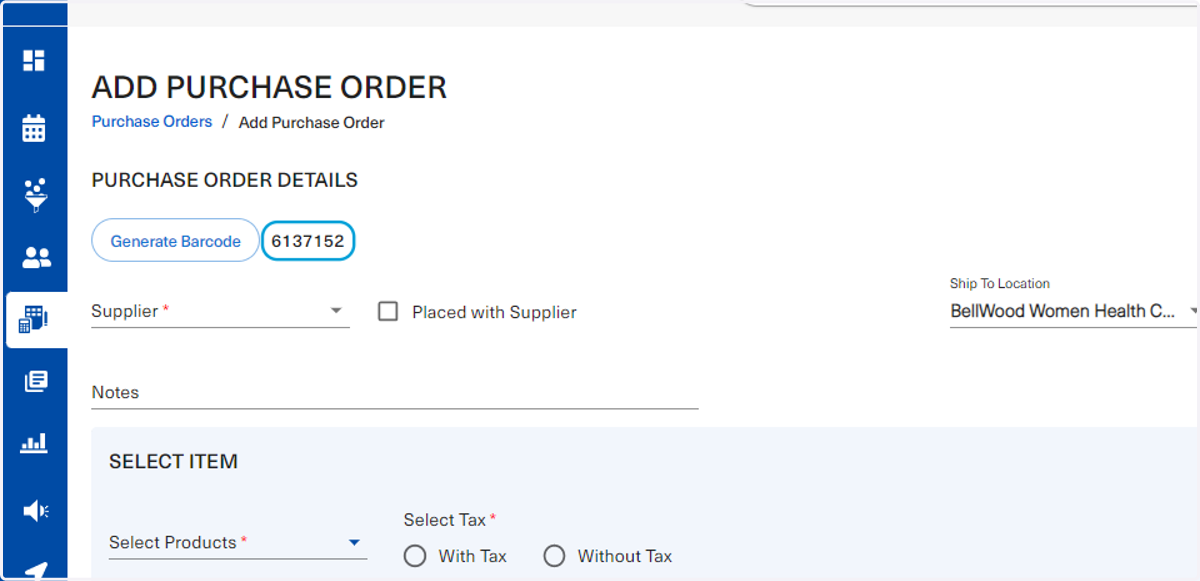
60. Users will fill the rest of the information as necessary
Only some fields are mandatory, but it is recommended to fill all fields to have a full description in the system
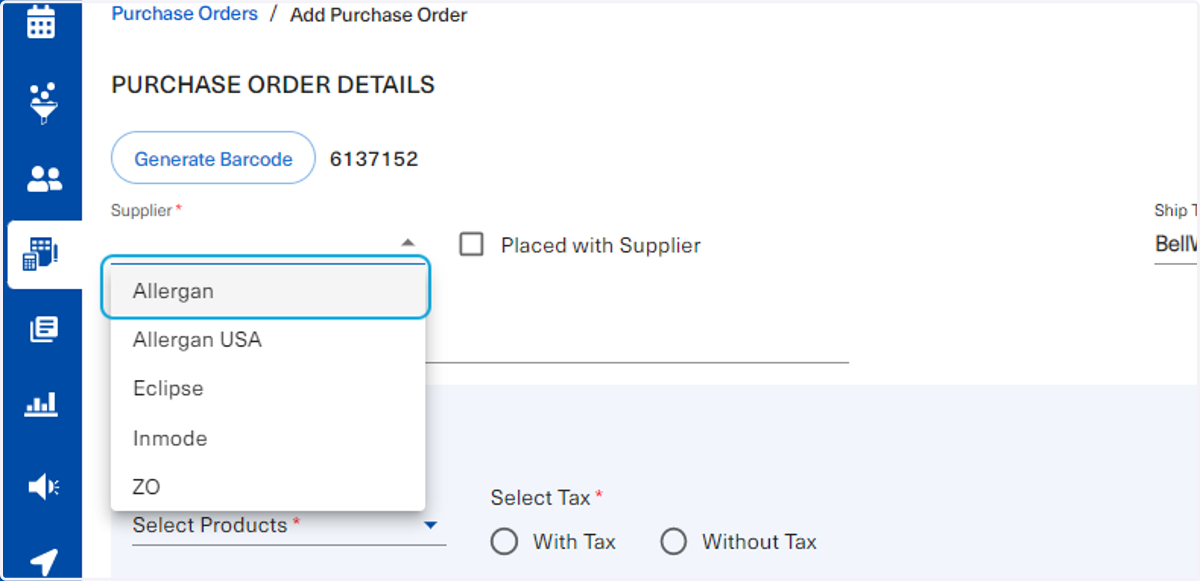
61. Click on Open
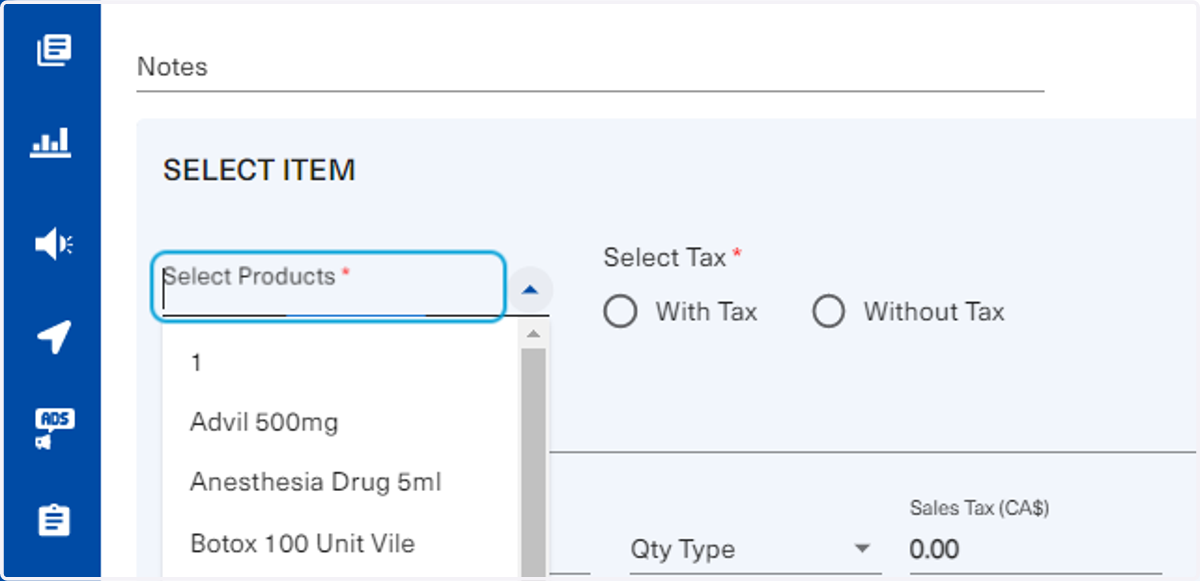
62. Click on option
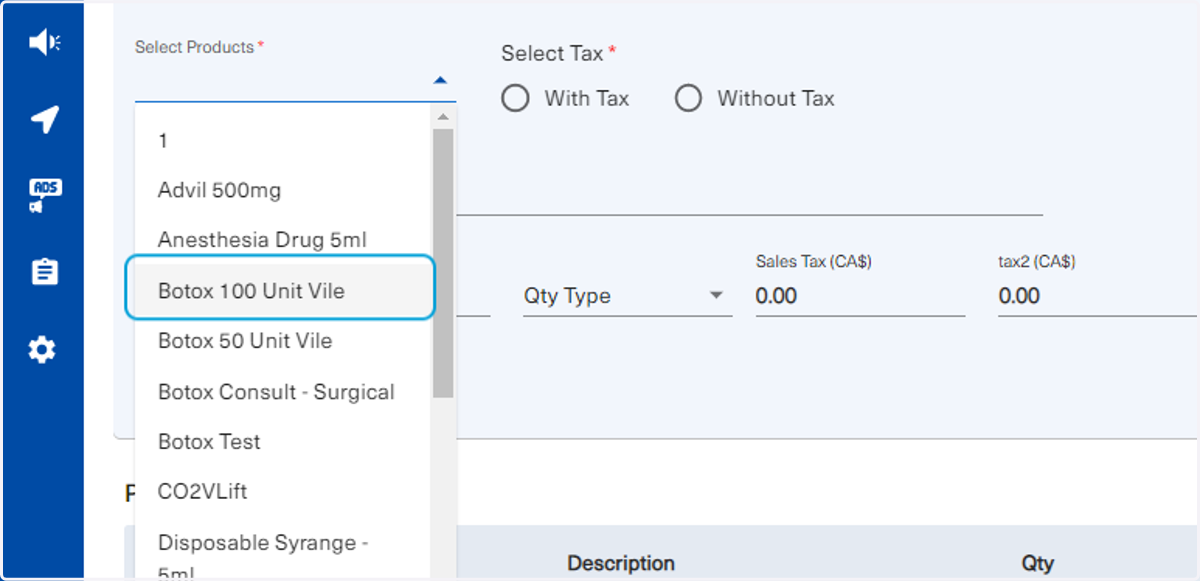
63. Select "withoutTax"
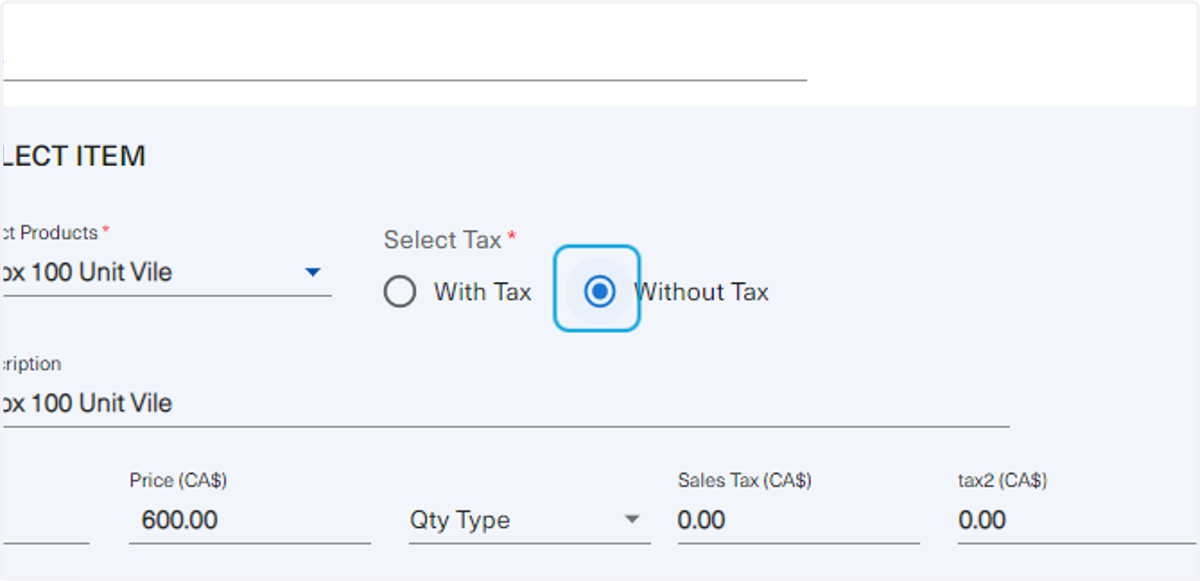
64. Once done, click on Add Item
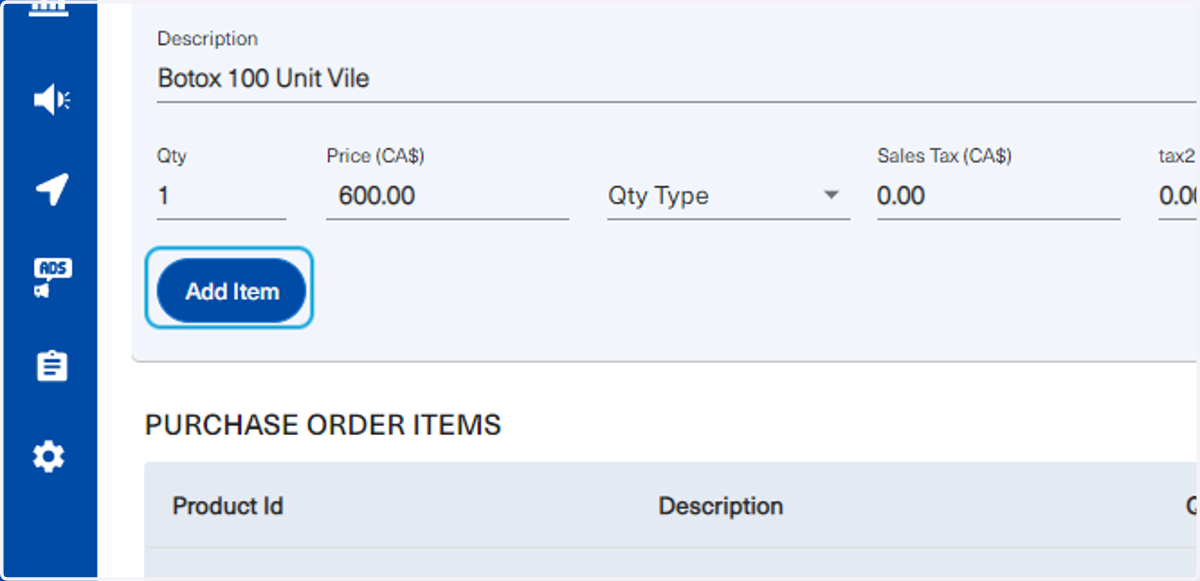
65. The details will populate in the table below
Users are to confirm the information and may delete the PO when necessary
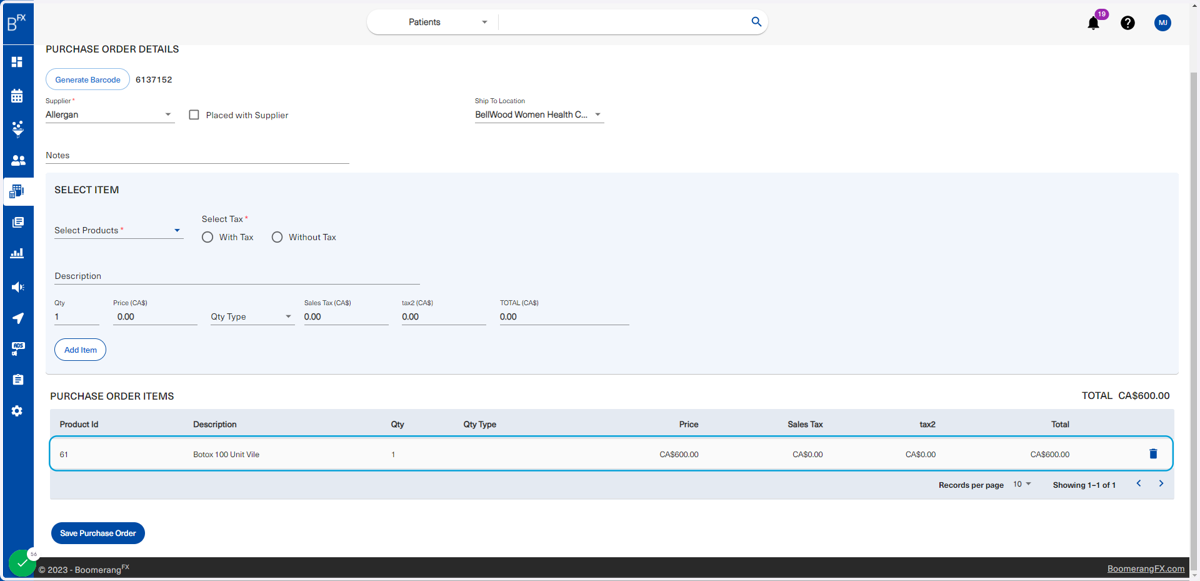
66. Once all has been confirmed, the use will click on Save Purchase Order
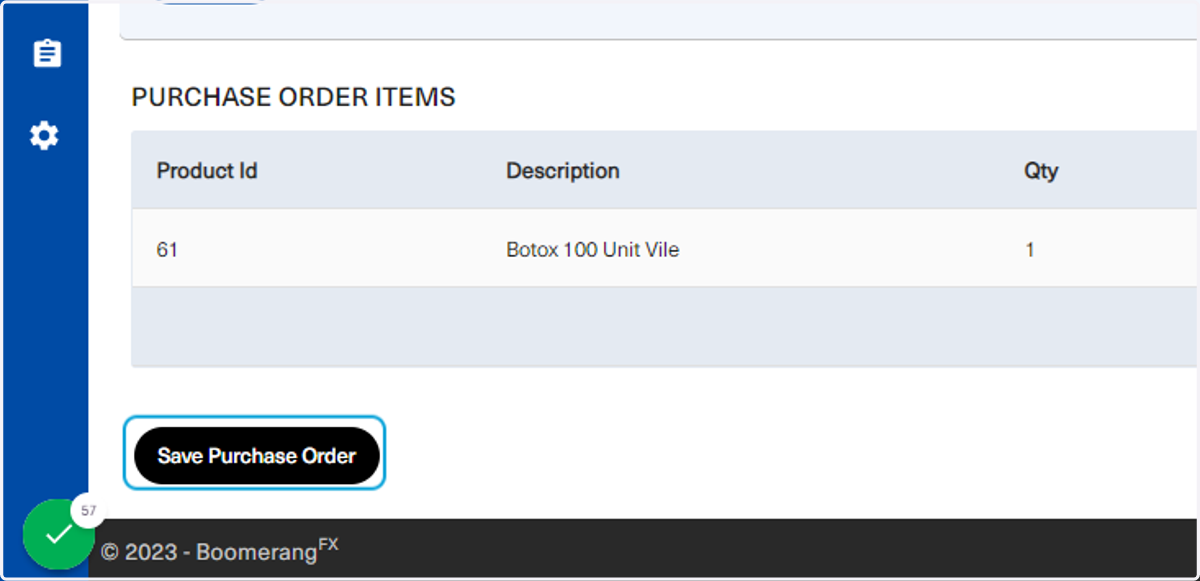
67. The user has the option to email the PO to the supplier
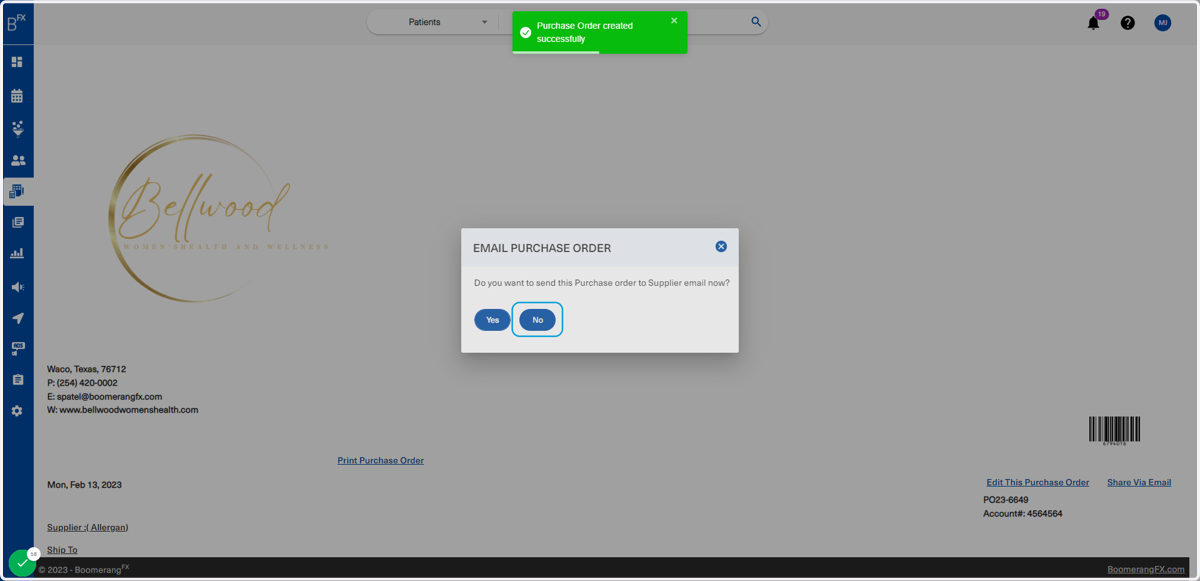
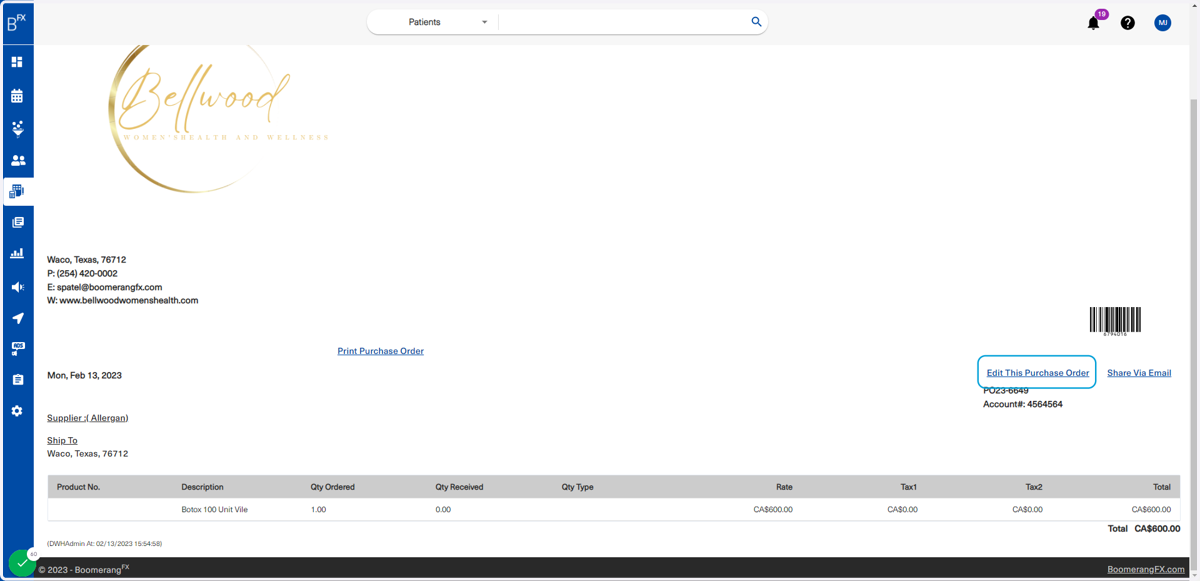
68. If anything needs to be changed to the purchase order, the user may click on Edit This Purchase Order
69. To Receive a Purchase Order, click on Accounting then on the option shown below
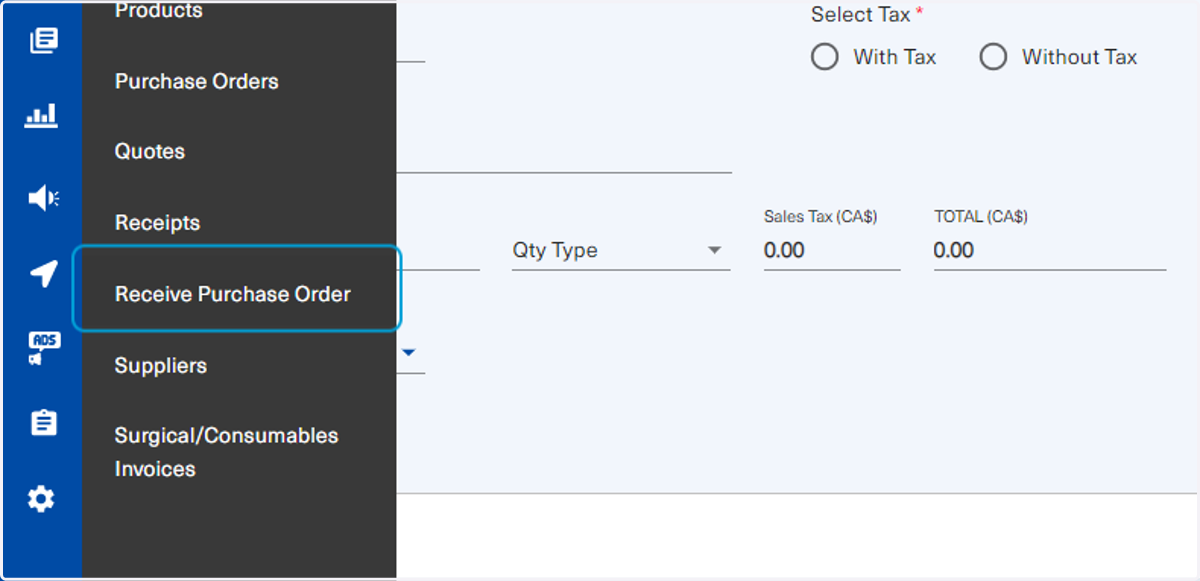
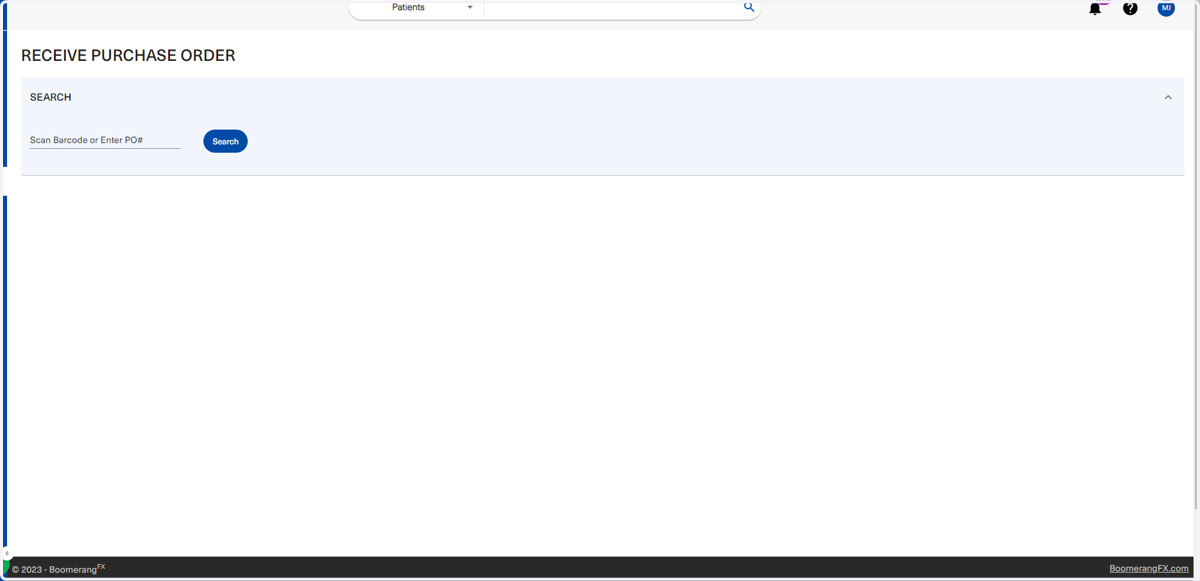
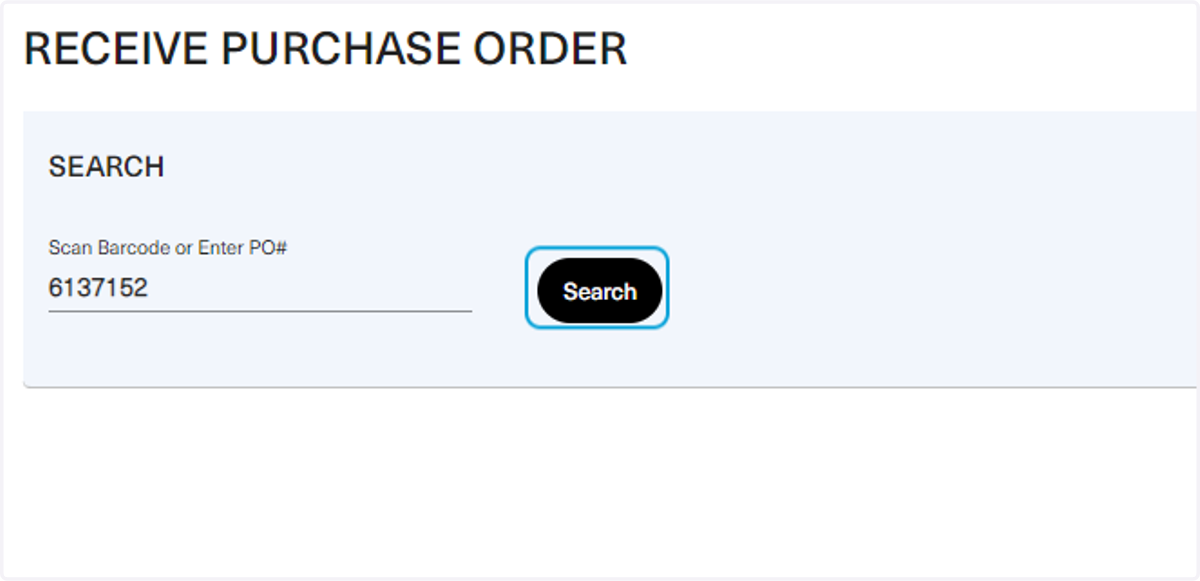
70. Users will paste the barcode number generated when creating the purchase to this field to mark a purchase as "received"
If the clinic owns a barcode reader, this number will populate on its own.
71. Click on Search
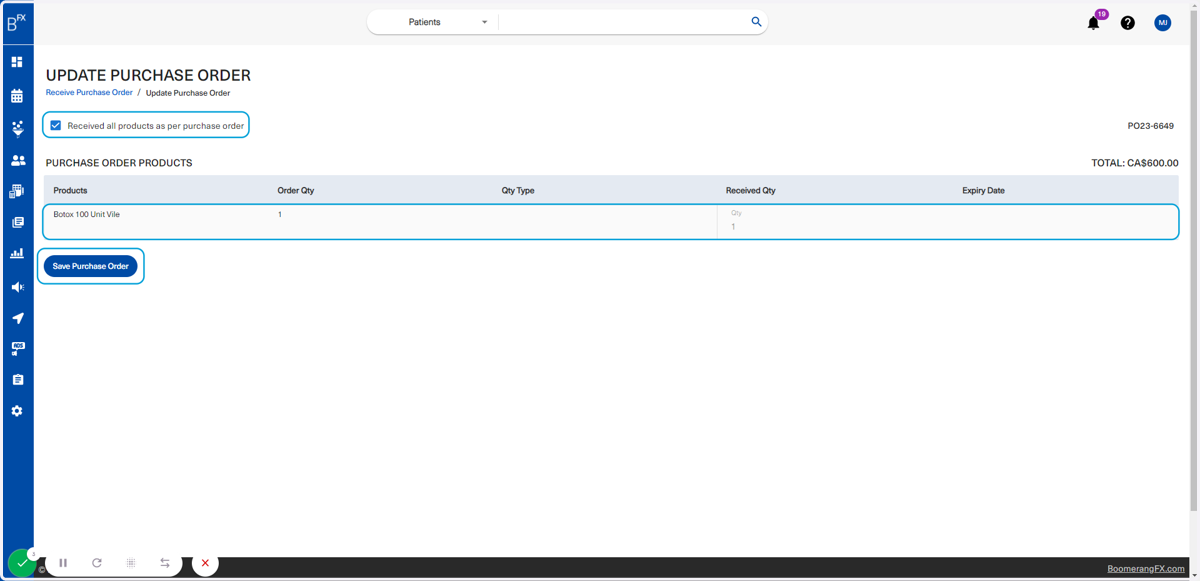
72. The purchase order placed earlier will populate in the table below and will also be marked as received. Once all is done and confirmed, the user will click on Save Purchase Order
Users are free to uncheck the box labeled "Received all products as per purchase order" which allows them to change the "Received Qty".
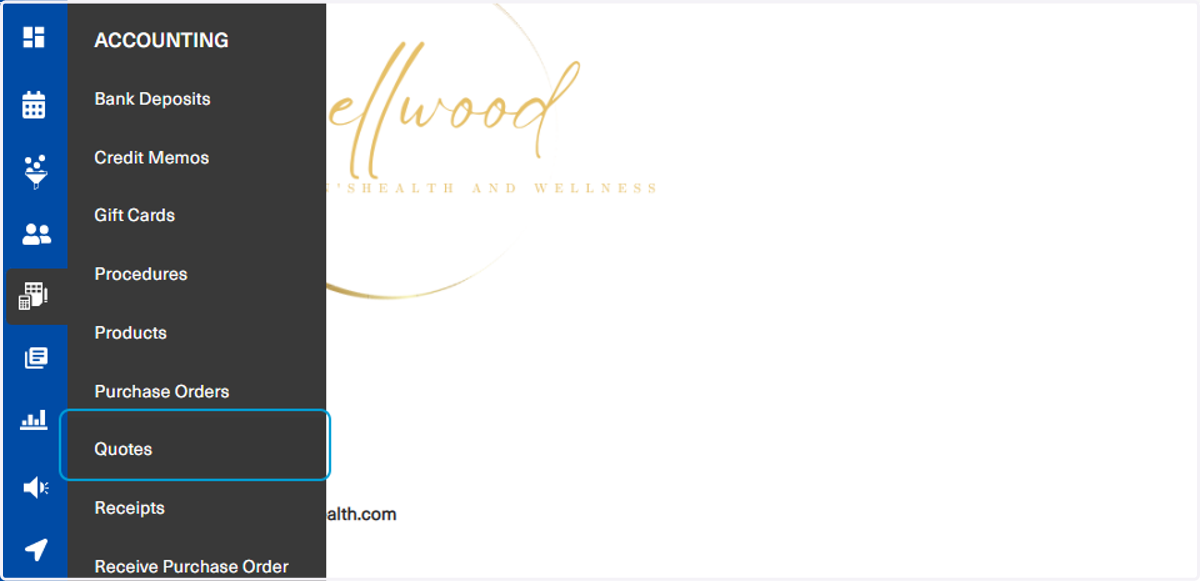
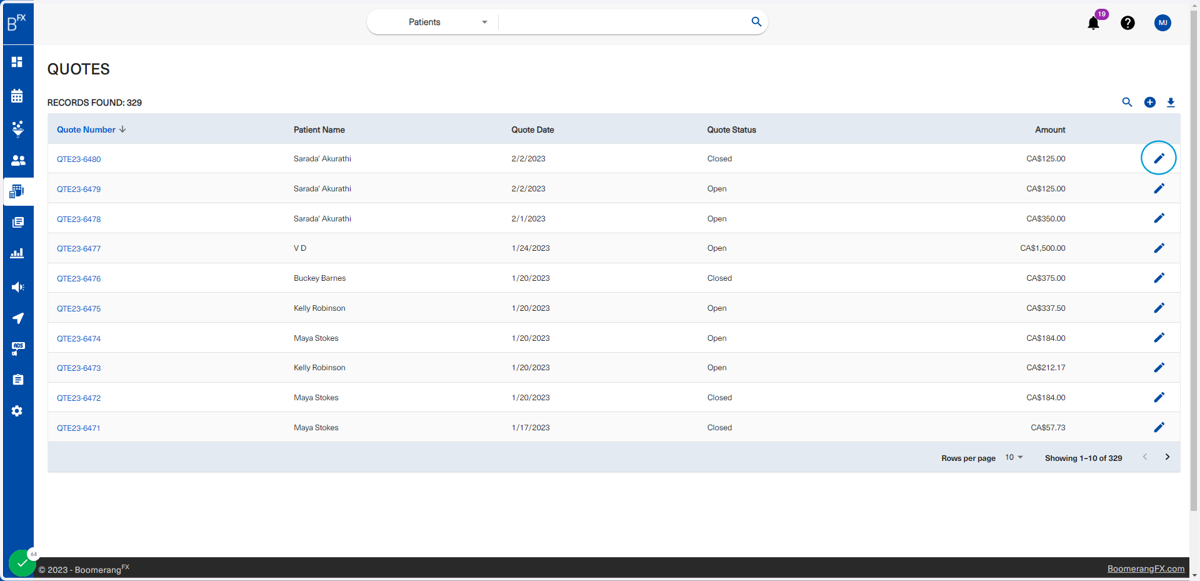
73. Click on Accounting then on Quotes
74. Quotes can be used by clinics to offer a preview of the final price of a treatment that the patient may want to undergo
To edit an existing quote, users may click on the edit (pencil) icon as shown below.
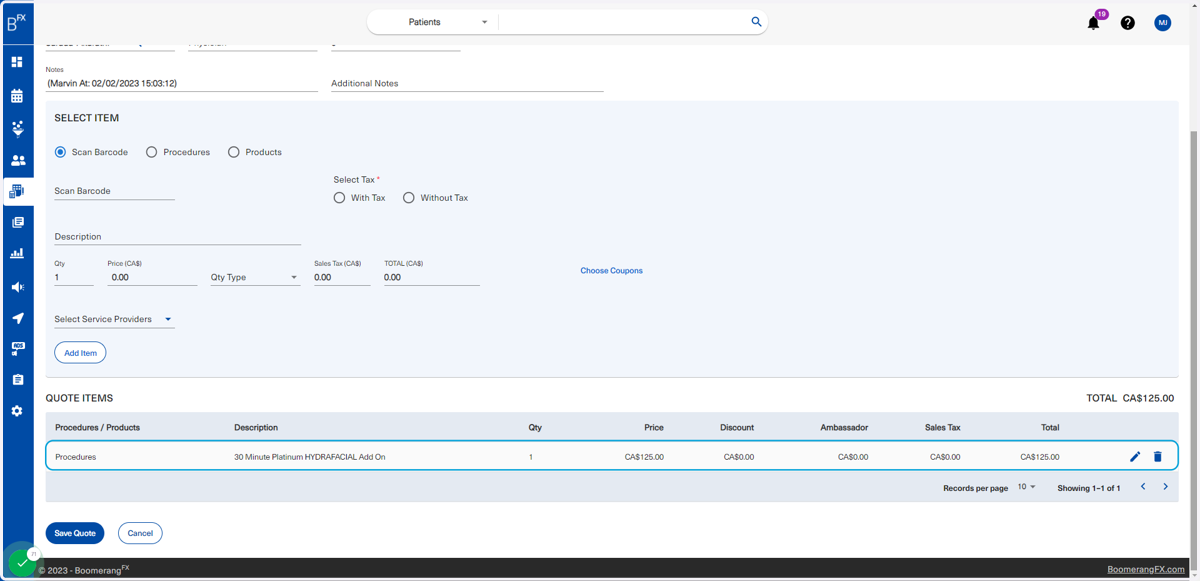
75. When redirected, users may drag to the bottom to view the quote in the bottom table
This page shows the quote when it was added as an item that needs to be saved, but is not editable yet. This feature allows users to preview further details in a clear and organized table before editing it. Proceed to the next step to see how to edit the quote. Users may also delete the quote if the details they see are not as they see fit.
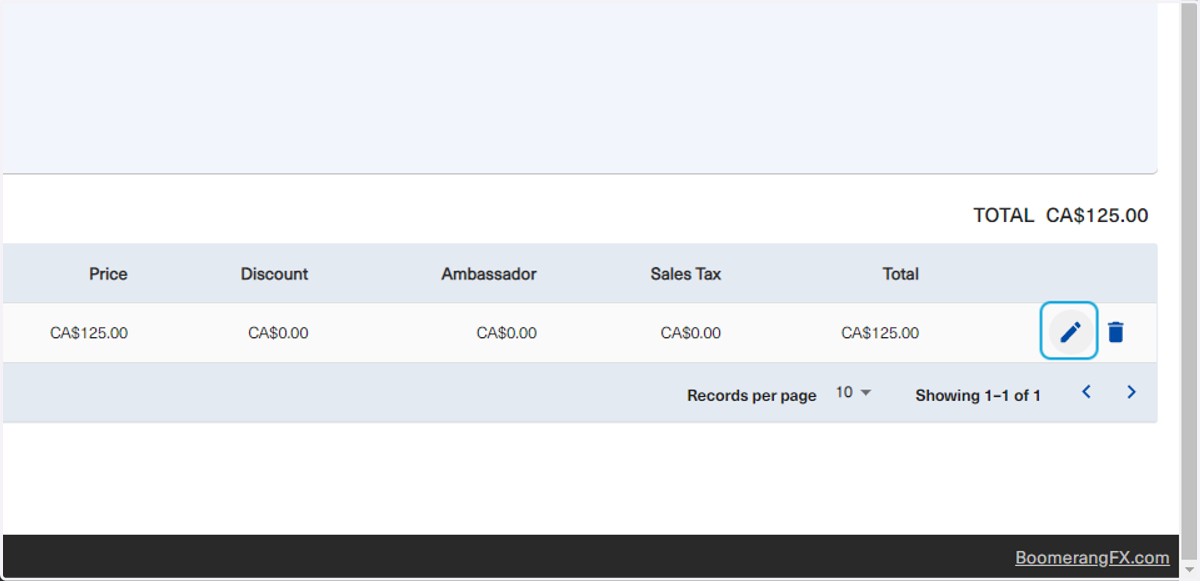
76. To edit the quote after previewing its details, users will click on the edit icon shown below
77. The user is free to change it as necessary
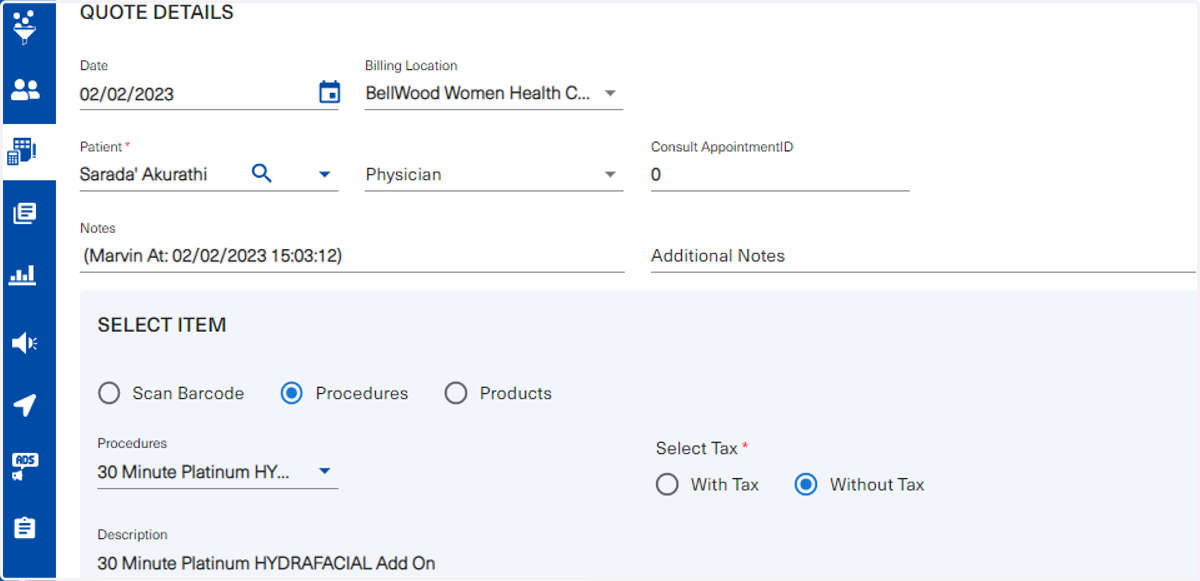
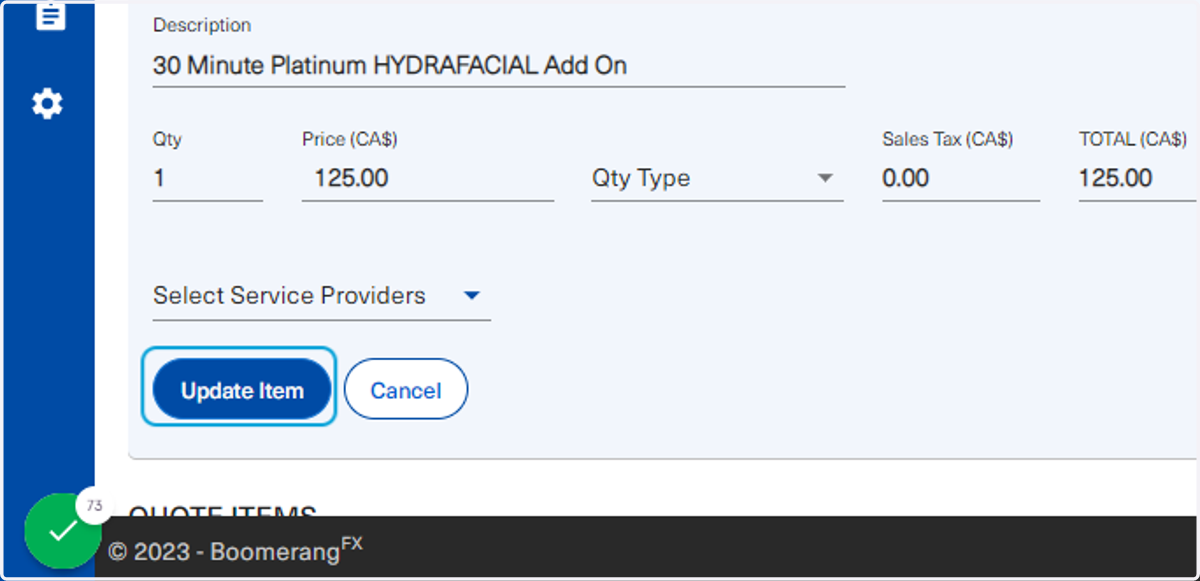
78. Once editing is completed, users will click on Update Item
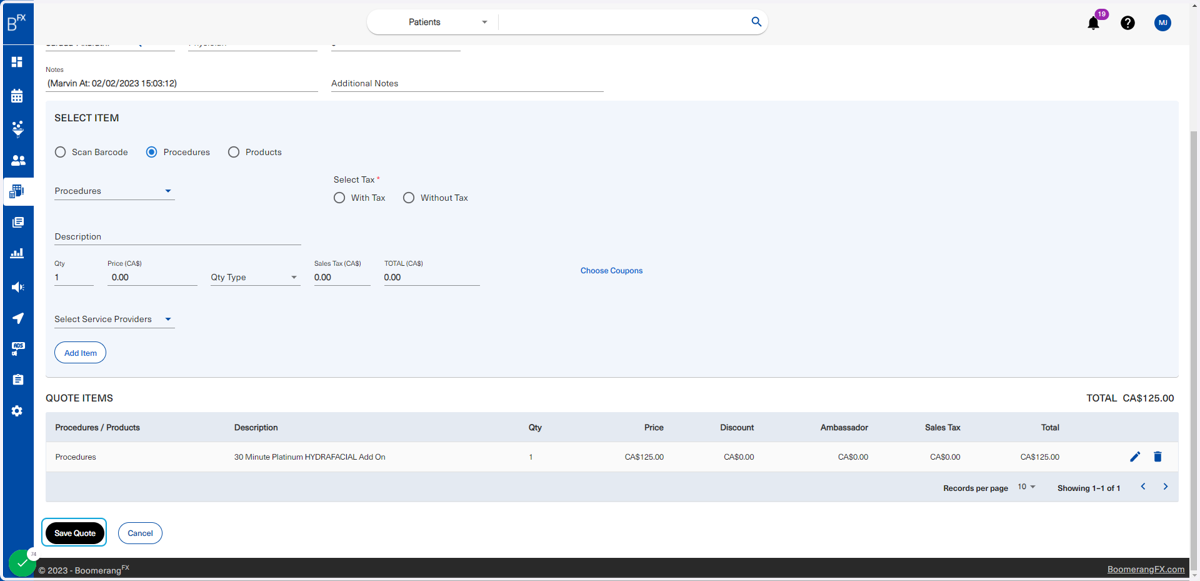
79. Then after reviewing its details in the table below, users will click on Save Quote
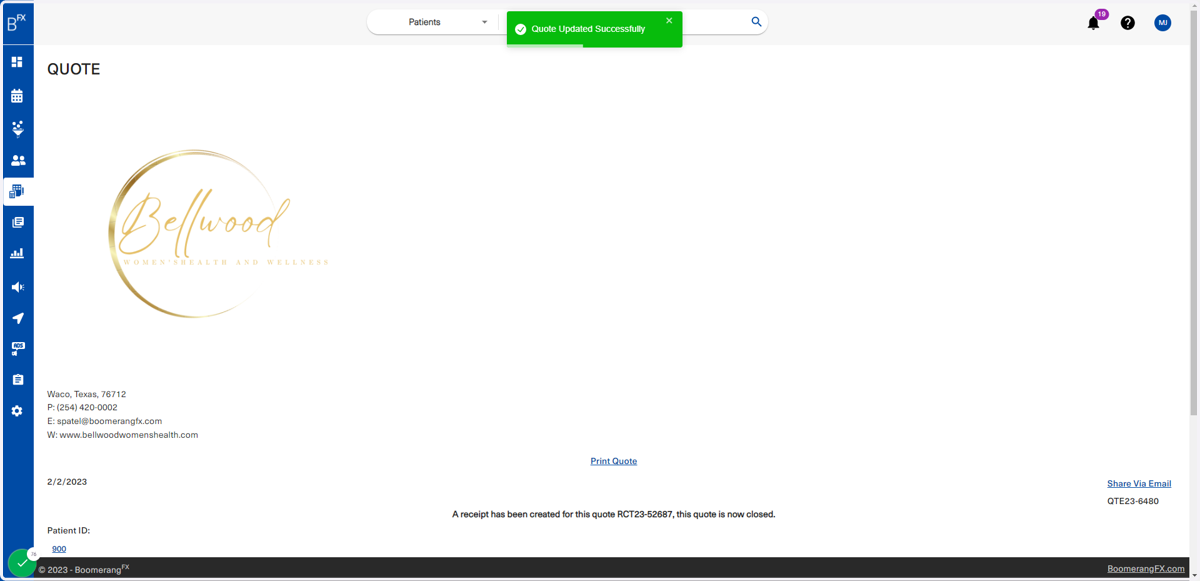
80. A green dropdown will appear confirming that the quote has been updated and this page will show the quote's details as the patient would see it.
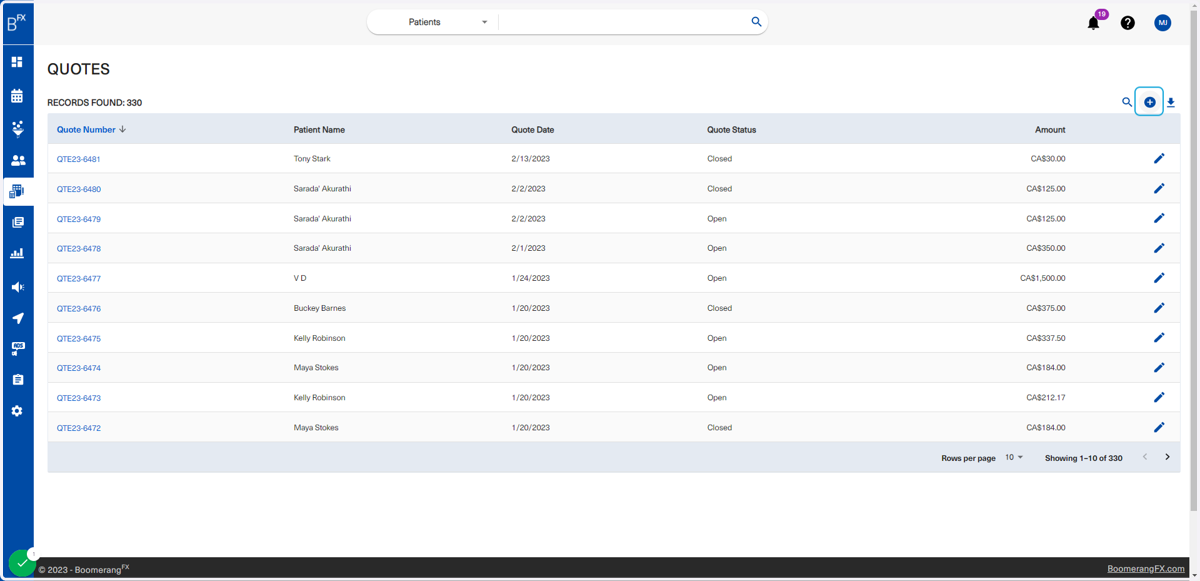
81. To add a new quote, users will click on the plus sign as shown below
82. Fill out all necessary information
Some fields are mandatory, but all fields are recommended to be filled out.
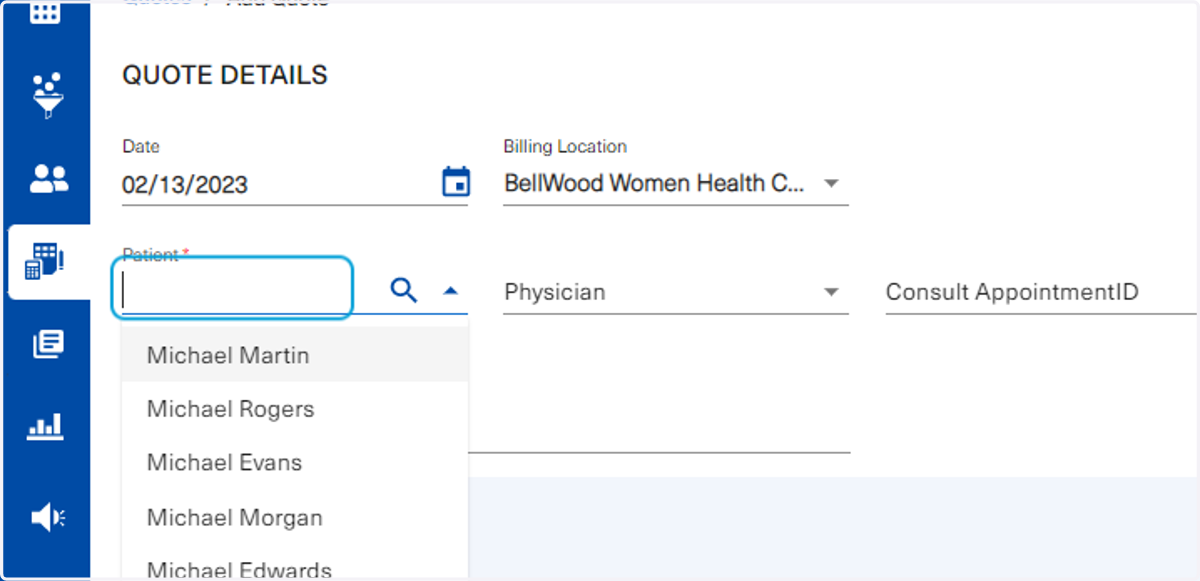
83. Type "Michael"
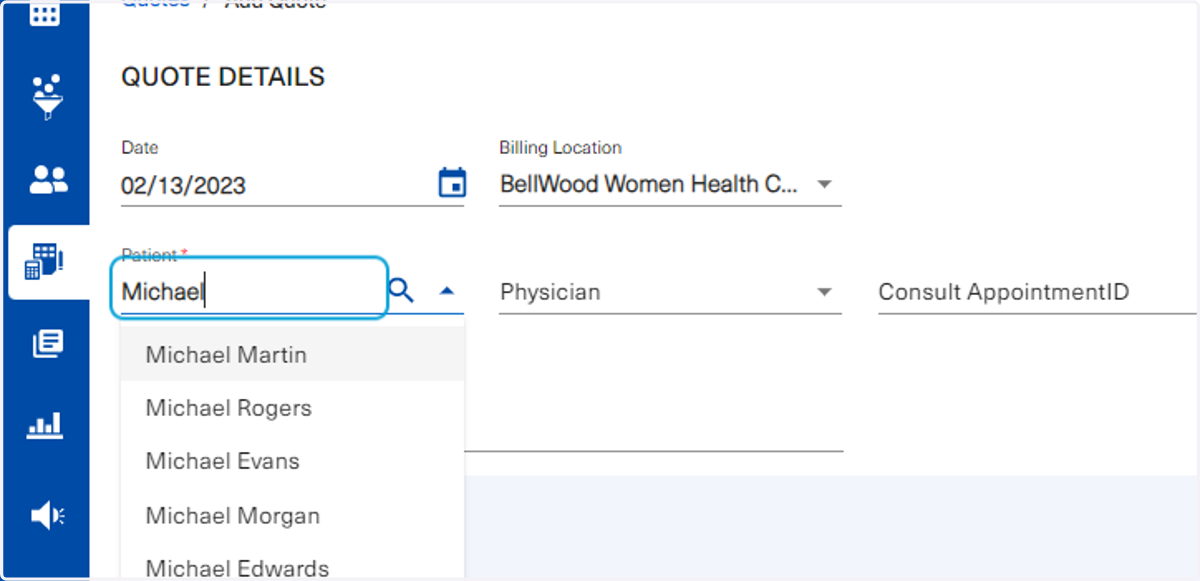
84. Click on option
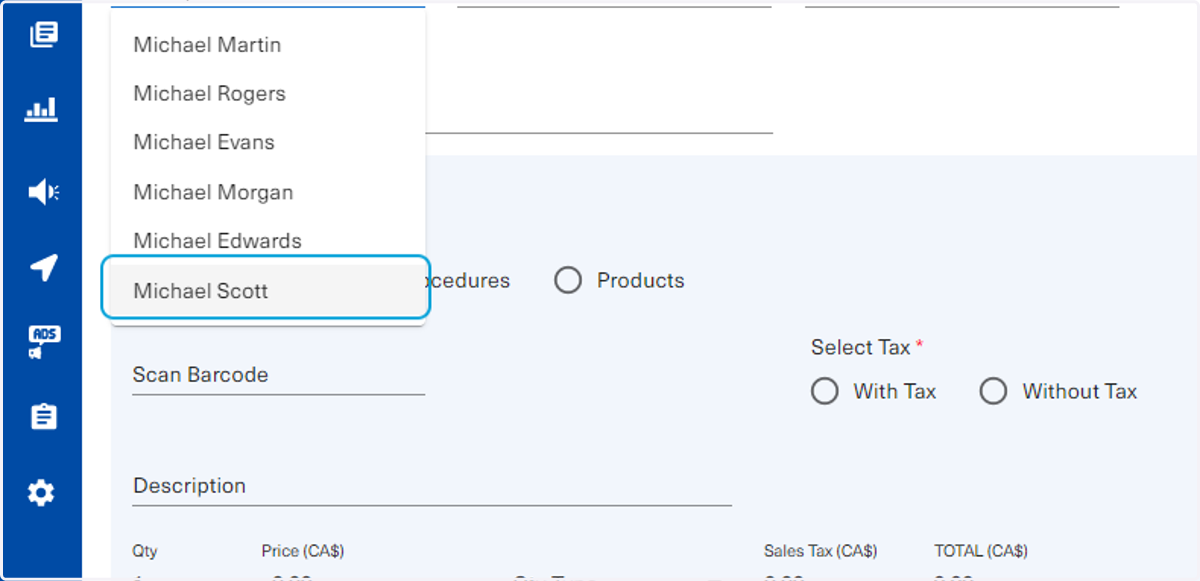
85. Click on option
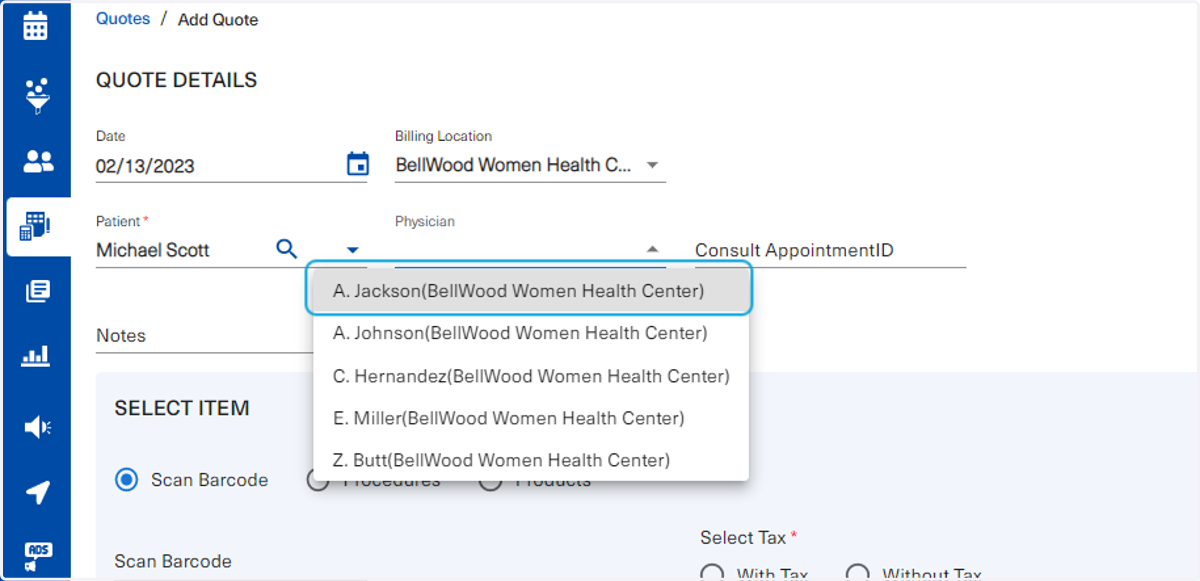
86. Select "procedures"
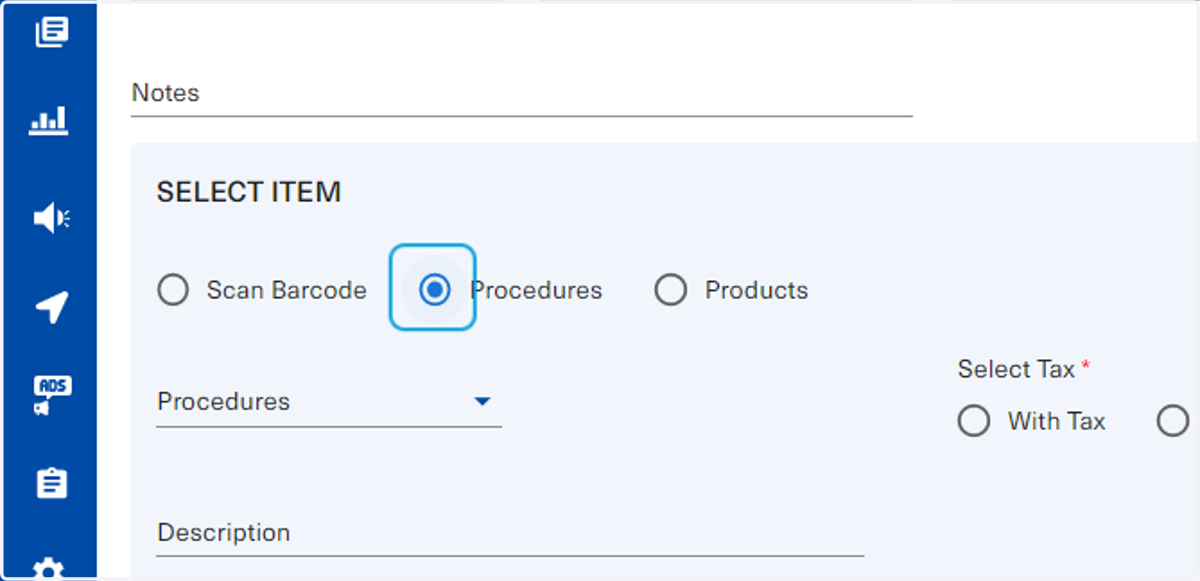
87. Click on Open
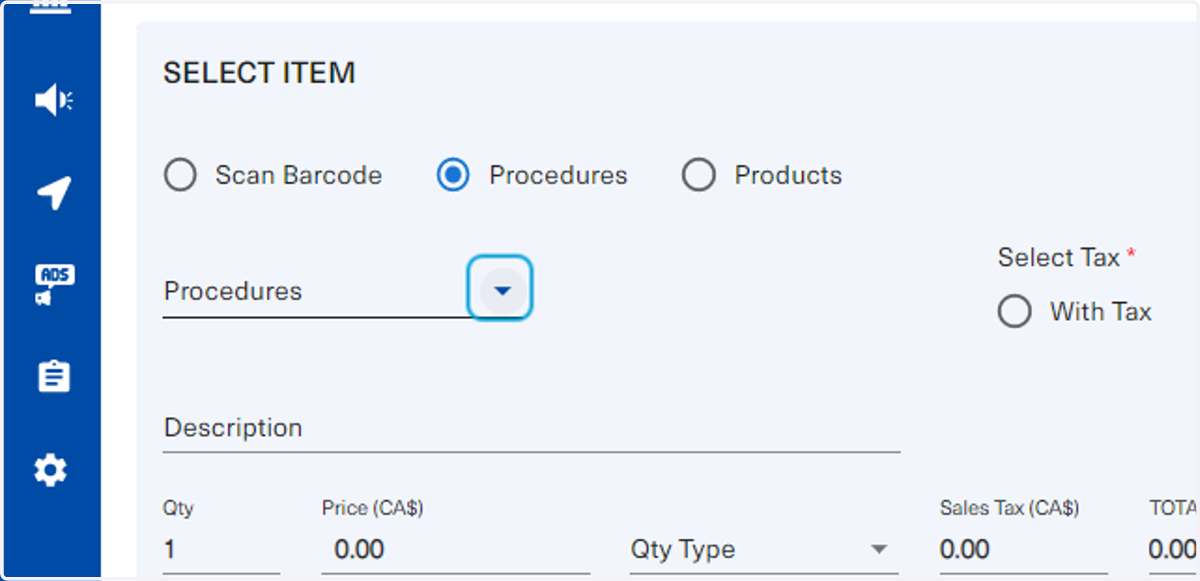
88. Click on option
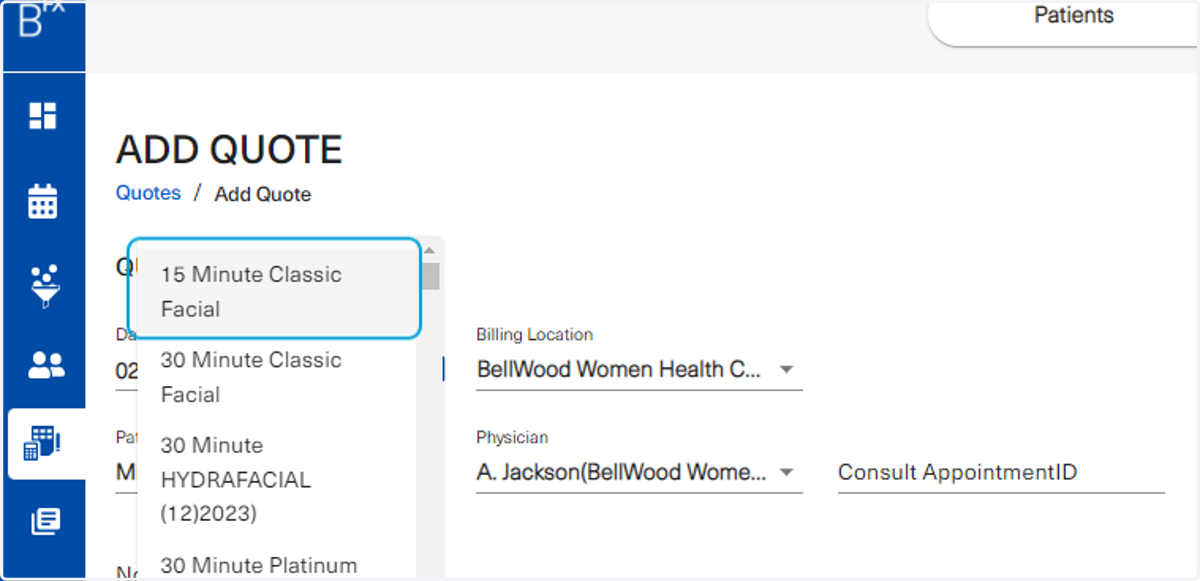
89. Select "withoutTax"
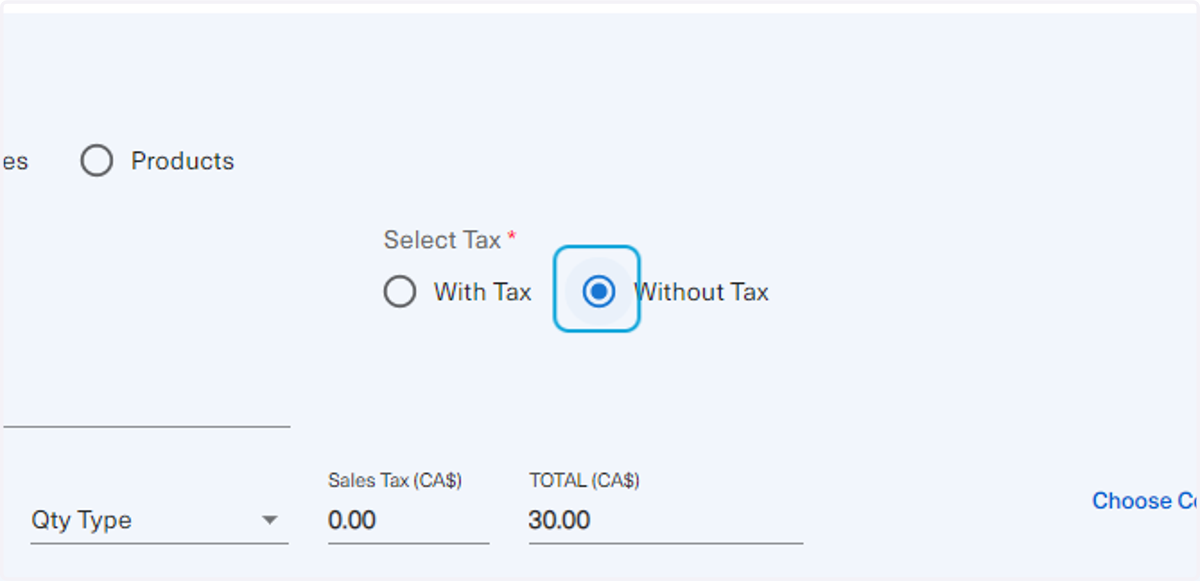
90. Click on Open
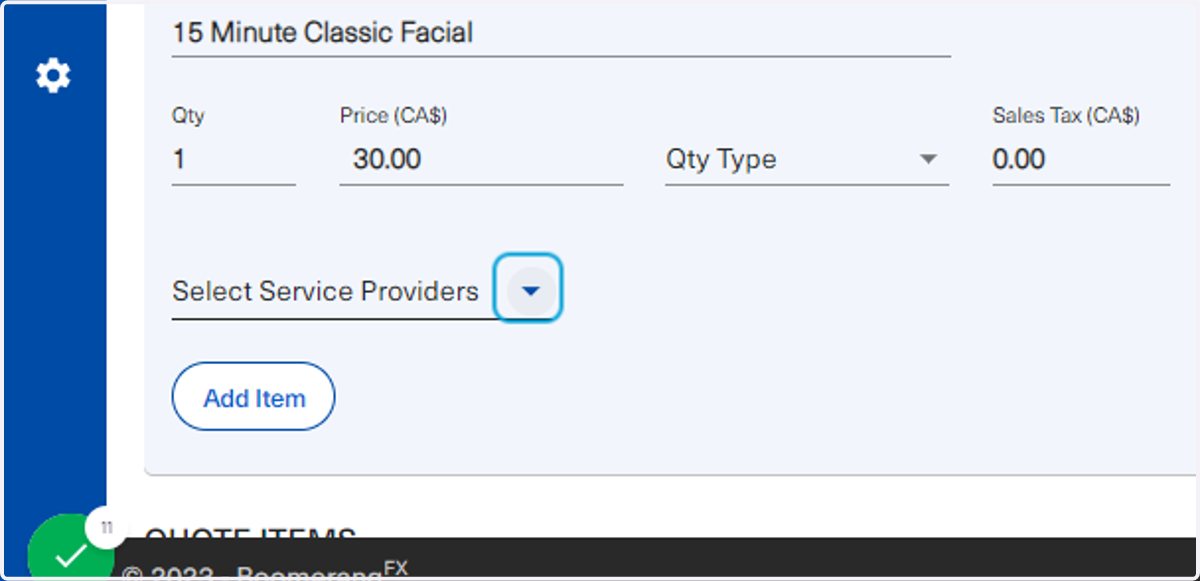
91. Click on option
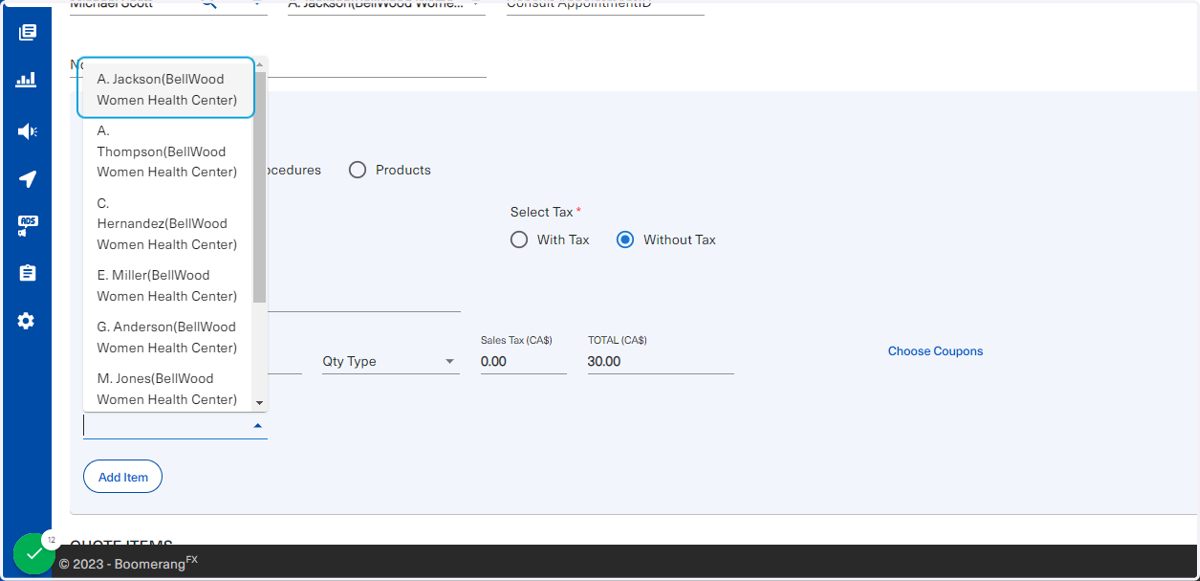
92. Once all information is filled out as necessary, click on Add Item
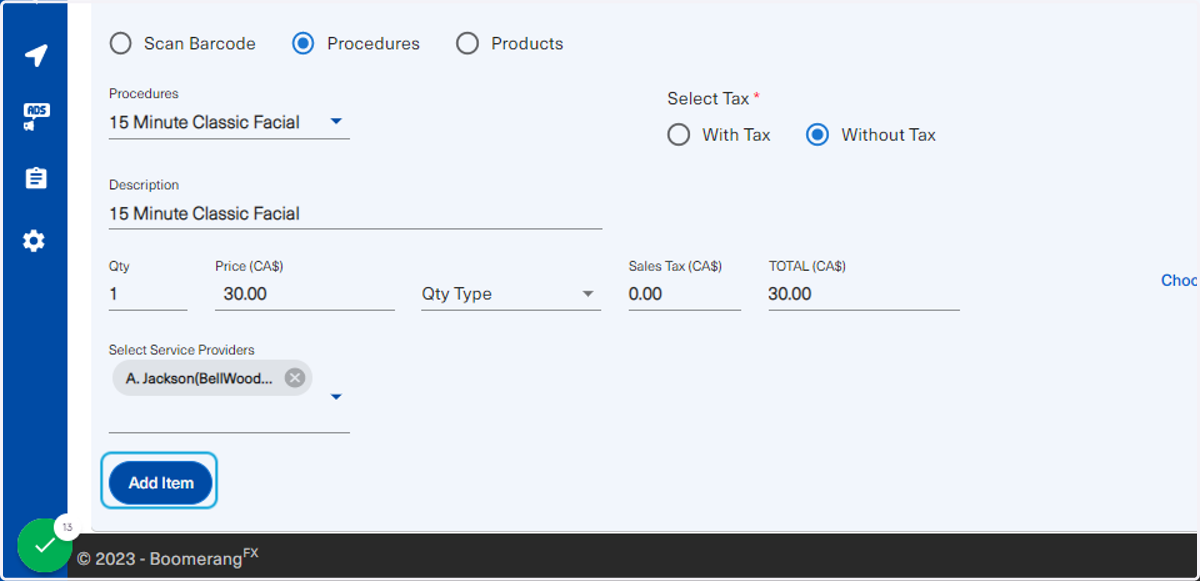
93. As explained in earlier steps, the bottom table is a feature that allows users to preview and review the quote's details before confirming.
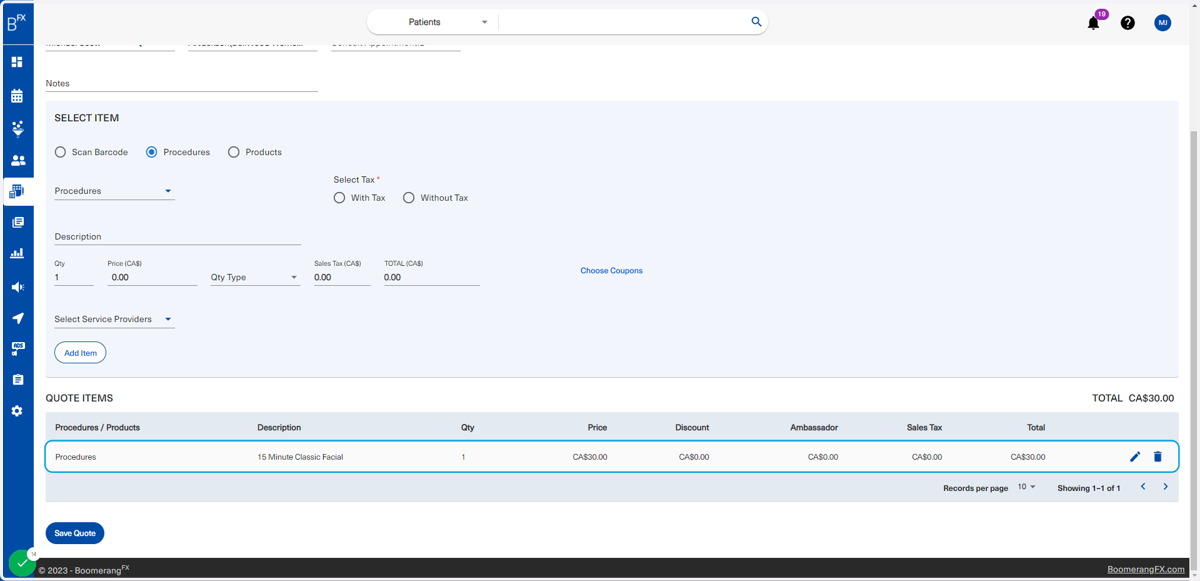
94. Once all has been confirmed, click on Save Quote
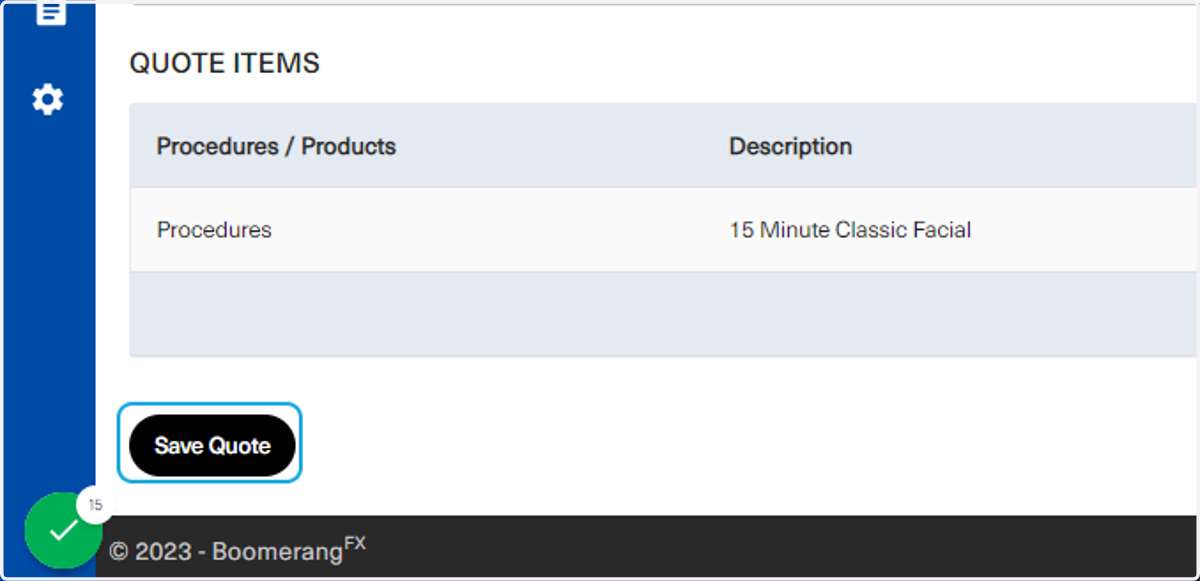
95. This prompt will pop up for users and they are free to choose the appropriate selection
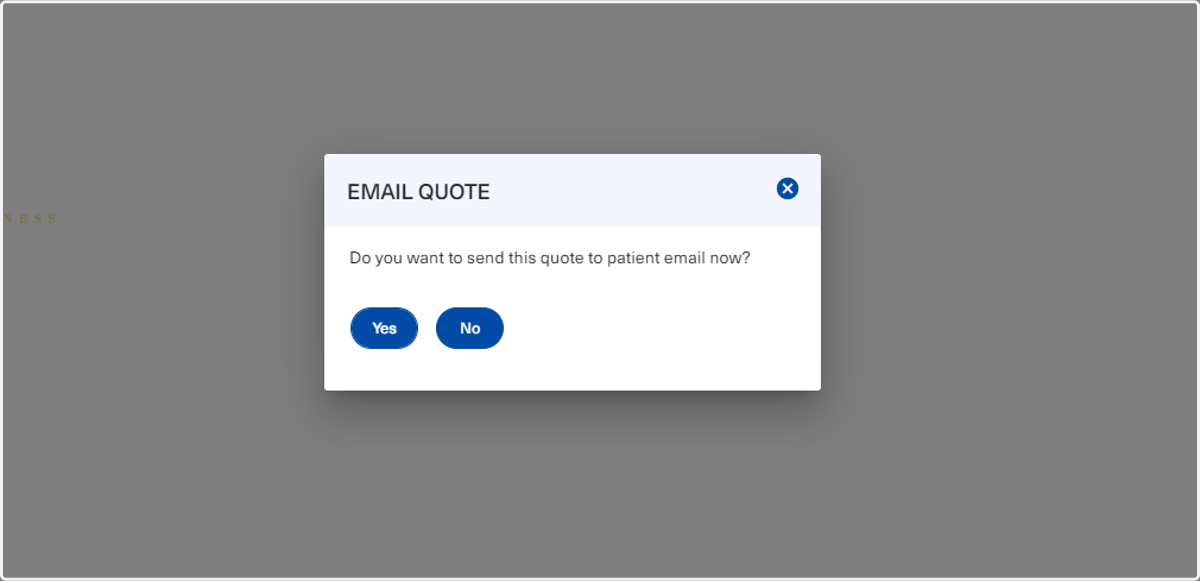
96. The green dropdown appears for confirmation
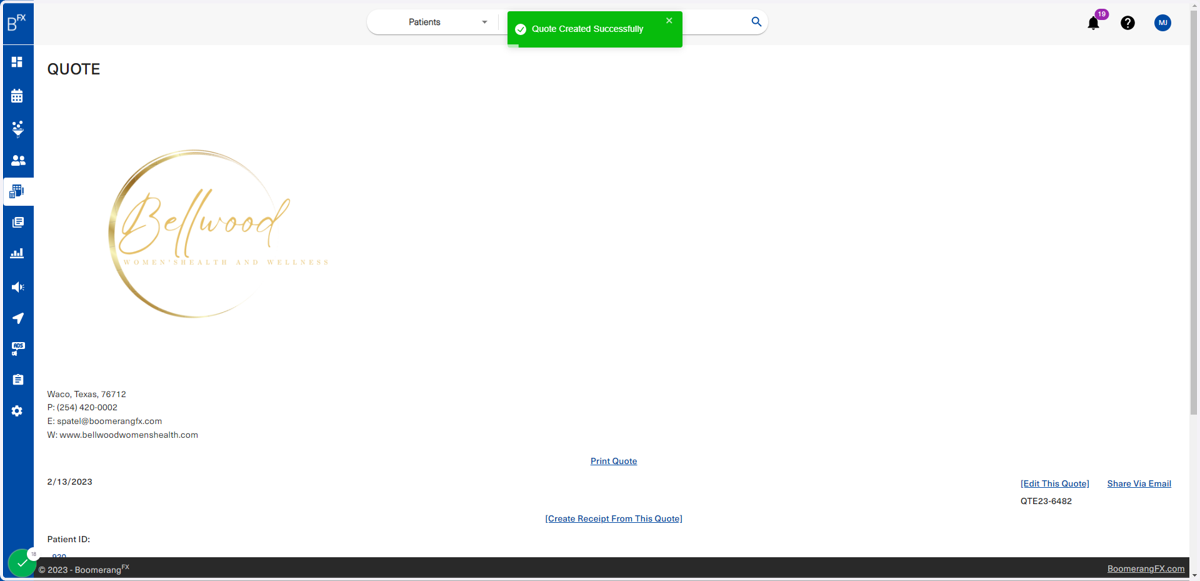
97. When customers have paid for the treatment offered, the user will click on [Create Receipt From This Quote]
This feature allows clinics to save time and have a faster turnover time in checking patients out. For example, this quote might be created in a consultation. If the patient comes in for the treatment mentioned in this quote, this same quote could be turned into a receipt saving the staff the time of having to create a receipt with the same information. Quotes are saved under each patient profile for quick access by staff members, who can easily locate the quote they need by searching for the patient in the Patient List.
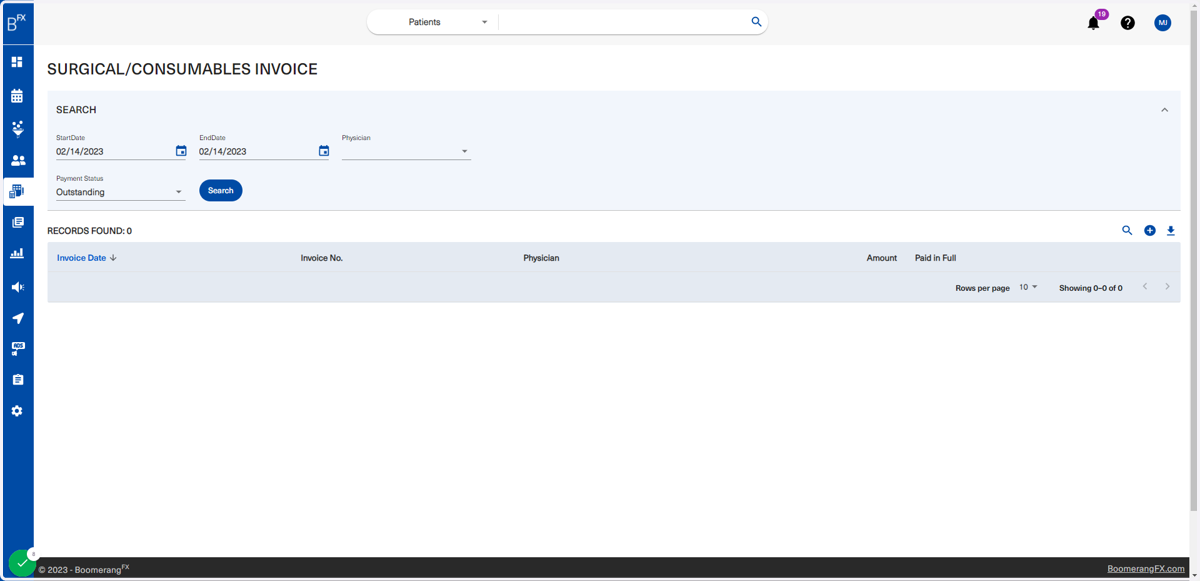
![When customers have paid for the treatment offered, the user will click on [Create Receipt From This Quote]](https://images.tango.us/workflows/acb361ed-3d41-4452-ad38-3a086c5fd1e6/steps/c0e88dff-fb01-4ec4-a152-6cd8b499d3b3/126bf871-2e15-42ed-ae8f-f4003c22f6c9.png?fp-x=0.5000&fp-y=0.5000&w=1200&border=F4F2F7&dpr=1.00)
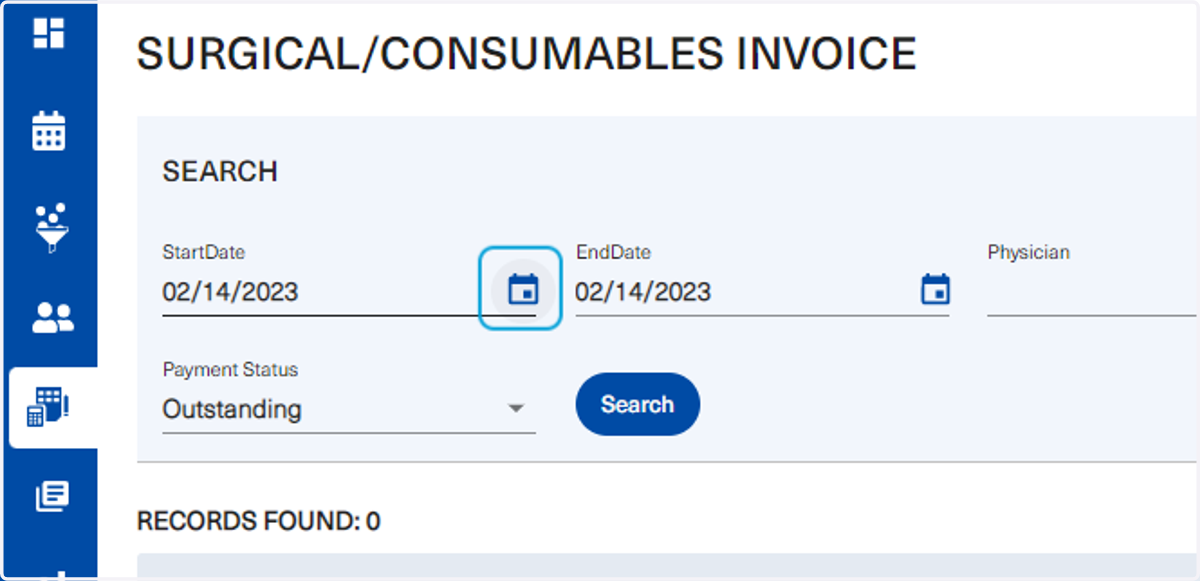
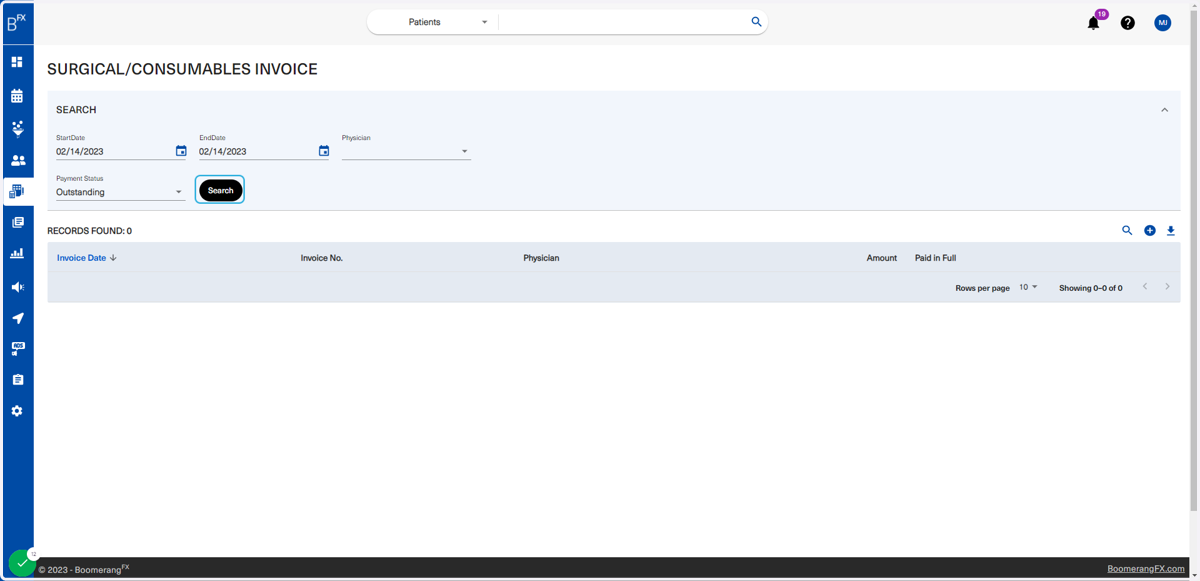
98. The user will be redirected to receipts and the receipt information will be automatically populated in the bottom table for review
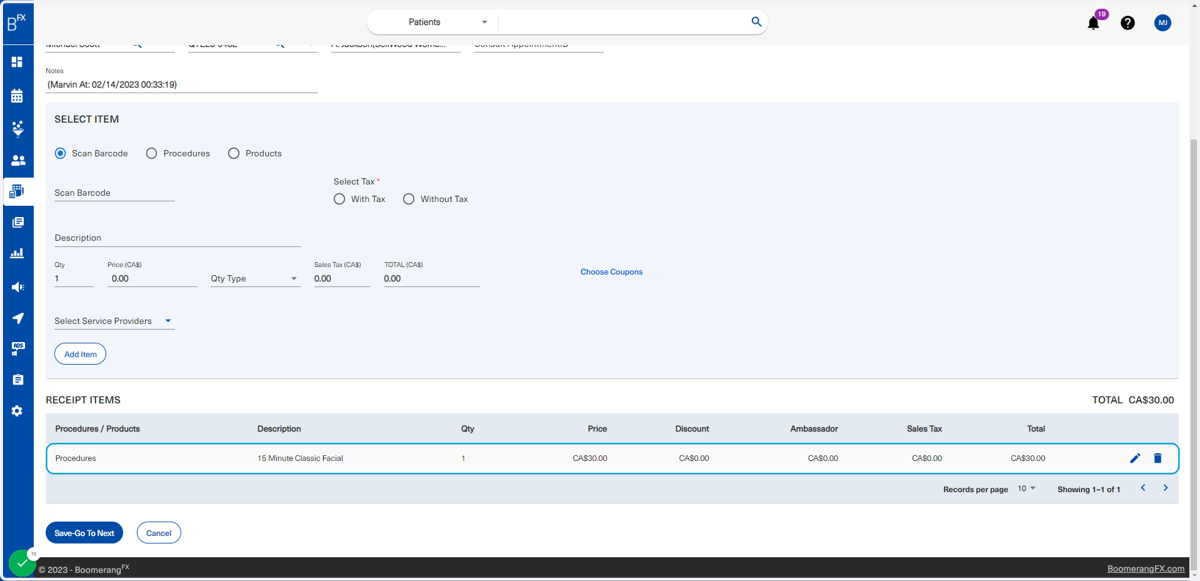
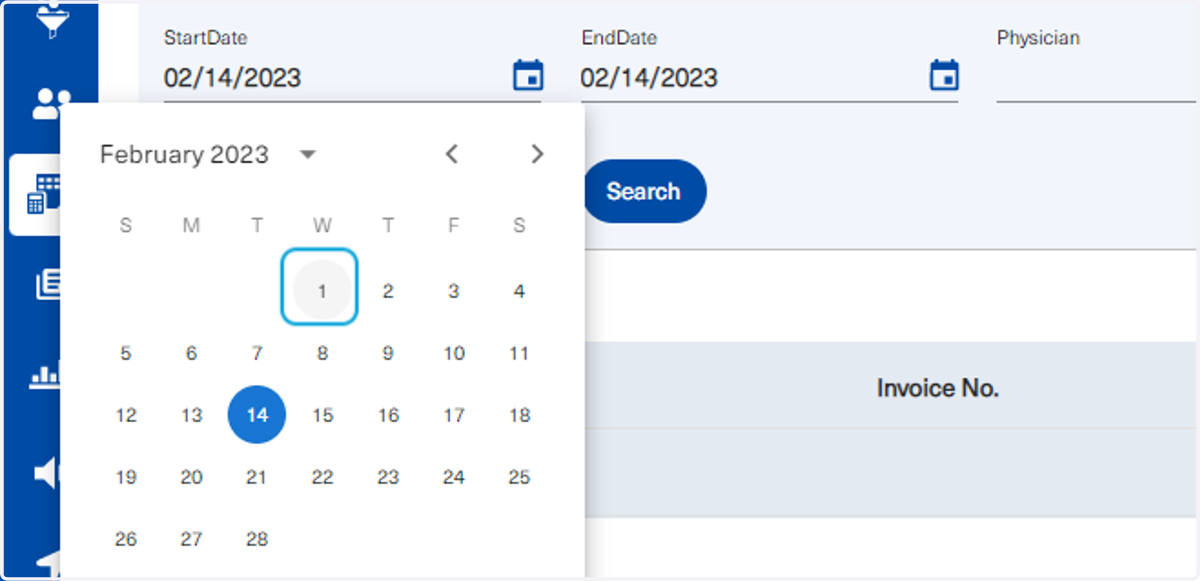
99. Once confirmed, the user will click on Save-Go To Next
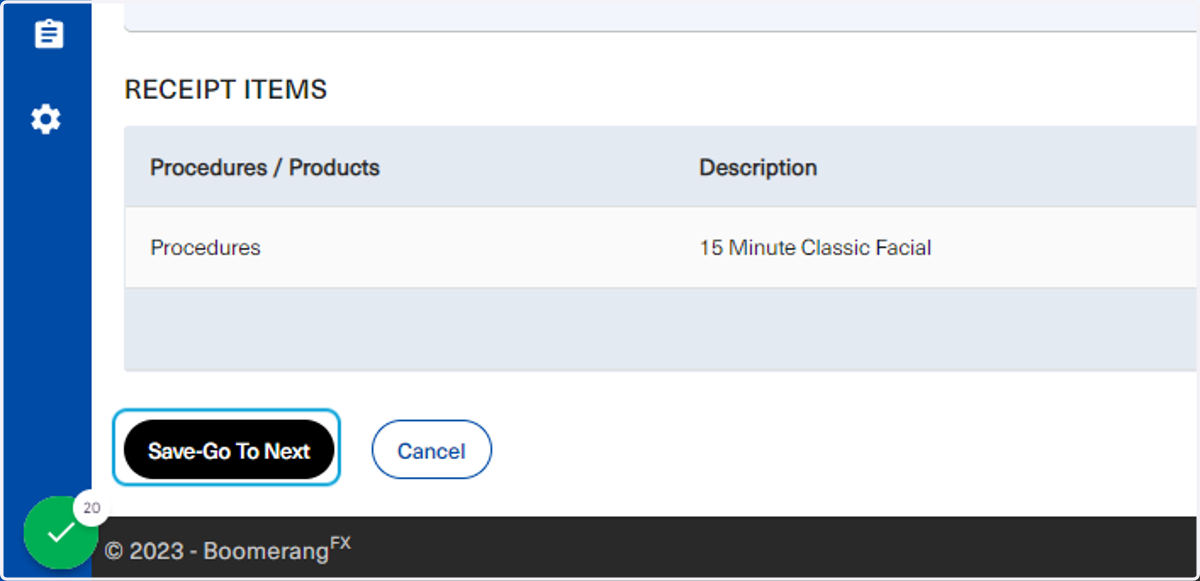
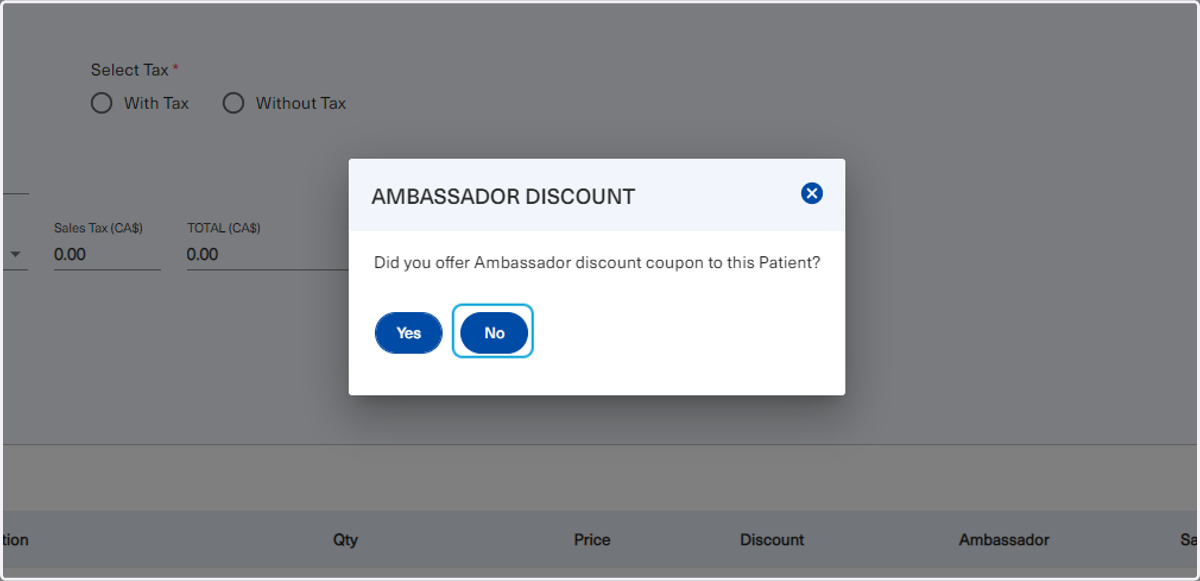
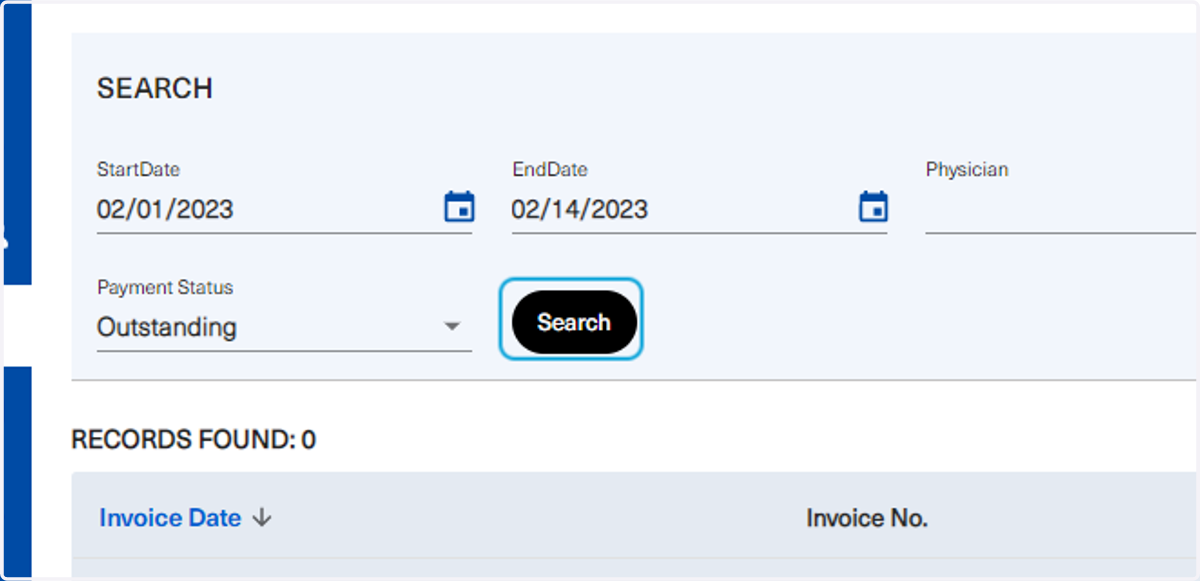
100. The user is free to choose the appropriate answer
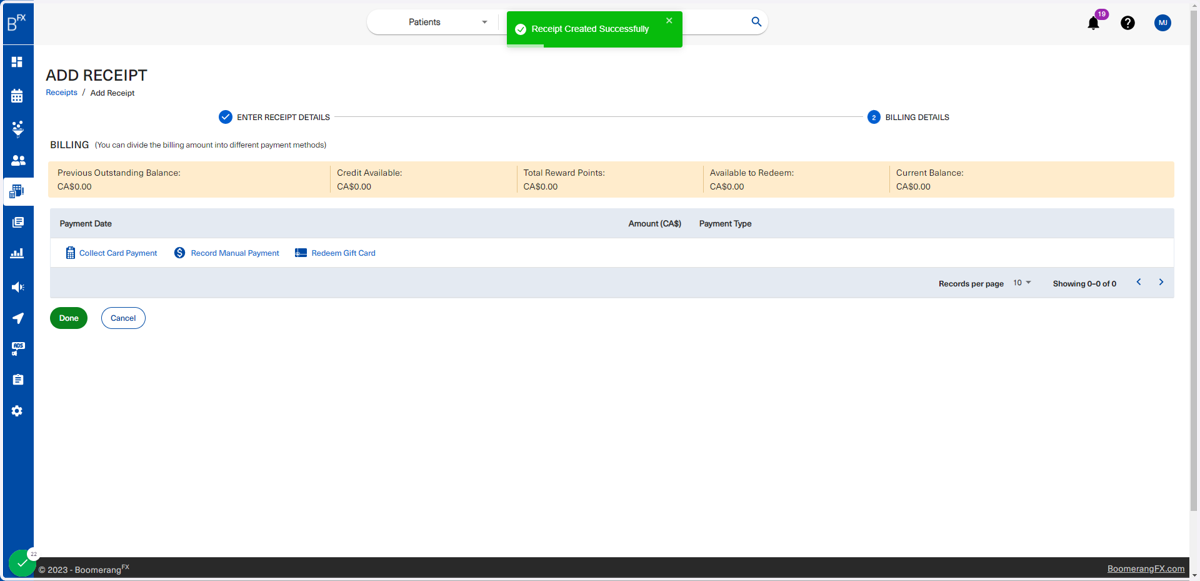
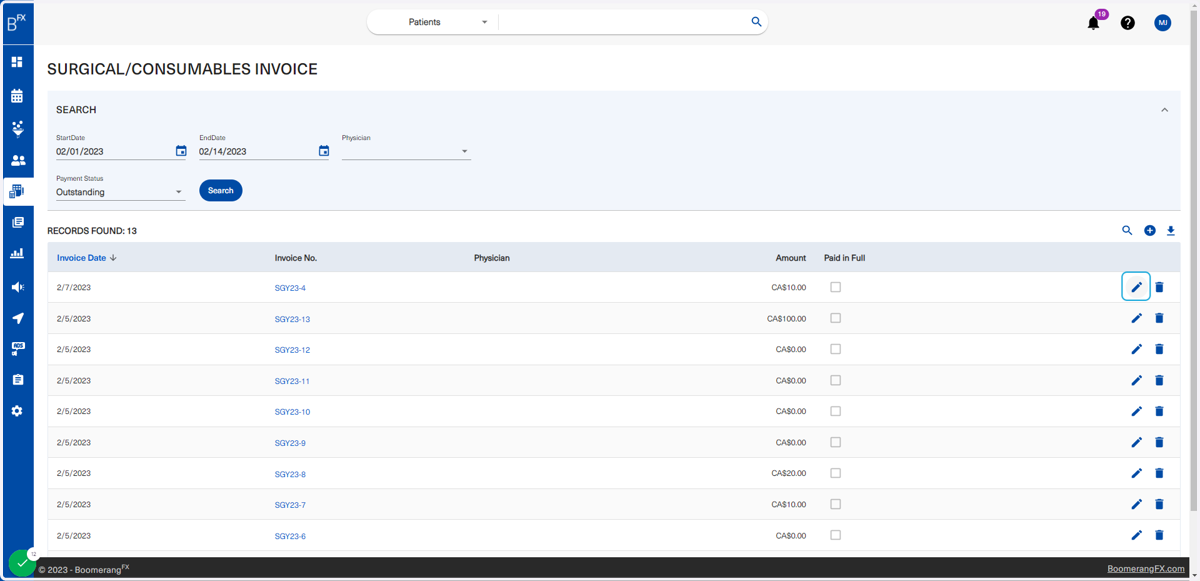
101. Users will be automatically redirected to this page to collect payment
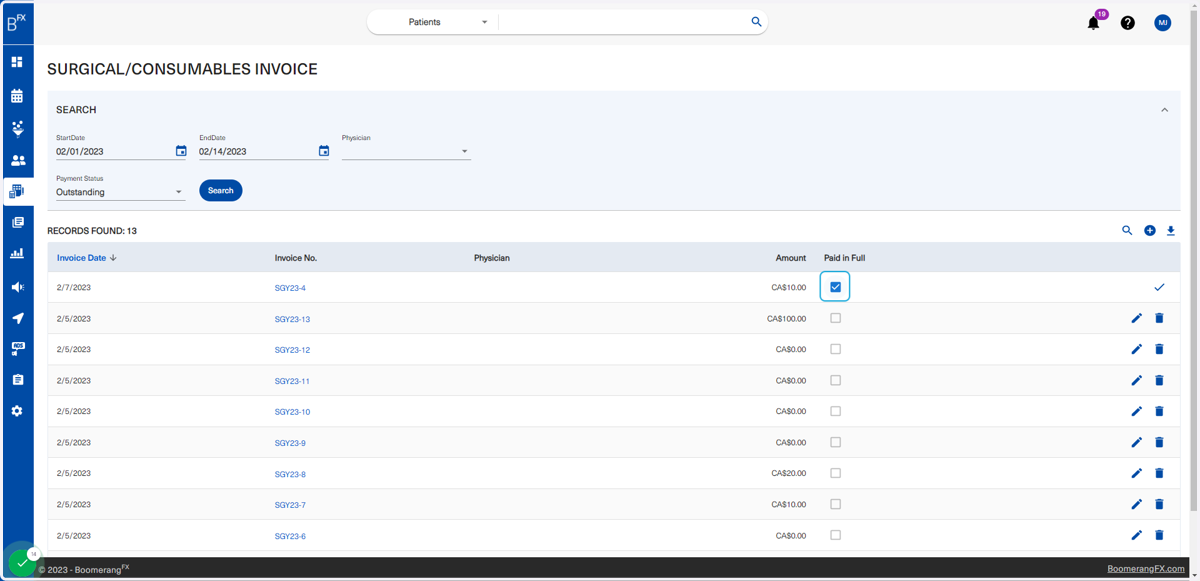
102. Users may Collect Card Payments
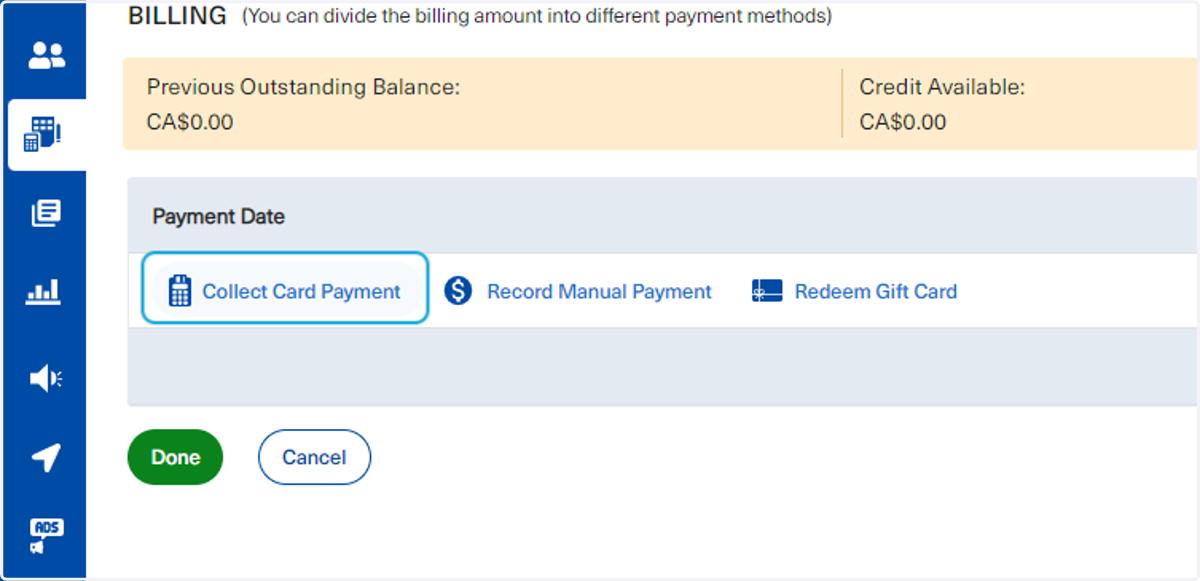
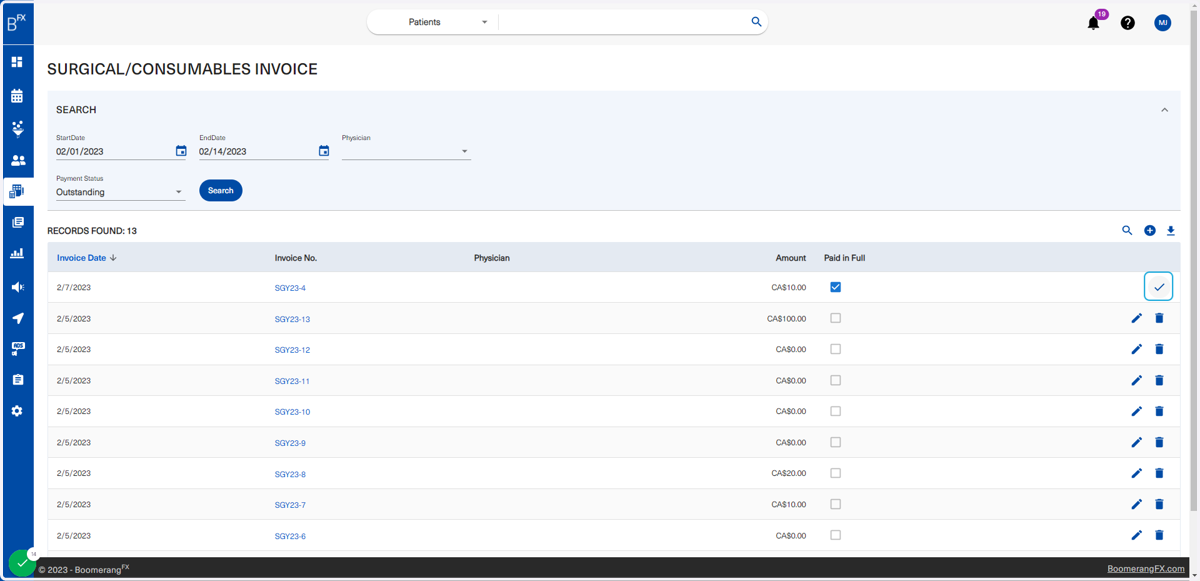
103. A Stripe account needs to be created and activated, and stripe readers need to be connected
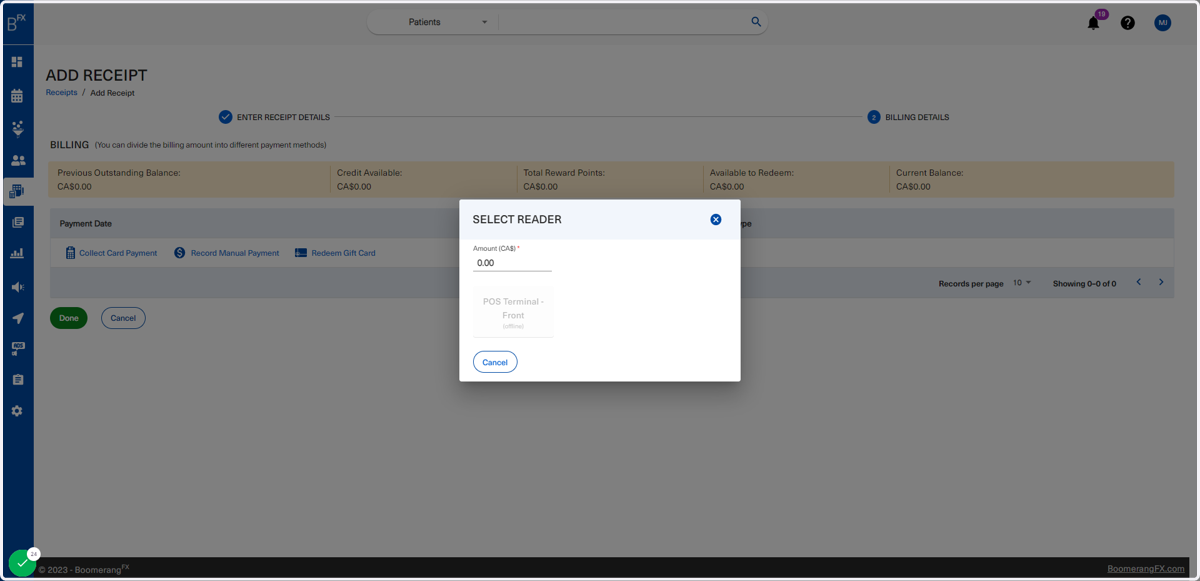
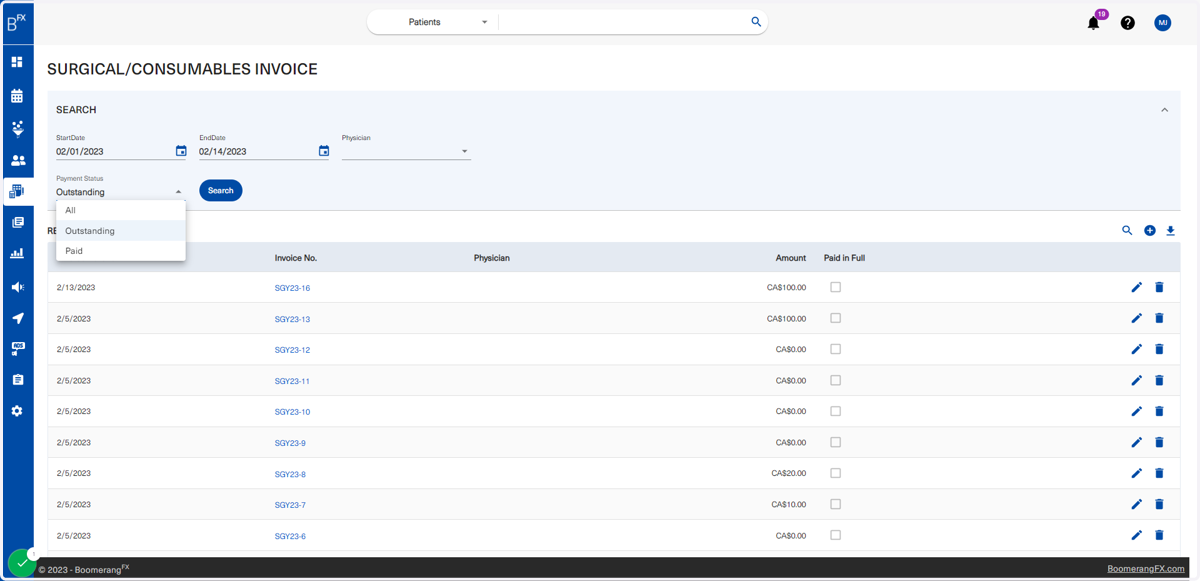
104. Users may also Record a Manual Payment as shown earlier
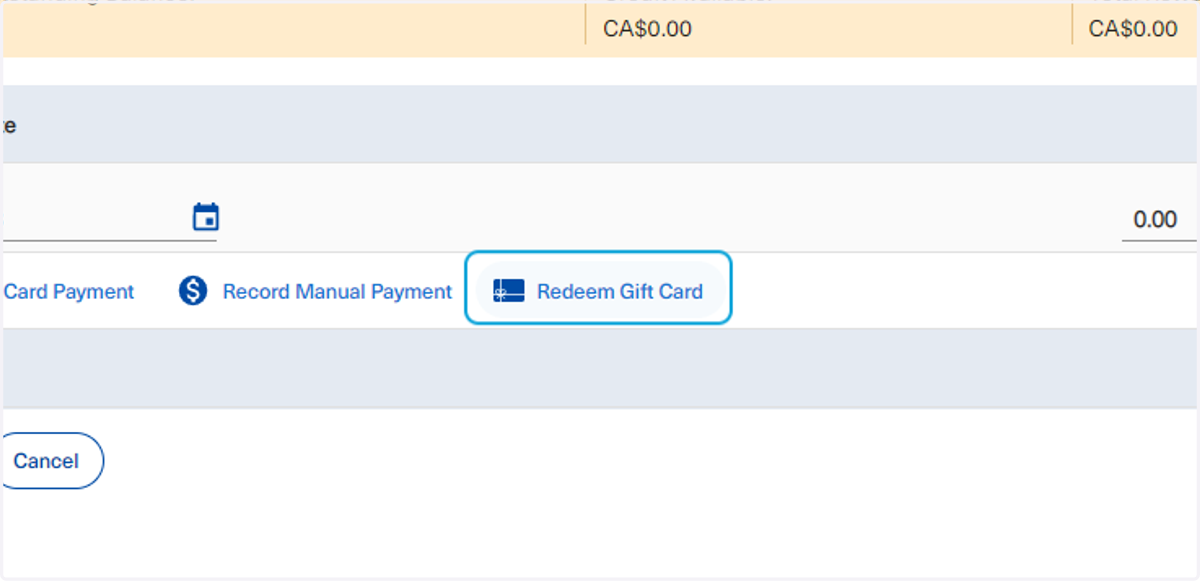
105. And finally, users may Redeem a Gift Card for a patient
To redeem a gift card, the patient needs to provide the staff members with the gift card code. Retrieving this code is shown in the next steps
106. The recipient will receive an email upon having a gift card issued to them
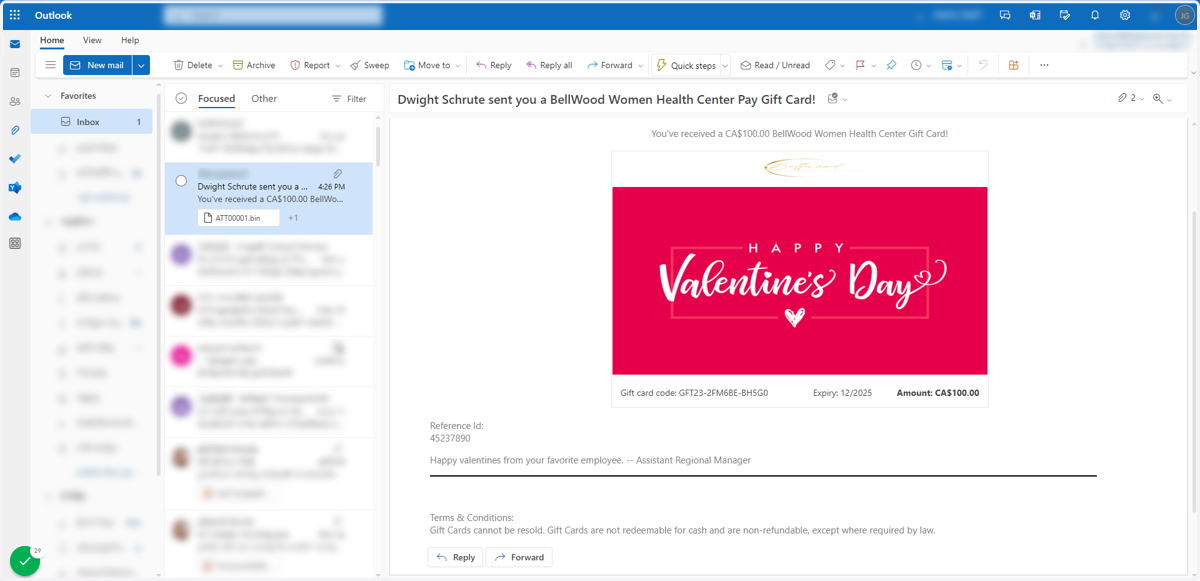
107. In this email, the recipient will find a Gift card code, an Expiry date, and an Amount
To redeem a gift card, the patient will need to give the clinic the Gift card code upon check out.
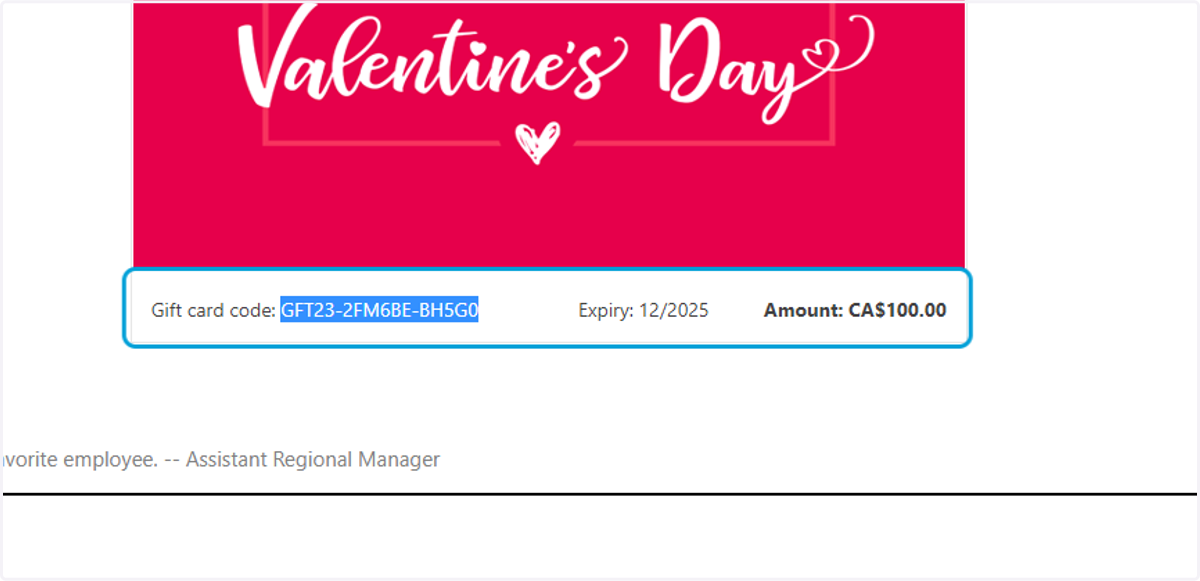
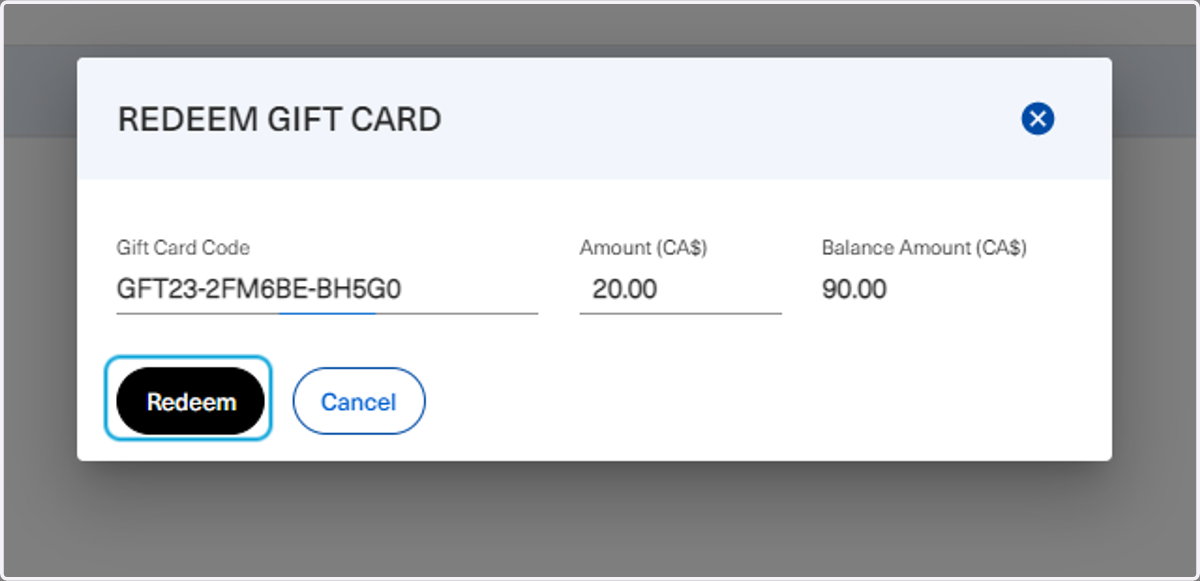
108. The Gift Card Code should be entered in the text field shown below
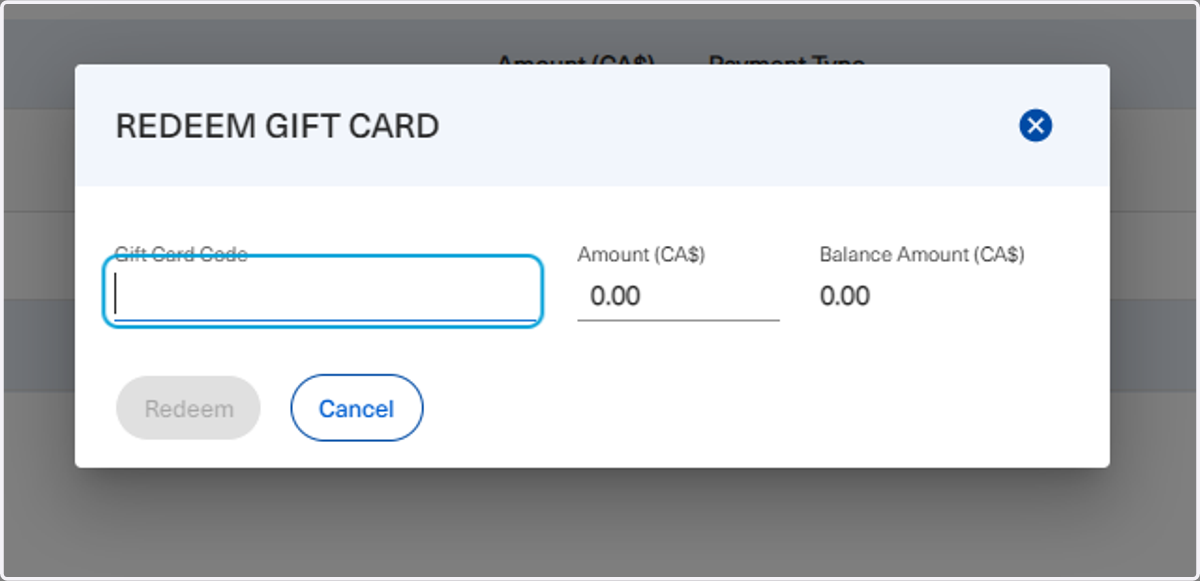
109. The Amount used should be also filled out
The Gift Card Balance Amount will appear on the right.
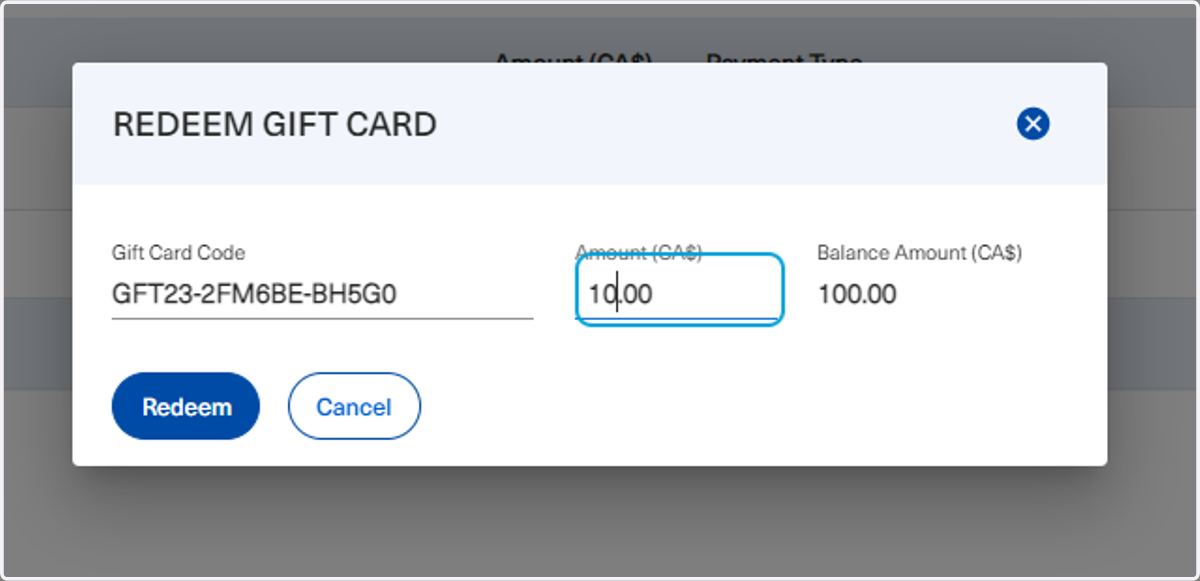
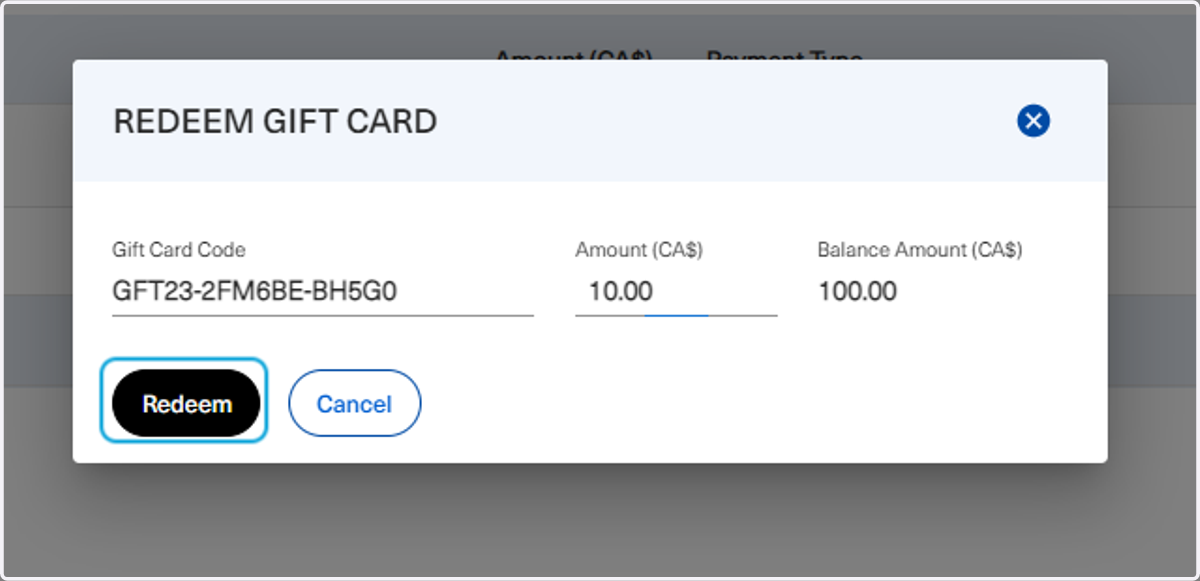
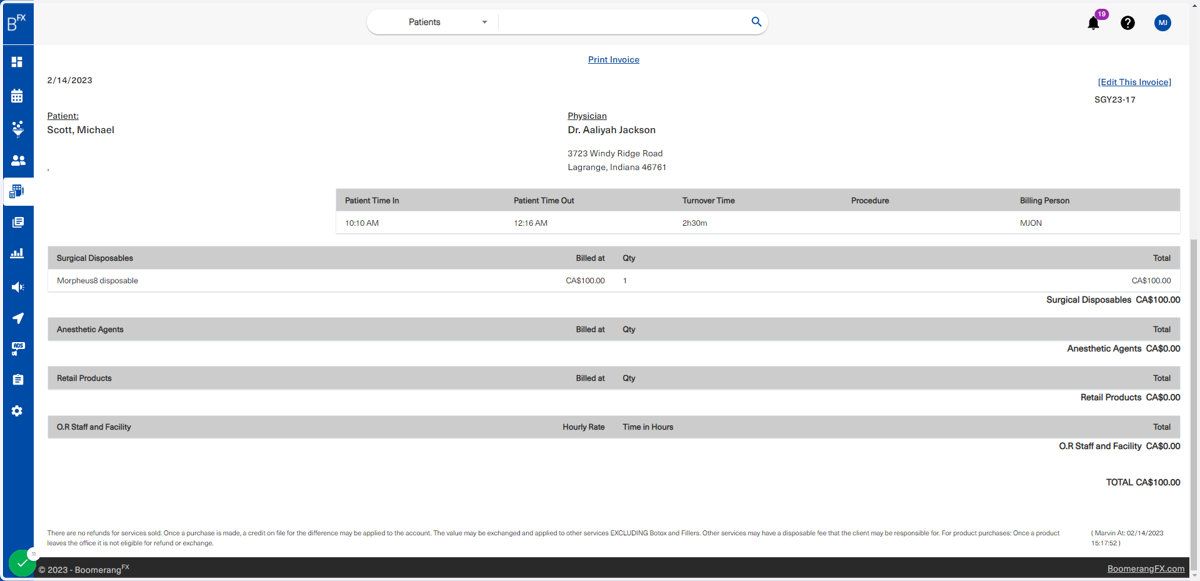
110. Click on Redeem
111. The green dropdown will appear for confirmation and the gift card payment will also appear
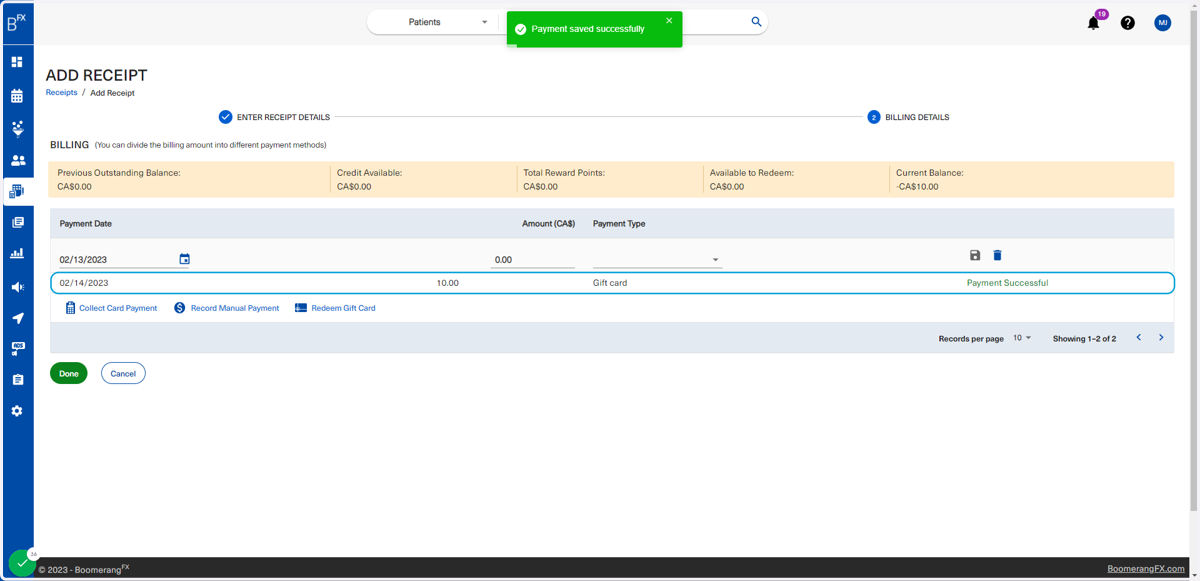
112. Staff members may also add other payment methods
In this case, the gift card option will be used again
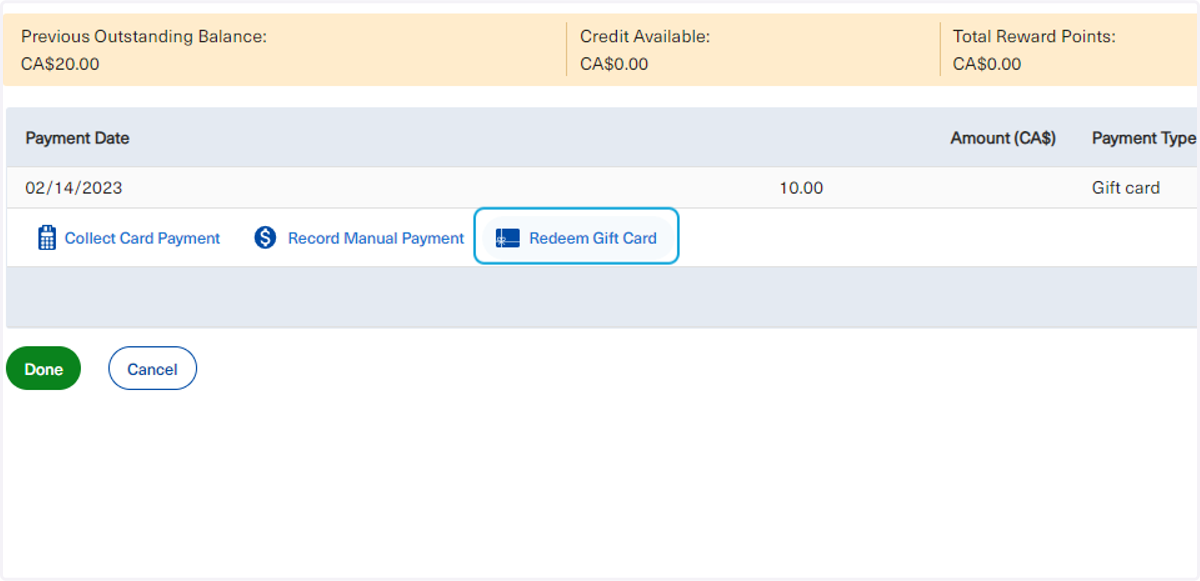
113. Click on Redeem
114. Once the payment has been completed, the user will click on Save
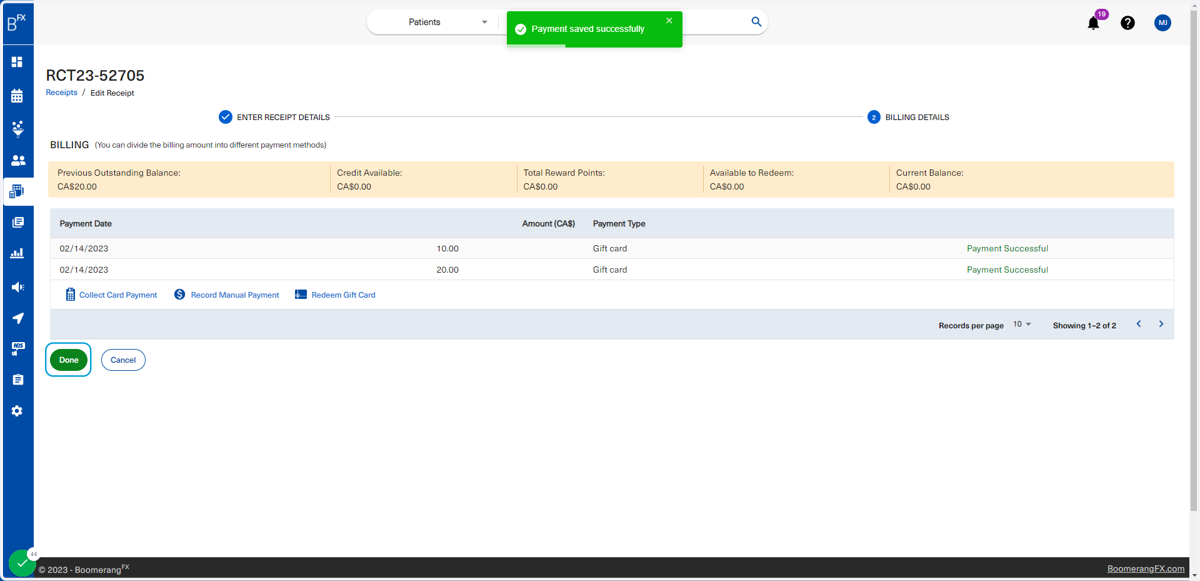
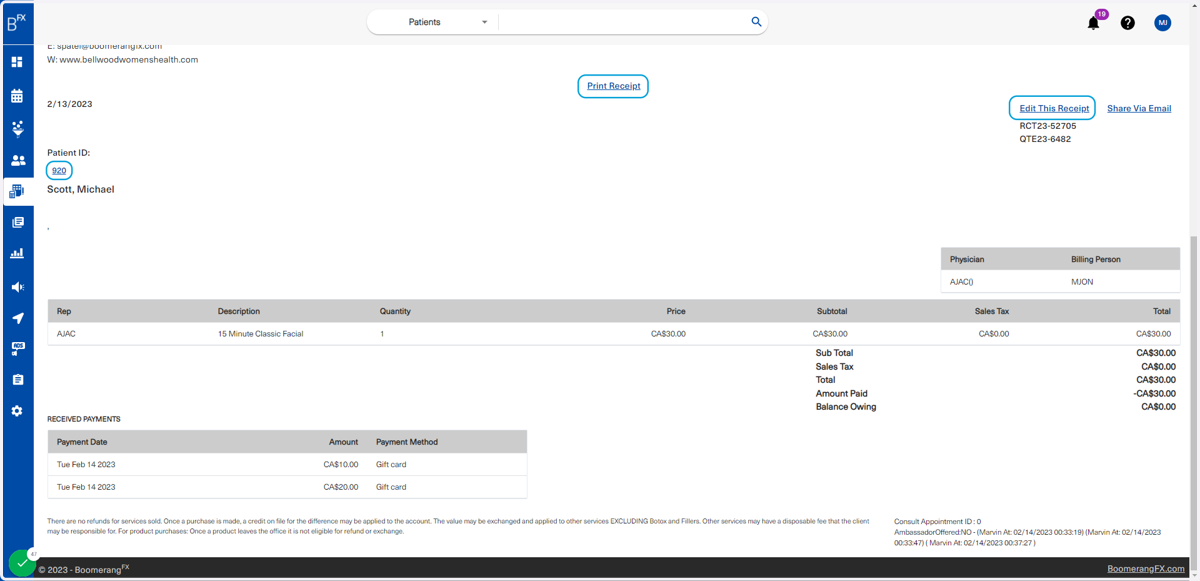
115. The receipt will be available to view
To redirect to the patient's profile, the user may click on the patient ID on the left. Users are able to Print the Receipt and also capable of Editing This Receipt
116. Receipts
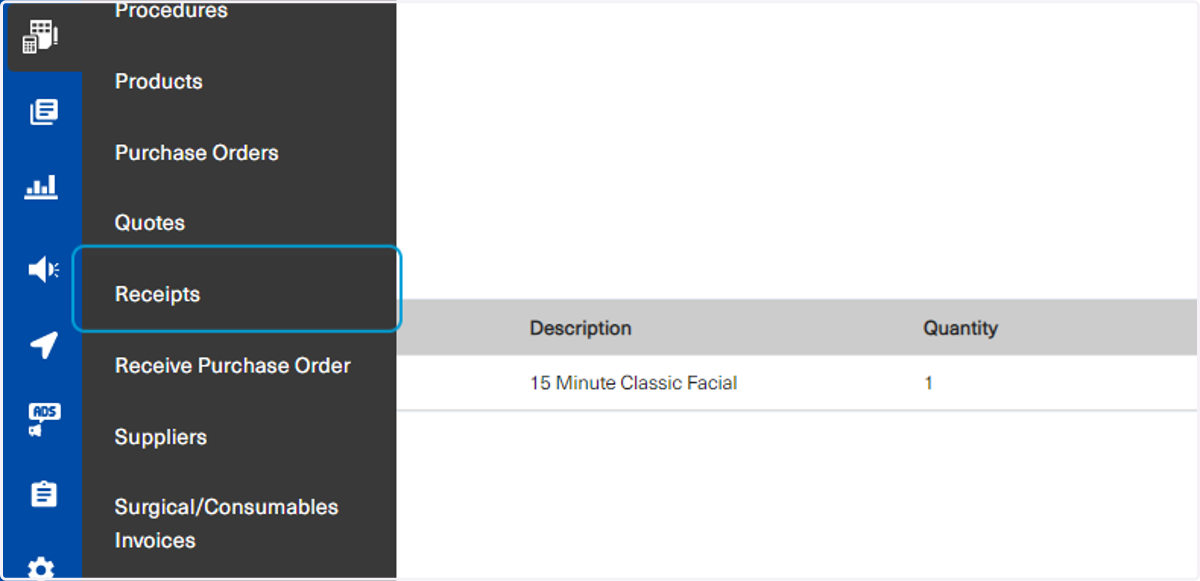
To access receipts, click on Accounting then on Receipts.
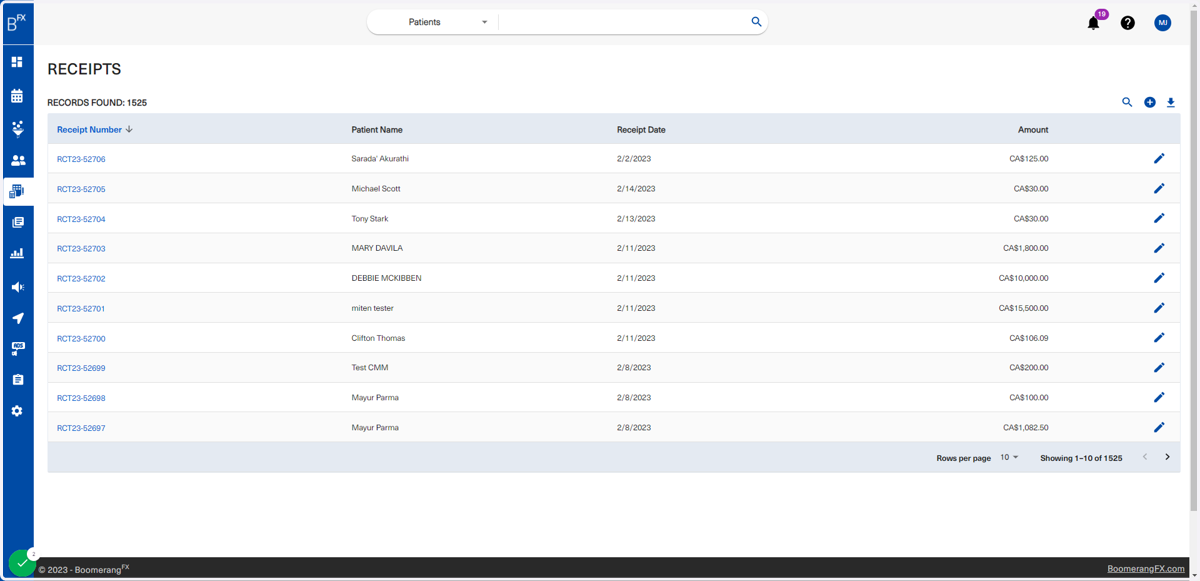
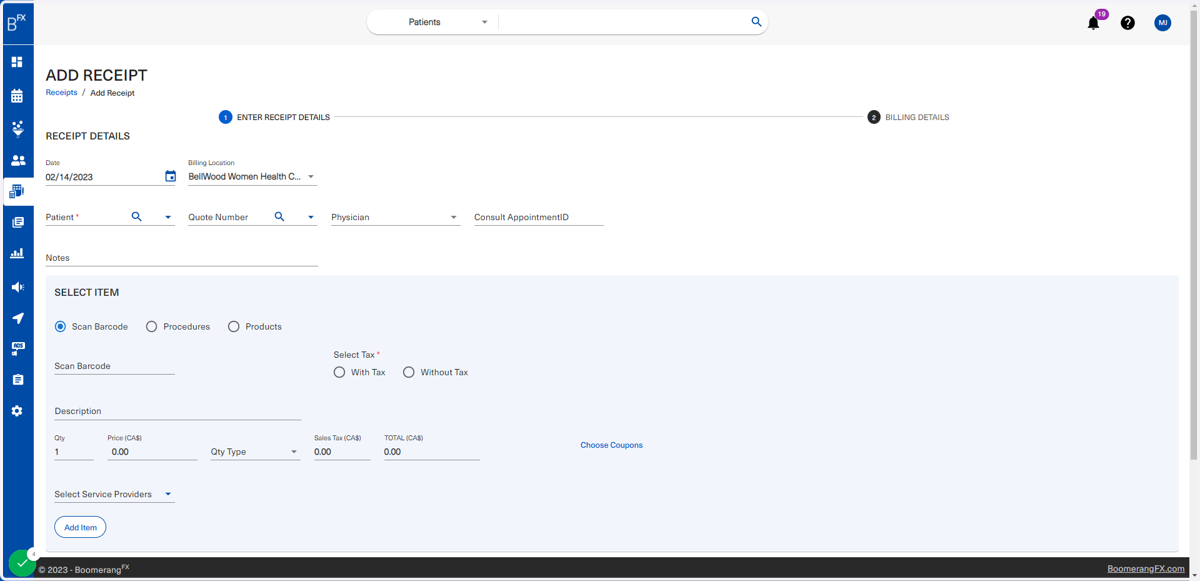
117. This is how the receipts will look like
The functionality of this page is similar to that of quotes. Users are able to edit receipts and add new receipts in the same way they are able to do so with Quotes.
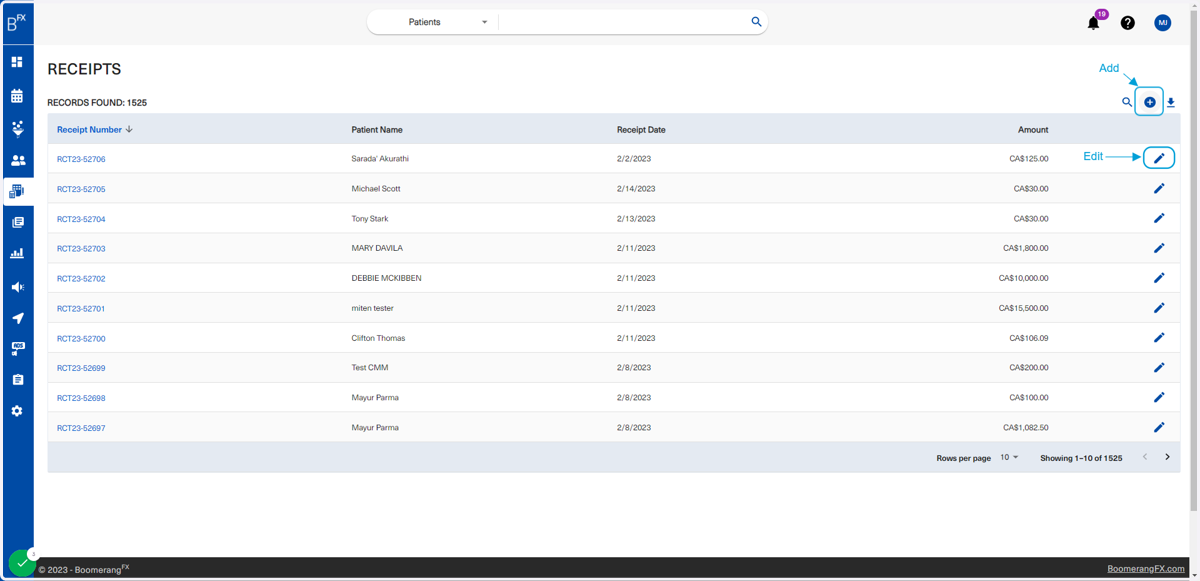
118. To add a receipt, click on the plus sign, and to edit, click on the pencil icon
119. By clicking on the plus icon, the user is redirected to this page to add a new receipt
As you may notice, the fields are the same as the ones found in Quotes. Users will fill the information in the appropriate fields, then click on Add Item to populate the details in the bottom table. After reviewing the details, users will click on Save-Go To Next to finalize the receipt creation process. Users will also be given a pop-up prompt to send the receipt the patient, and users are free to choose whether to do so or not.
120. Suppliers
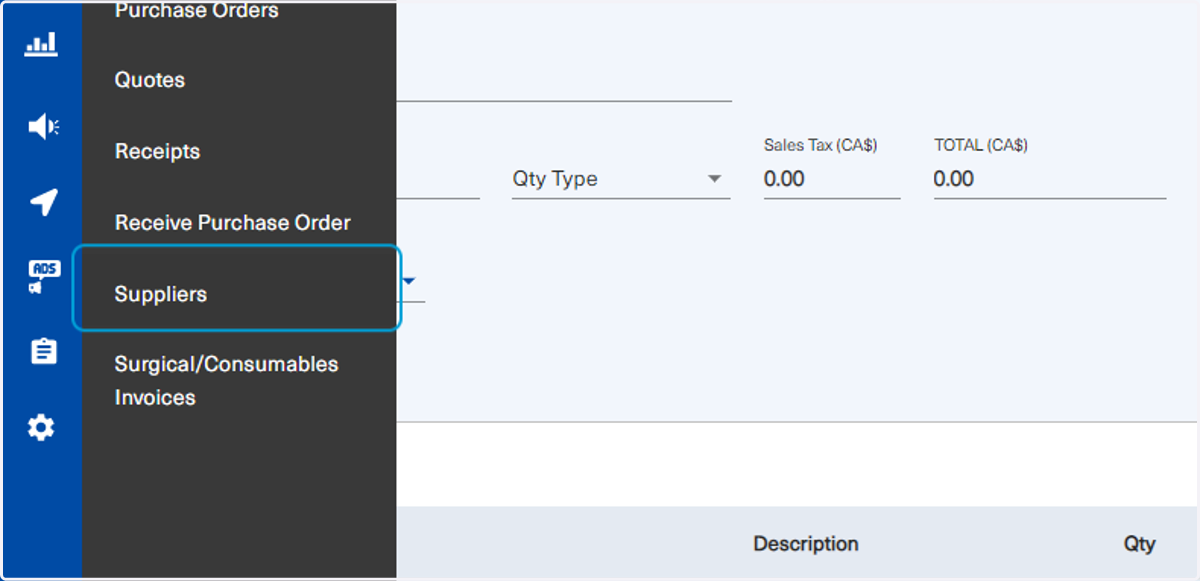
Click on Accounting, then on Suppliers
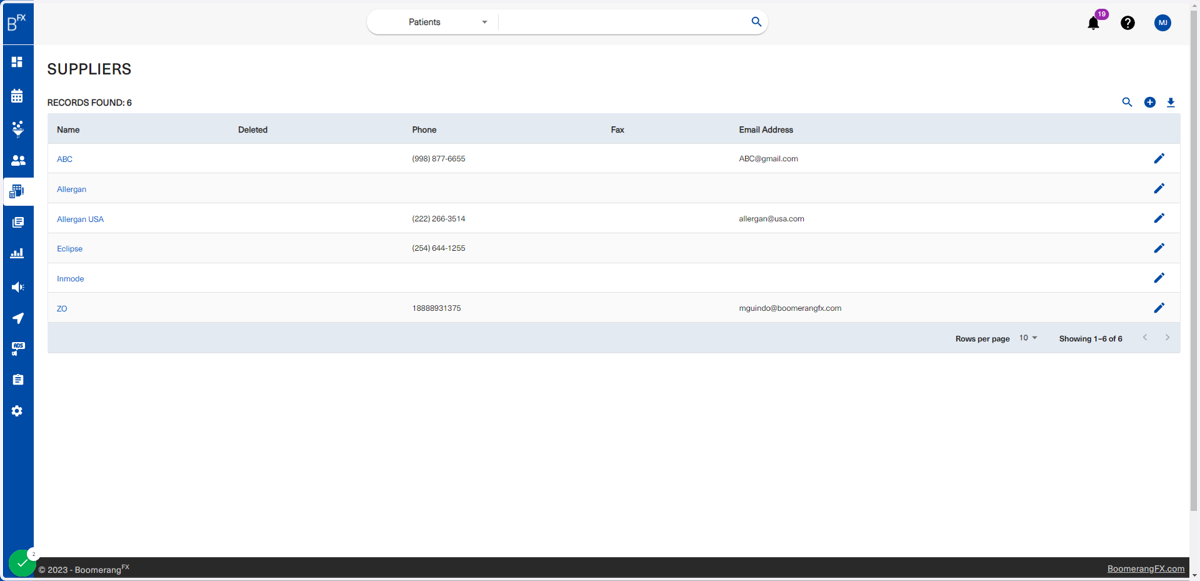
121. Similar to Products and Procedures, Suppliers are configured under the Setup section, but can also be modified under Accounting and new Suppliers can also be added
122. Surgical/Consumables Invoices
Click on Accounting then on Surgical/Consumables Invoices
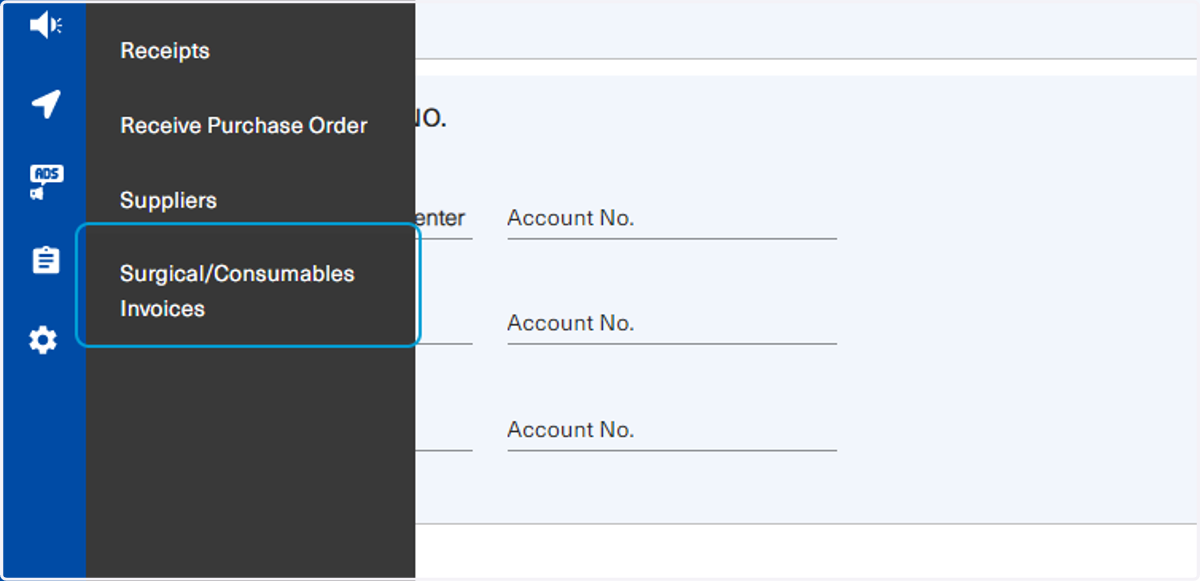
123. This page allows users to view, add, edit, and delete all invoices created for all consumables used within the clinic
124. Users can choose to view invoices within a specific timeframe by choosing a start and end date, and filter the invoices based on payment status
125. Click on 1
126. After selecting the appropriate timeframe, click on Search
127. To edit the status of the invoice, click on the edit (pencil icon) as shown below
128. In this example, this invoice will be changed to "Paid in Full"
129. Click on the check mark to ensure the changes are saved
130. As you may notice, the invoice number is no longer in this current list
The invoice has been moved to the Payment Status: Paid. Users are free to navigate through the Payment Status dropdown to confirm or find any of the invoices.
131. To view the Paid Invoices, select it from the dropdown and click on Search
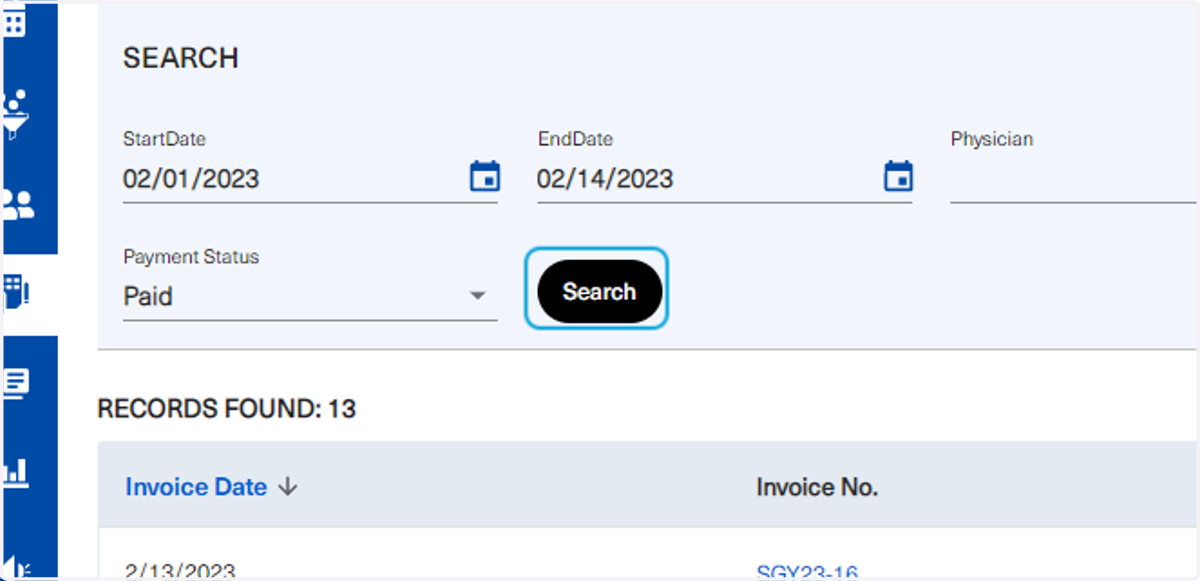
132. The invoice will appear in the list
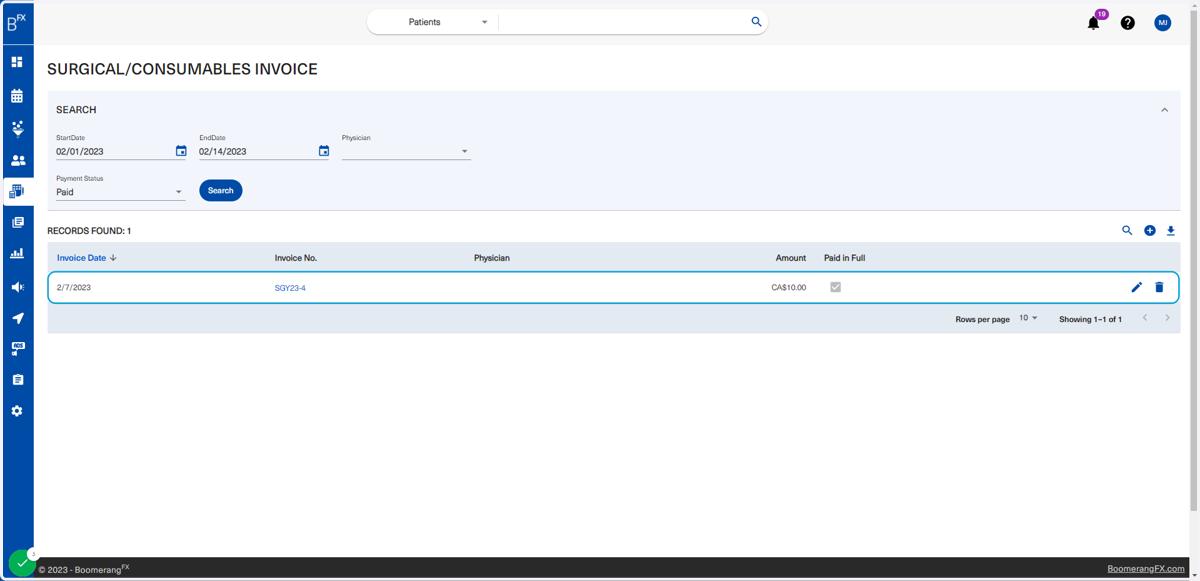
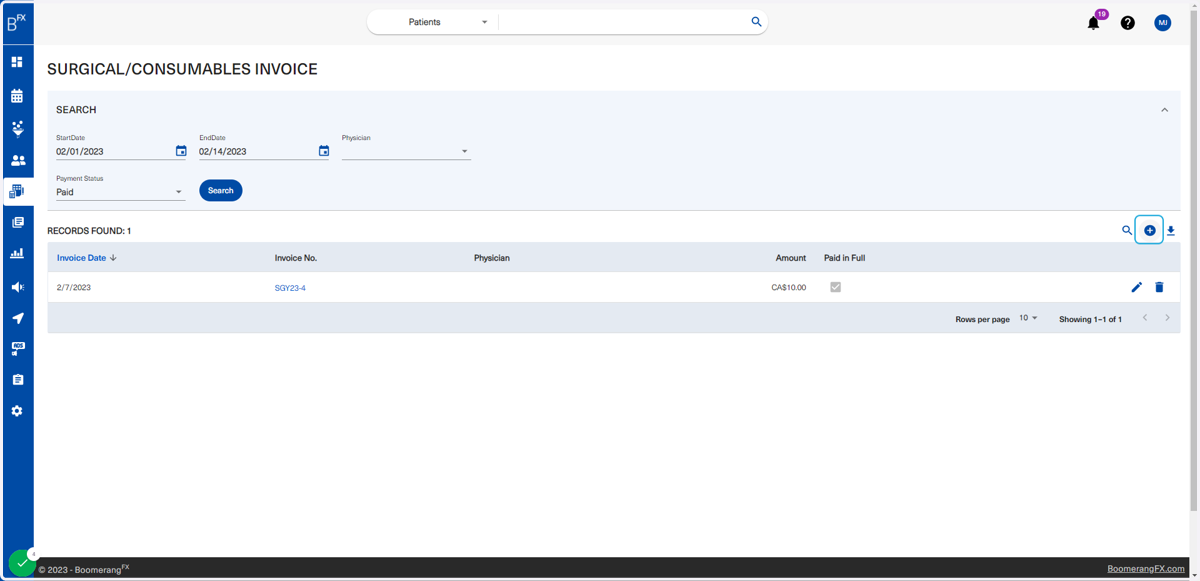
133. To add a new invoice, click on the plus icon
134. Fill the required fields as necessary
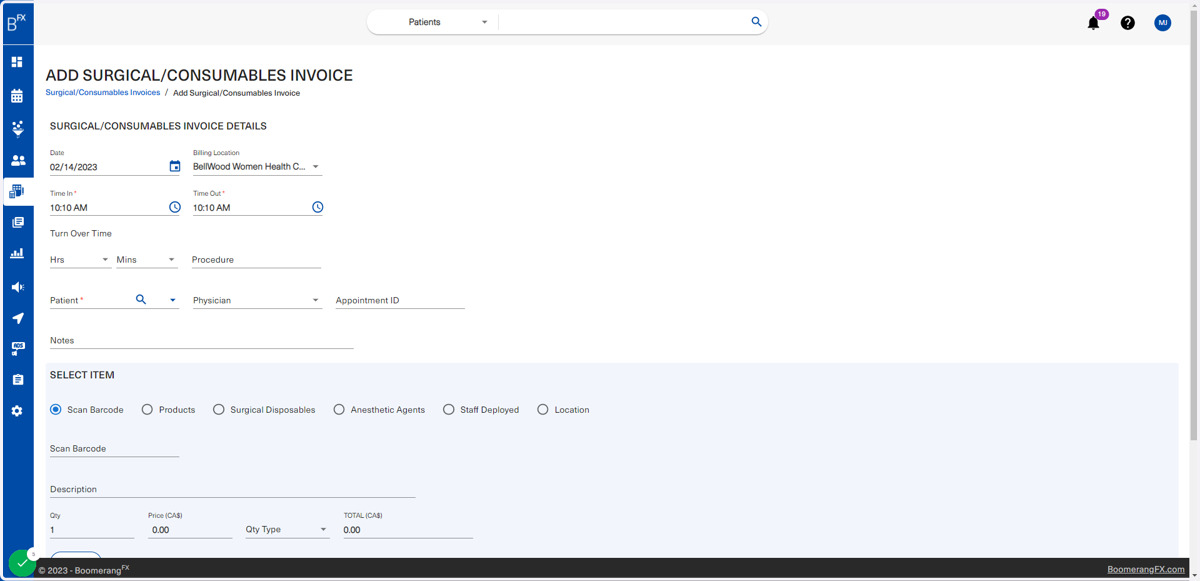
135. Once all fields are filled, scroll down to find the button Add Item
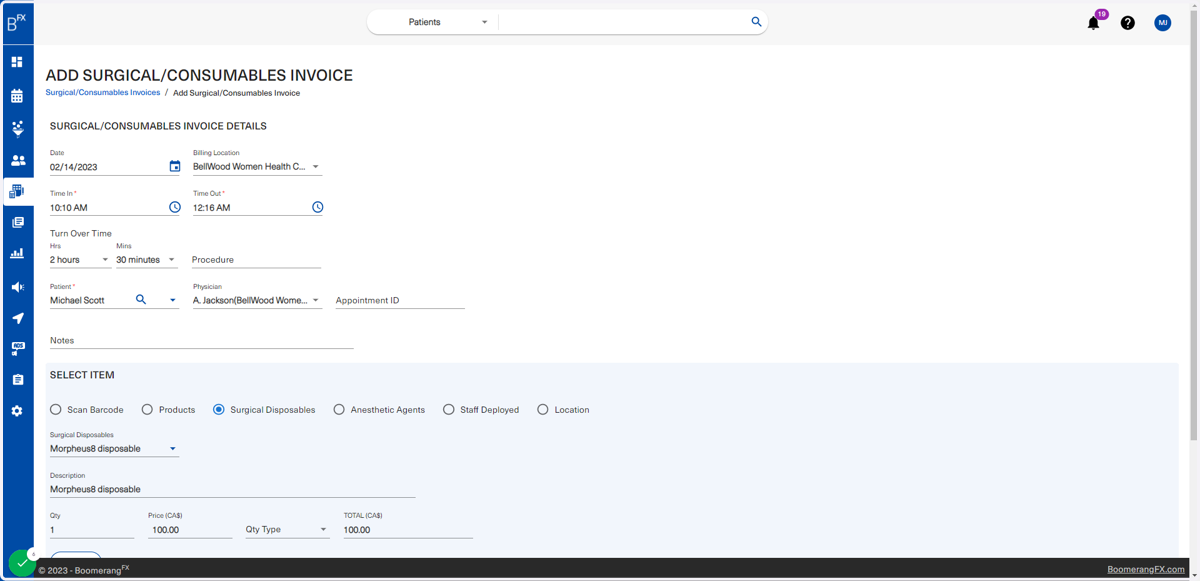
136. Click on Add Item
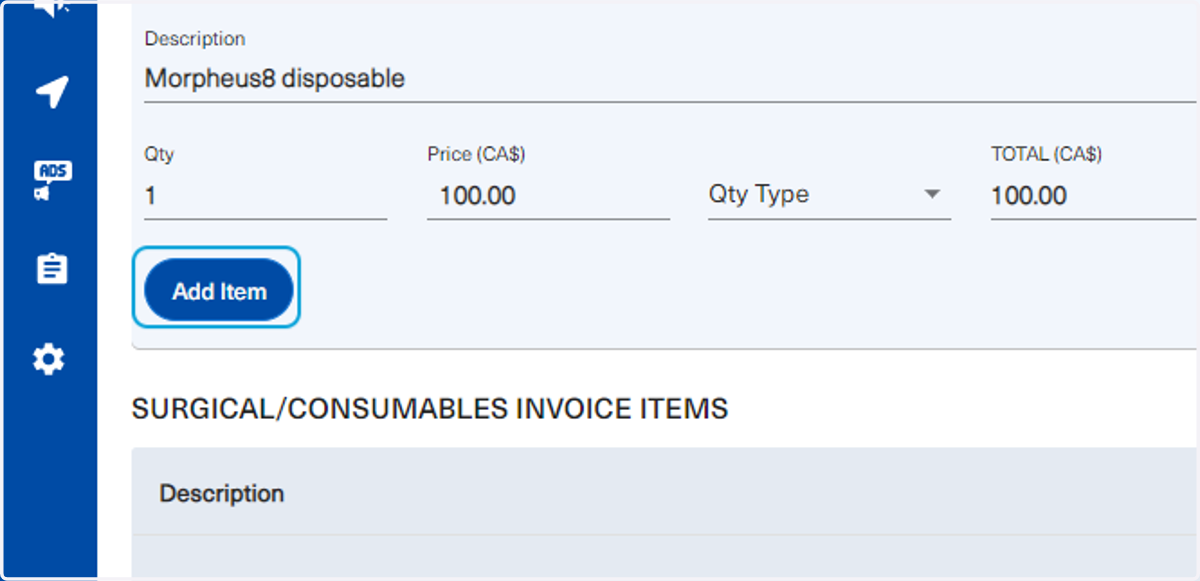
137. The information will populate in the table below for a final review
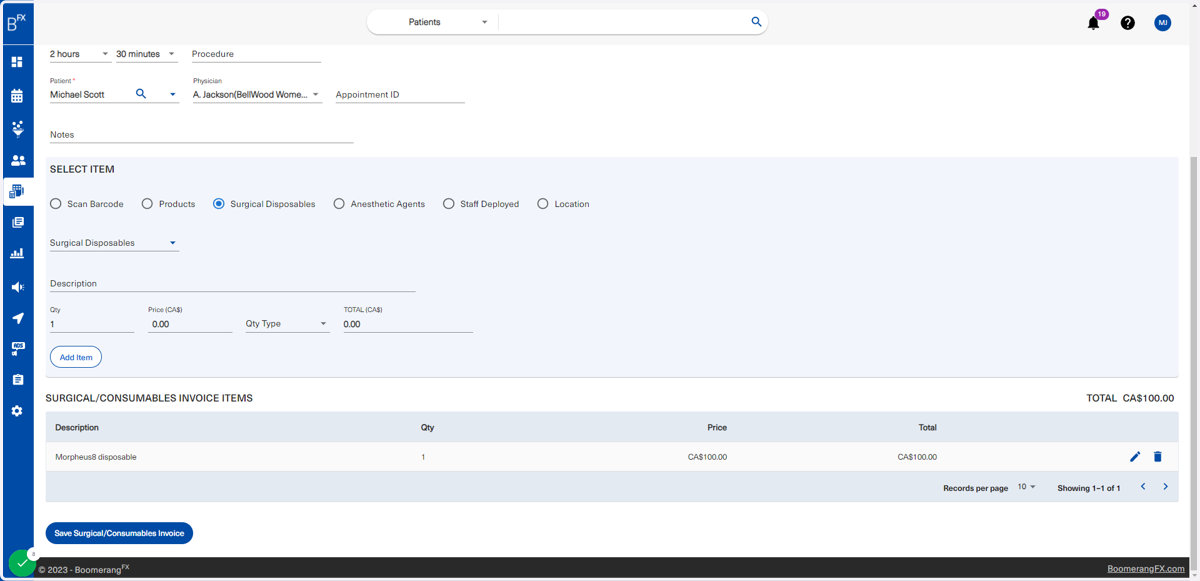
138. Once confirmed, click on Save Surgical/Consumables Invoice
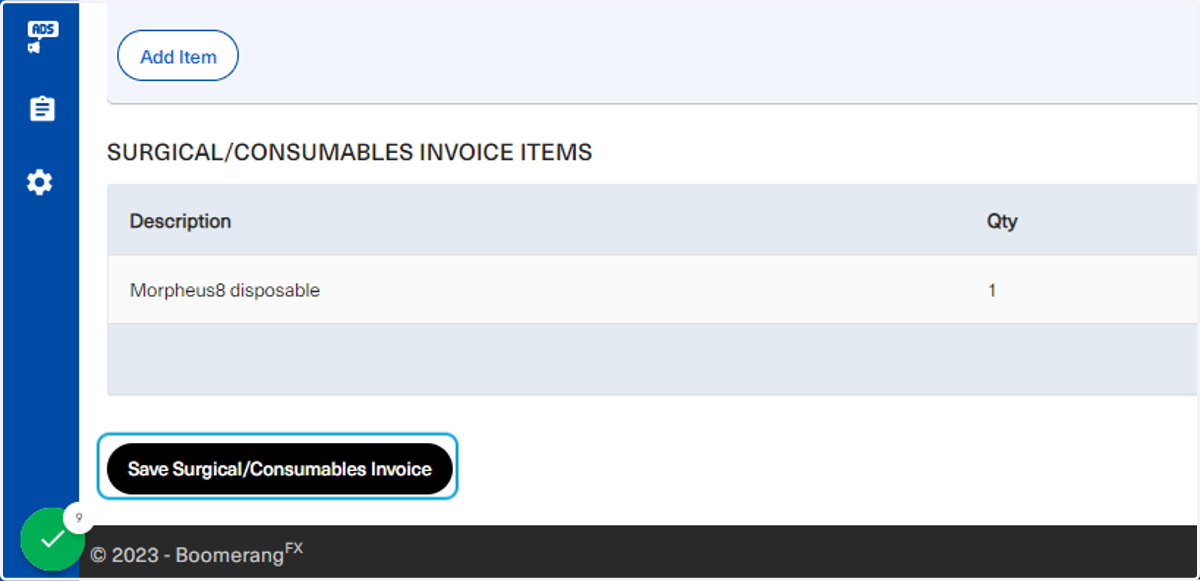
139. The user will be redirected to this page displaying the invoice details
The invoice is also editable by clicking on [Edit This Invoice]
140. To preview the invoice that was created, select the timeframe and click on Search
141. The invoice will appear in the list from latest to earliest