Checkout Attributes | BG_055
In this tutorial, you will learn how to add attributes to the checkout process. These attributes will appear in the basket before proceeding to checkout.
Checkout attributes are useful when you would like customers to provide some more information about their order. For example:
Allowing customers to add additional notes. This can be useful when a customer would like to tell you about a certain place to deliver their order or have any special requests.
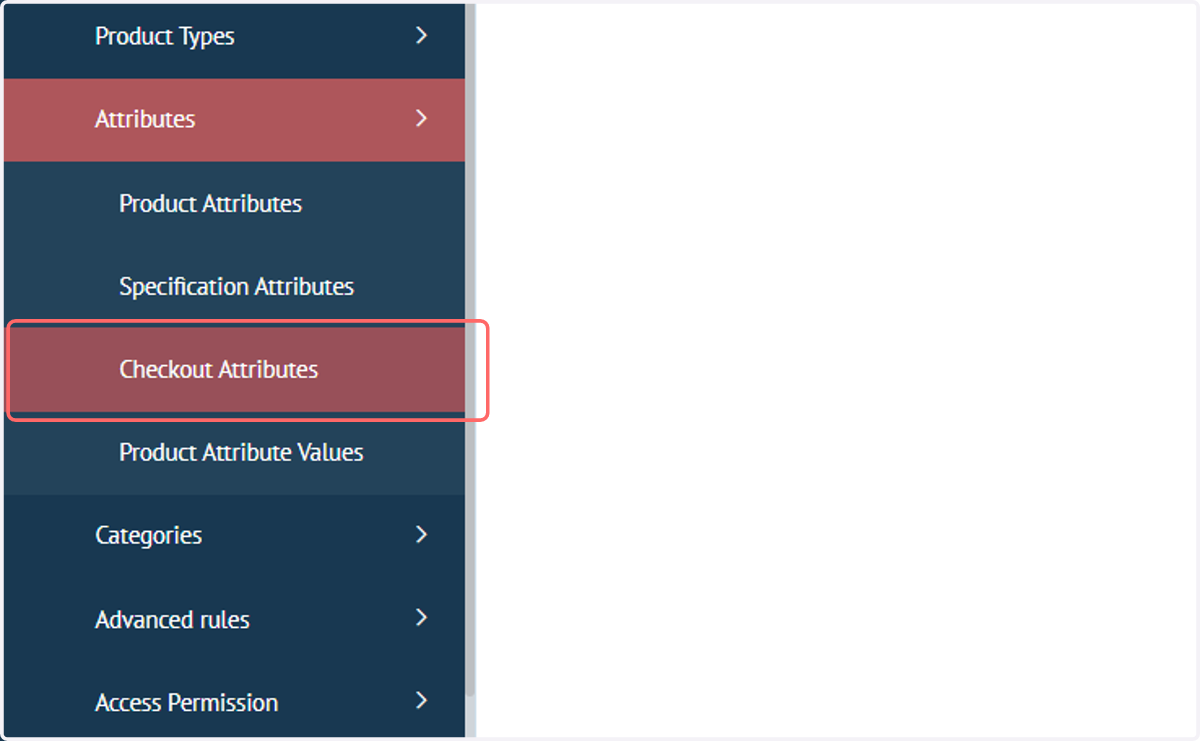
1. Navigate to Checkout Attributes
This page within Infigo is dedicated to creating and managing Checkout Attributes
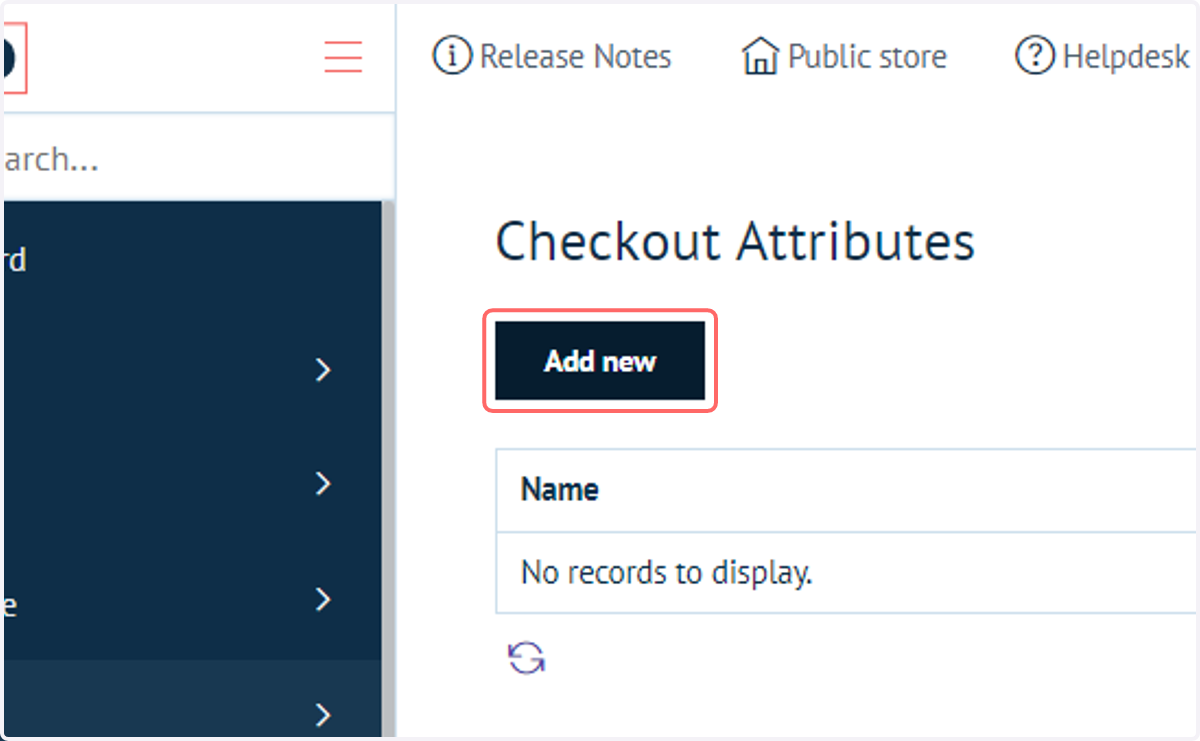
2. Click on Add new
We will create three examples of Checkout Attributes, to provide a well rounded understanding of their creation and capabilities.
Our first example will cover delivery instructions. This will simply be a text box, where users can optionally enter additional information to include with the order.
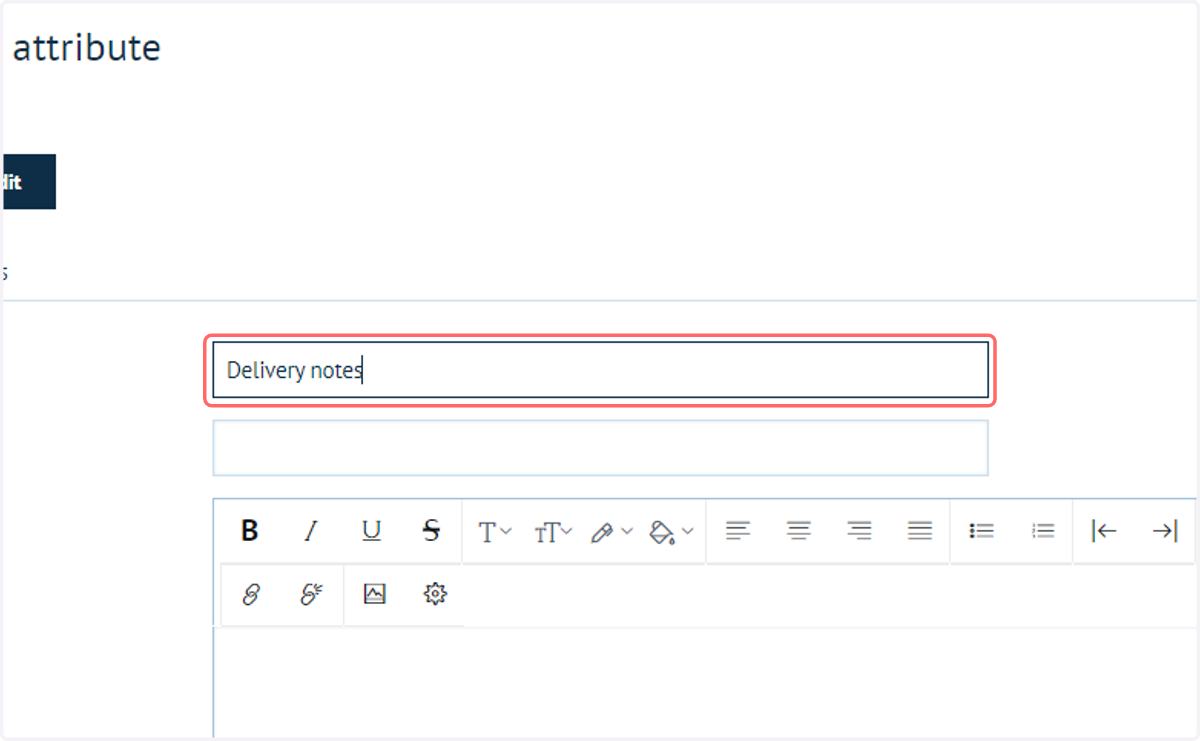
3. Type "Delivery notes"
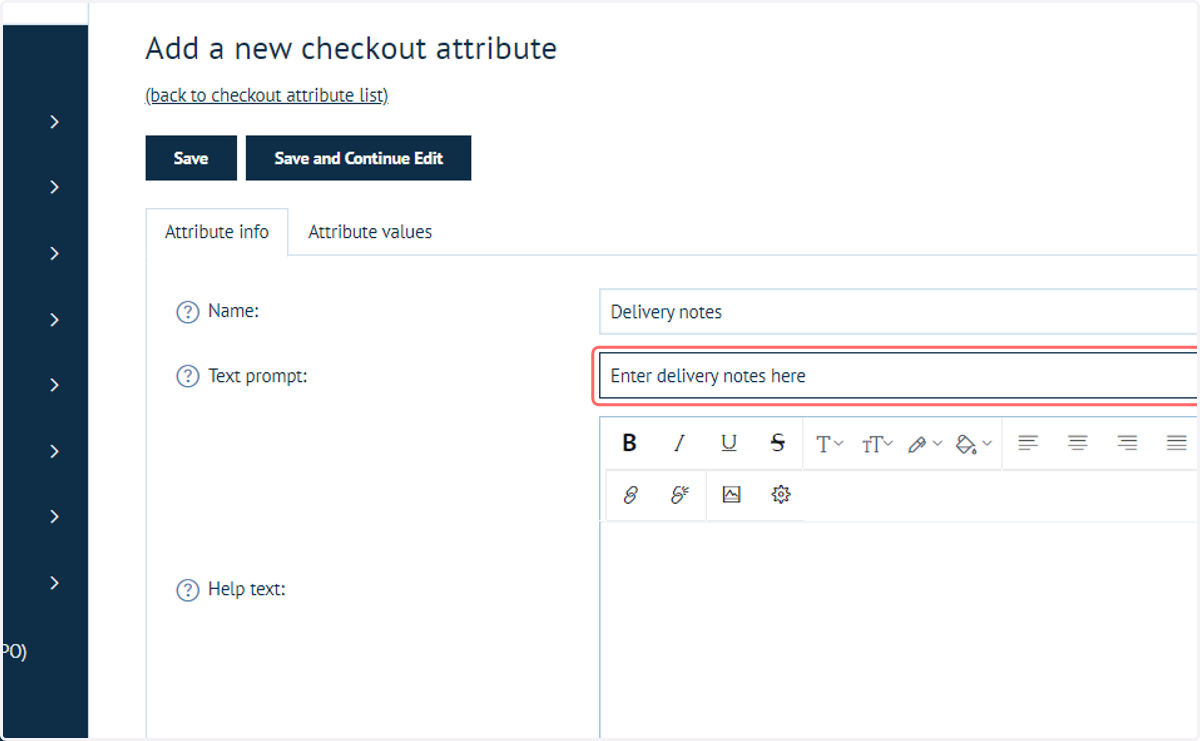
4. Enter a text prompt and help text.
This allows for a customised name of the attribute to be visible to the user, if you wish it to differ from the "Name" field.
The help text will appear as a tool tip style pop-up, when an icon is hovered over. We will see this later.
5. Select a control type
You can select between multiple types of control based on the information you wish your customers to enter. We will see a few of these in action in these examples.
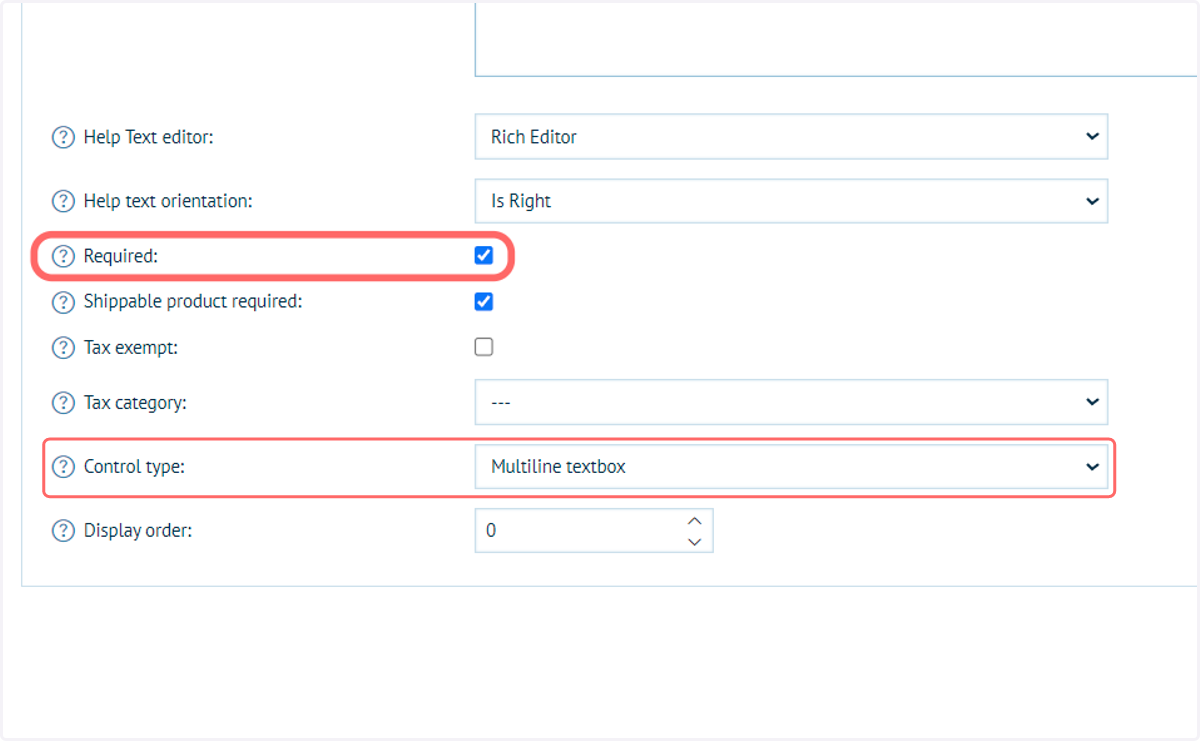
For something like delivery information, we require a multiline text box, which will provide a large area of text input.
You can also specify whether inputting into this particular Checkout Attribute is mandatory or optional.
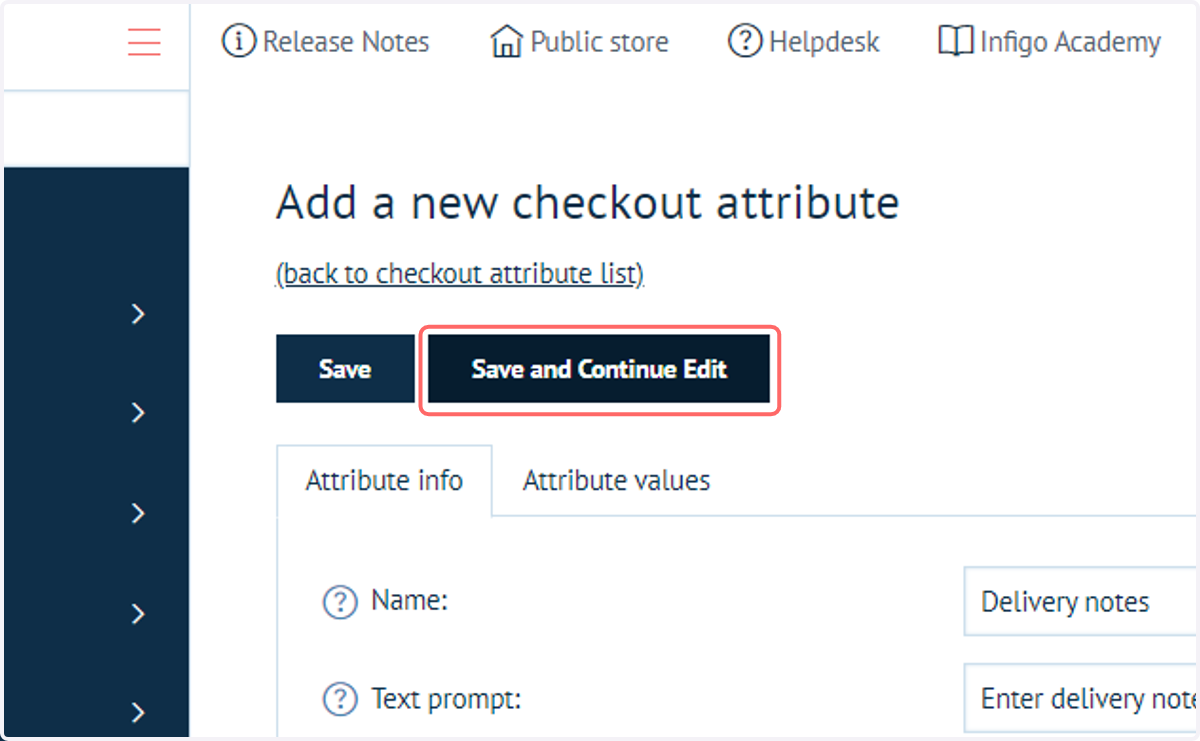
6. Click on Save and Continue Edit
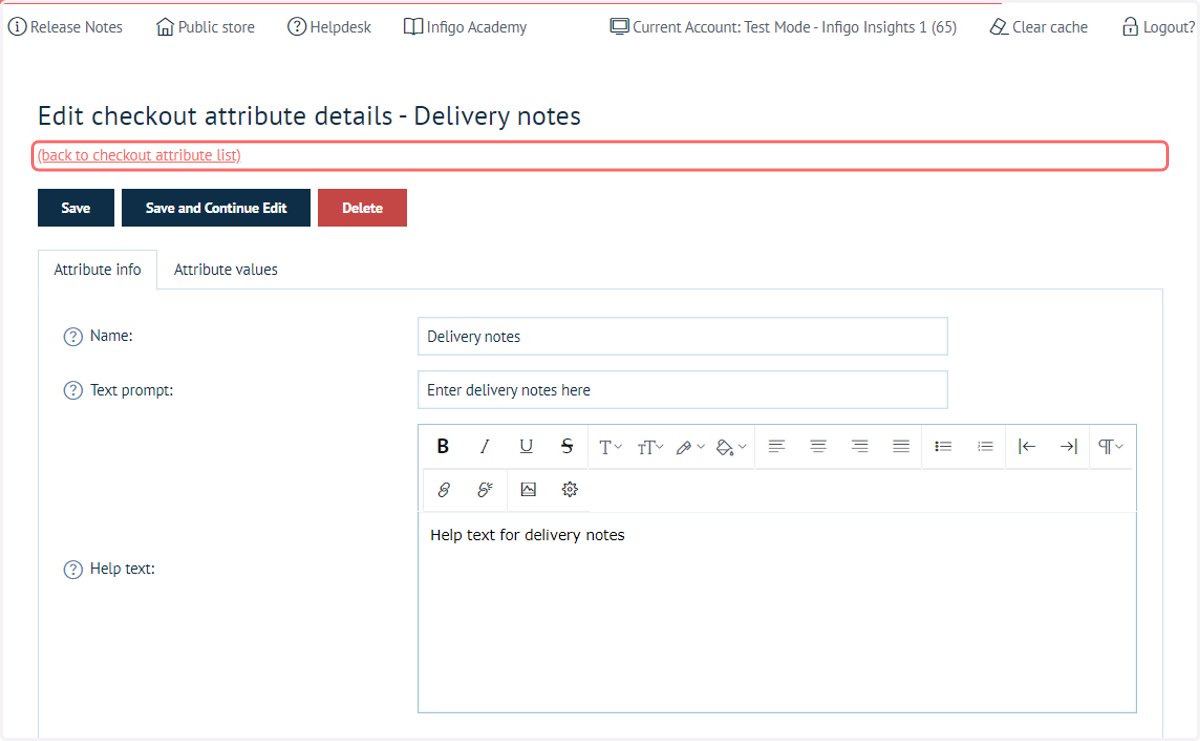
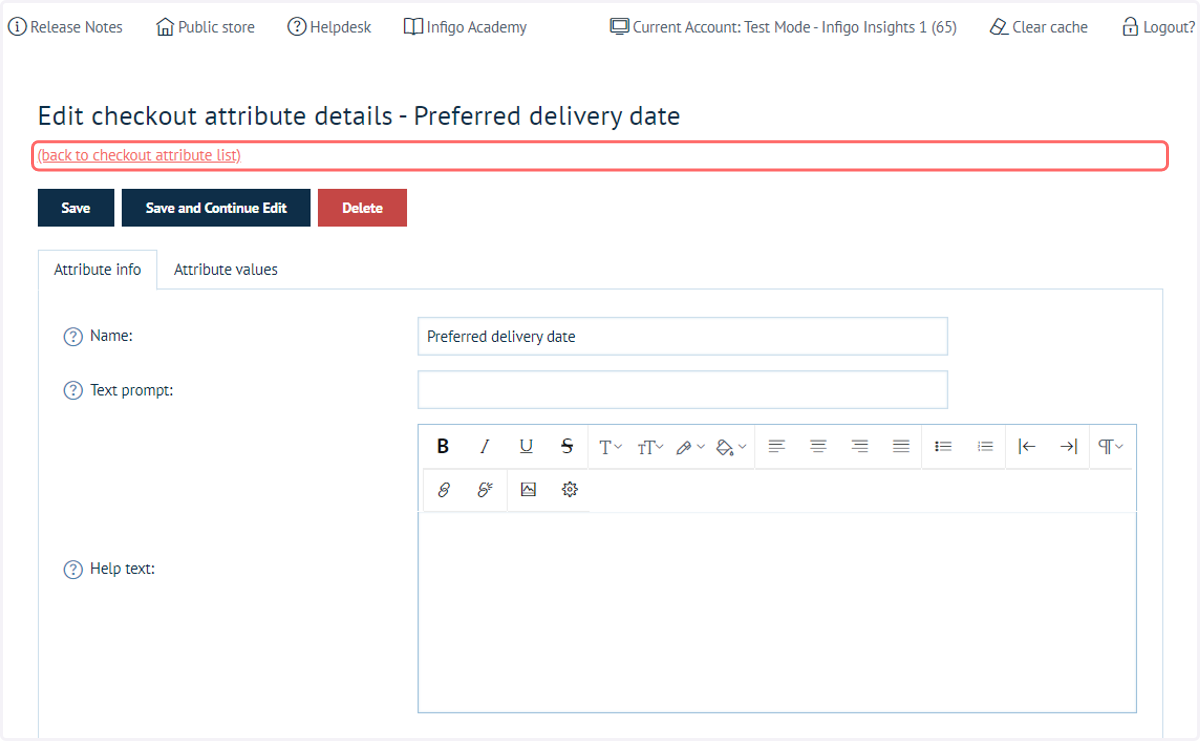
7. Click on (back to checkout attribute list)
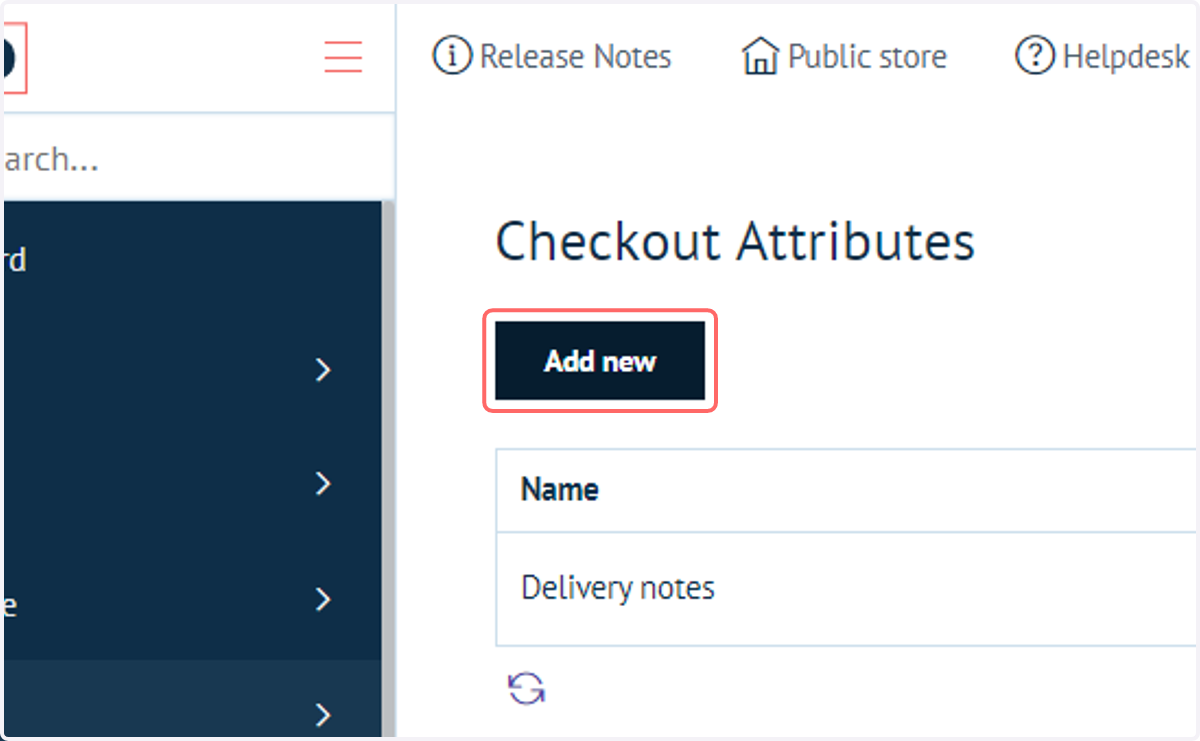
8. Click on Add new
Our next example will be to allow the user to specify this as a gift item. This will take the form of selectable radio buttons. If "Yes" is selected, additional cost will be applied to the order.
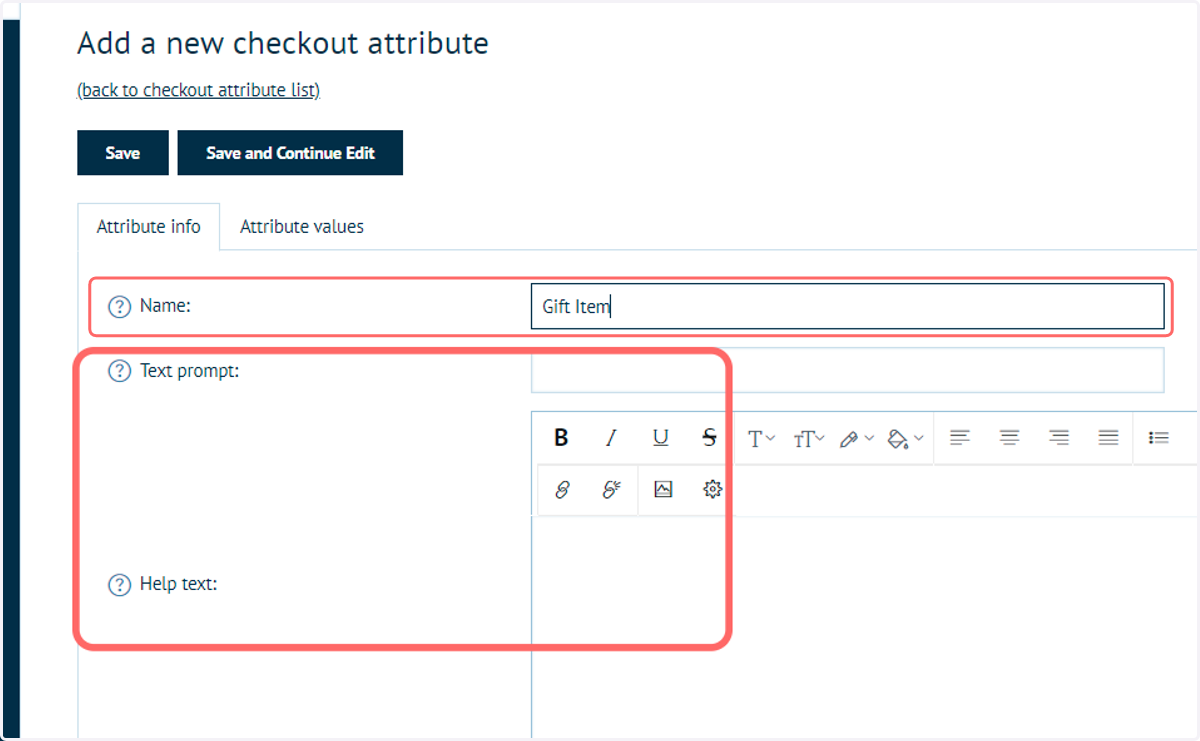
9. Type the name of the Checkout Attribute
As before, you can also fill in the text prompt and help text fields, if required.
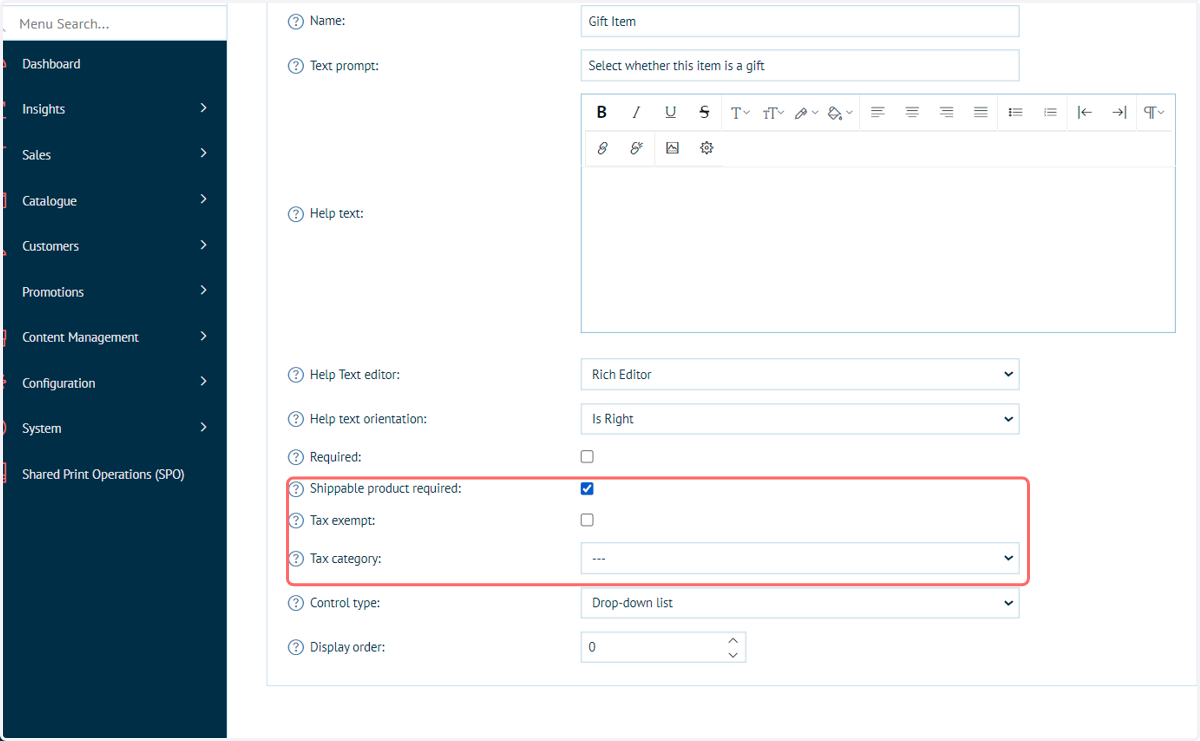
10. Configure additional settings
Additional settings are available on a Checkout Attribute:
Shippable product required: if selected, all products in the basket must be shippable in order to display this attribute.
Tax exempt / tax category: defines whether any costs associated with this attribute are subject to tax, and if so, which tax categories.
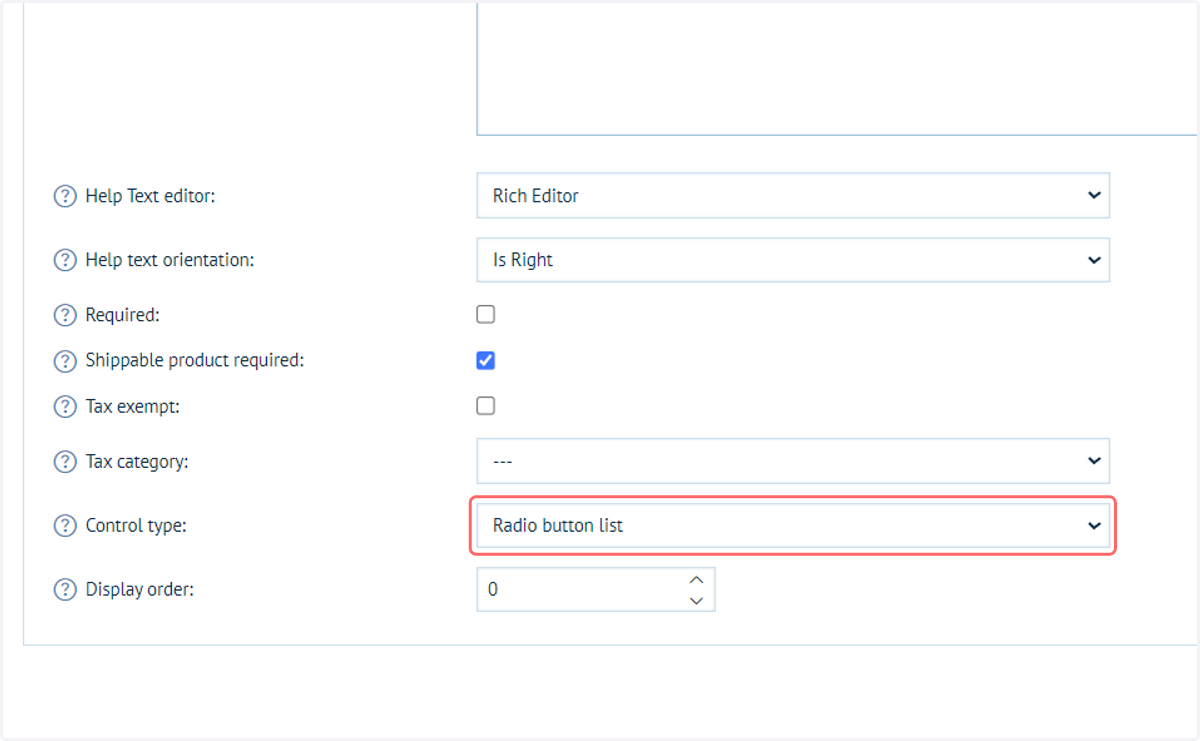
11. Select Radio button list from Control type
For this example we will define the control type as a radio button list. This, along with a dropdown list, relies on the administrator pre-defining a series of attribute values the customer can select from.
12. Click on Save and Continue Edit
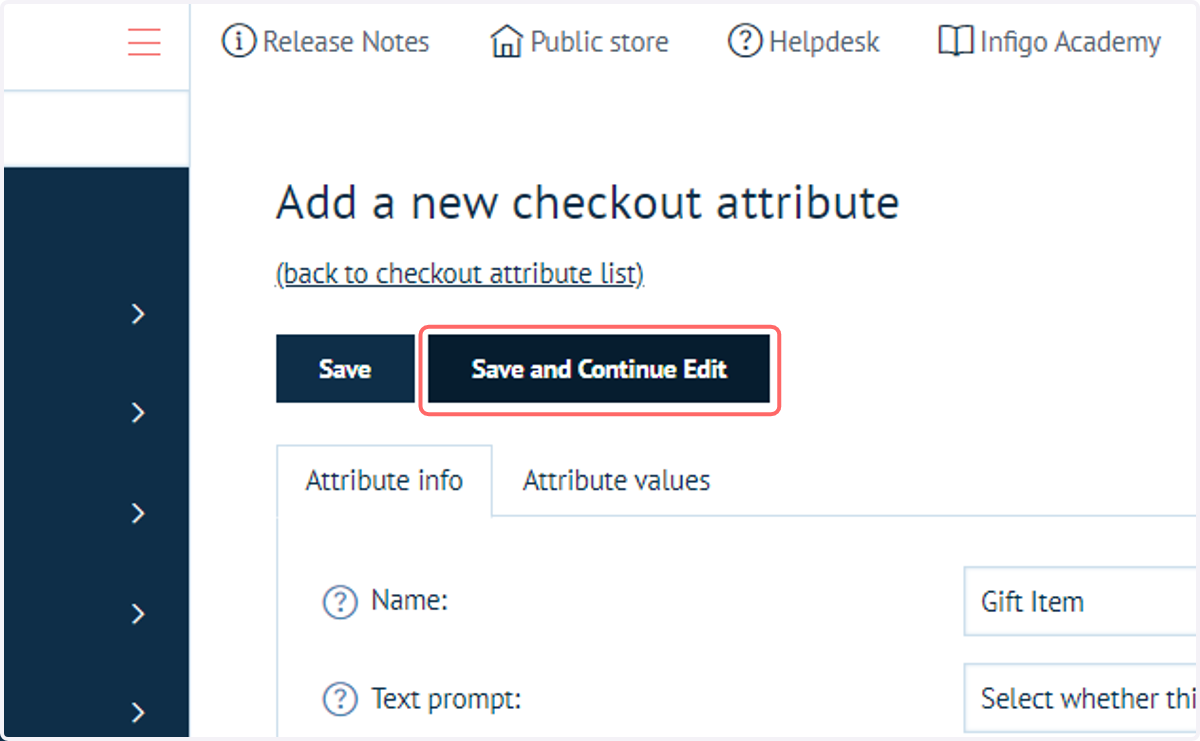
13. Click on Attribute values
Now we will define the possible values the customer can select between when interacting with this attribute.
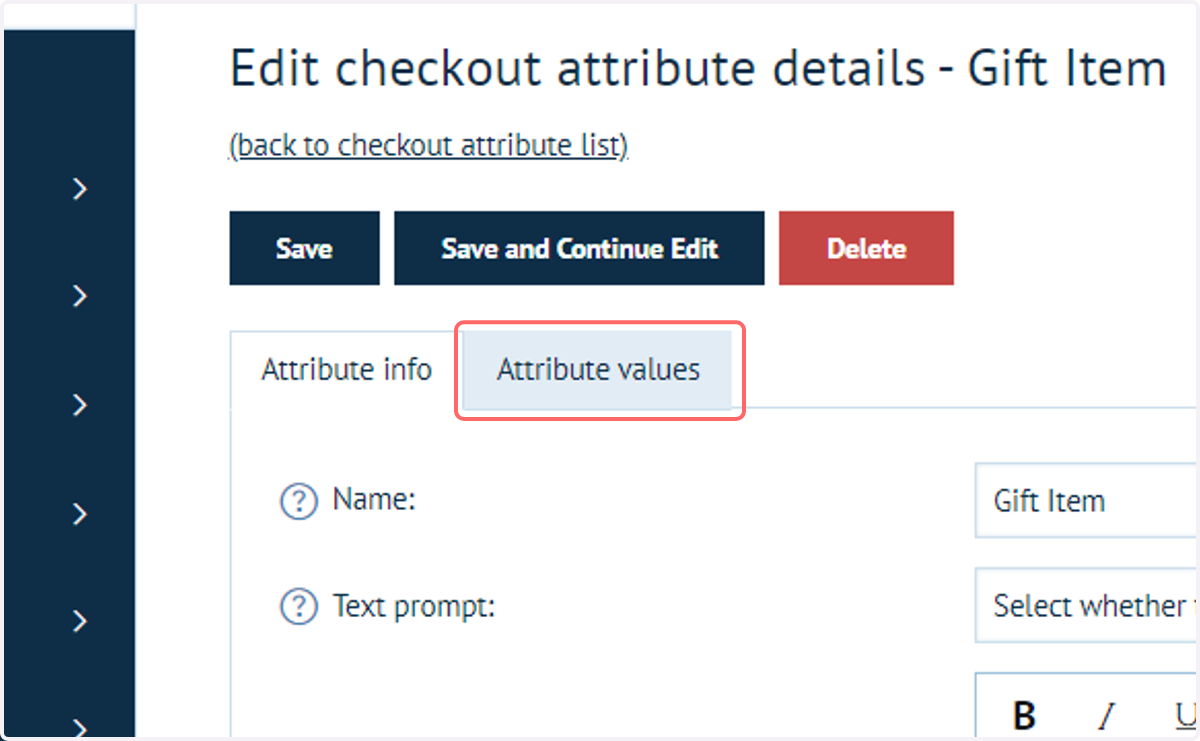
14. Click on Add a new checkout value
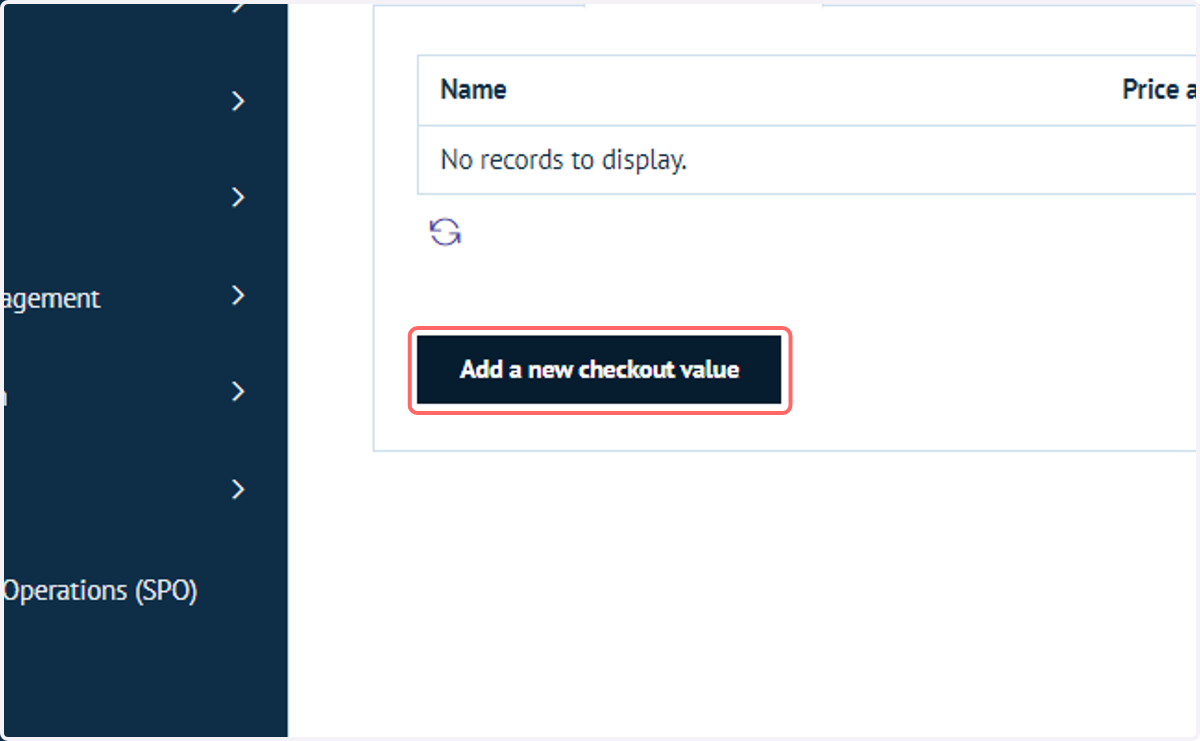
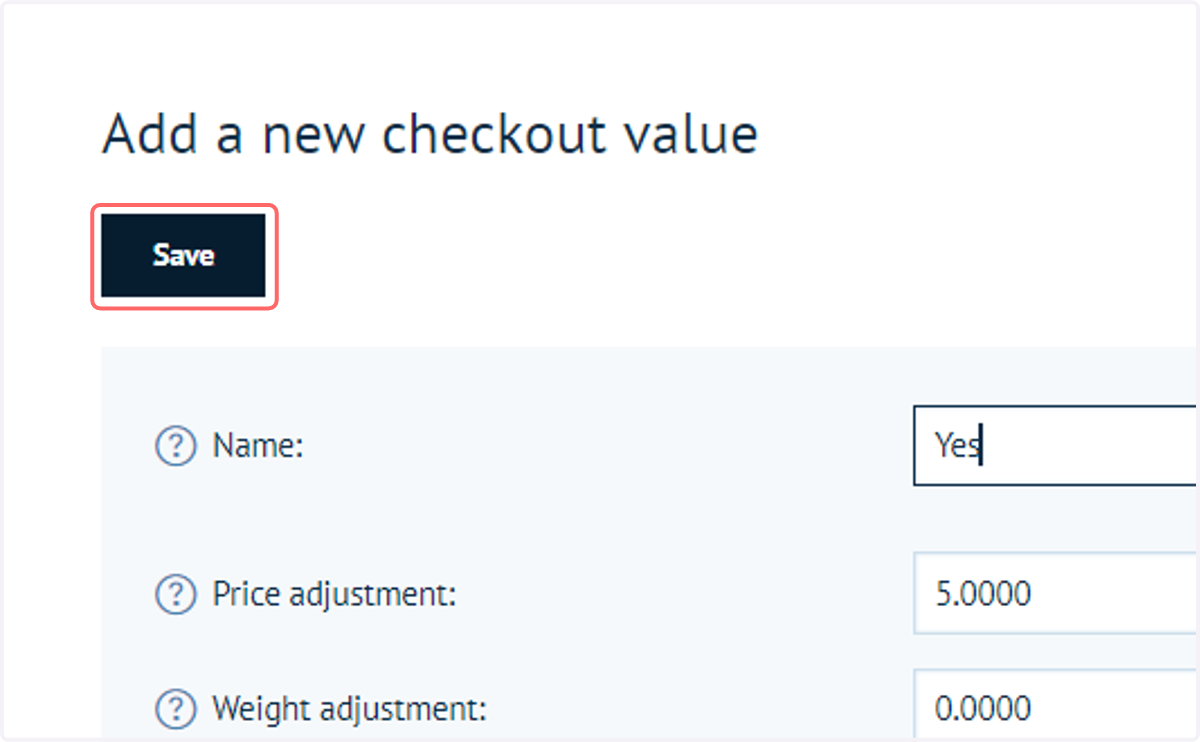
15. Optionally apply pricing adjustments
Within the attribute value specification, you can specify whether selecting this option will result in additional charges. These can be an absolute charge, or a percentage of the basket value.
Additional settings in this screen allow you to:
Apply weight adjustments for this selection
Apply additional production or delivery offsets, in case this selection has a knock on effect on these dates.
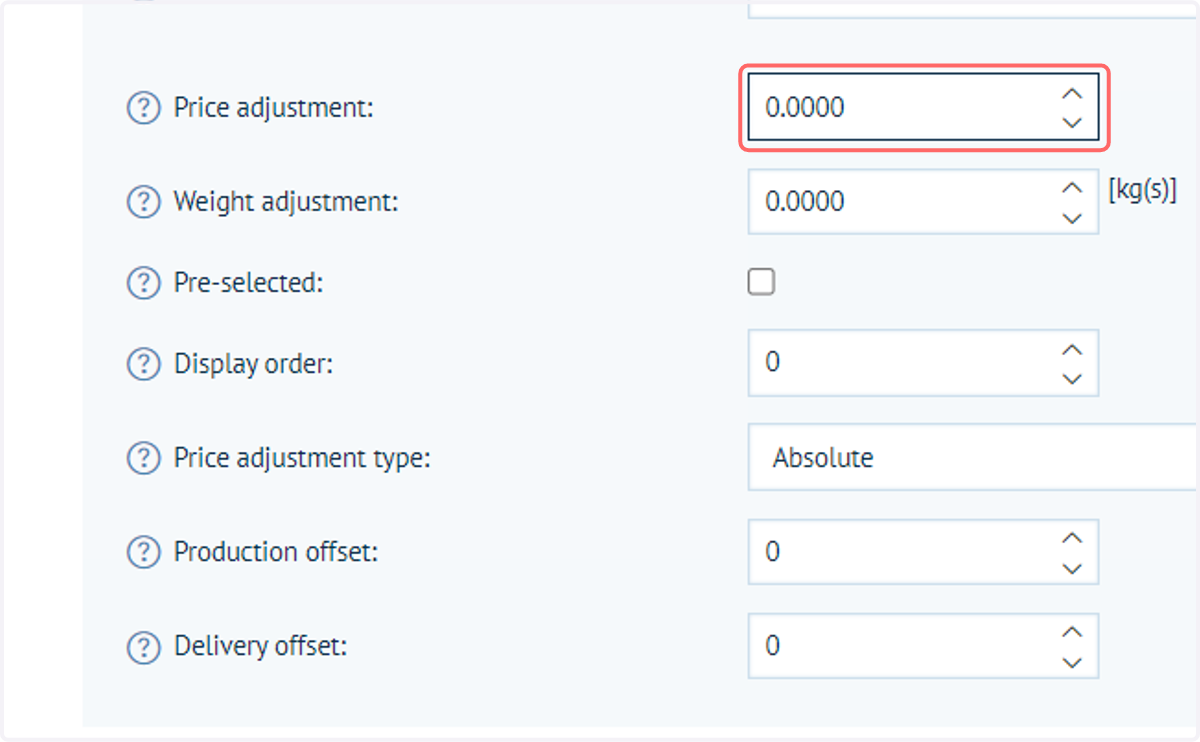
16. Type the name of the Attribute Value
In this example we will have two attribute values. Yes and No.
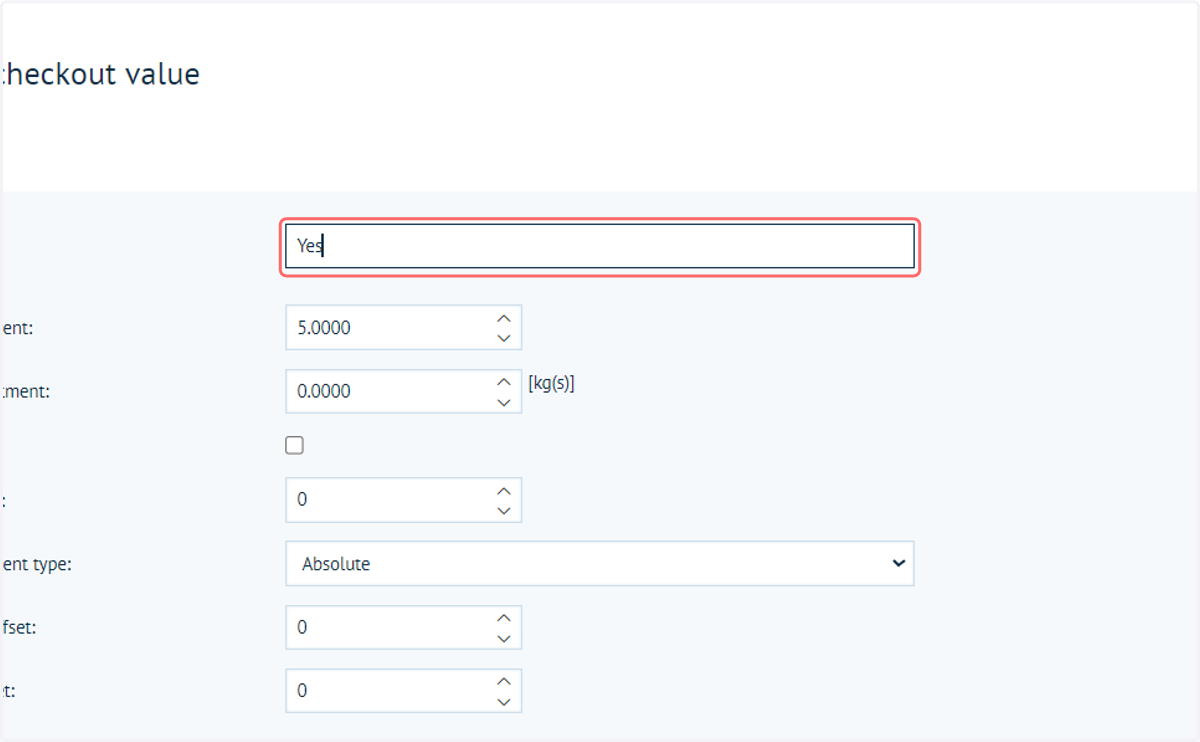
17. Click on Save
18. Create the second Attribute Value
In this example, it will be a No option and will not result in any price changes.
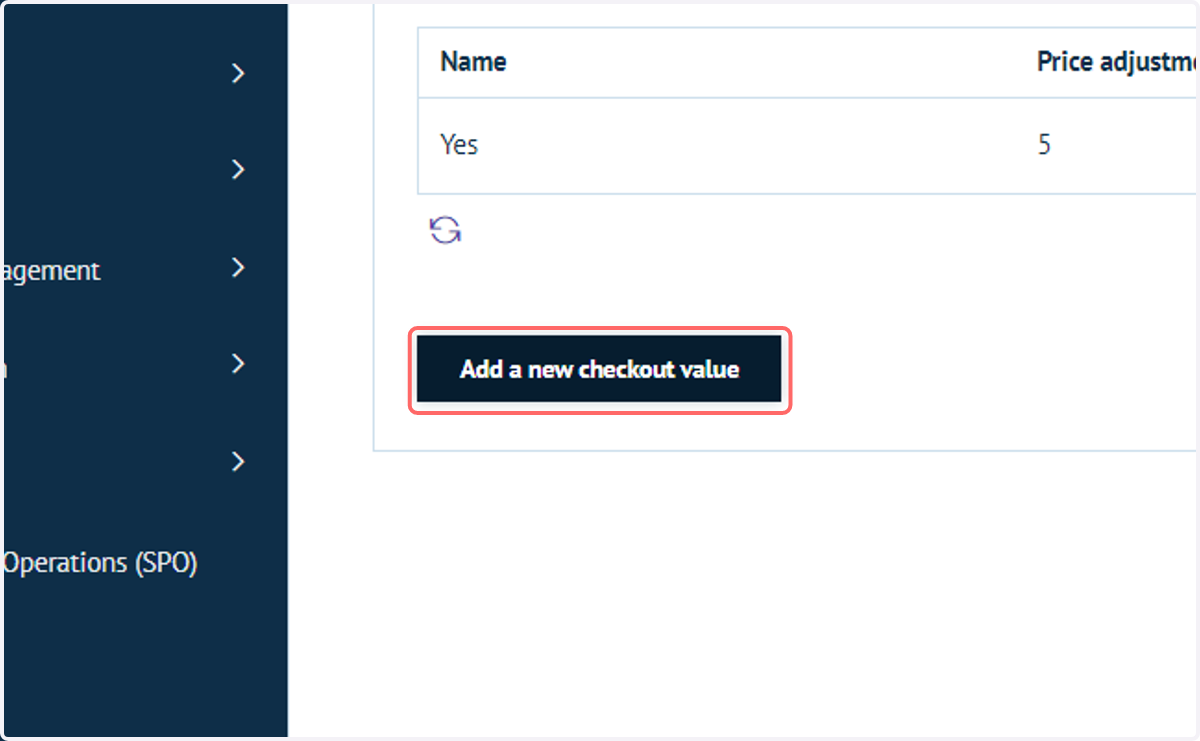
19. Click on Save
This will confirm the creation of your Attribute Values
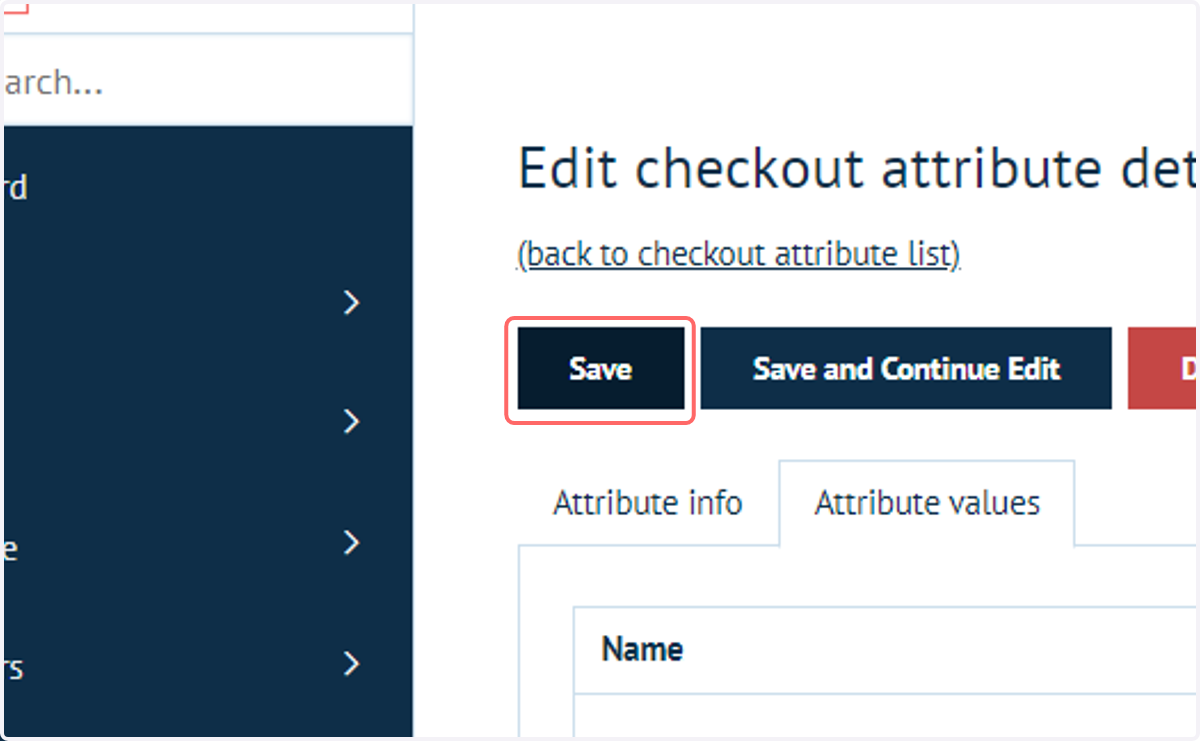
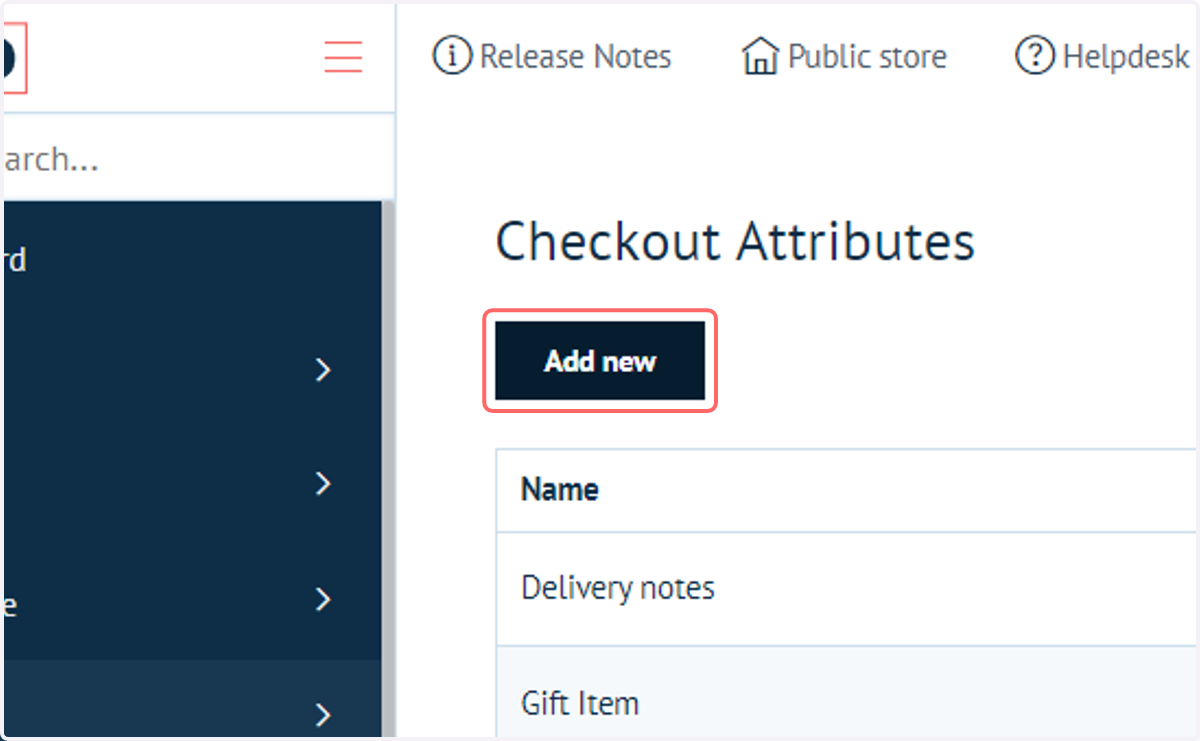
20. Click on Add new
Our final example will give your customers the ability to choose a desired delivery date.
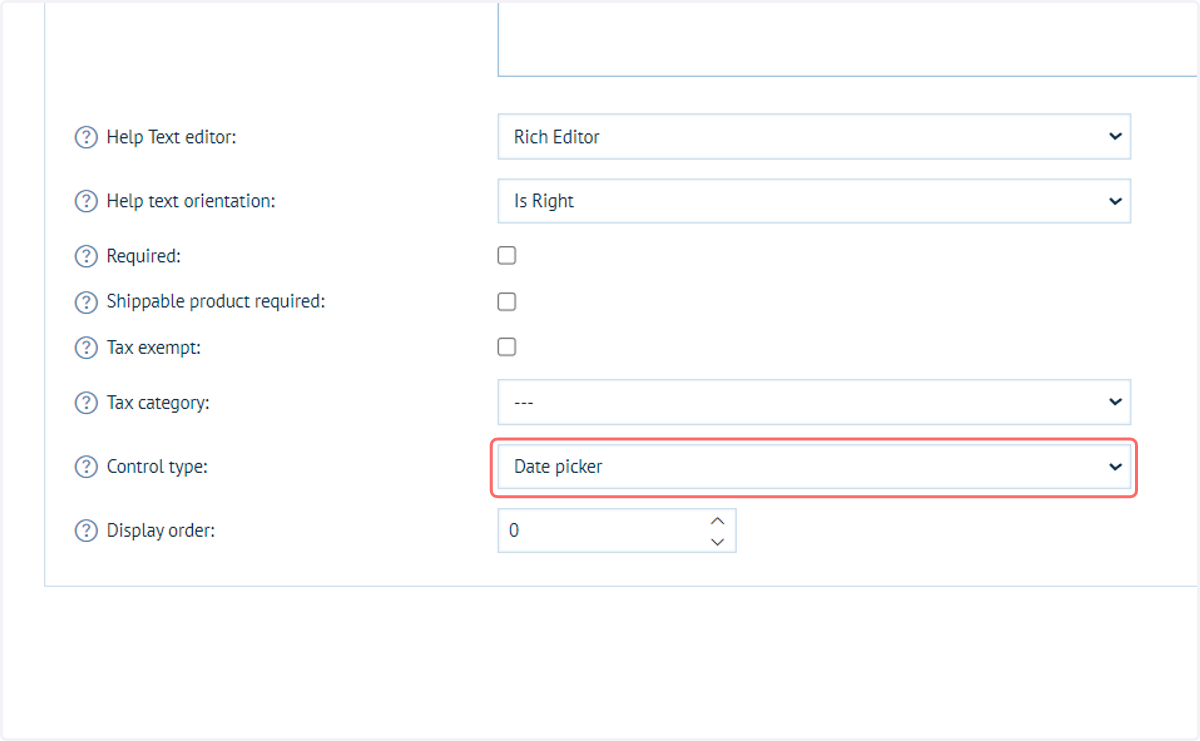
For this, we will utilise a date picker control.
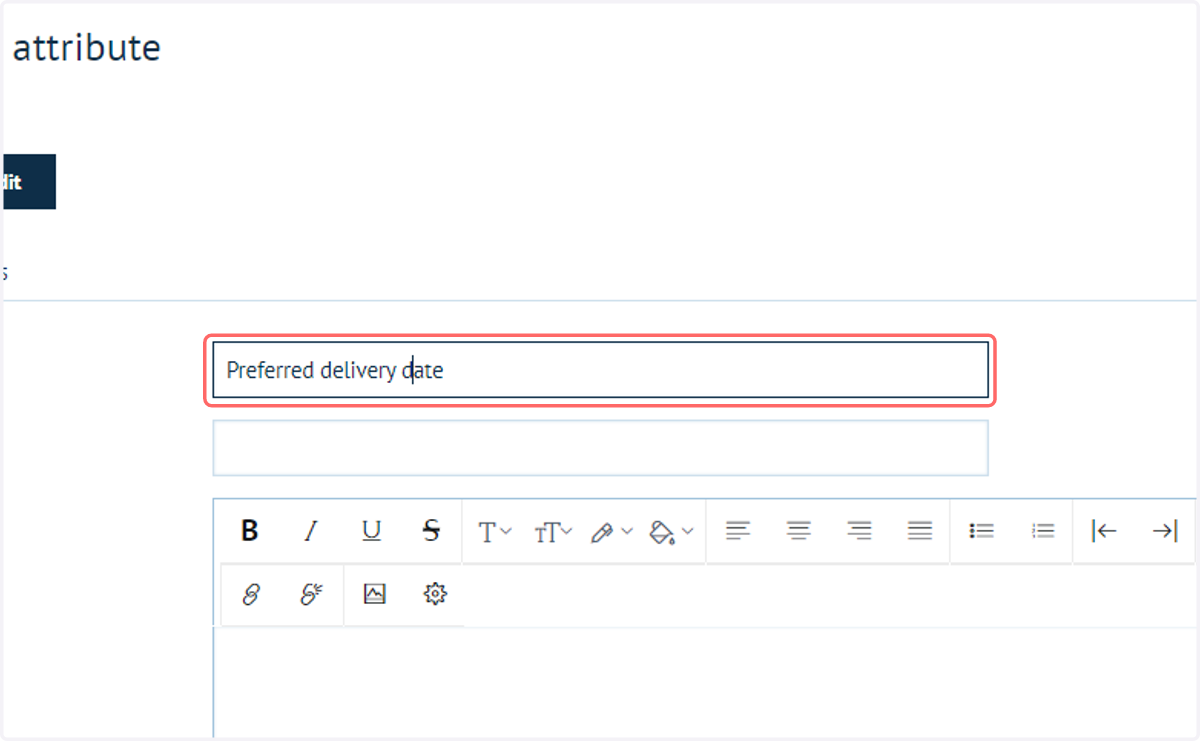
21. Type a Checkout Attribute name
22. Select Date picker from Control type
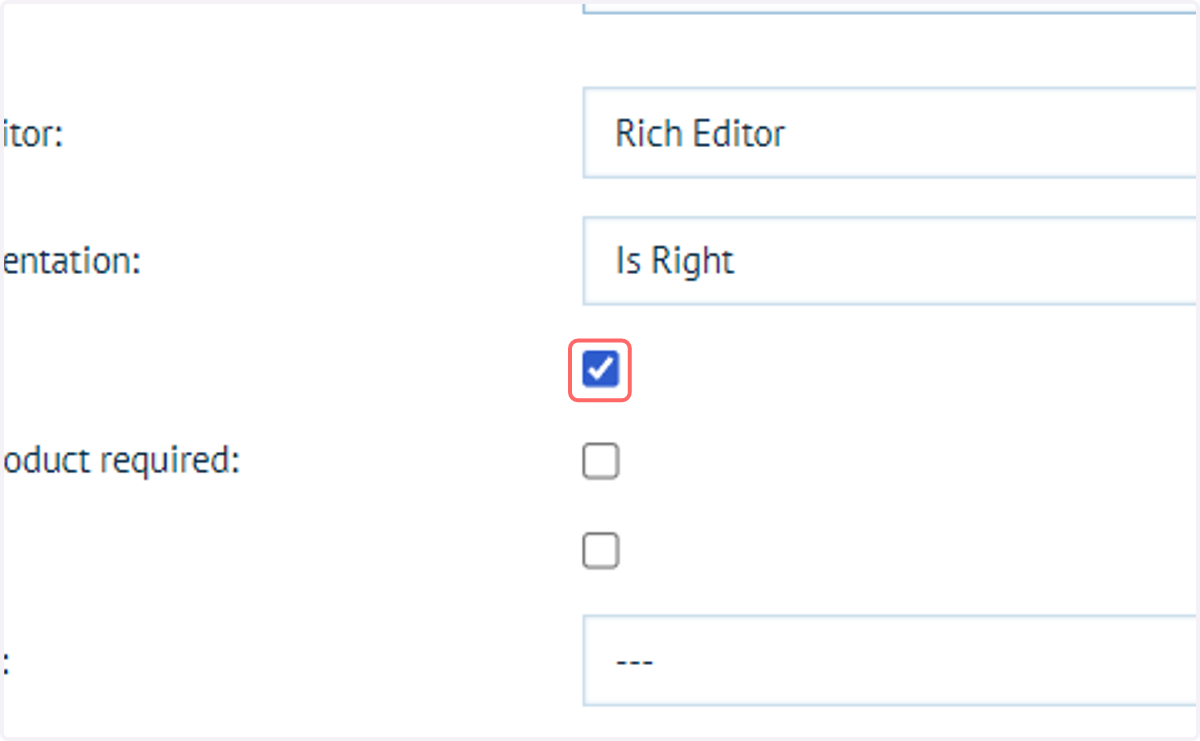
23. Check Required
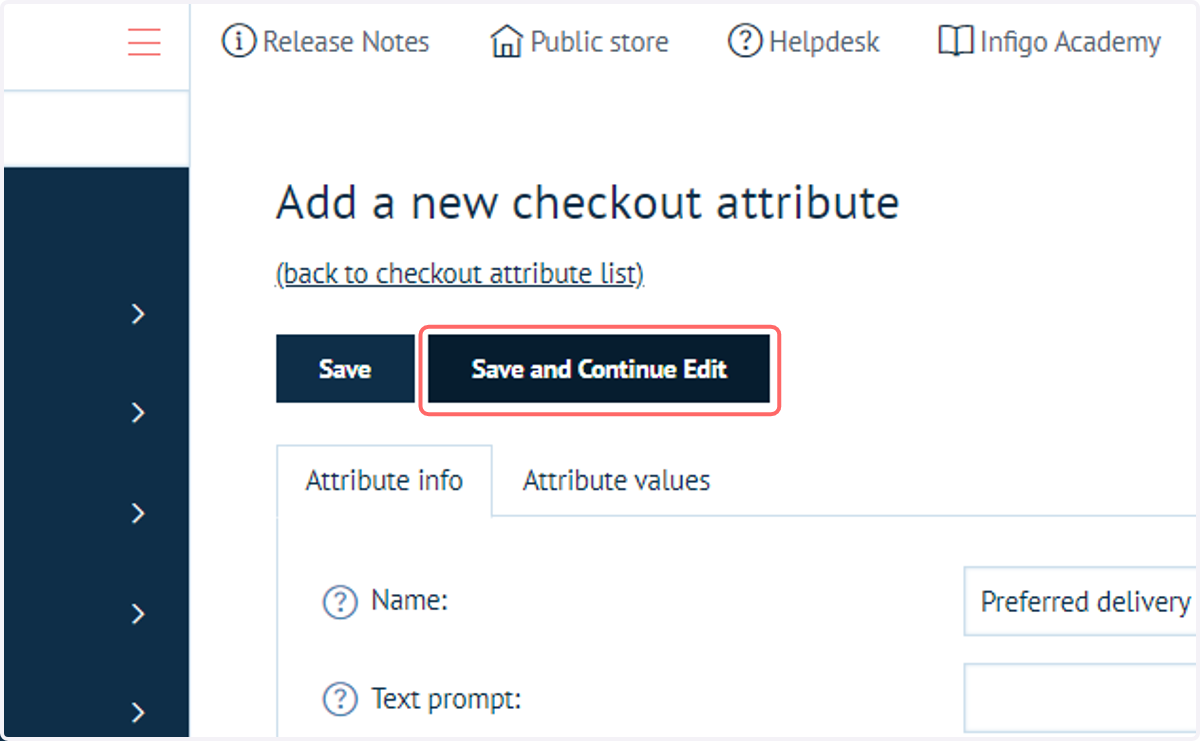
24. Click on Save and Continue Edit
25. Click on (back to checkout attribute list)
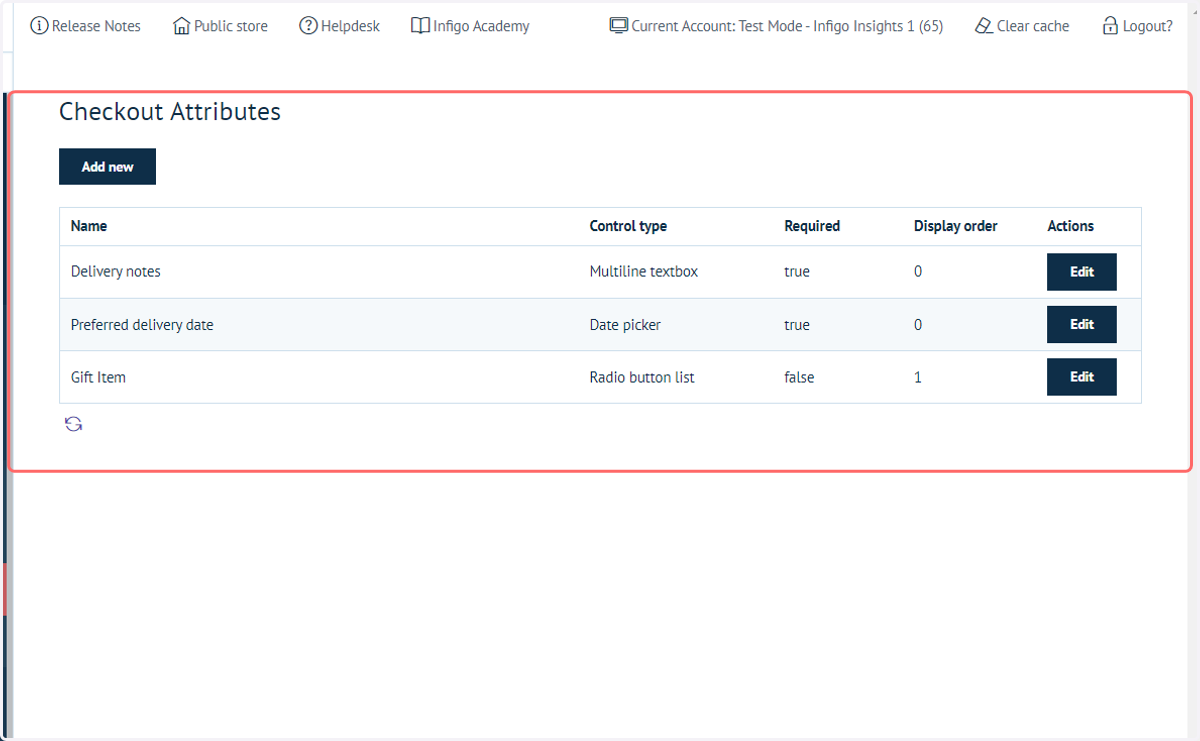
26. Checkout Attributes
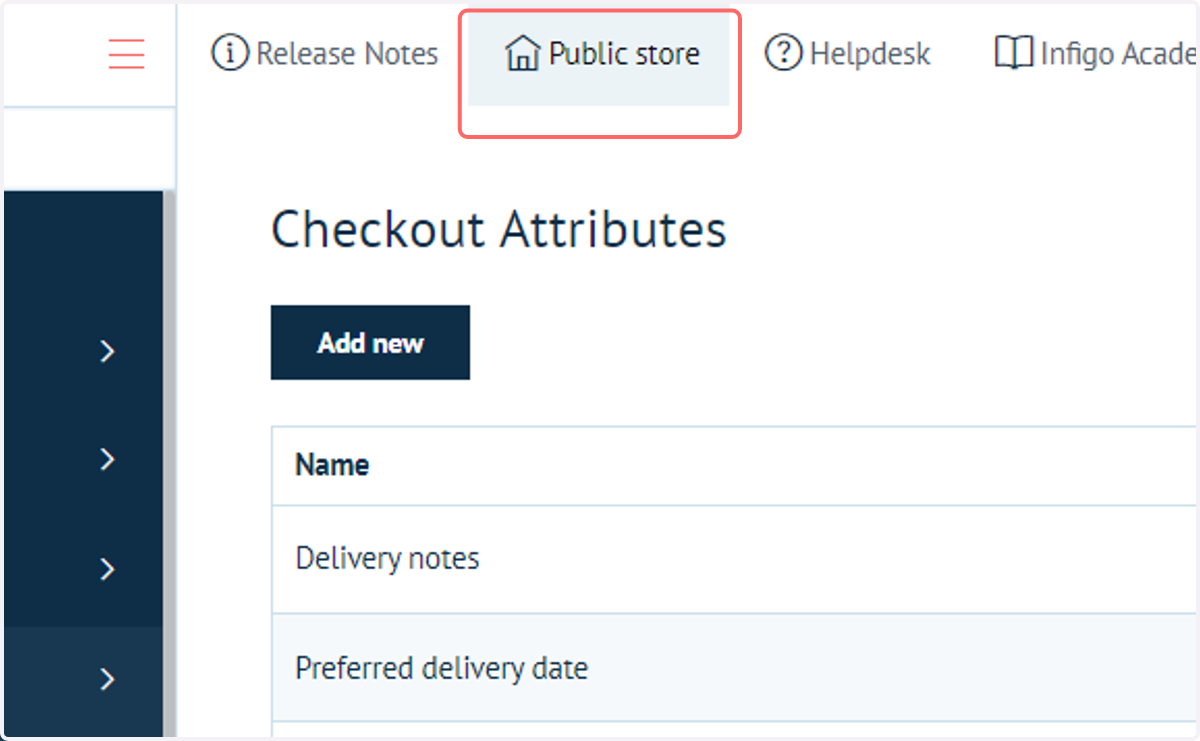
A range of Checkout Attributes have now been specified. Let's go ahead and take a look at them on the front end of our Storefront.
27. Click on Public store
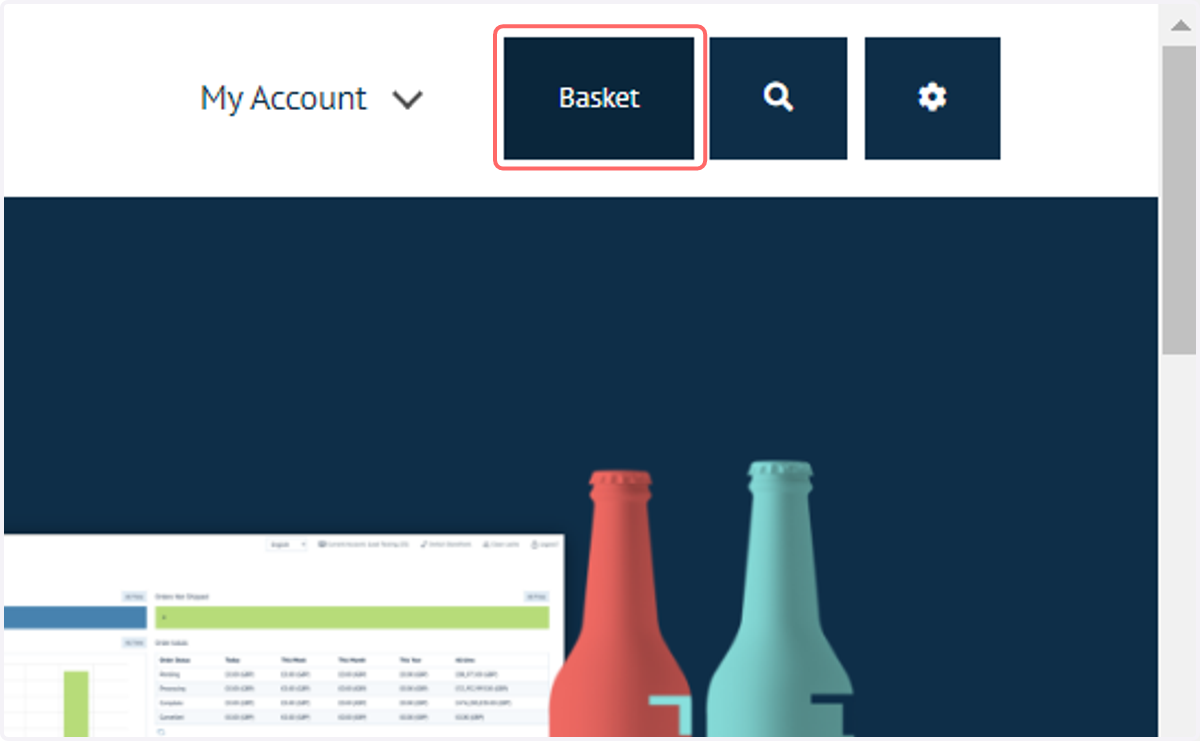
28. Click on Basket
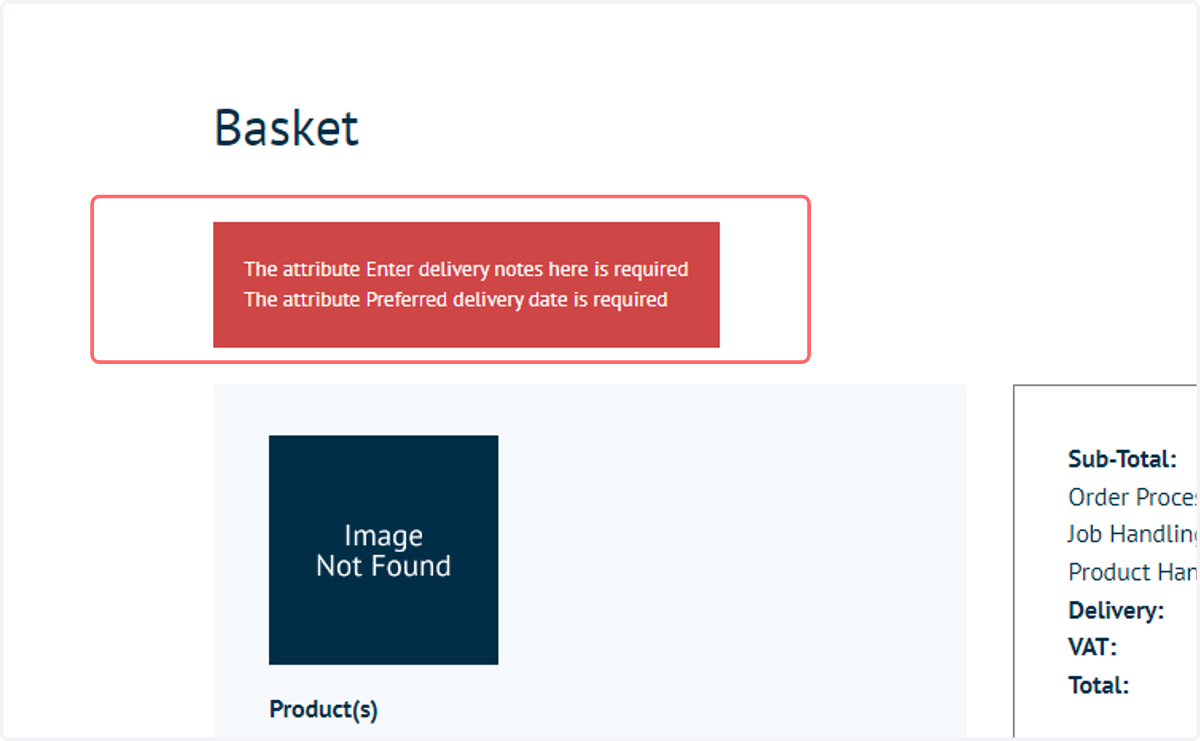
29. Any mandatory Checkout Attributes which do not have a default value assigned will provide a warning at the top of the screen
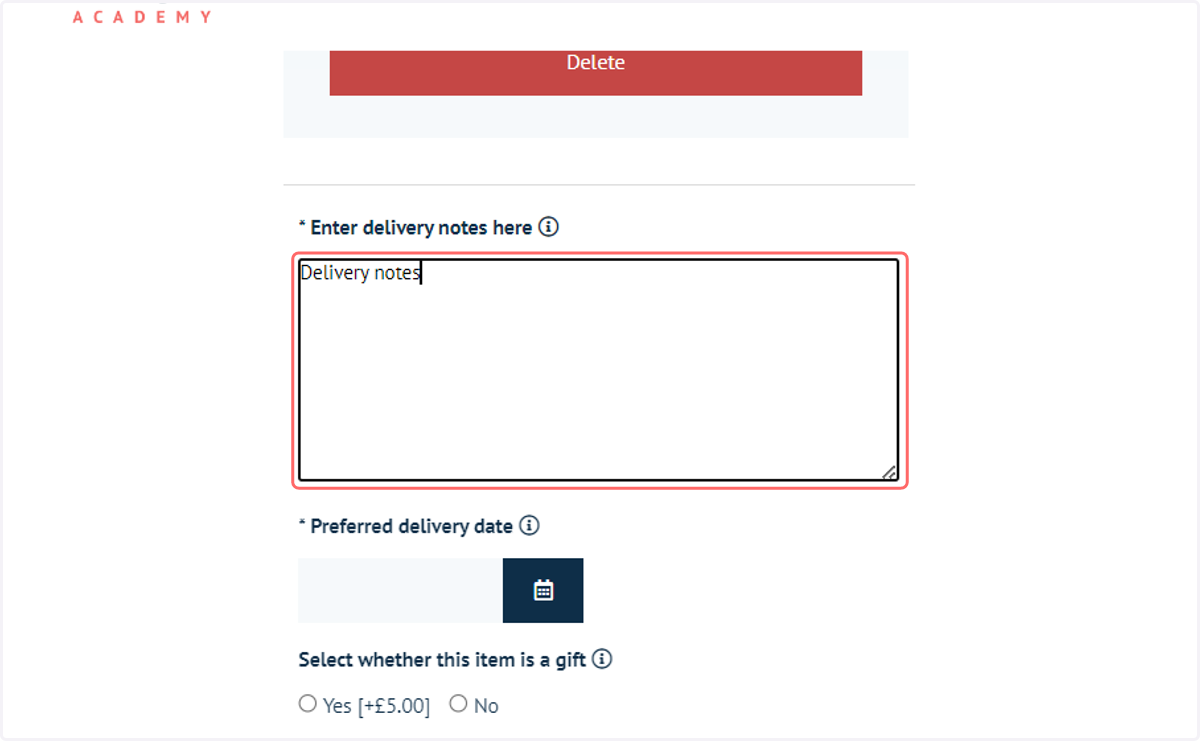
30. Enter delivery notes information
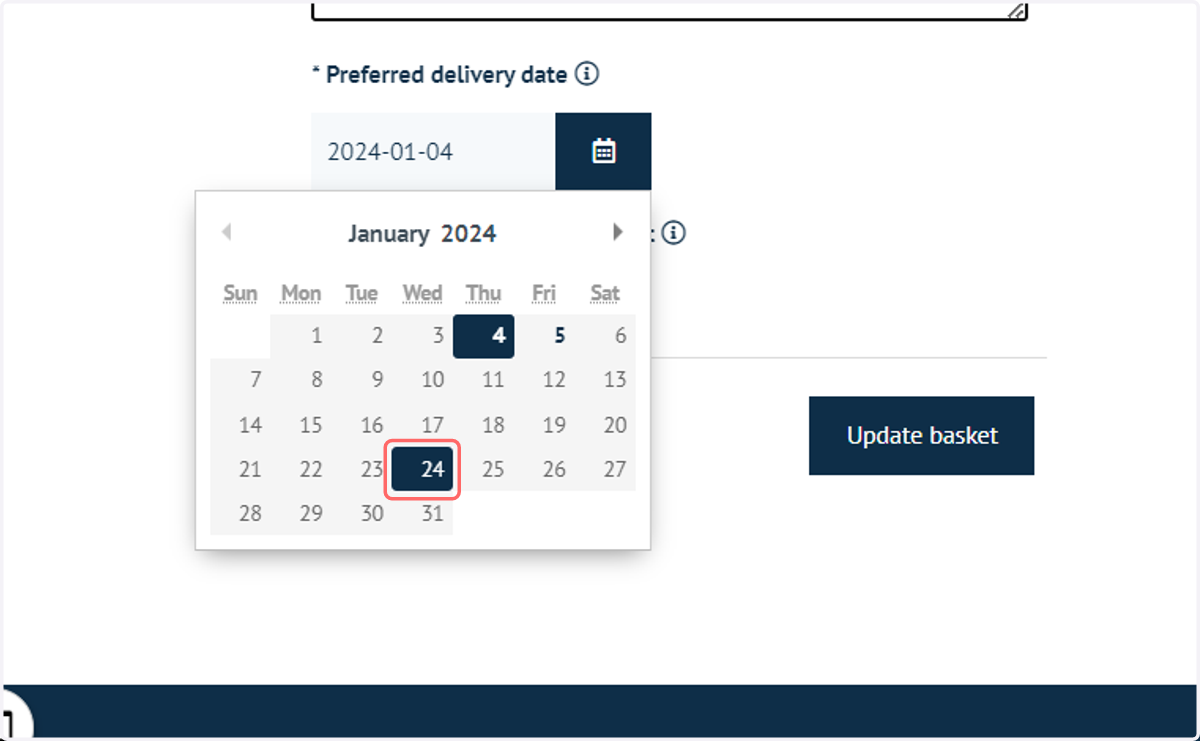
31. Date picker
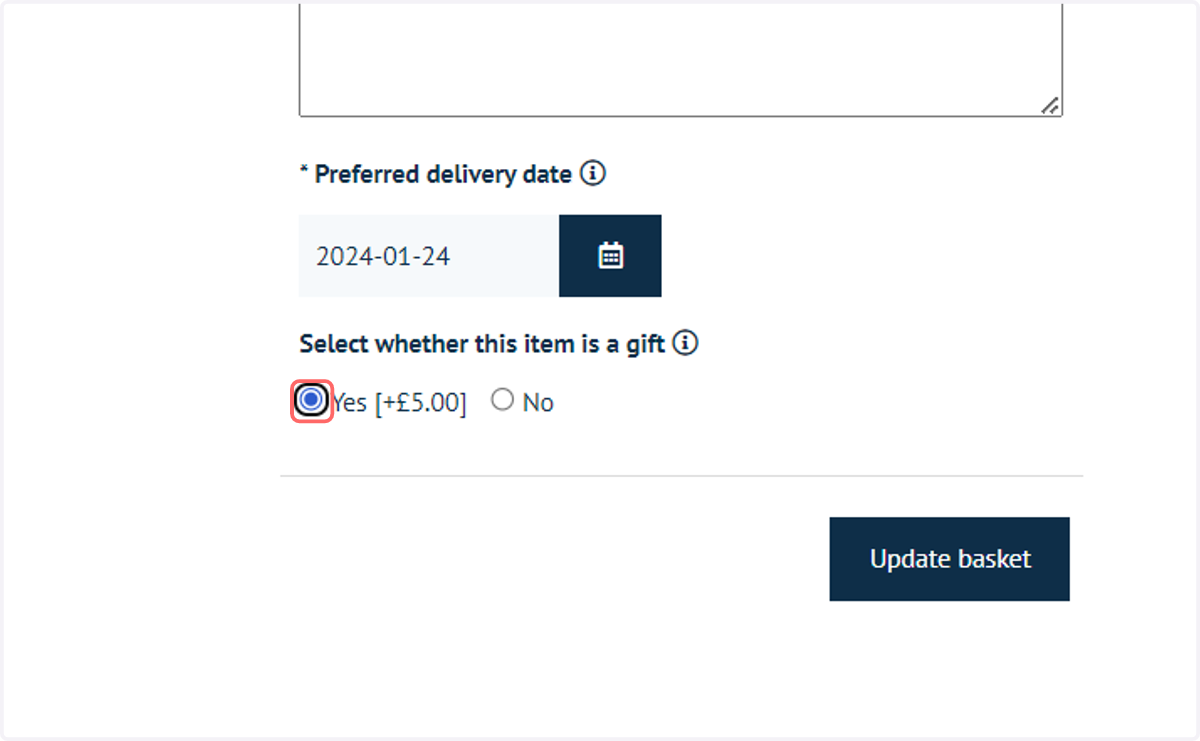
32. Attribute giving additional cost
For attributes where a value selection adds additional cost, this cost will be added to the order subtotal.
In order to apply any changes in cost originating from attributes, users must select "Update basket"
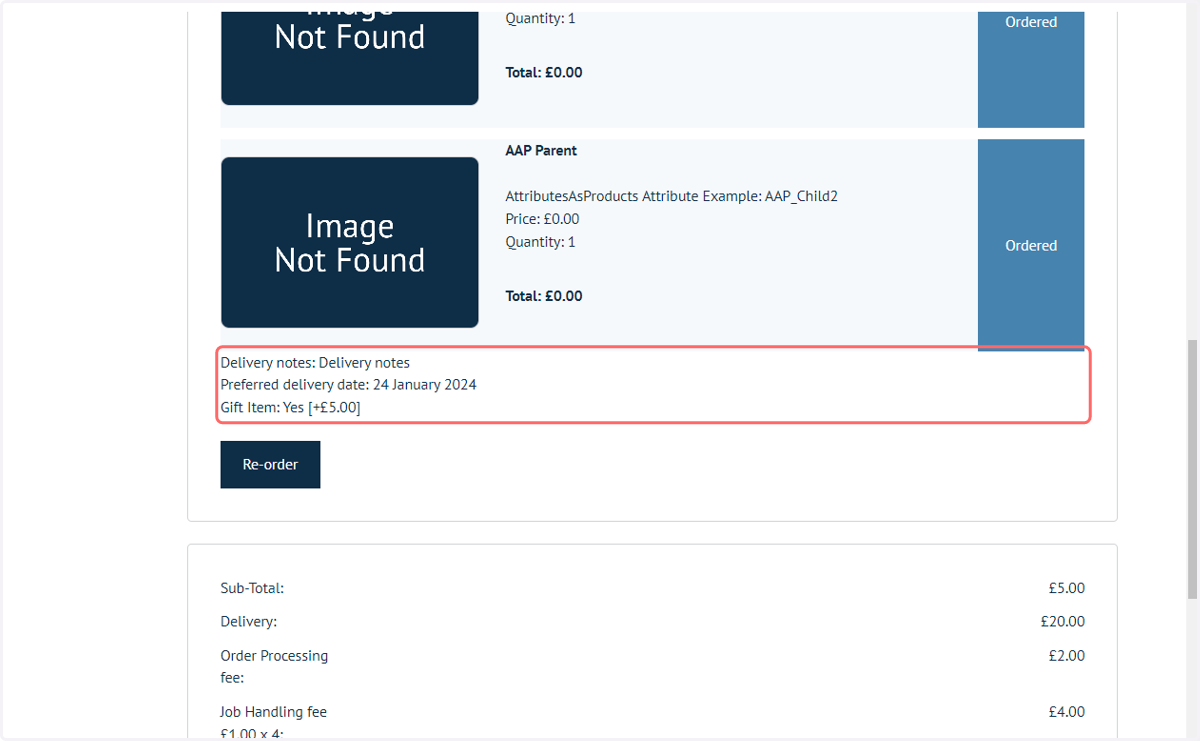
33. My Orders
When an order is placed with Checkout Attributes utilised, details will be displayed in the "My Orders" section of their account, under that particular order
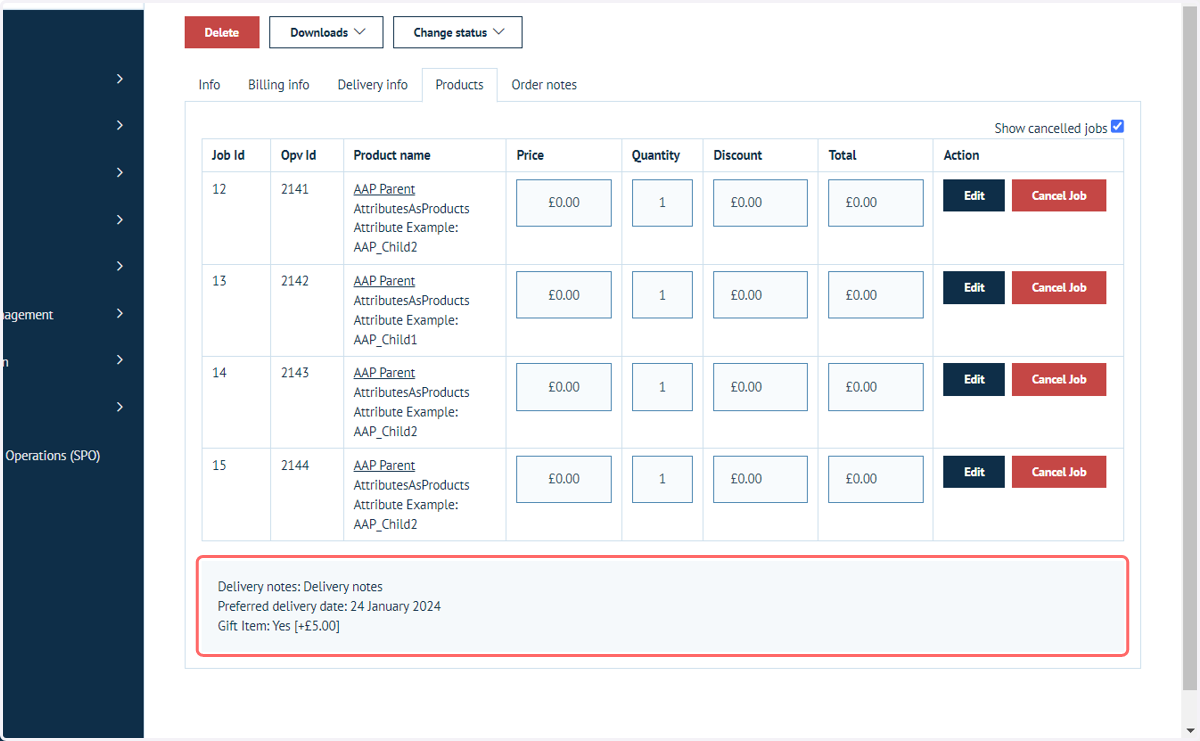
34. Sales Admin
For administrators, information on Checkout Attribute values can be found under the Products tab.
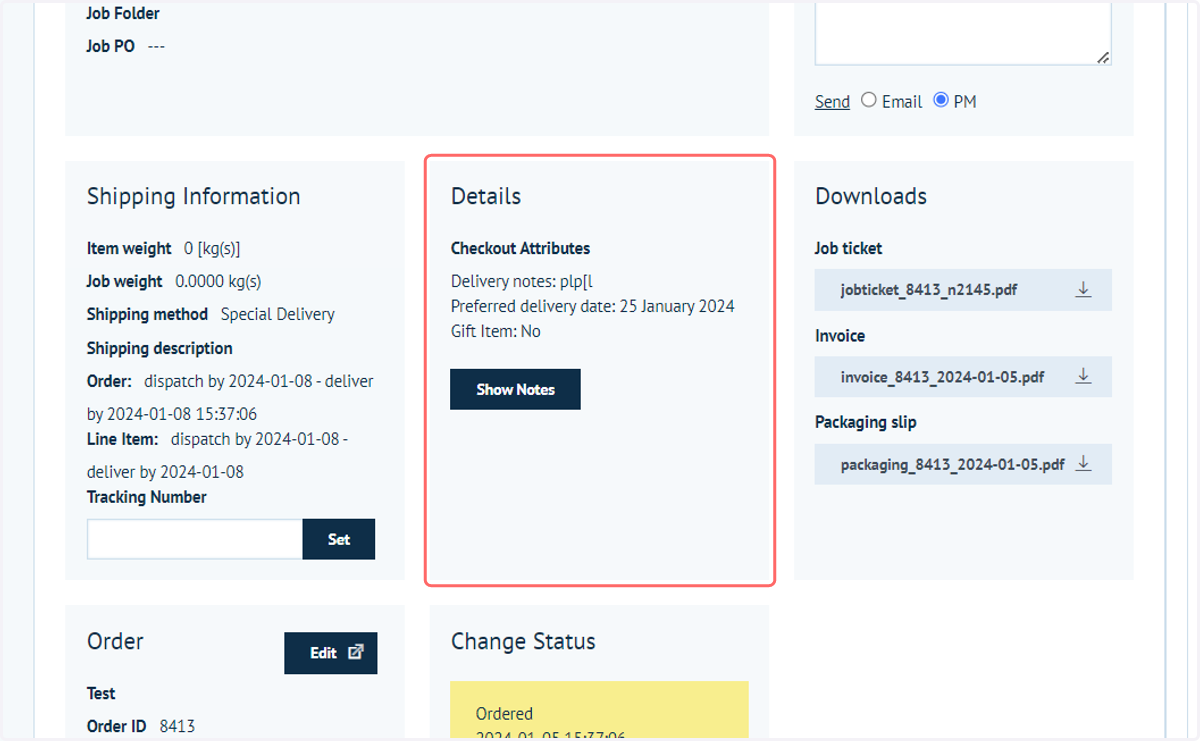
35. Shared Print Operations (SPO)
Even though SPO displays each individual job, so there may be several entries for 1 order, the Checkout Attribute information is displayed on the Details section of the relevant jobs.