Enter, Edit, and Post Charges on Meter Readings
Enter Meter Readings, edit meter readings that have not yet had charges posted, and review charges before posting. There are two prerequisites that must be met before entering meter readings.
Prerequisites
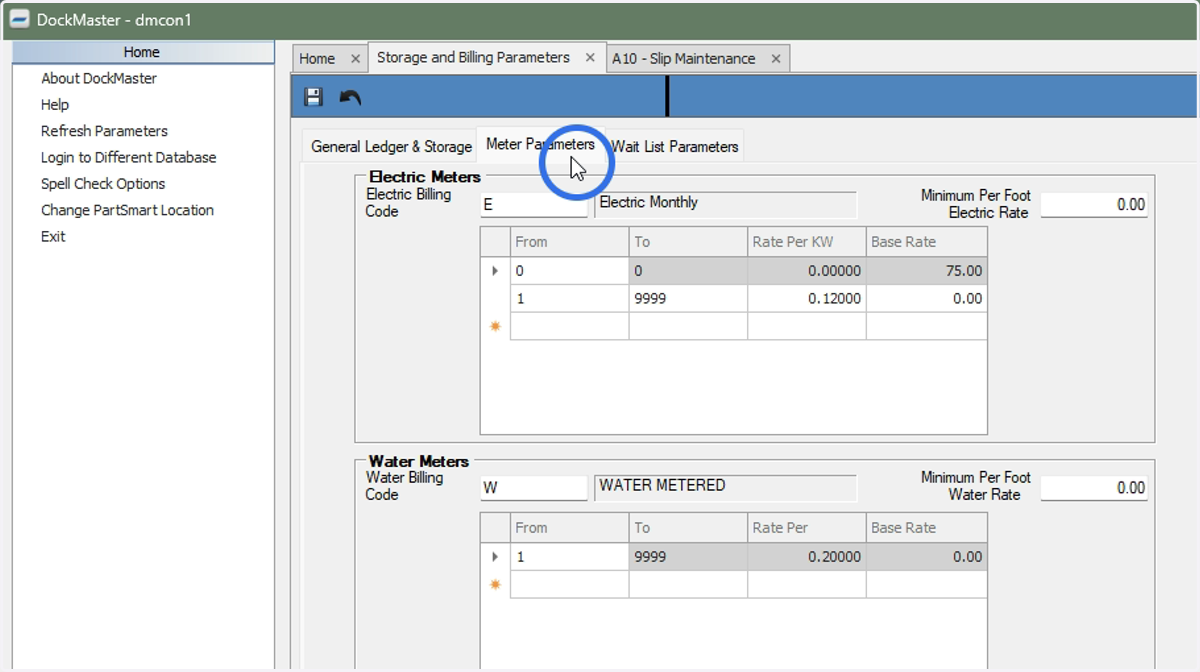
1. Prerequisite 1: Storage & Invoice parameters must have meter rates
A billing code will need to be created for ELEC. This is required for the statement description. Go to System Administration > Configuration > Storage and Billing.
2. Prerequisite 2: Slip files must have meter addresses entered
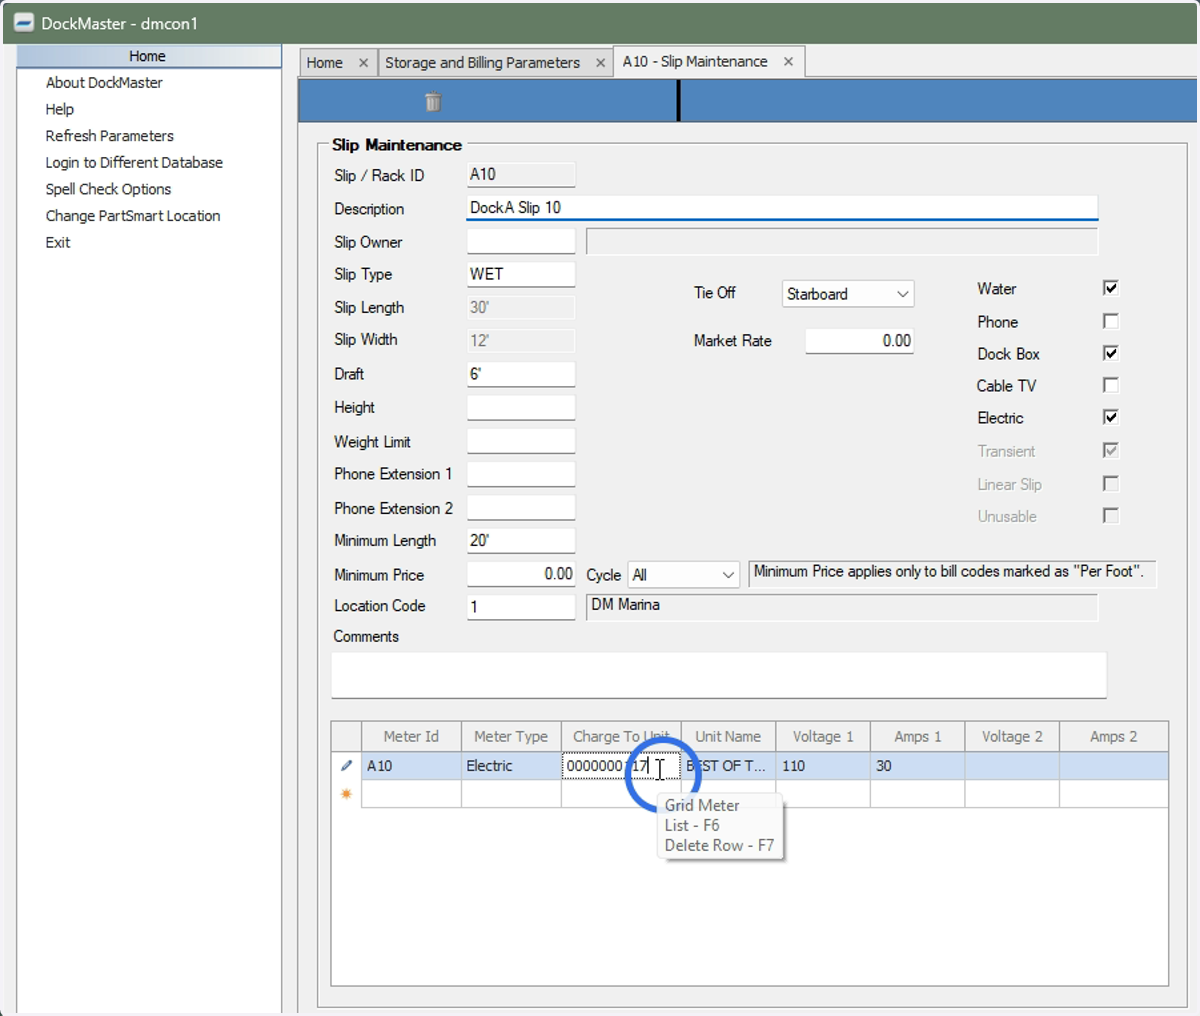
If your meters are not specifically addressed, add the slip number as the address. The Electric Meter Box must be checked in the slip file with the meter. A meter will not be billed if there is no boat currently assigned to the meter. Go to Marina Management > Slip Functions > Slip Maintenance to enter meters for slips.
Enter Meter Readings
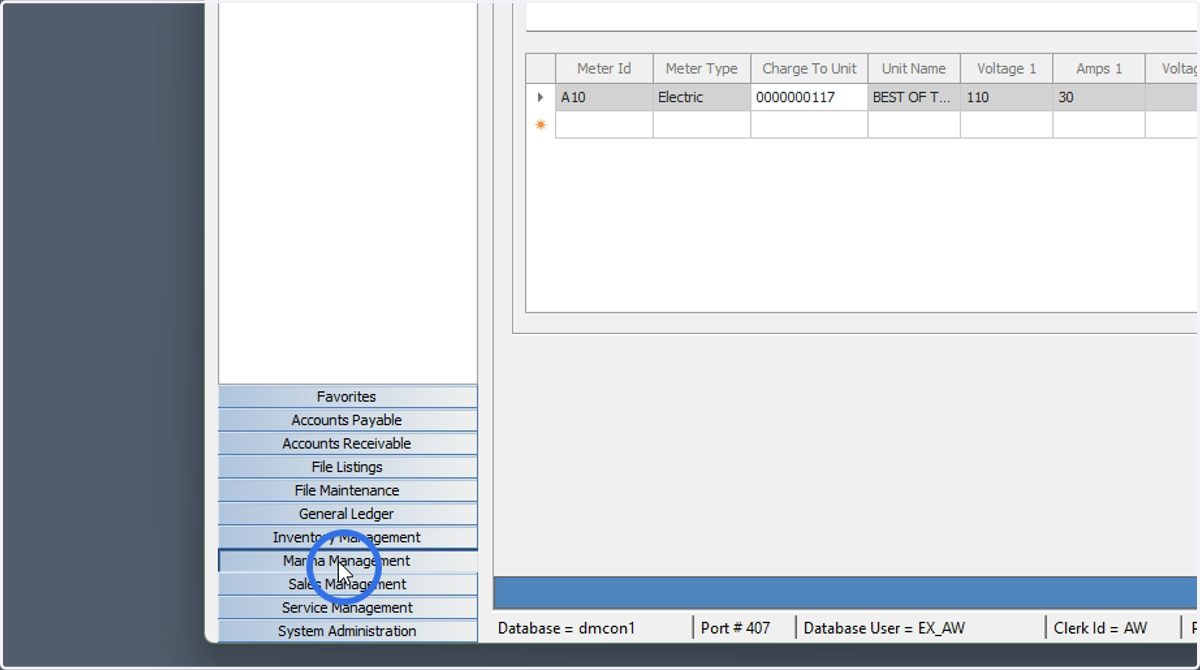
3. Click Marina Management
4. Click Meters
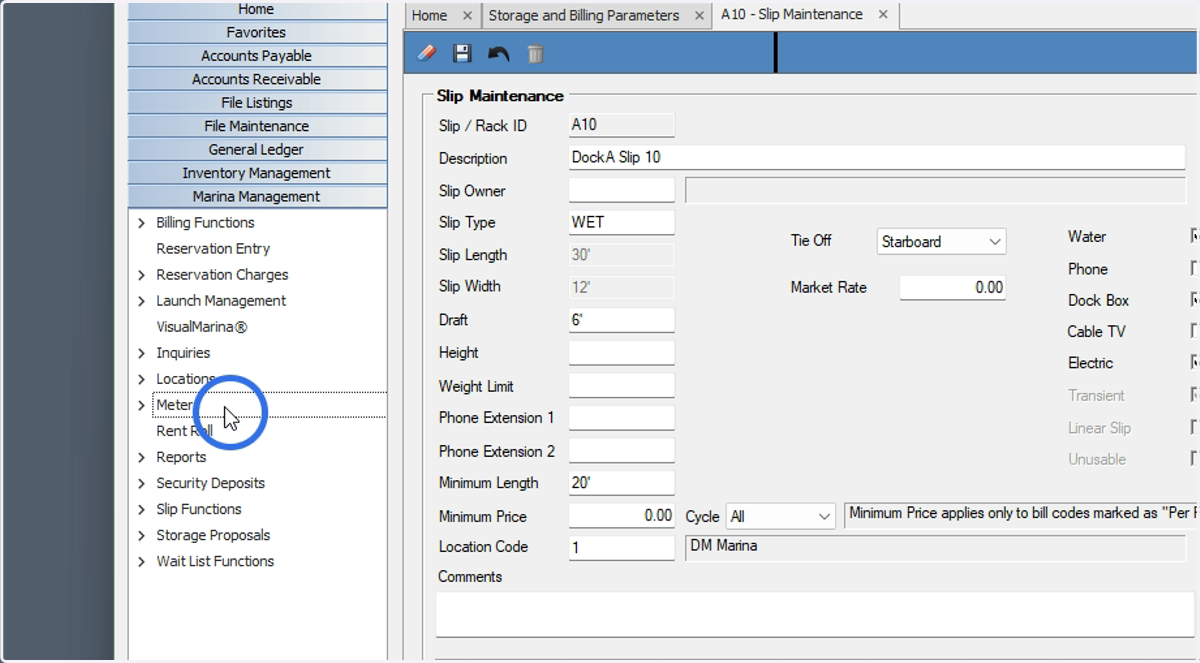
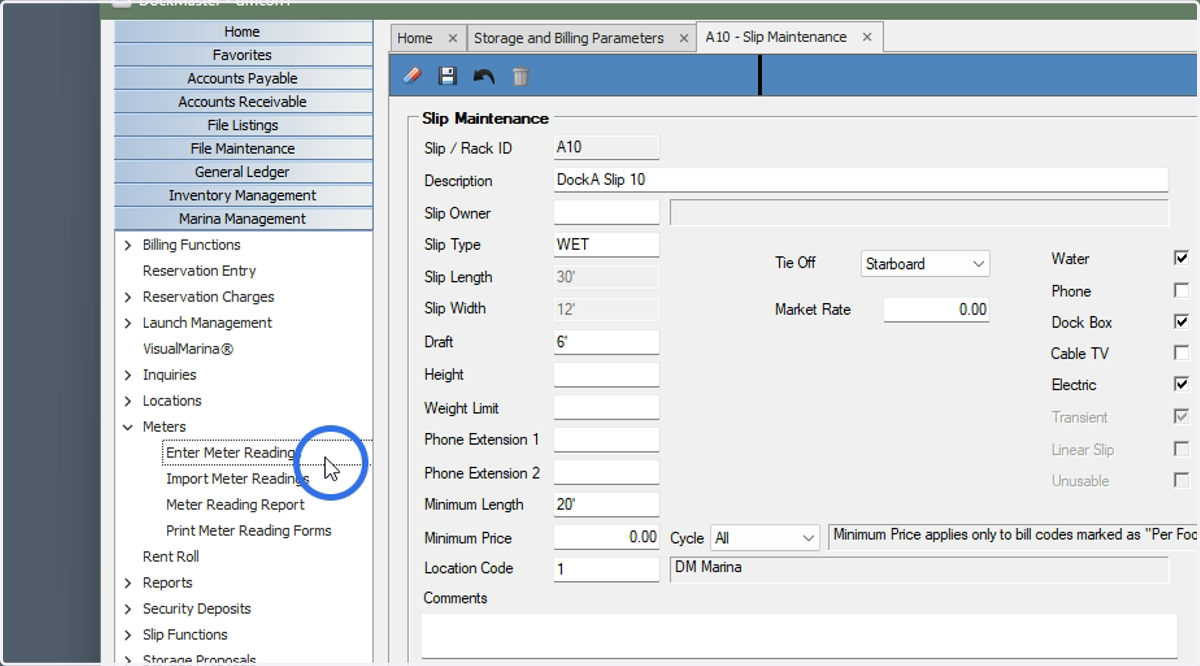
5. Click Enter Meter Readings
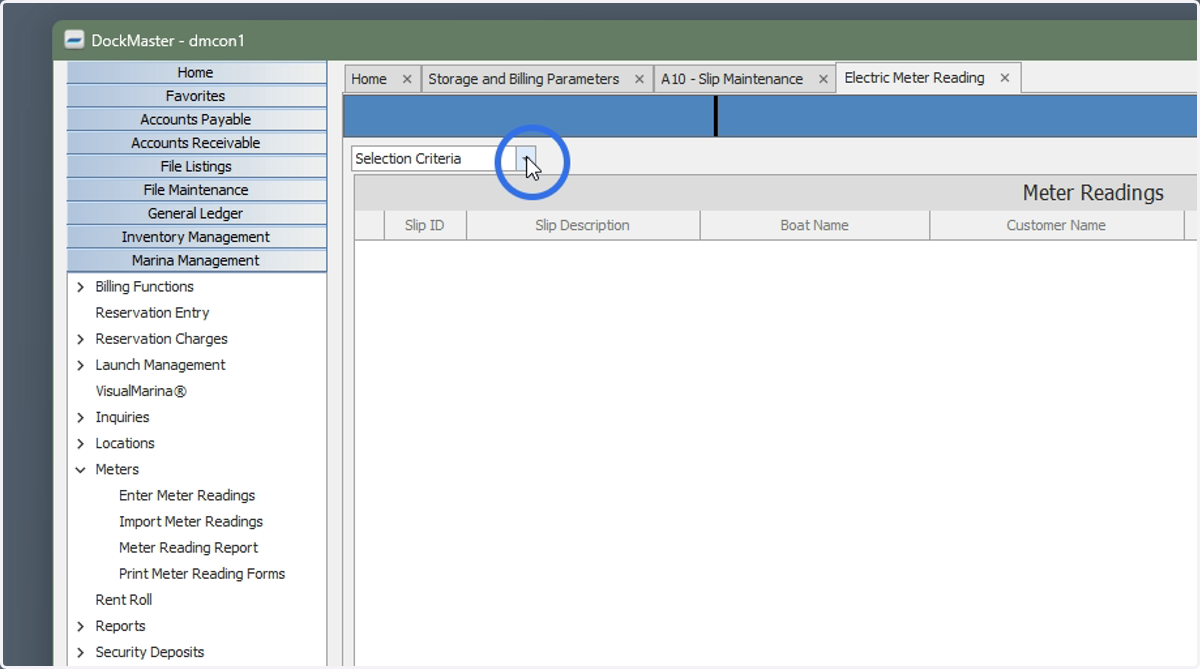
6. Click on the Selection Criteria
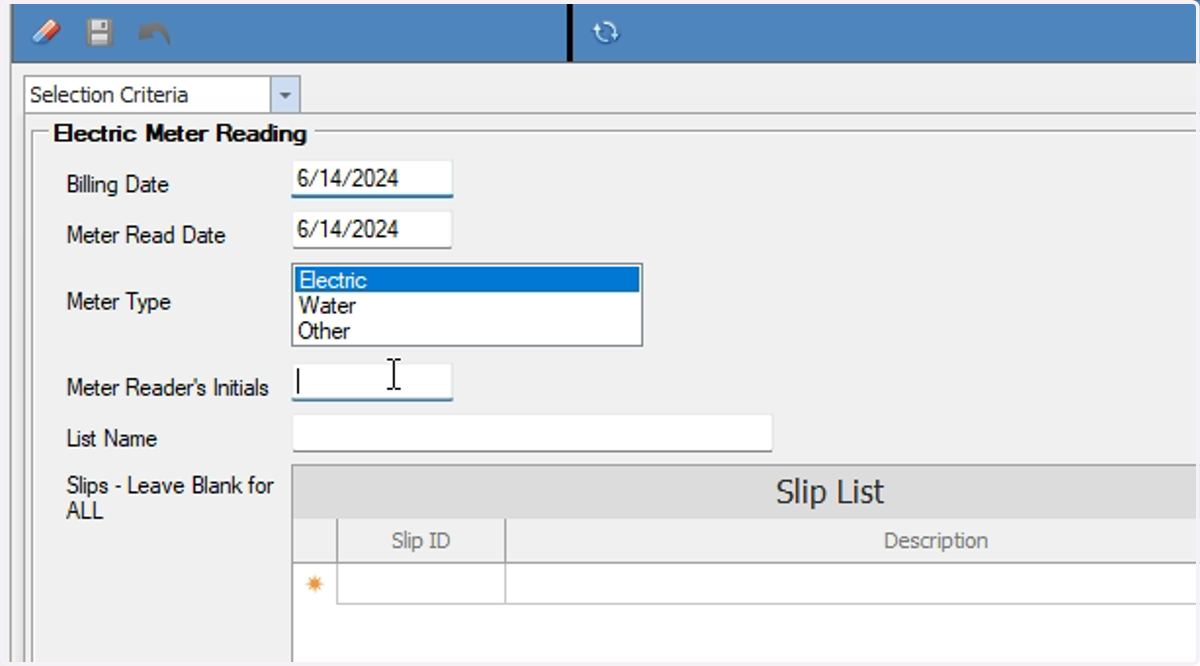
7. Enter the information
Required: Billing Date
Required: Meter Read Date
Required: Choose Electric, Water, or Other
Optional: Meter Reader’s Initials, List Name and Slips. Selecting specific slips narrows down the list that is generated.
8. Generate the list of Slips
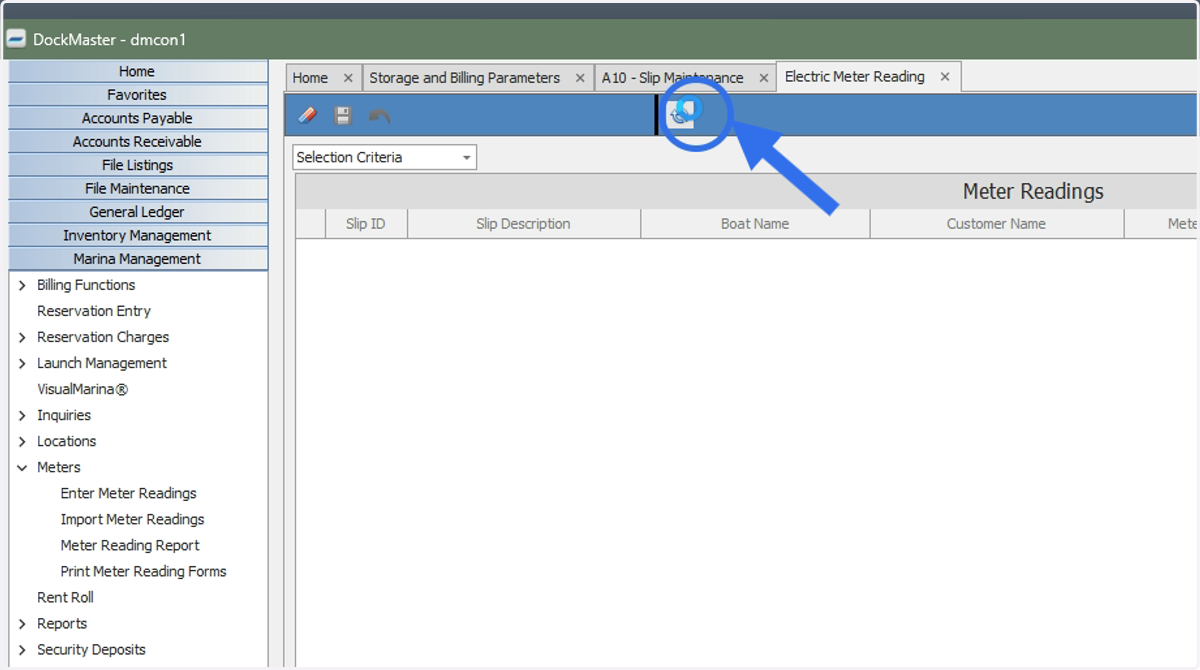
9. Enter the End Meter Reading
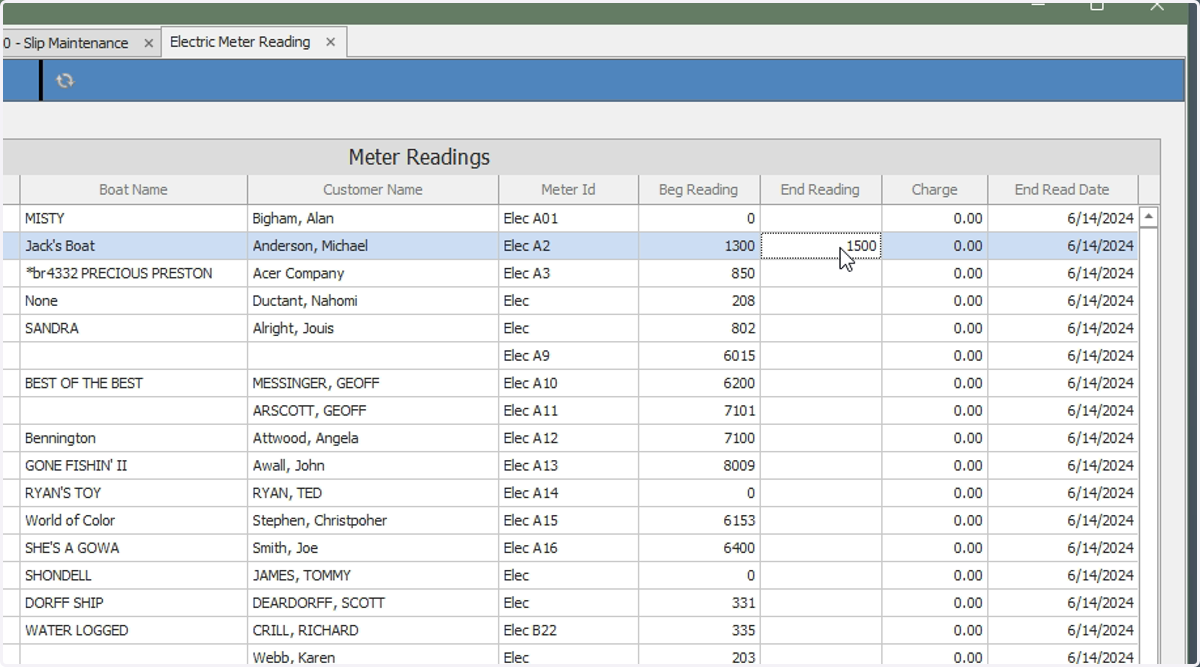
This number should be rounded to the nearest kilowatt. Note: The beginning reading defaults from the last entry.
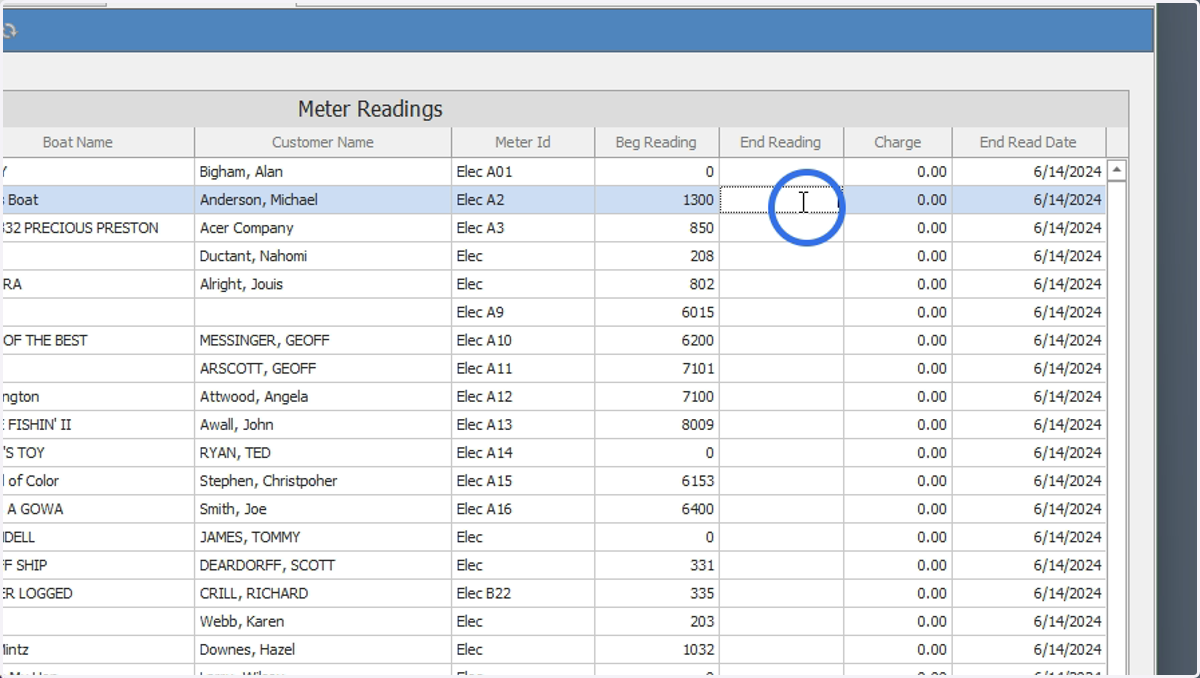
10. Press Enter to move to the next slip
11. Optional/As Needed: Override the charge that is calculated
The Electric Charge field defaults the calculated electric charges and allows you to override the amount calculated. If the amount is overridden, the row will be highlighted in yellow.
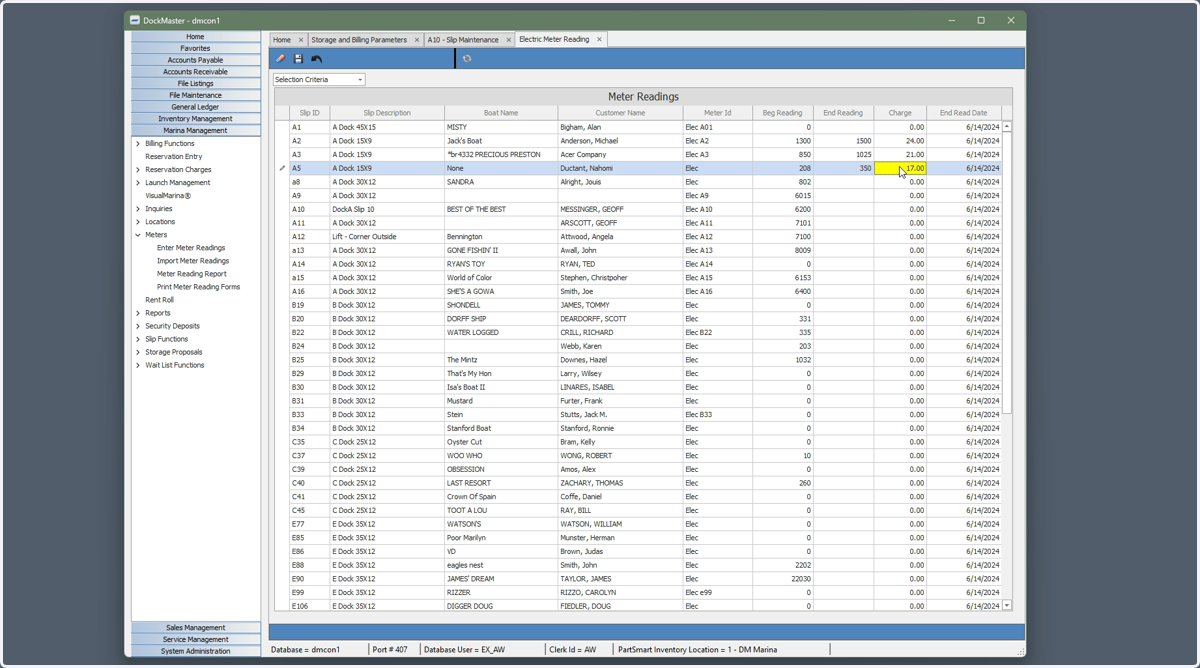
12. Save
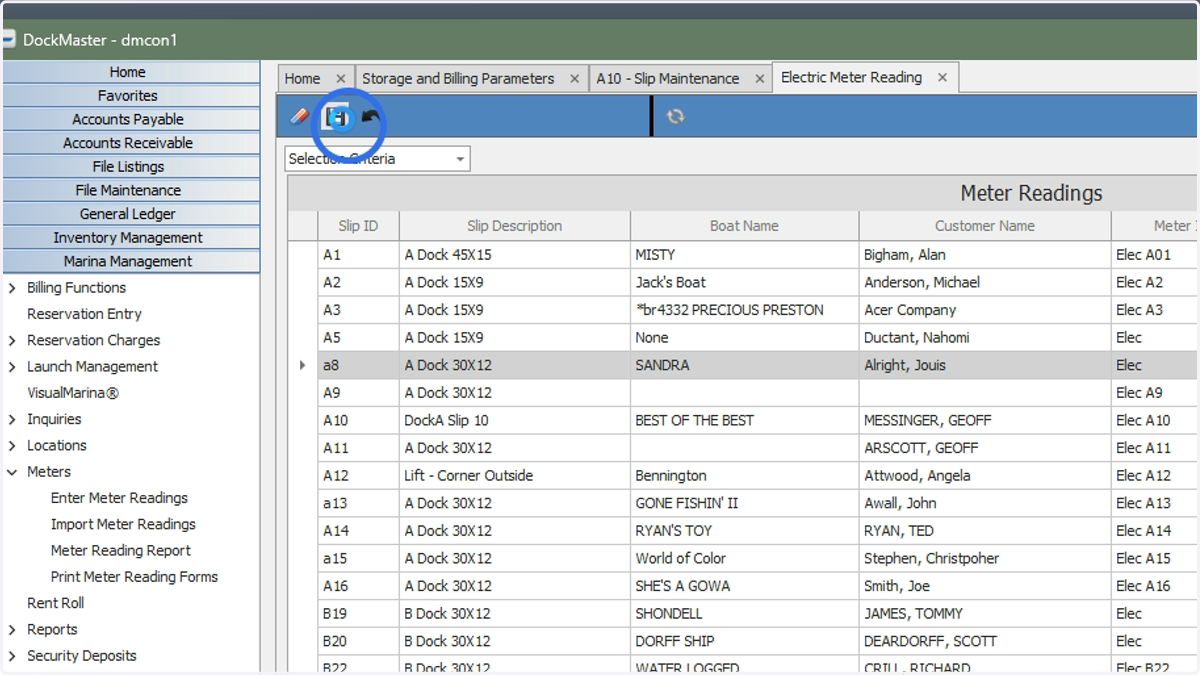
Review Charges
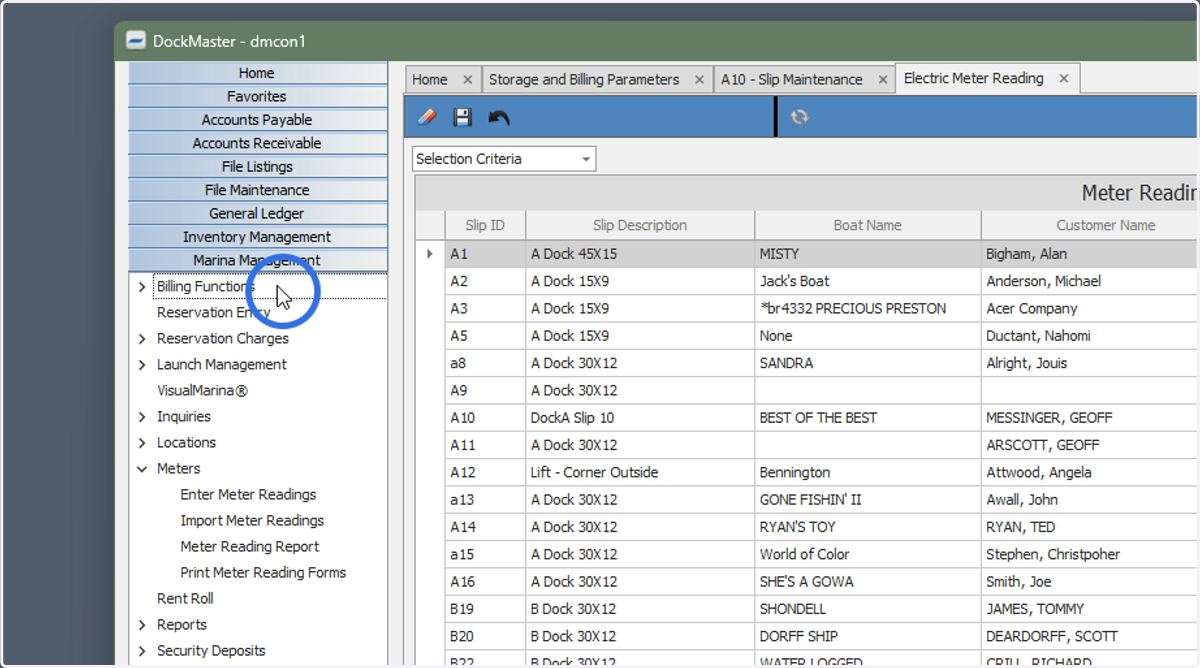
13. Click Billing Functions
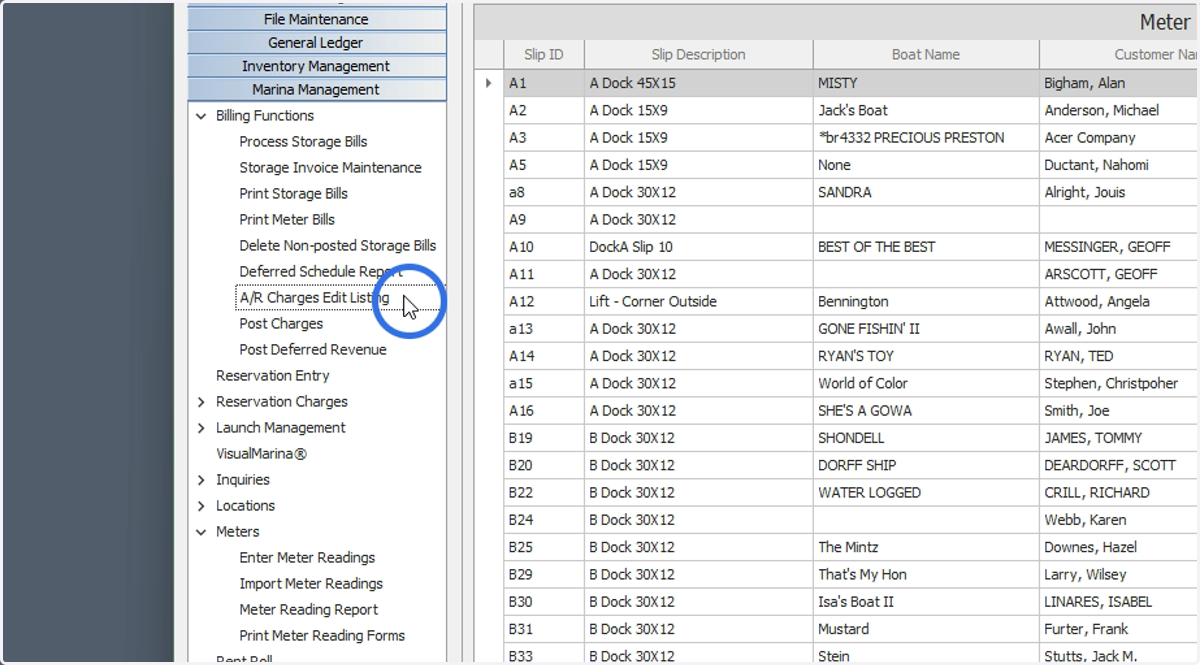
14. Click A/R Charges Edit Listing
15. Generate the report
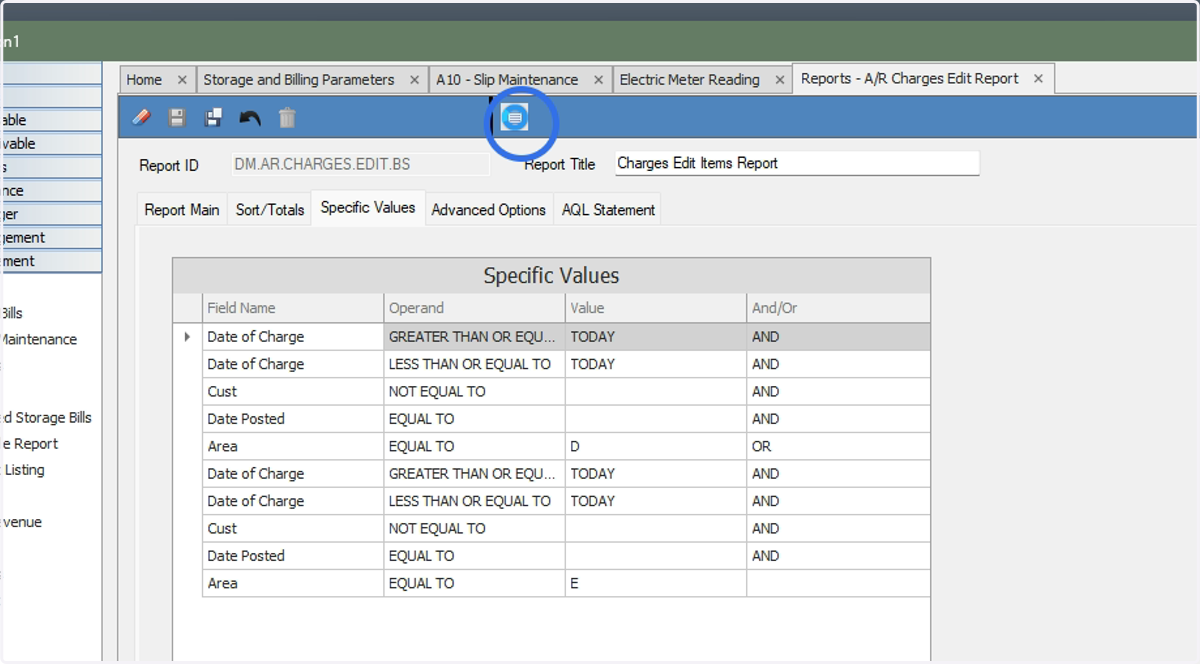
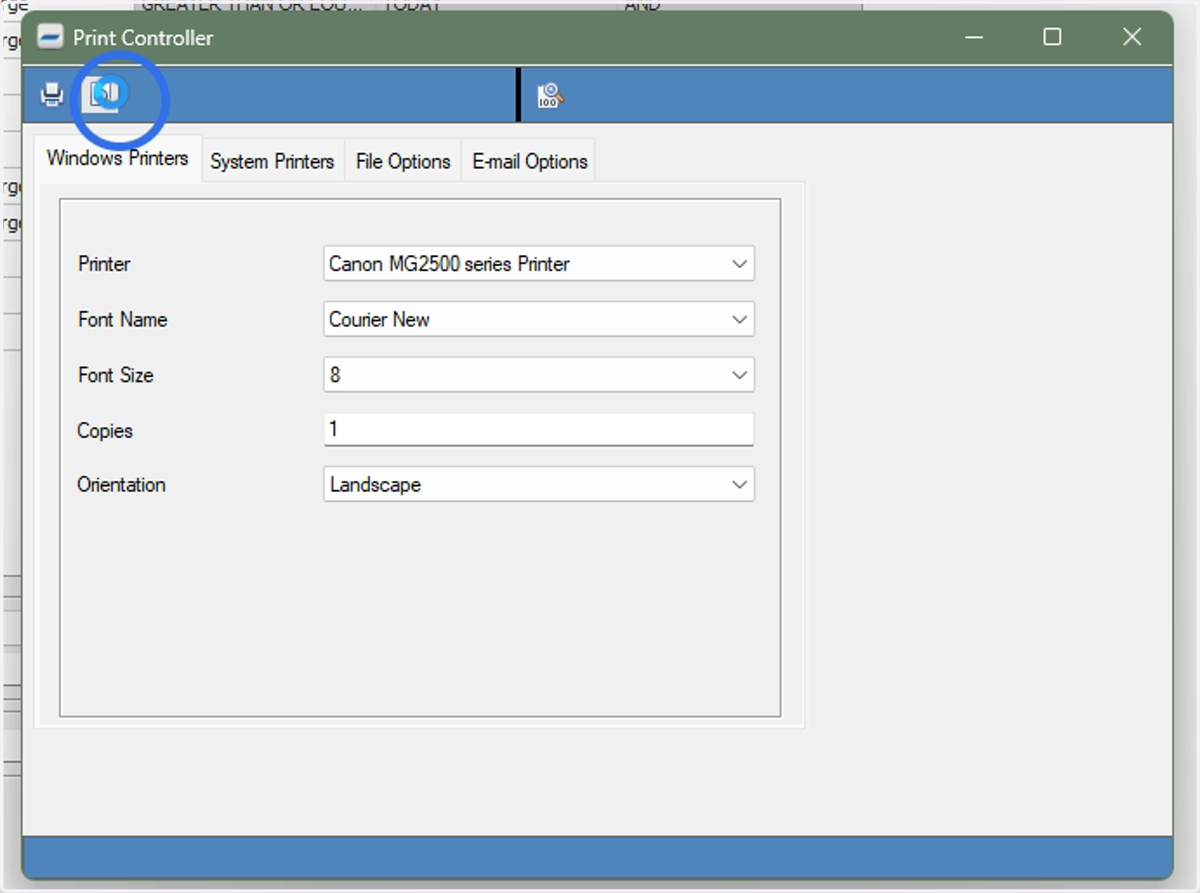
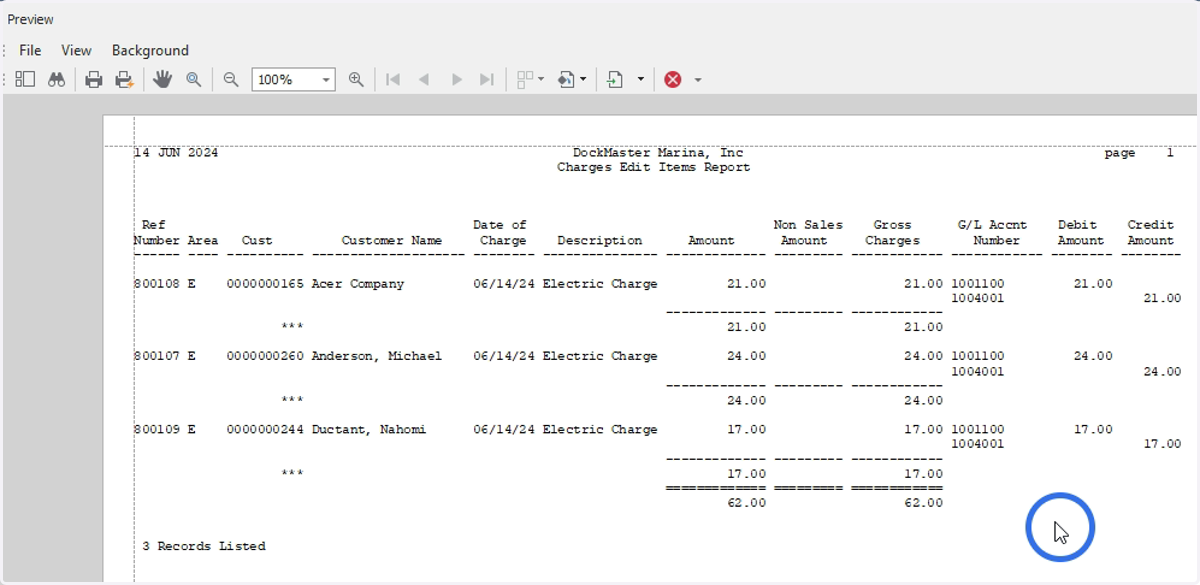
16. Preview and/or print the report
17. Review the charges for accuracy
Complete the Electric Billing Process
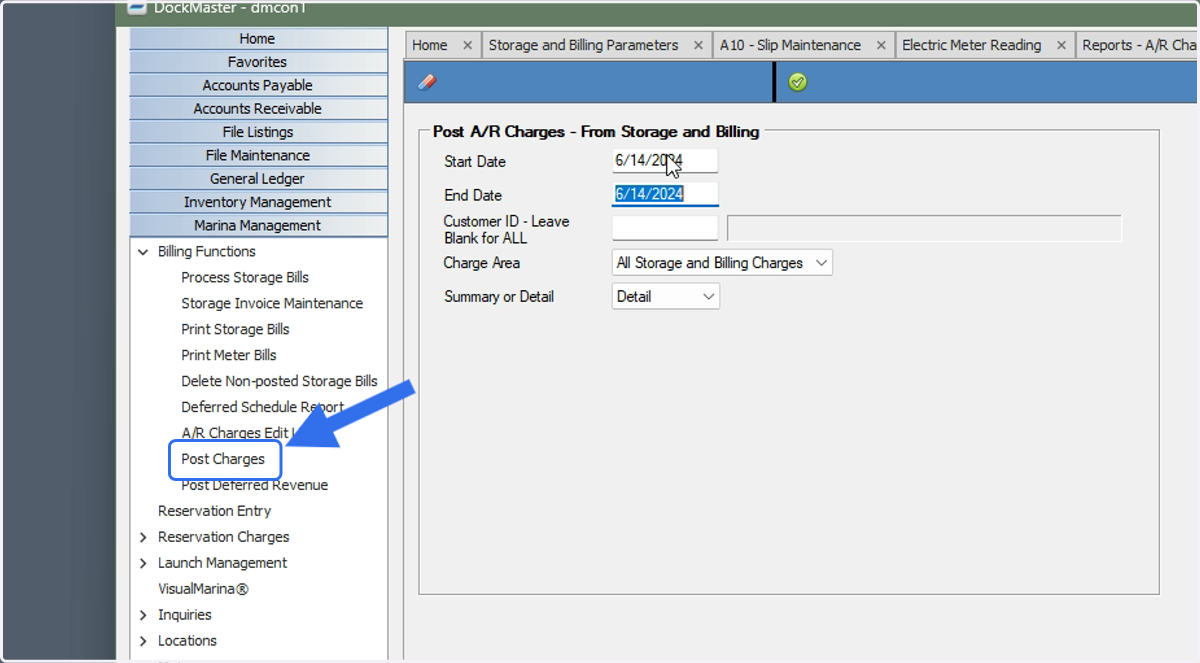
18. Select Post Charges and enter the date
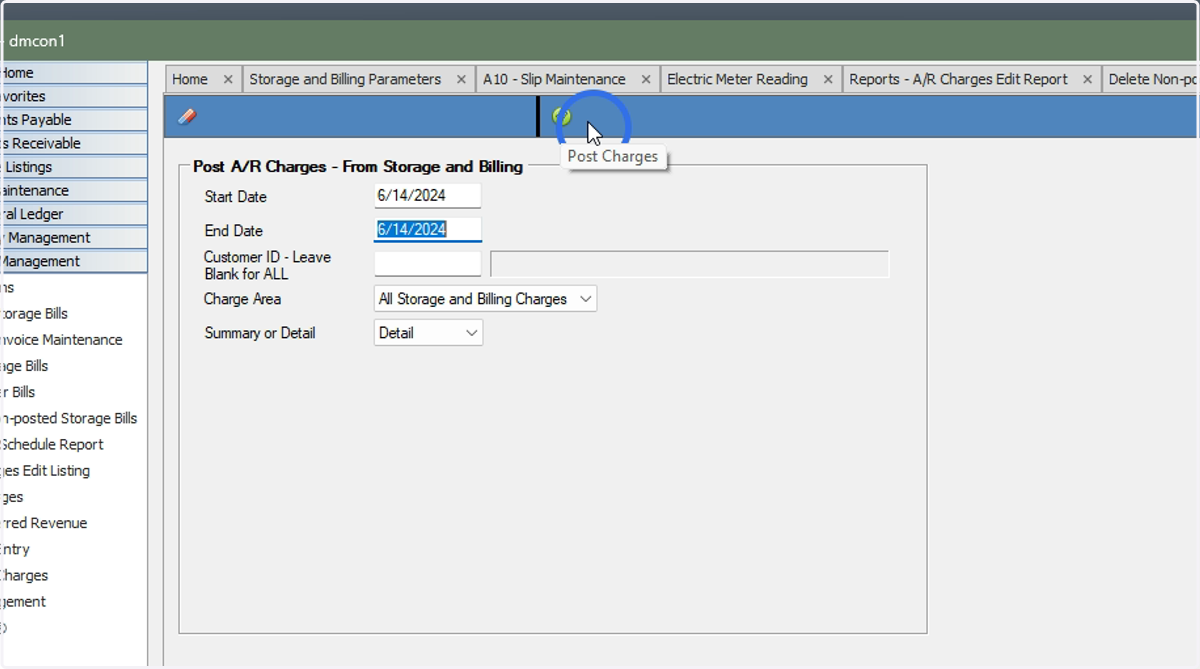
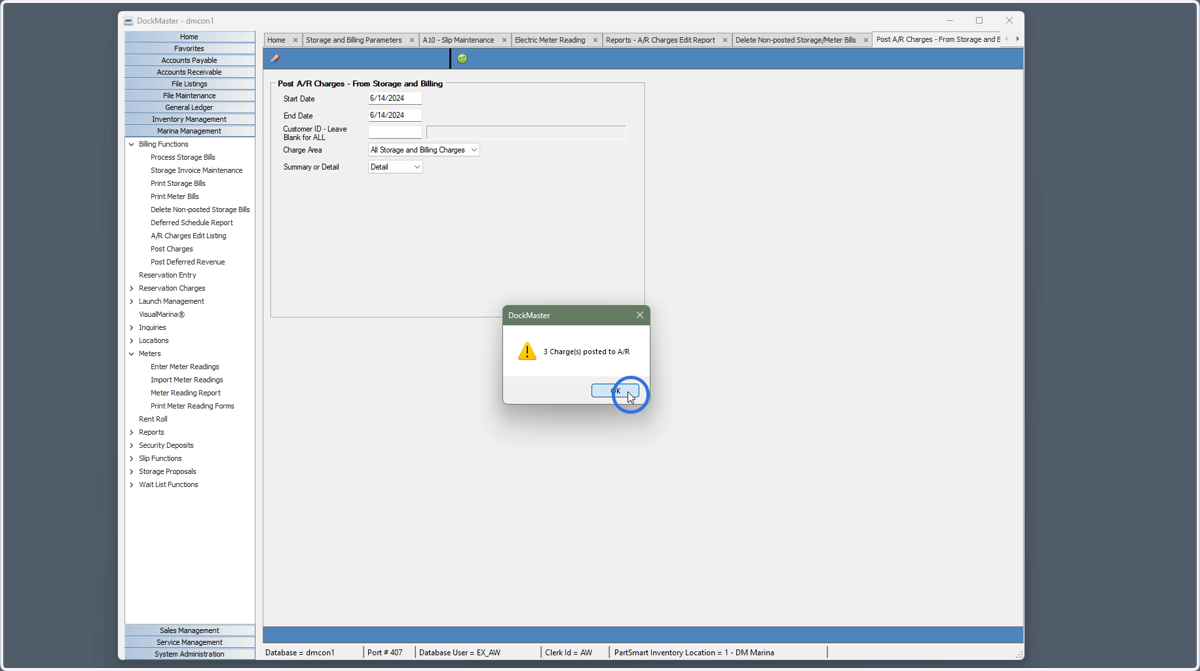
19. Post Charges
20. Confirm that the number of charges matches the A/R Charges preview
Troubleshooting: Edit Unposted Meter Charge
An Unposted Meter Charge can be modified at any time up to the time the charges are posted.
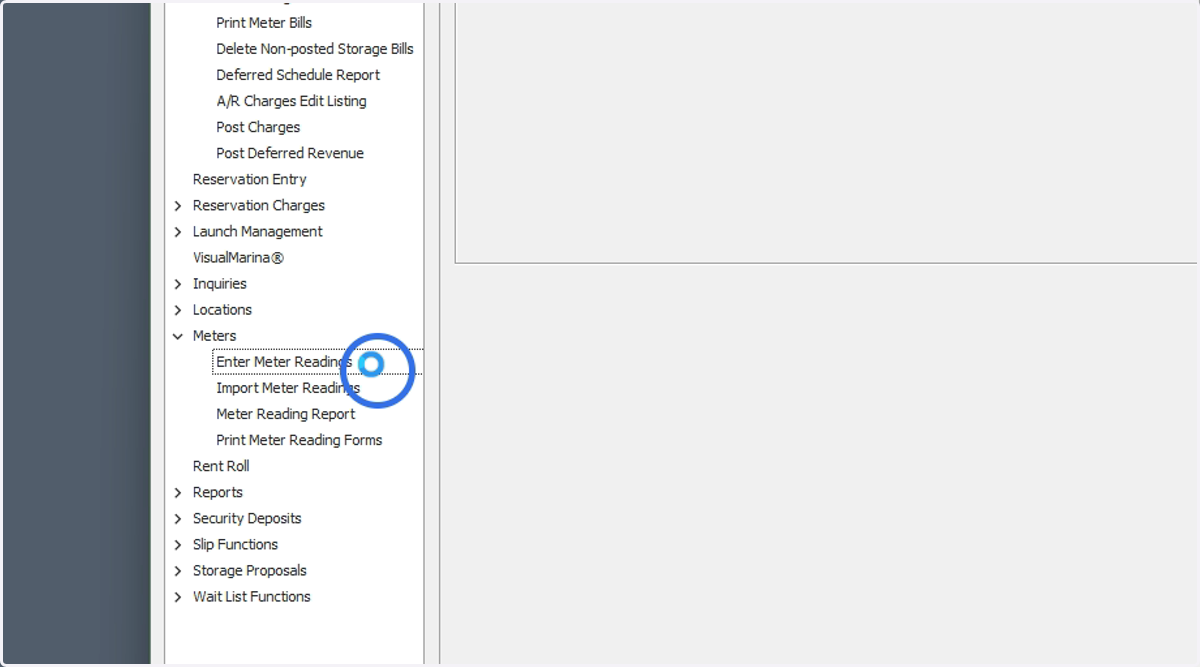
21. Click Enter Meter Readings
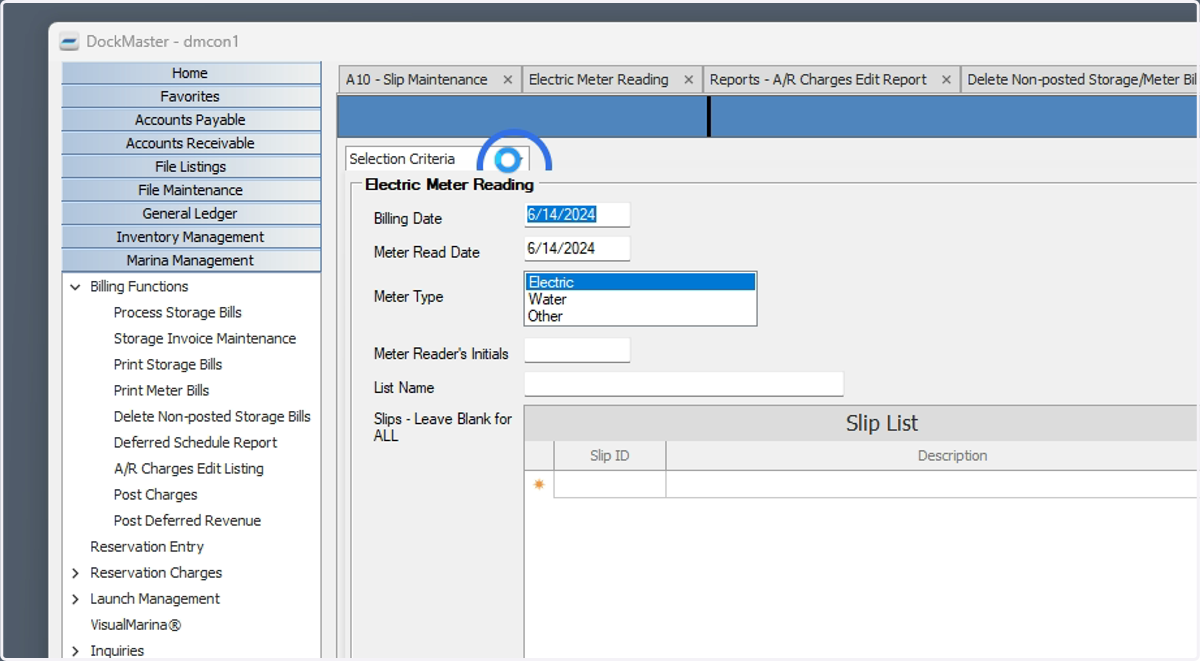
22. Enter the Selection Criteria
Required: Billing Date
Required: Meter Read Date
Required: Choose Electric, Water, or Other
Optional: Meter Reader’s Initials, List Name and Slips. Selecting specific slips narrows down the list that is generated.
23. Generate the list
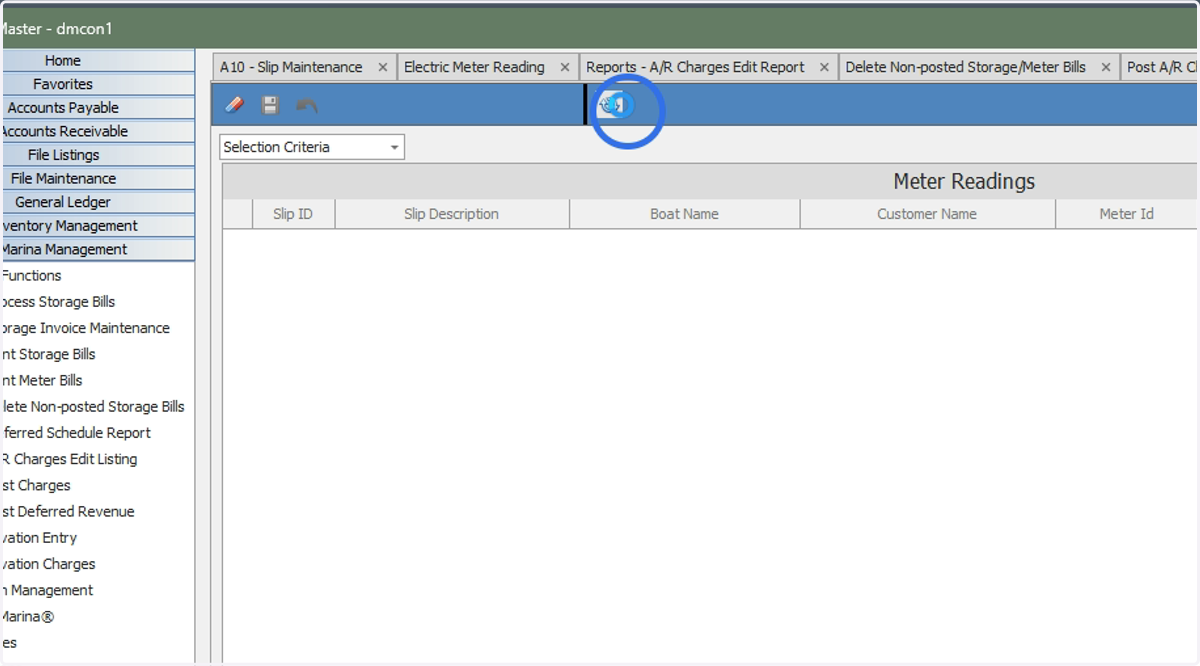
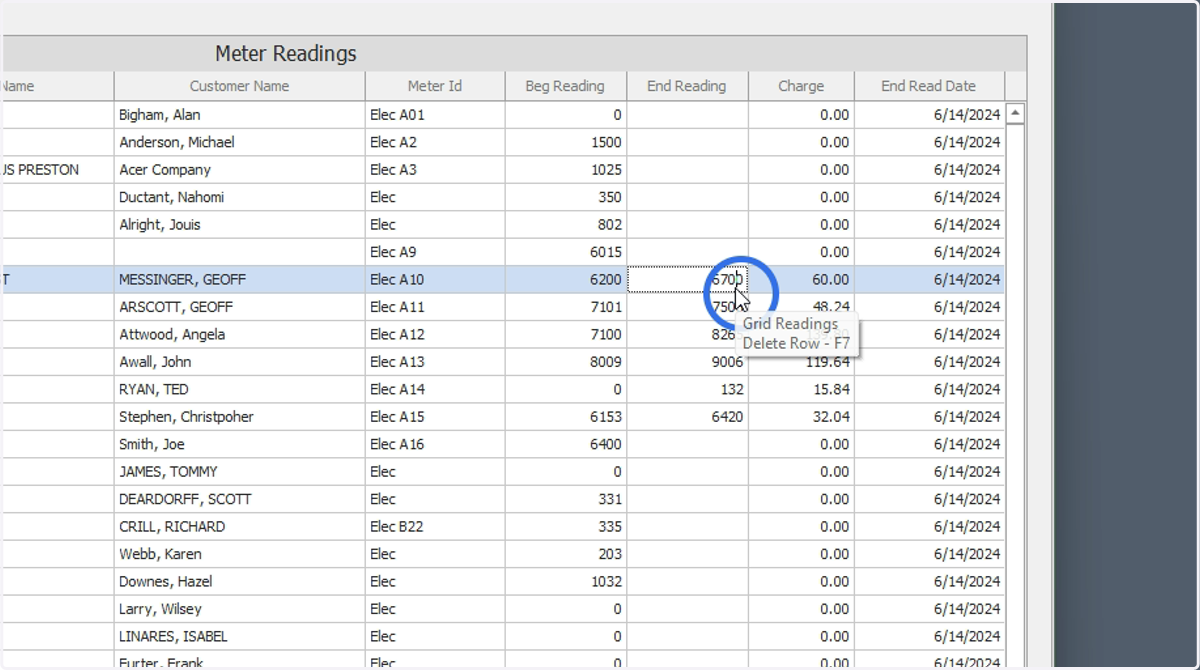
24. Enter the Meter Readings
The End Meter readings column will be blank if the charges from the previous batch have been billed. If you open the Meter Readings grid and the End Readings are populated, this means the charges have not yet been posted.
The Beginning Meter Reading can also be modified in this screen. This is useful when you are loading meter readings for the first time into DockMaster.
Save and follow the "Review Charges" and "Complete the Electric Billing Process" steps above.
Troubleshooting: Delete All Non-Posted Electric Invoices
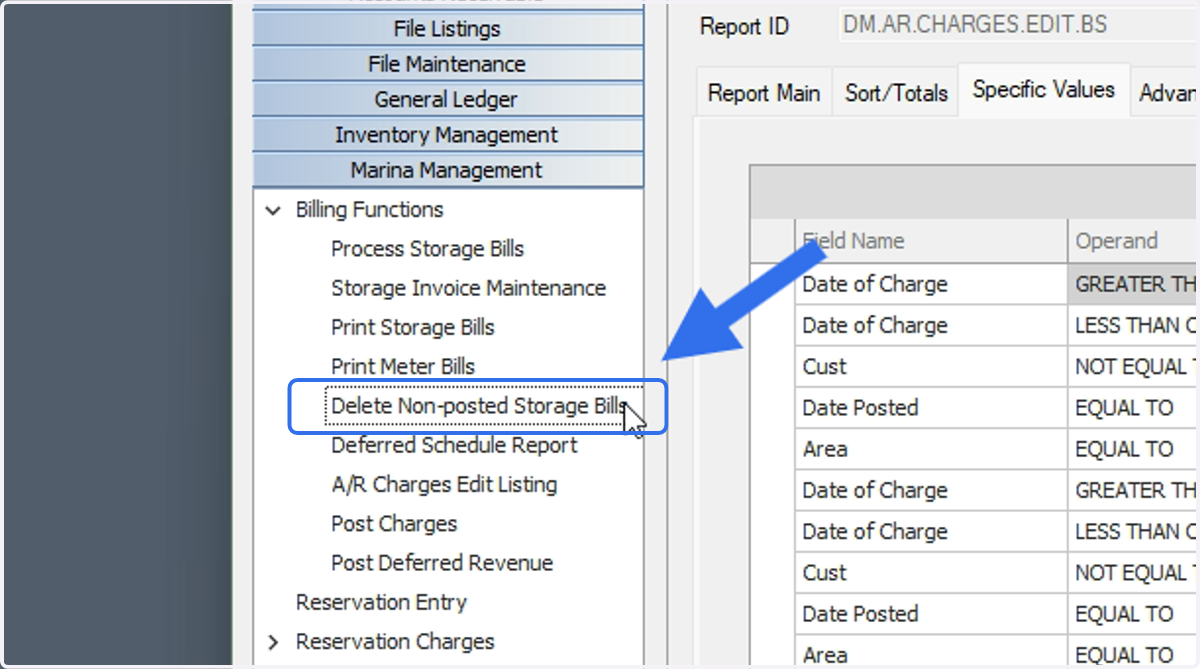
25. Click Delete Non-posted Storage Bills
If you entered an incorrect billing date through Enter Electric Meter Readings, you can delete ALL non-posted electric invoices up to a specific date by using the Delete Non-posted Storage/Electric Bills program. This is easier than editing and deleting each charge one by one.
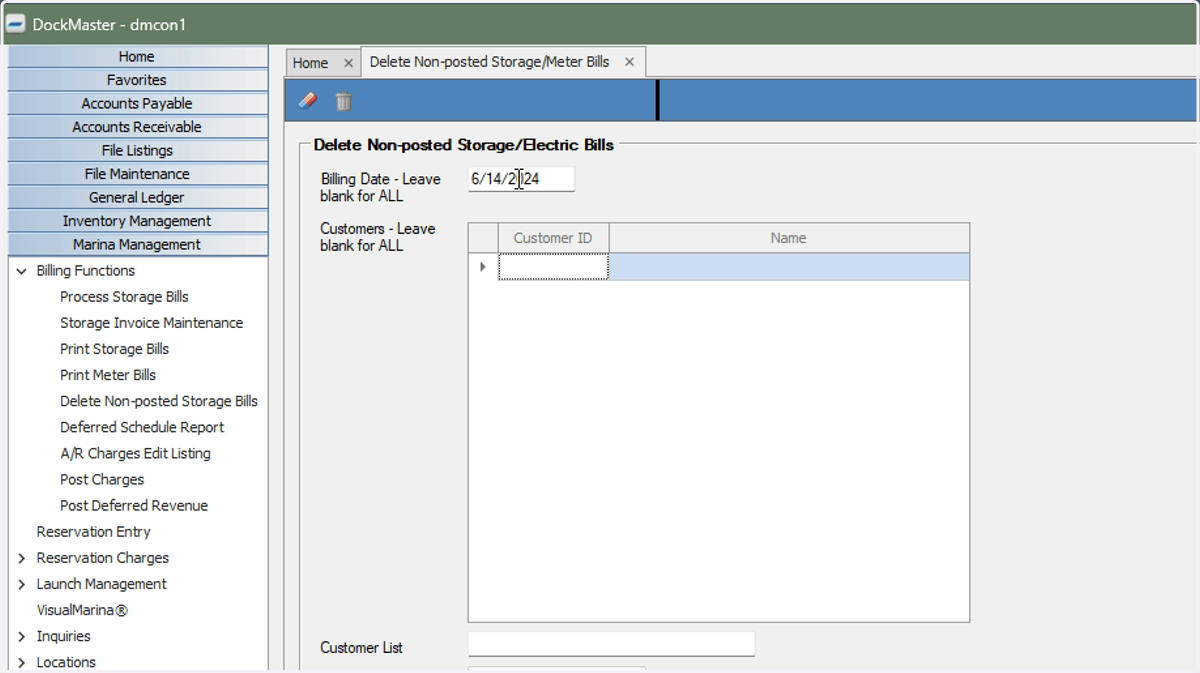
26. Change the date
The date field will default to ALL, but should be changed to the date needed.
27. Optional: select specific customers or a customer list
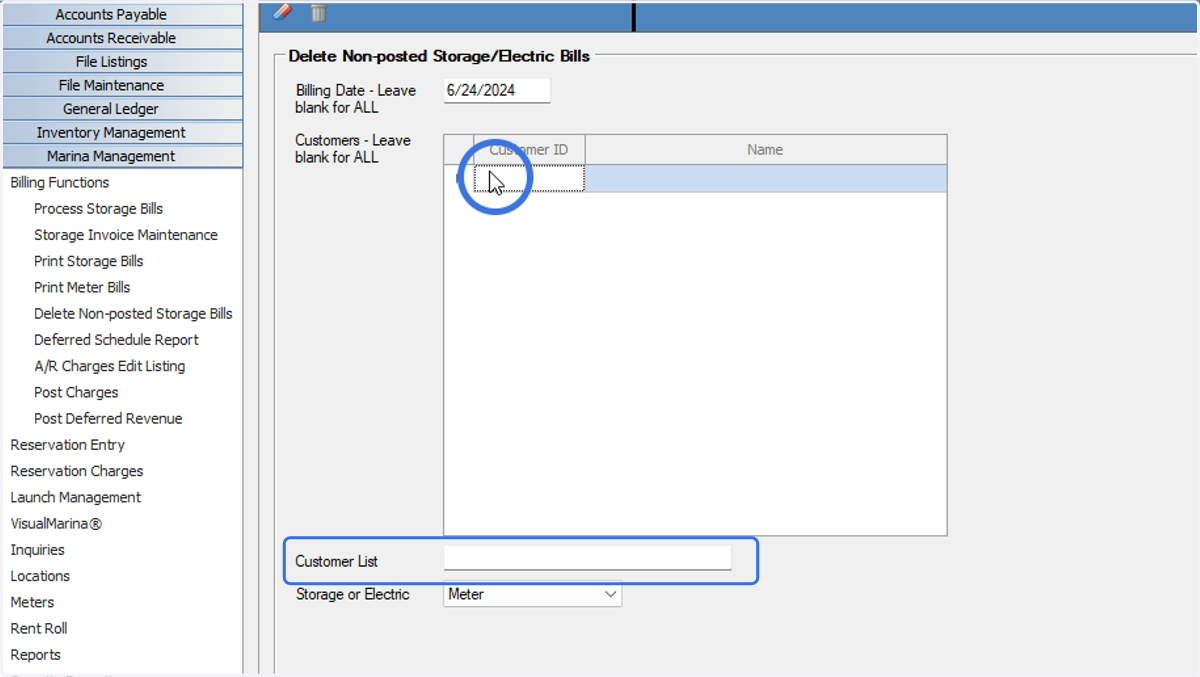
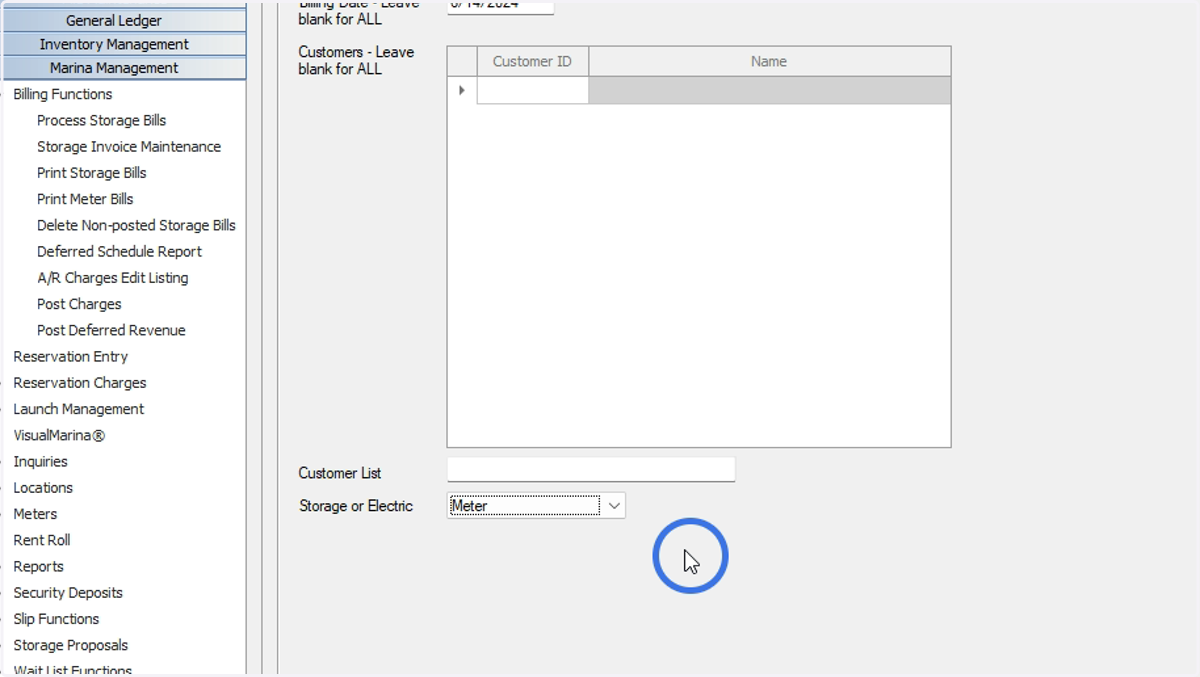
28. Select Meter from the "Storage or Electric" drop down to delete meter readings
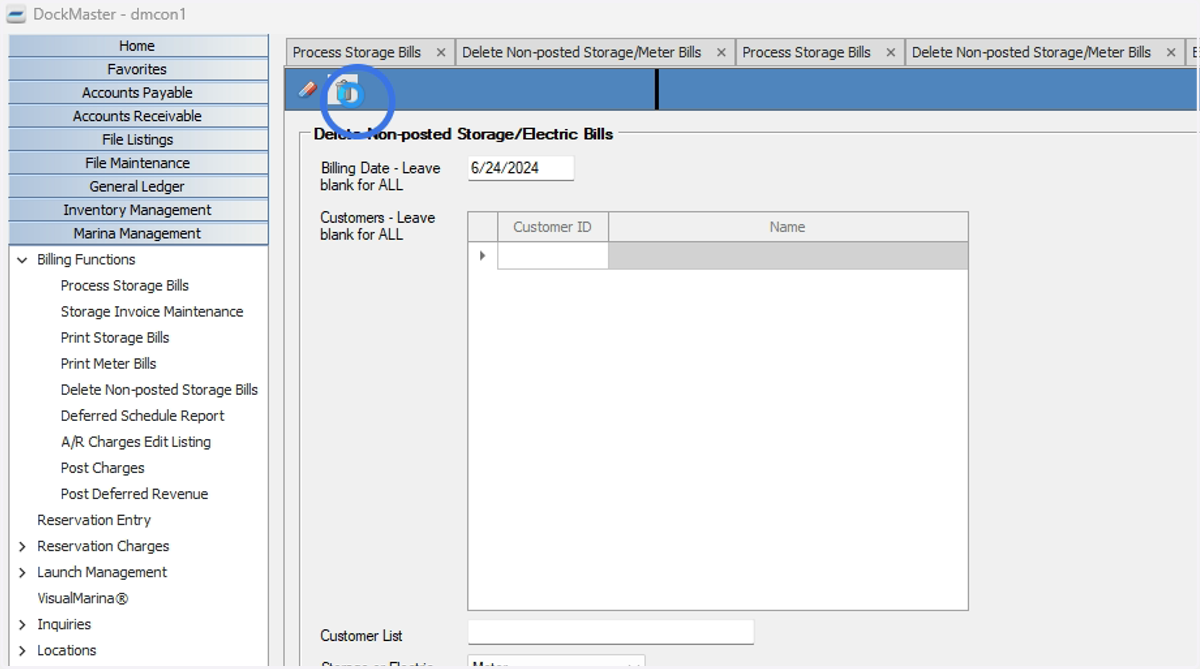
29. Select the trash can icon to delete the non-posted bills
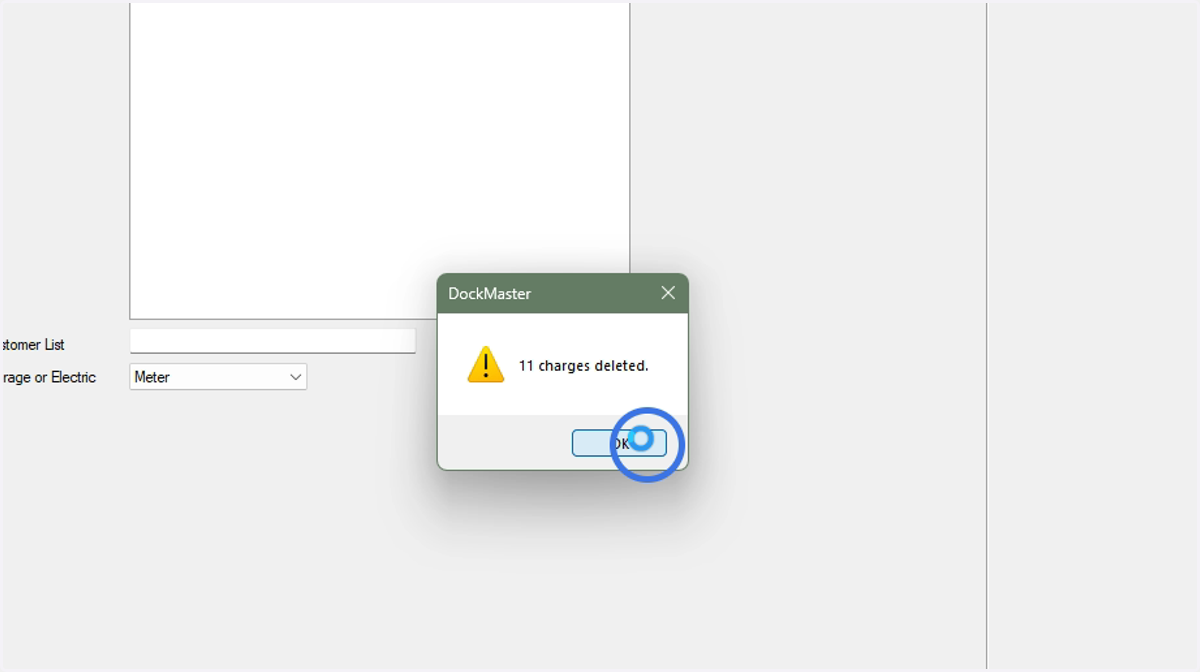
30. Click OK to complete the process