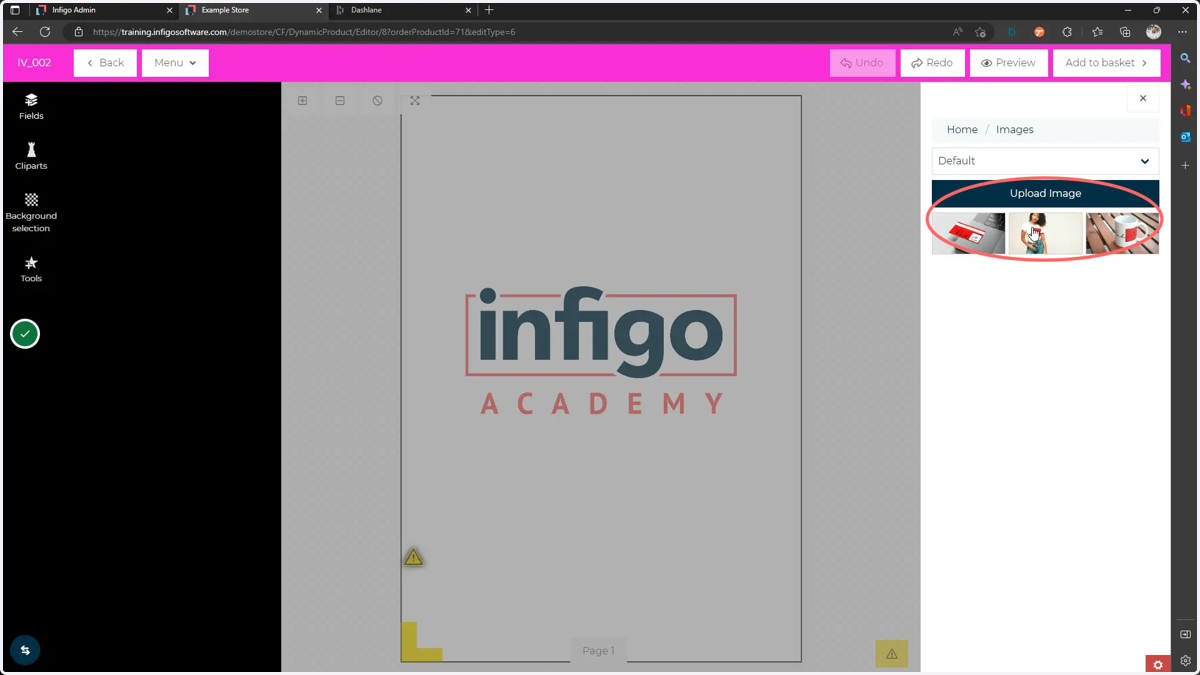
Image Variables & Clipart Resource Sets
In this tutorial, we will learn how to create variable image field linked to an image selector on your MegaEdit form.
We will begin by creating a Clipart Set resource containing several image options.
Next, we will create an Image variable and ink it to the Clipart set.
Finally, we will link the Image variable to an image frame within our artwork.
Some key terms of note:
Variables within Invent are used to create forms for your products. They can take the form of text, boolean (true/false), dropdown and more.
Resources are collections of assets that can be used to help create a MegaEdit product. There are several forms of assets available through Invent, including backgrounds, cliparts and fonts.
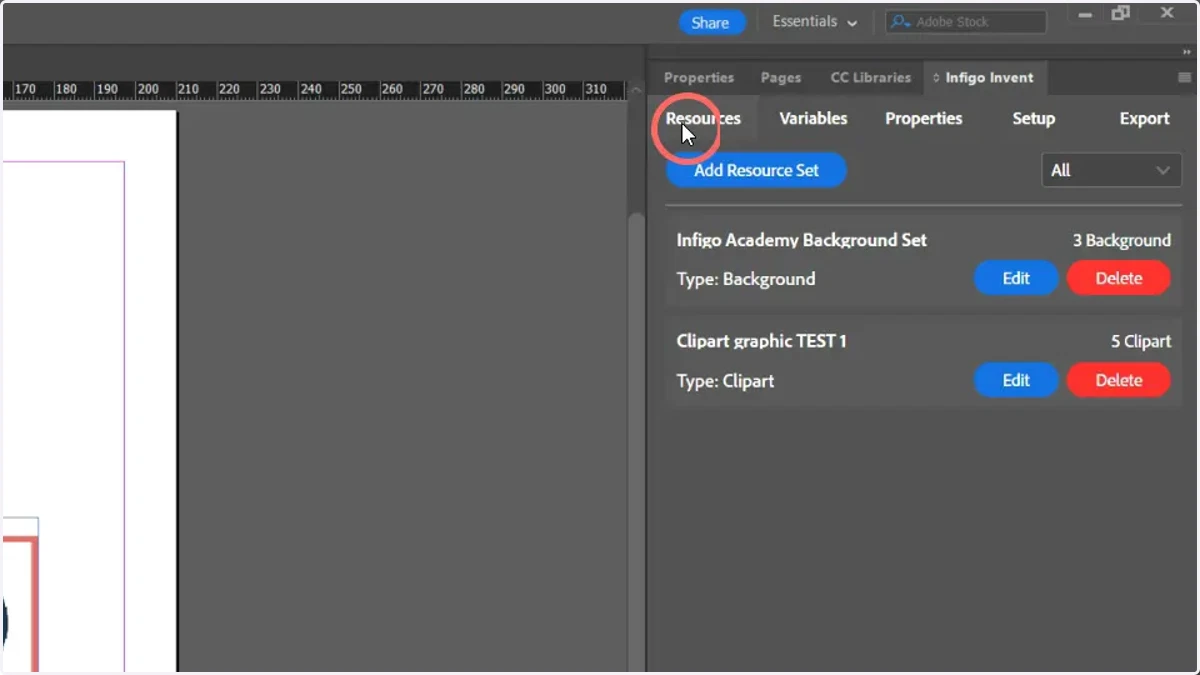
1. To begin, navigate to the Resources tab of the Invent plugin
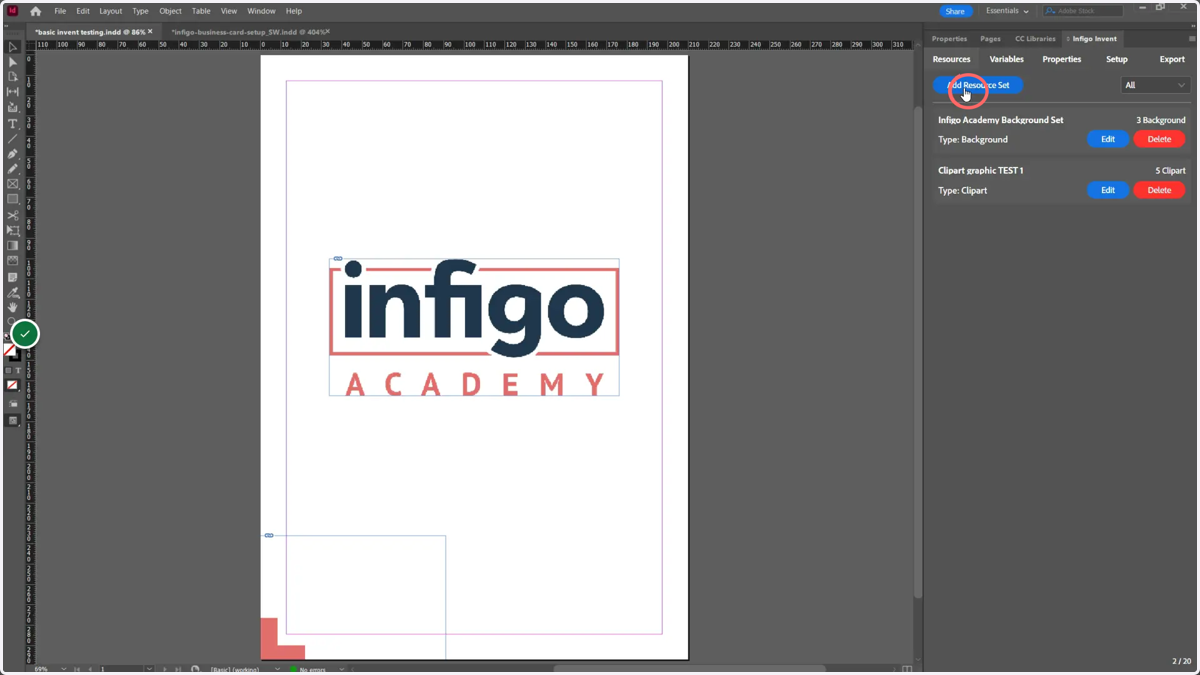
2. Click Add Resource Set
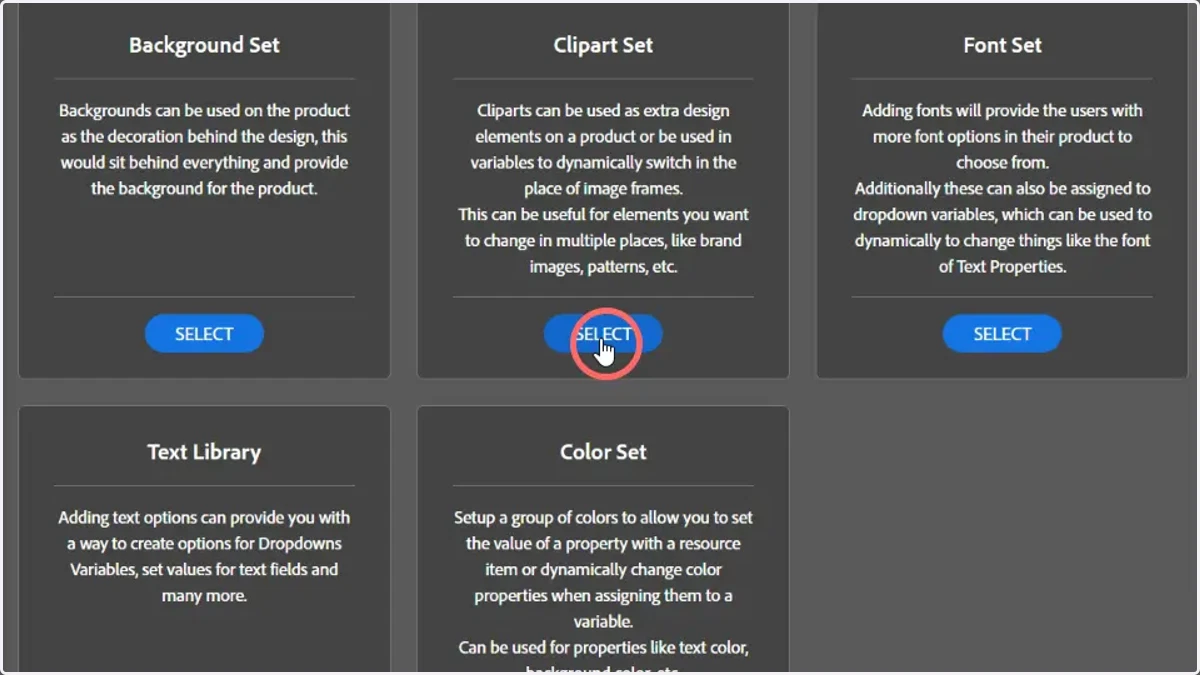
3. Click Clipart Set
Clipart Sets
Cliparts can be used as extra design elements on a product either as fixed assets on the design or as options for users to select from when personalising their MegaEdit product.
Creating a Clipart Set allows you to create a container to upload all the image files you want to make available. These then get created and included as a Clipart Category and Clipart's within it in Infigo once imported.
4. Enter a name for the Clipart Set
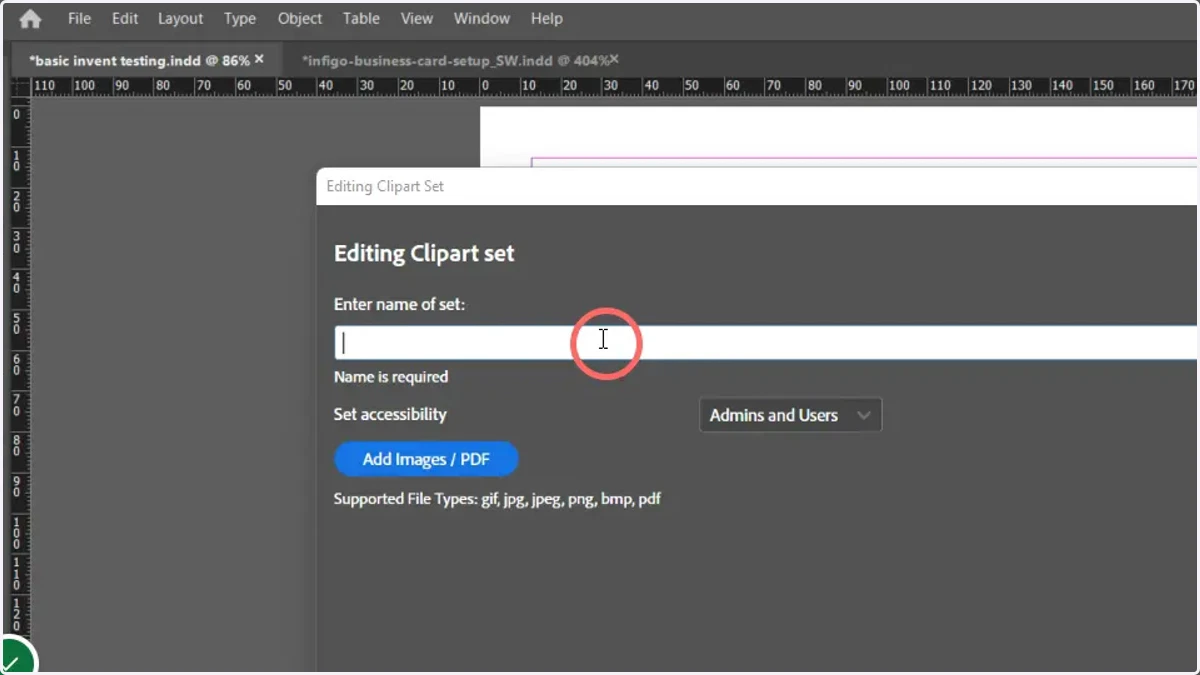
5. Select an accessibility level
You can make this resource set available to administrators only, or administrators and users.
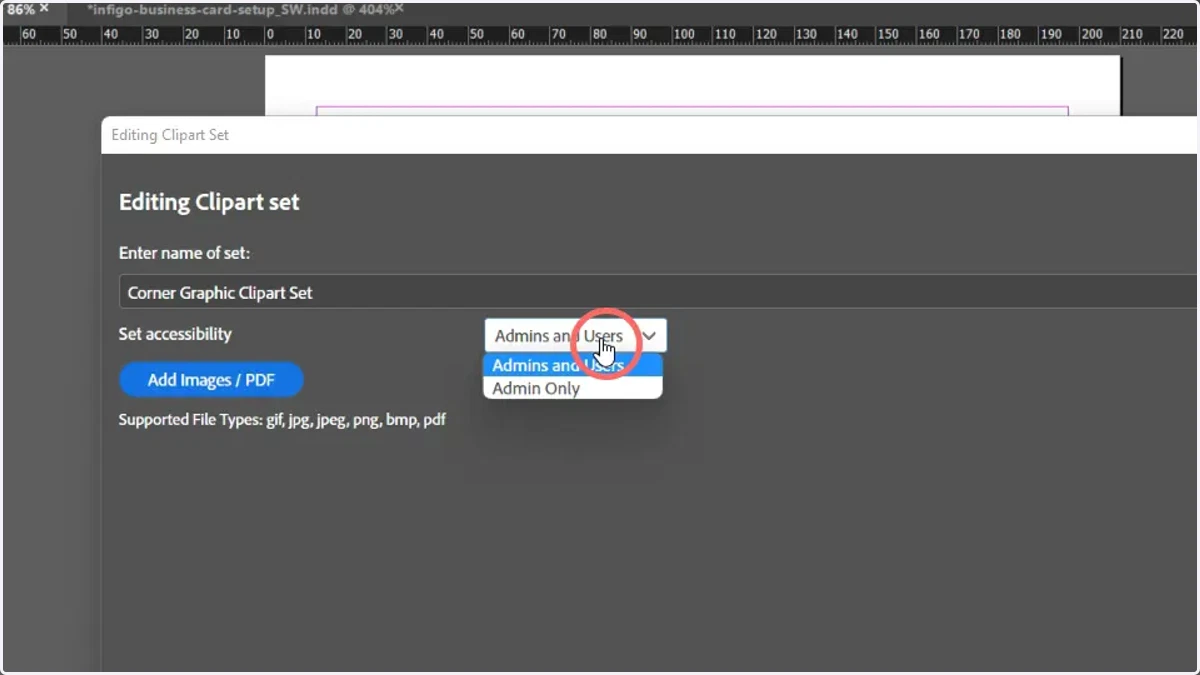
6. To add resources to your Clipart Set, click Add Images / PDF
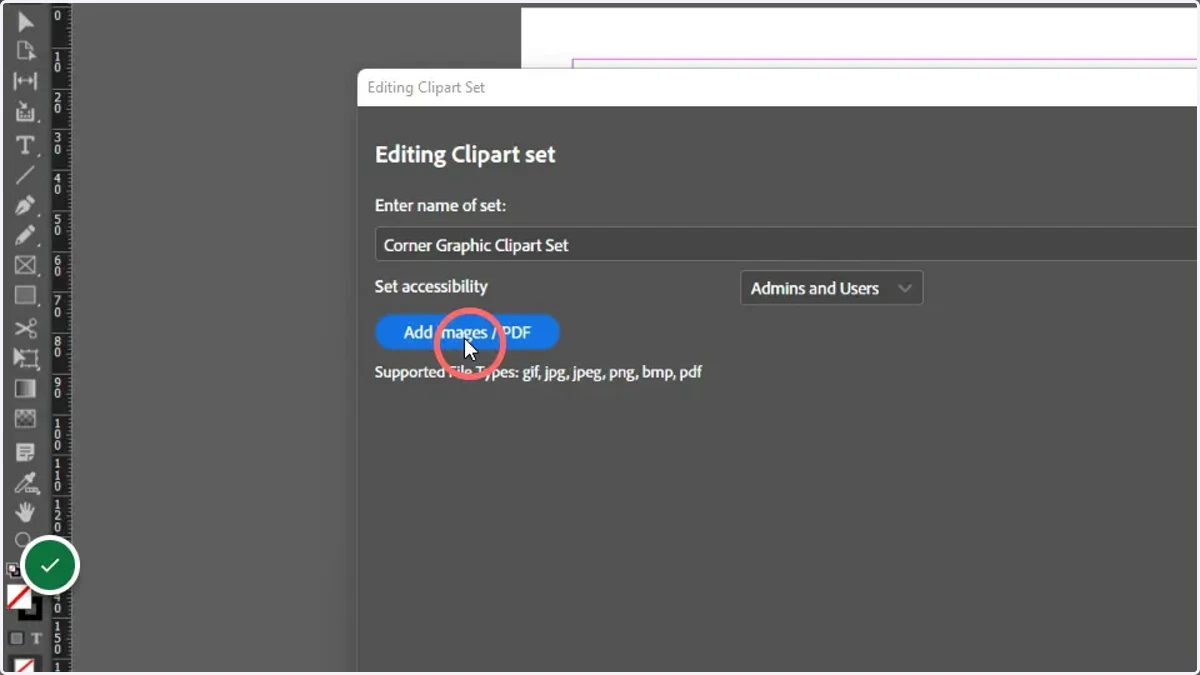
7. Select any resources you would like to add to the Clipart Set
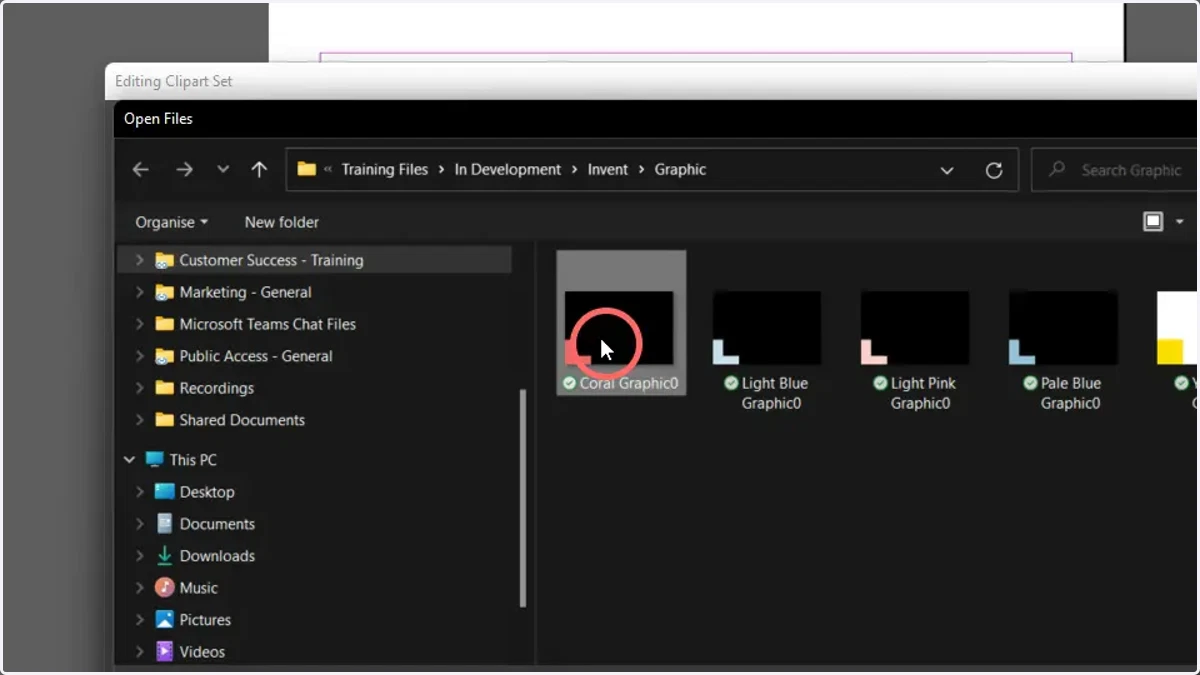
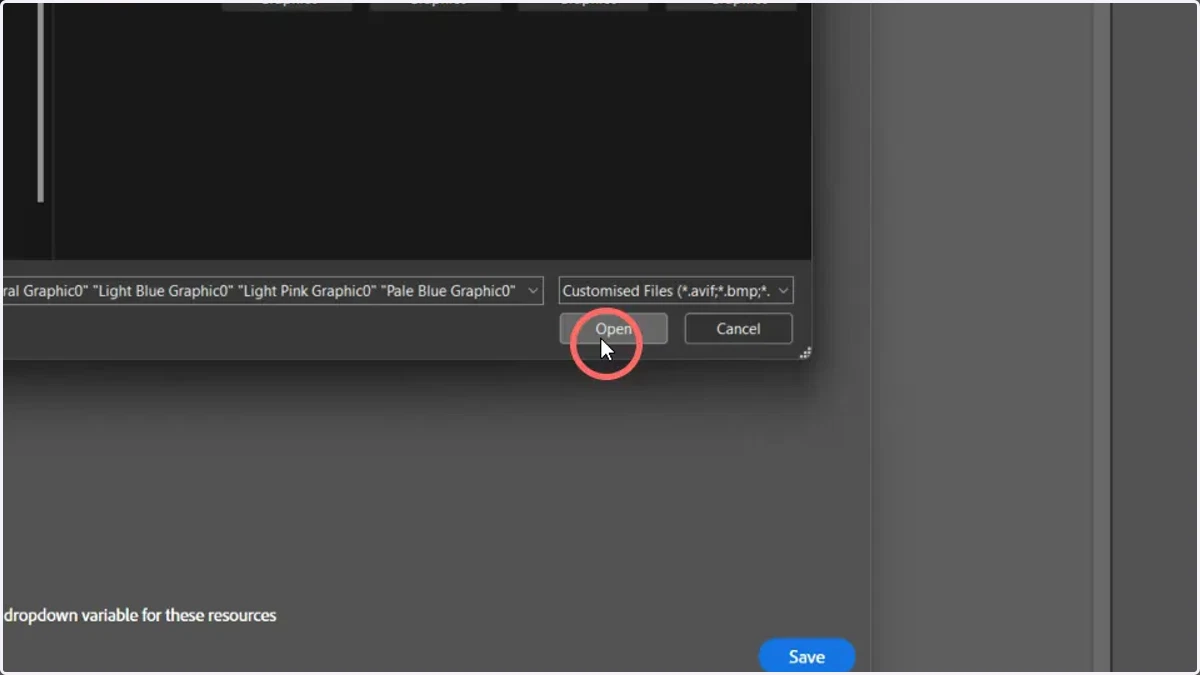
8. Click Open
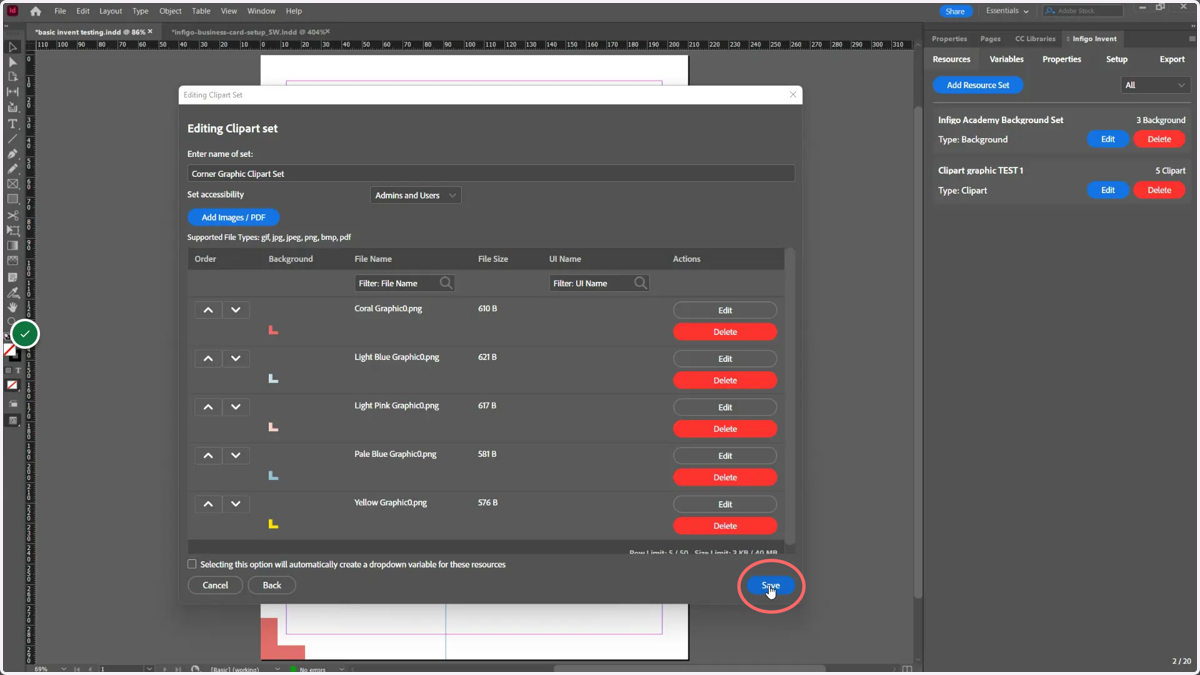
9. Click Save to confirm the Clipart Set
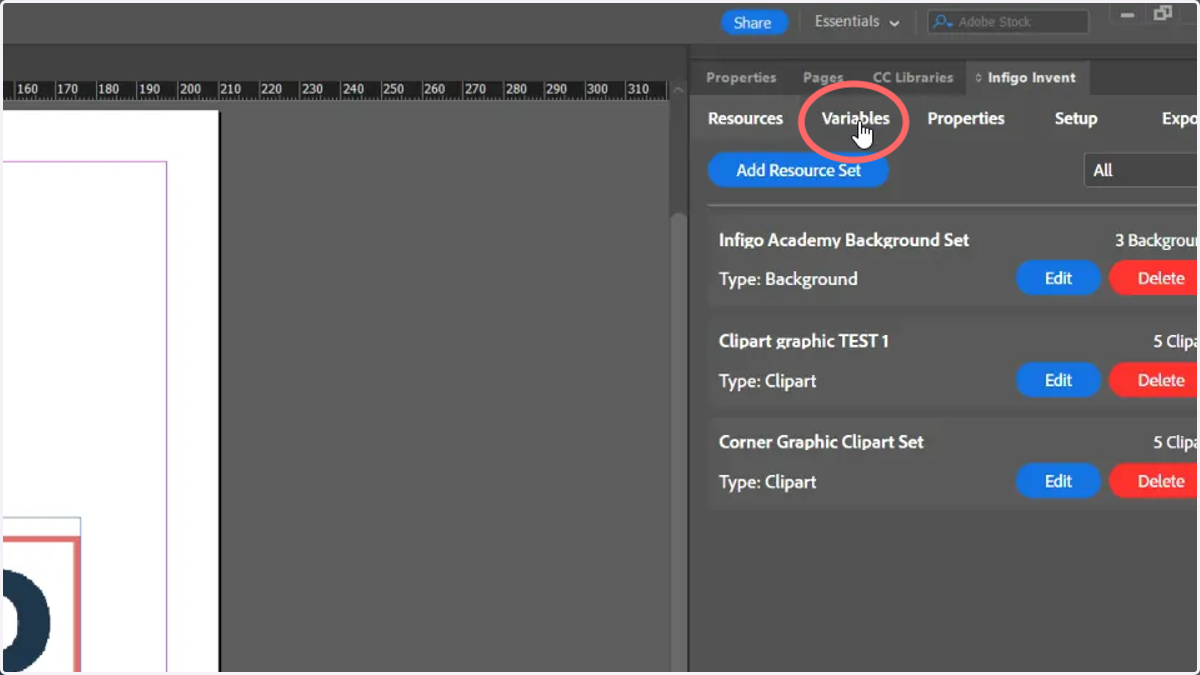
10. Click Variables
adobe
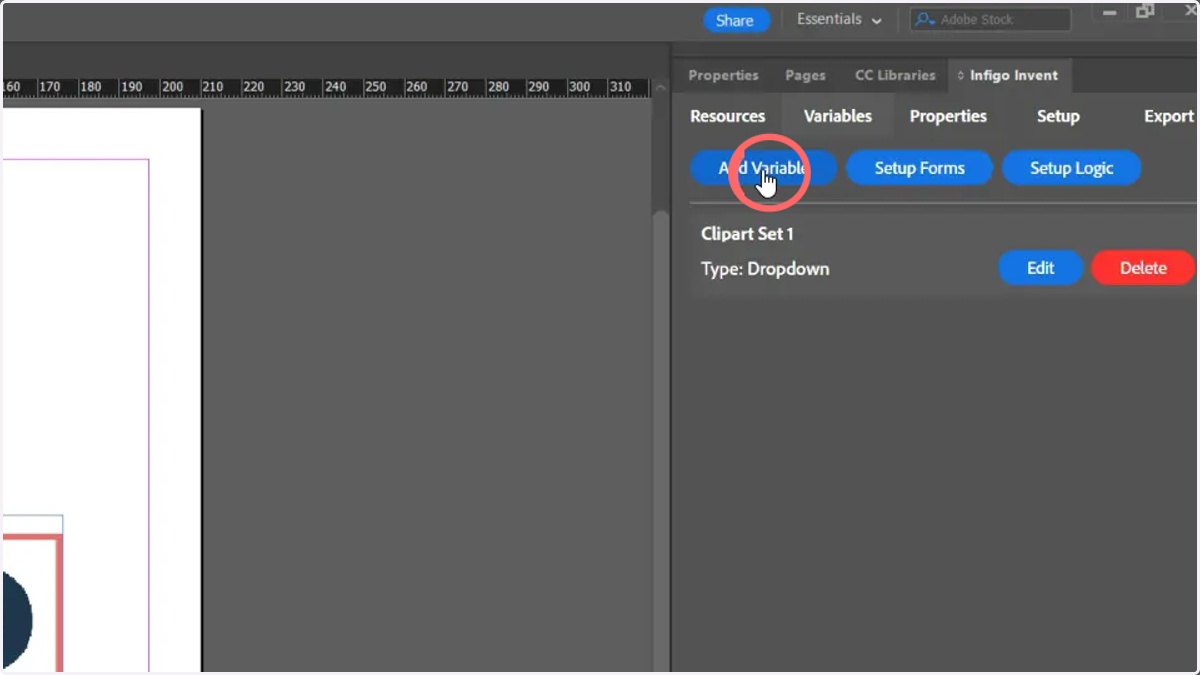
11. Click Add Variable
12. Click Image Variable
Image variables allow users to define a selected image via a form entry in MegaEdit.
The image selection can be configured to allow:
User upload of images
Existing resources in MegaEdit (such as Image albums)
Clipart Sets
Etc
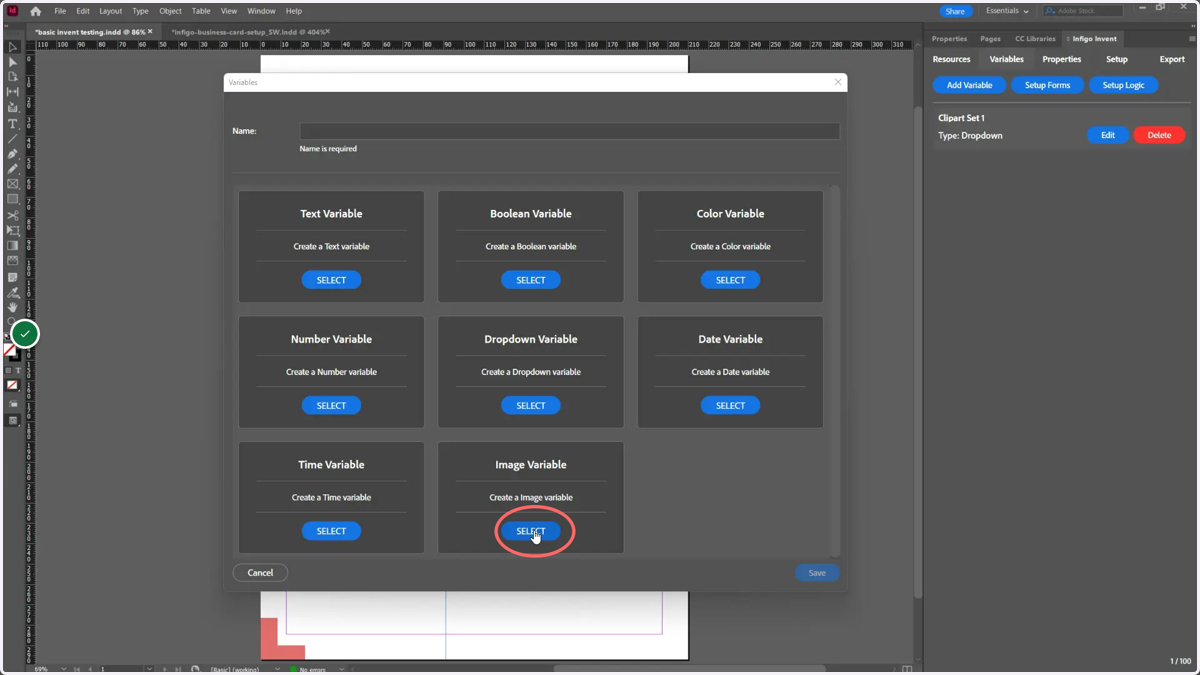
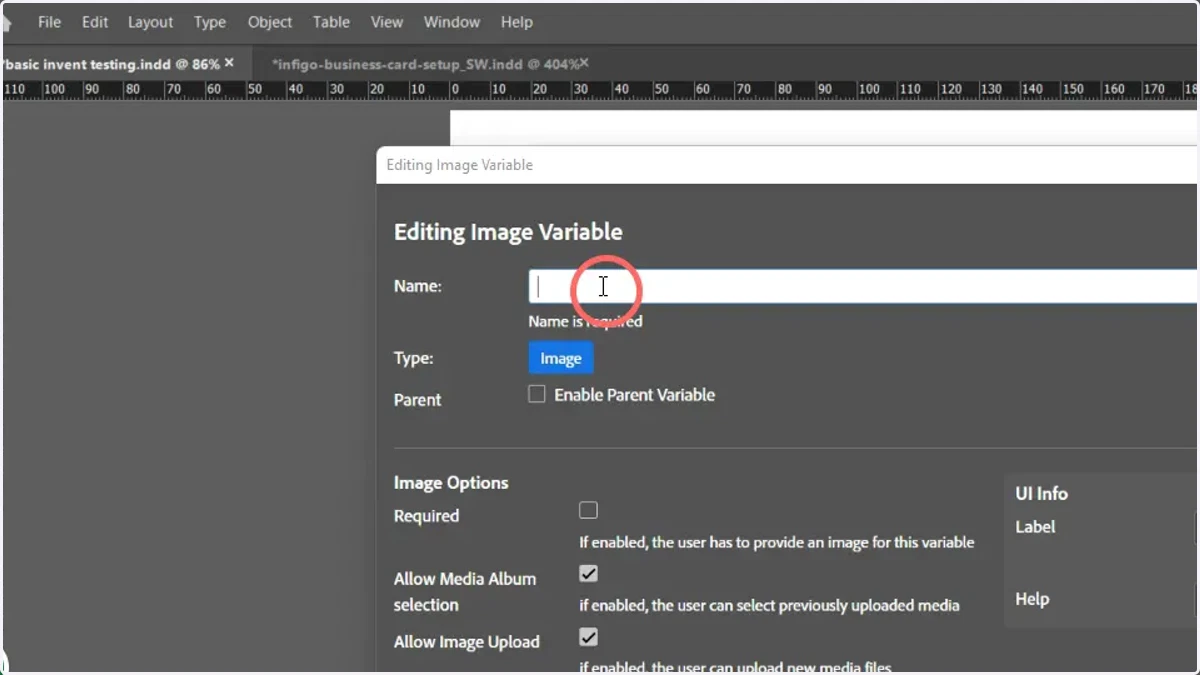
13. Enter a variable name
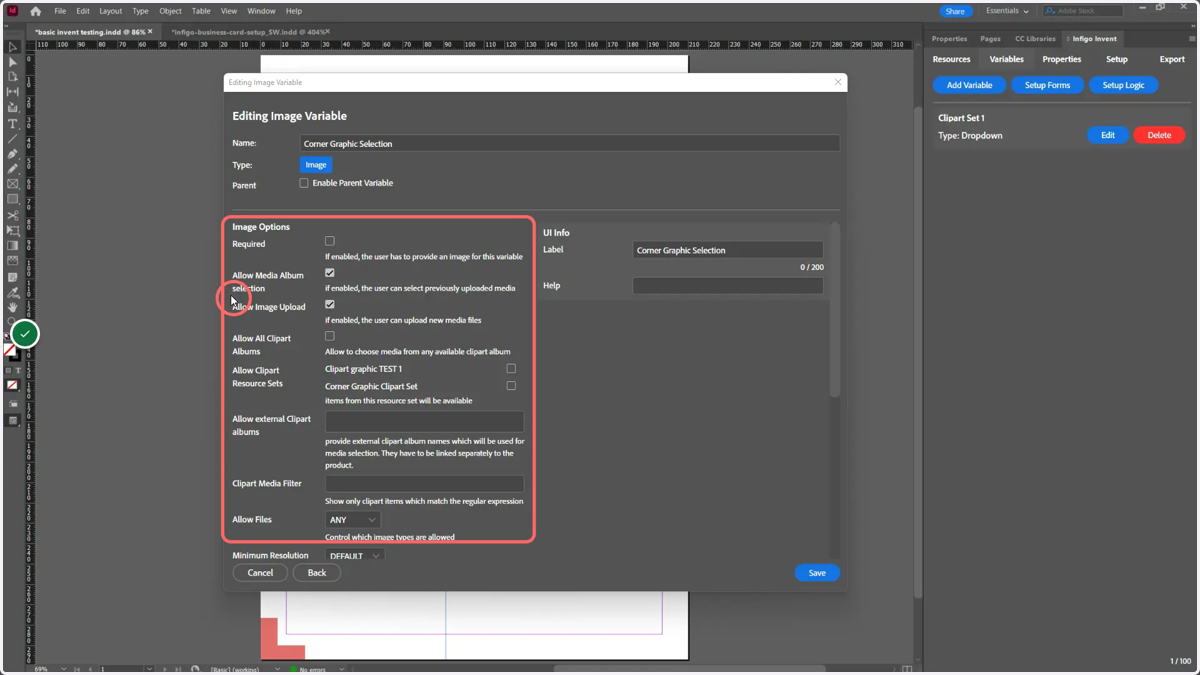
14. Specify Image Options to control images available for selection by the user
The selected options show some of the available functionality for controlling image use via this variable. Explanations for a few of these options follow:
Required - Choosing an image is mandatory
Allow Media Album Selection - If enabled, the user can select previously uploaded media within MegaEdit, not just media linked to this template.
Allow Image Upload - If enabled, users can upload new media files from this form entry.
Allow All Clipart Albums - Select media from any of the clipart albums available in the users MegaEdit configuration.
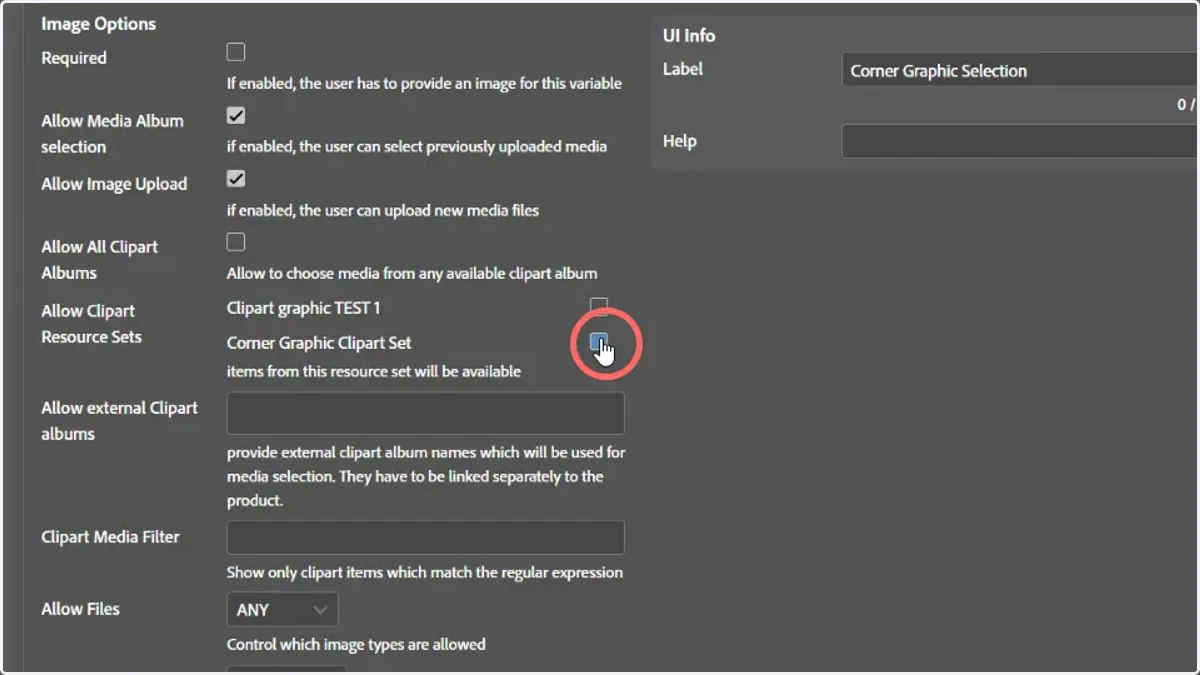
Allow Clipart Resource Sets - Allows you to select resource sets specified within this Invent template. Selecting one Resource Set will give access to all resources within that set.
15. Select the Clipart Set we added earlier in this tutorial
Allow Image Upload and Allow Media Album Selection have both been left enabled in this example so their functionality can be demonstrated later.
16. Review Transformation options
Enable or disable different transformation options, controlling how end users can interact with this element.
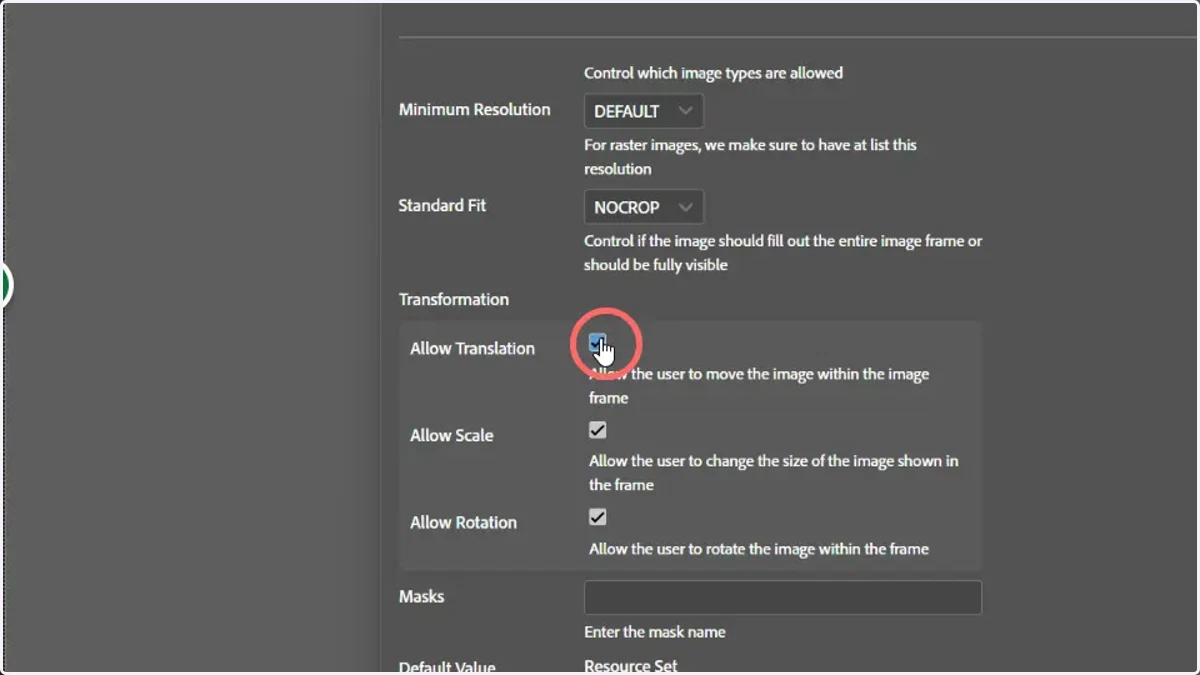
17. Select default resources
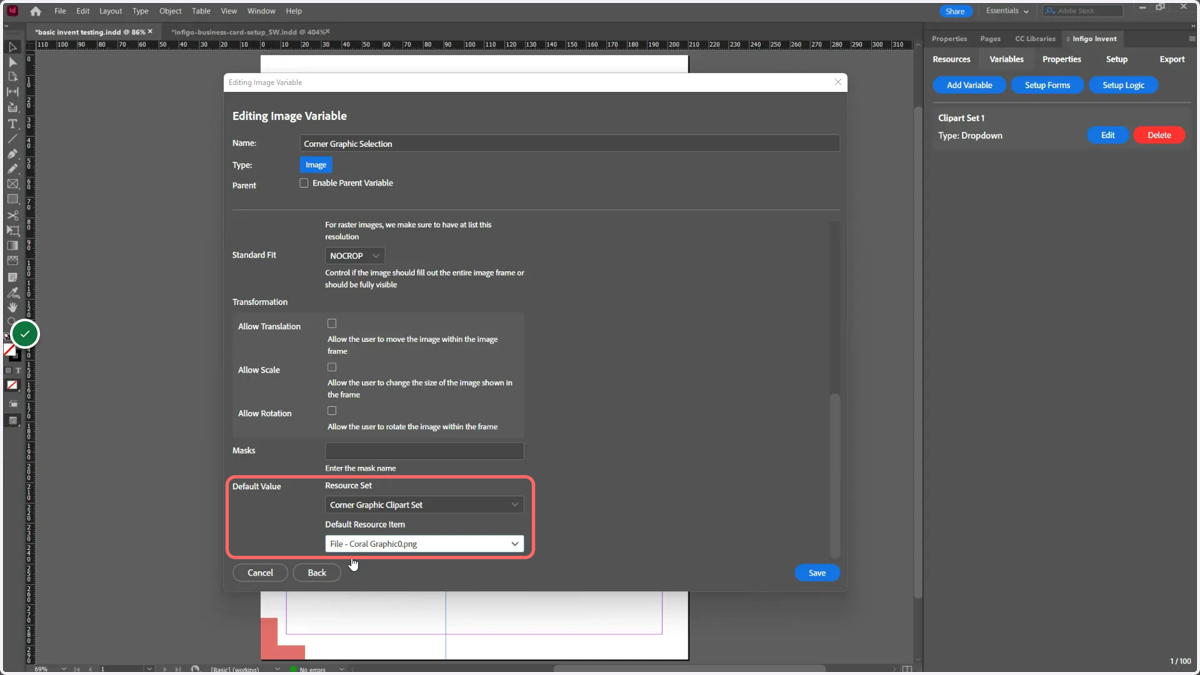
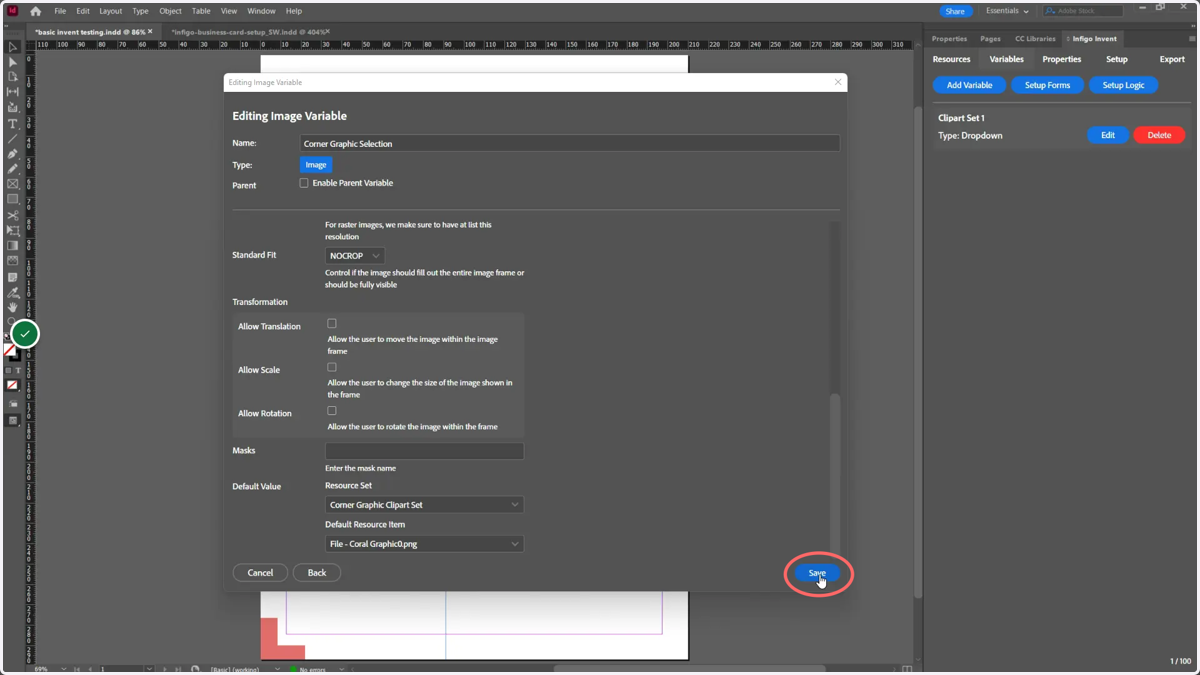
18. Click Save
19. Select an image field on your canvas
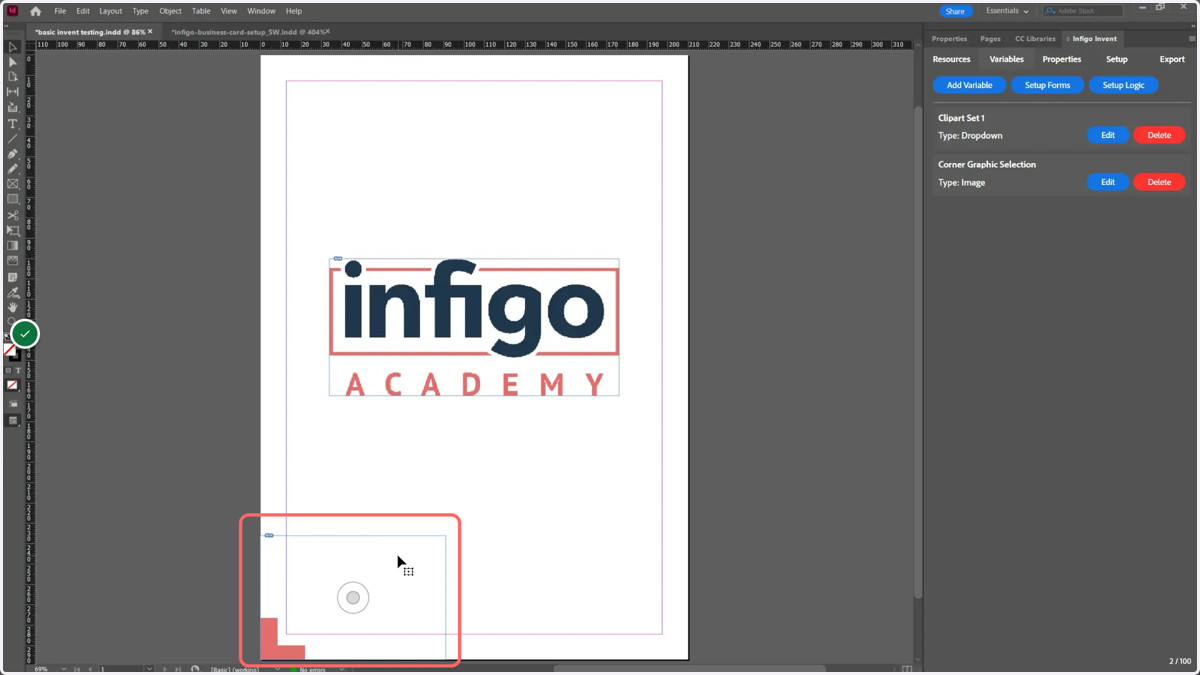
20. Click Properties and Enable the image field
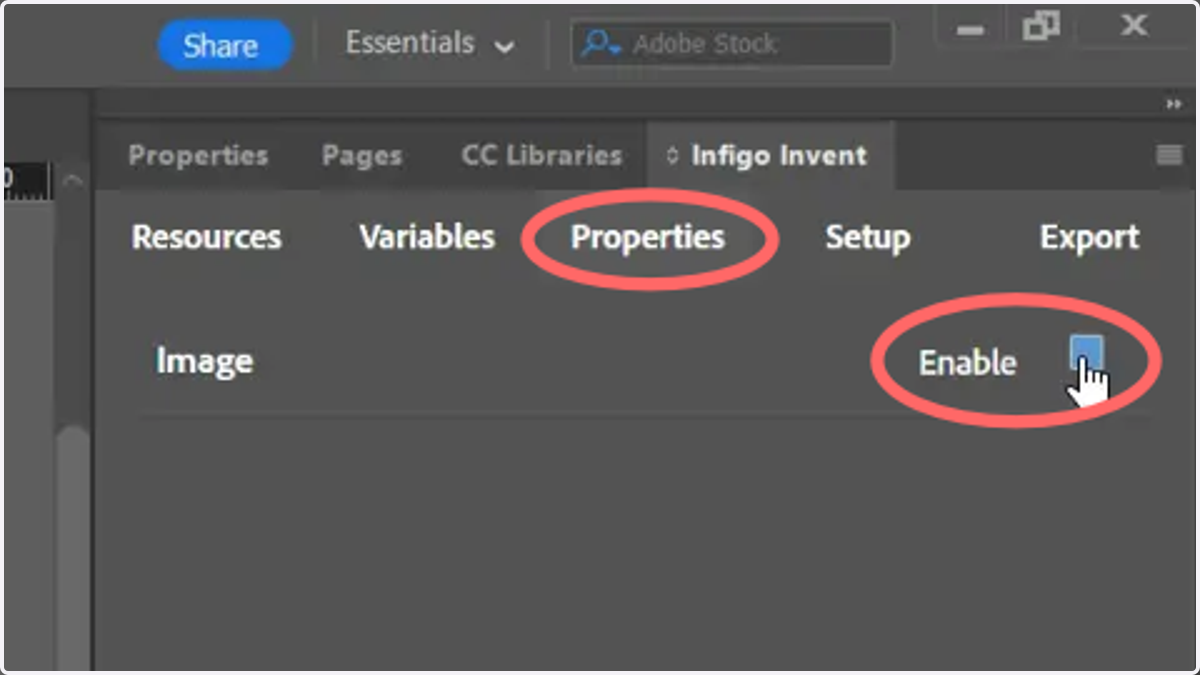
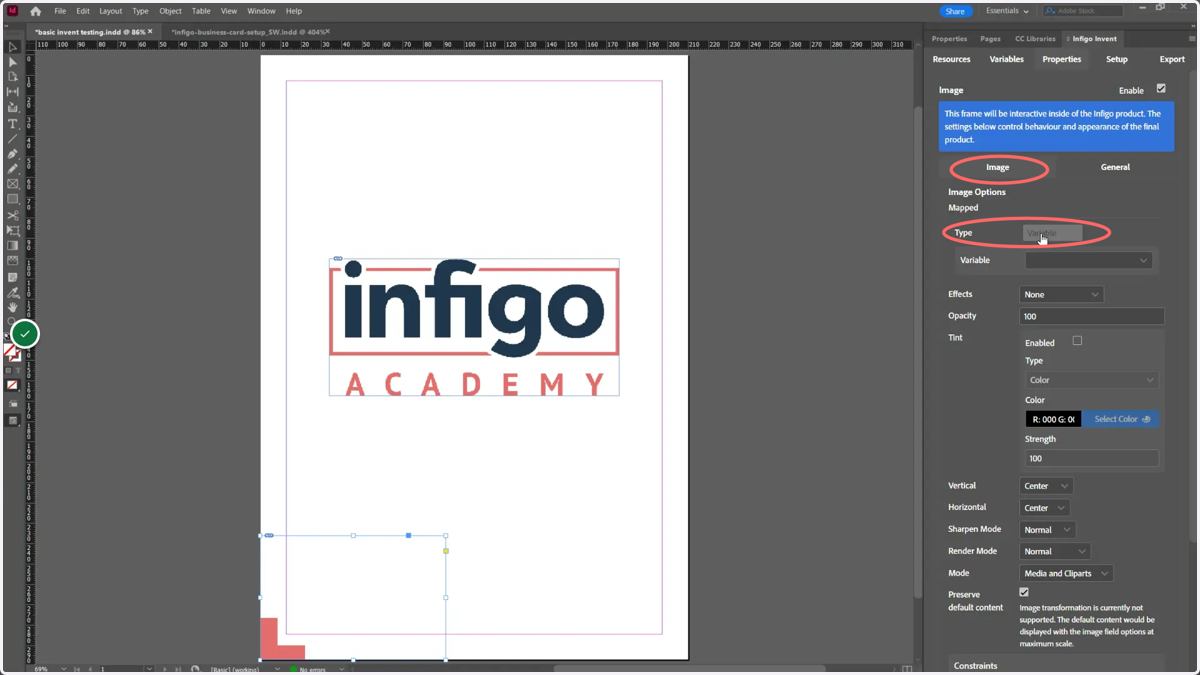
21. Click Image and select a Variable type
Options will appear allowing you to customise Image settings and General settings.
Image settings allows modifications to be made or enabled/disabled in the selected image (covered more in this tutorial).
General settings covers modification of the image background, as well as additional restrictions such as disabling field deletion and configuring transformation commands.
In order to dynamically change the image from our MegaEdit editor, we need to map the image field to either a specified variable or a specific resource set.
In our example, we will link to our created Image variable. Begin by selecting Variable from the Type dropdown list.
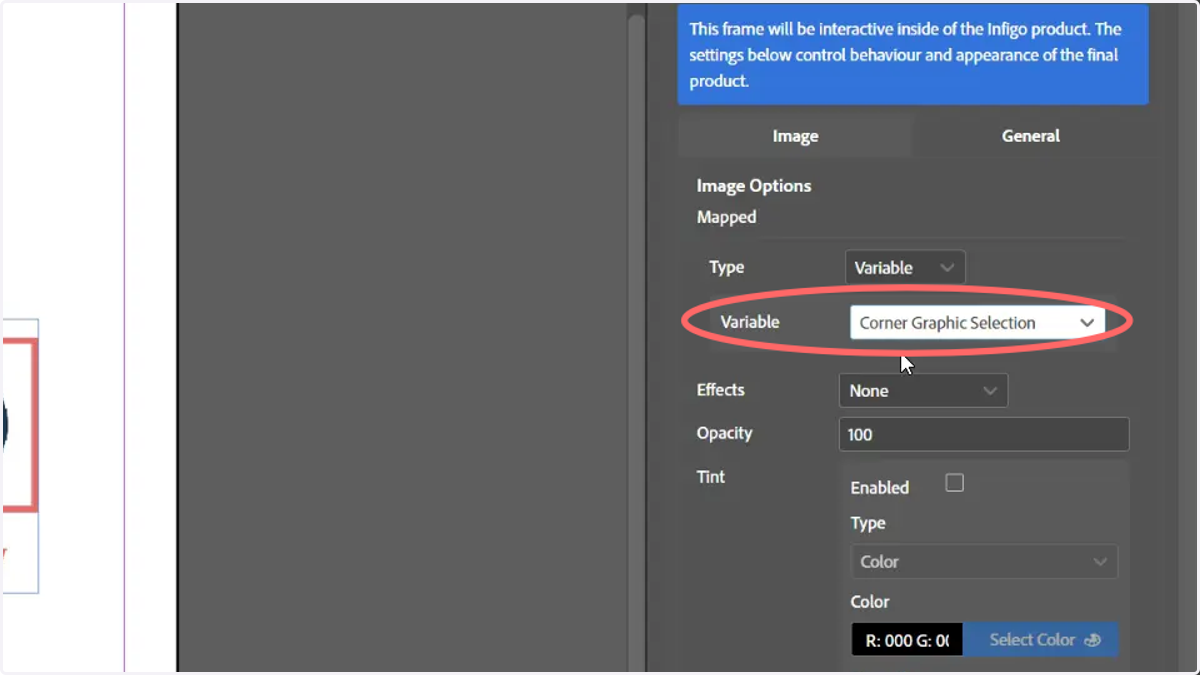
22. Select the variable to link to this image field
With Type Variable selected, a new field appears named Variable. From here, you can select between available variables in this Invent template.
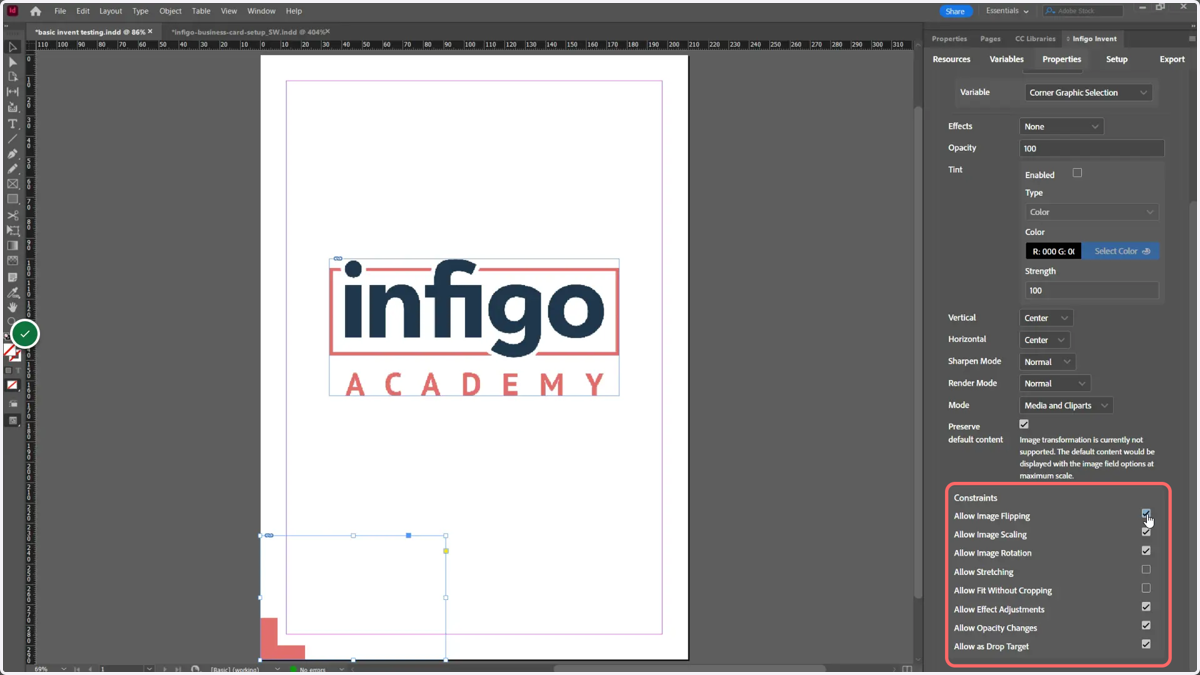
23. Review and amend the Constraints
Constraint options allow you to select the level of modification a user has over the selected image field.
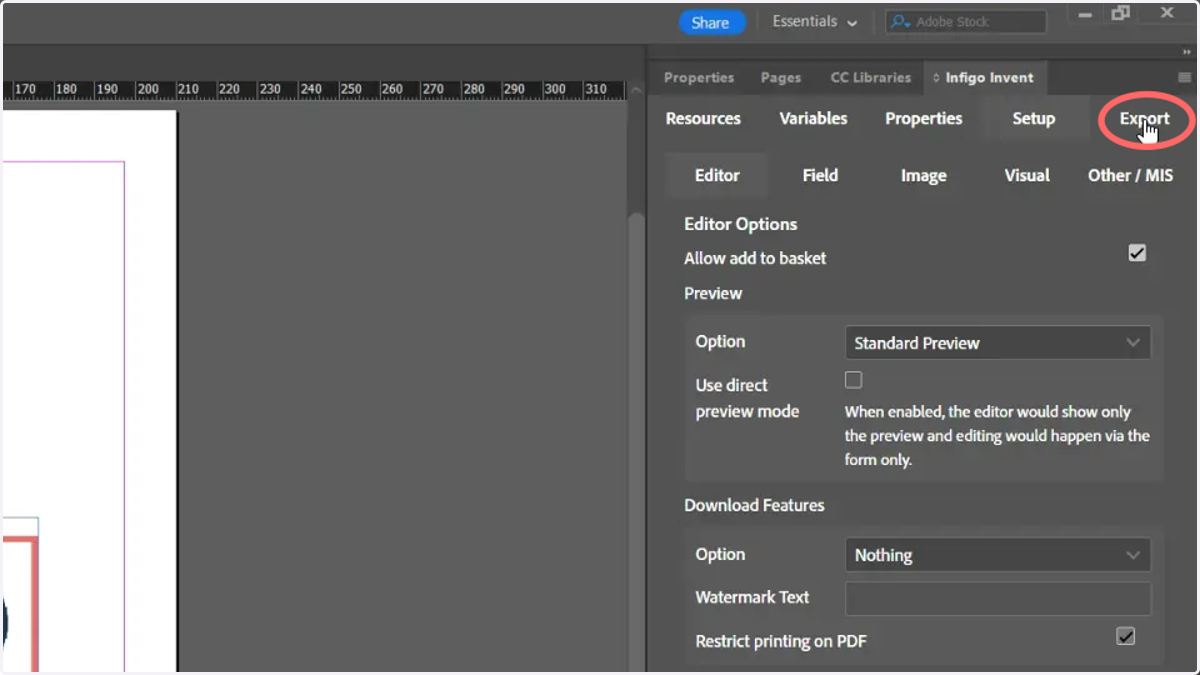
24. Click Export
This option will allow you to export the MEX file for use as an Invent template in MegaEdit.
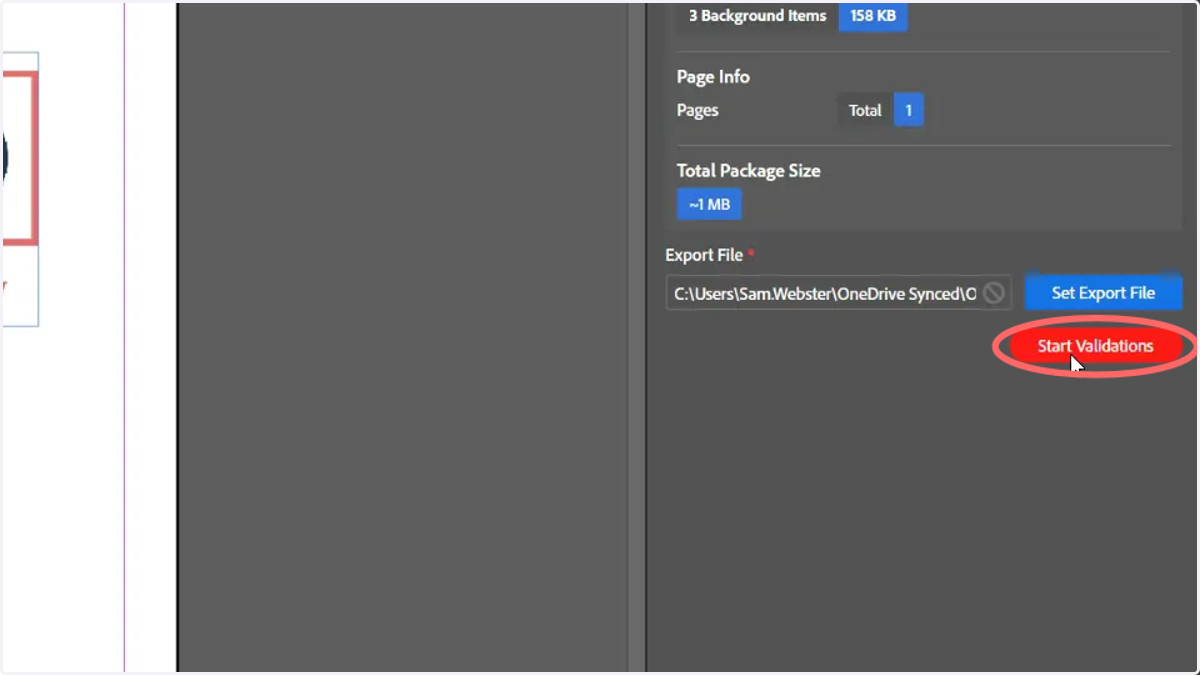
25. Click Start Validations and resolve any issues
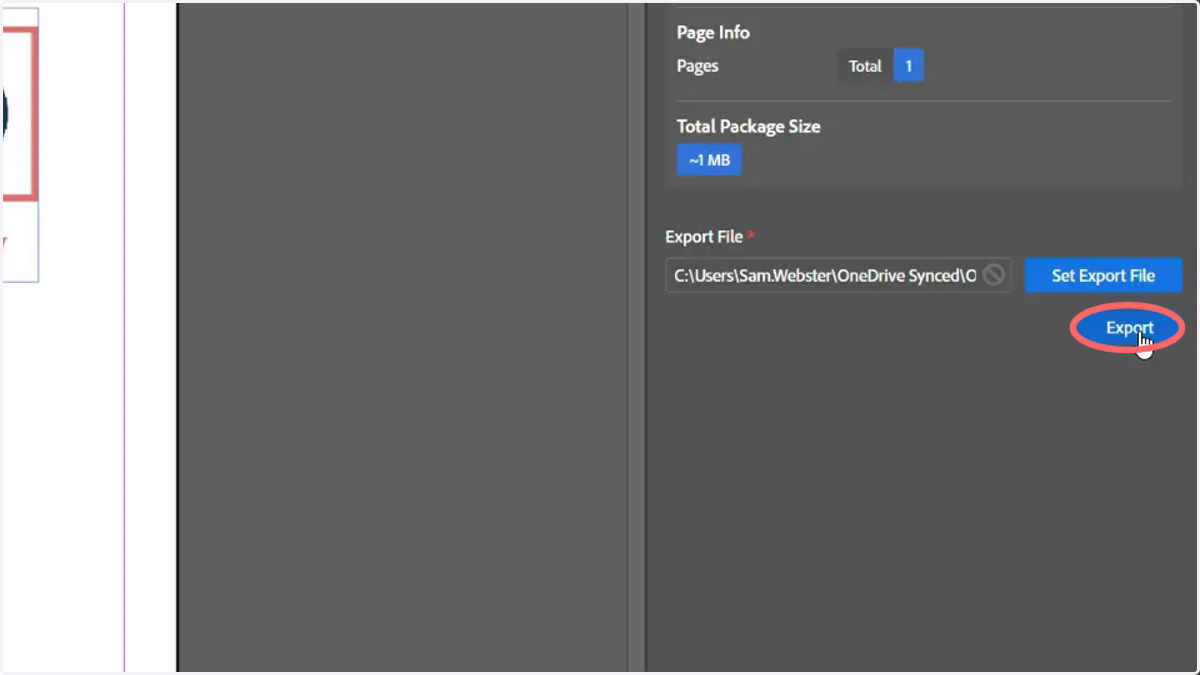
26. Click Export
27. Navigate to the configuration options of your MegaEdit product
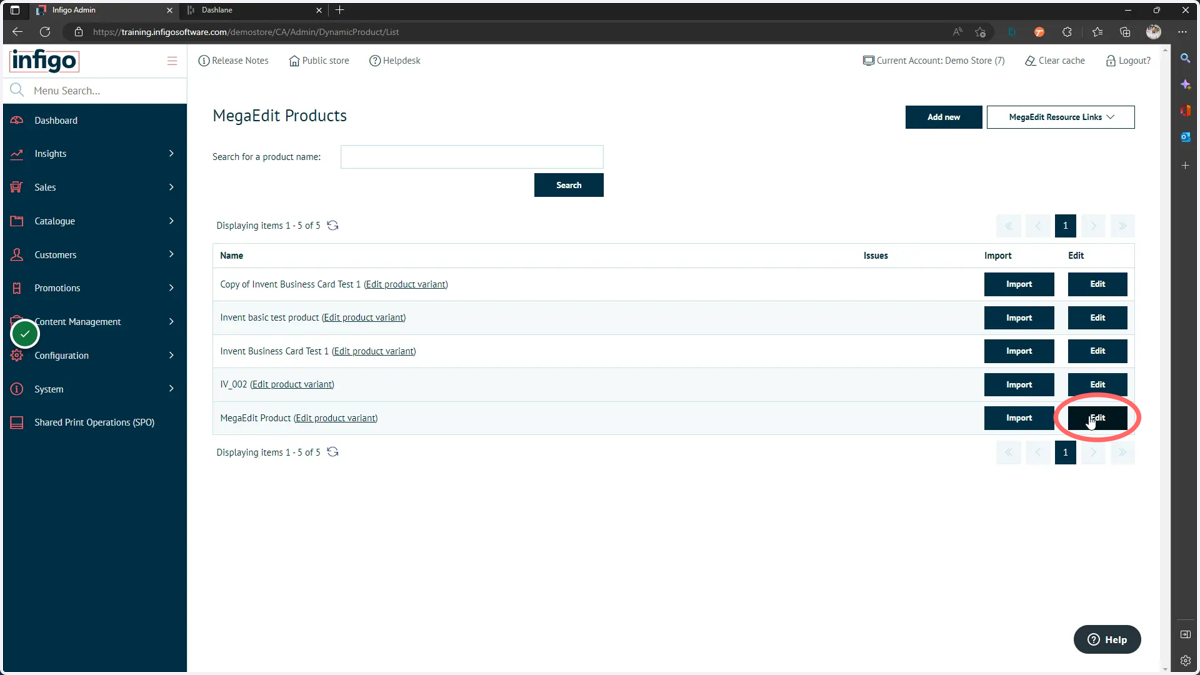
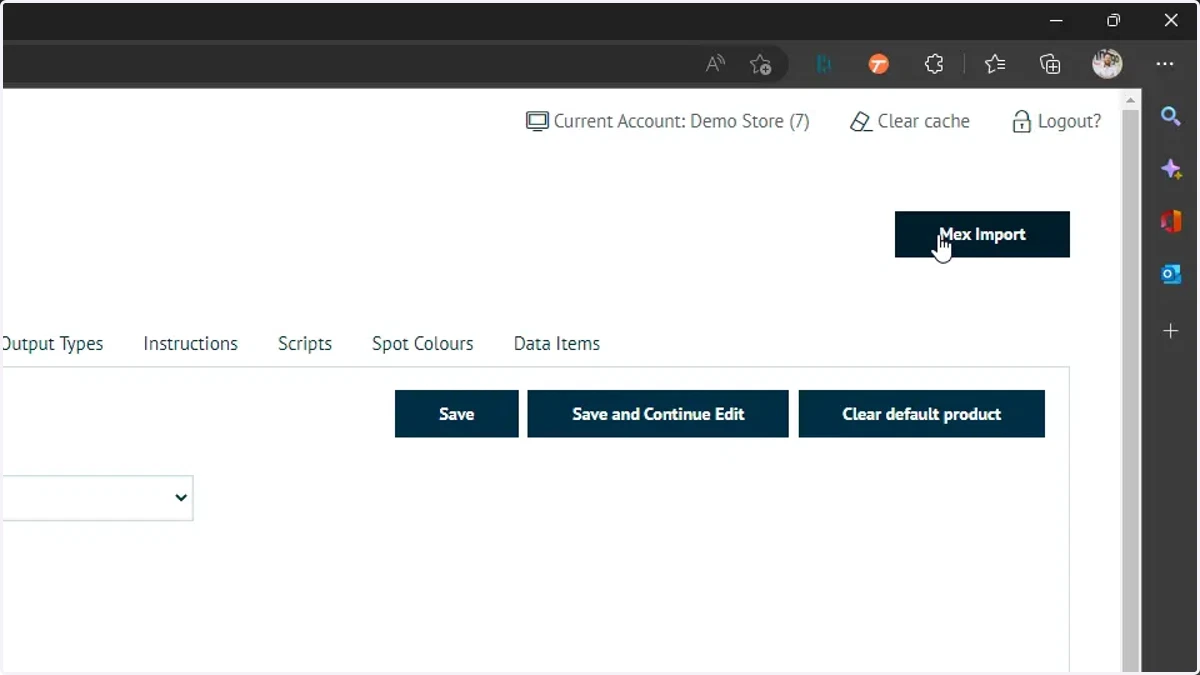
28. Click Mex Import to update or add your Invent template
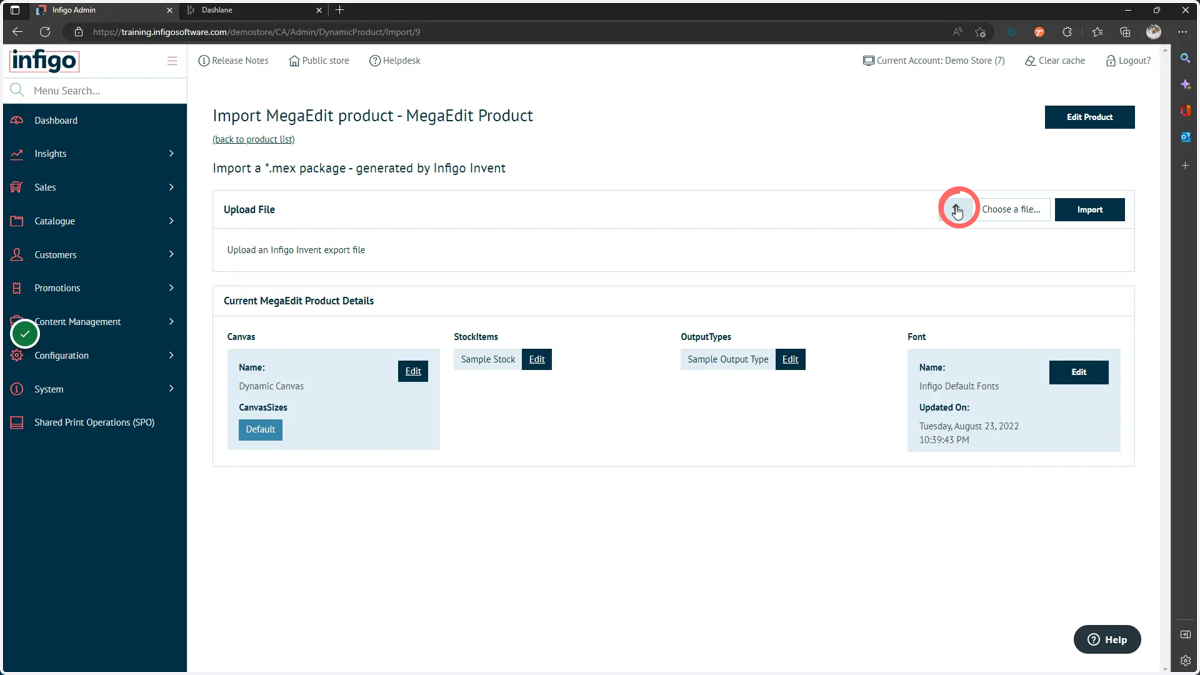
29. Click the upload icon
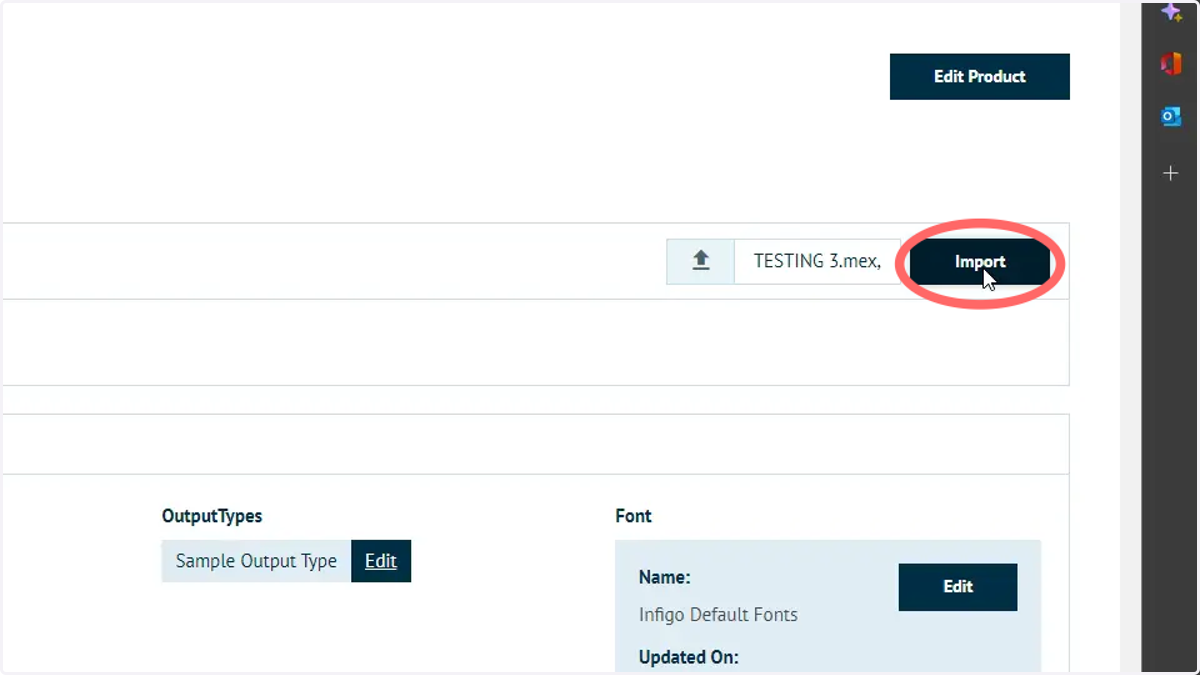
30. Click Import
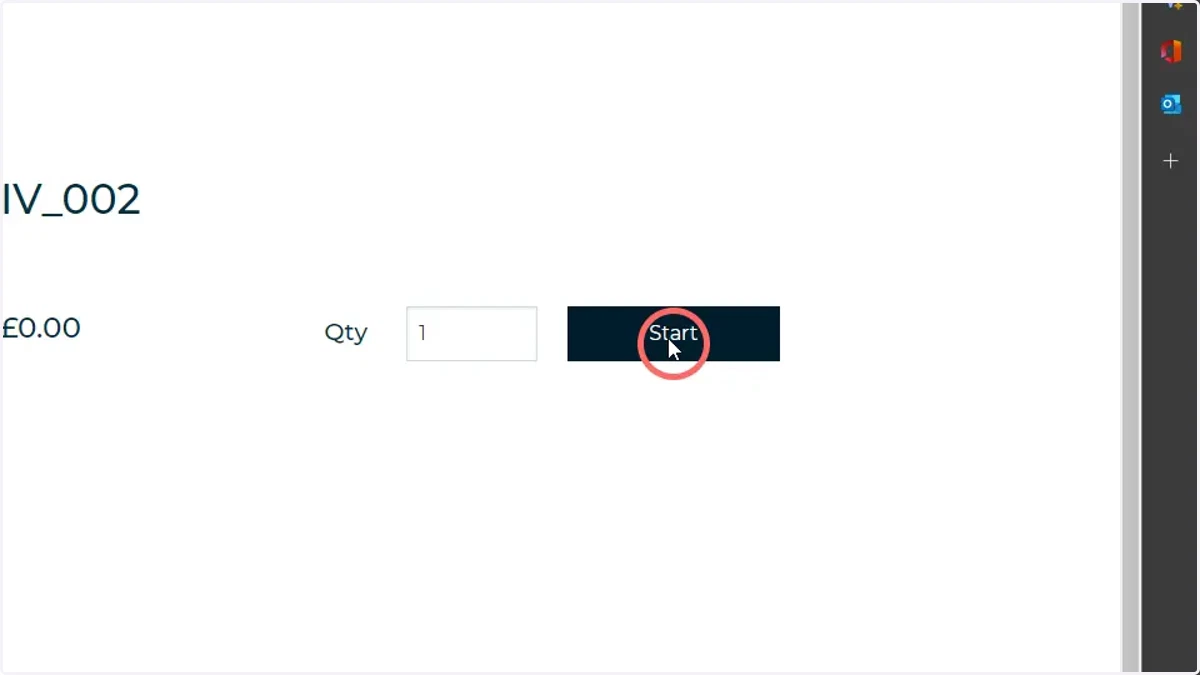
31. Launch your MegaEdit product
32. The Image variable will be shown on the form to the right of your screen
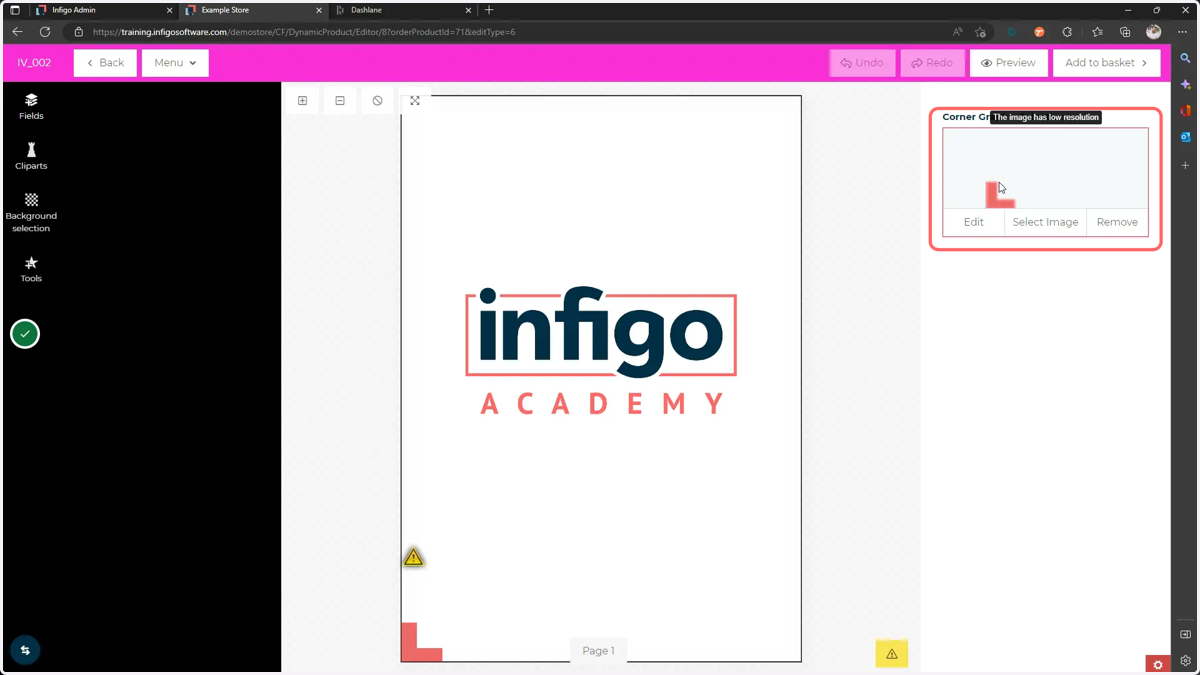
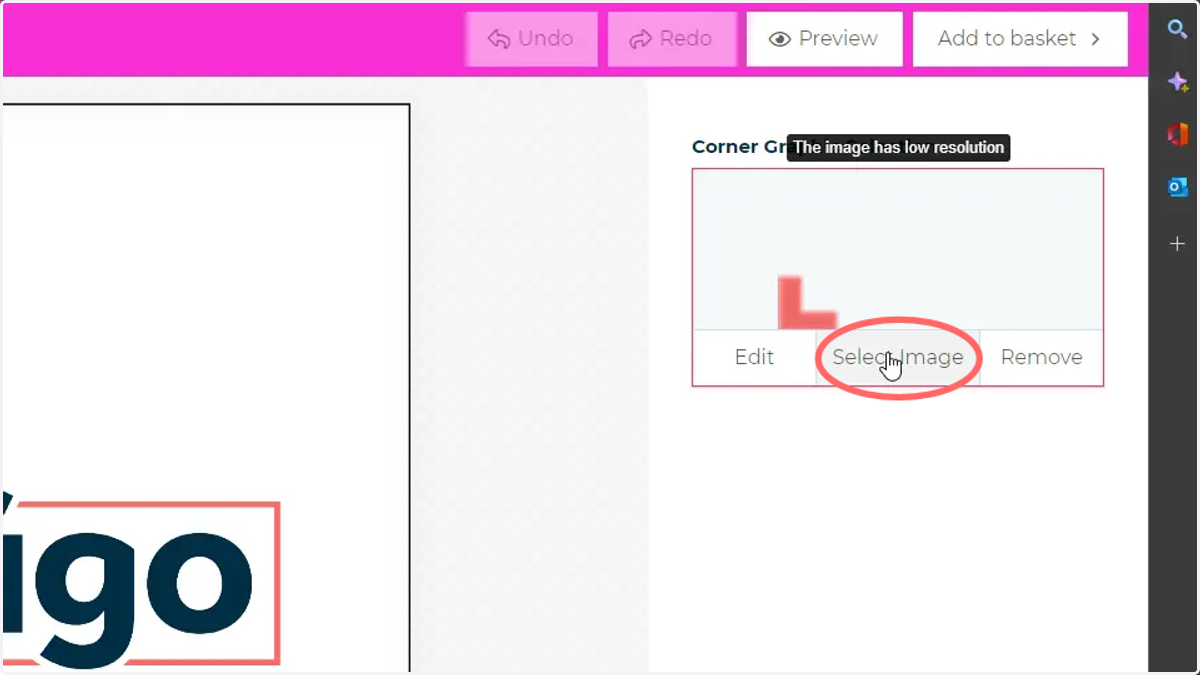
33. To select between Clipart Set resources, click Select Image then Cliparts
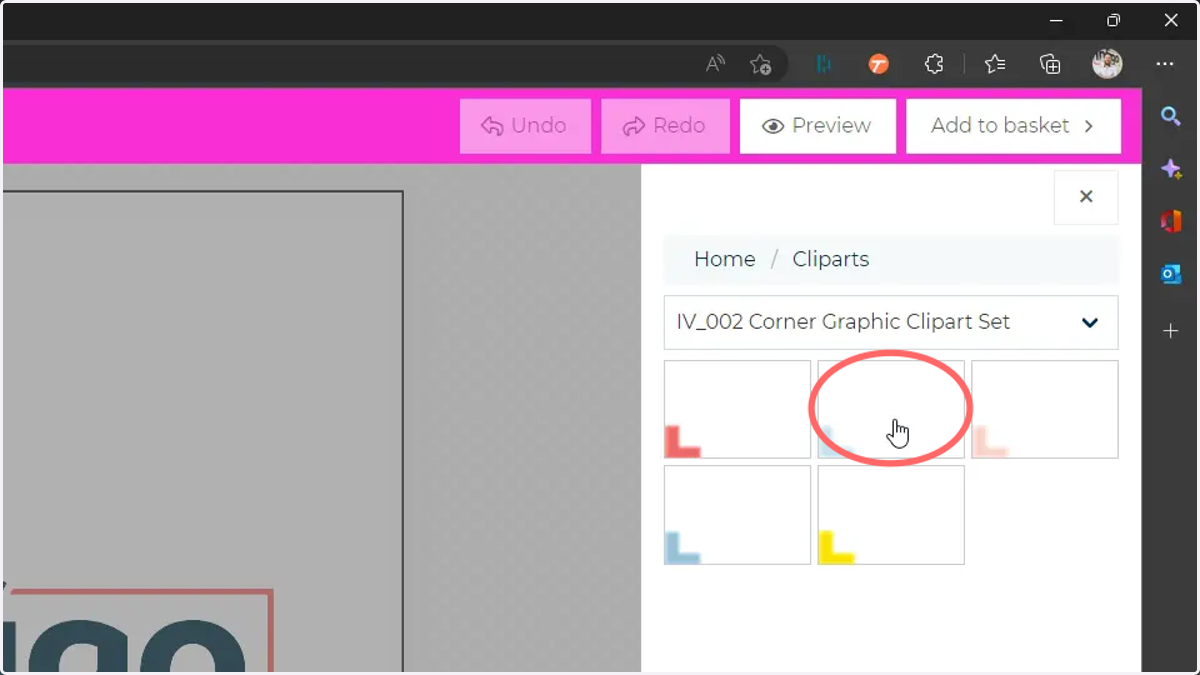
34. Select your Clipart Set for the ability to switch between available imagery
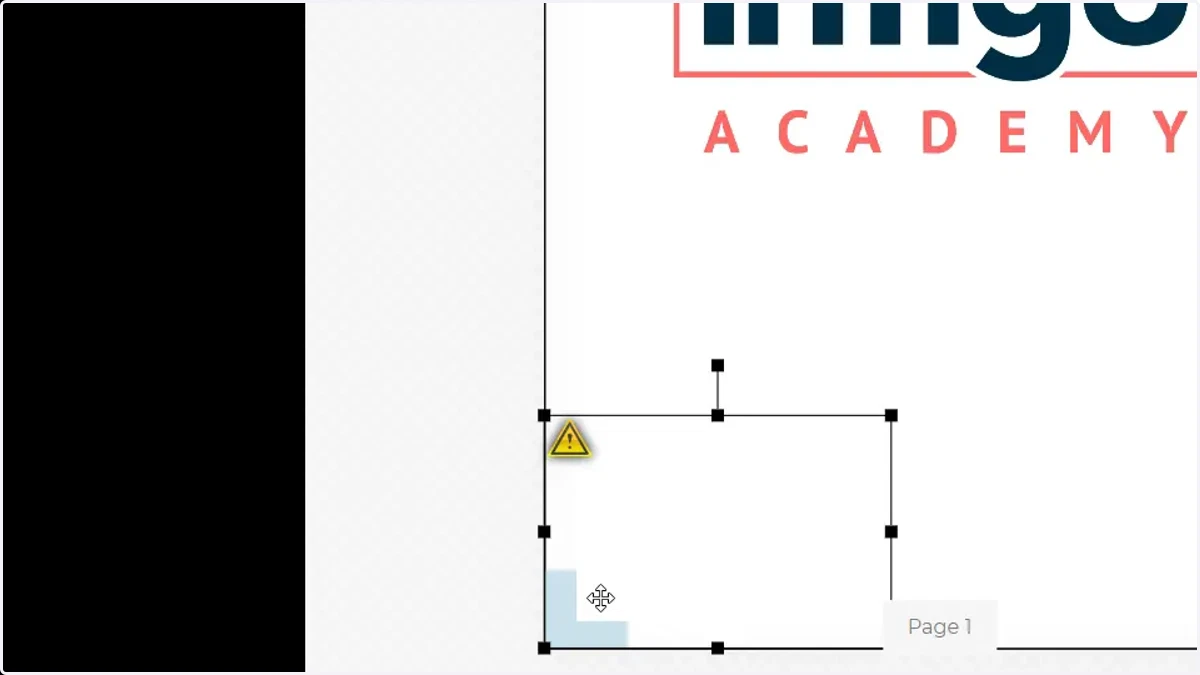
35. The linked image frame will update
36. To select from image albums or to upload an image, click Select Image then Images
Your product setup will need to be configured to accept these options.
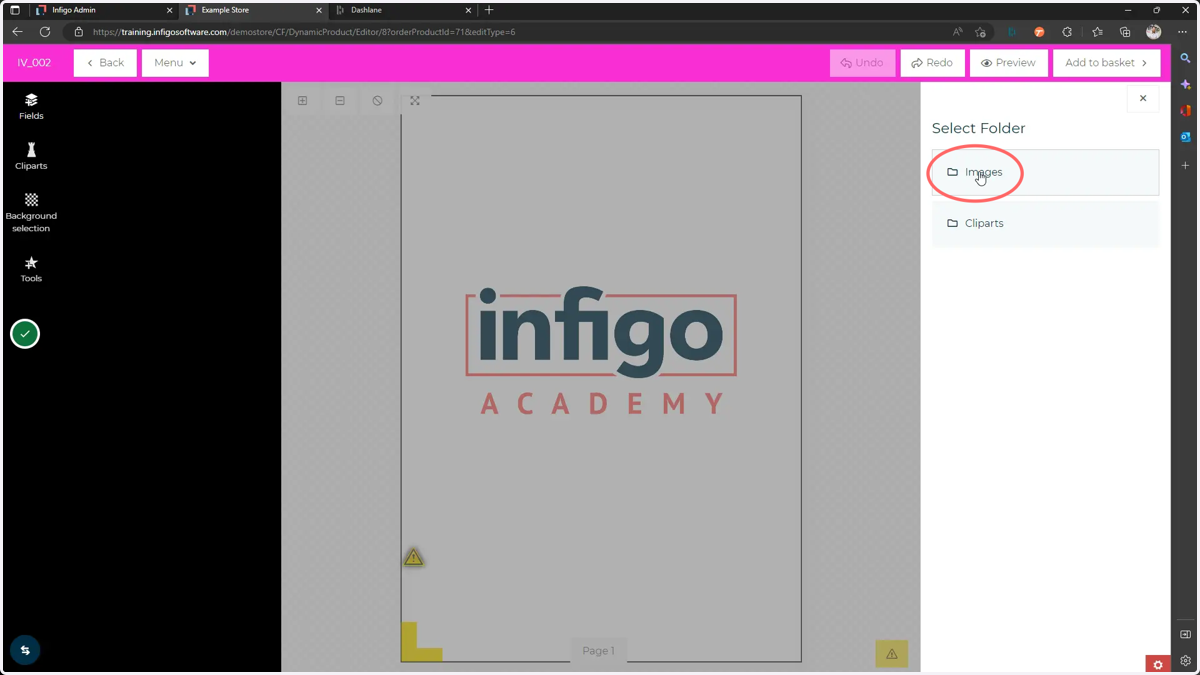
37. Choose between available image albums
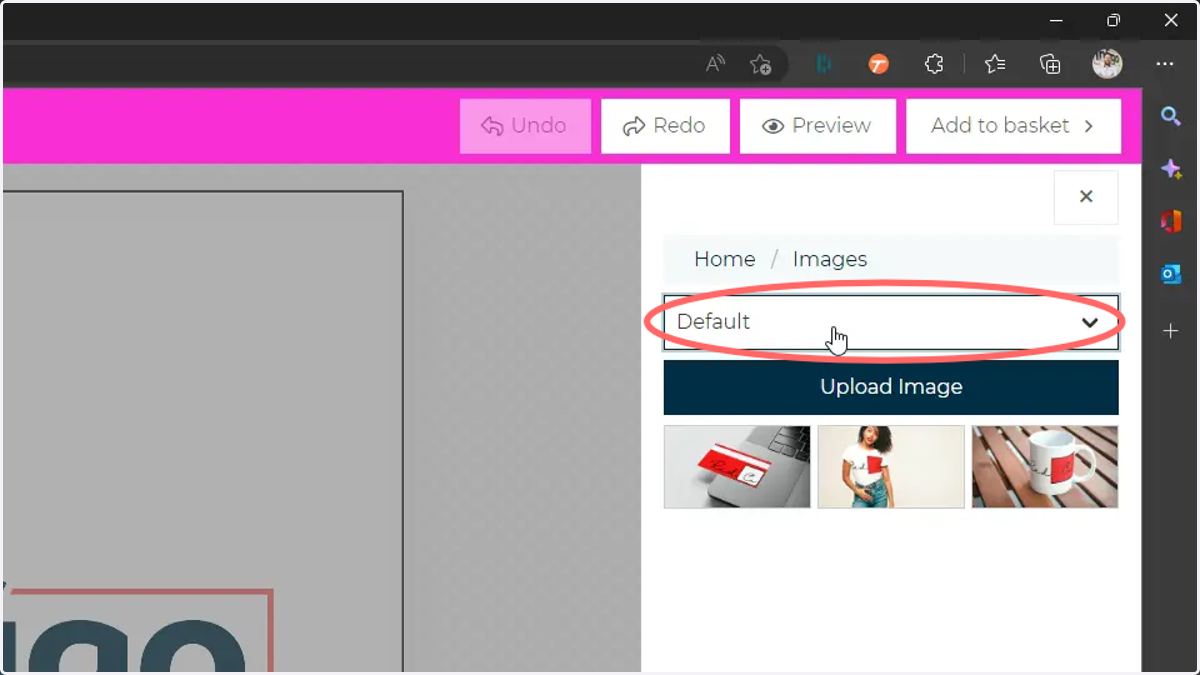
38. Select images or upload new images