Waitlist - Operations
1. Go to the Operations Eco Account
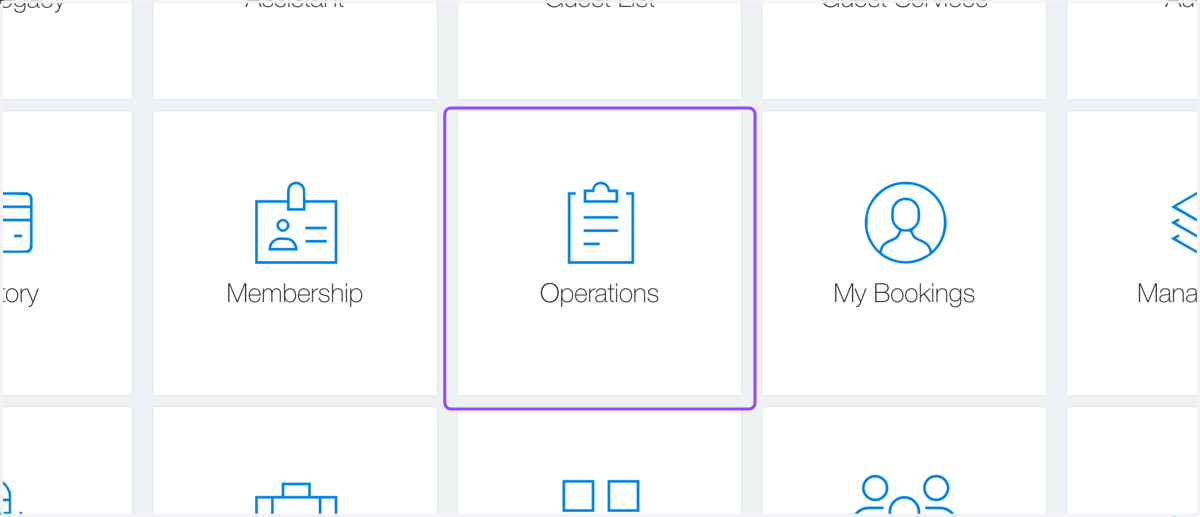
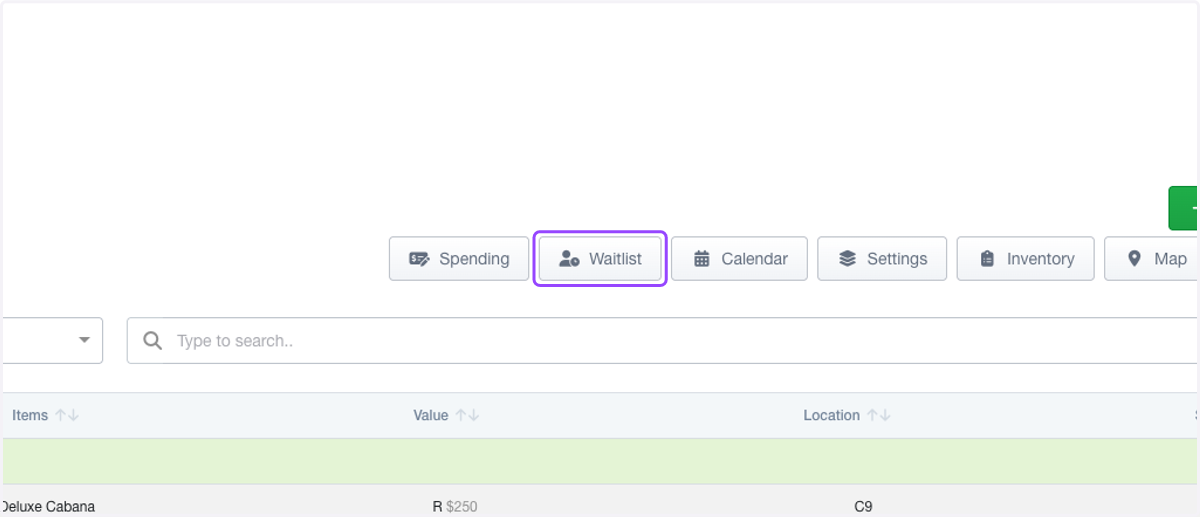
2. Select a day to operate. On the Dayview, click on Waitlist
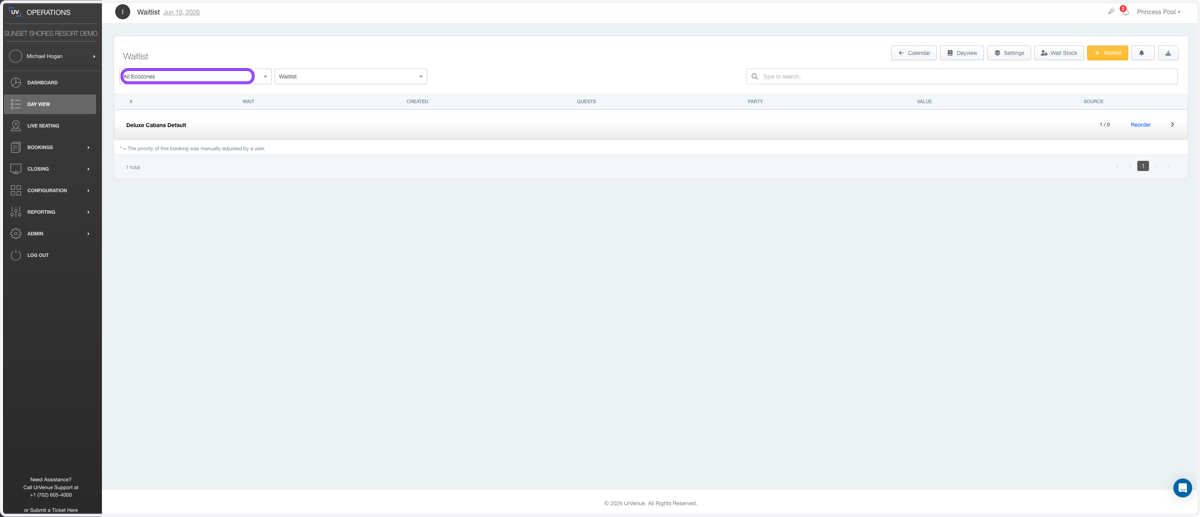
3. You will see your Waitlist Screen
Adjusting Waitlist Stock
If your item is already on Waitlist, continue. If not please see the following article on turning on the waitlist for an item once stock has sold out.
https://help.urvenue.me/en/articles/11956173-operations-waitlist-setting
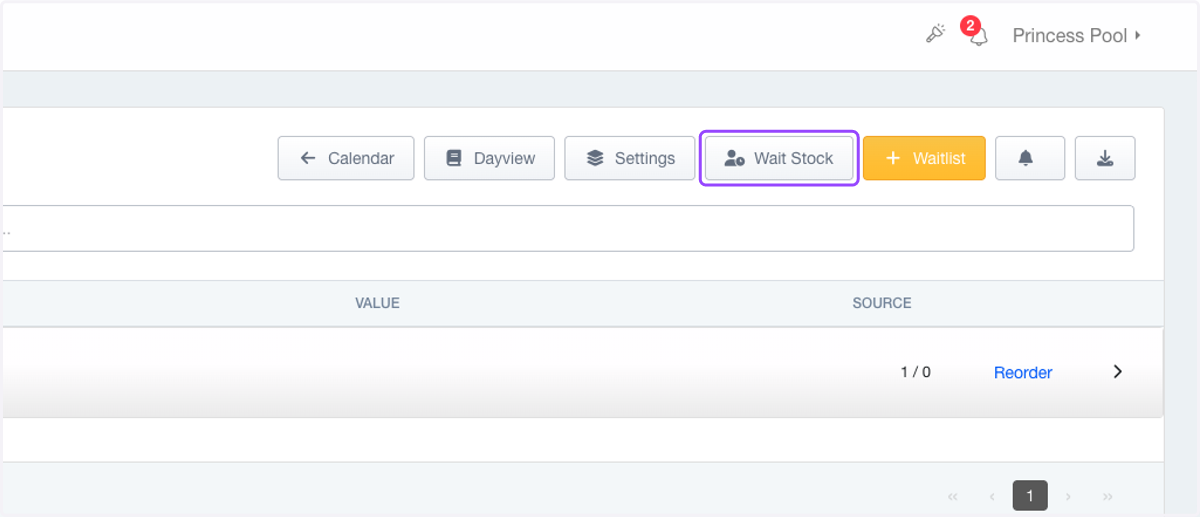
4. In the Waitlist, click on Wait Stock
5. You will see this screen
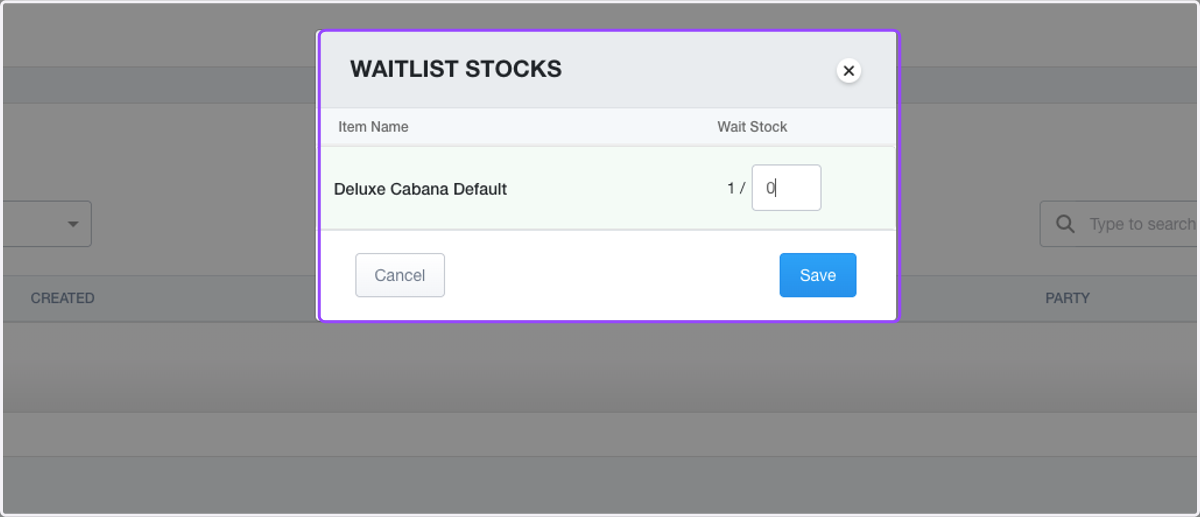
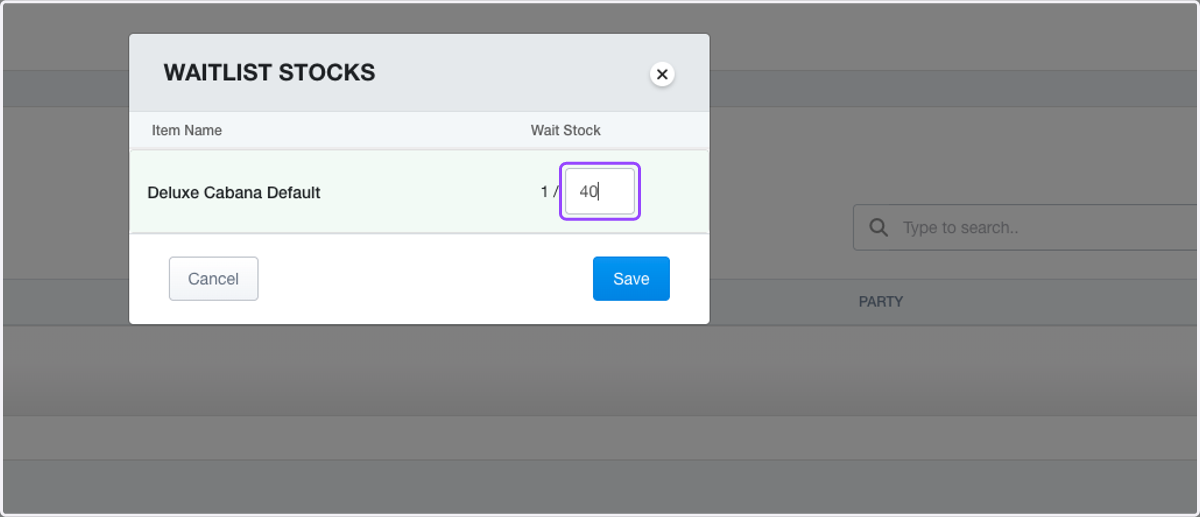
6. Adjust your number accordingly if not already predetermined.
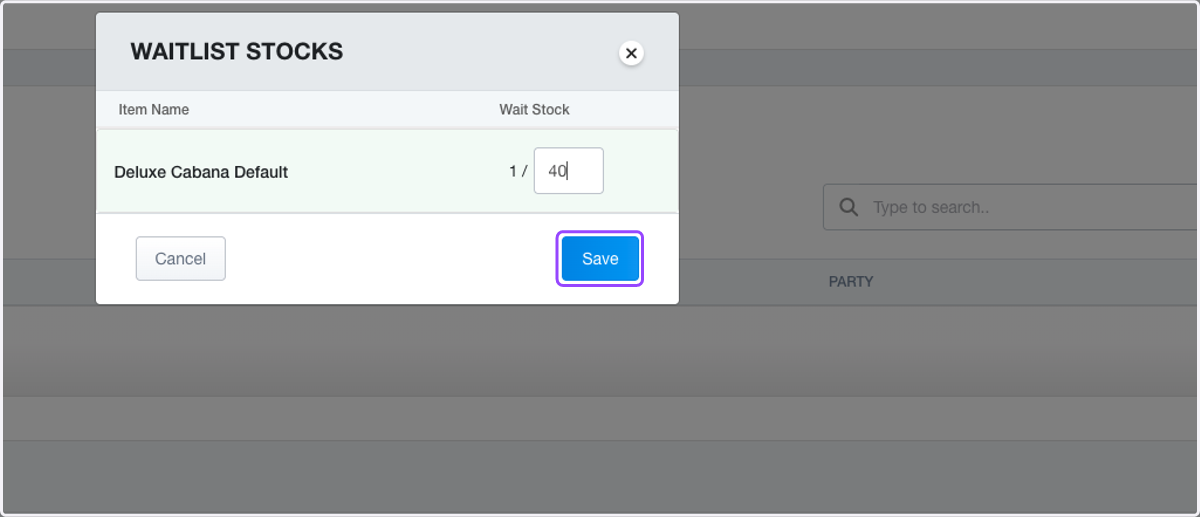
7. Click on Save
Navigating Waitlist
8. Your waitlist is broken down into items. Click on the item to expand that item waitlist.
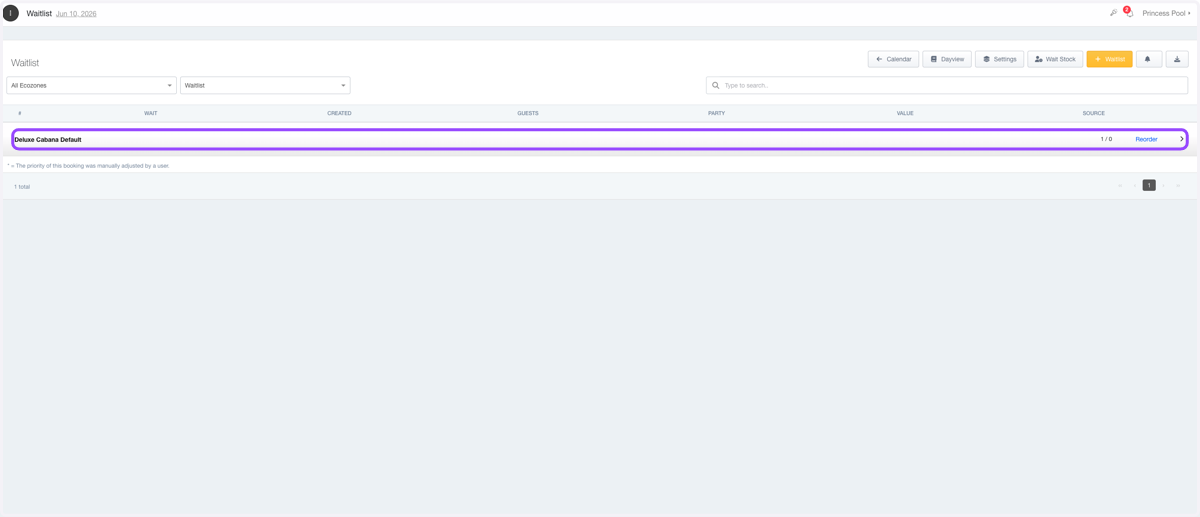
9. Here you will see the order of the waitlist along with when it was input, number of guests, party name, and where it came from (website or individual owner).
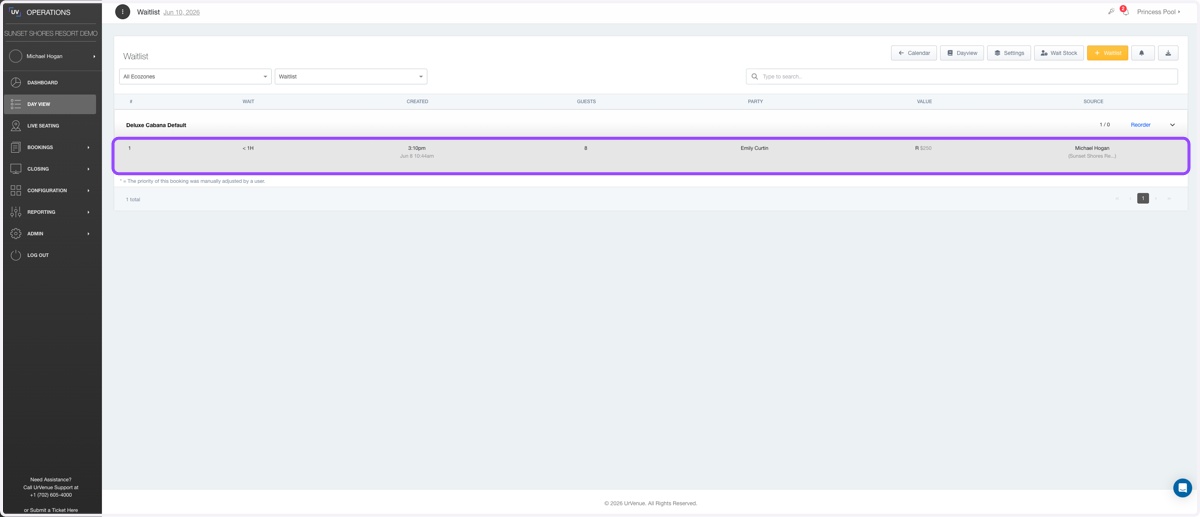
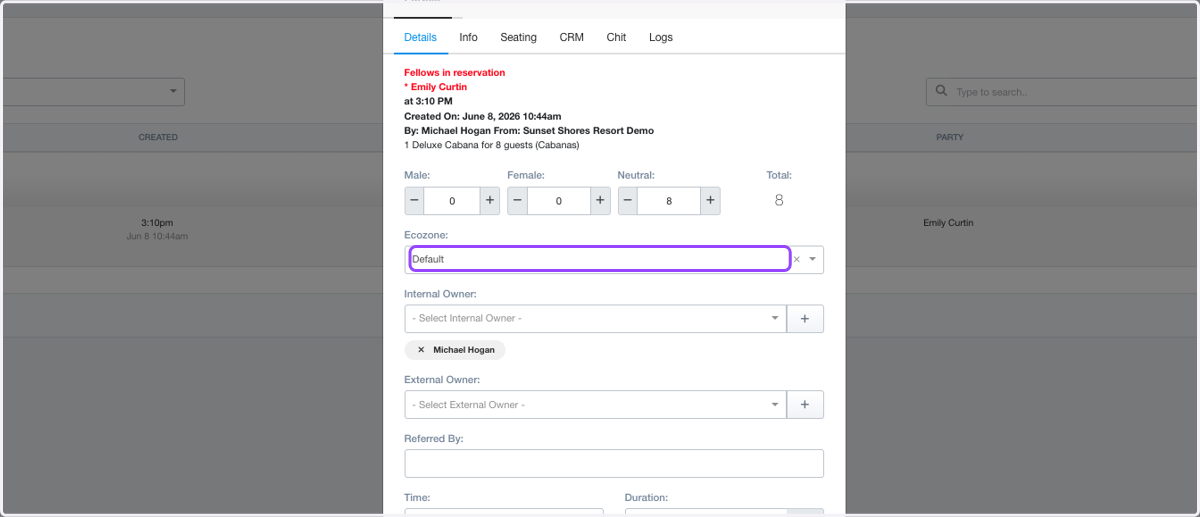
10. Click on the reservation to find out more information. about the reservation.
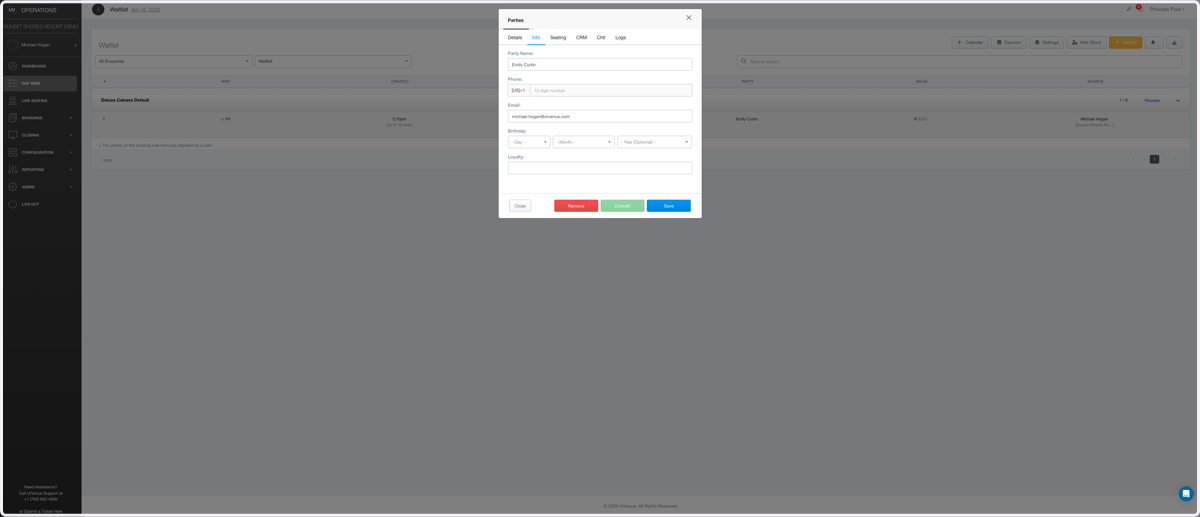
11. Click on Info.
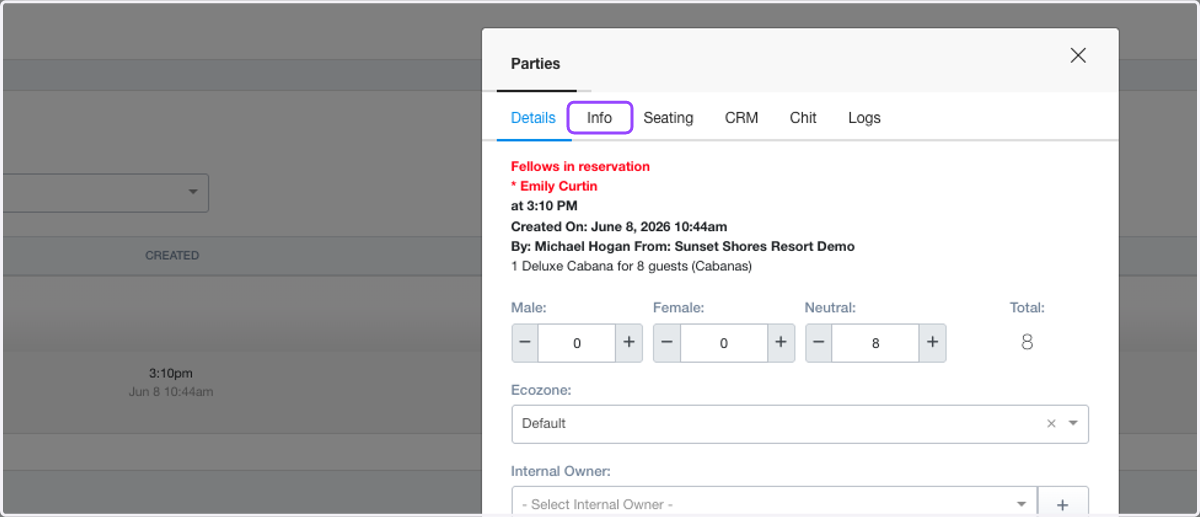
12. This will show you the guest contact information should you need to reach out to them including email and phone number.
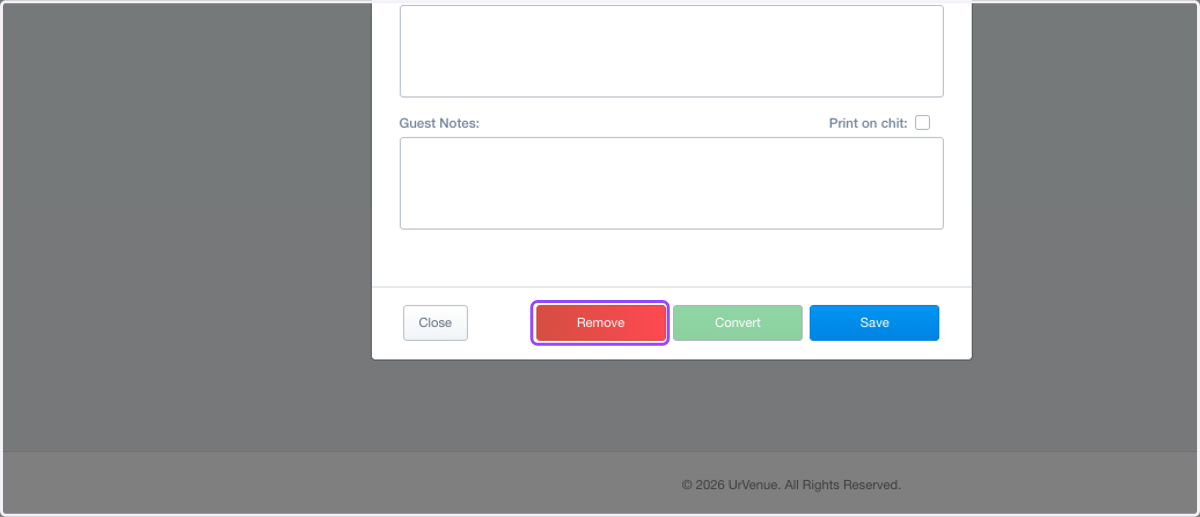
13. At the bottom of your screen you will see several Options
Remove - Remove guest from Waitlist
Convert - Convert into a reserved booking (only highlights as an option IF you have stock)
Save - Save any changes you made.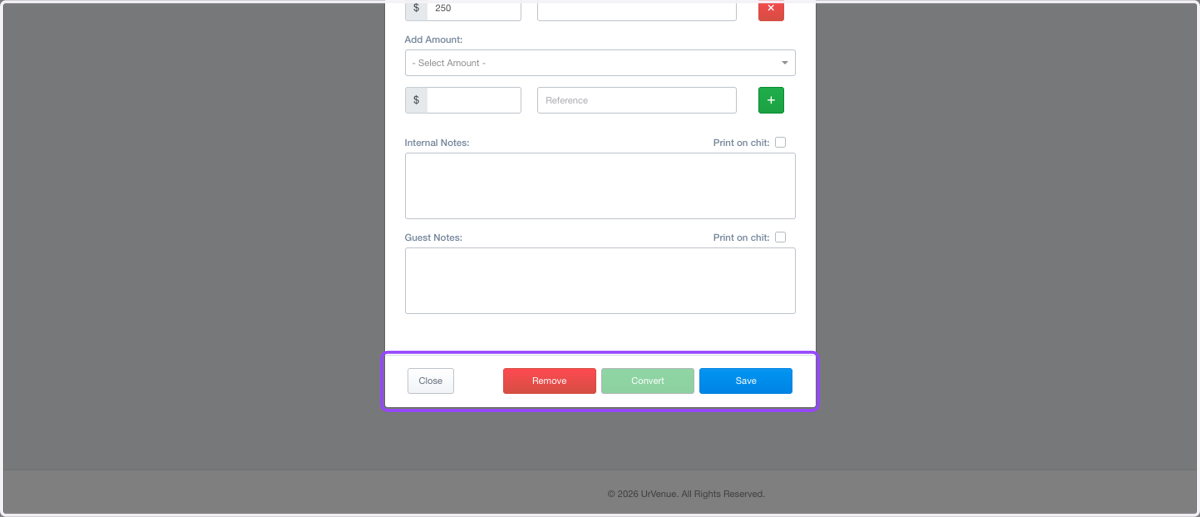
Converting Waitlist Guest
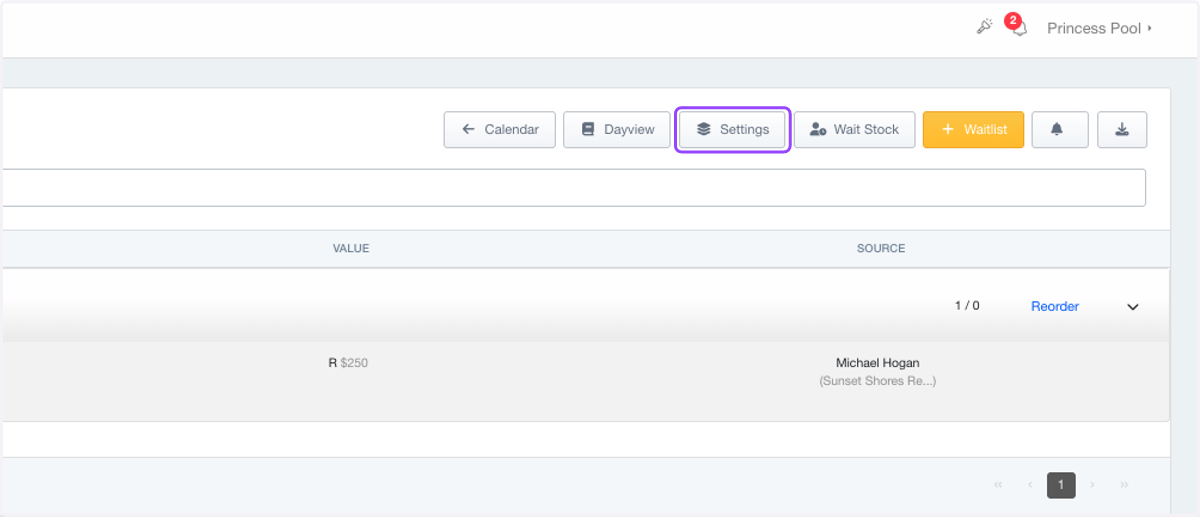
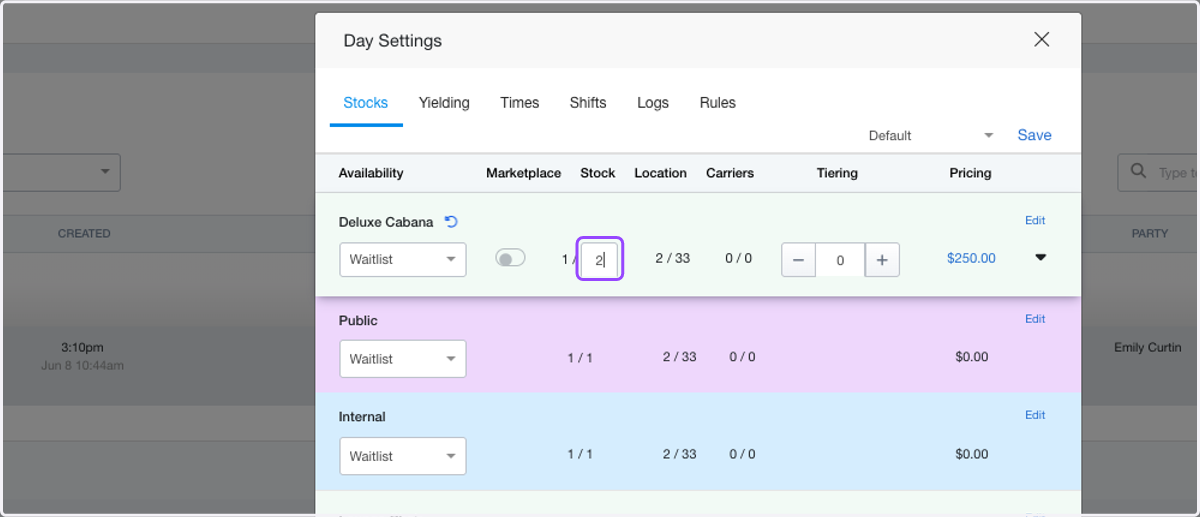
14. Click on Settings
15. You will see this screen.
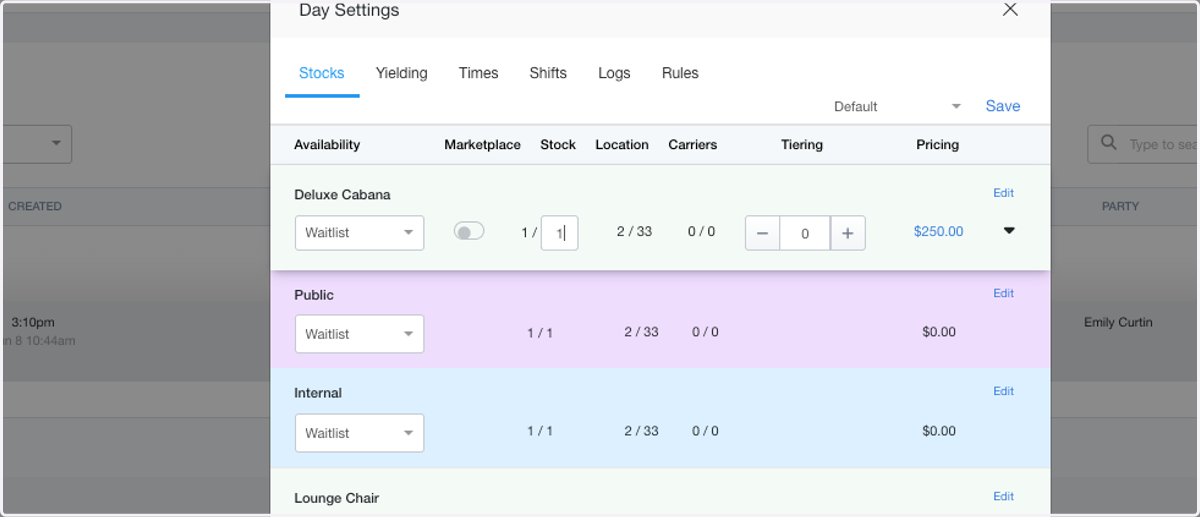
16. Enter the new total stock quantity here. To add inventory, increase the current value by the number of spots you want to open. For example, increase by 1 to add one spot, by 2 to convert two waitlist guests, and so on.
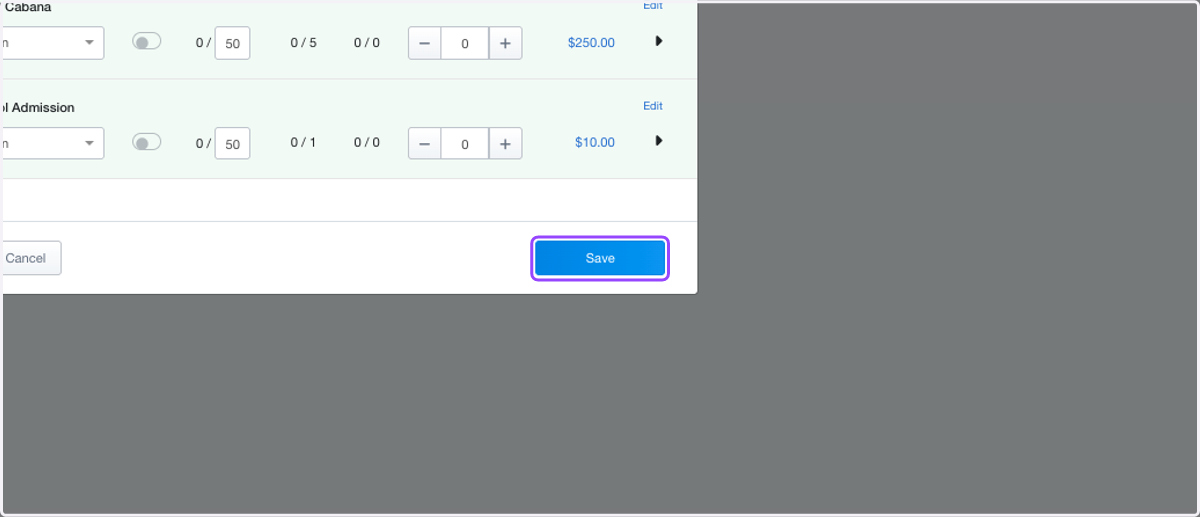
17. Click on Save
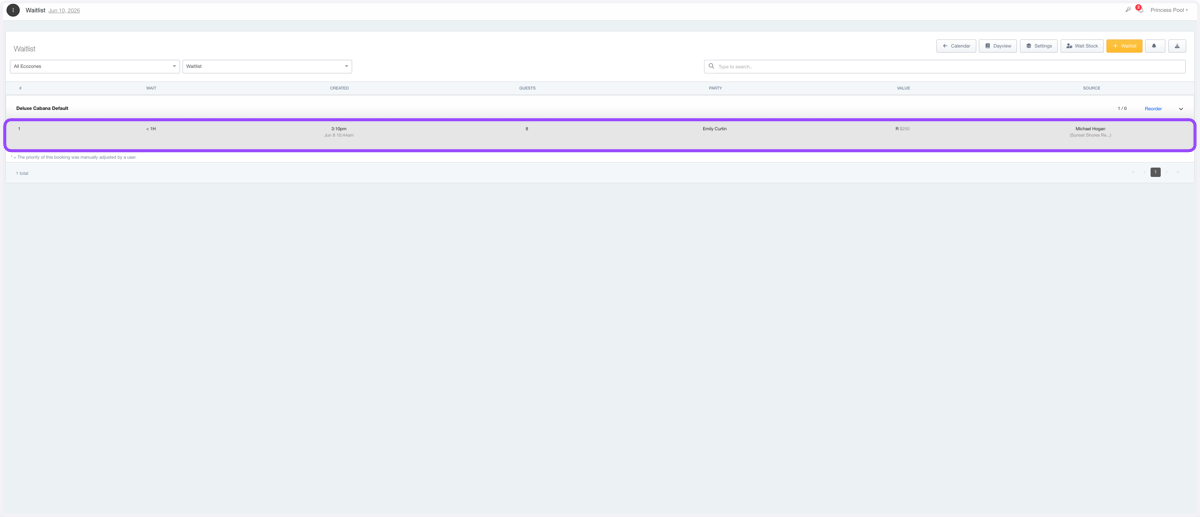
18. Click on the waitlist reservation you are converting.
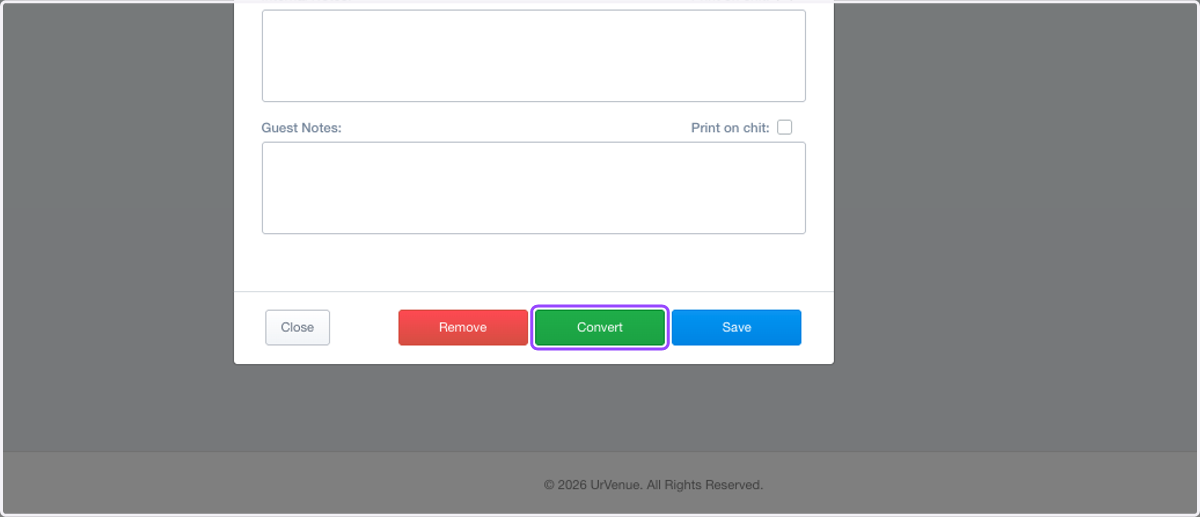
19. Click on Convert
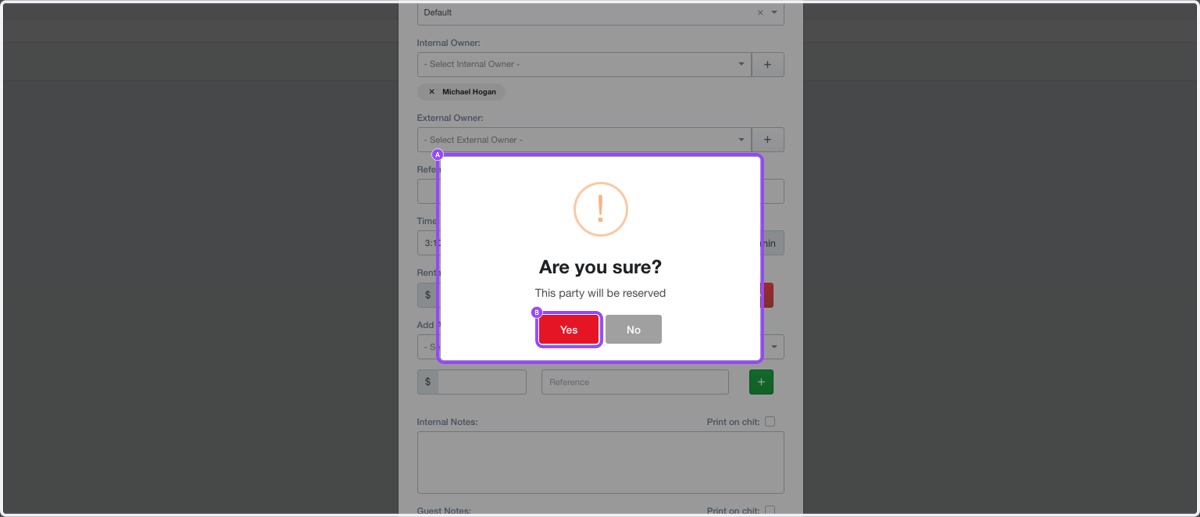
20. A. You will see this popup
20. B. Click on Yes
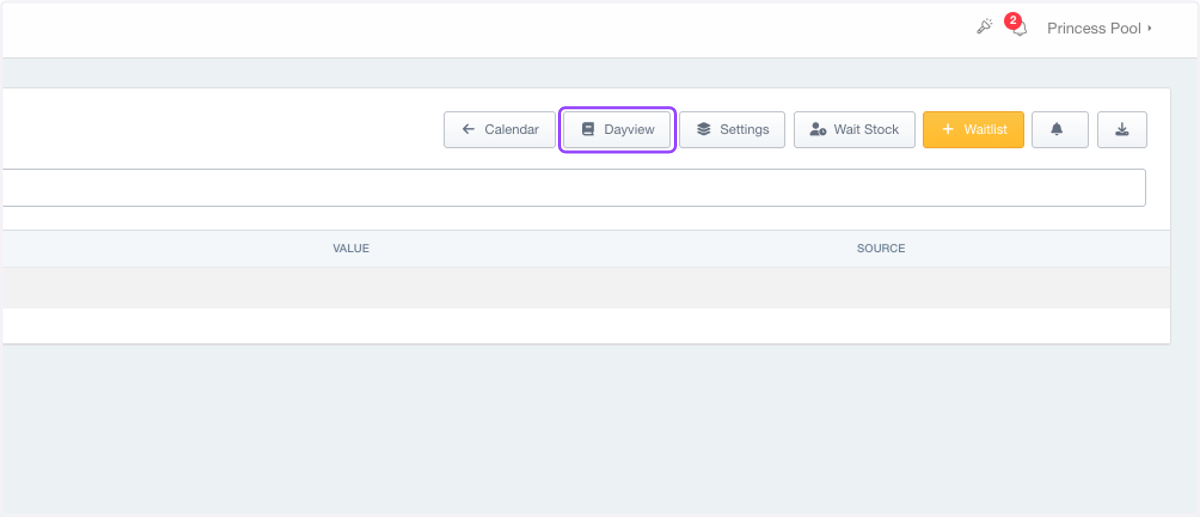
21. Click on Dayview
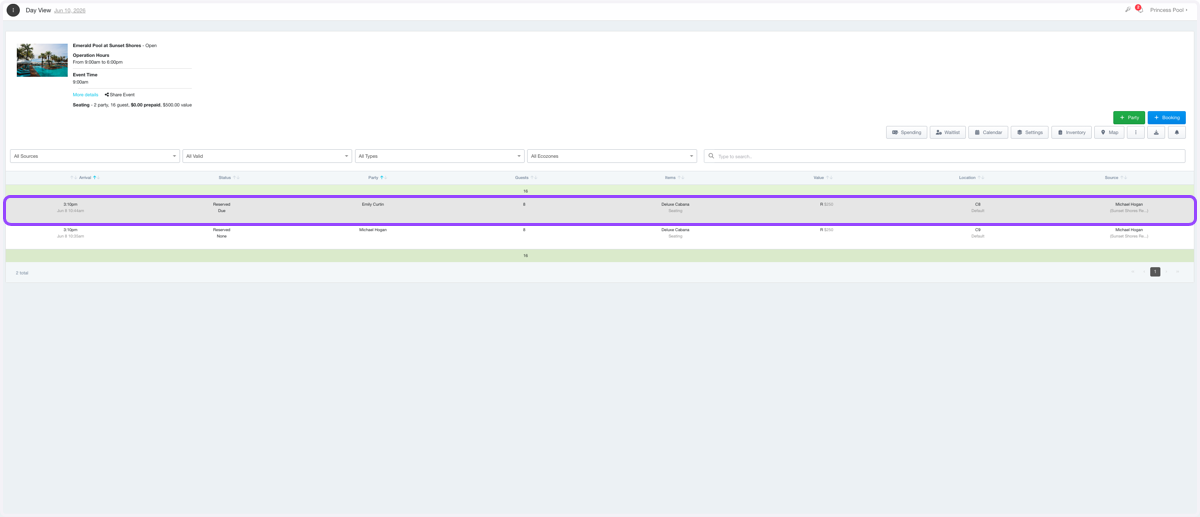
22. You will now see that reservation listed.
Removing Guest from Waitlist
23. Find the guest on the waitlist.
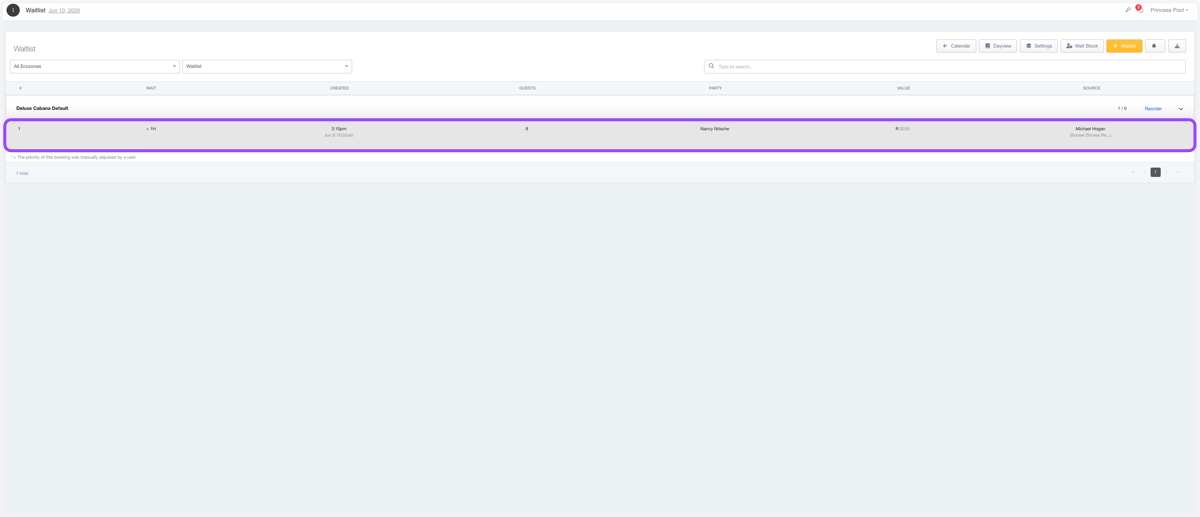
24. Click on Remove
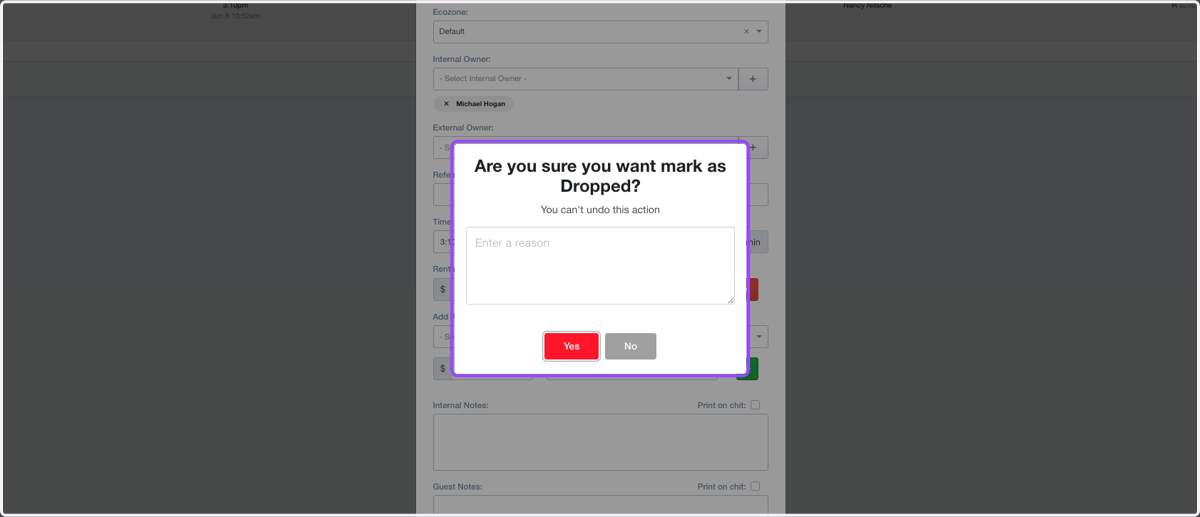
25. You will see this popup. Enter your reason for removing.
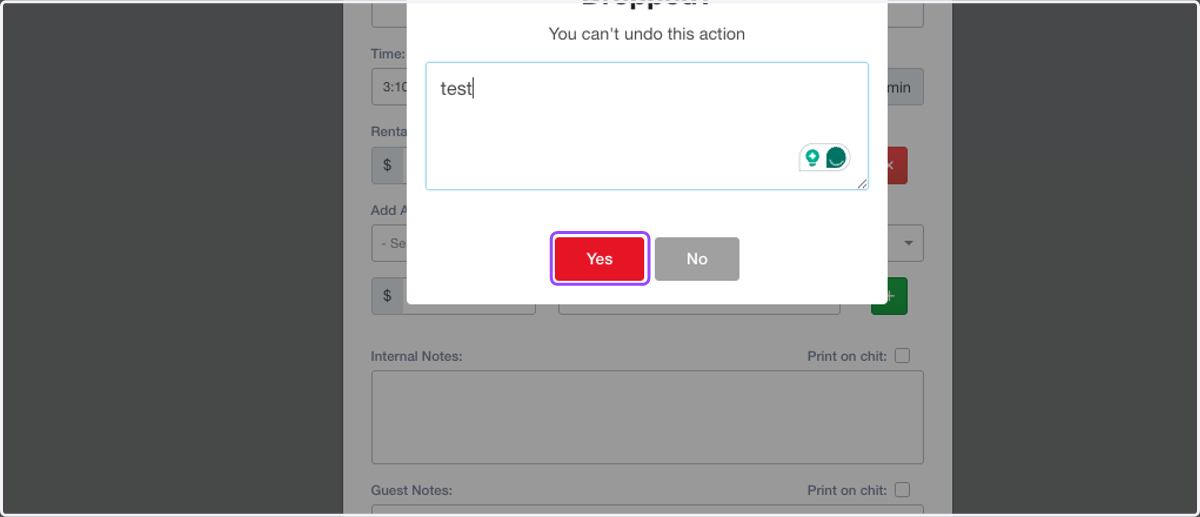
26. Click on Yes
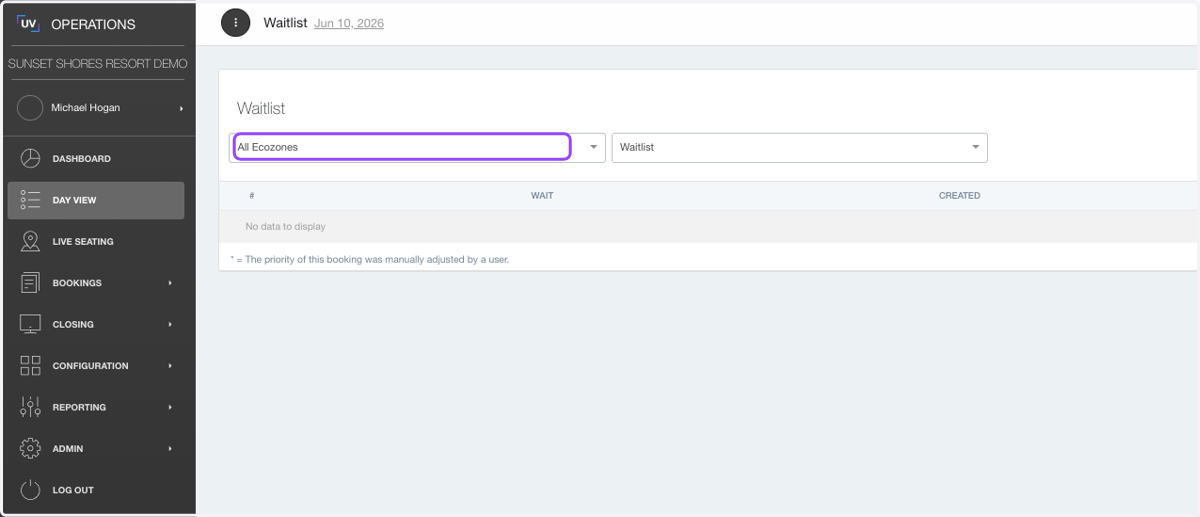
27. The name and possibly item will now be removed from the waitlist.
Adding Guests to Waitlist (Internal)
28. Within the Waitlist screen, click on + Waitlist
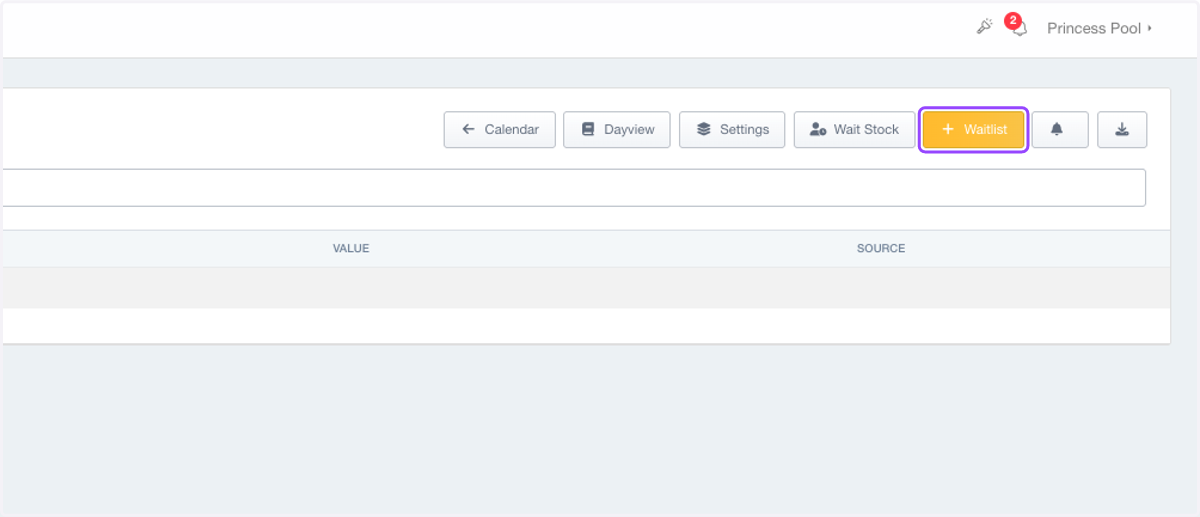
29. Click on the item that states Waistlist.
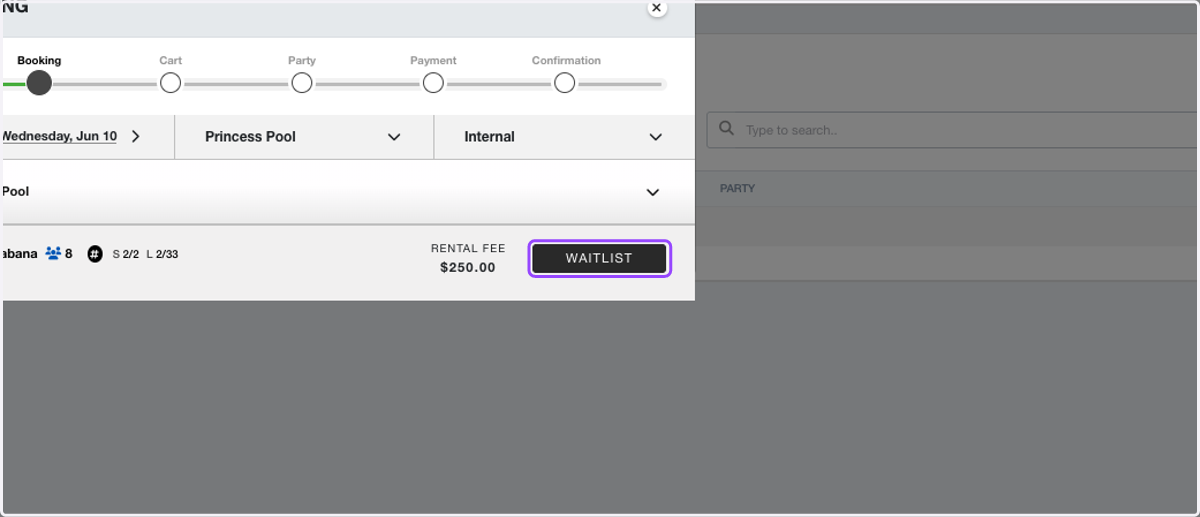
30. Follow the prompts
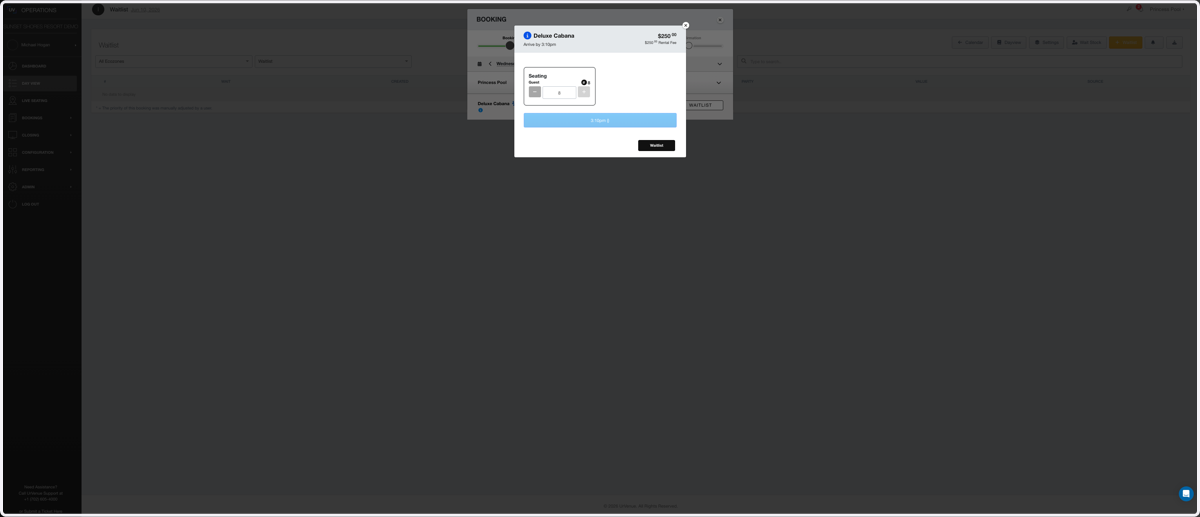
31. Click on Waitlist
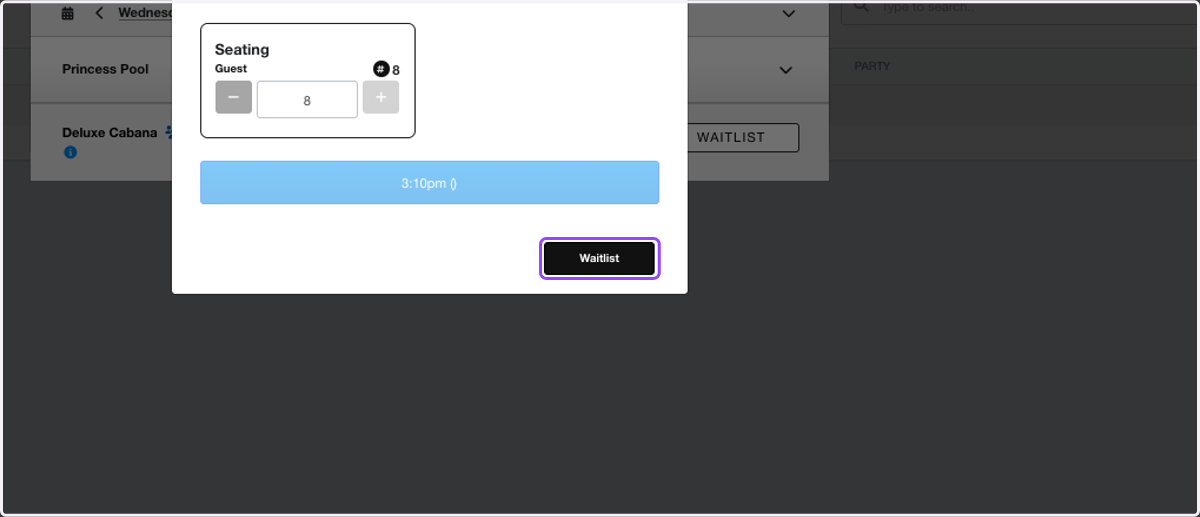
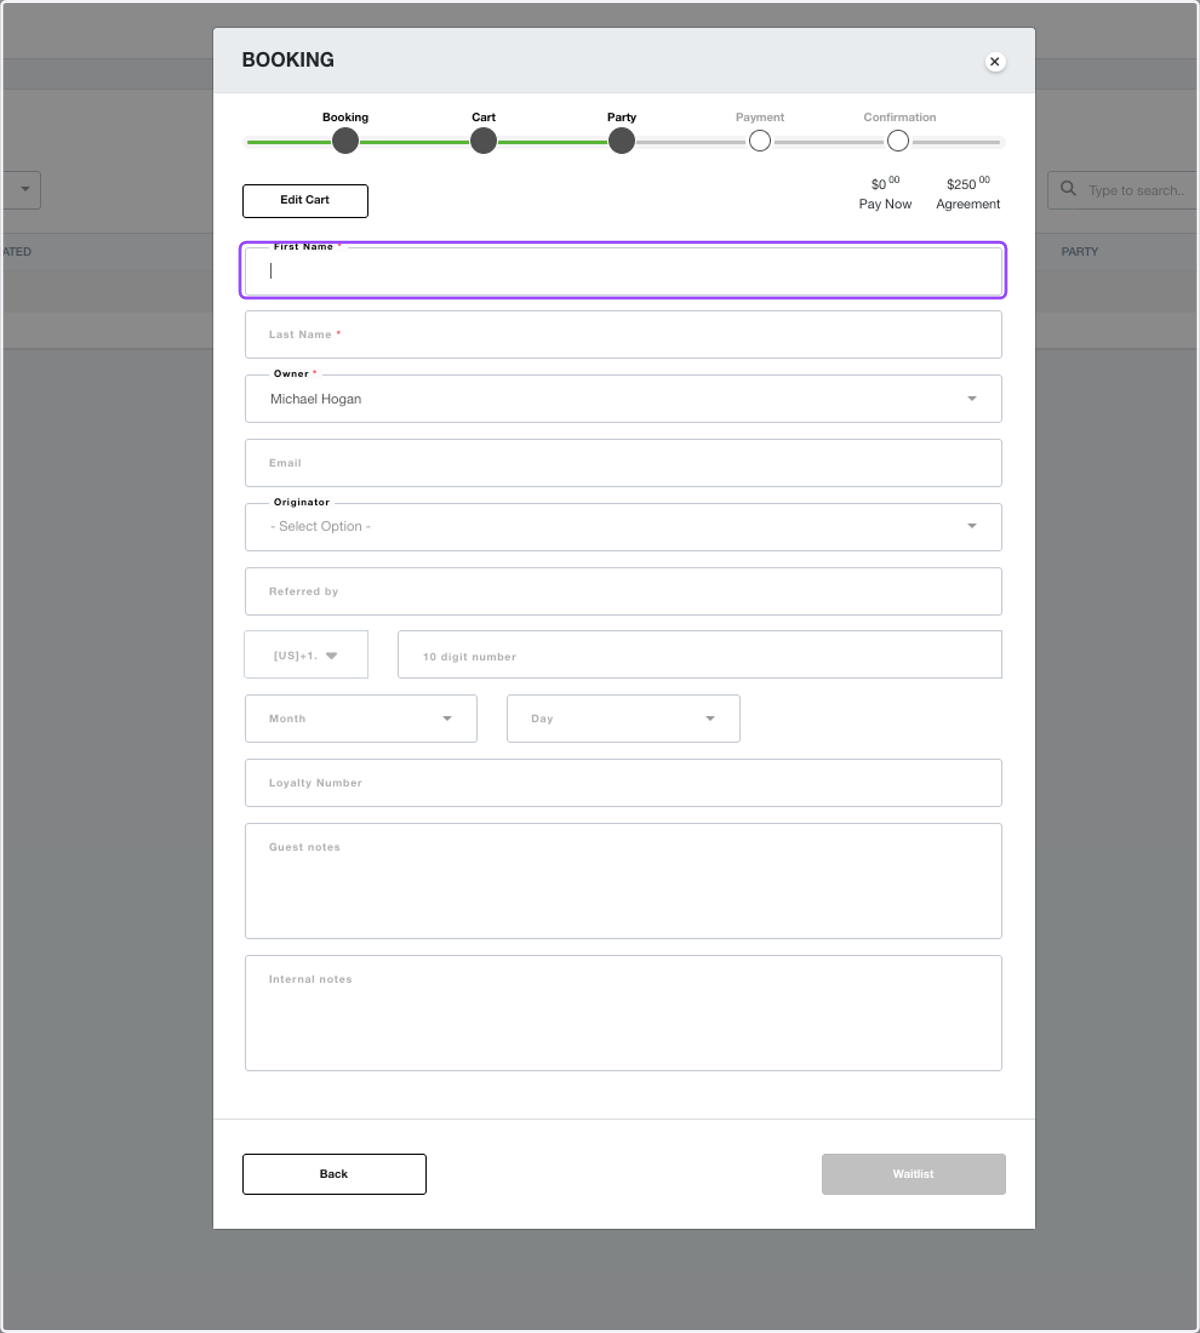
32. Enter the guest information
It is recommended that at least a phone number or email be input for contact information.
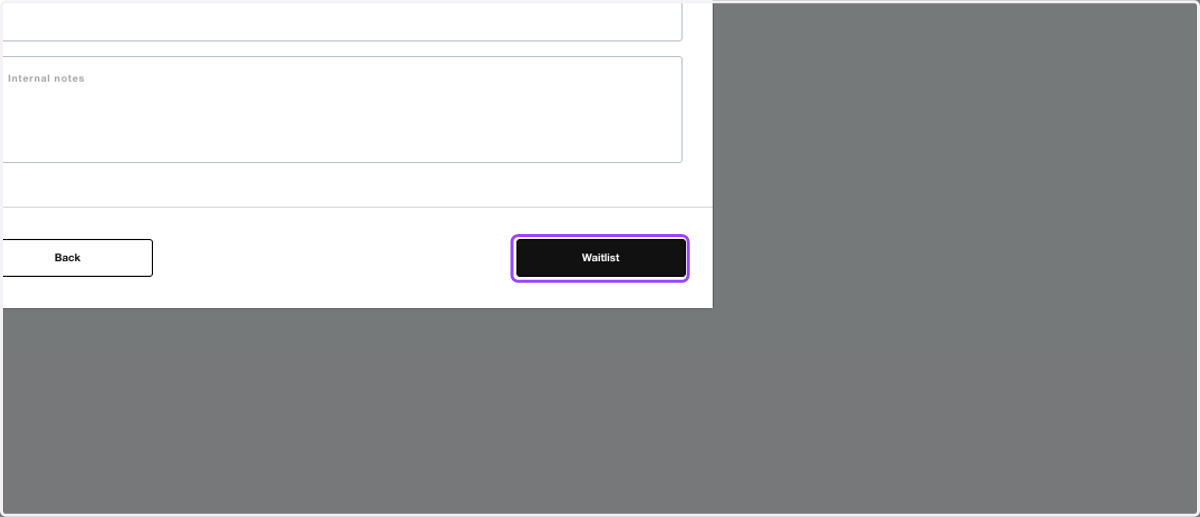
33. Click on Waitlist
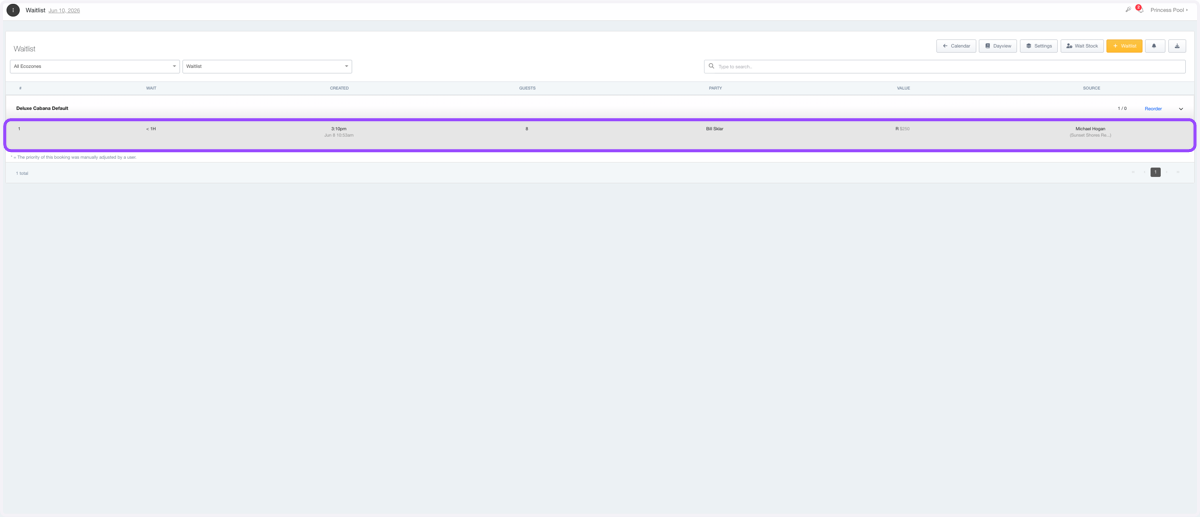
34. You will now see that guest on the Waitlist for that item.
Manually Reordering Waitlist
The waitlist has an order based on when the waitlist reservation was requested. To manually reorder the waitlist, use the following steps.
35. A. Click on the item waitlist screen.
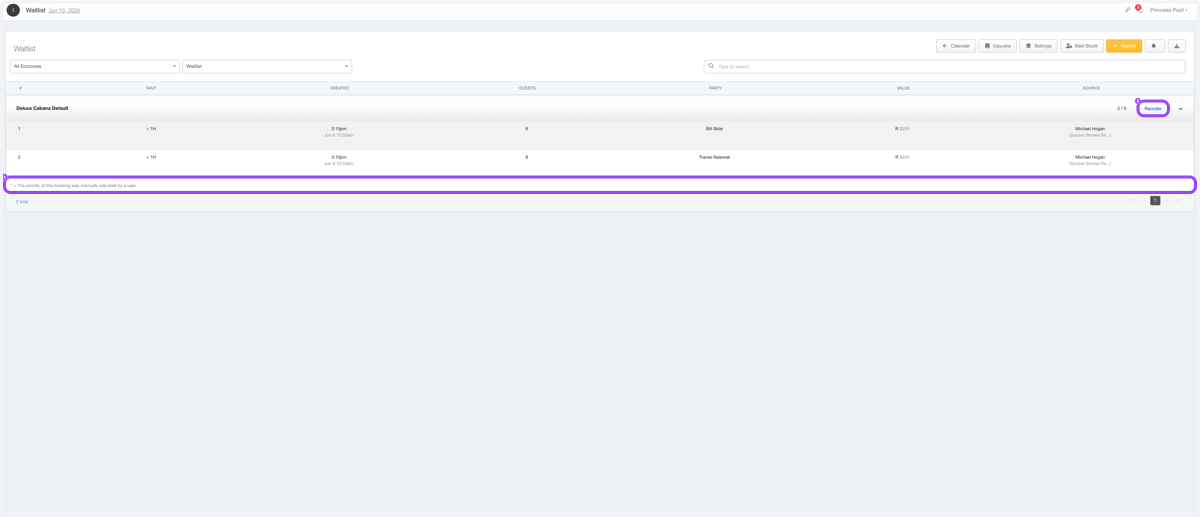
35. B. Click on Reorder
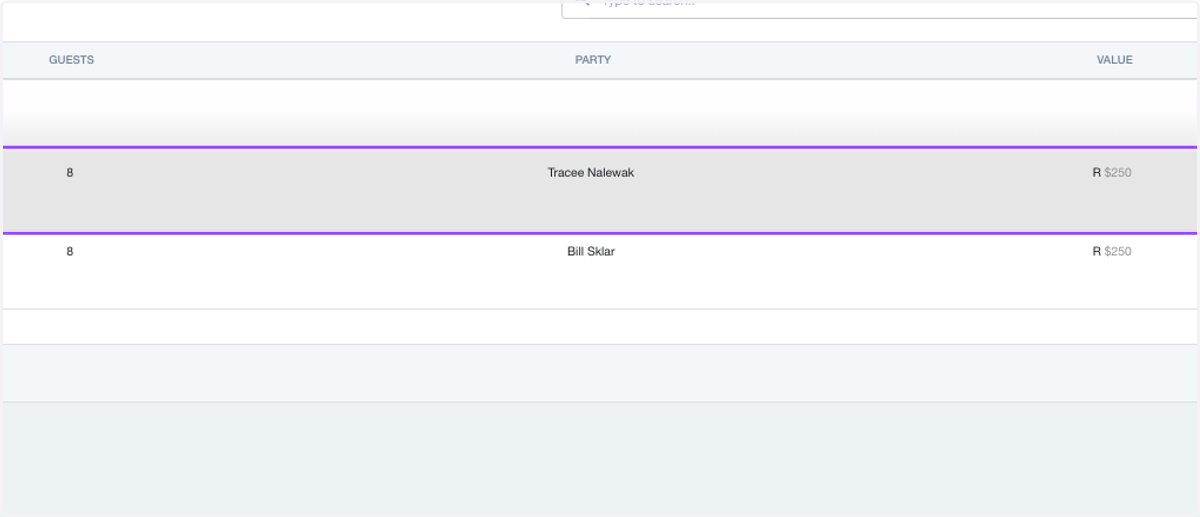
As you can see, Bill is first, and Tracee is second.
36. Click and drag highlighted element to whatever order you would like them to be. Then click on Save.
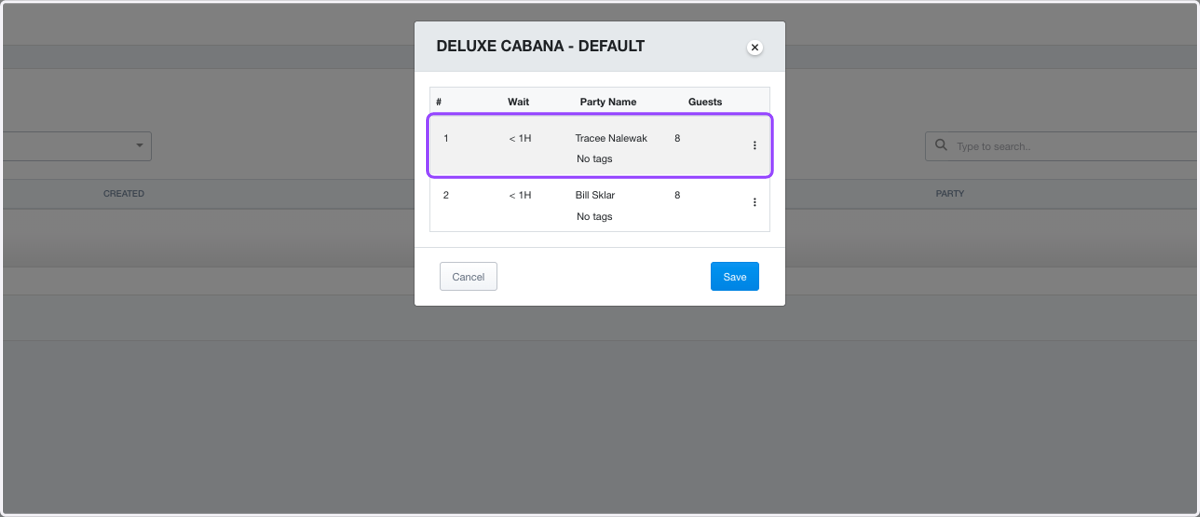
37. You will now see that the order of waitlist guests has been repositioned and Tracee is now #1.