Supercharge your Website with Custom Post Types and Custom Fields

Supercharged

  1. 1. Go to Dashboard ‹ supercharged — WordPress

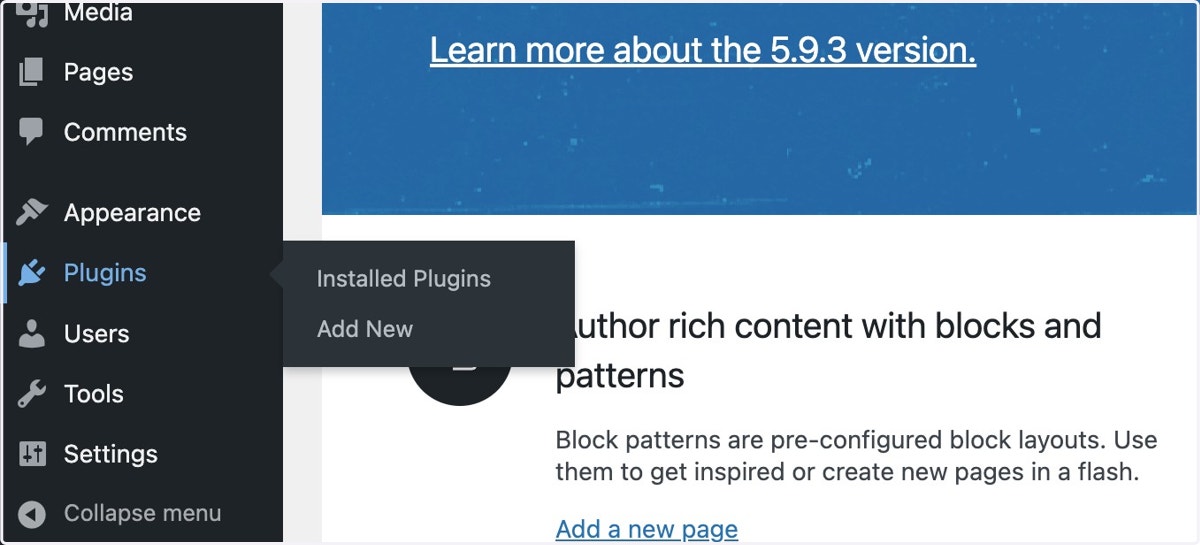
  2. 2. Click on …

    Click on …
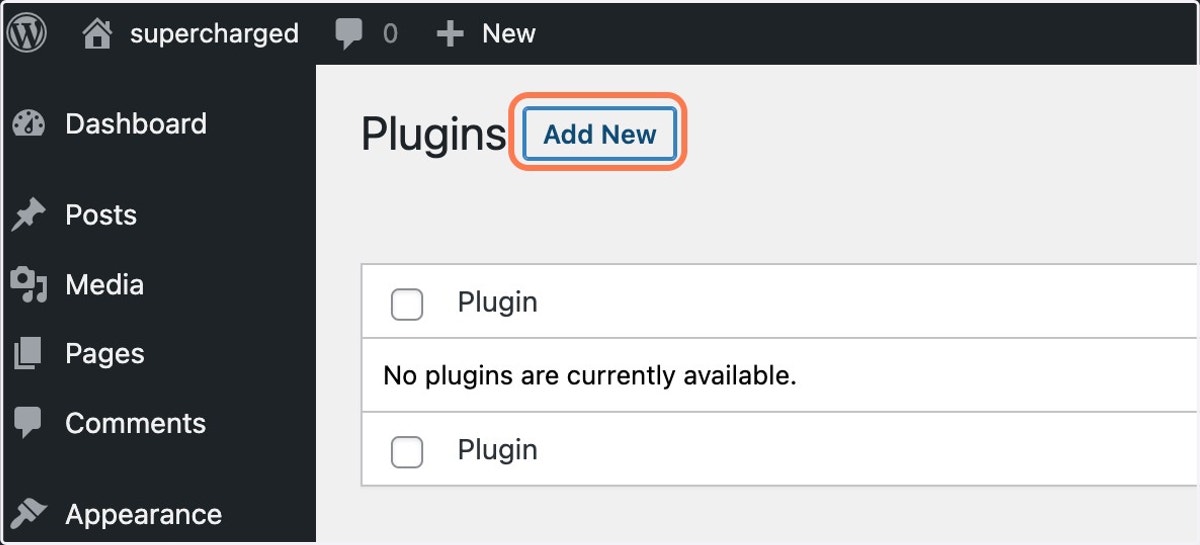
  3. 3. Click on Add New

    Click on Add New
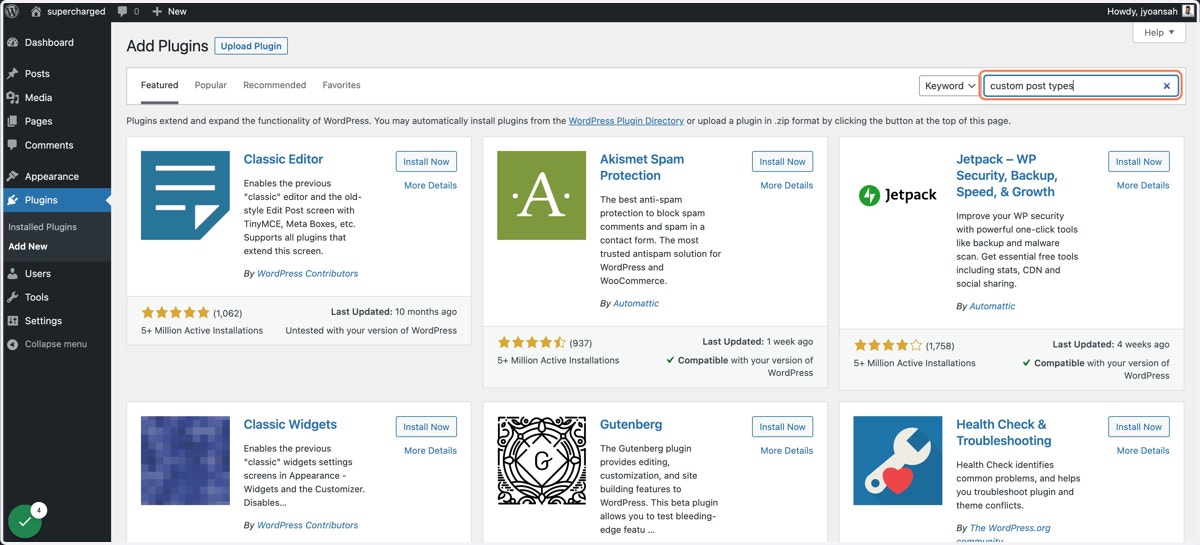
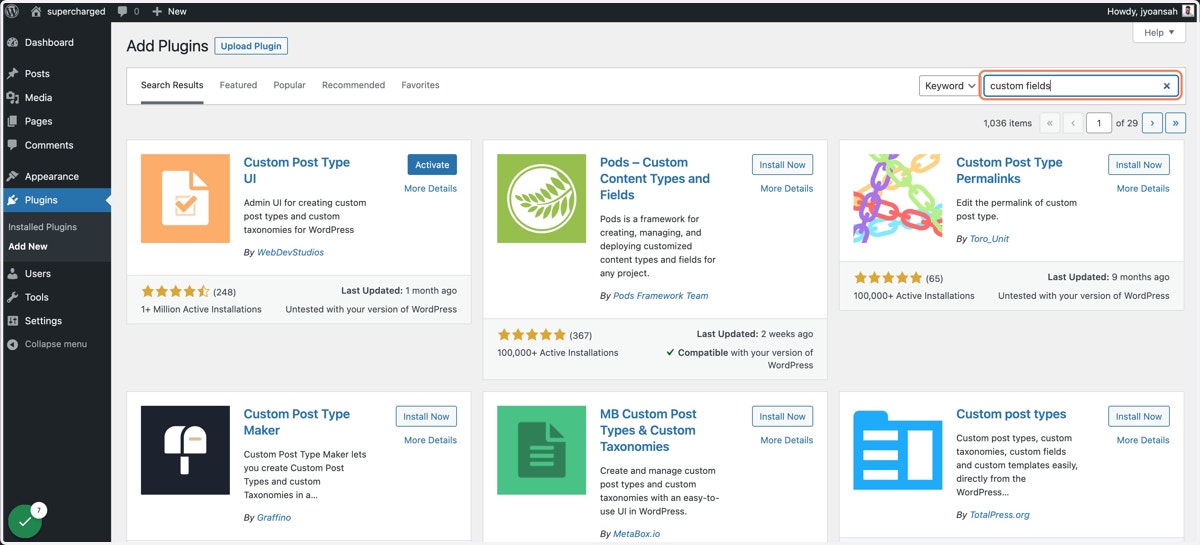
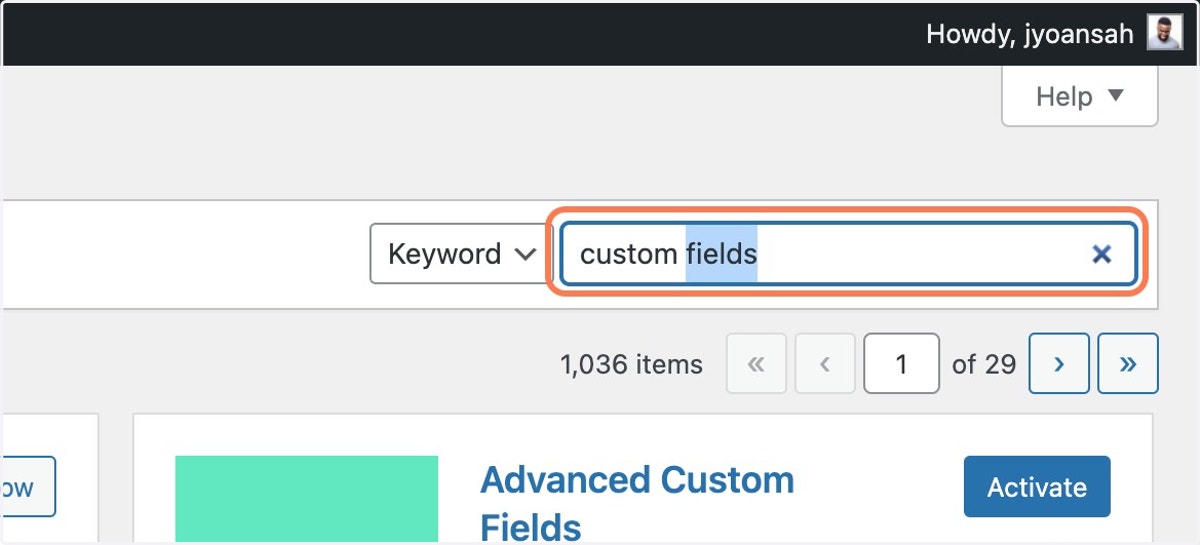
  4. 4. Click on Search Plugins

    Click on Search Plugins
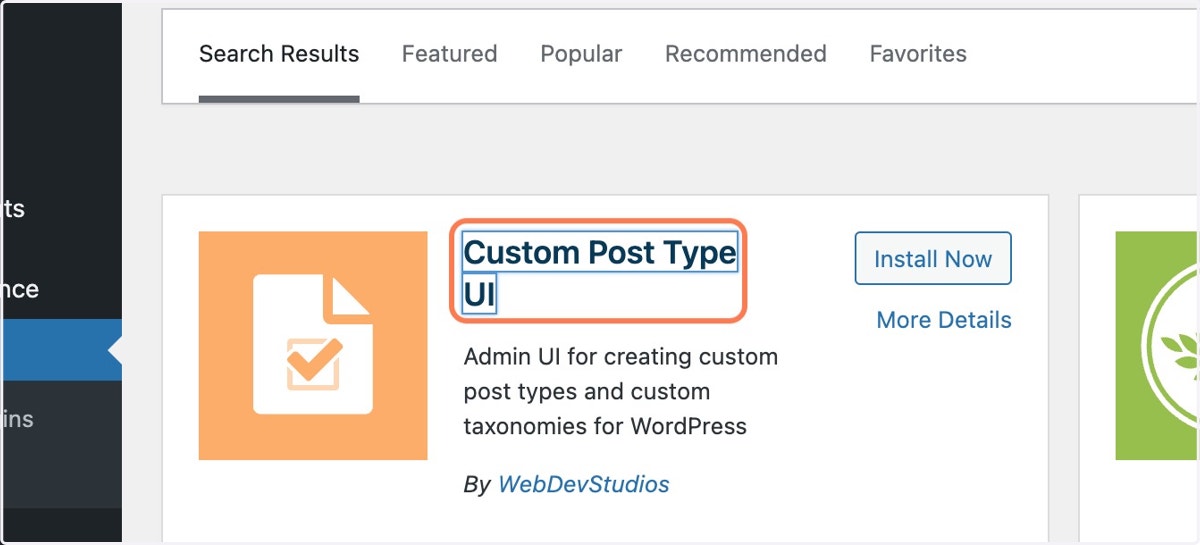
  5. 5. Click on Custom Post Type UI

    Click on Custom Post Type UI
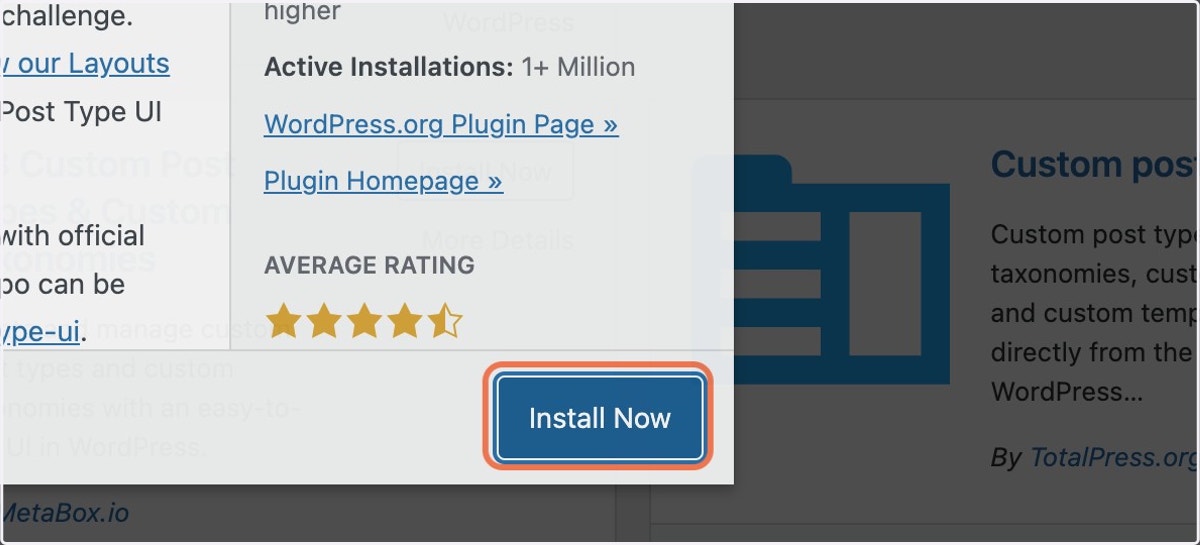
  6. 6. Click on Install Now

    Click on Install Now
  7. 7. Click on Search Plugins

    Click on Search Plugins
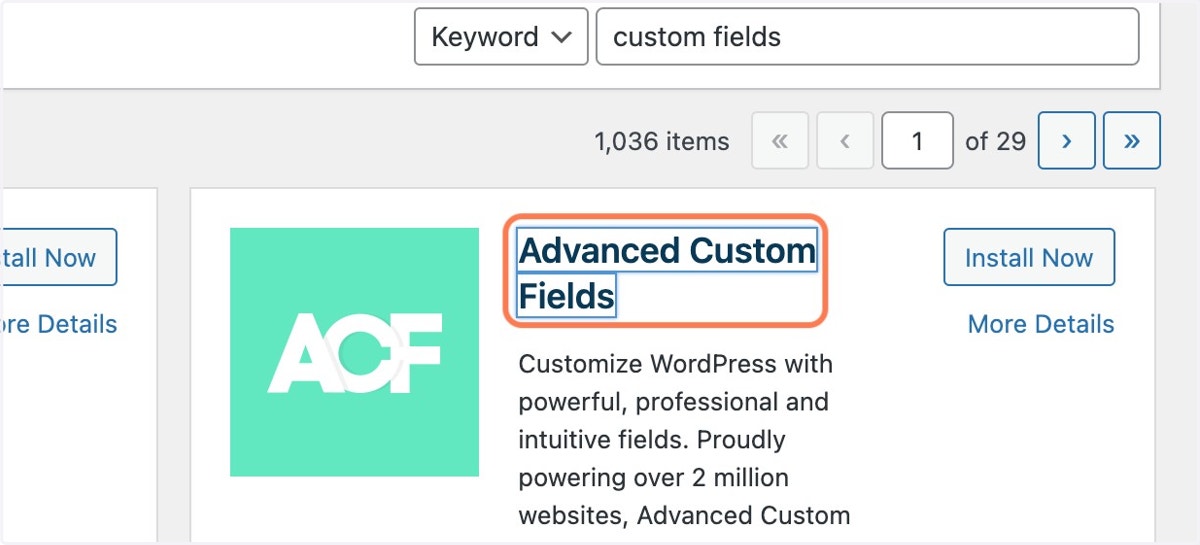
  8. 8. Click on Advanced Custom Fields

    Click on Advanced Custom Fields
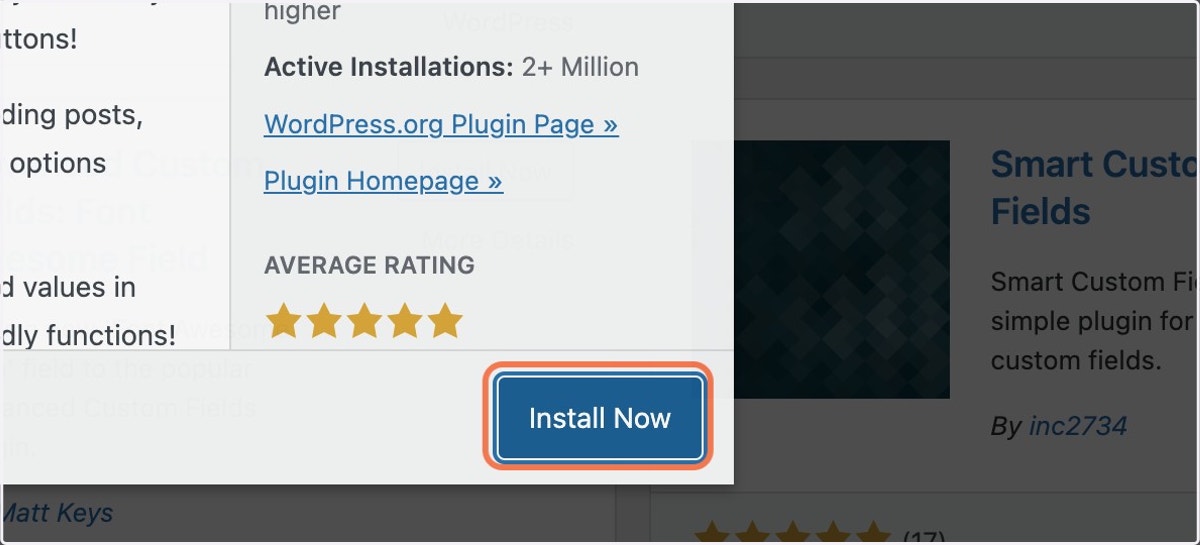
  9. 9. Click on Install Now

    Click on Install Now
  10. 10. Click on Search Plugins

    Click on Search Plugins
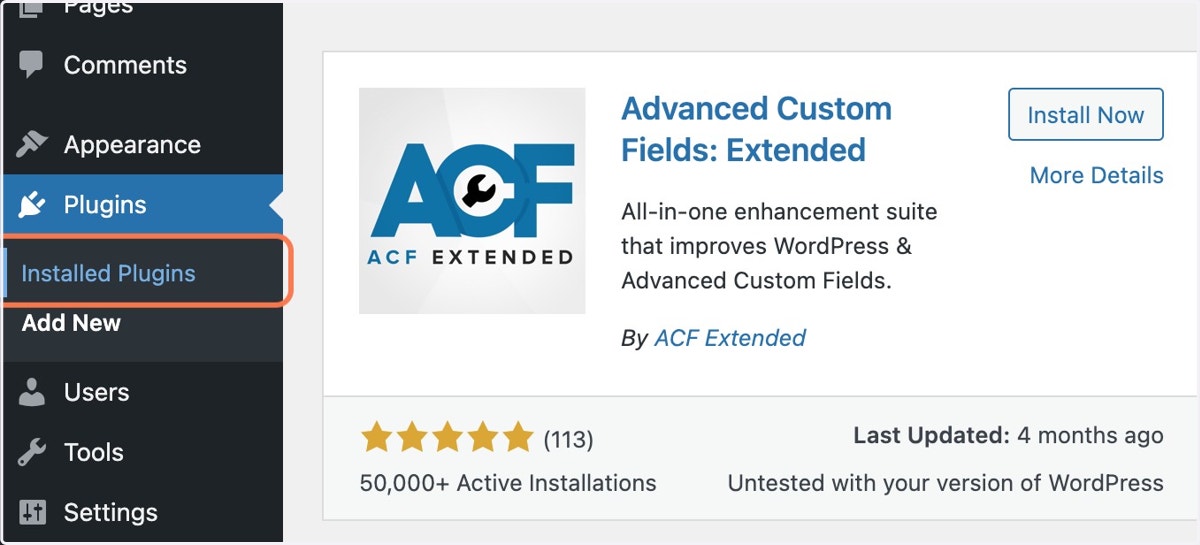
  11. 11. Click on Installed Plugins

    Click on Installed Plugins
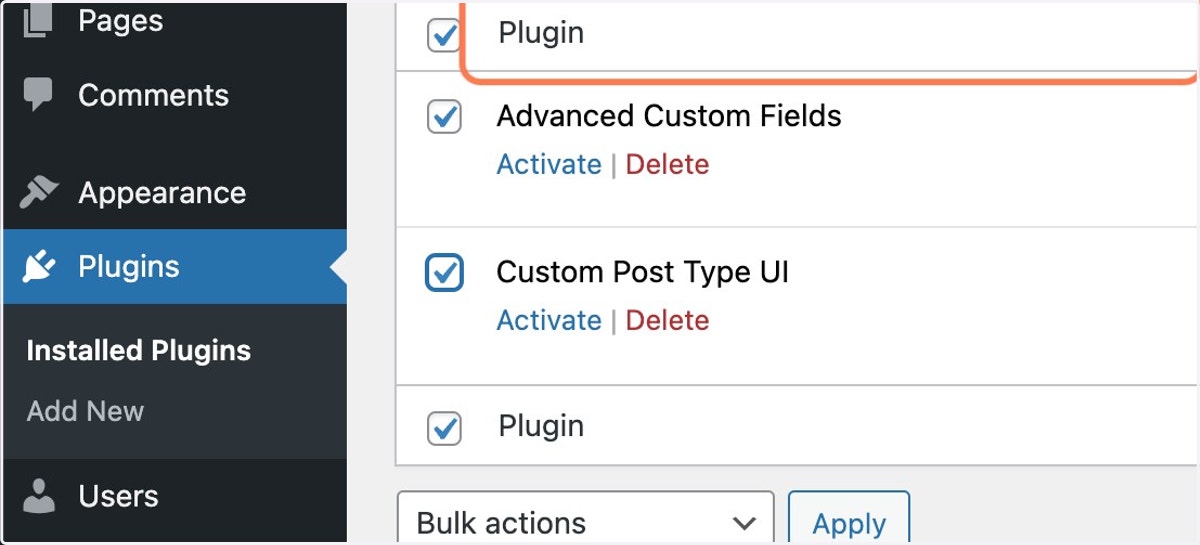
  12. 12. Check Select Advanced Custom Fields
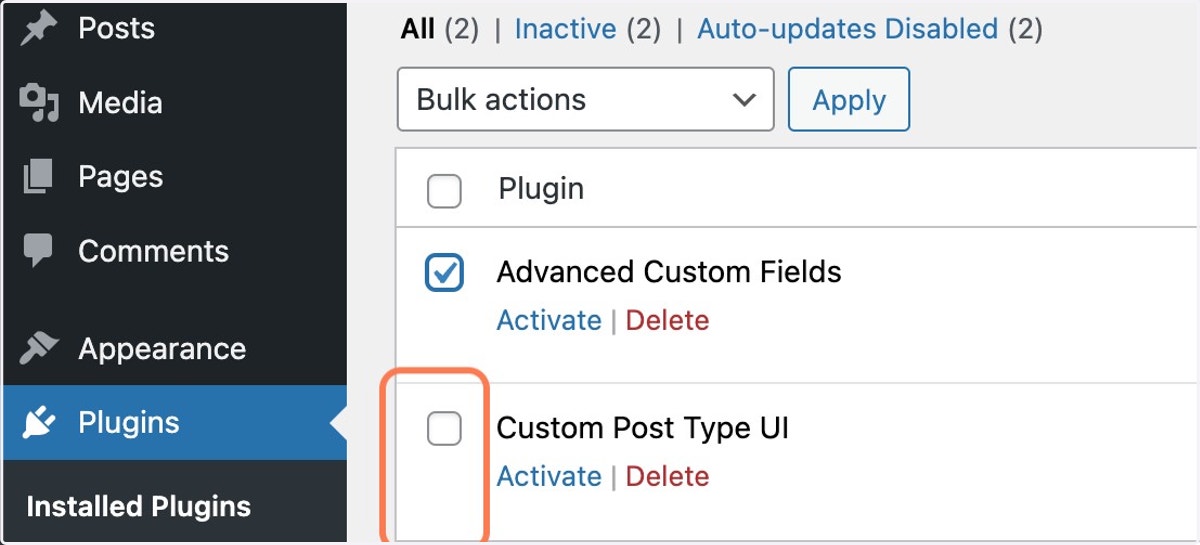
    Check Select Advanced Custom Fields
  13. 13. Check Select Custom Post Type UI

    Check Select Custom Post Type UI
  14. 14. Select Activate and click on Apply
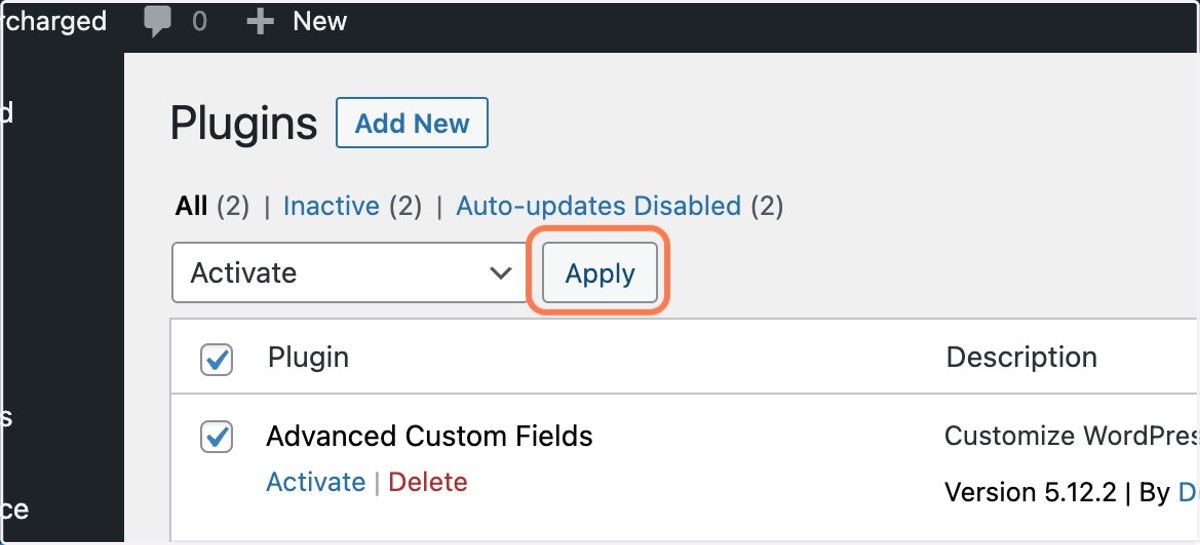
    Select Activate and click on Apply
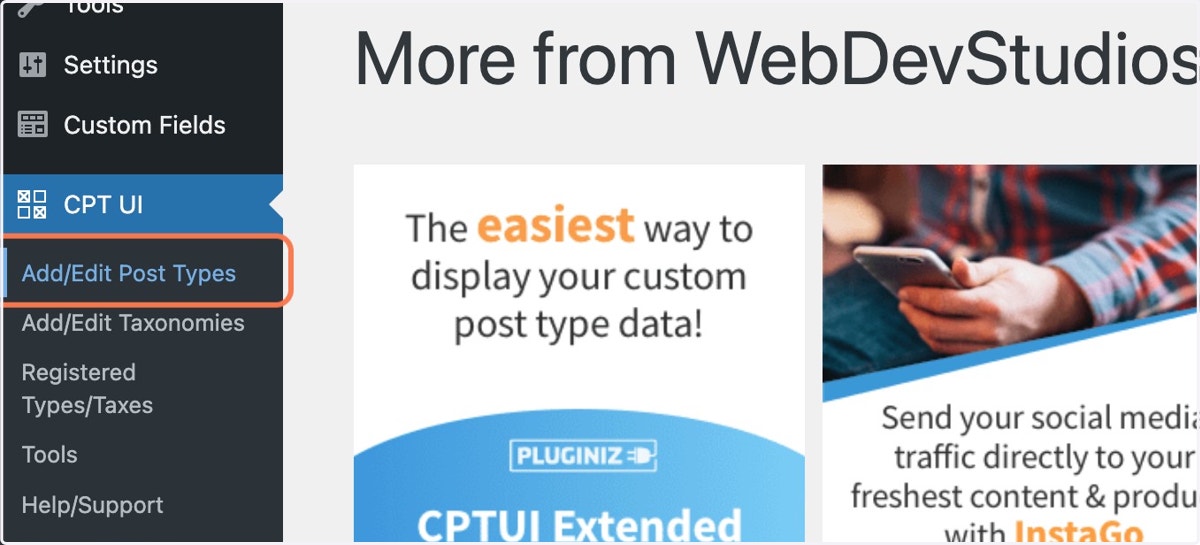
  15. 15. Click on Add/Edit Post Types

    Click on Add/Edit Post Types
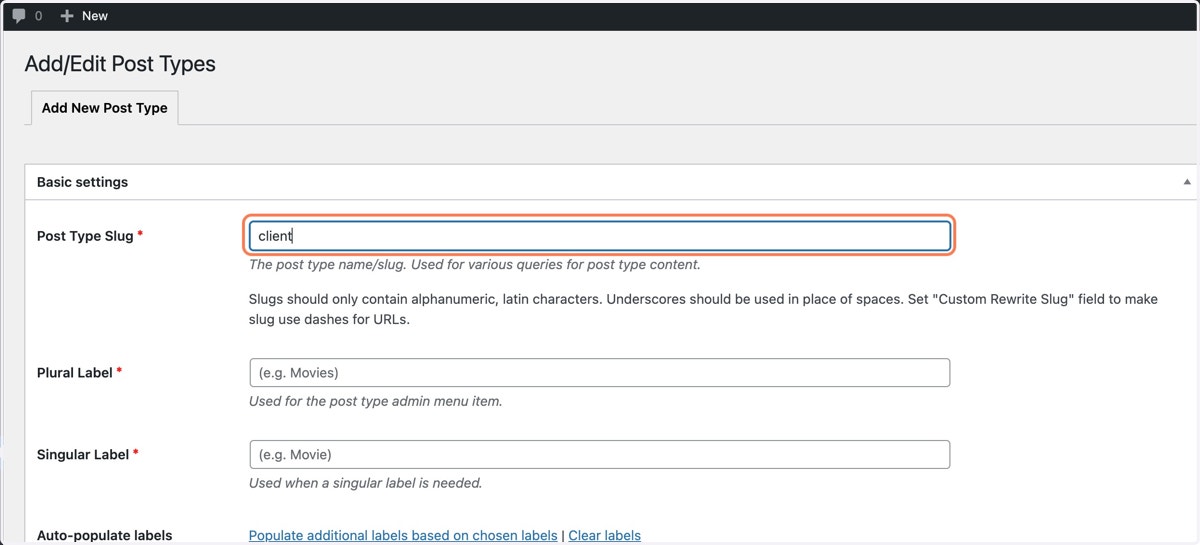
  16. 16. Type "client"

    Type "client"
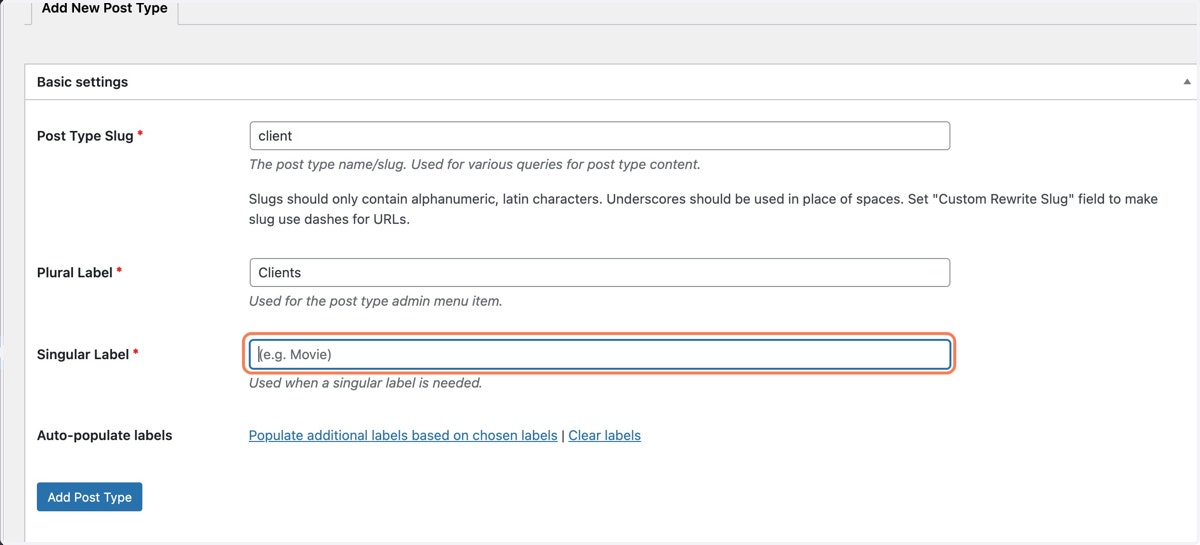
  17. 17. Type "Clients"

    Type "Clients"
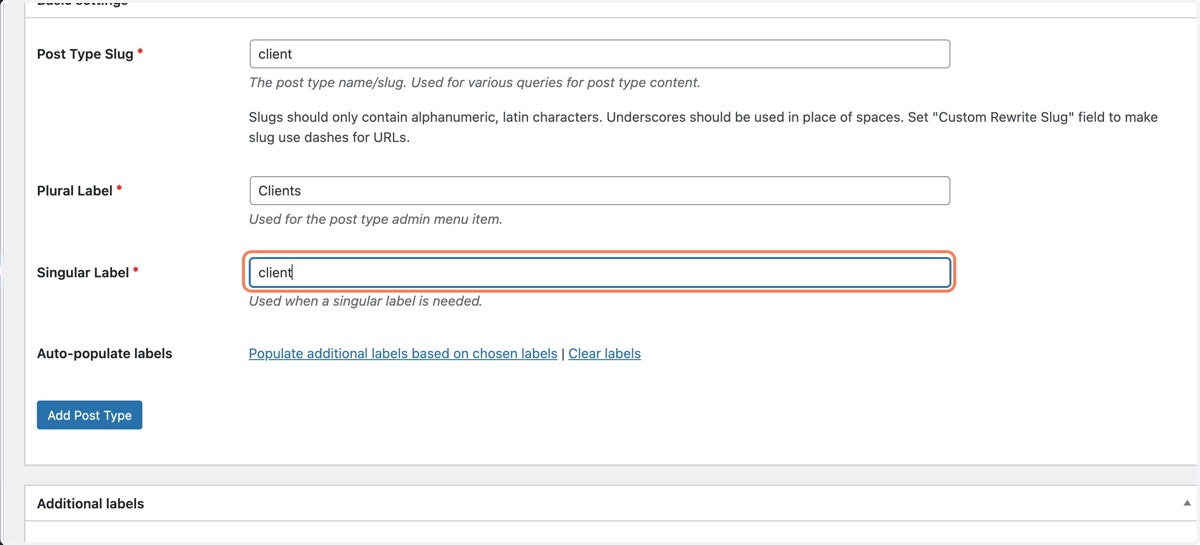
  18. 18. Type "client"

    Type "client"
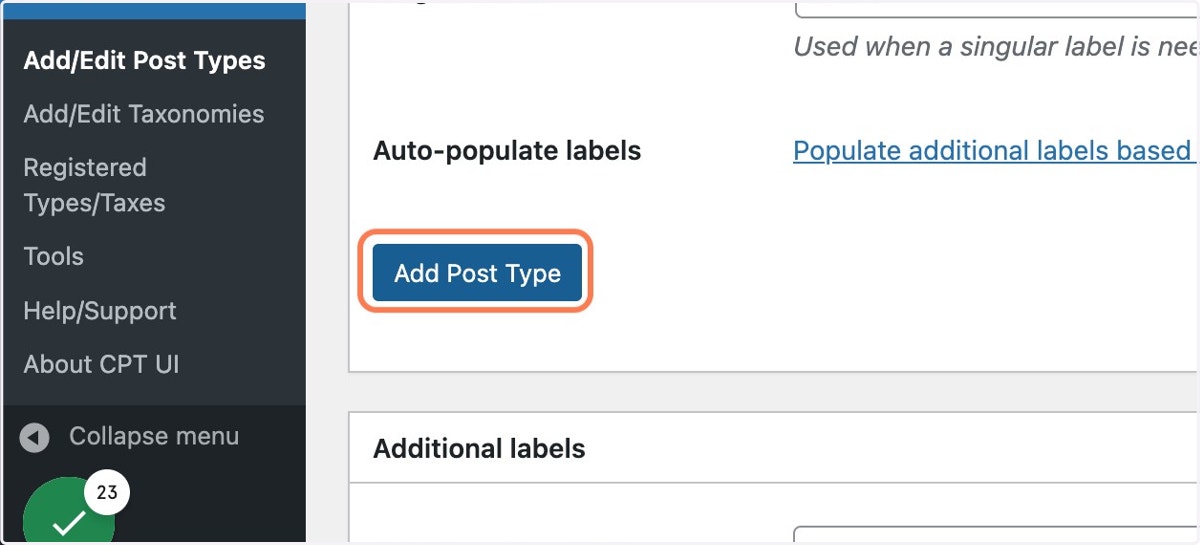
  19. 19. Click on Add Post Type

    Click on Add Post Type
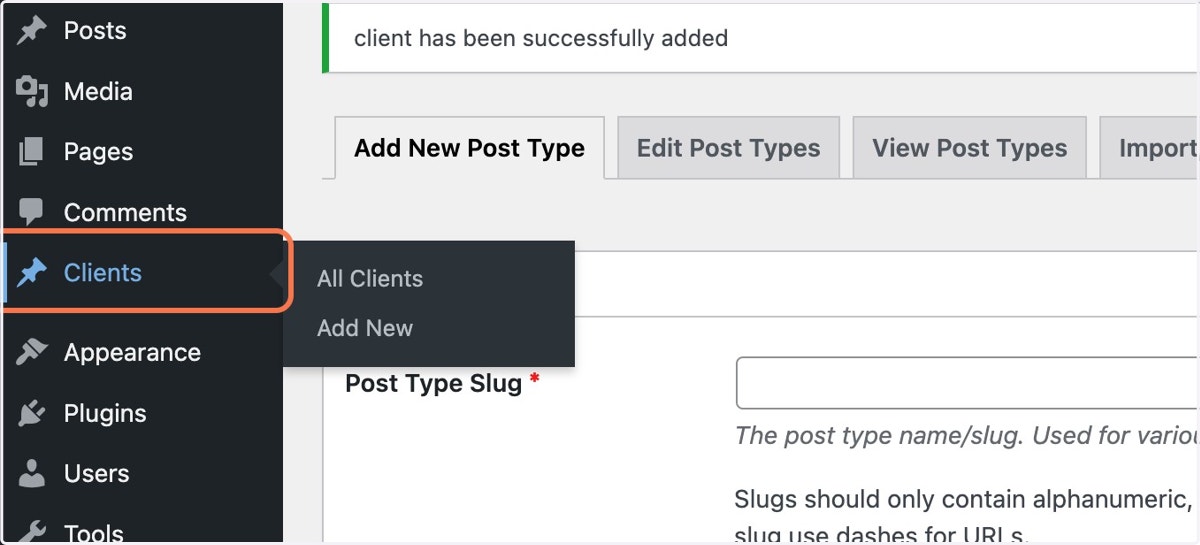
  20. 20. Click on Clients

    Click on Clients
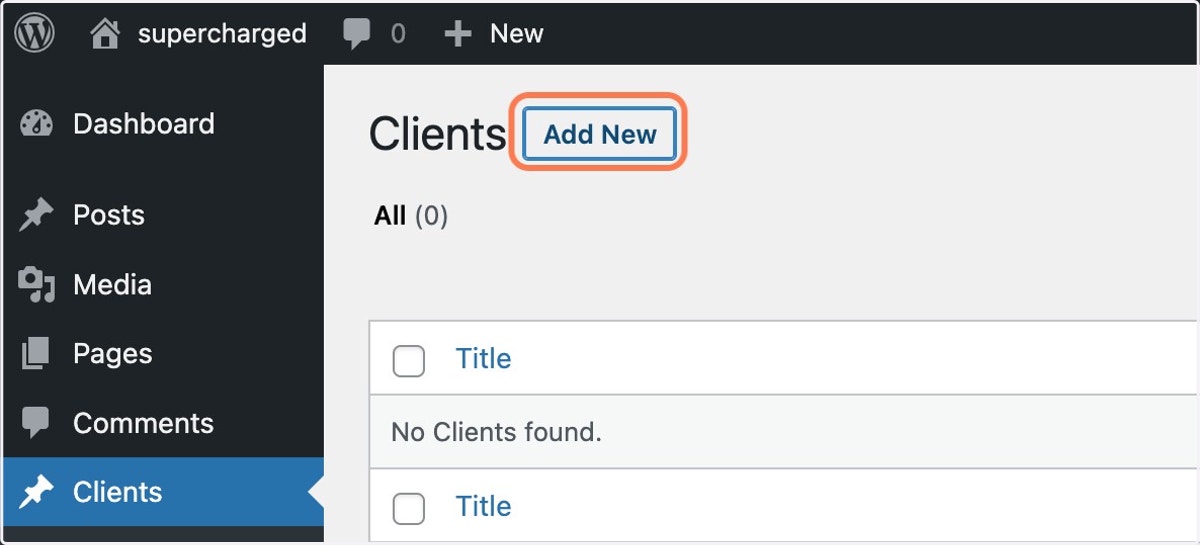
  21. 21. Click on Add New

    Click on Add New
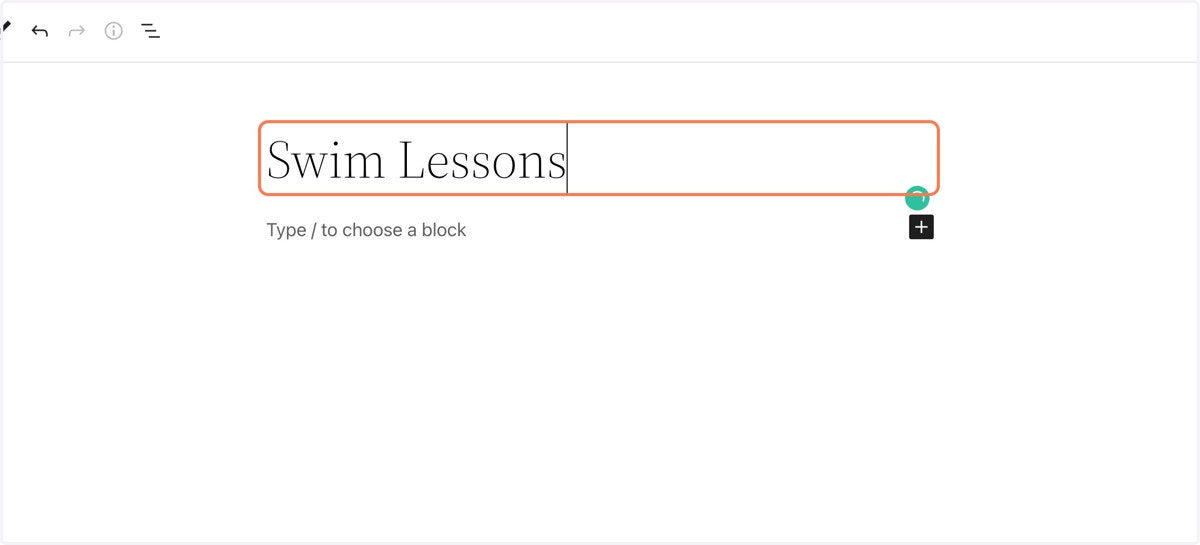
  22. 22. Type in highlight

    Type in highlight
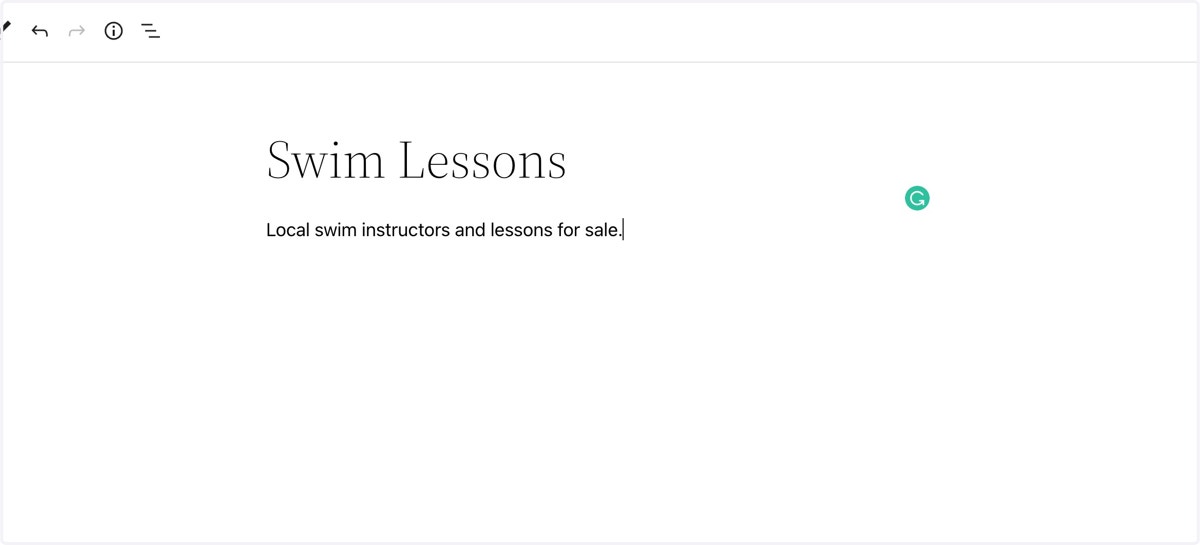
  23. 23. Type in highlight

    Type in highlight
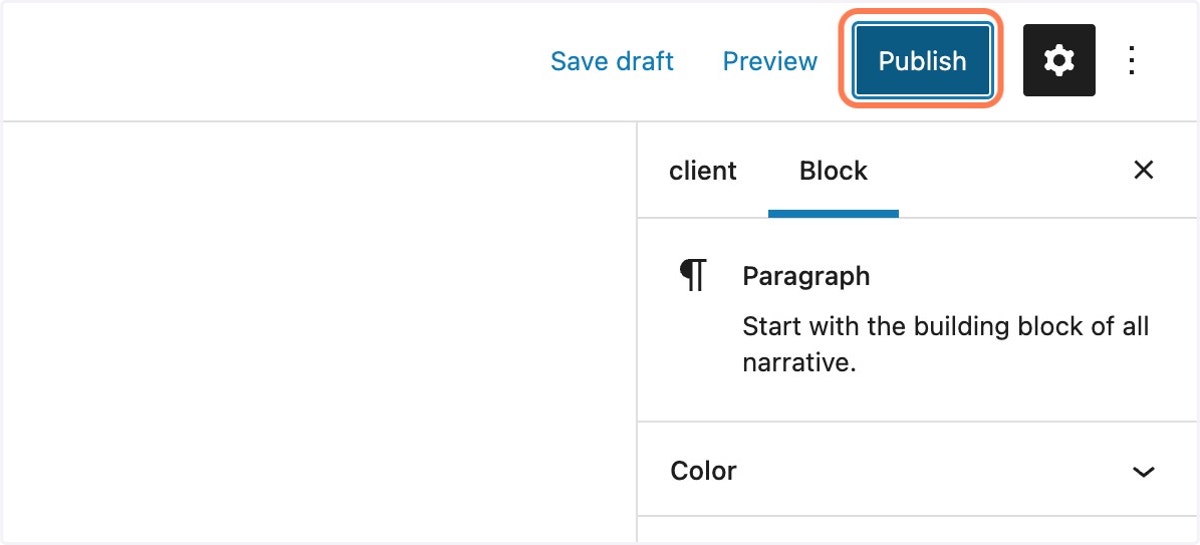
  24. 24. Click on Publish

    Click on Publish
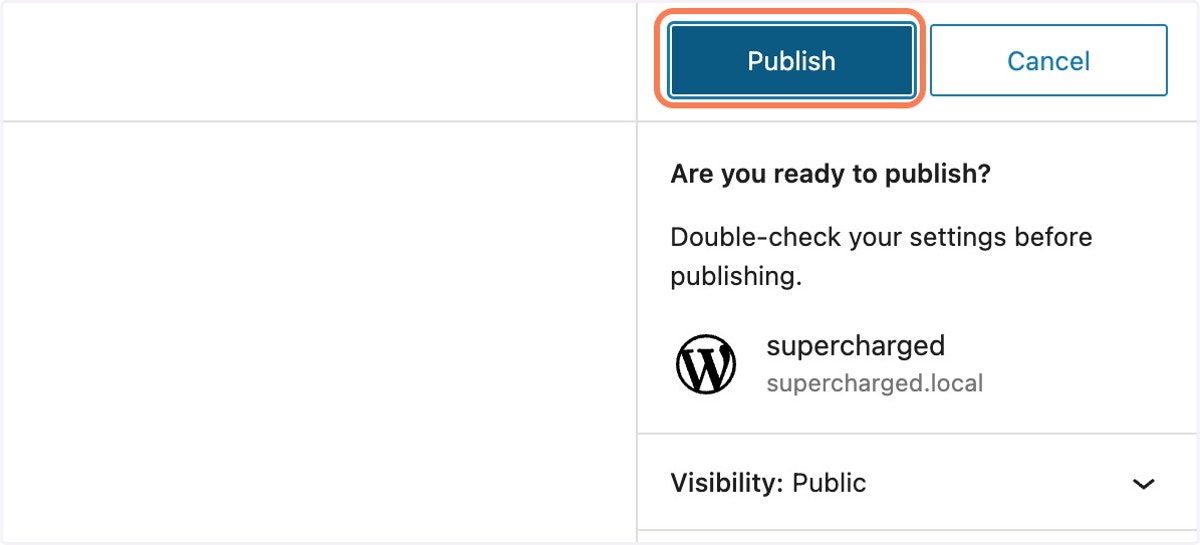
  25. 25. Click on Publish

    Click on Publish
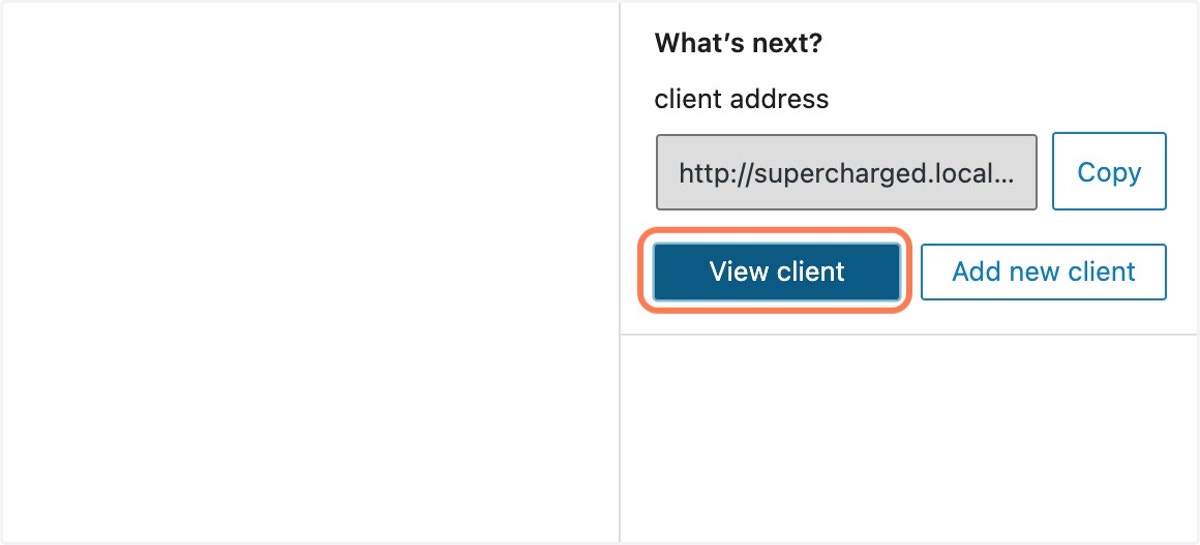
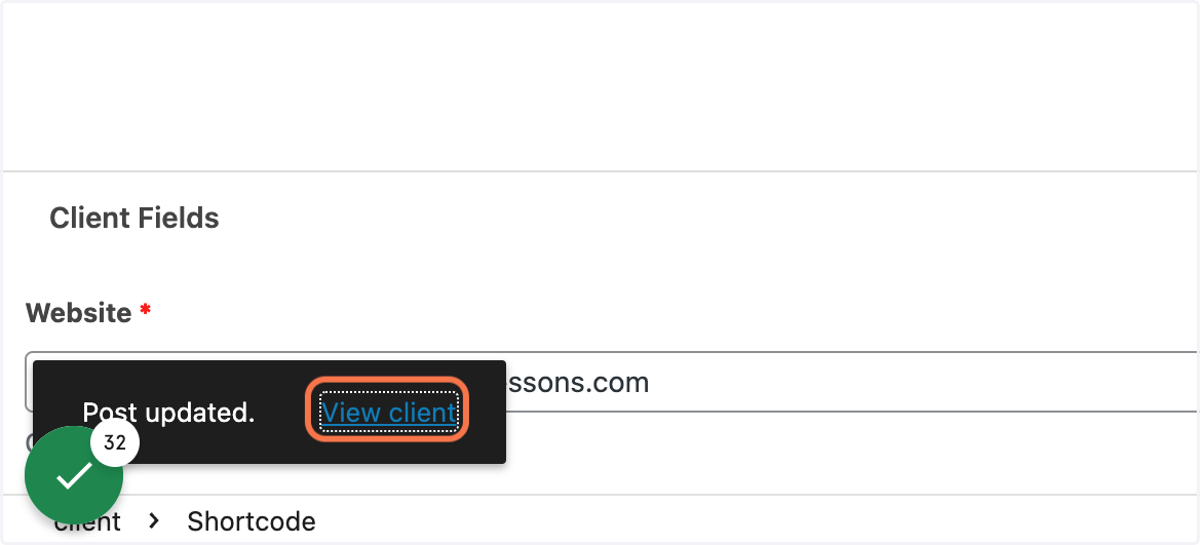
  26. 26. Click on View client

    Click on View client
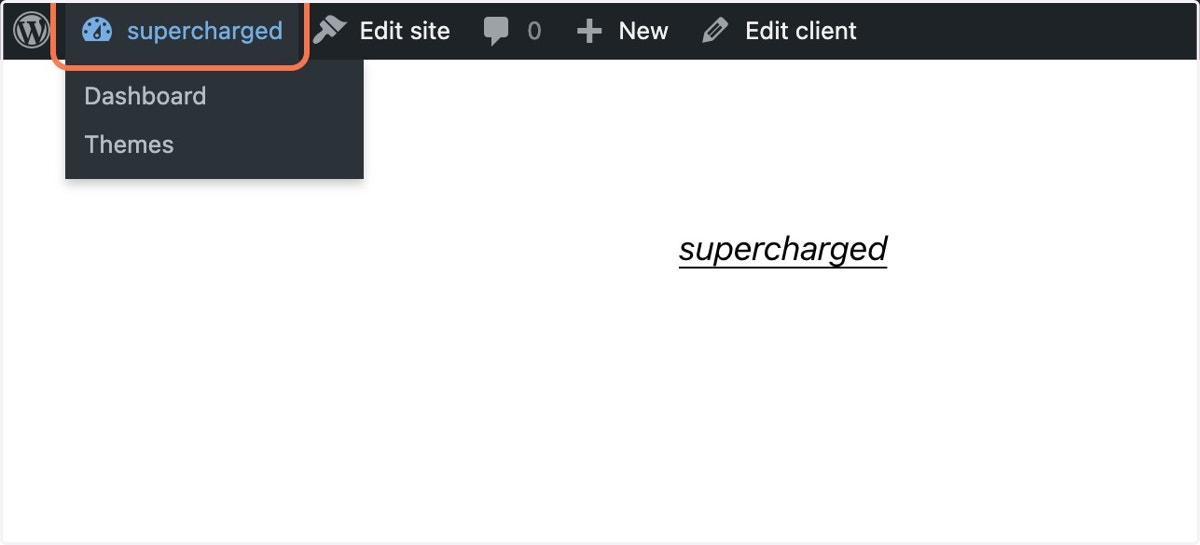
  27. 27. Go back to Backend Admin

    Go back to Backend Admin

Supercharged

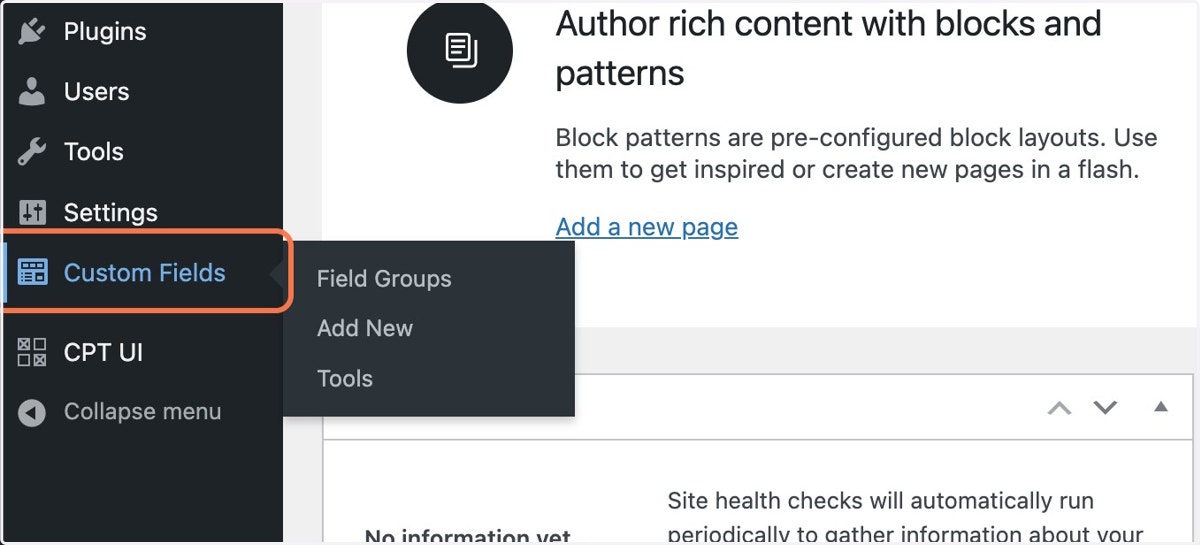
  1. 28. Click on Custom Fields

    Click on Custom Fields
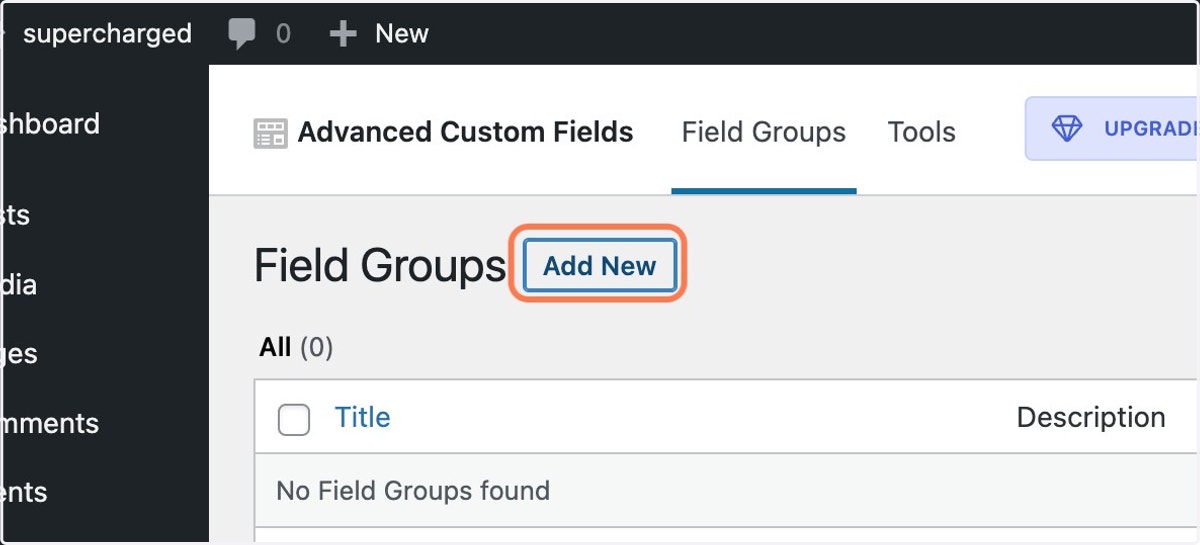
  2. 29. Click on Add New

    Click on Add New
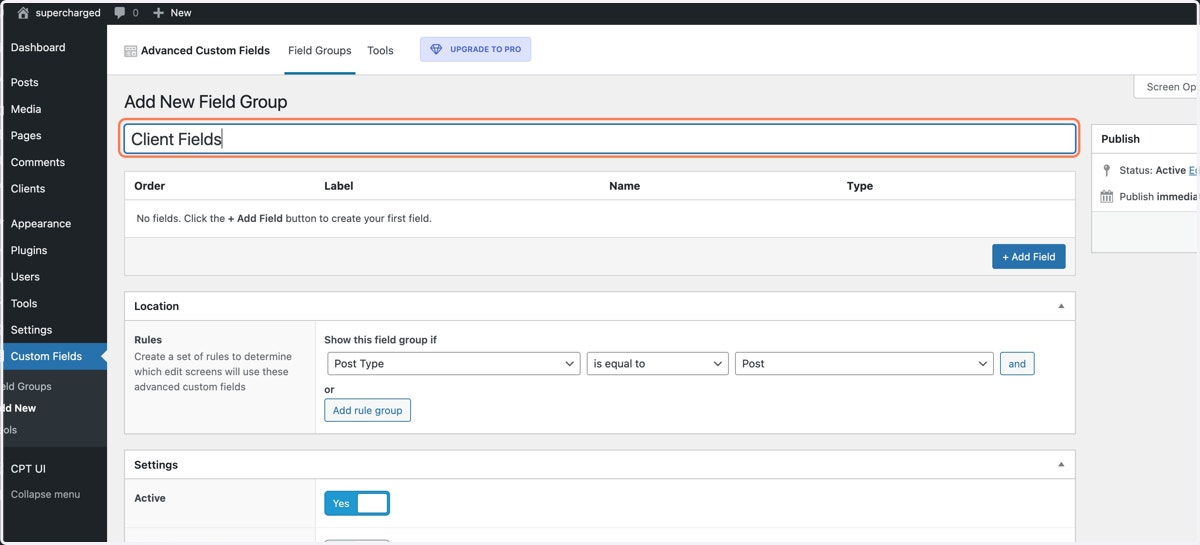
  3. 30. Type "Client Fields"

    Type "Client Fields"
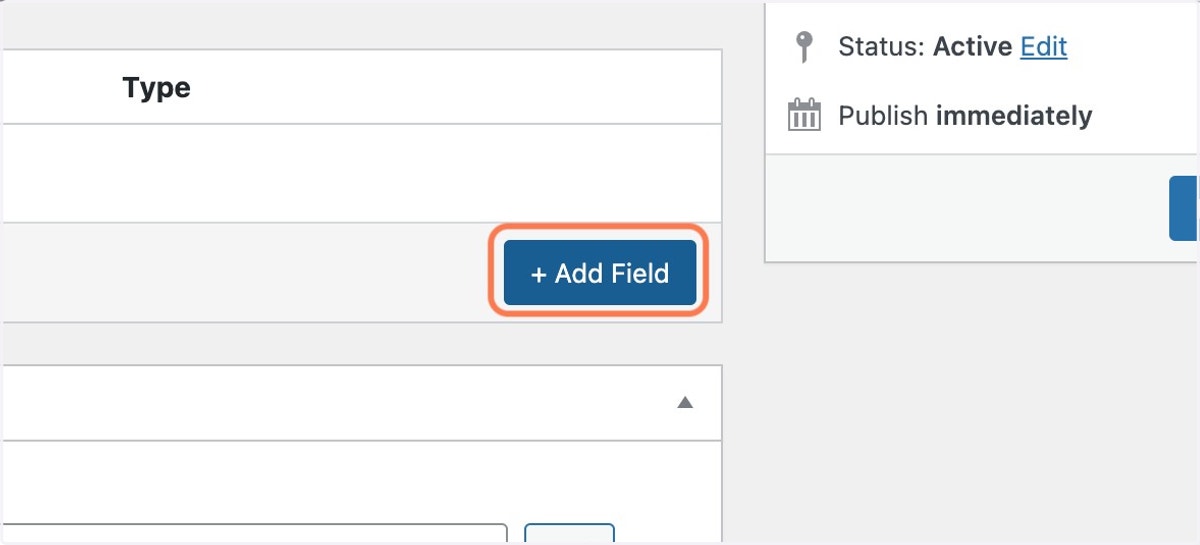
  4. 31. Click on + Add Field

    Click on + Add Field
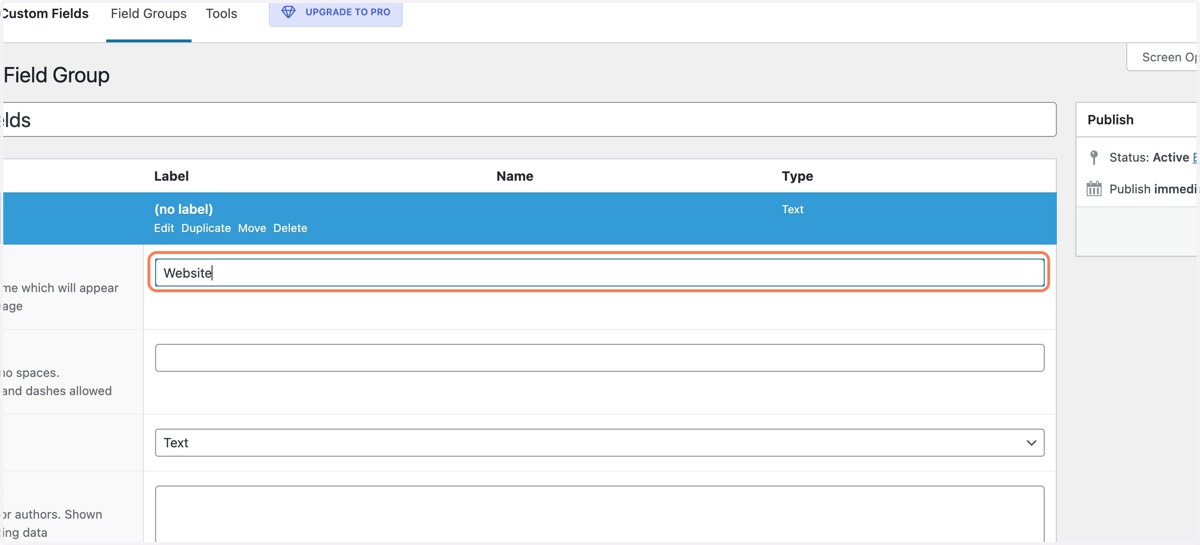
  5. 32. Type "Website"

    Type "Website"
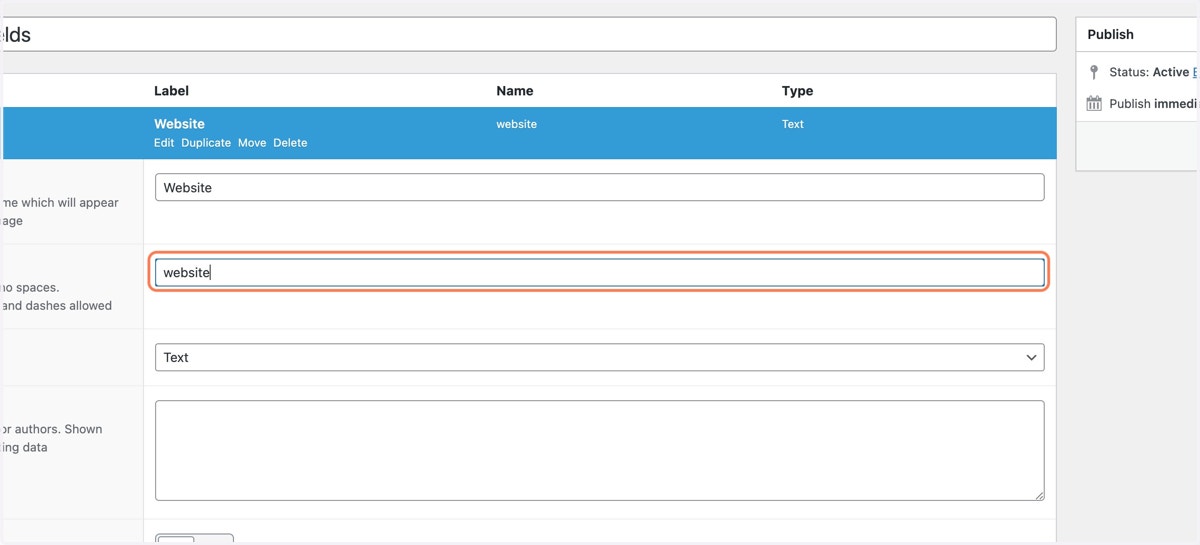
  6. 33. Click on Field Name

    Click on Field Name
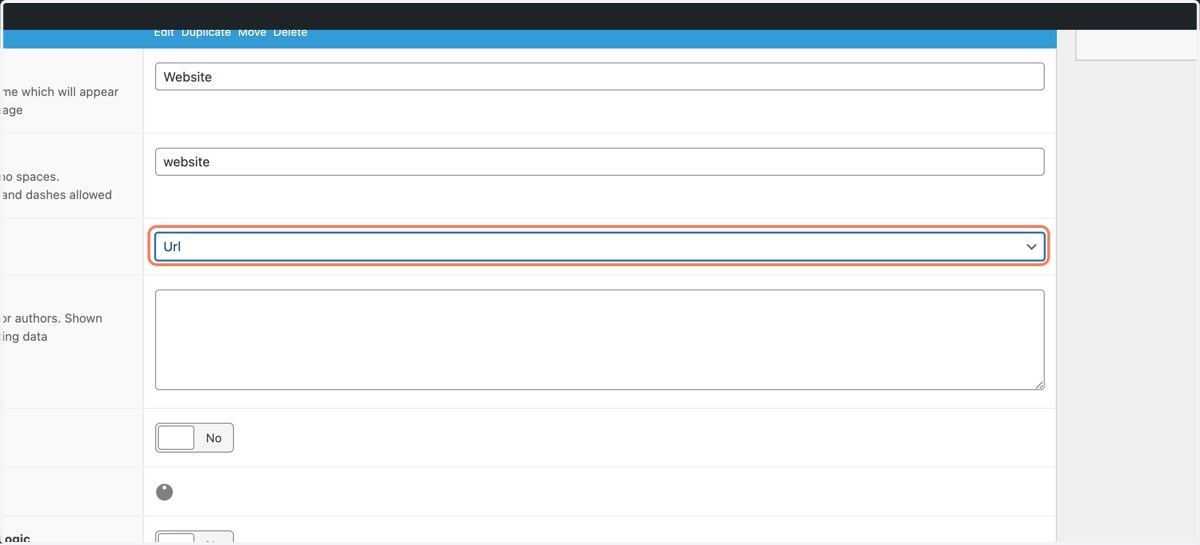
  7. 34. Select Url from Field Type

    Select Url from Field Type
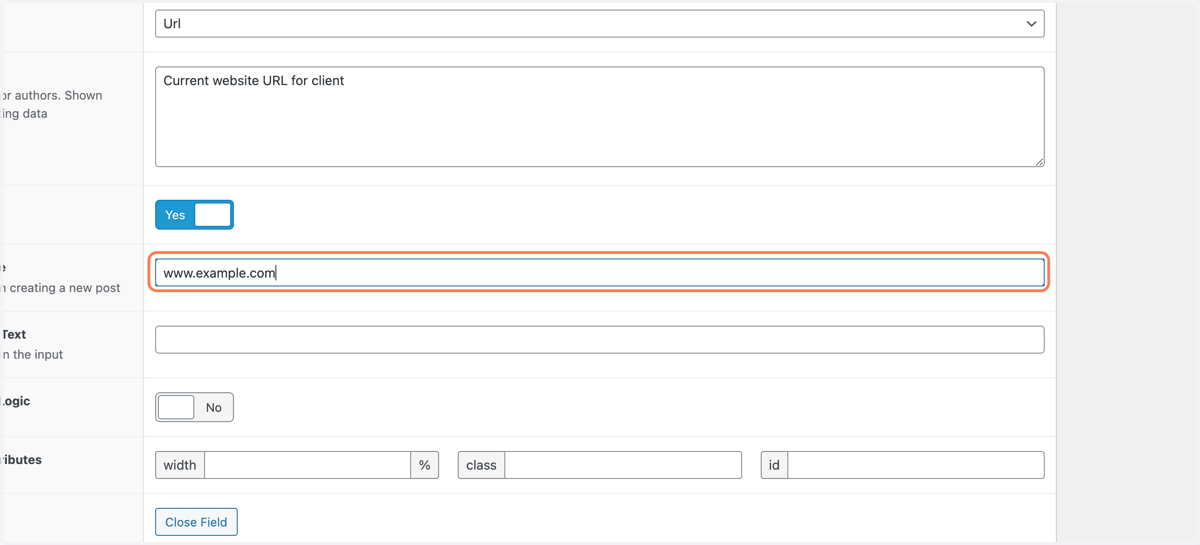
  8. 35. Type "Current website URL for client"
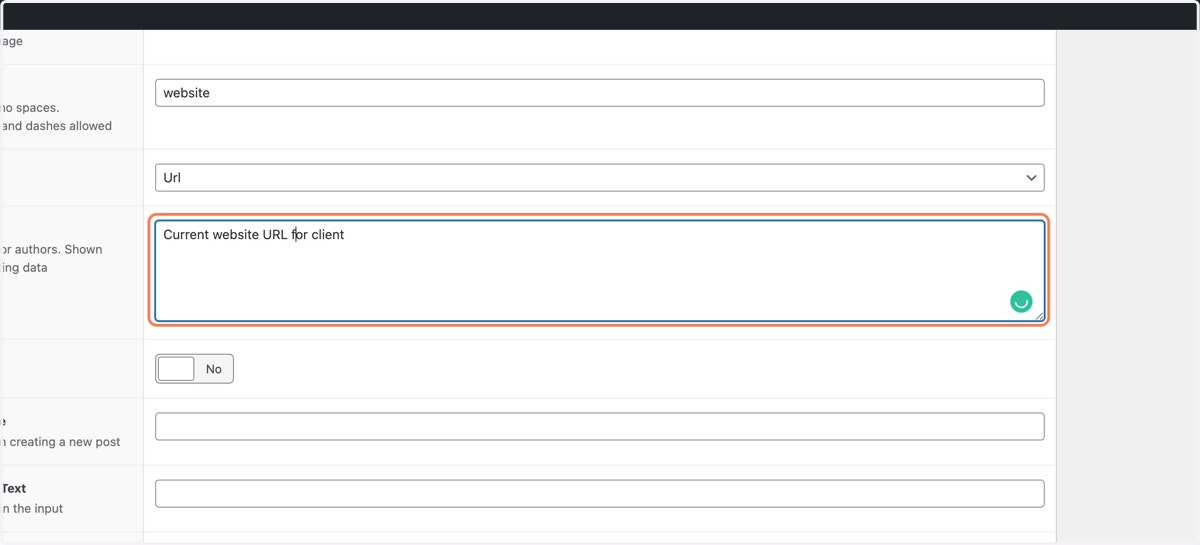
    Type "Current website URL for client"
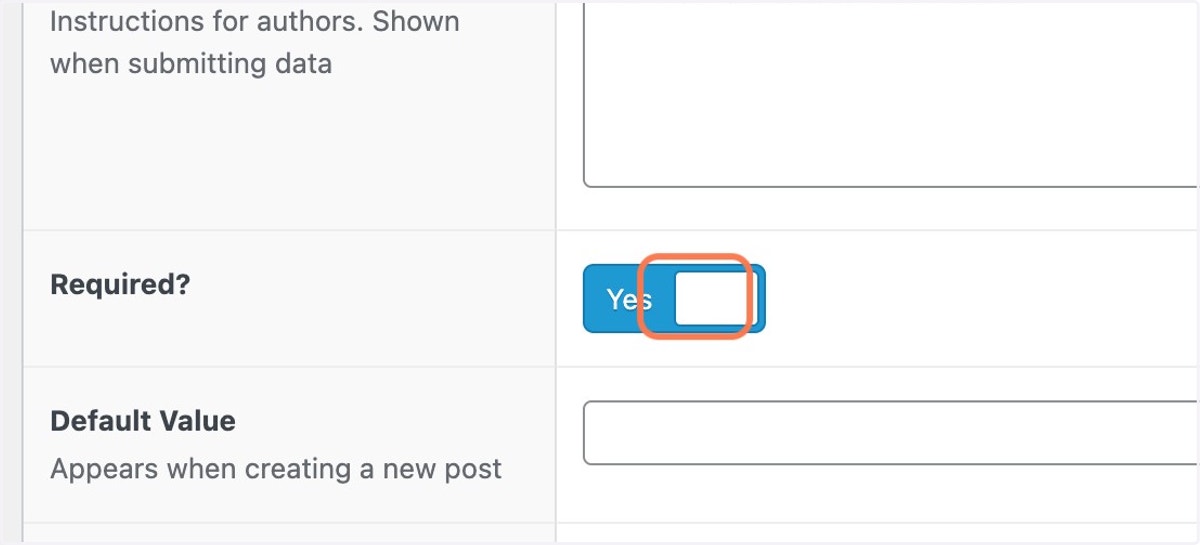
  9. 36. Check Required?

    Check Required?
  10. 37. Type "www.example.com"

    Type "www.example.com"
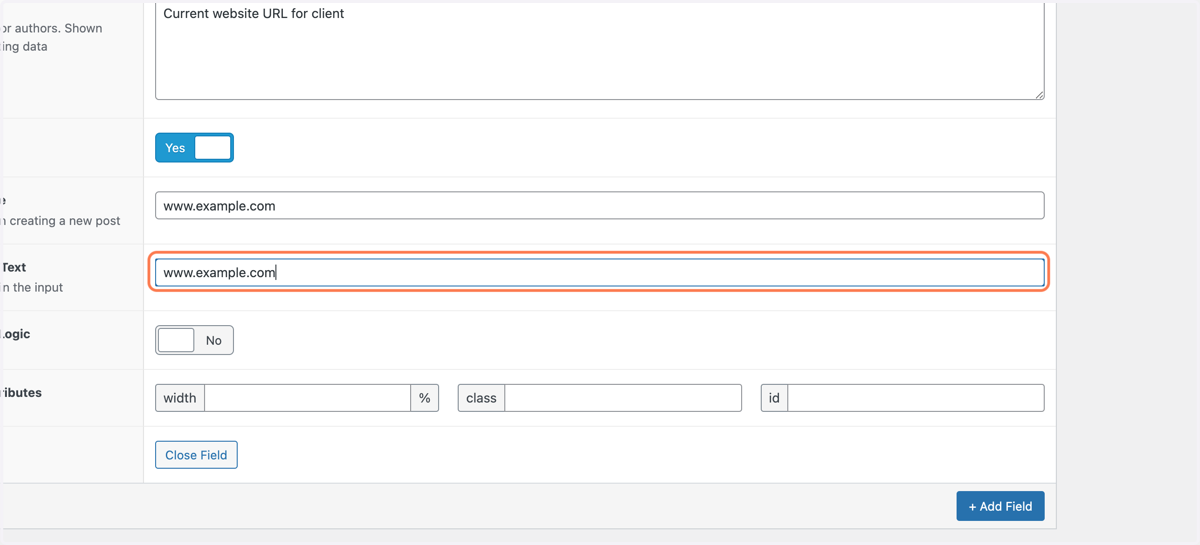
  11. 38. Type "www.example.com"

    Type "www.example.com"
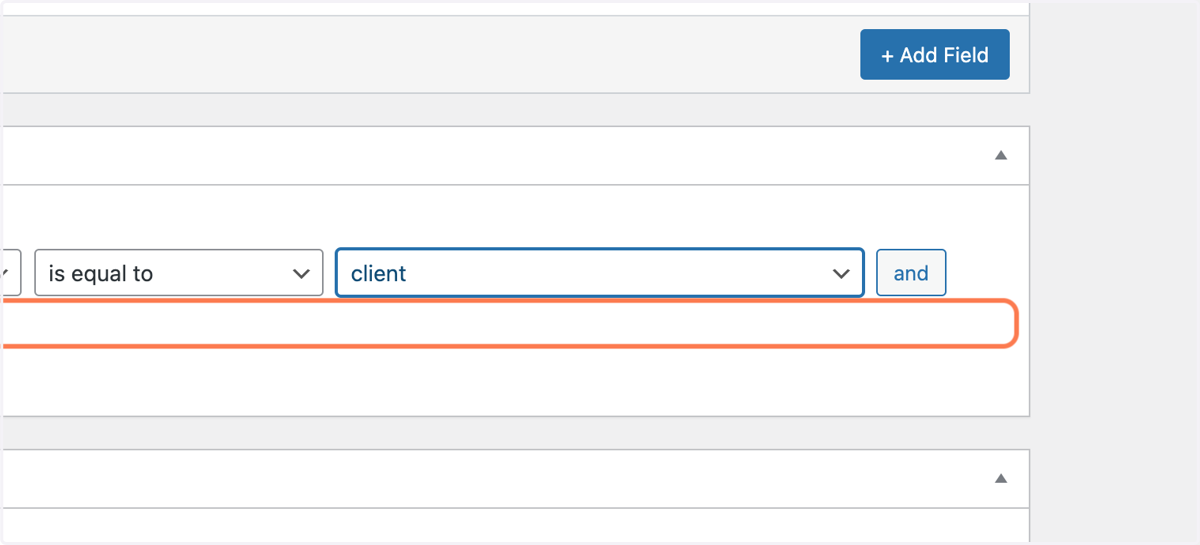
  12. 39. Select client

    Select client
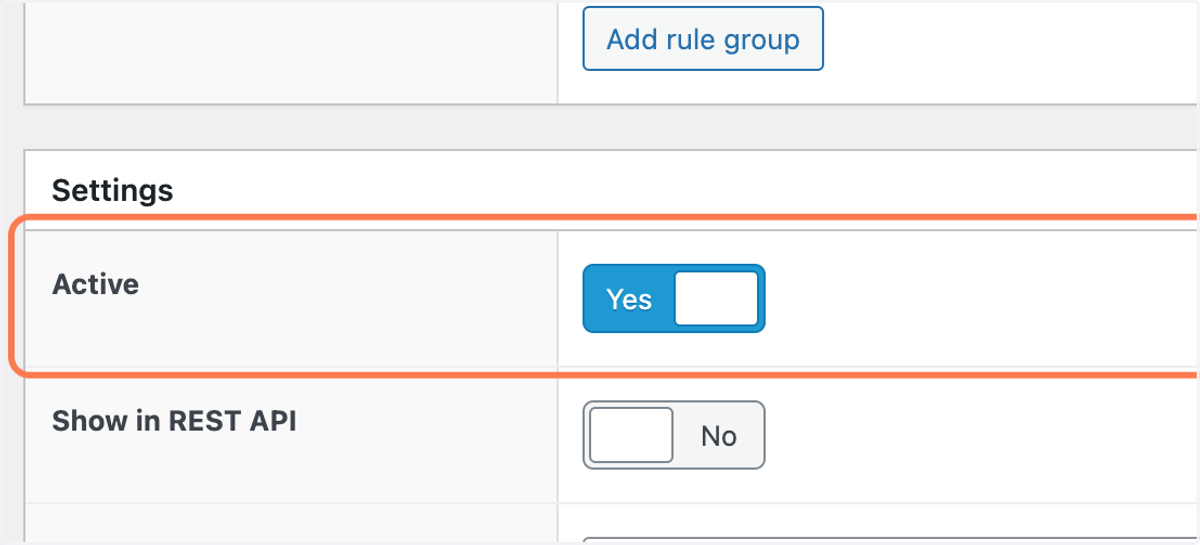
  13. 40. Check Active

    Check Active
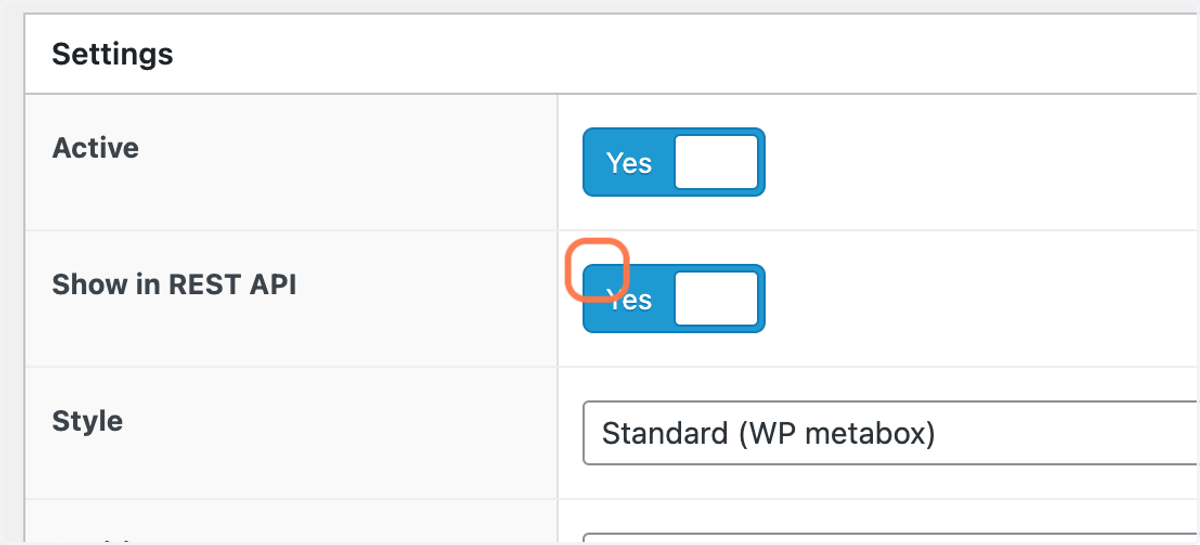
  14. 41. Check Show in REST API

    Check Show in REST API
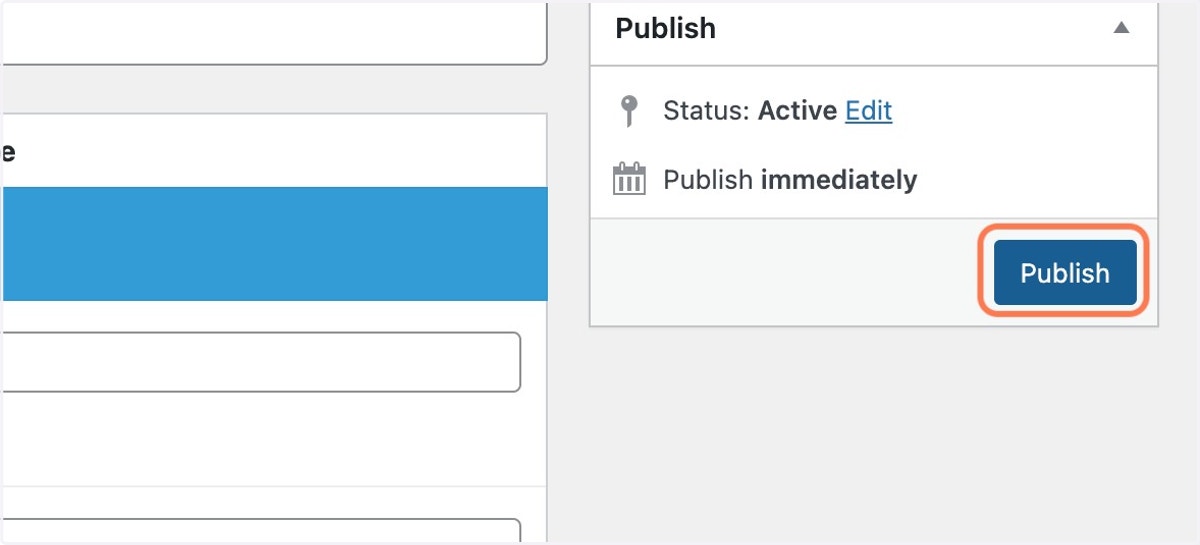
  15. 42. Click on publish

    Click on publish
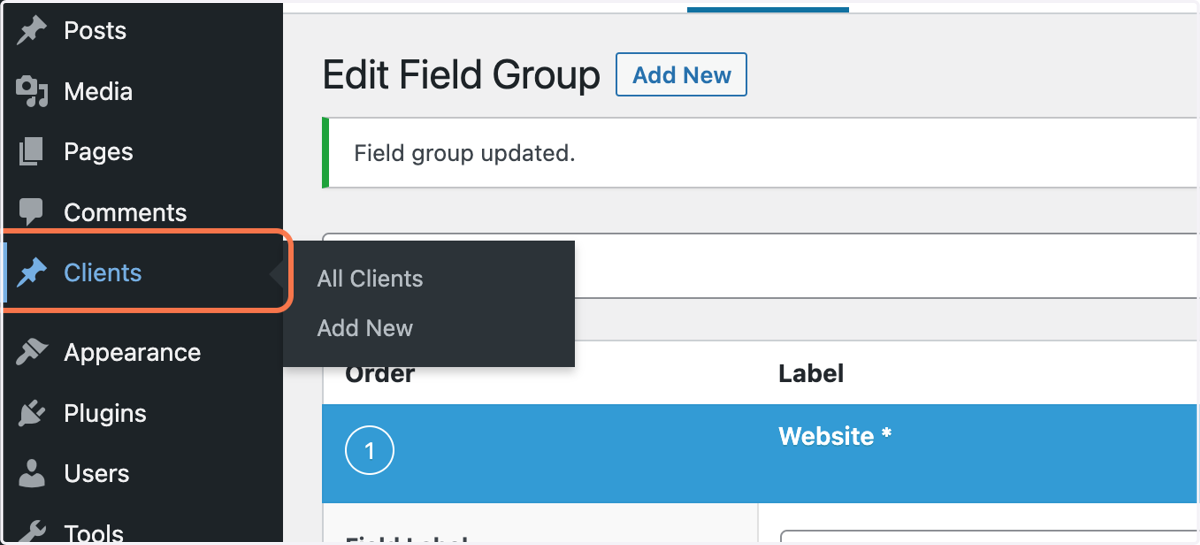
  16. 43. Click on Clients

    Click on Clients
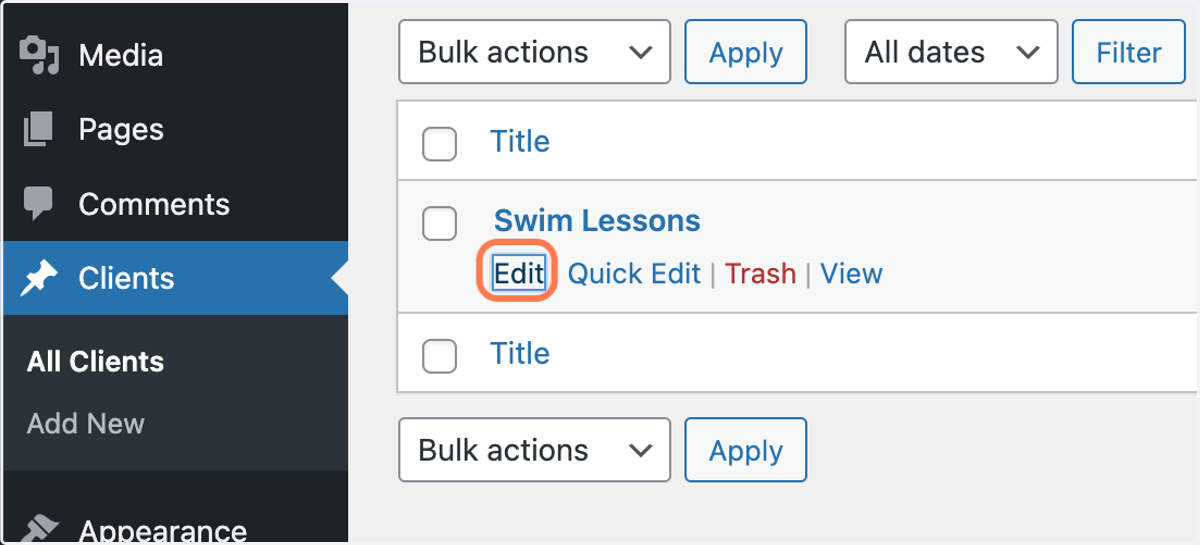
  17. 44. Click on Edit

    Click on Edit
  18. 45. Type "www.superchargedswimlessons.com"
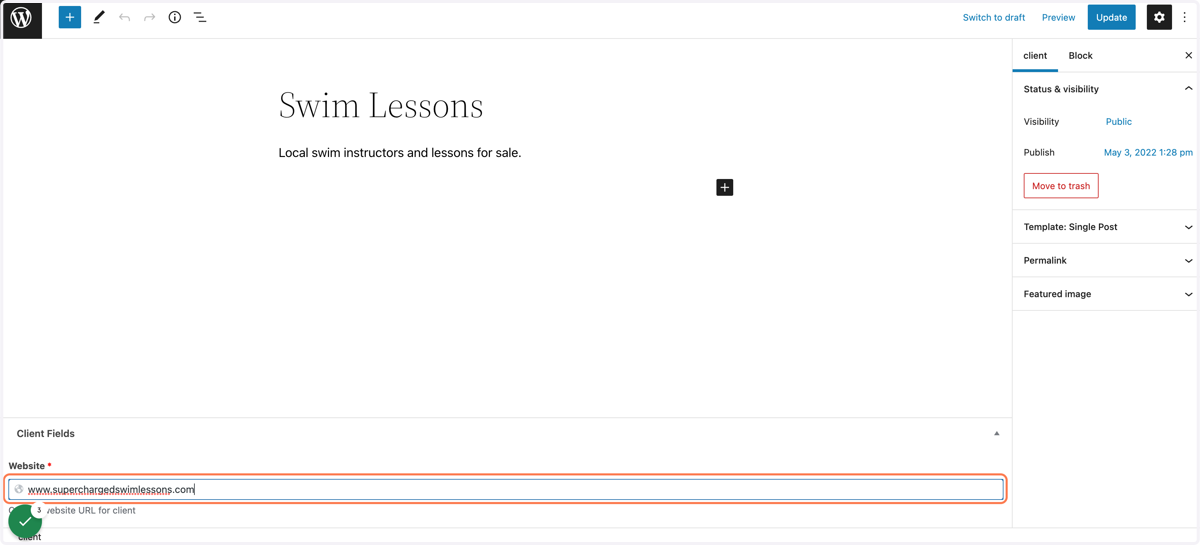
    Type "www.superchargedswimlessons.com"
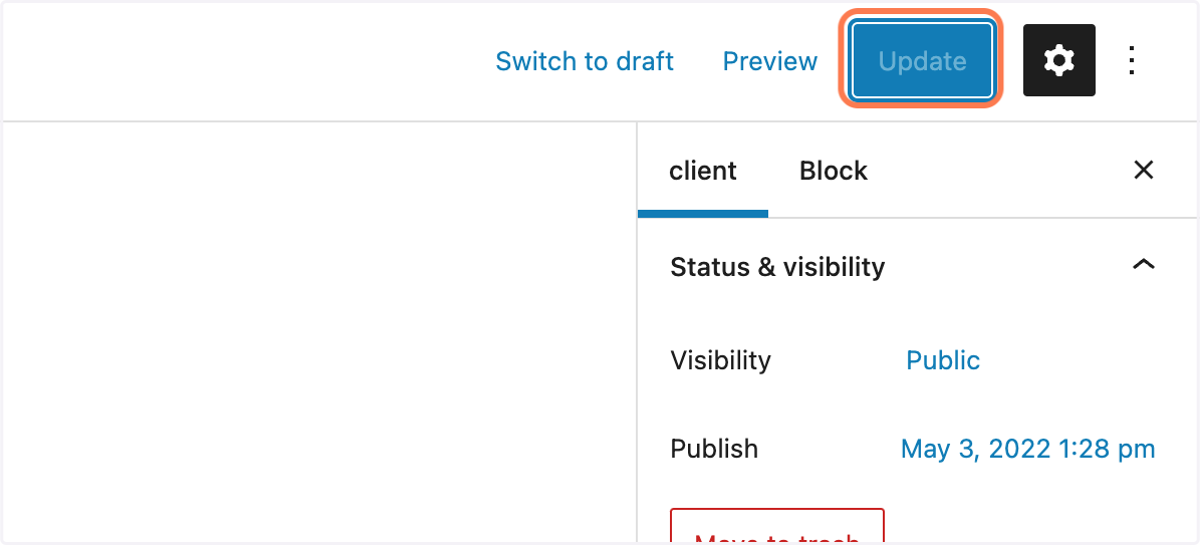
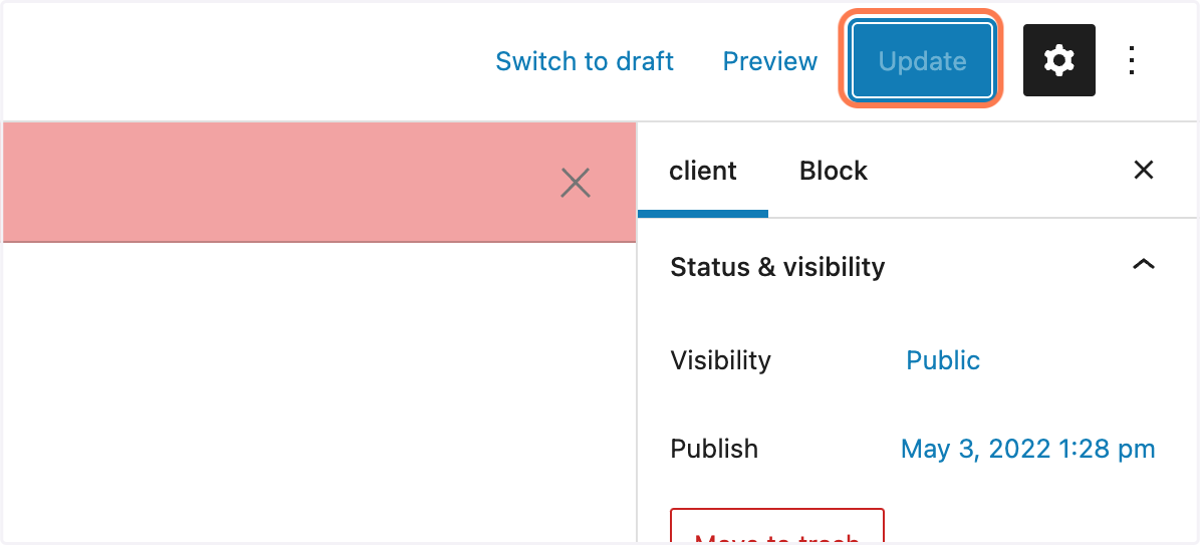
  19. 46. Click on Update

    Click on Update
  20. 47. Type "http://www.superchargedswimlessons.com"
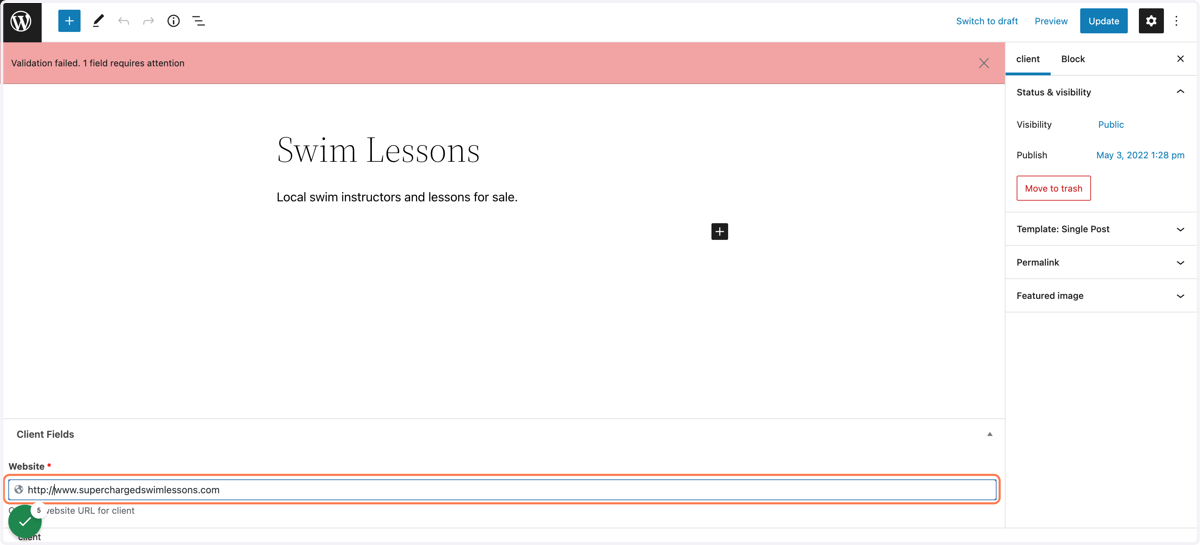
    Type "http://www.superchargedswimlessons.com"
  21. 48. Click on Update

    Click on Update
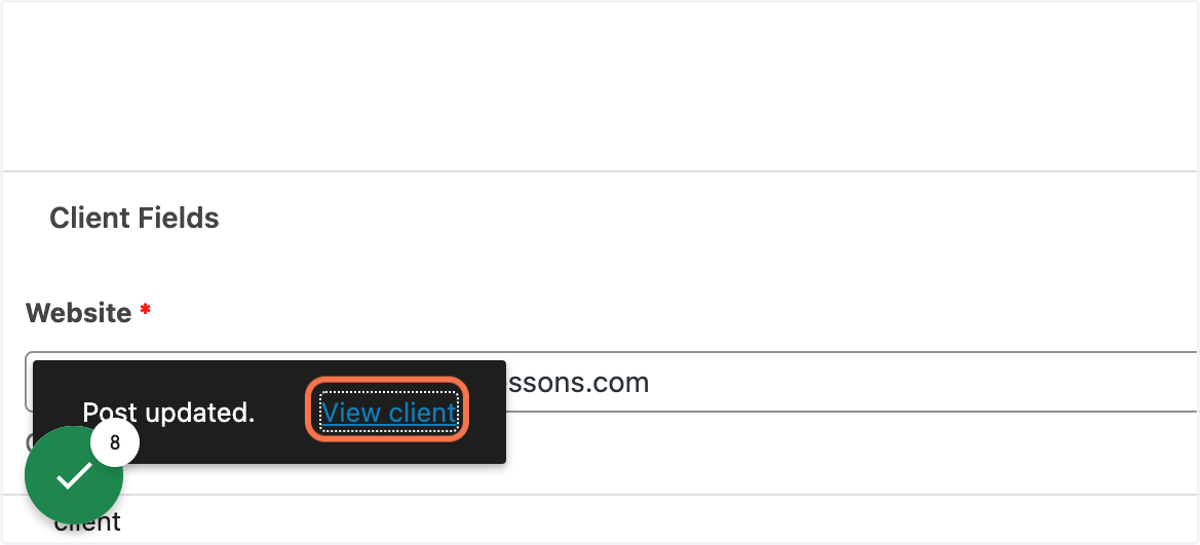
  22. 49. Click on View client

    Click on View client
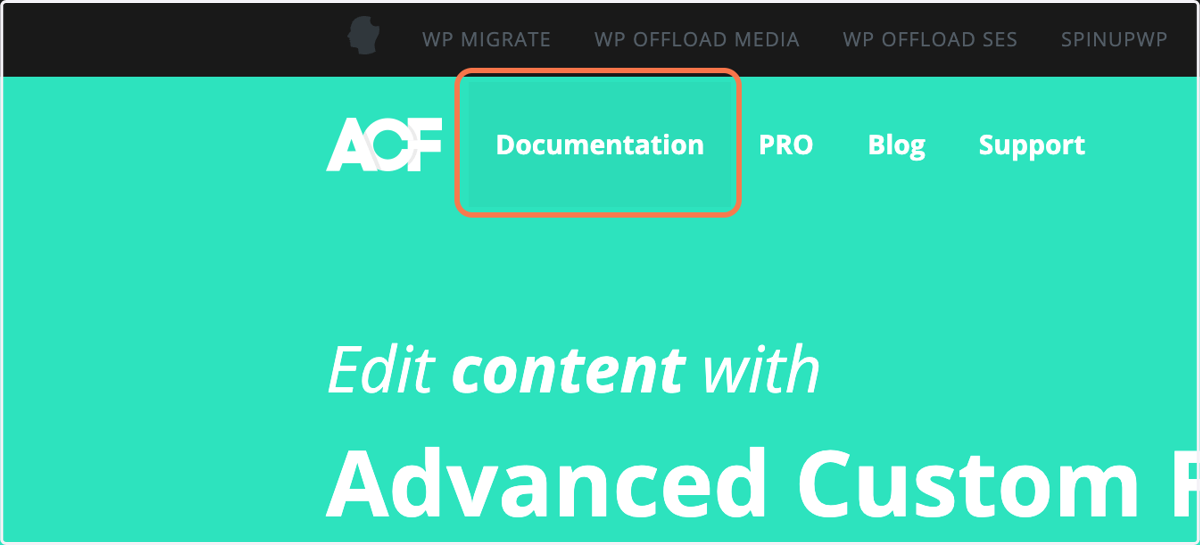
  23. 50. Click on Documentation

    Click on Documentation
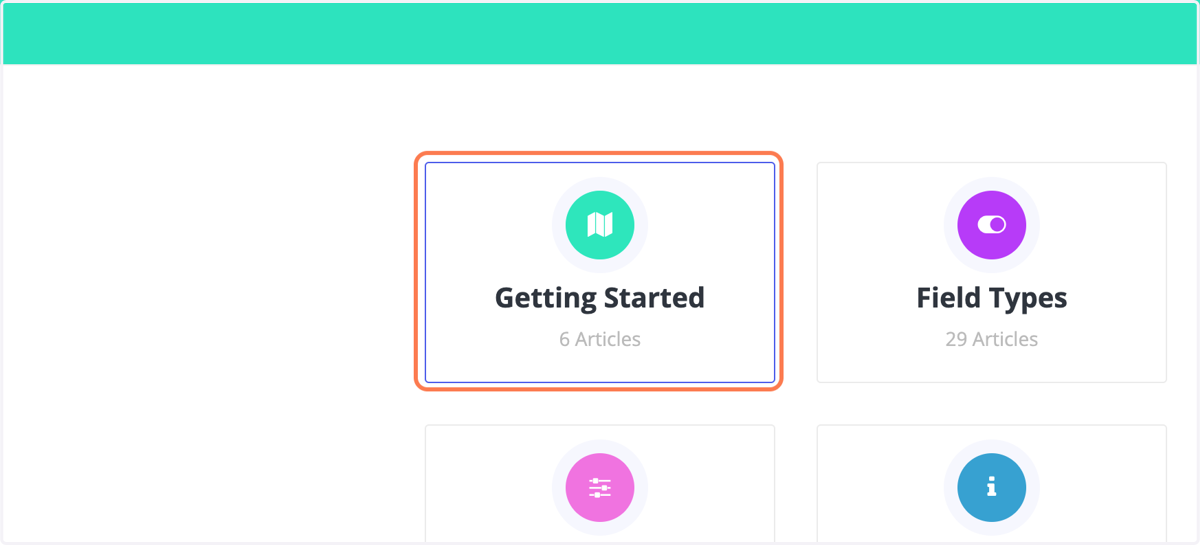
  24. 51. Click on Getting Started…

    Click on Getting Started…
  25. 52. Click on Displaying values in your theme
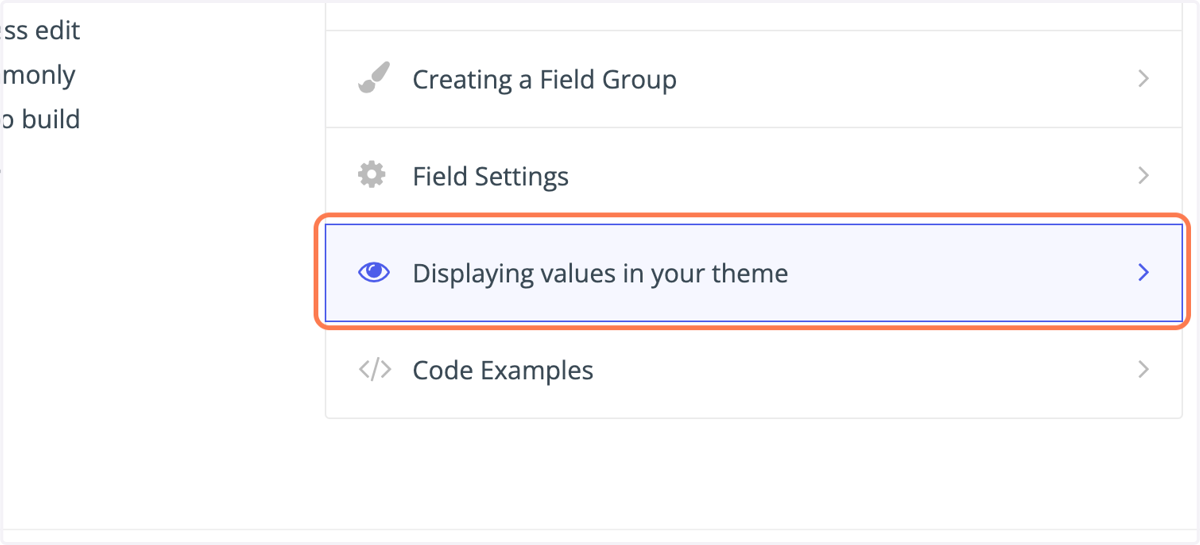
    Click on Displaying values in your theme
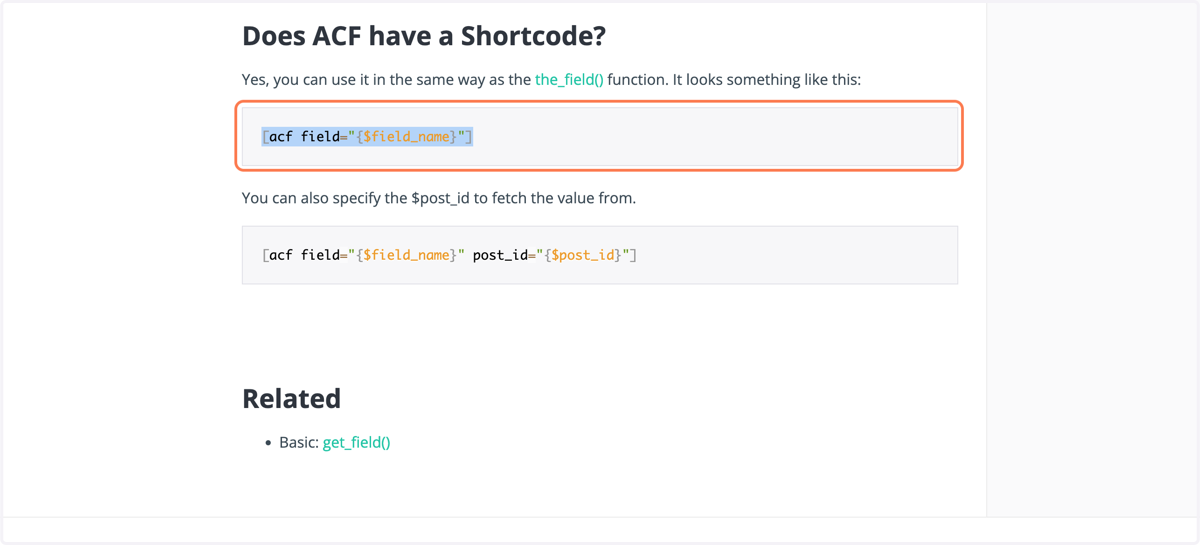
  26. 53. Drag highlighted element

    Drag highlighted element
  27. 54. Go to Swim Lessons – supercharged

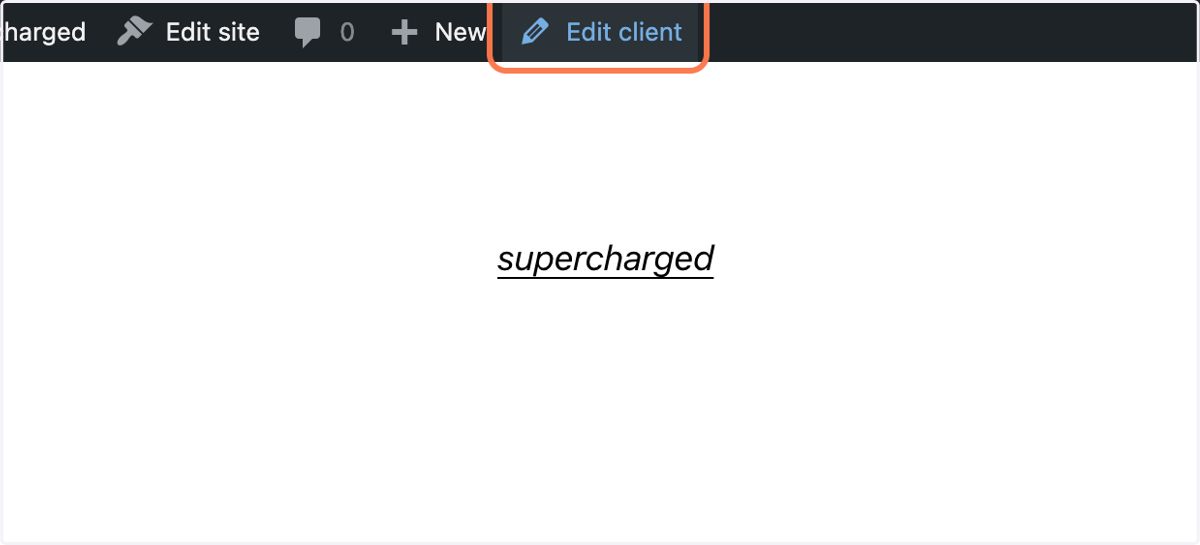
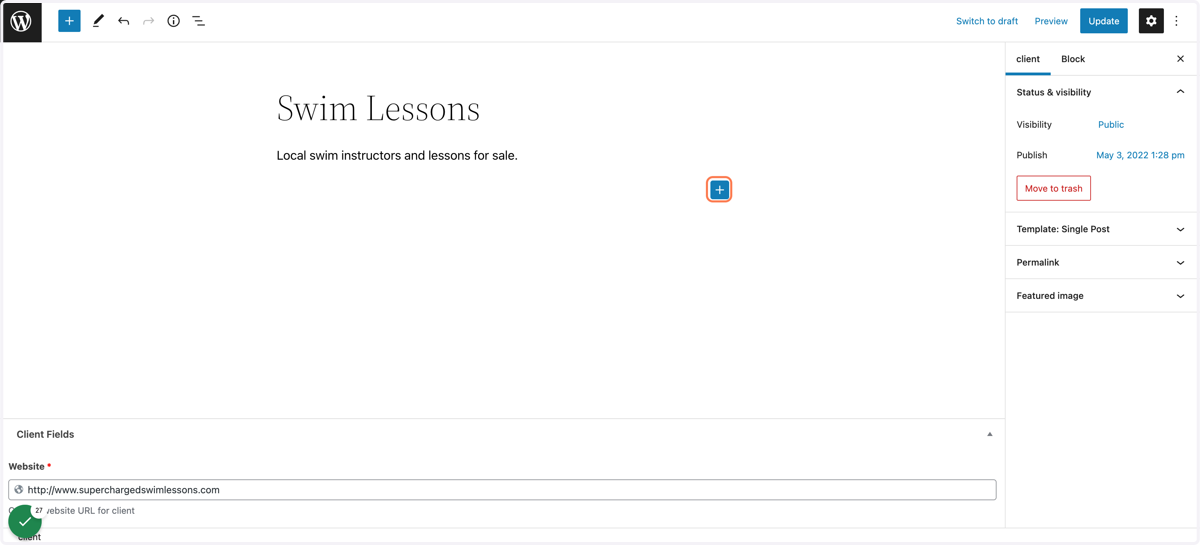
  28. 55. Click on Edit client

    Click on Edit client
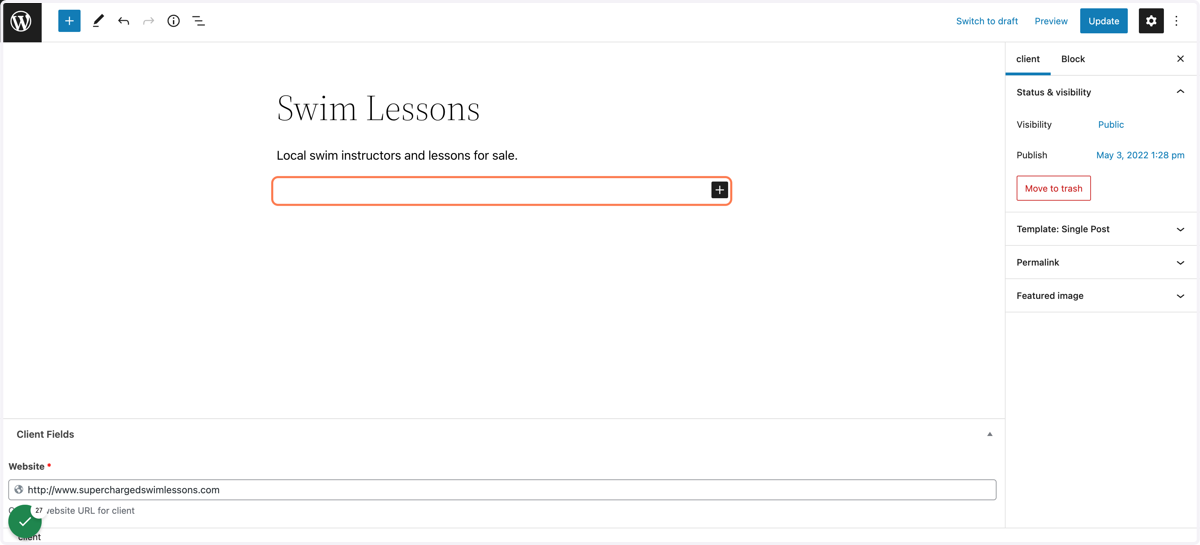
  29. 56. Click on Editor content

    Click on Editor content
  30. 57. Click on Add block

    Click on Add block
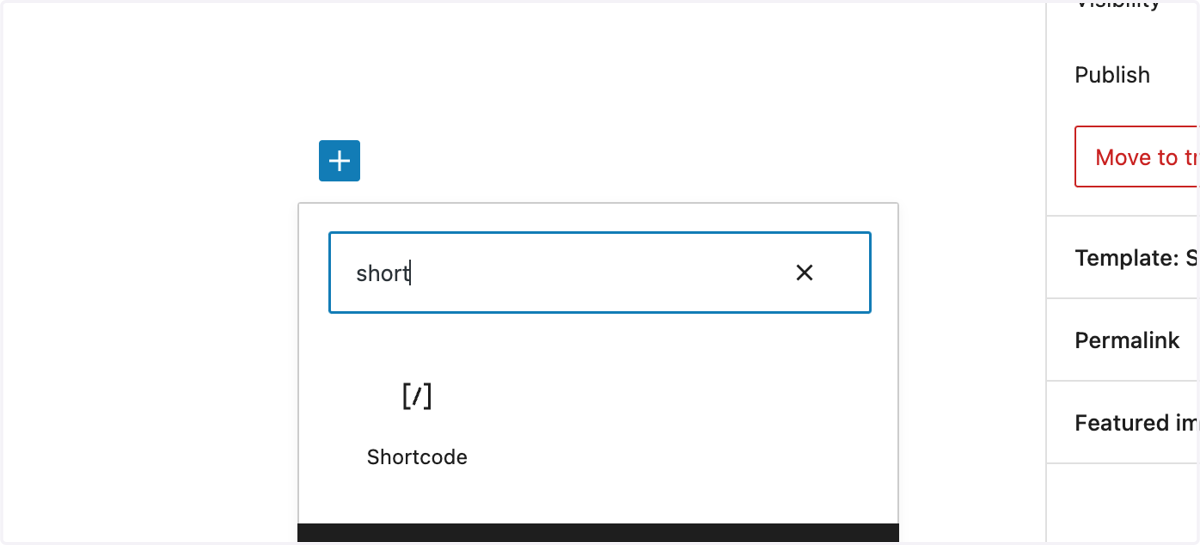
  31. 58. Type "short"

    Type "short"
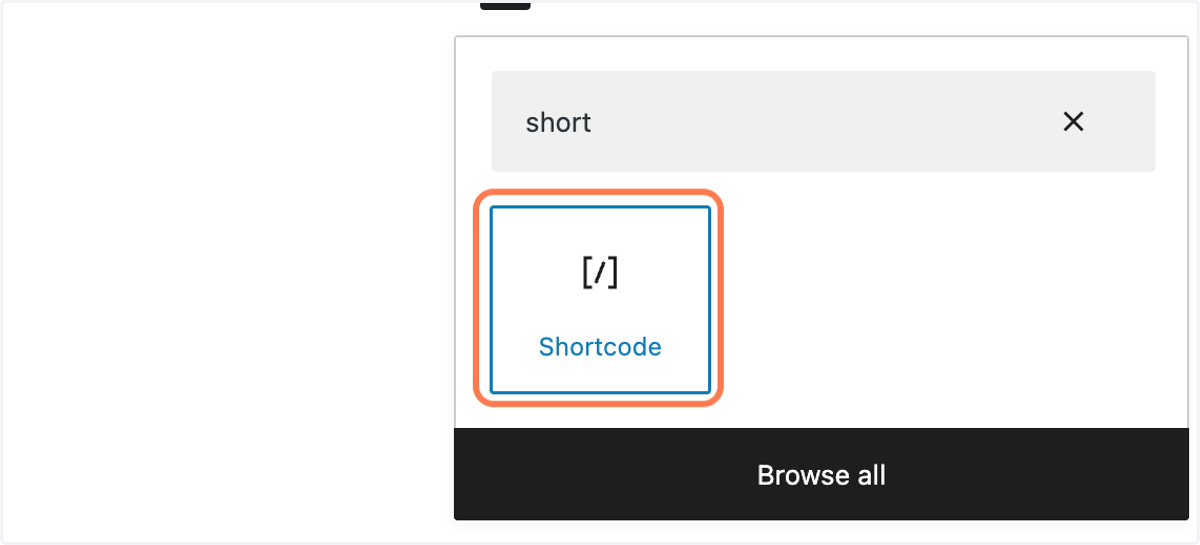
  32. 59. Click on Shortcode

    Click on Shortcode
  33. 60. Type "[acf field="website"]" into text area

    Type "[acf field="website"]" into text area
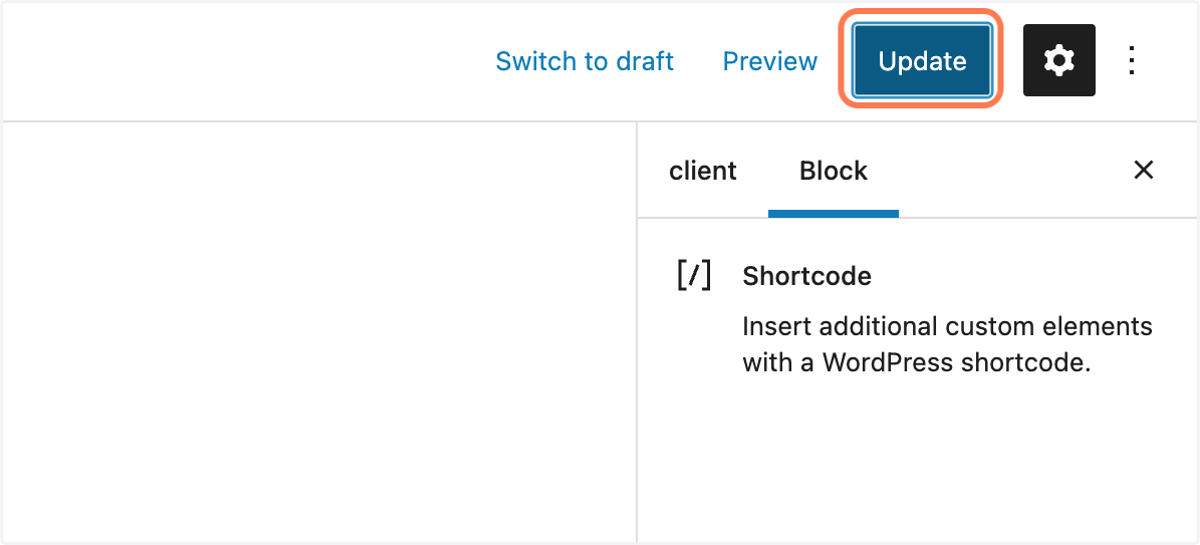
  34. 61. Click on Update

    Click on Update
  35. 62. Click on View client

    Click on View client
  36. 63. Website now shows in page content.
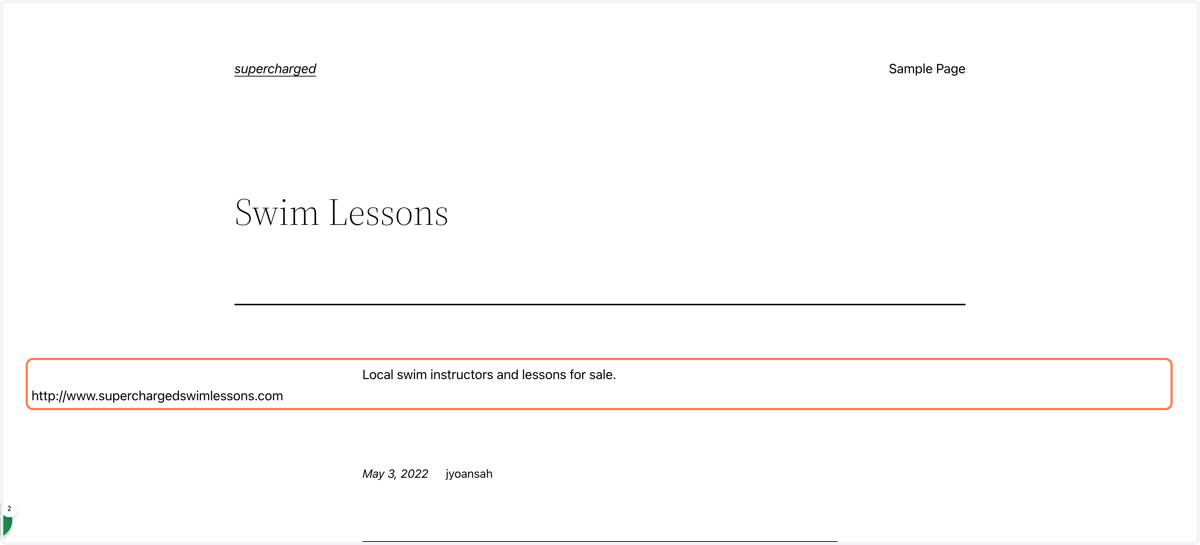
    Website now shows in page content.