WAB - Create a WhatsApp for Business App on Meta
In this guide we will go through creating a WhatsApp for Business app on Meta. We will go through the process end to end to get you up and running and interacting with your customers in no time.
- We’ll look at creating a Meta Business Account for your Business.
- Creating a Business Application
- Creating a WhatsApp for Business App
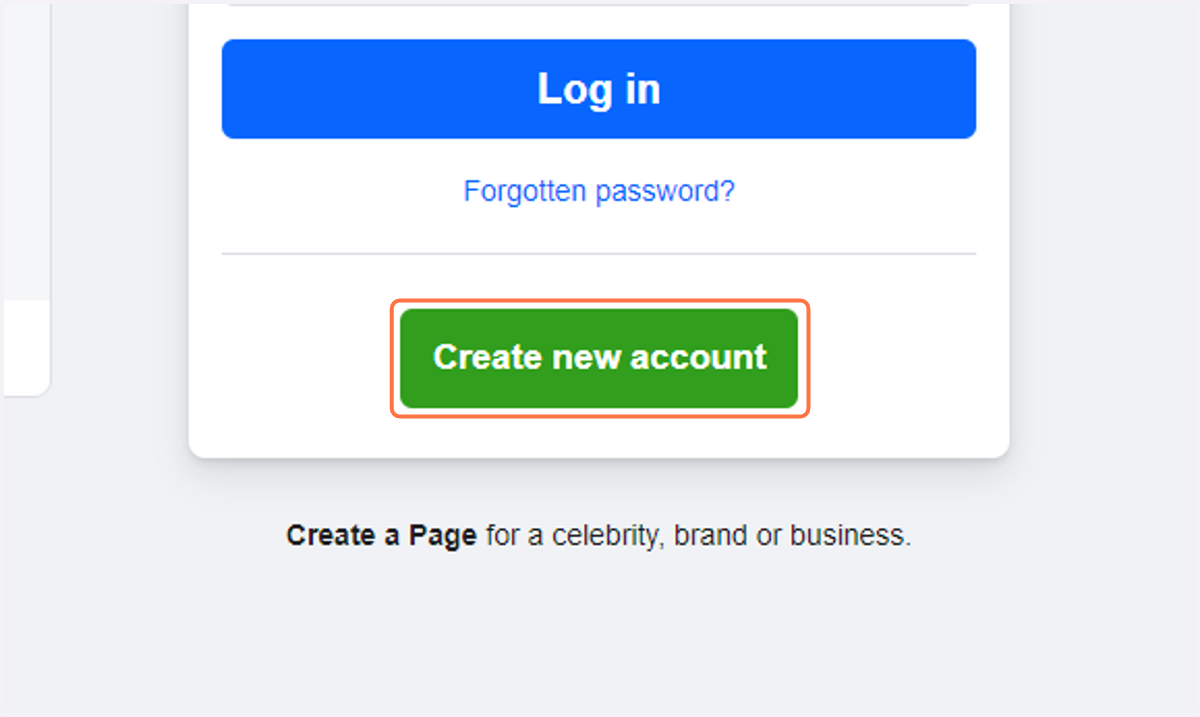
1. Click on "Create new account"
Go to www.facebook.com and create a Facebook account
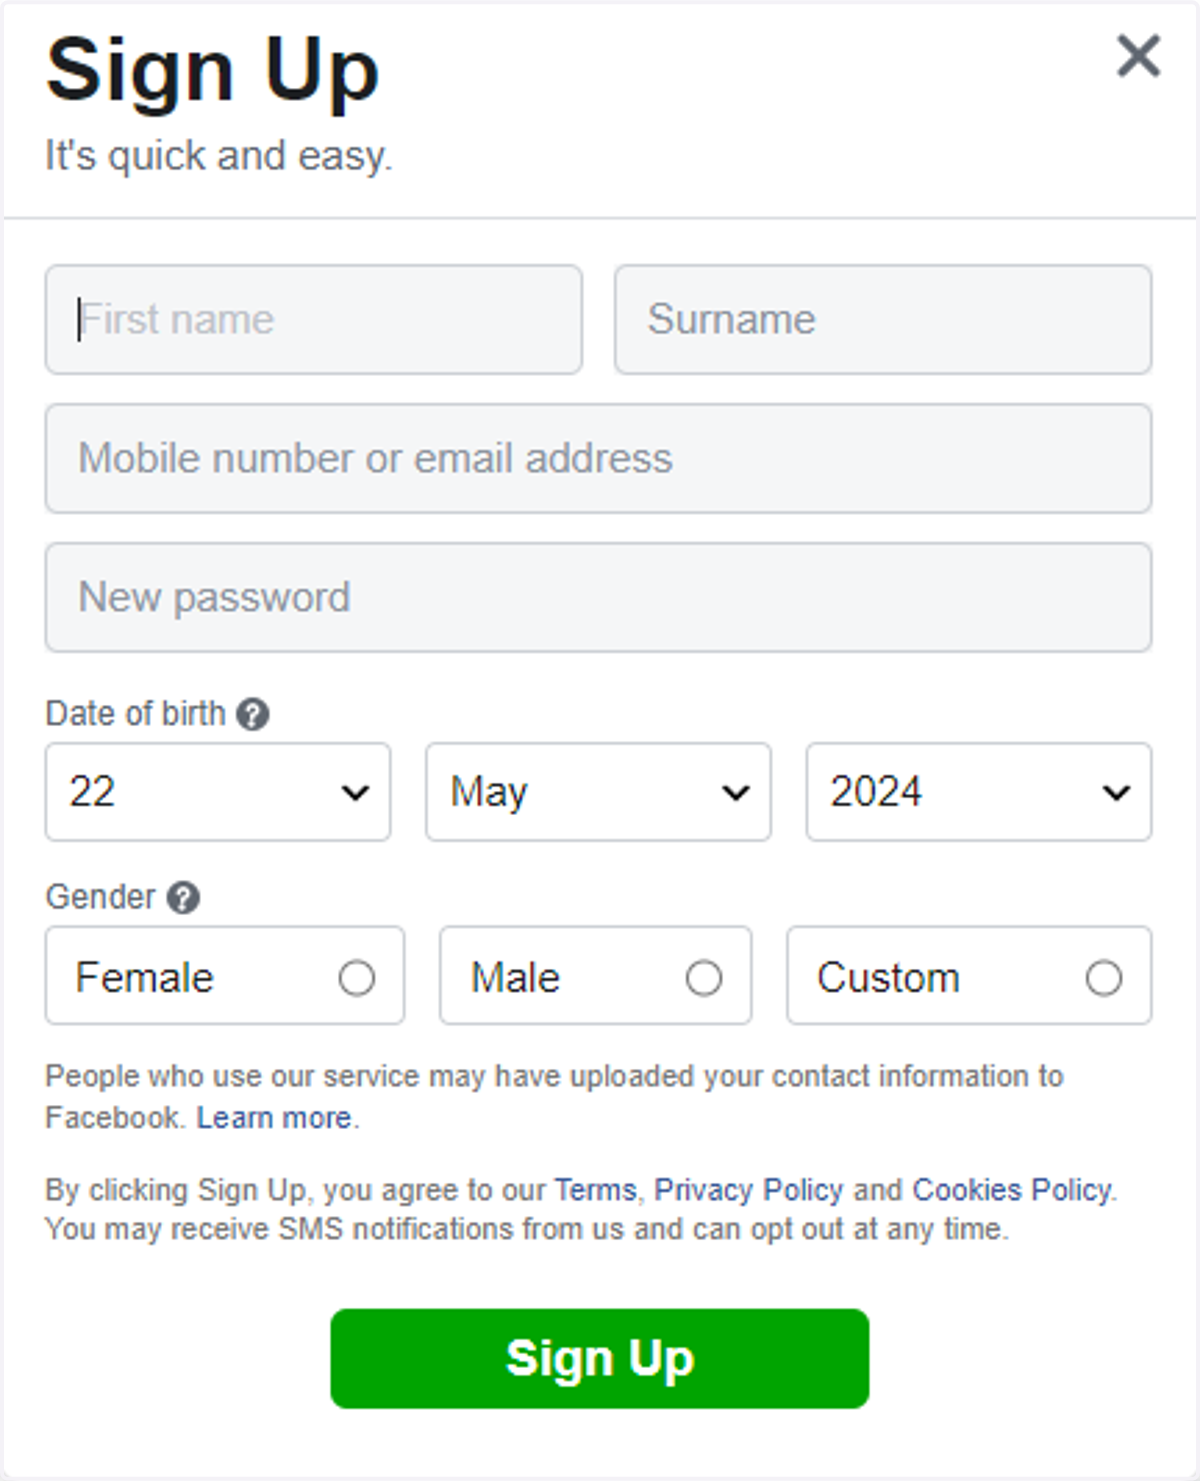
2. Complete your details and click on "Sign up" once done
3. Once your account is created, login to your account
4. Type your username
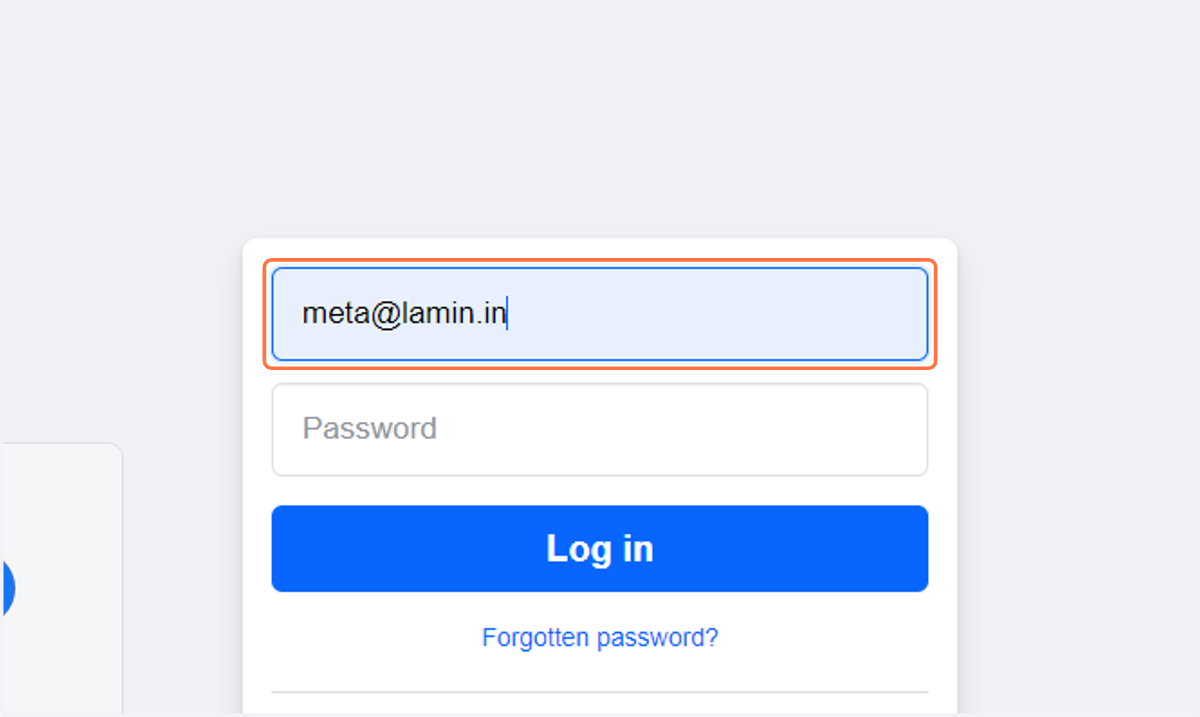
5. Type your password
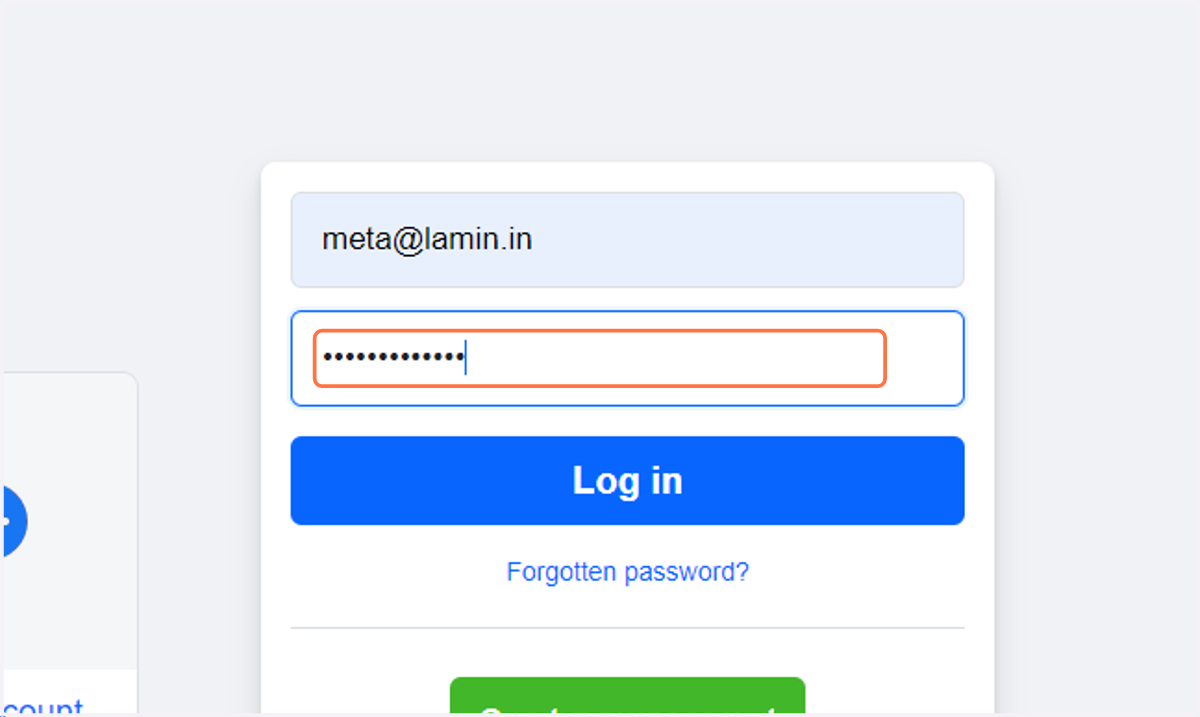
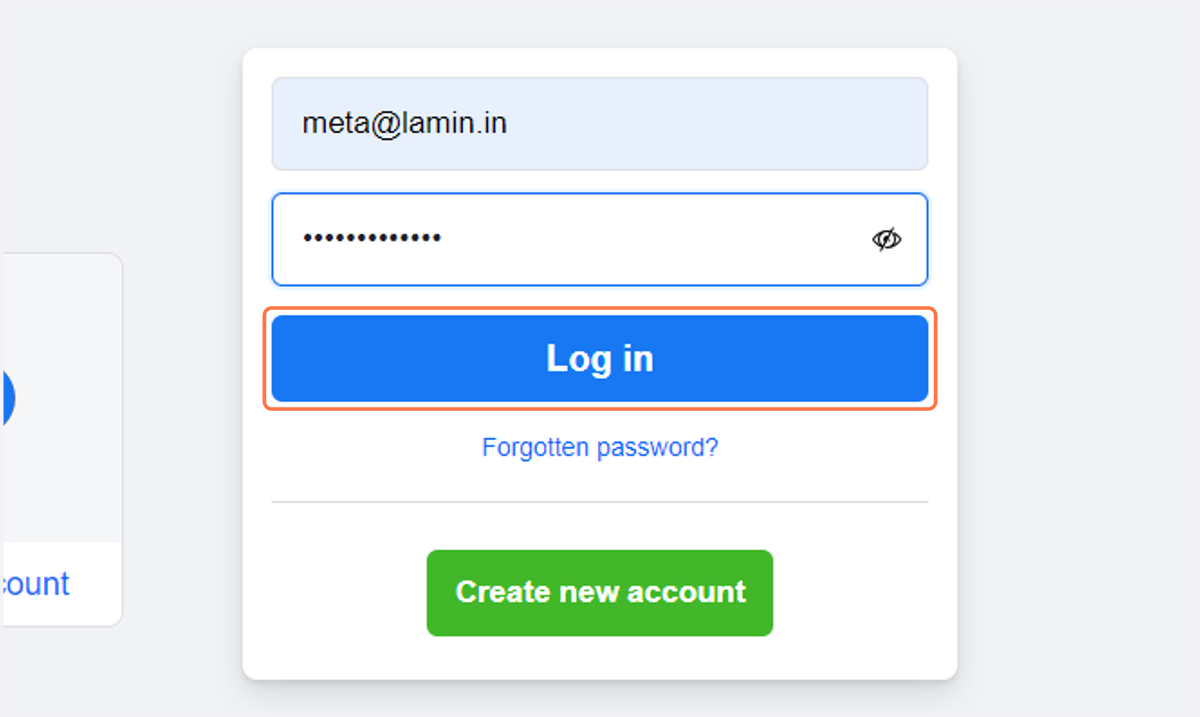
6. Click on "Log in"
Business Manager
Once you have a Facebook account, navigate to business.facebook.com. You will be logged into business.facebook.com with your Facebook account
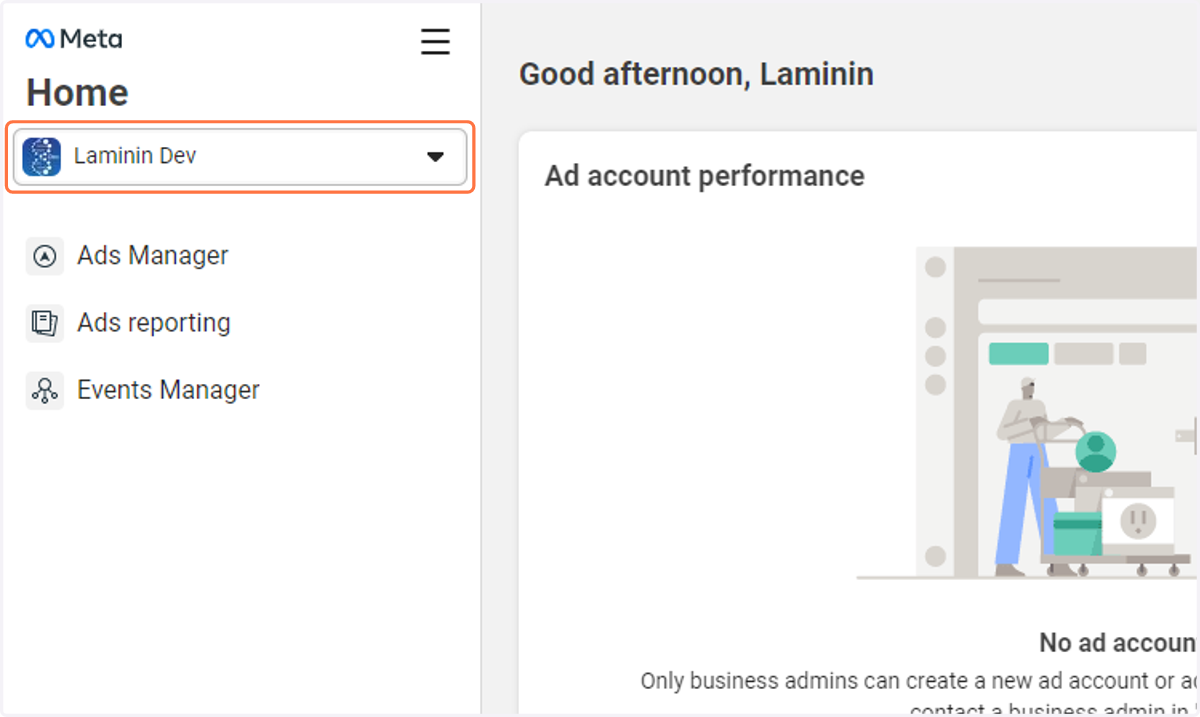
7. Click on the dropdown menu
The dropdown menu will list your existing Meta Business Accounts. You can have up to 5 Meta Business Accounts linked to your Facebook account.
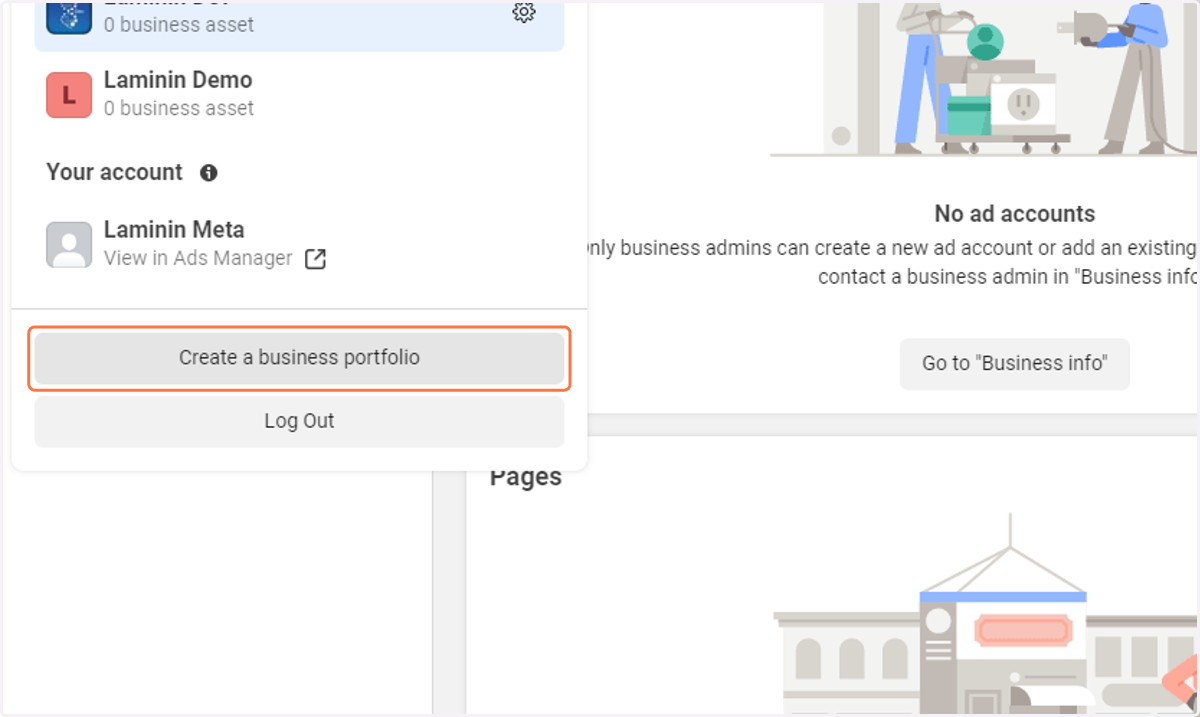
8. Click on "Create a business portfolio"
9. Type the name of your company
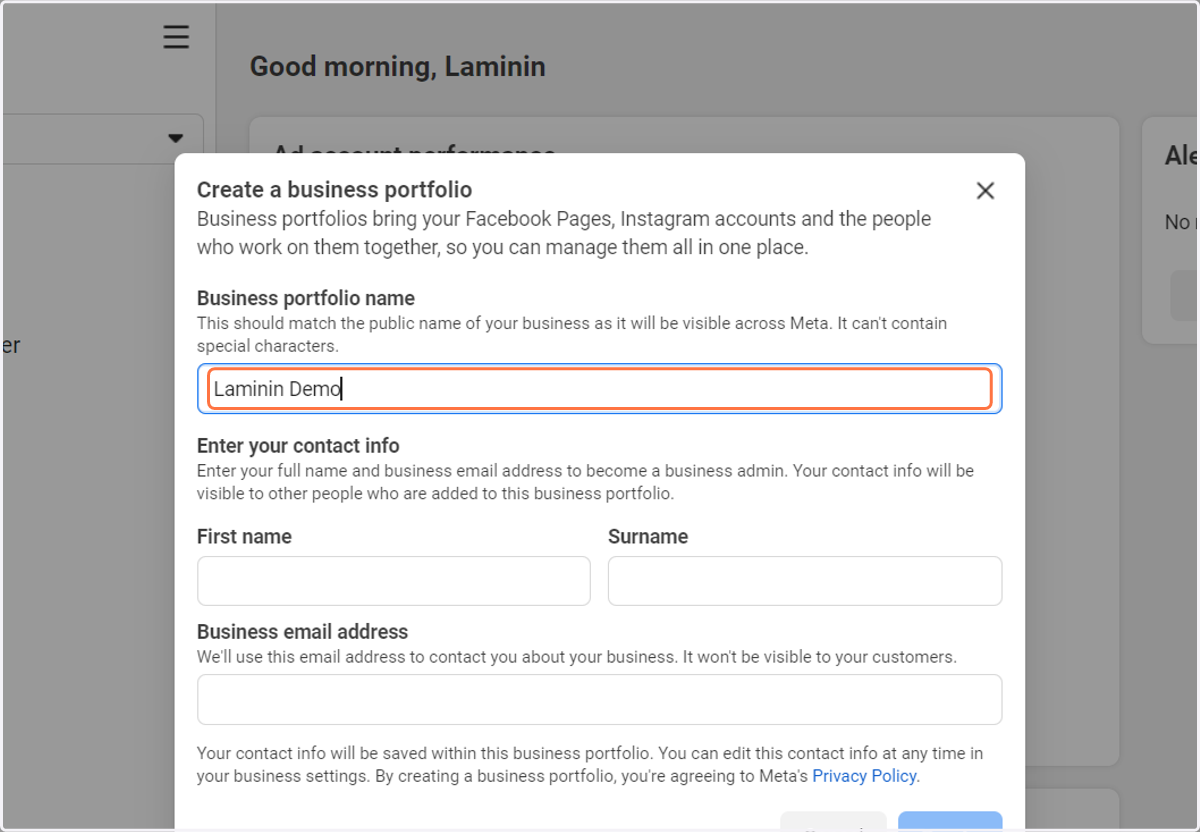
10. Type the First Name of your Business Admin
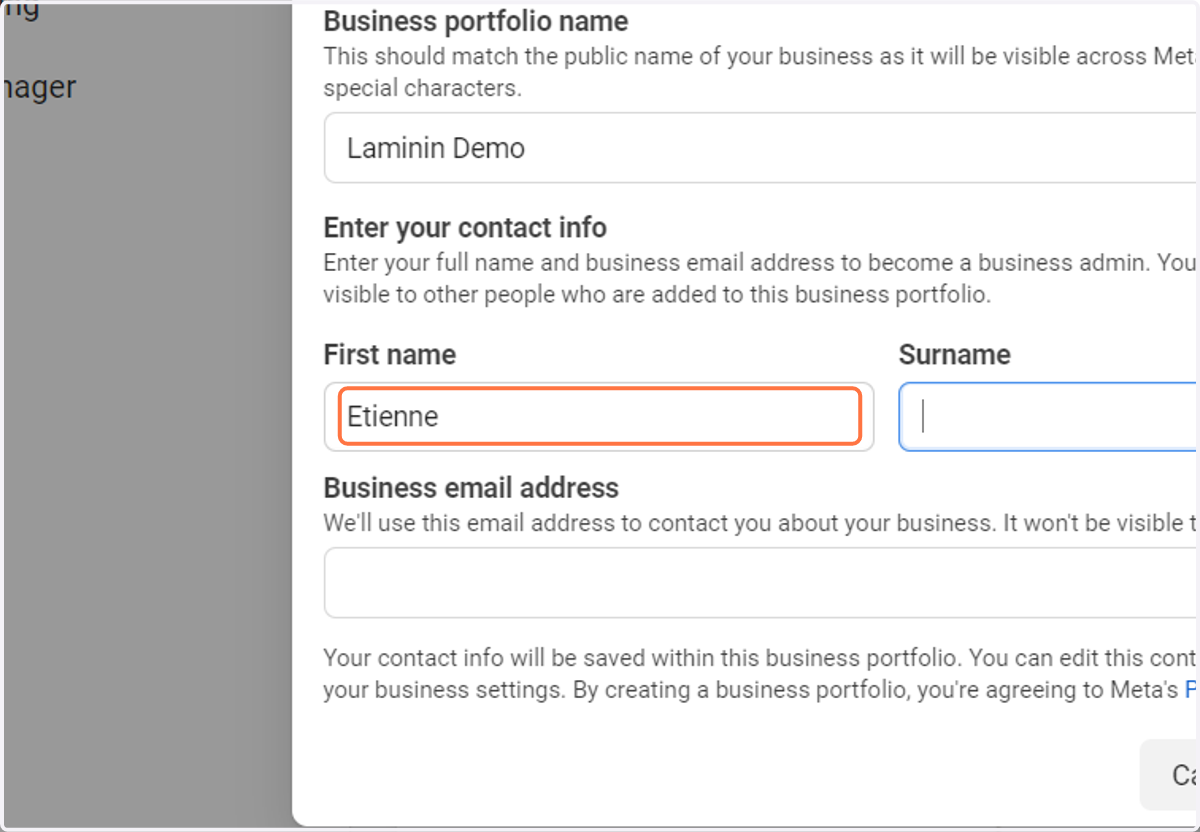
11. Type the Surname of your Business Admin
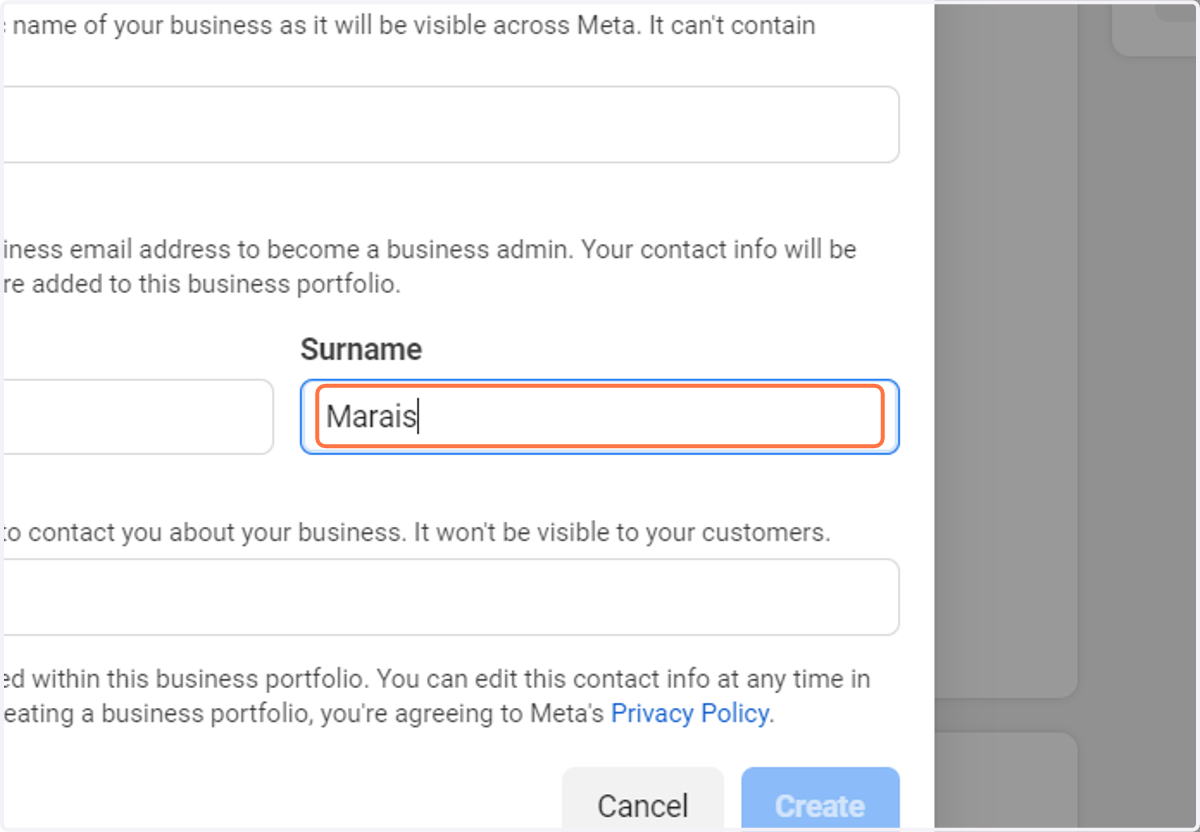
12. Type the Email Address of your Business Admin
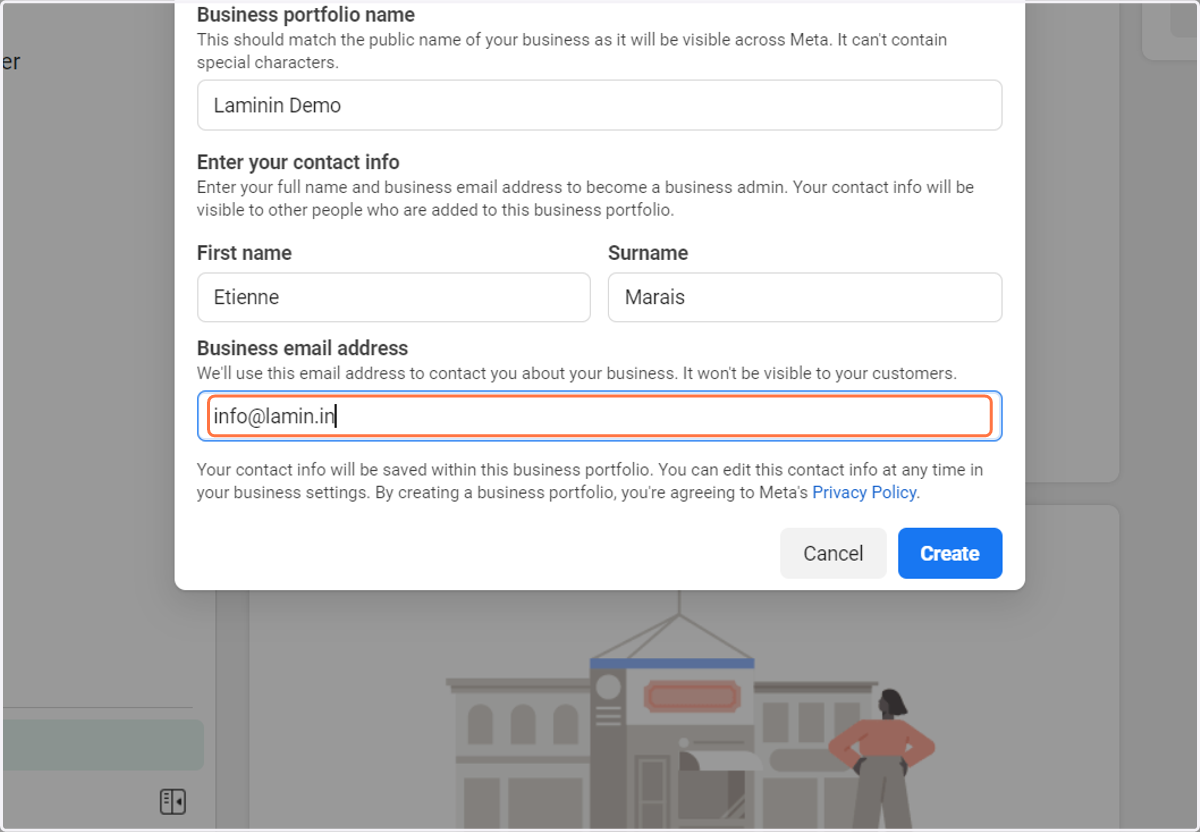
13. Click on "Create"
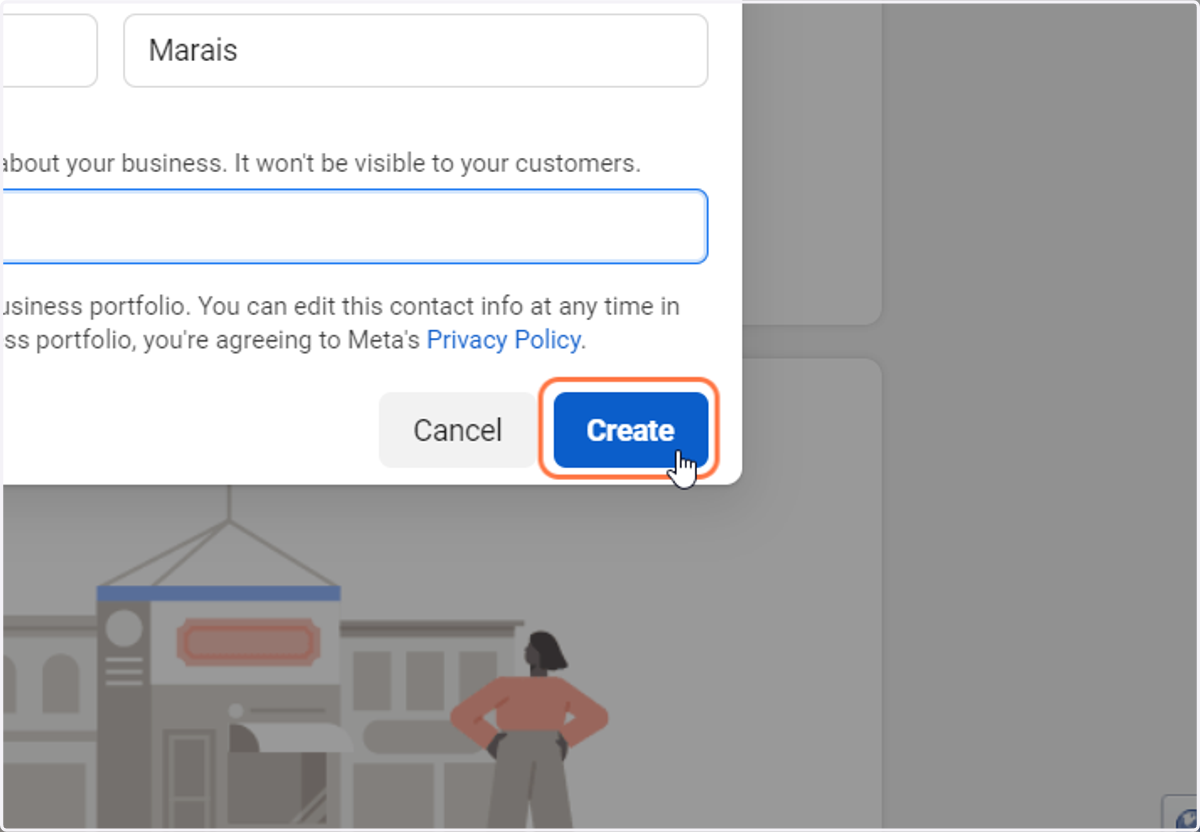
14. Click on "Business Settings"
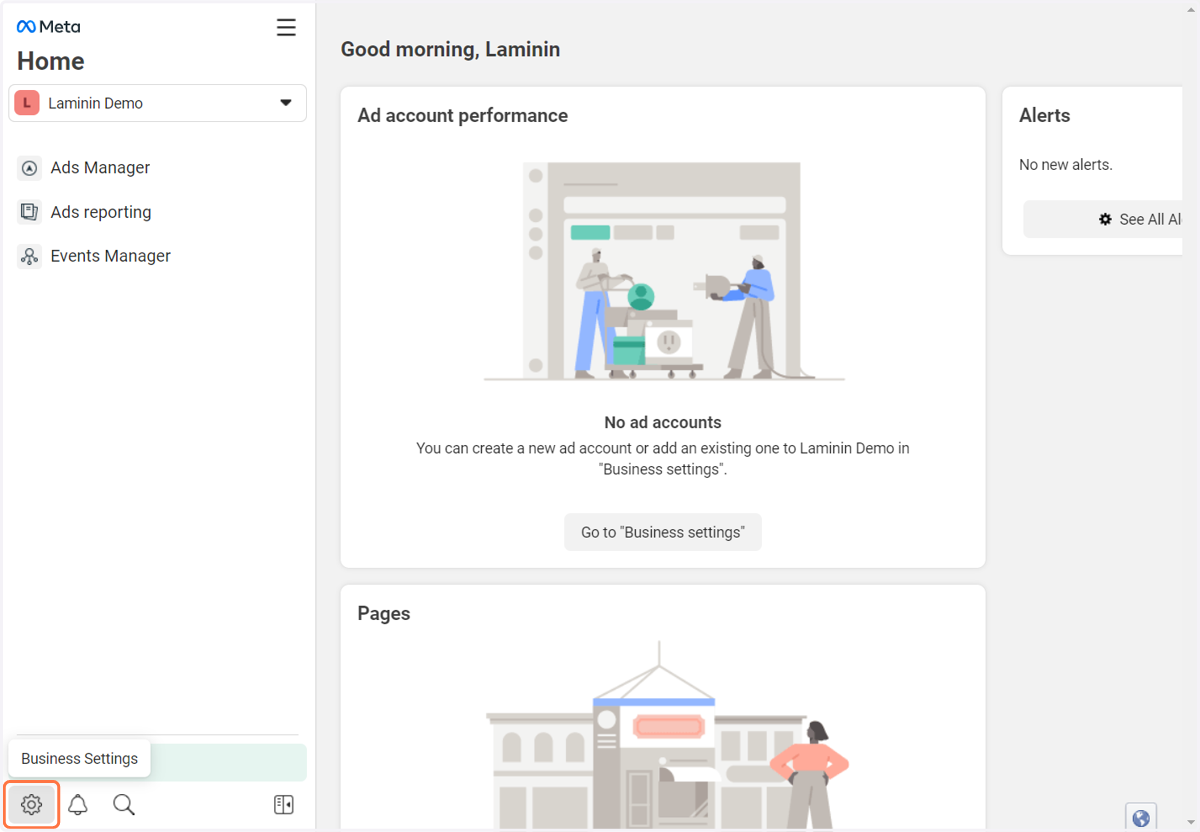
15. Click on "Apps"
16. Click on Add
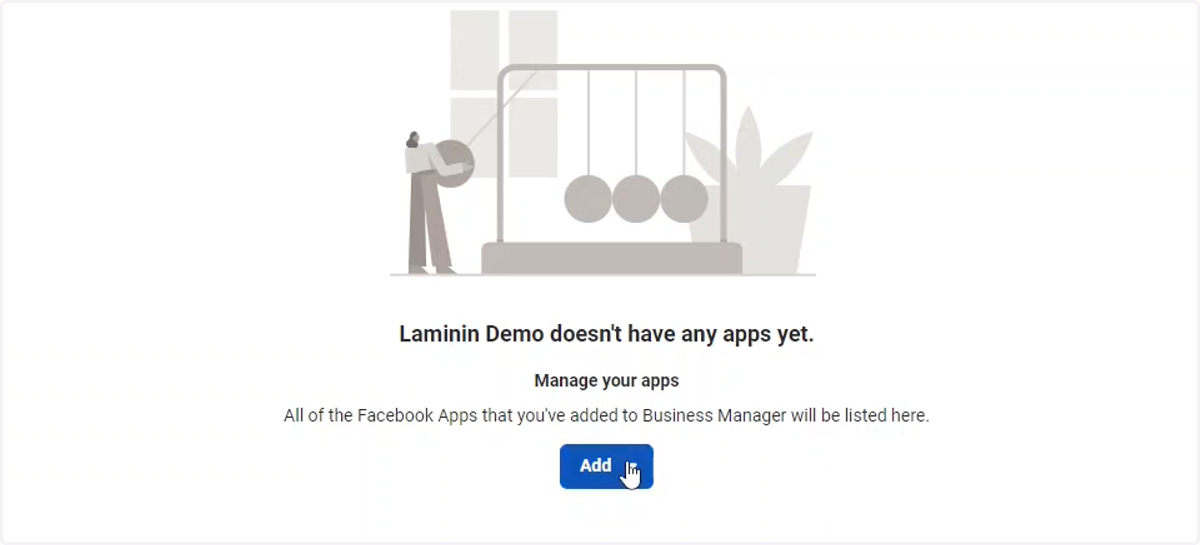
17. Click on "Create a new app ID"
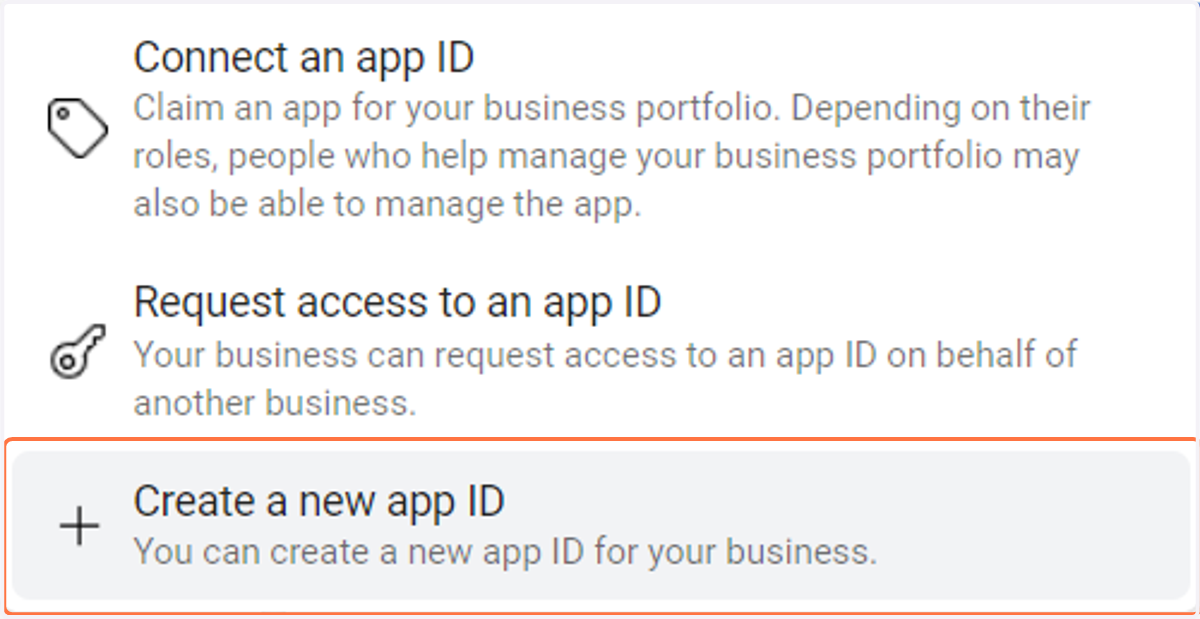
Meta for Developers
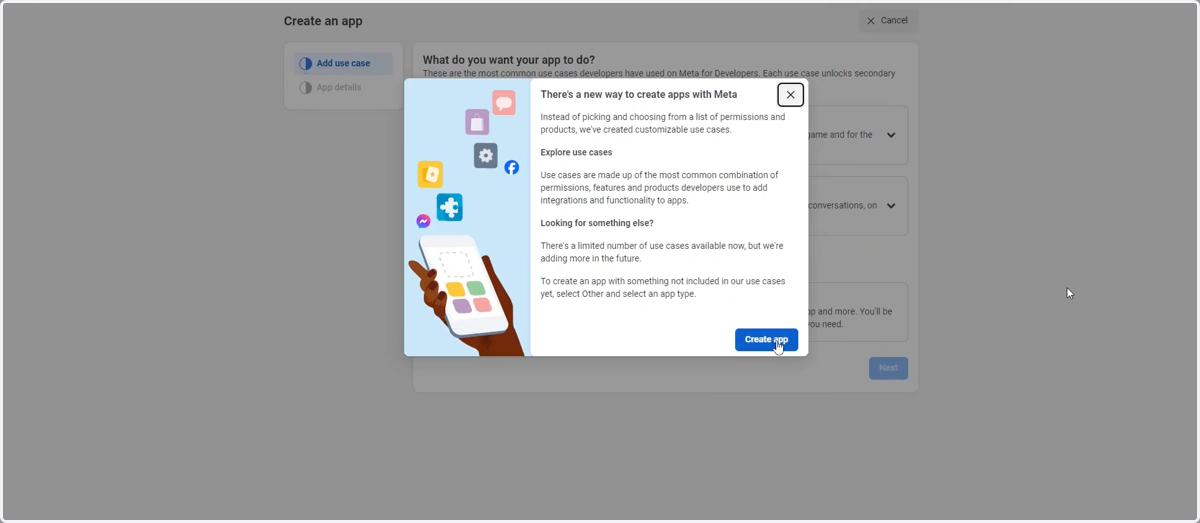
18. Click on "Create App"
Note that you are redirected to developers.facebook.com
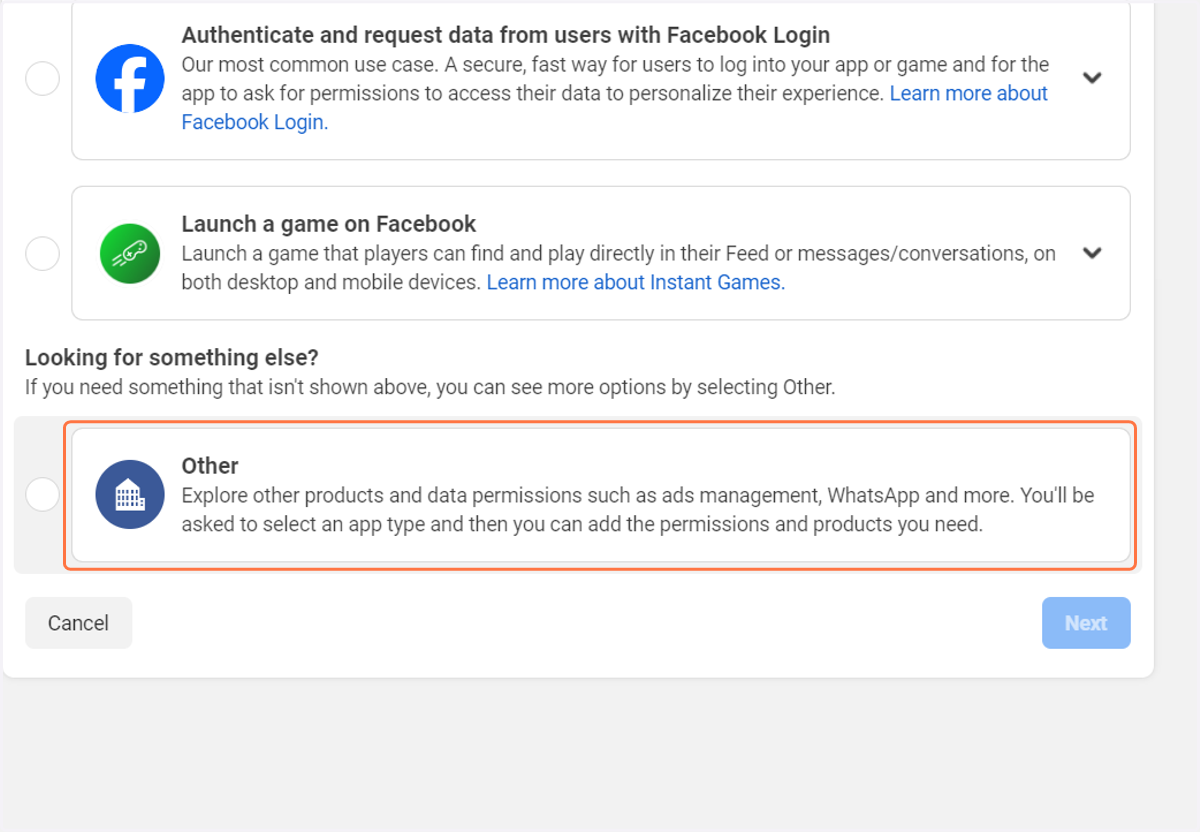
19. Click on "Other" for the use case
20. Click on "Next"
21. Click on "Business" for the App Type
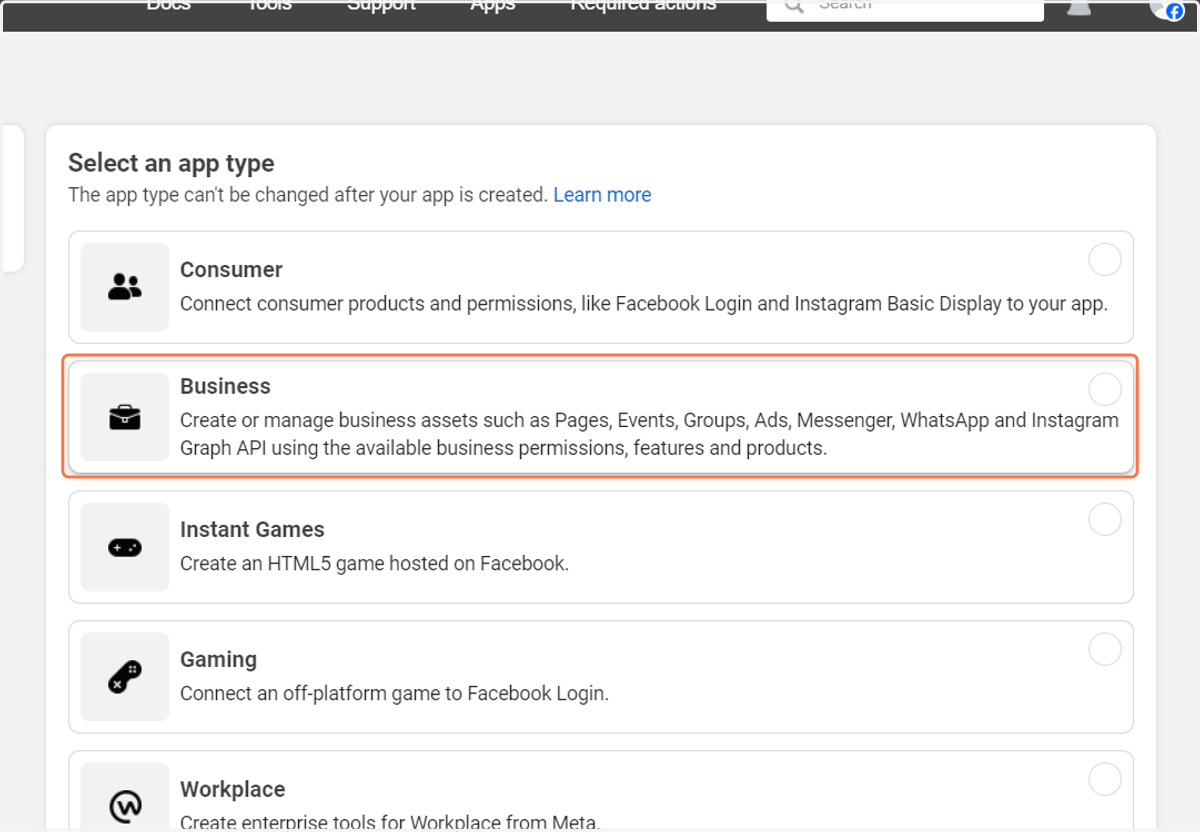
22. Click on "Next"
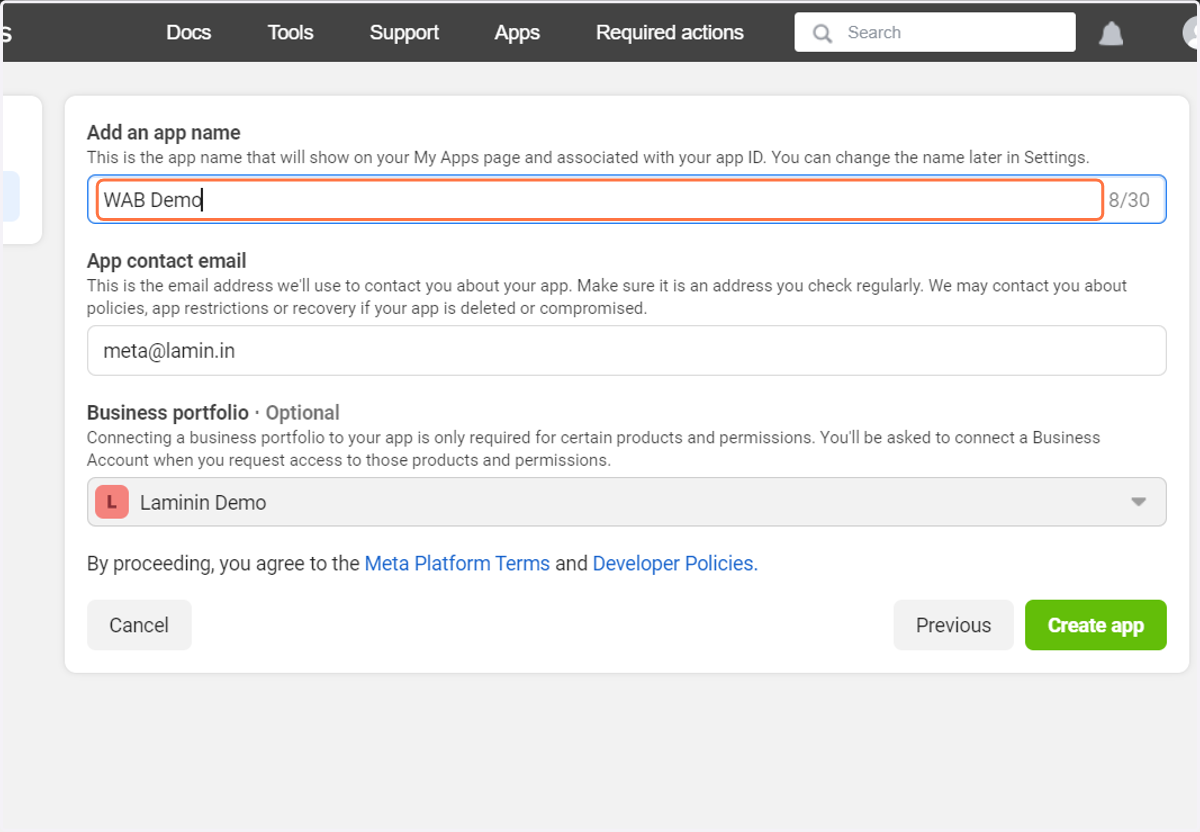
23. Give your app a name and update the App contact email if you want to
24. Click on "Create app"
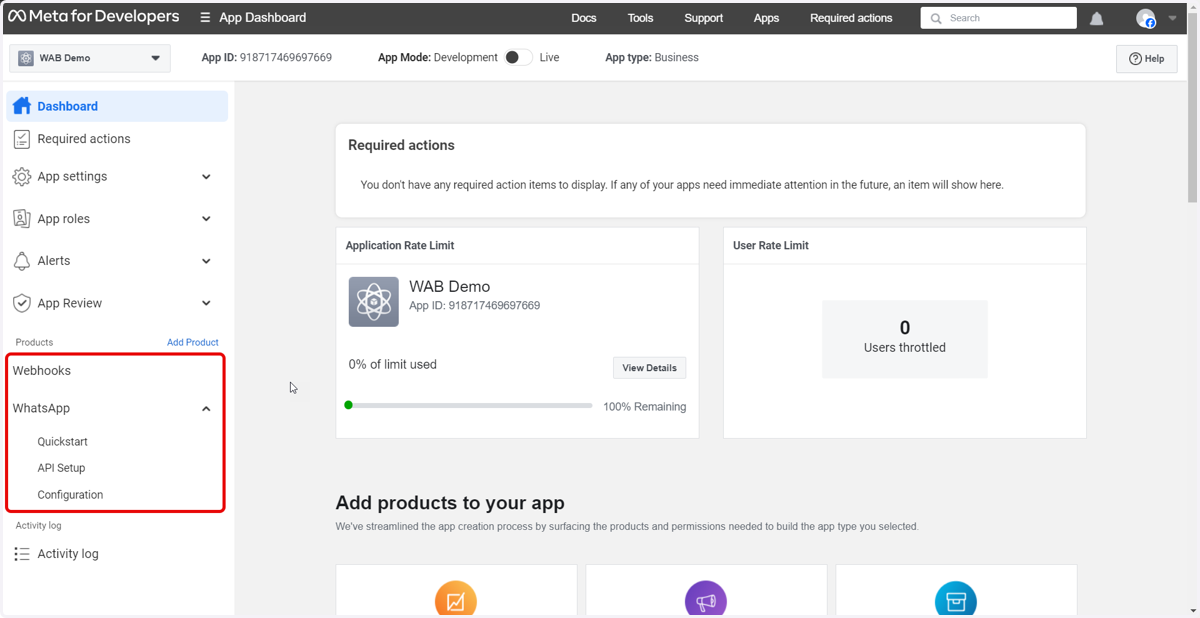
25. Scroll down in the App Dashboard and on the WhatsApp tile click "Set up"
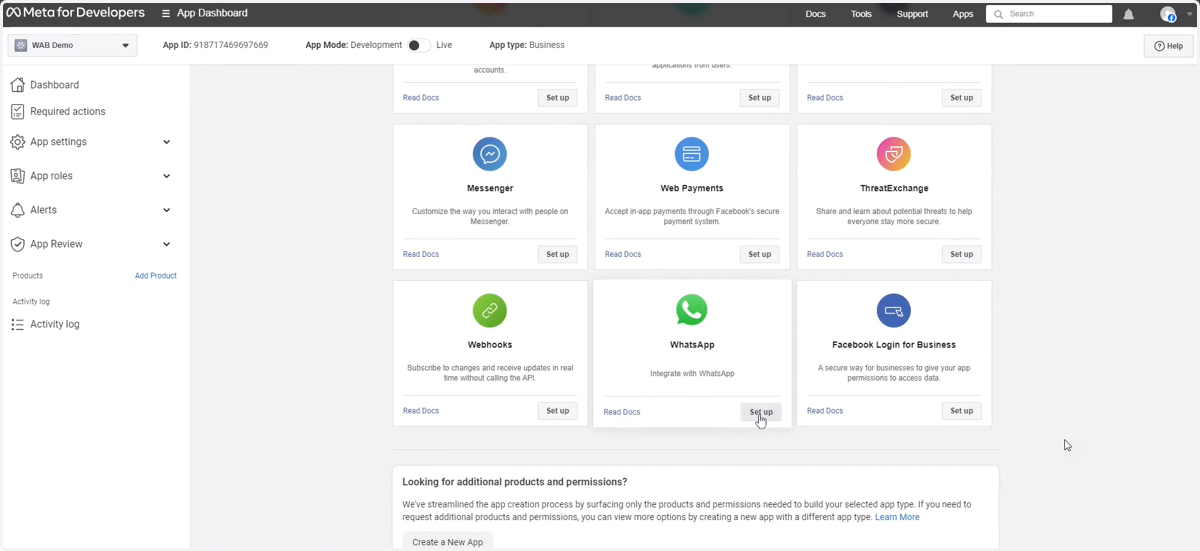
26. This will add the Webhooks and WhatsApp products to your App