Using the More Button
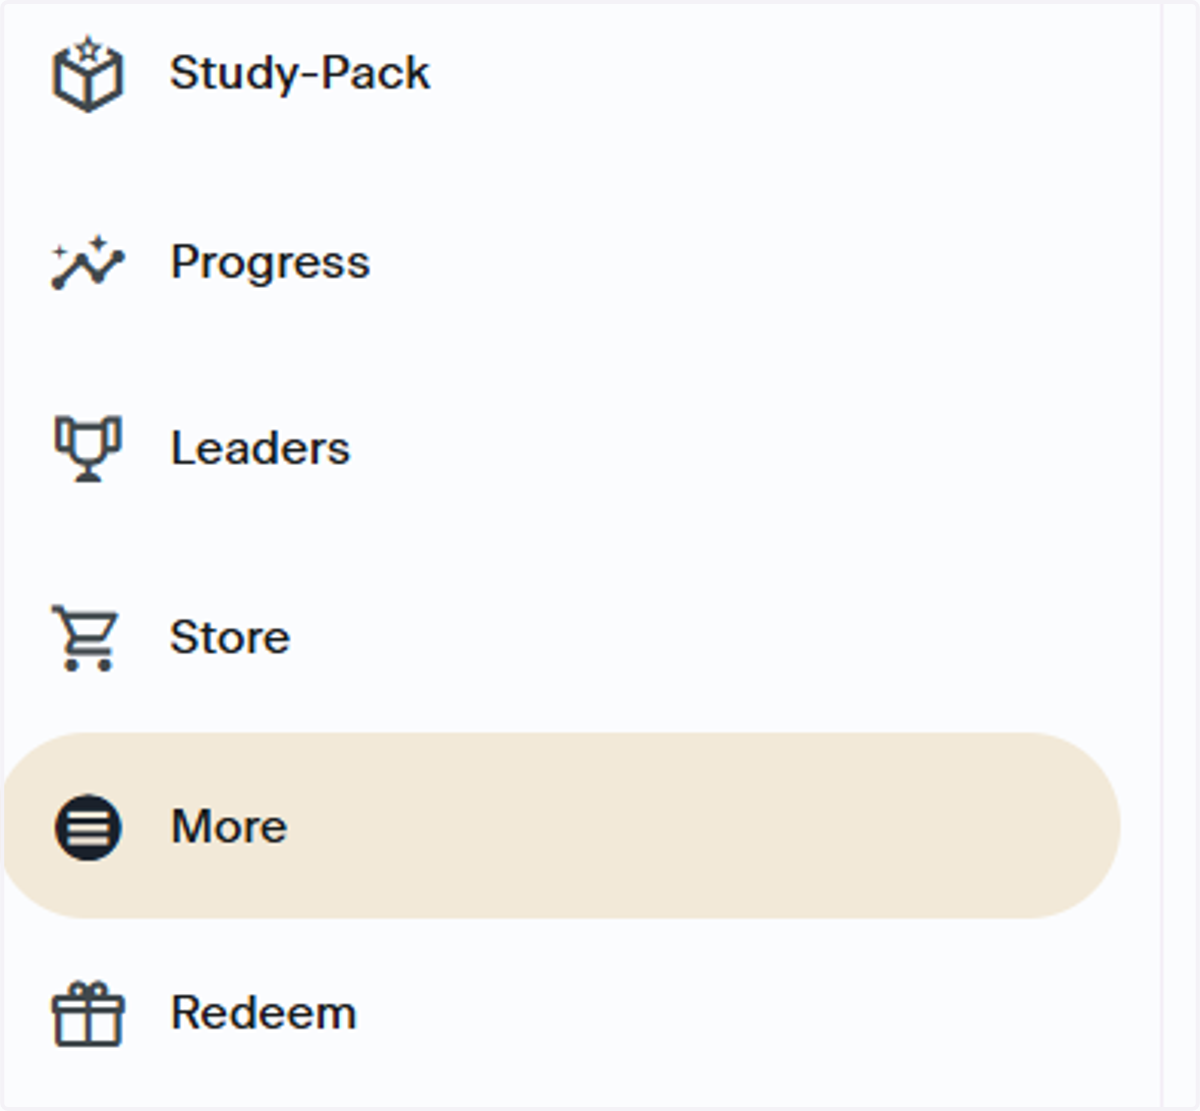
Start on More
1. Click the More Button
Start in the lefthand navigation bar and click More
For Mobile users: Click the Hamburger menu in top left corner of your screen. The lefthand navigation menu will populate and you can then click on More
Profile Icon
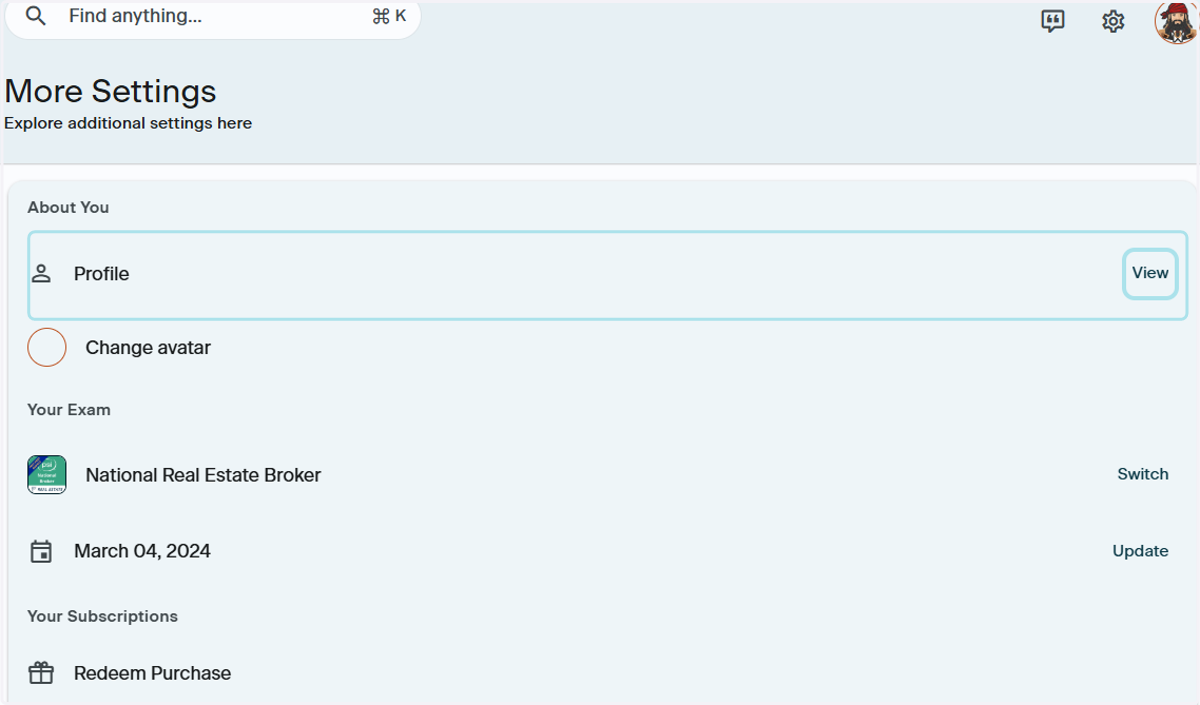
2. Click View
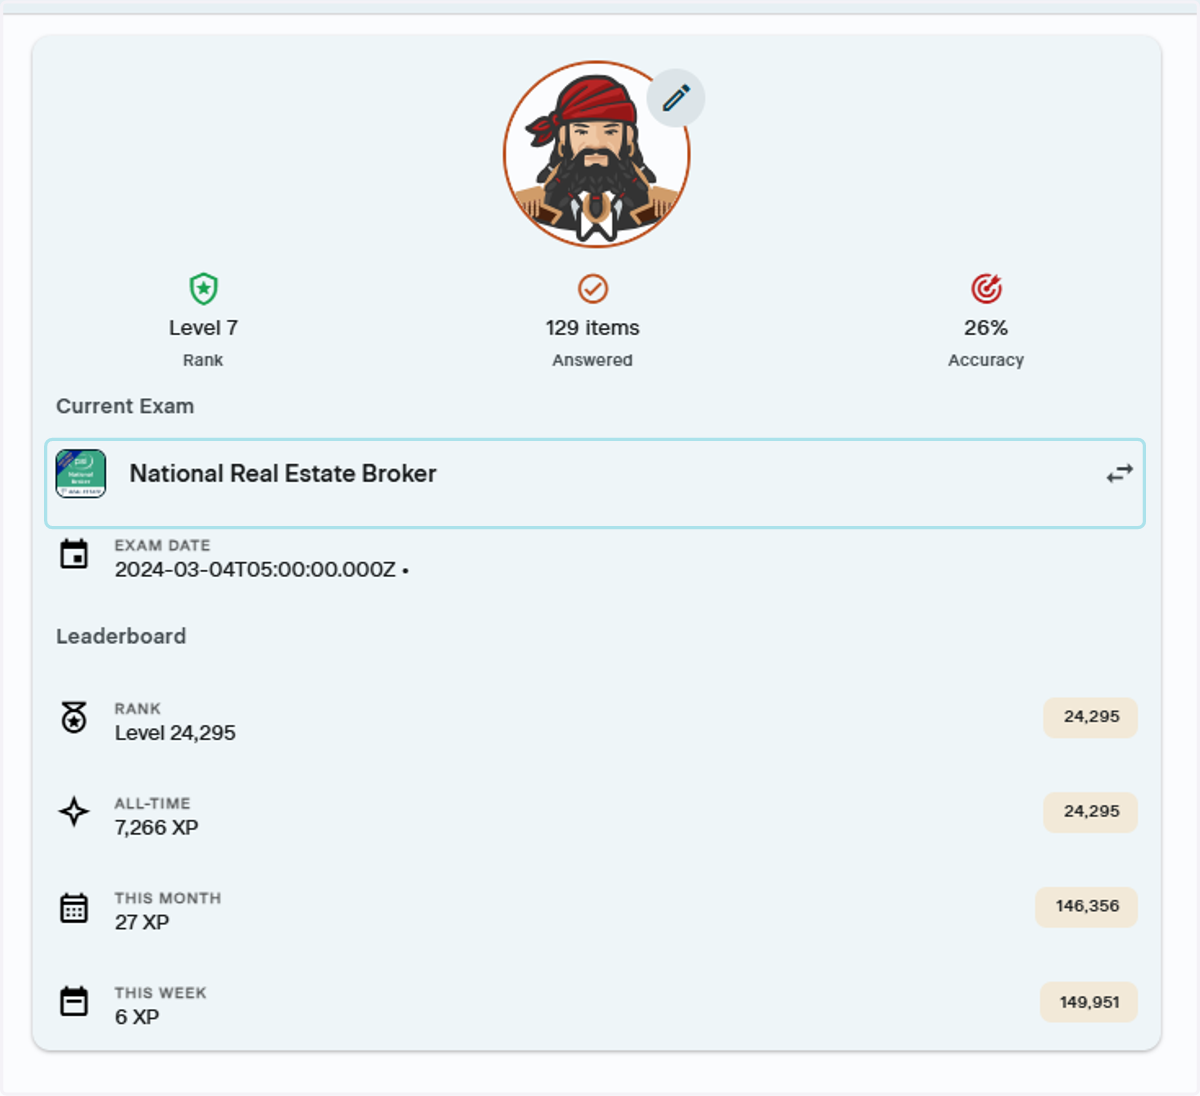
Click View to be taken to your profile
3. Profile Overview
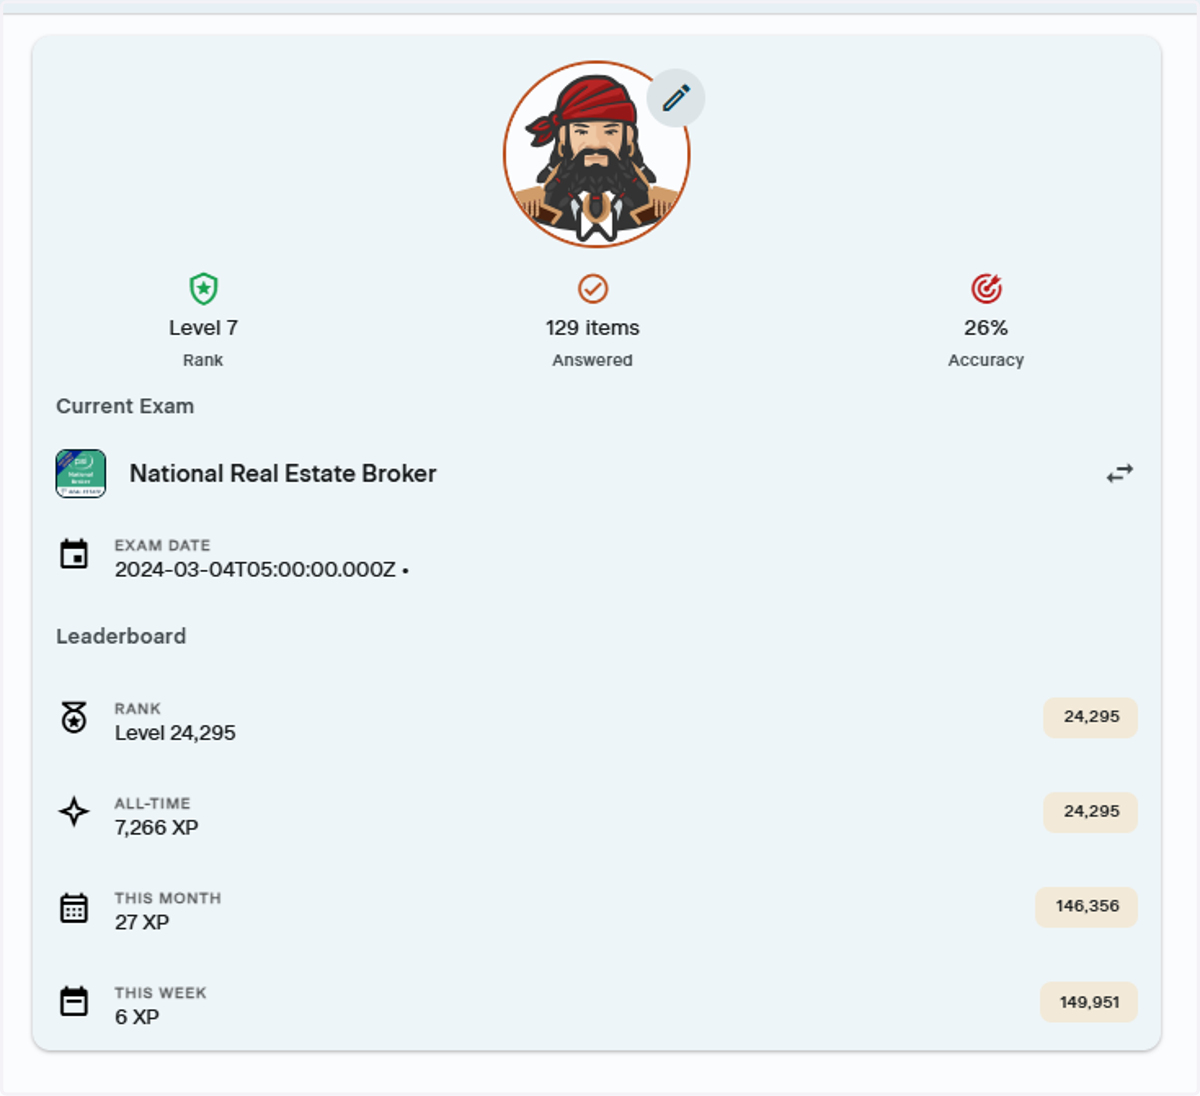
In your profile, you can:
Change your exam
Check your test date
You can update your test date on the More page
View your leaderboard rankings
4. Change Your Exam
To change your exam, simply click Switch next to the name of your current exam
5. Search for the Exam to switch to
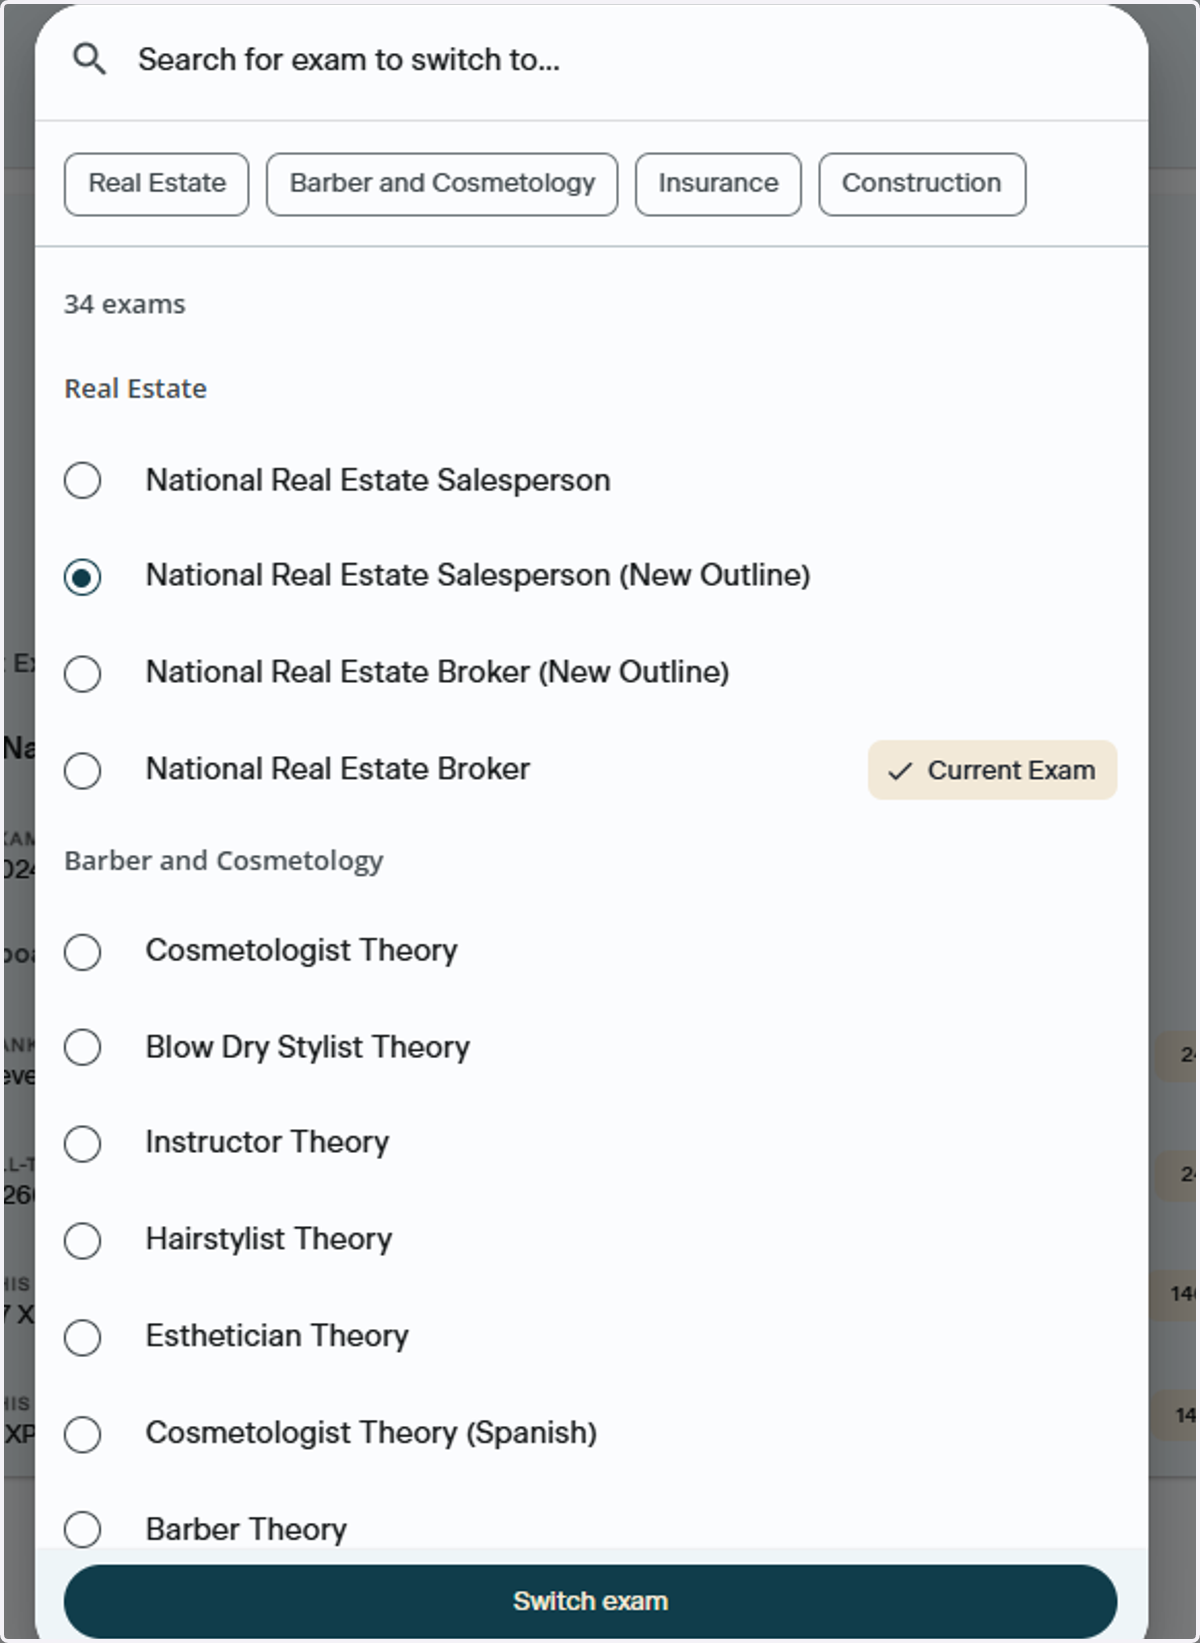
Once you click Switch, a window will populate to find the exam you want to switch to. You can do this one of two ways:
Type the name of the subcategory in the top search bar- for example, type Life Insurance
Use the industry navigation buttons to find the exam you're looking for
Once you click one, the subcategories underneath that industry will populate
You can select multiple industries at once
To deselect an industry, simply click it
6. Click Switch Exam
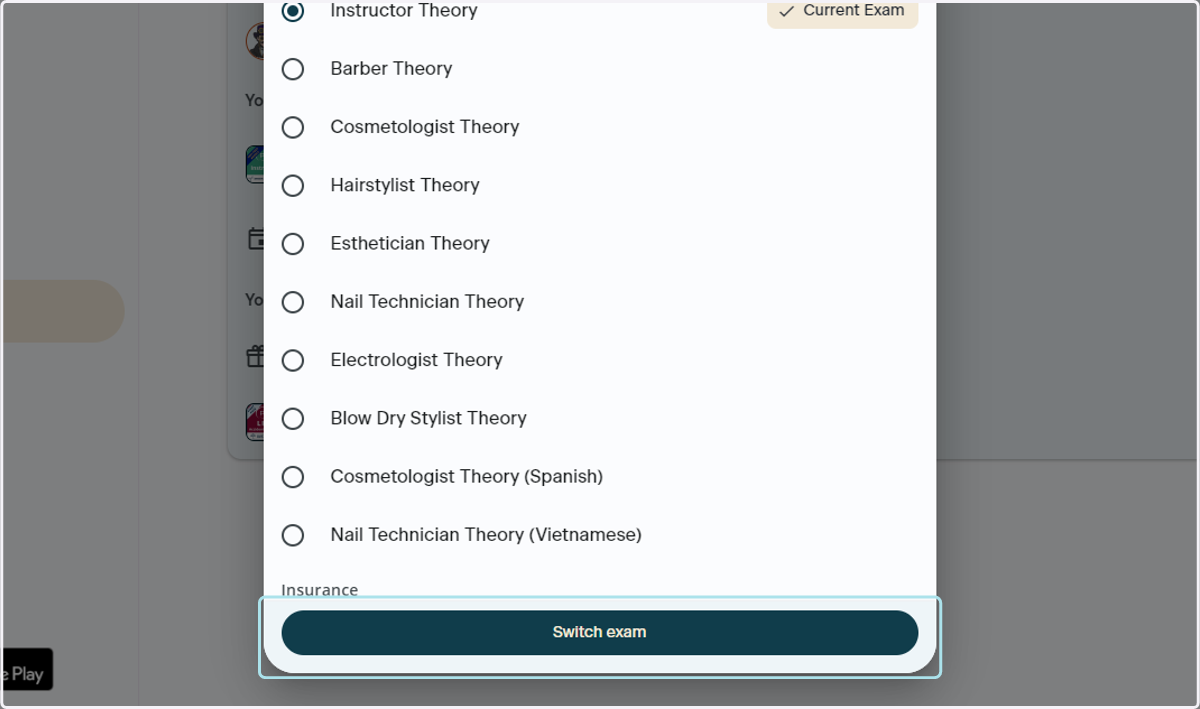
Once you have found the exam you want to switch to, click Switch Exam to confirm your selection
Update Your Exam Date
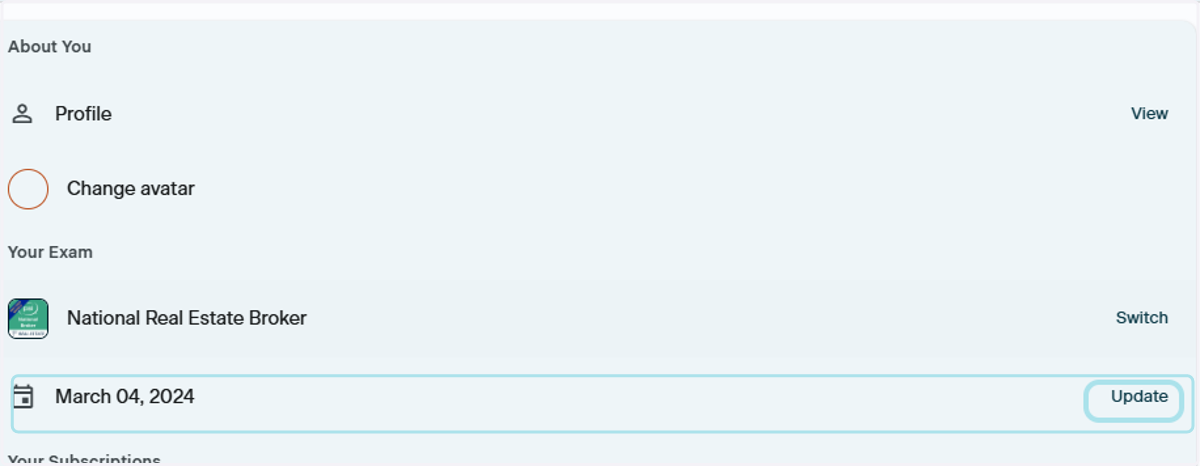
7. Click Update
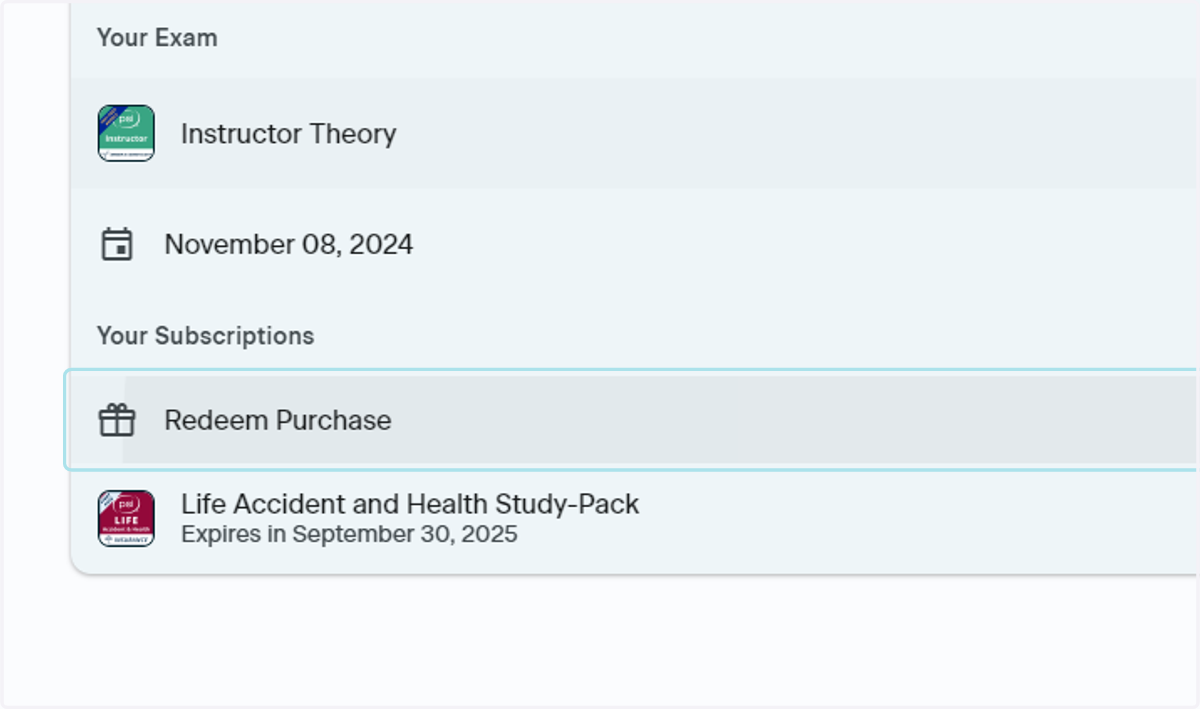
Under Your Exam, you can view and update your test date. Click update to make changes
8. Change Your Test Date
this setting without making changes, just click the X in the top righthand corner of the window
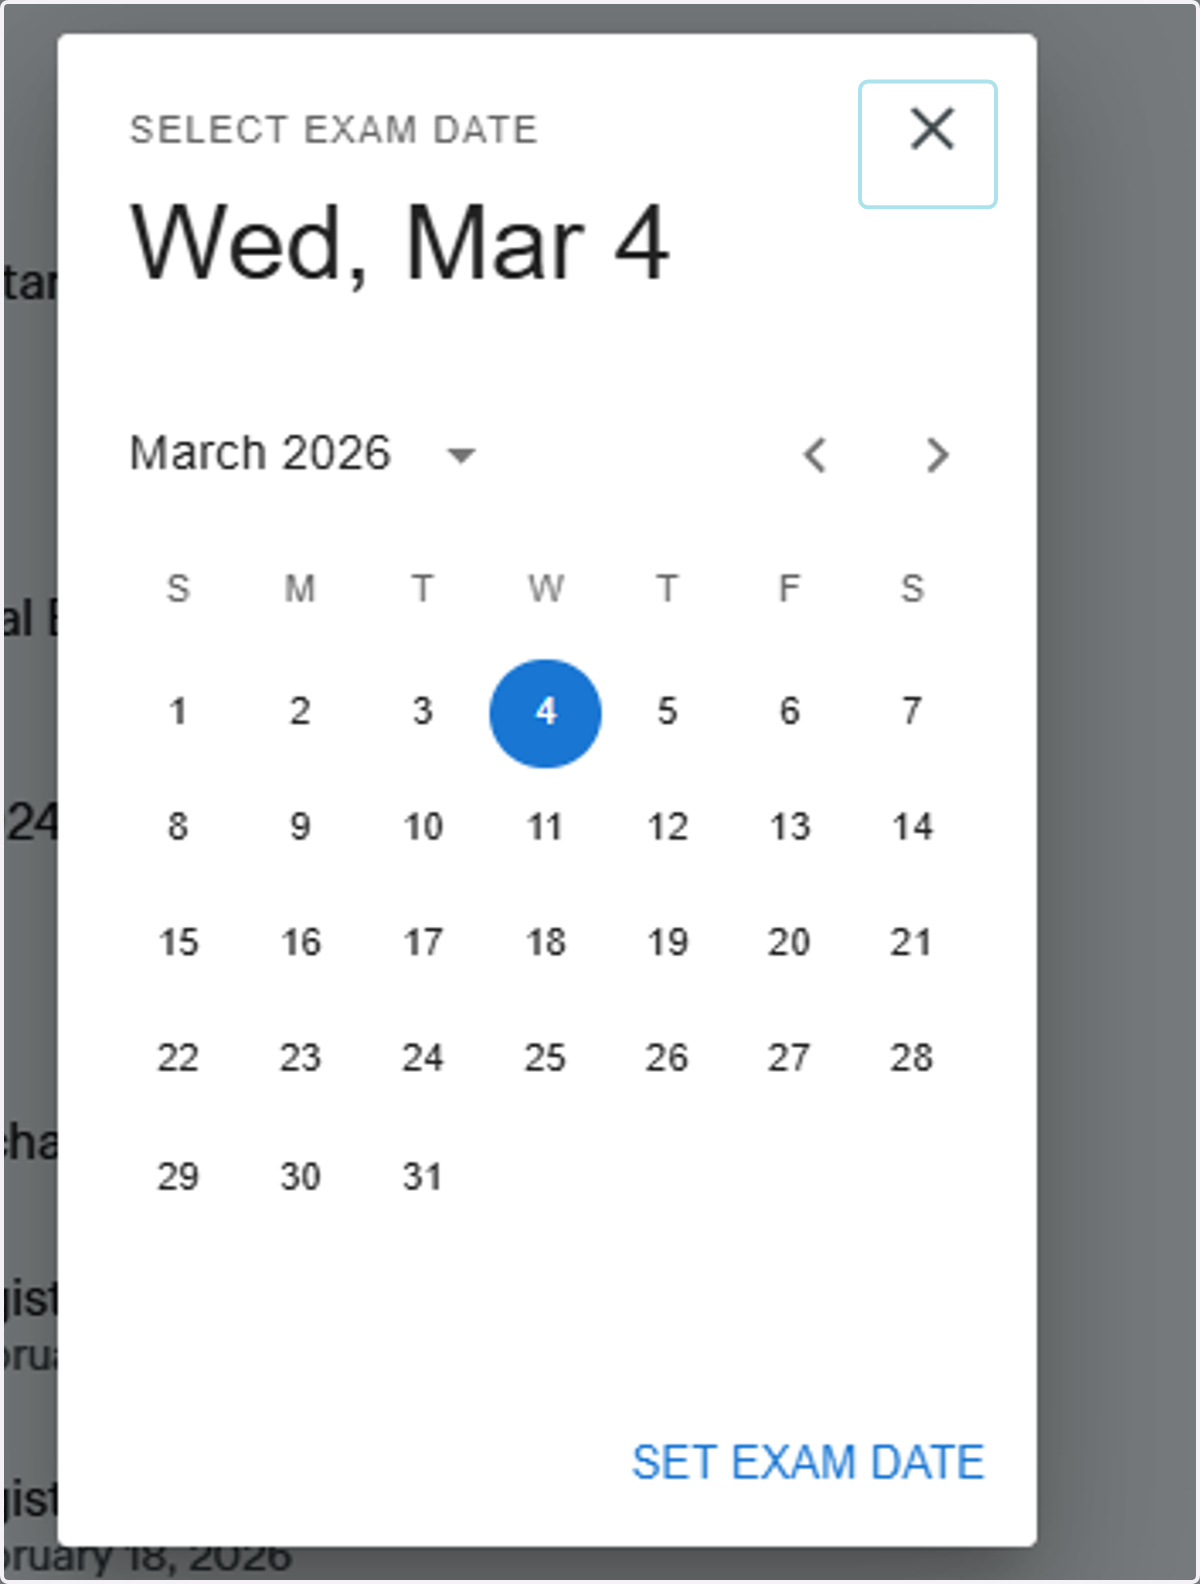
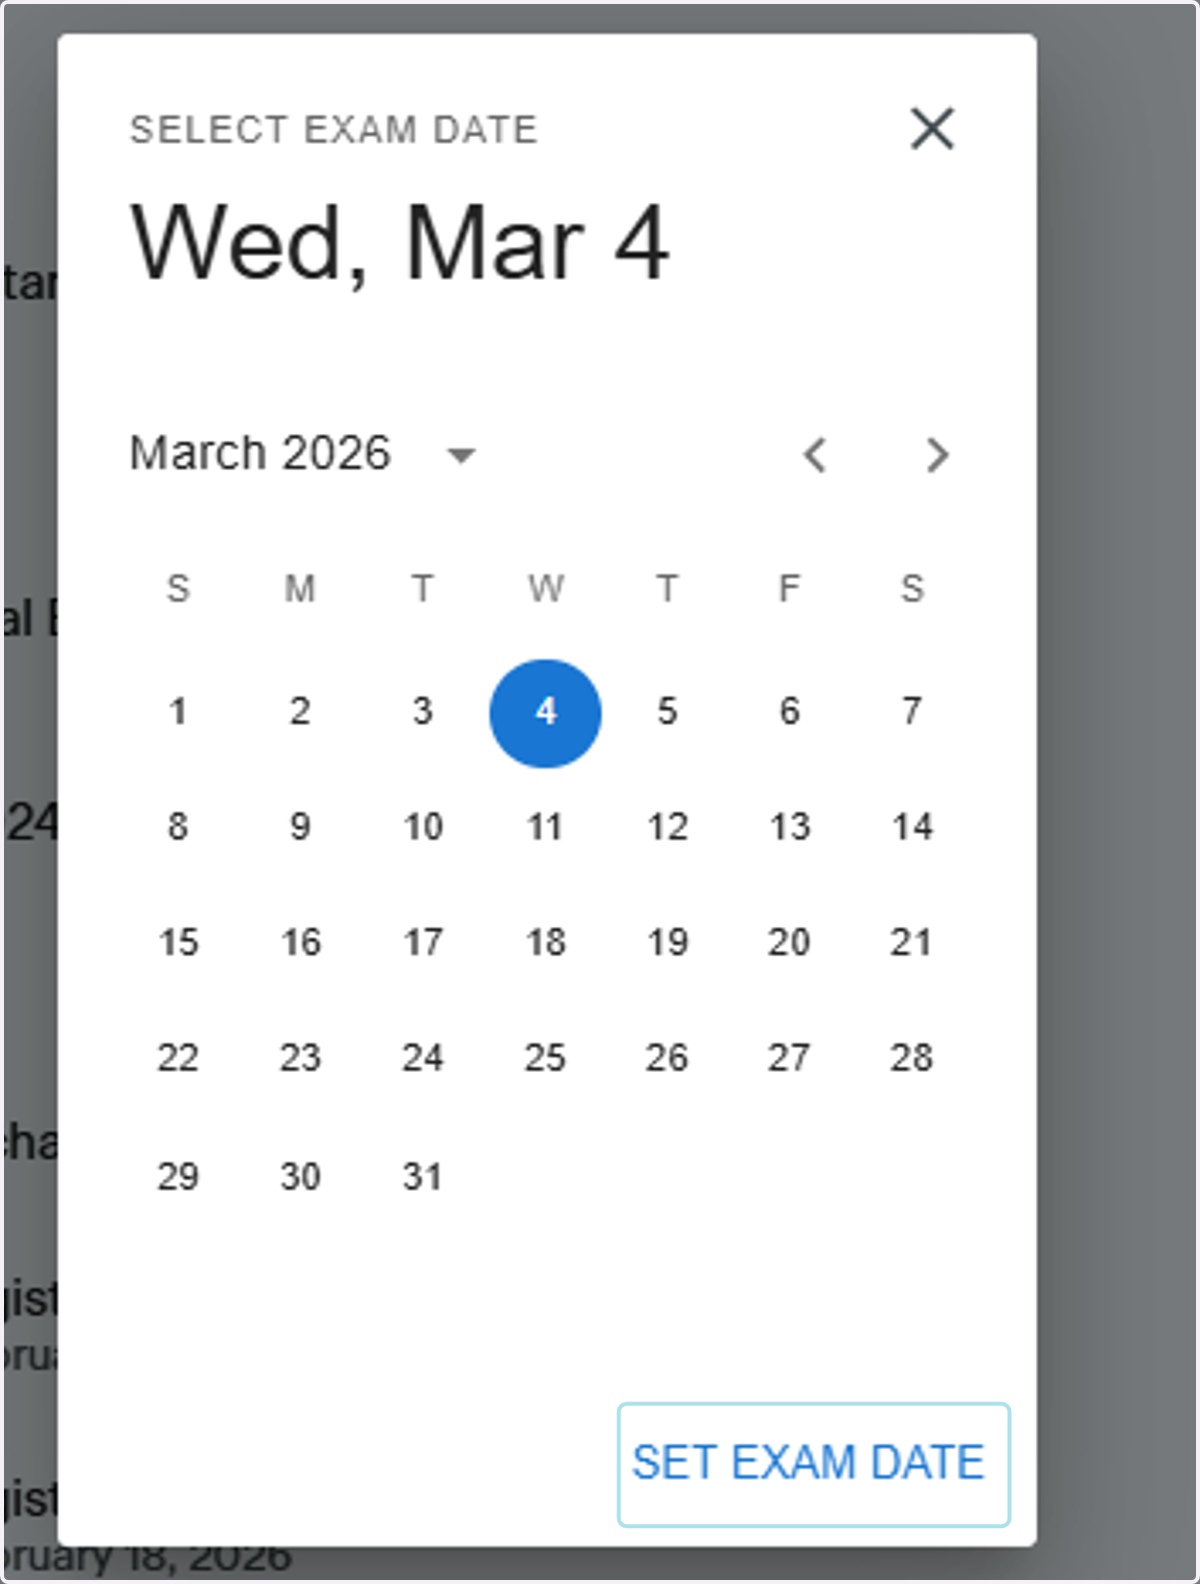
9. Click on Set Exam Date
Scroll through and click the date you want to use. Once you are done, click Set Exam Date to exit out of the switch exam section
Redeem Purchase
Use this feature to enter in an Access Code you received from purchasing a product
10. Click Redeem Purchase
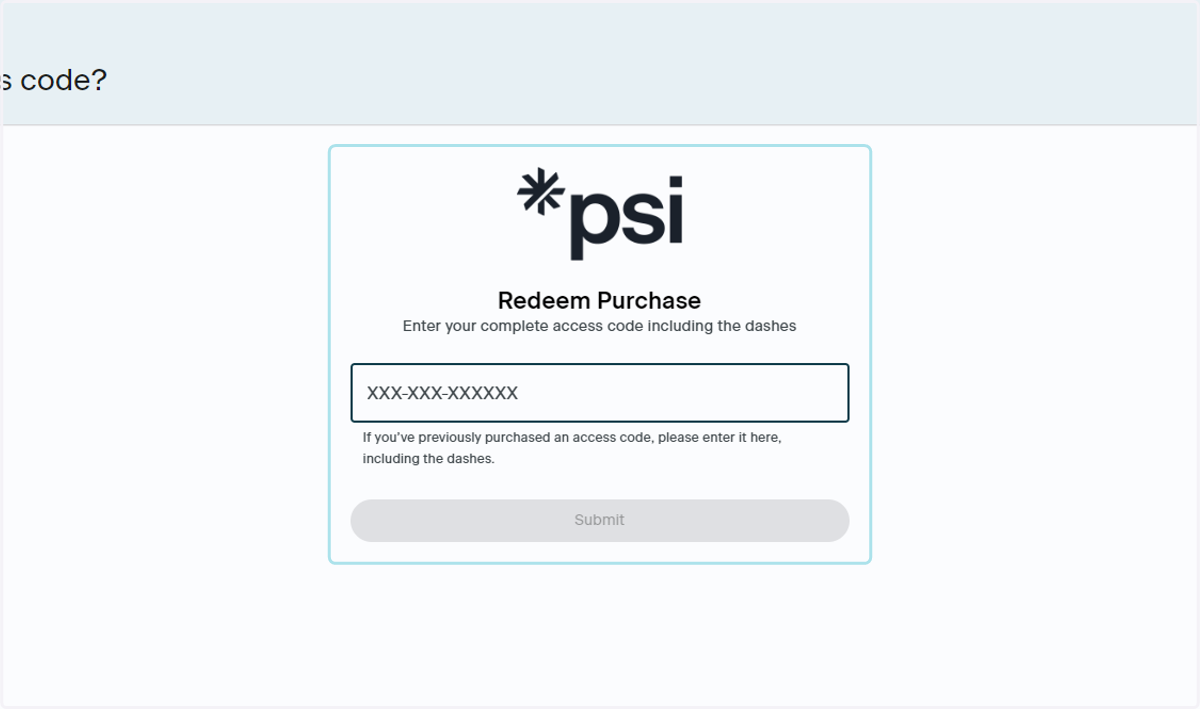
11. Enter Your Access Code
Once you click Redeem Purchase, you will be brought to the screen to enter the Access Code you received from your purchase
Extend Access to Your Product
How to add more time your exisiting purchase
12. Click on Extend
If you would like to add more time, just click Extend next to the product you would like to add more time to
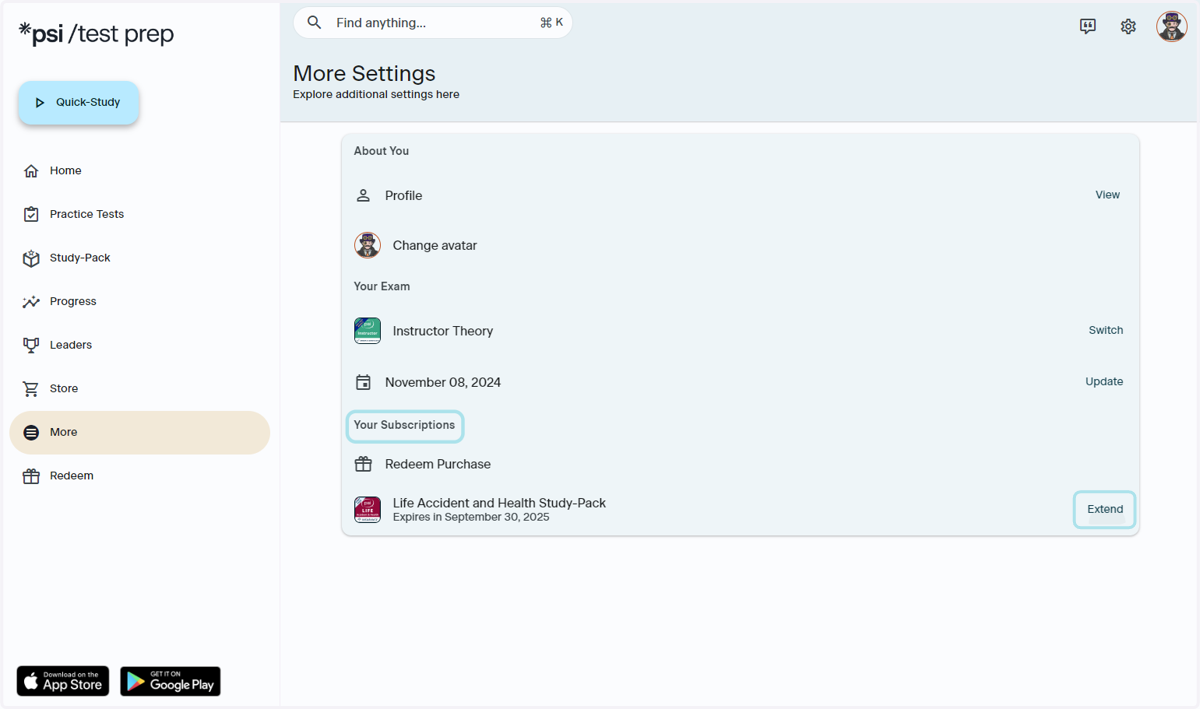
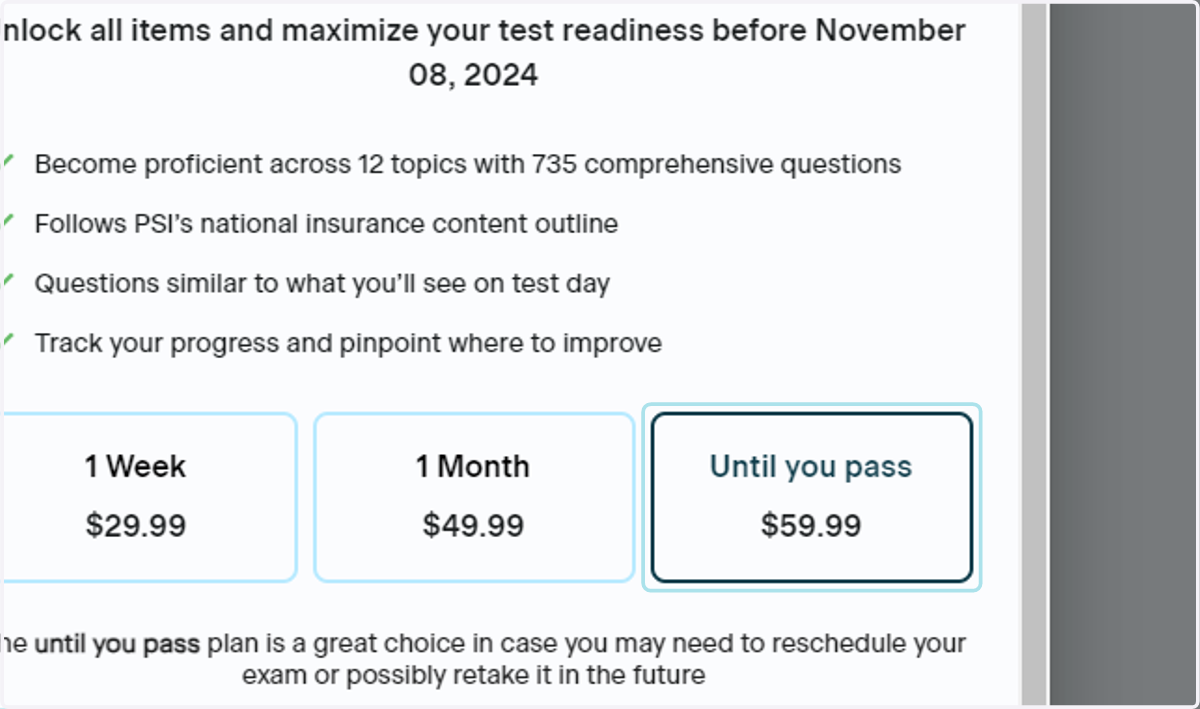
13. Select a Subscription Plan
Once you click Extend, a window will populate asking which subscription you would like. Choose the one that best fits your needs
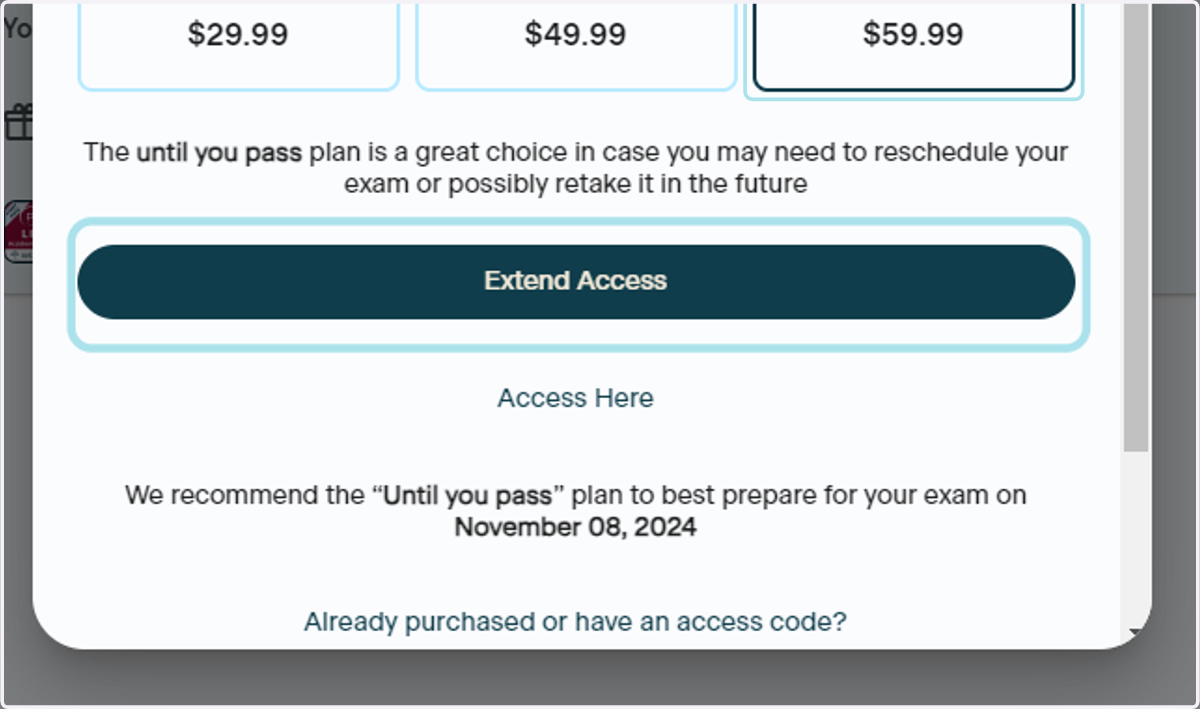
14. Click on Extend Access
Once you have made your selection, click Extend Access to be taken to the payment screen to complete your transaction
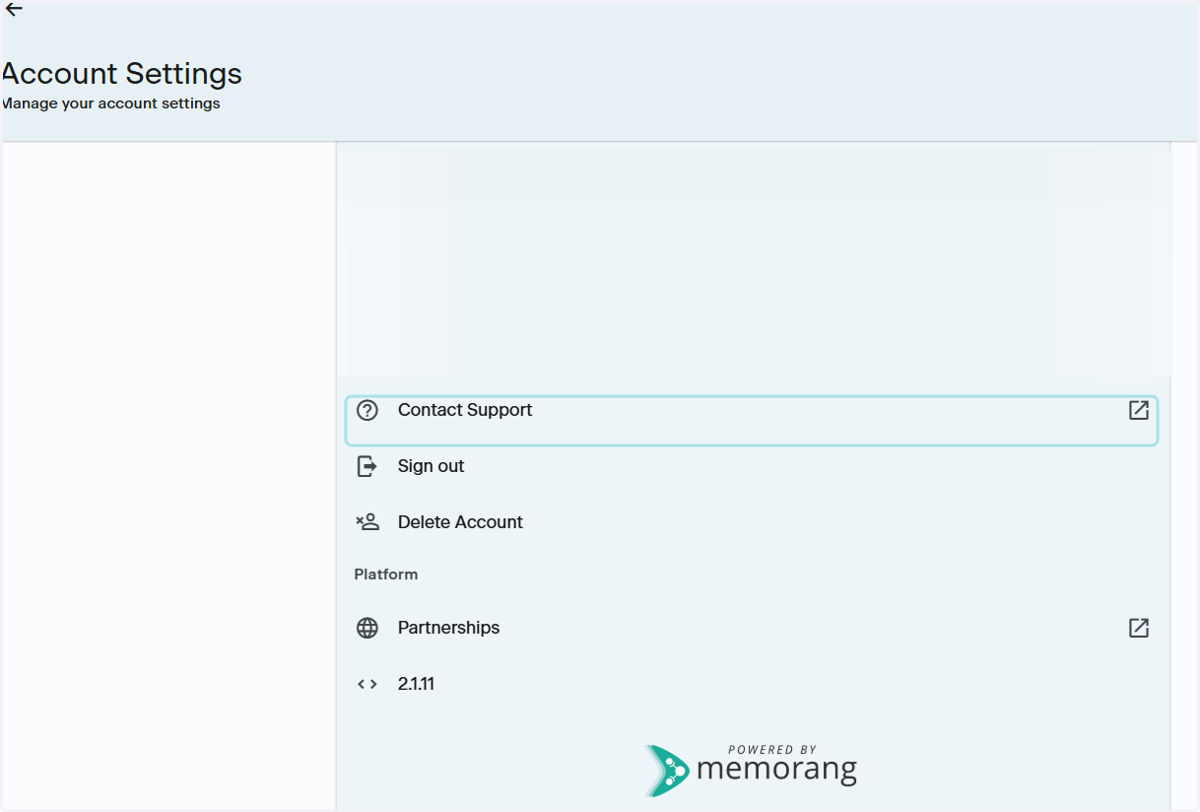
Contact Support
15. Where to Contact Support
Go to your Account Settings by clicking the Gear icon in the upper righthand corner of the App and click Support. This will launch an email to the PSI Support Team, ptsupport@psionline.com
For help with:
Profile details
Order related issues
Access code assistance
Change username
Errors
Please be sure to take screenshots of any errors
Please include the following in your email:
First name
Last name
Email associated with your order
Order Number
Order Confirmation
Note: If you have made a purchase in-app, or through the App Store or Google Play Store, the PSI team will not be able to assist you with order related issues such as:
Copy of order confirmation
Refunds of purchases made through the App Store, Play Store or in-app