Supervisor: Completing an Observation in SLL
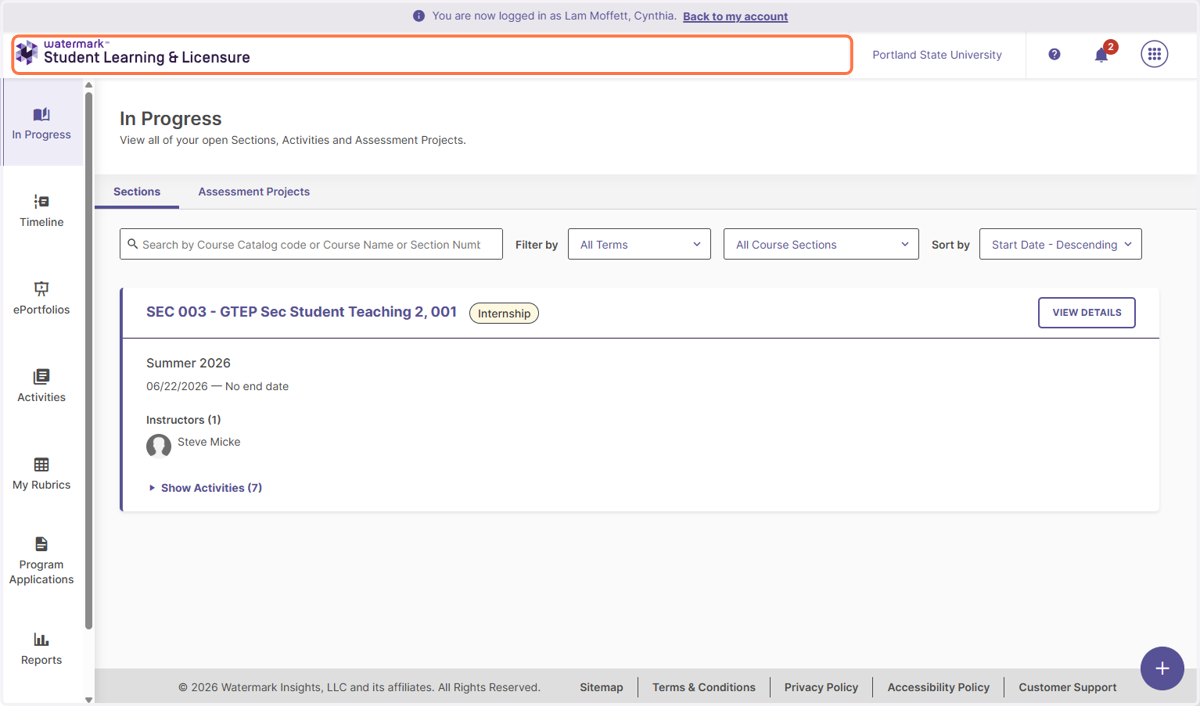
1. To log into Student, Learning and Licensure (SL&L), go to staff.sll.pdx.edu. Note that students log into SL&L at sll.pdx.edu.
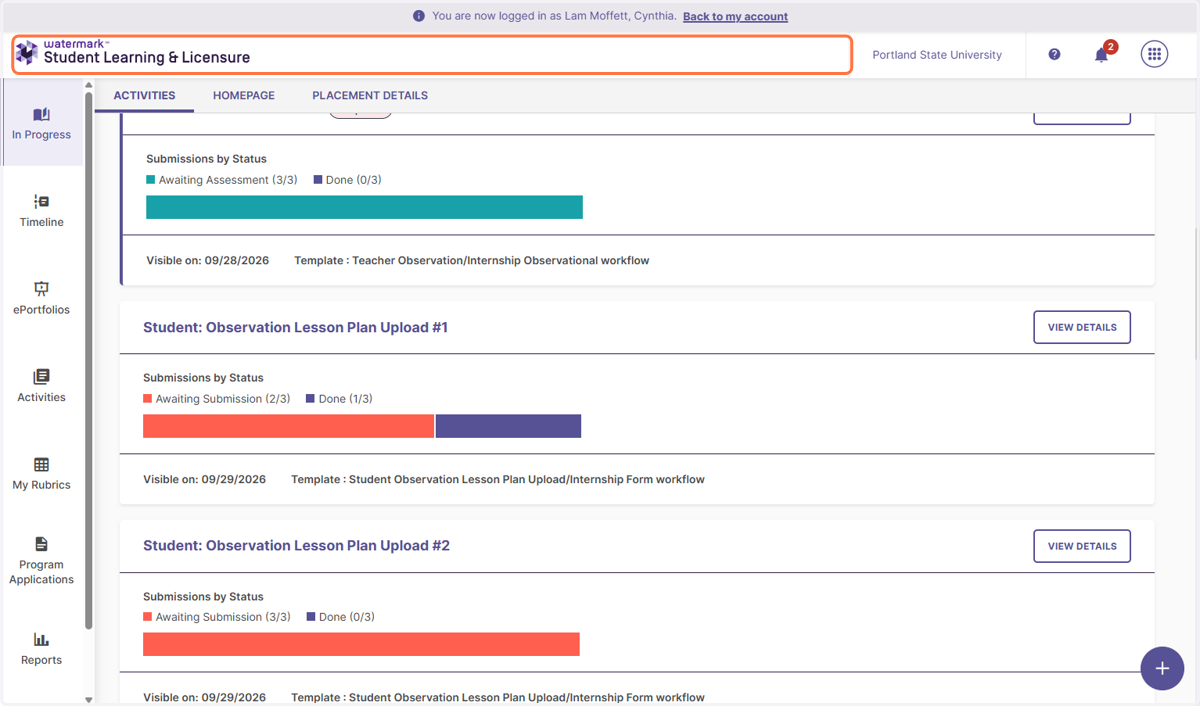
When you first go into SL&L, you will be on the "In Progress" tab. This will list activities that have been assigned to you. In the middle of the screen, you will see that you have students which are doing Student Teaching 2 in GTEP Secondary. If you have multiple students in different program and/or placements, you might see multiple programs listed here. Note that you can filter by the term.
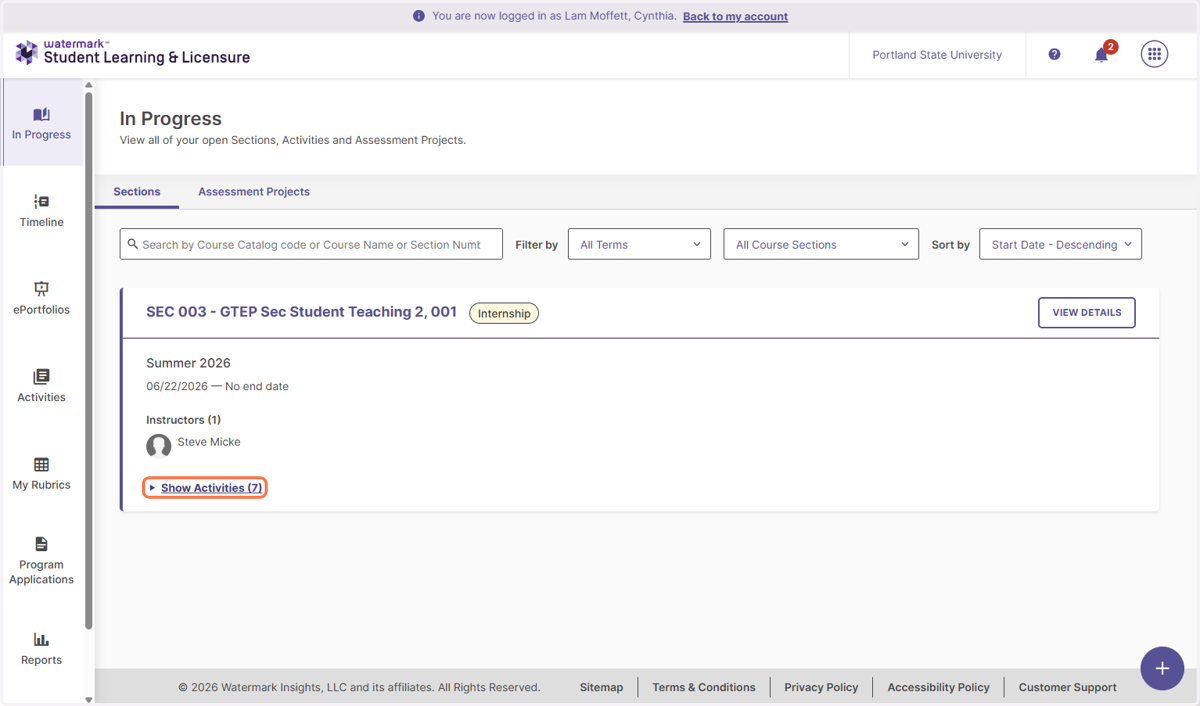
2. To access assessments quickly, click on Show Activities (7) to see a shortcut to all the activities assigned to the "GTEP Sec Student Teaching 2" students.
3. If you wish to see all activities, including student submissions click on the Placement Heading. (Sec 003-GTEP ....). Click on the heading for this tutorial
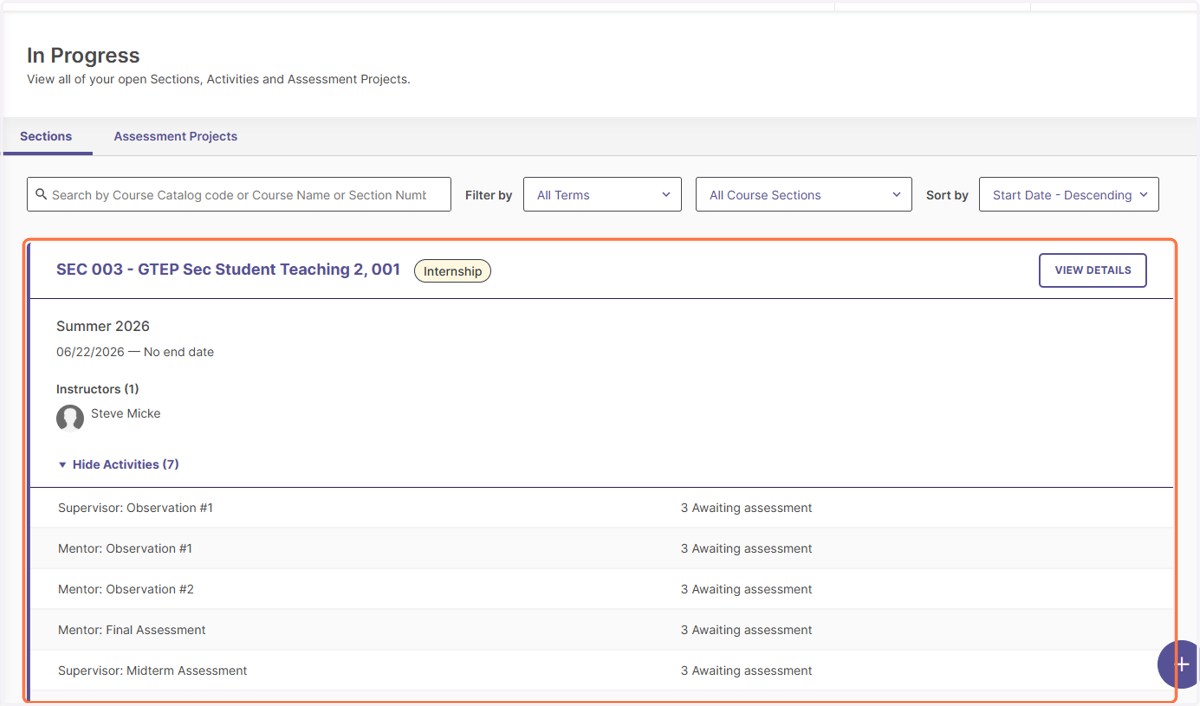
4. Activities will begin with either "Mentor", "Supervisor" or "Student" depending on who is responsible for completing the Assessment.
In some programs, students will submit lesson plans and videos. If the program does not require students to submit their lesson plan and video in SL&L, you can skip to step #13. Otherwise, there will be 2 activities for the students to upload their lesson plans and 2 activities for them to upload a video. The video upload assignment will be named "Student" Observation Video Upload #1" and "Student" Observation Video Upload #2". For this tutorial, click on Student: Observation Lesson Plan Upload #1 to view the student's lesson plan
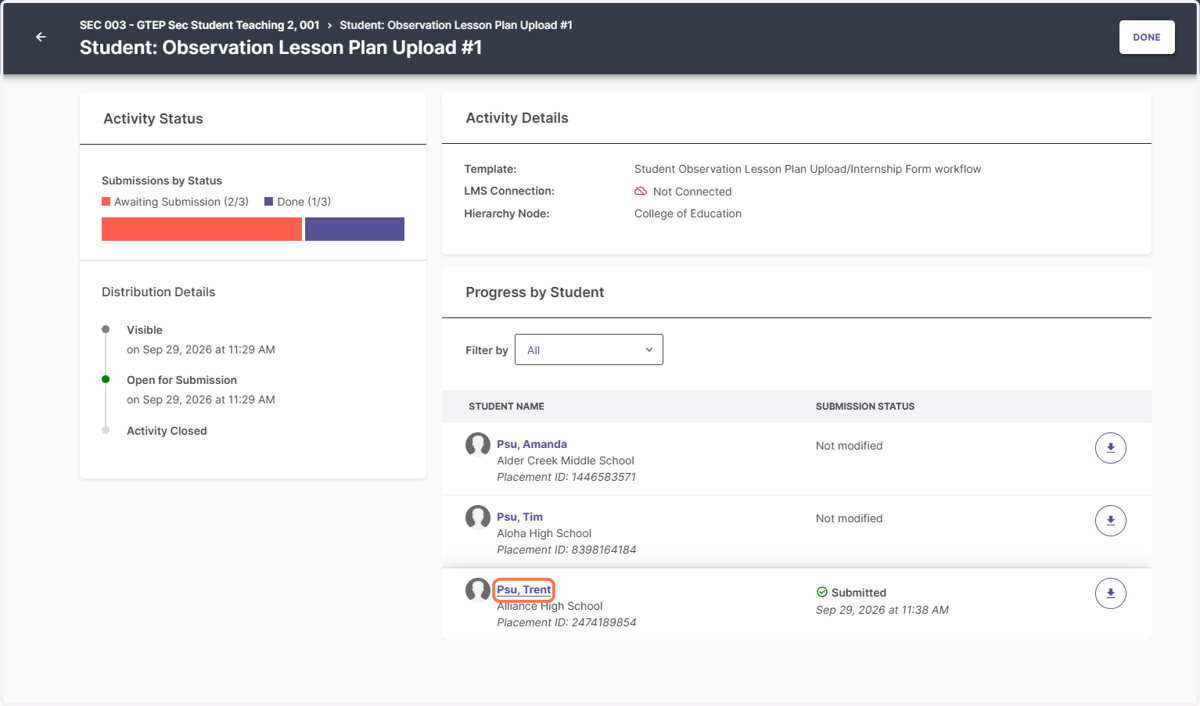
5. In this example, you will see that Trent has submitted a lesson plan but Tim and Amanda have not. To view Trent's submission, click on his name (Psu, Trent)
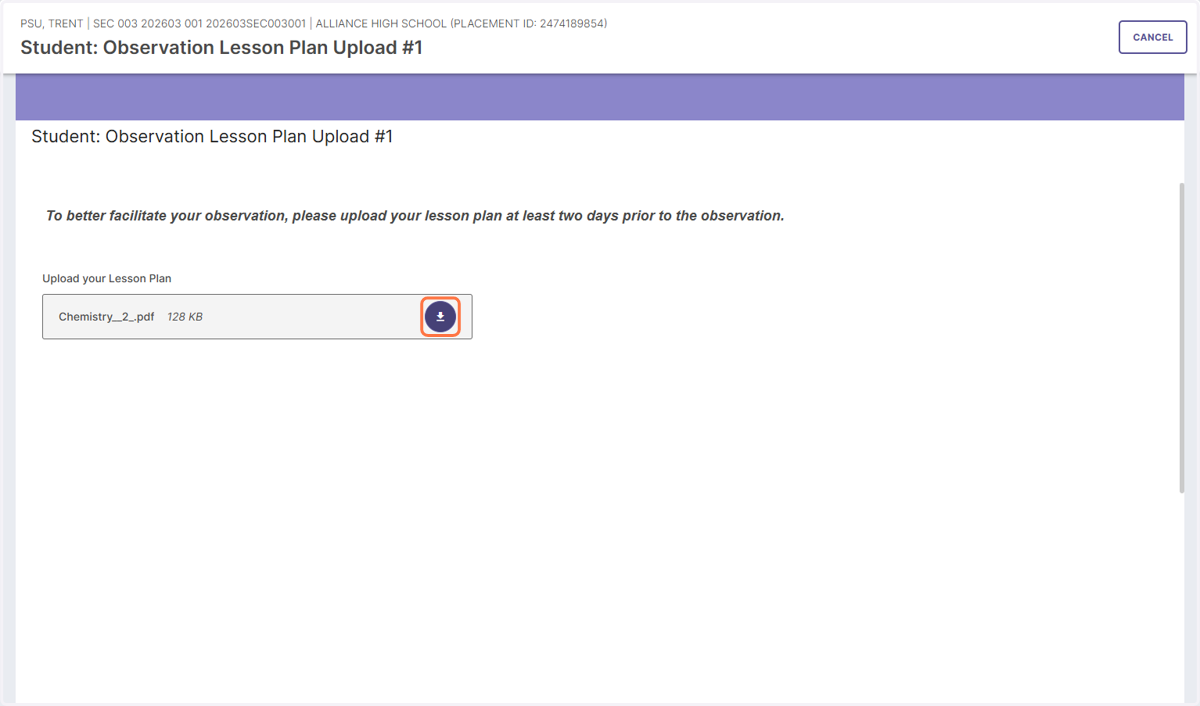
6. To access the lesson plan, click on the download button next to the "Chemistry_2.pdf". After accessing the items, click on "Cancel"
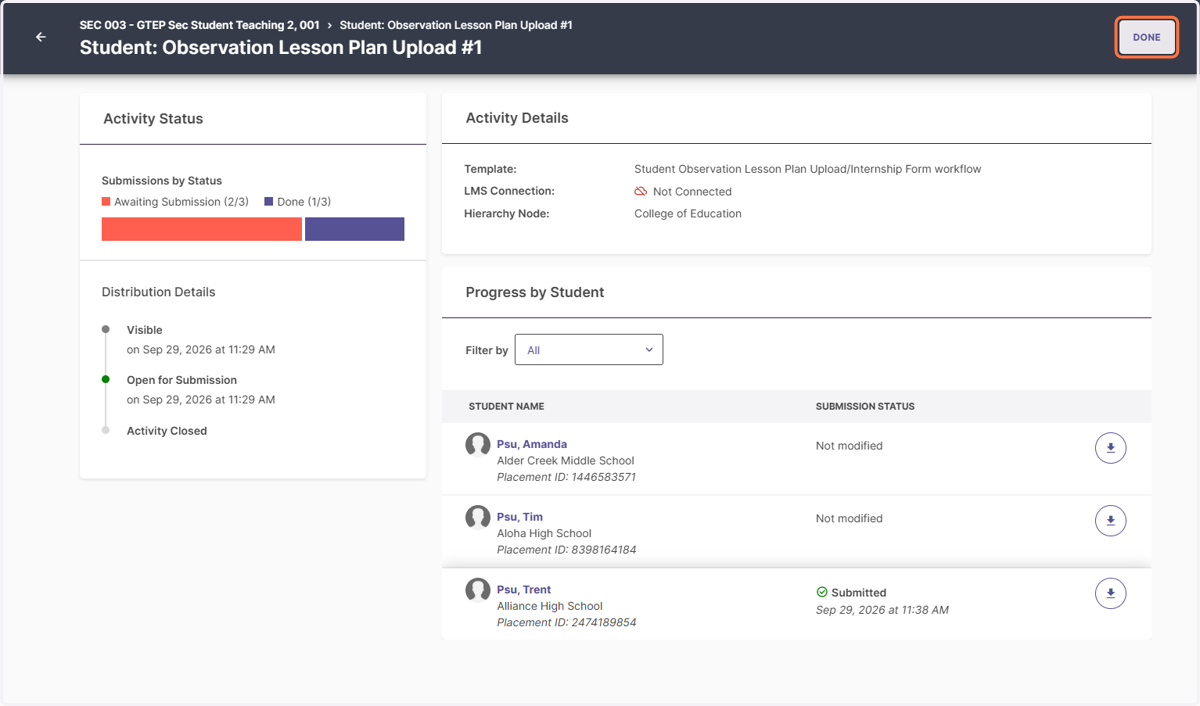
7. To exit out of the Student Observation Upload section, click on DONE
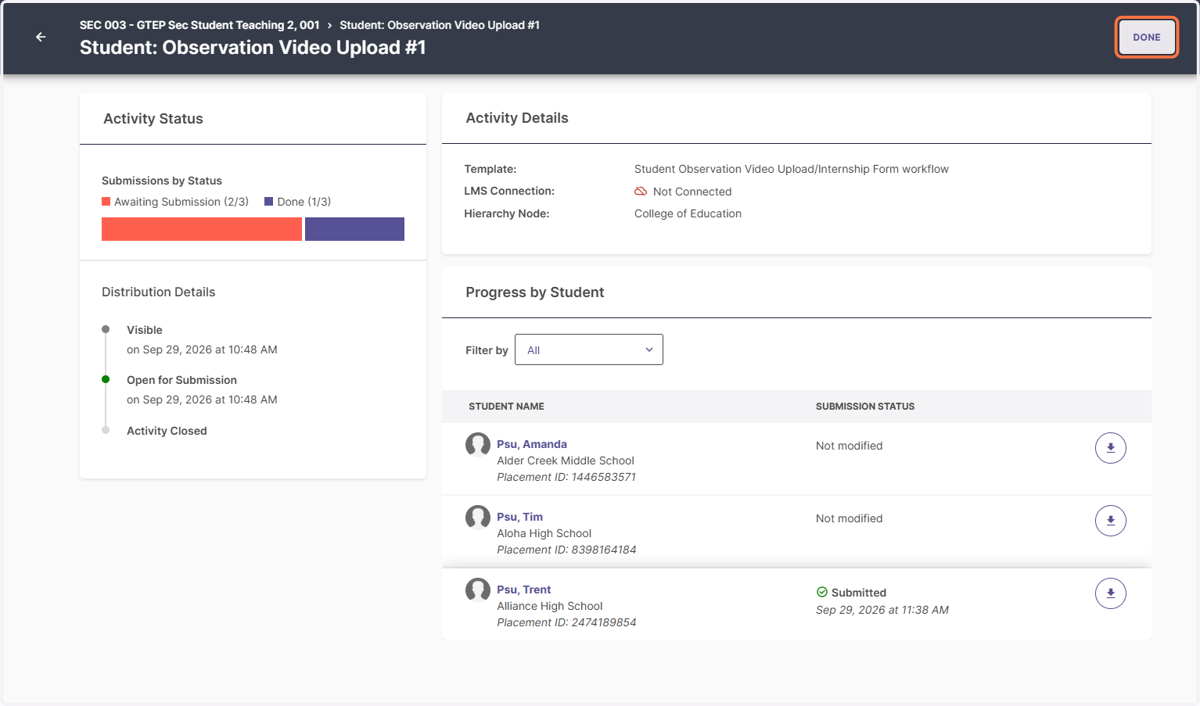
8. If your program requires the student to upload a video, scroll down to "Student: Observation Video Upload #1" and click on it.
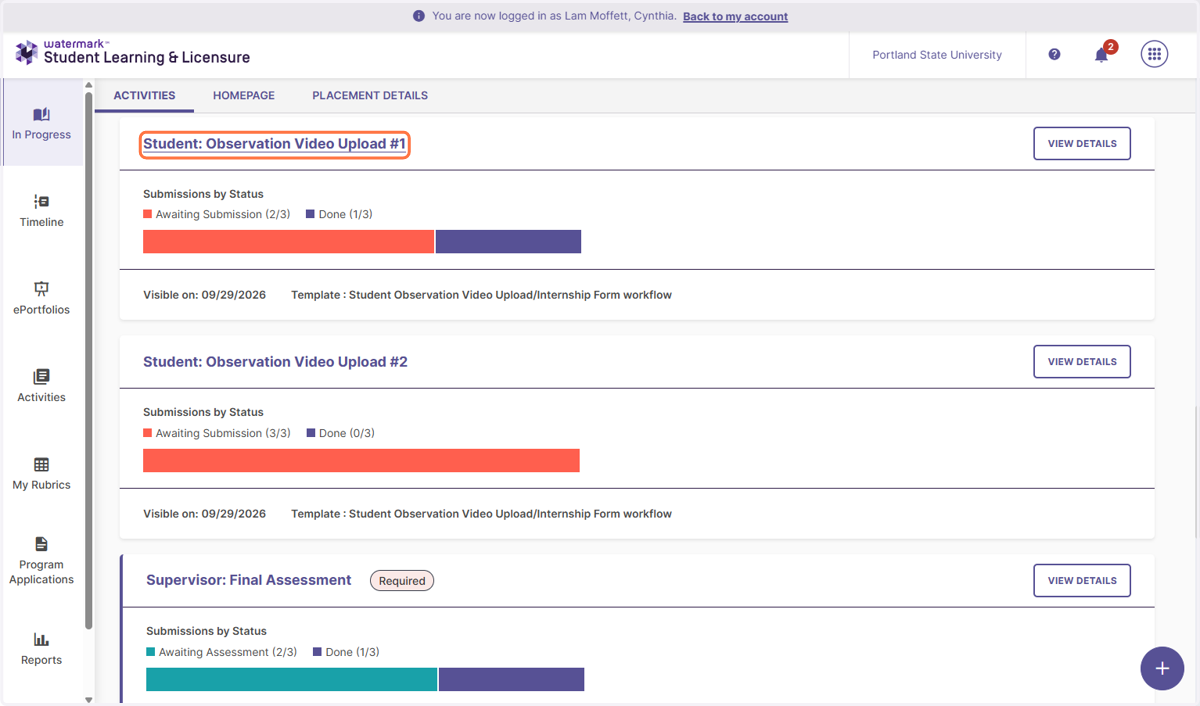
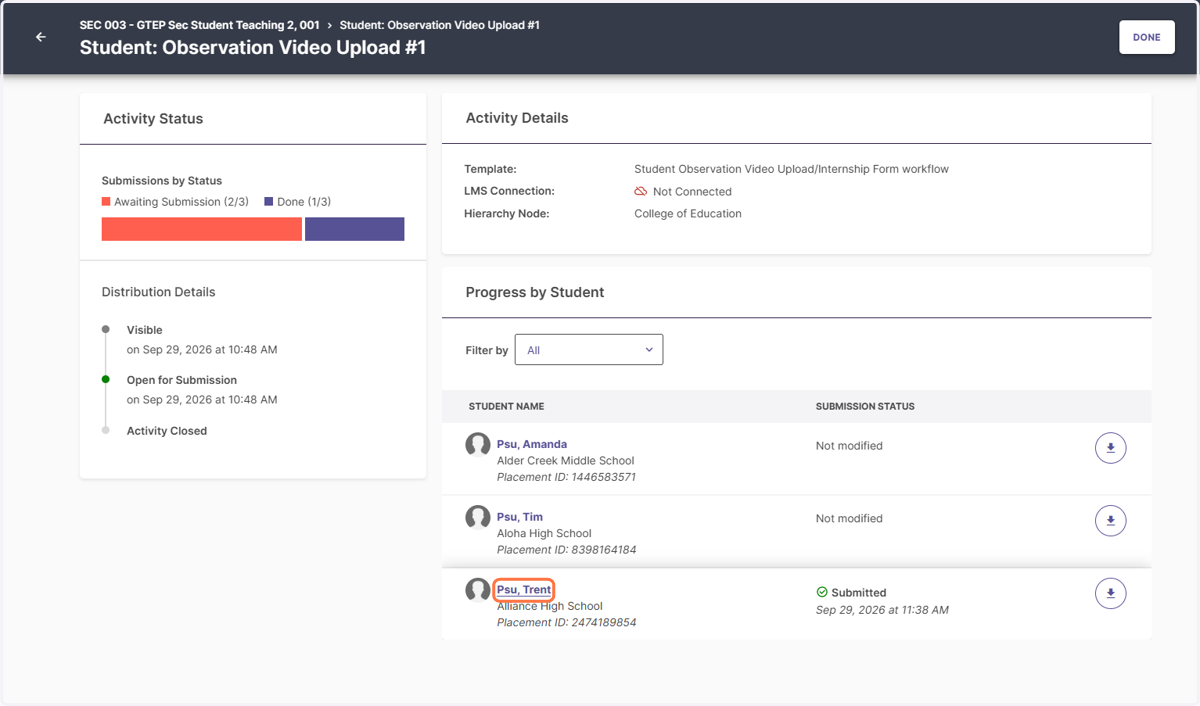
9. You will see that Trent PSU has submitted a video. Click on "PSU, Trent"
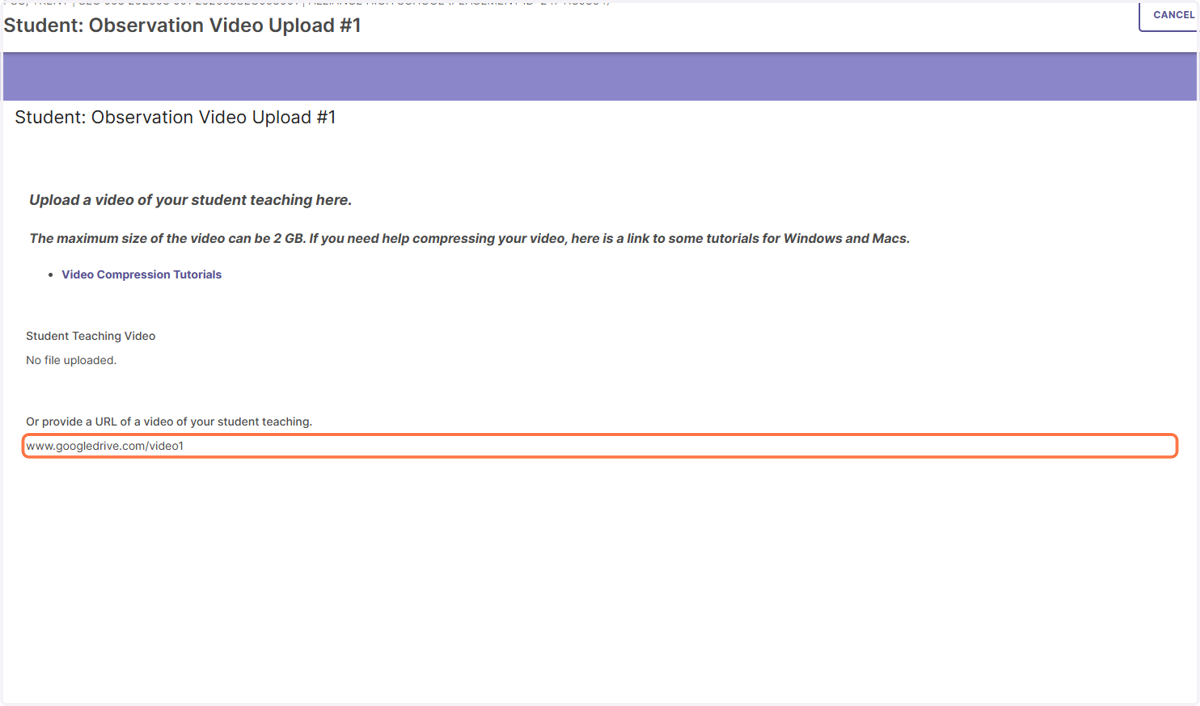
10. The student can either upload a video or provide a URL to a shared drive. In this example the student provided a URL. If the student had uploaded a video, you would be able to download it similarly to how you downloaded the lesson plan.
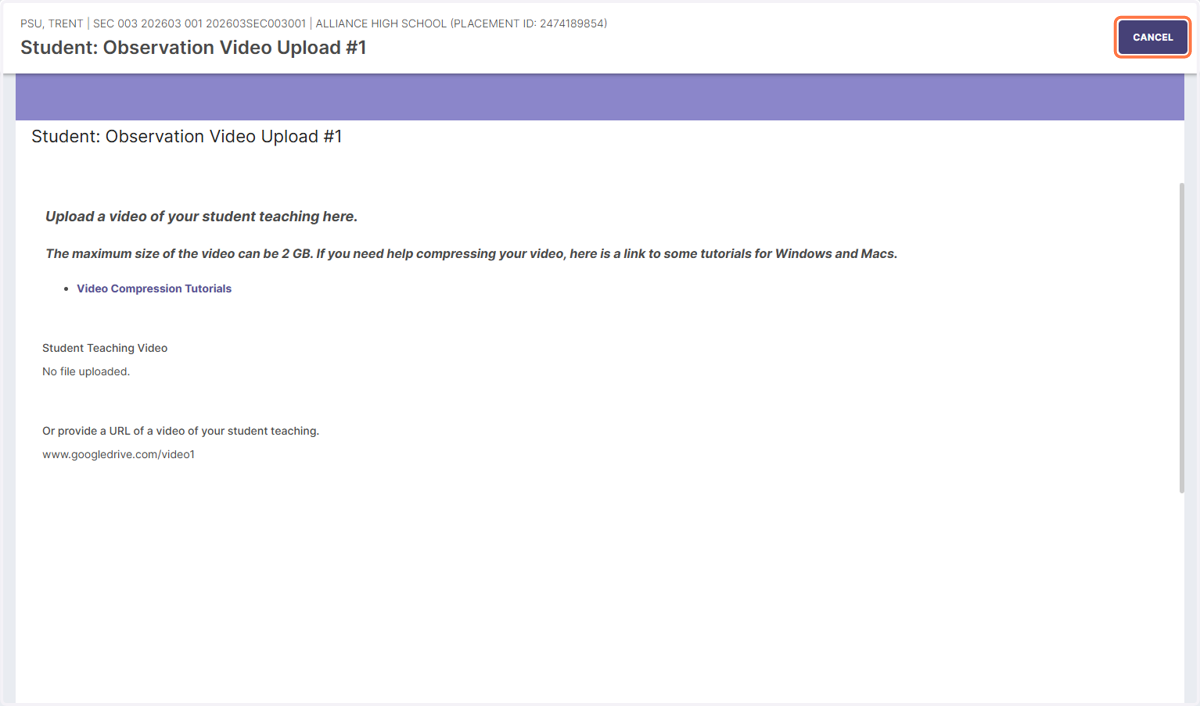
11. Click on CANCEL to exit the Video activity
12. Click on DONE
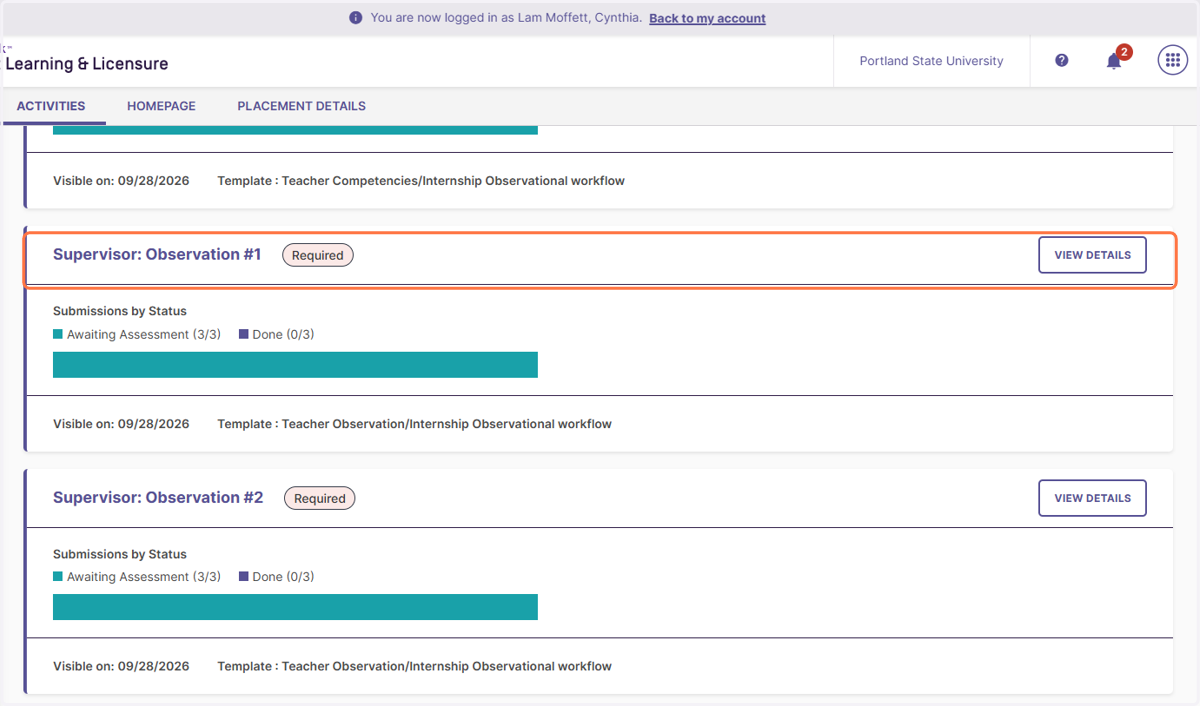
13. In this example we will be completing the first Supervisor observation of a student. Scroll up or down to find the "Supervisor: Observation #1". Click on the heading to access the observation.
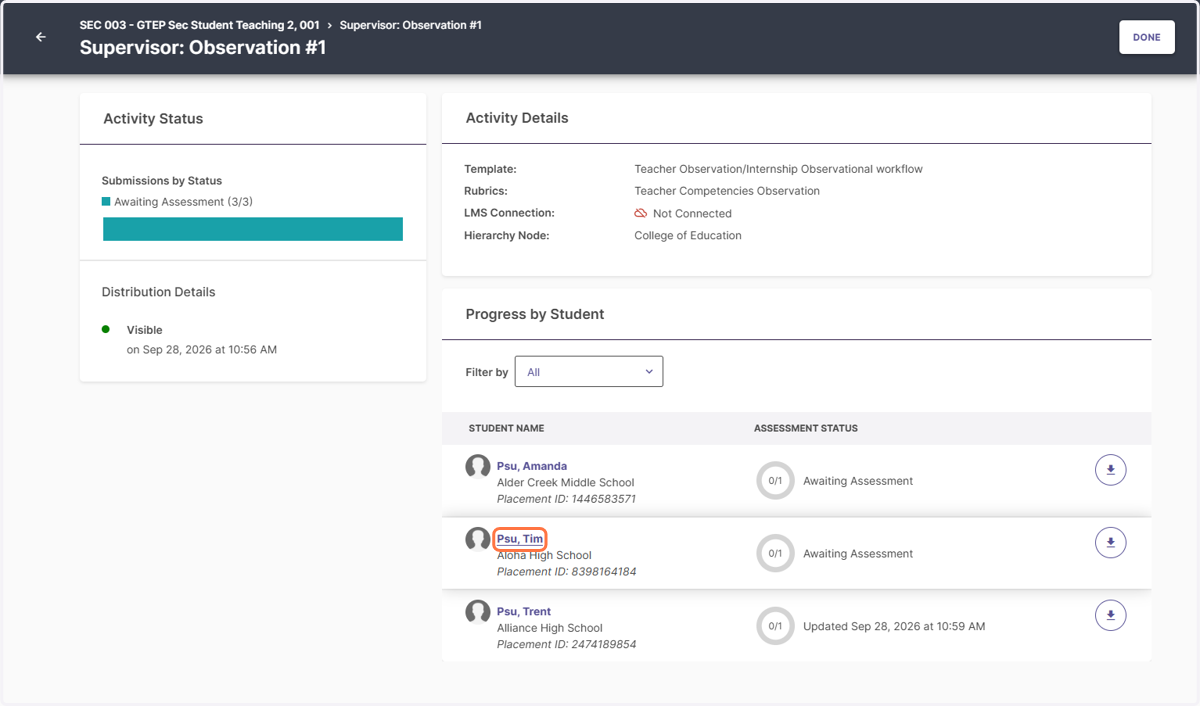
14. In this example, the supervisor has multiple students.
You can see that Tim and Amanda have an assessment status of "Awaiting Assessment" which means you haven't completed the Supervisor Observation #1 yet. The supervisor has started work on the observation for Trent but hasn't submitted yet. Click on "Tim PSU"
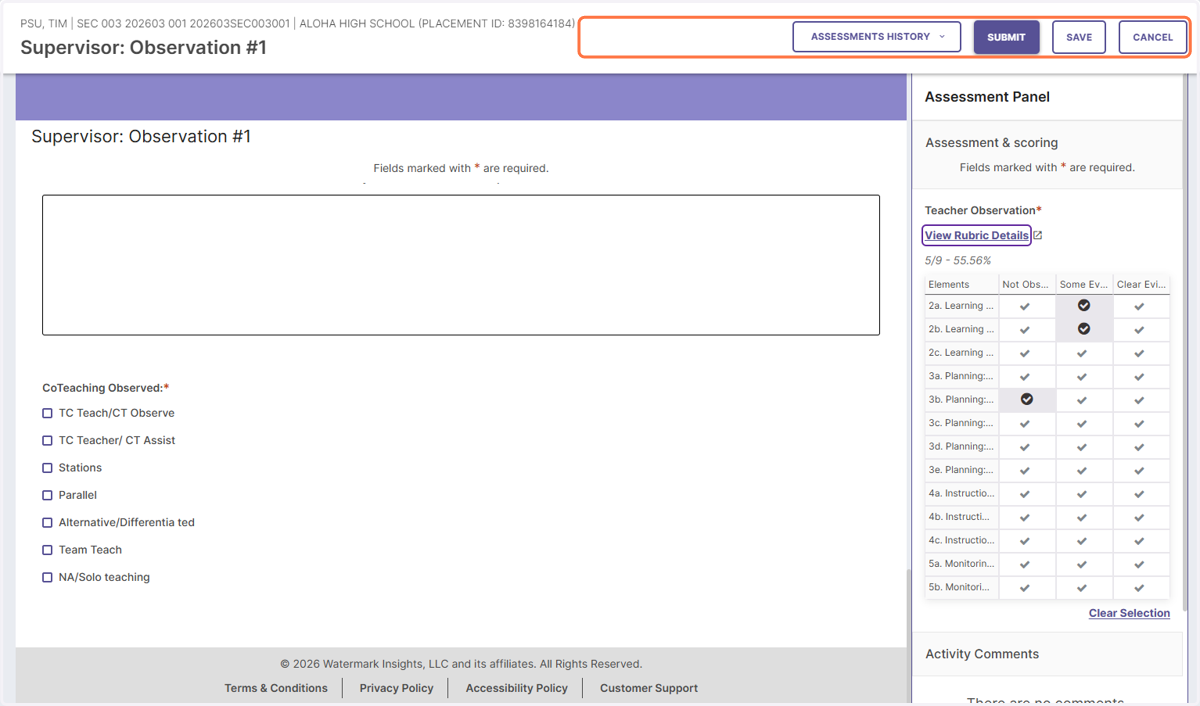
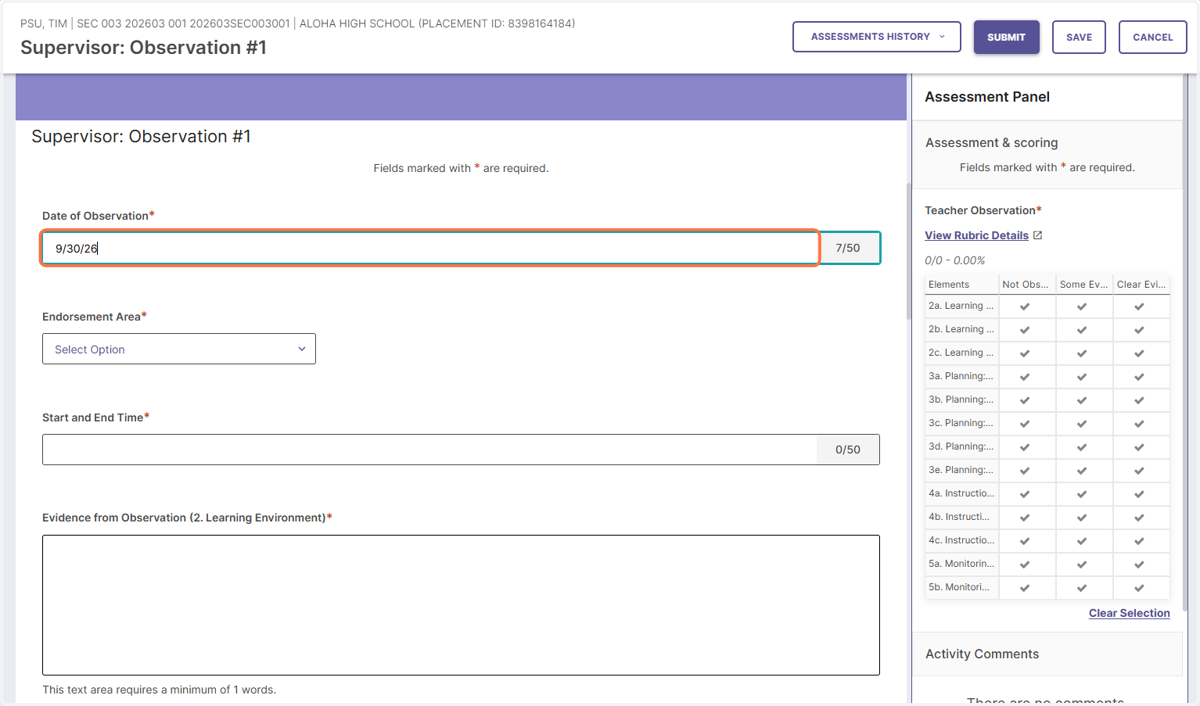
15. The left side of the screen contains some mandatory fields such as date of observation , Endorsement area and Start/End Time. There is also areas for Evidence and Coaching feedback. Scroll down to see all the different optional feedback areas.
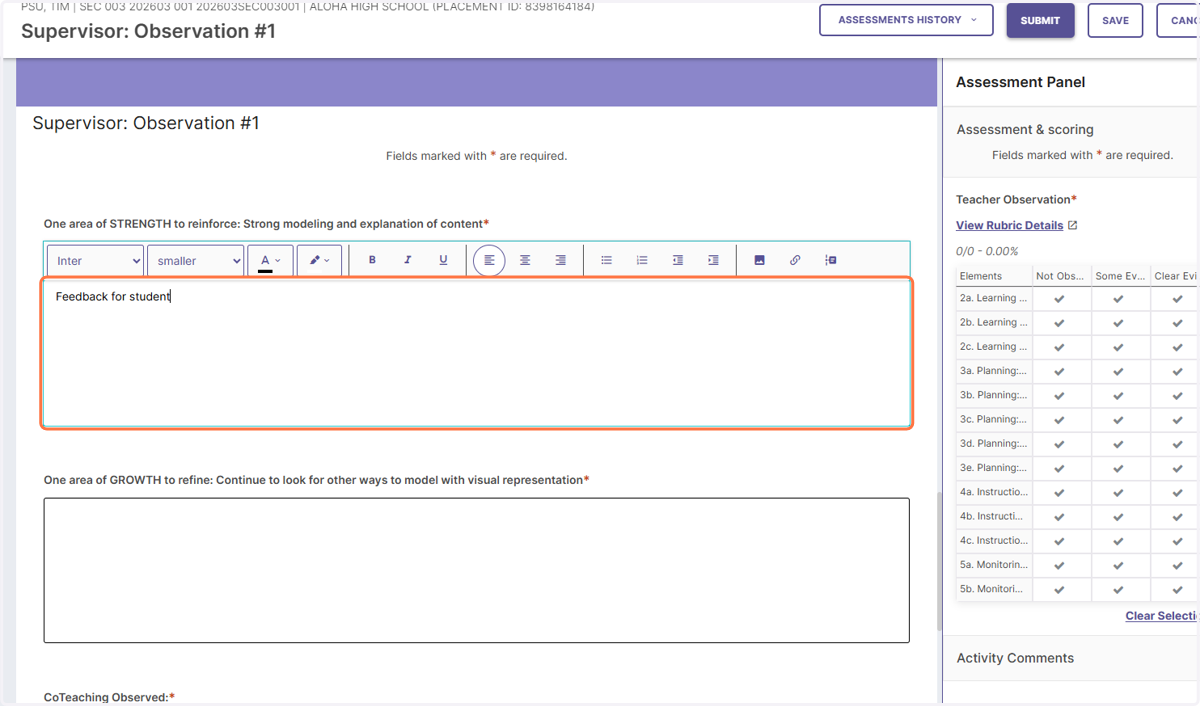
16. Here is an example of the Coaching Feedback area for "One area of STRENGTH to reinforce: Strong modeling and explanation of content"
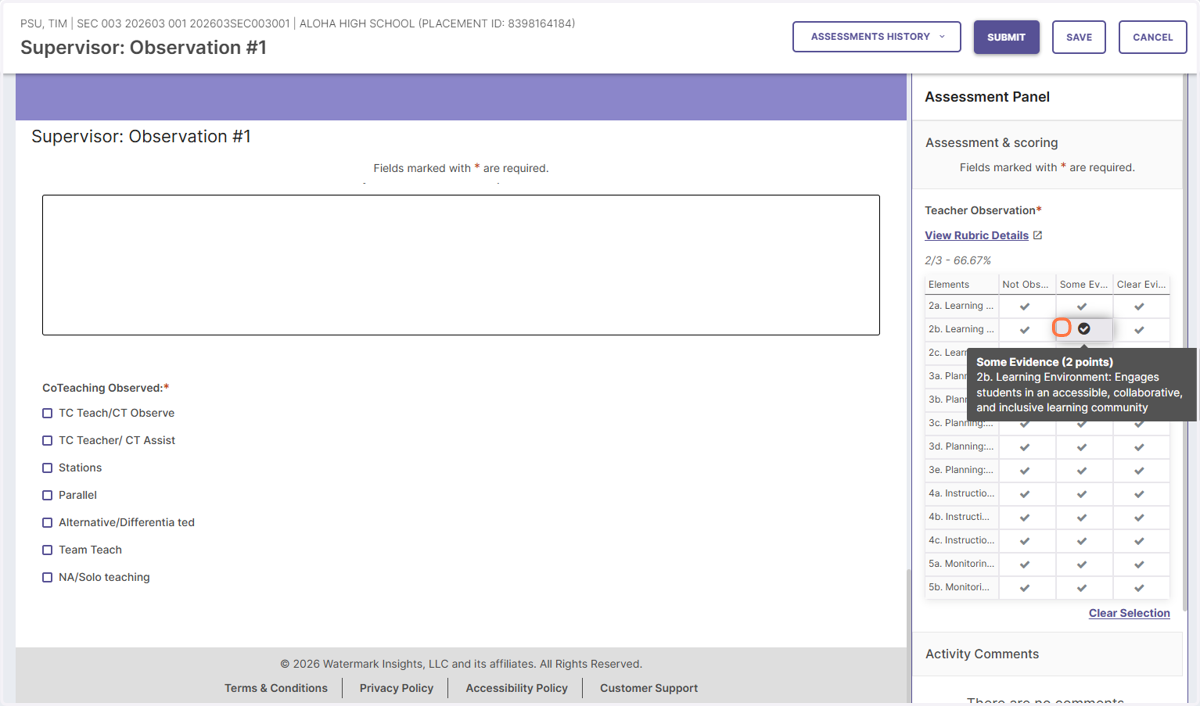
17. The observation rubric can be accessed in two methods. A condensed version of the rubric is located on the right side of the screen. You can select the score for each criteria here.
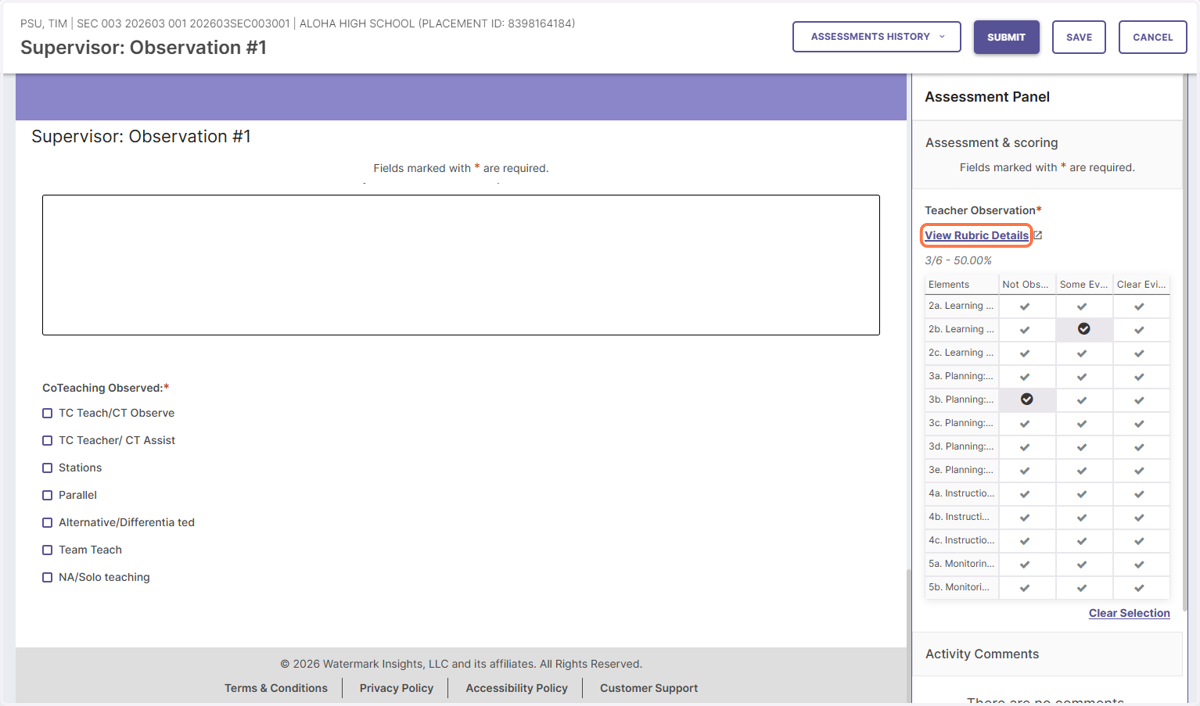
18. You can also expand the rubric by clicking on "View Rubric Details"
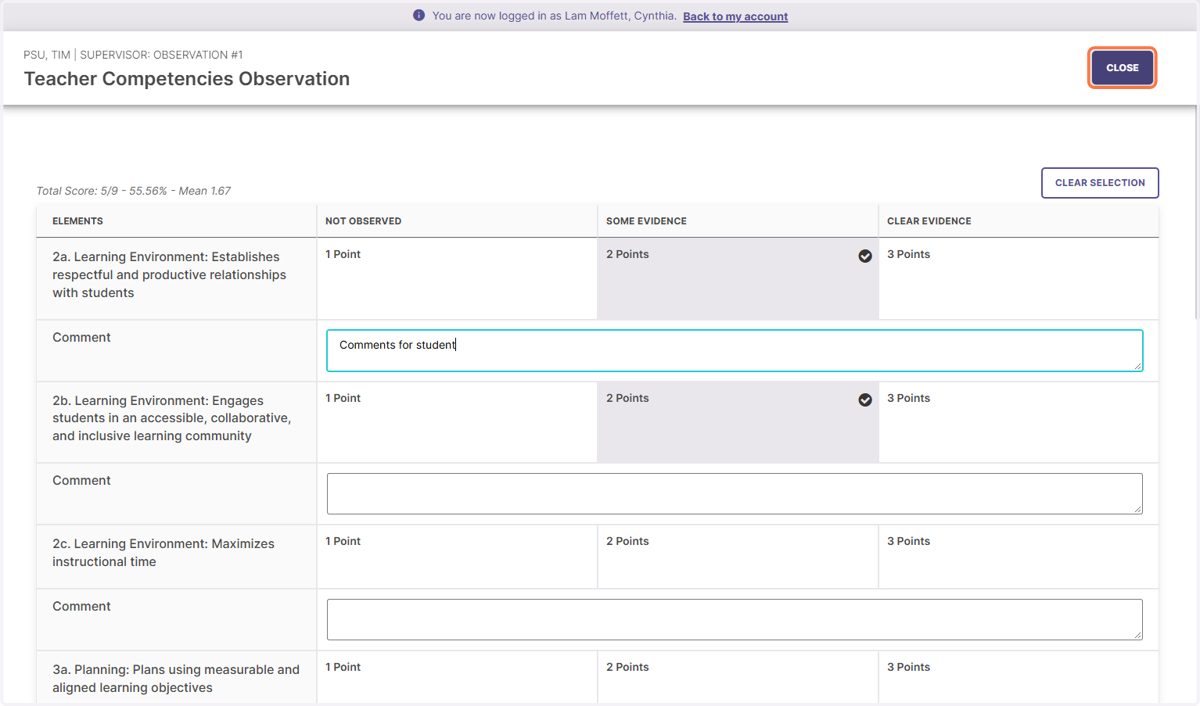
19. This method of completing the rubric will give you a more detailed look of the rubric and also leave room for comments.
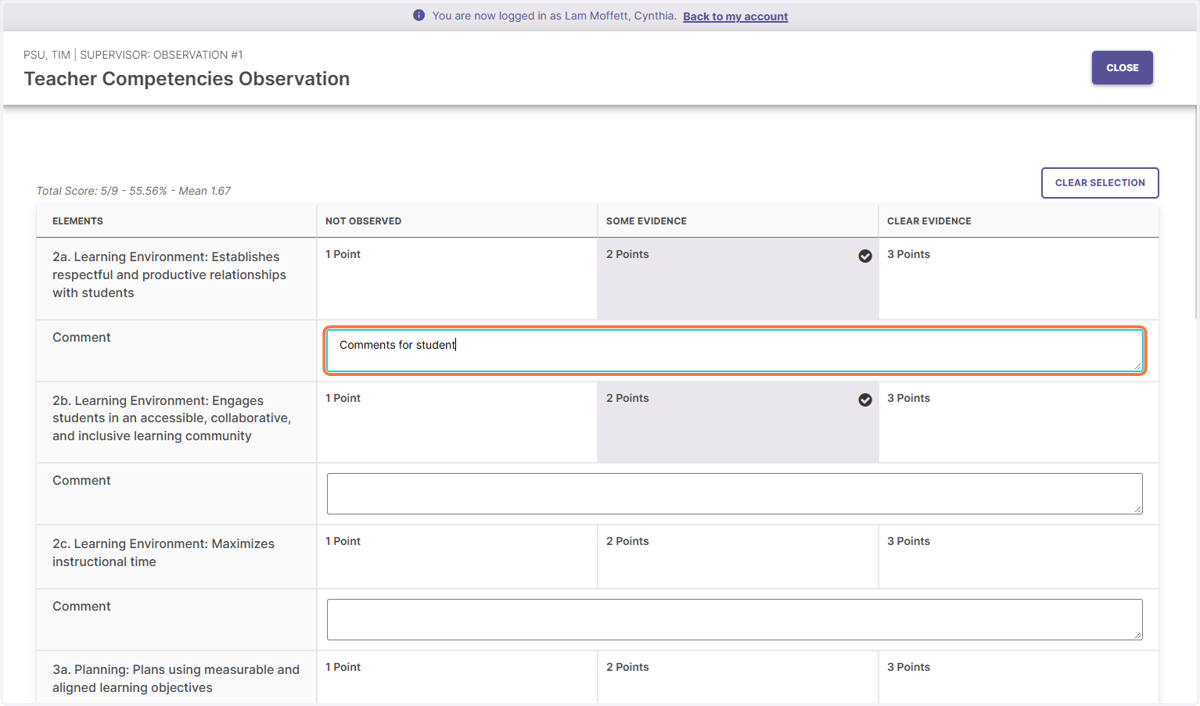
20. Once you have completed the rubric, click on CLOSE. Note that if you haven't finished, you can still close it and come back later to complete it.
21. If you have finished the rubric and feedback section. you can click on "Submit". If you wish to come back later, click on "Save". Once you submit, students will receive a notification that the assessment was completed.