5. Submitting a Segment (list) in HubSpot
This walks you through submitting a pre-defined segment (list) in HubSpot, using the List Dashboard found in the settings section of the TitanX App
Note: You will need to already have created your Segments before using this feature
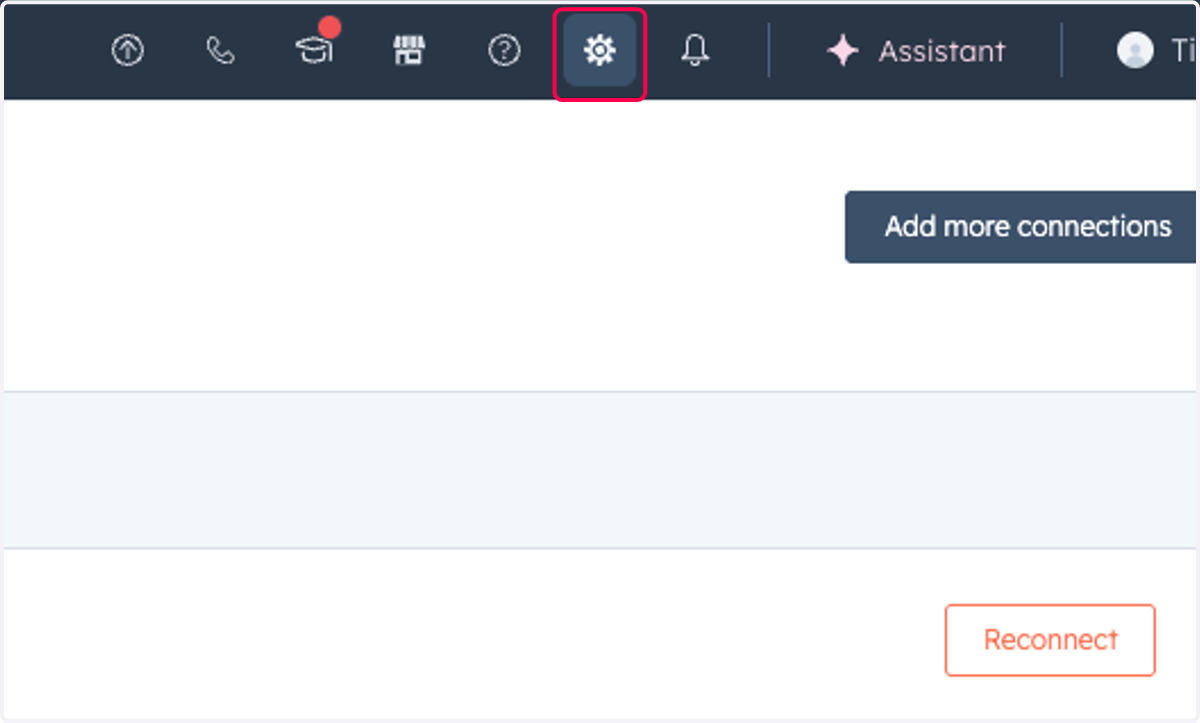
1. Click on Settings
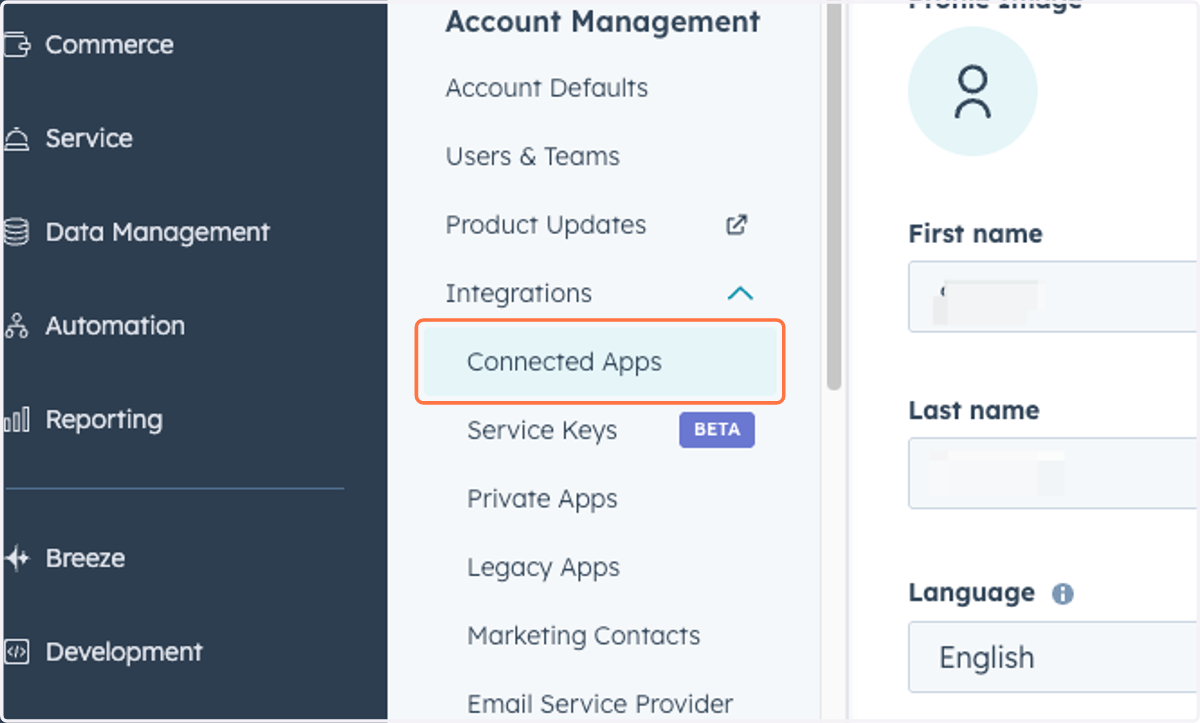
2. Click on Connected Apps
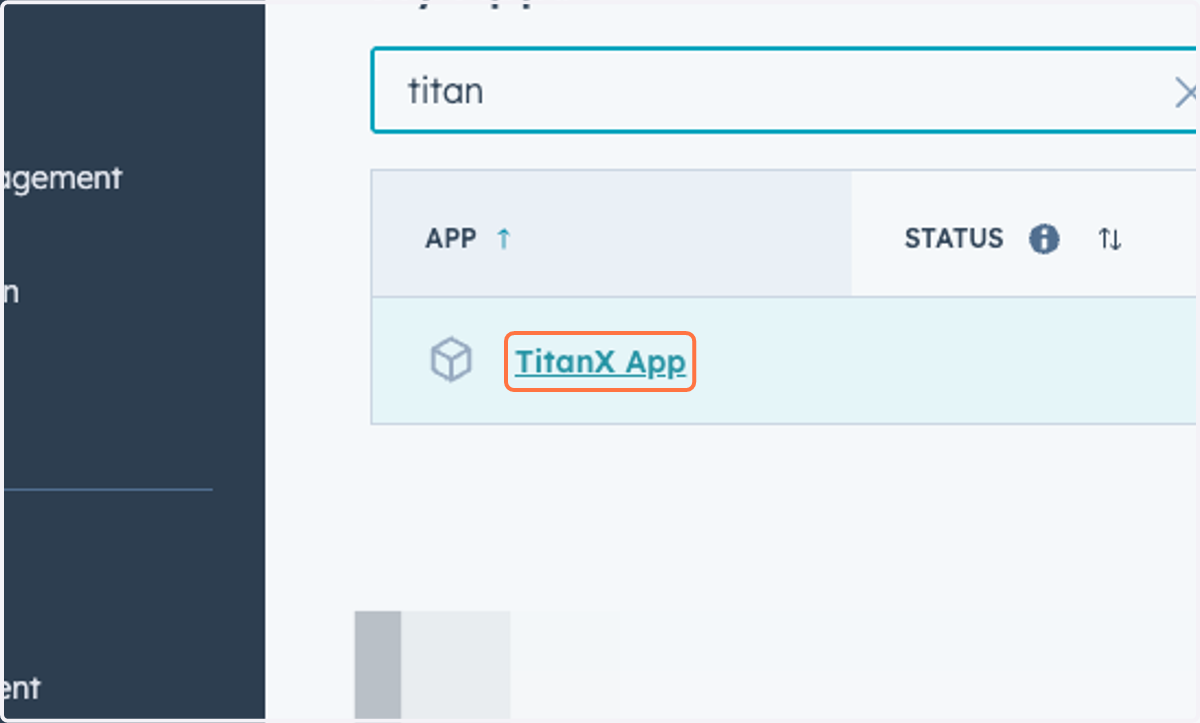
3. Search for the TitanX App
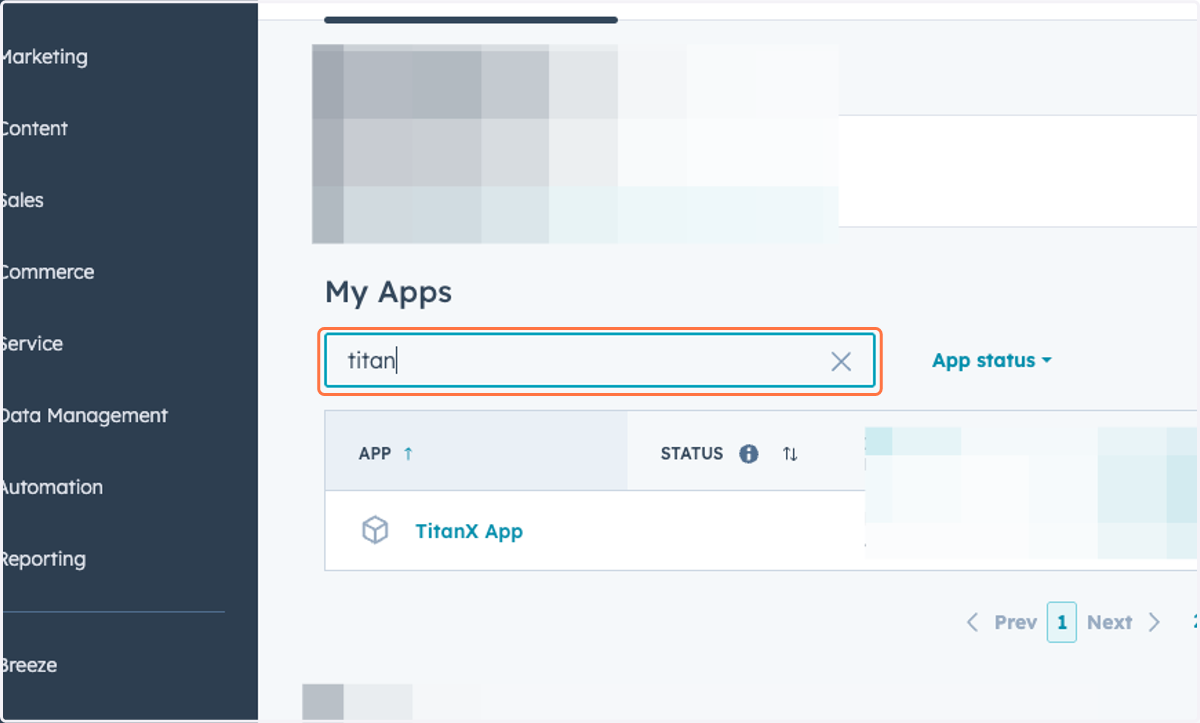
4. Click on TitanX App
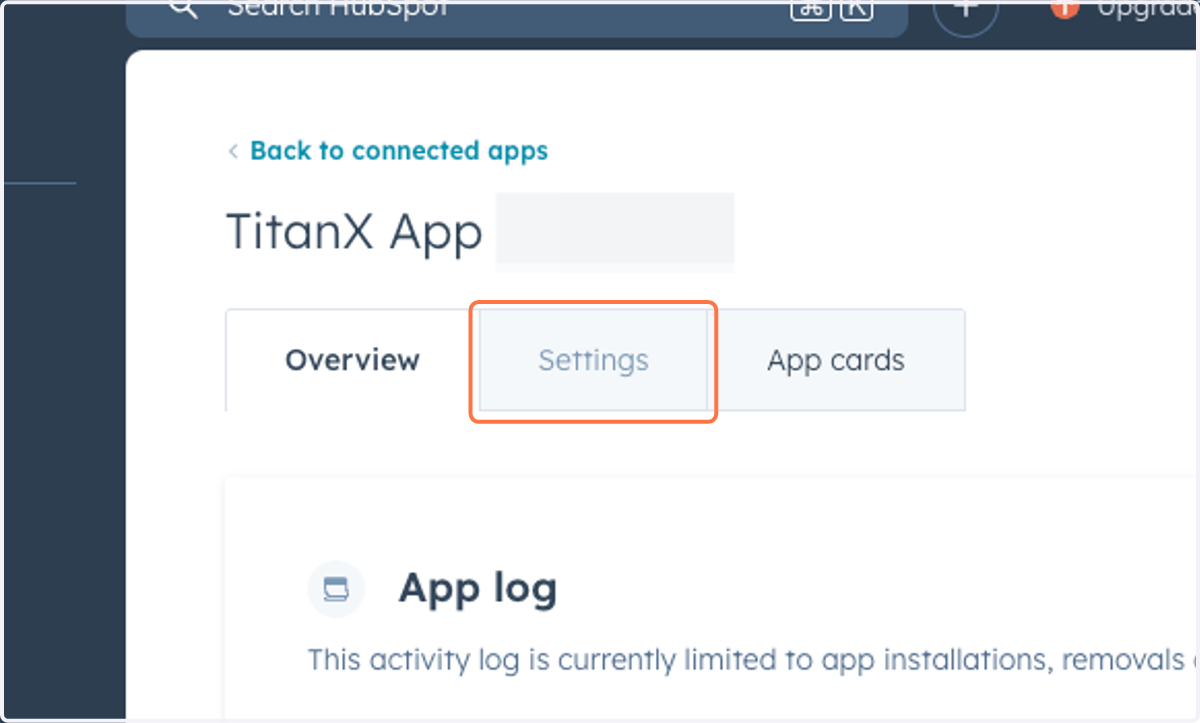
5. Click on Settings
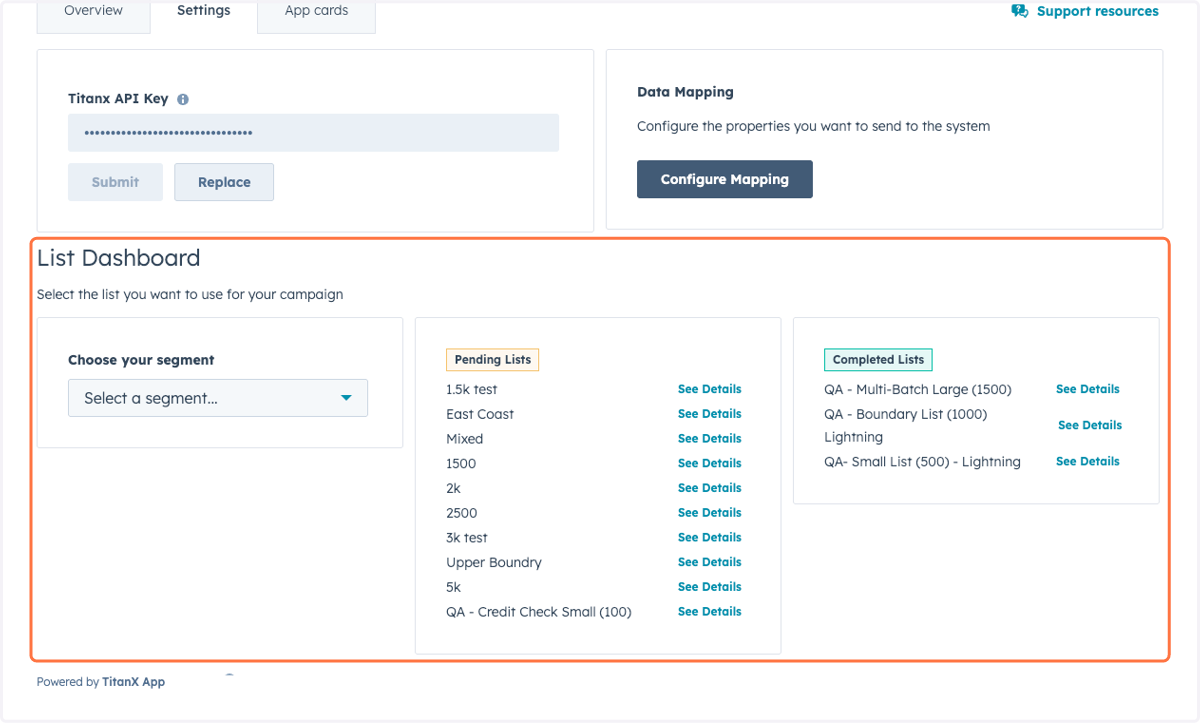
6. The List Dashboard is where you can access the Submit a Segment (list) feature
7. Click on Select a segment...
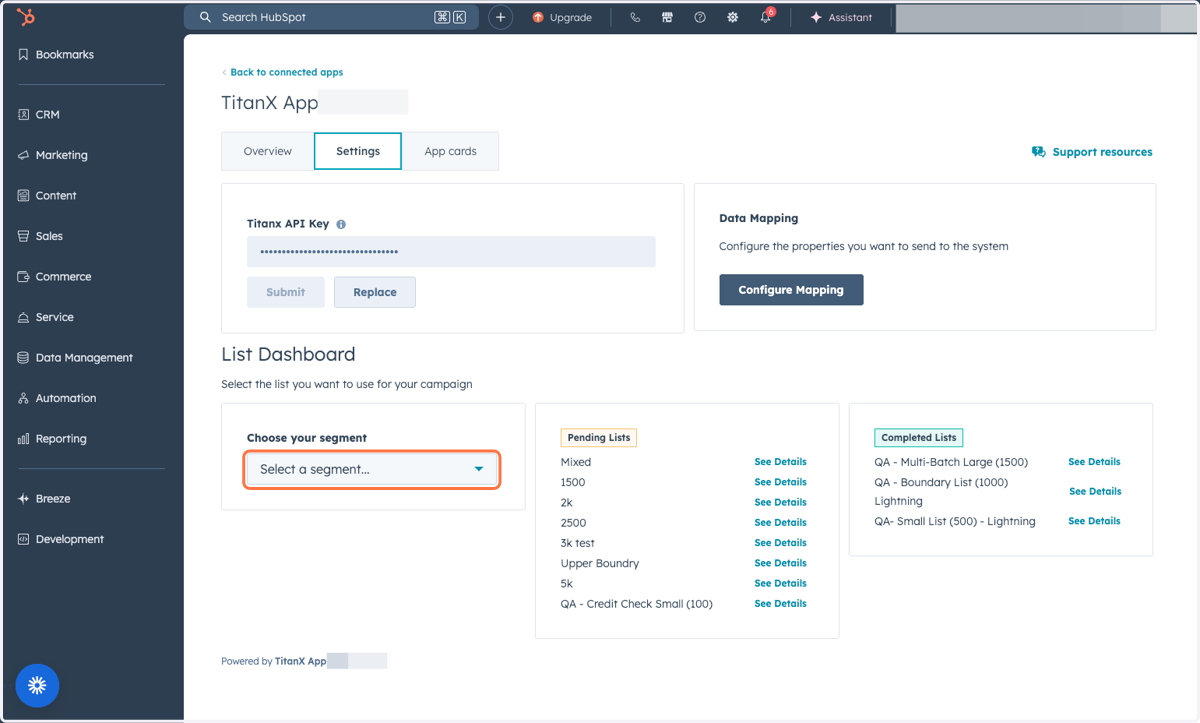
8. Choose the Segment you would like to Submit for Scoring
Note: You will need to have already created your Segments for them to appear in this list
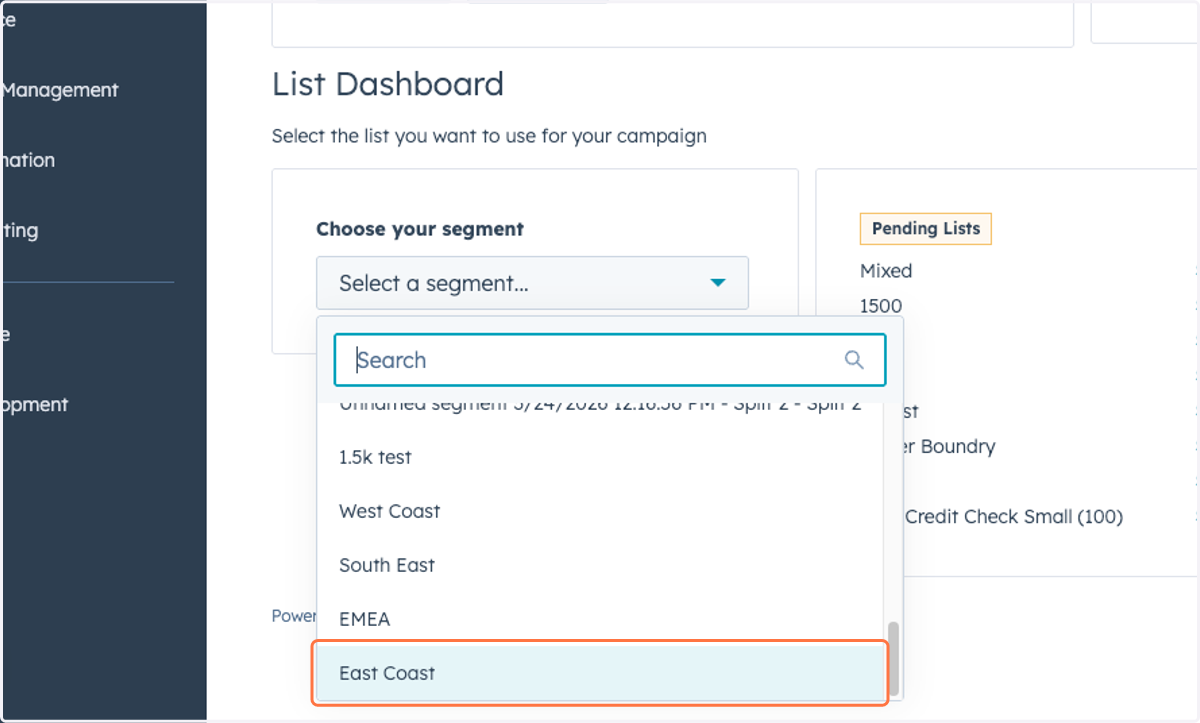
9. Verify the Selected Segment appears here
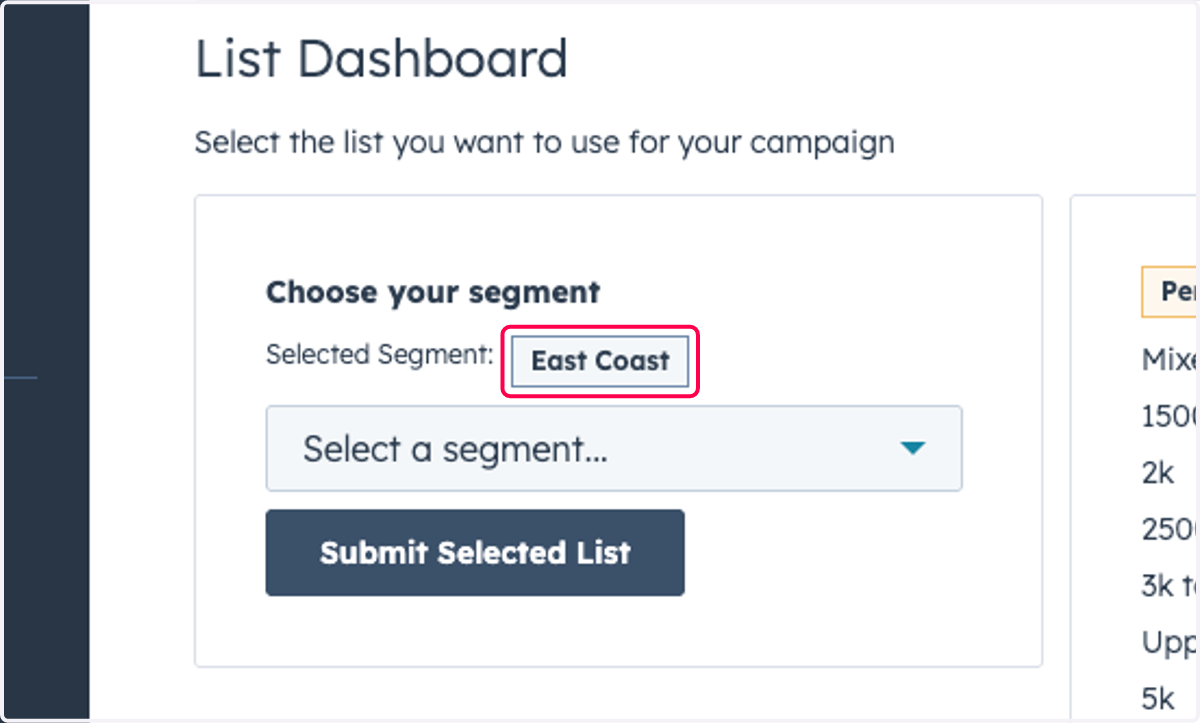
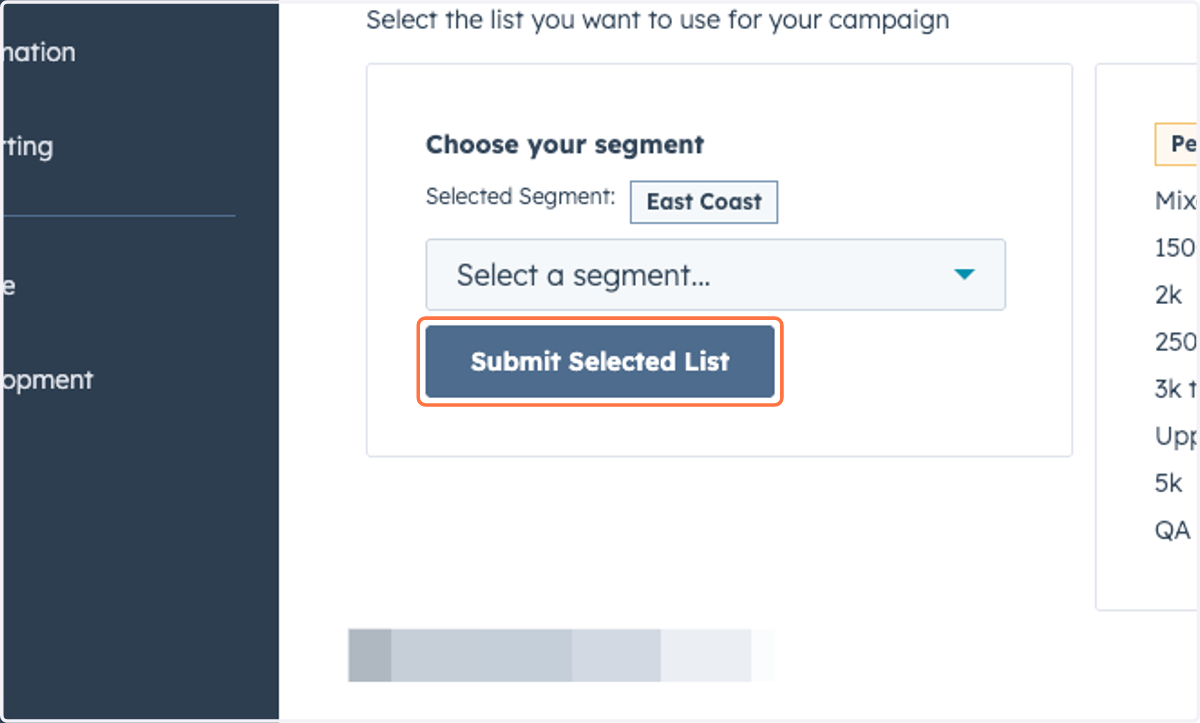
10. Click on Submit Selected List
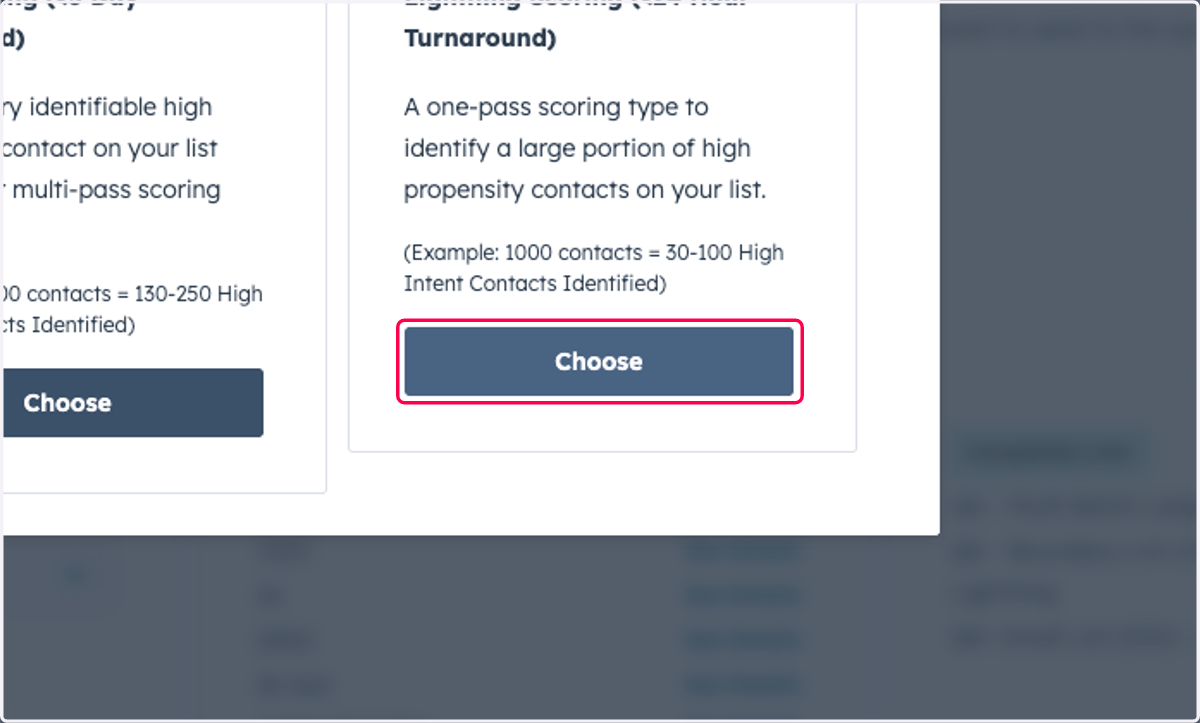
11. Select Scoring Method
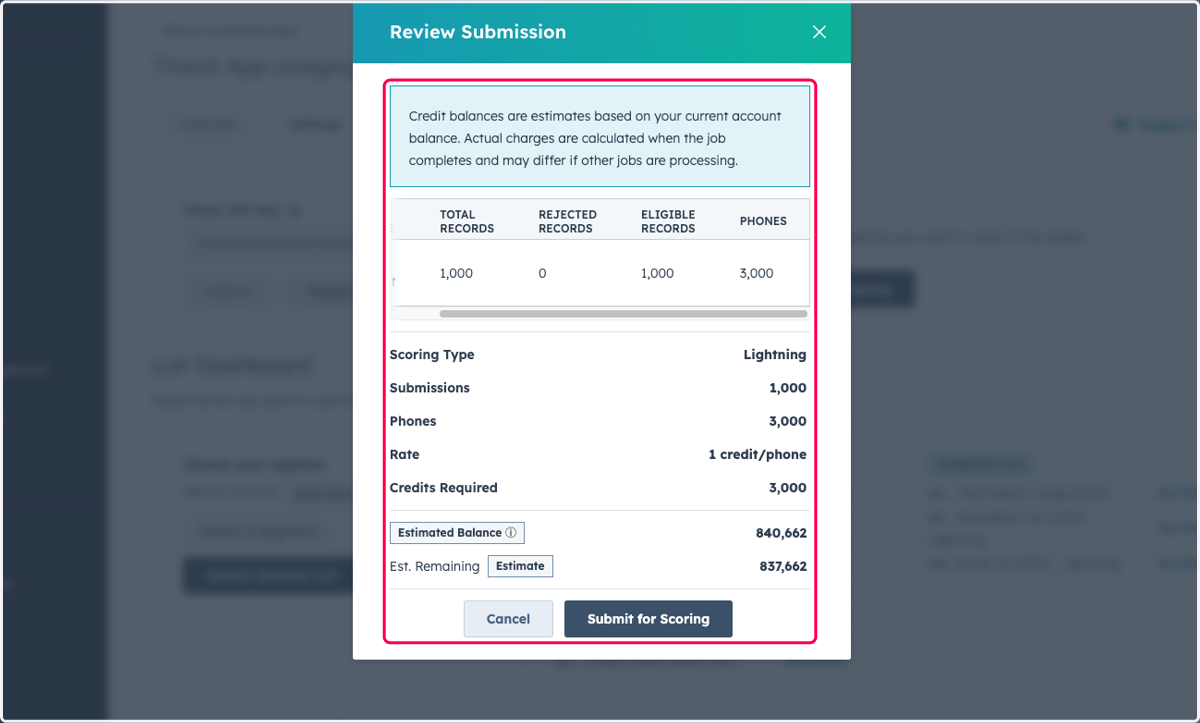
12. Review details of the list submission, including number of records, number of phones, scoring type, credits required and estimate balances
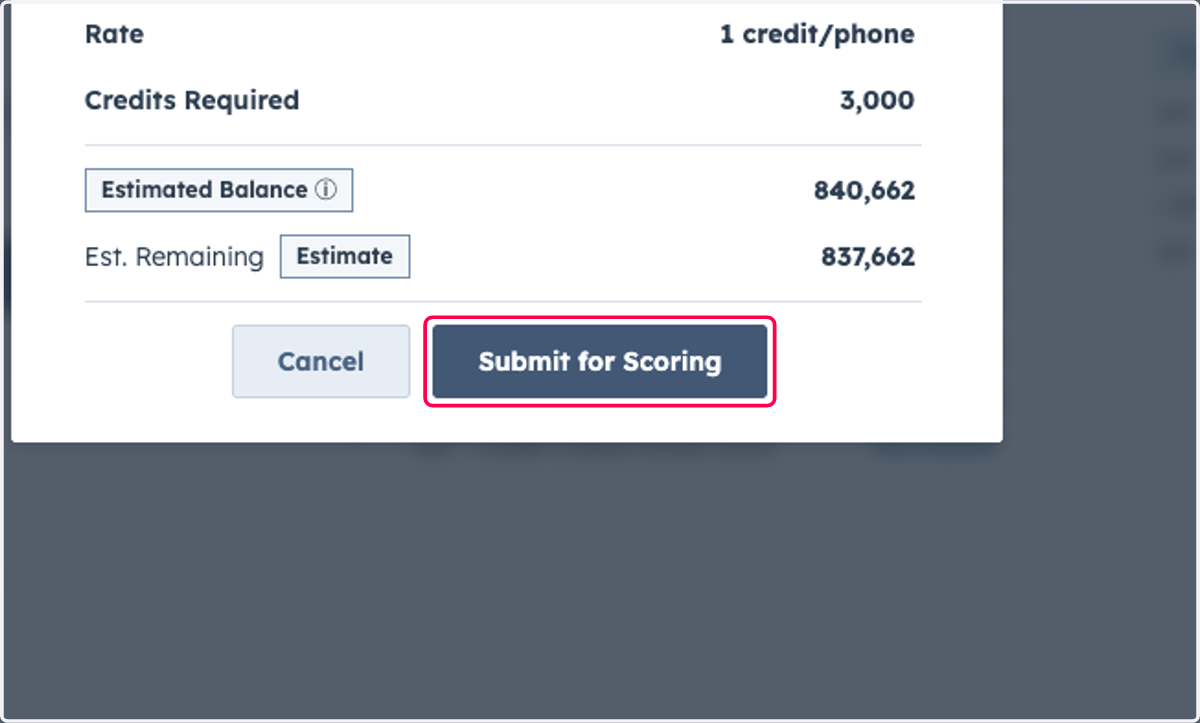
13. Click on Submit for Scoring
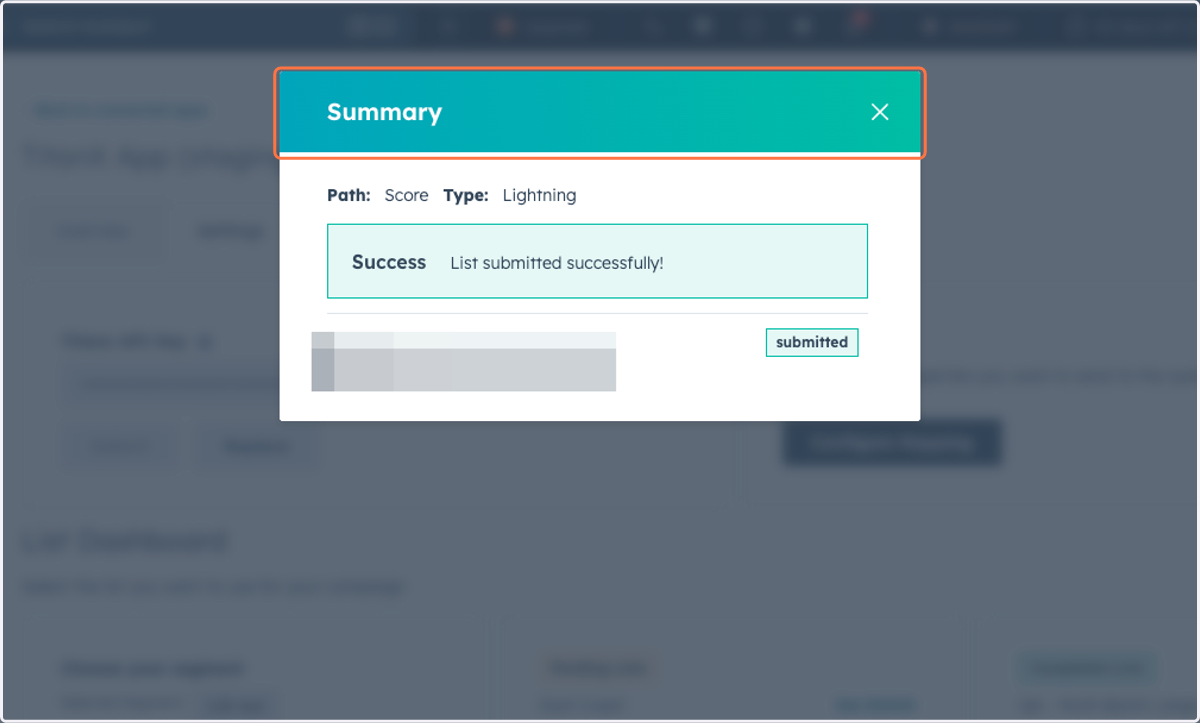
14. Once submitted, you will receive a Success message
15. Click on Close
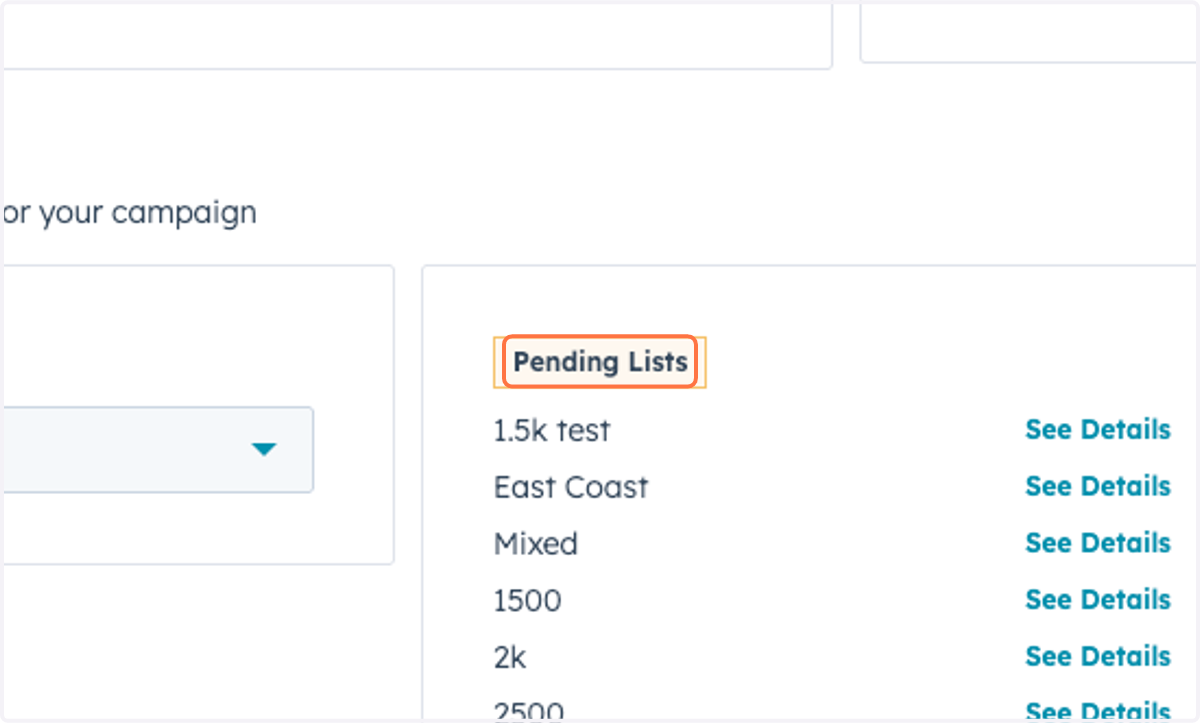
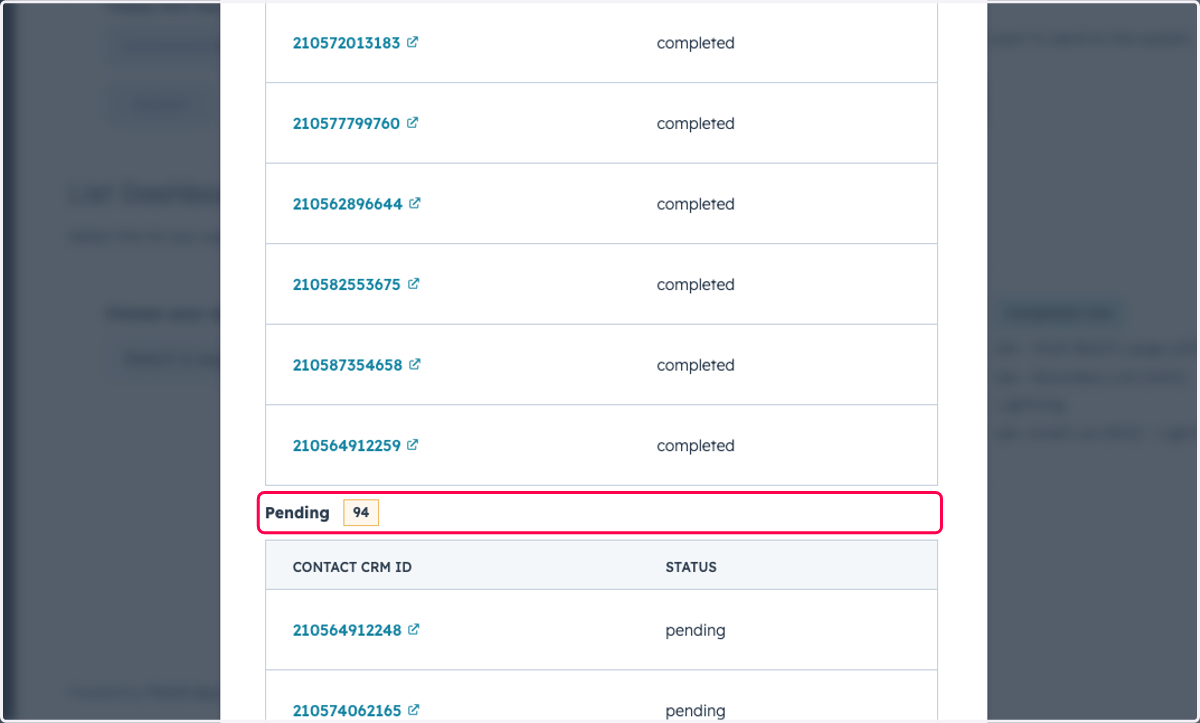
16. You can view the progress of your submitted segments in the Pending Lists section
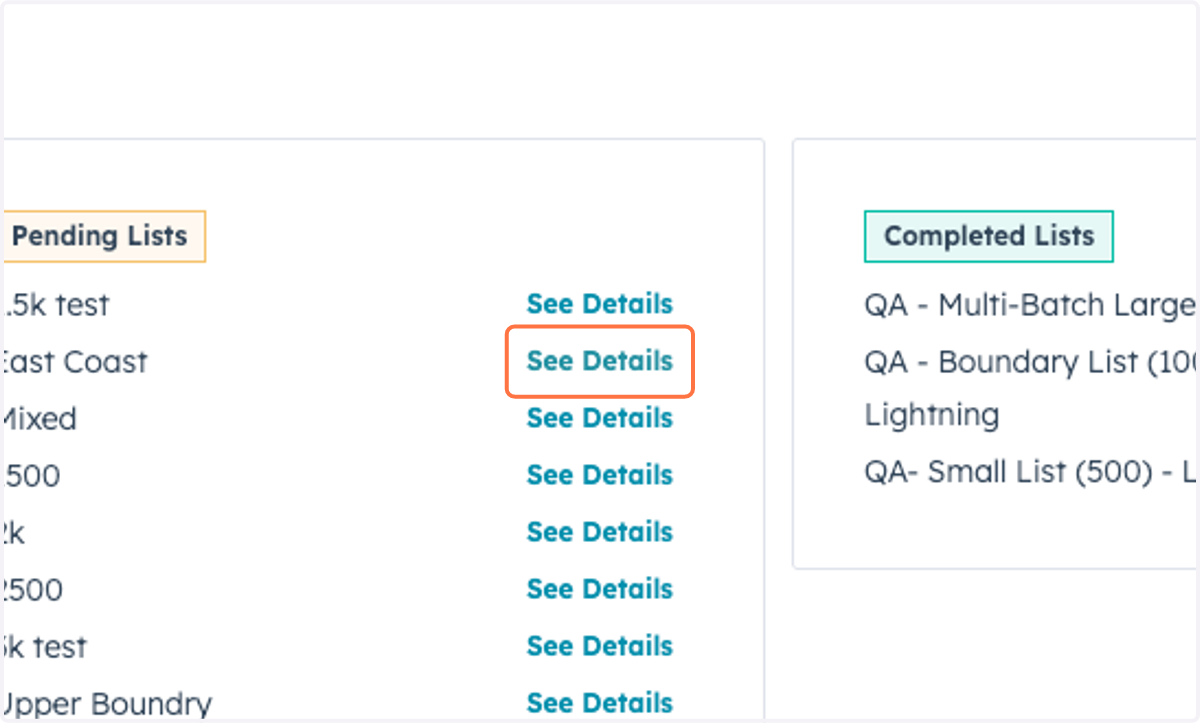
17. Click on See Details
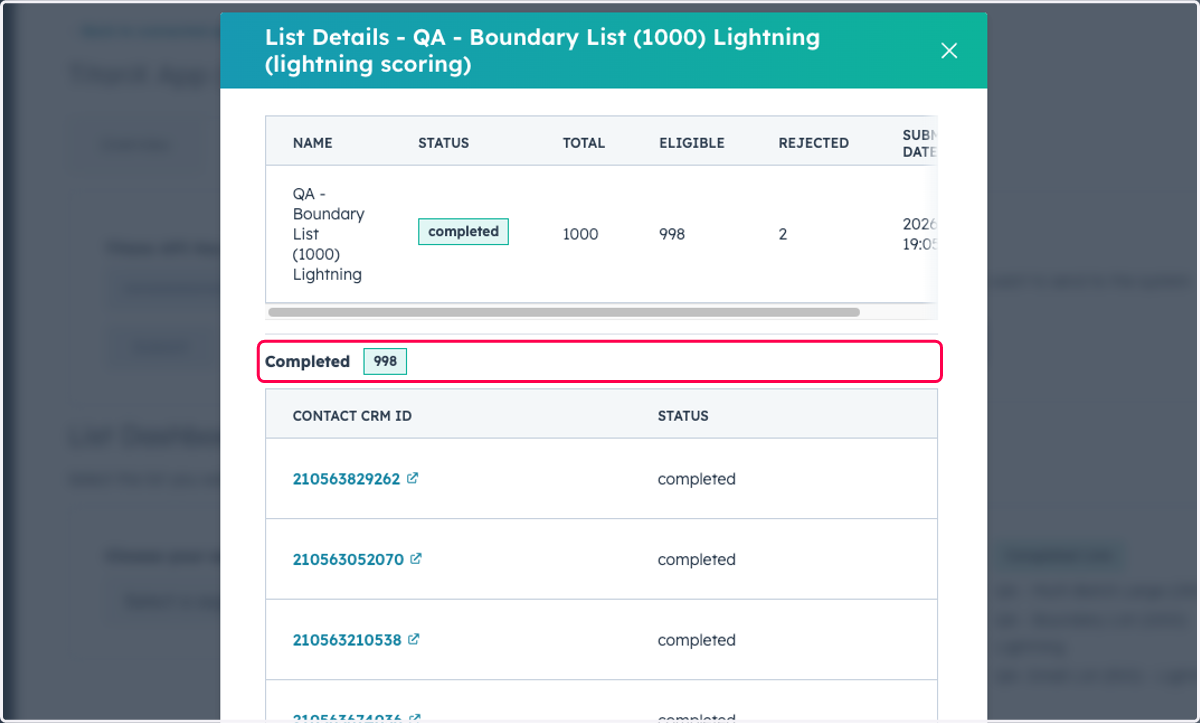
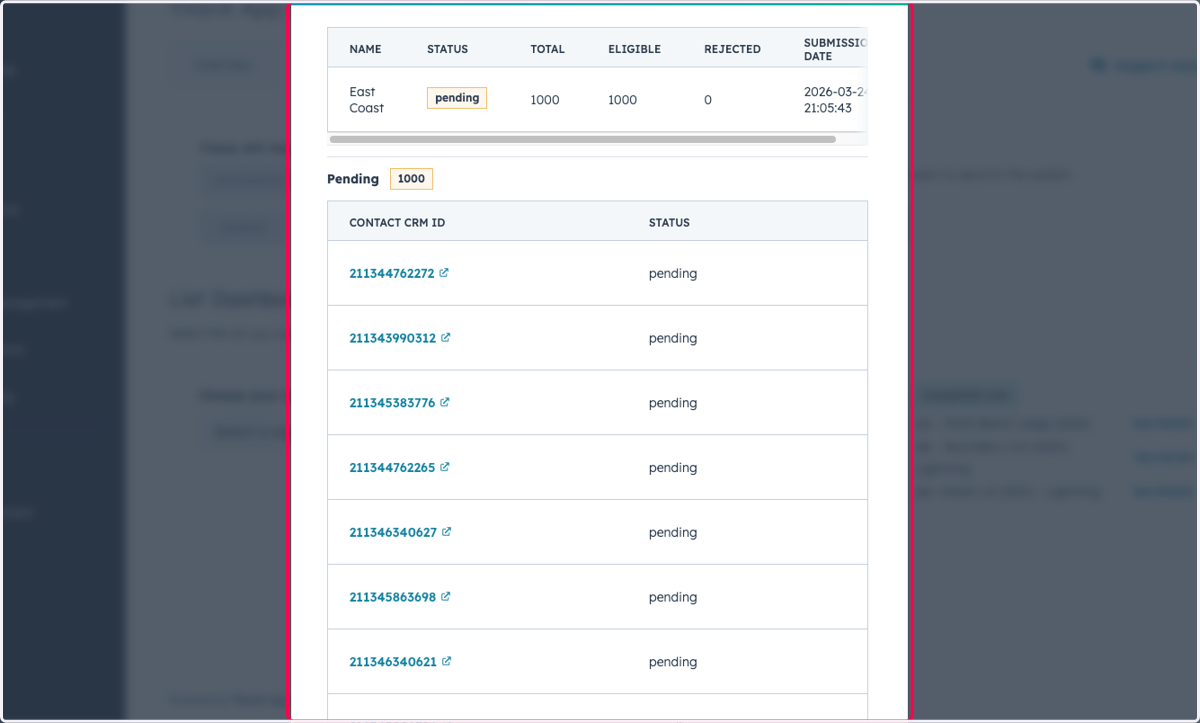
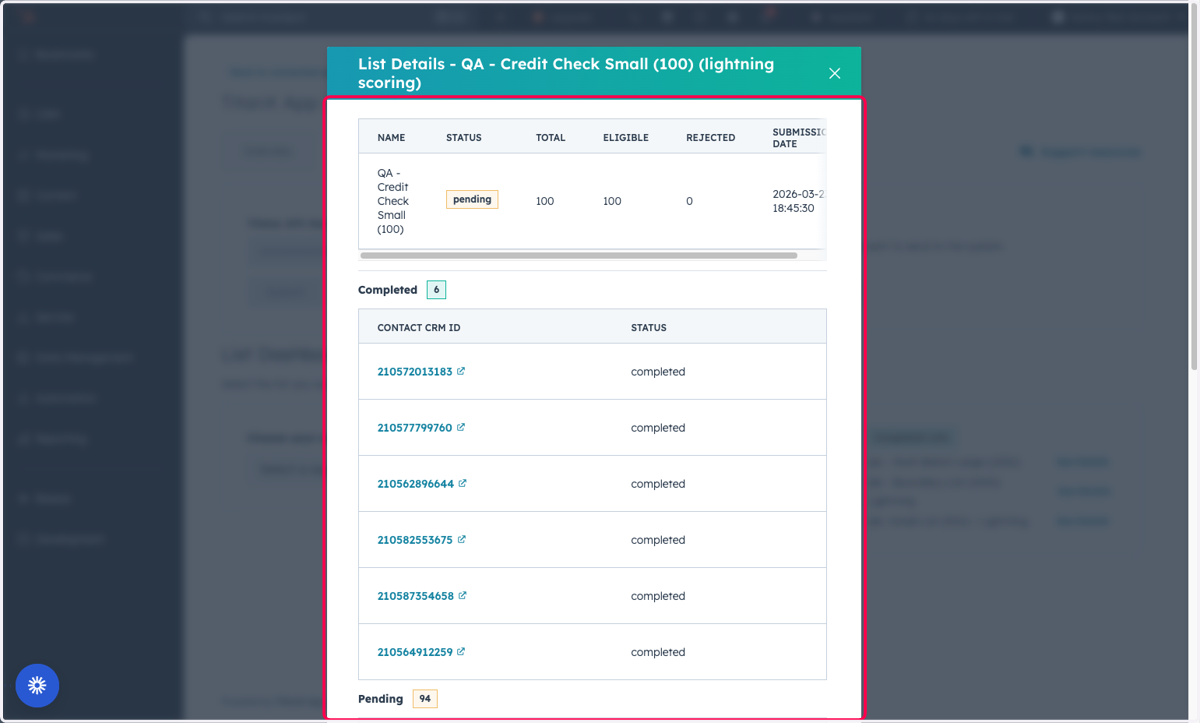
18. This modal will update real-time upon refresh once contacts are scored and sent via the webhook.
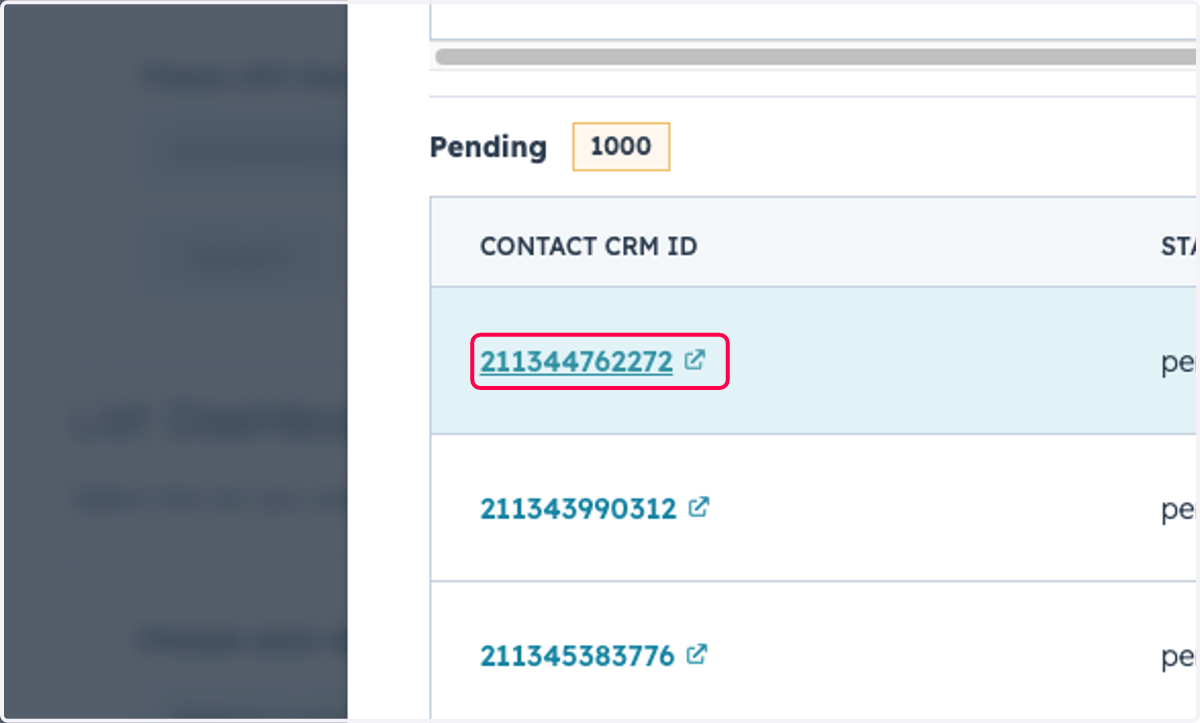
19. You can click on individual CRM ID's to view the details and status of any individual contact
20. Click on Pending
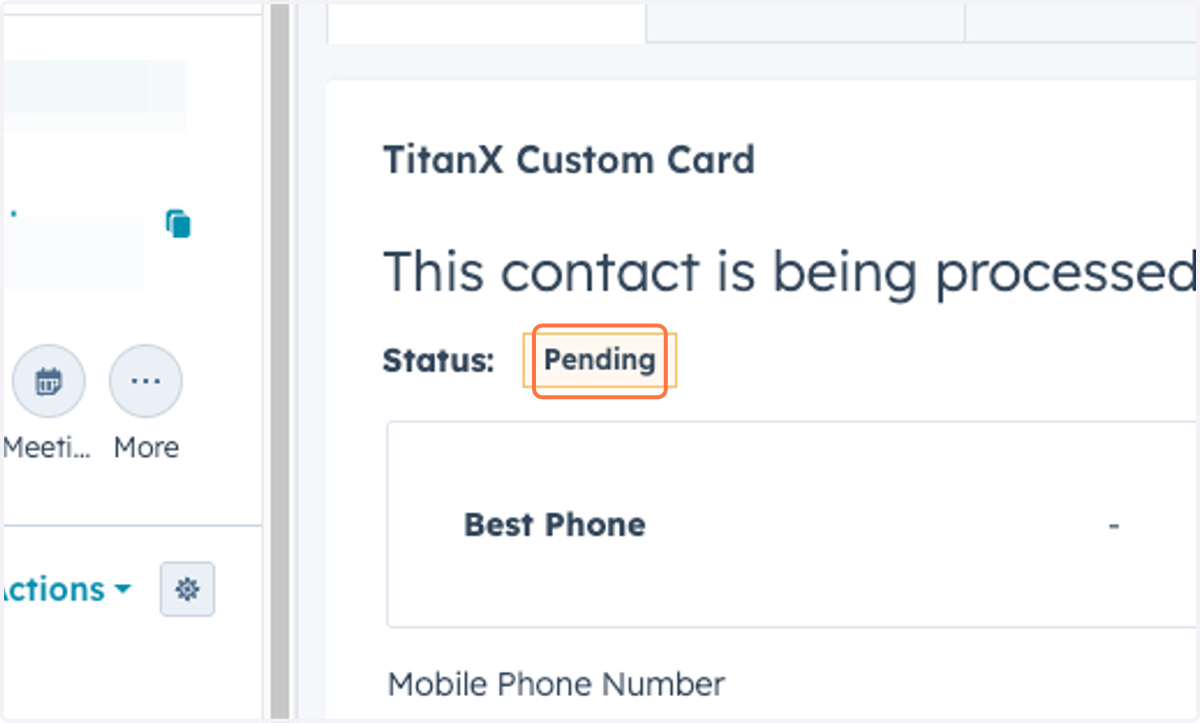
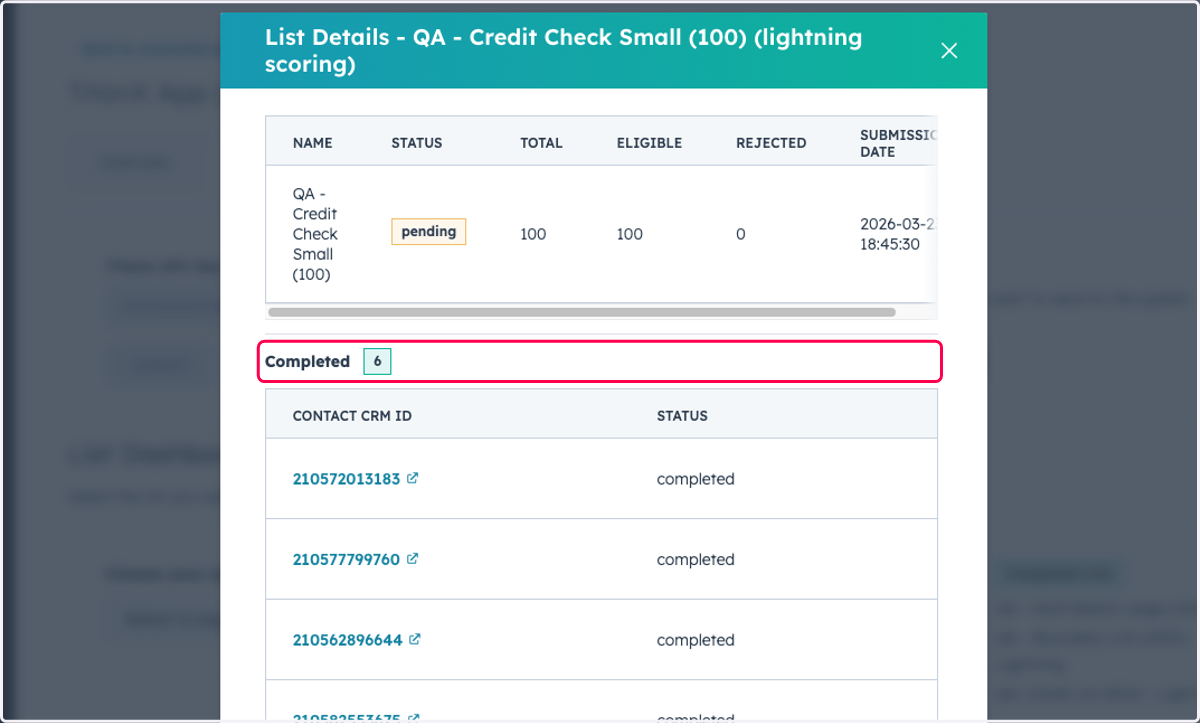
21. As records are scored and delivered through the webhook, the completed section will begin populating
22. Click on Completed
23.
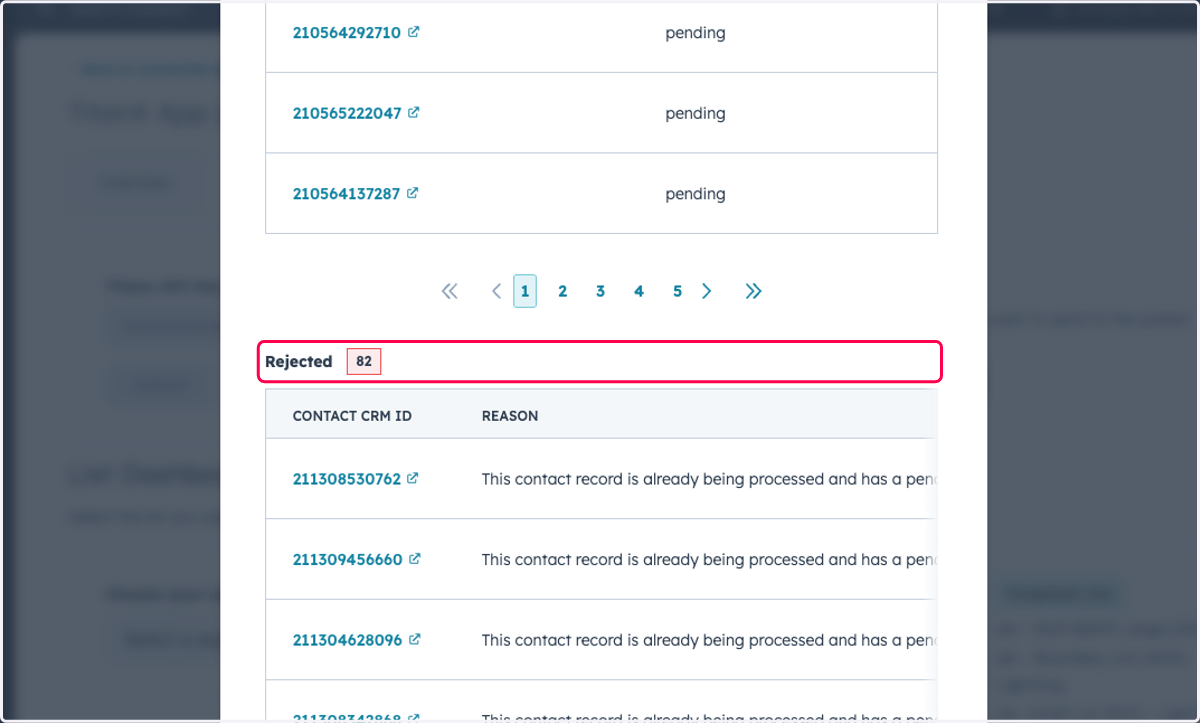
24. If any contacts or phones in the segment were rejected, the rejected section will provide the reason(s).
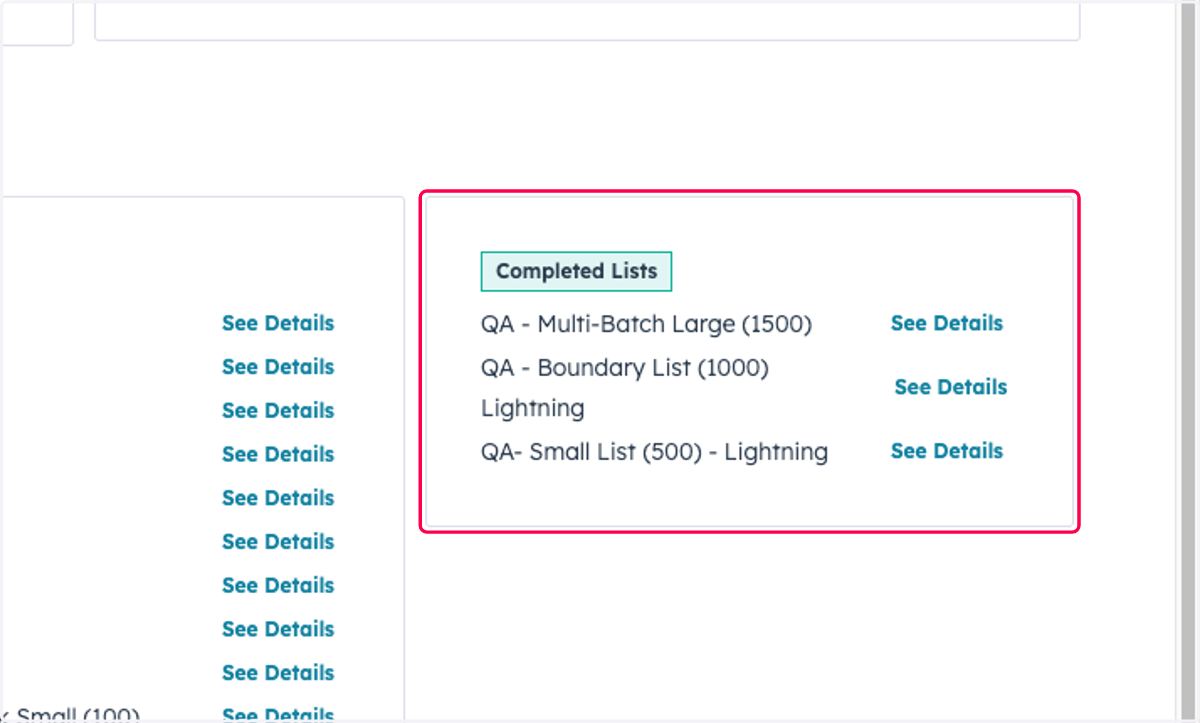
25. Once all contacts in the segment have been processed, the list will move to the Completed Lists section
26. Click on See Details
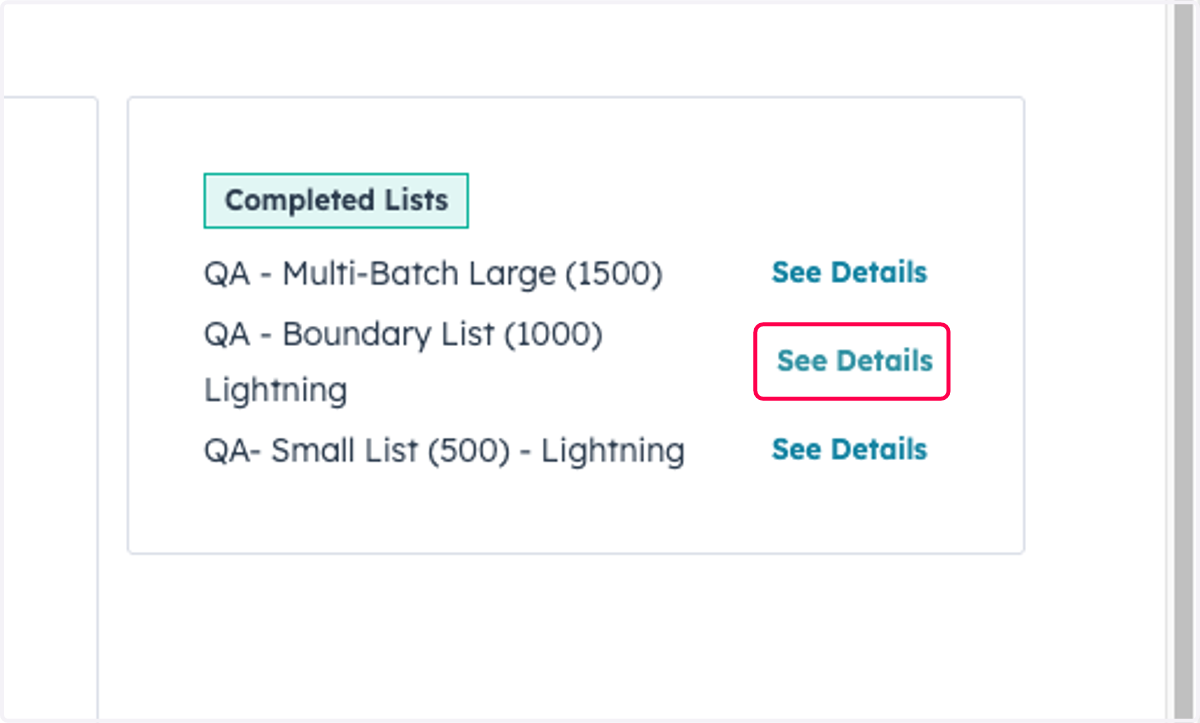
27. Here you should see all completed and rejected records (no more pending)