Steps for staging(TEST) service account Login and Token Setup
Steps for staging (TEST) service account Login and Token Setup
1. Go to login page
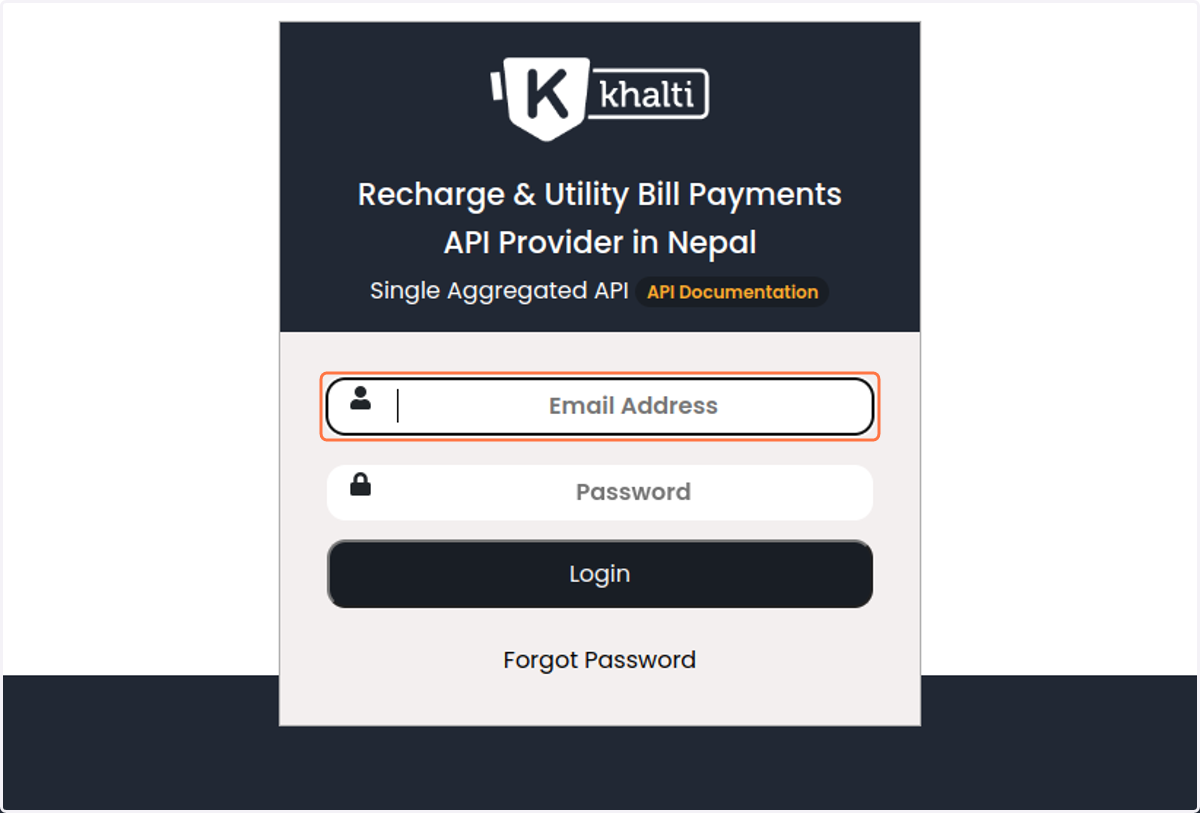
2. Enter the email address and password. Click on Login
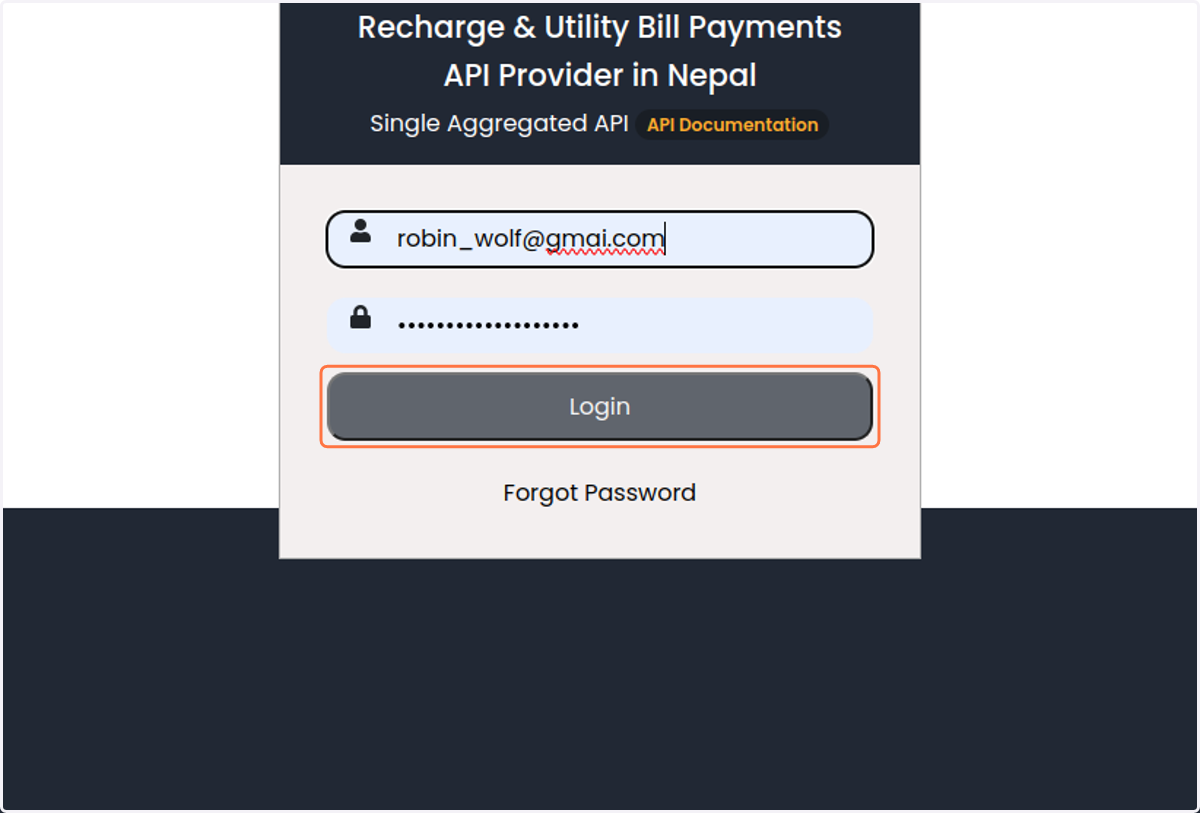
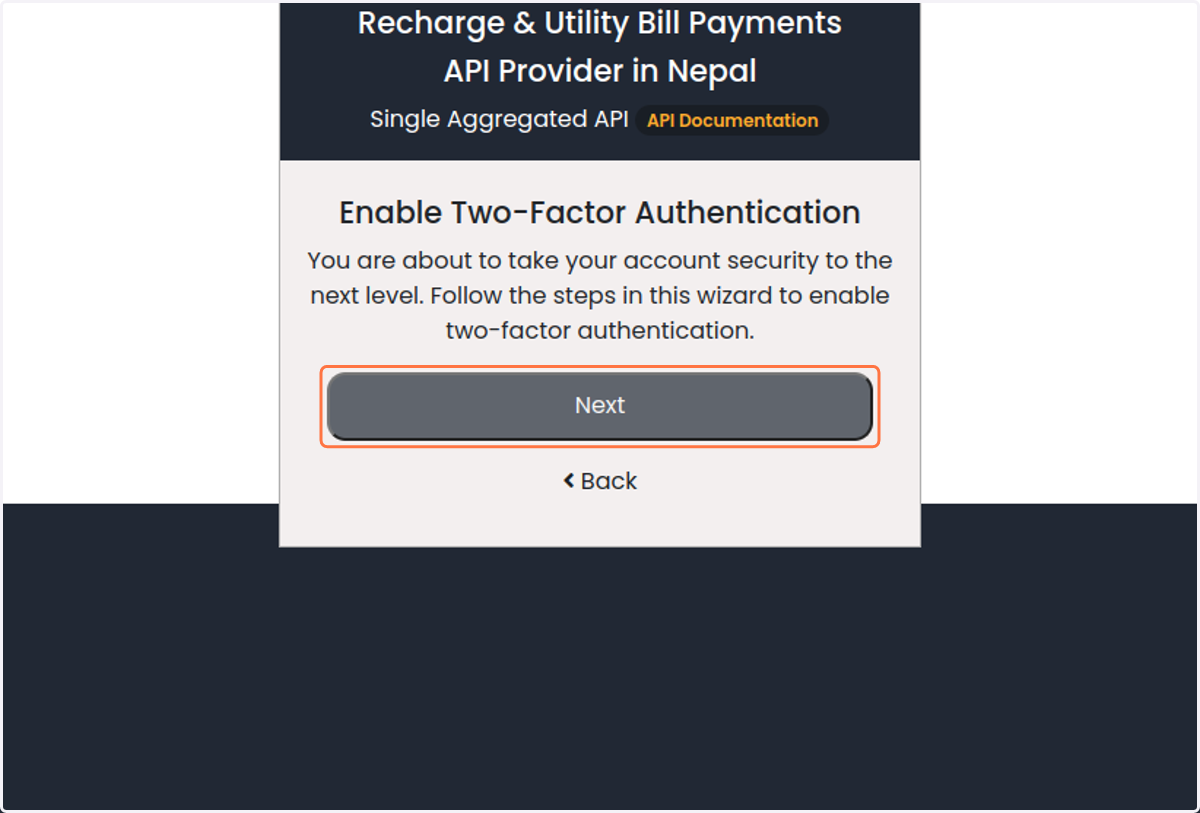
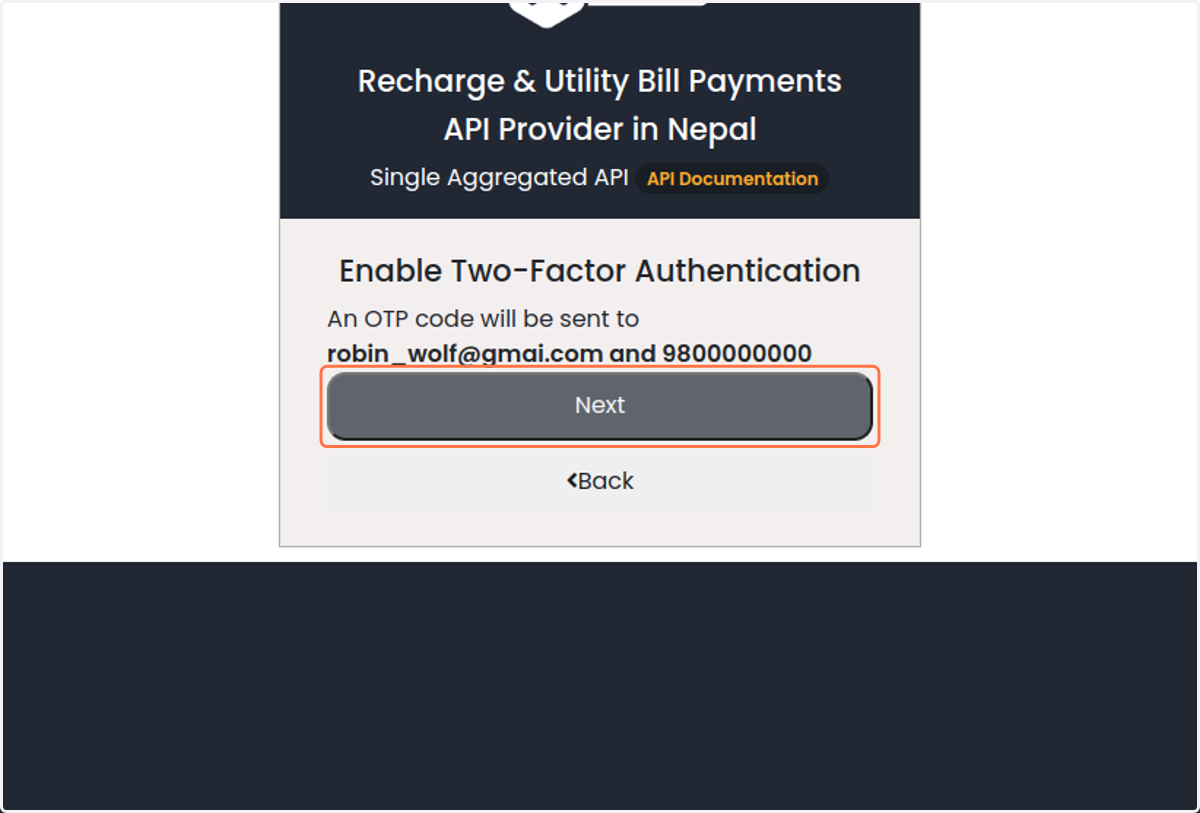
3. Enable two factor authentication. Click on Next
Enable two factor authentication.
4. Choose OTP code method
Choose how you want to get the OTP code
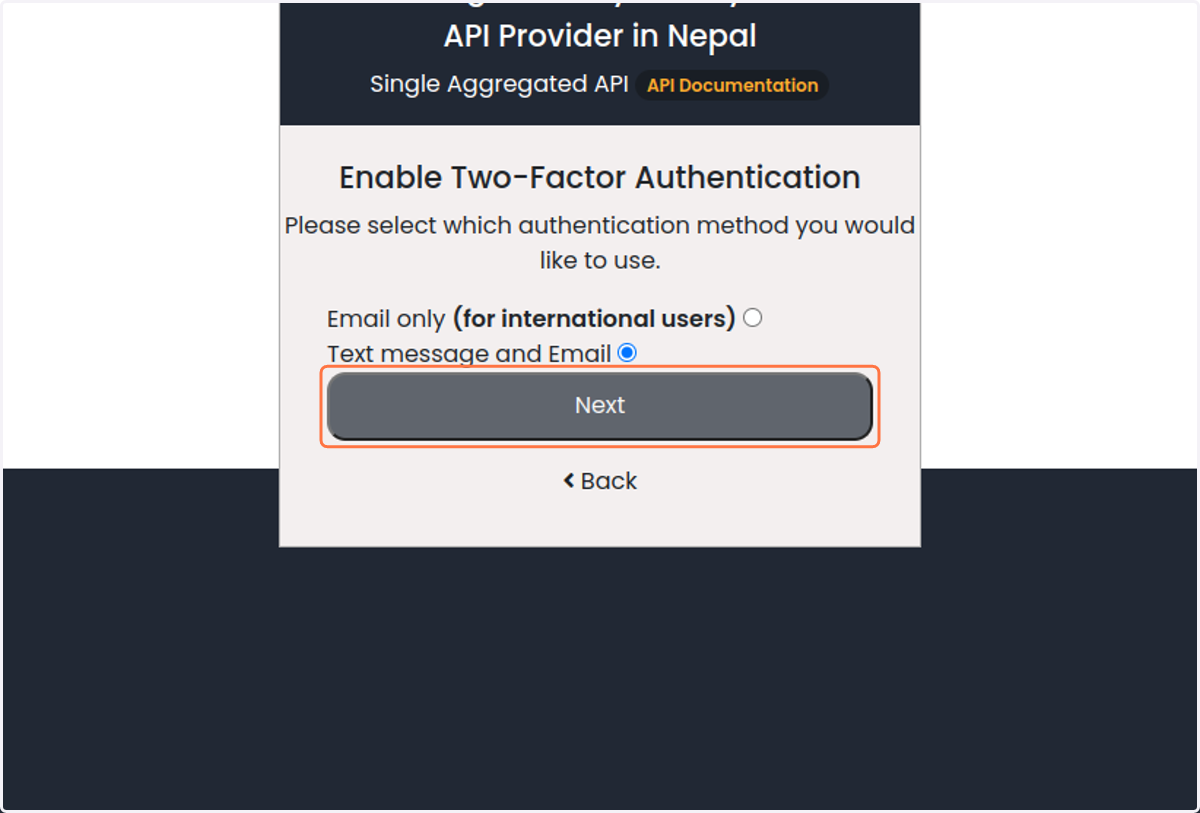
5. Click on Next
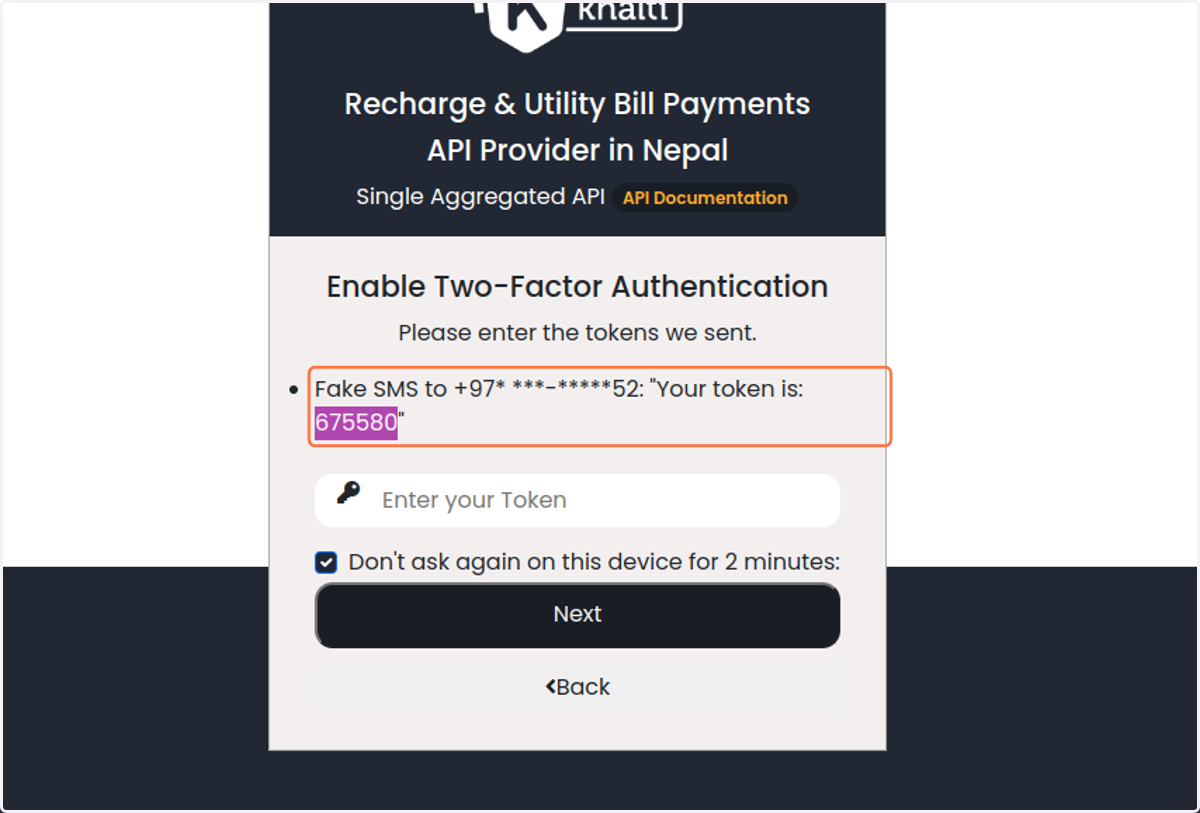
6. Copy option titled "CODE"
For test account, OTP is prompted in the same page. For production, OTP will be sent on email id and phone number,
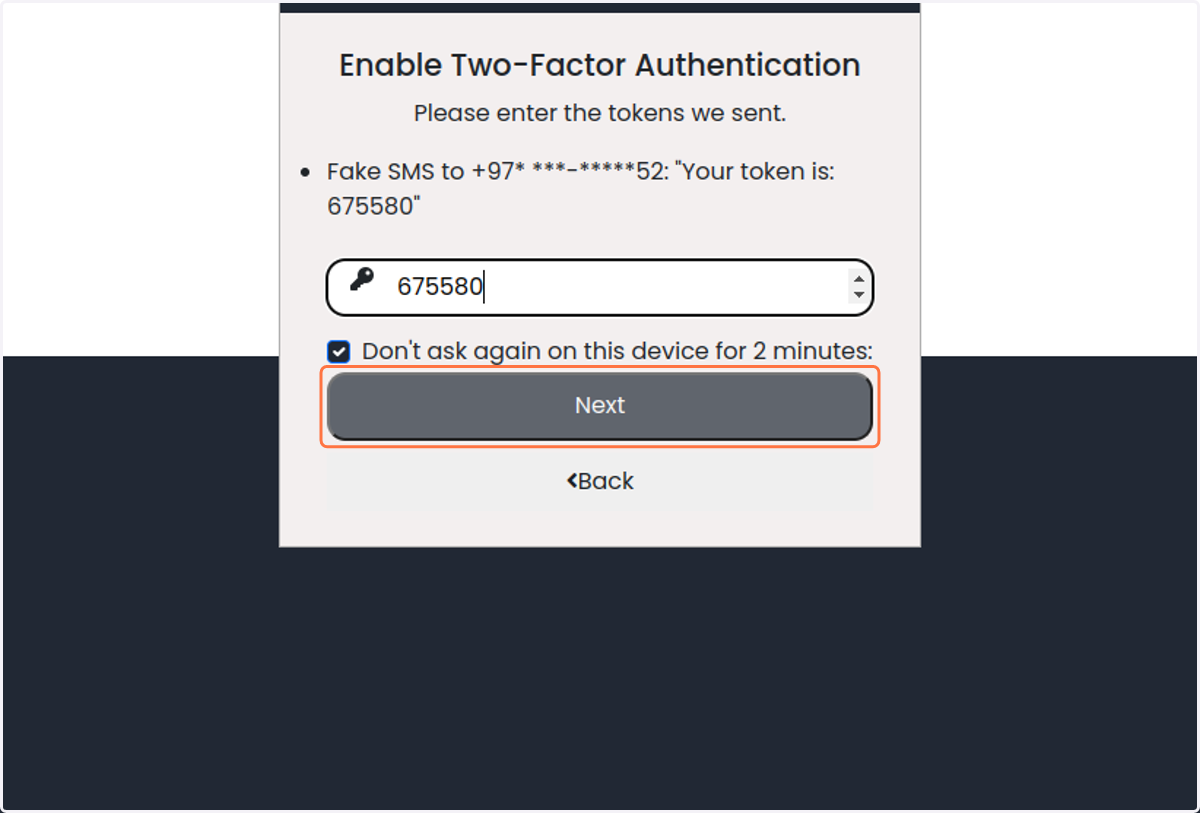
7. Enter the OTP code and click on next
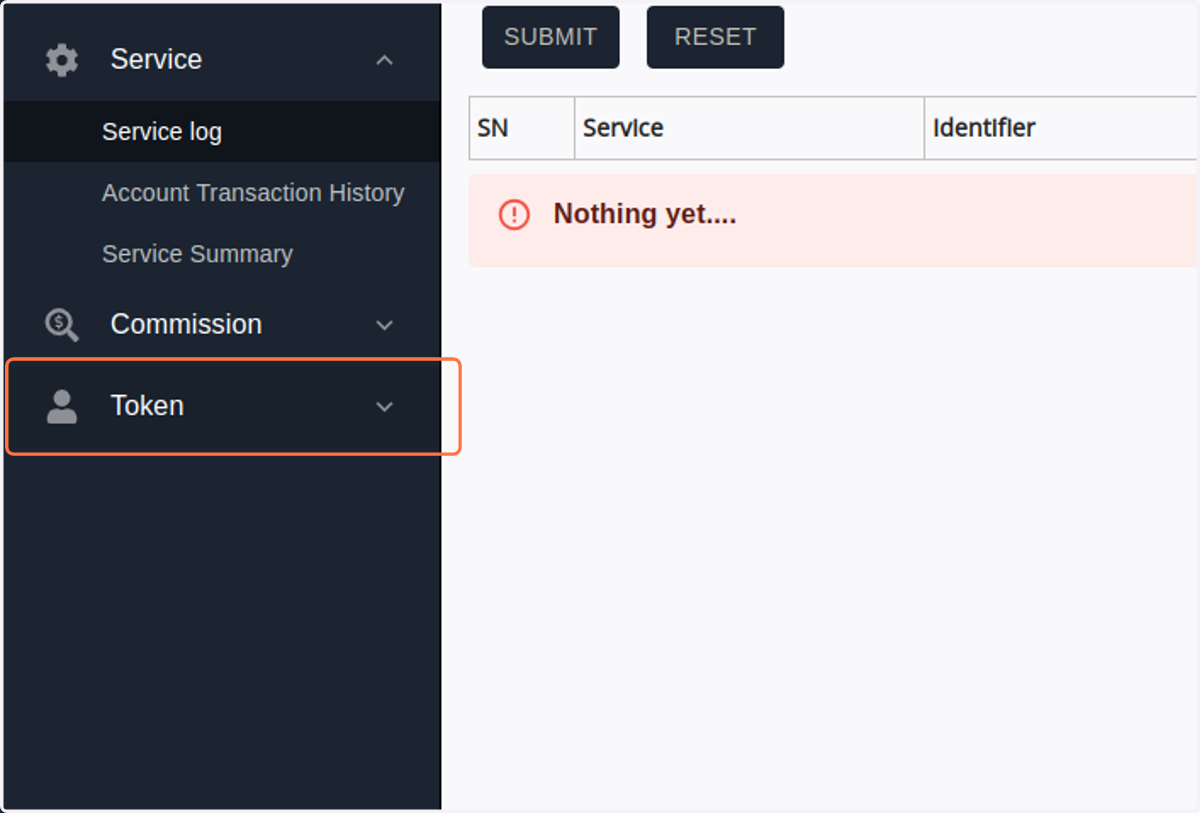
8. Token
Go to Token tab on the left side of the page.
9. Token add
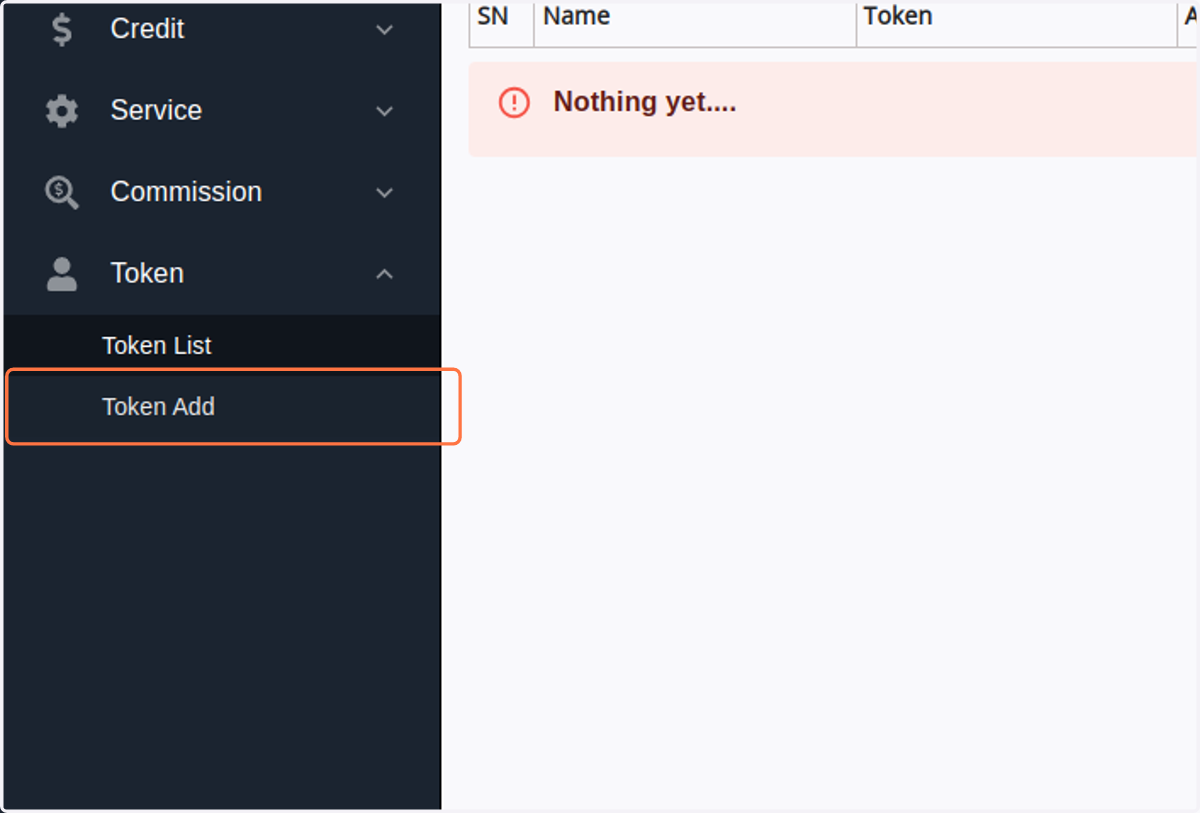
Click on token add
10. Token add details
Click on Token Add
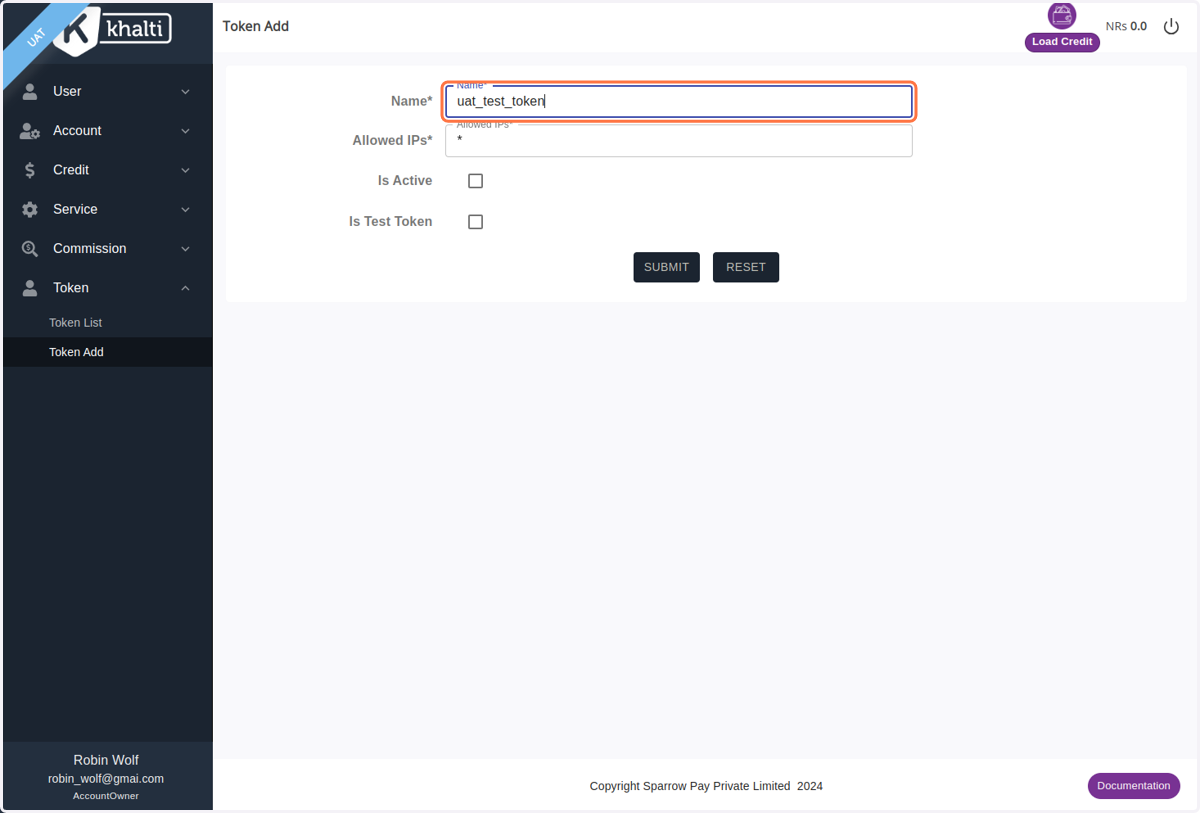
11. Enter details and click on submit
Name: Enter the desired Name
Allowed IP : If you want to bind the token with certain IP , you can add your IP here. * allows all IP.
After that the token will be only accessible through that IP.
Is active : True (This must always be True to access the API through this generated token)
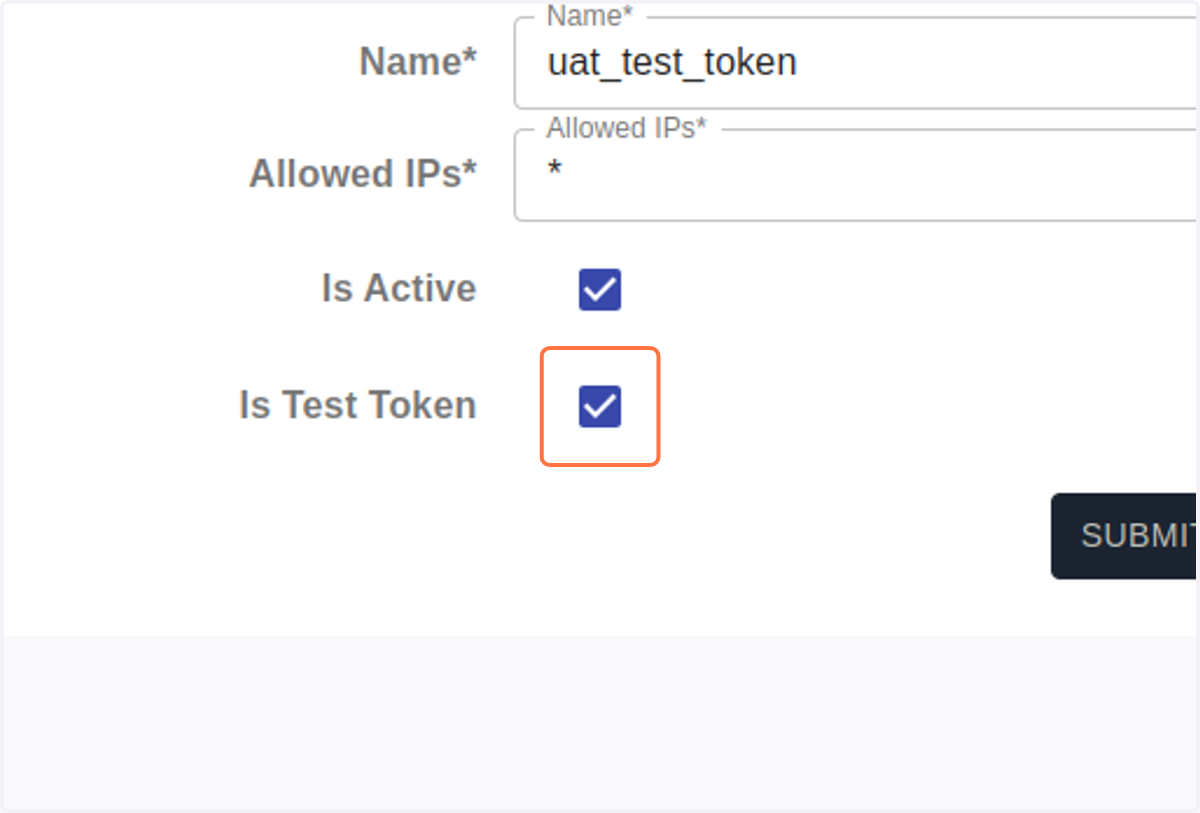
Is test token : There are 2 different token for accessing the API.
1. Uat test token : Click on Is test token for generating test token.
2. Uat live token : Follow the below steps to generate.
Click on submit
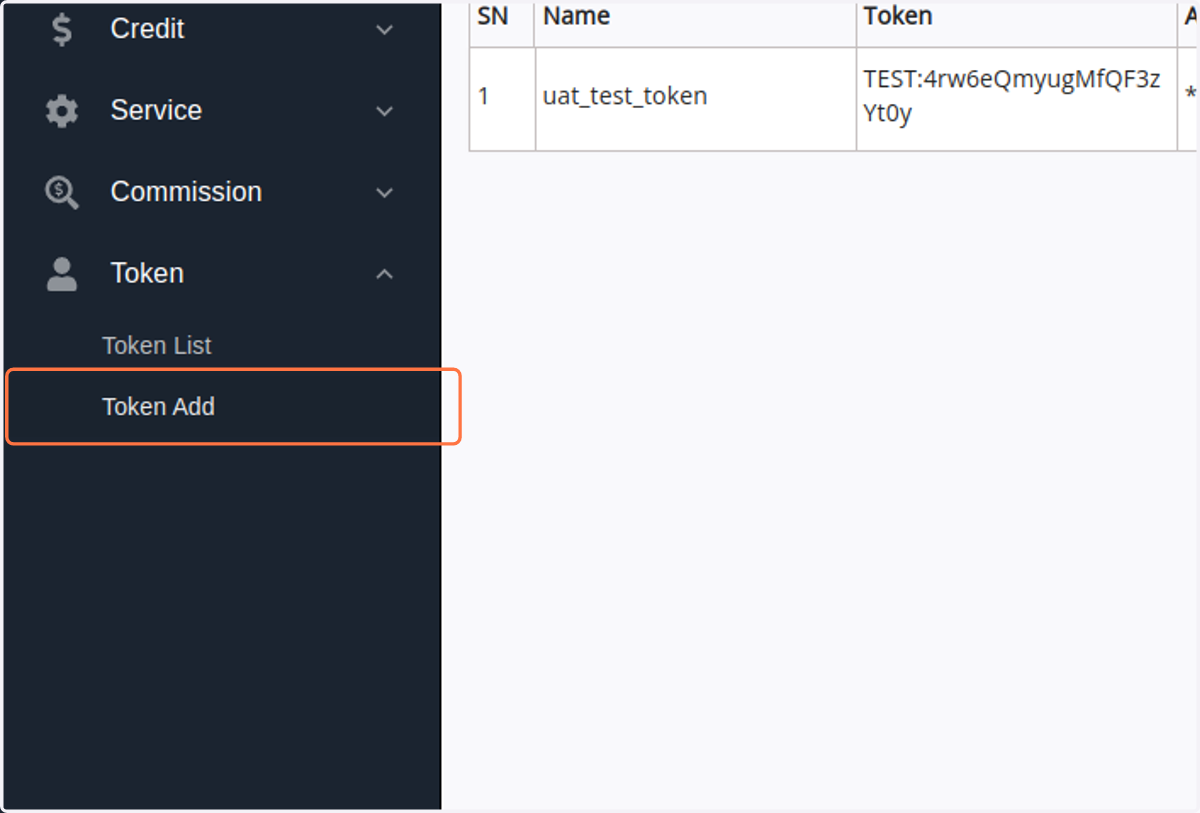
12. Verify the uat test token.
You will be prompted to Token detail section.
13. For uat live token
Click on Token Add on the left side of the screen.
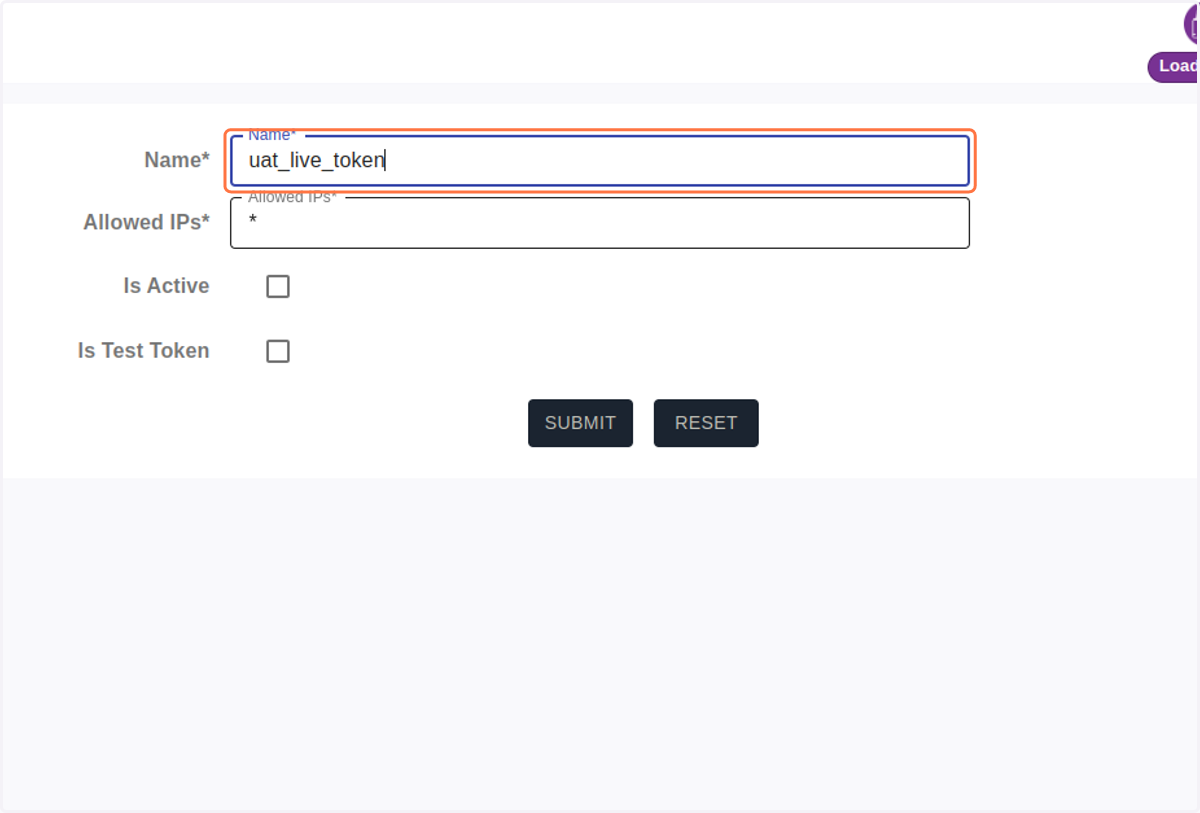
14. Token add details
Name: Enter the desired Name
Allowed IP : If you want to bind the token with certain IP , you can add your IP here. * allows all IP.
After that the token will be only accessible through that IP.
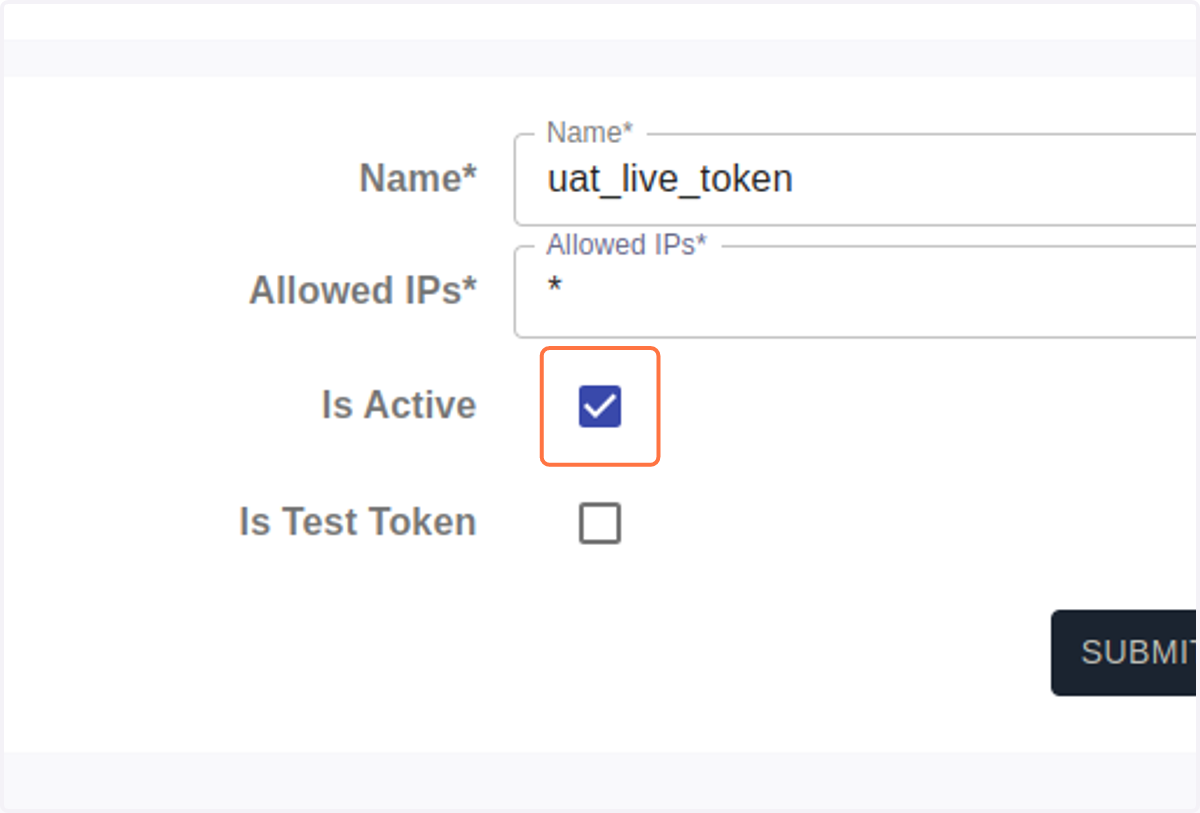
Is active : True (This must always be True to access the API through this generated token)
Is test token : There are 2 different token for accessing the API.
1. Uat test token : We have generated this in above steps.
2. Uat live token : Uncheck the Is Test Token.
15. Click on SUBMIT
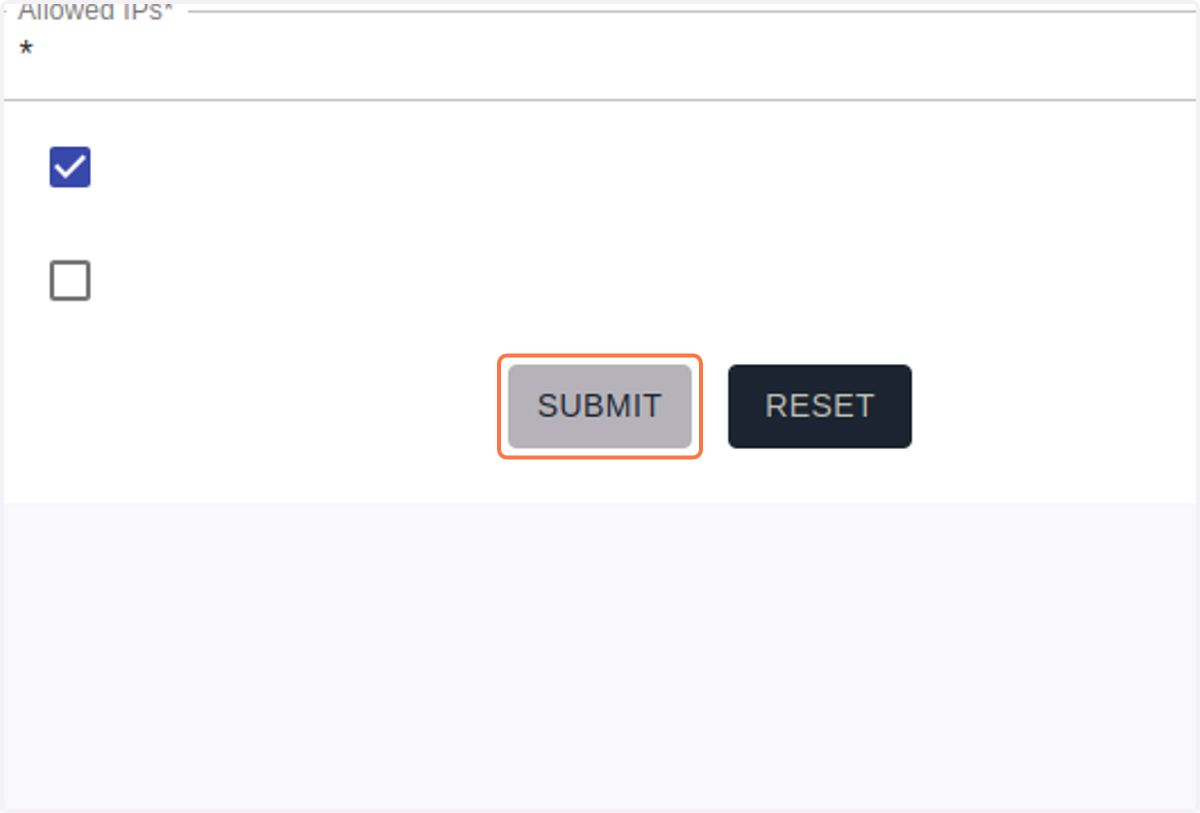
16. You have successfully generated 2 tokens.
To verify,
Please click on Token List on the left side of the page