Step-by-Step: Create a Project (Backoffice)
1. Step by Step : Create a new Project
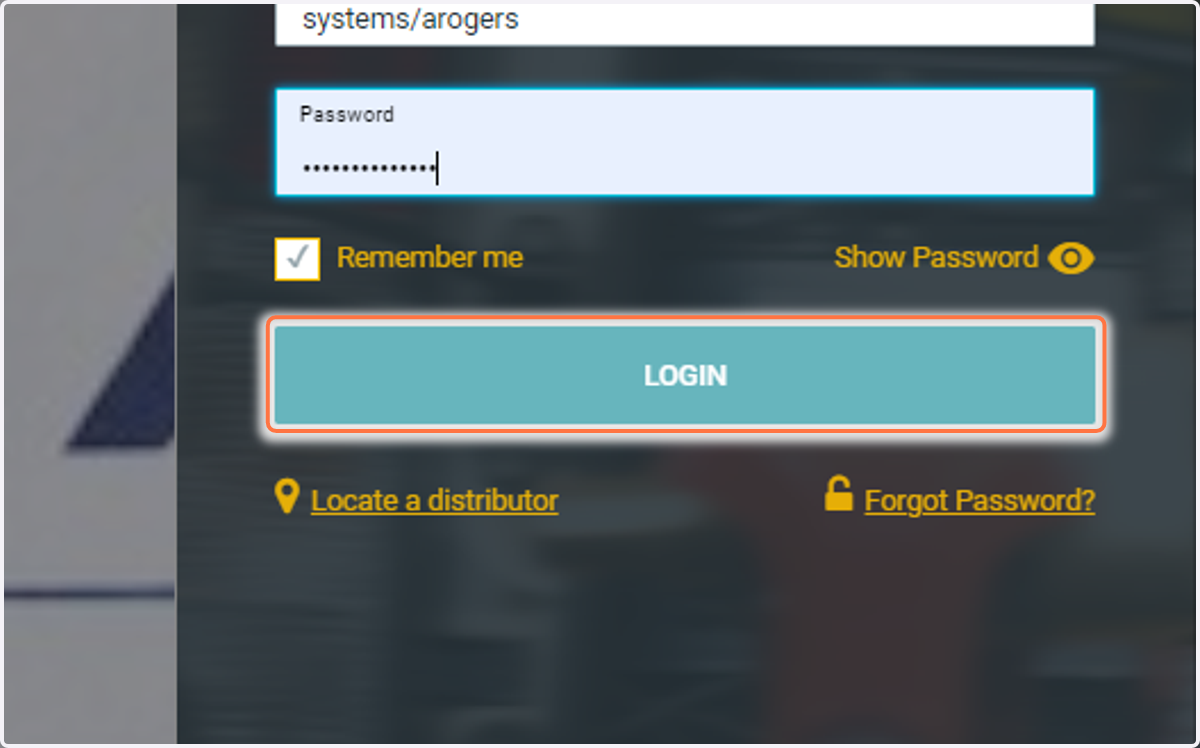
2. LOGIN to your Arclight Account
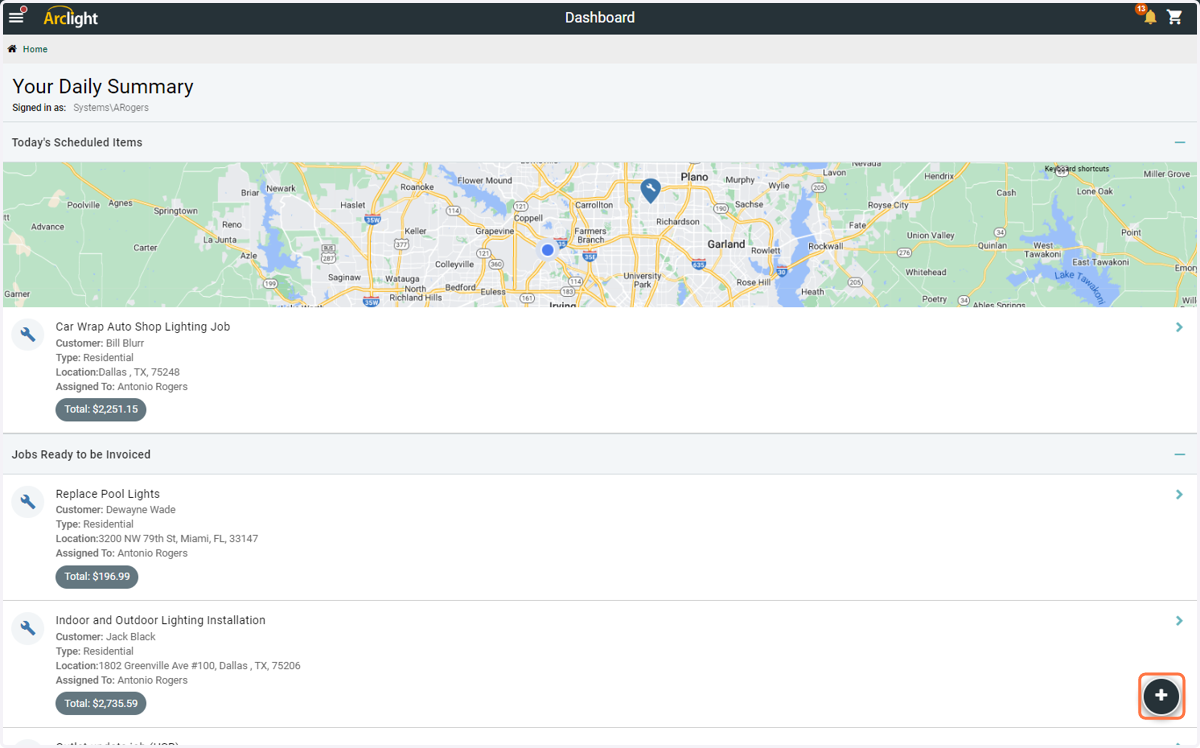
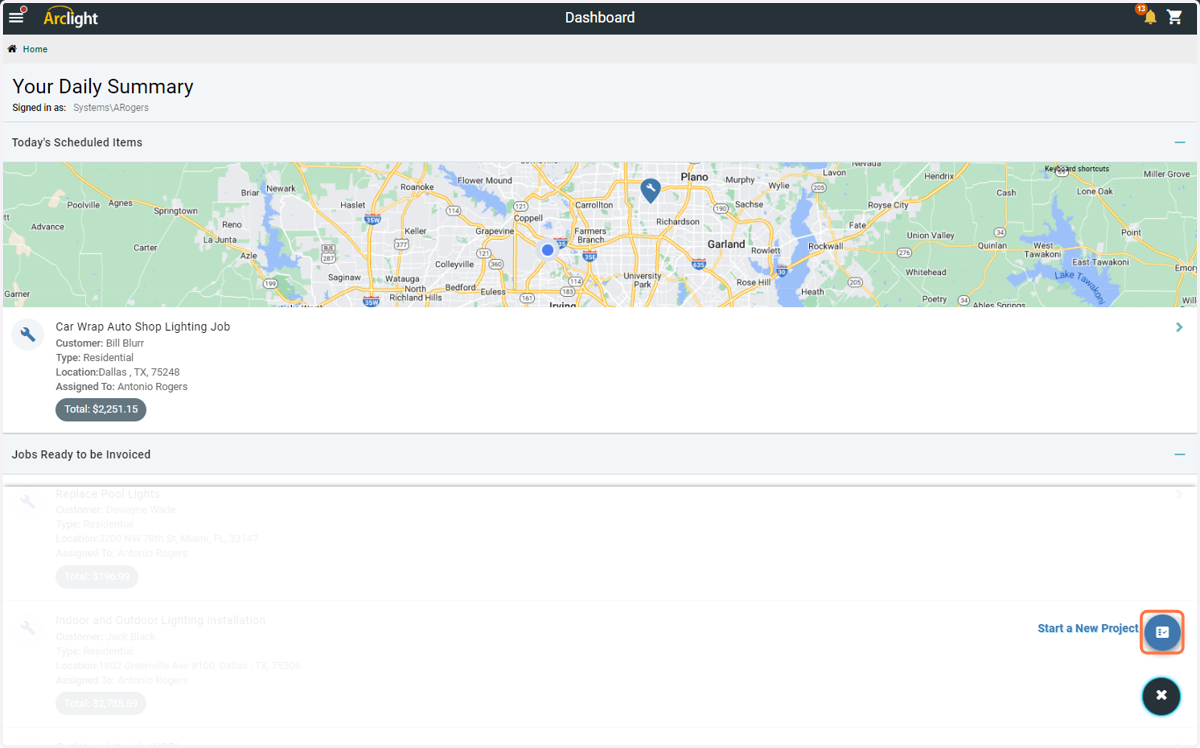
3. Click on the plus sign
Clicking the plus sign is how you quickly begin a new project from the Arclight Dashboard.
4. Click on "Start a New Project"
5. Select a customer.
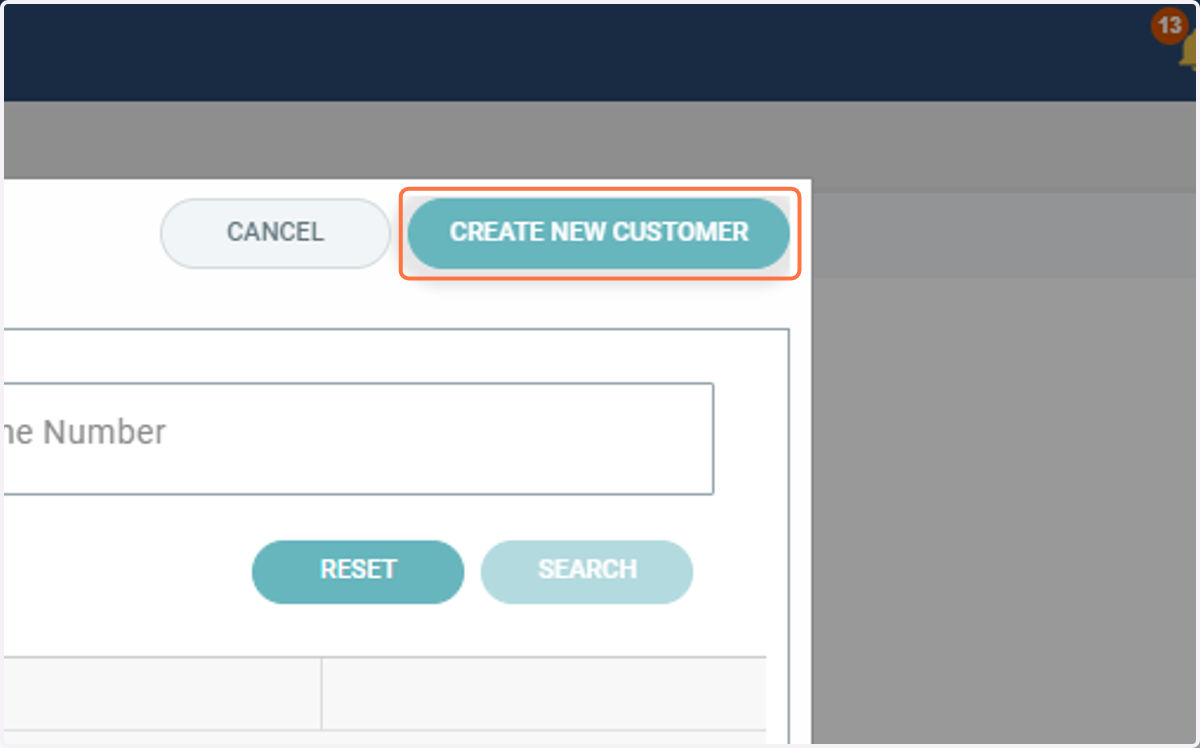
If the project is for an existing customer, search for their Customer Name, Contact Name, or Phone Number. If it's a new customer, create one.

6. Click on CREATE NEW CUSTOMER
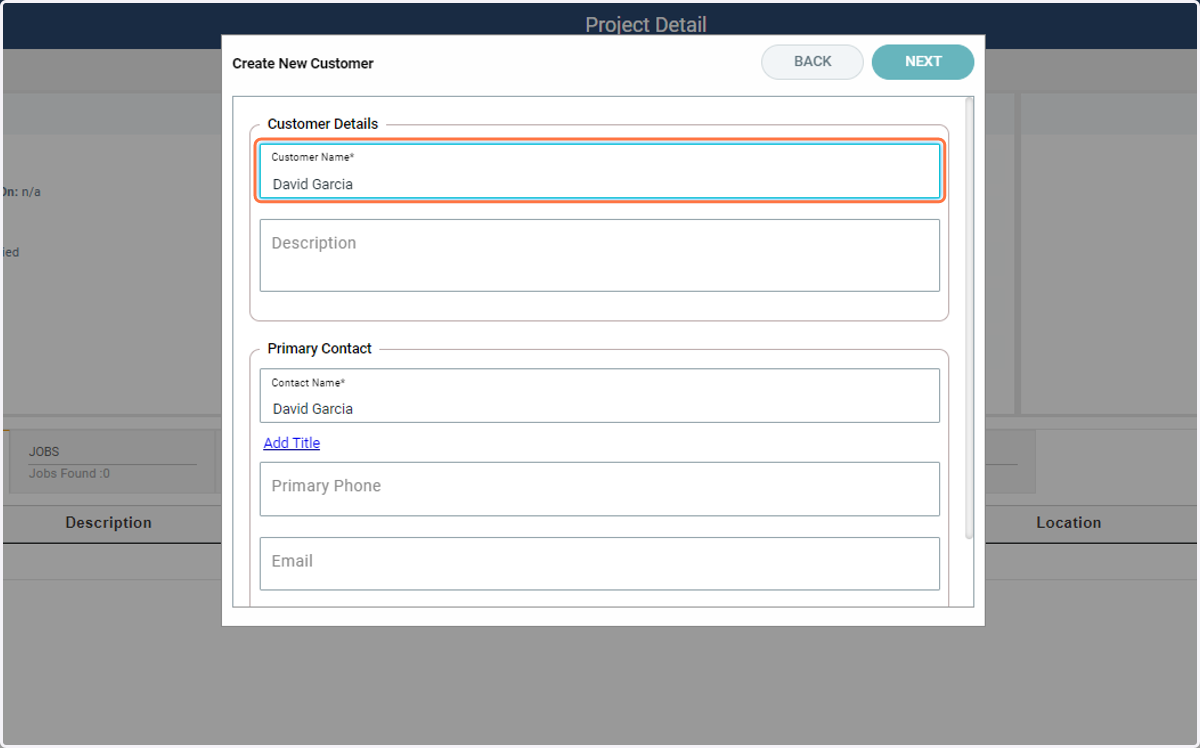
7. Fill out customer Details
Add as many customer details as you can. Customer details include:
Name
Description
A primary contact
Primary Phone
Primary Email
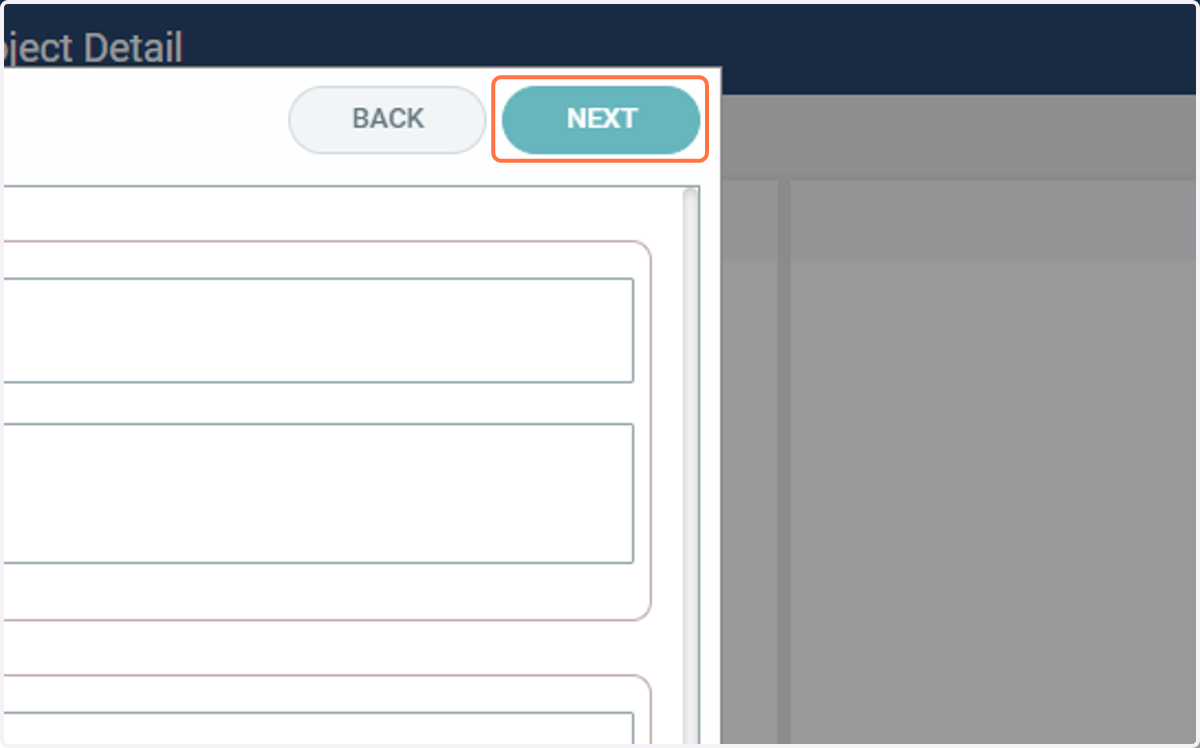
8. Click on NEXT
9. Select a Project Type*
You may select from various project types that best suit your business needs. Projects include but are not limited to:
Commercial Electrician
Electrical Maintenance
Commercial Solar
Industrial Maintenance
Industrial Solar
Residential Electrical
Residential Solar
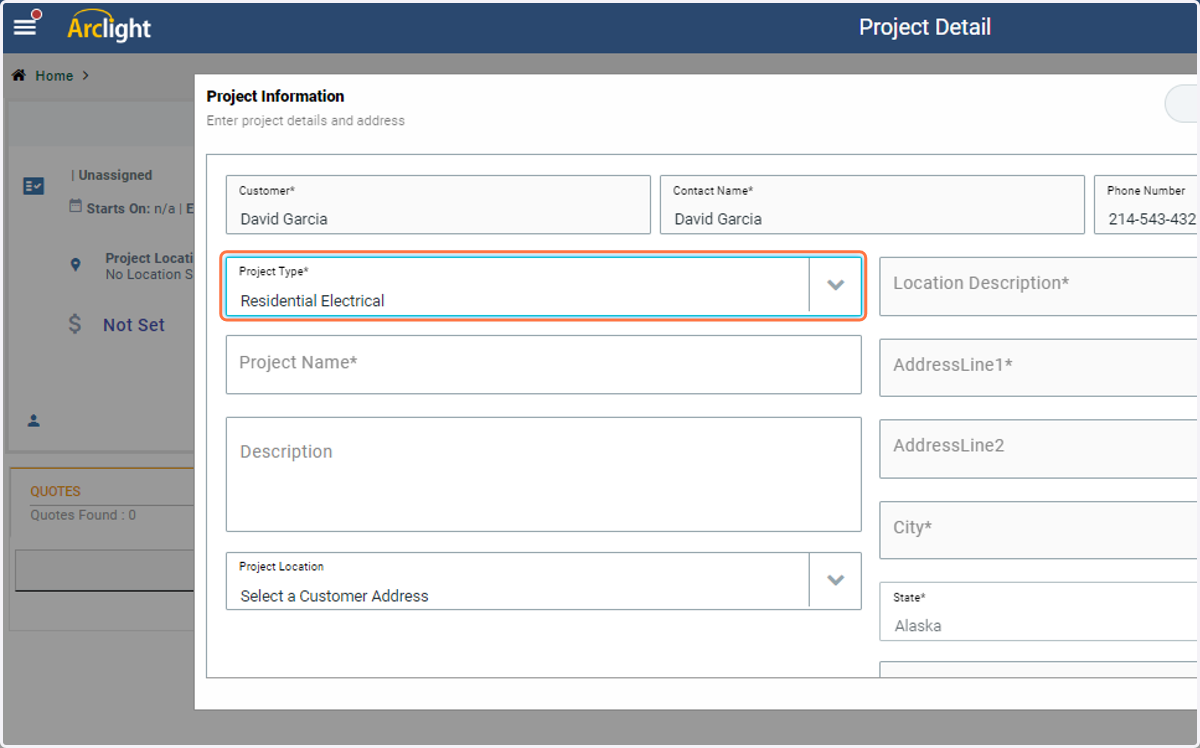
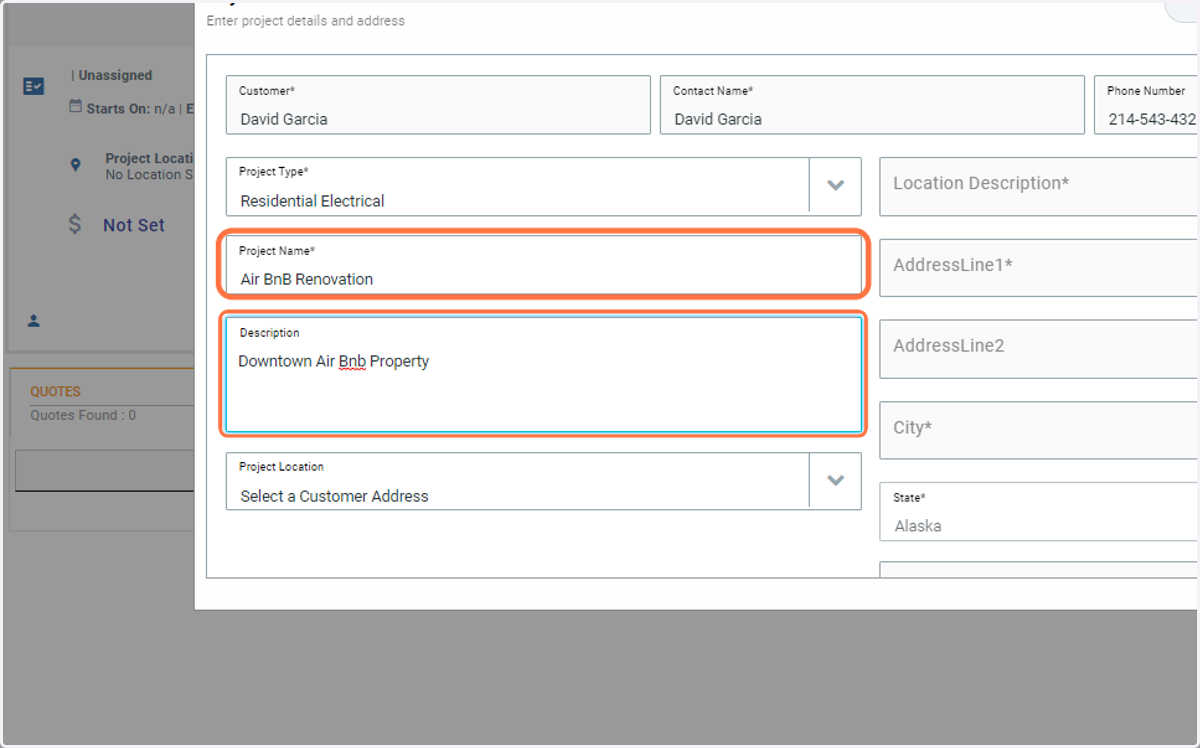
10. Continue adding project information
Project details include
Project Name
Description
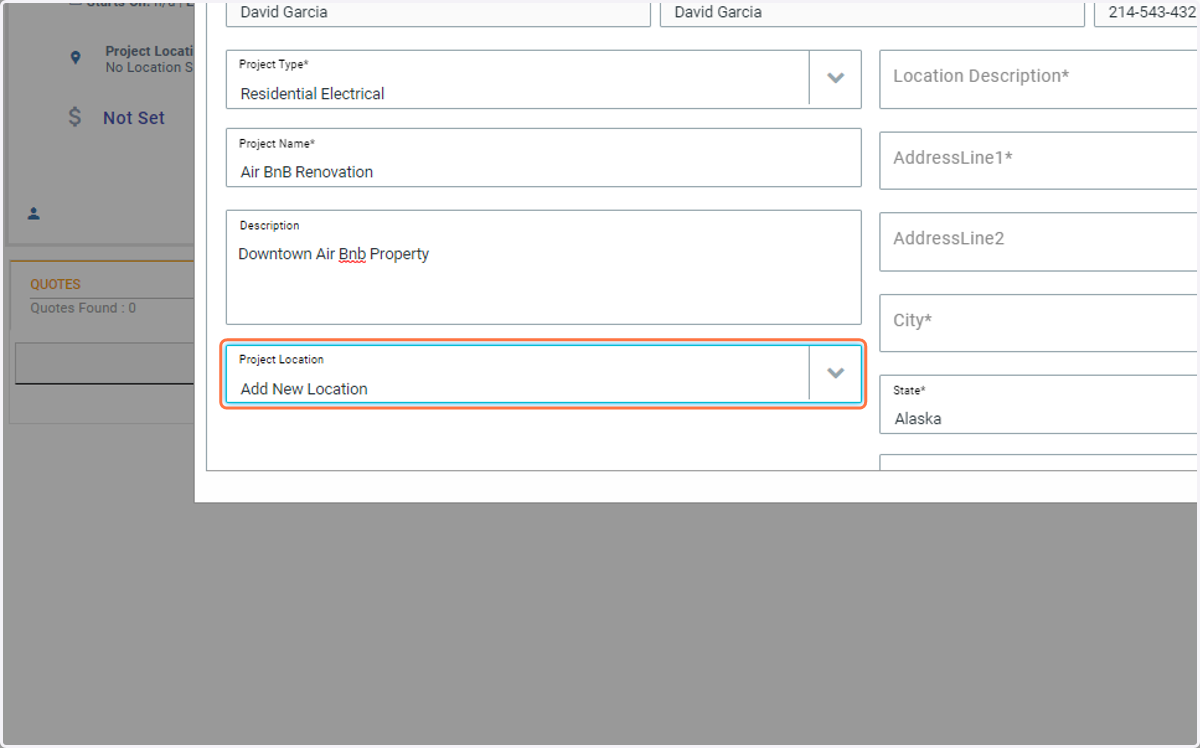
11. Select Project Location
If your customer has existing addresses to choose from, select one from the dropdown. If not, use "Add New Location".
12. Add new location Description.
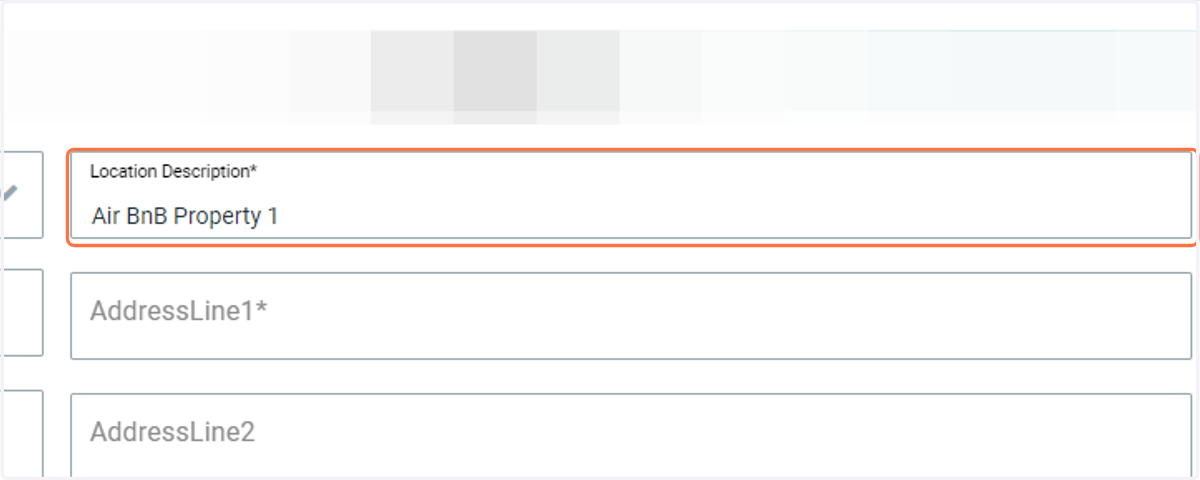
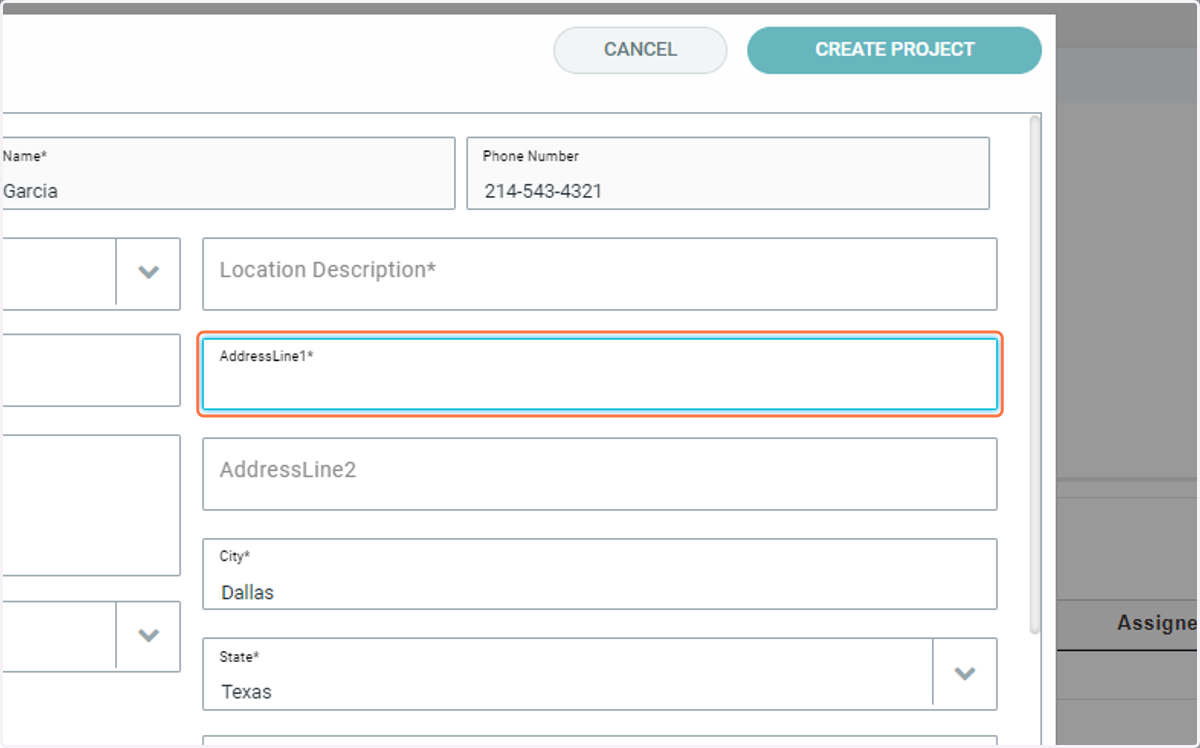
13. Add an Address
Complete the address fields. This includes:
Address
City
State
Zip Code
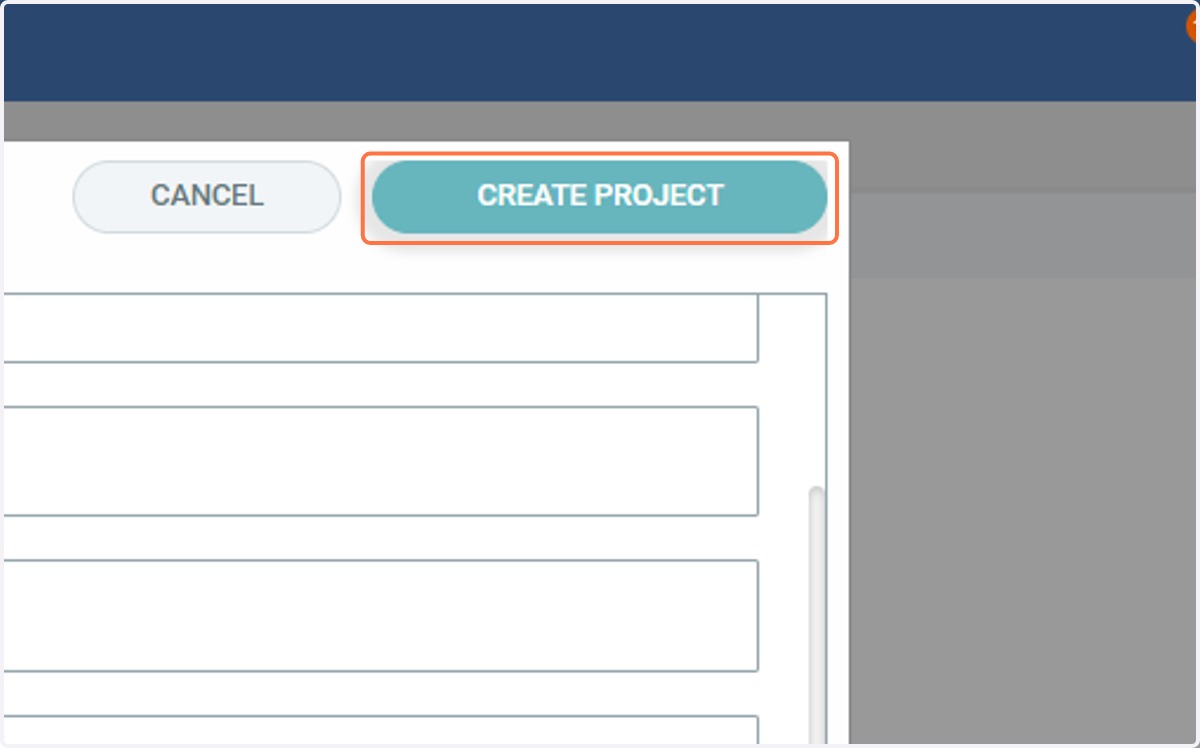
14. When finished click CREATE PROJECT.