How to setup Stripe Connect
1. Visit www.haylofriend.com
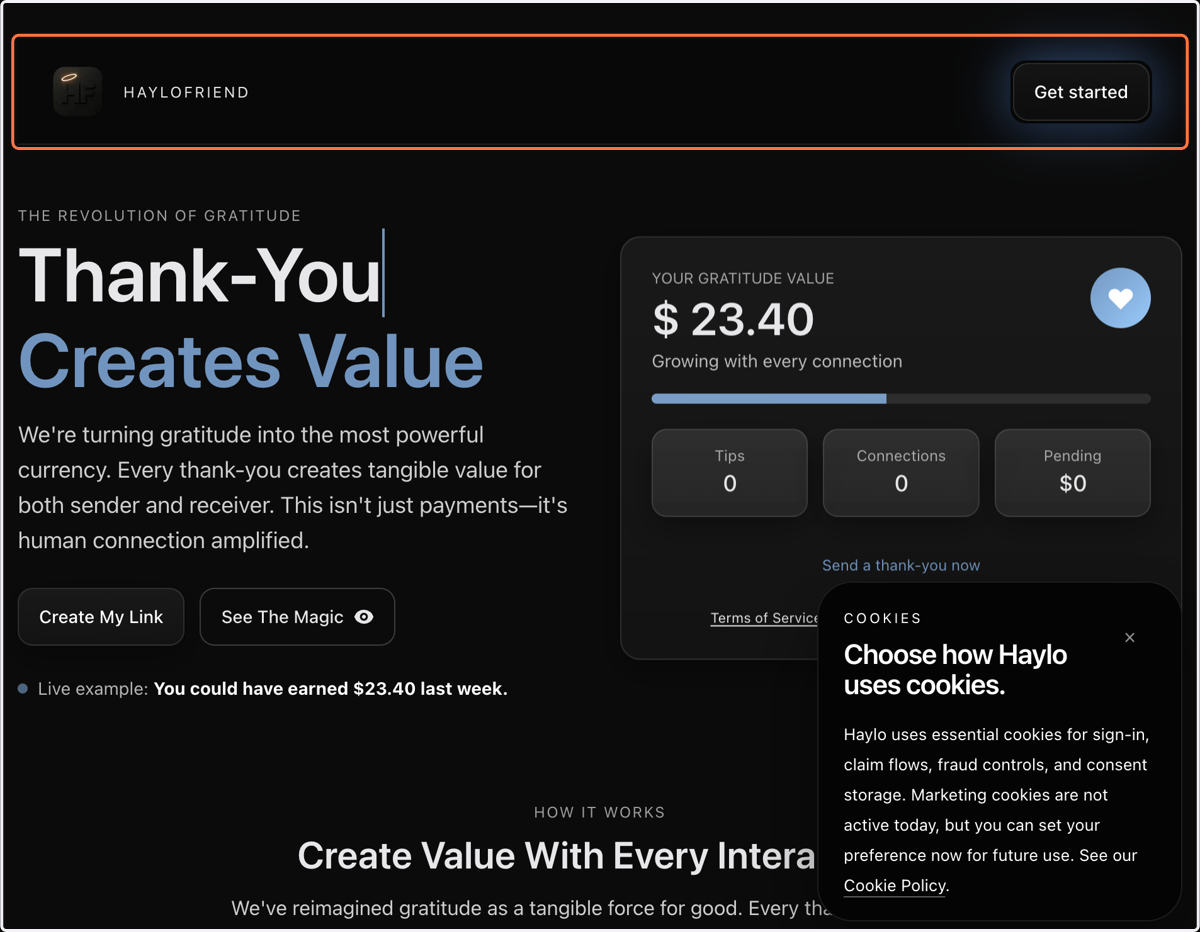
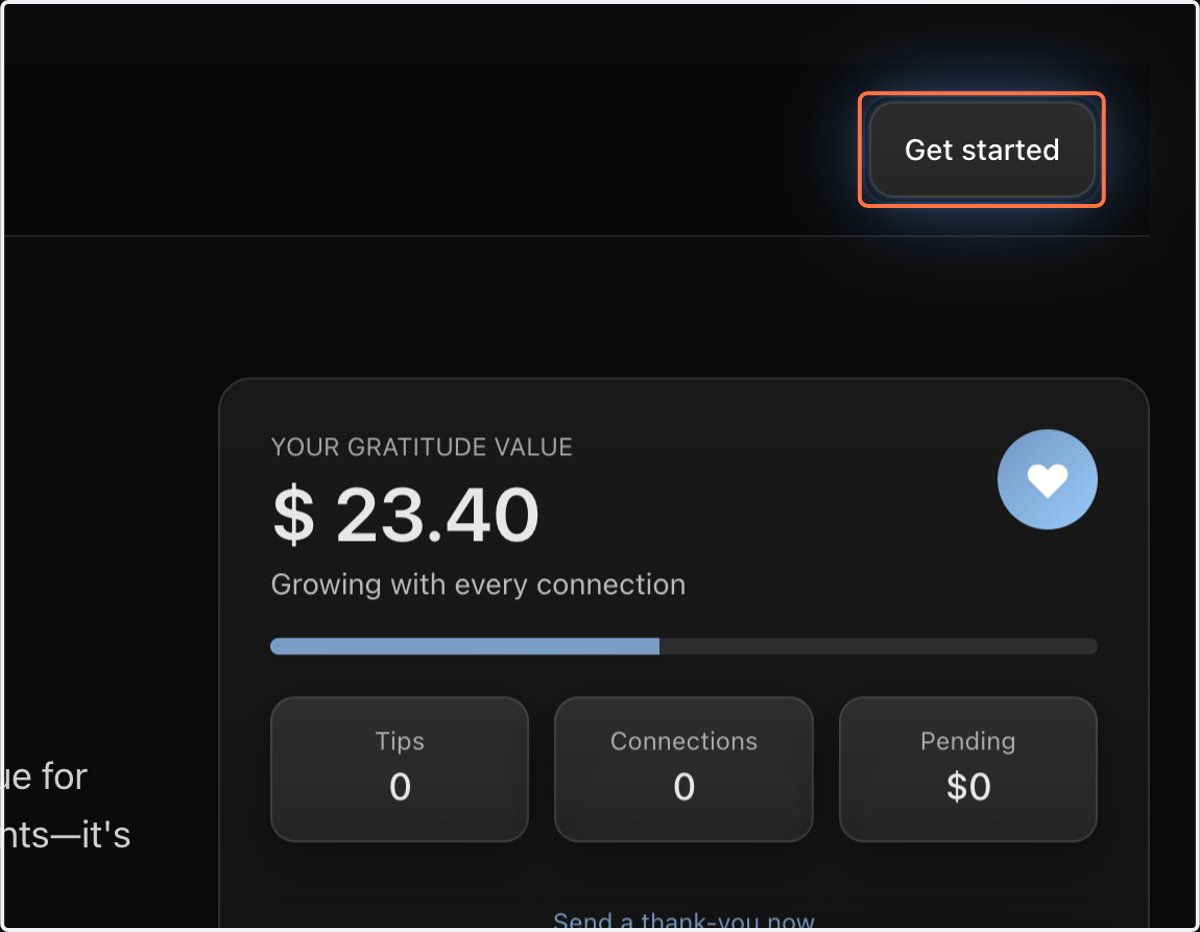
2. Click on Get started
Sign in - Google Accounts
3. After sign in, you should see this page.
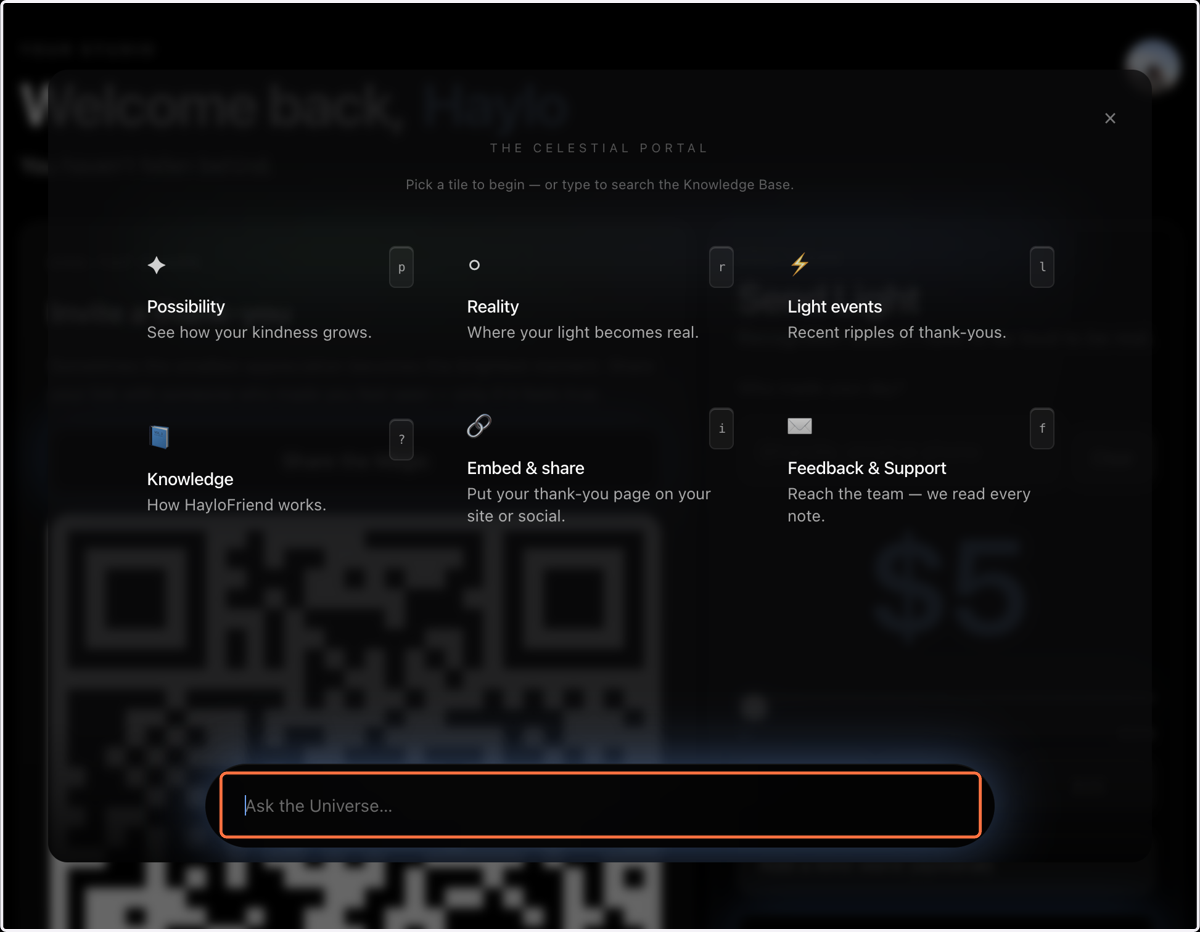
Scroll to the bottom of the page: "Ask the Universe"
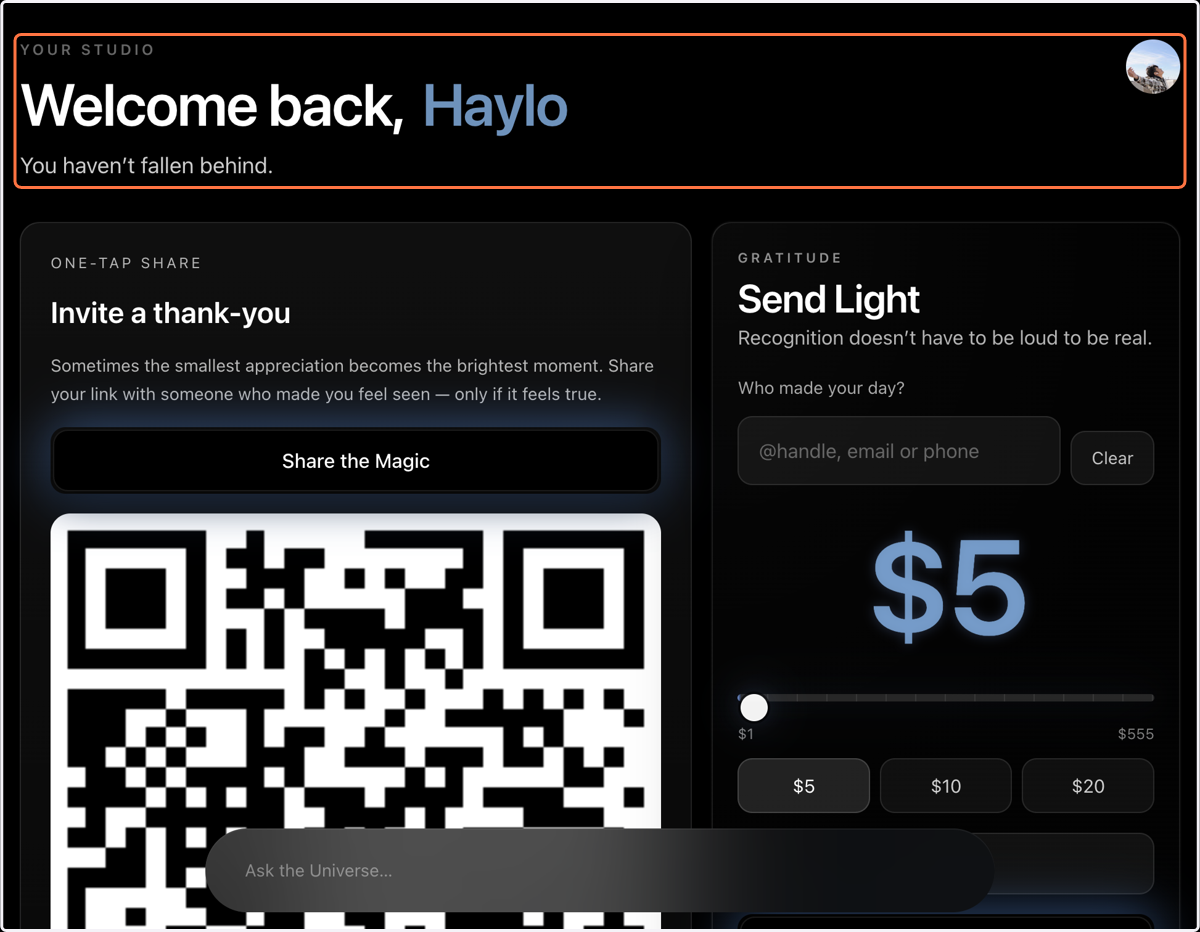
4. Click on Ask the Universe…
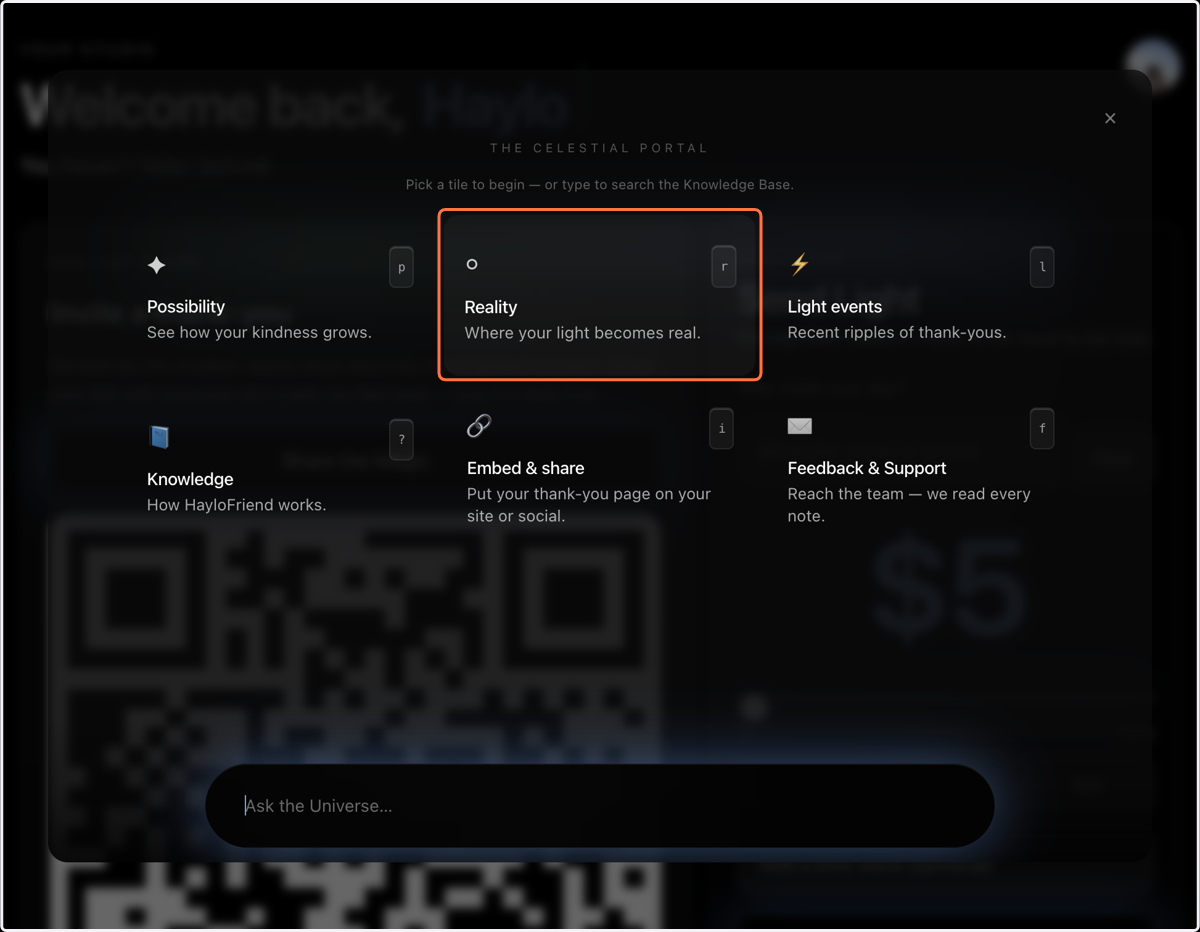
5. Click on the Reality tile.
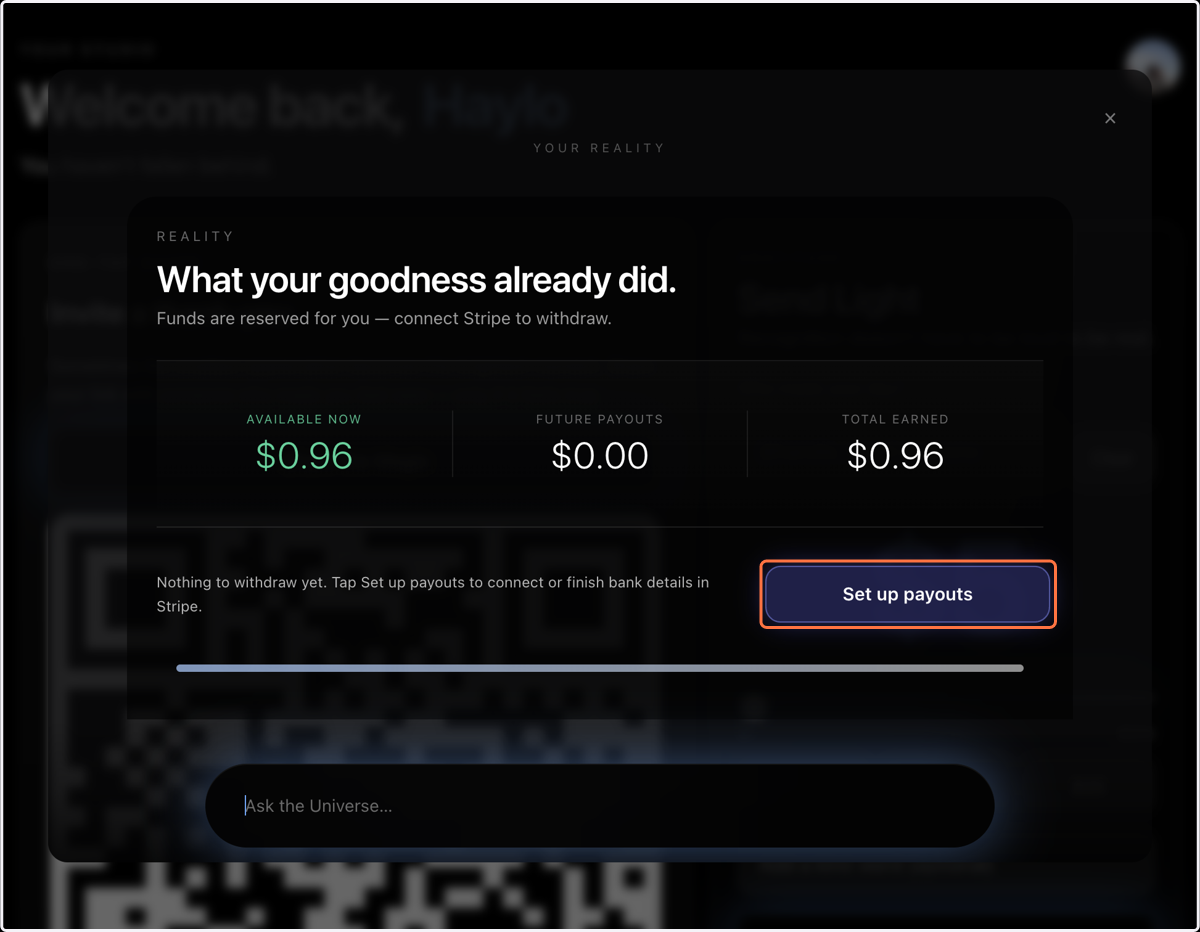
6. Click on Set up payouts
Give it 5 seconds to connect to Stripe.
7. Click on Add information to begin Stripe's onboarding.
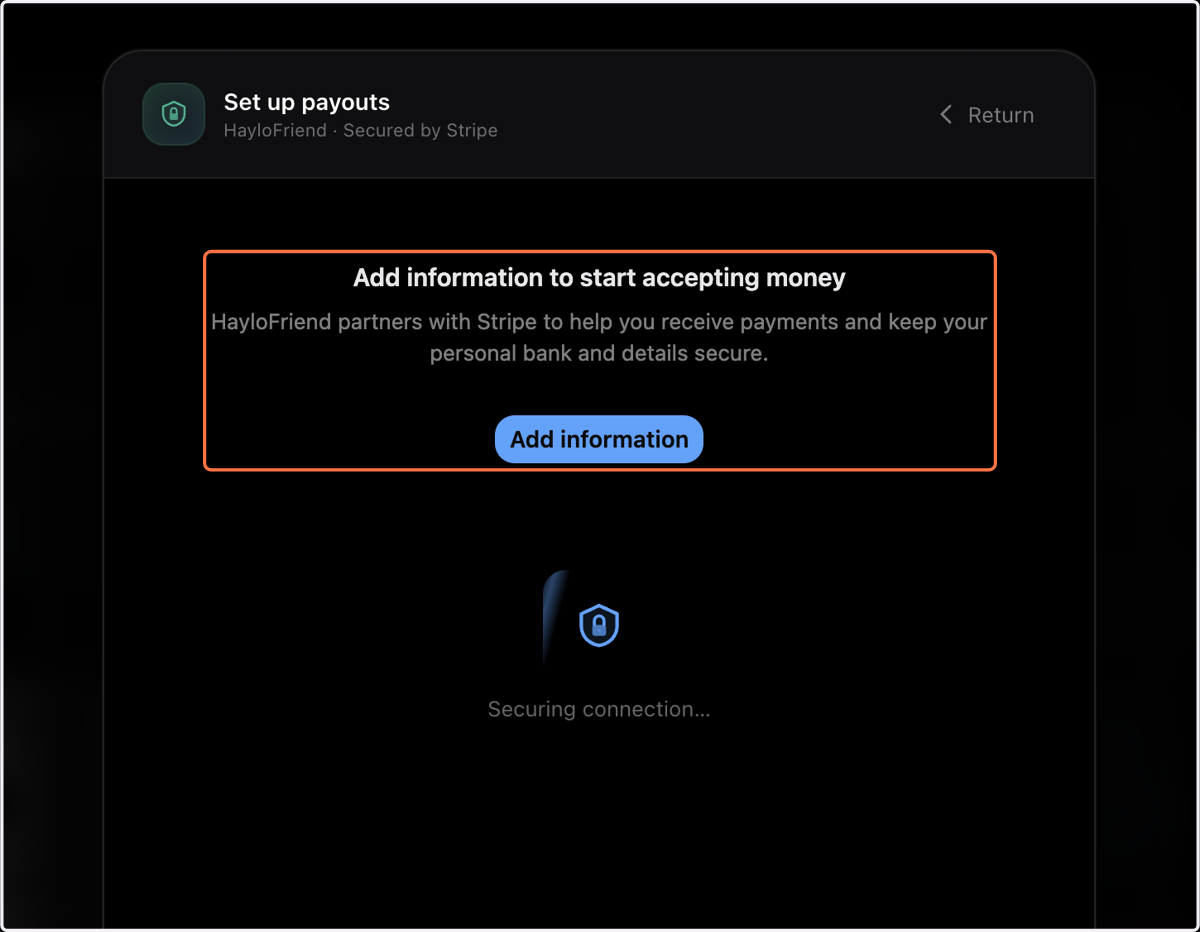
8. Click on Add information
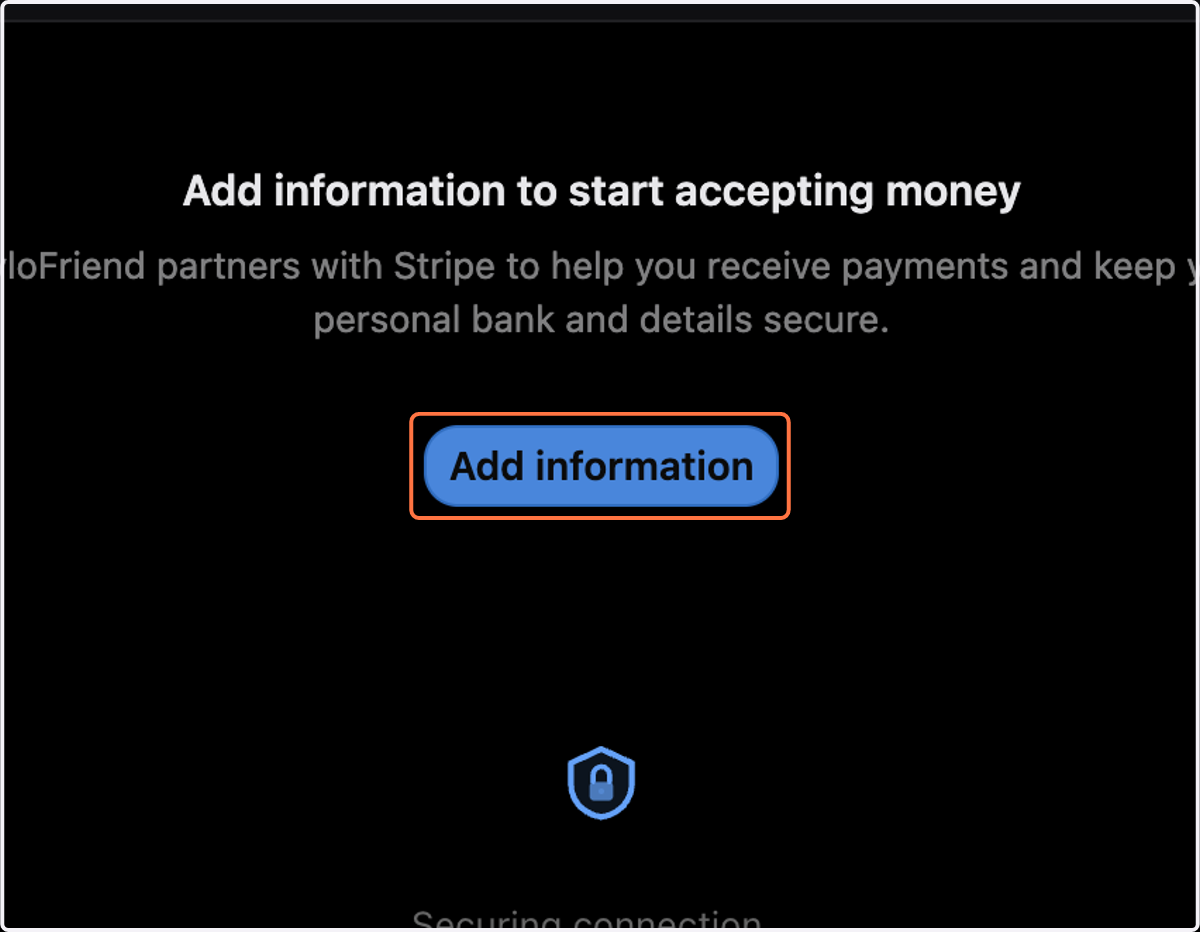
Stripe Loading Securely - Takes 3 seconds
9. Type your email.
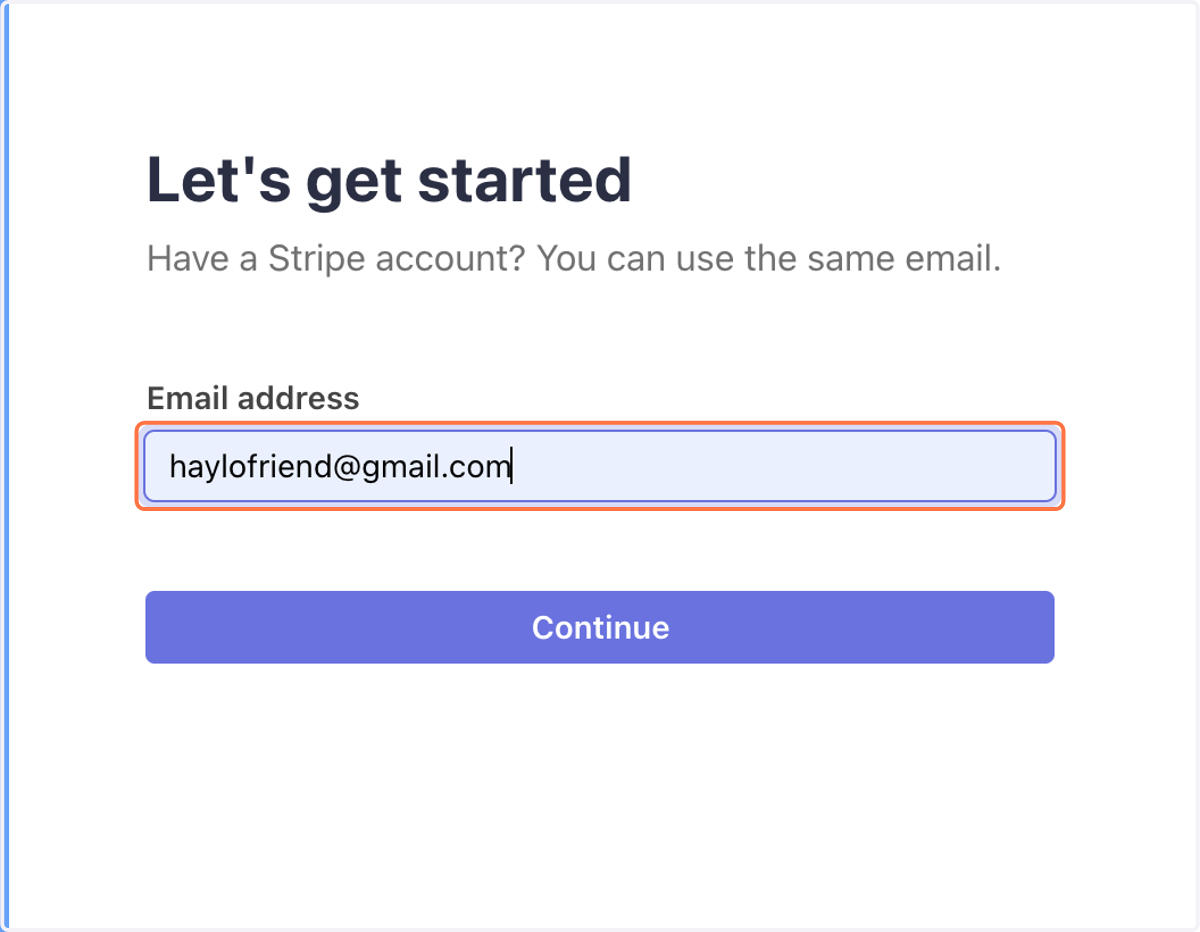
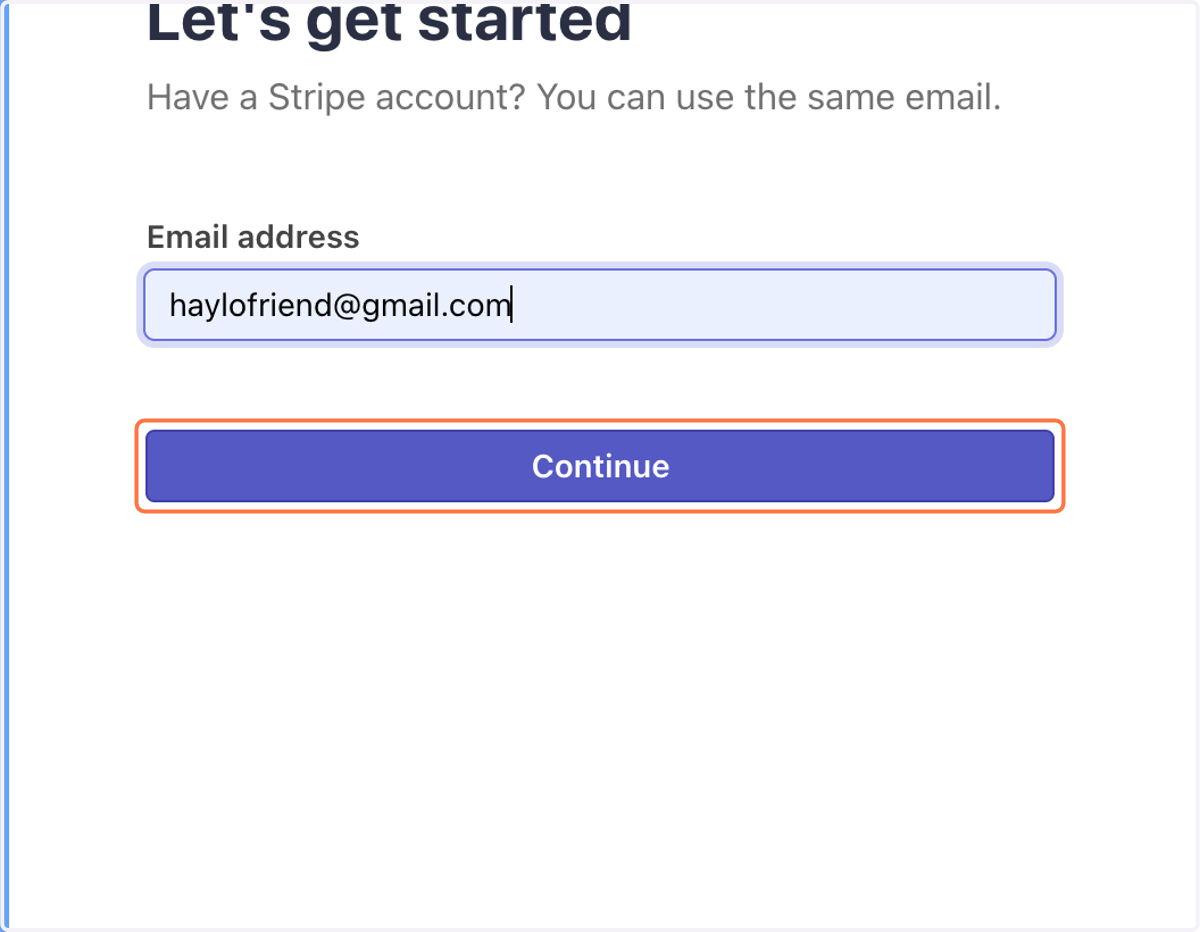
10. Click on Continue
11. Type your phone number
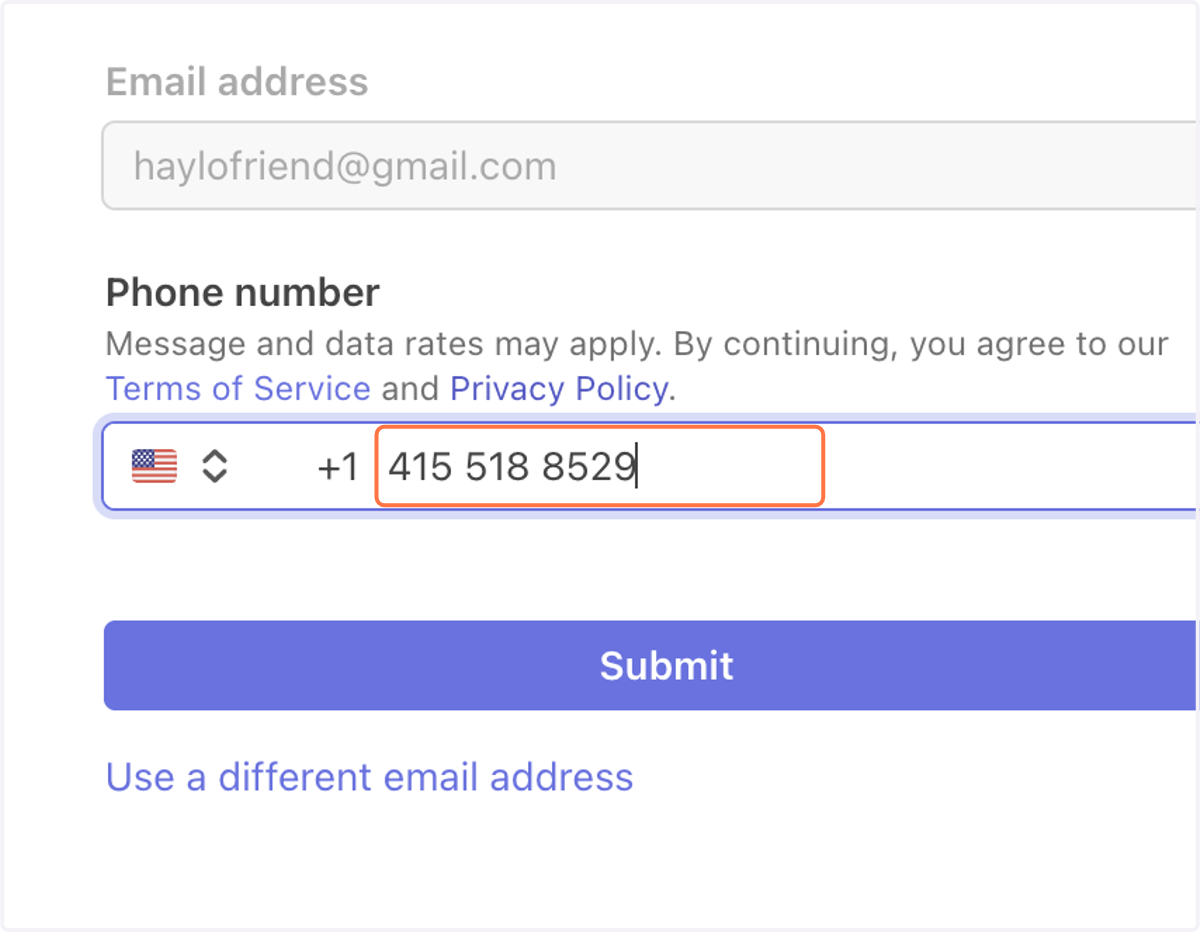
12. Click on Submit
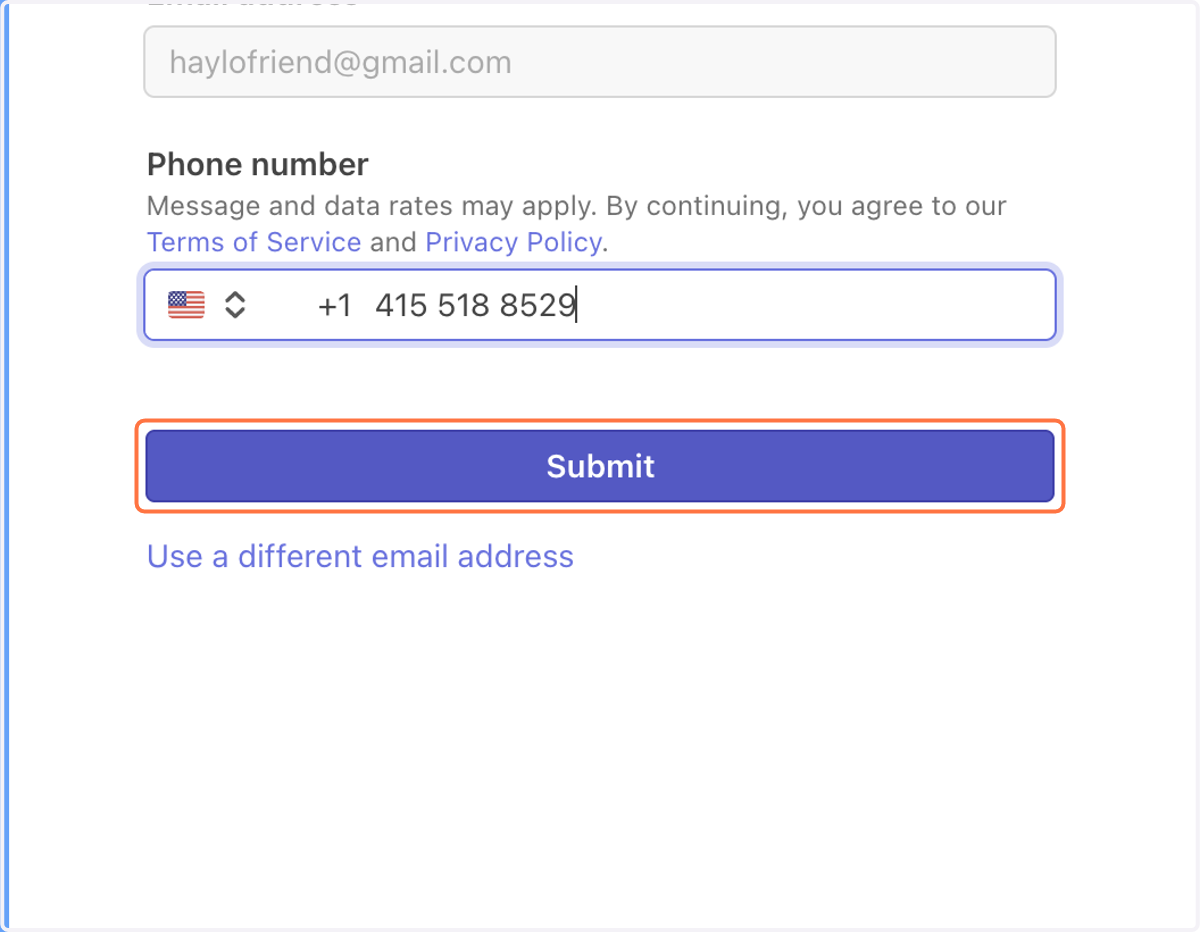
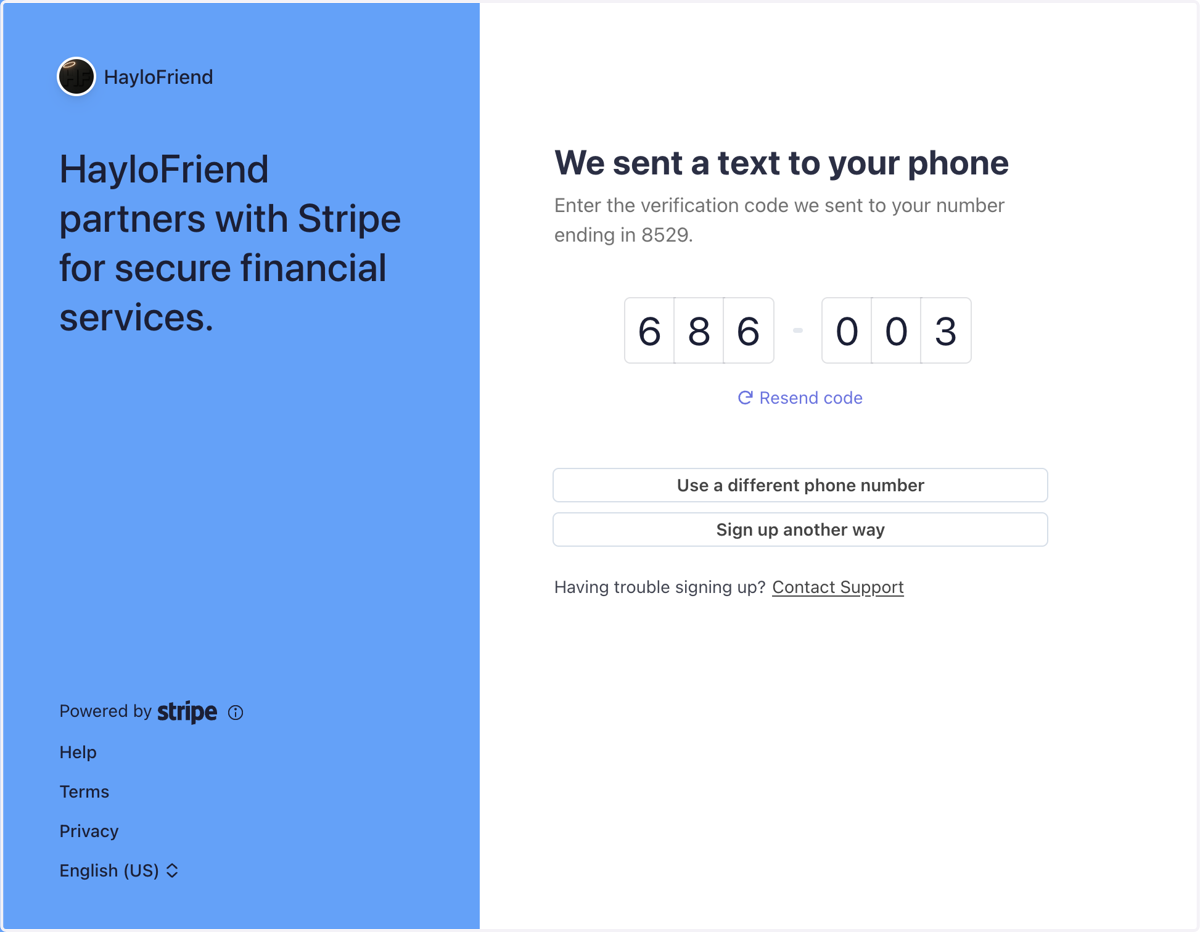
13. You will receive a text code to verify your phone number. Check your text message.
Enter the 6 digit code
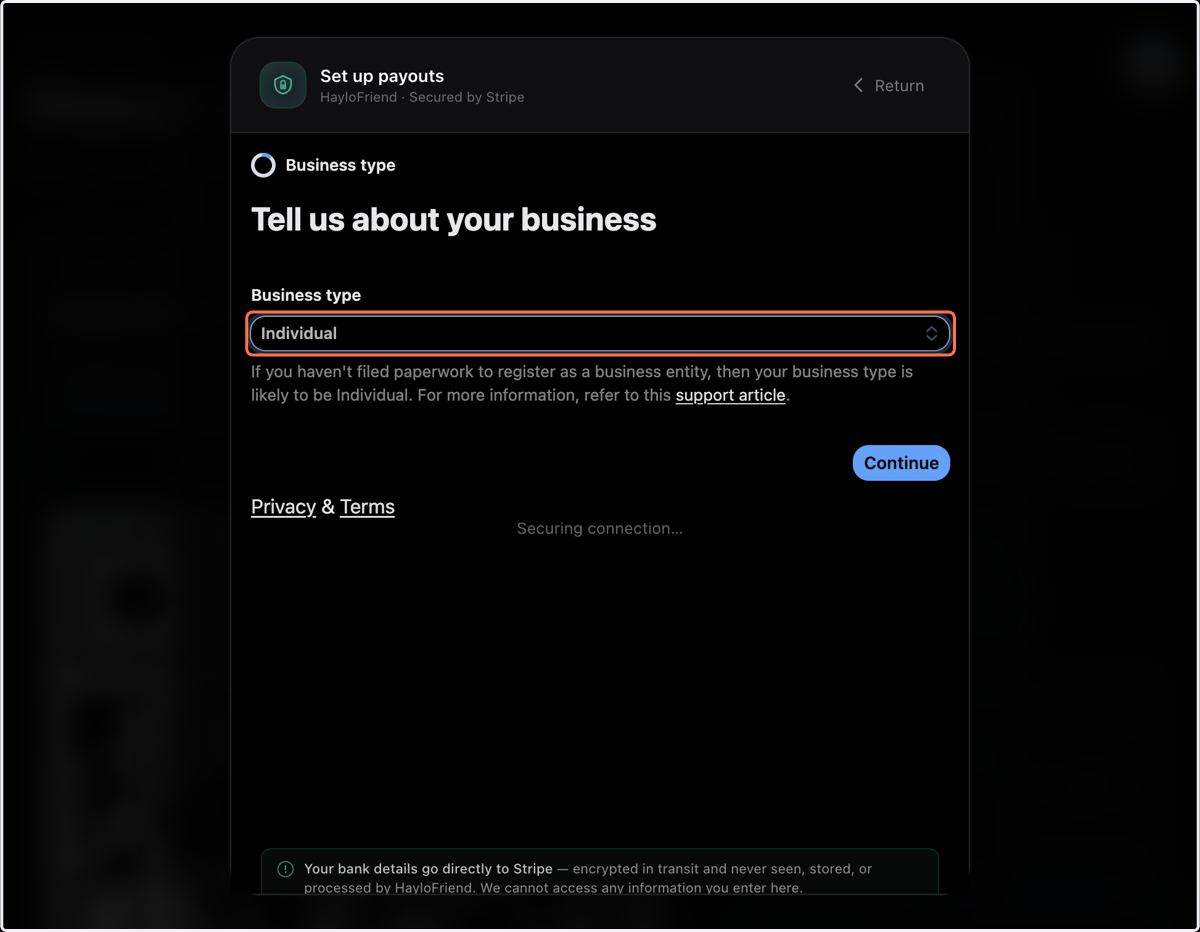
14. Select Individual from Business type
You can choose:
Individual - recommended
Business
15. Click on Continue
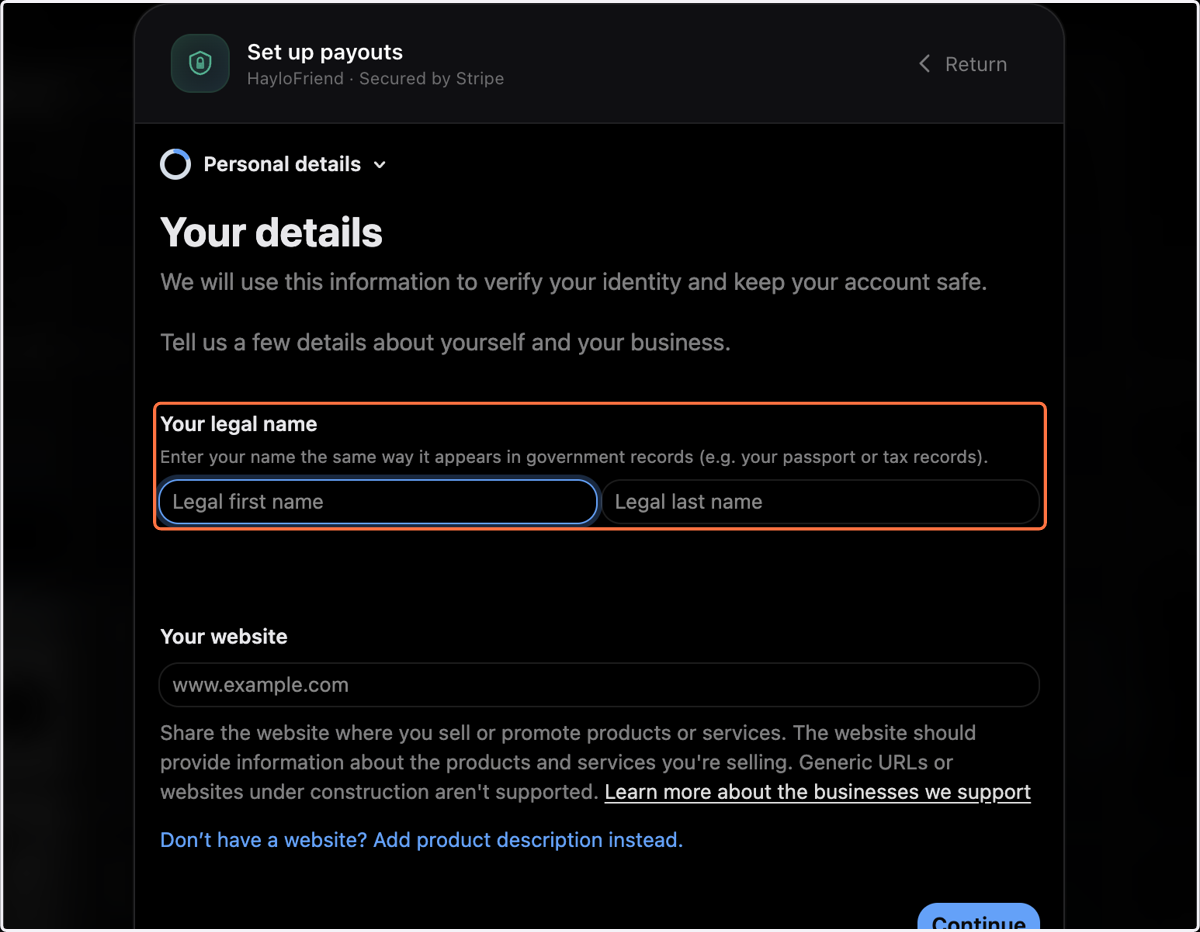
16. Click on Your legal first name and last name.
Stripe requires your legal identity.
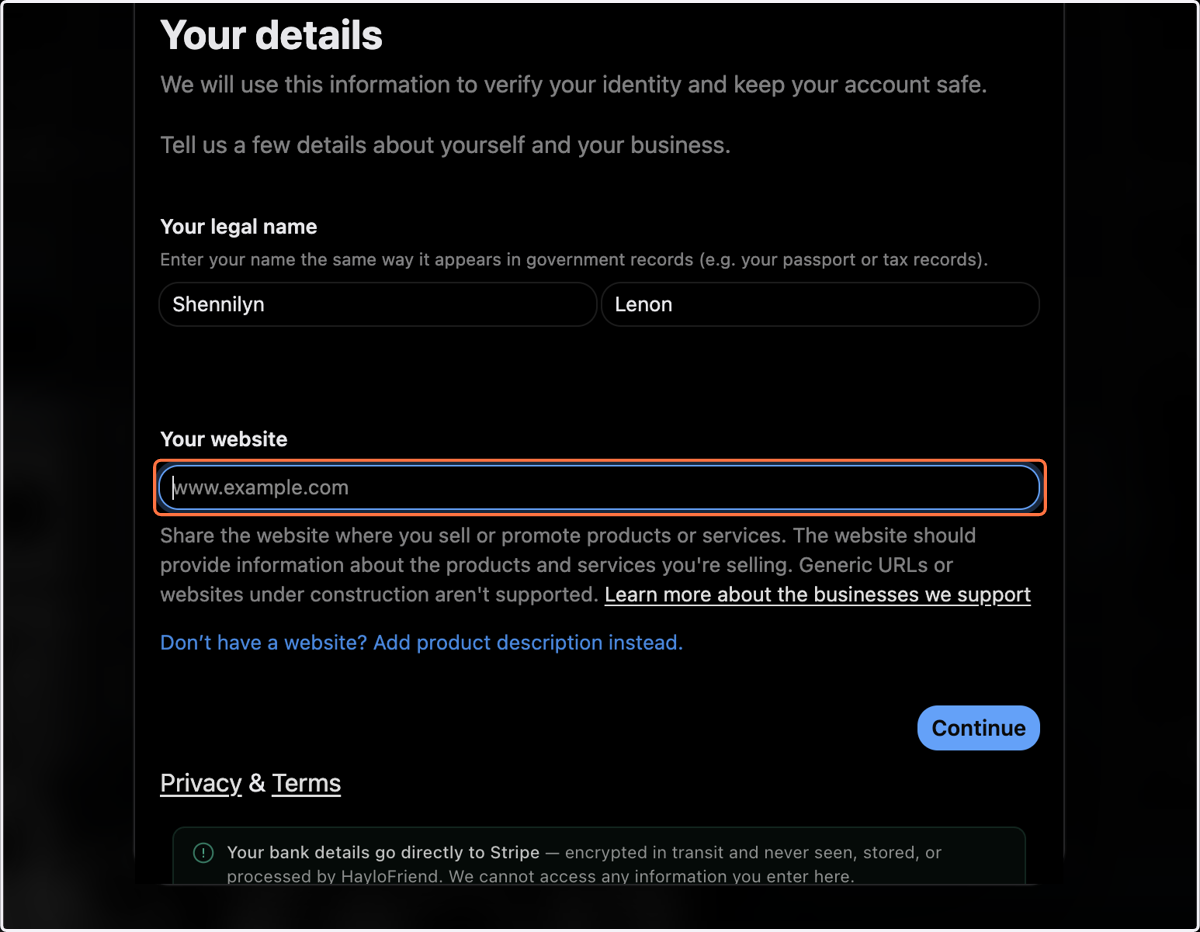
17. Type Your website - if you have a personal/business website
You can also skip and click on "Don't have a website" Recommended for most members.
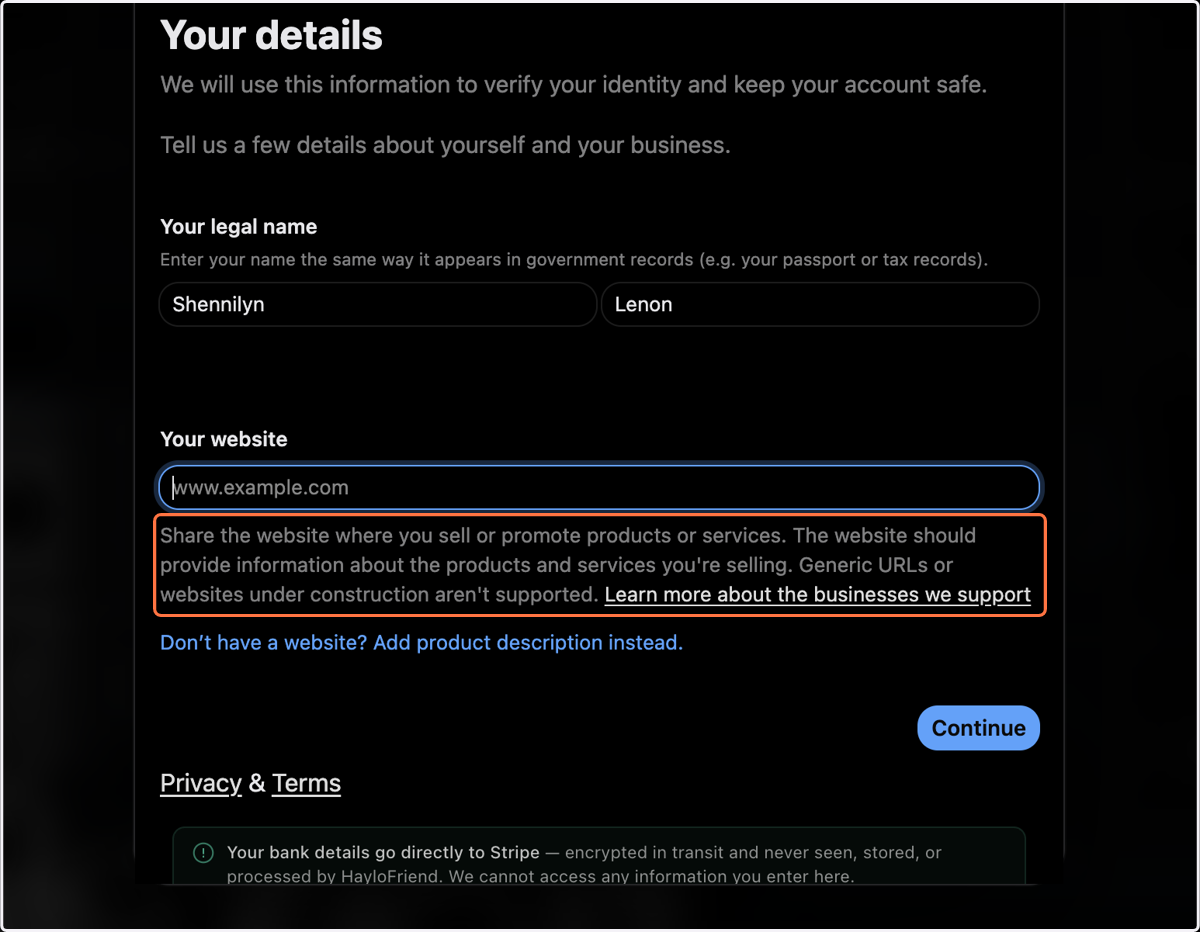
18. If you choose to add your website, read Stripe's instruction.
Click on Share the website where you sell or promote products or services. The website should provide information about the products and services you're selling. Generic URLs or websites under construction aren't supported. Learn more about the businesses we support
19. Click on Don’t have a website? Add product description instead.
If you don't have a website. In product description, simply add "No product. This gratitude was sent as a gift."
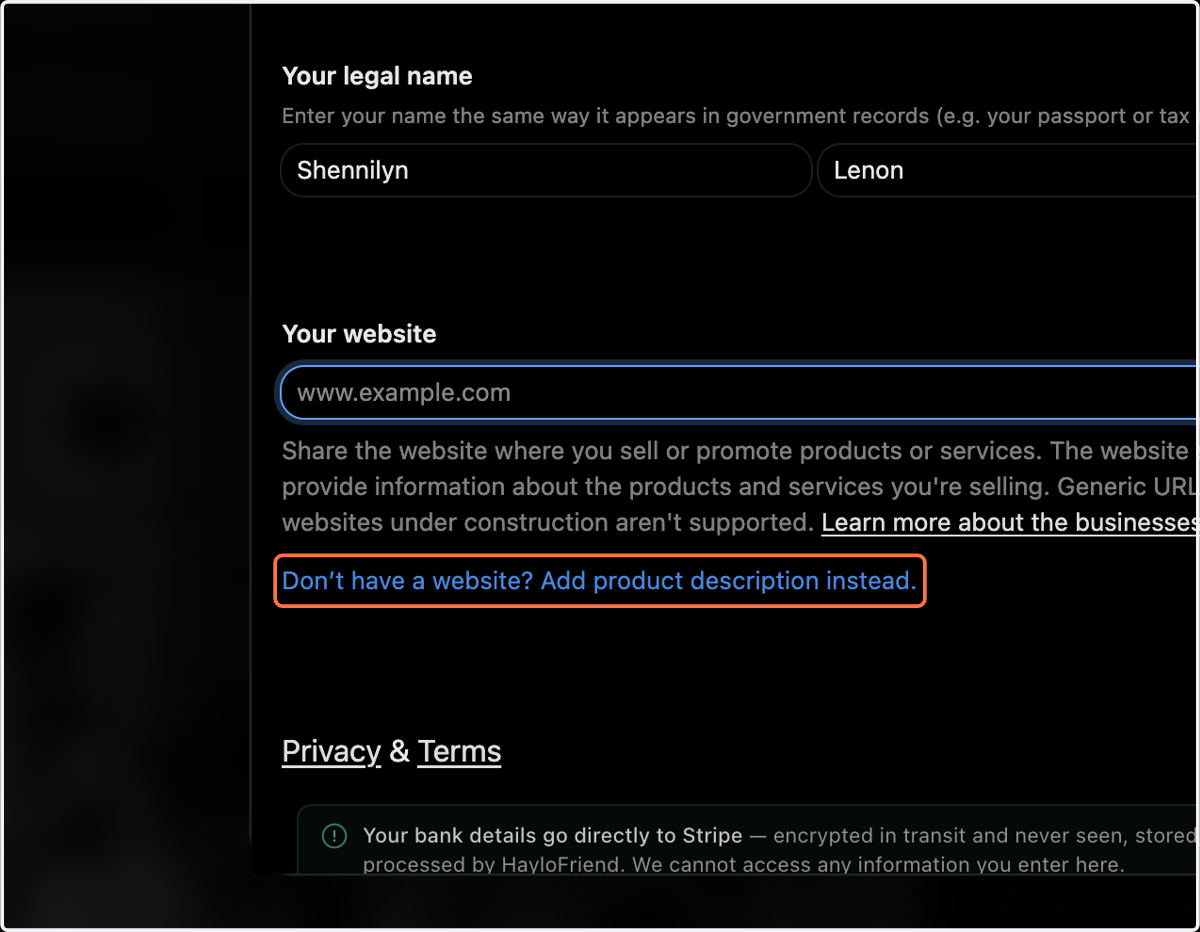
20. Type "Gratitude was sent as a gift. I do not sell products and do not own a business."
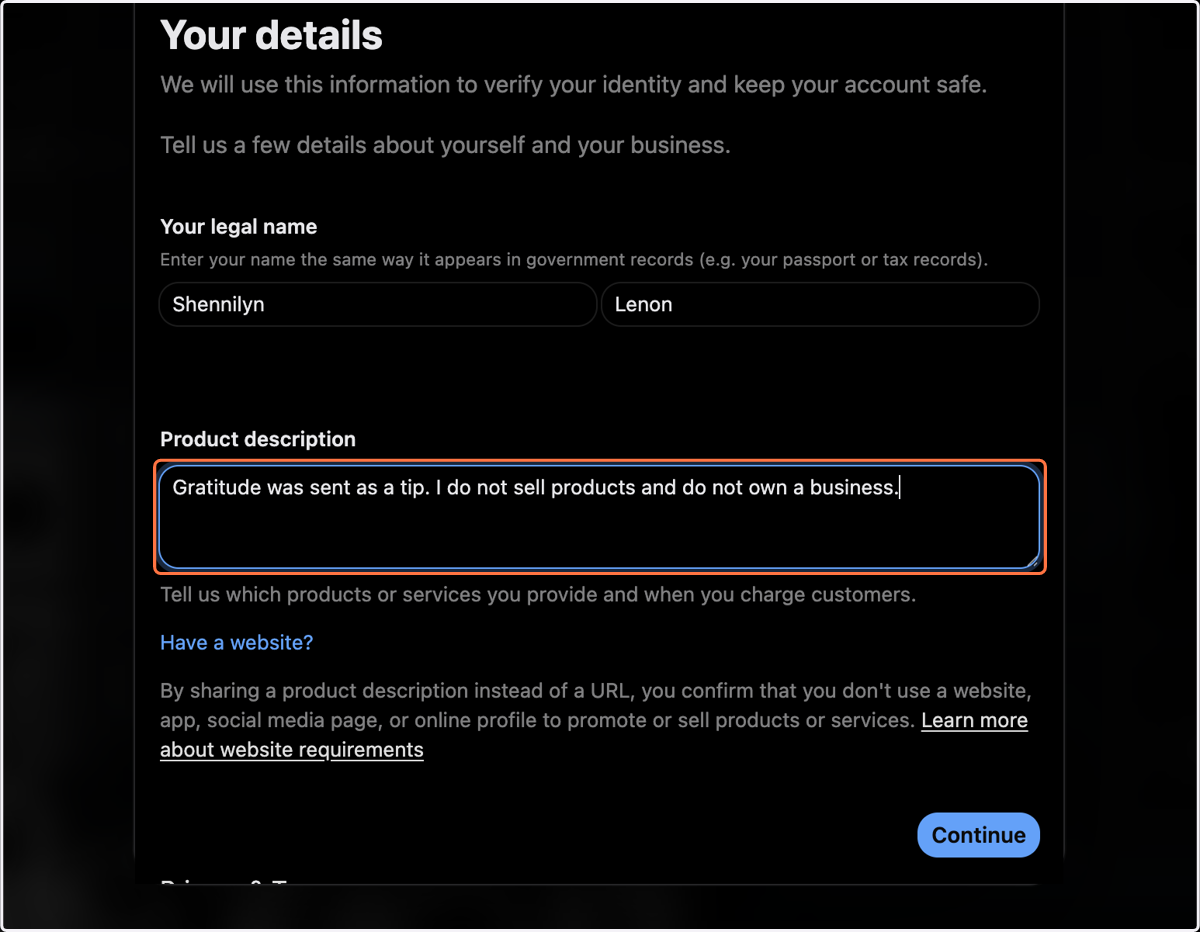
21. Click on Continue
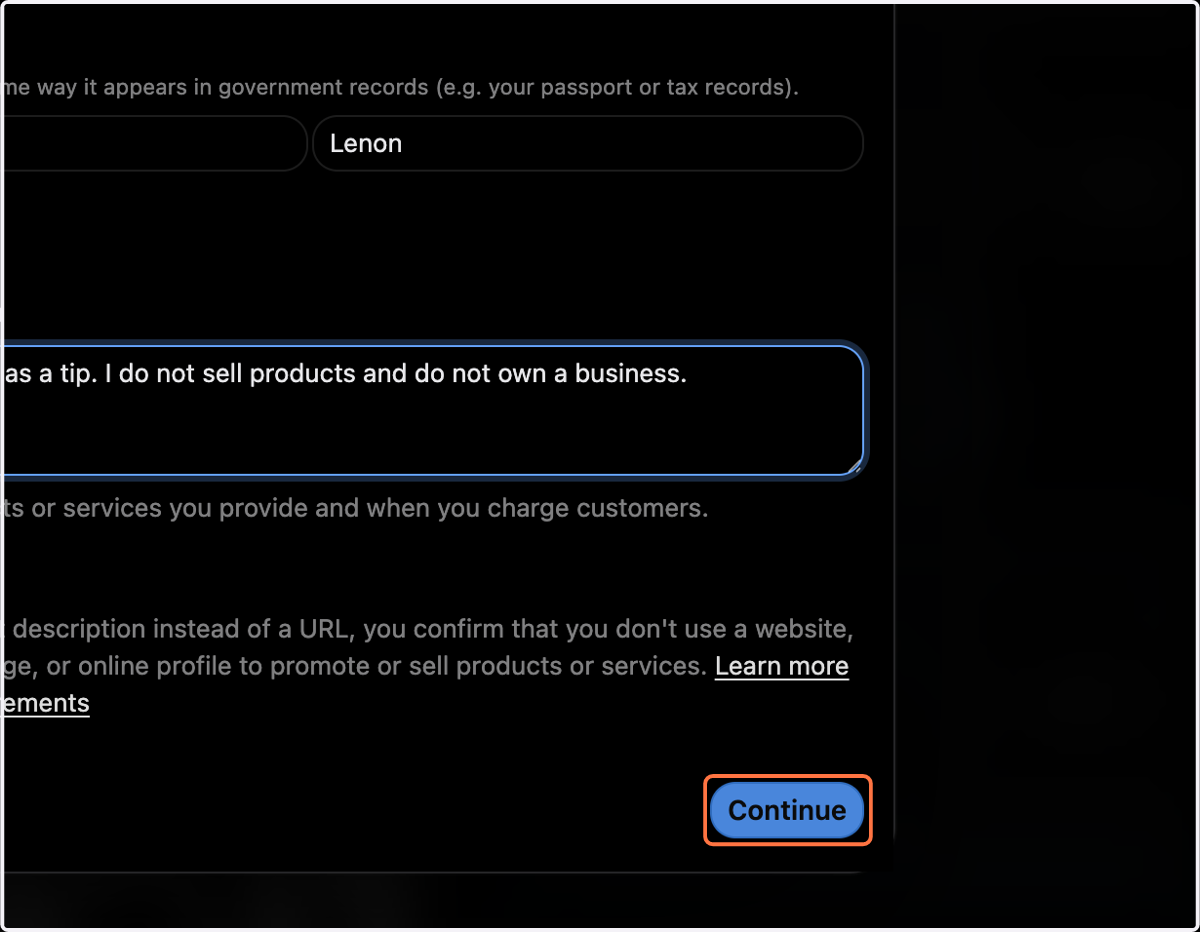
22. Choose your payout bank method
In this demo, let's use Bank of America as an example.
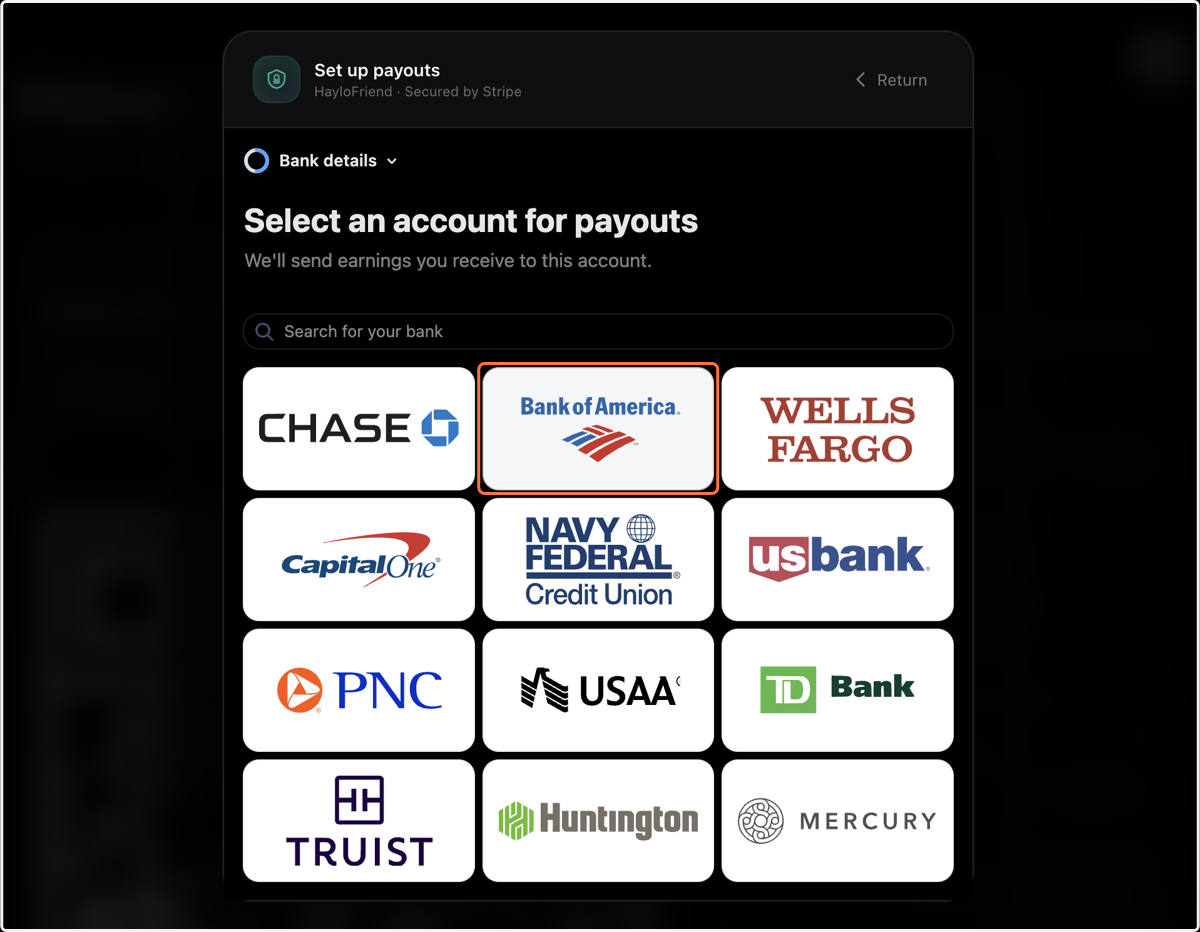
23. To link your payout to your bank account, click on Agree and continue.
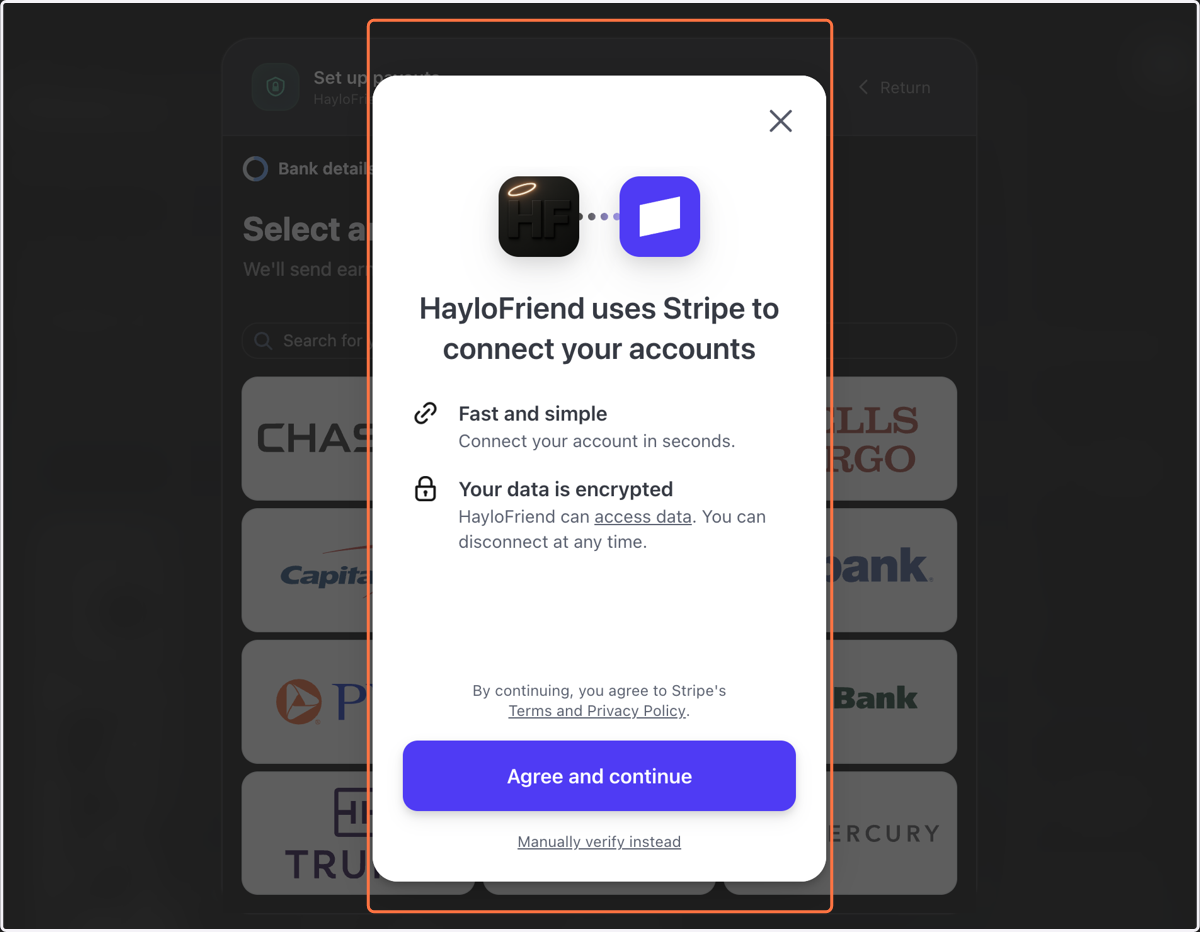
24. Click on Continue
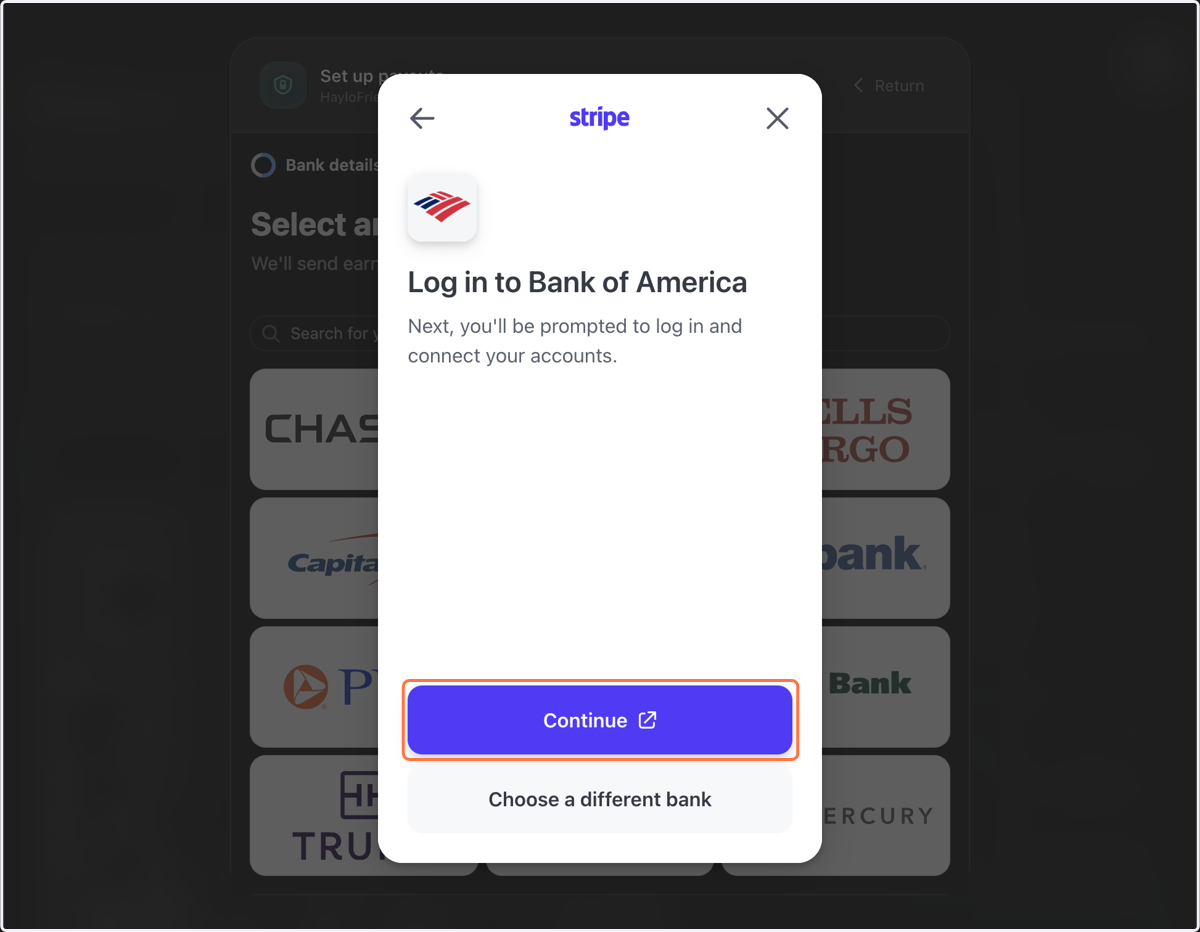
Open Banking Customer Authentication
Stripe will securely connect with Plaid.
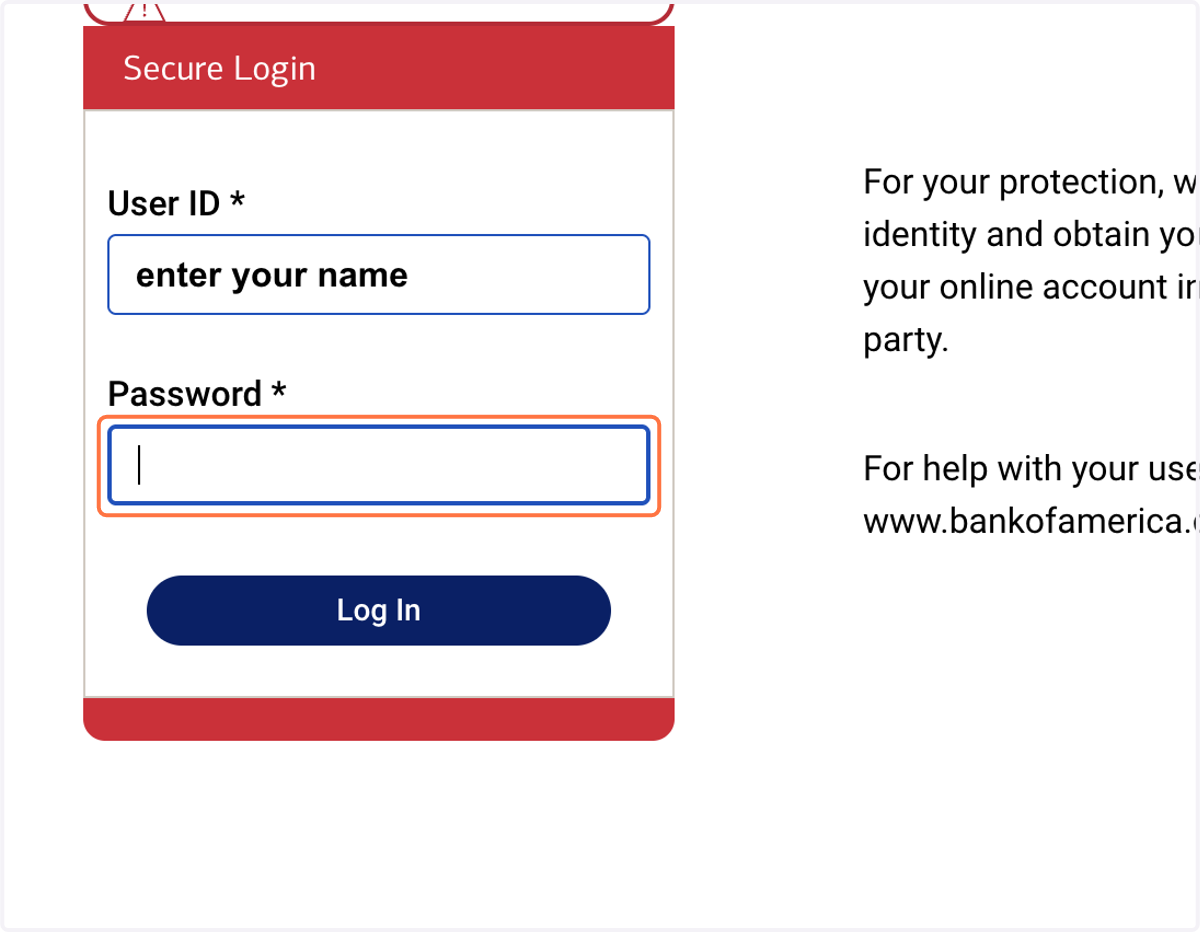
25. Authenticate with your bank.
Enter User ID & Password. Then, click "Log In"
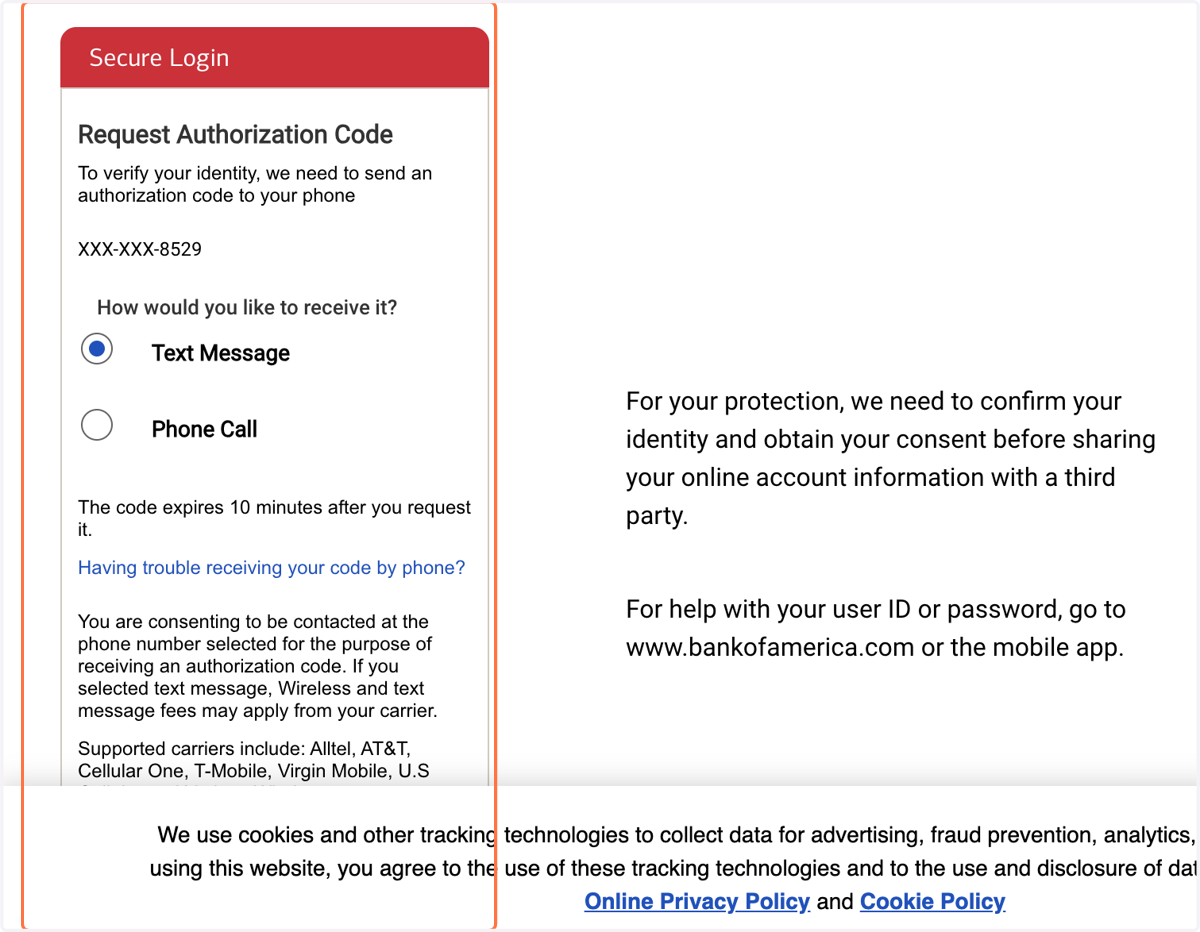
26. You will receive a secured text/phone call to confirm you own the bank account.
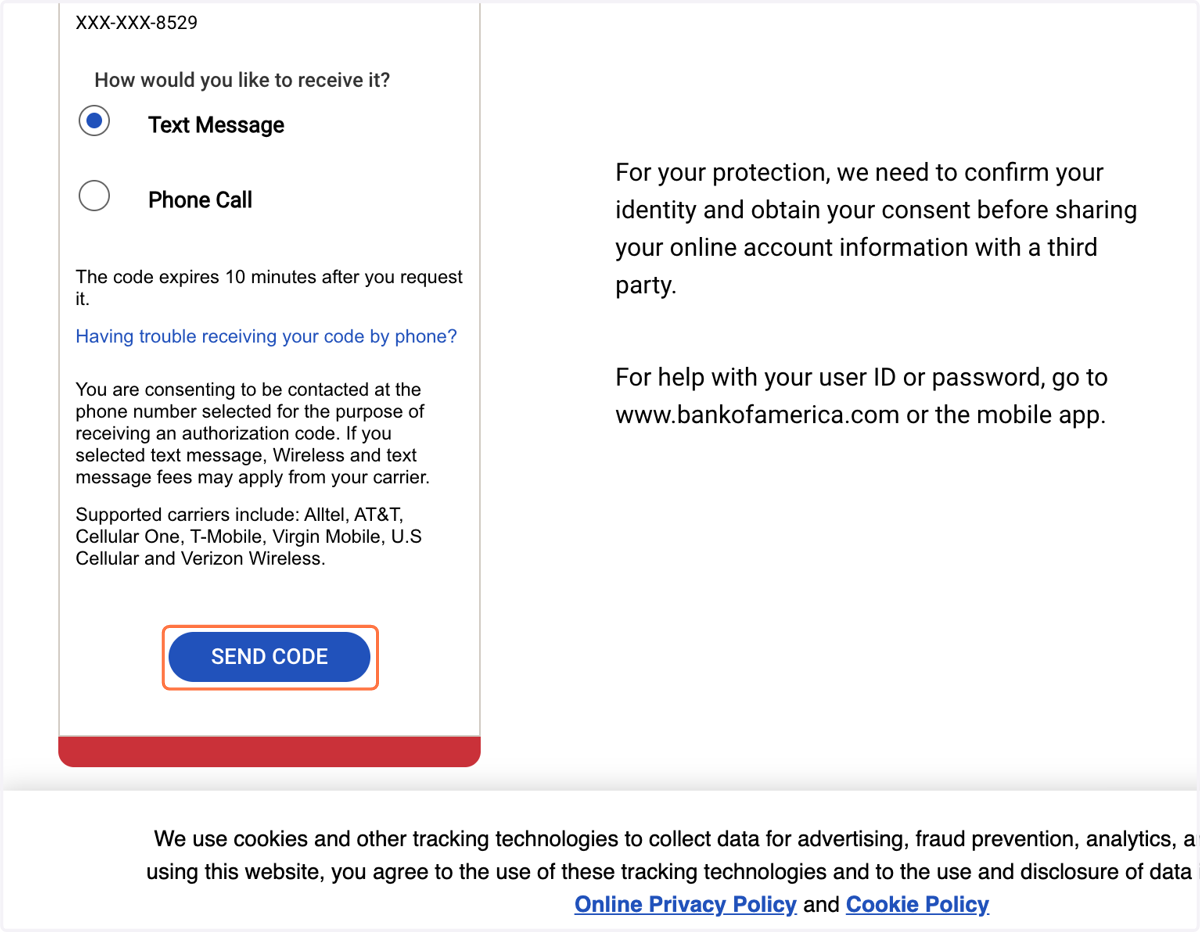
27. Click on SEND CODE
28. Enter the 6 digit code you received via text/phone
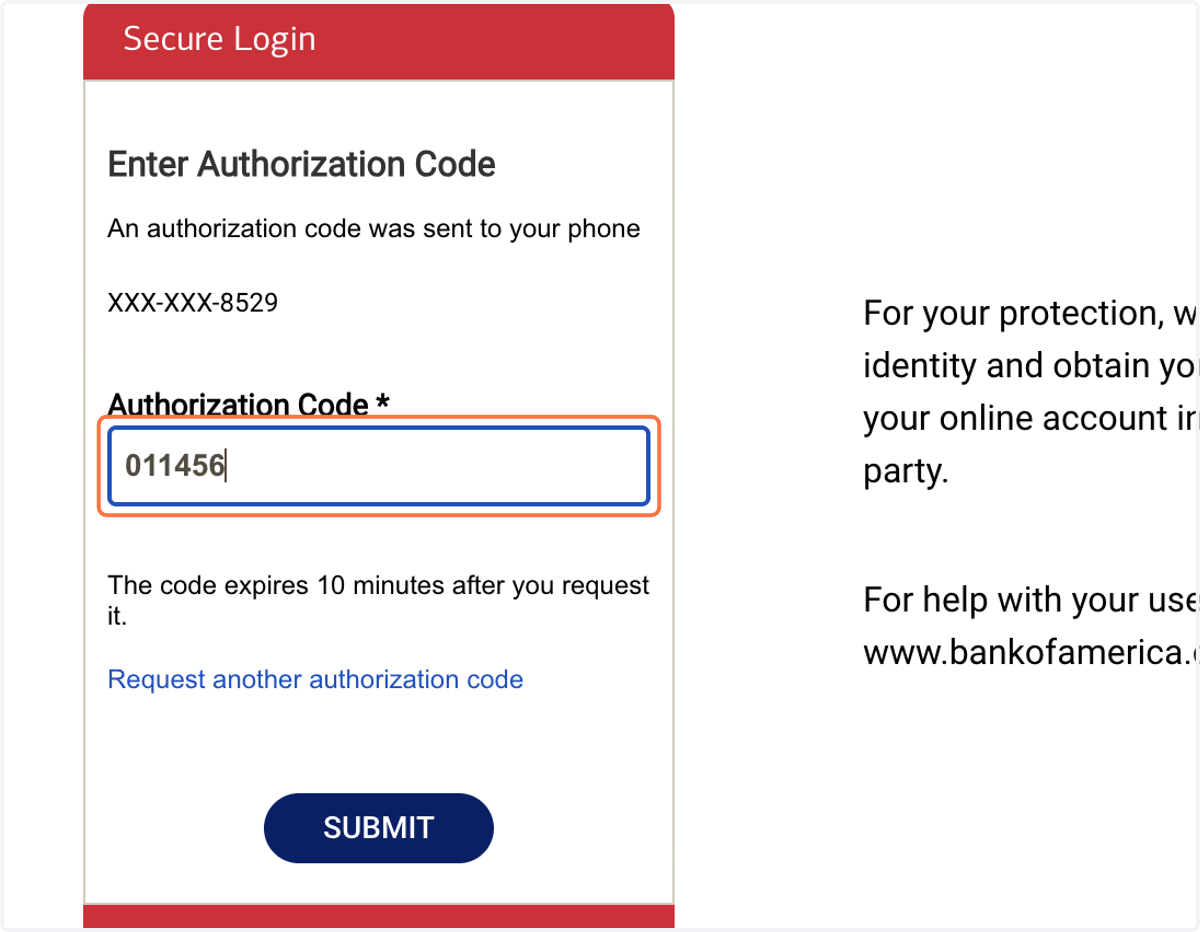
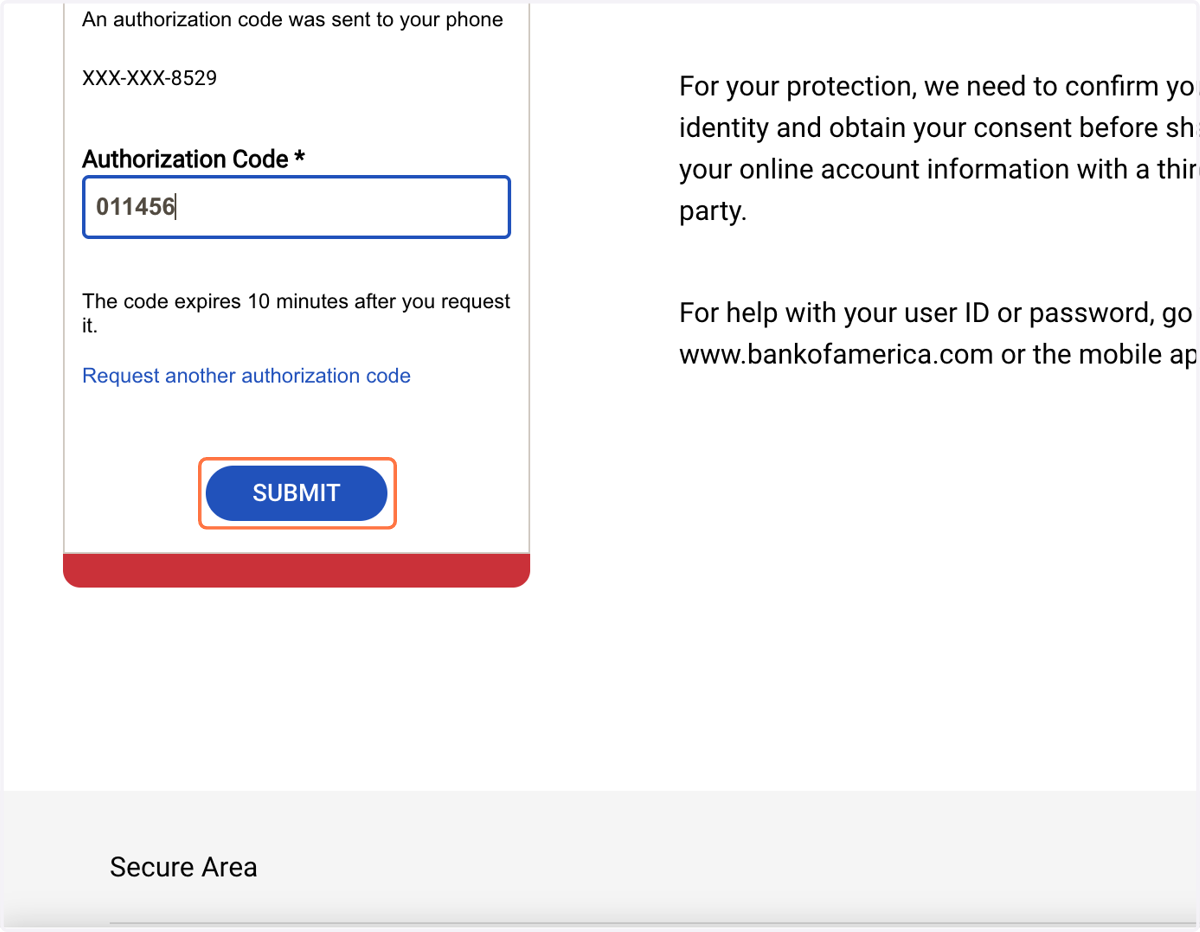
29. Click on SUBMIT
30. On the bottom right hand corner of the page, click Continue.
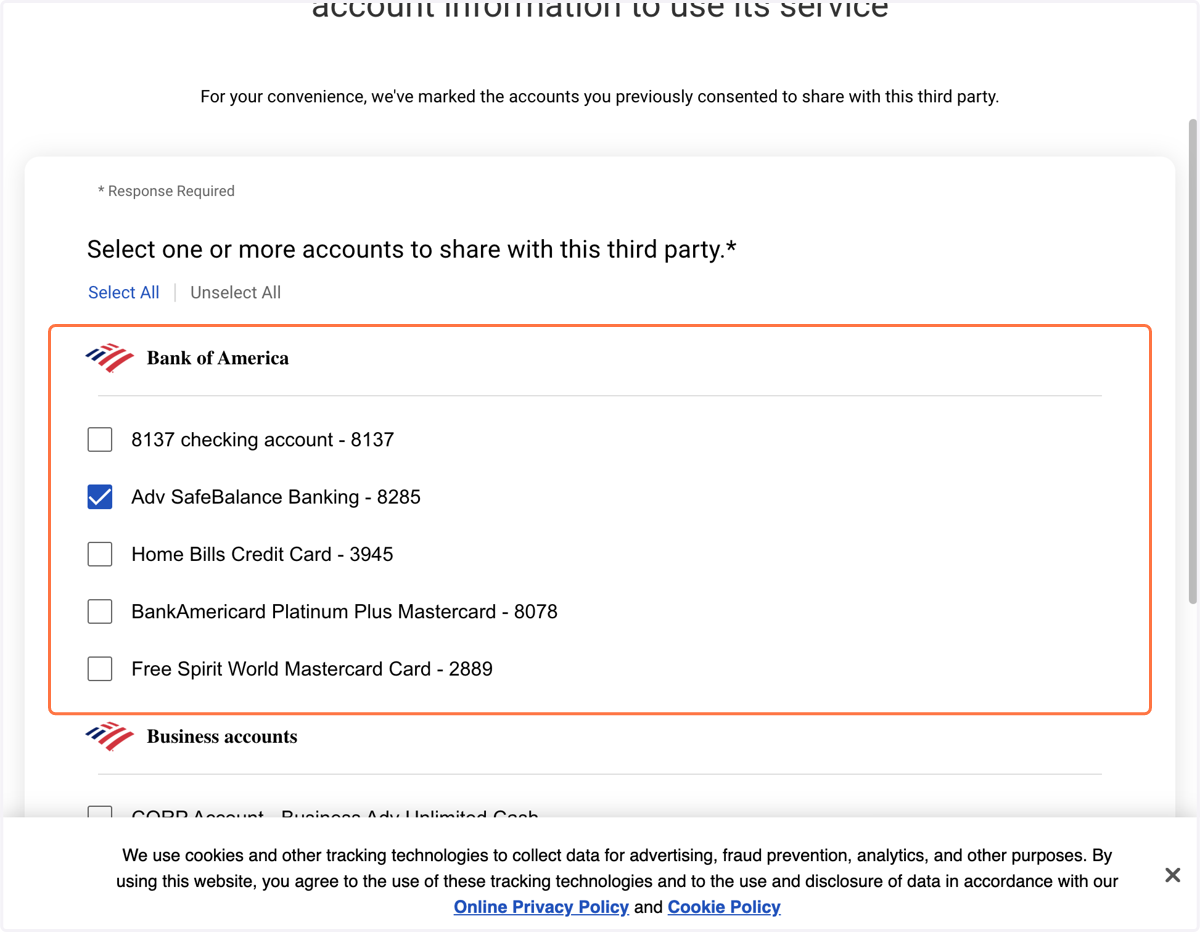
31. Select one or more accounts to share
32. Click on Continue
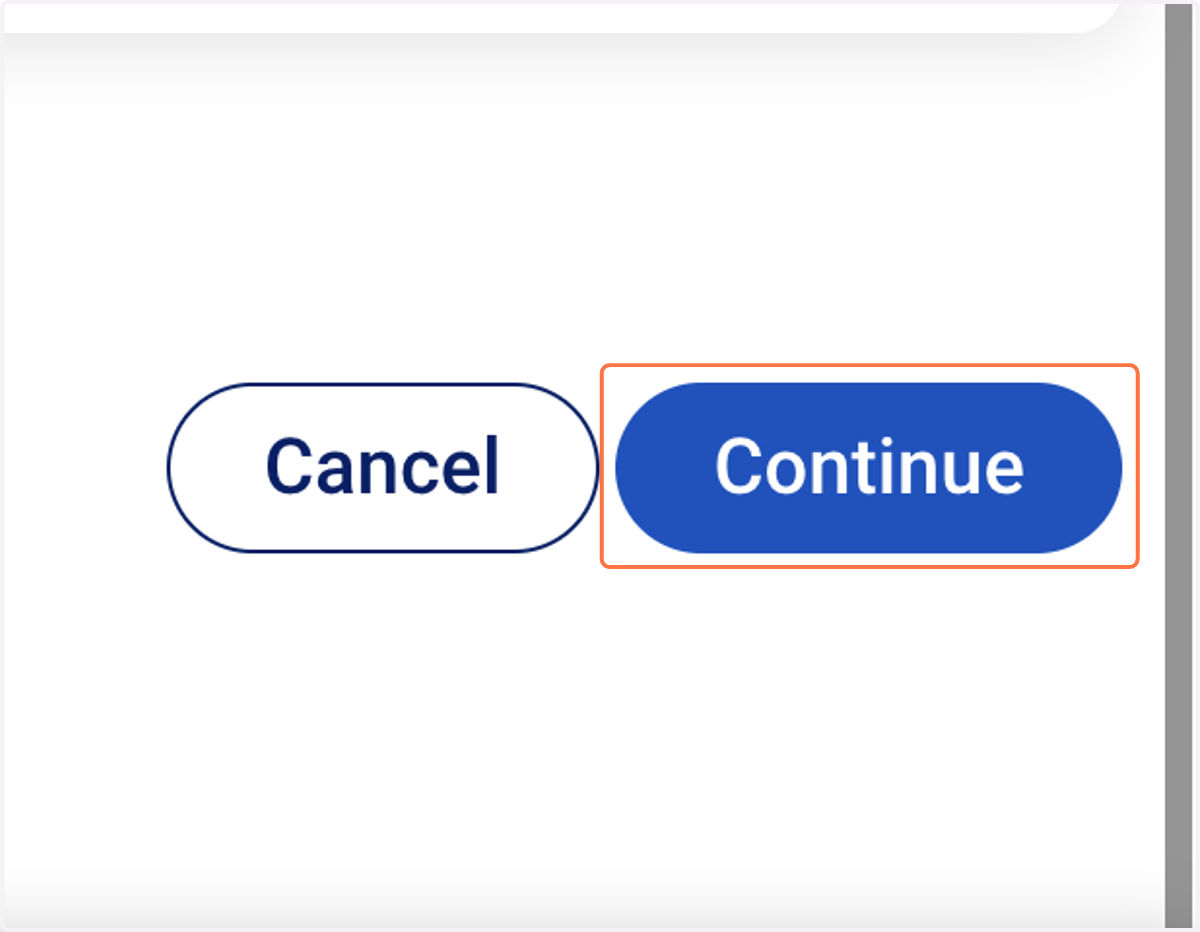
33. Providing Consent
Review the terms and conditions.
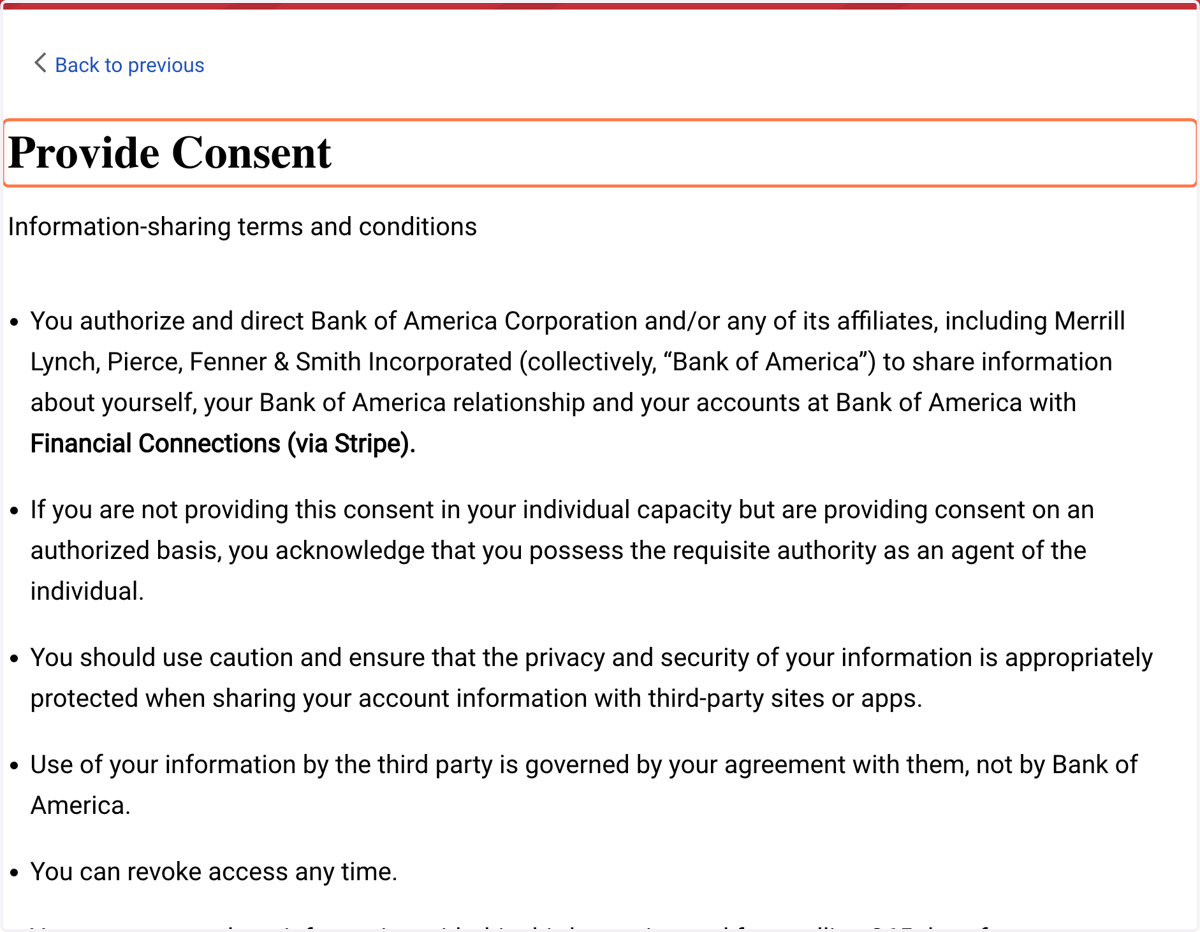
34. Reviewing the terms and conditions thoroughly and scroll down.
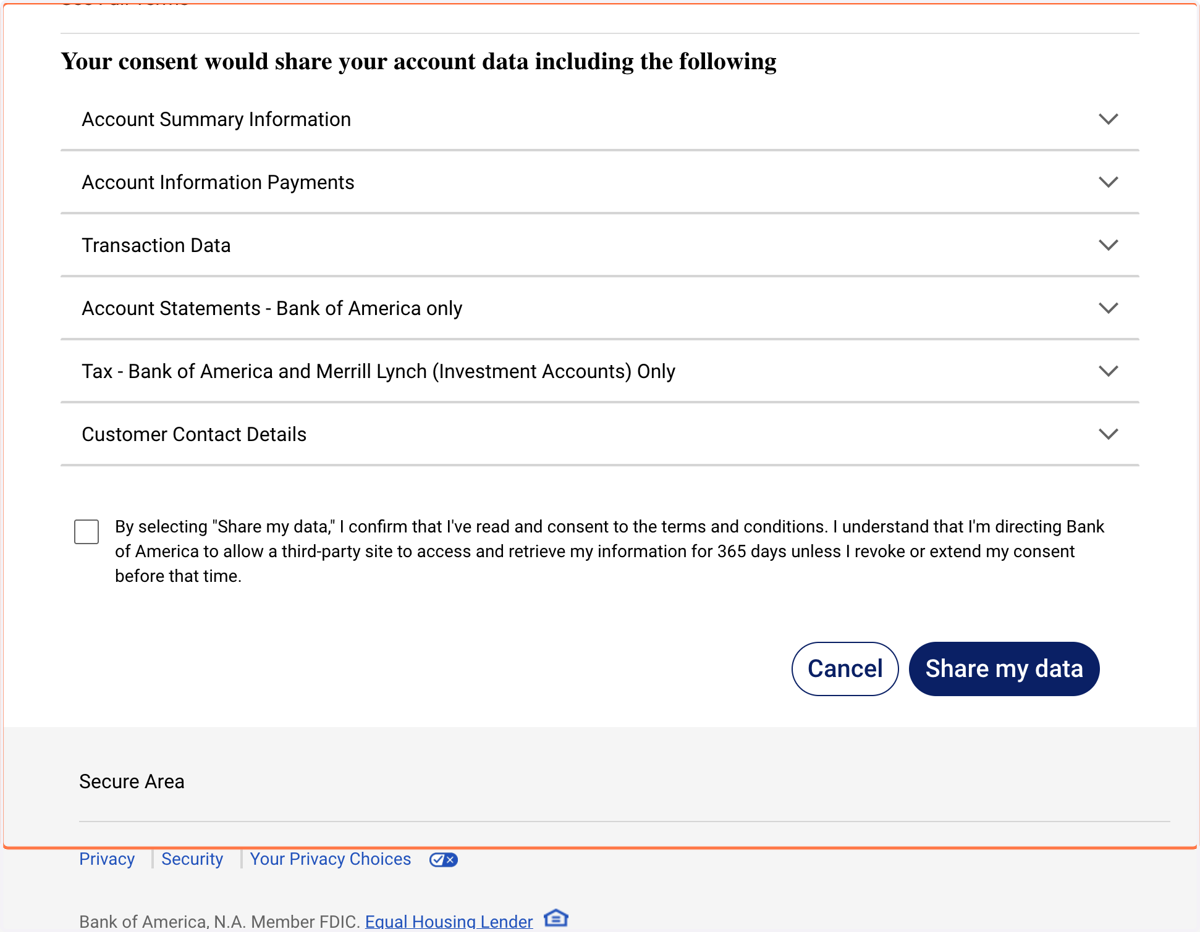
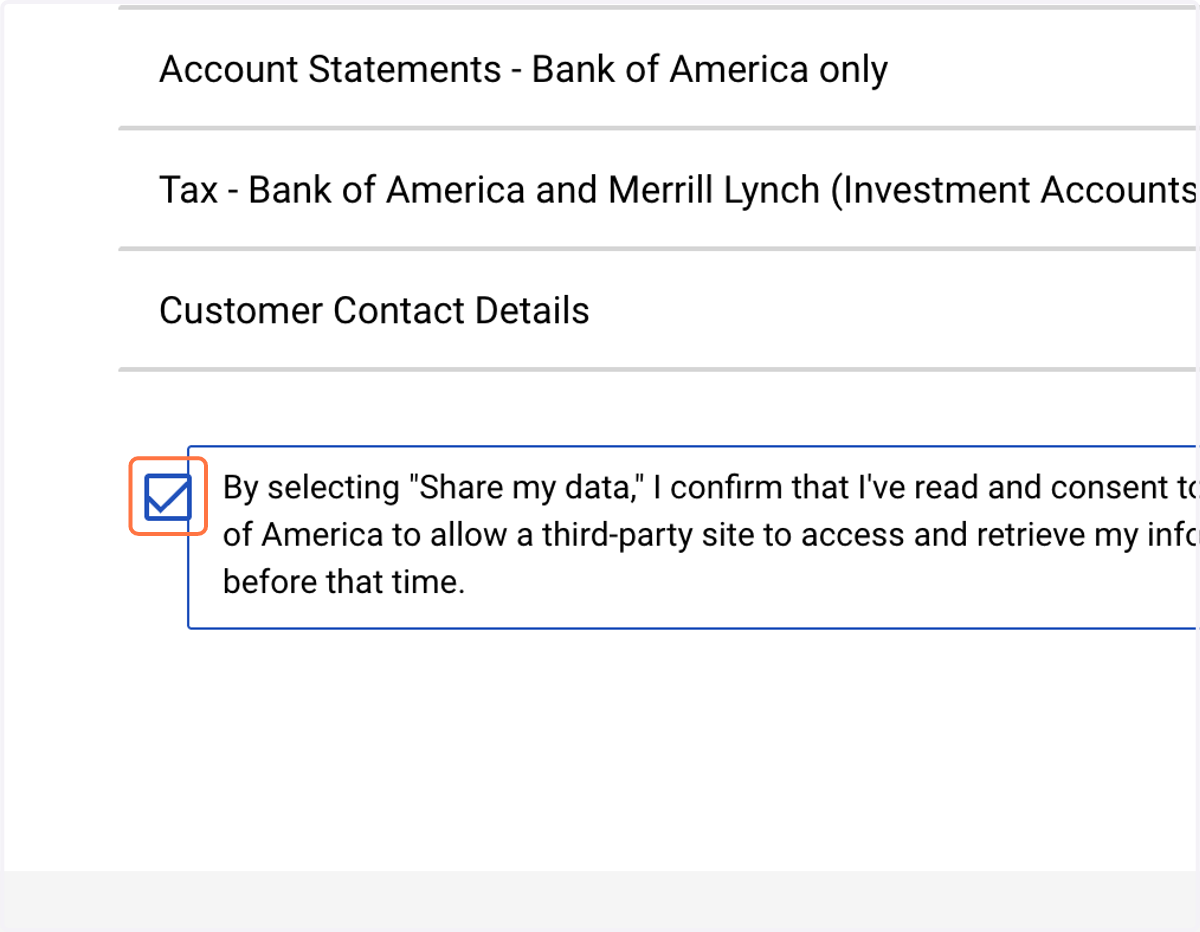
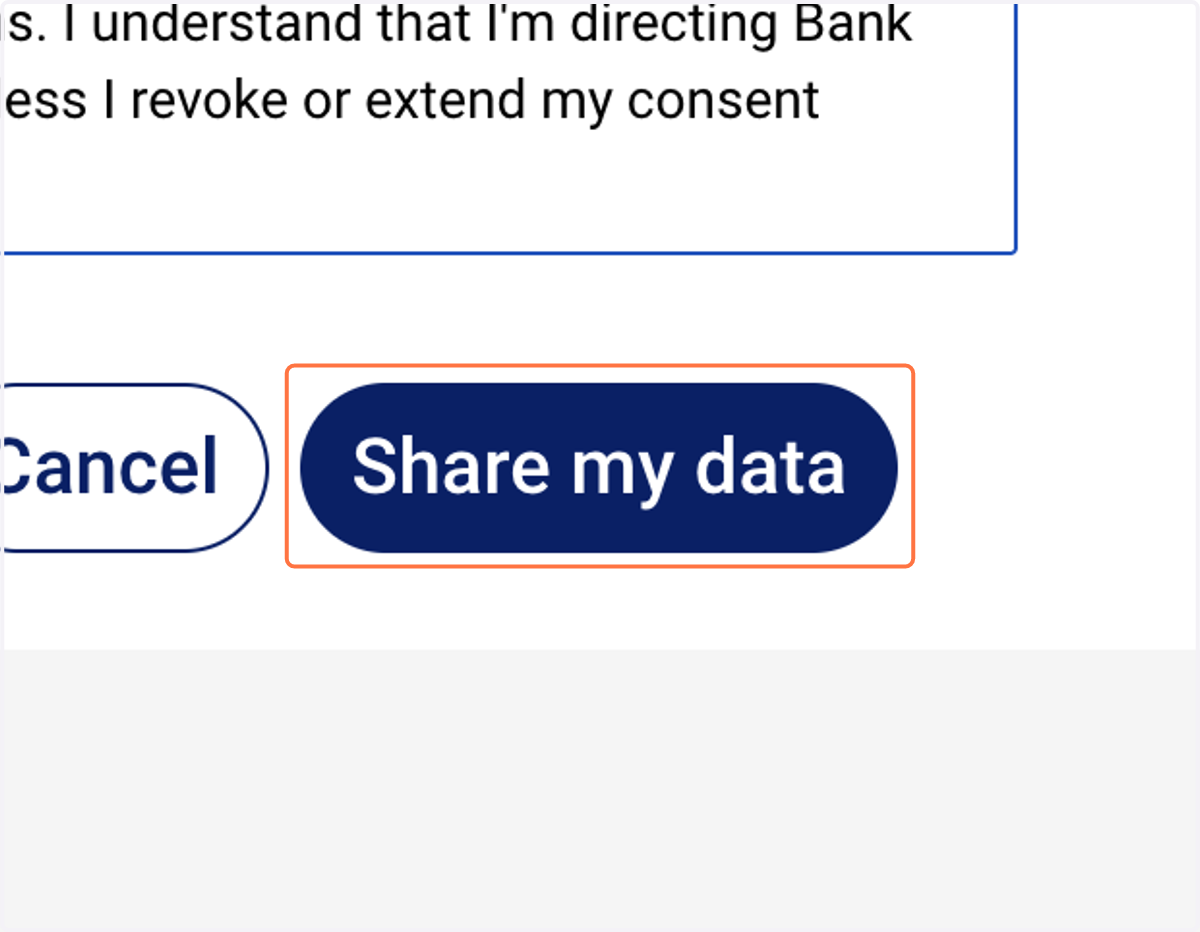
35. Check By selecting "Share my data," I confirm that I've read and consent to the terms and conditions. I understand that I'm directing Bank of America to allow a third-party site to access and retrieve my information for 365 days unless I revoke or extend my consent...
36. Click on Share my data
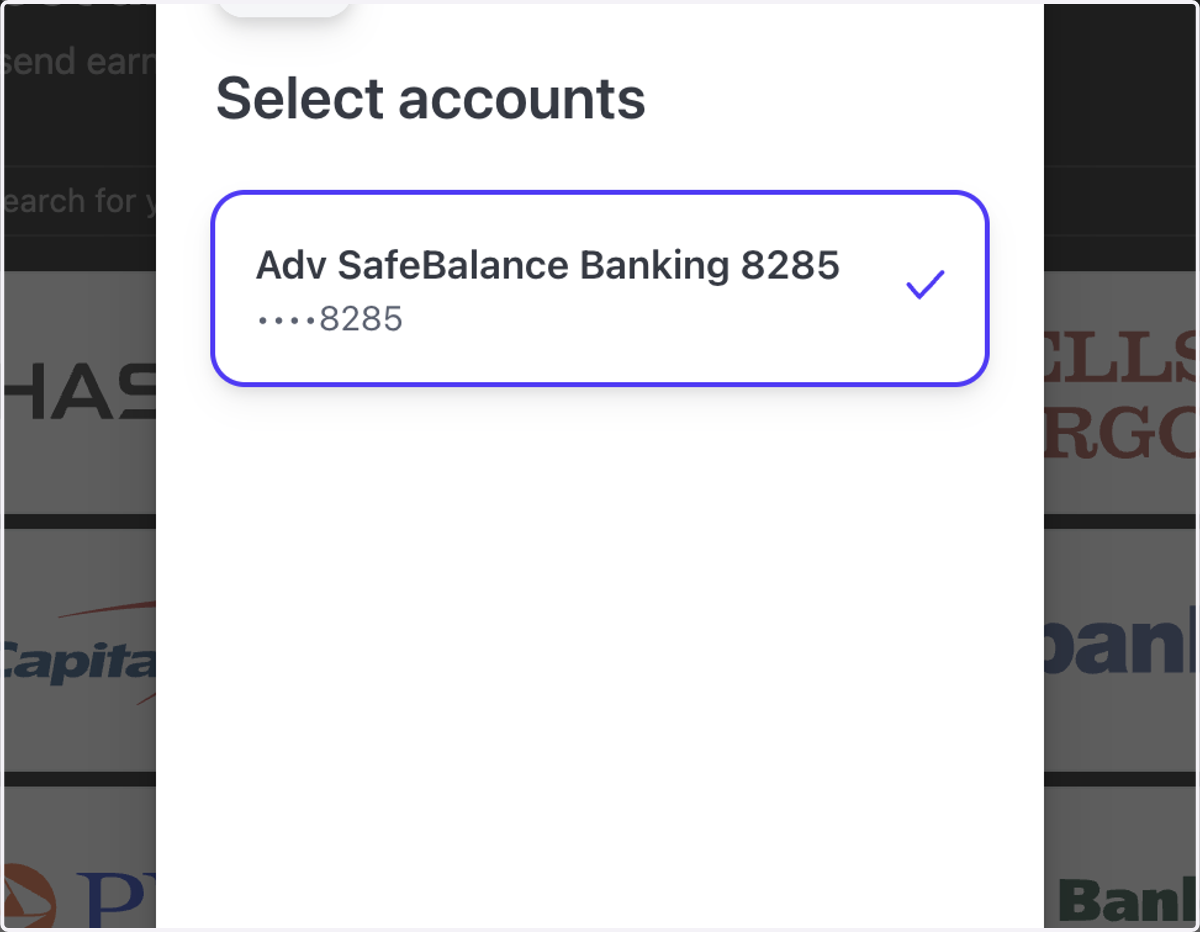
37. Click on the bank account you want to receive payment.
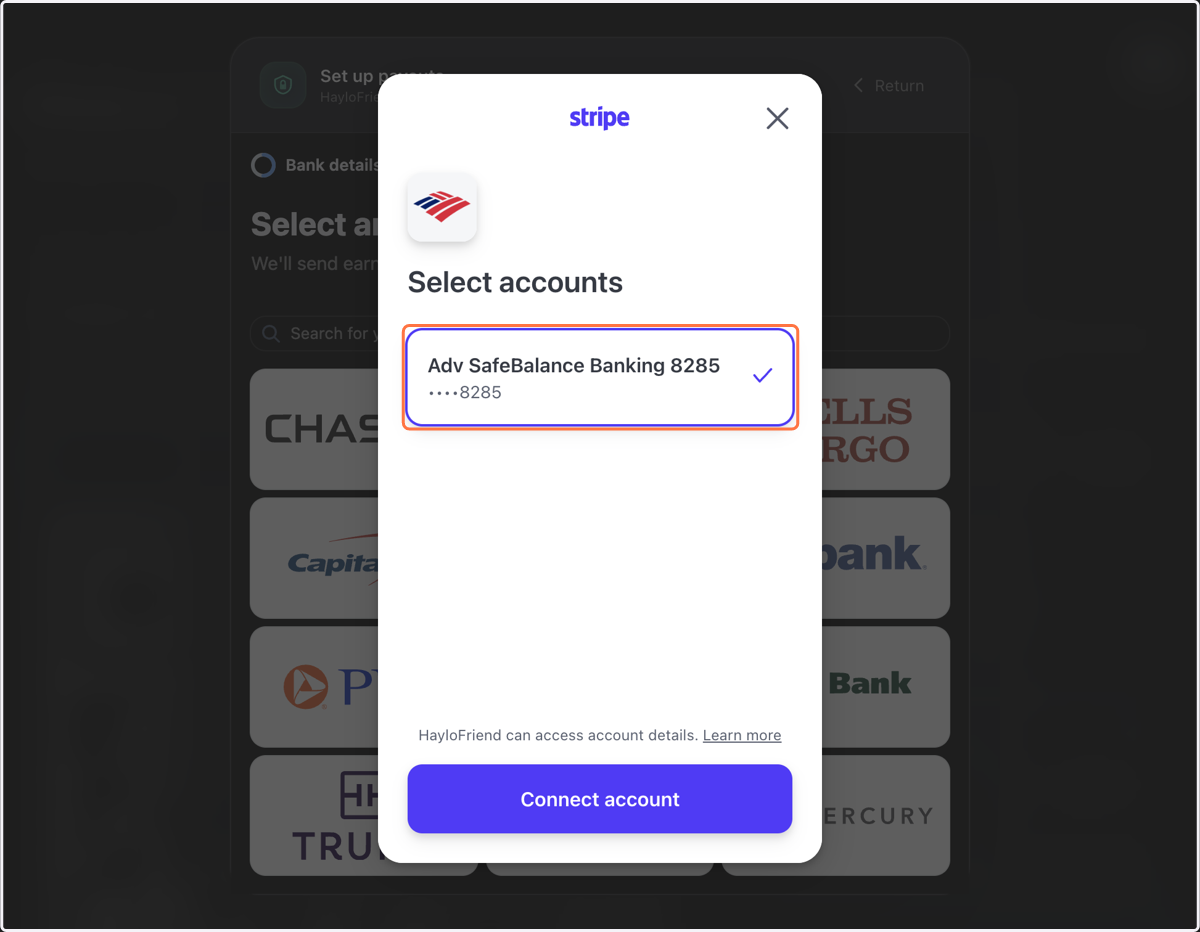
38. Click on Connect account
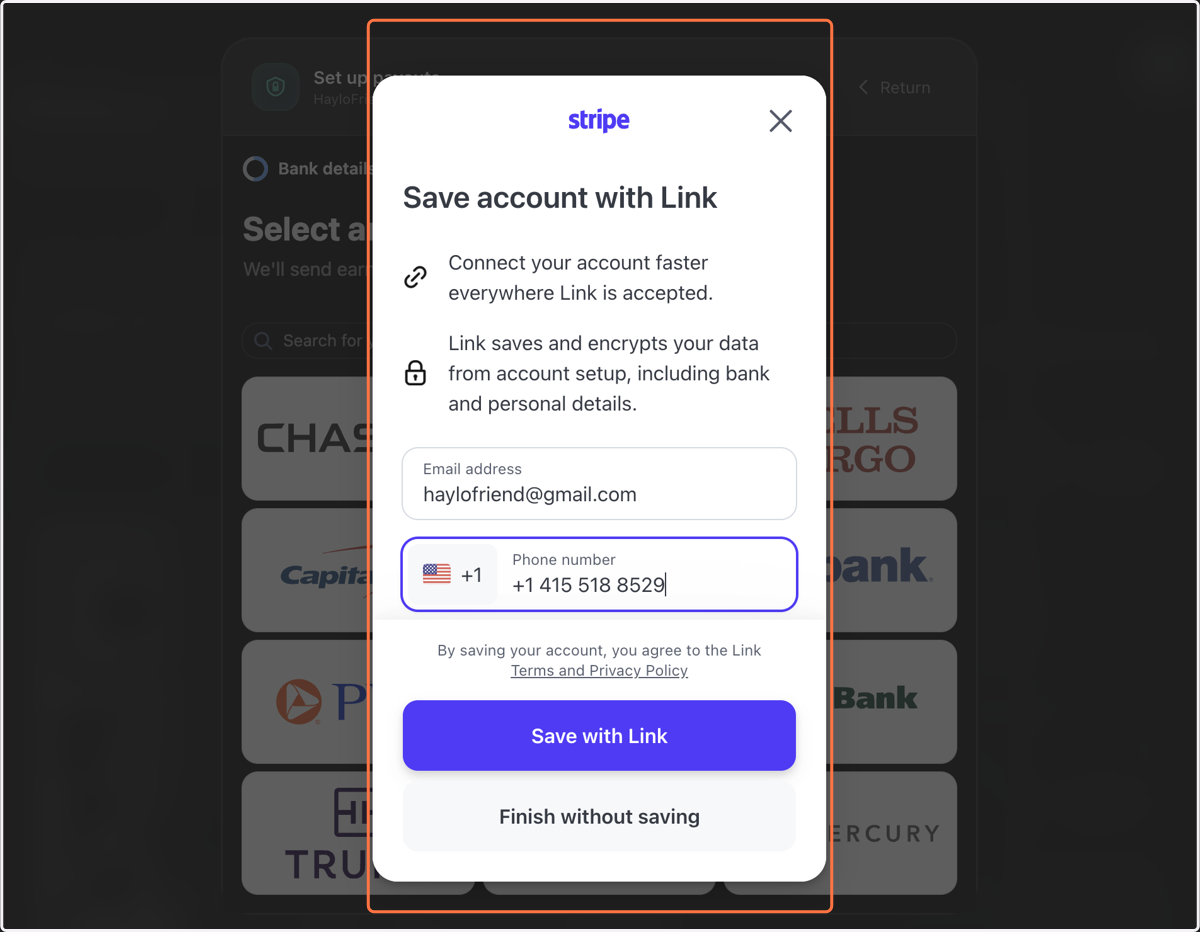
39. Confirm your email and phone number. Click "Save with Link"
40. Click "Done."
This is a one time Stripe onboarding. From here on out, you will be paid every Friday. You can also use instant payout when eligible.
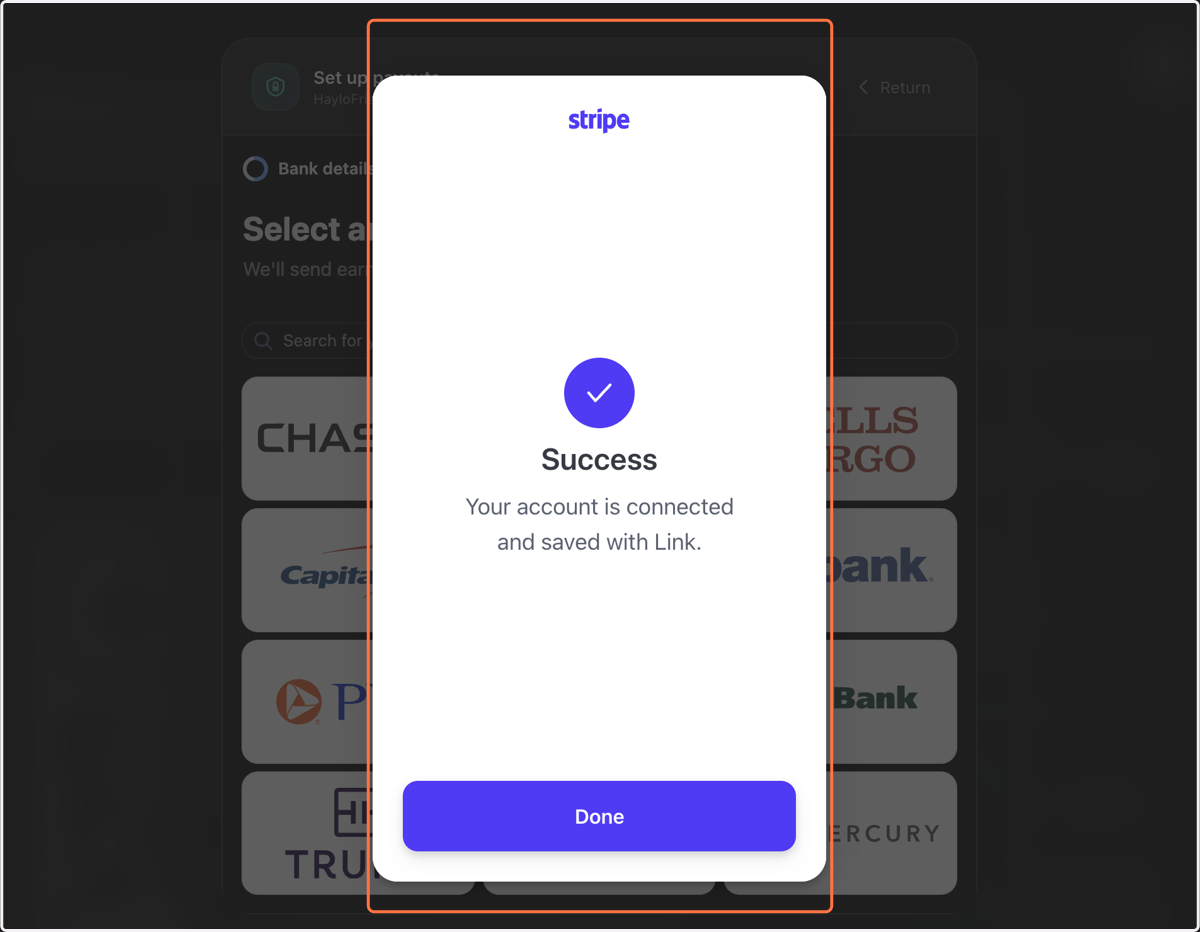
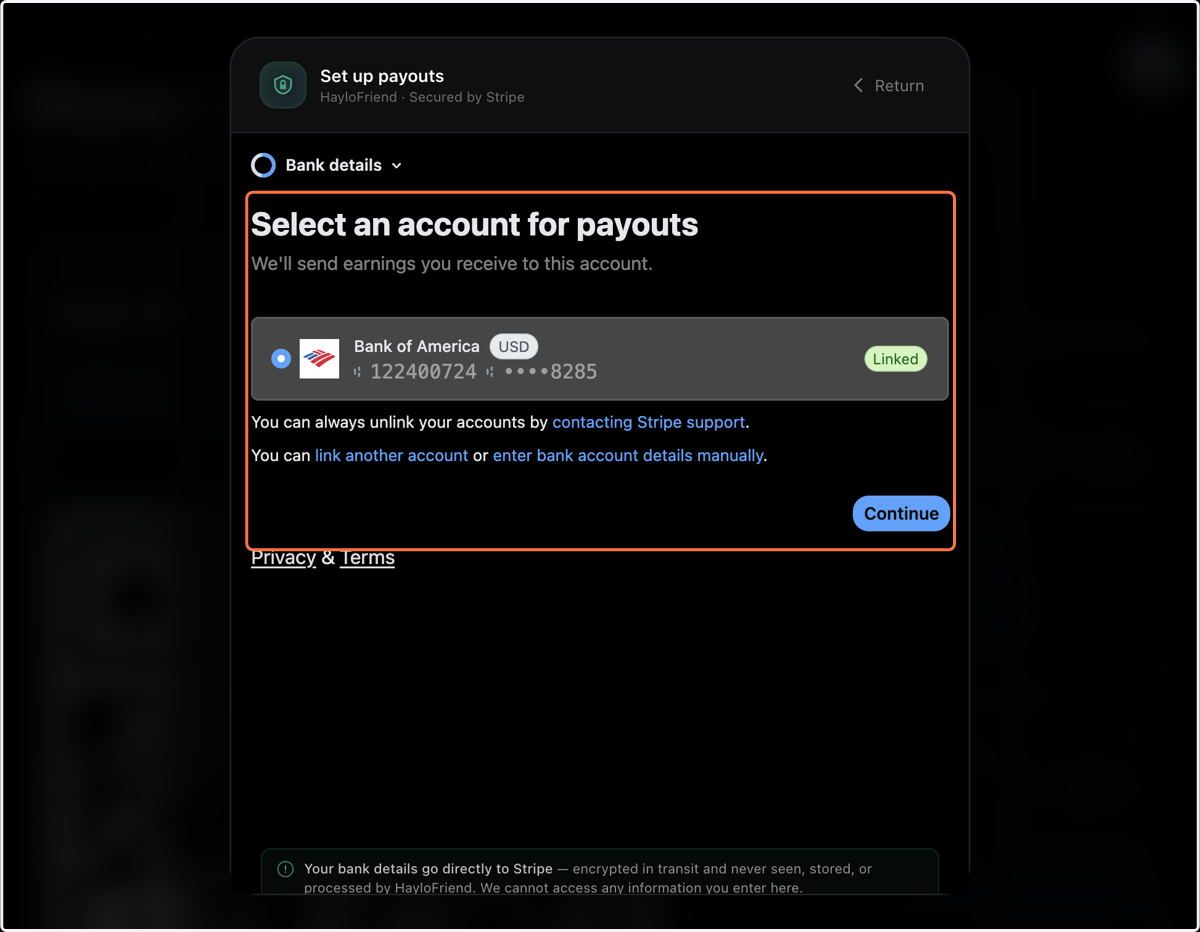
41. Click on Select an account for payouts…
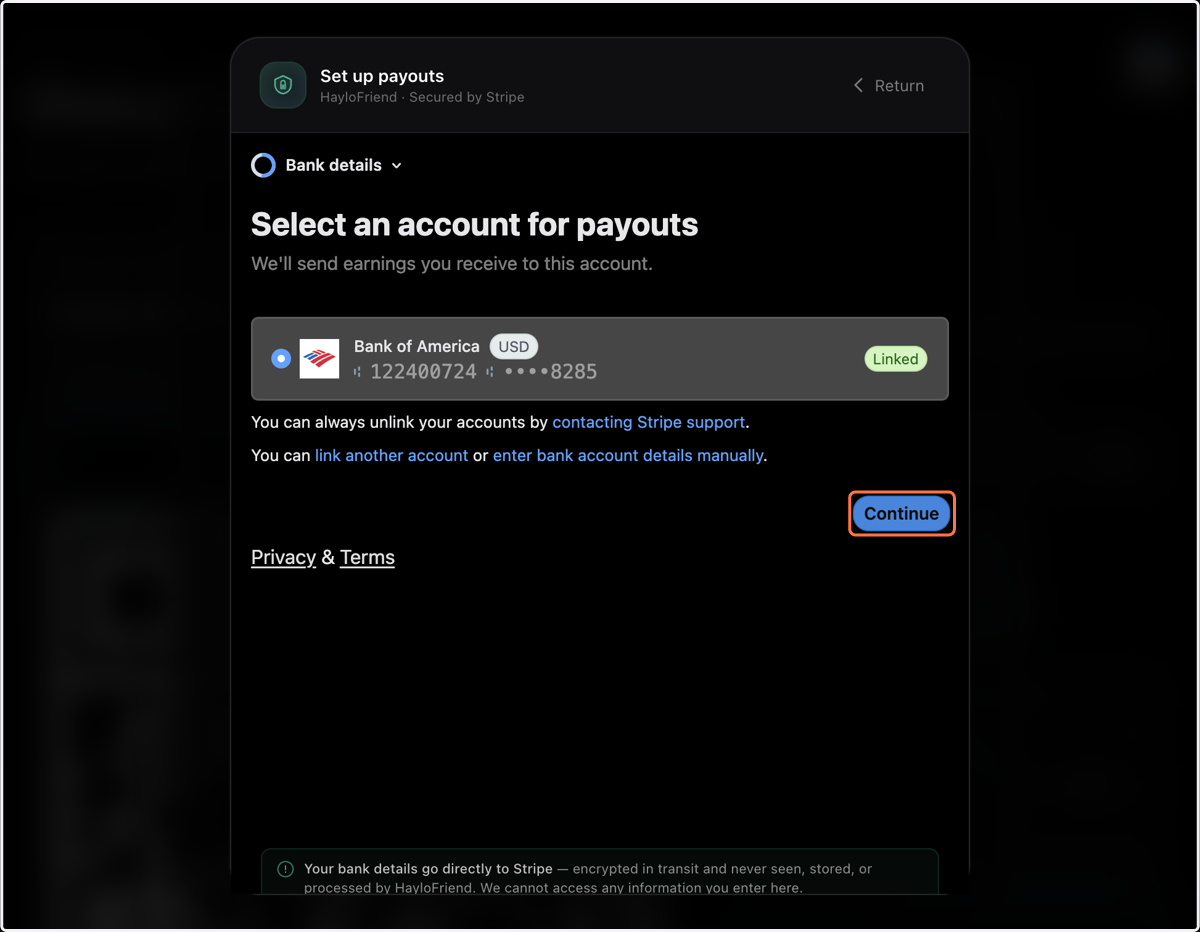
42. Click on Continue
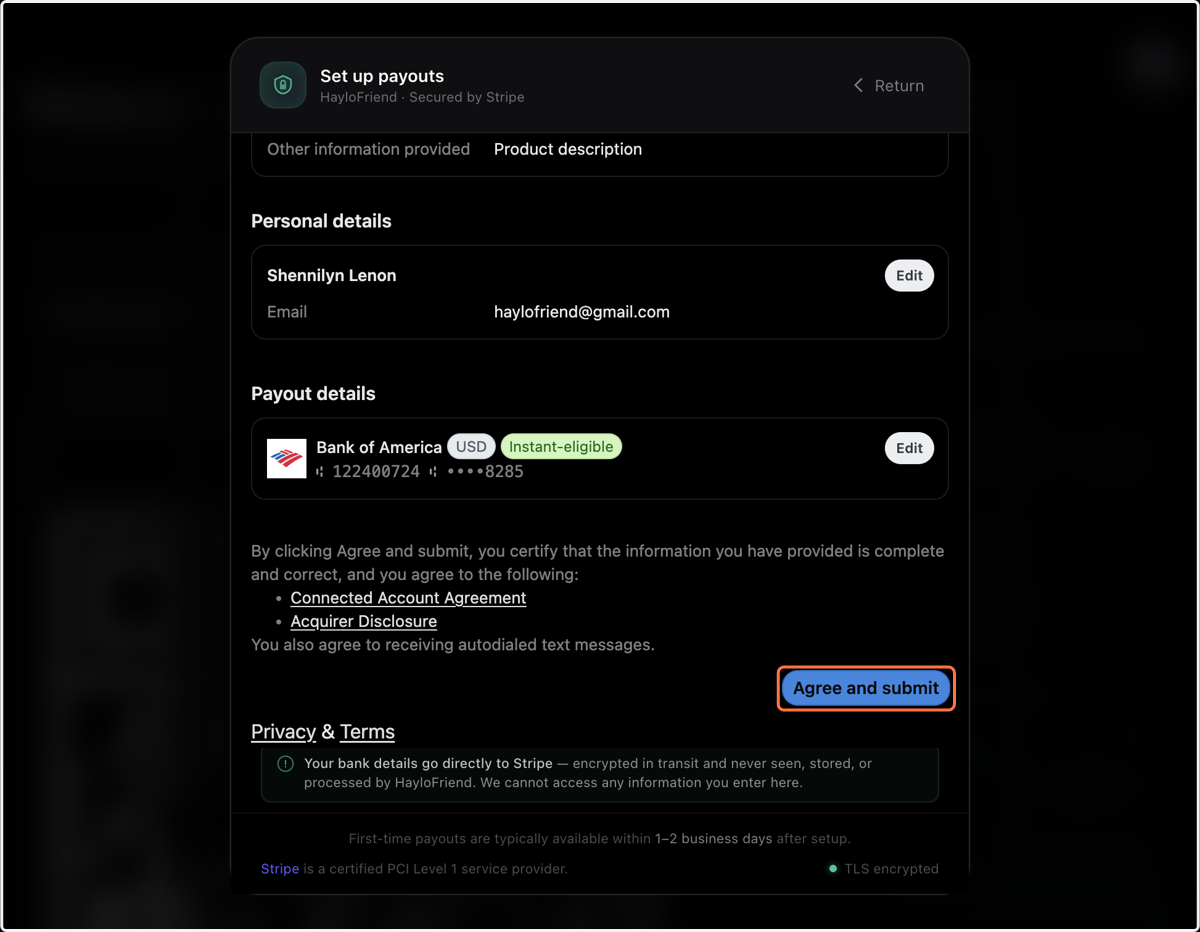
43. Click on By clicking Agree and submit, you certify that the information you have provided is complete and correct, and you agree to the following:…
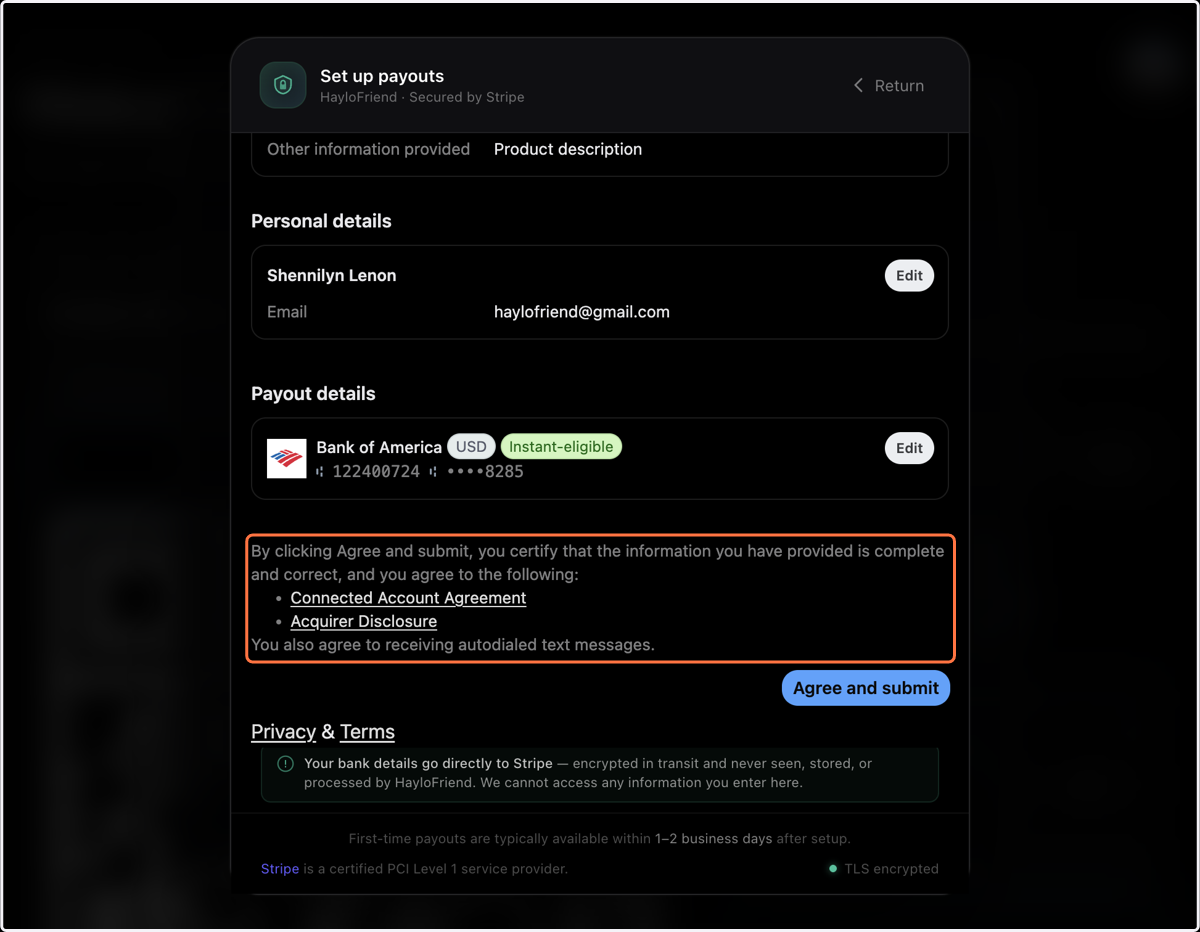
44. Click on Agree and submit