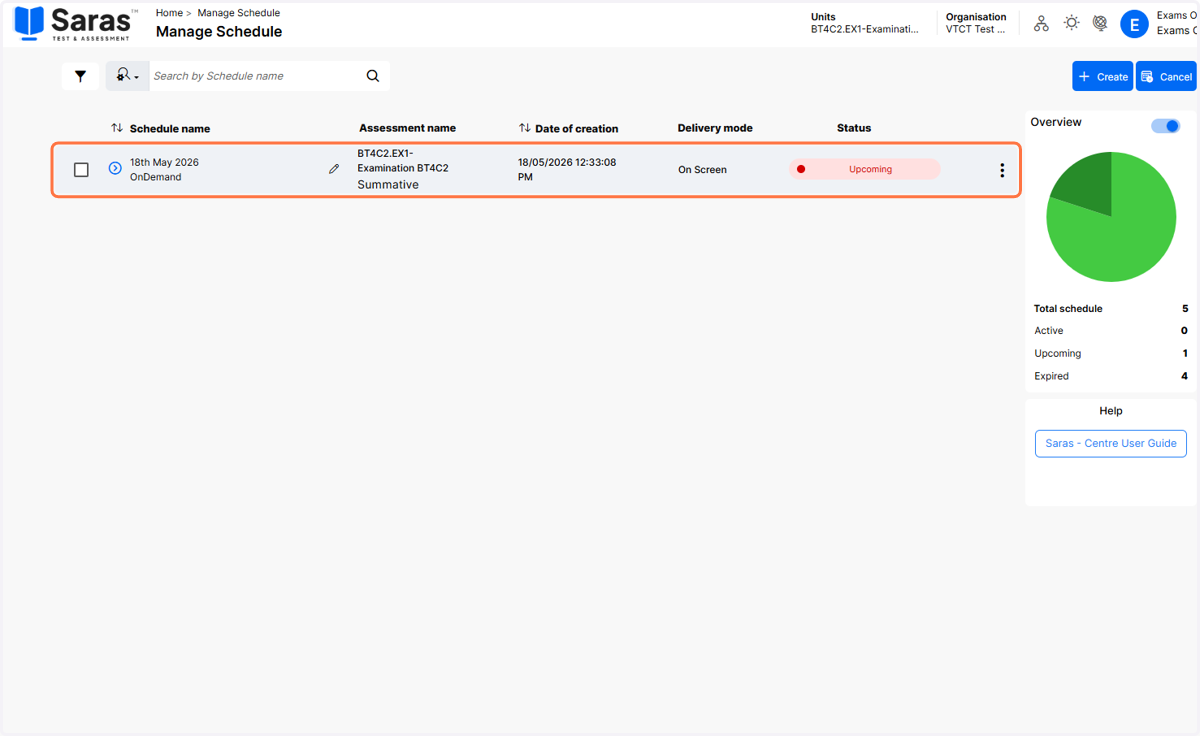
Scheduling an exam
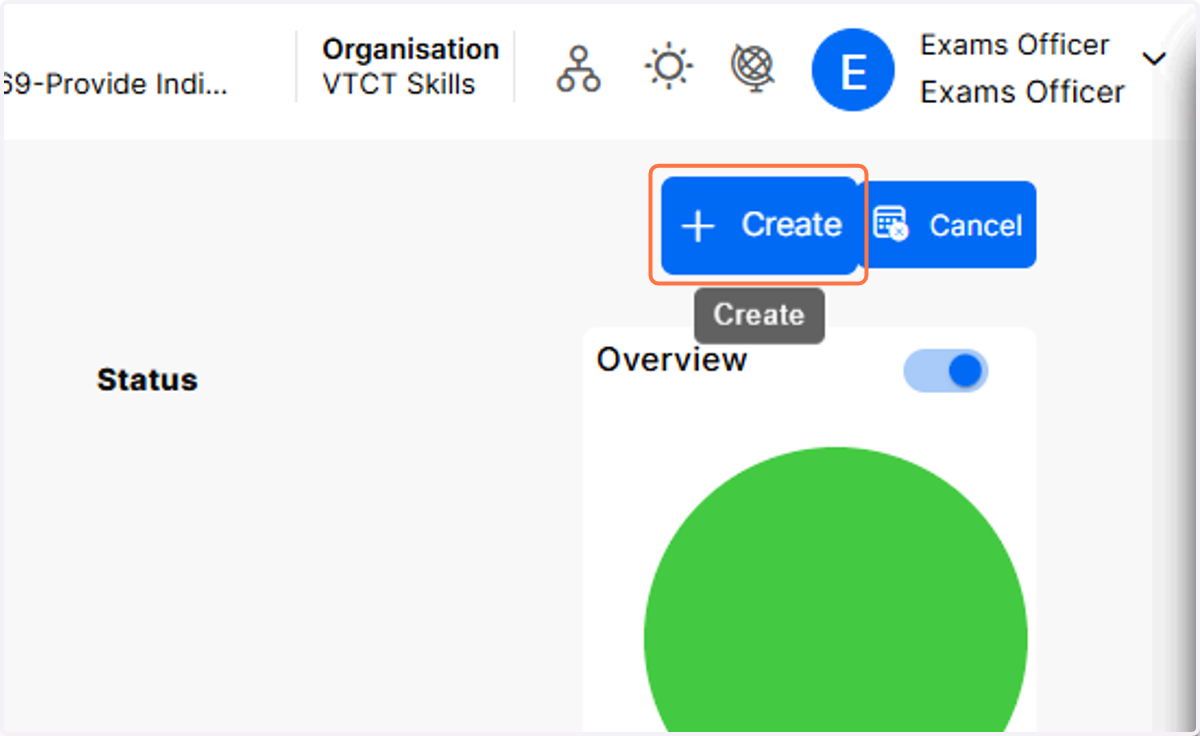
1. On the Manage Schedule screen, click on Create
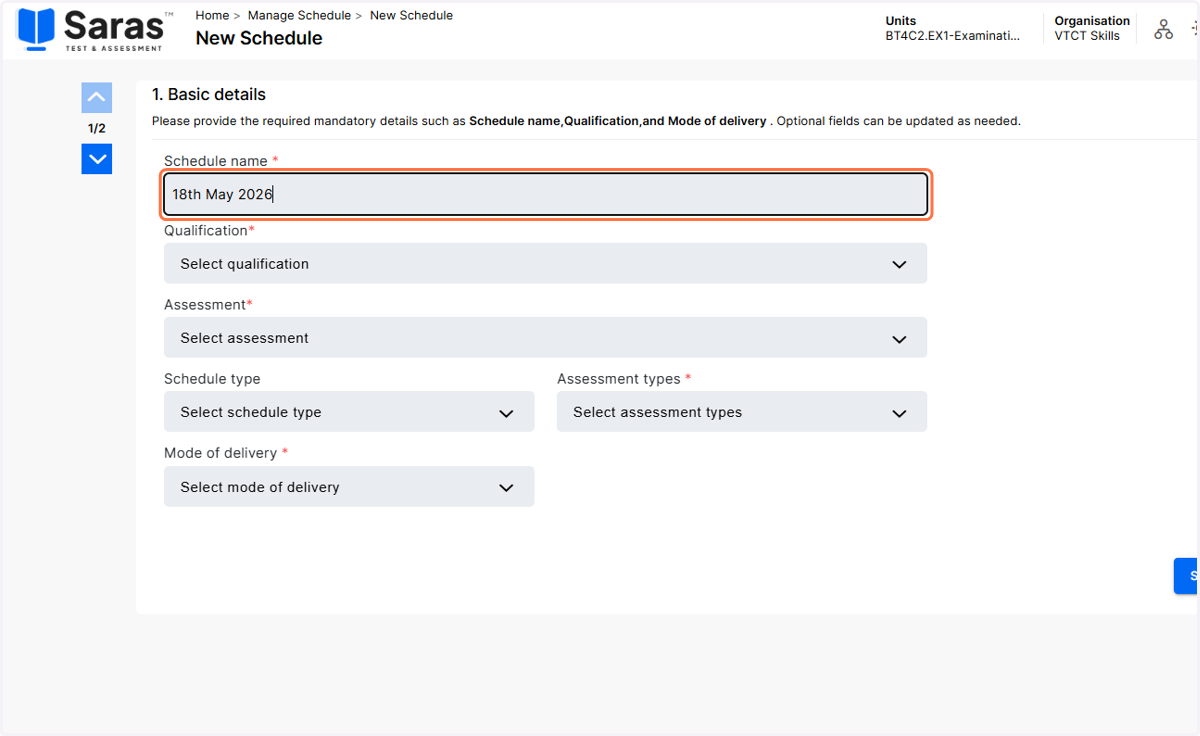
2. Enter a name for the schedule
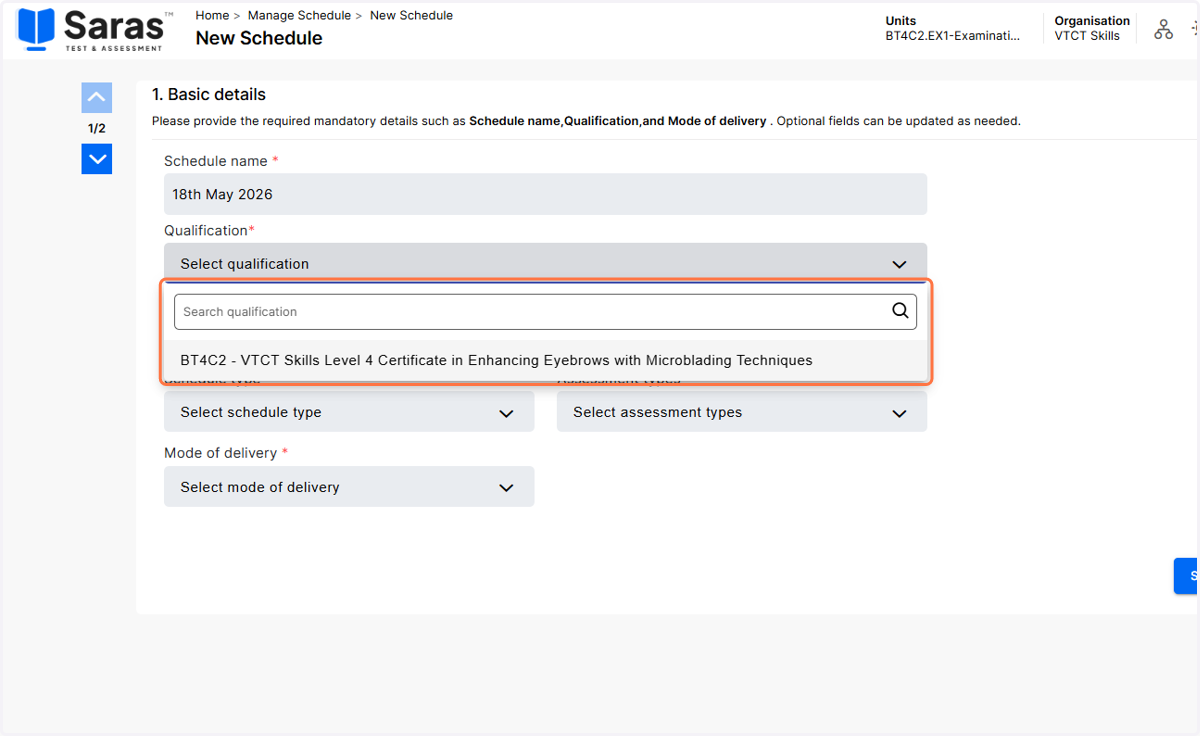
3. Click on Select qualification
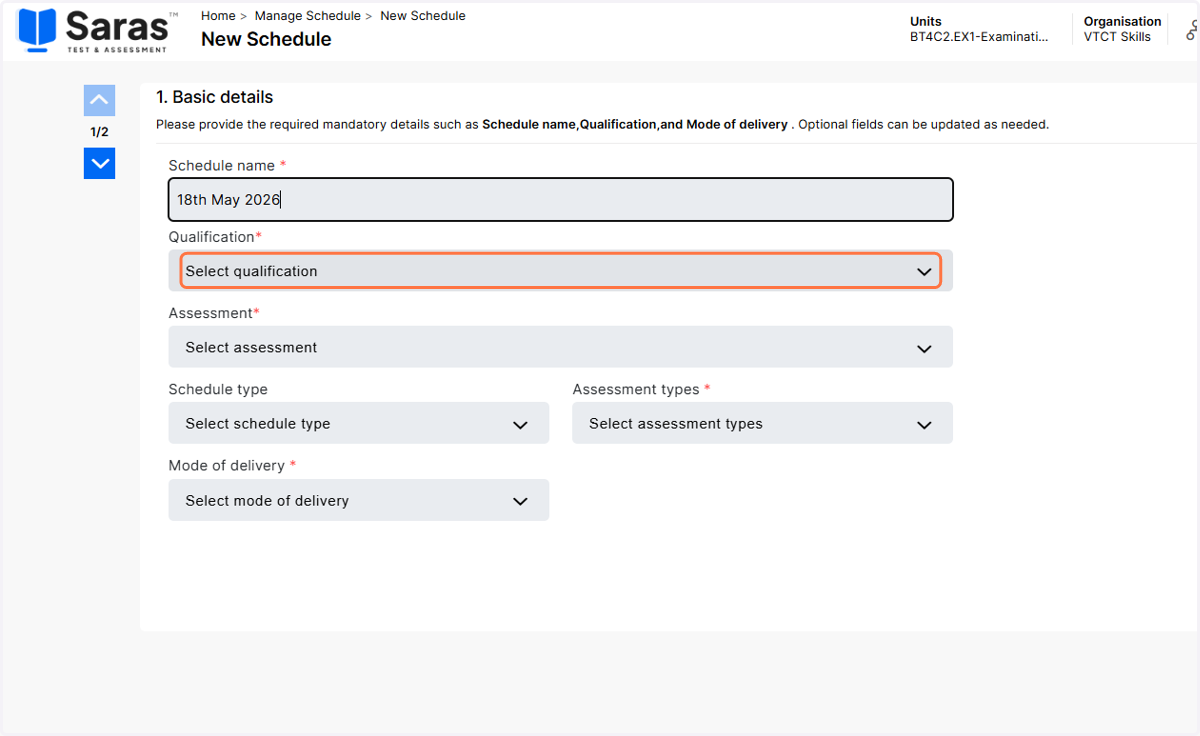
4. Select the qualification for which you are scheduling the assessment. If you selected the qualification on the Saras dashboard, this will be pre-populated.
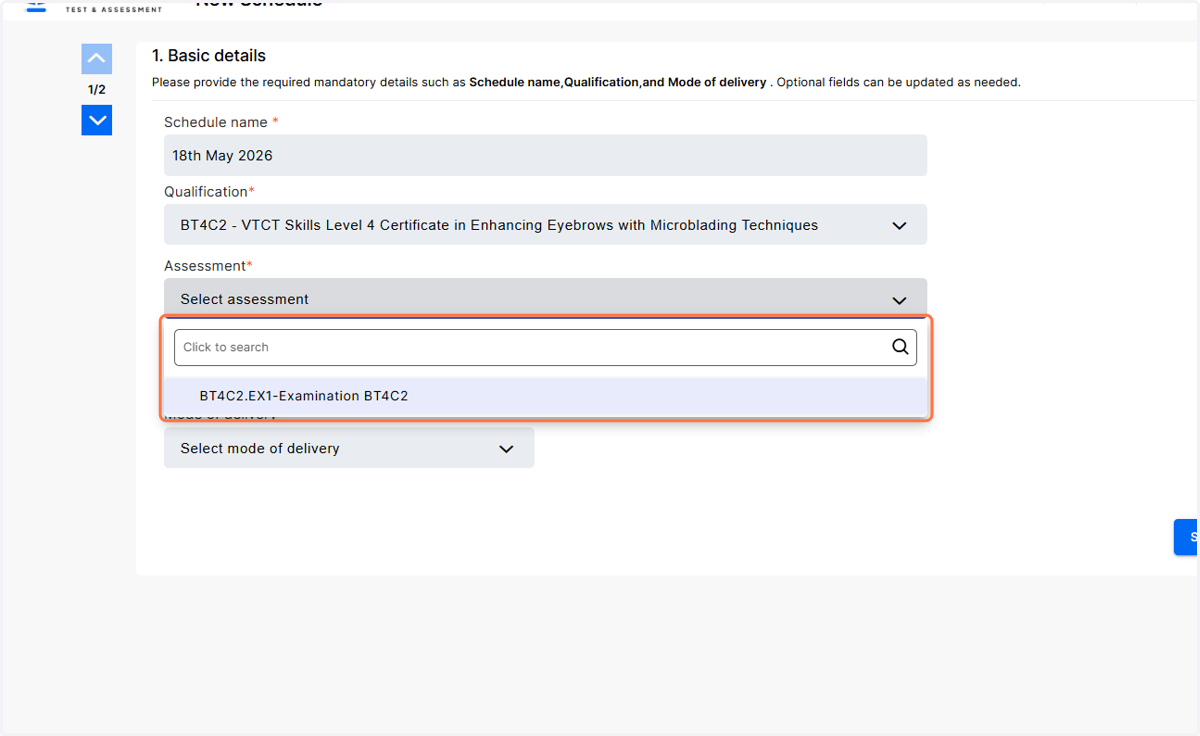
5. Click on Select assessment
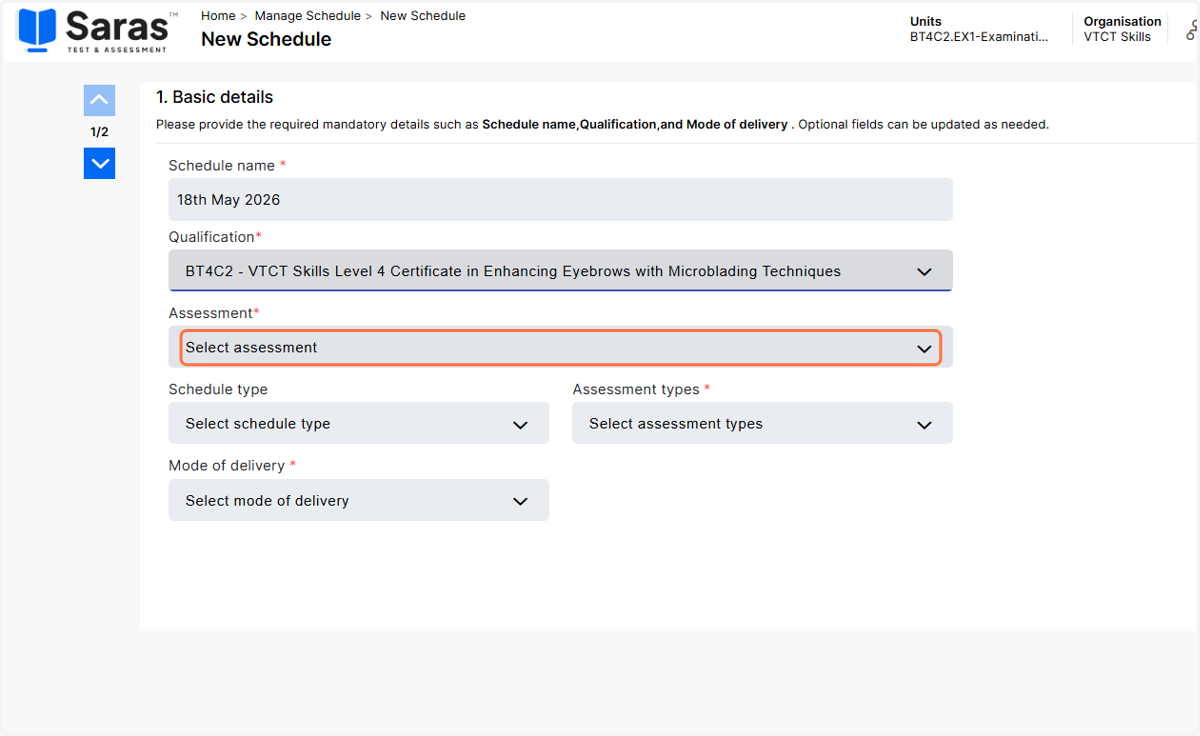
6. Select the assessment you are scheduling. If the unit has more than one assessment, click on the drop down arrow to select the appropriate assessment.
7. The schedule type will be pre-populated dependant on whether the assessment is available on-demand or via set windows.
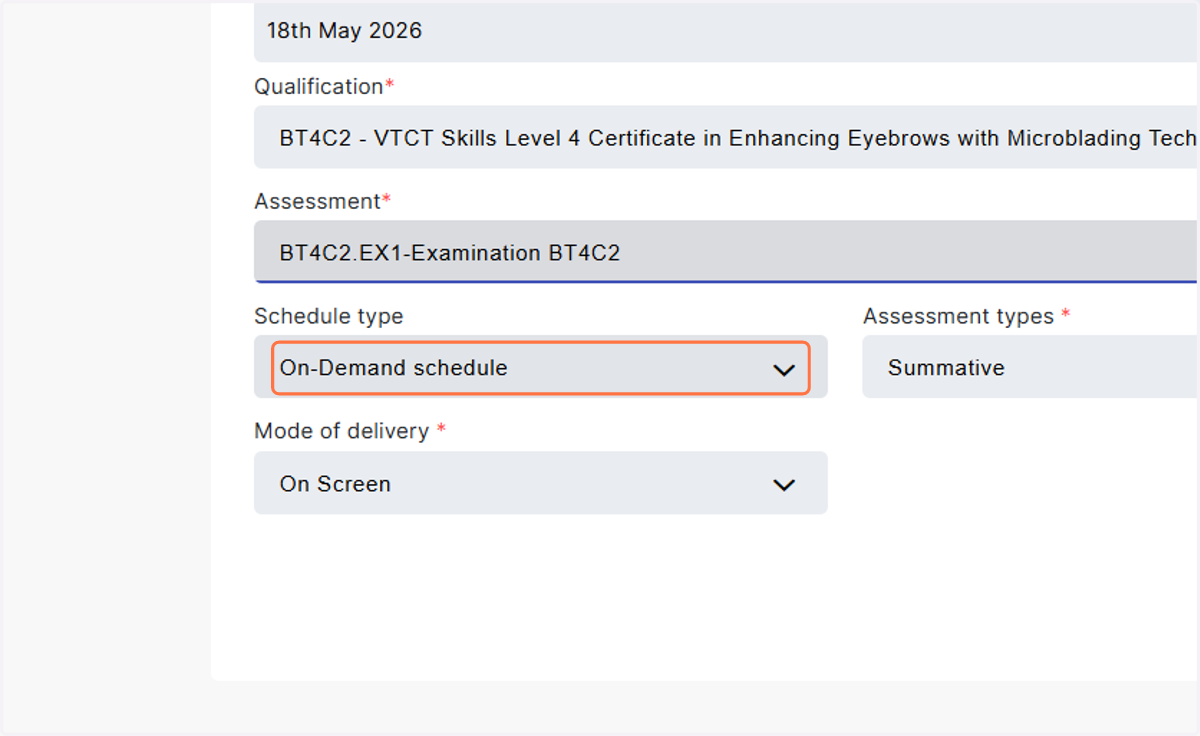
8. The assessment type will also be pre-populated.
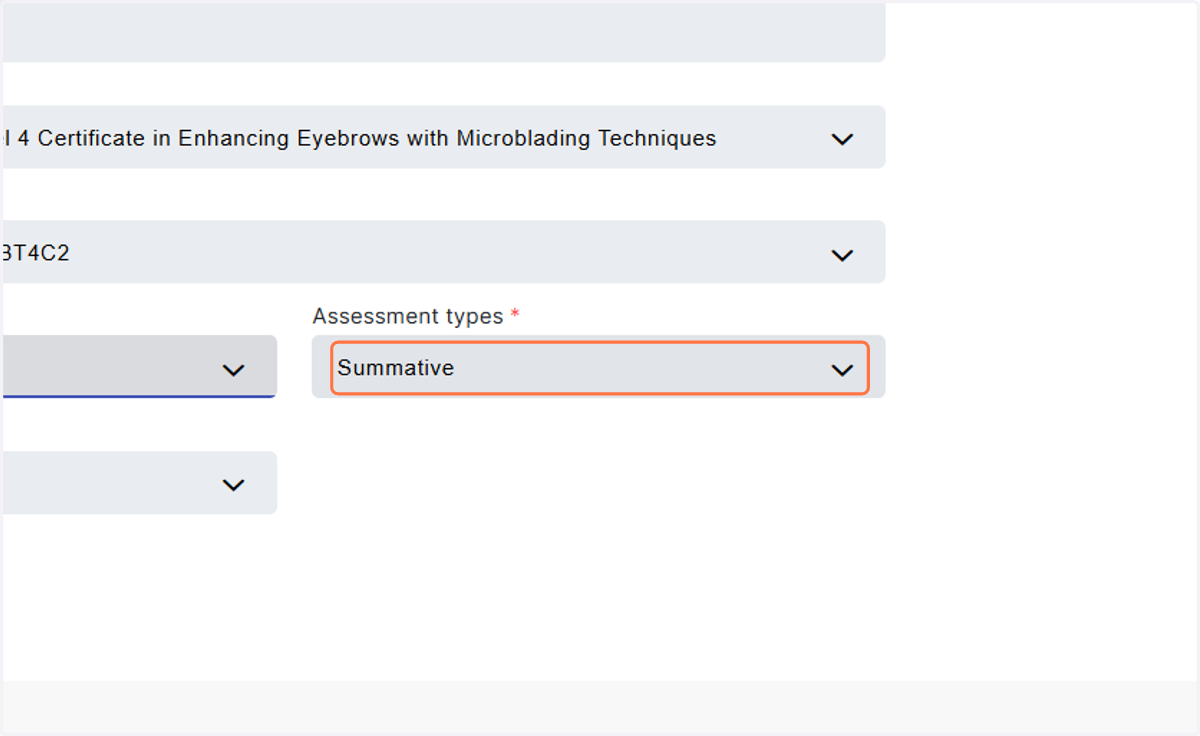
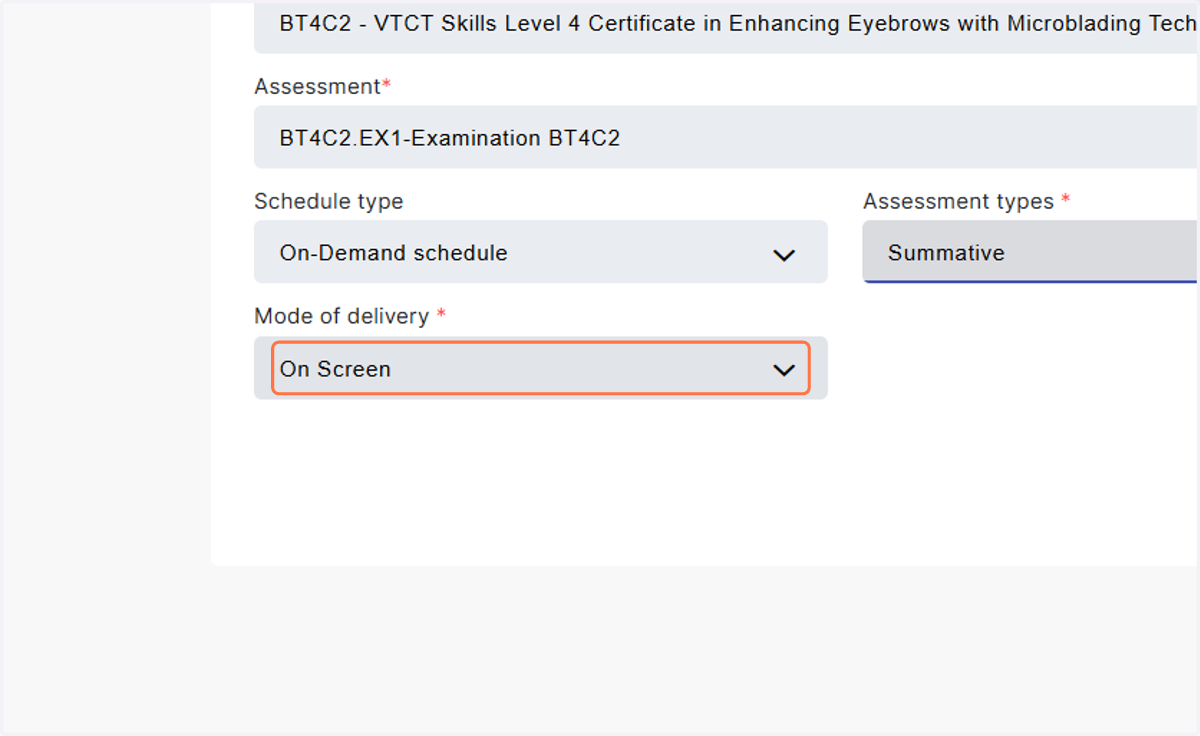
9. Click on mode of delivery to choose between an on screen or paper-based assessment.
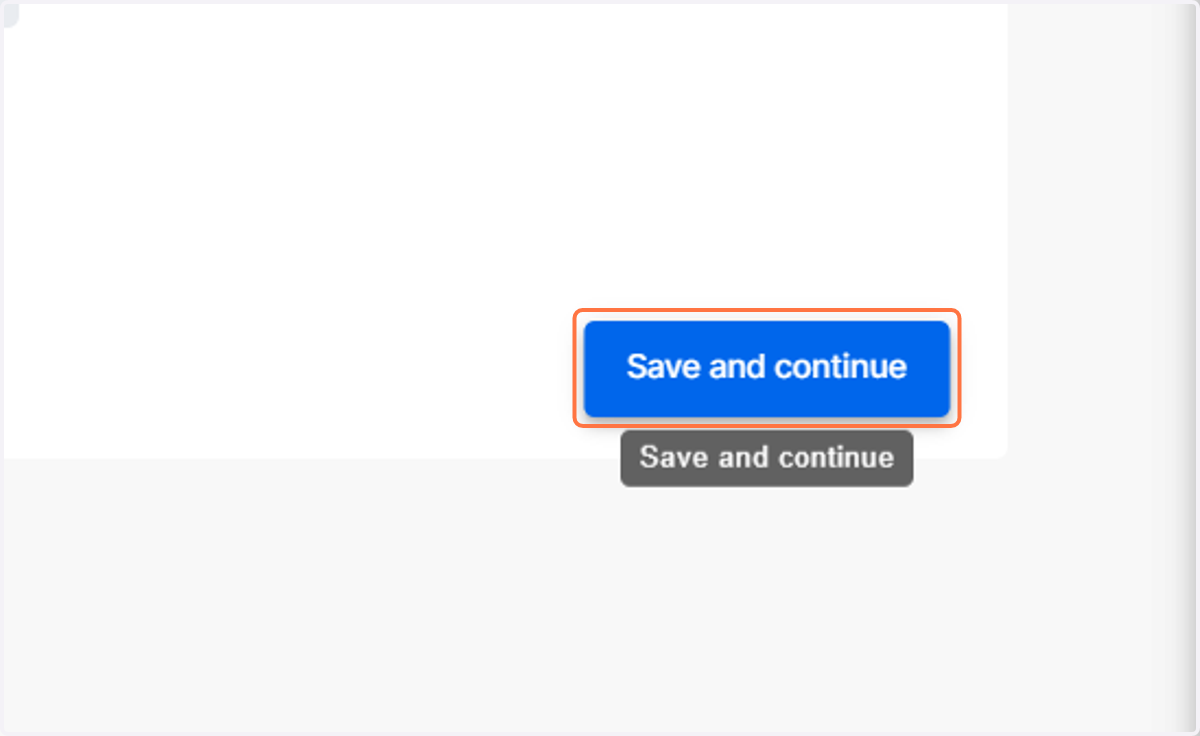
10. Click on Save and continue to proceed to the next stage
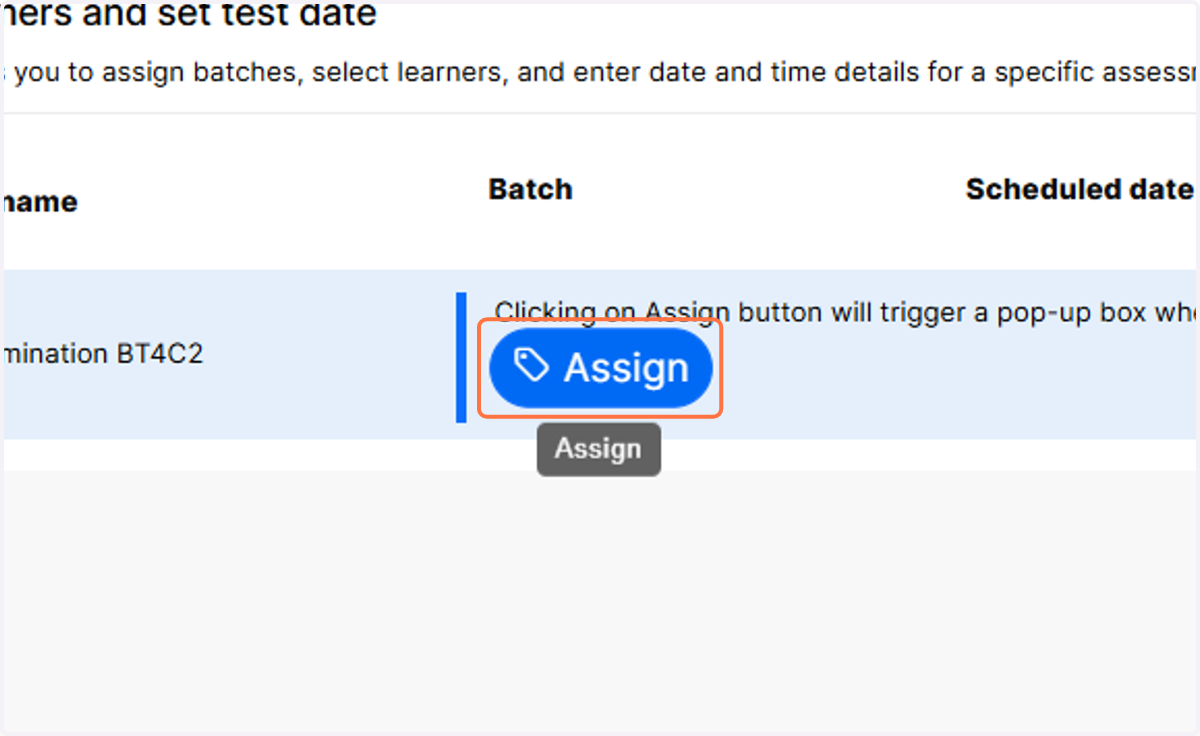
11. Click on Assign
12. Select the date of the assessment by clicking the calendar icon.
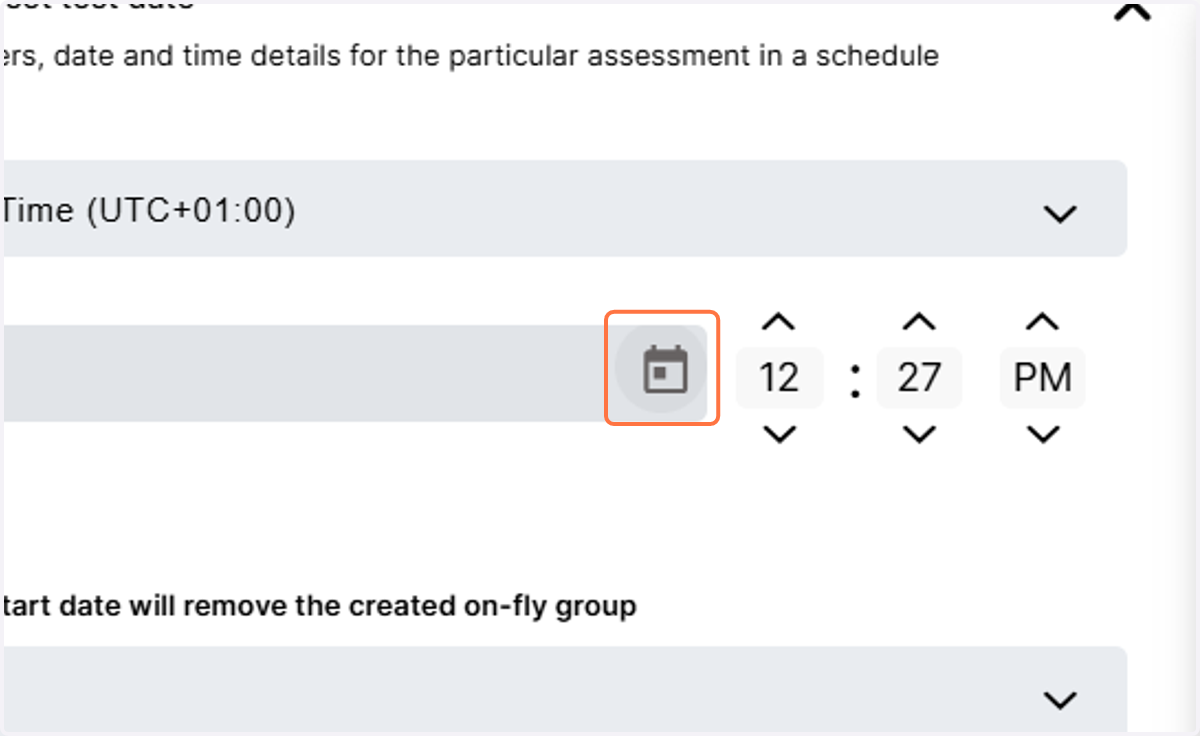
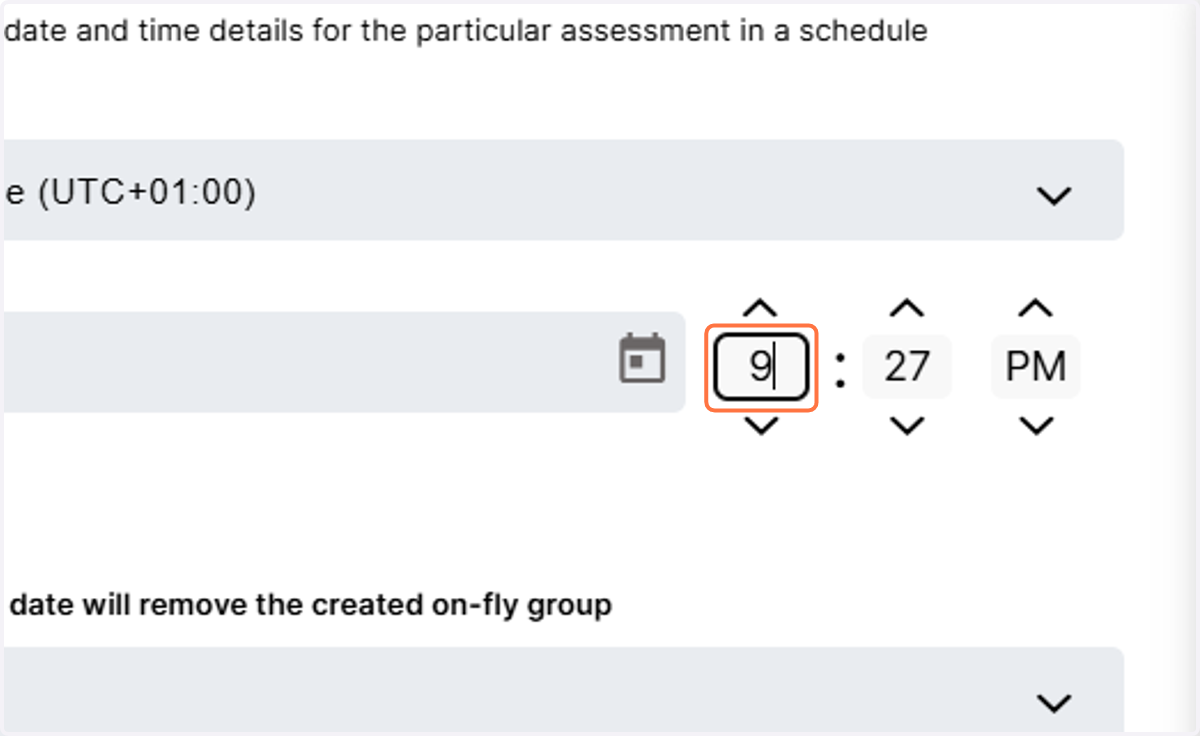
13. Select a start time for the assessment. The end time of the schedule will automatically be 23:59 on the date of the assessment.
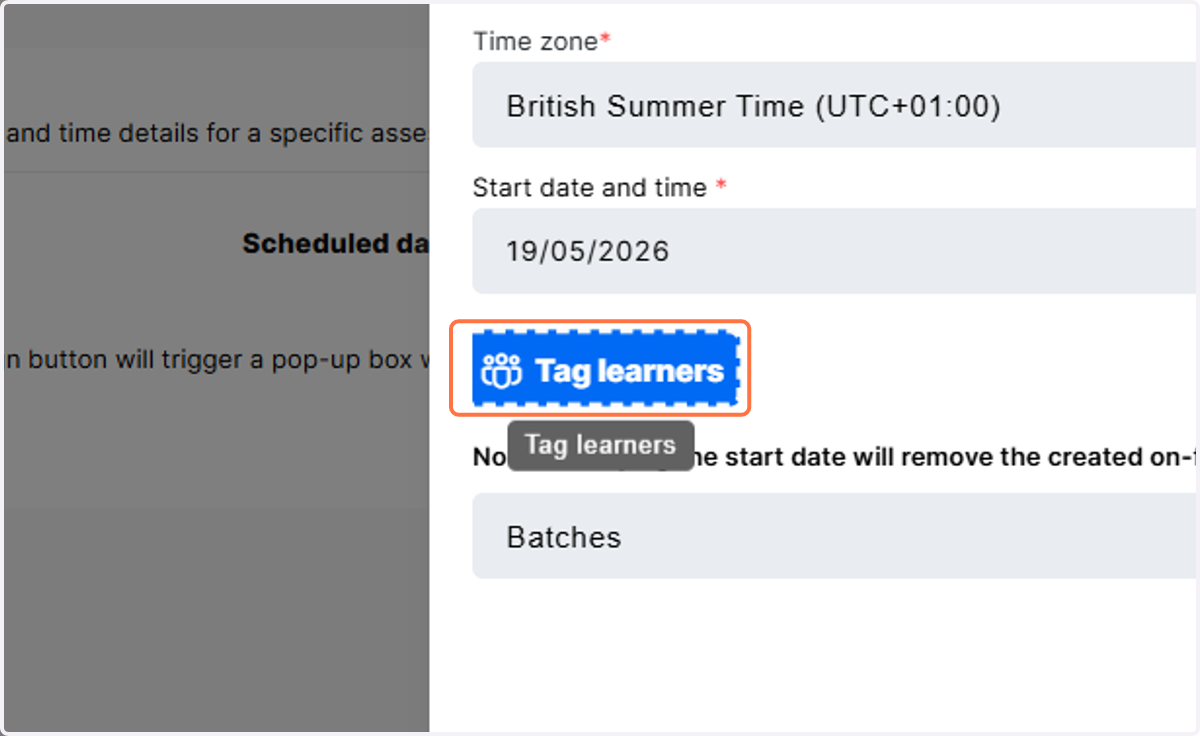
14. Click on Tag learners to add learners to the schedule.
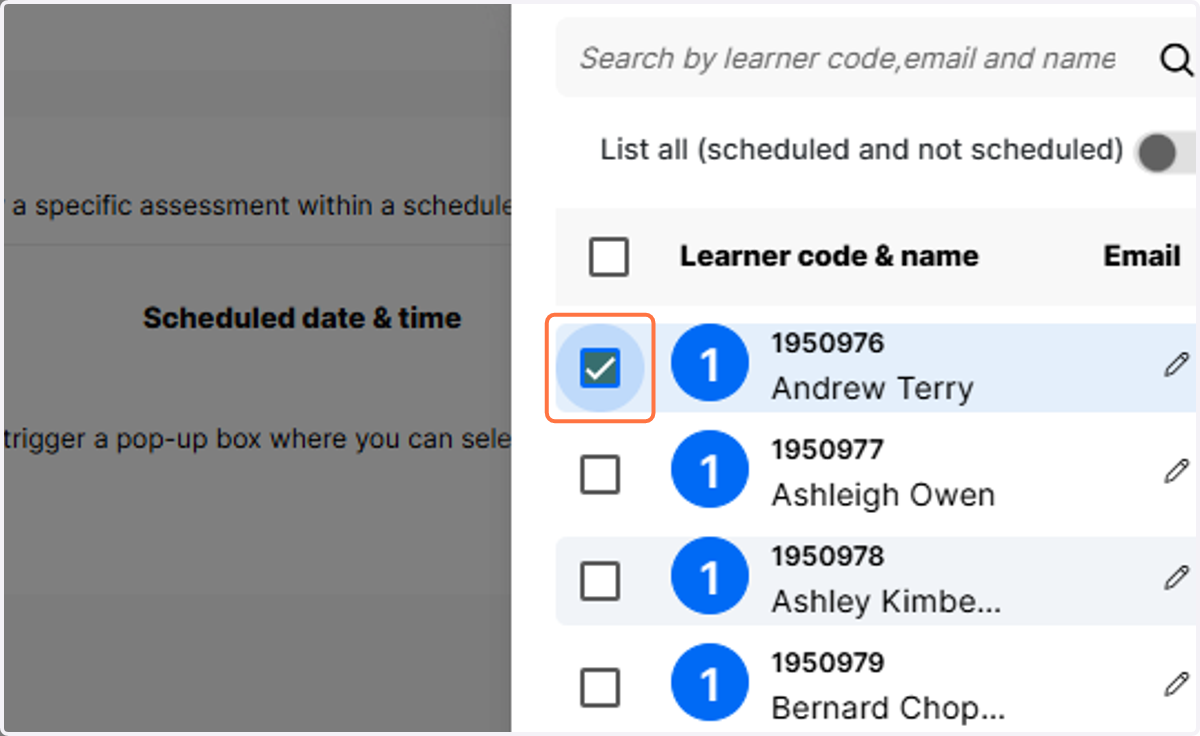
15. Search by learner name or learner number in the search box to locate a specific learner. Once the learner is located, tick the check box next to their name.
16. Click on Add to add the learner to the schedule. If more than one learner has been selected, all learners will be added to the schedule.
17. Click on Save
18. Click on Save schedule to finalise the schedule.
19. You will be navigated back to the schedule screen where the finalised schedule will now be visible.