Room selection process
This is for your use to ensure you are able to have a smooth room selection process.
Selection in a Roommate Group
This process is to be used for selecting a room and ensuring you properly select your rom/suite for you and your roommates.
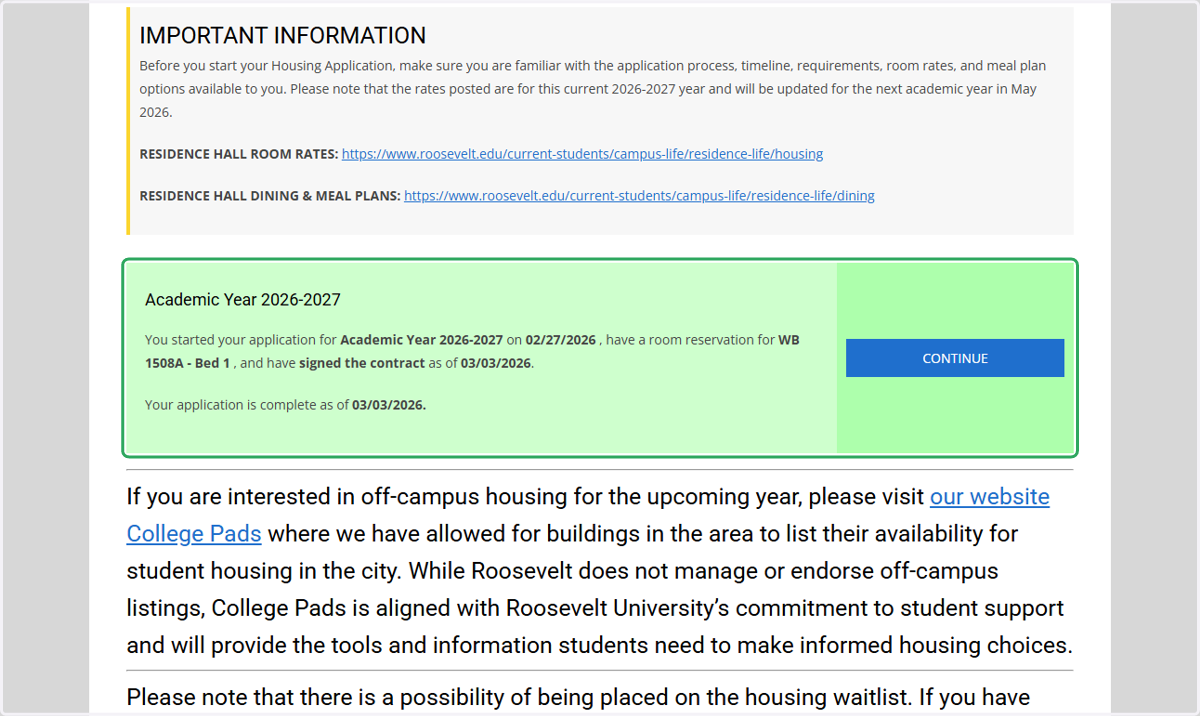
1. Click on the Academic Year Housing Application
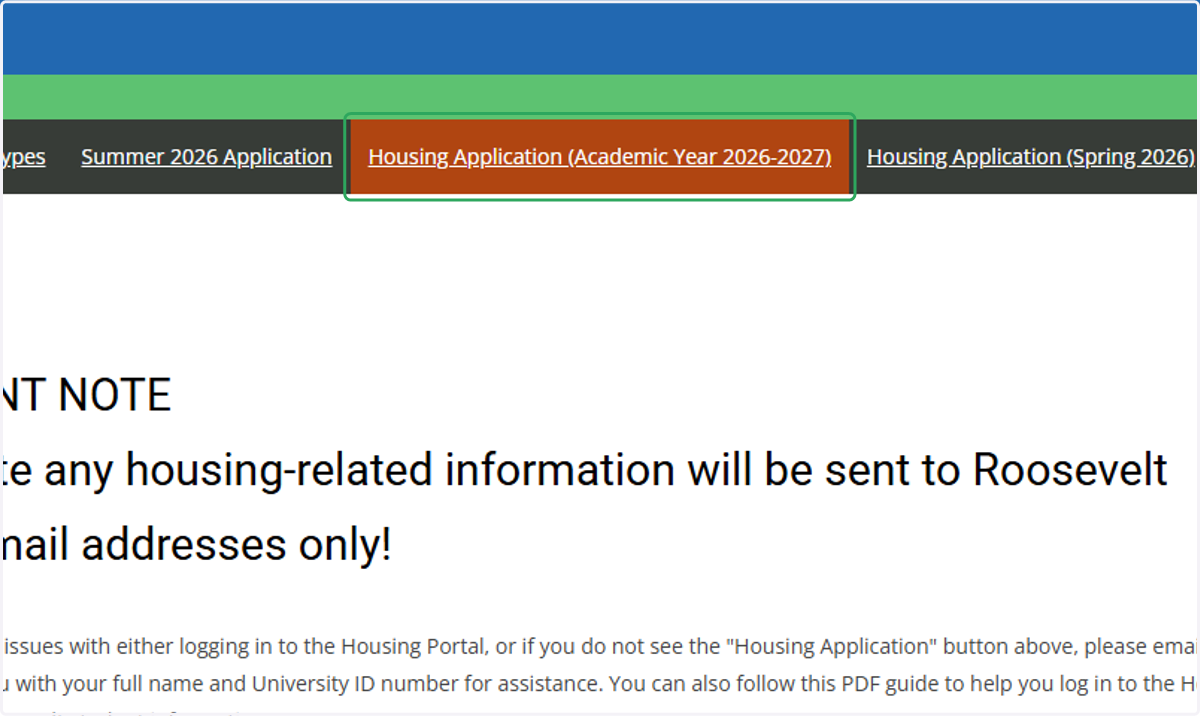
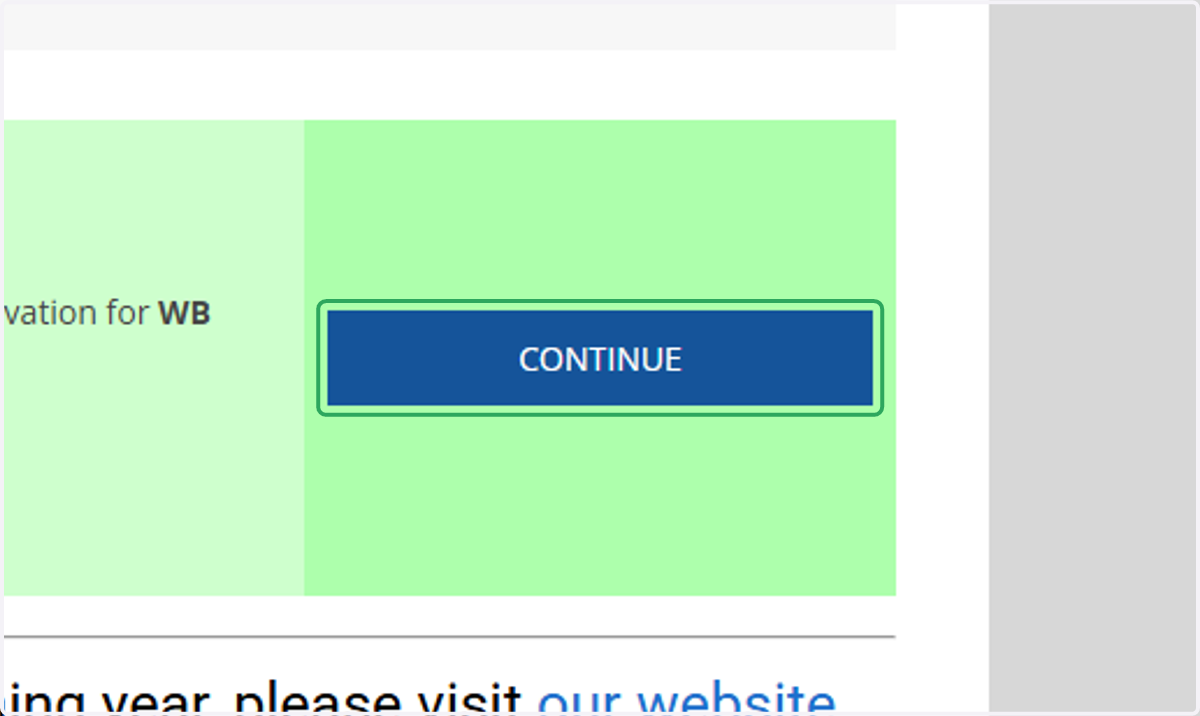
2. Scroll to the green box and click continue into the application
3. Locate the top steps of the housing application at the top.
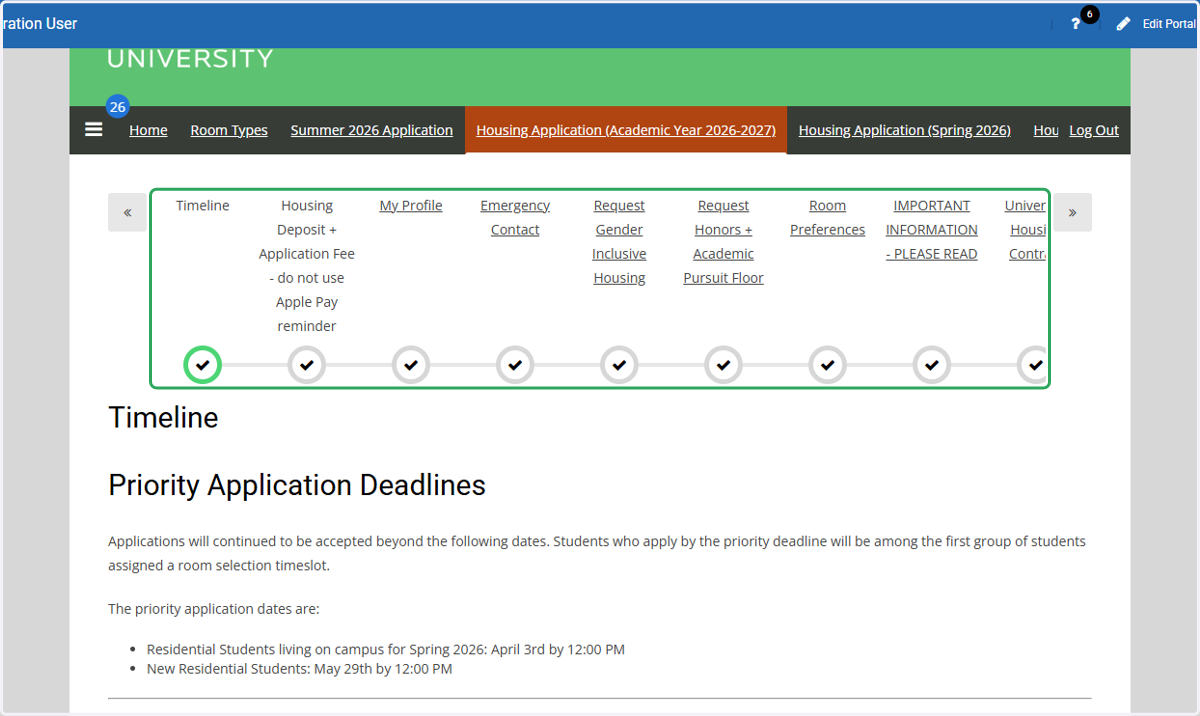
4. Scroll using the arrow at the top right hand corner to find the Room Selection Timeslot page
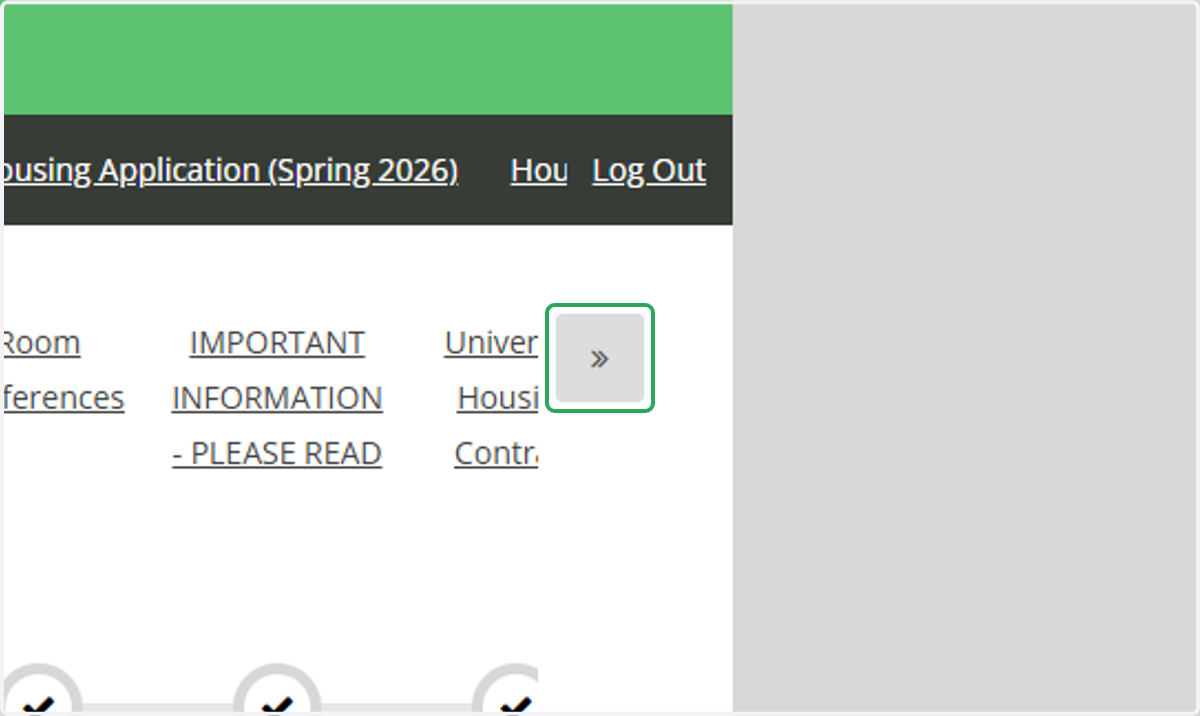
5. Click on Room Selection Timeslot
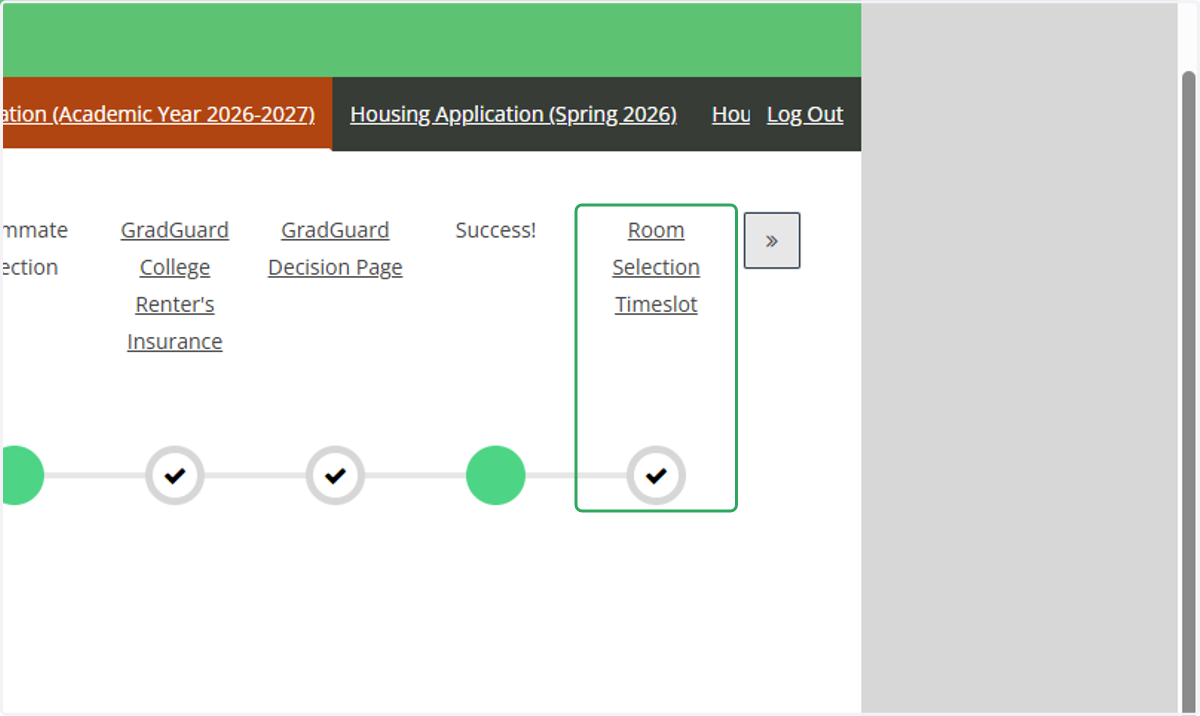
6. Click on Room Selection Timeslot…
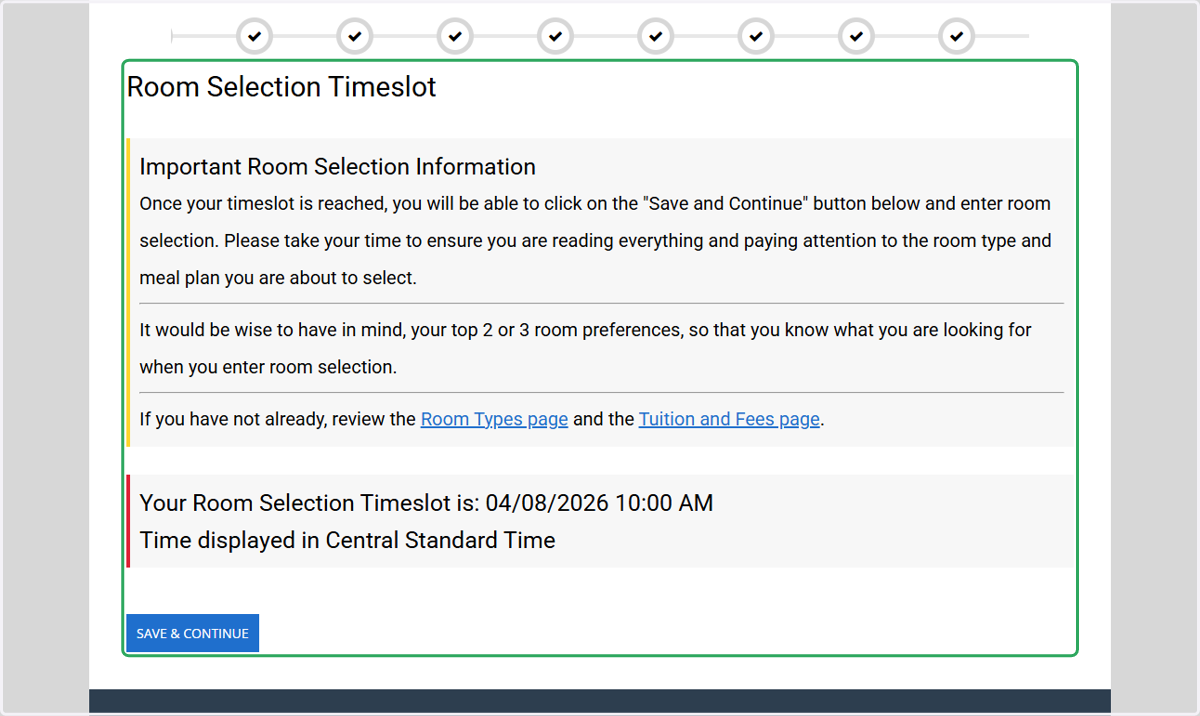
7. Scroll to the bottom of the page to find your room selection timeslot
You will NOT be able to continue forward in the process if it is not your time to select.
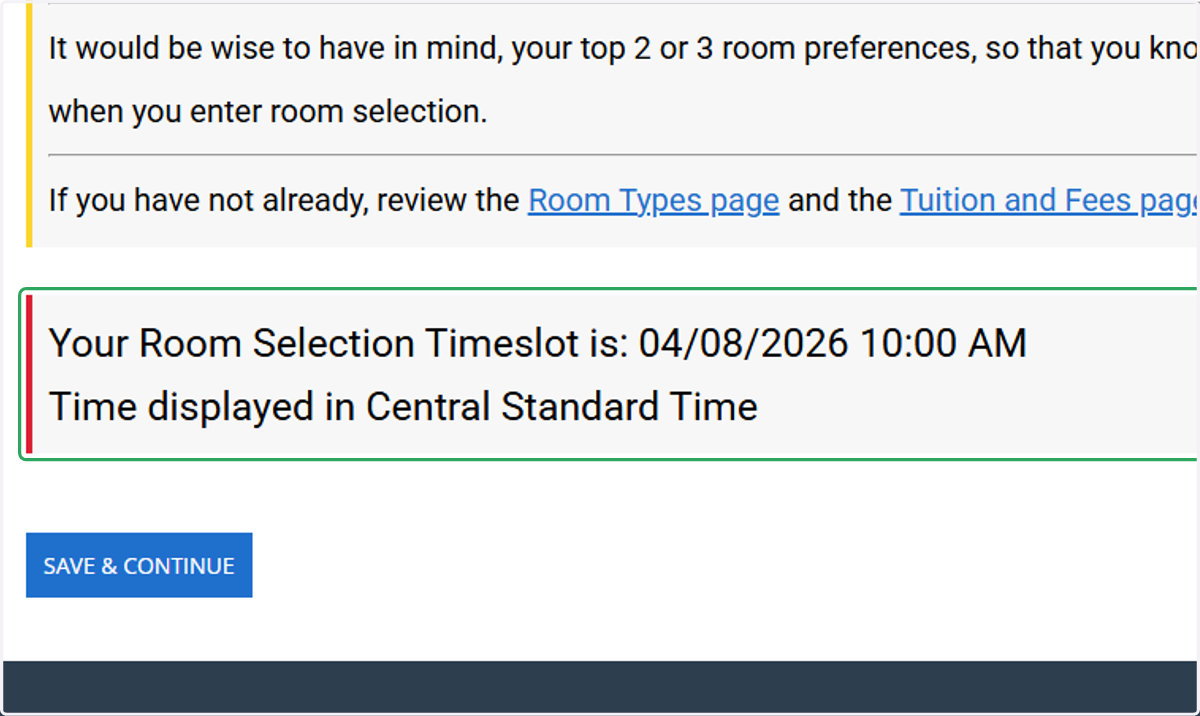
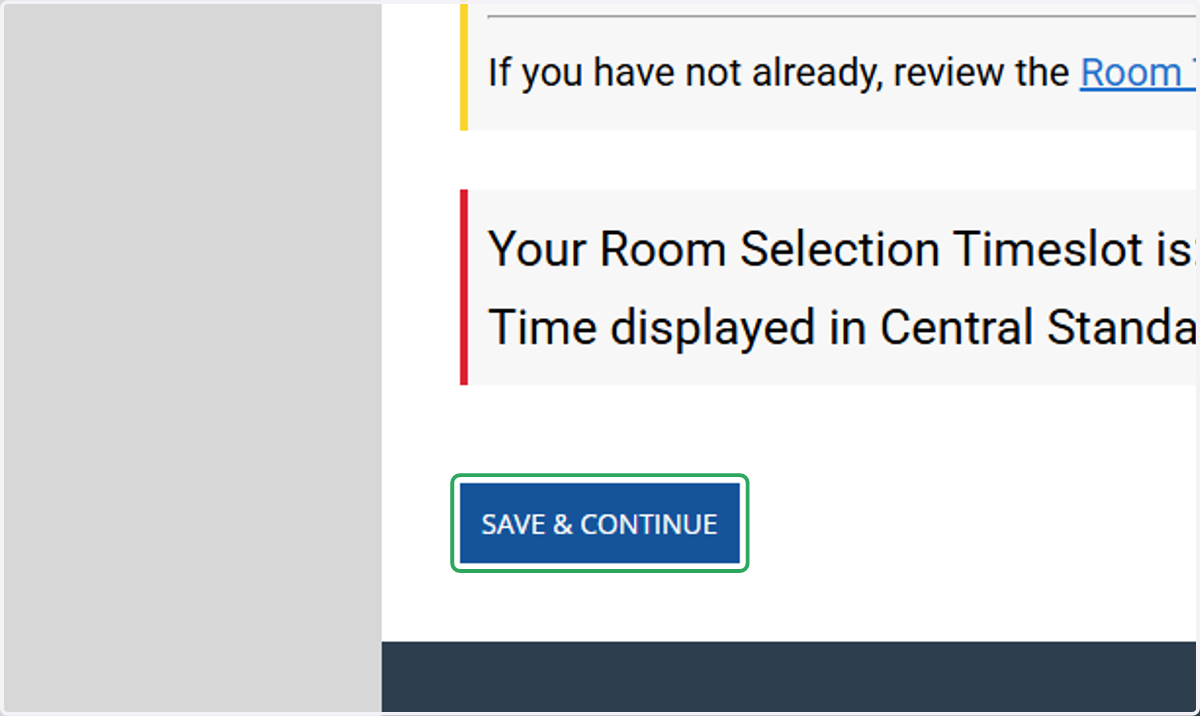
8. Click on Save & Continue
9. Select which building you would like to live in for the Academic Year
You will only be able to see room selection spaces for the building that you select.
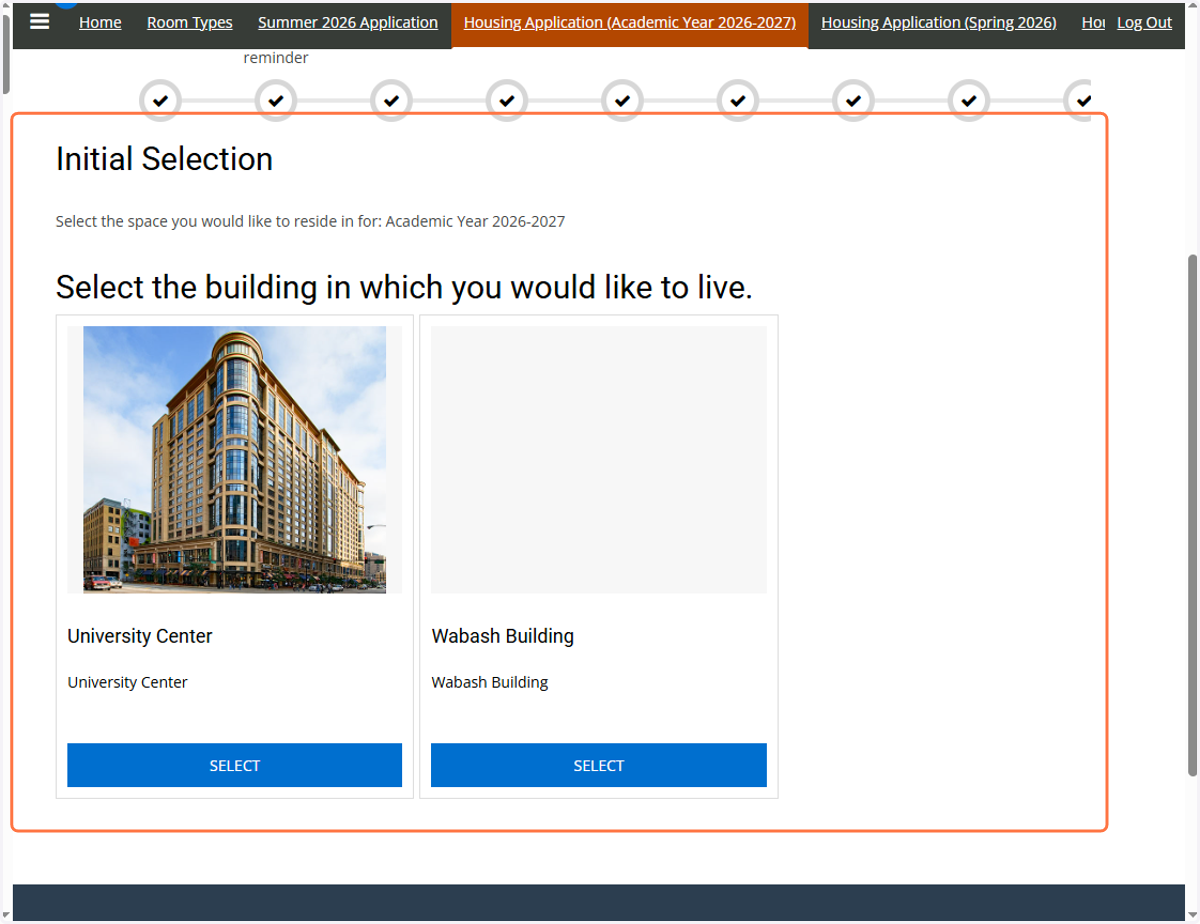
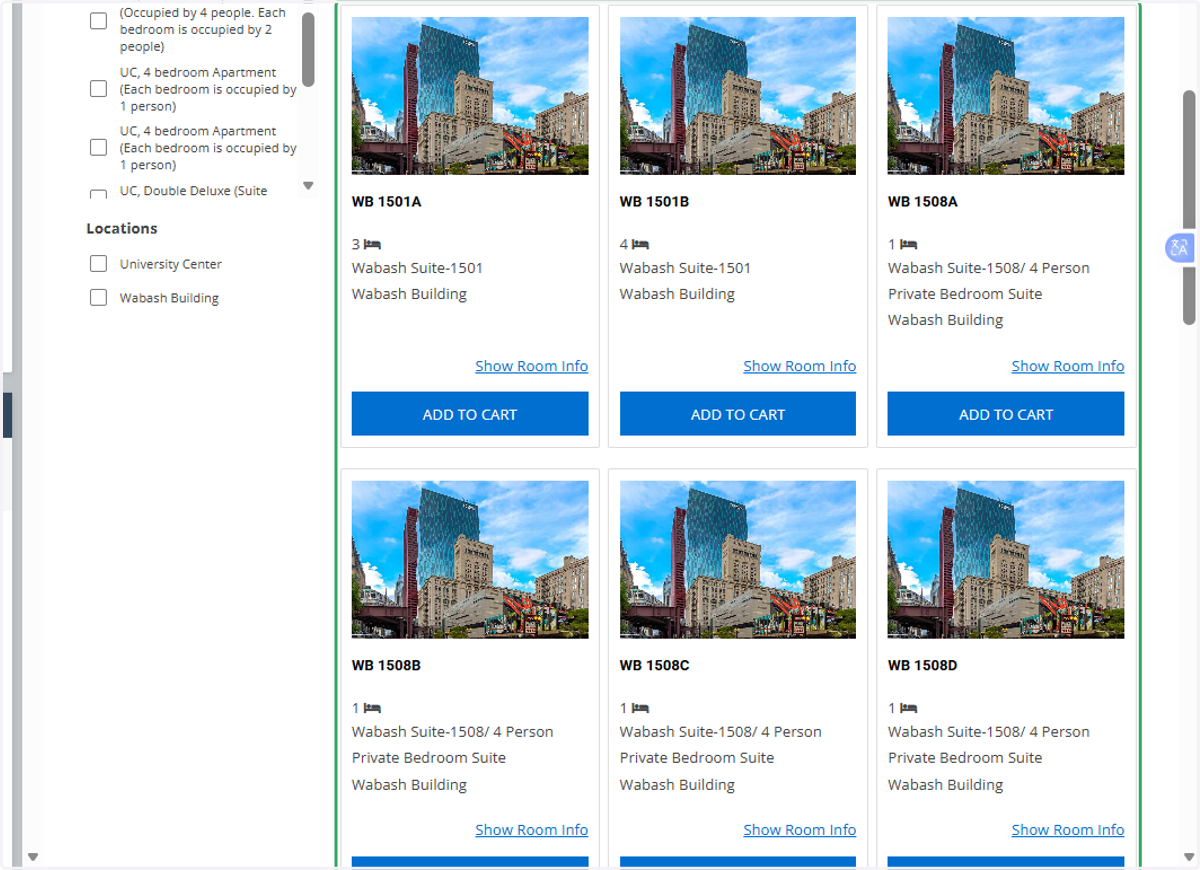
10. Rooms will be displayed in numerical order
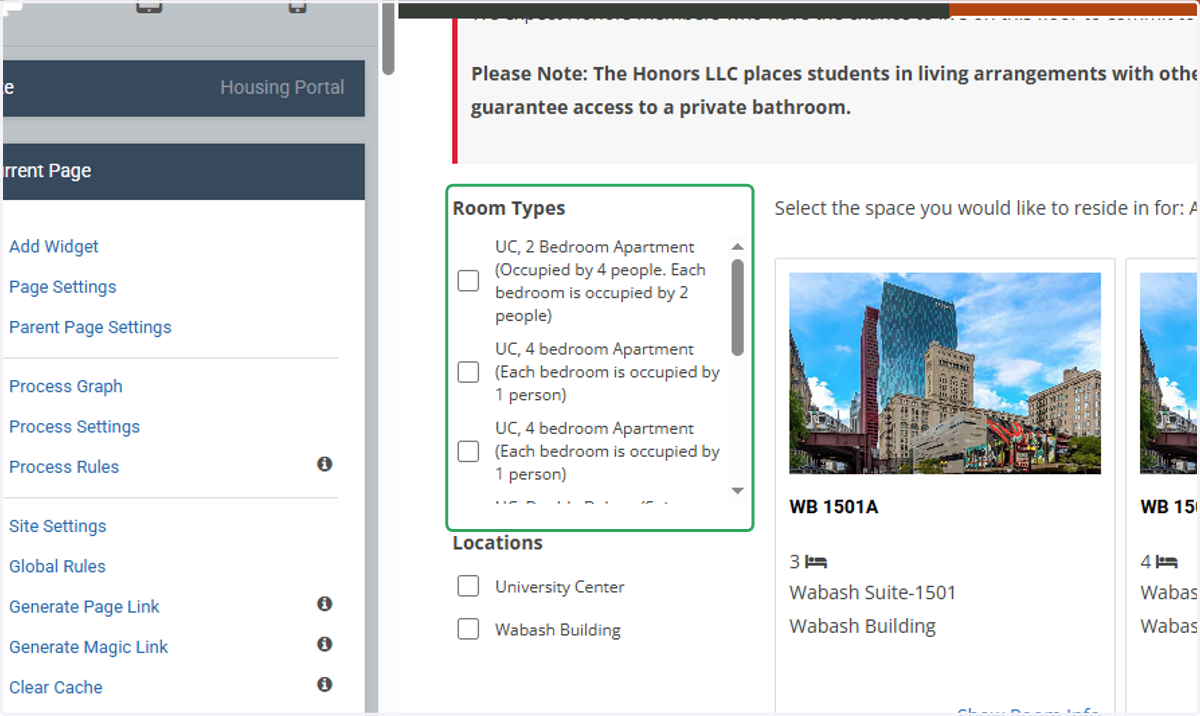
11. There is a filter for Room Types. Use this to narrow down the room options.
Reminder: If you choose the Wabash building but filter for University Center spaces you will NOT see any options available.
12. Find the suite that you want to live in with your room/suitemates
Remember, there must be enough BEDS available for you and your room/suitemates to be placed in otherwise you will not be able to place your group.
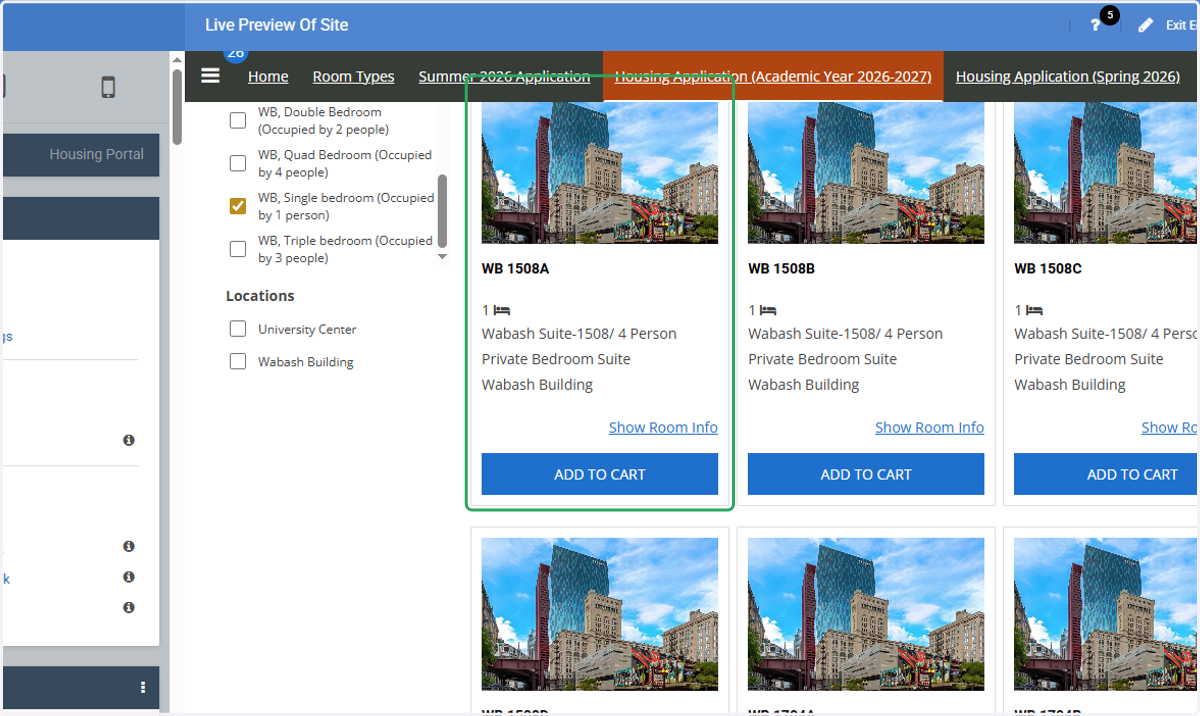
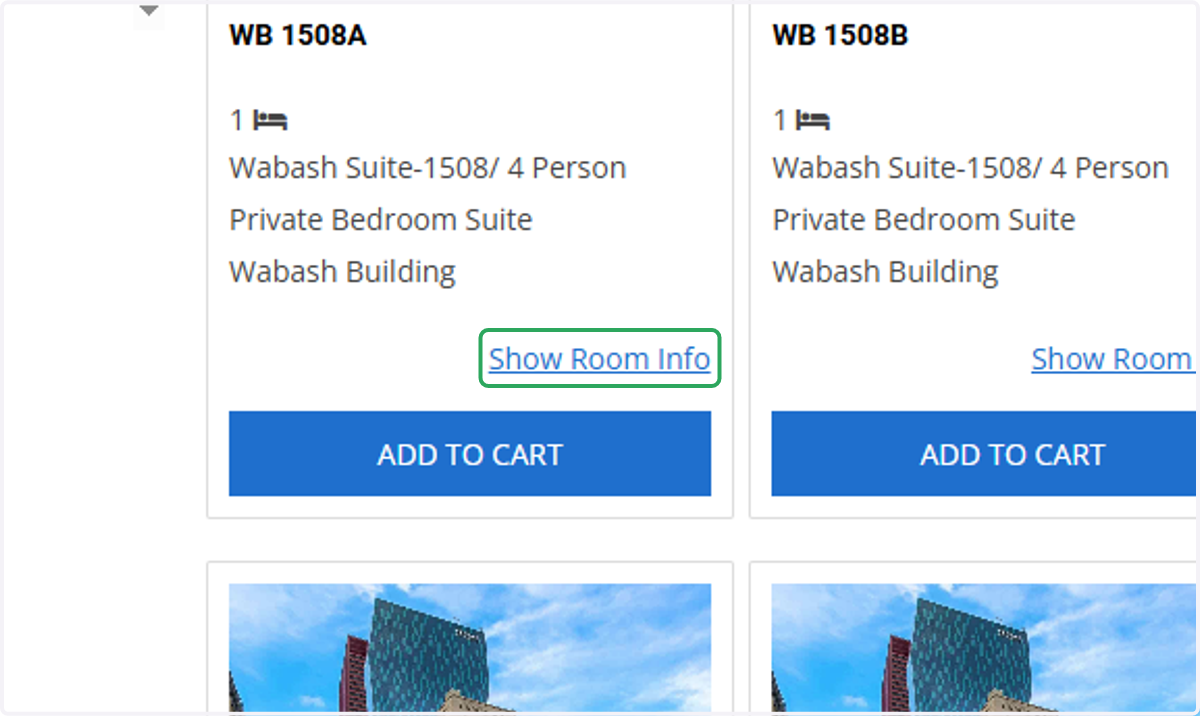
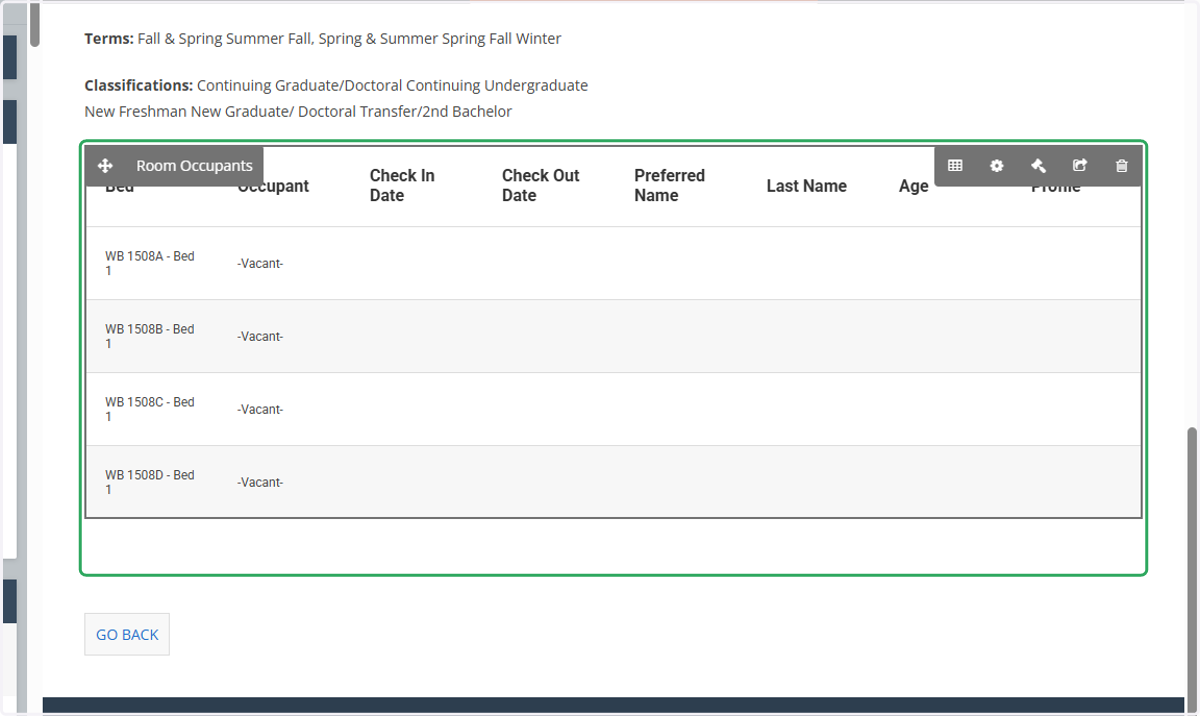
13. Click Show Room Info: Will show you if anyone has already placed themselves in the room or if it is a vacant space.
If you are looking at a suite and don't see the other rooms next to each other, it is MORE LIKELY THAN NOT that the space has been selected by someone else.
14. This is the page displayed after clicking Show room info
Reminder that as rooms are added to carts, they will not be available for you to place yourself or roommates. Everyone has 10 minutes to complete their selection once a space has been added to the cart.
15. Click on Add WB 1508A To Cart
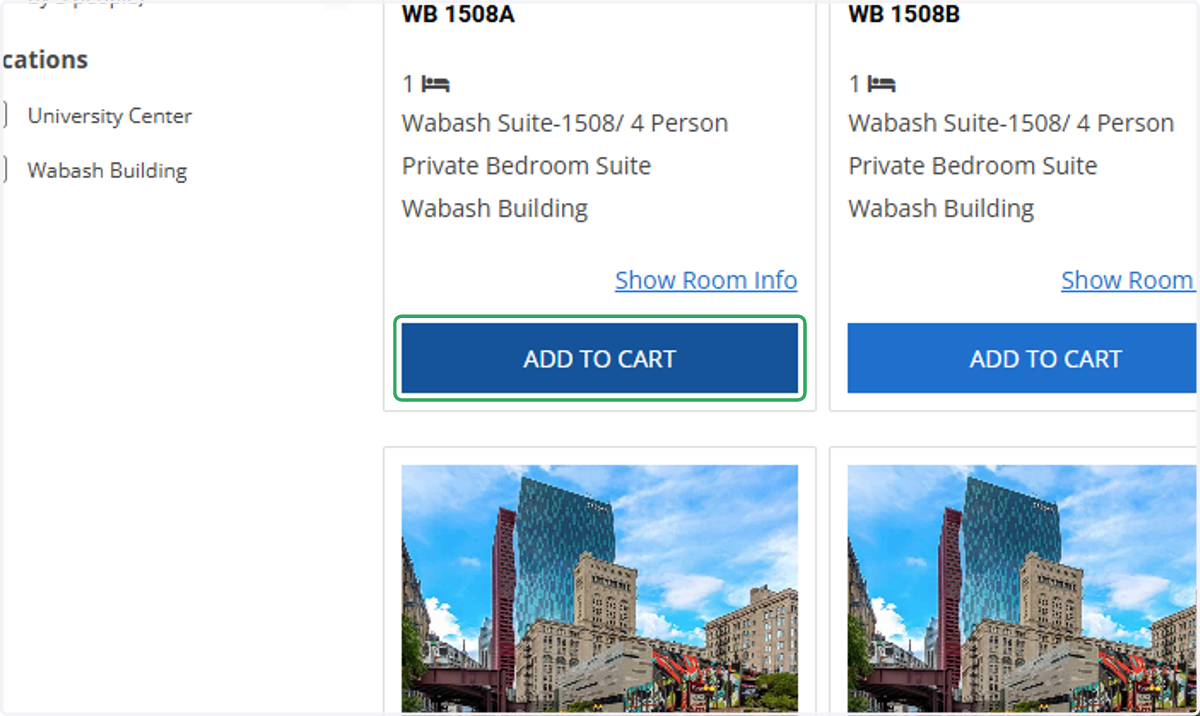
16. Click "Add to Cart" to add a room to your cart.
If you are selecting singles in a shared suite you will need to add EACH single bed to your cart to place all of your suitemates. This example uses 1508, all beds in 1508 will need to be added to the cart.
If you are a group of 6 and want a Quad and 2 singles you will need to find the suite that satisfies the number of beds for your group.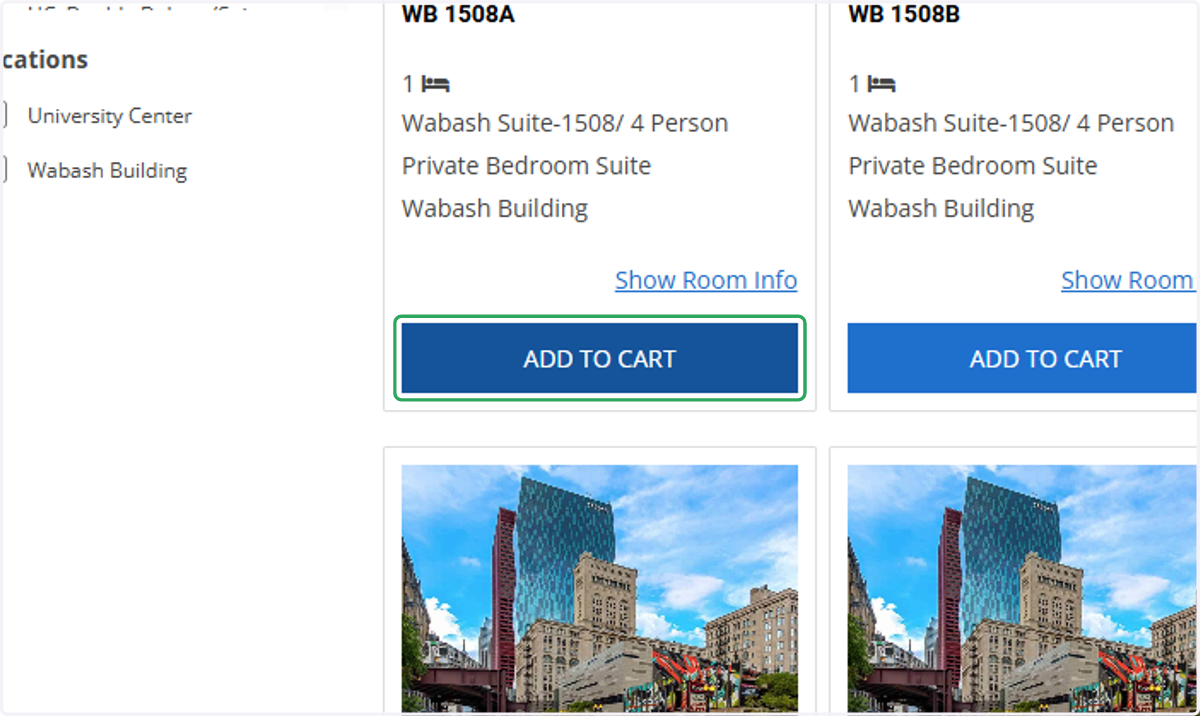
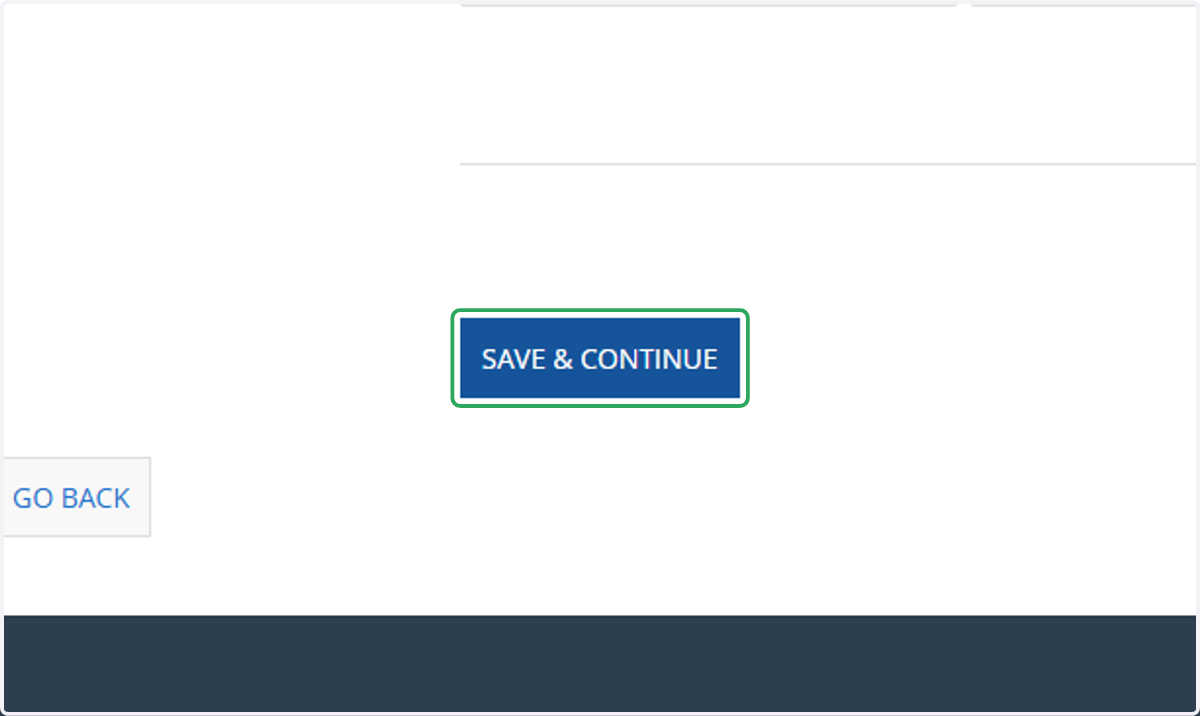
17. Click on Save & Continue
18. Here is where you will assign the room or bed space to you and your room/sutiemates
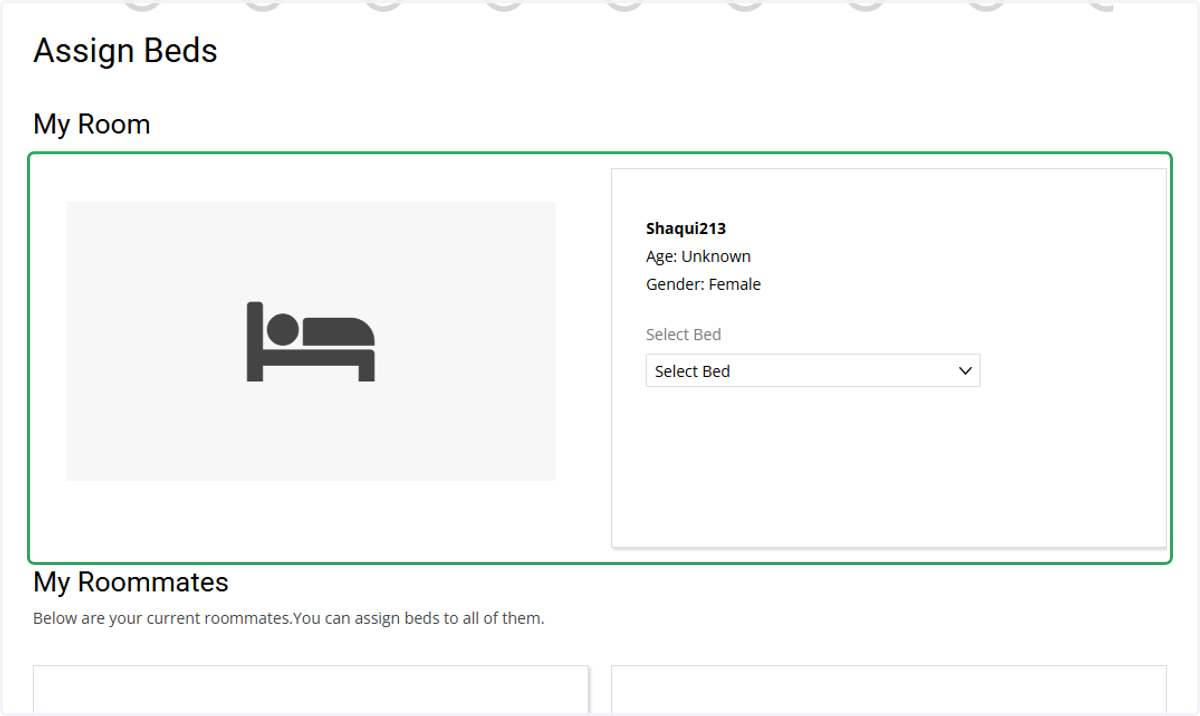
19. Click on Select Bed
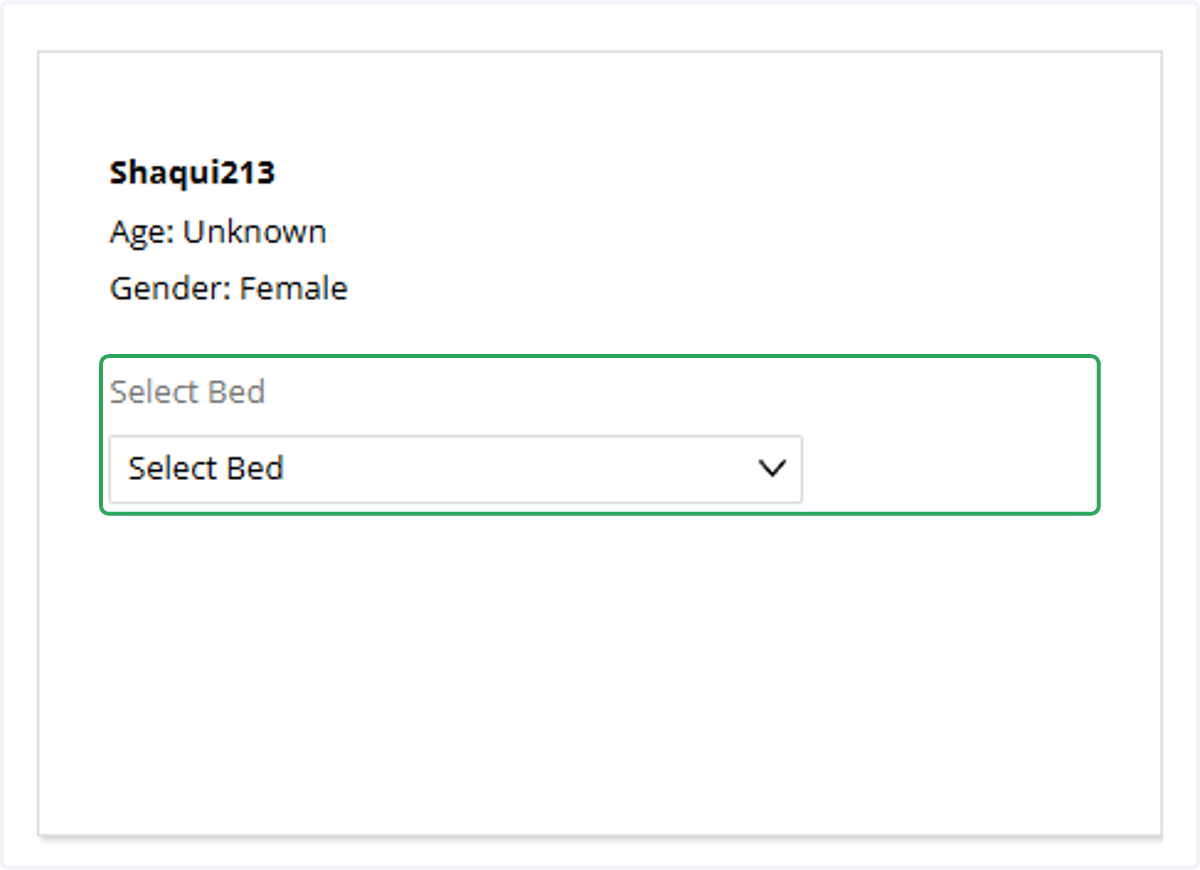
20. A drop down with the available beds to be placed will be displayed. Select the bedspace that you would like to be placed in.
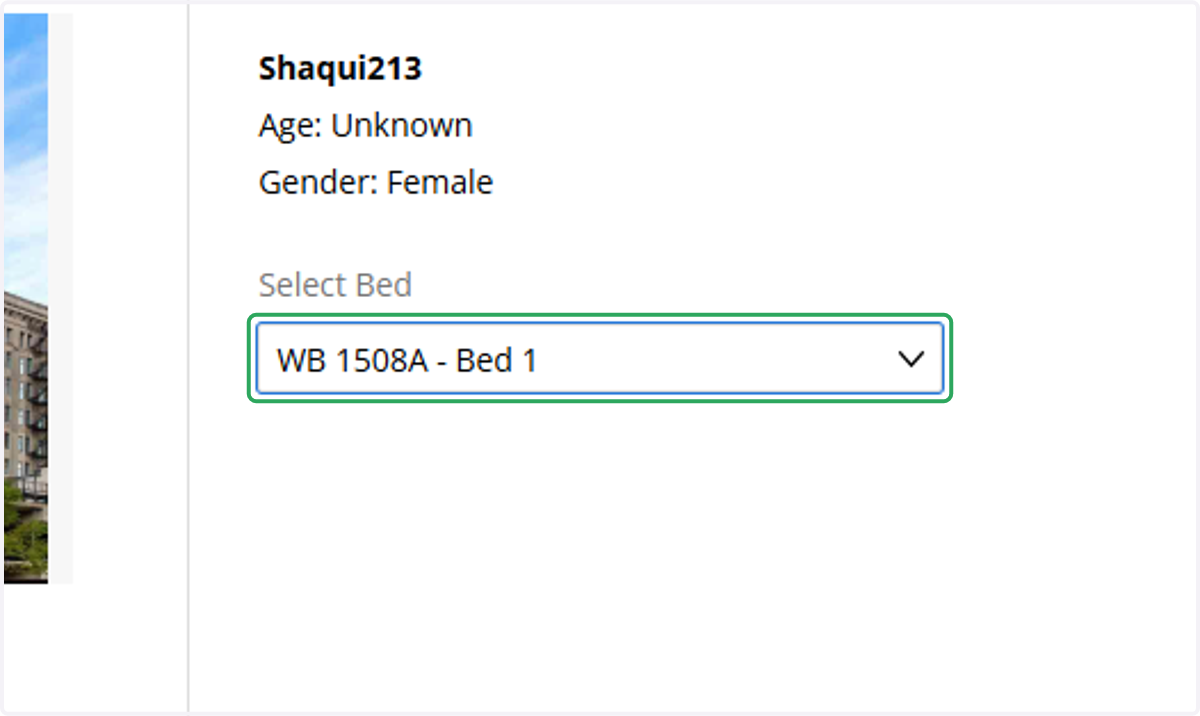
21. Complete the placement process for the remainder of your room/suitemates
You will not be able to move on to the next steps unless all parties in your roommate group are place into a bed space.
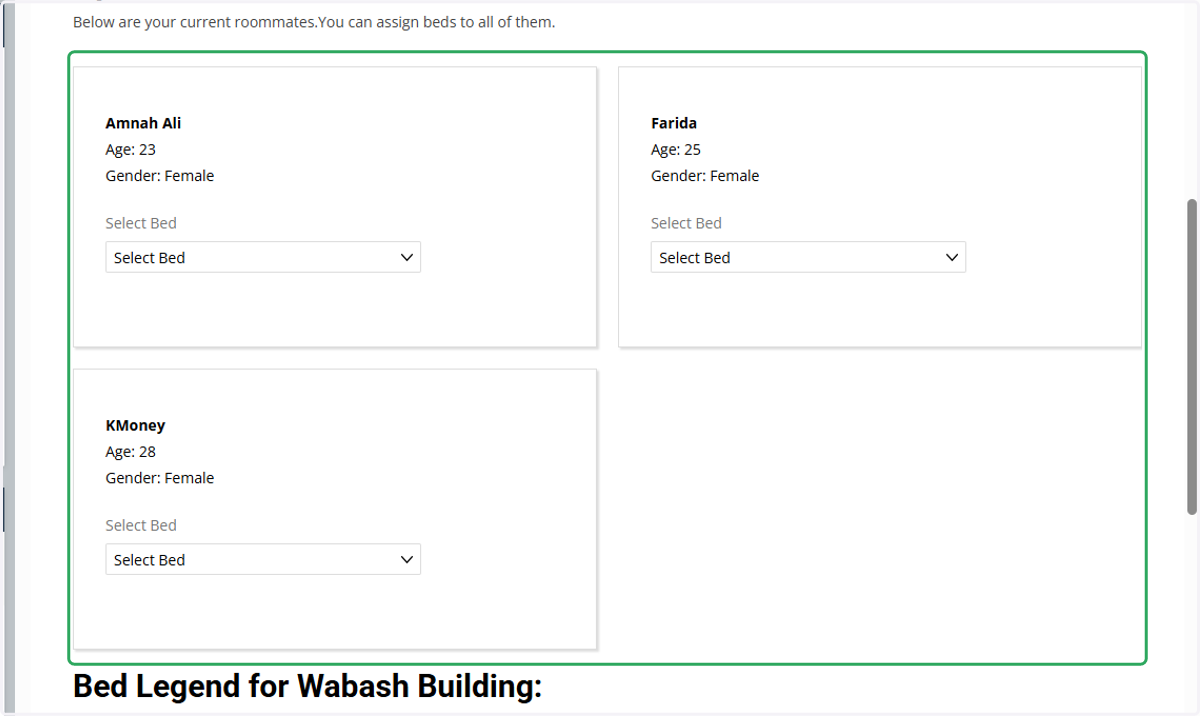
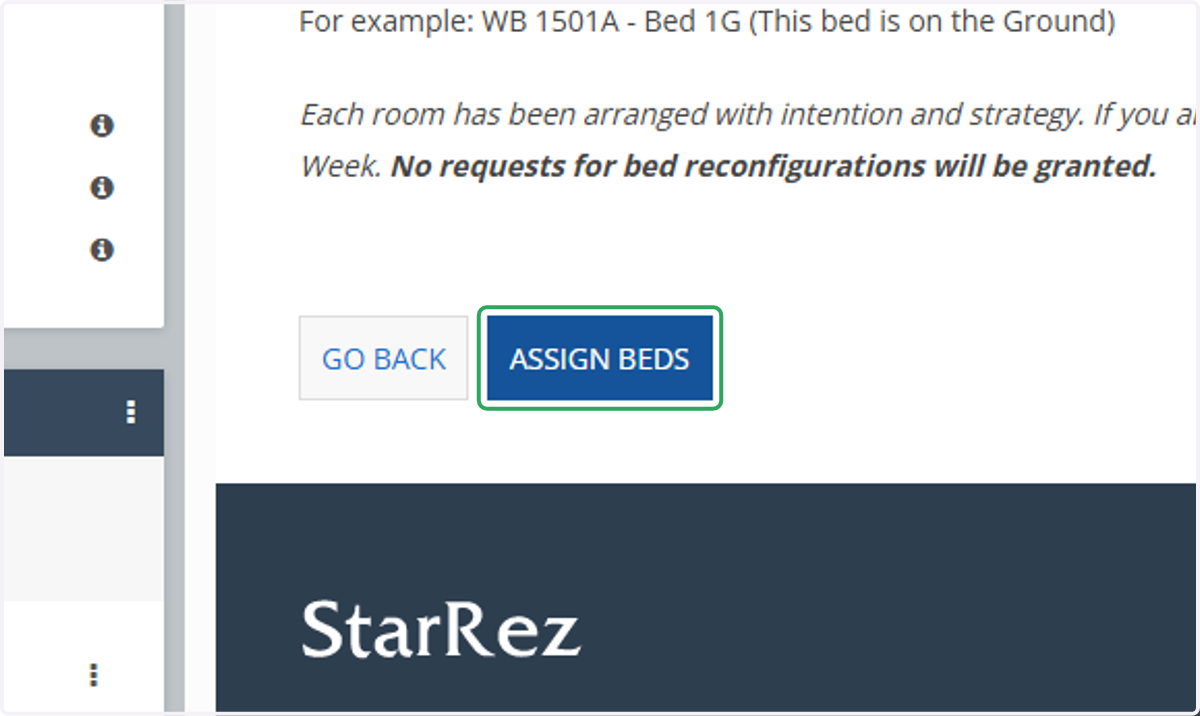
22. Click on Assign Beds
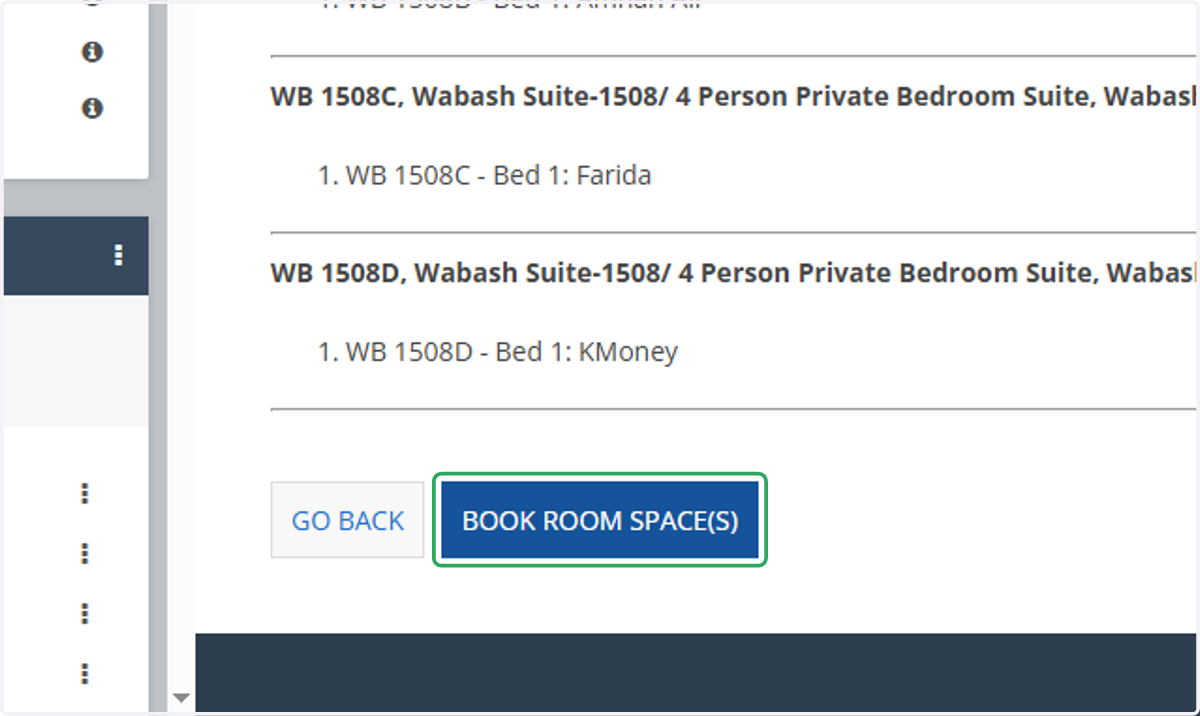
23. You will be taken to a screen to view all placements in the room space. If you need to make changes you can press the "Go Back" button.
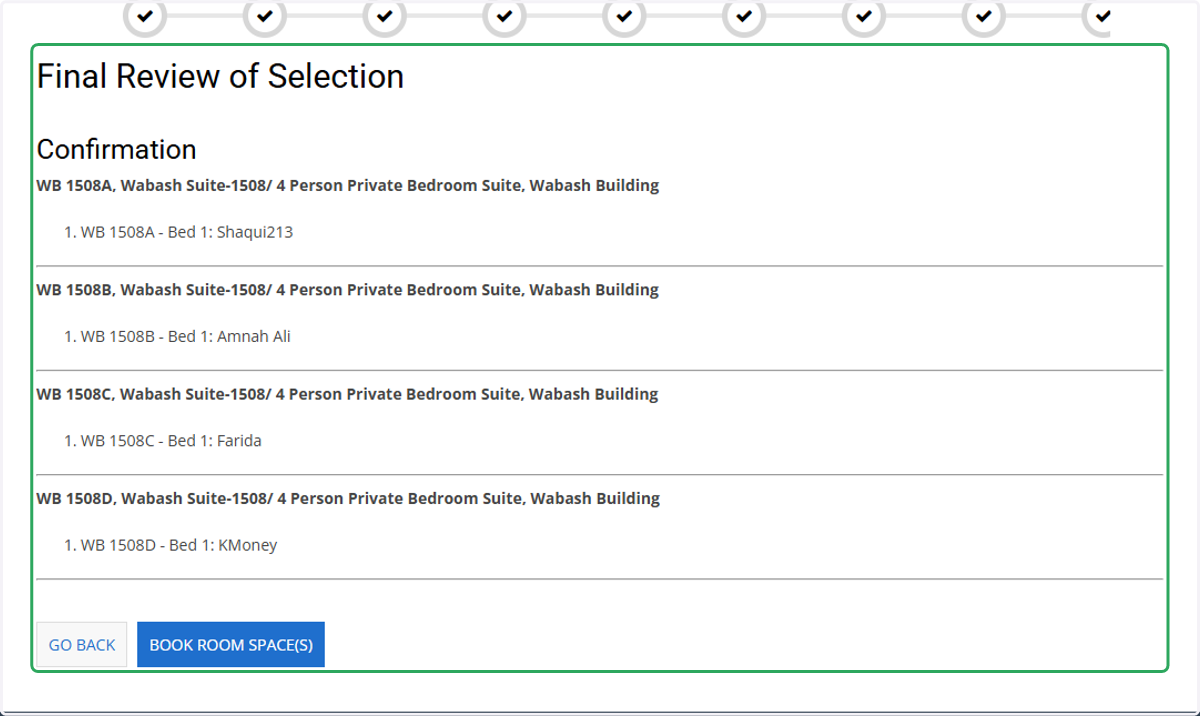
24. Click on "Book Room Sapce(s) to finalize your room selections.
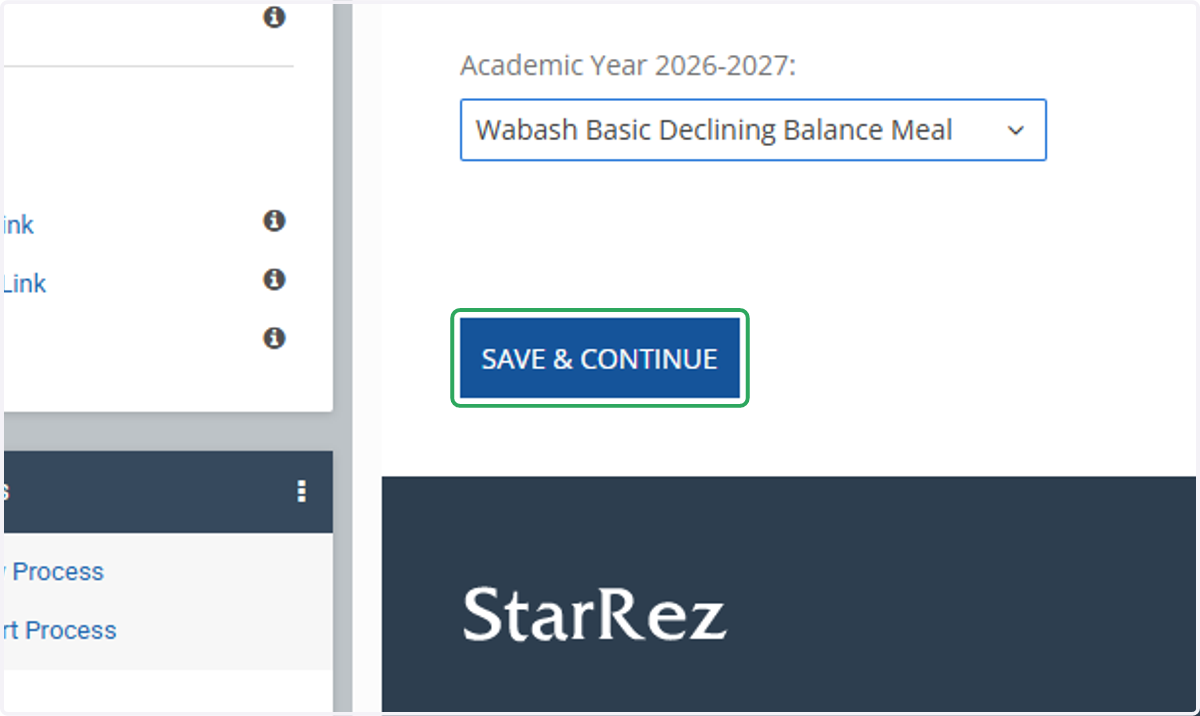
25. Select which meal plan you want
Meal Plan options are only being chosen for the person that is currently completing the room selection process. Other students that are not assigned a meal plan will need to email the office of residence life if they want a meal plan other than the Wabash BASIC or UC Standard.

26. Click on Save & Continue
27. You will be able to see all things finalized on your "My Housing Summary Page"
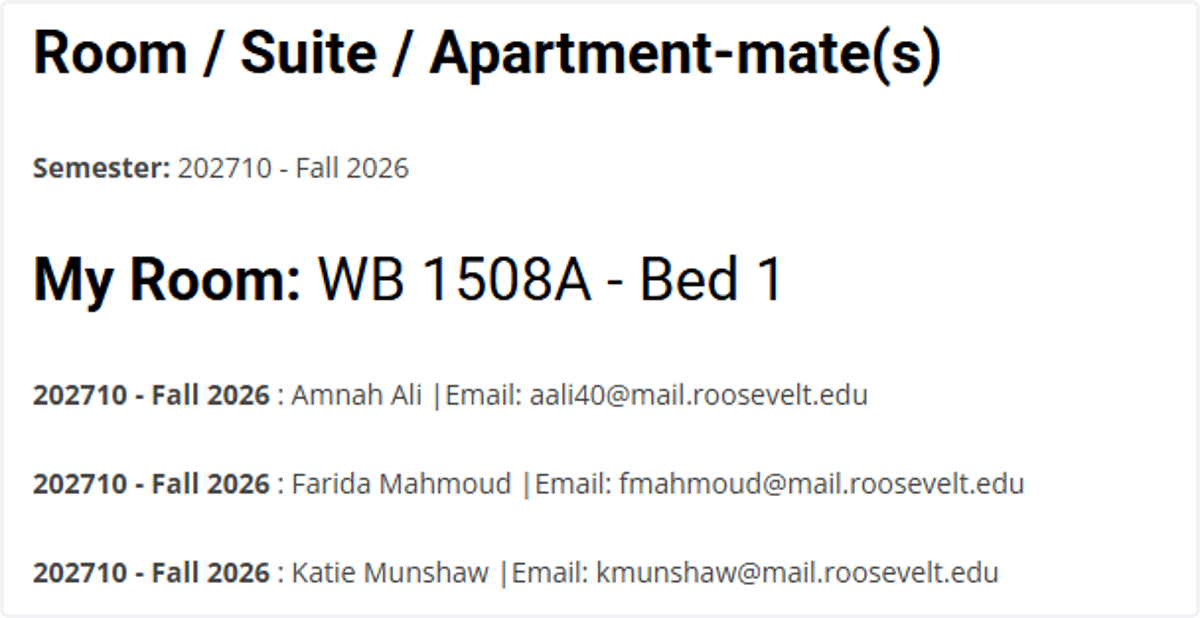
28. You can also see your selection on the main page of the Academic Contract in the green box before pressing continue.