Register for a Volunteer Opportunity
Oregon State University
1. Go to the Volunteer Hub login page, click on the login button. Select the sign-up method you originally used and log in to the system.
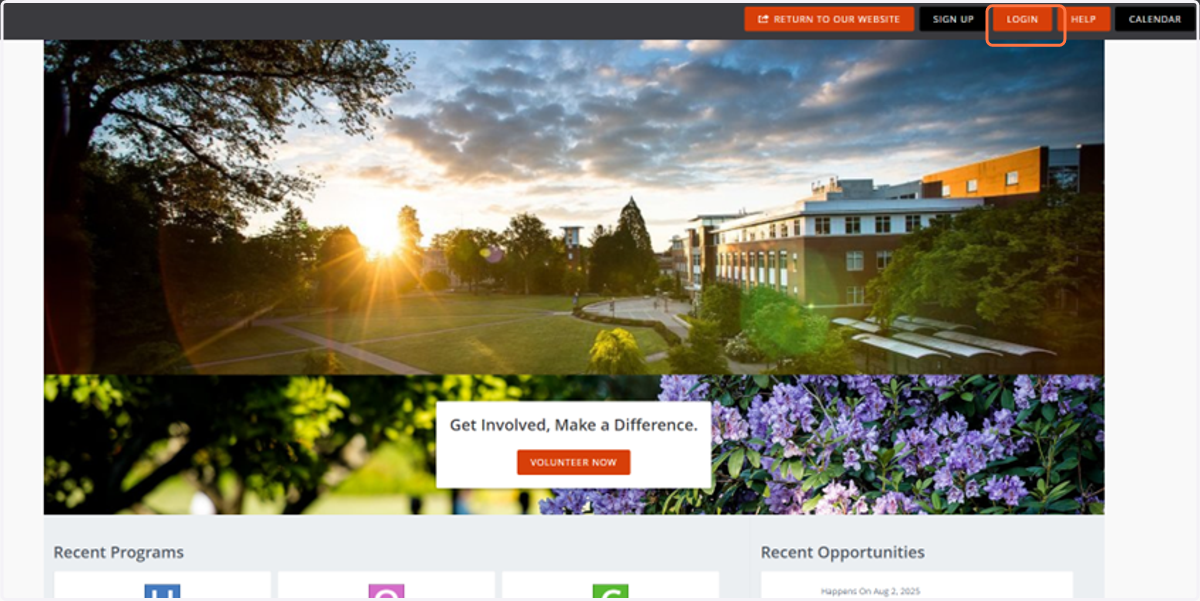
2. Login to the System
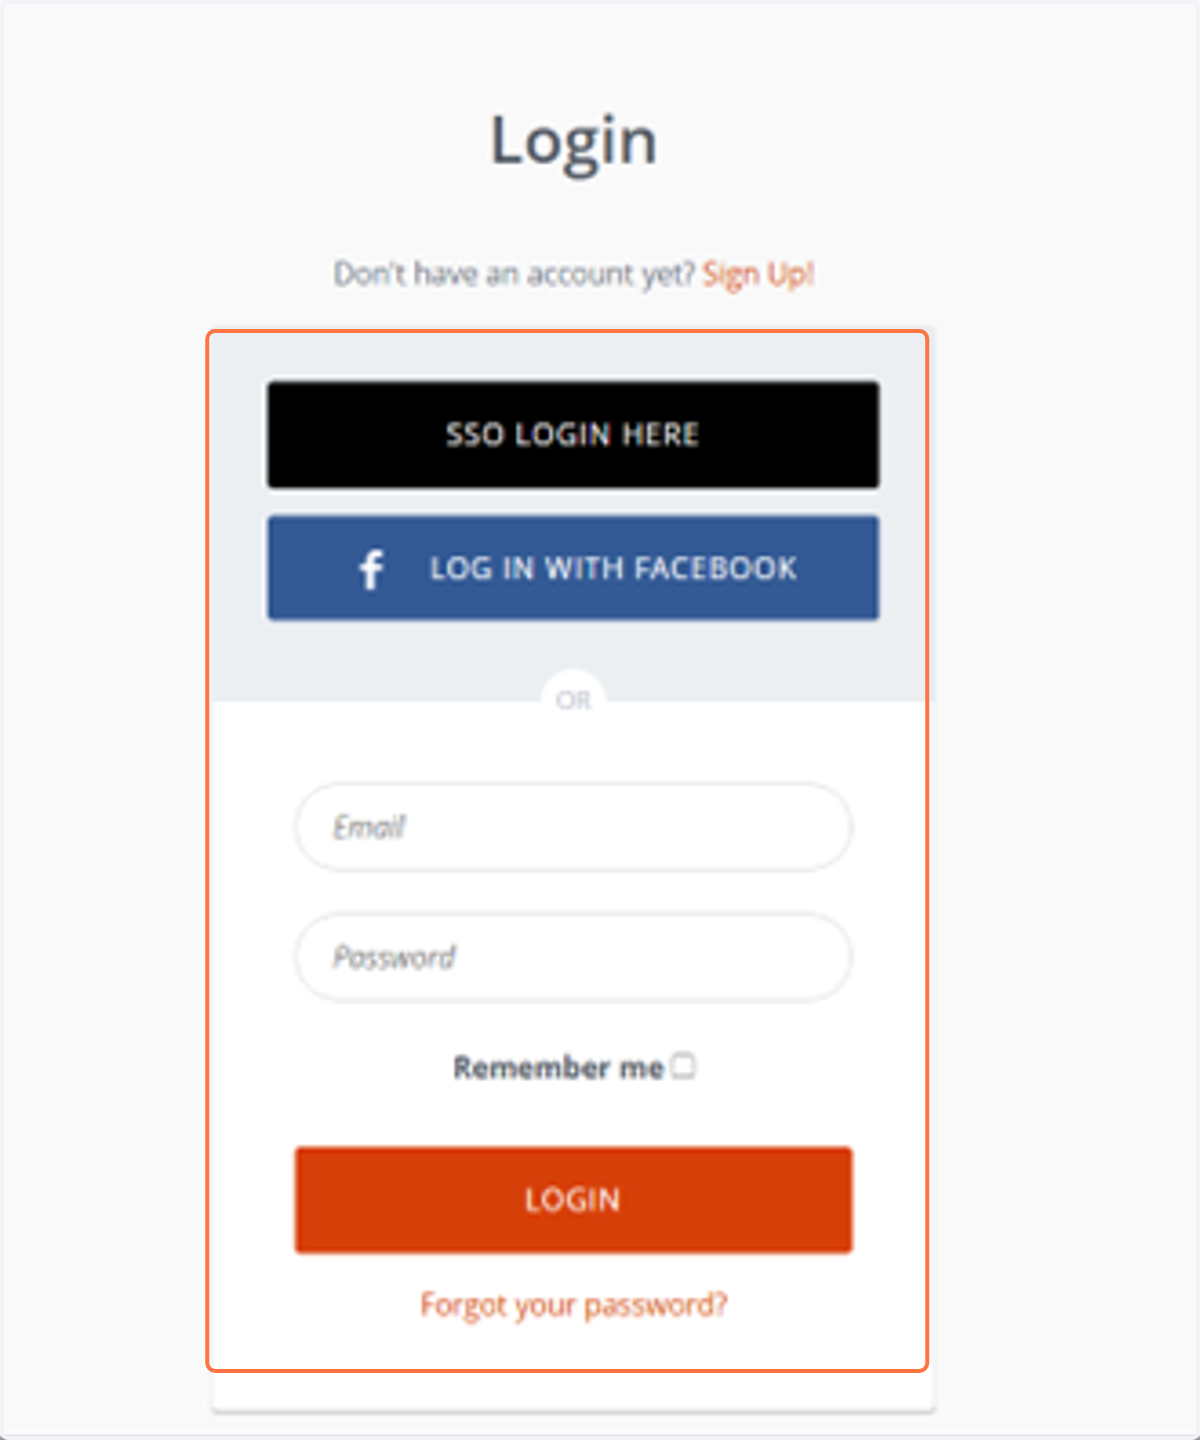
Log in to the system by selecting the sign-in method you originally used.
If you signed up with Facebook, choose the Facebook option.
If you signed up with an email and password, enter those instead. Only use the SSO login option if you have an OSU email address.
If you forgot your password, click on the “Forgot your password?” link below the login button and follow the steps to reset it.
3. Click on Close Snapshot Popup
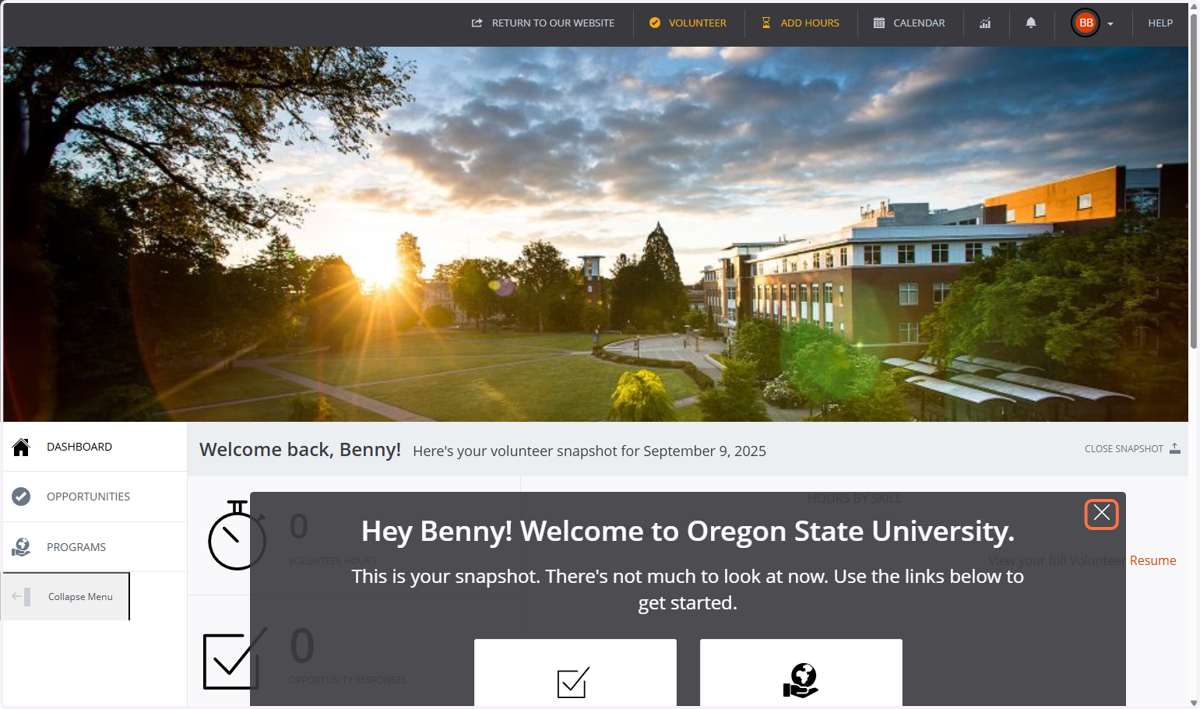
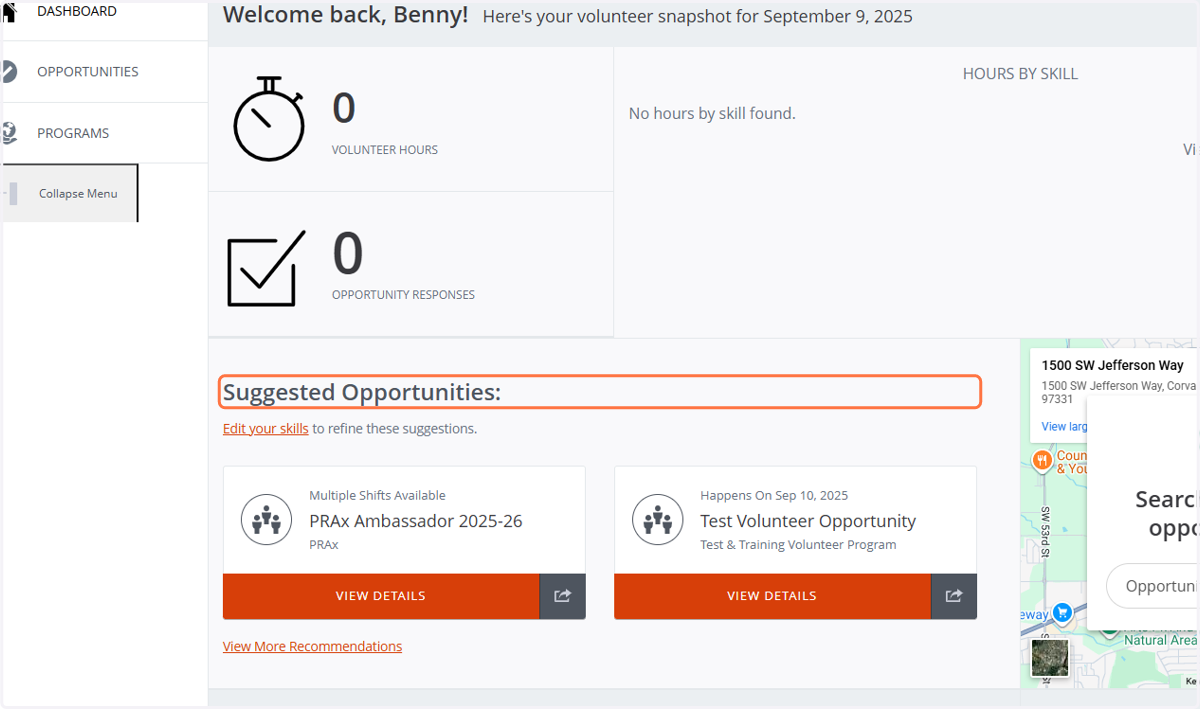
4. Once you are logged in, you will land on your dashboard. From here, you have two options to find a volunteer opportunity. All three are explained below. 1. Look at the Suggested Opportunities section:
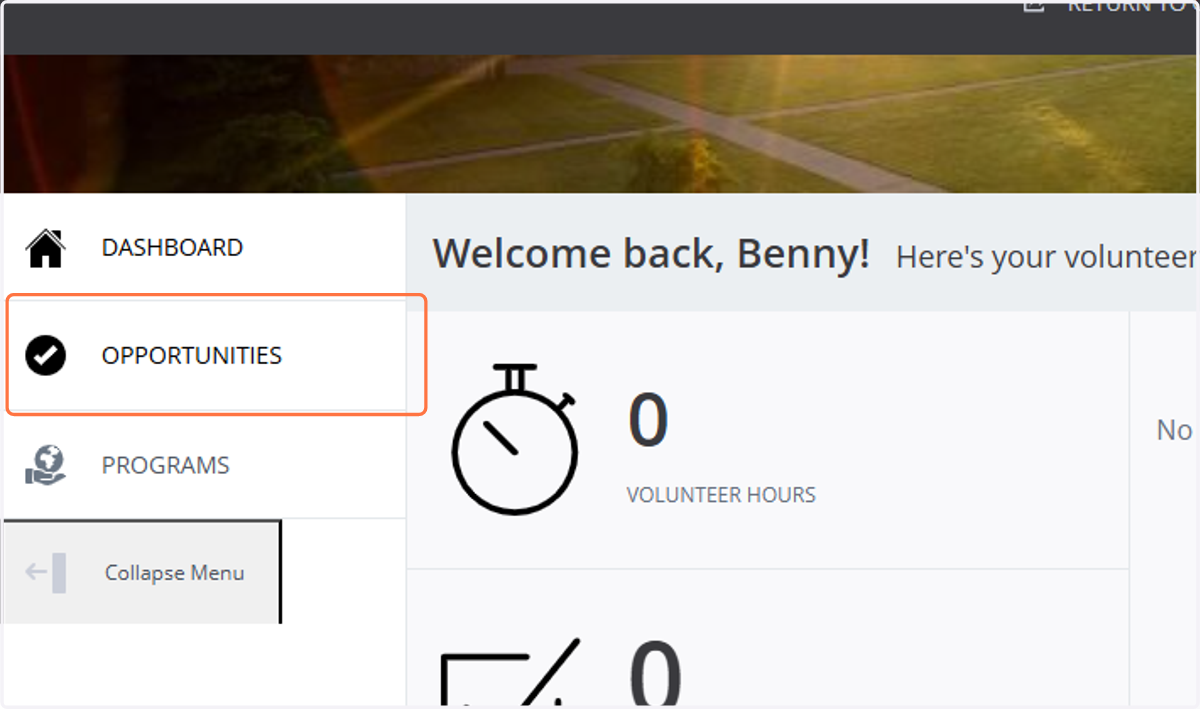
5. 2. Click “Opportunities” in the left-hand menu
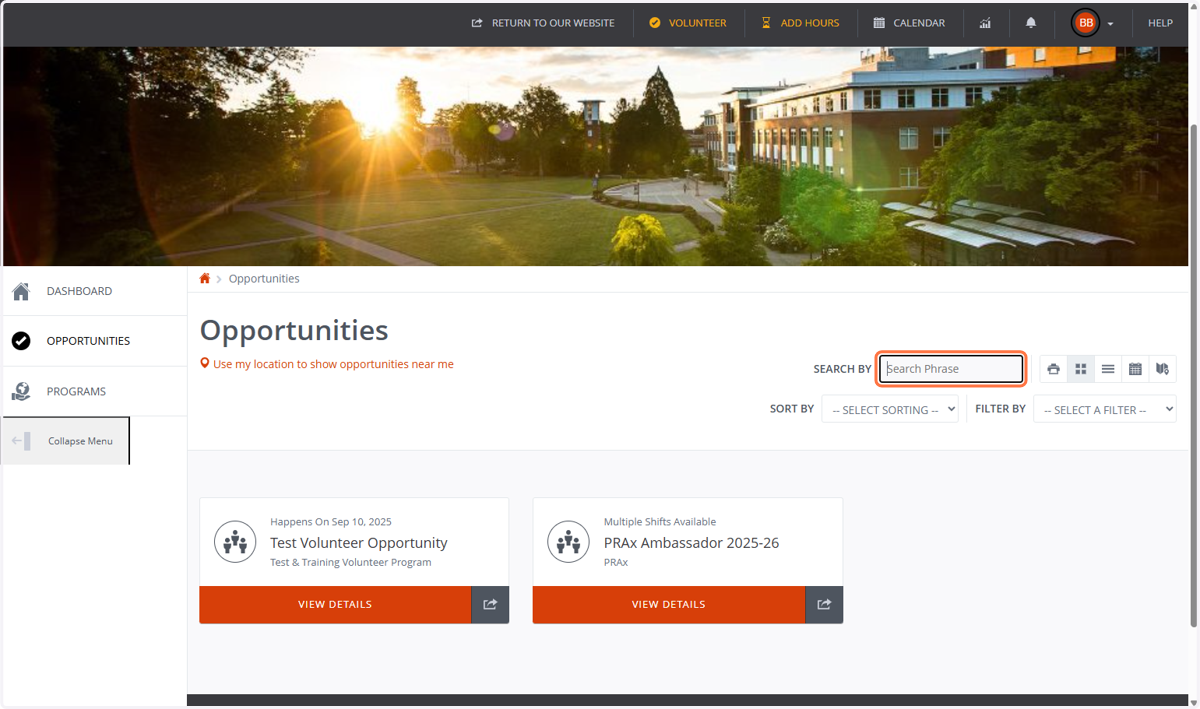
6. Here, you can scroll through the list, search by name or phrase, and use the sort or filter options on the right-hand side.
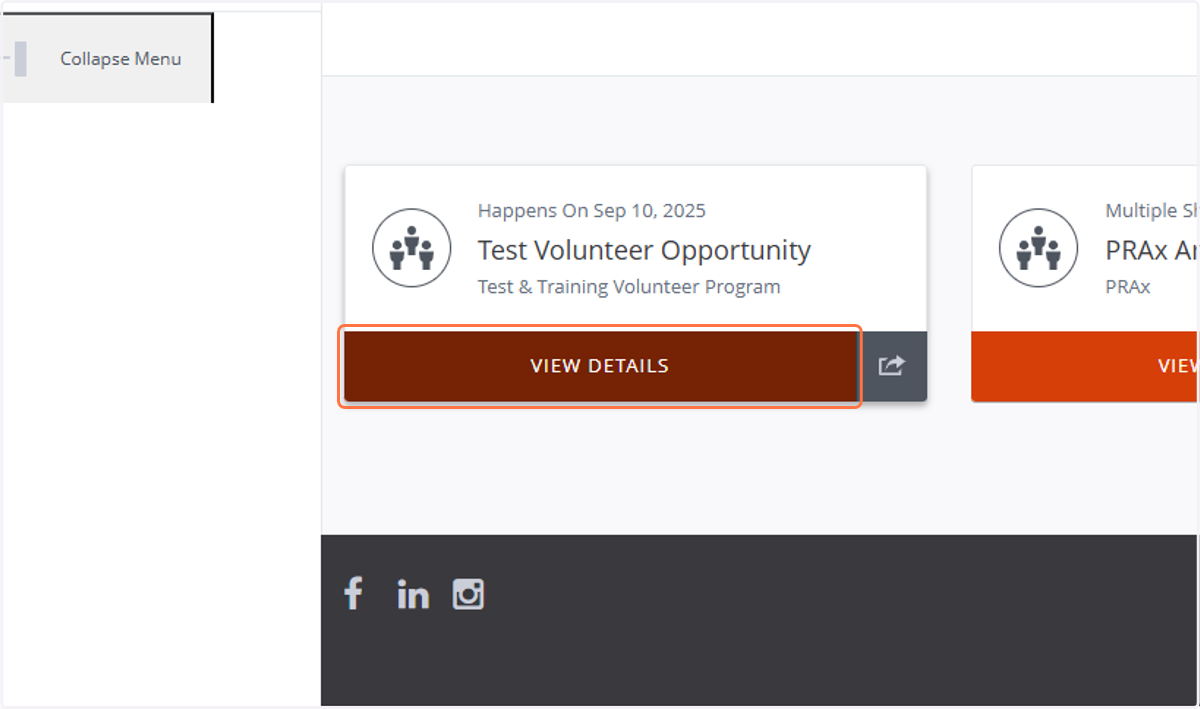
7. Once you find an opportunity that interests you, click its title to see more details and sign up.
8. After you select an opportunity, you will be taken to the details page. Here, you can review important information such as the date, time, location, and requirements. To sign up, click the “Respond” button.
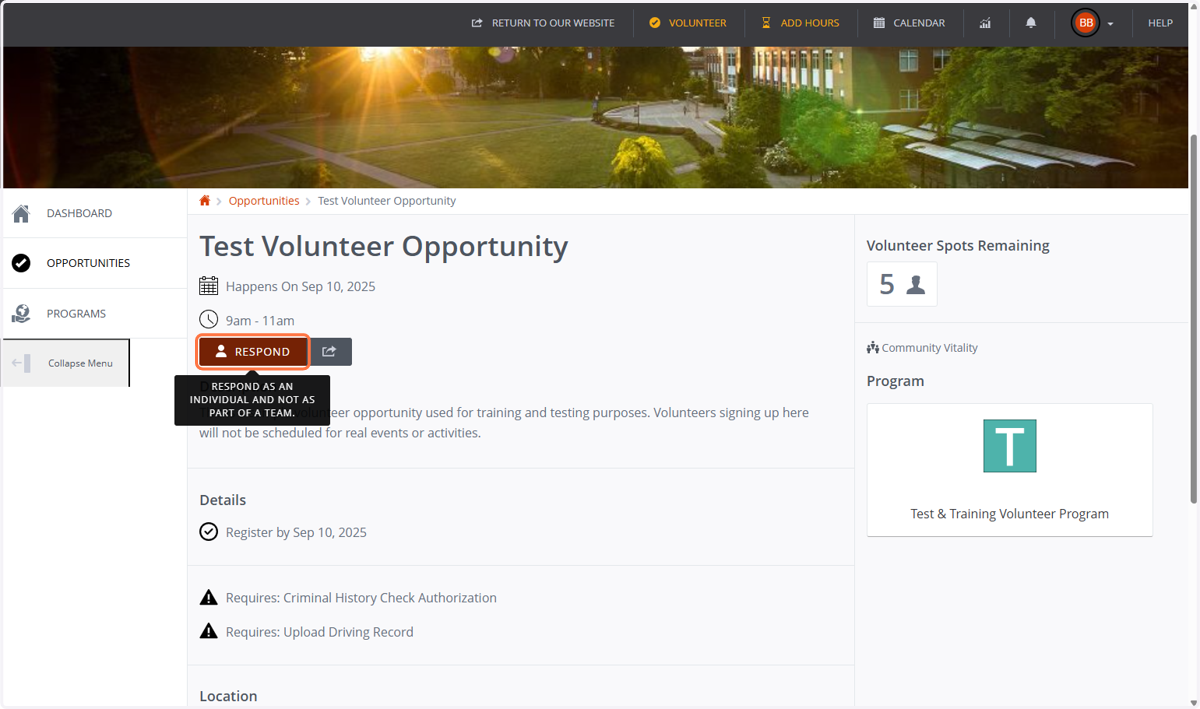
9. After clicking “Respond”, you will be asked to complete the following qualifications:
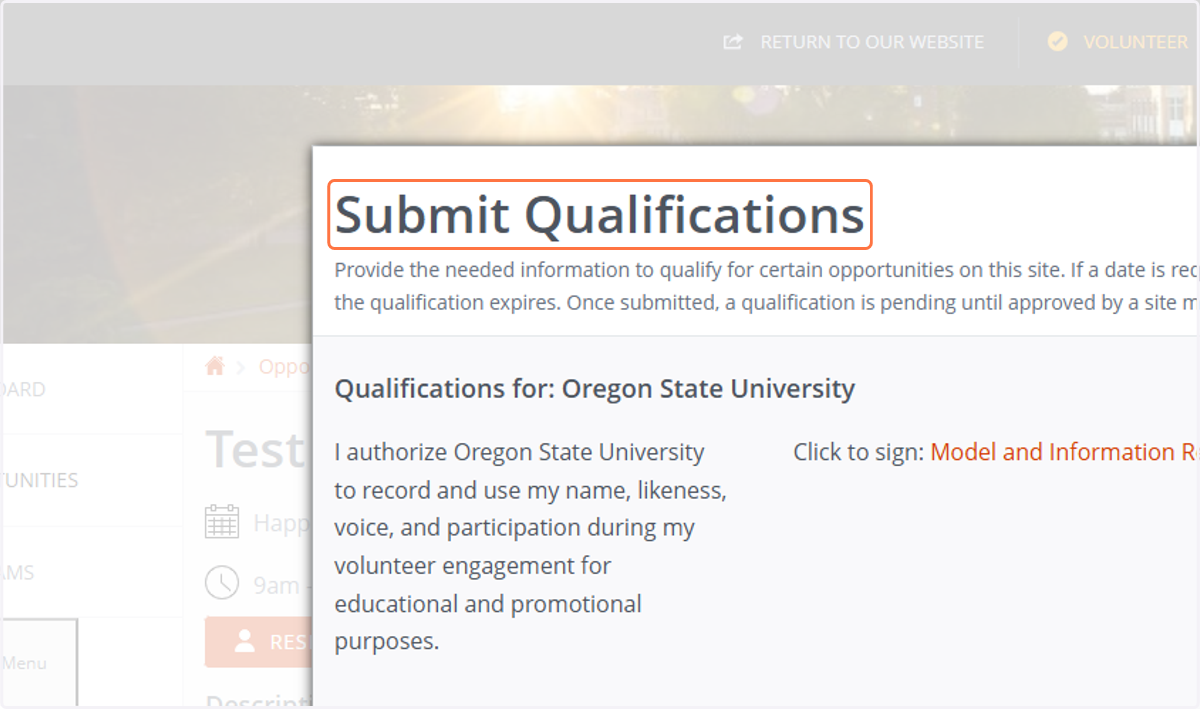
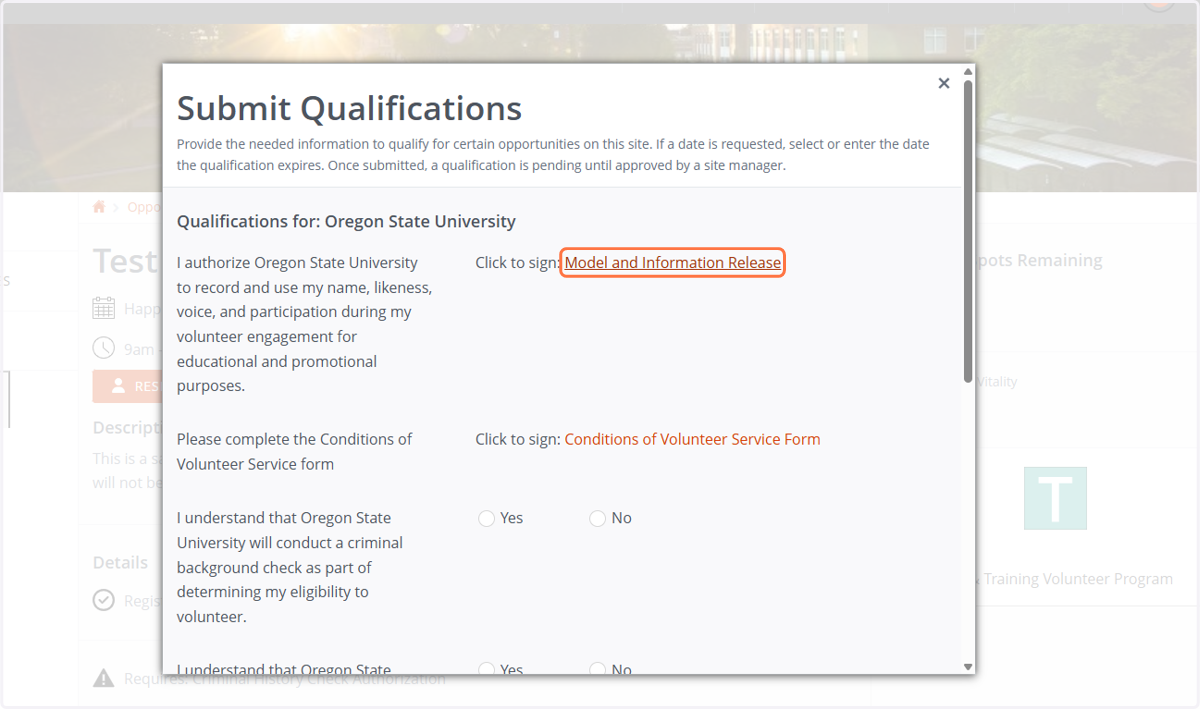
10. First, click on “Model and Information Release” and fill out the form.
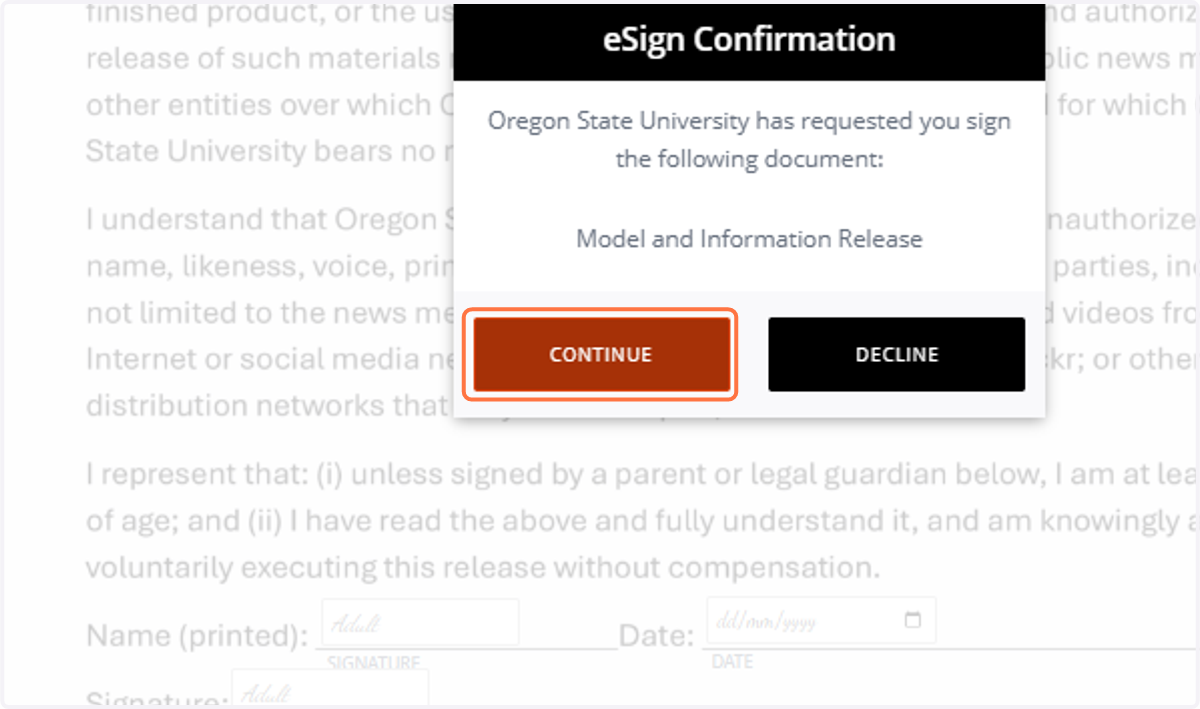
11. The eSign Confirmation field will open. Please click “Continue” to proceed.
12. 1. Read the document and scroll down to the signature field. 2. Type your full name exactly as it appears on your photo ID. 3. After the word “Signature,” enter the date and then sign the document by typing your name a second time.
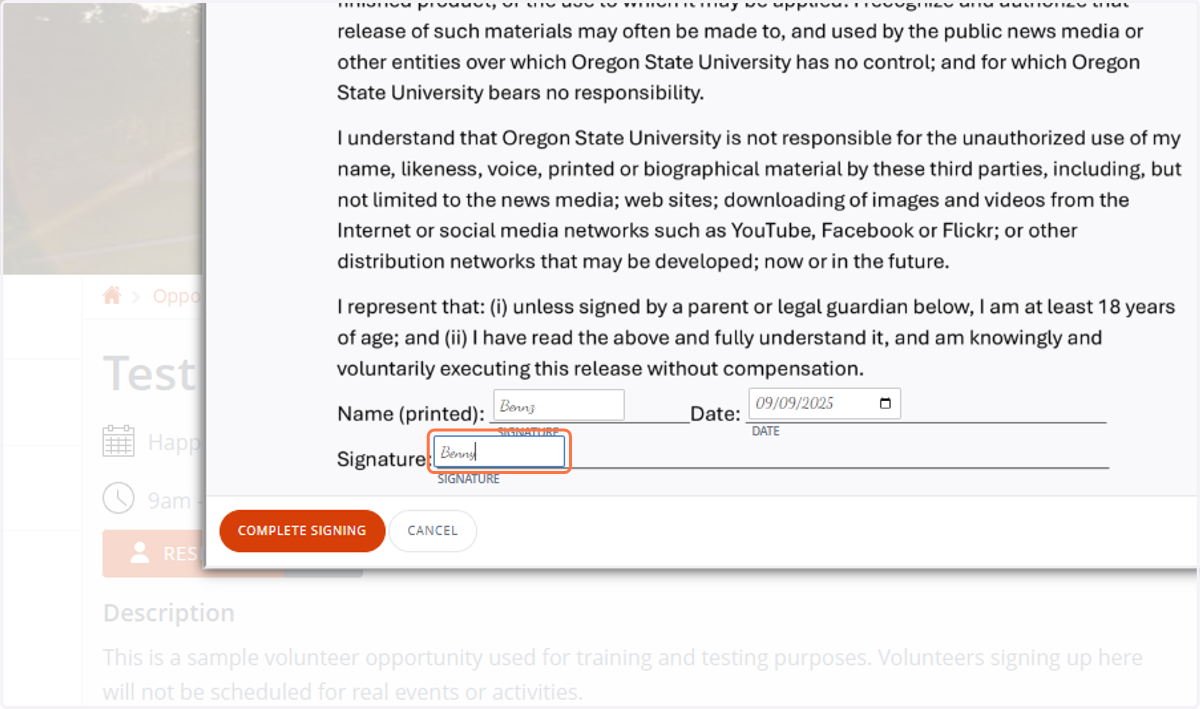
13. Click “Complete Signing”
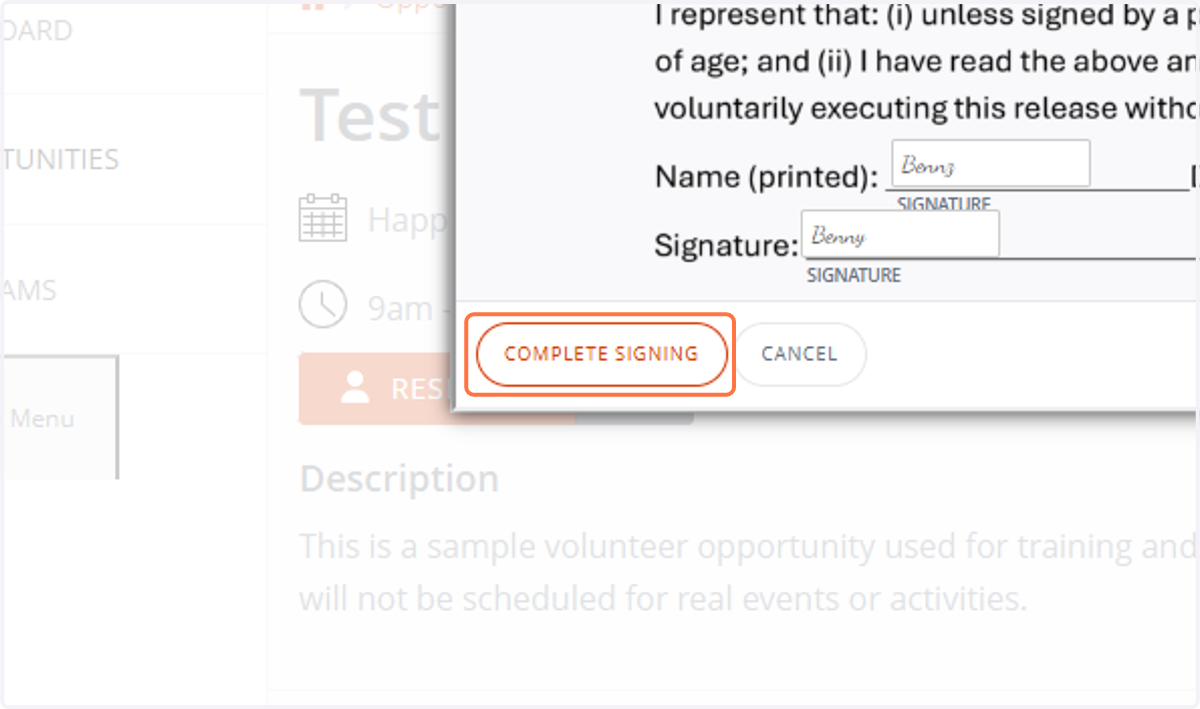
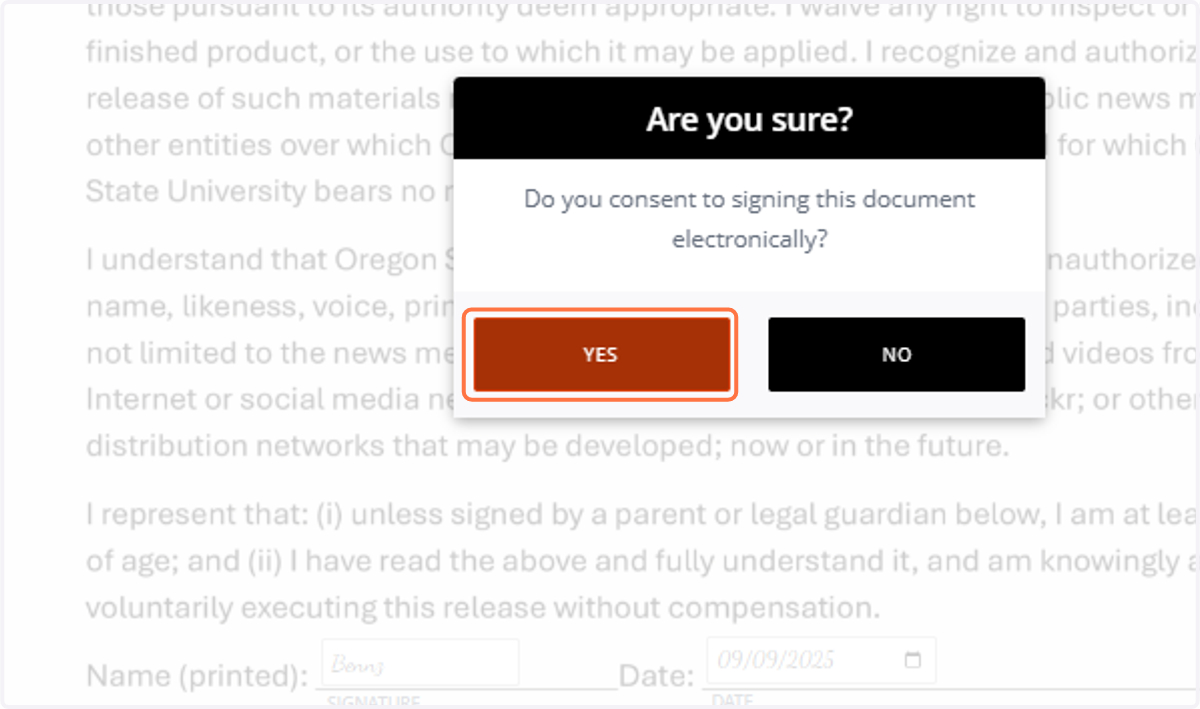
14. Please click “Yes” to continue.
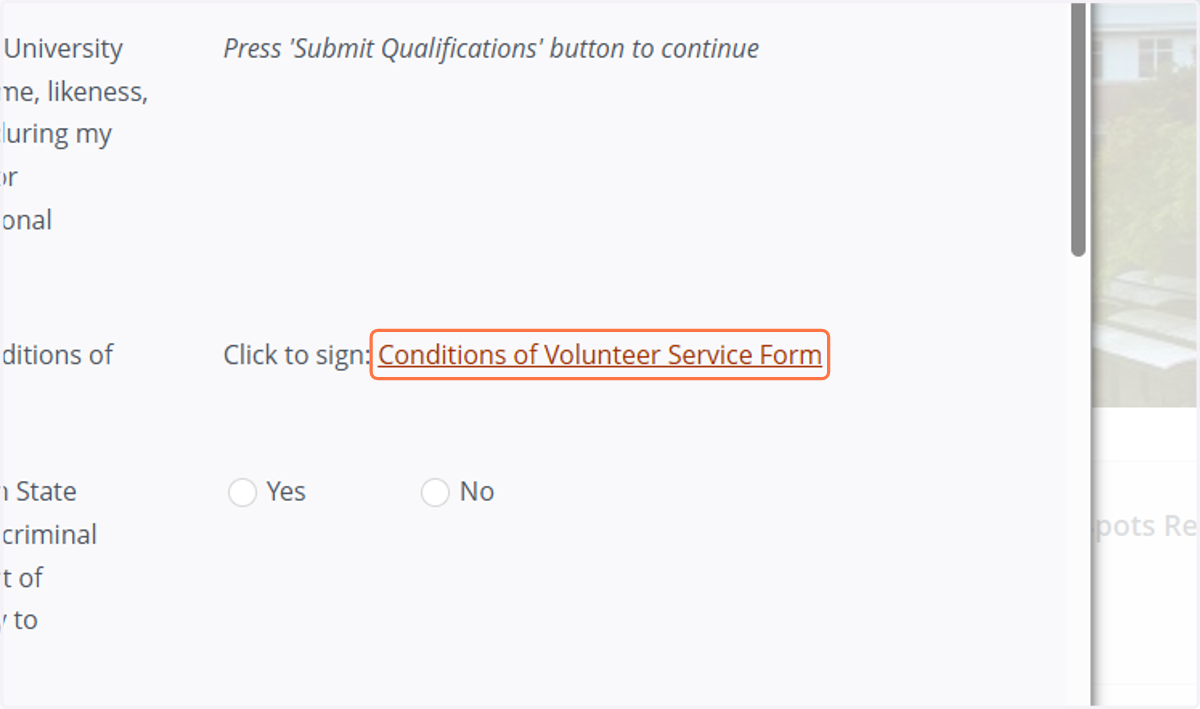
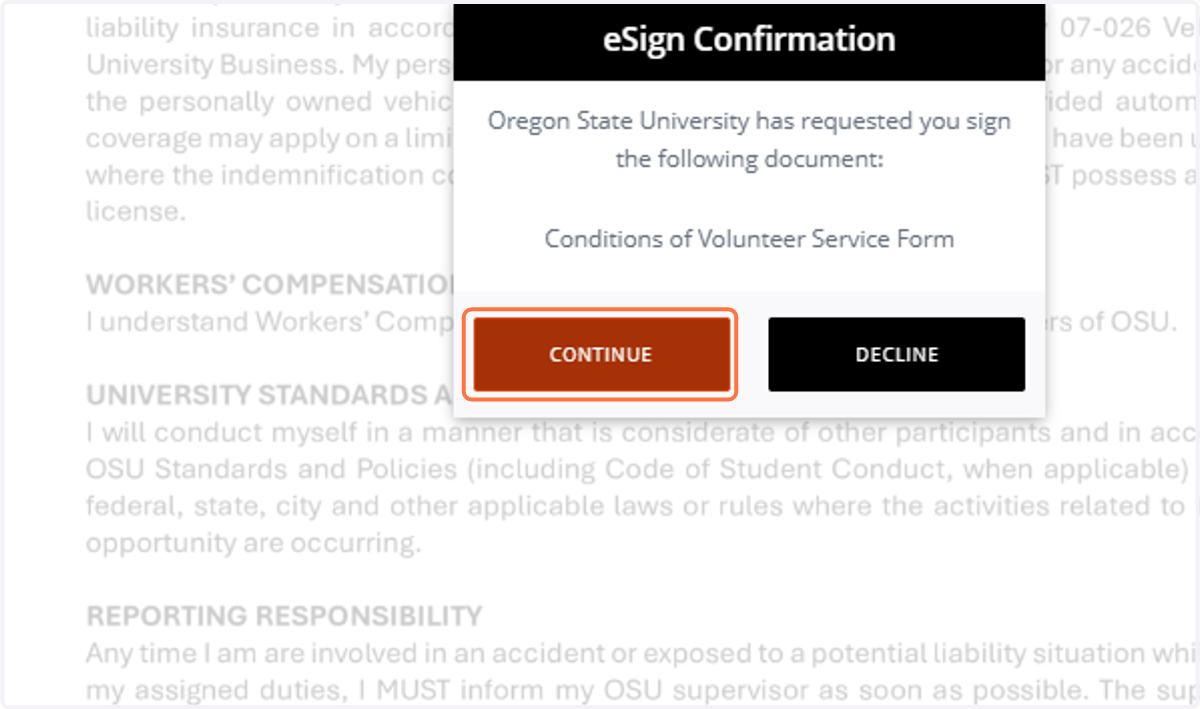
15. The next form is the Conditions of Volunteer Service form.
Please fill out the form as prompted. In this example, we are demonstrating a non-youth volunteer. For a youth volunteer, the form will be automatically forwarded to the legal guardian for signature. Please click on “Conditions of Volunteer Service Form” as shown in the screenshot below.
16. Please click “Continue.”
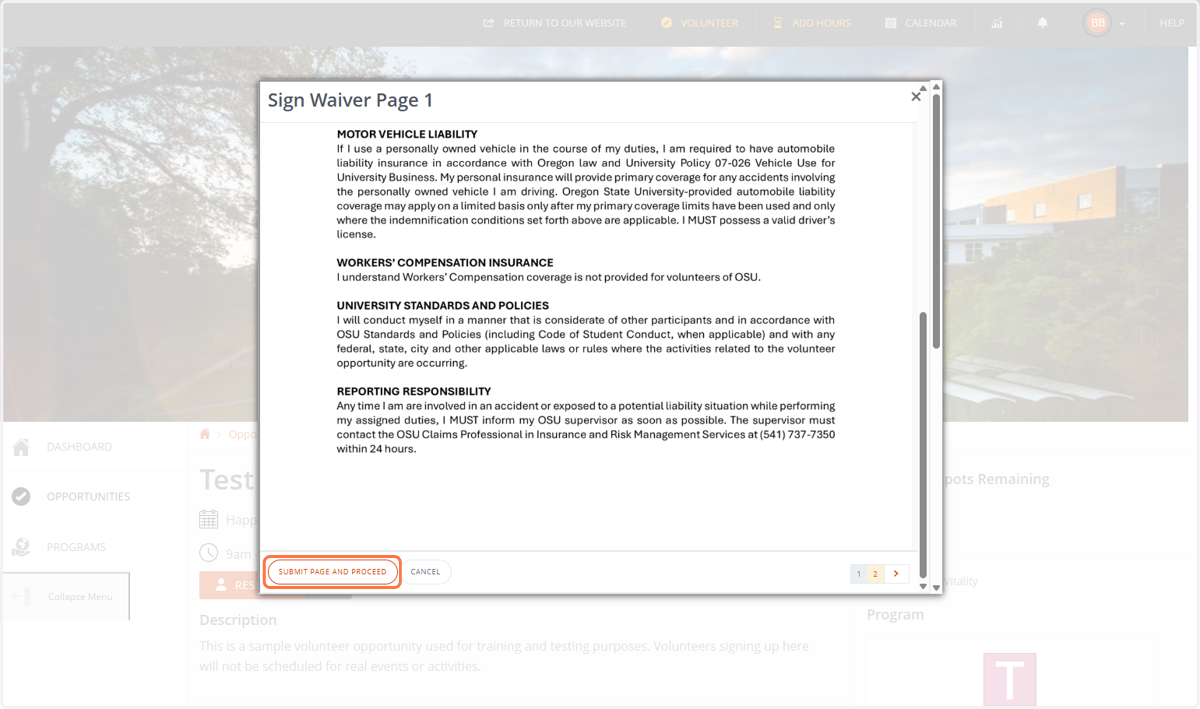
17. The Conditions of Volunteer Service form has two pages. After you read the first page, please click “Submit and Proceed” to continue.
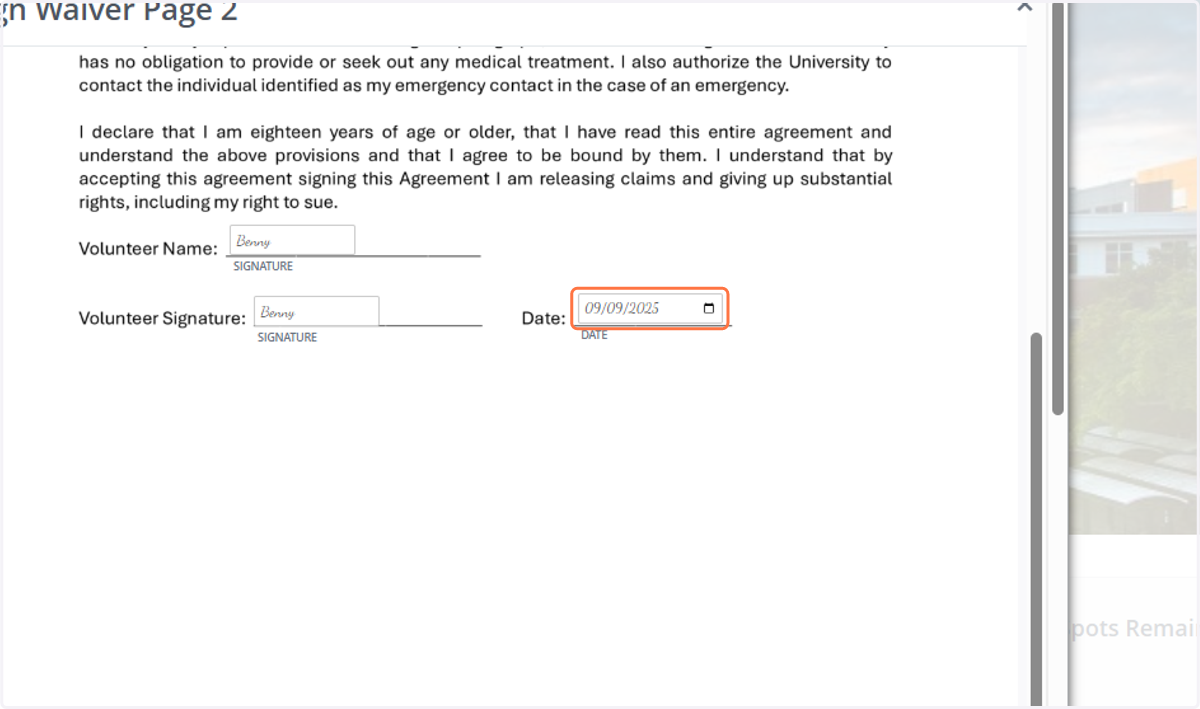
18. 1. Read the second page of the document and scroll down to the signature field. 2. Type your full name exactly as it appears on your photo ID. 3. After the word “Signature,” enter the date and then sign the document by typing your name a second time.
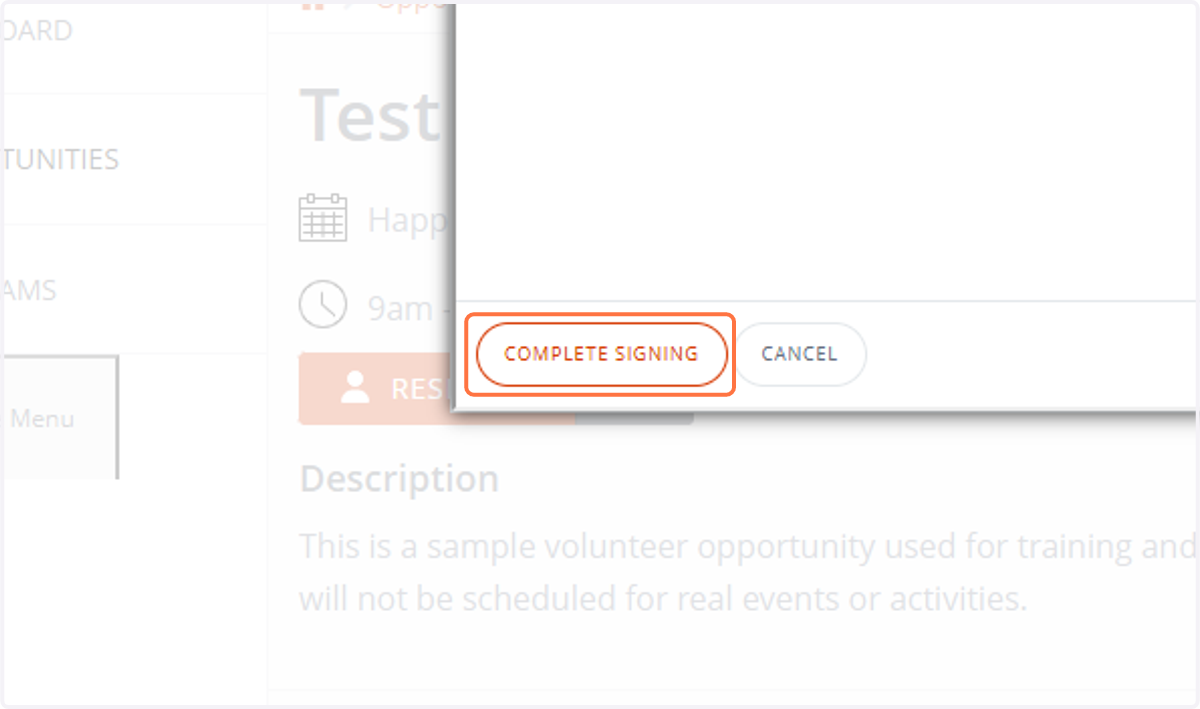
19. Click “Complete Signing”
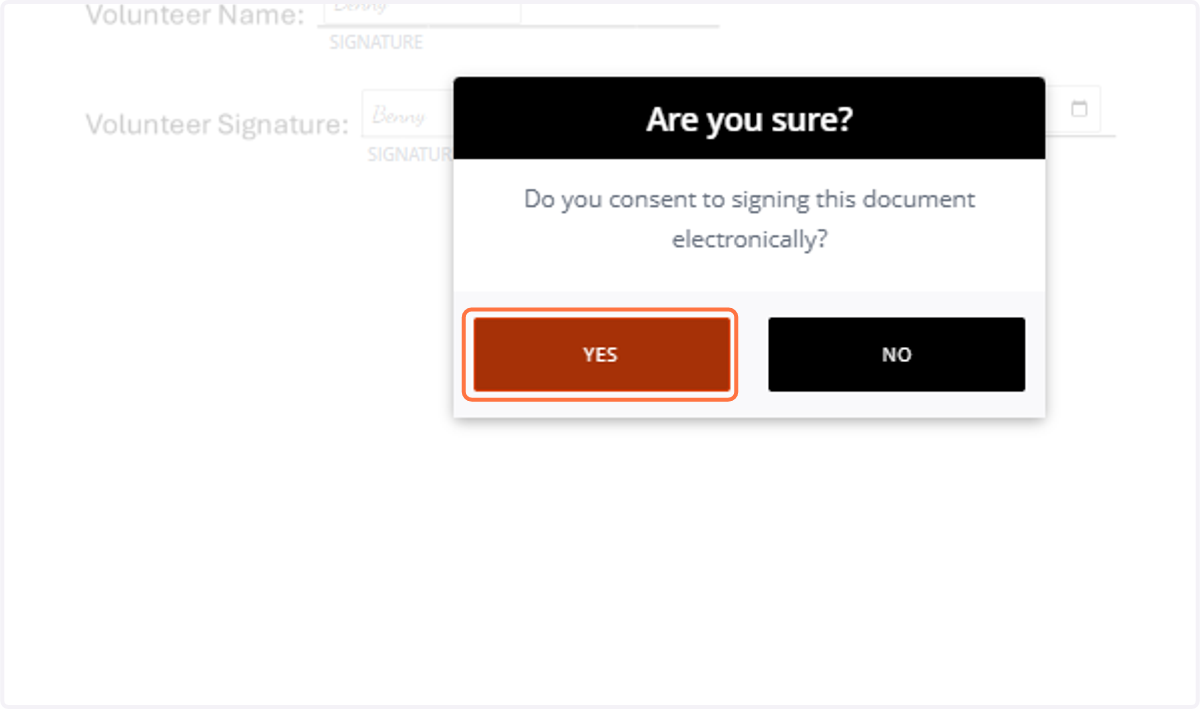
20. Please click “Yes” to continue.
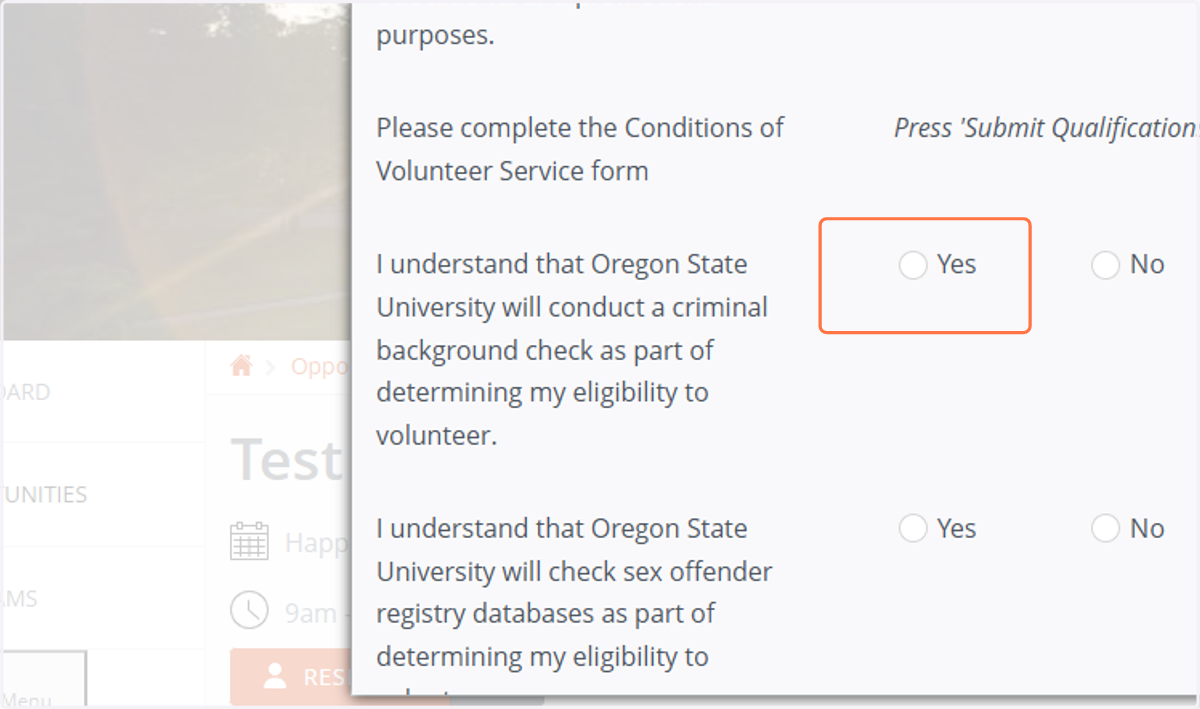
21. Consent to a Criminal Background Check Select “Yes, I consent” to authorize the background check. Note: This is required to proceed as a volunteer.
The opportunity you are signing up for may not include this qualification, as it depends on the access type determined internally. If your opportunity does not require a criminal background check, simply continue to the next step.
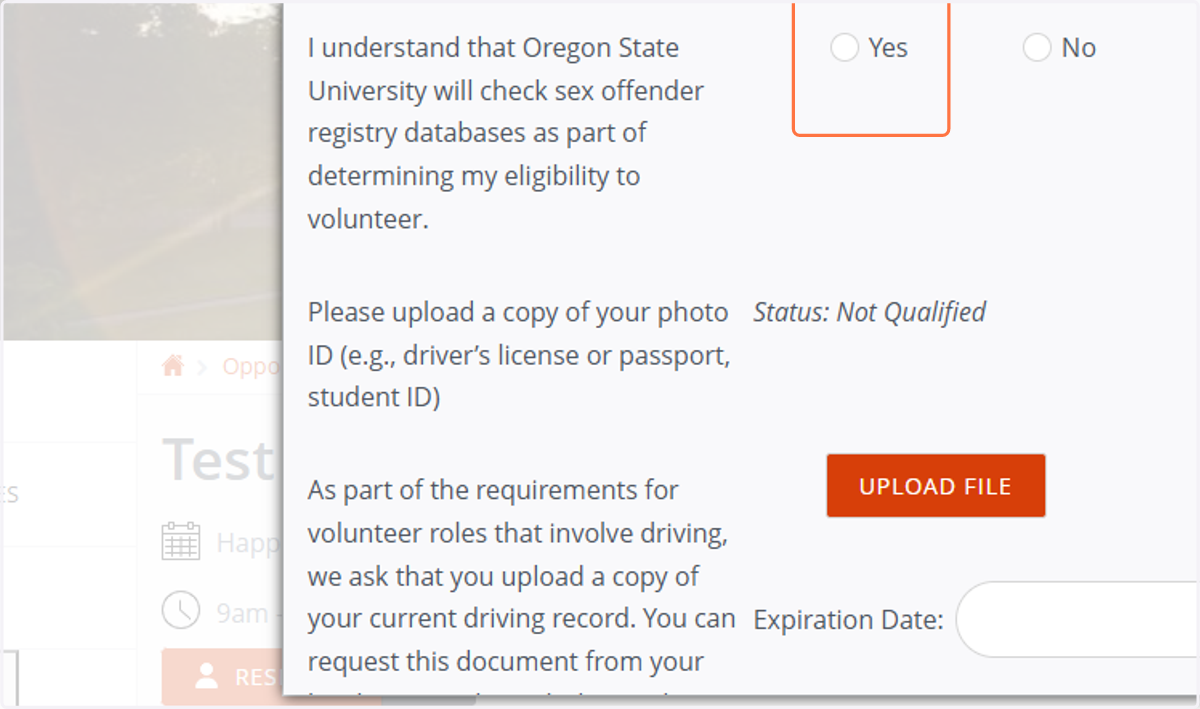
22. Consent to a Sex Offender Registry Check Select “Yes, I consent” to allow OSU to check sex offender registry databases as part of your eligibility screening.
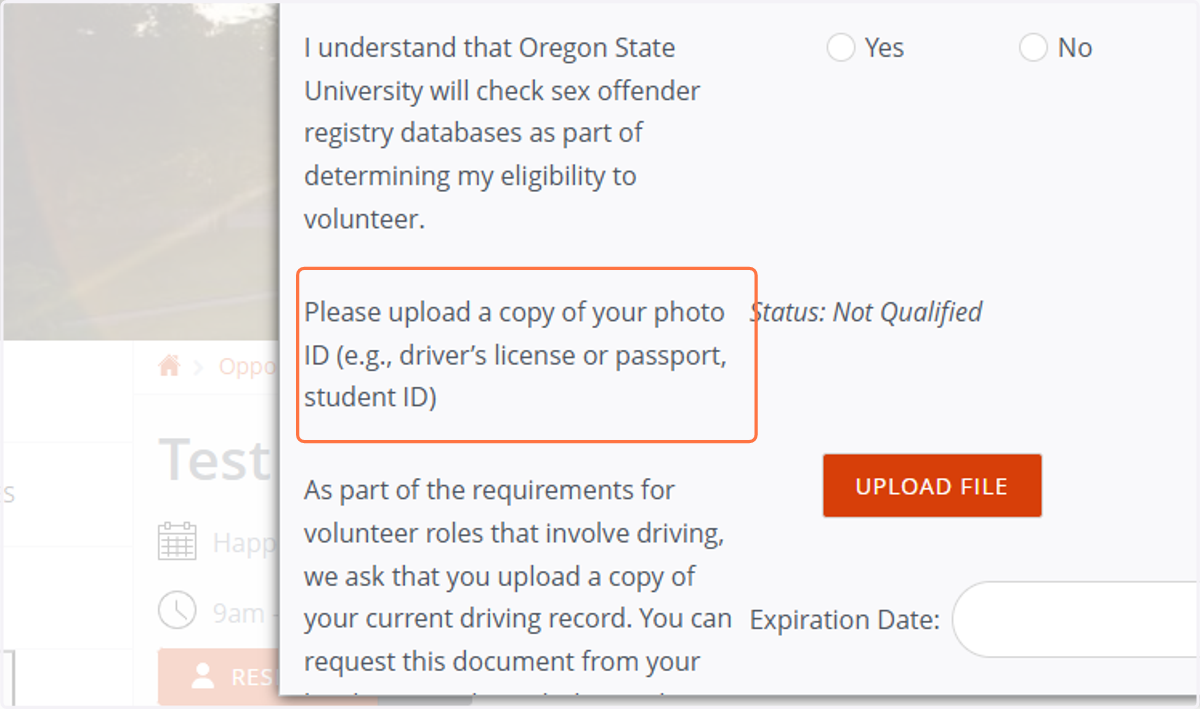
23. You may be prompted to upload an ID if you have not already done so during the signup process. If you have, no action is needed at this point. Your status will show as Not Qualified, Pending, or Qualified, depending on the review stage.
How to Upload Your Photo ID in Volunteer Hub
Choose your ID type:
You can use one of the following:
Driver’s license
Passport
Student ID
Take a clear photo (for driver’s license or passport)
a. Place your ID flat on a table with good lighting.
b. Use your phone or tablet camera. Make sure all text is readable. Take the photo straight on (not at an angle).
Tip: All smartphones automatically save images in a format that works.
Prepare your file
Accepted file types: pdf, jpg, jpeg, png, doc, docx
Make sure your photo or document is saved on your device and ready to upload.
Tip:
Make sure the file is saved on the device you are using. If you took the photo on your phone but are logging in from a computer, you can email the photo to yourself and save it to your computer before uploading.
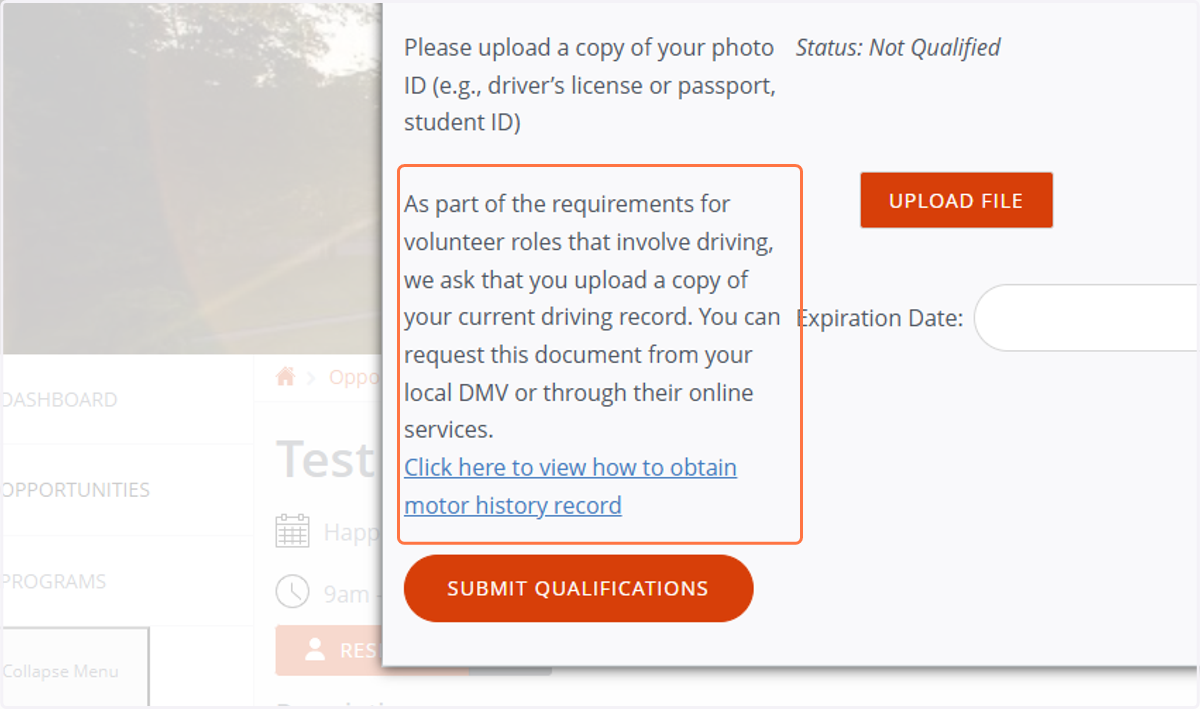
24. (If applicable) Upload Driving Record For roles involving driving, upload a copy of your current driving record using the “Upload File” button and enter the expiration date. You can request this record from your local DMV or their website.
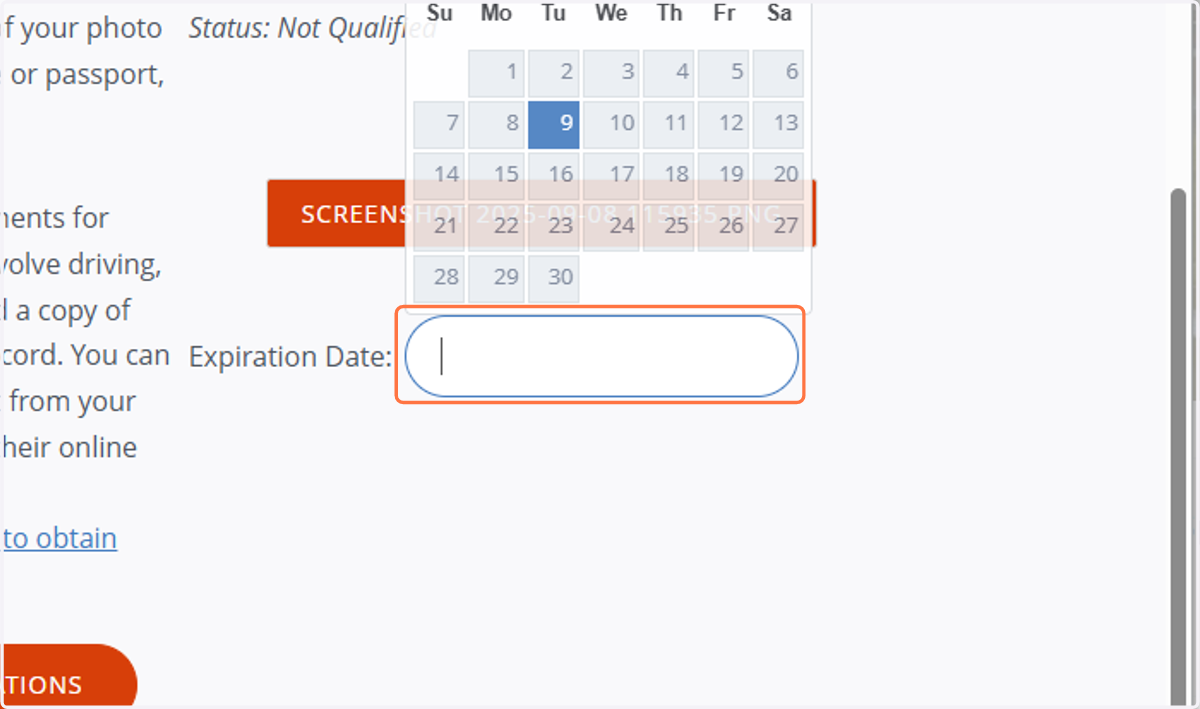
25. Please enter the expiration date of your driving record.
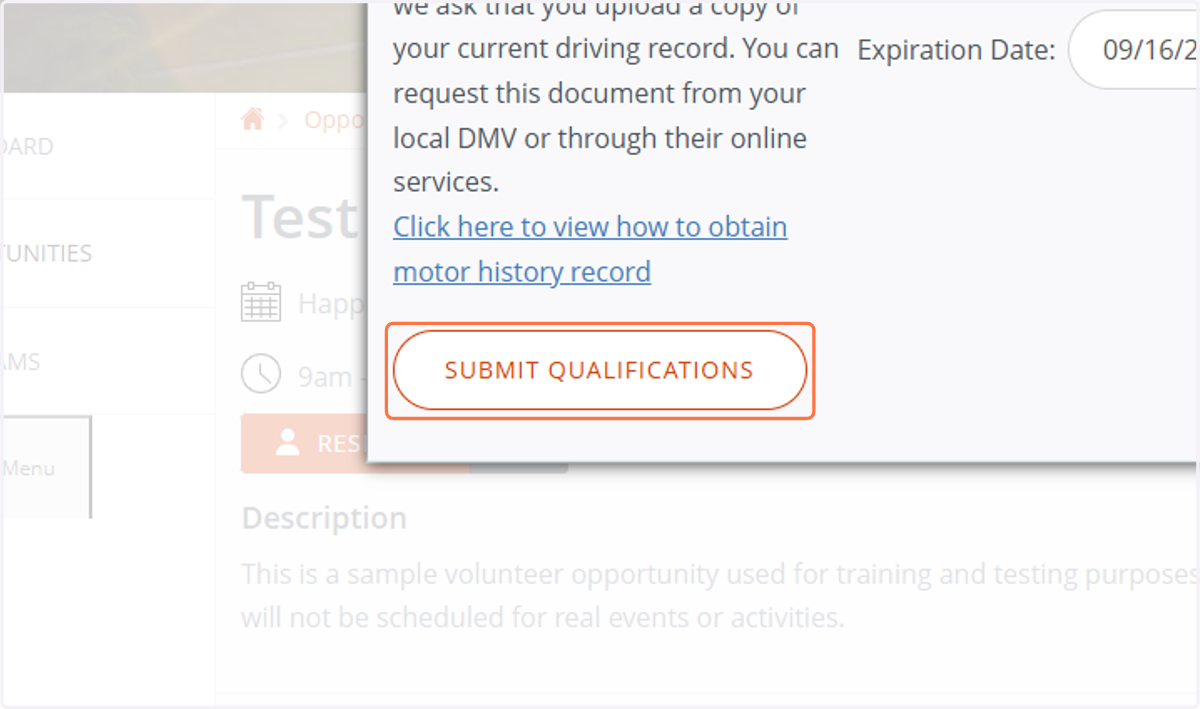
26. Click “Submit Qualifications.”
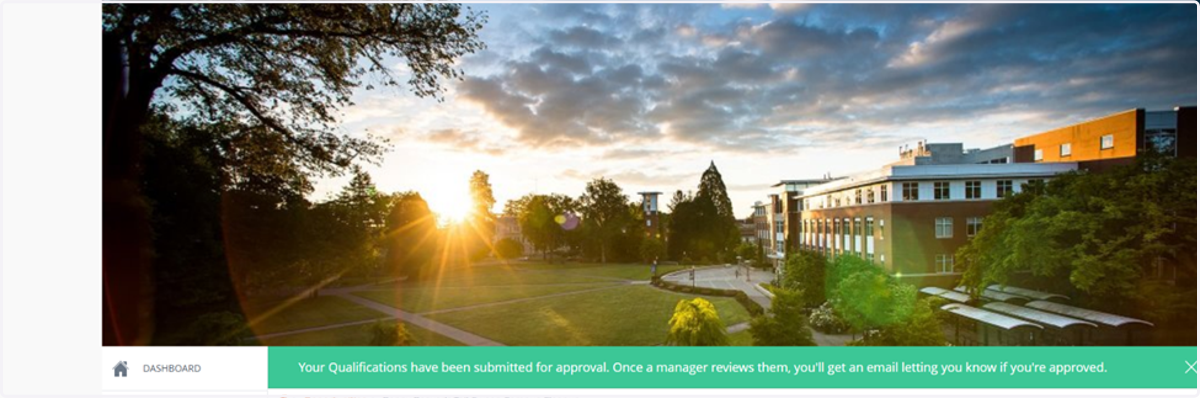
27. Once you've completed and submitted your qualifications, you'll be redirected back to the opportunity page
At the top of the screen, you will see a green banner message stating:
"Your Qualifications have been submitted for approval. Once a manager reviews them, you'll get an email letting you know if you're approved."
This confirms that your qualifications are under review. You do not need to take further action at this point.
28. Watch for Qualification Approval Emails
After your submitted qualifications are reviewed and approved by a site manager, you will receive email notifications confirming the status of each item.
These emails will come from volunteers@oregonstate.edu and include the following details:
Qualified — Your submission was approved. You are now eligible to respond to opportunities requiring this qualification.
Resubmit — Your submission was not approved. The email will include a link to update and resubmit your information.
Be sure to check your inbox for messages labeled “Your Qualification Response” and follow additional instructions.
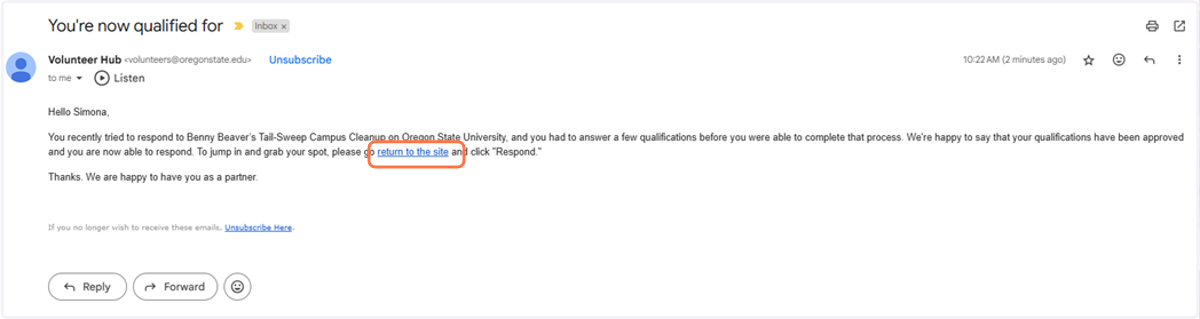
29. After your qualifications are approved, the confirmation email will include a link that brings you back to the opportunity page.
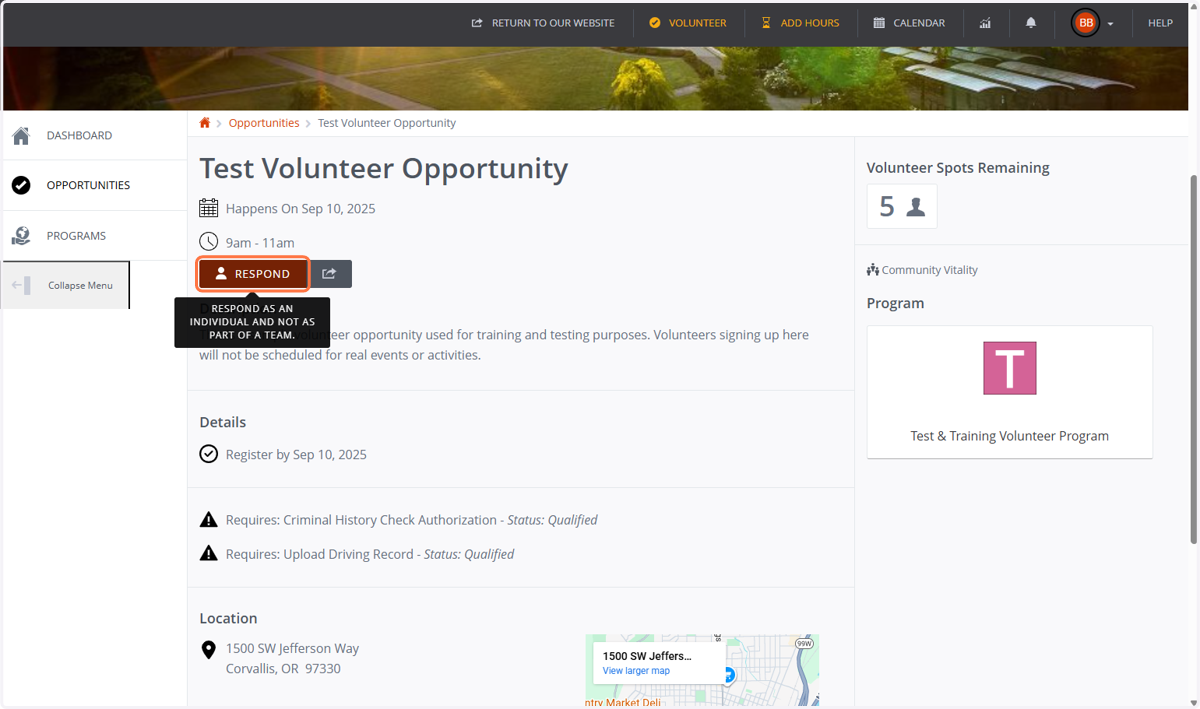
Click the link in your email to return directly to the opportunity, or log in to the Volunteer Hub and search for the opportunity. Once you are on the opportunity page, click the “Respond” button again.
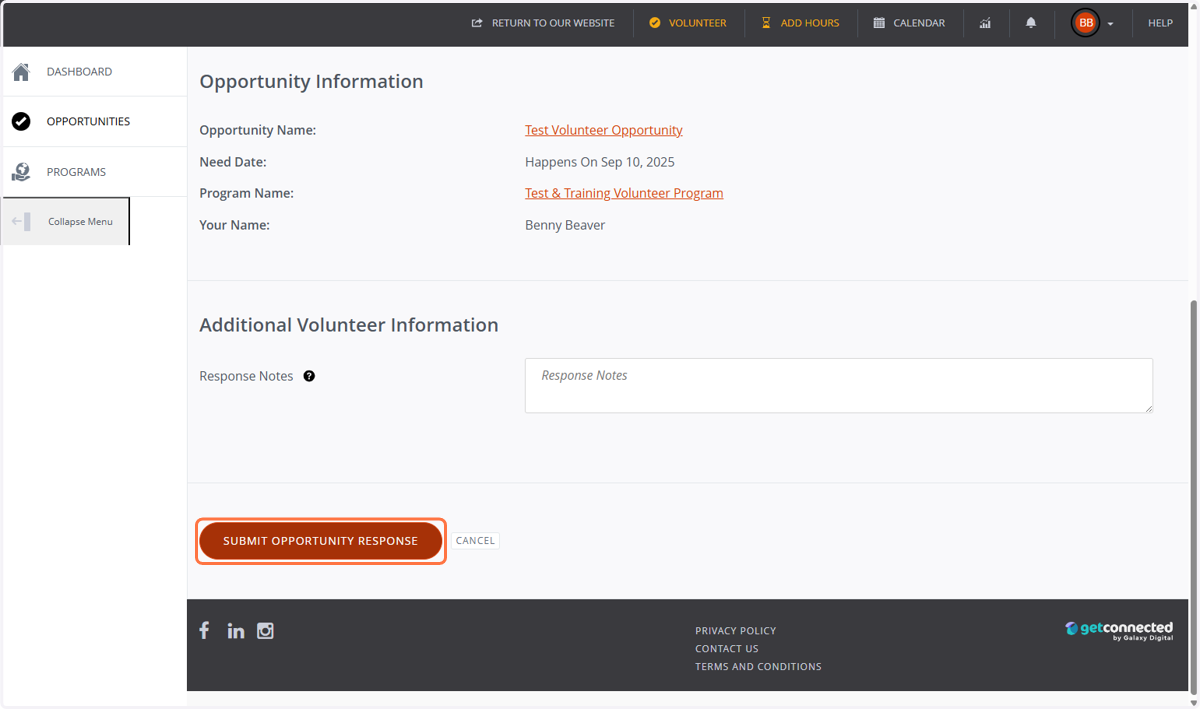
30. You’ll be taken to the Opportunity Response page, where you’ll see your name and program details pre-filled. Optionally, add any Response Notes in the text box. Click the “Submit Opportunity Response” button to complete your sign-up.
31. Once you've successfully submitted your opportunity response, a “Thank You For Volunteering” message will appear on your screen.
From this screen, you can:
Add the event to your personal calendar
Click the “+ Add to Cal” button to create a calendar event with the opportunity date and details.Share your participation
Click the “Share” button to let friends and family know about your volunteer activity and encourage them to get involved too.
This confirms your sign-up is complete and helps you stay organized and inspire others.
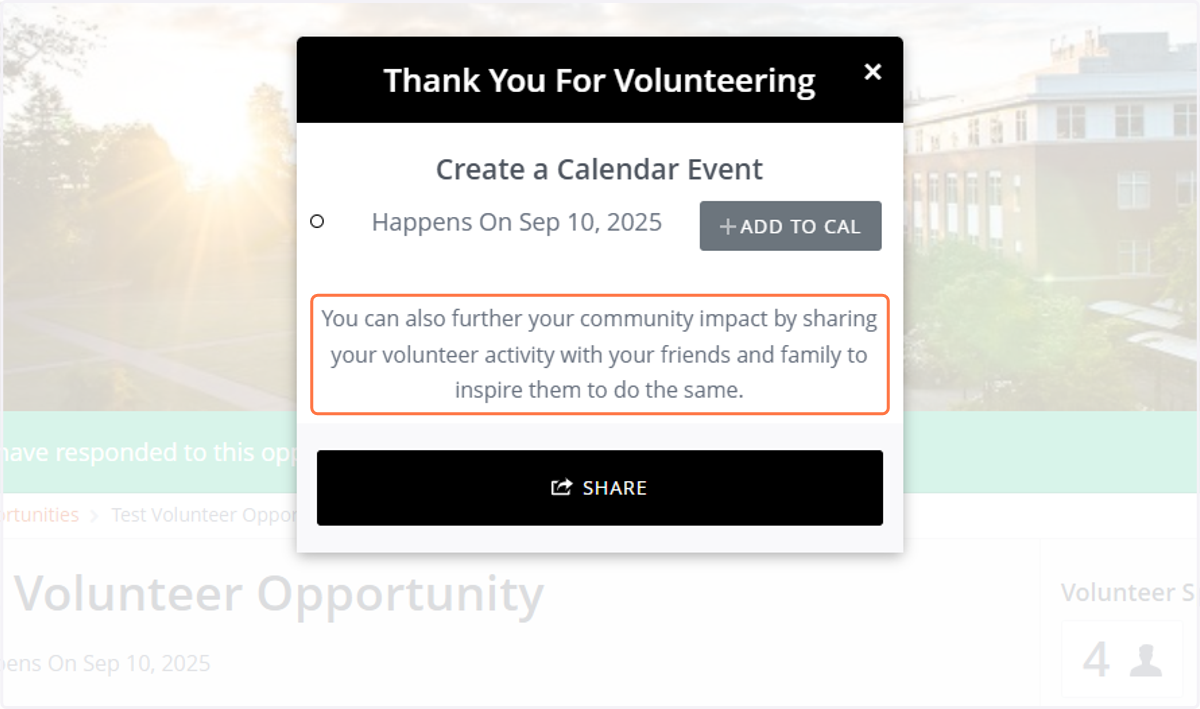
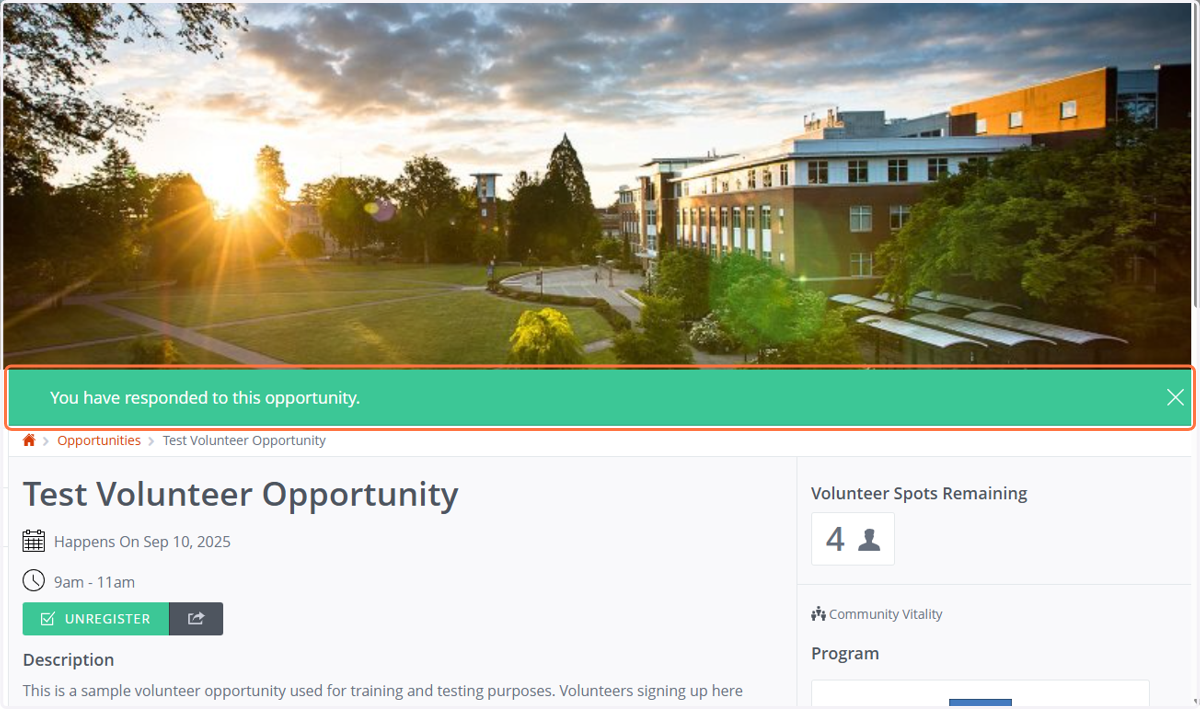
32. You will see a green bar at the top of the screen with the message “You have responded to this opportunity.” Congratulations!