Photo Catalog - Navigation, Sharing and Downloading
You will learn about how to navigate the photo catalog, along with sharing and downloading photo assets.
Home | Appalachian State University | Mediagraph
You will need to be logged in before continuing
Navigation
Below you will learn how to navigate the photo catalog.
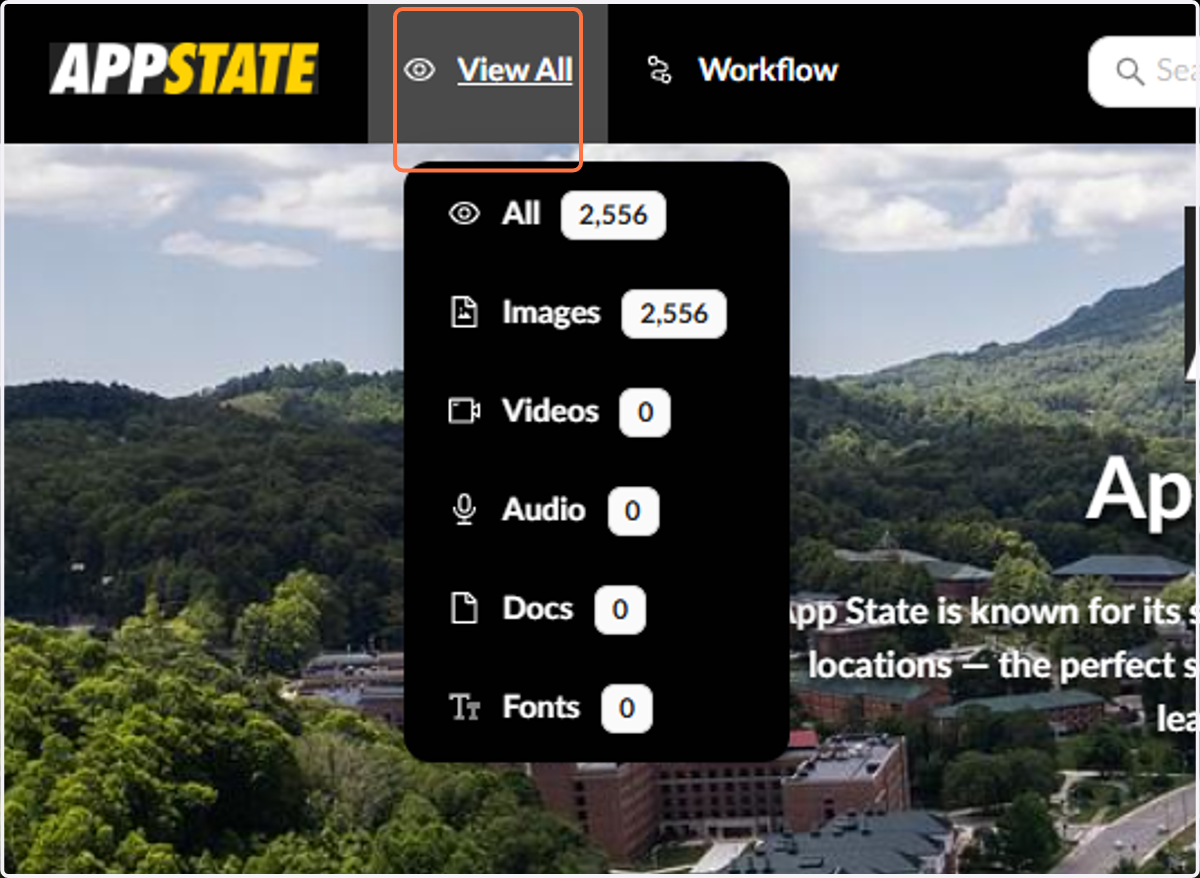
1. Click on View All
Clicking View All will allow you to browse the photo catalog.
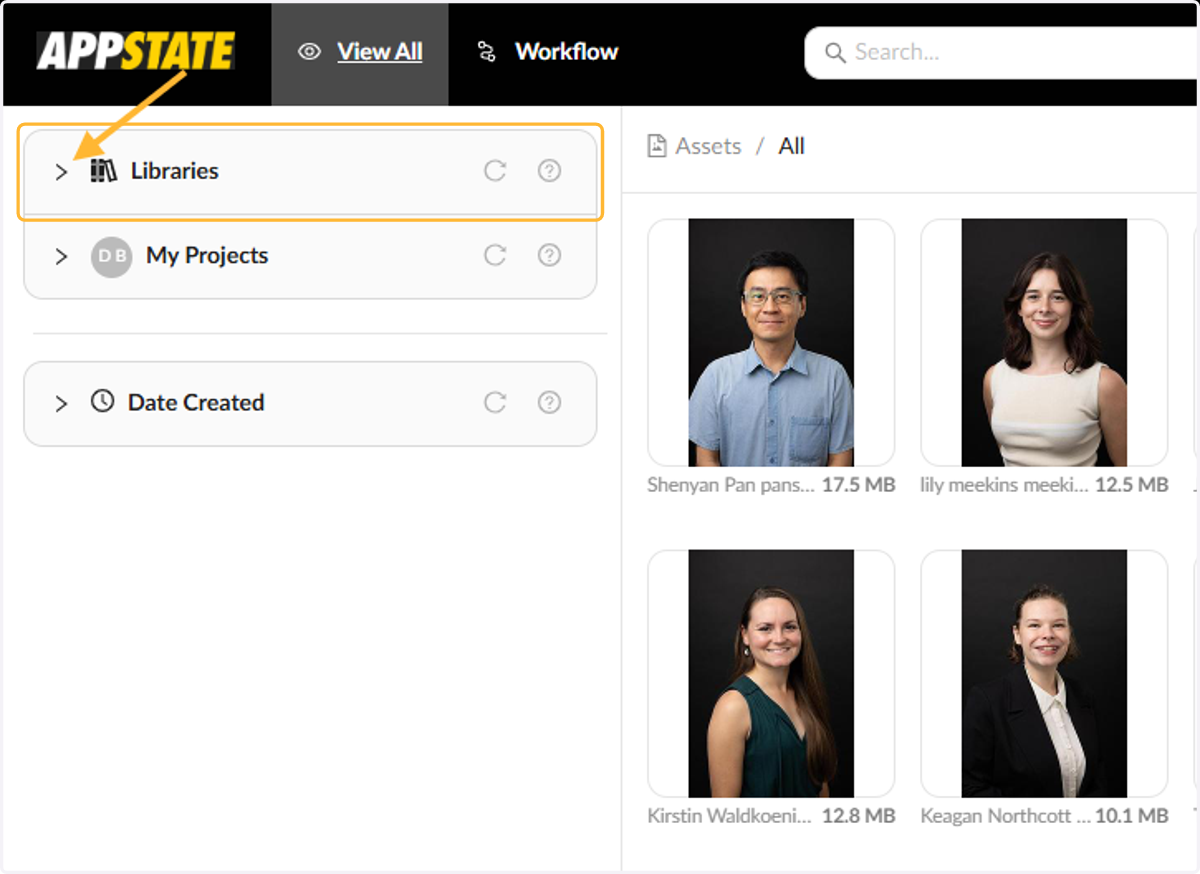
2. Click on Libraries
On the left hand side you will find libraries. You can click the caret to expand the Libraries section.
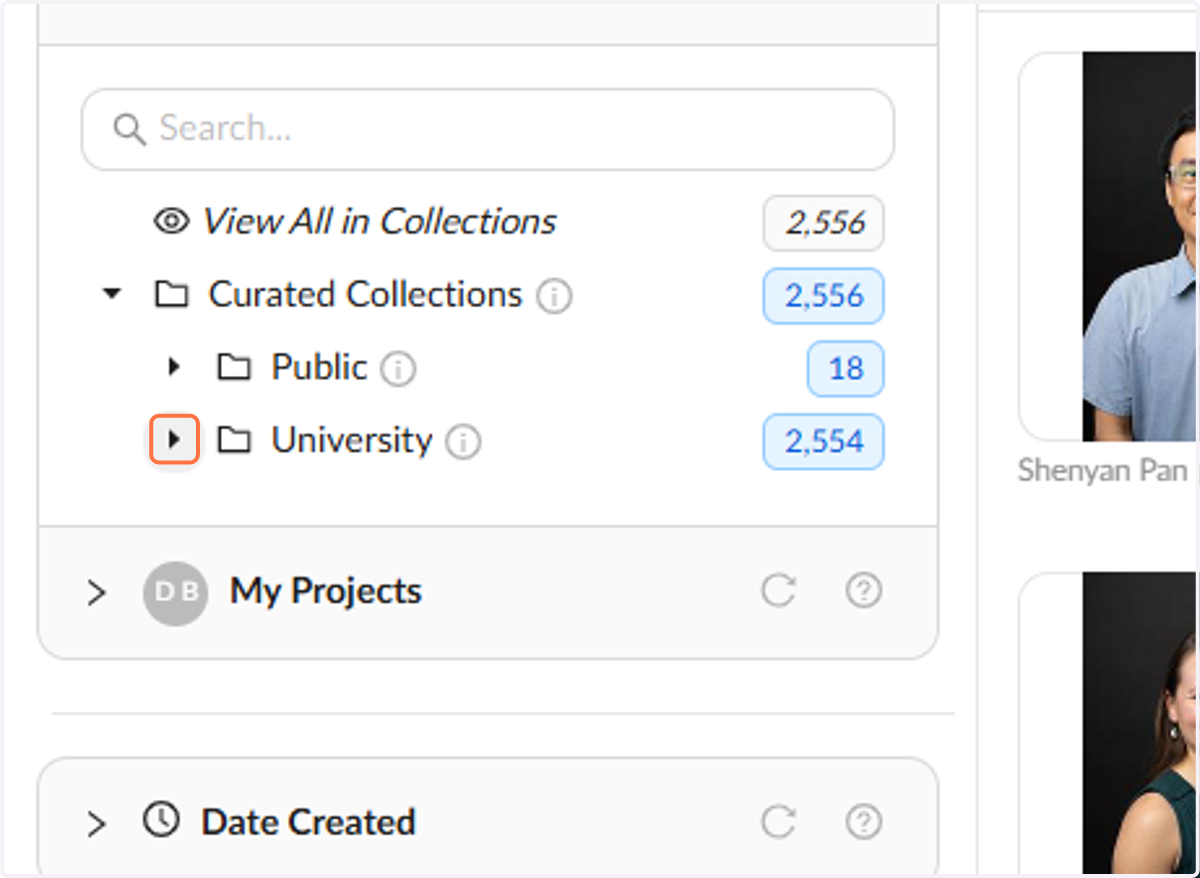
3. Click on caret-down
You can continue clicking on the carets/arrows to expand the folder structure.
4. Choose a category to view photos
Photos are broken out into various categories. You can click these to view the photos in that category.
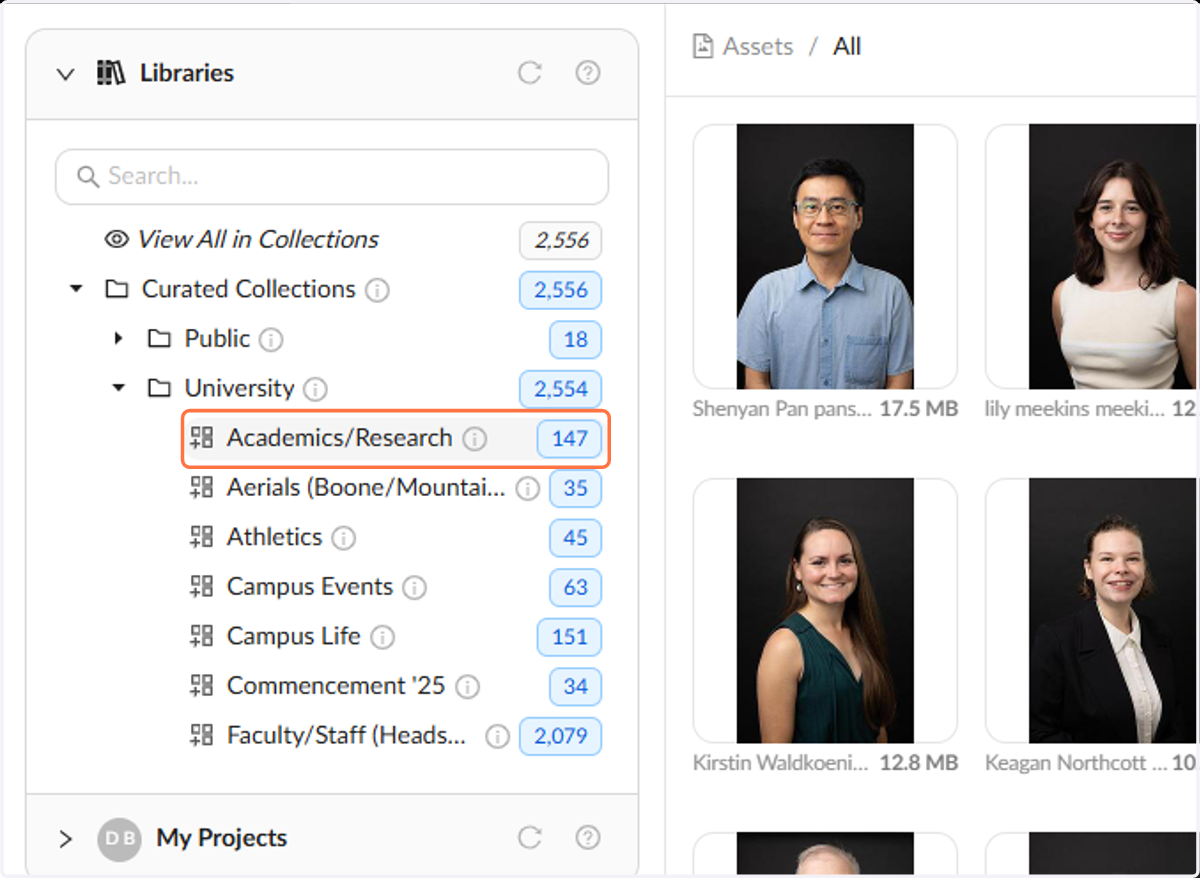
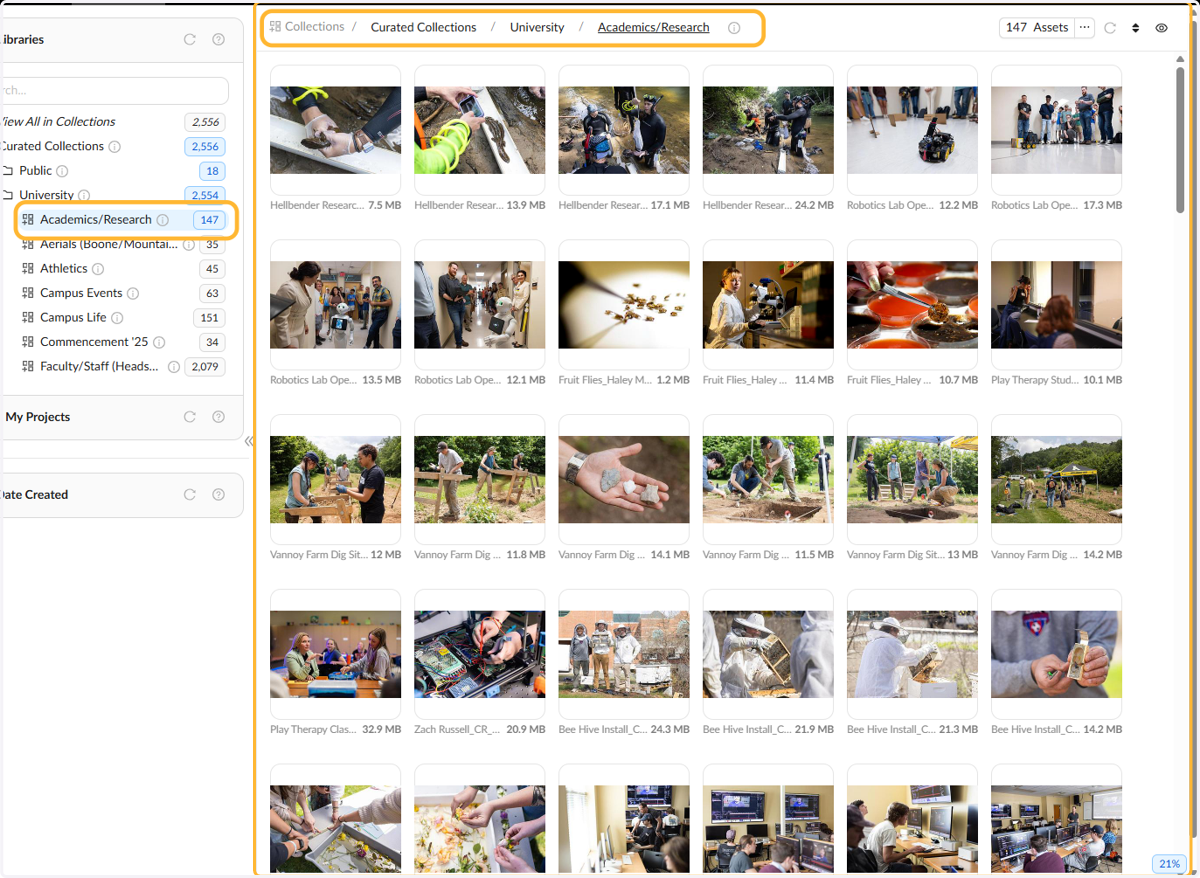
5. In the middle panel you will see the photos.
In the left panel you can see that Academics/Research is currently selected, indicated by the blue highlight. In the middle panel near the top you can also see a path showing what photos you are currently viewing.
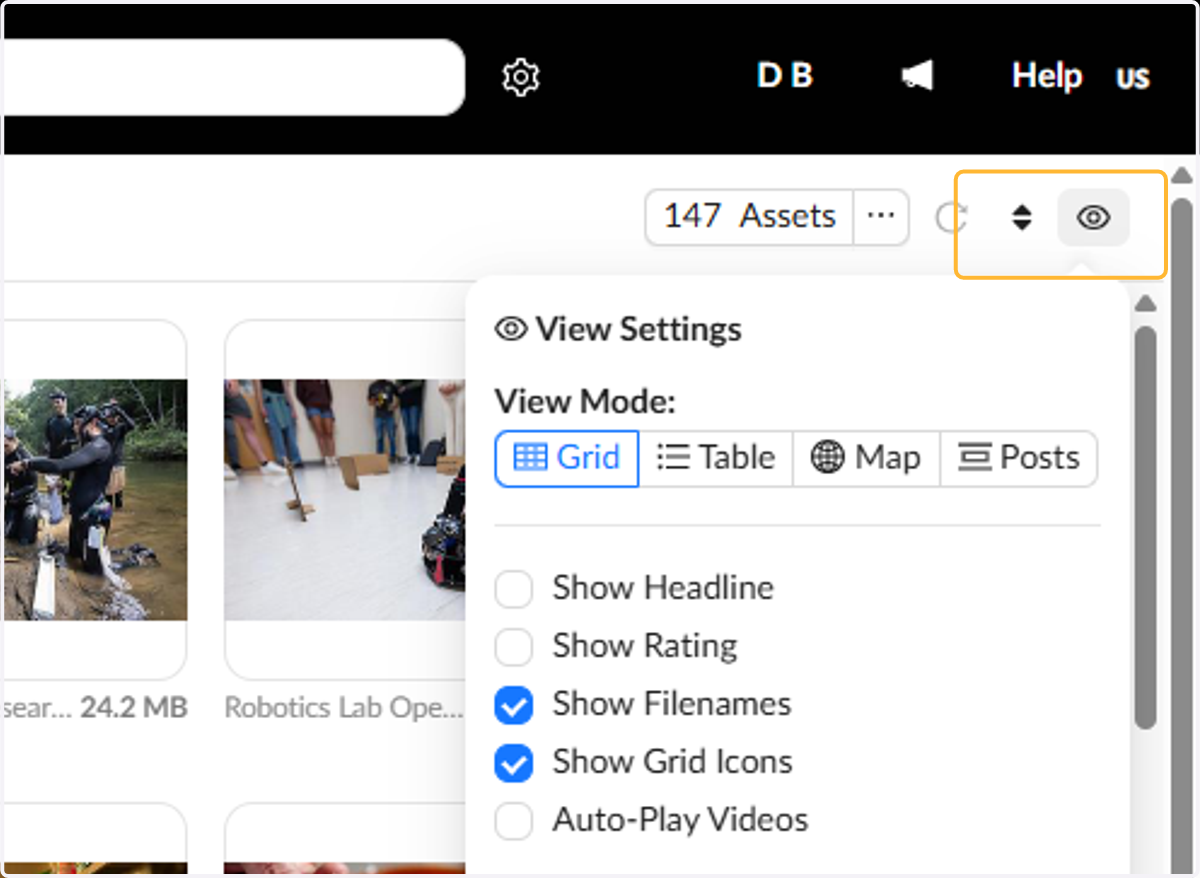
6. Changing you view settings by hovering the "eye icon" or the "arrows icon"
Changing these settings will let you customize how you view the photos shown in the middle panel. For example changing to a table view or sorting files from A to Z.
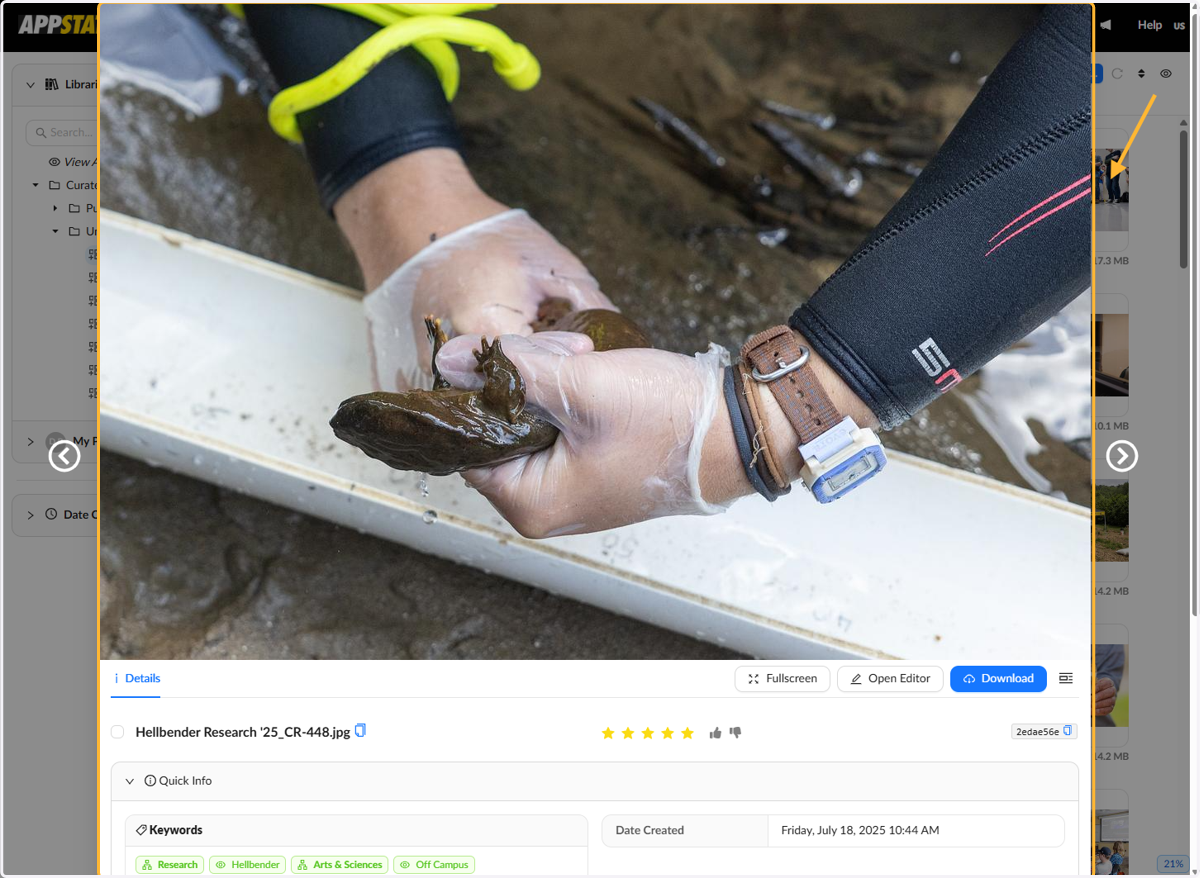
7. Double click a photo to enlarge it.
In the middle panel you can double click photos to enlarge them. You can can also the left and right arrow icons to view the next or previous photo. Your keyboard left and right arrow keys will work as well.
Downloading Photos
Below you will see the steps to download photos
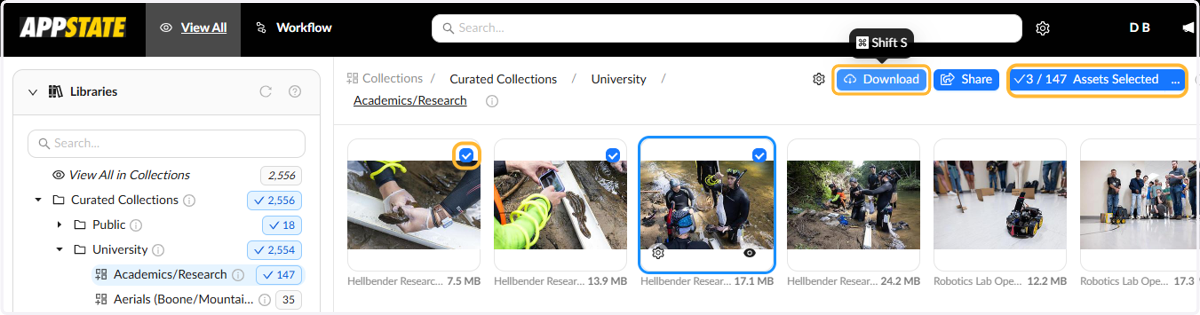
8. Select and Download photos
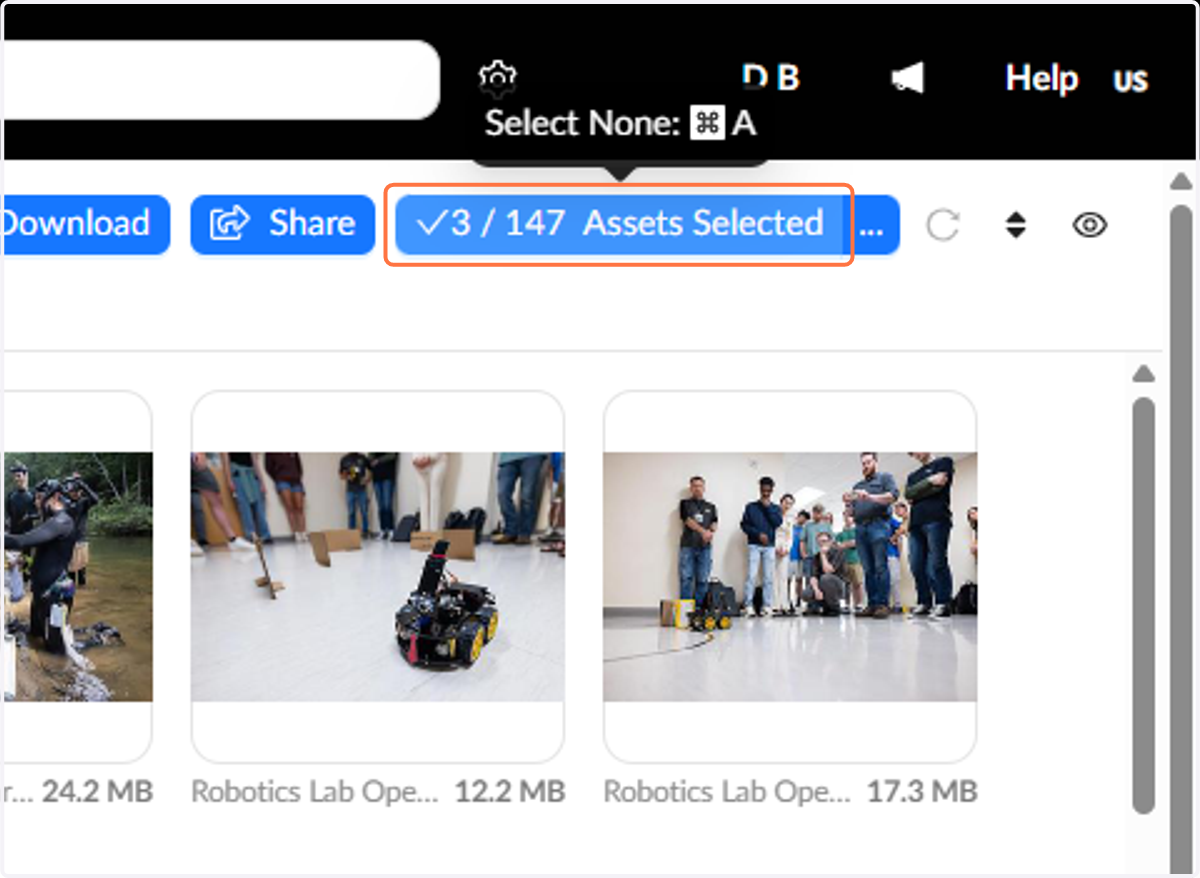
You can single click photos to select them. You'll see a blue check mark icon on selected photos. In the top right you can also see a count of selected items, showing as "3/147 assets selected" in this example screenshot. You can download selected items using the Download button.
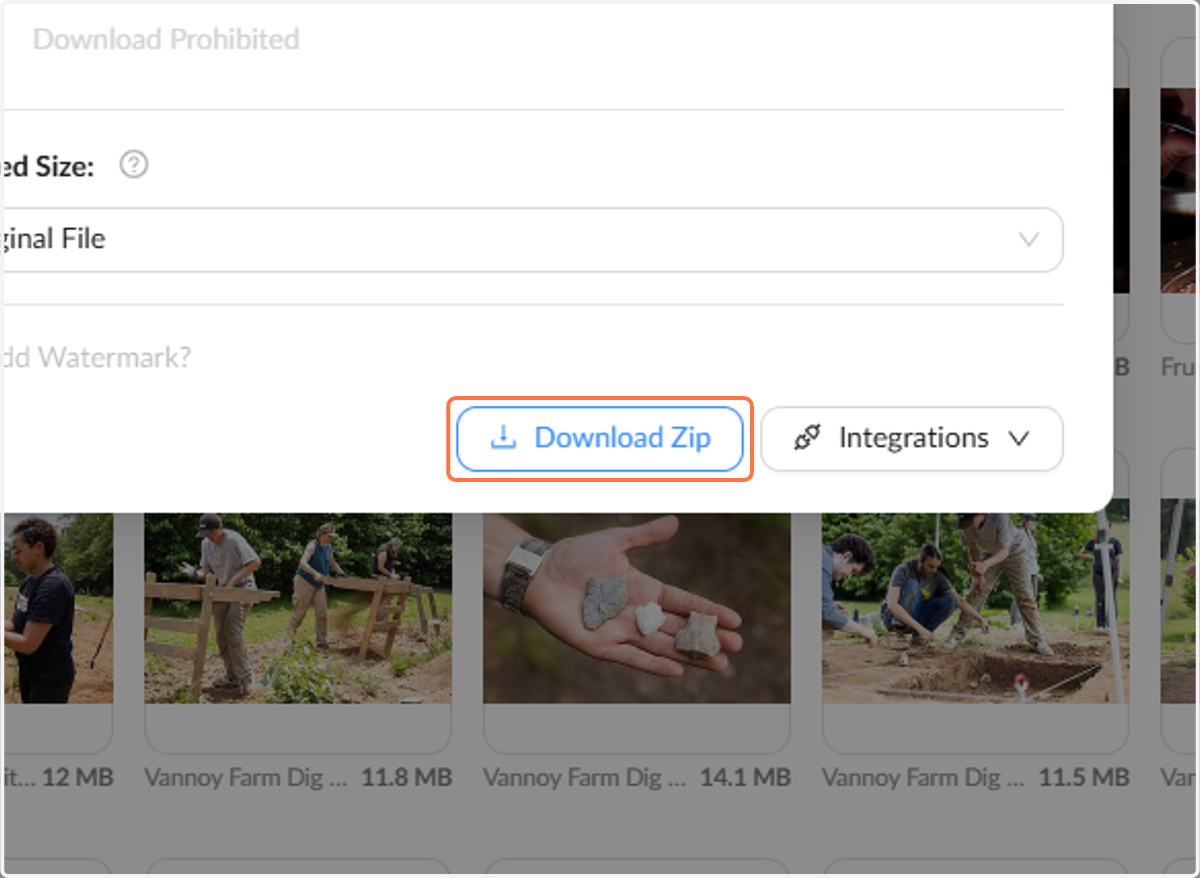
9. Click on Download Zip
When you download multiple files they may be in a Zip file. Otherwise you may also be provided a JPG image.
10. Click on Assets Selected to de-select all items
Sharing Photos
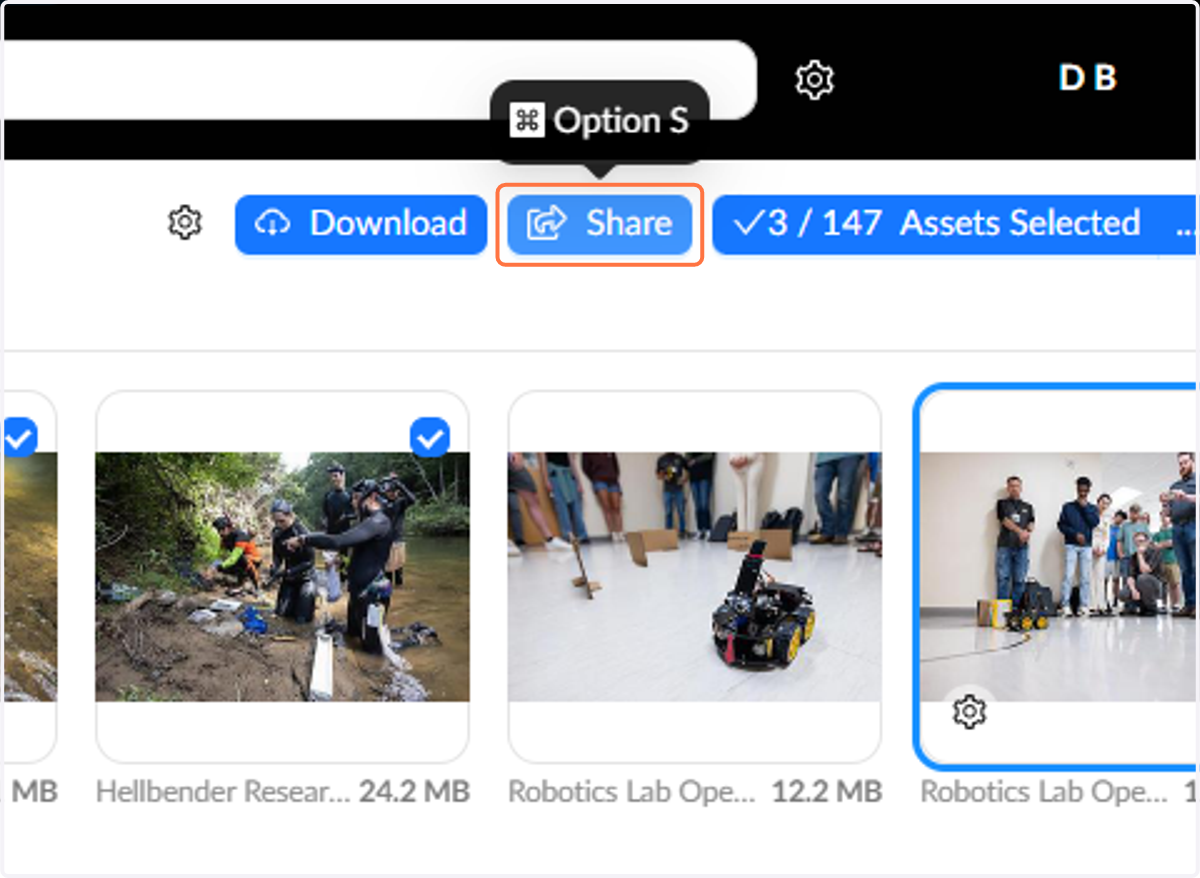
Below you will see how to use the share feature to generate a link you can email or provide to others so they can view and download photos.
11. Click on the Share button to generate a share link
12. You can give your share a subject/title and a message.
When others open your link they will see your subject/title and message. It's a good idea to fill out these fields because later when you look at your list of shares it will serve as a reminder.
You can customize several options from here as well like the size of the images provided, ability to download, etc.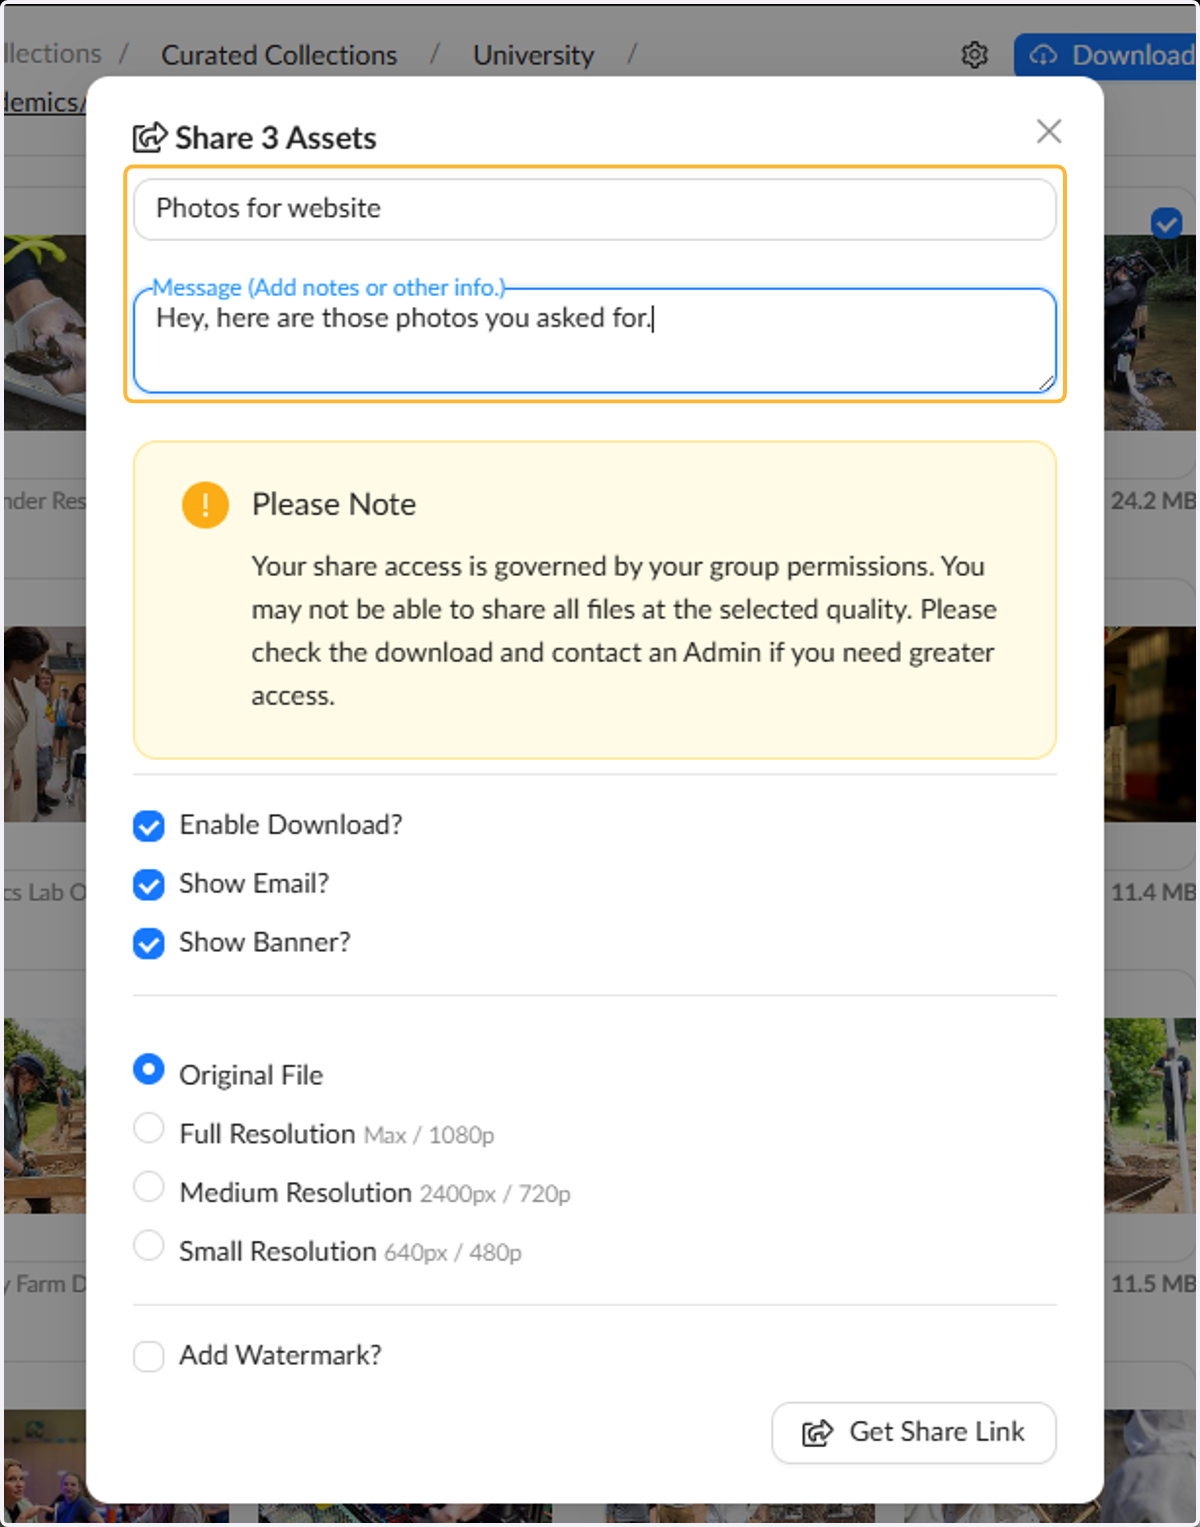
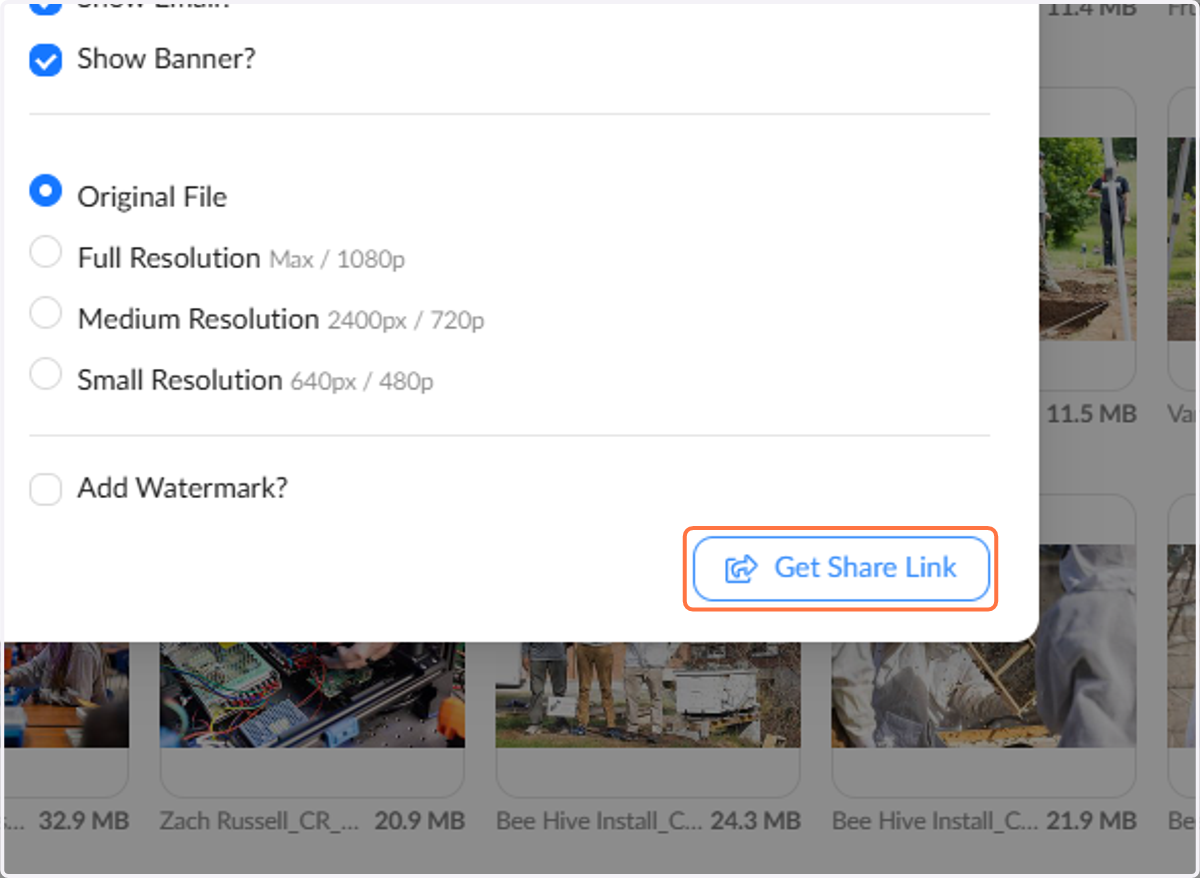
13. Click on Get Share Link
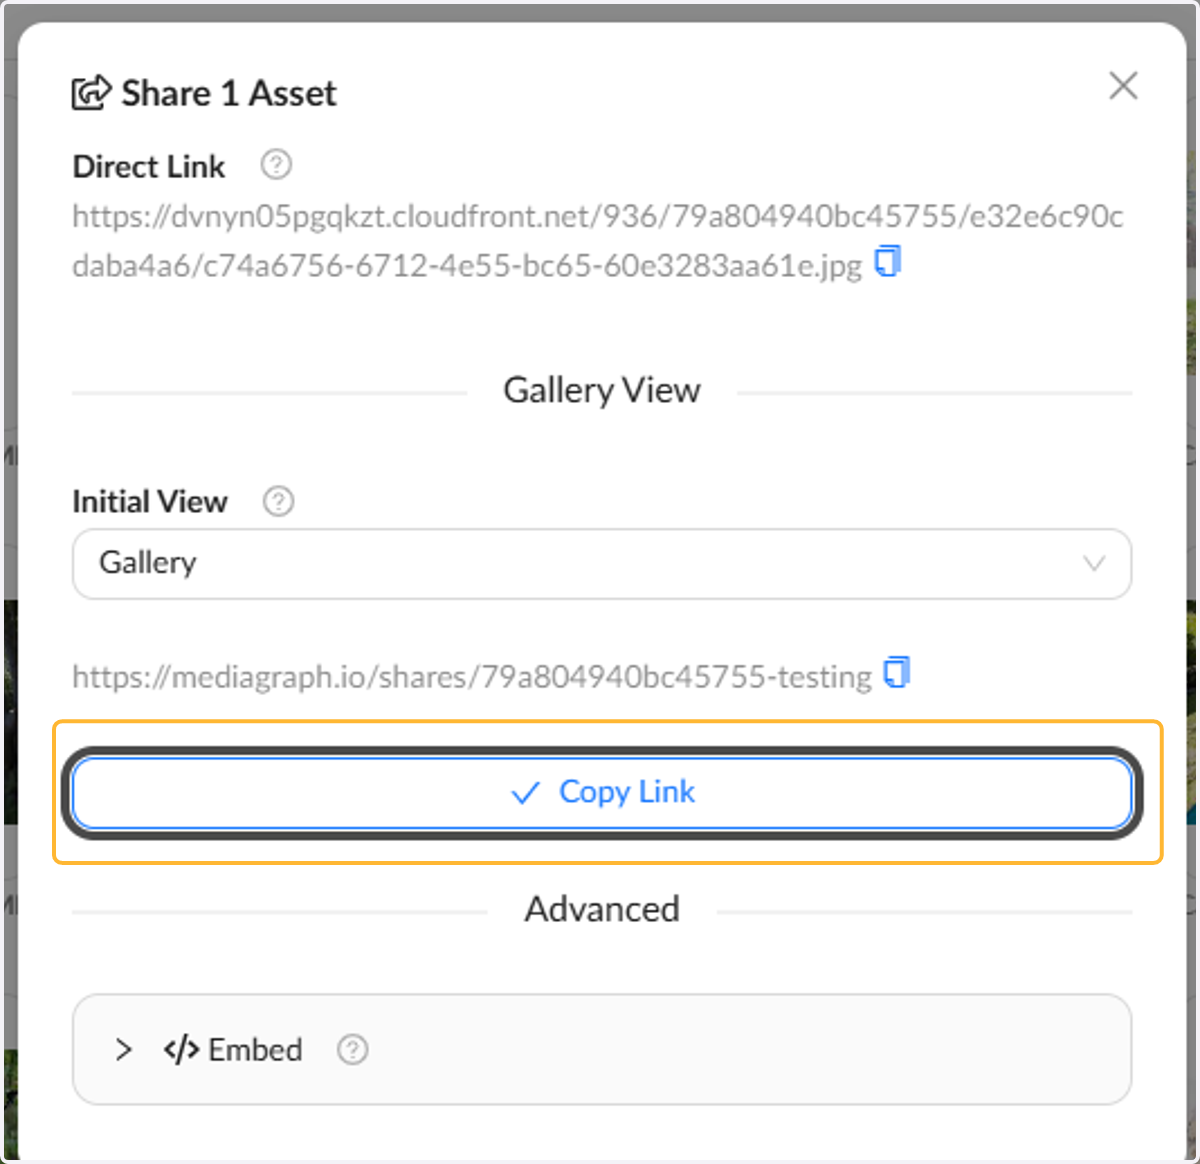
14. Use the Copy Link button to get your link
Viewing your previous share links in My Shares
Whenever you generate a share link it will be stored in your "My Shares" for you to find later.
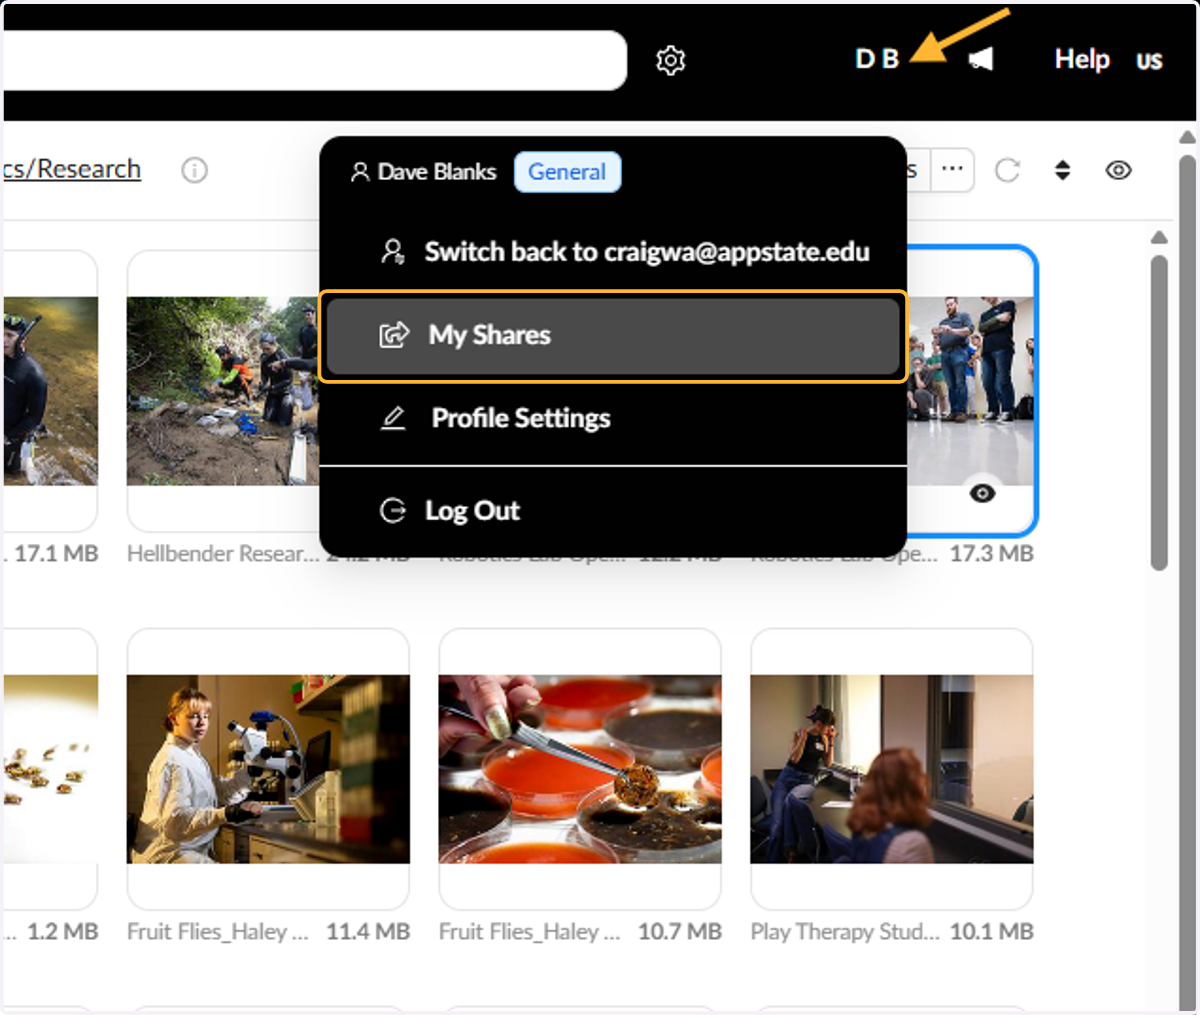
15. Click on My Shares
You can hover over your profile initials or icon to find "My Shares". Any share links you have generated can be found here.
16. My Shares menu
You can see the subject/title in the names column.
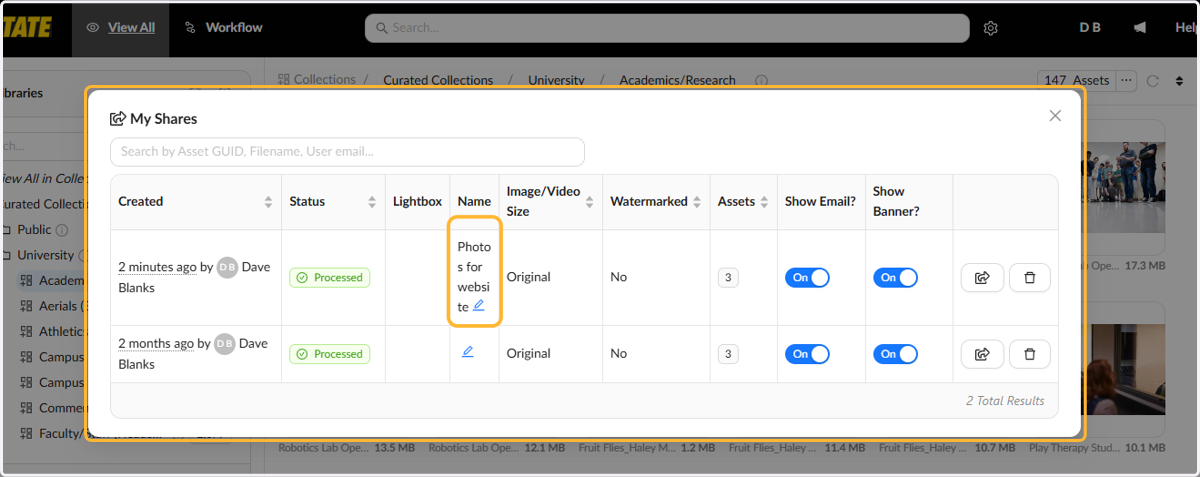
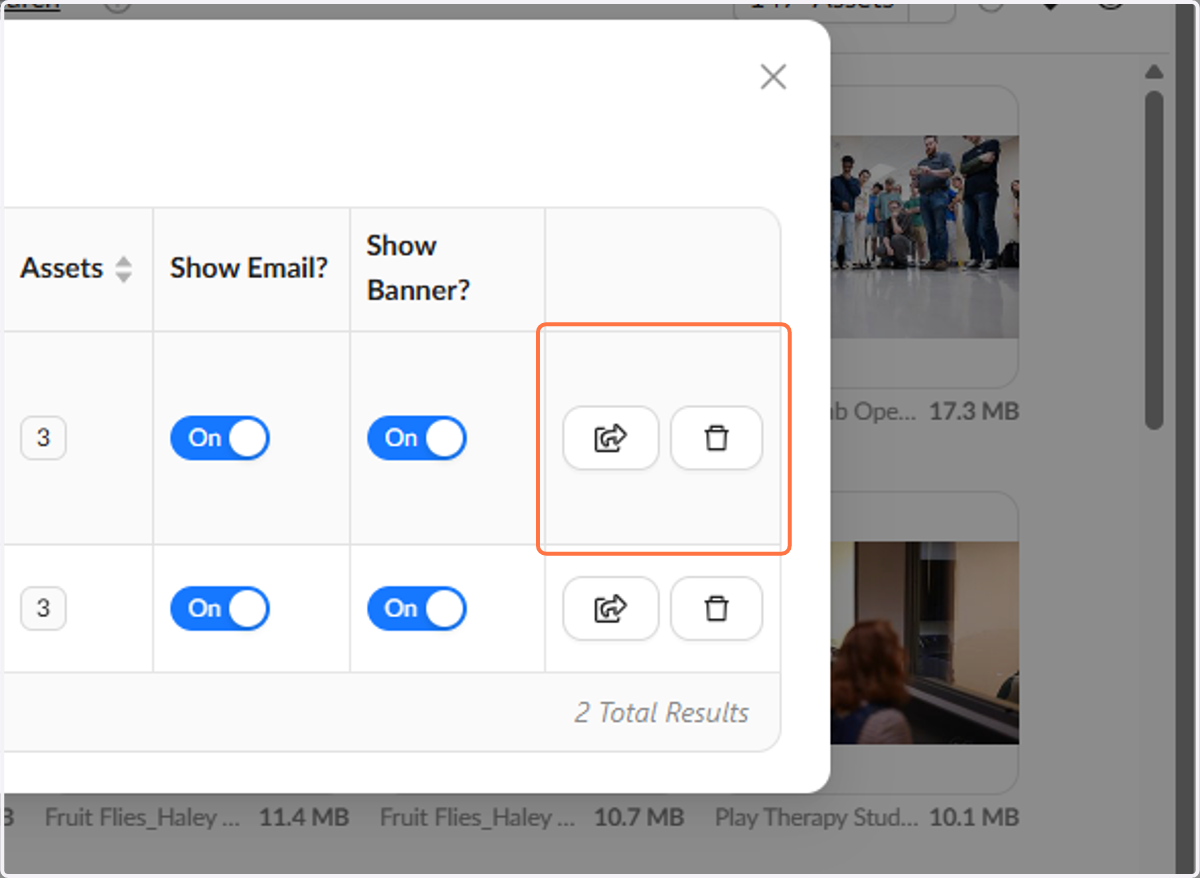
17. Get a share link or delete the share
On the left you will a "Get Link" icon that you can use to get a link to any previous shares you generated. On the right you can use the "Trash Can" icon to delete a share. Doing so will make any share links invalid for that particular share.