Overview of HubSpot's New Navigation for Marketing Users
HubSpot has announced that they are switching over their navigation starting in May. With this update, the navigation will be switched over to the left-hand side of your screen and will have shifted some items around. As you're getting used to the new navigation, we have put together this guide that will walk you through the important elements from a marketing perspective and where they now live.
Accessing Items Under CRM
This includes Contacts, Companies, Lists and Tasks
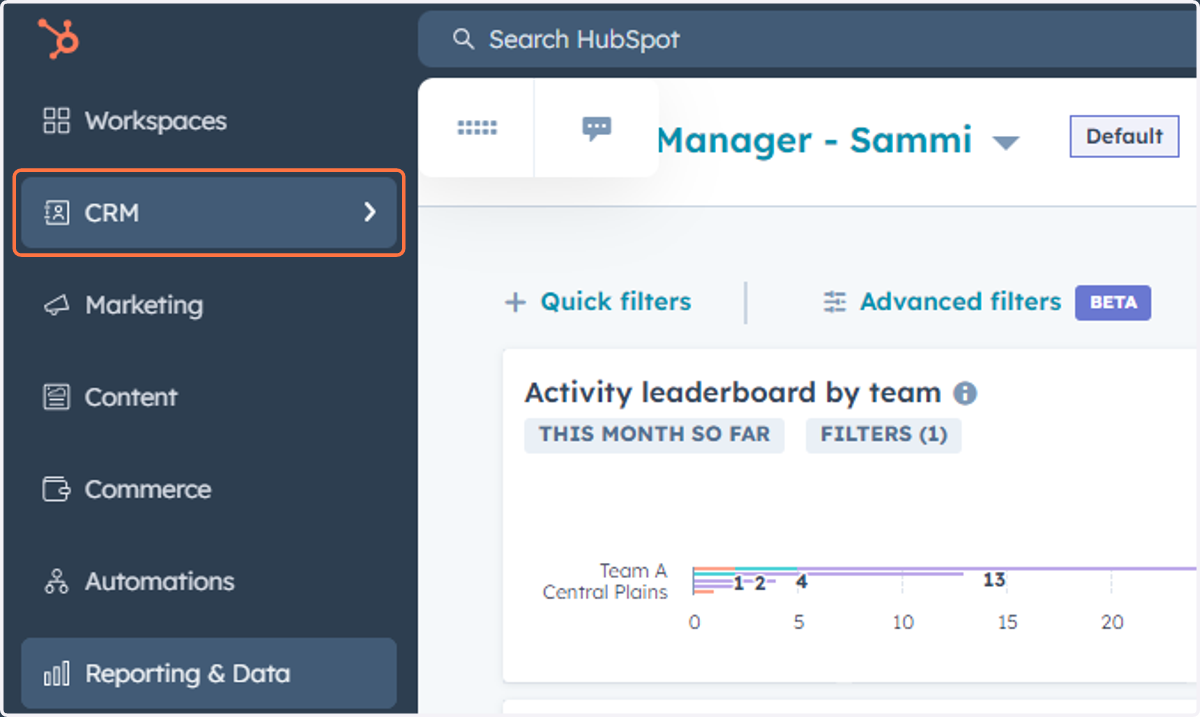
1. Click on CRM
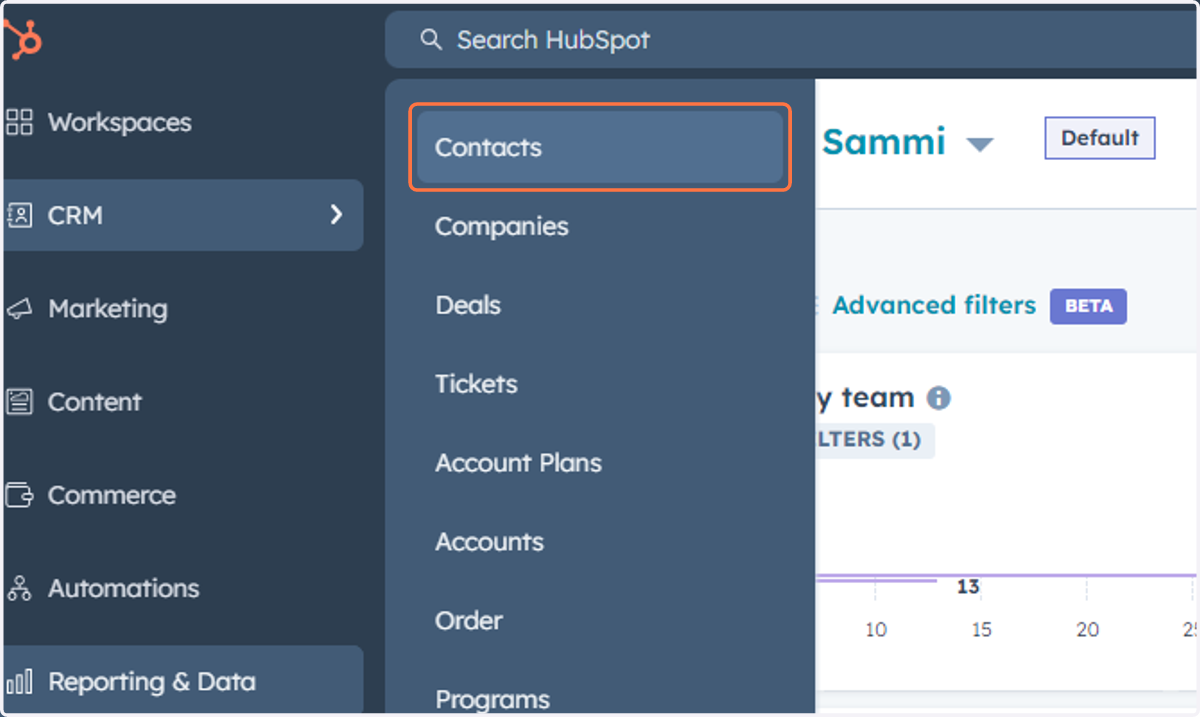
2. Click on Contacts
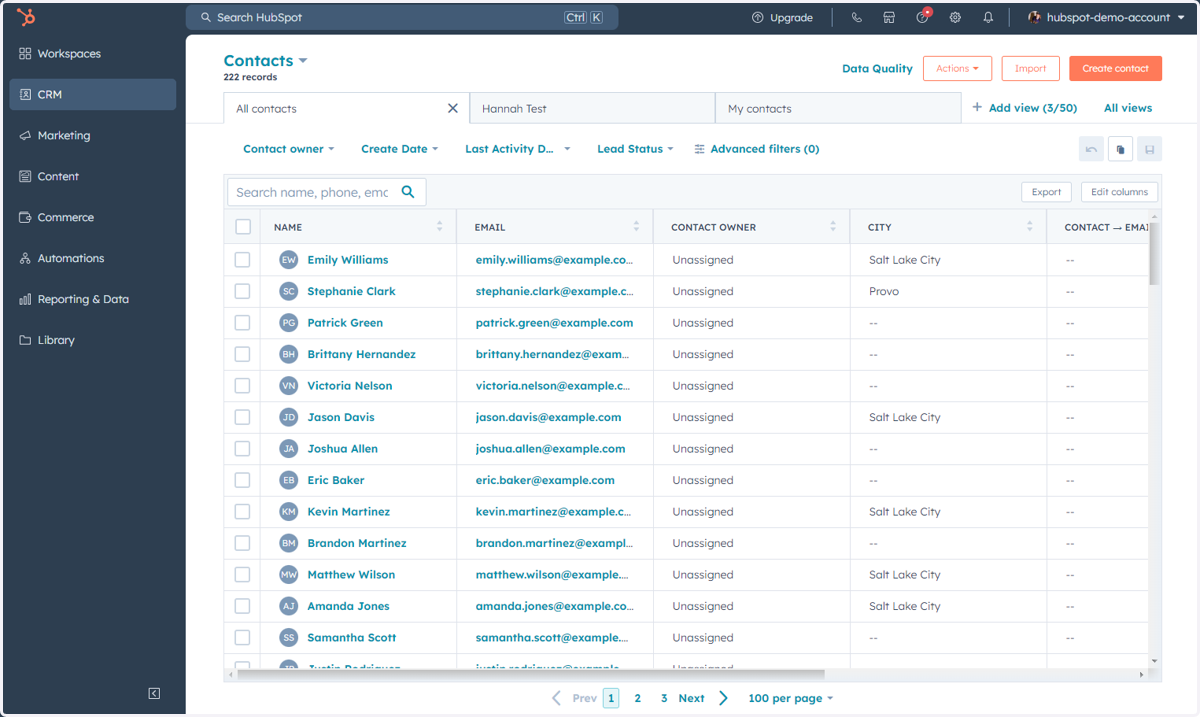
3. This is where you can access all of the Contacts in your database
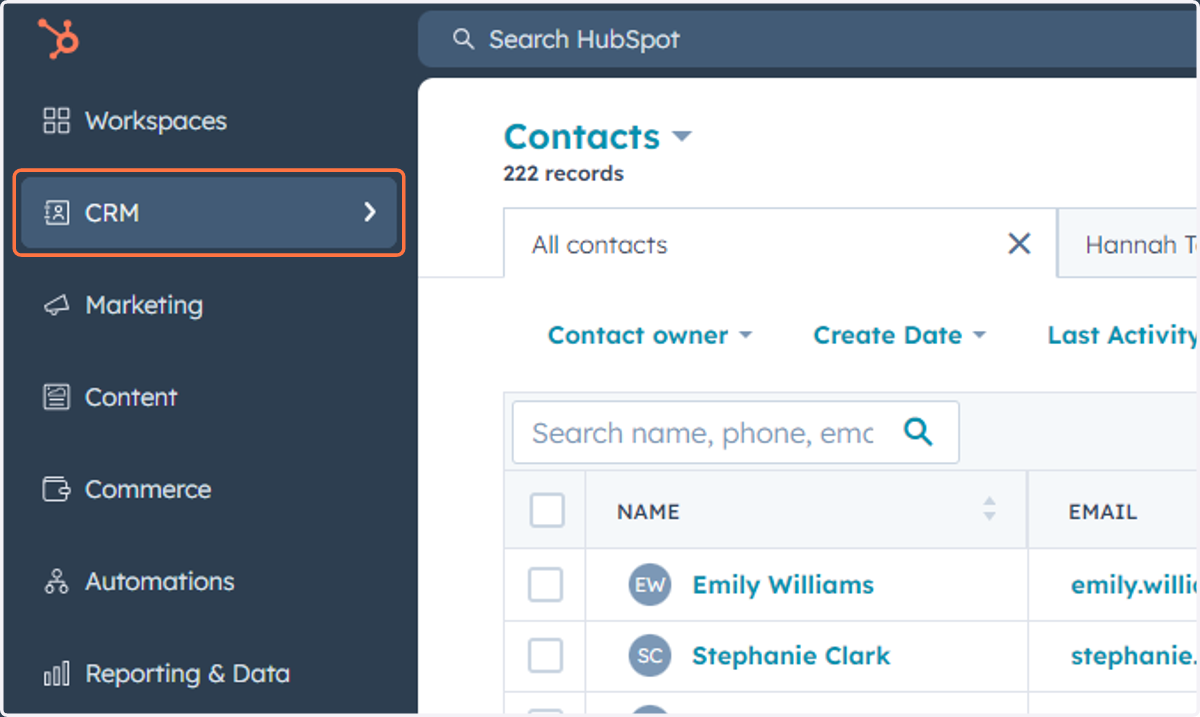
4. Click on CRM
5. Click on Companies
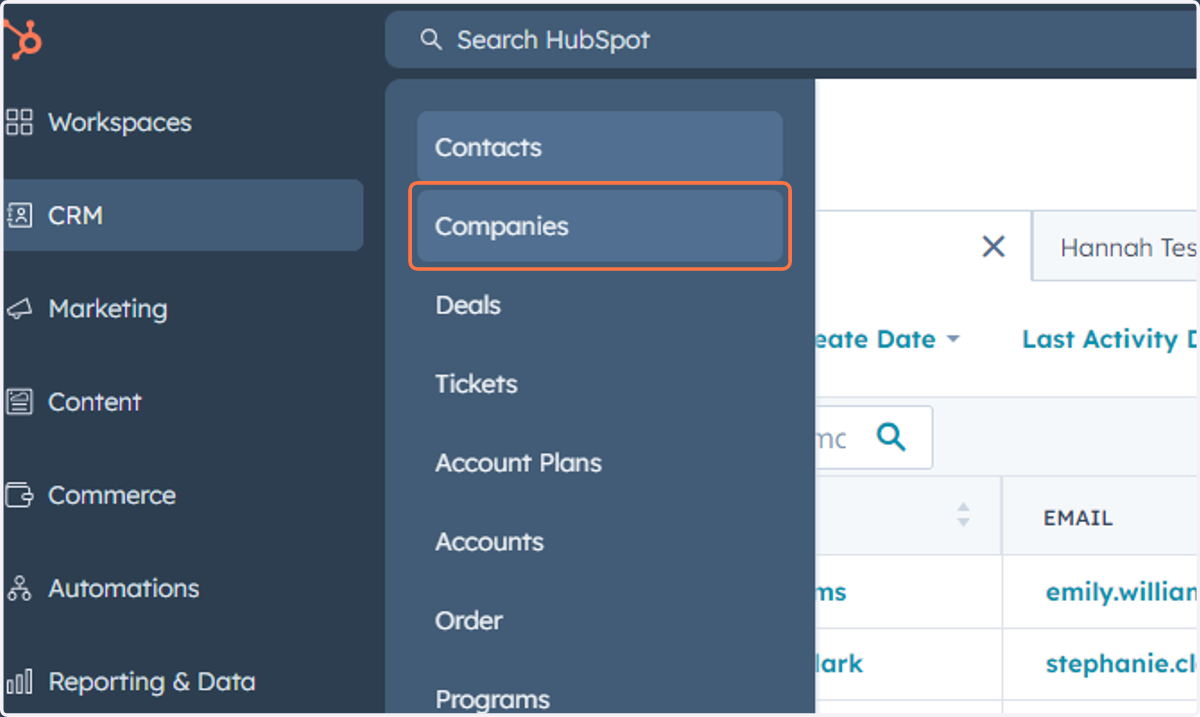
6. This is where you can access all of the Companies in your database
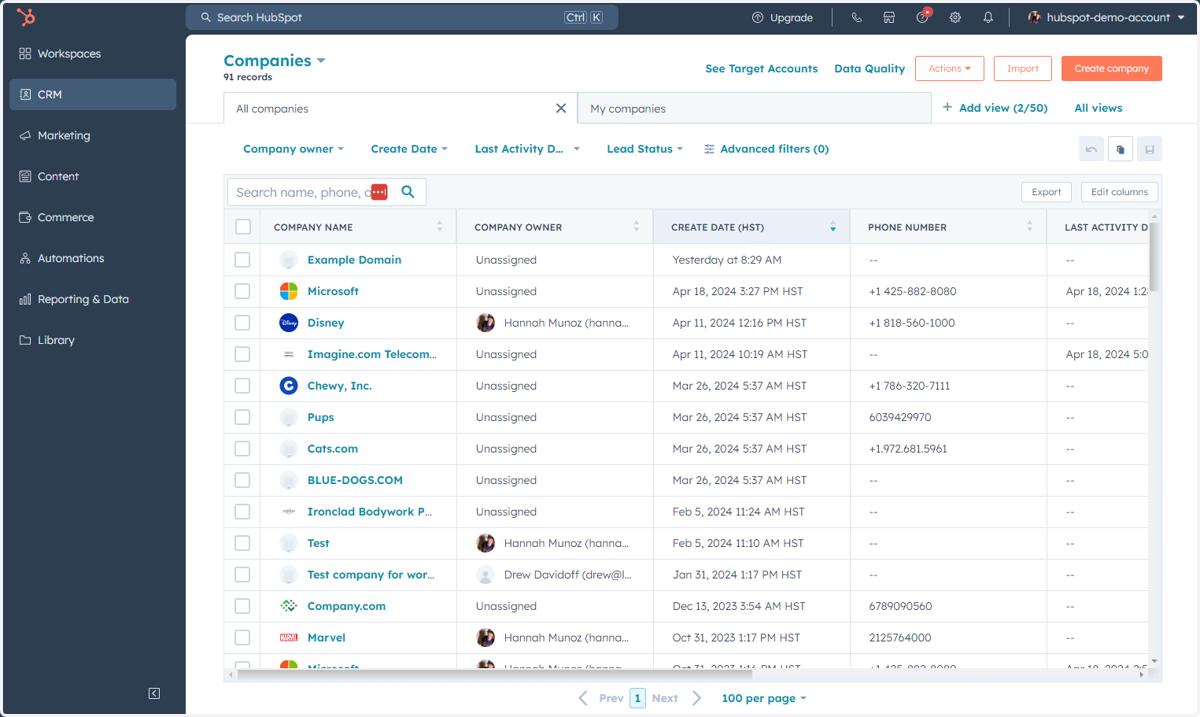
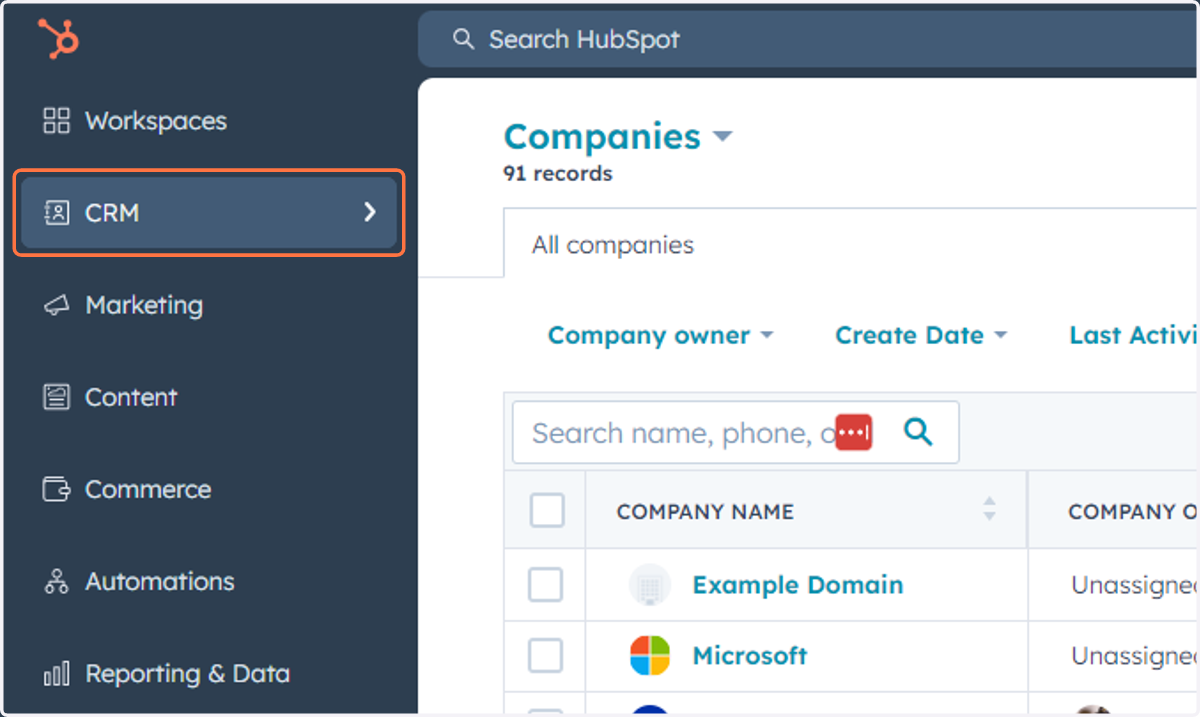
7. Click on CRM
8. Click on Lists
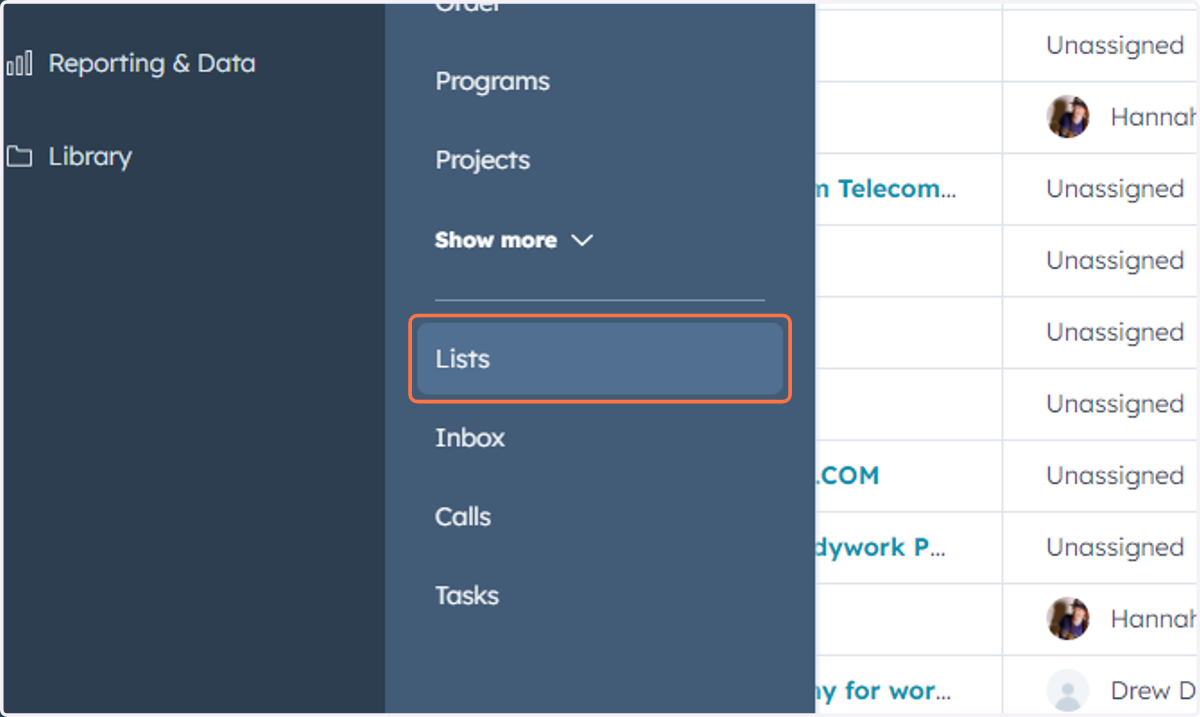
9. This is where you can access, create and manage all of your Lists
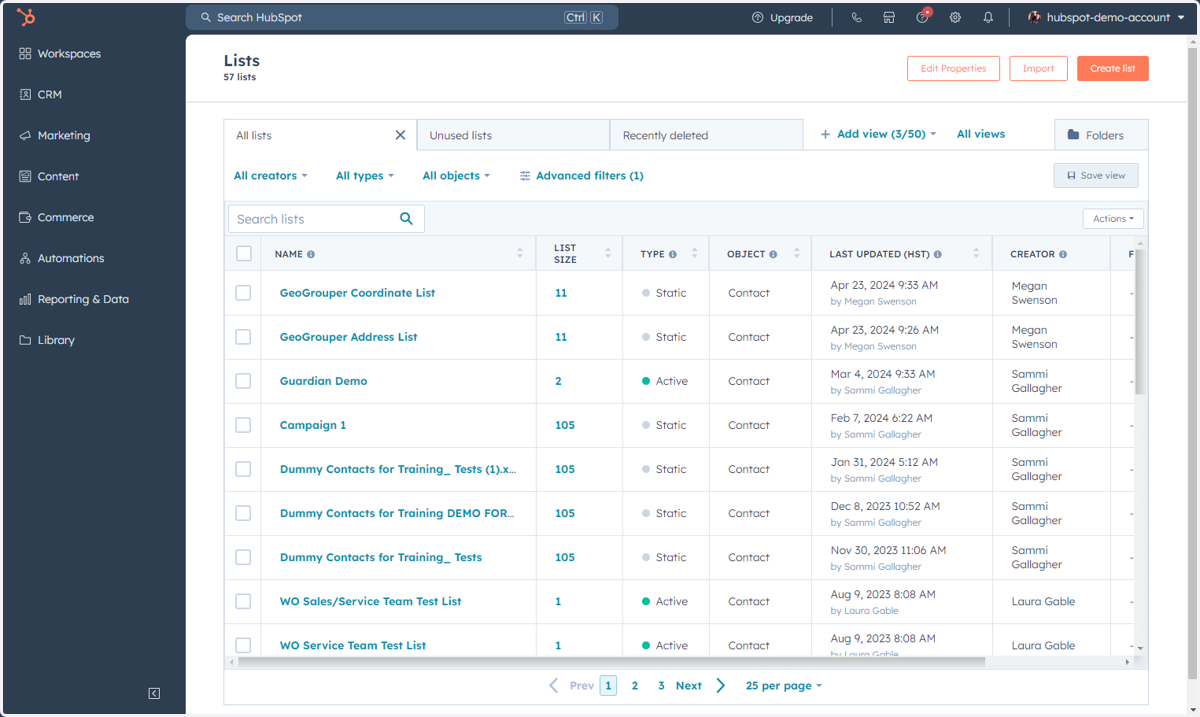
10. Click on CRM
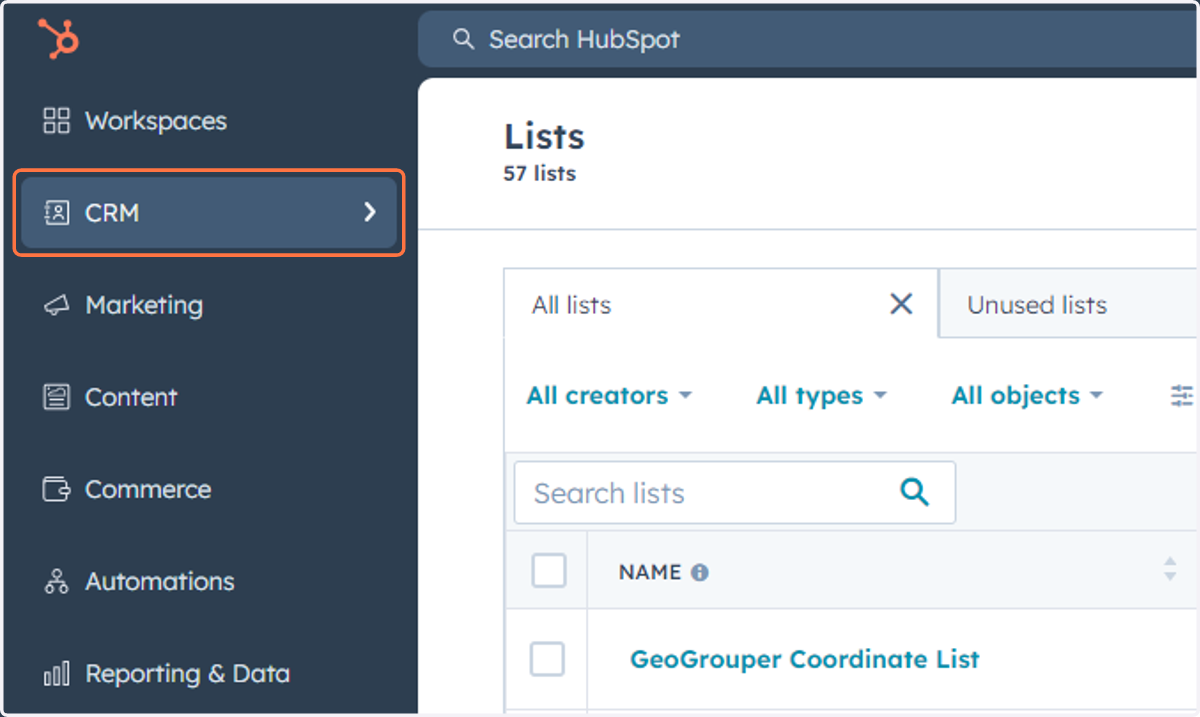
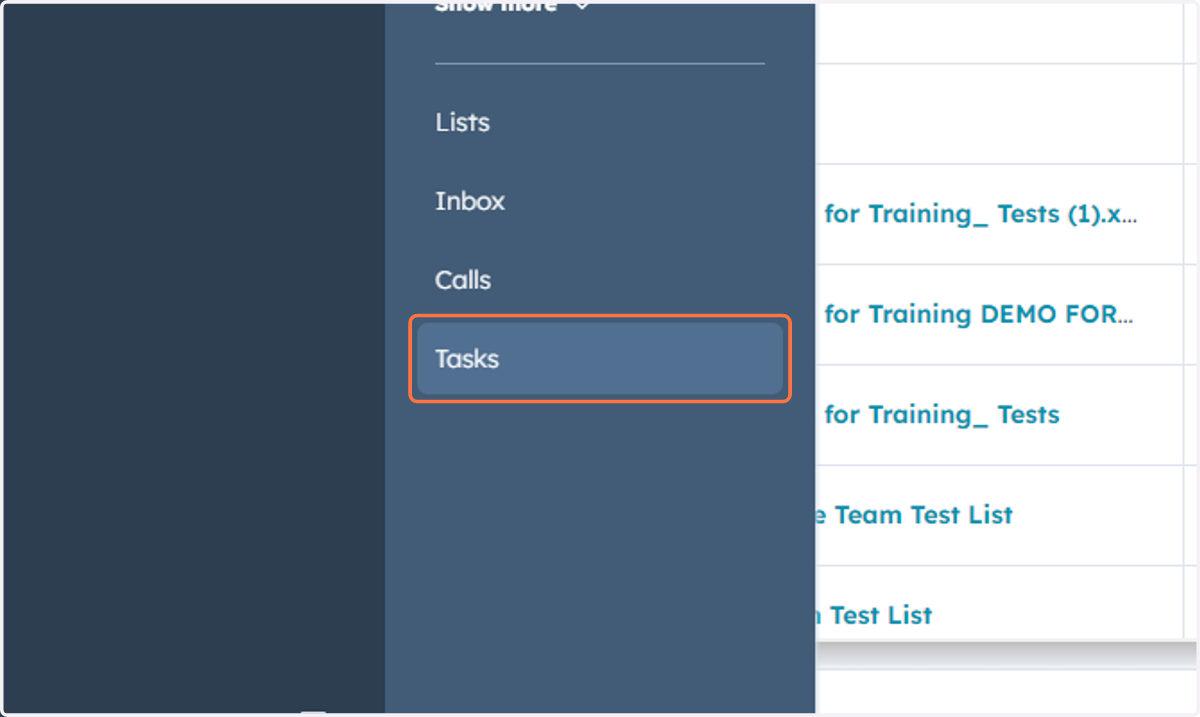
11. Click on Tasks
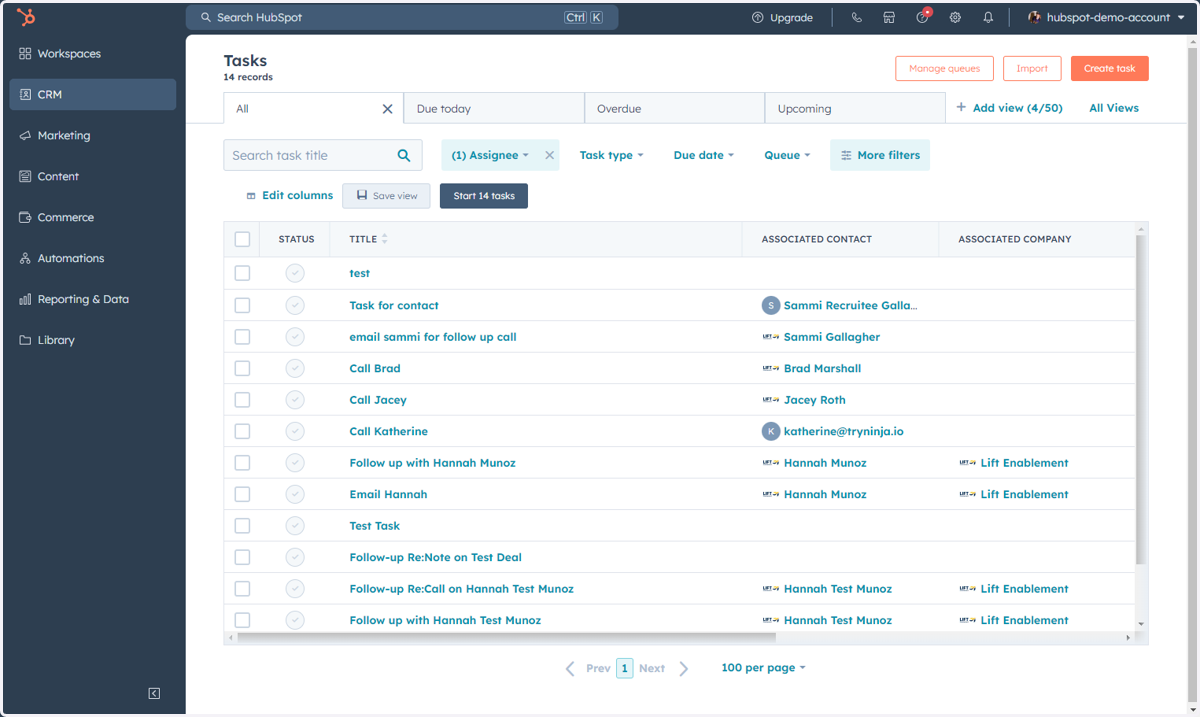
12. This is where you can access, manage and create Tasks as well as manage your Task Queues
Accessing Items Under Marketing
This includes: Marketing, Campaigns, Marketing Email, Social, Ads, Forma, CTAs, and SMS.
13. Click on Marketing
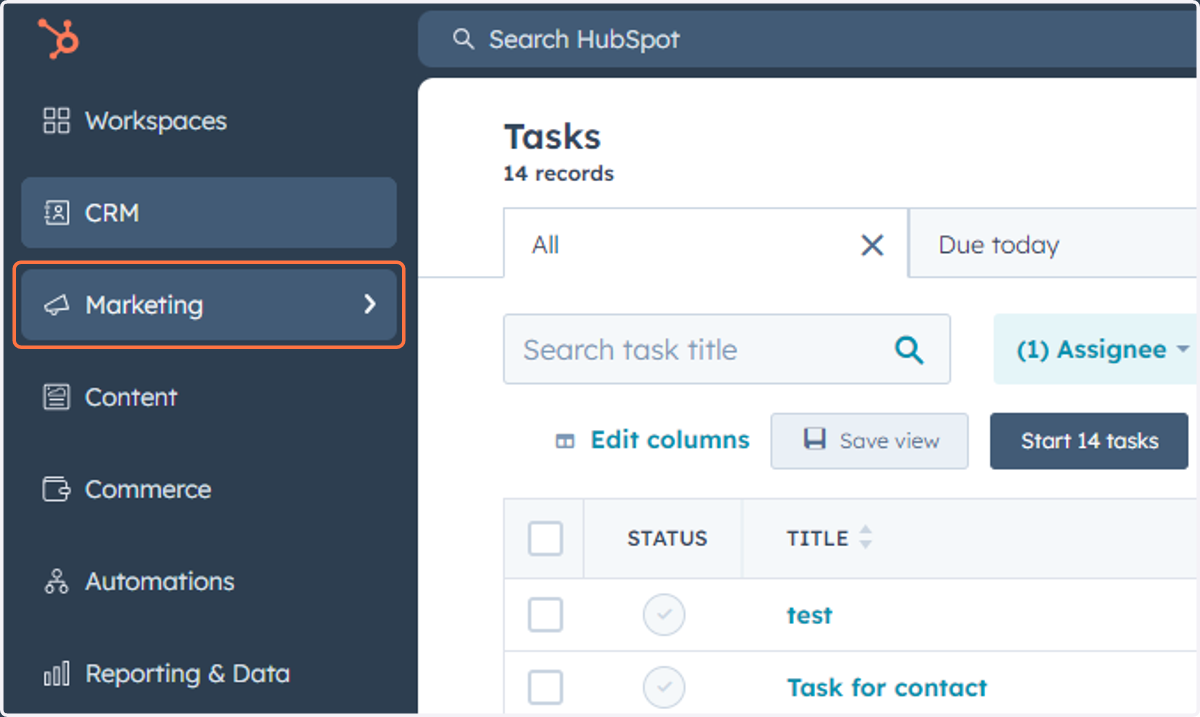
14. Click on Marketing…
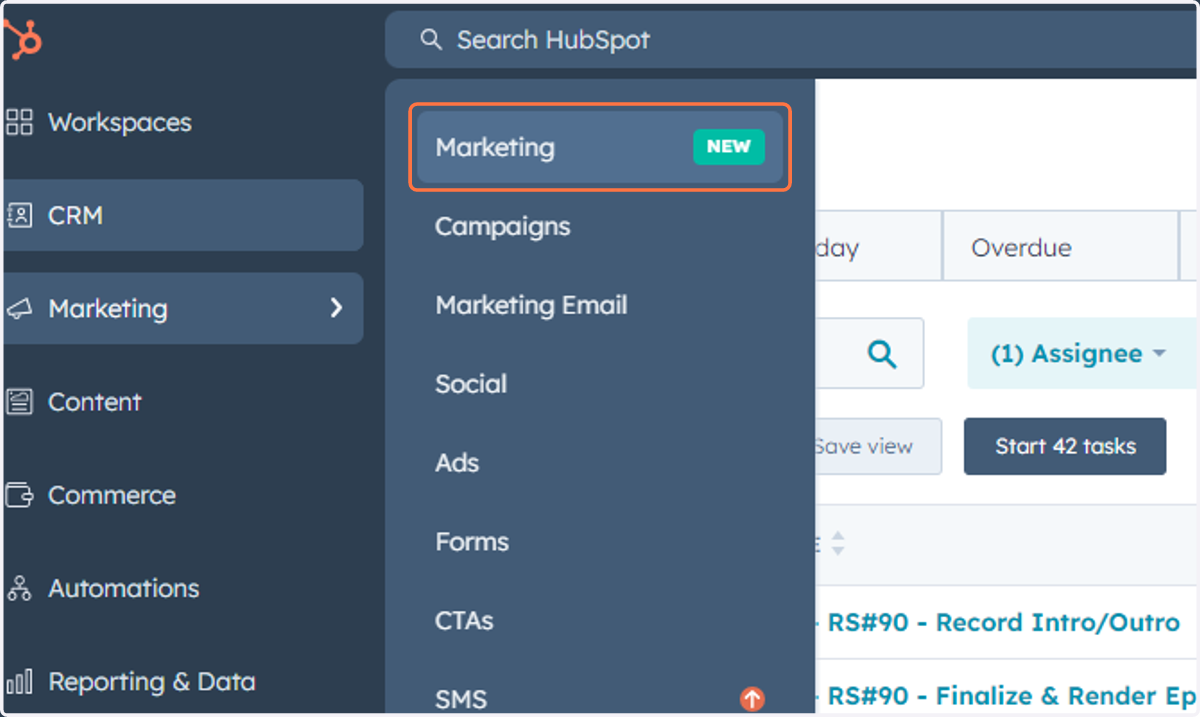
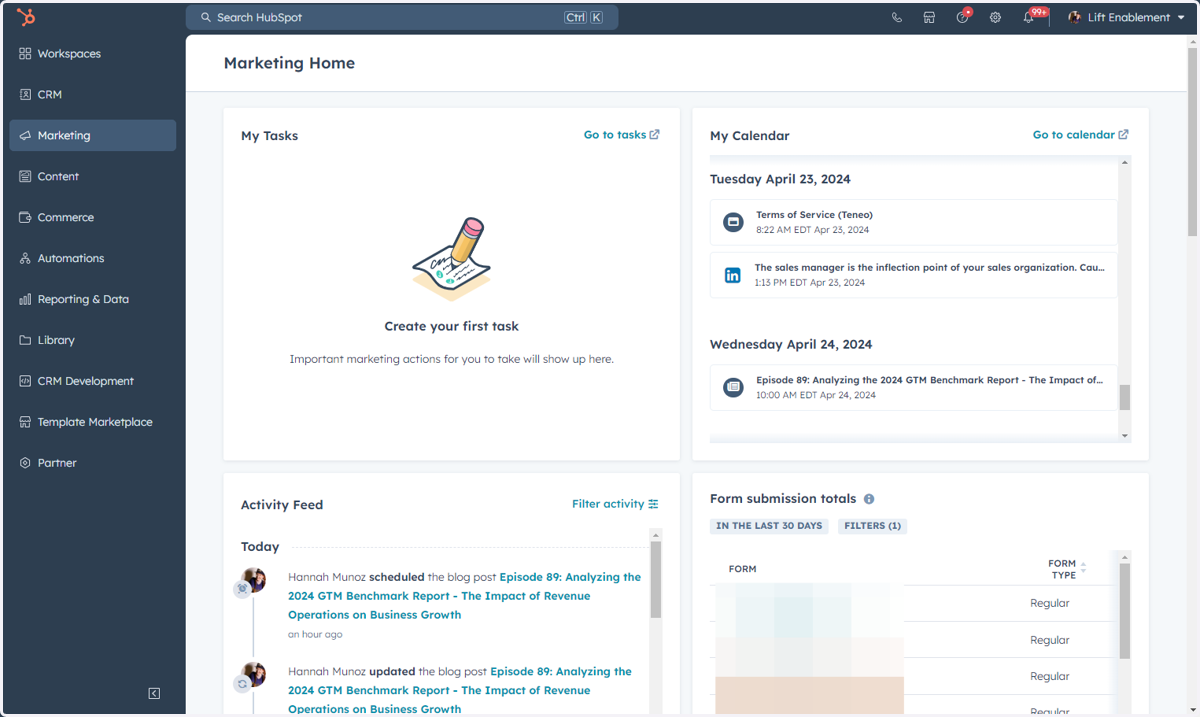
15. This is where you can access HubSpot's new Marketing home dashboard.
This dashboard is designed to provide marketers with a snapshot overview of everything going on in the marketing realm within HubSpot. You can see activities such as your tasks, your calendar and what's posting and when, your activity feed, form submissions and more.
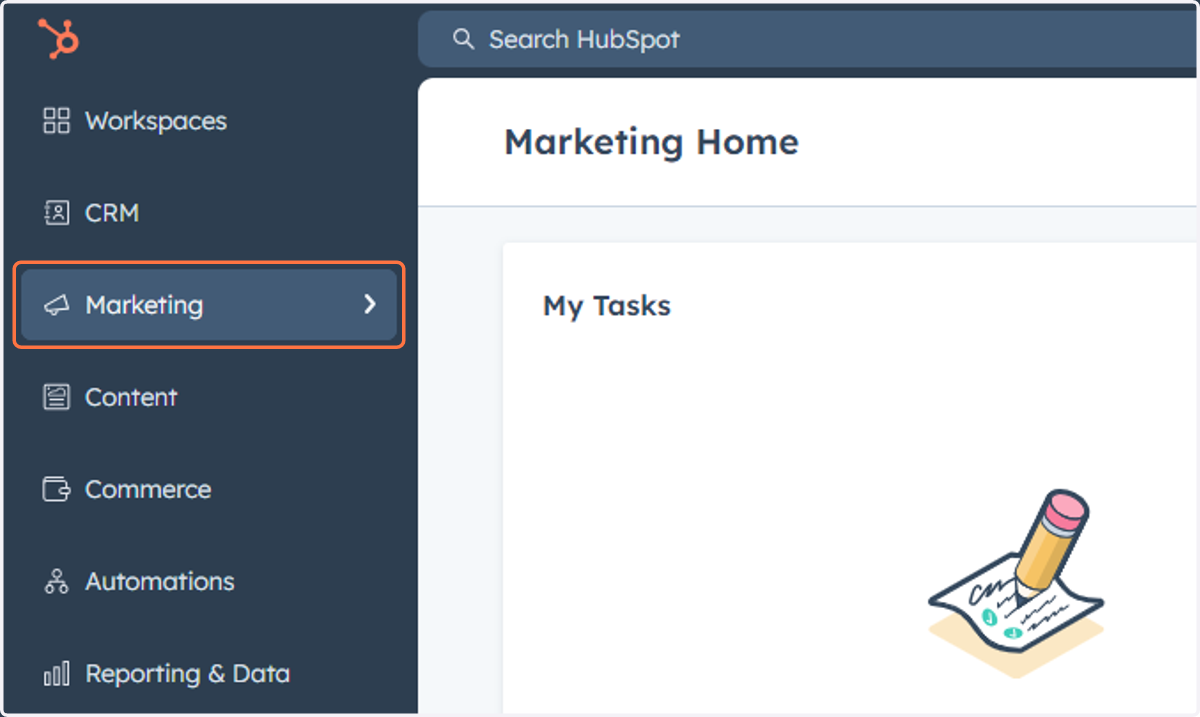
16. Click on Marketing
17. Click on Campaigns
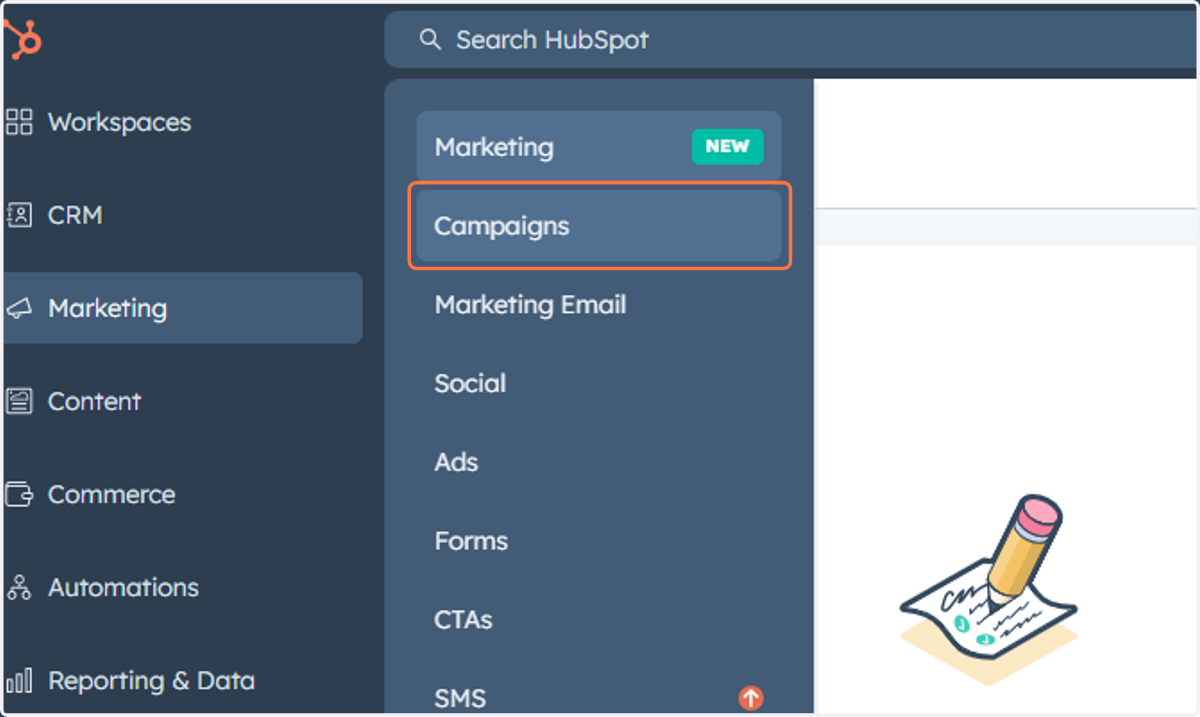
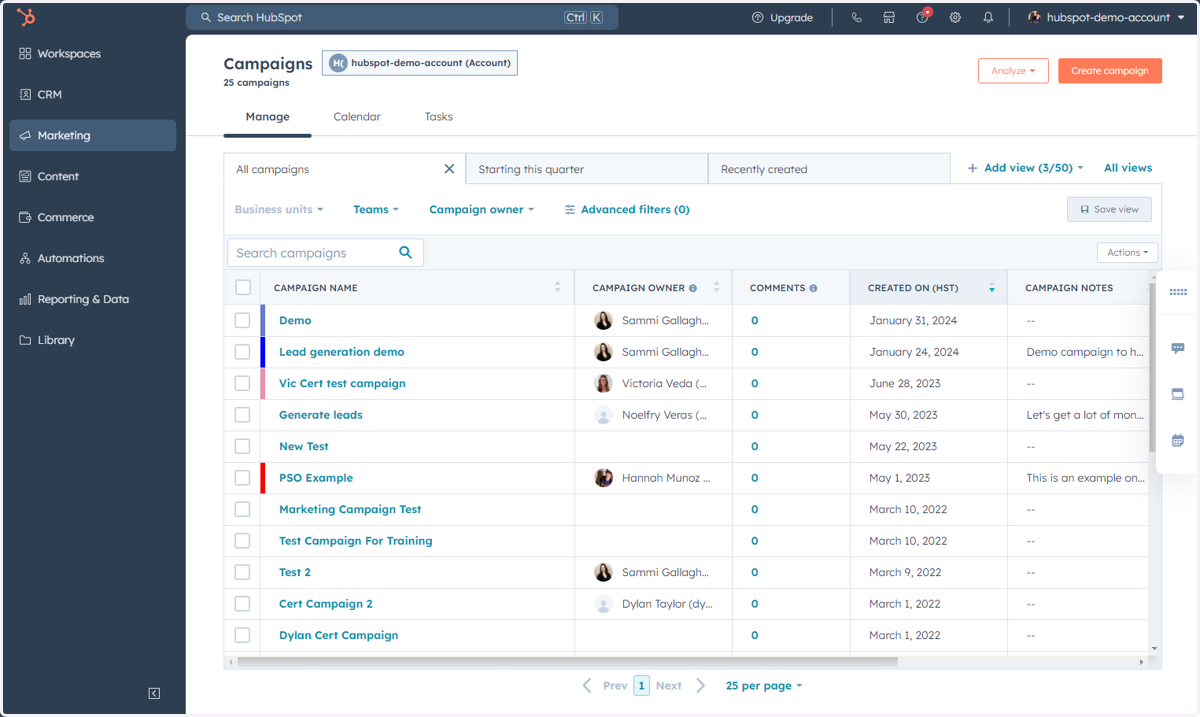
18. This is where you can access, manage and create Campaigns.
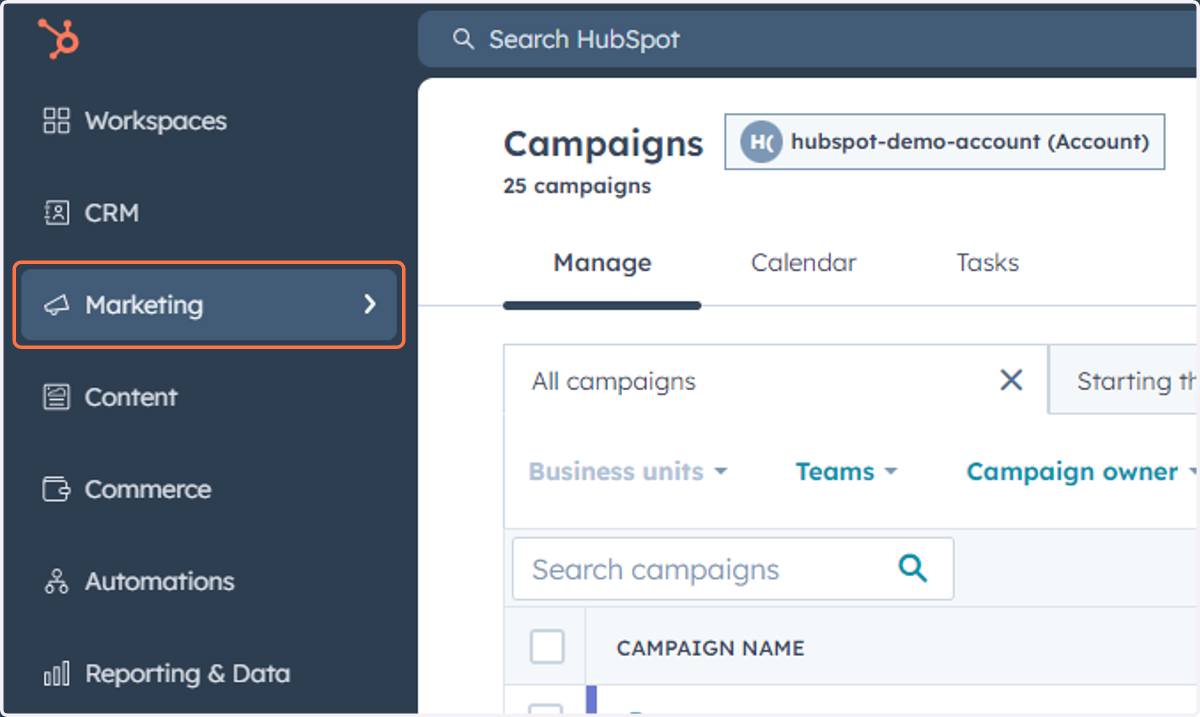
19. Click on Marketing
20. Click on Marketing Email
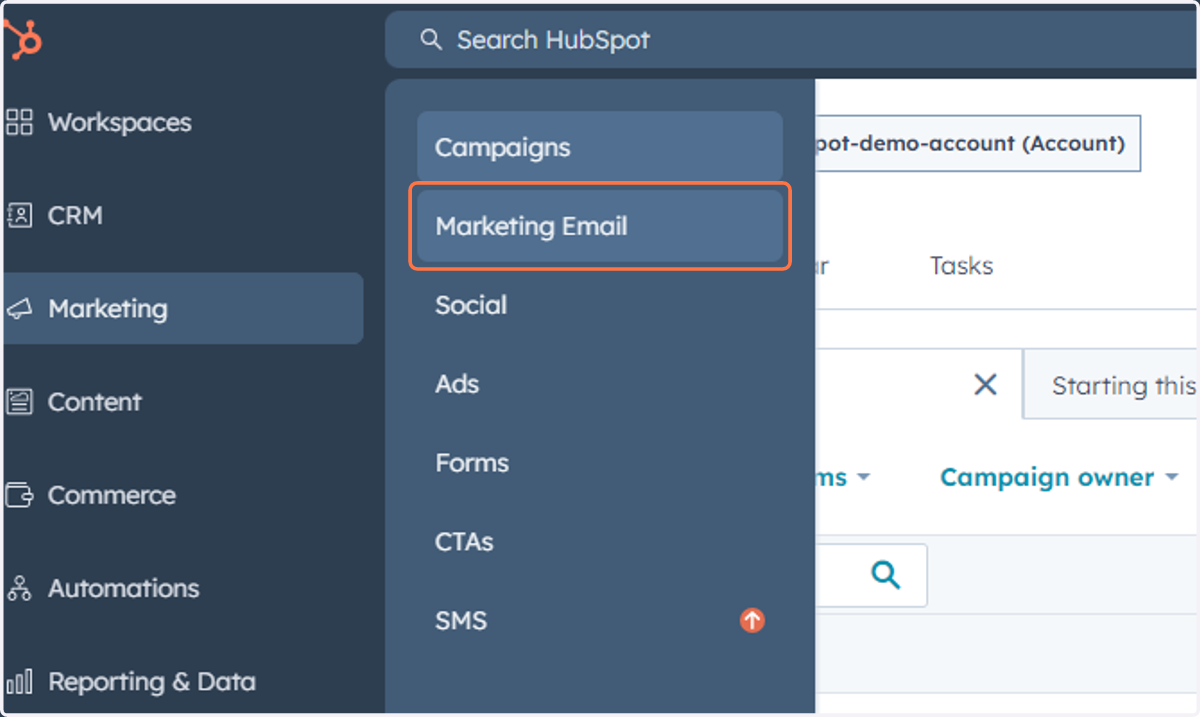
21. This is where you can access, manage, create, and analyze your Marketing Emails
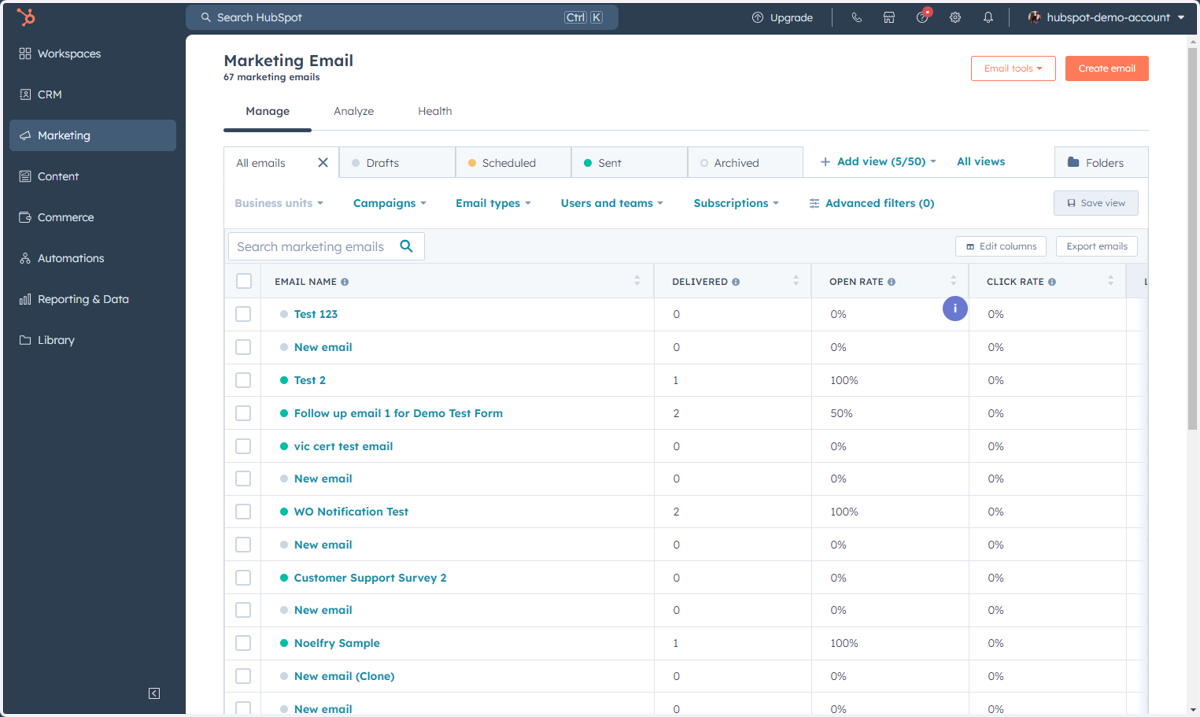
22. Click on Marketing
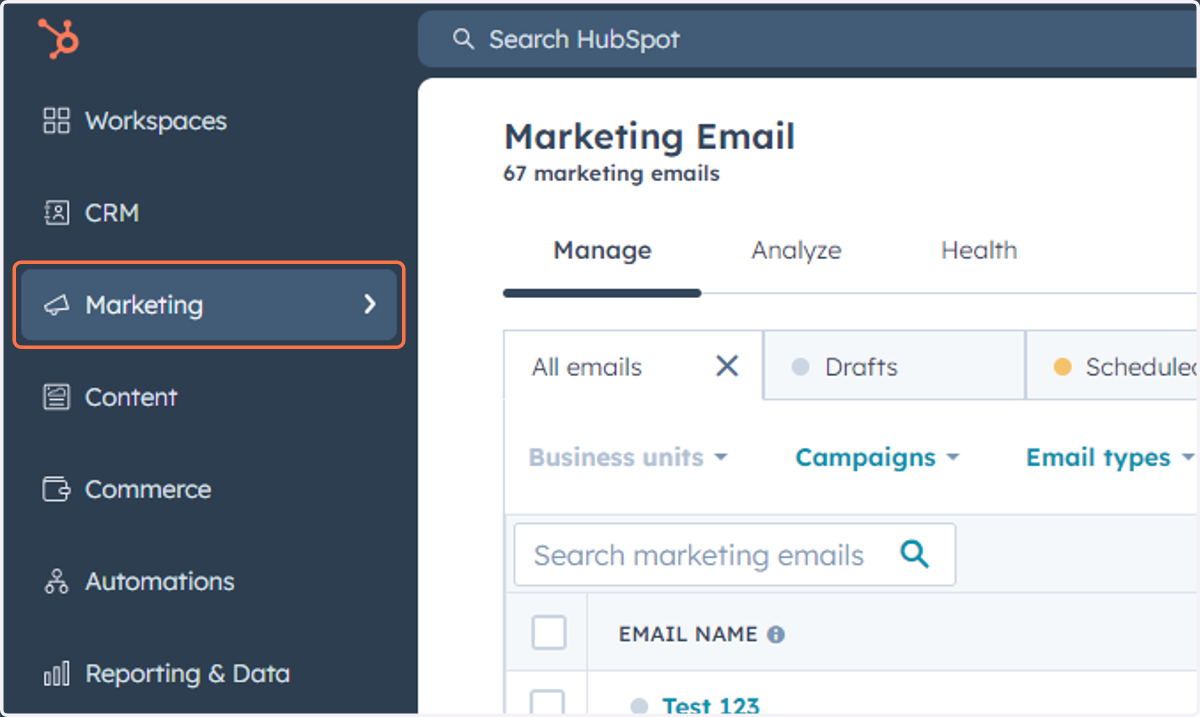
23. Click on Social
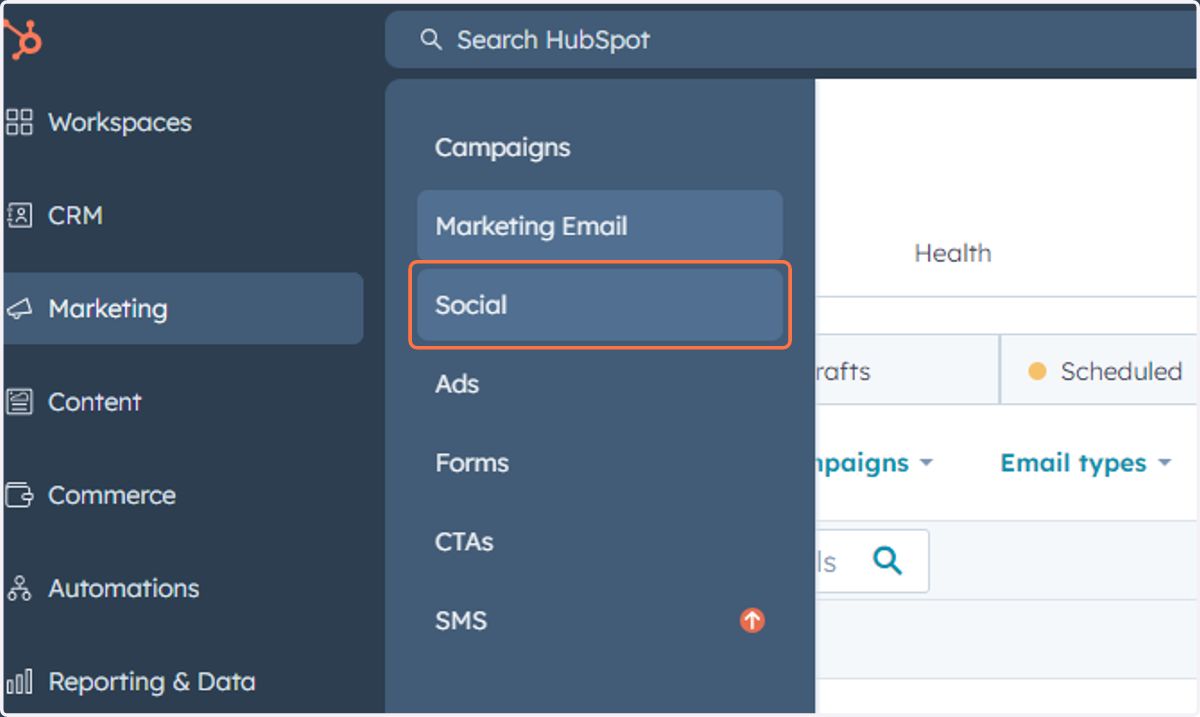
24. This is where you can access, monitor, manage, analyze and create your Social posts
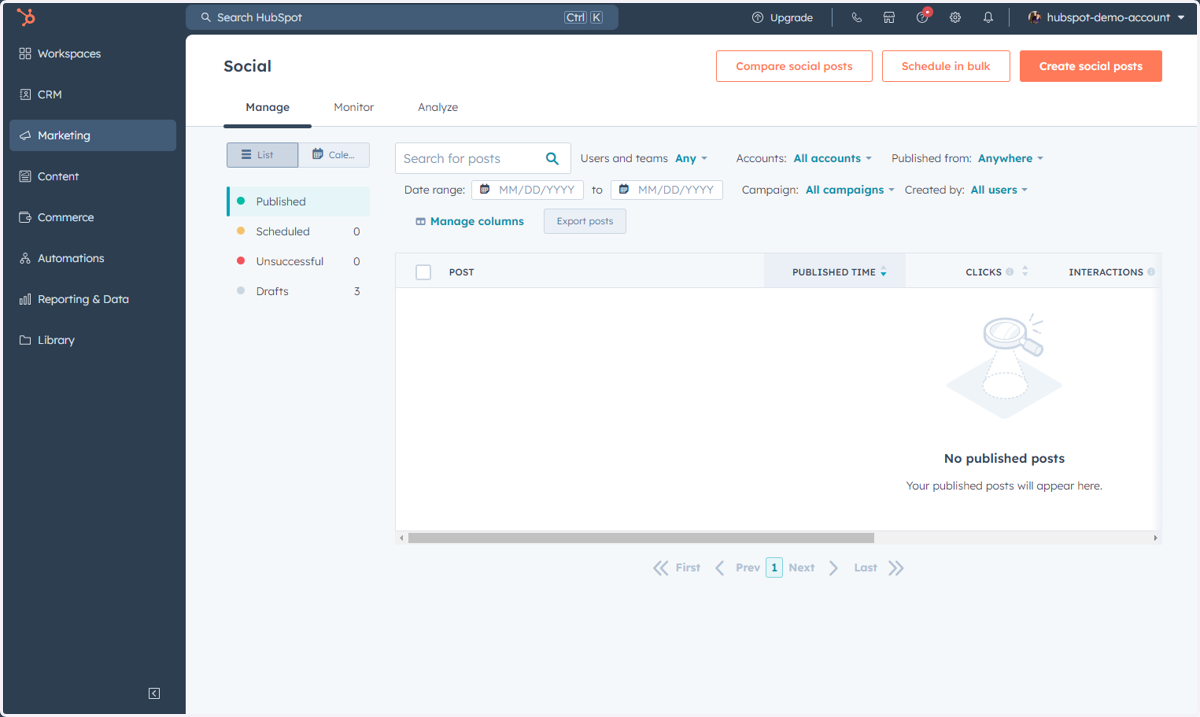
25. Click on Marketing
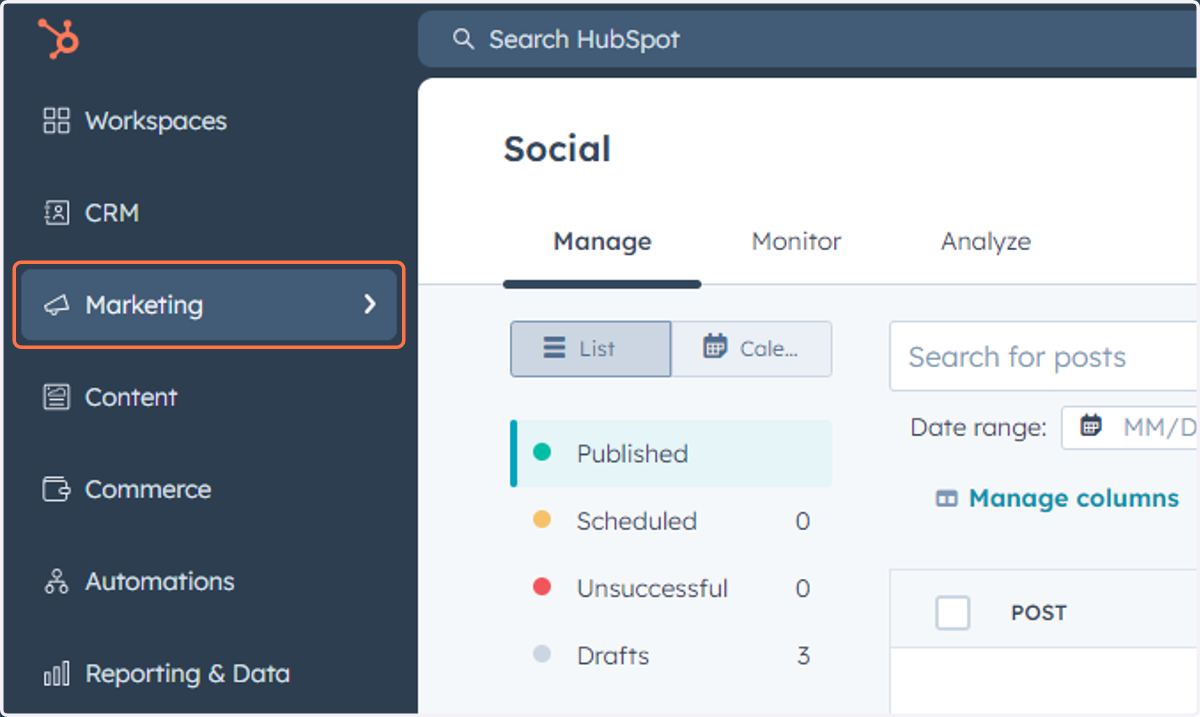
26. Click on Ads
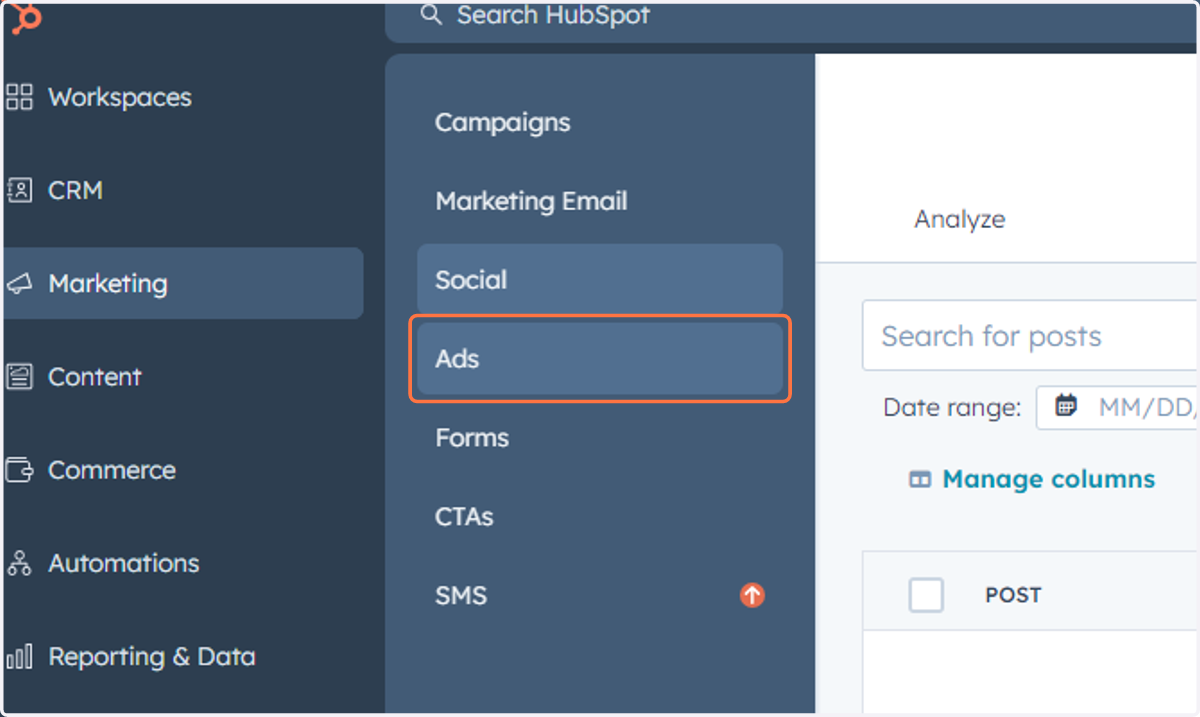
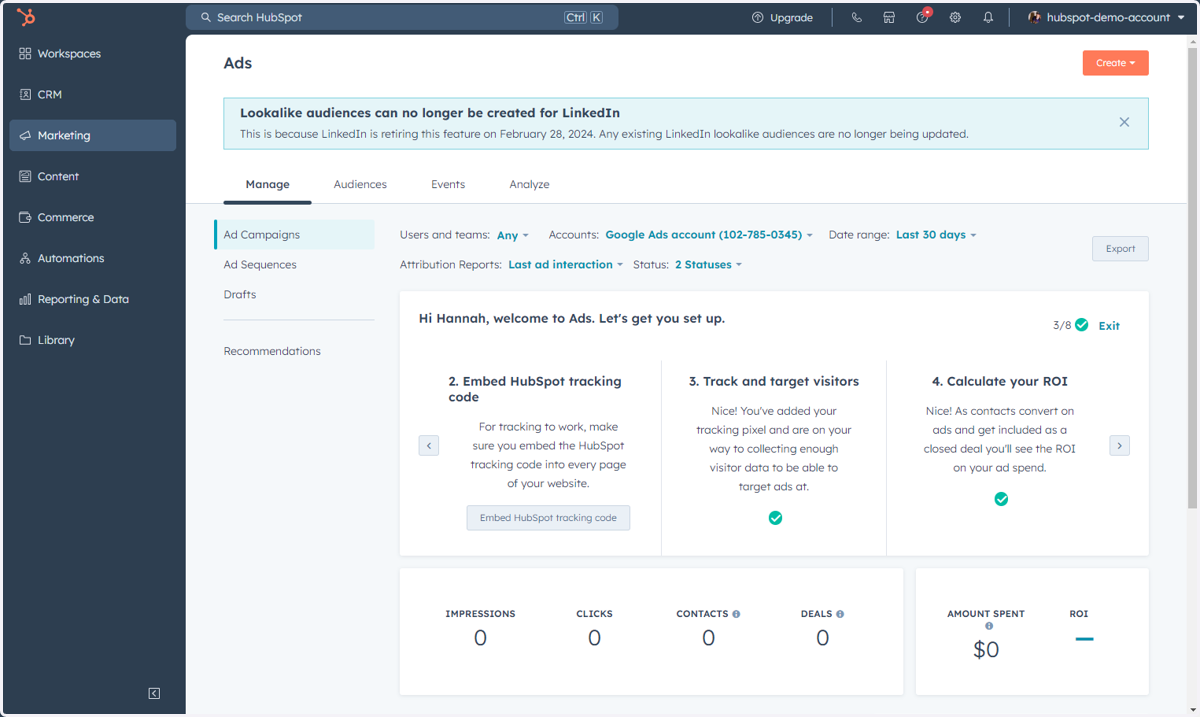
27. This is where you can access, manage and create Ads
28. Click on Marketing
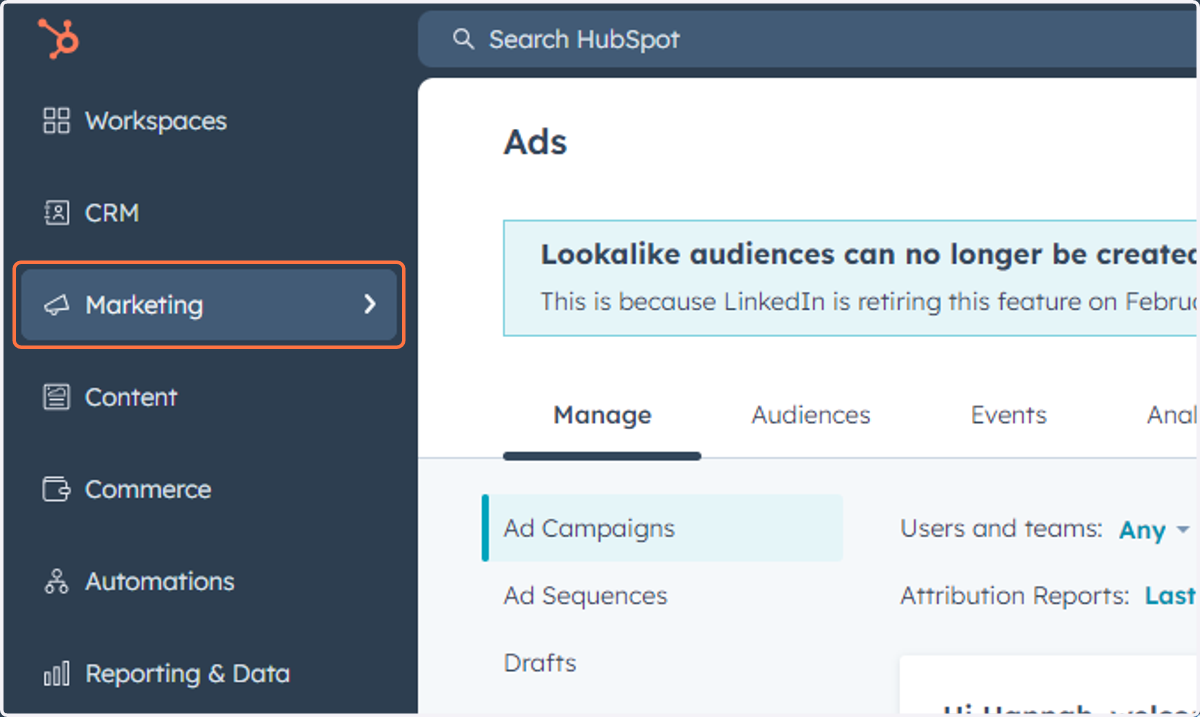
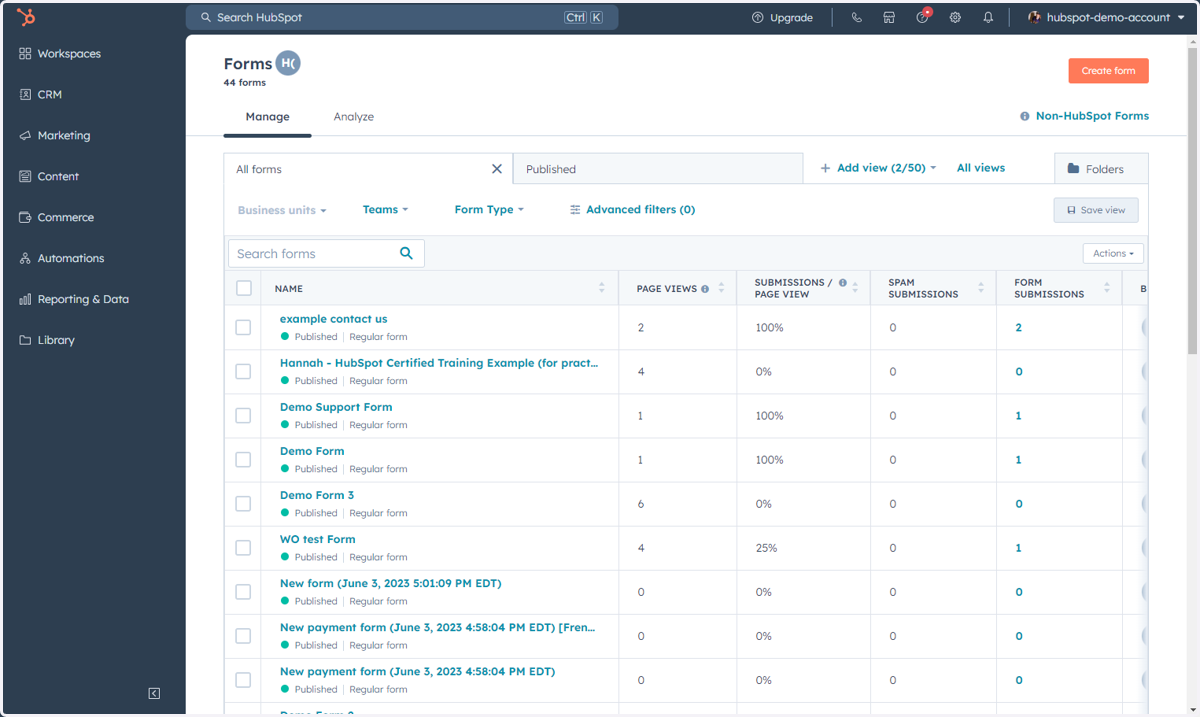
29. Click on Forms
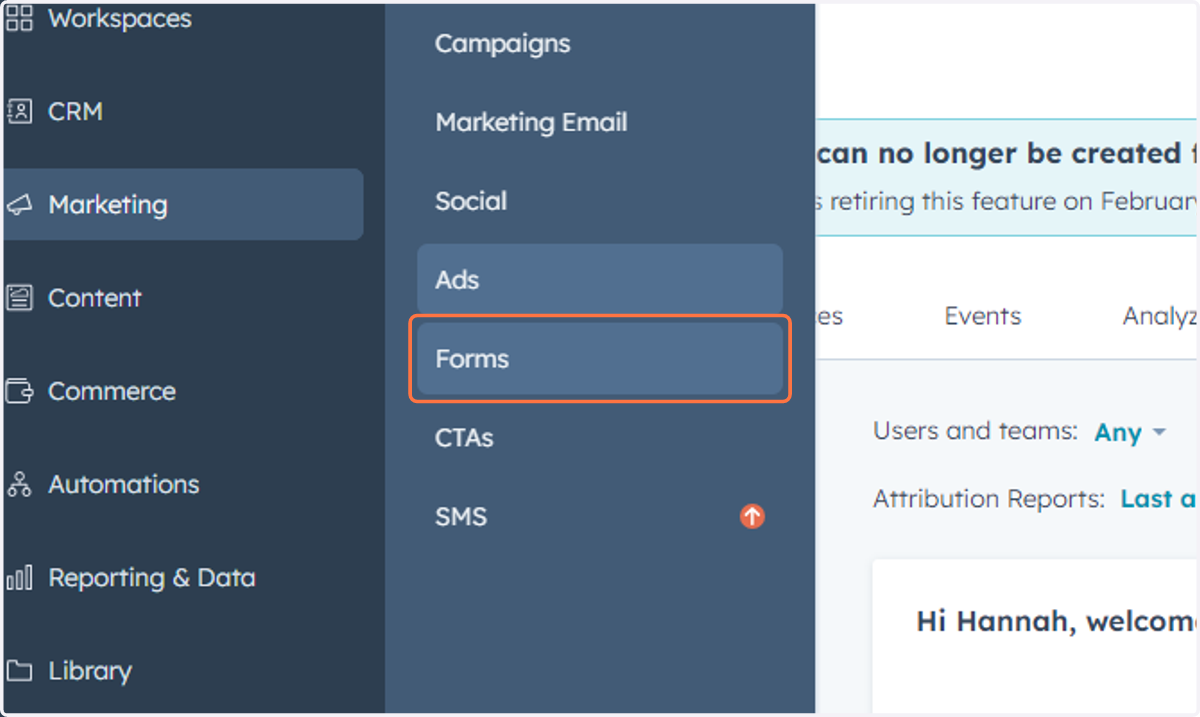
30. This is where you can access, manage and create Lists
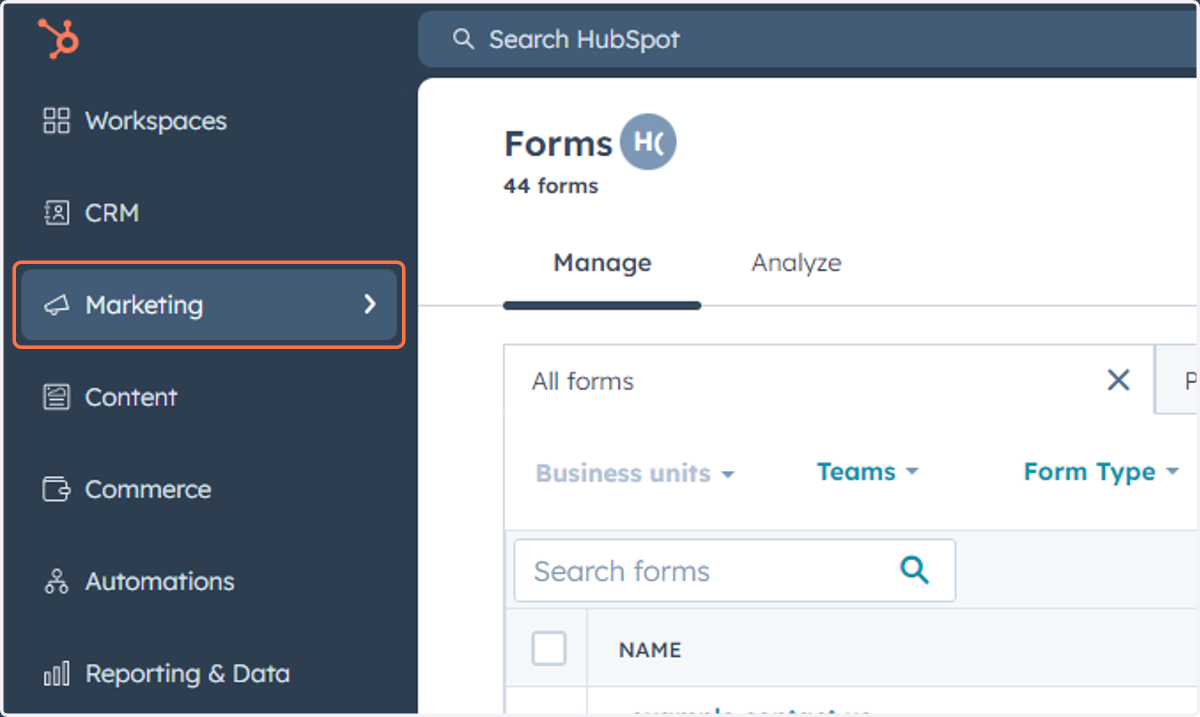
31. Click on Marketing
32. Click on CTAs
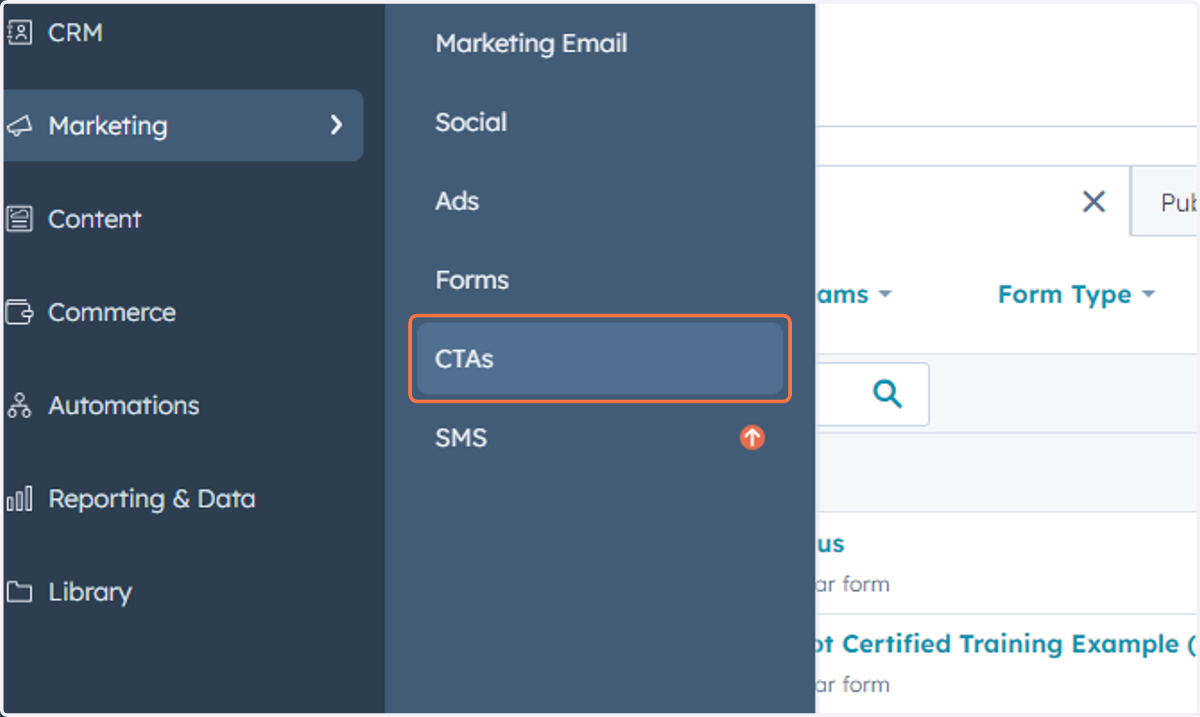
33. This is where you can access, manage and create CTAs to be used in your marketing assets
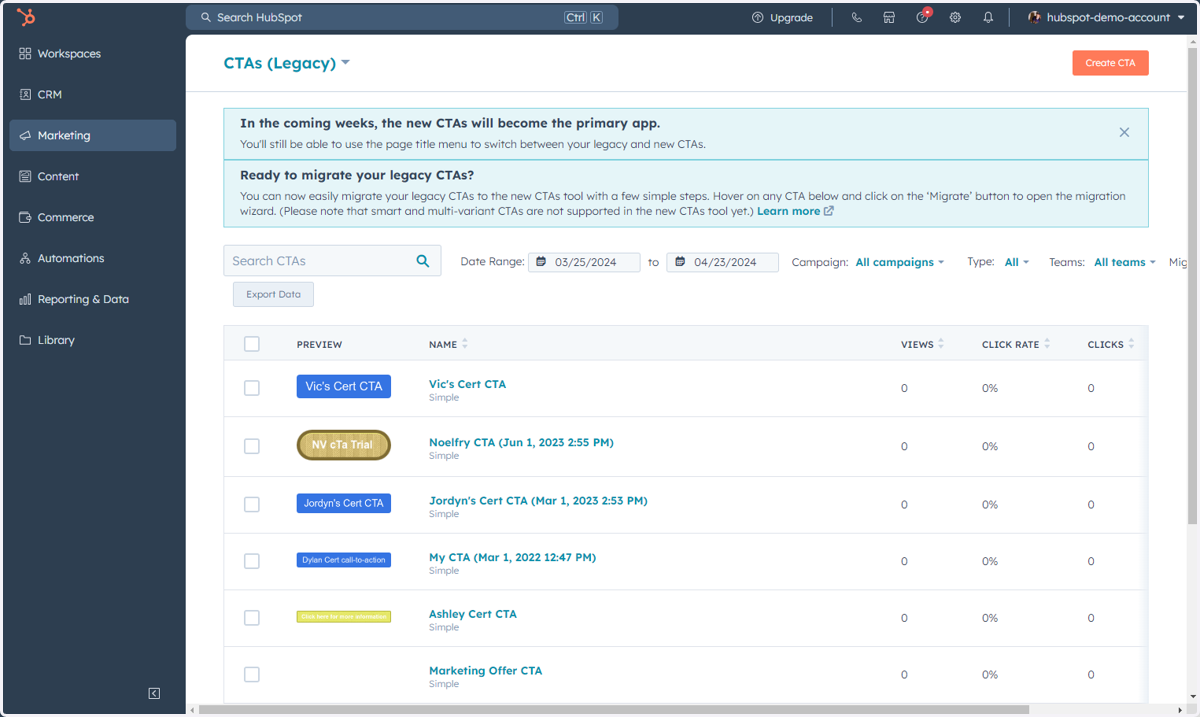
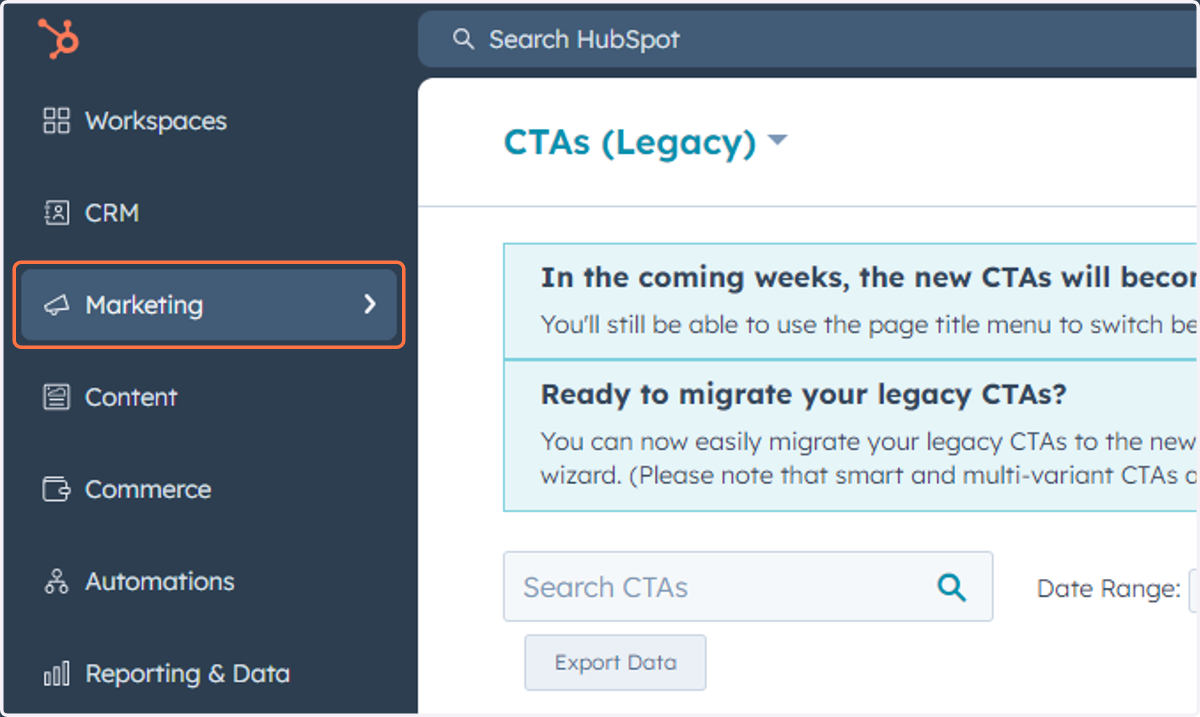
34. Click on Marketing
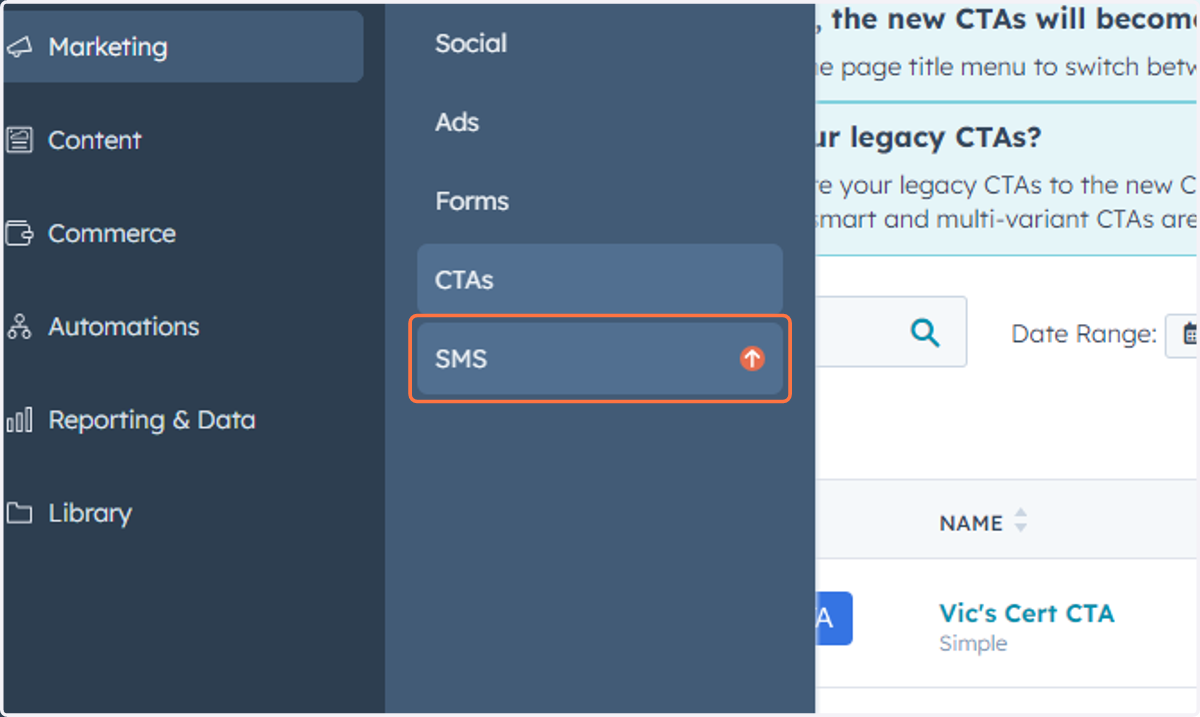
35. Click on SMS
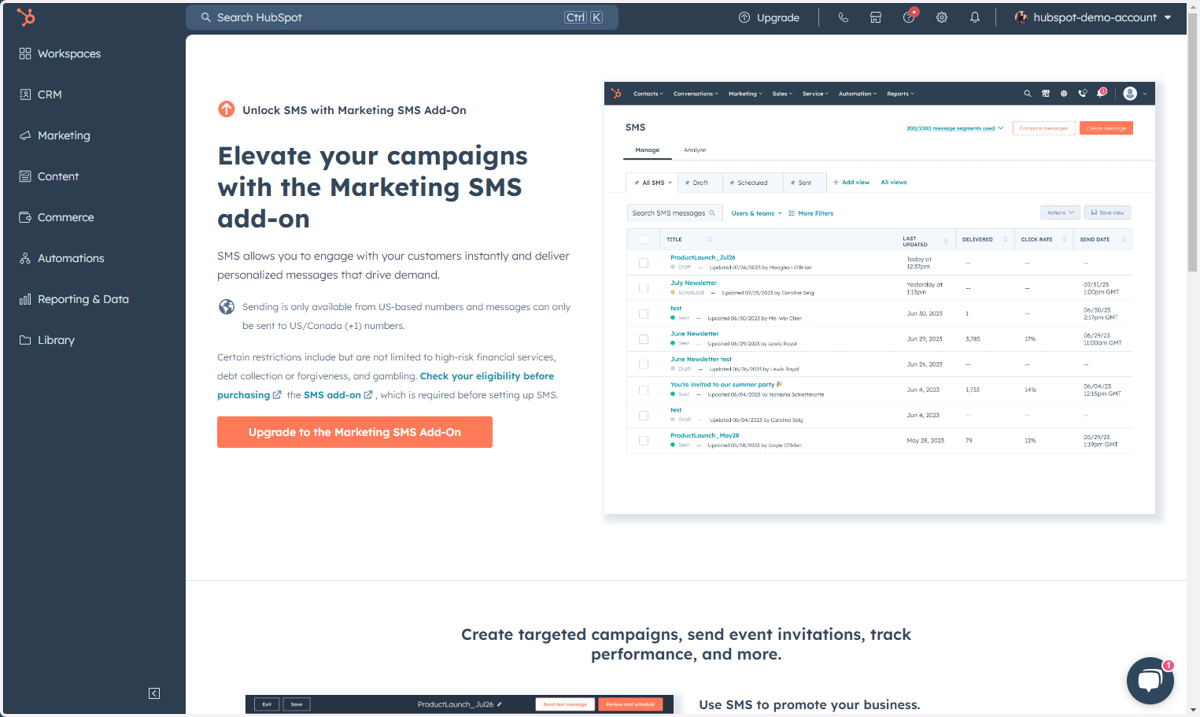
36. This is where you can access the SMS add-on
If you do not have the add-on, you will see this screen where HubSpot will prompt you to upgrade to the add-on. Note: This is an extra cost.
Accessing Items Under Content
This includes: Website Pages, Landing Pages, Blog, Podcasts, Embeds, HubDB, Remix, SEO, and Design Manager.
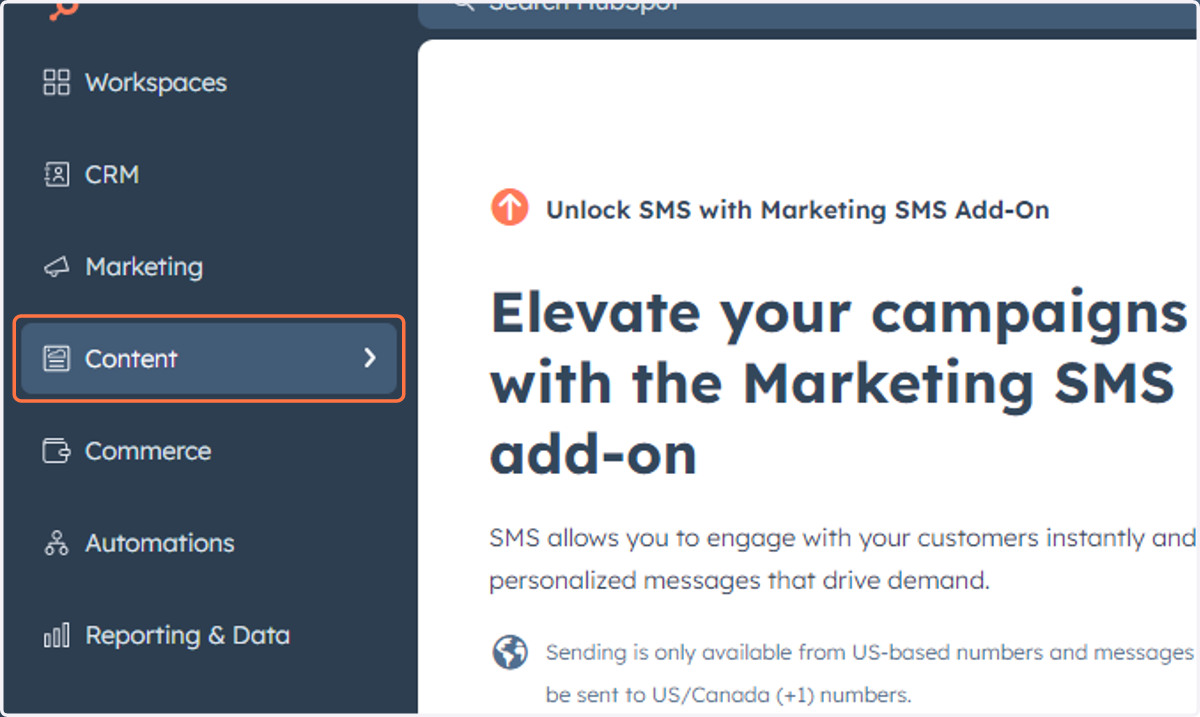
37. Click on Content
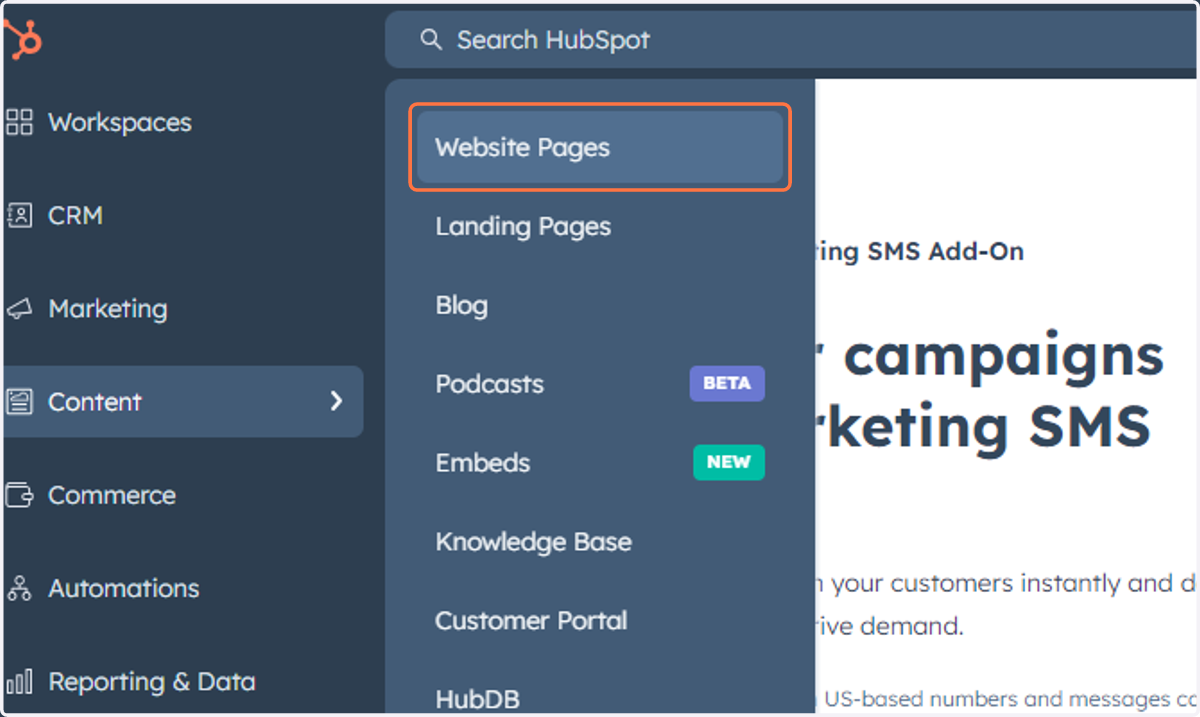
38. Click on Website Pages
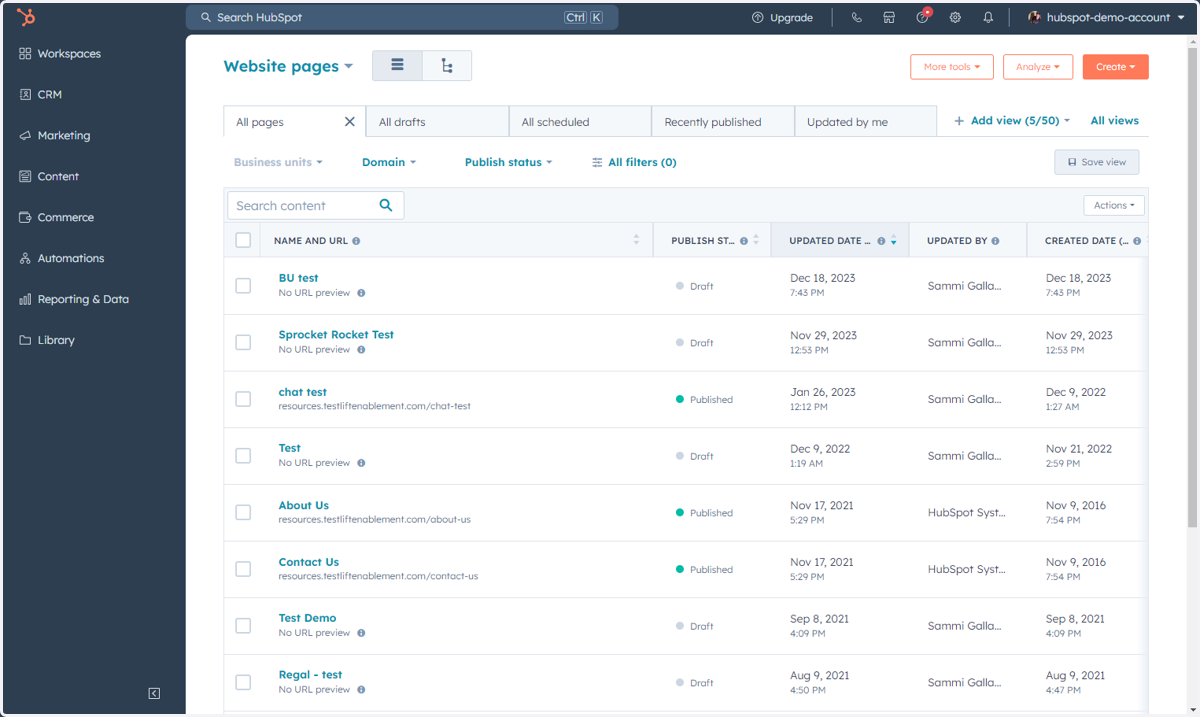
39. This is where you can access, manage and create Website pages
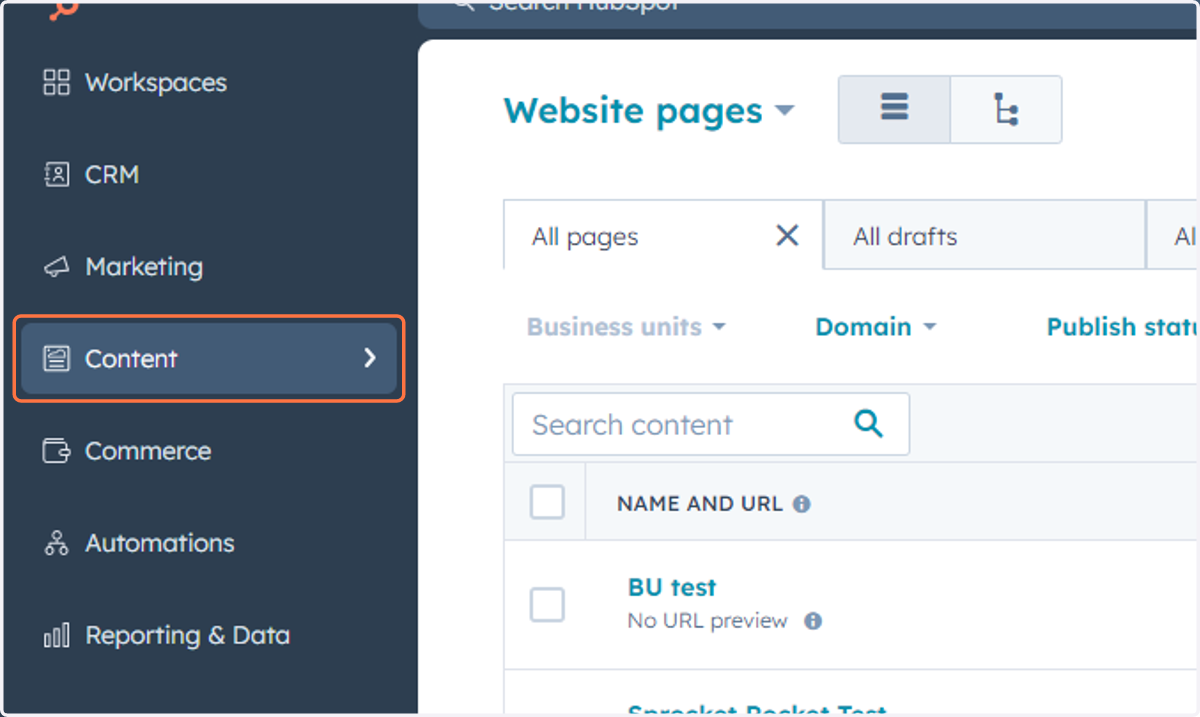
40. Click on Content
41. Click on Landing Pages
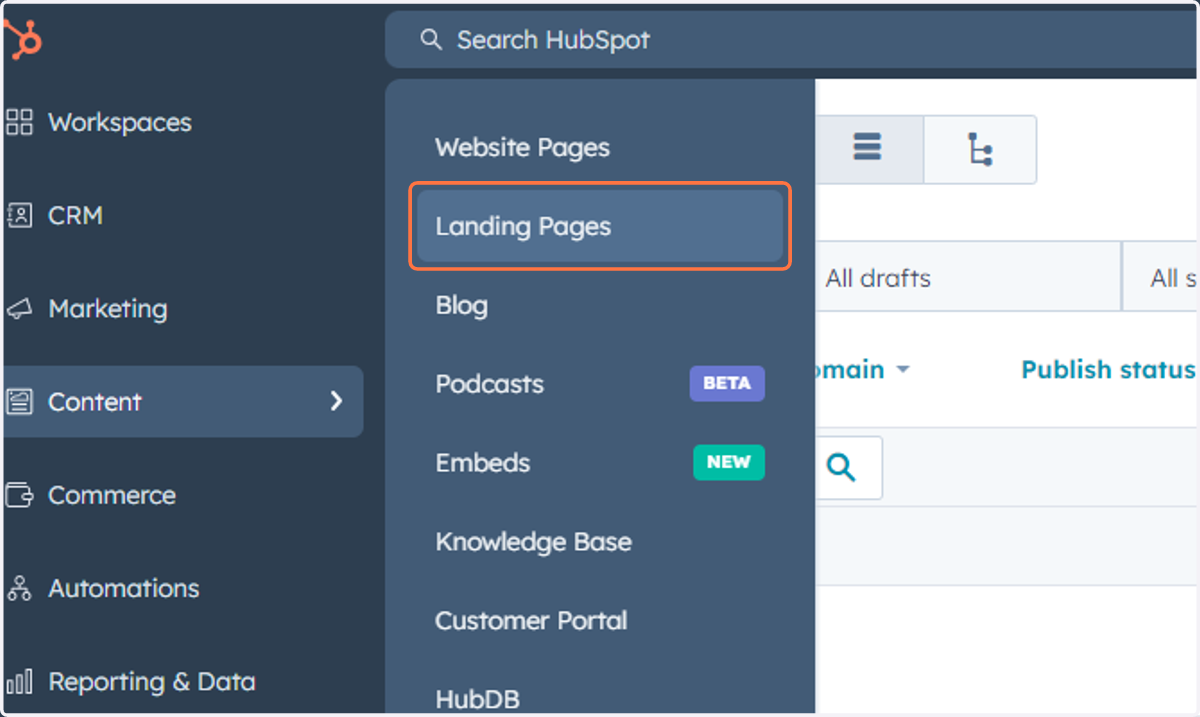
42. This is where you can access, manage and create Landing pages
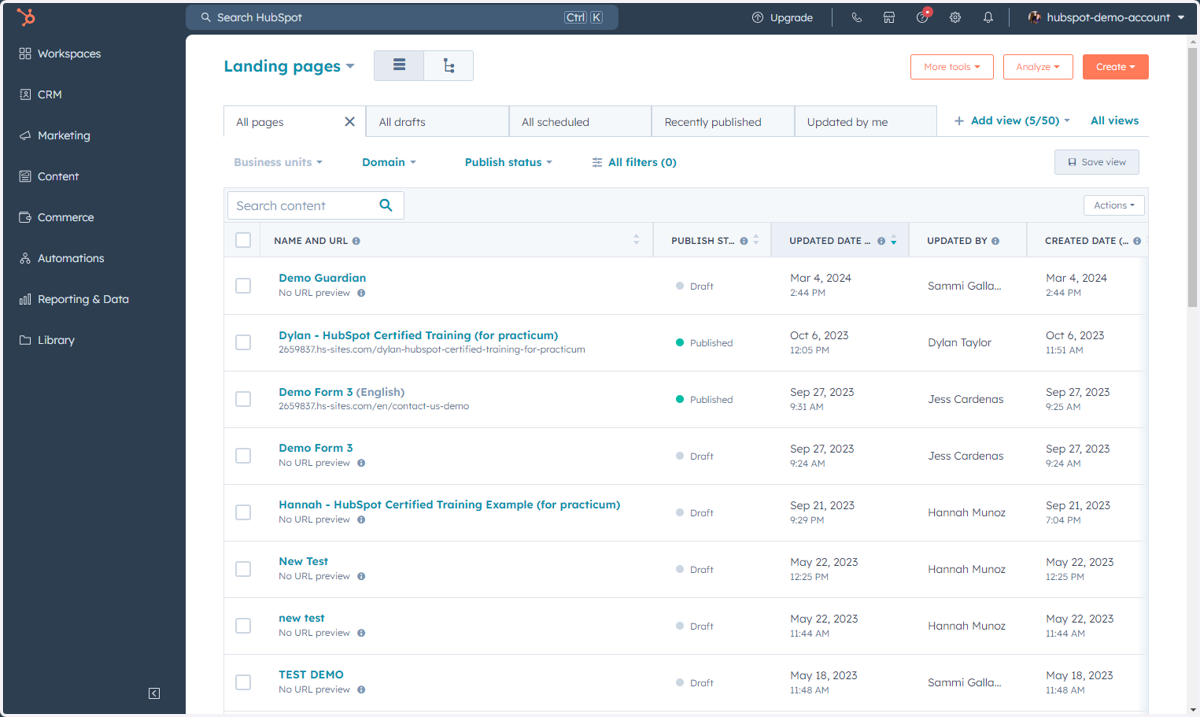
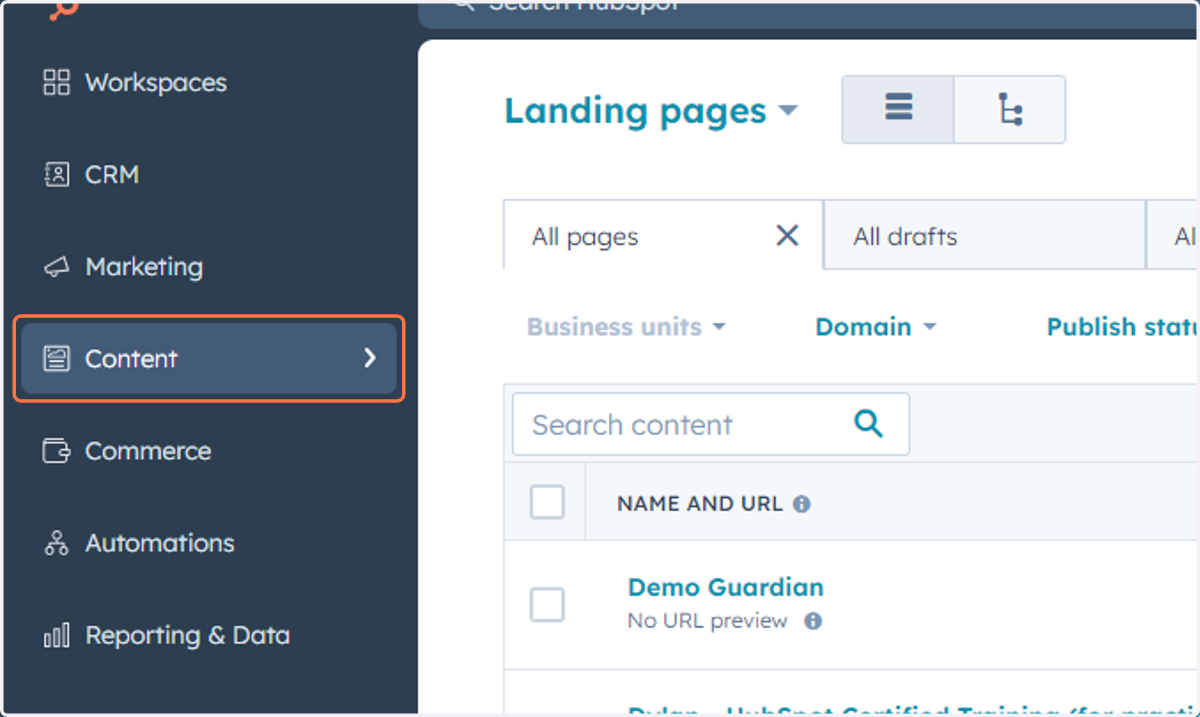
43. Click on Content
44. Click on Blog
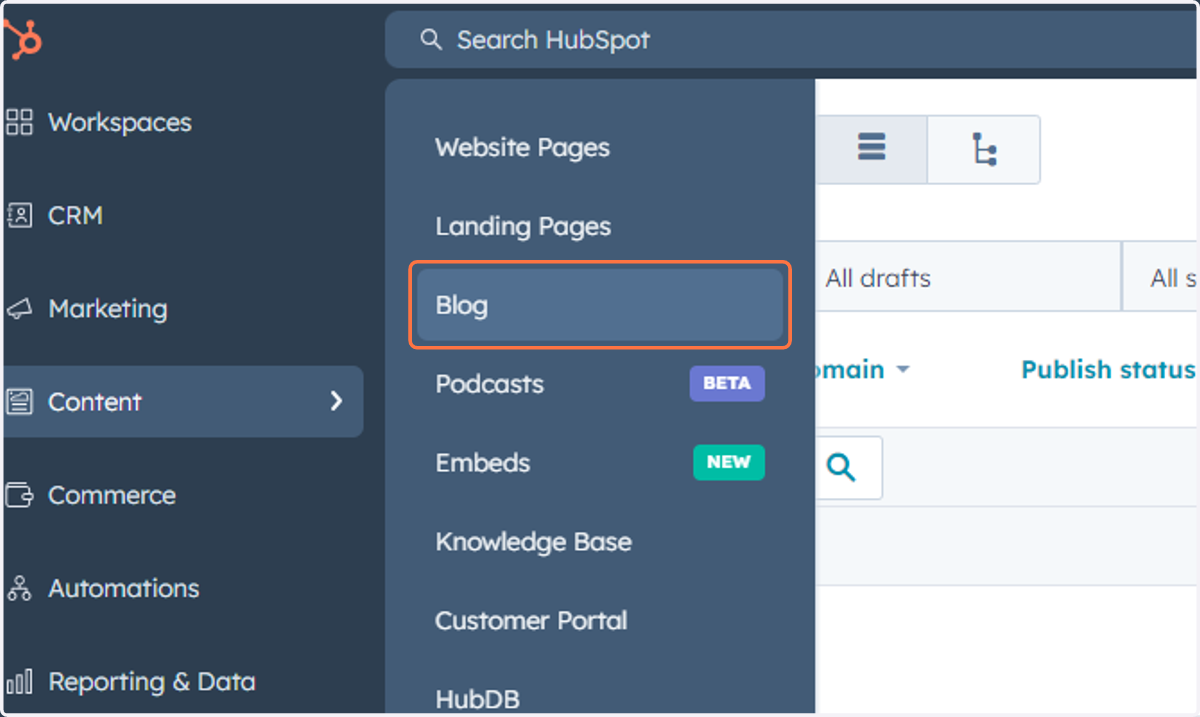
45. This is where you can access, manage and create Blog posts
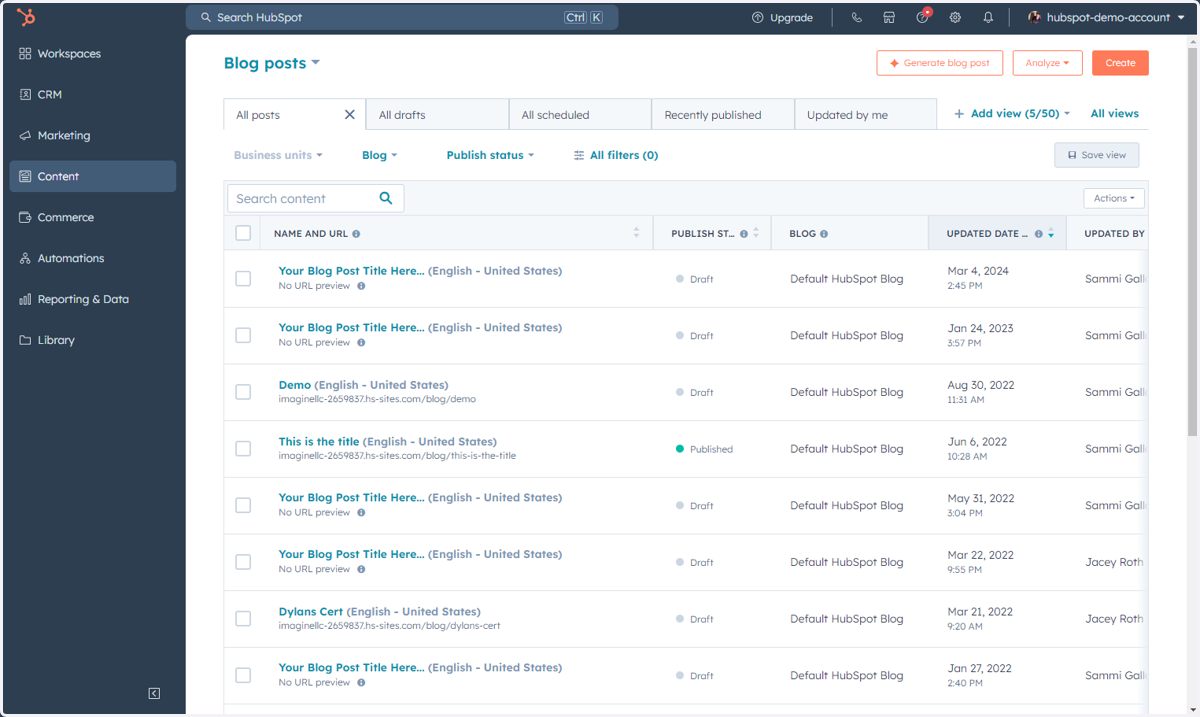
46. Click on Content
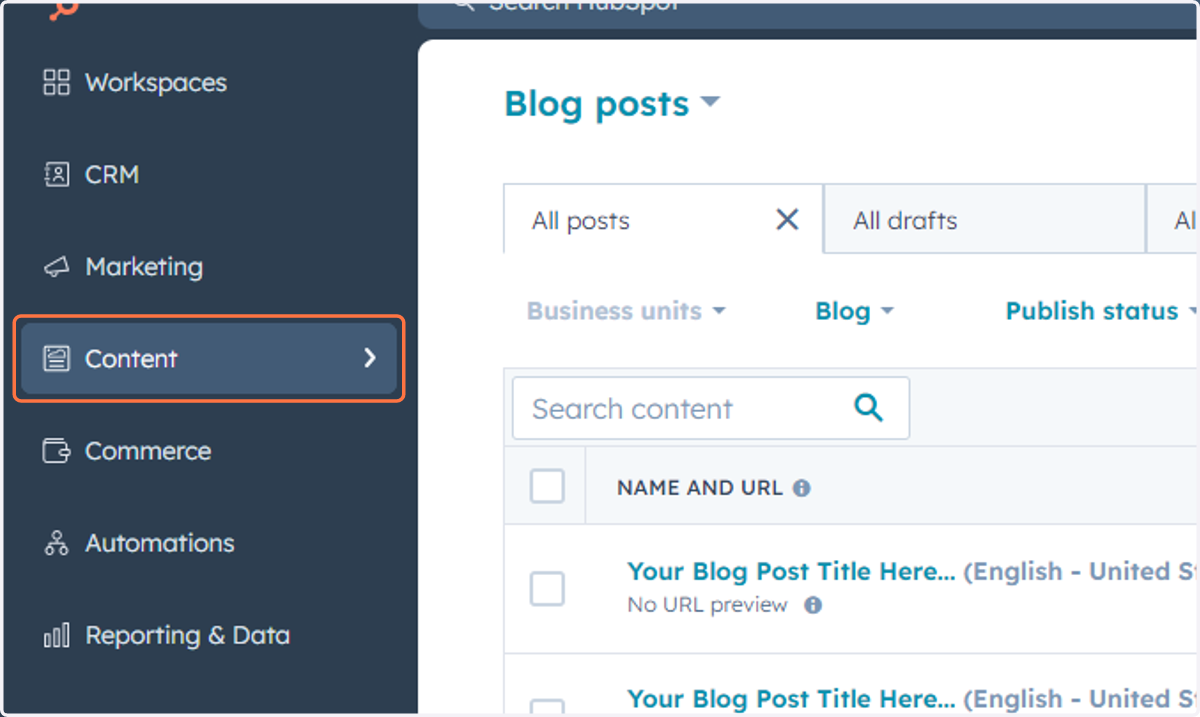
47. Click on Podcasts…
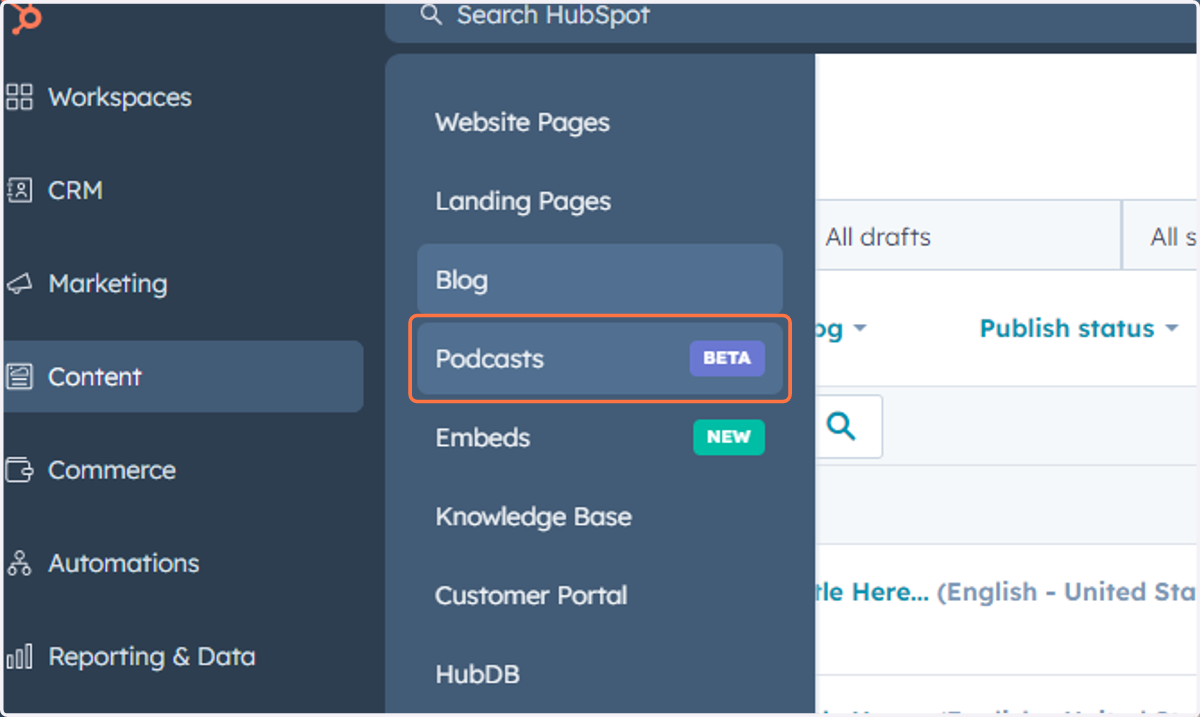
48. This is where you can access Podcasts
You can now create a Podcast within HubSpot. This main page will walk you through how to set up a Podcast and then let you create episodes that you can embed onto marketing assets like Landing pages, Website pages and Blogs. You will also be given an RSS feed to share to platforms such as Apple Podcasts and Spotify.
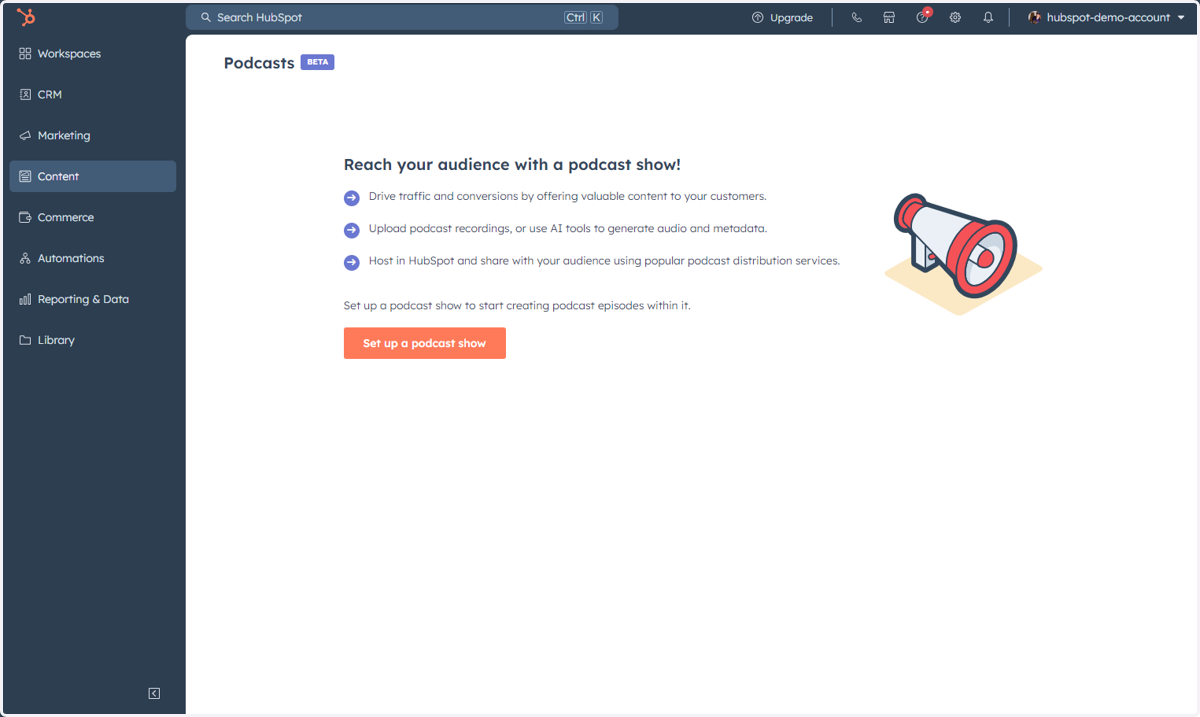
49. Click on Content
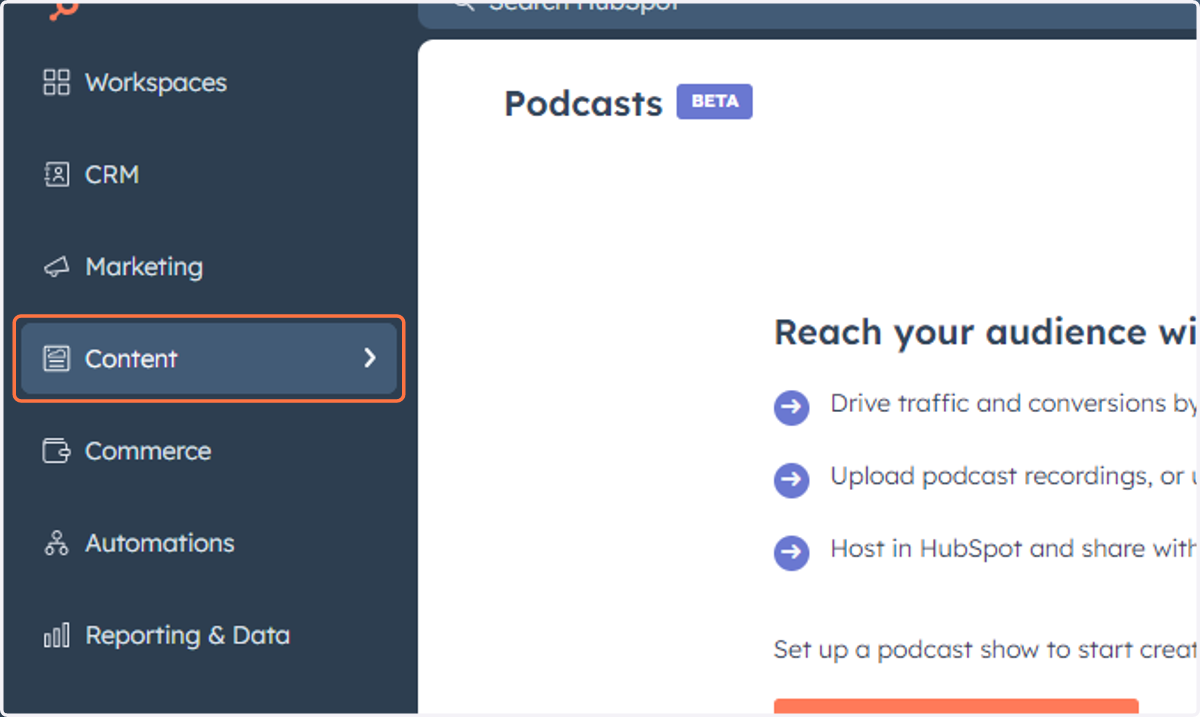
50. Click on Embeds…
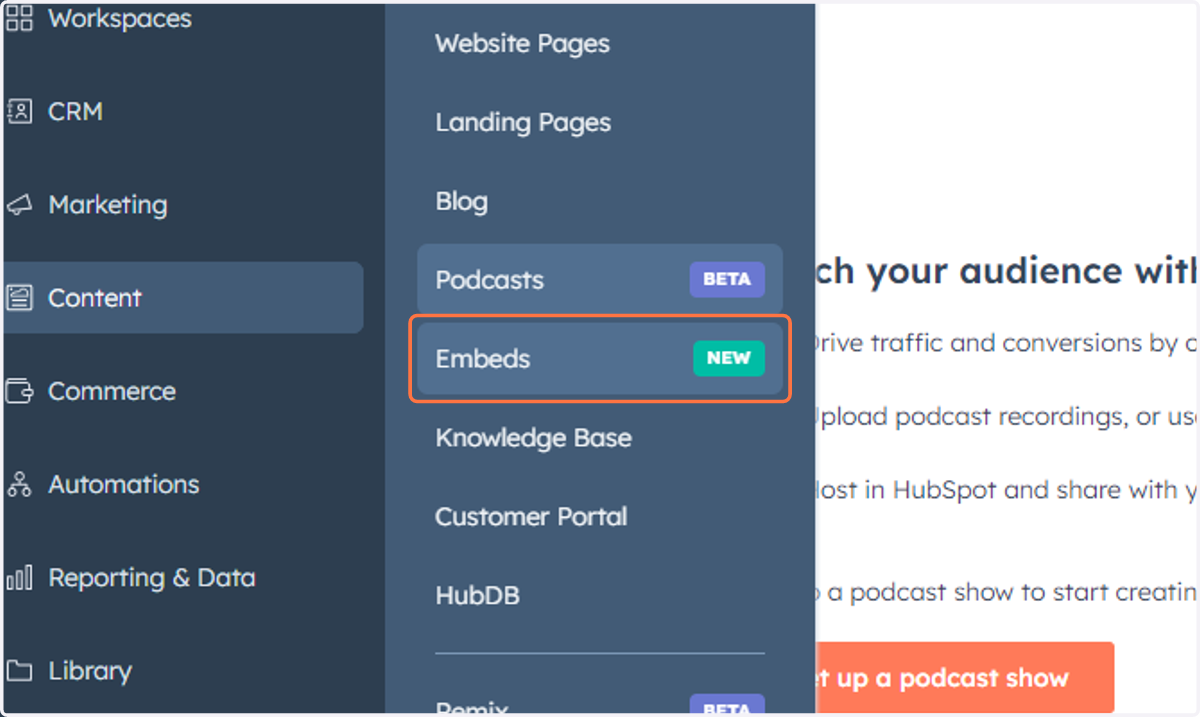
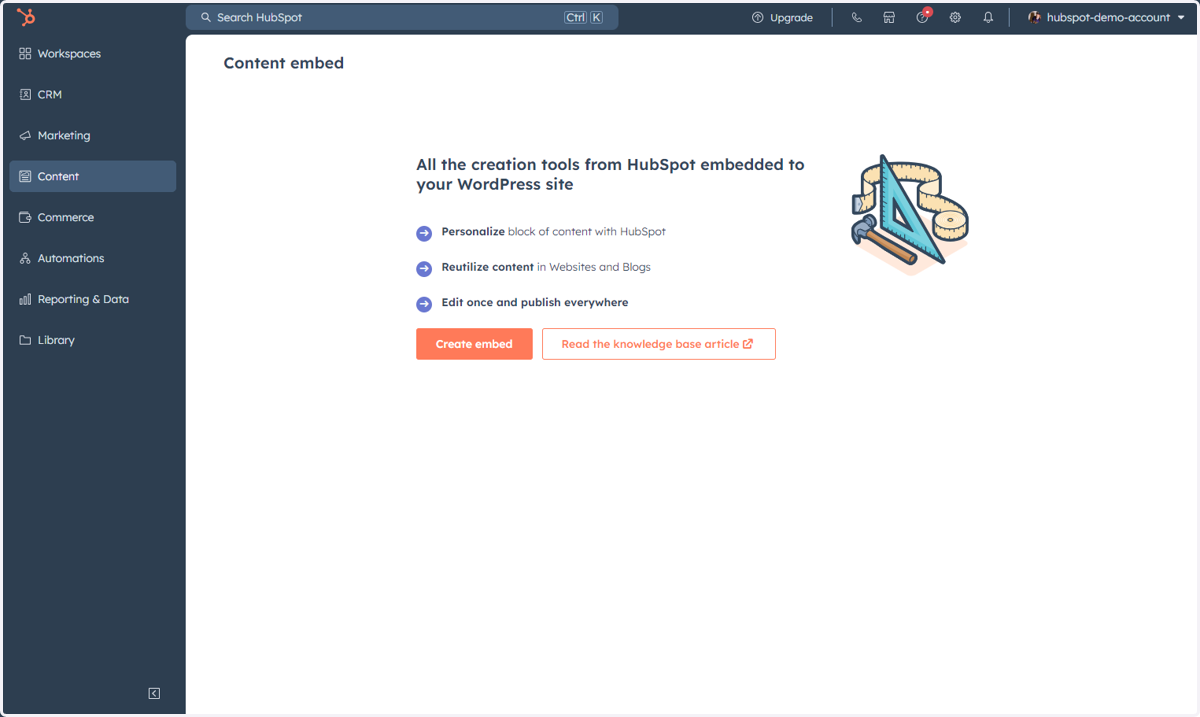
51. This is where you can access Embeds
This is a new feature in HubSpot that allows you to create content that you can then embed on a WordPress site. You will need to have the WordPress plugin for this feature. Here you can create content in HubSpot and utilize CRM data, smart content, HubDB, etc. for your WordPress site.
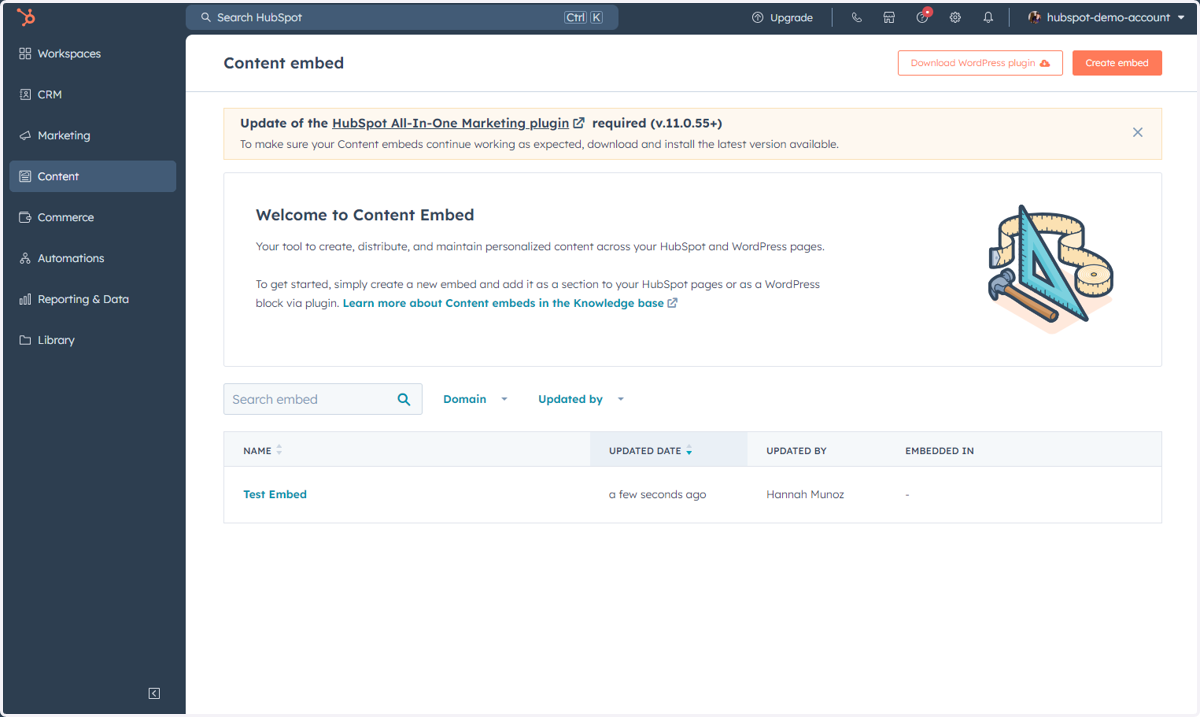
52. Once you start creating Embeds, this is what the screen will look like for you to manage your Embeds
53. Click on Content
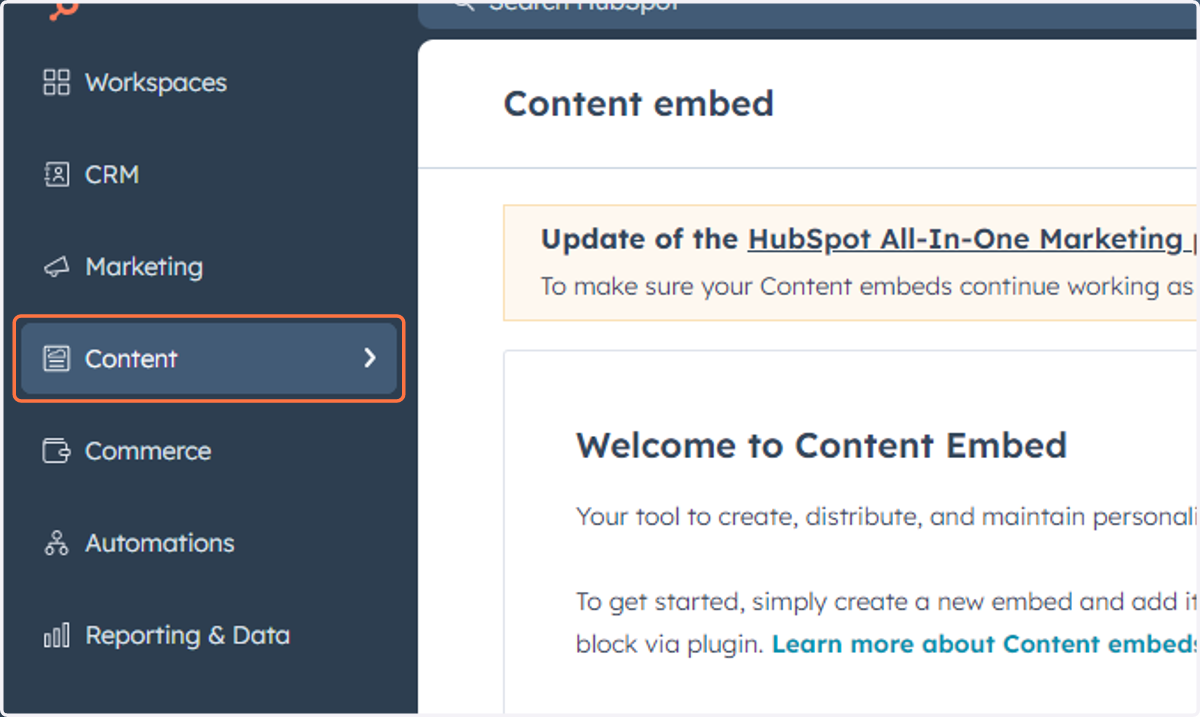
54. Click on HubDB
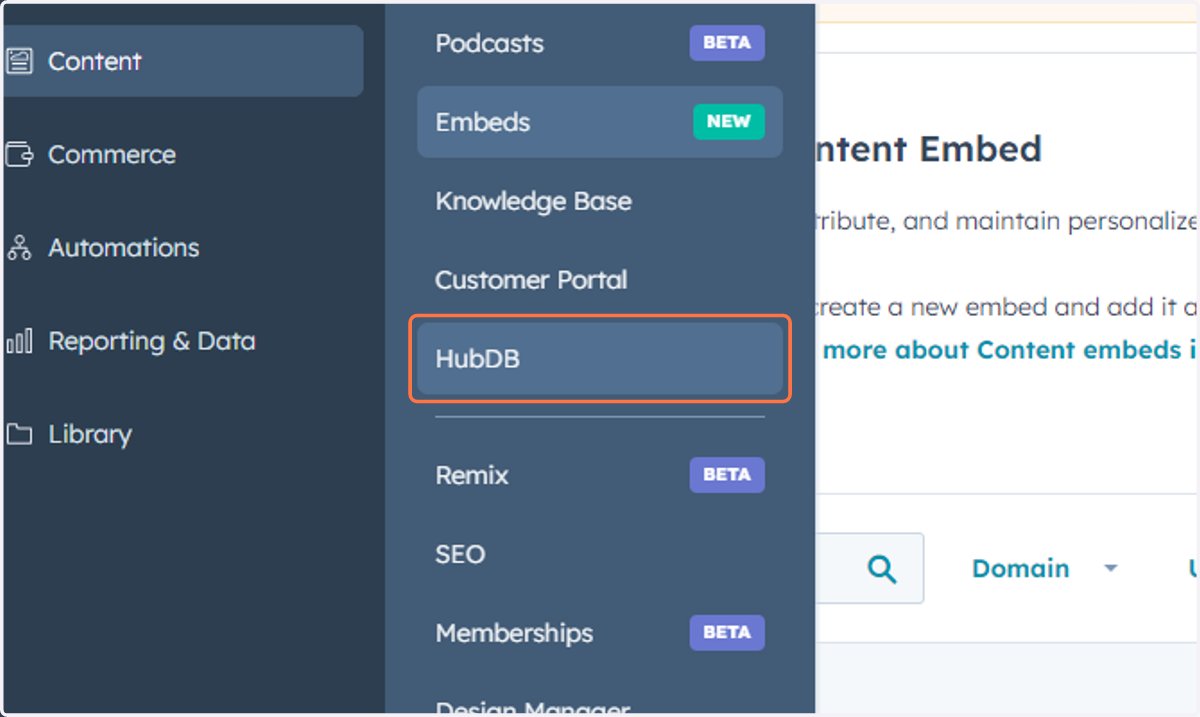
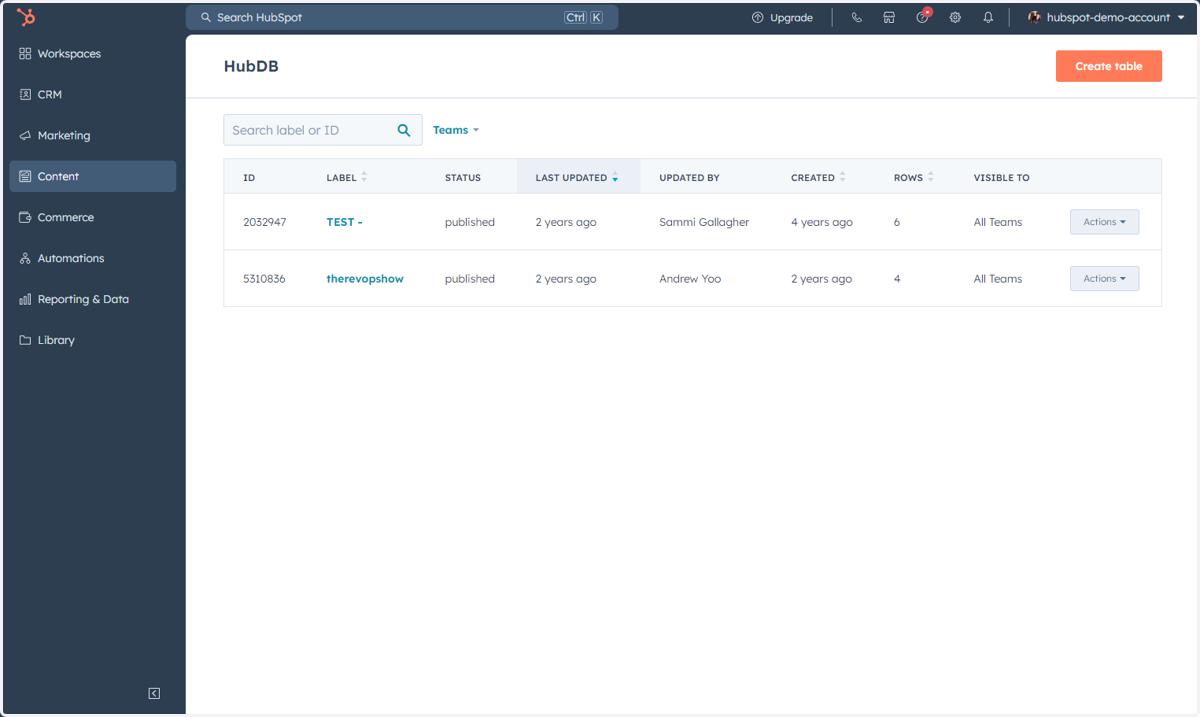
55. This is where you can access, manage, and create HubDB tables
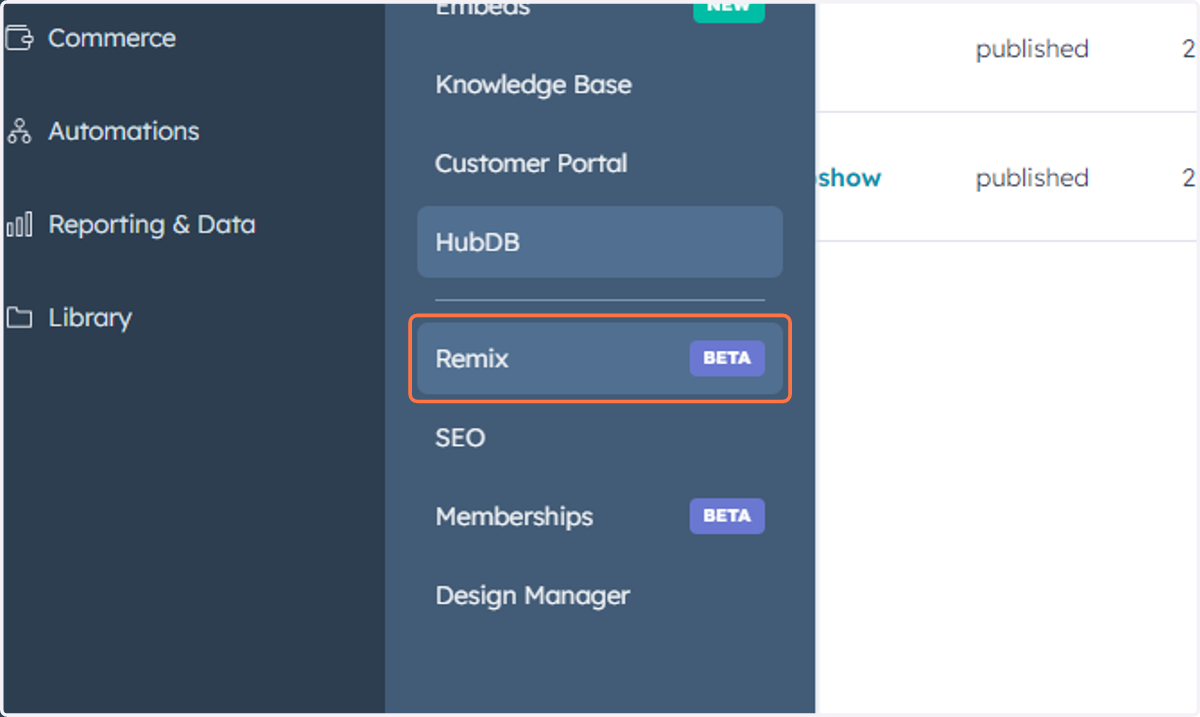
56. Click on Content
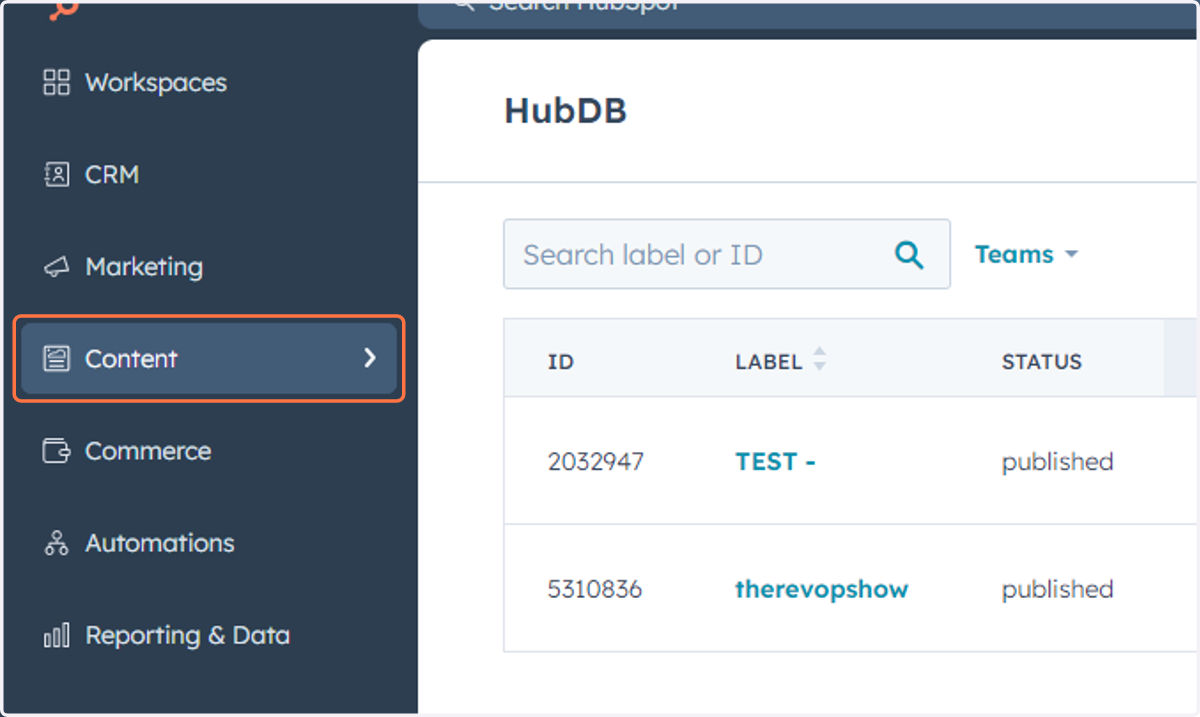
57. Click on Remix…
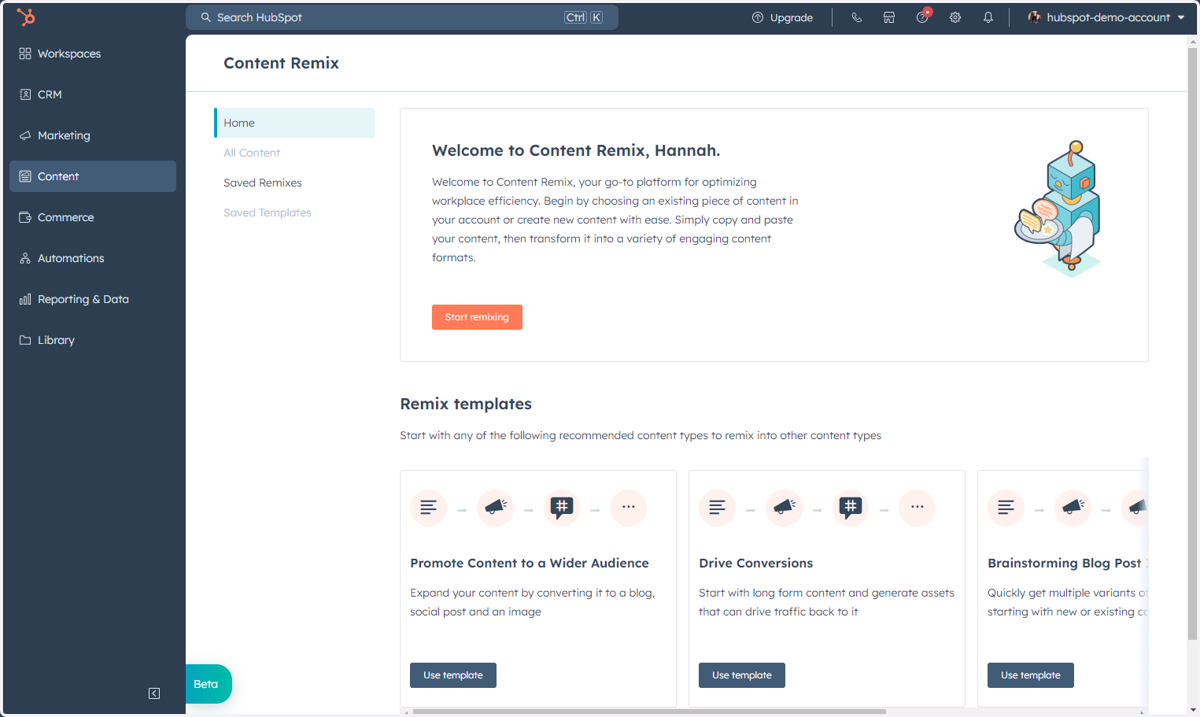
58. This is where you can access and remix content quickly and easily
This feature uses AI to help create content quickly and easily. You can either utilize existing content or create and post something new for the tool to create assets off of. Click Start remixing to access the feature.
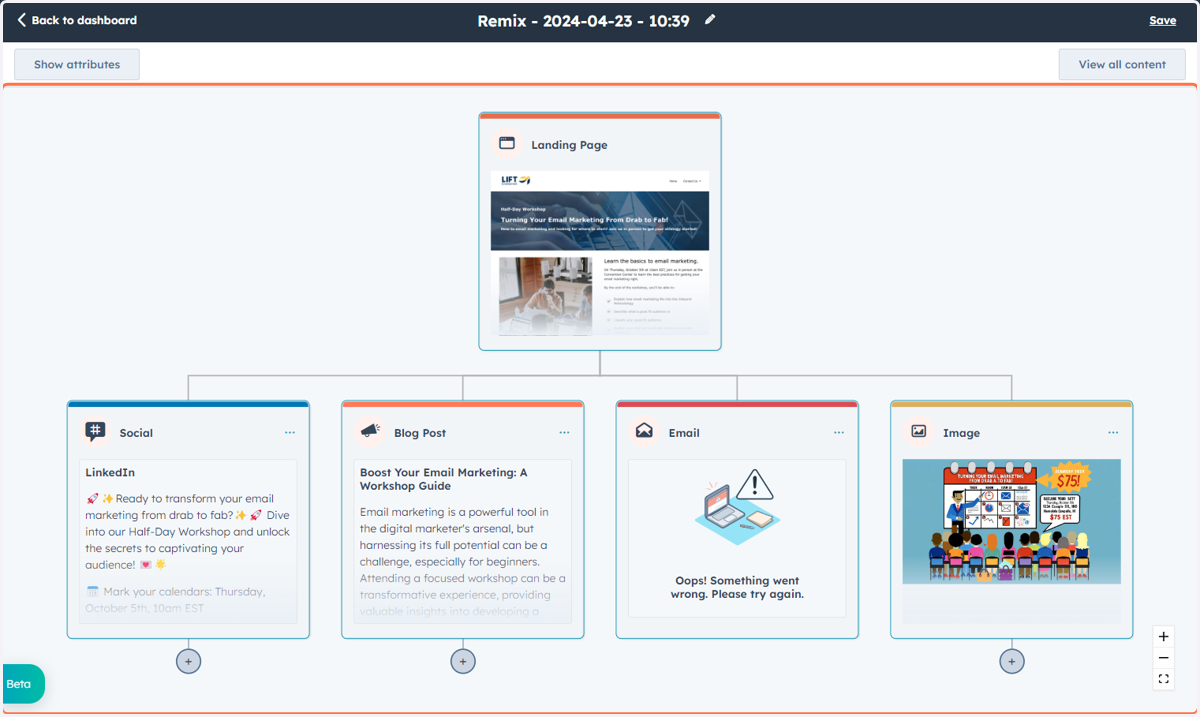
59. This is an example of what the Remix can look like
For this example, we took an existing Landing page and created a social post, blog post, email and image off of it.
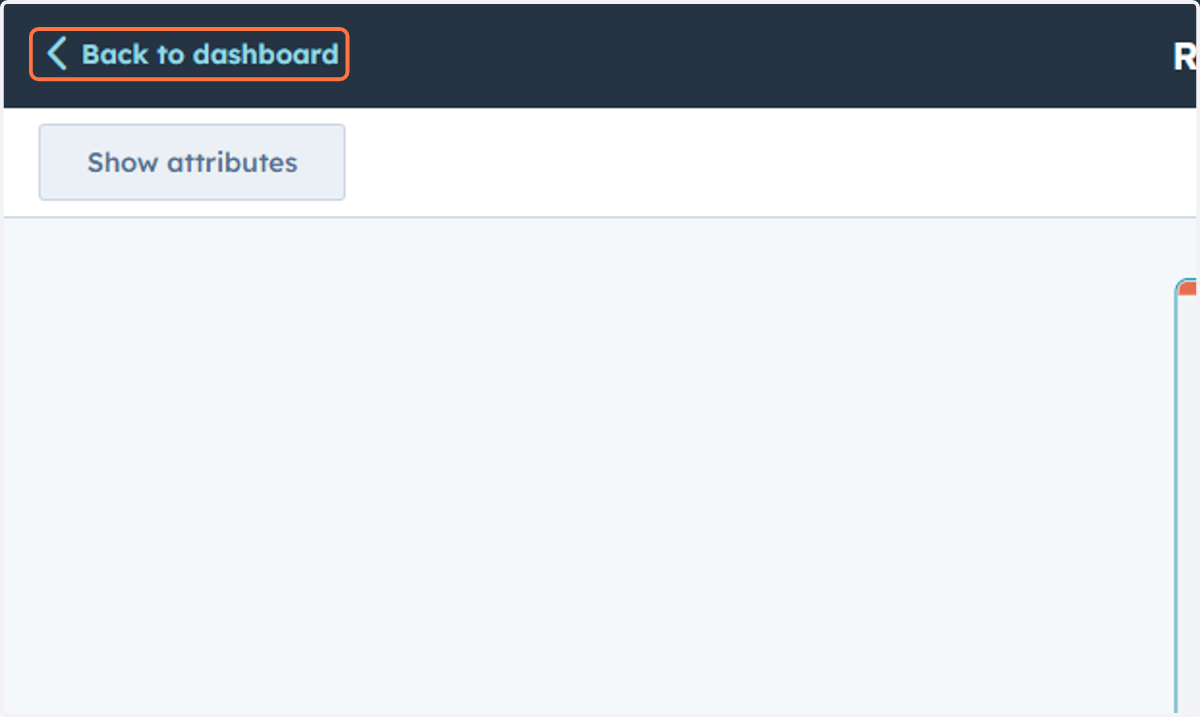
60. Click on Back to dashboard
61. Click on Content
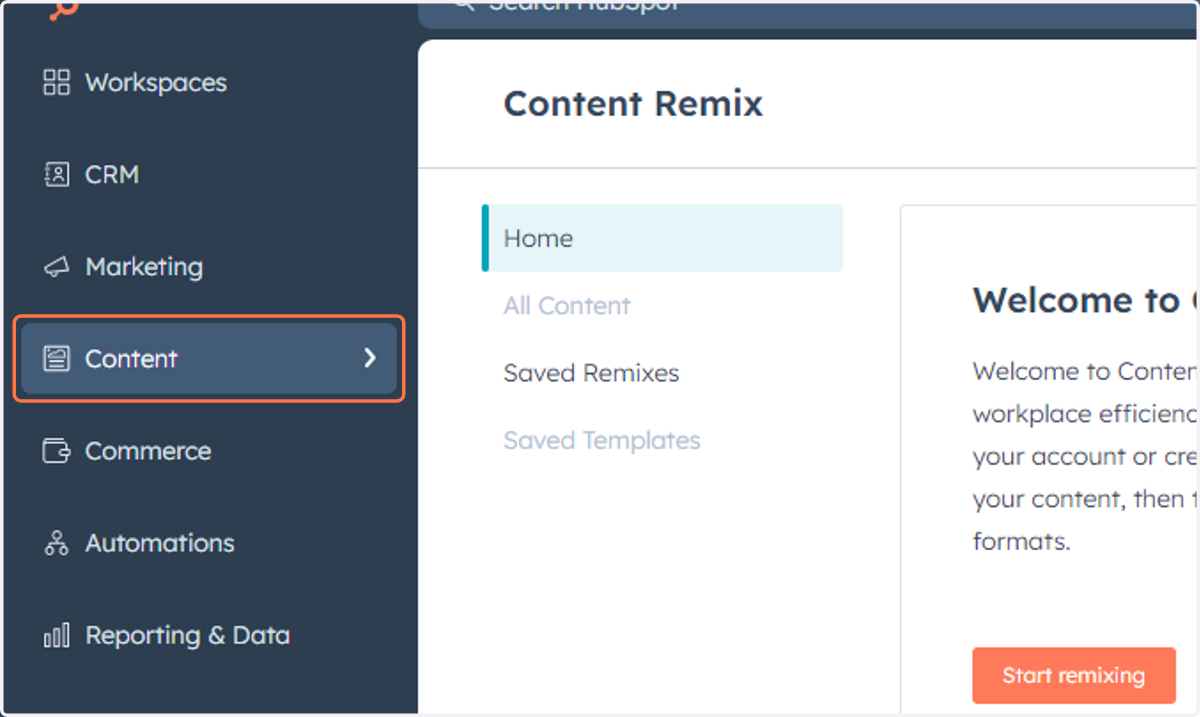
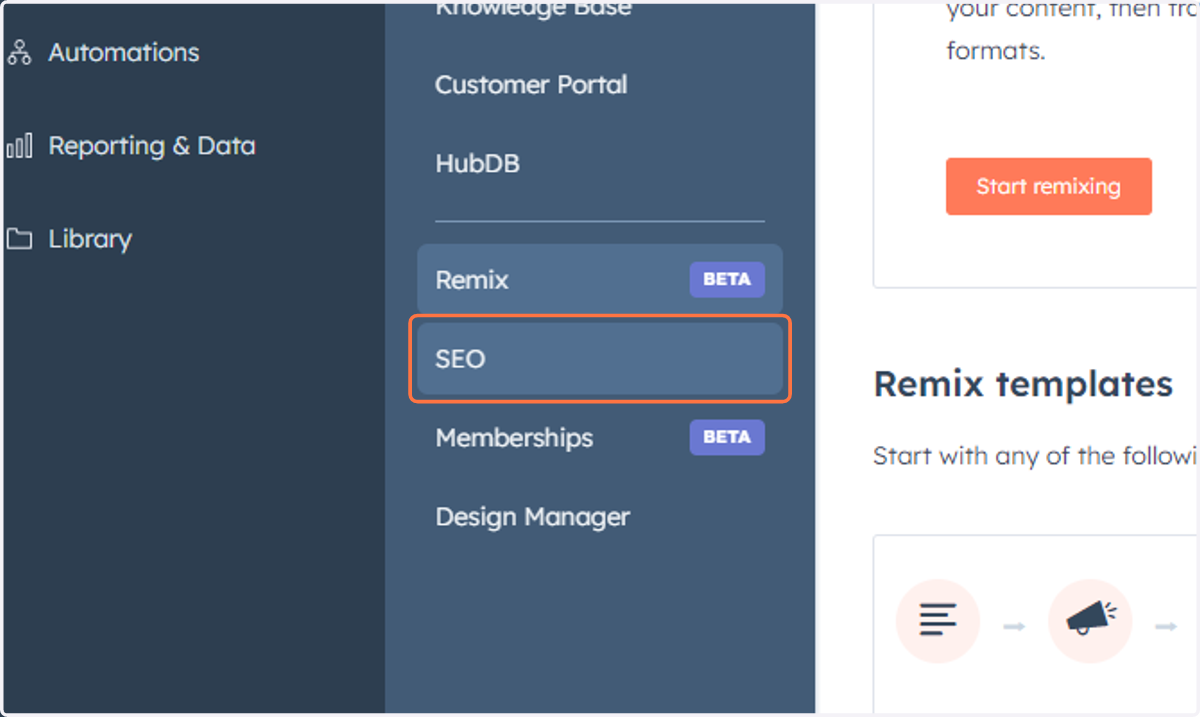
62. Click on SEO
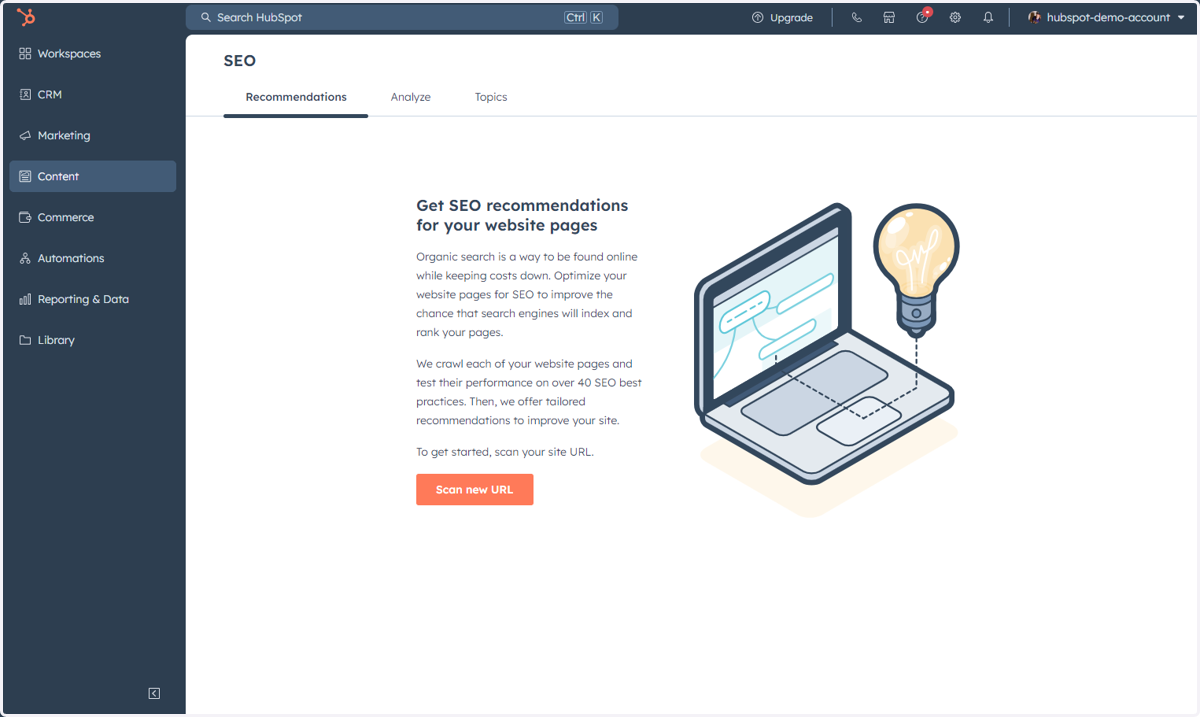
63. This is where you can access and get SEO recommendations for your web pages
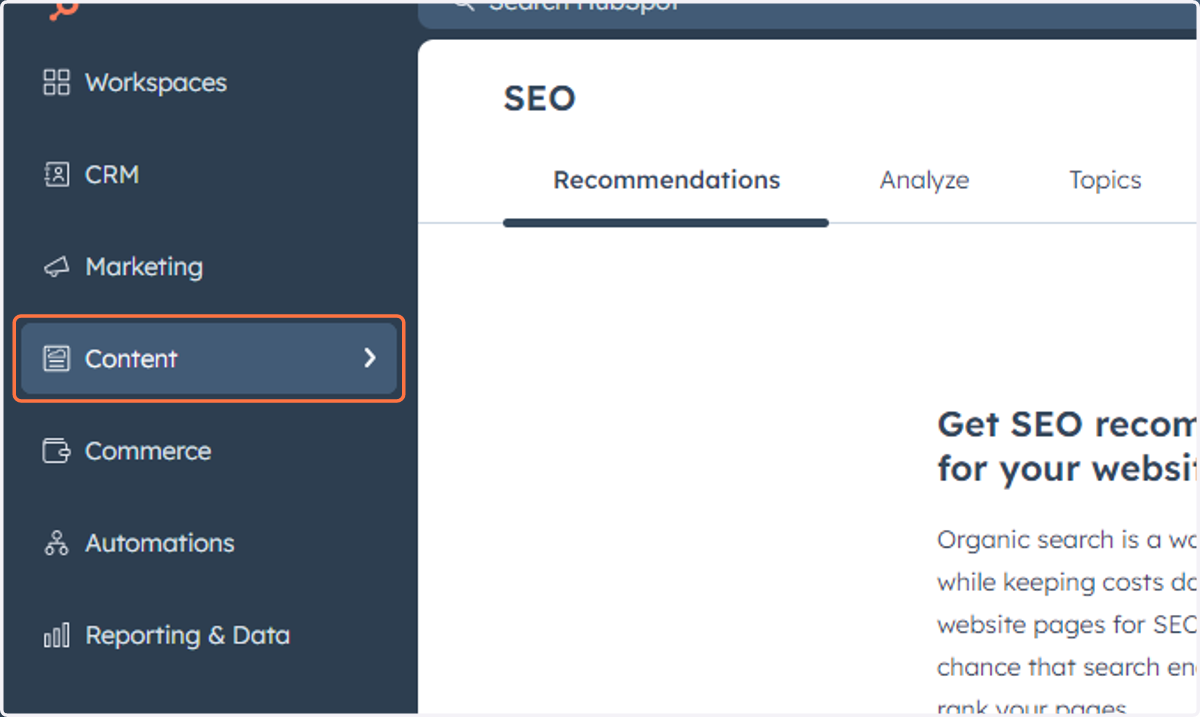
64. Click on Content
65. Click on Design Manager
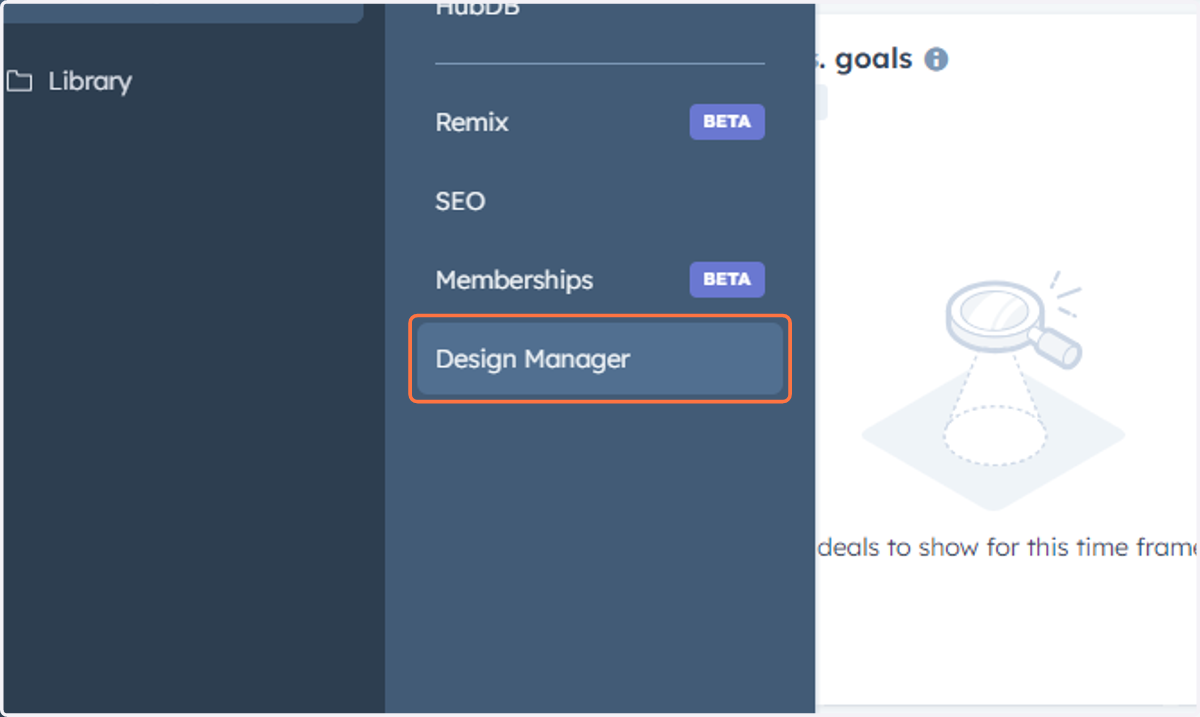
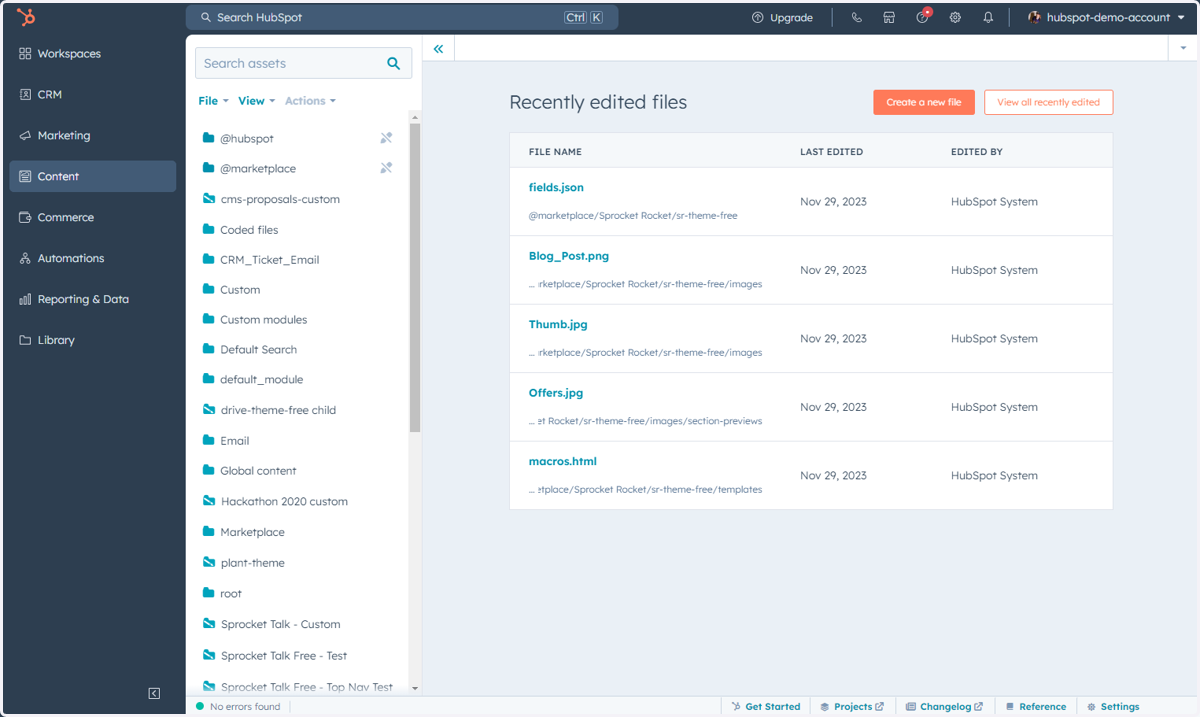
66. This is where you can access and manage the back-end coding of your Web pages and templates
Accessing Items Under Automation
This includes: Workflows, AI Chatbot, and Chatflows.
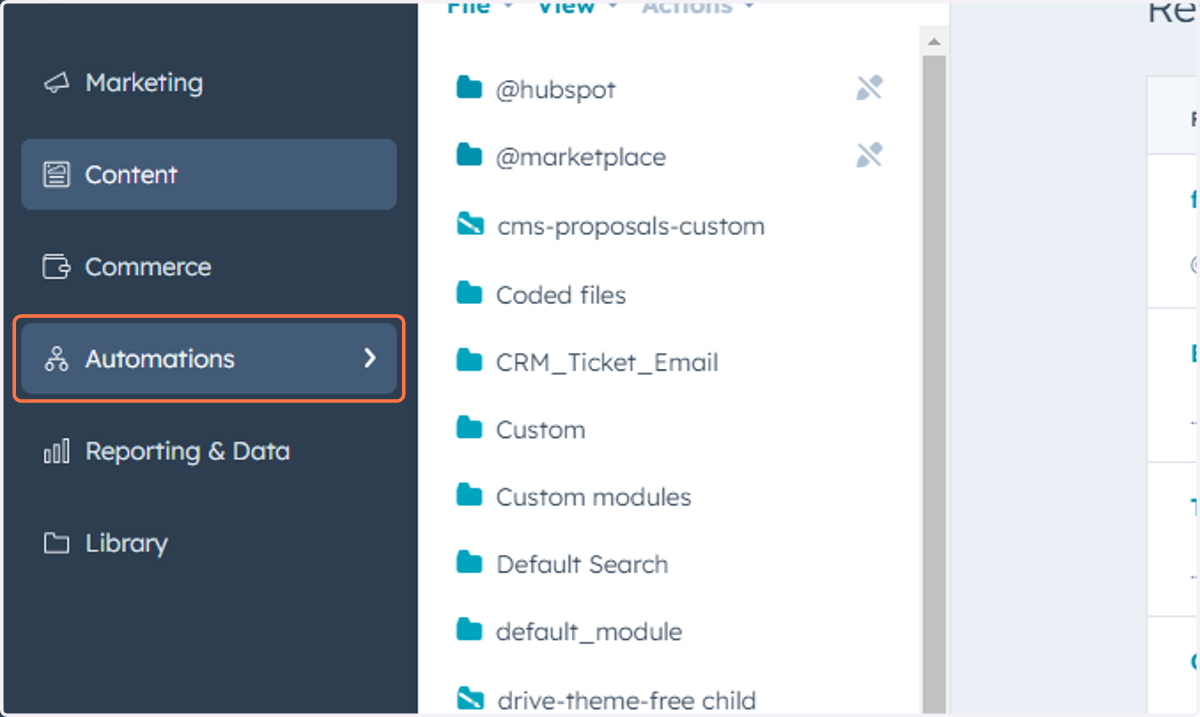
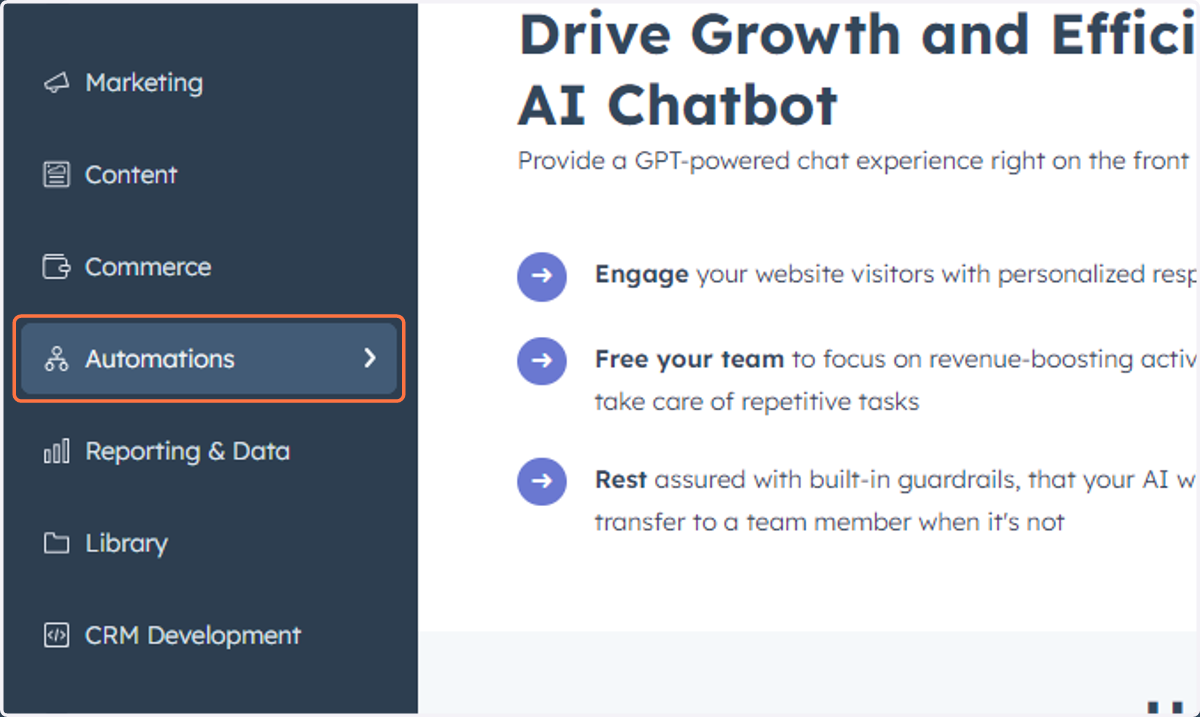
67. Click on Automations
68. Click on Workflows
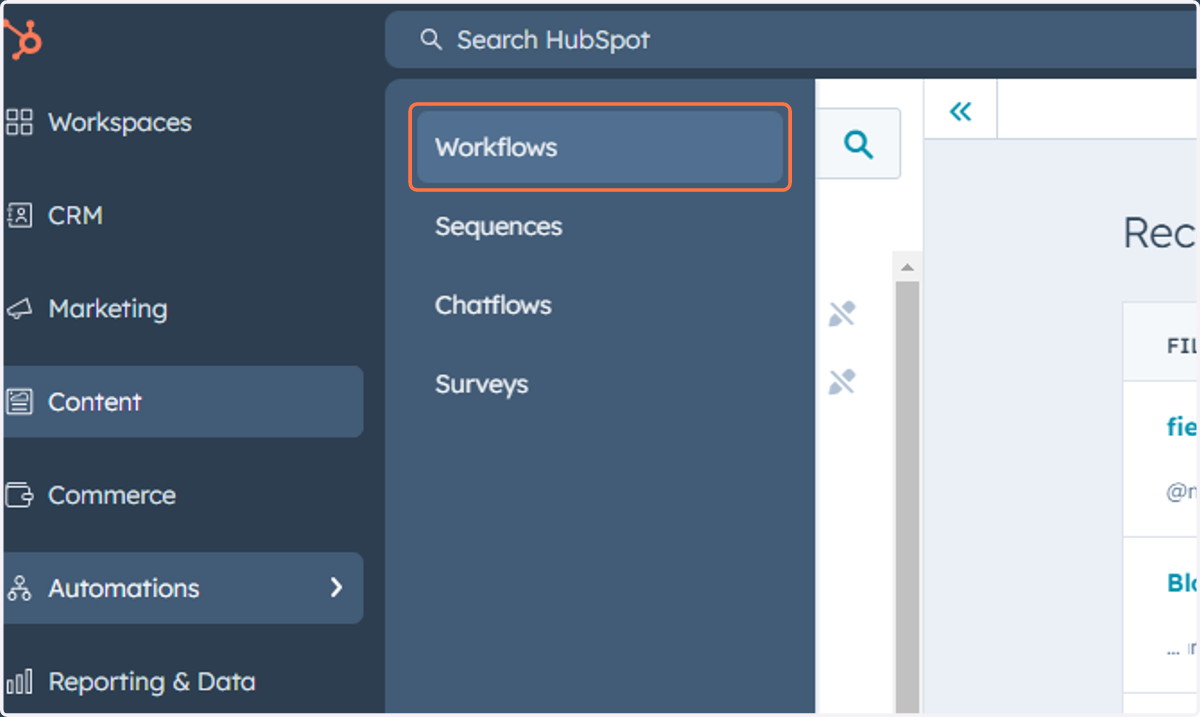
69. This is where you can access, manage and create Workflows
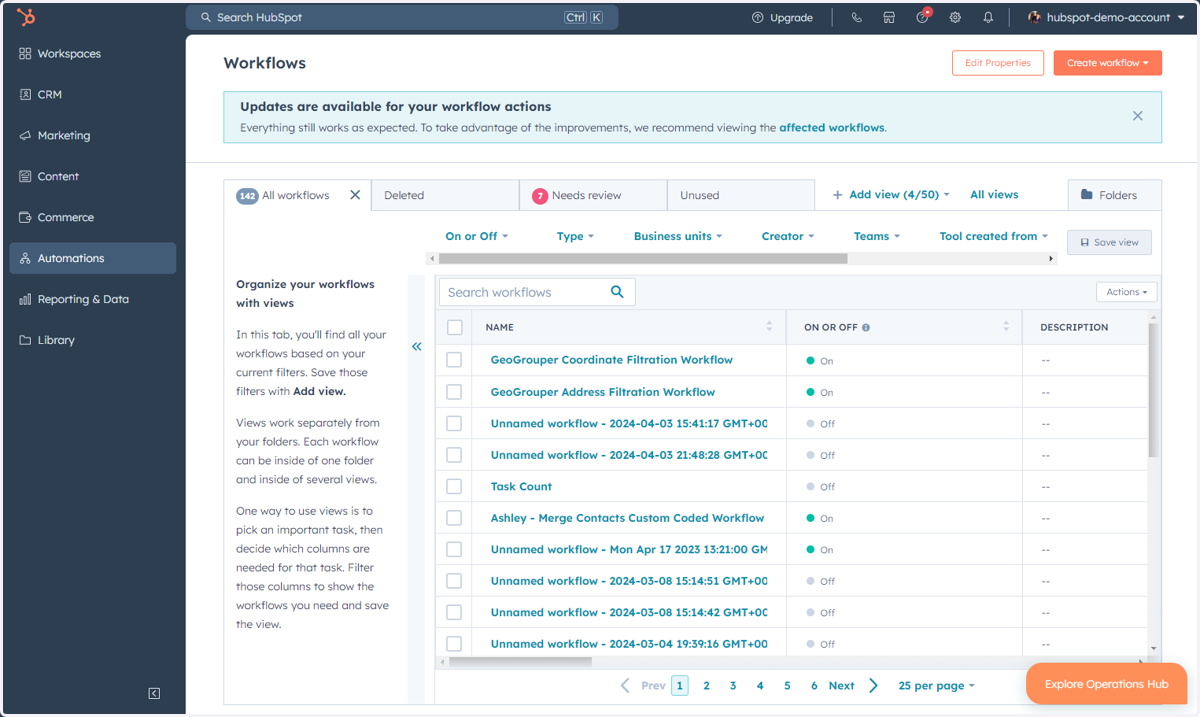
70. Click on Automations
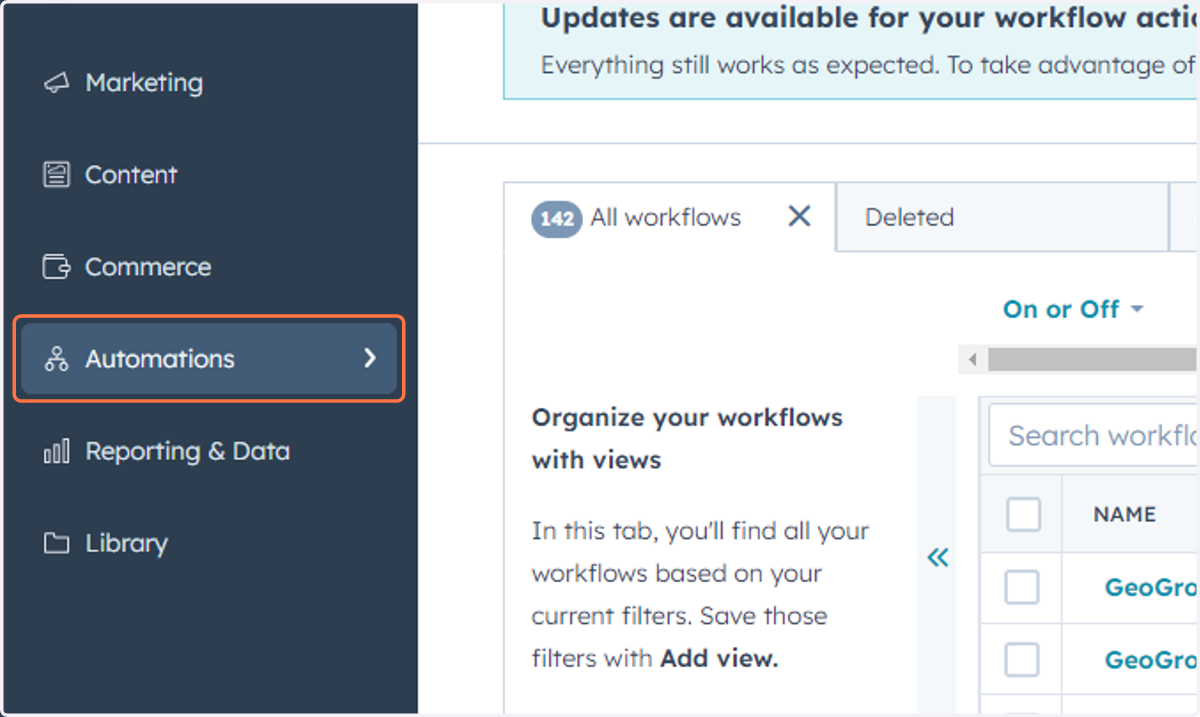
71. Click on AI Chatbot…
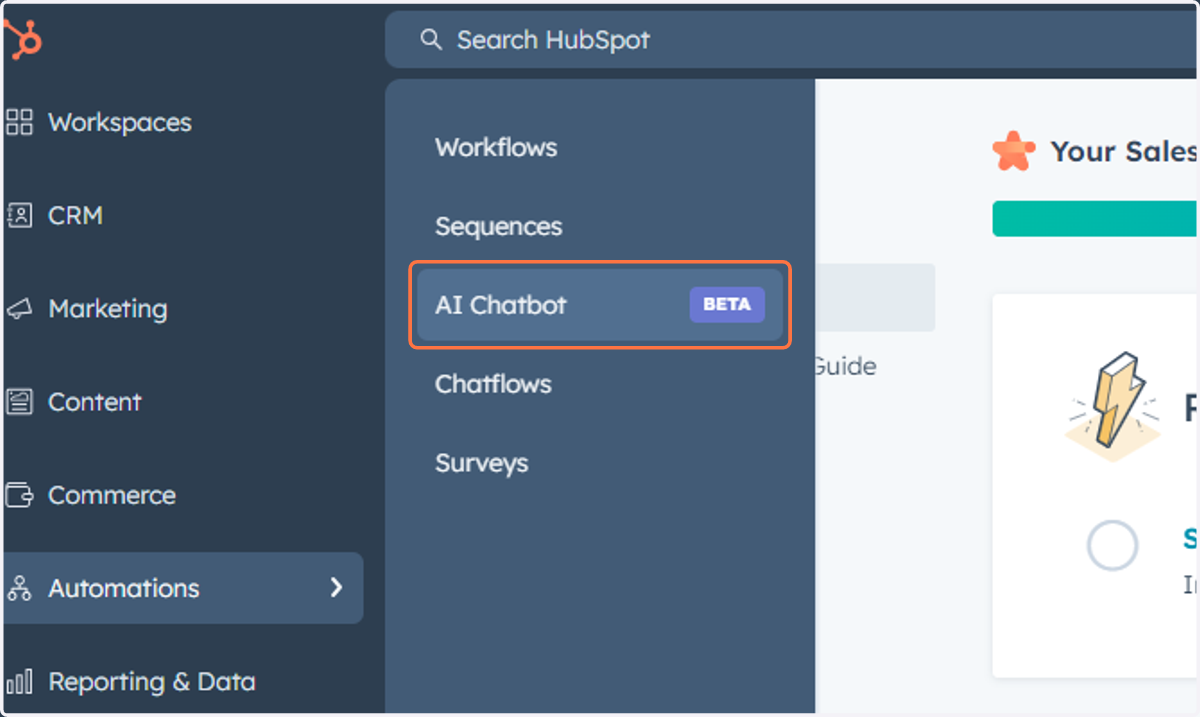
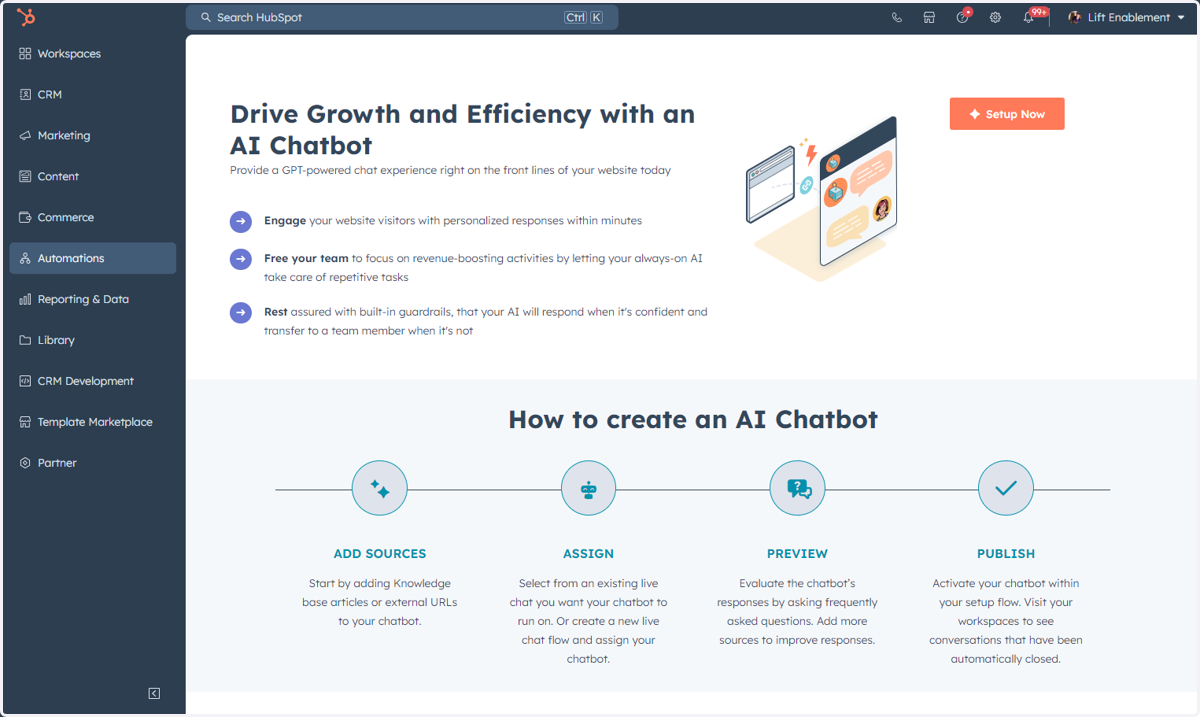
72. This is where you can access the AI Chatbot
HubSpot will direct you to a page that talks about the AI Chatbot and how you can create one. Click Setup Now in the top right-hand corner to get started.
73. Click on Automations
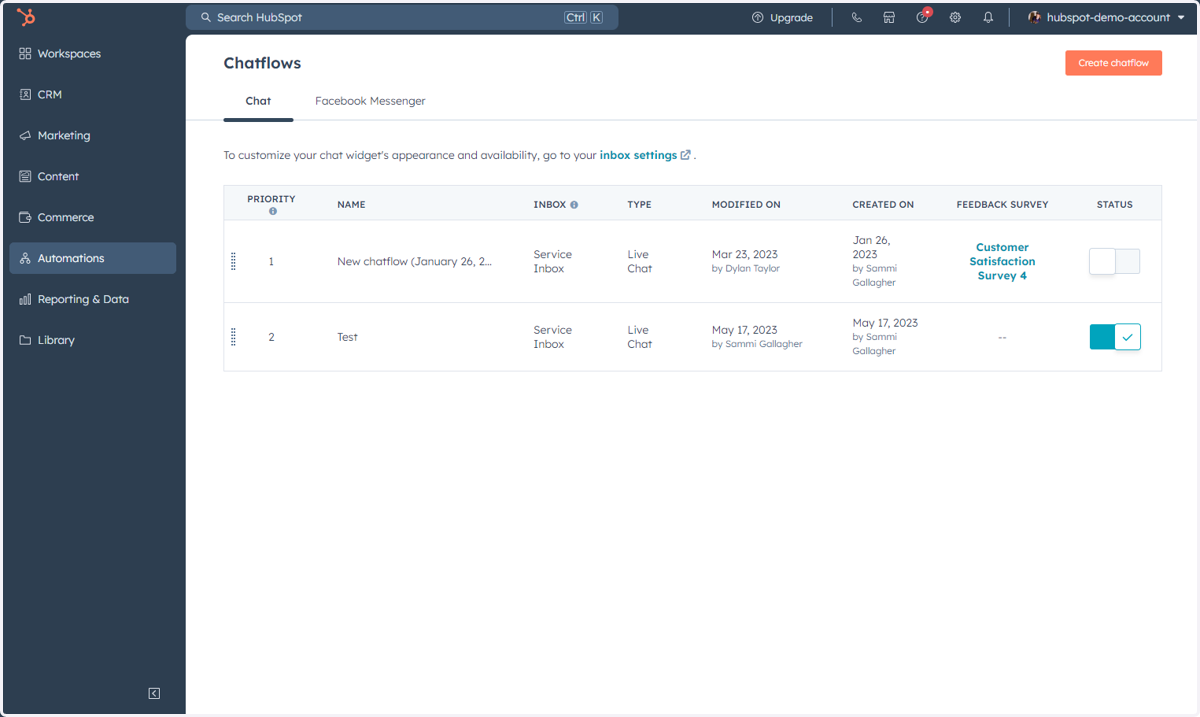
74. Click on Chatflows
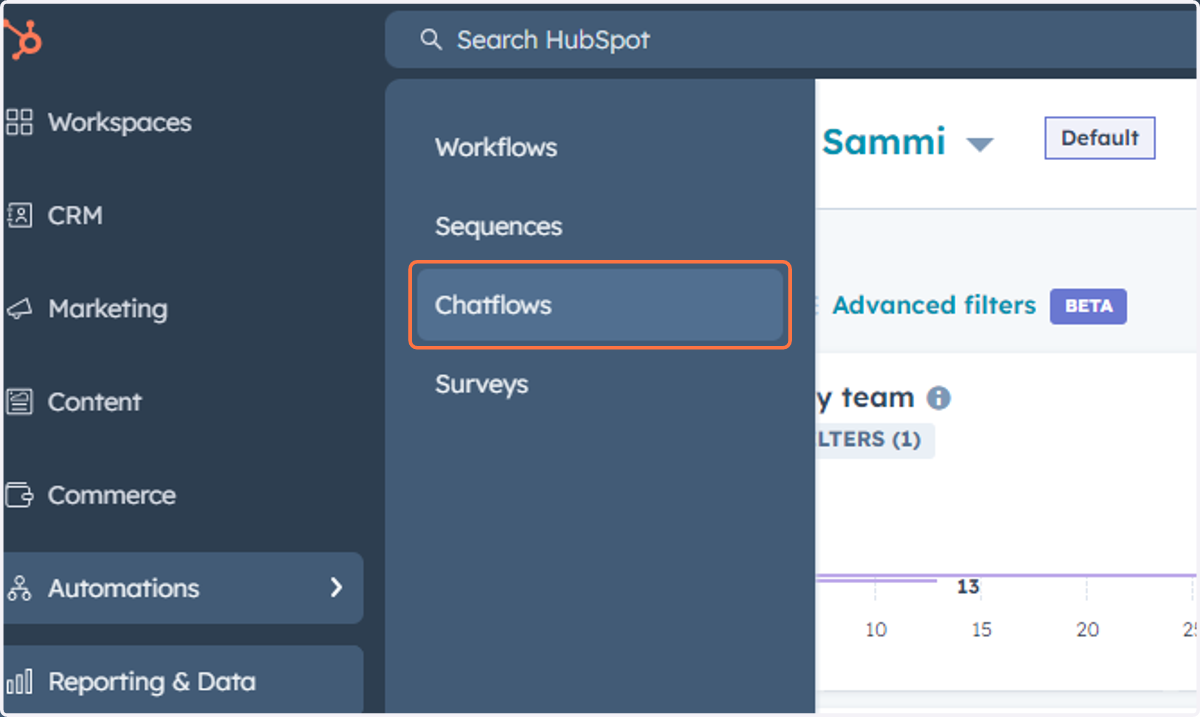
75. This is where you can access, manage and create Chatflows
Accessing Items Under Reporting & Data
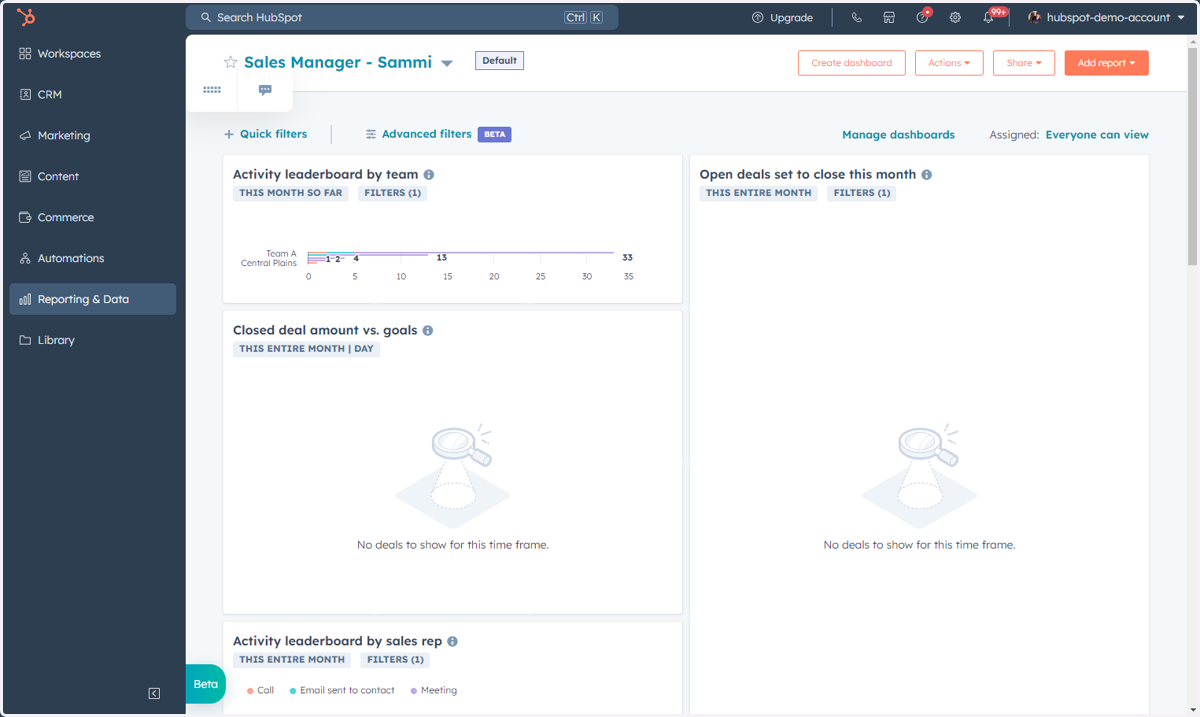
This includes: Dashboards, Reports, Goals, and Custom Events.
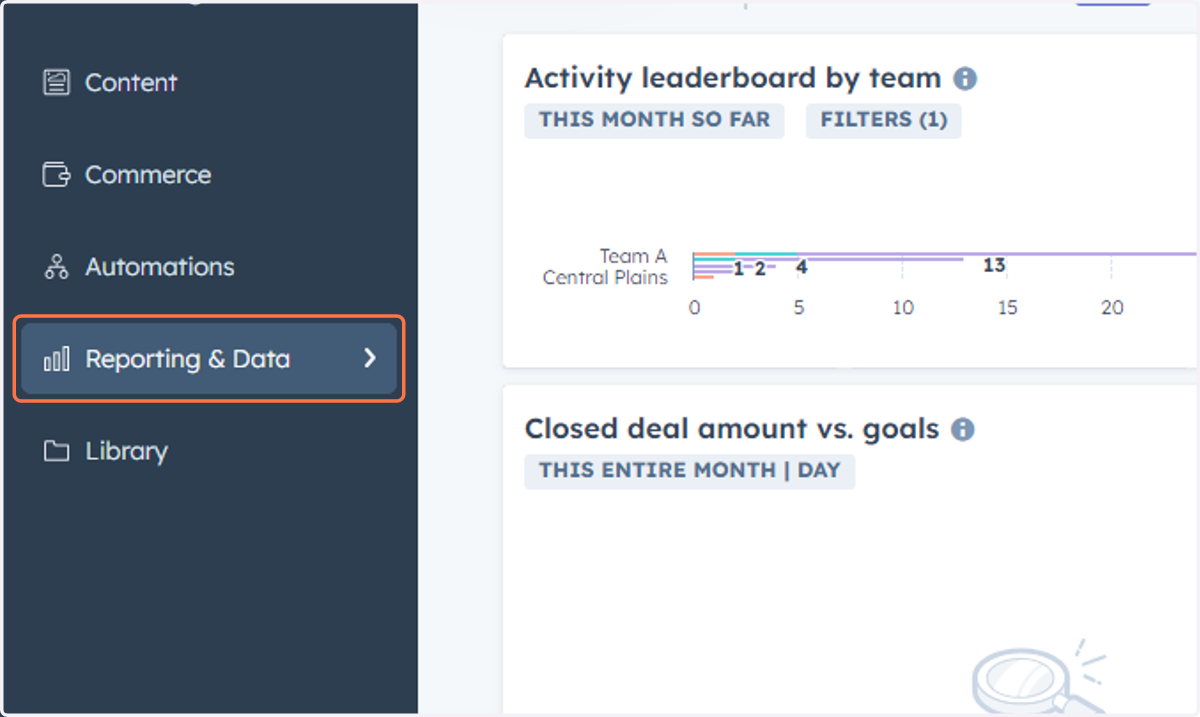
76. Click on Reporting & Data
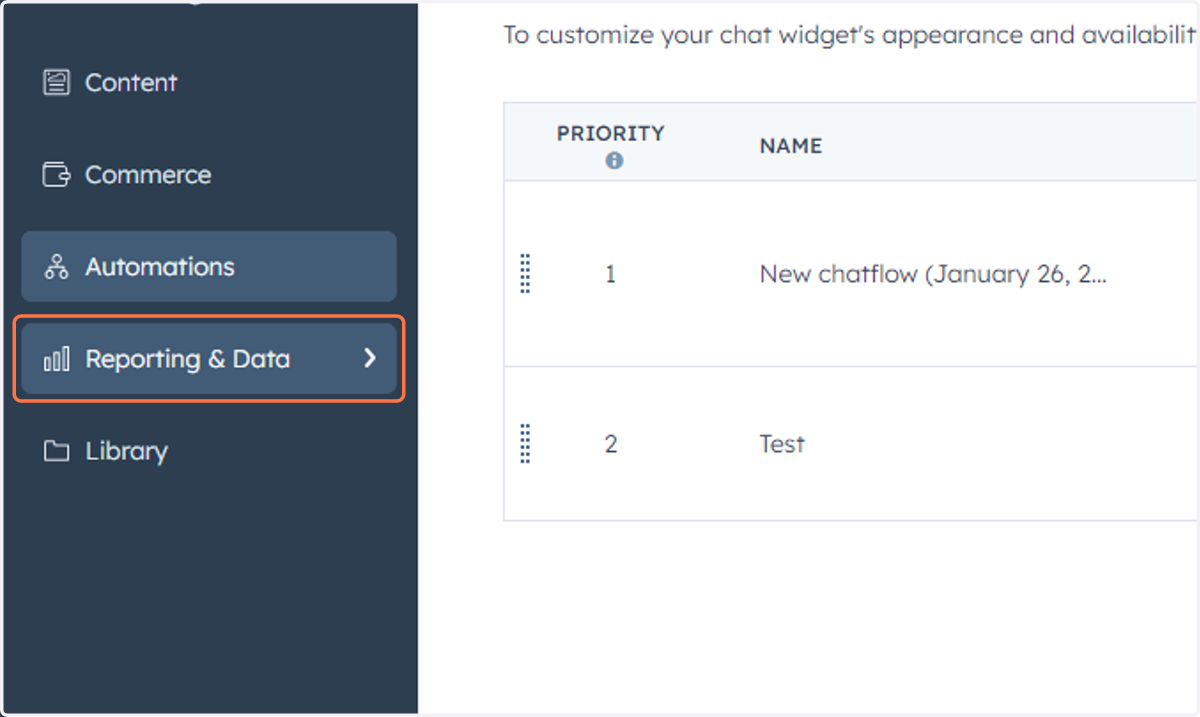
77. Click on Dashboards
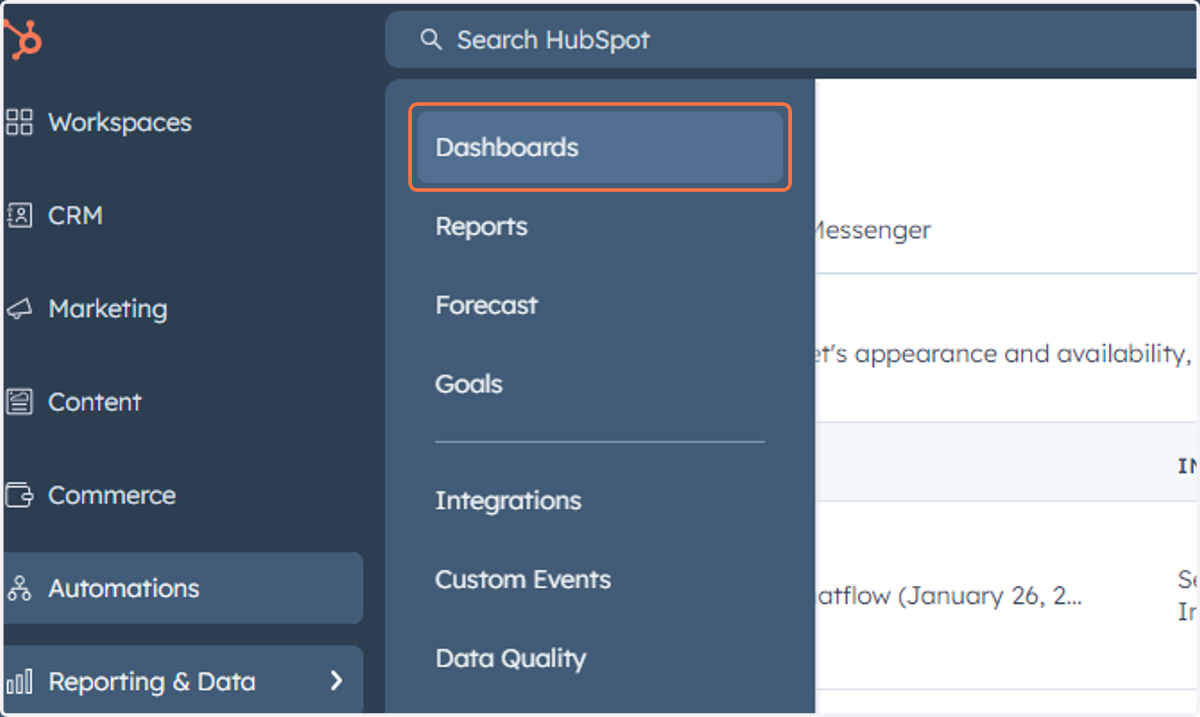
78. This is where you can access, manage and create Dashboards
79. Click on Reporting & Data
80. Click on Reports
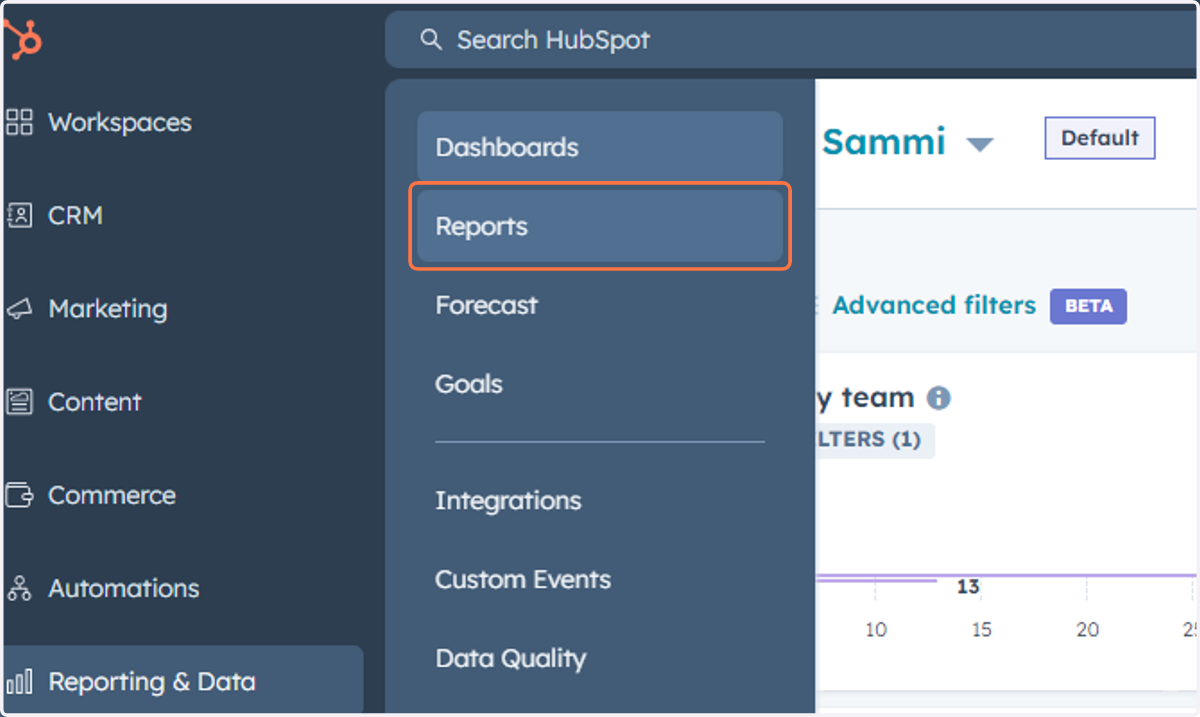
81. This is where you can access, manage and create individual reports to be used separately or on a dashboard
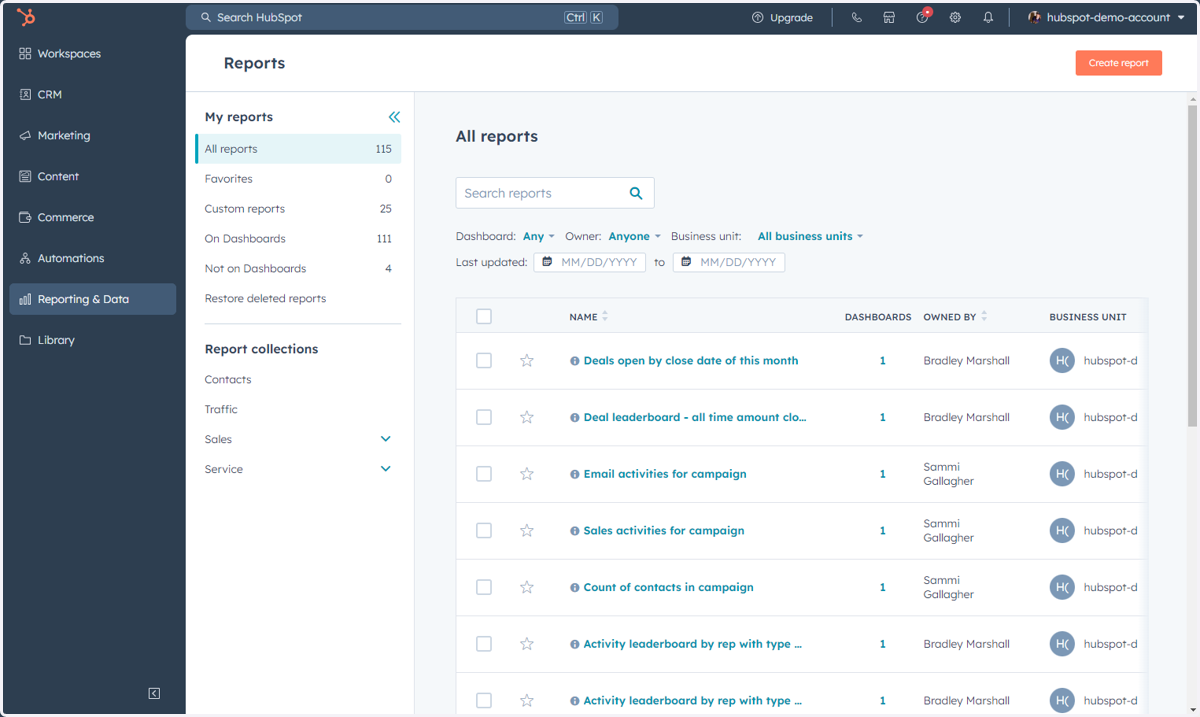
82. Click on Reporting & Data
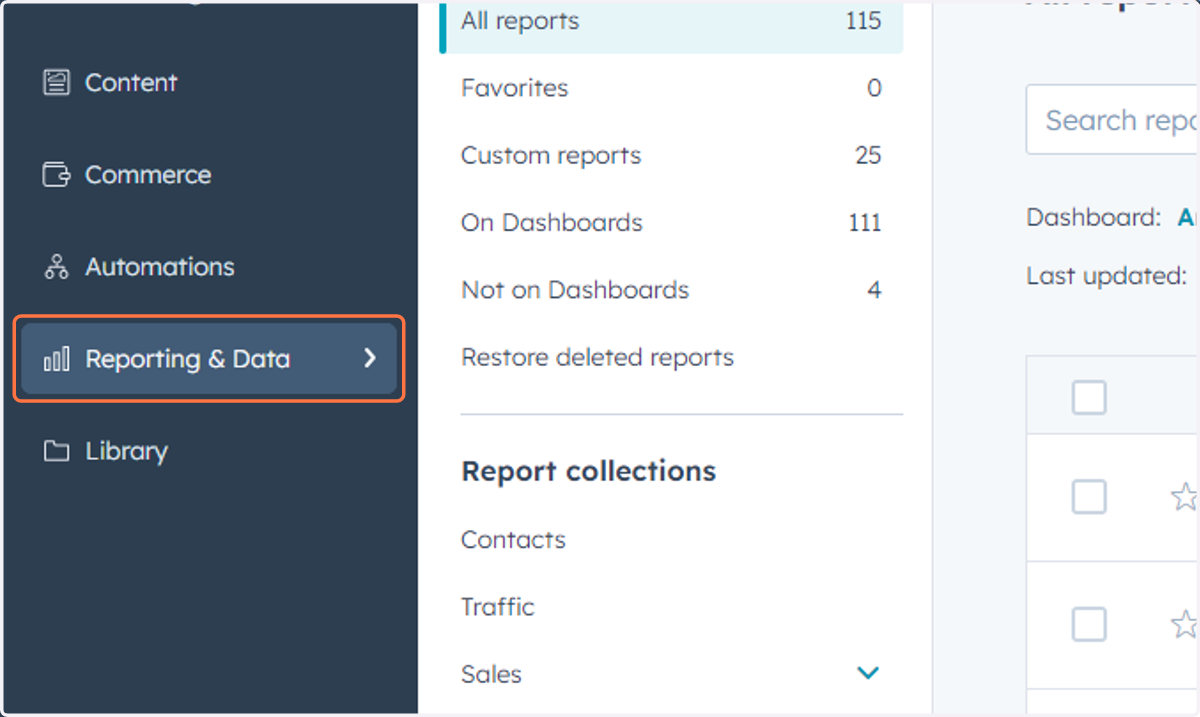
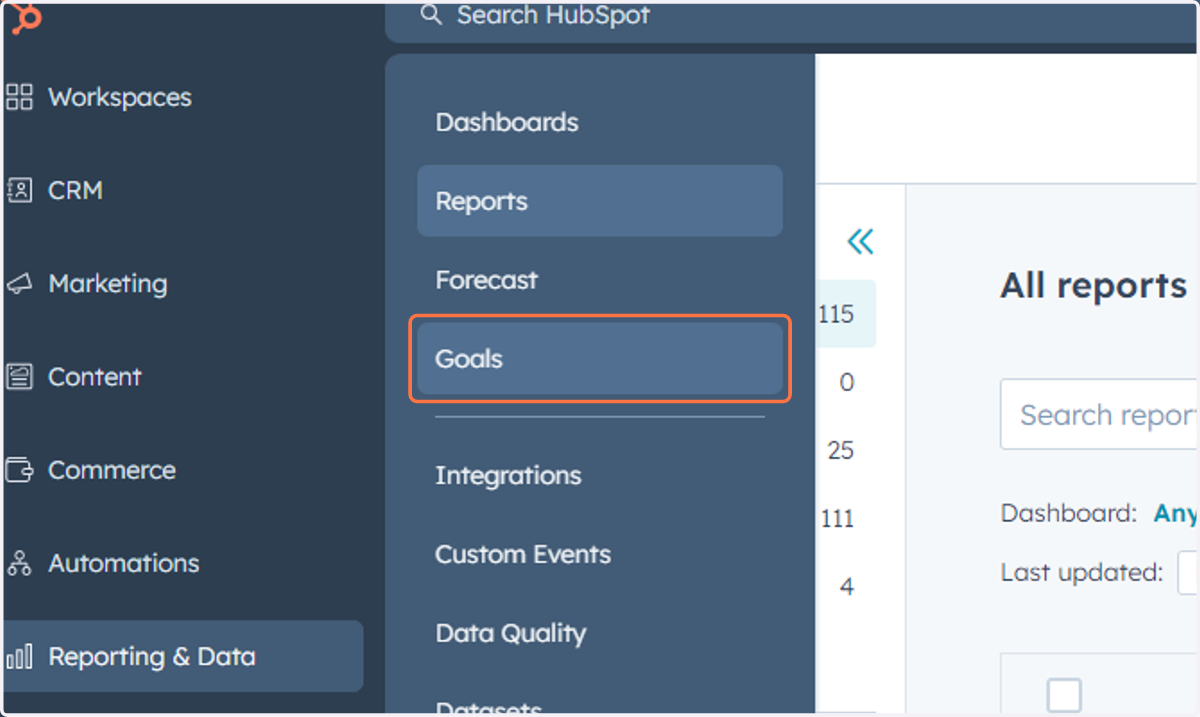
83. Click on Goals
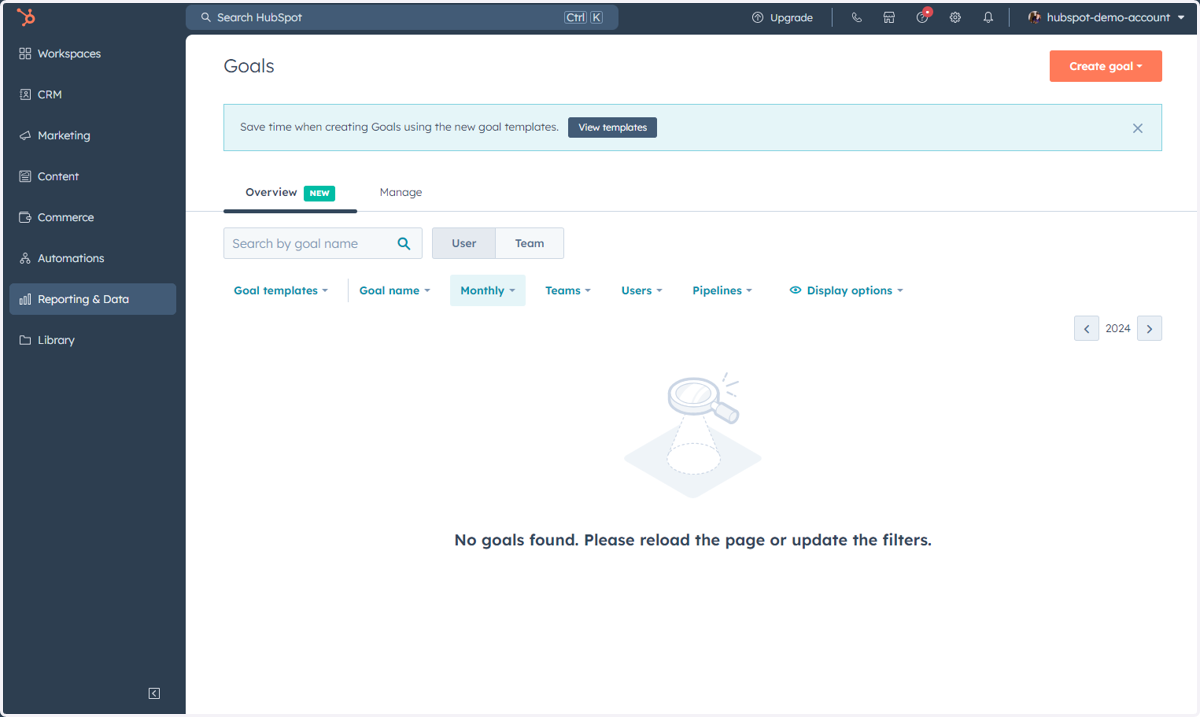
84. This is where you can access, manage and create Goals
85. Click on Reporting & Data
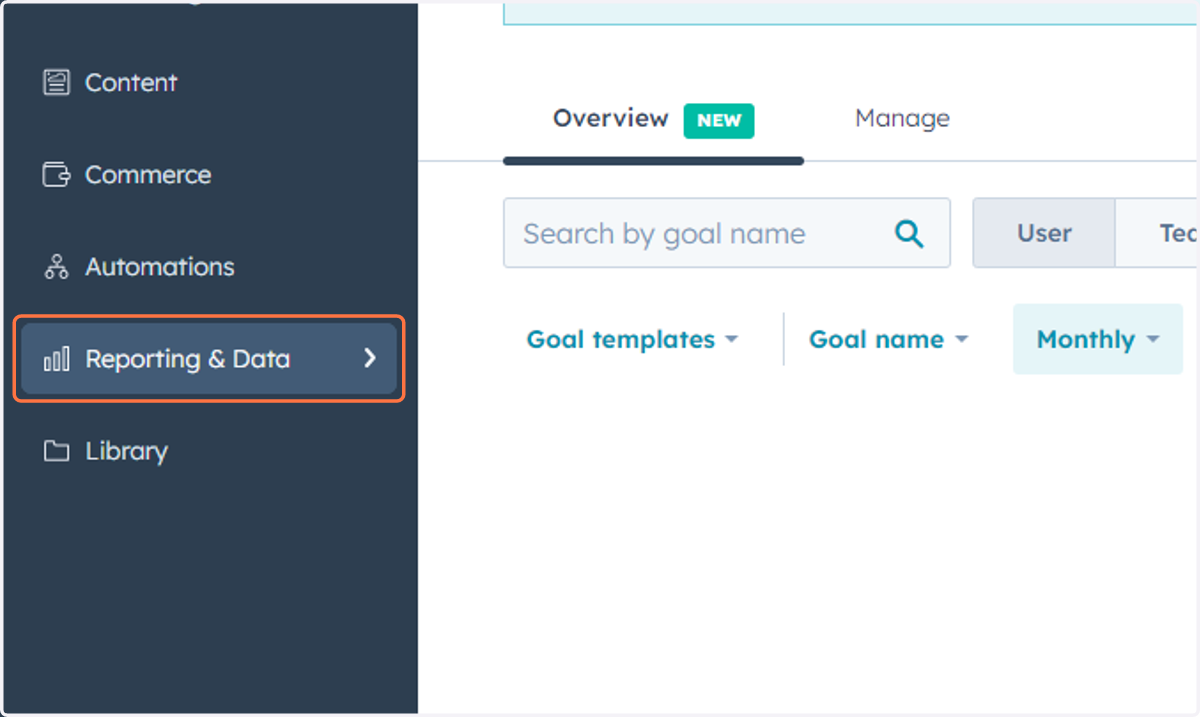
86. Click on Custom Events
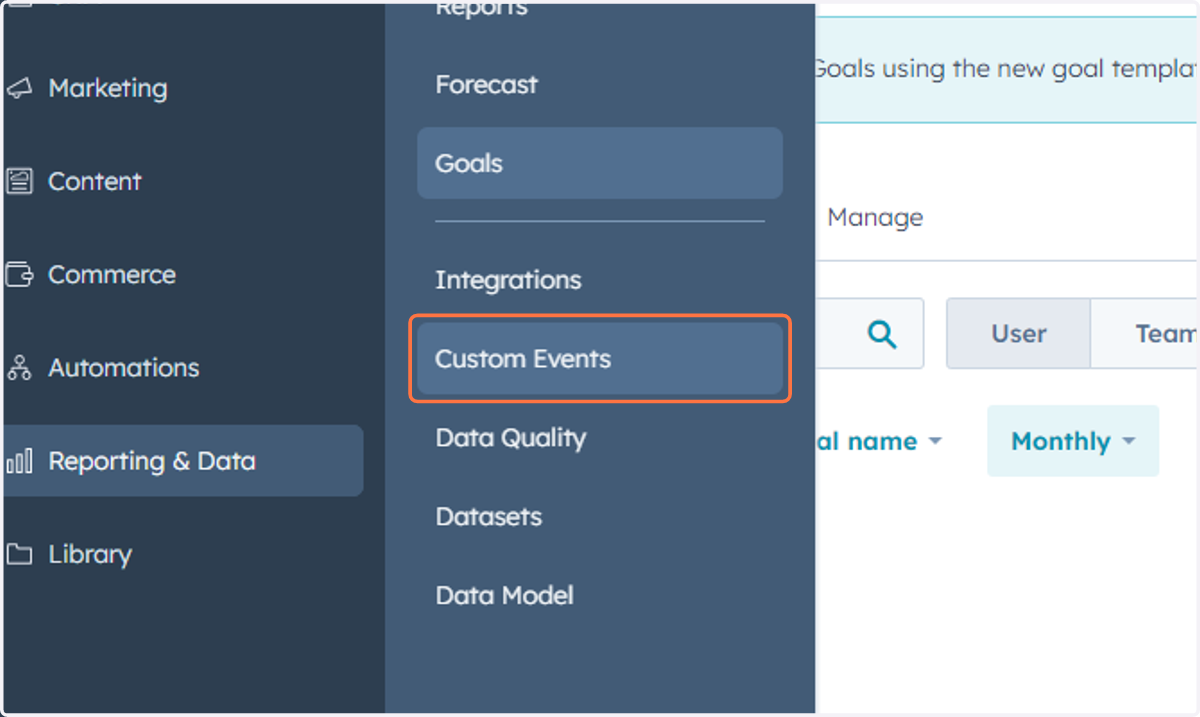
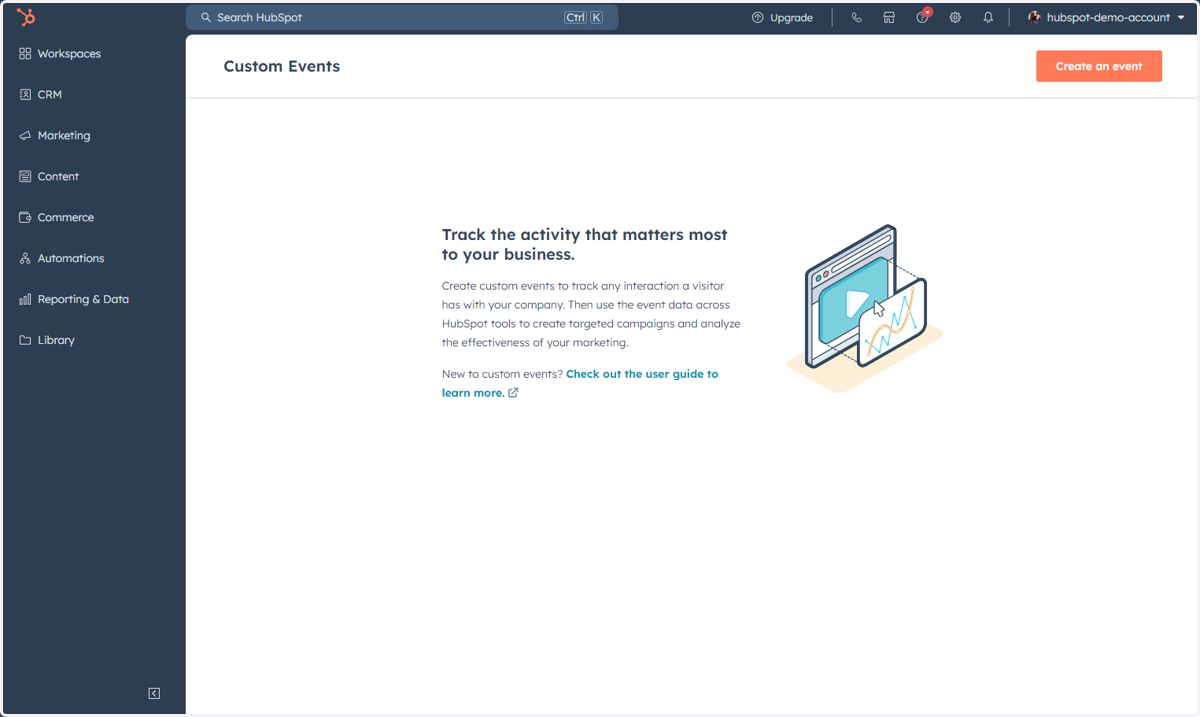
87. This is where you can access, manage and create a Custom Event
Custom events allow you to define and track events unique to your business. As the image says, you can use the event data across HubSpot tools to create targeted campaigns and analyze the effectiveness of your marketing.
Accessing Items Under Library
This includes accessing Files.
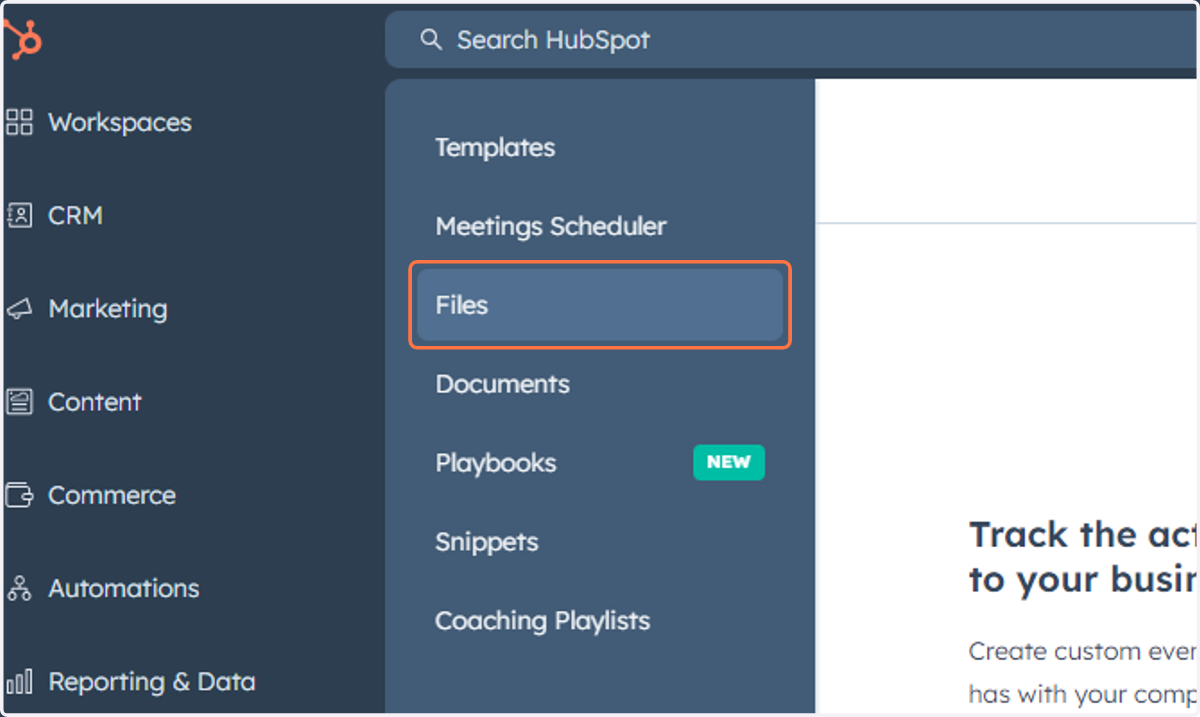
88. Click on Library
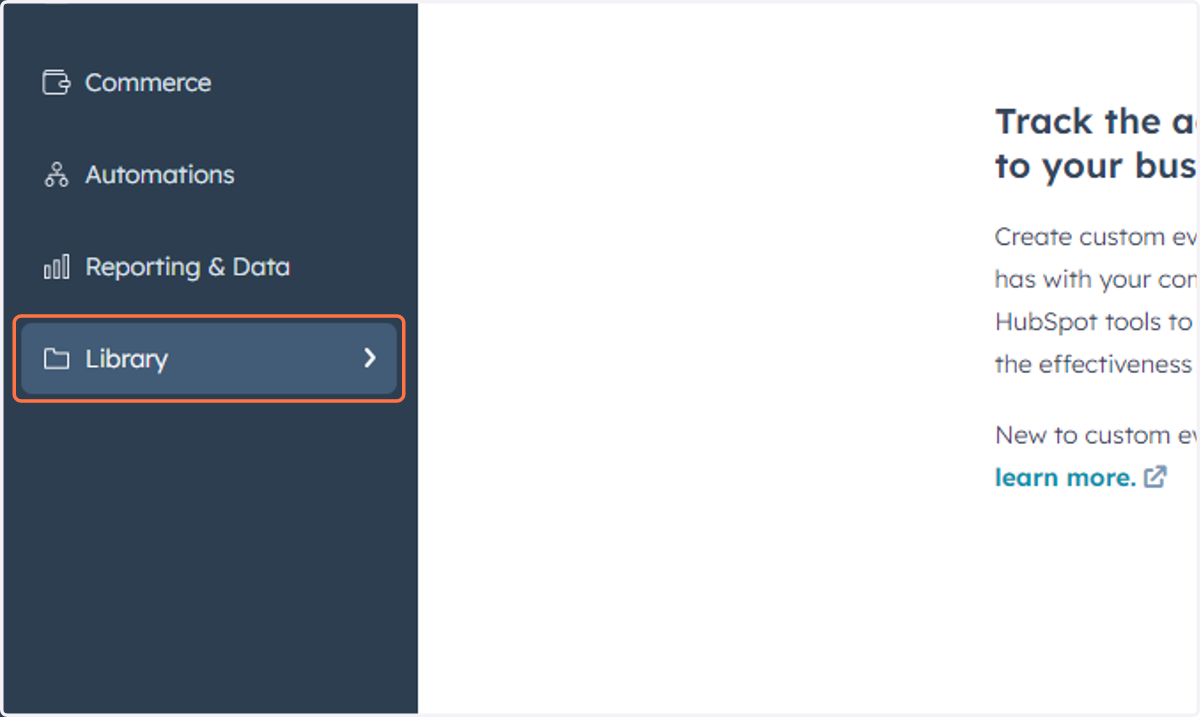
89. Click on Files
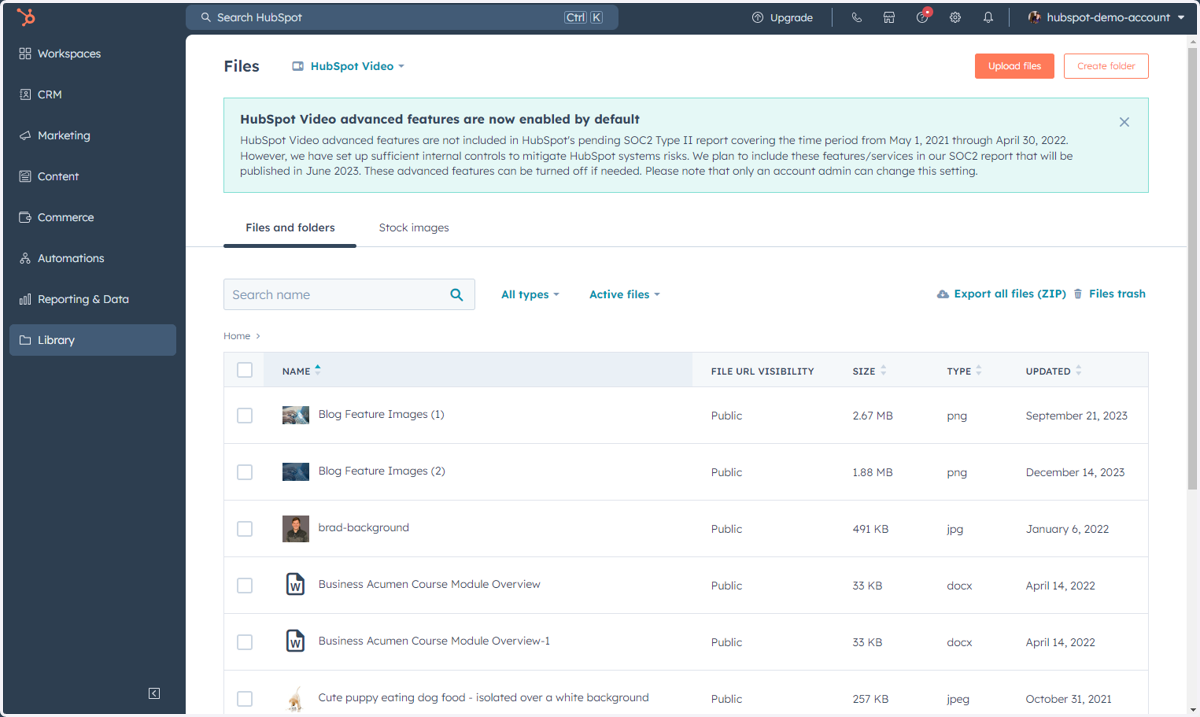
90. This is where you can access and upload Files
91. Congratulations, you've made it to the end of the HubSpot navigation updates for Marketing!