Overview of HubSpot's New Navigation for Admins
HubSpot has announced that they are switching over their navigation starting in May. With this update, the navigation will be switched over to the left-hand side of your screen and will have shifted some items around. As you're getting used to the new navigation, we have put together this guide to walk you through the important elements from an admin perspective and where they now live.
Collapsing the Navigation
1. The new HubSpot navigation will appear on the left-hand side of your screen
You'll notice that the buckets where different features are located have been updated. There are some from the old navigation, like Sales, that no longer exist. There are some that are new, like Content.
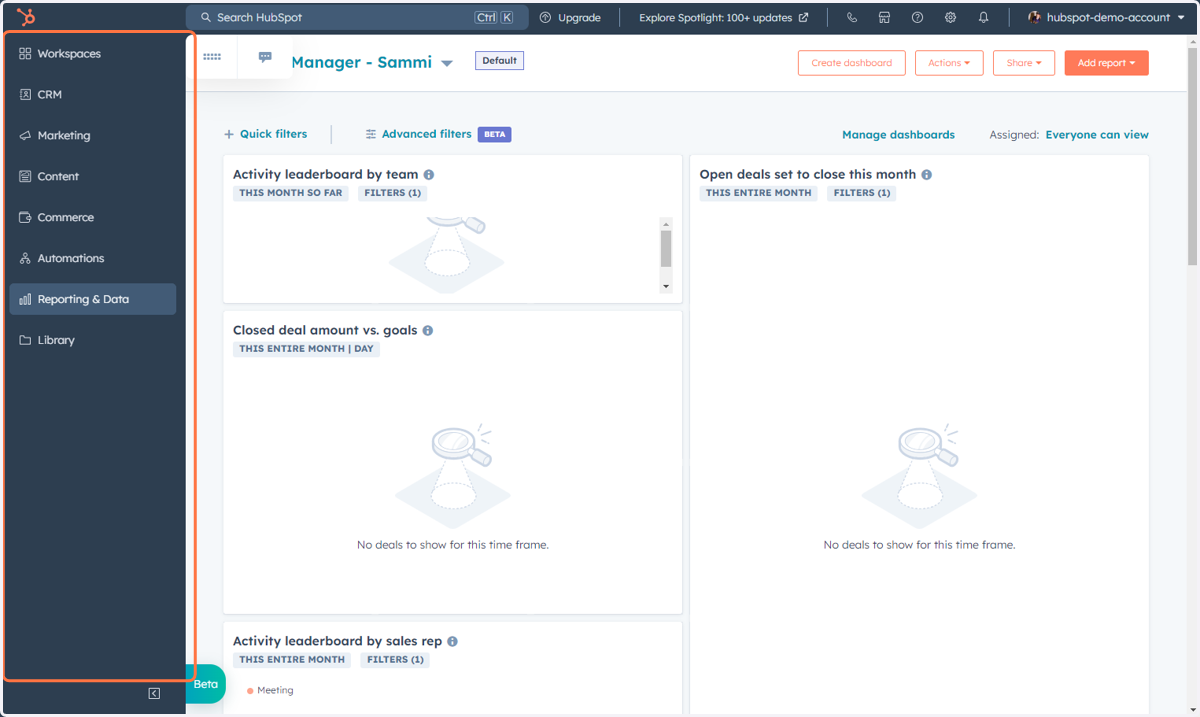
2. If you want to collapse the navigation to give your screen more space, Click the arrow at the bottom of the navigation
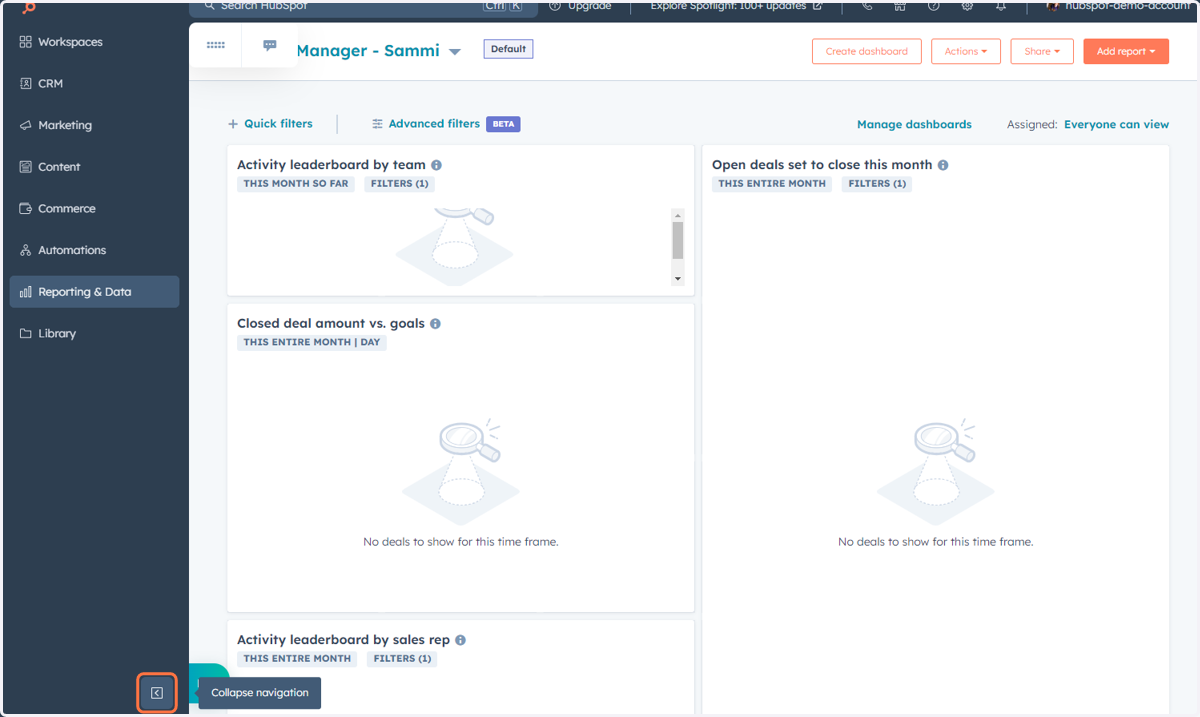
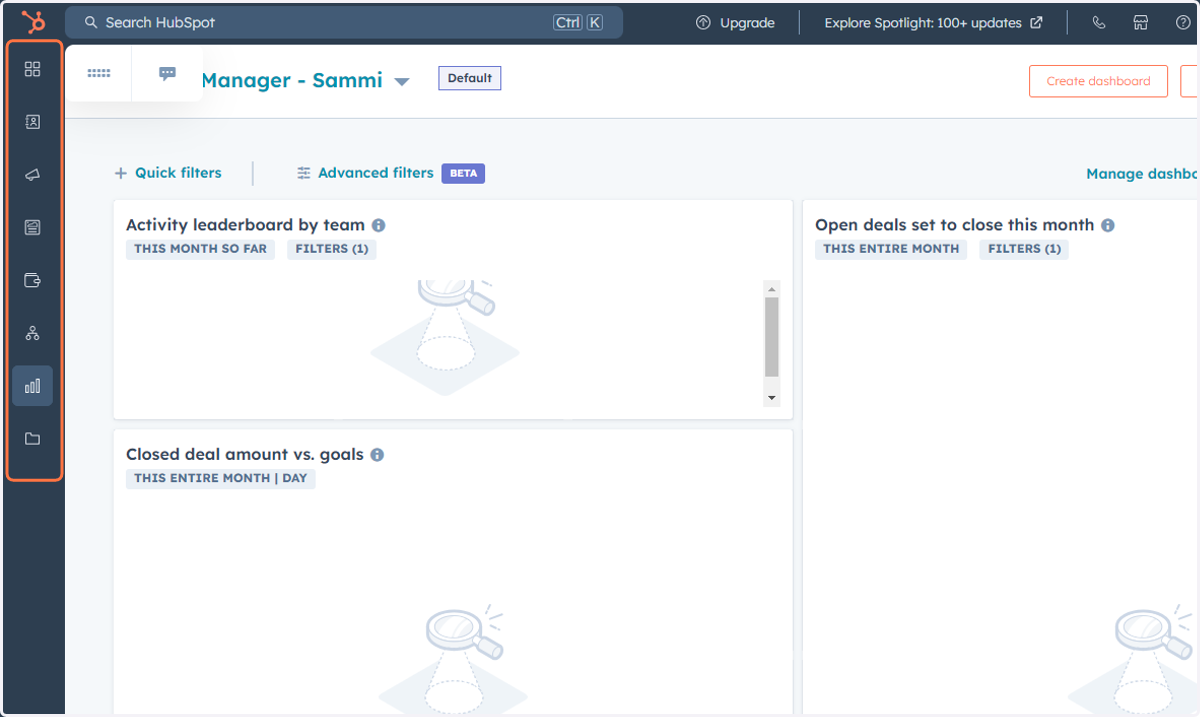
3. The navigation will now be collapsed and will pop open if you hover over it
Note: To re-open the navigation, click on the arrow button at the bottom of the navigation again.
Accessing Items Under Workspaces
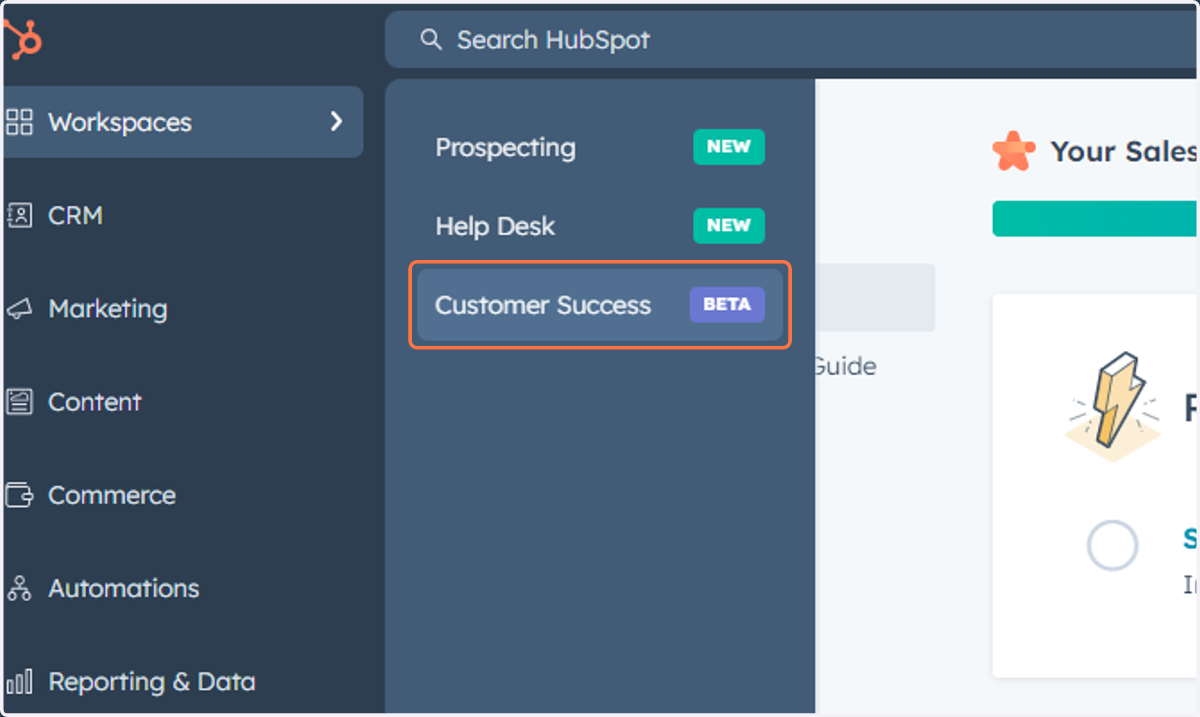
This includes Prospecting, the Help Desk, and the Customer Success workspace.
4. Click on Workspaces
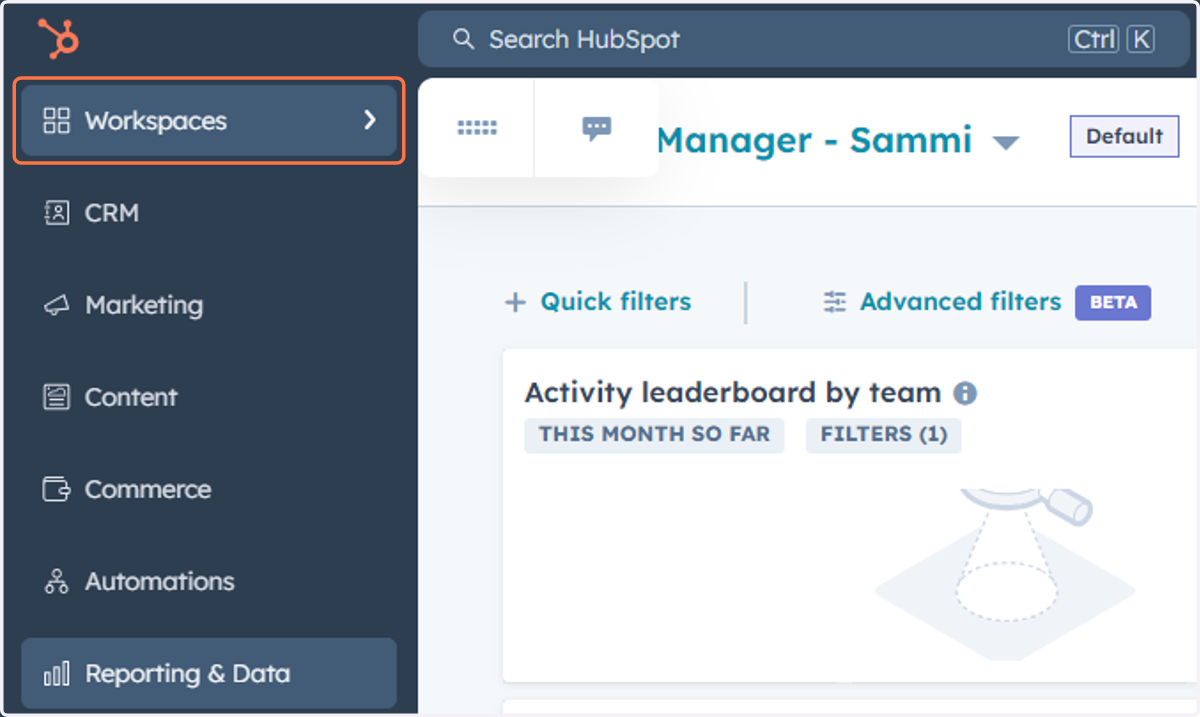
5. Click on Prospecting…
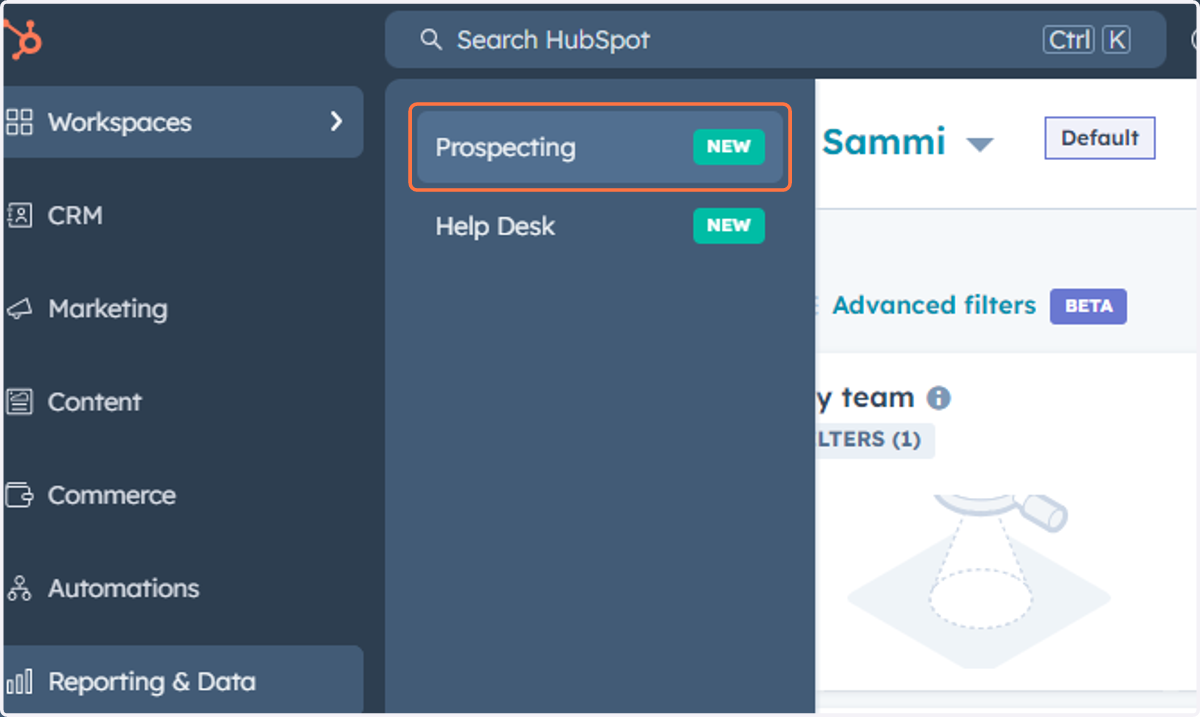
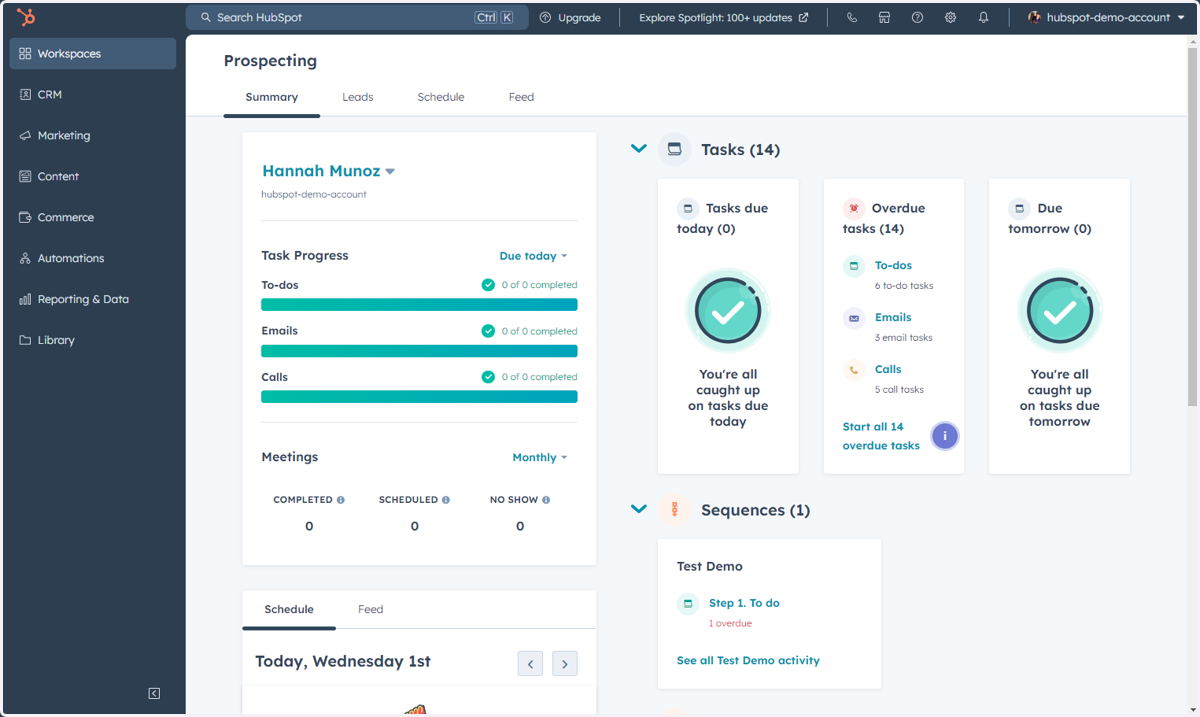
6. This is where you can access the Prospecting workspace
The Prospecting workspace allows you to manage your daily workload in one place. Here you can review your goals and progress, execute your tasks and review your schedule and sales feed.
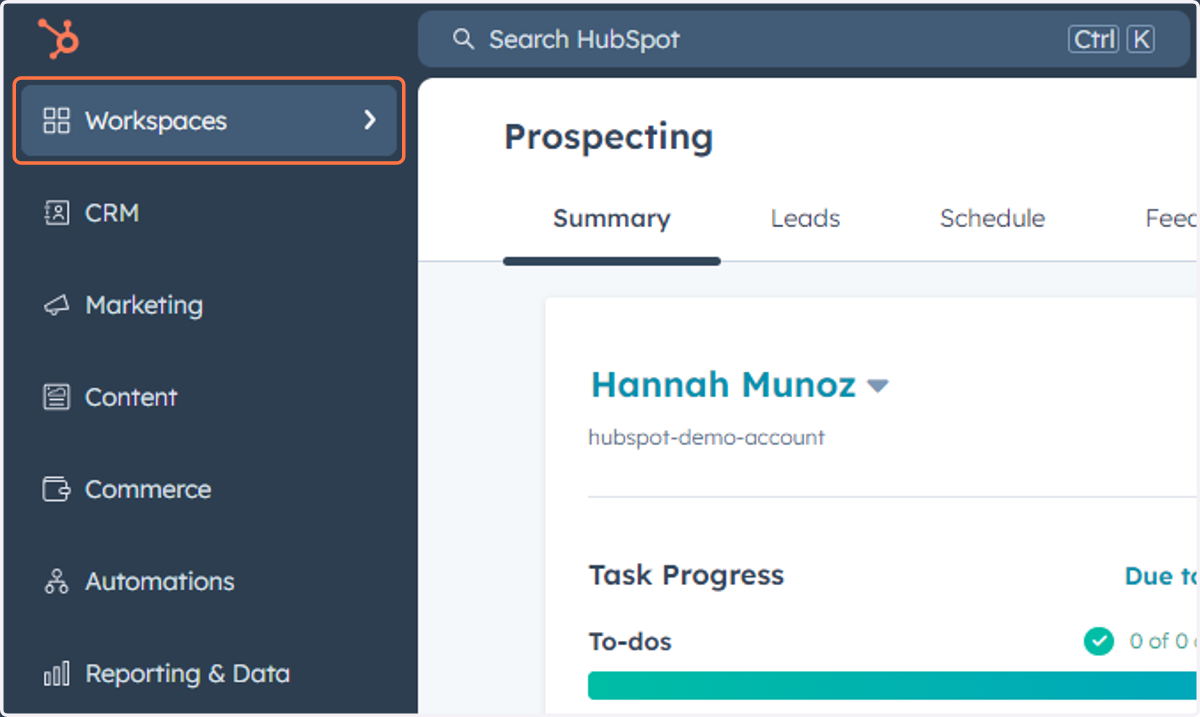
7. Click on Workspaces
8. Click on Help Desk…
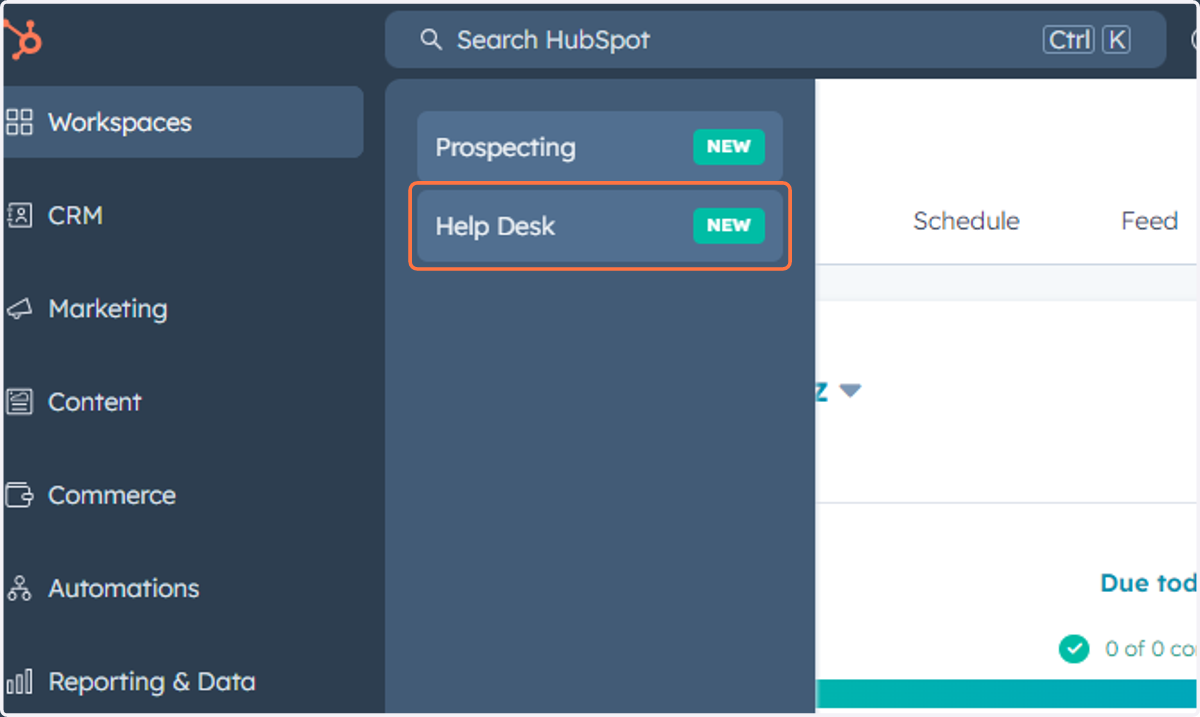
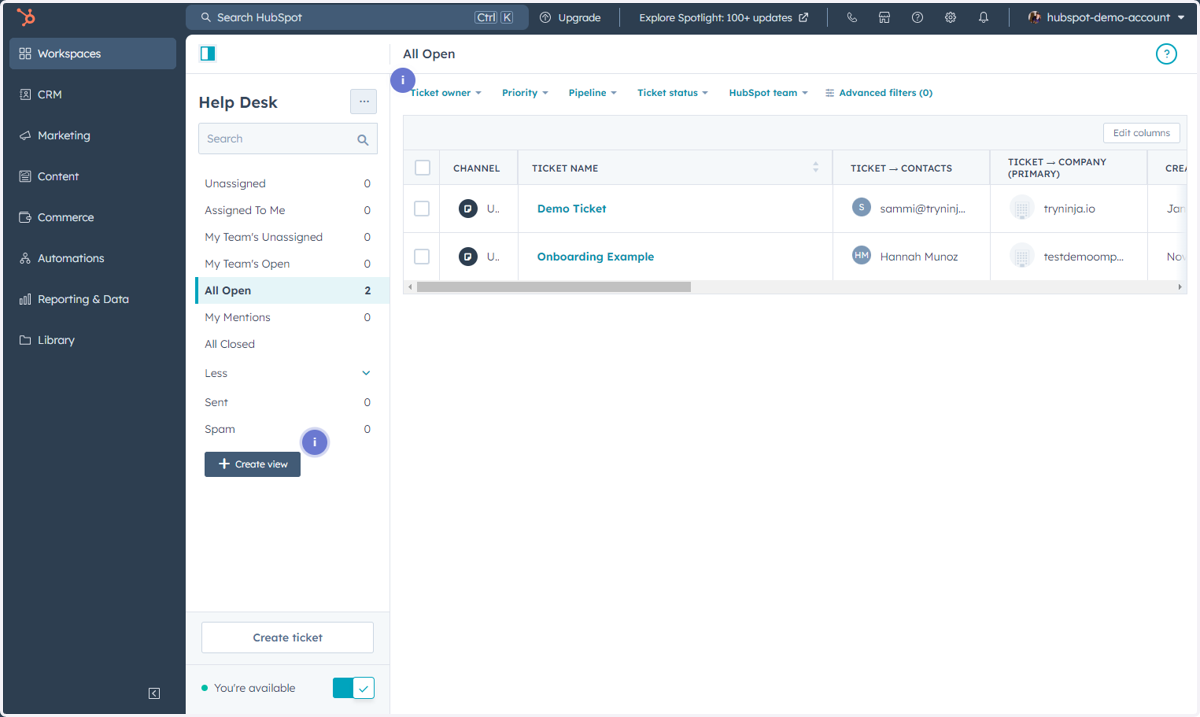
9. This is where you can access and utilize the Help Desk
Here you can deliver personalized, AI powered support and keep track of customer requests in one place.
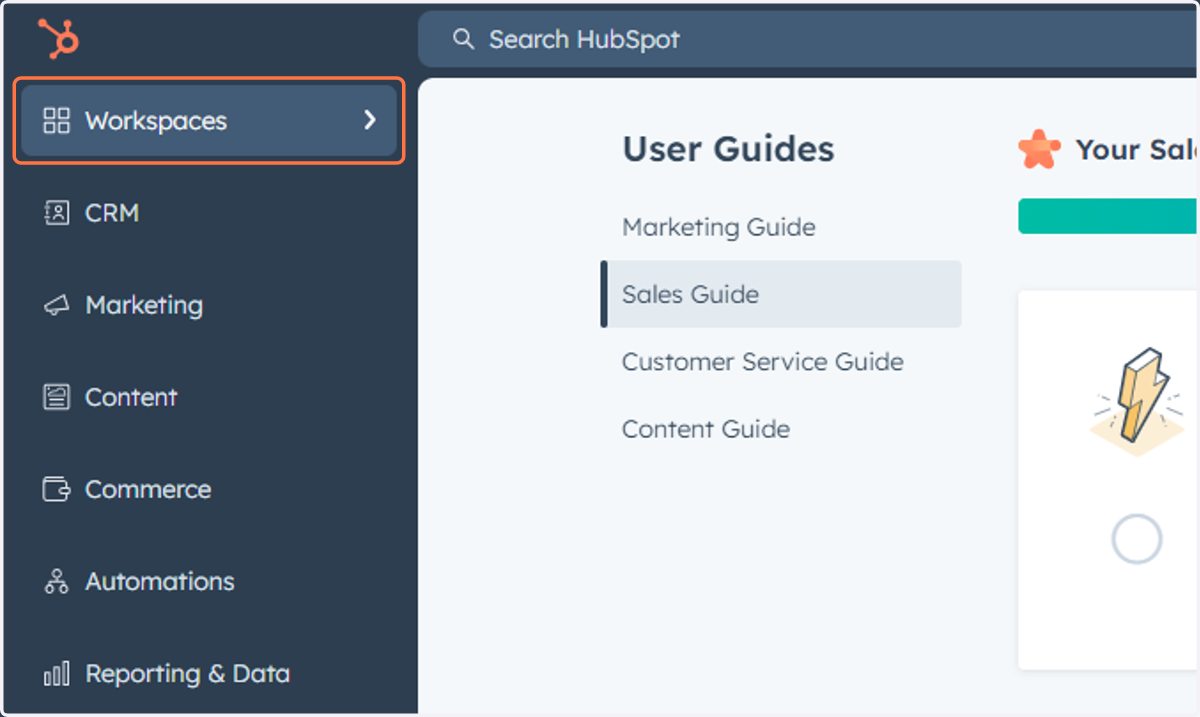
10. Click on Workspaces
11. Click on Customer Success…
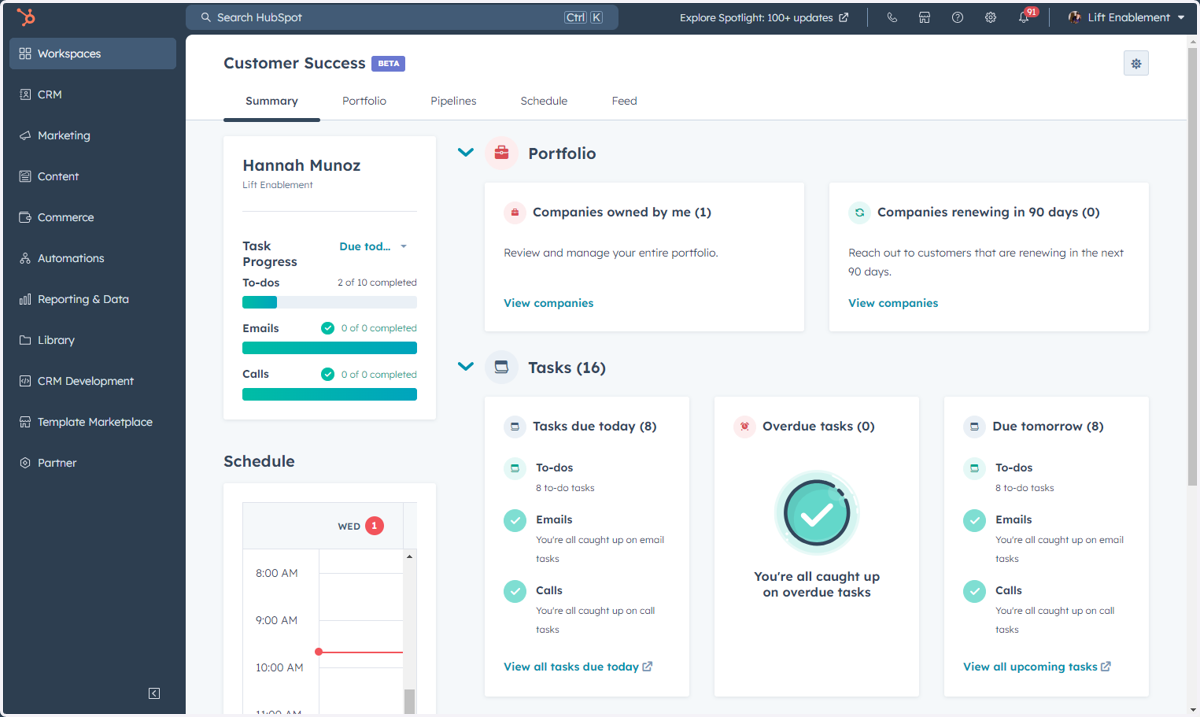
12. This is where you can access the Customer Success workspace
This workspace is designed to help customer success managers drive their book of business and increase retention. This workspace reminds CSMs of their daily tasks, allows them to create custom views of their most important segments, and helps monitor activities from key accounts.
Accessing Items Under CRM
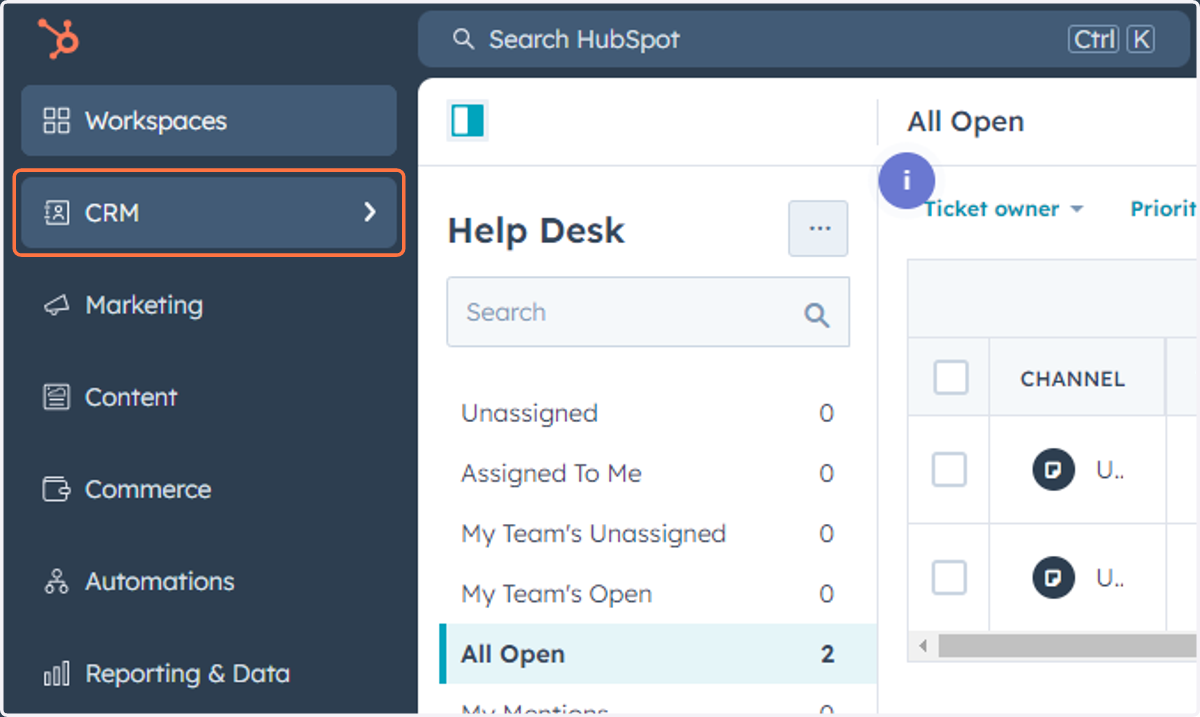
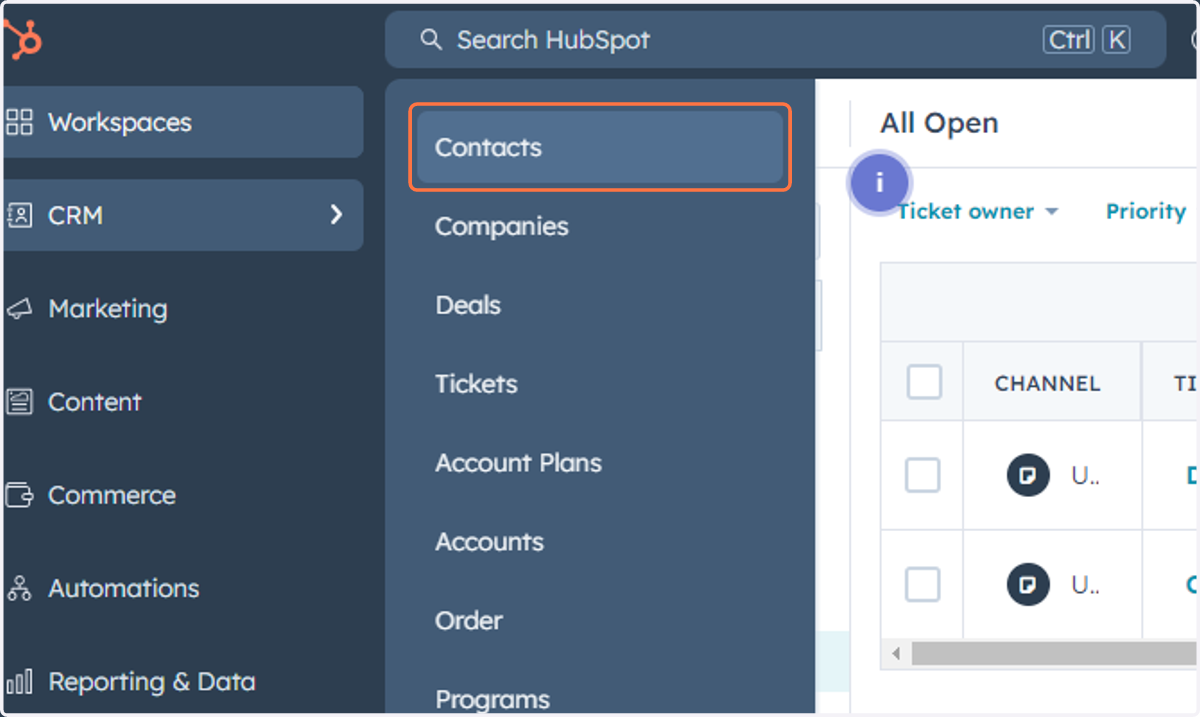
This includes Contacts, Companies, Deals, Tickets, Custom Objects (listed by name), and Tasks.
13. Click on CRM
14. Click on Contacts
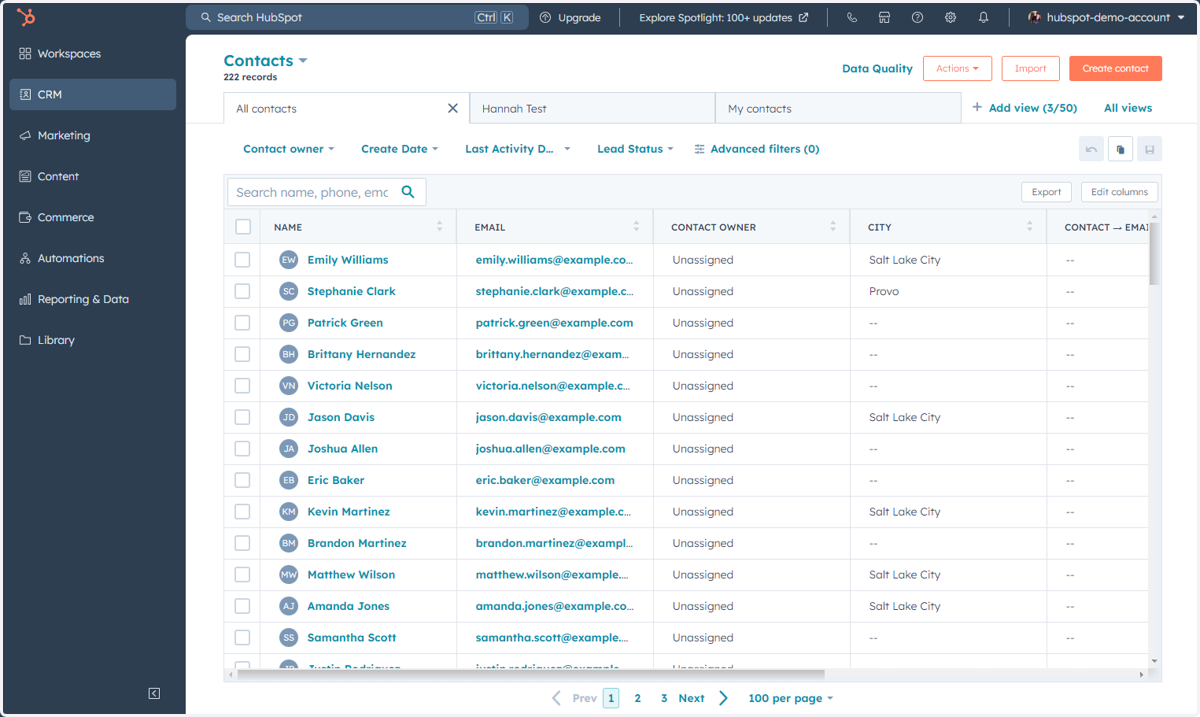
15. This is where you can access all of the Contacts in the database
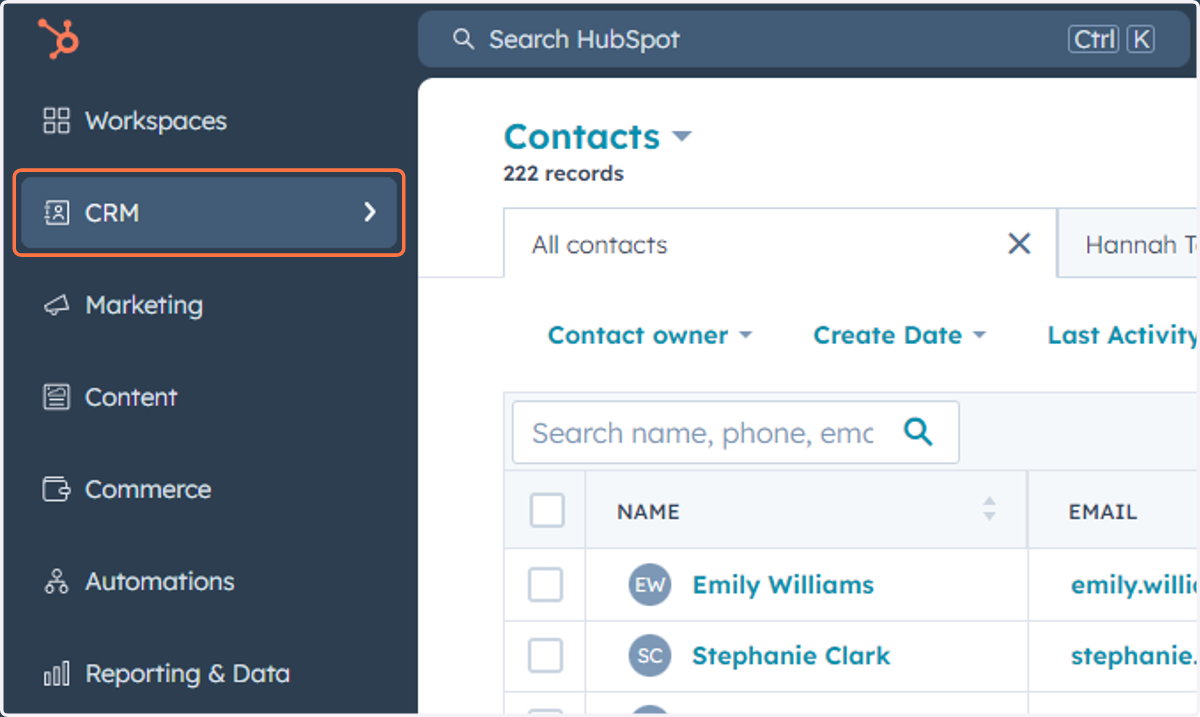
16. Click on CRM
17. Click on Companies
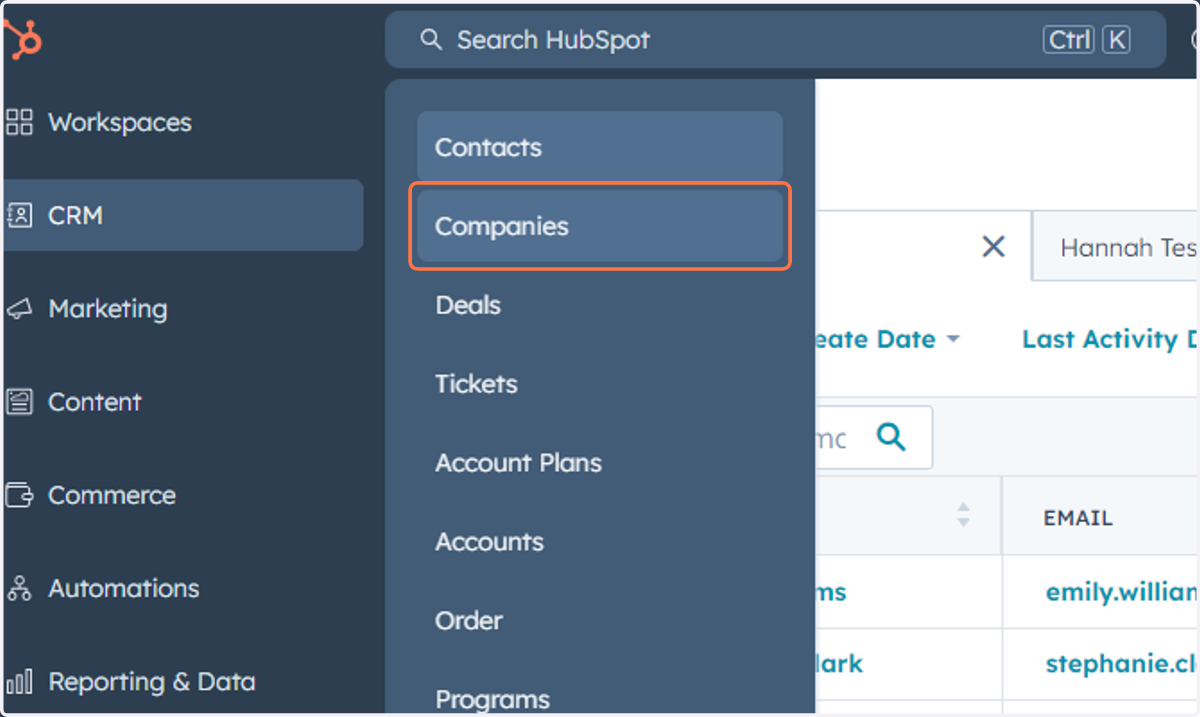
18. This is where you can access all of the Companies in the database
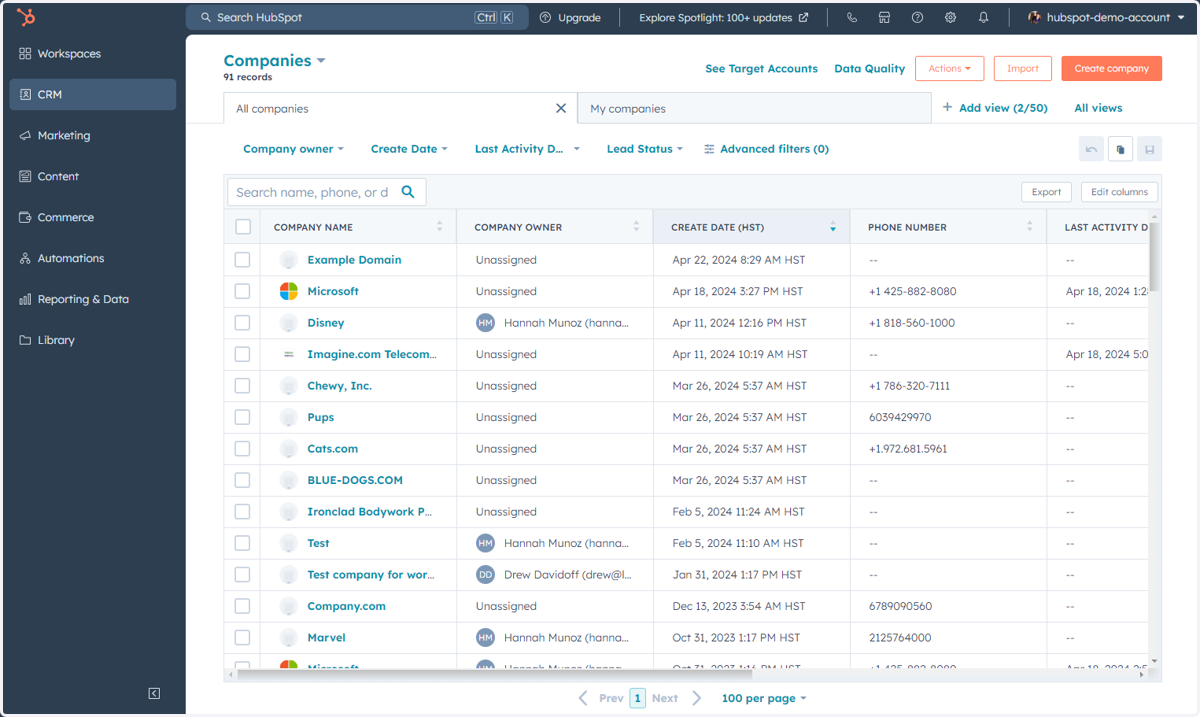
19. Click on CRM
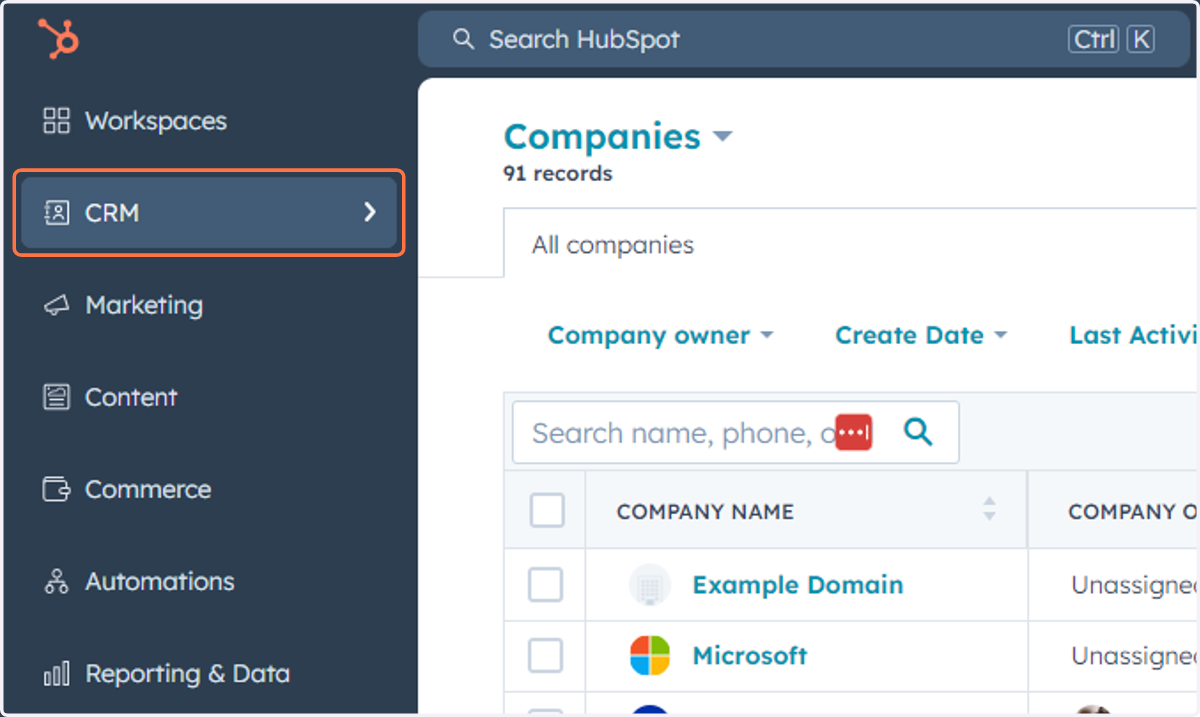
20. Click on Deals
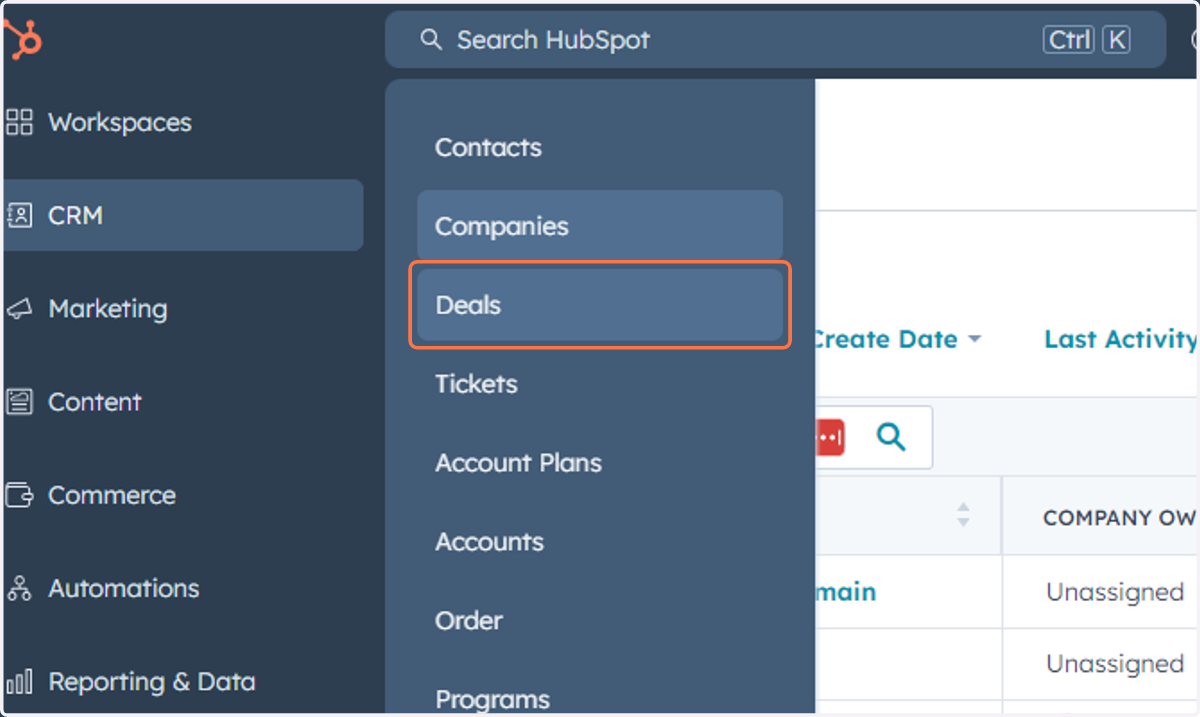
21. This is where you can access, manage and create Deals in the database
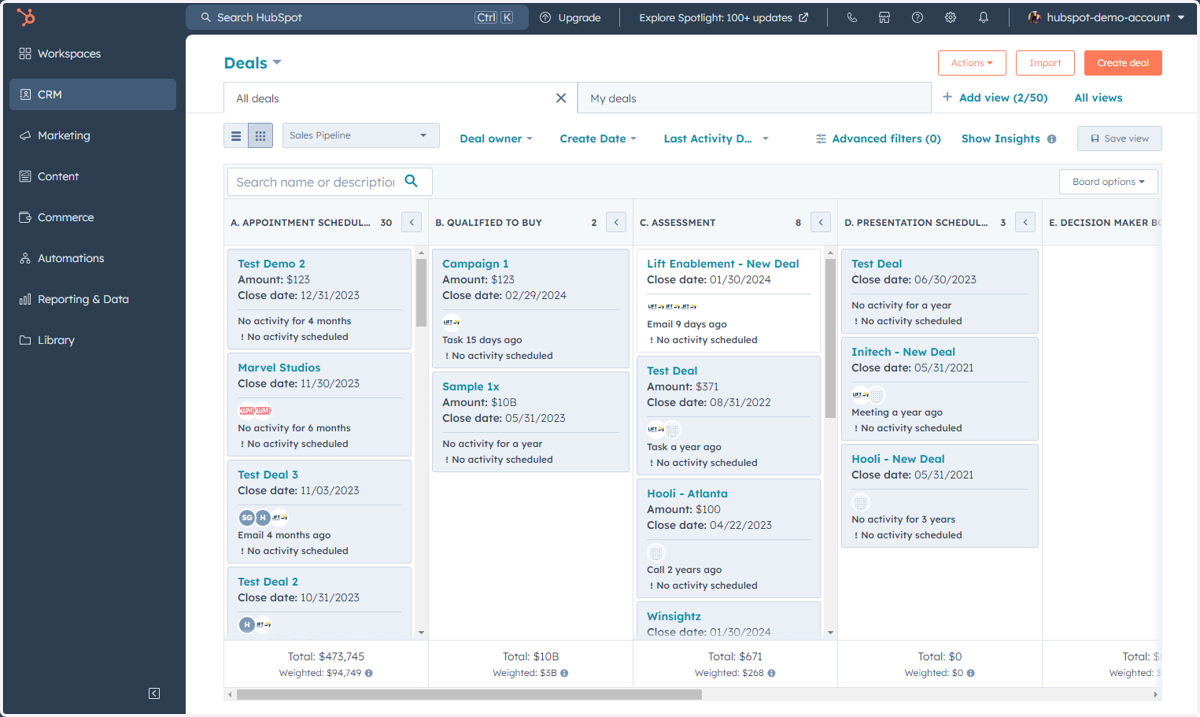
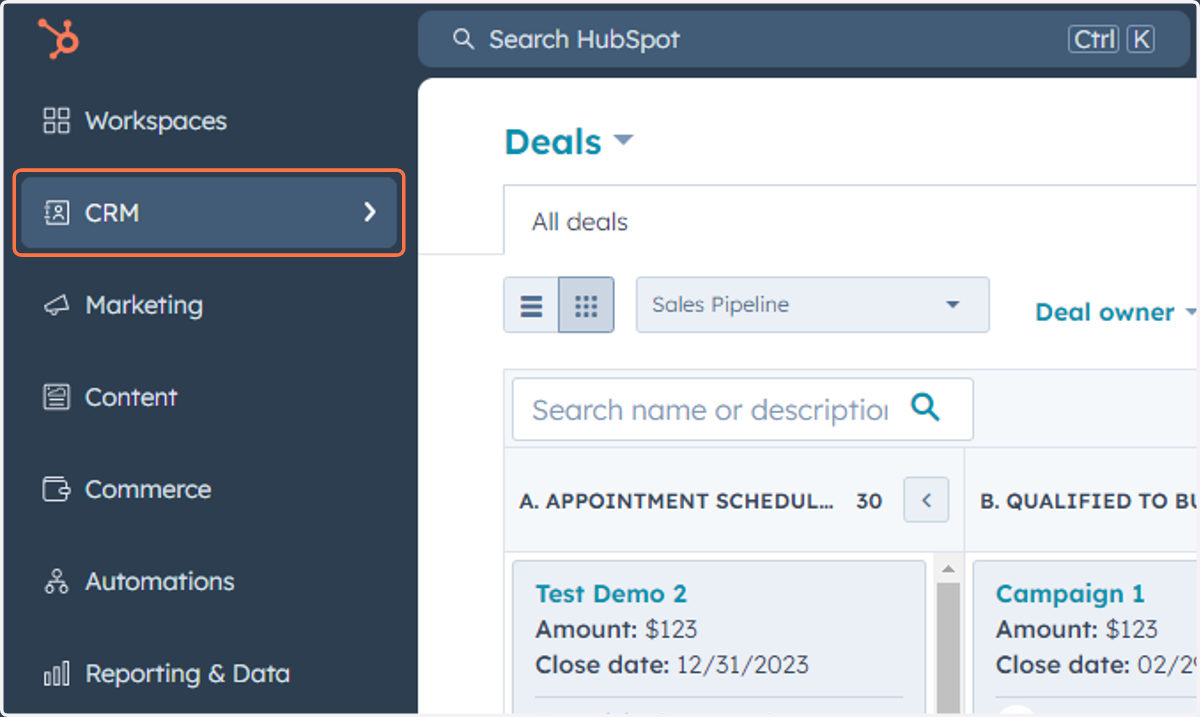
22. Click on CRM
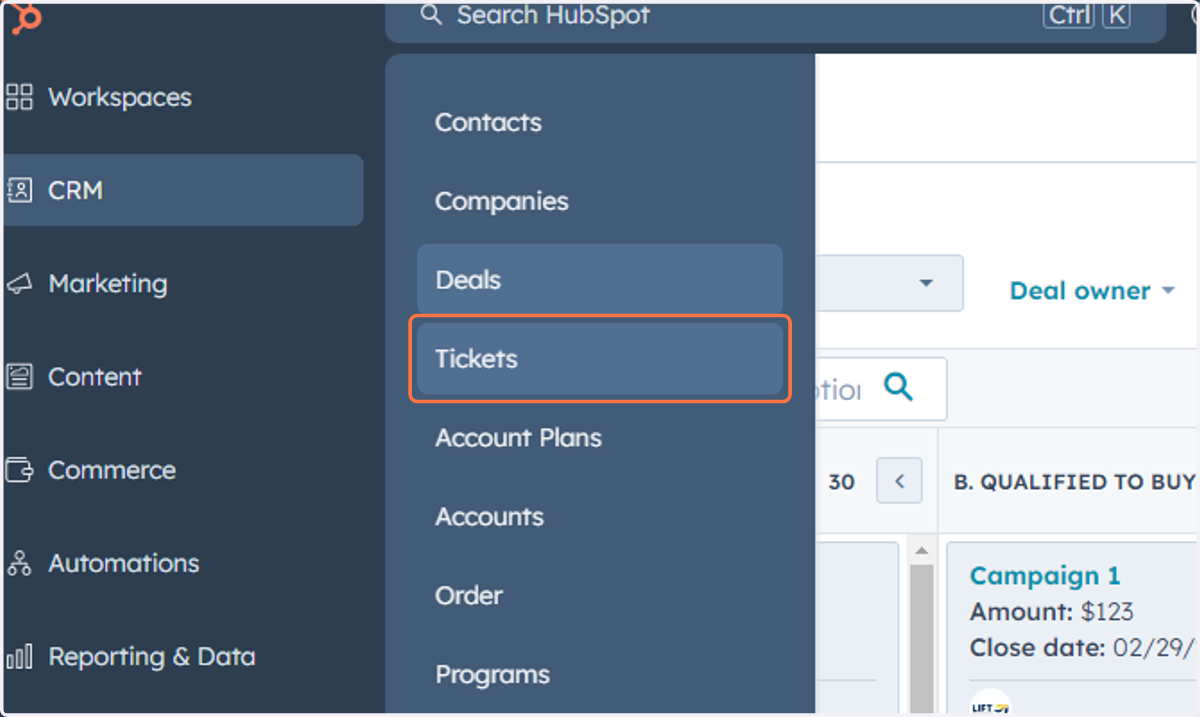
23. Click on Tickets
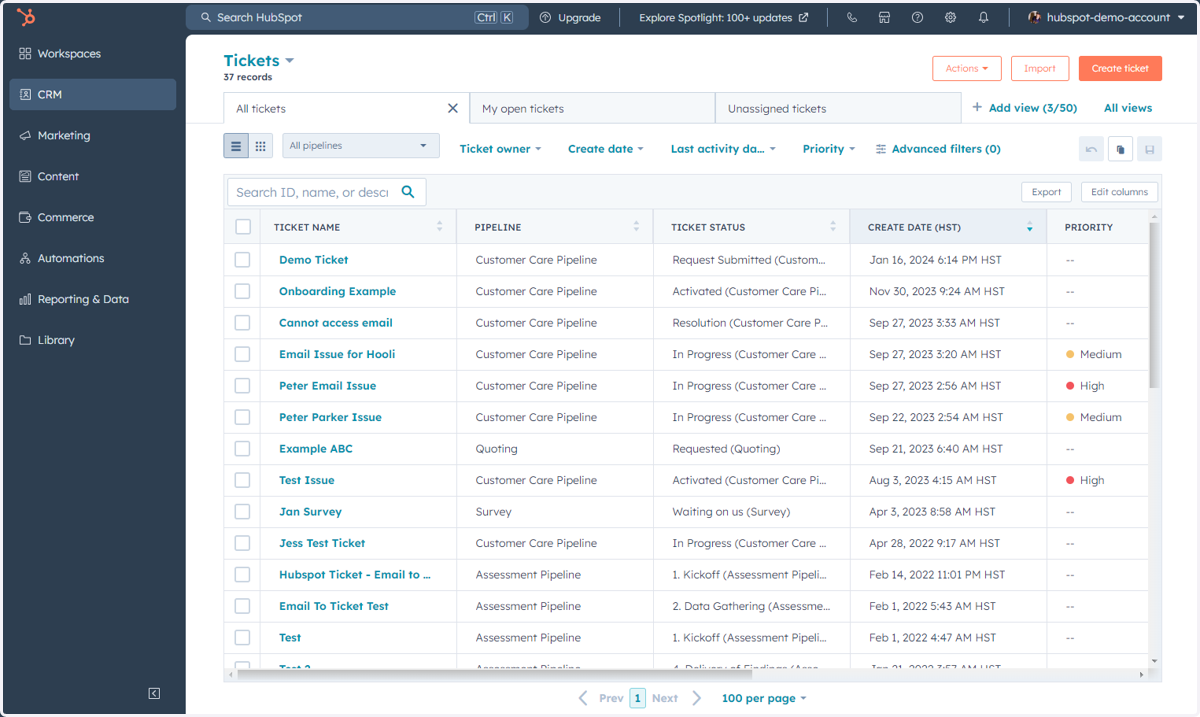
24. This is where you can access, manage and create Tickets
25. Click on CRM
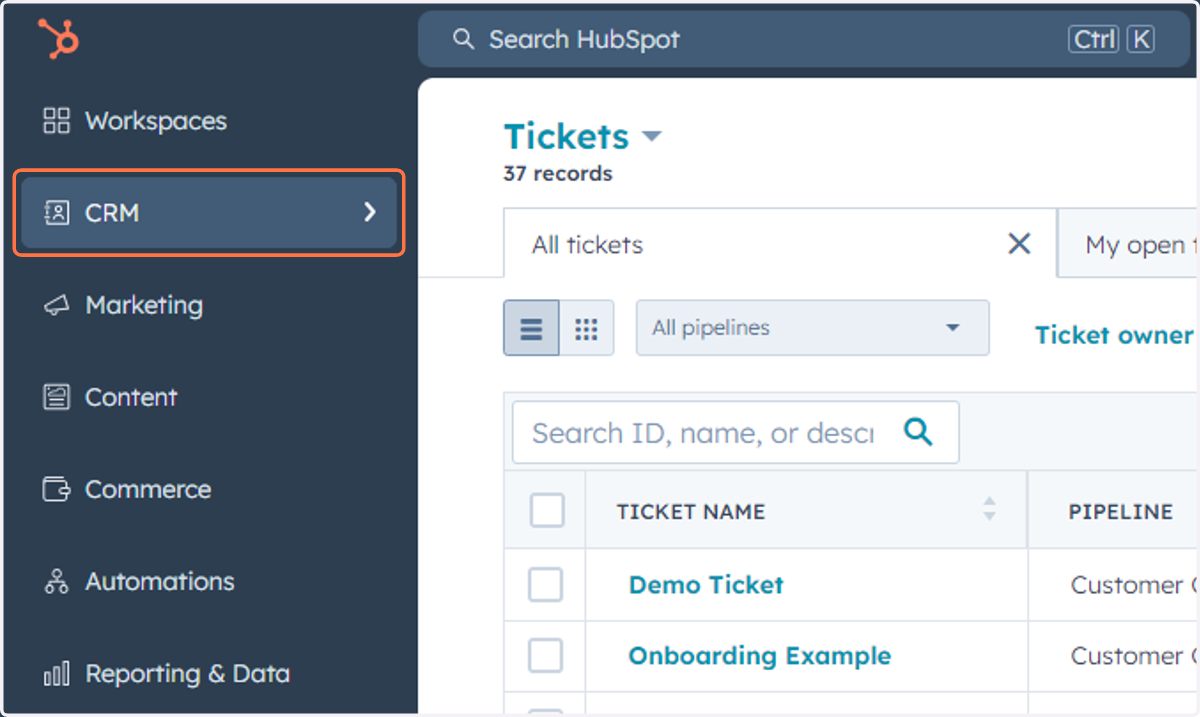
26. You can access all Custom Objects in your system underneath Tickets
Custom Objects will be listed by name.
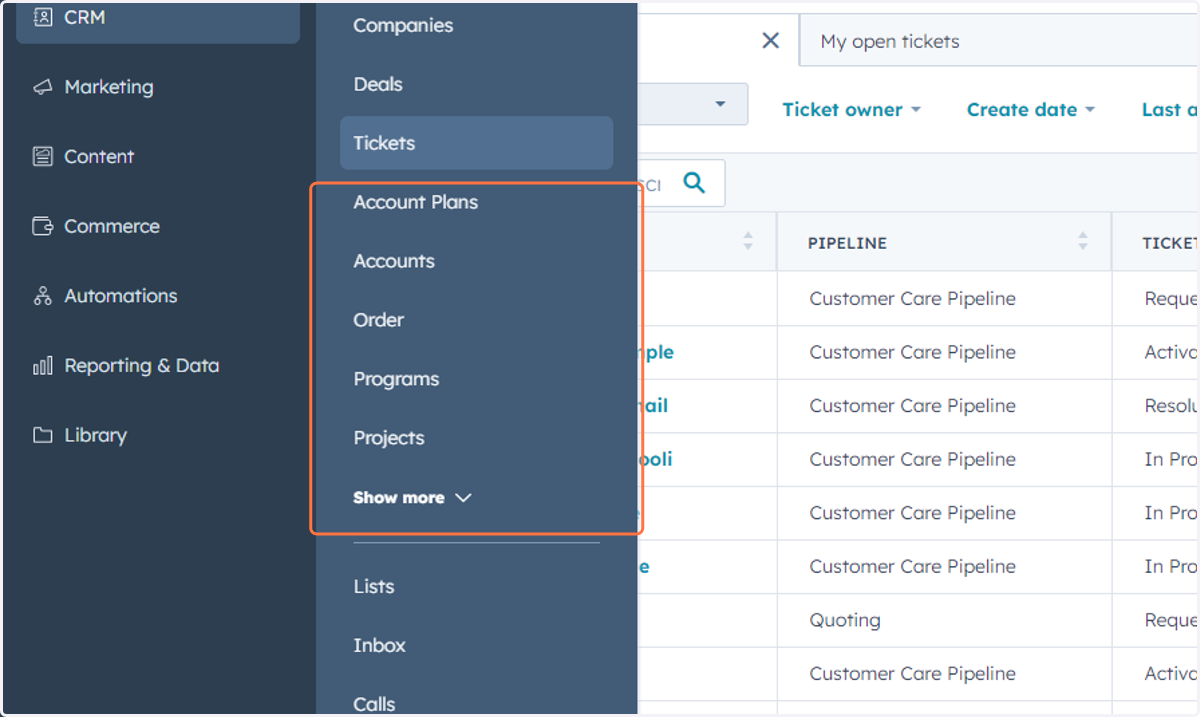
27. Click on Tasks
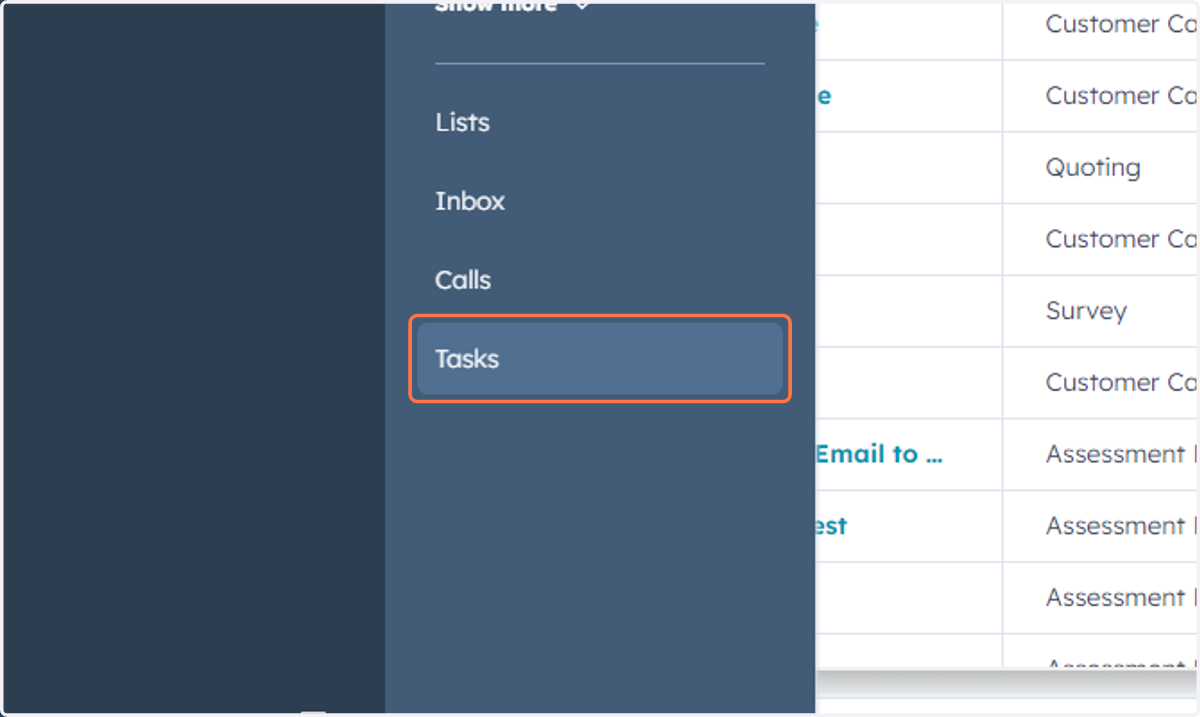
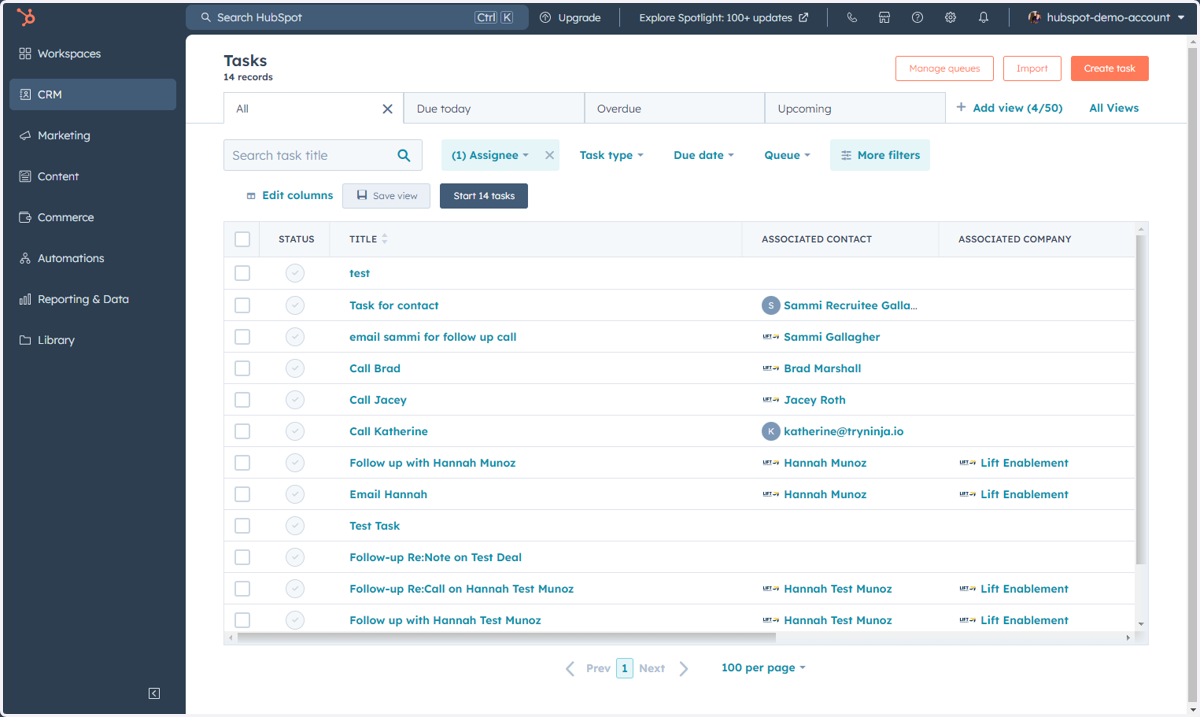
28. This is where you can access, manage and create Tasks
Accessing Items Under Commerce
This includes Commerce Hub, Payments, Invoices, Payment Links, Quotes, Products and Subscriptions.
29. Click on Commerce
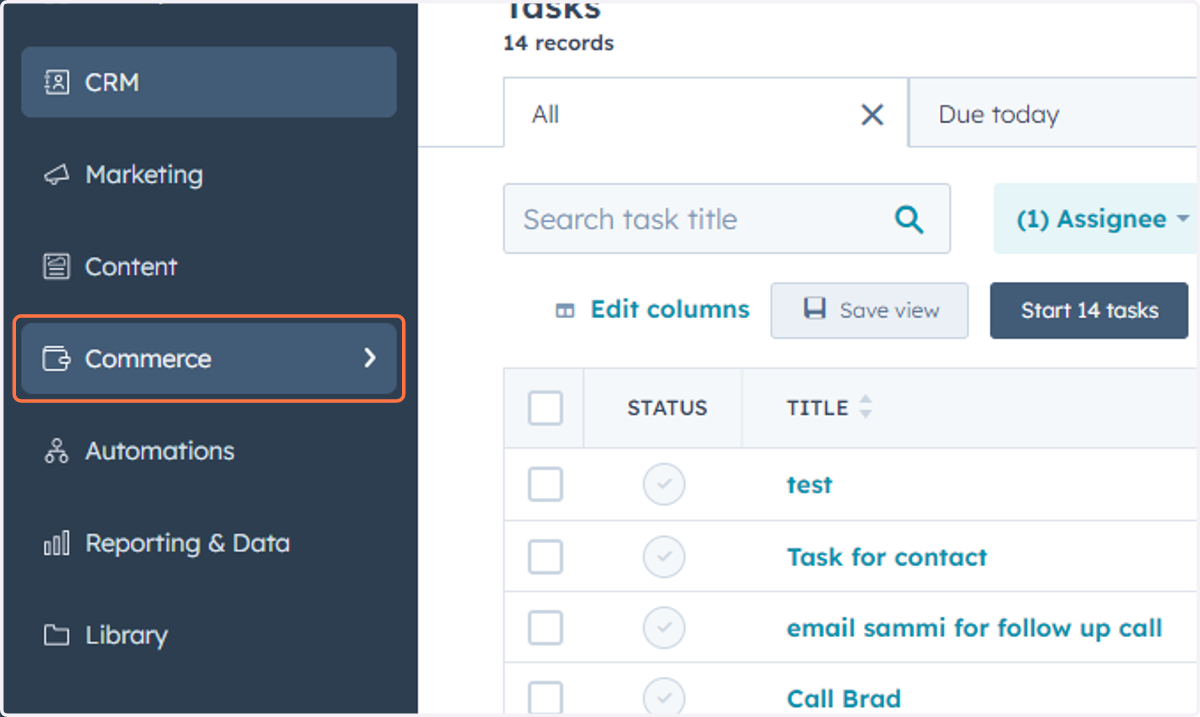
30. Click on Commerce…
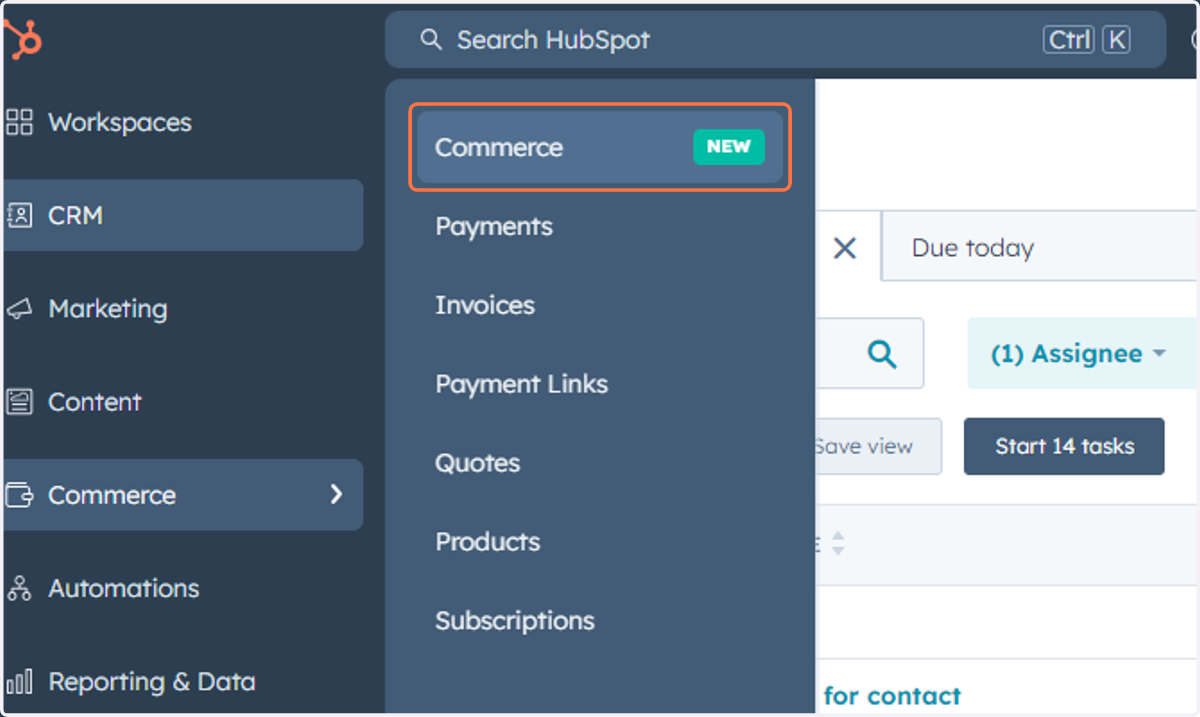
31. This is where you can access and manage Commerce Hub
Commerce Hub includes all the tools you need to manage payments. Request and collect payments, streamline subscriptions and utilize automation and reporting.
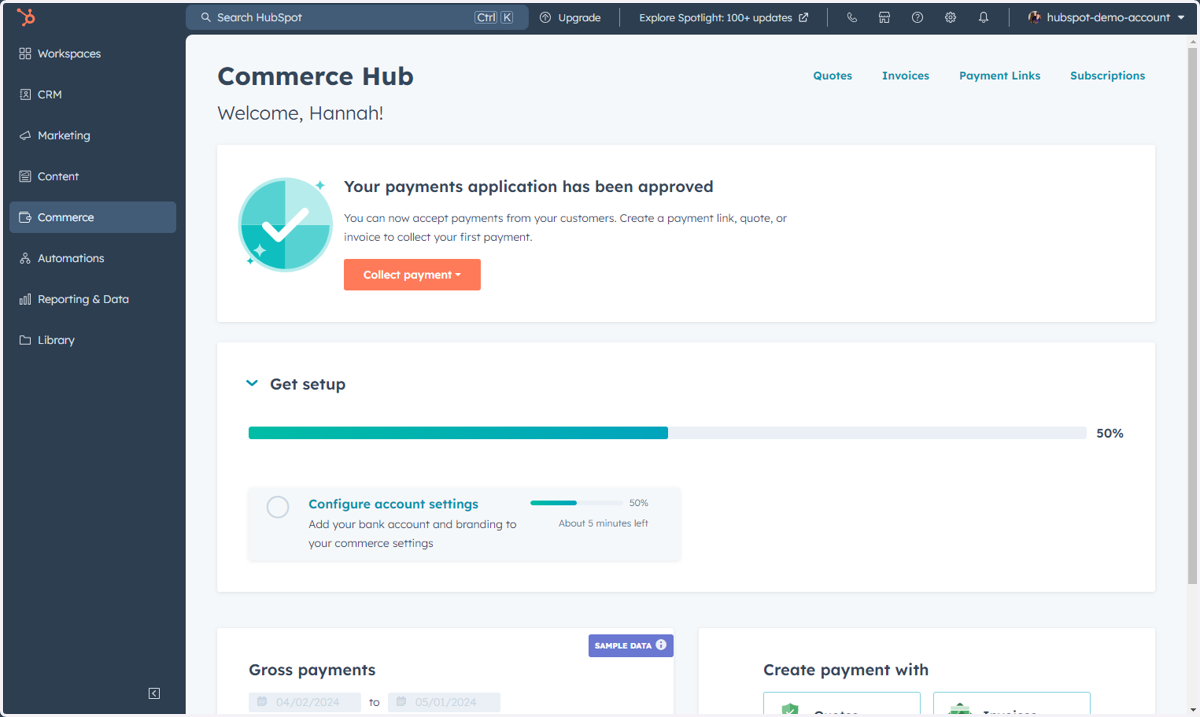
32. Click on Commerce
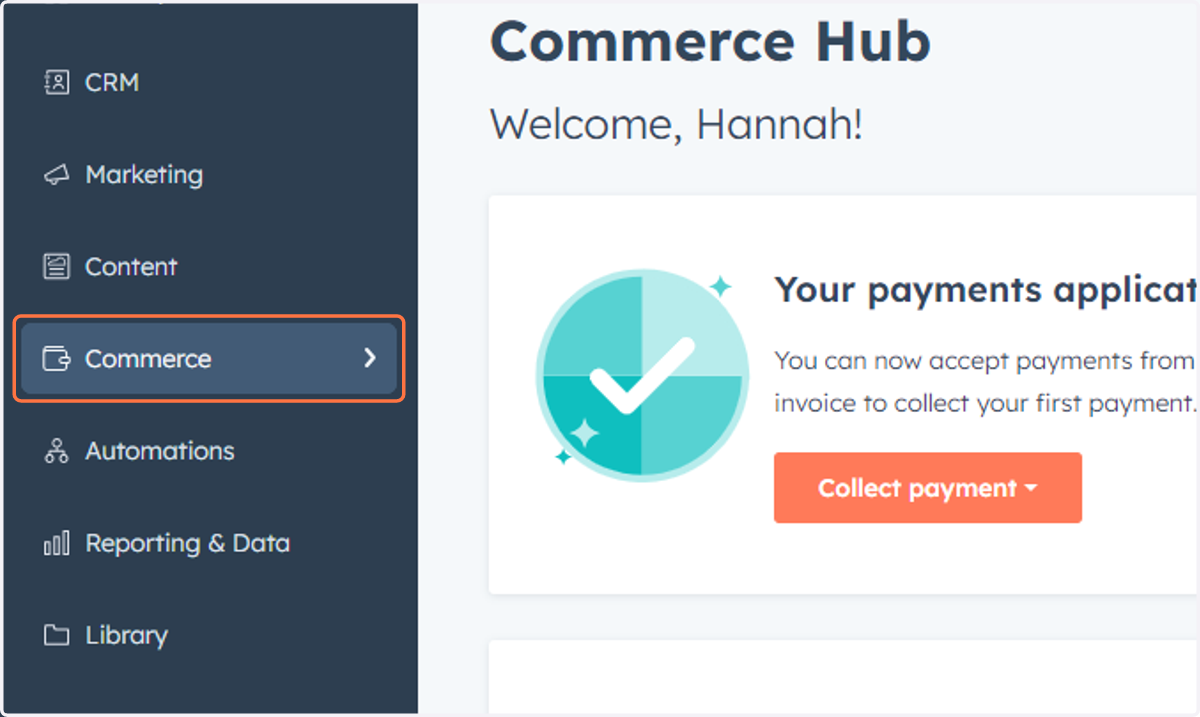
33. Click on Payments
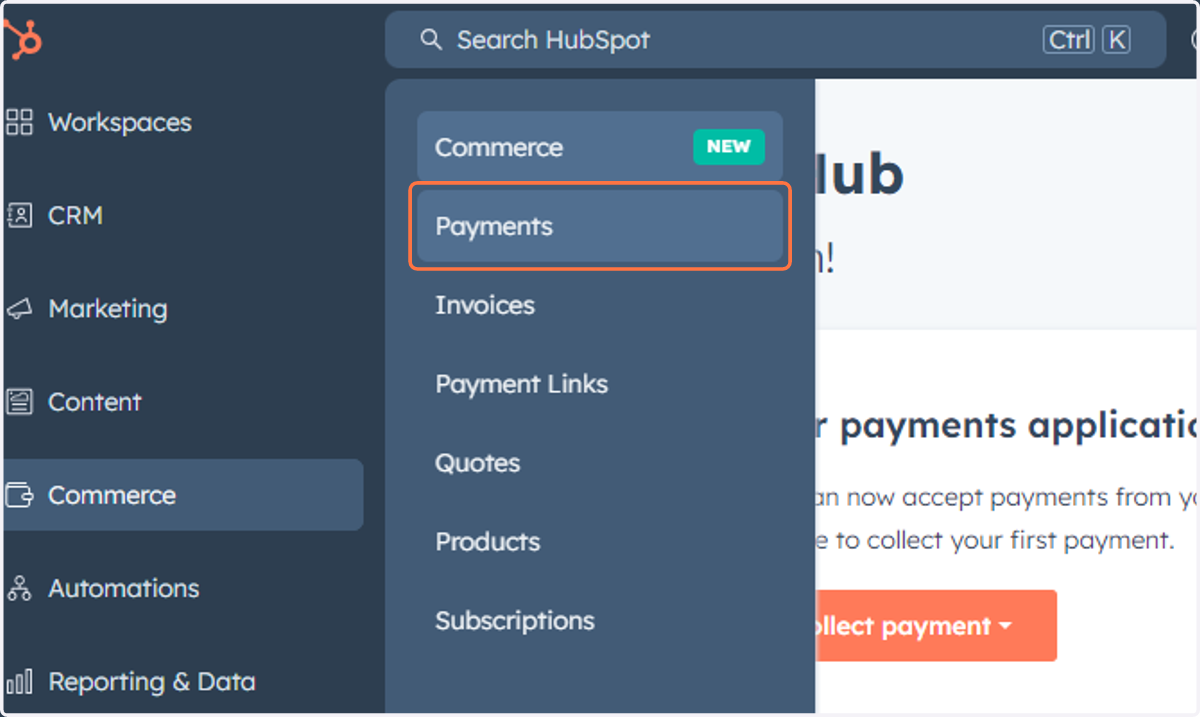
34. This will also take you into the Commerce Hub
Note: Payments and Commerce Hub are one in the same now, so clicking Payments will redirect you to Commerce Hub.
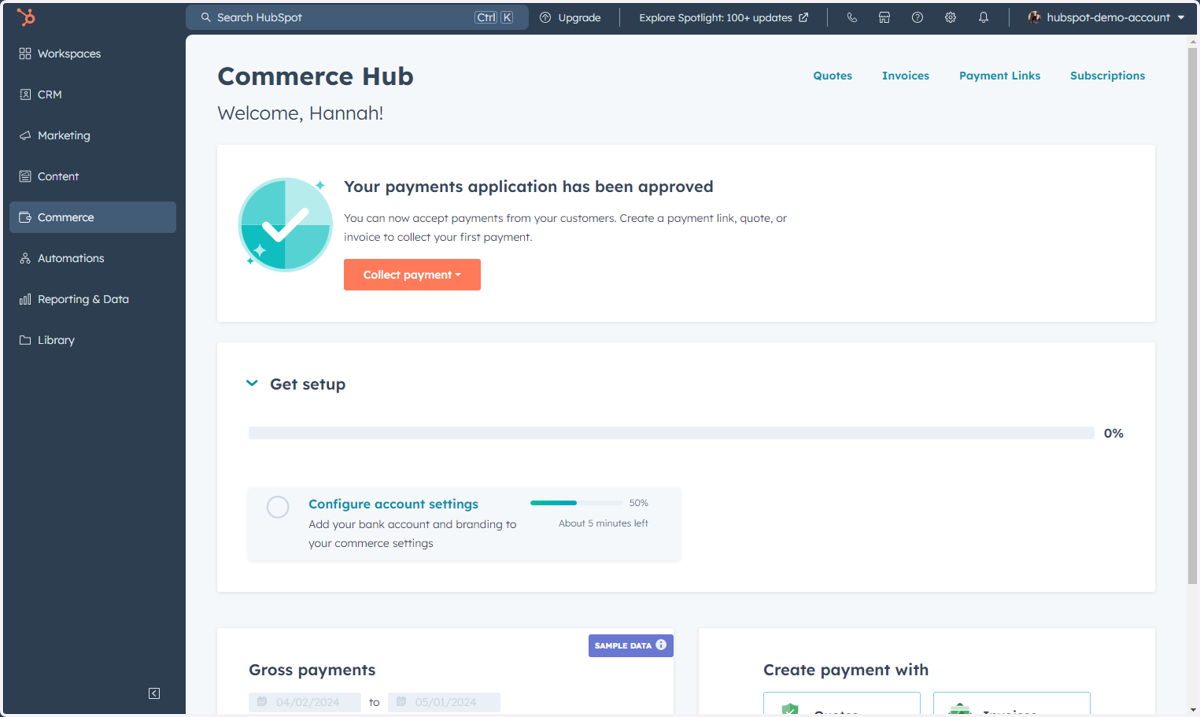
35. Click on Commerce
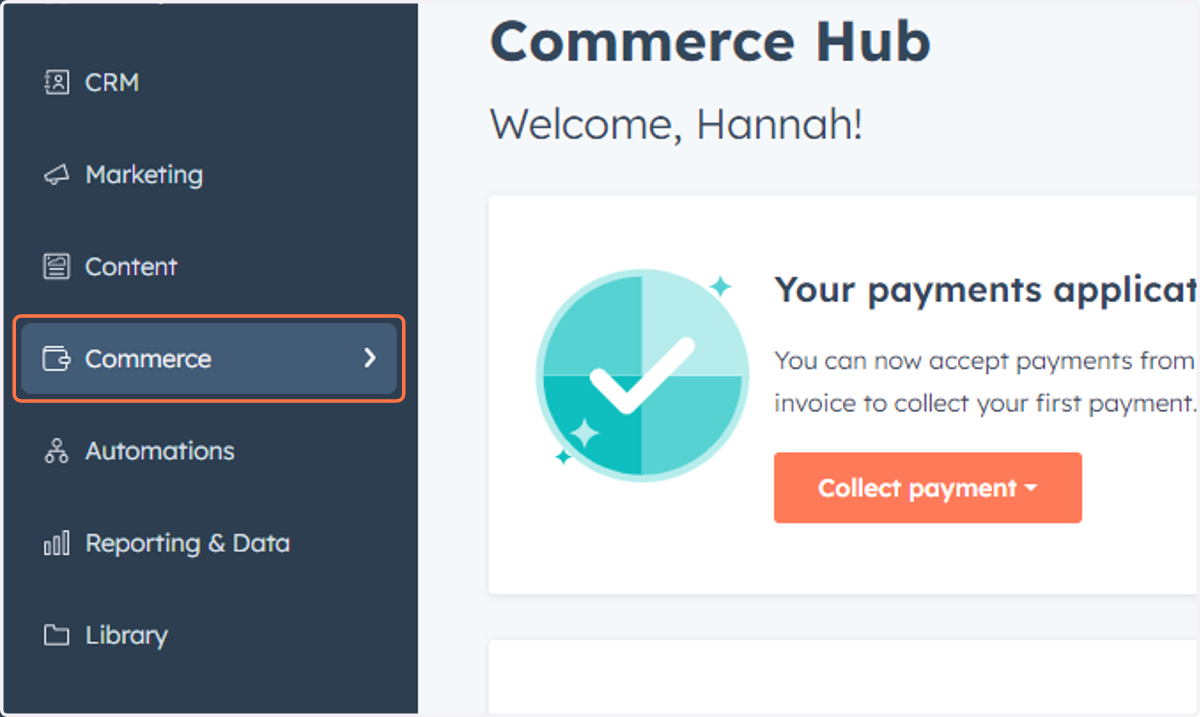
36. Click on Invoices
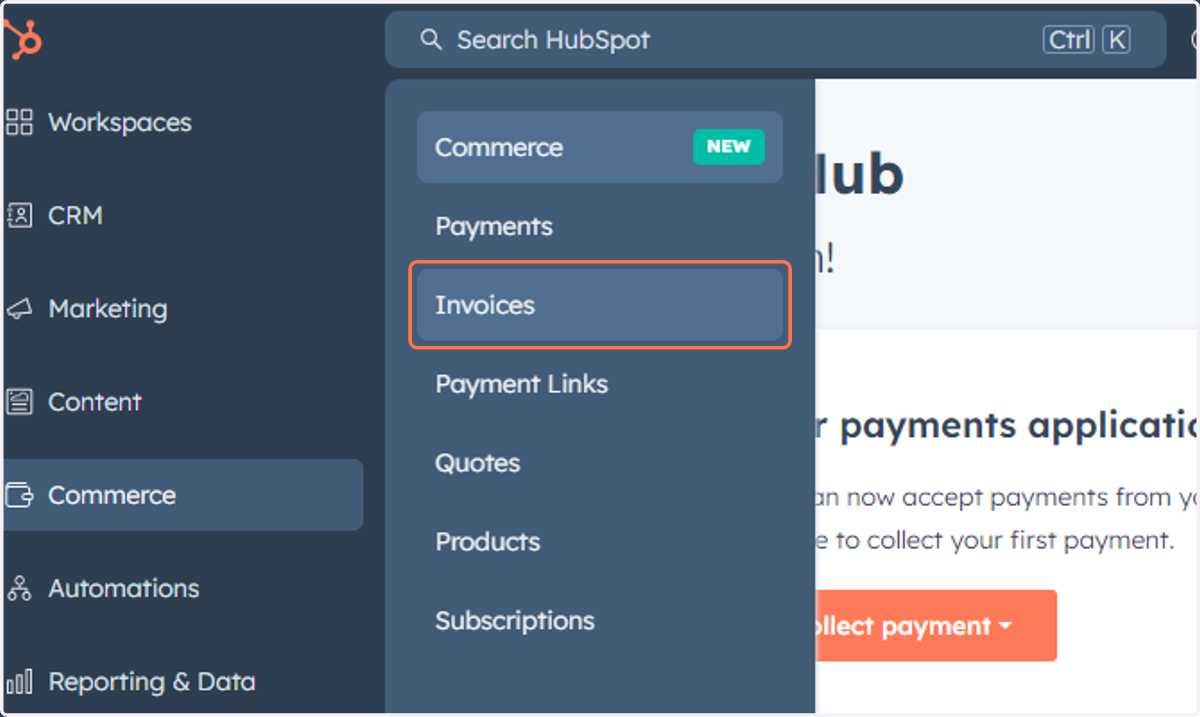
37. This is where you can access, manage and create Invoices
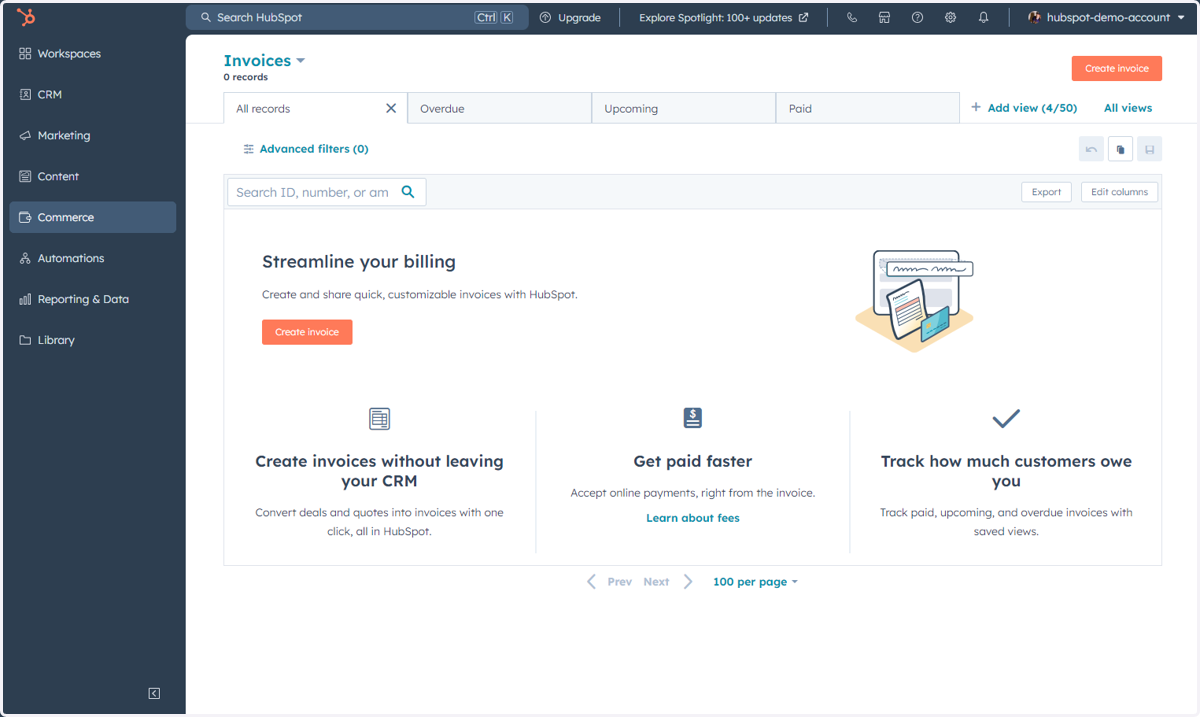
38. Click on Commerce
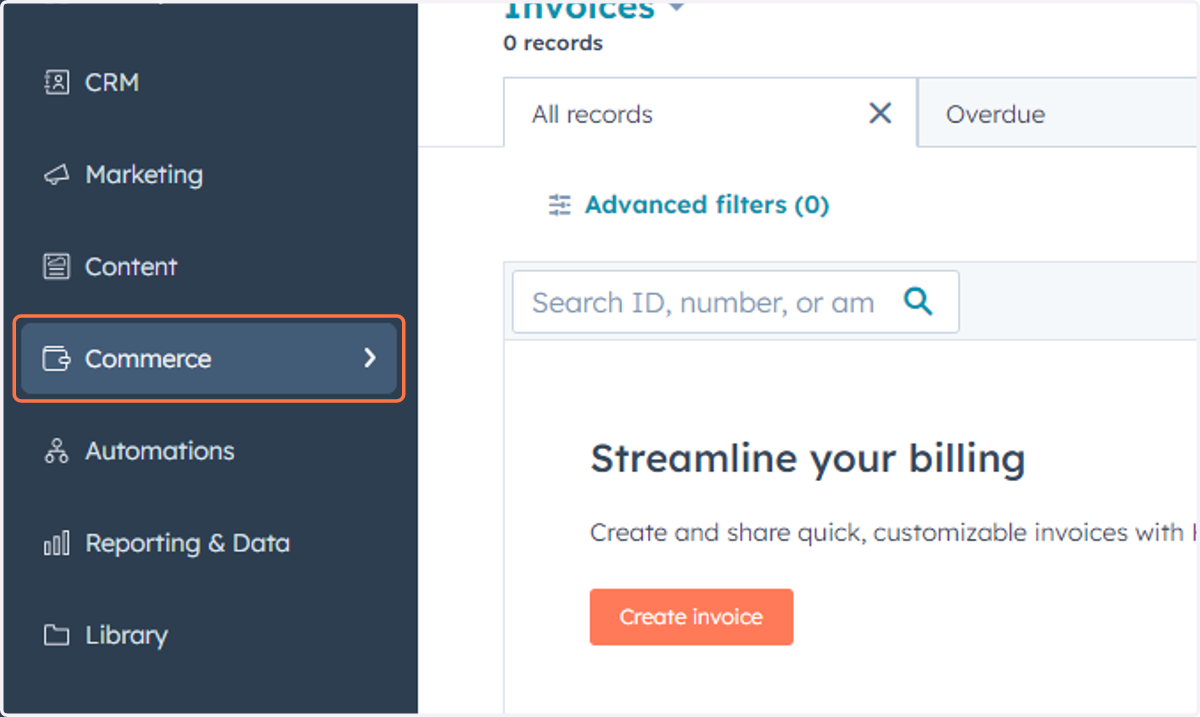
39. Click on Payment Links
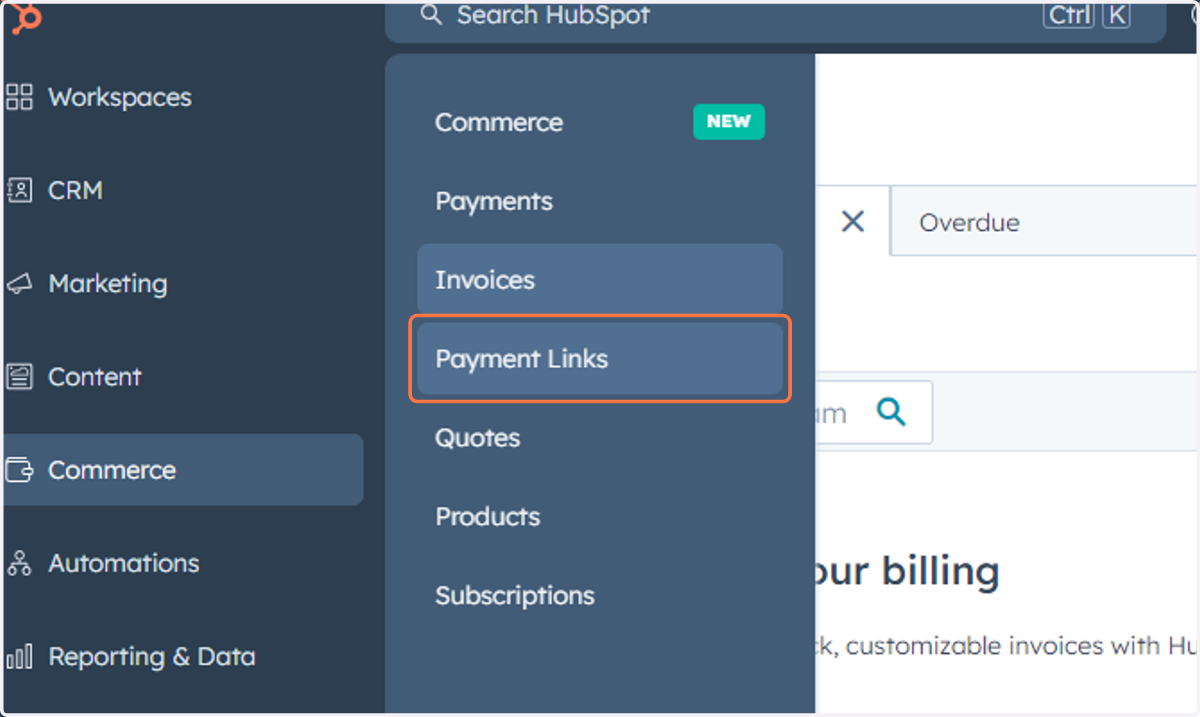
40. This is where you can access, manage and create Payment Links
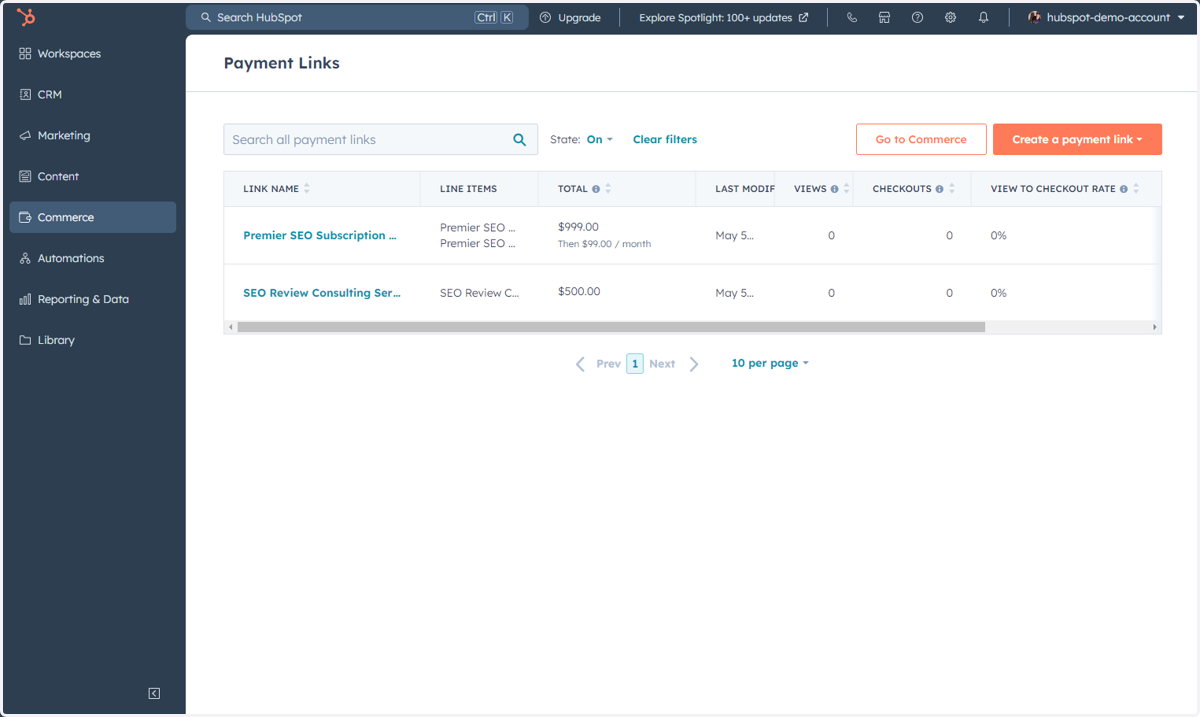
41. Click on Commerce
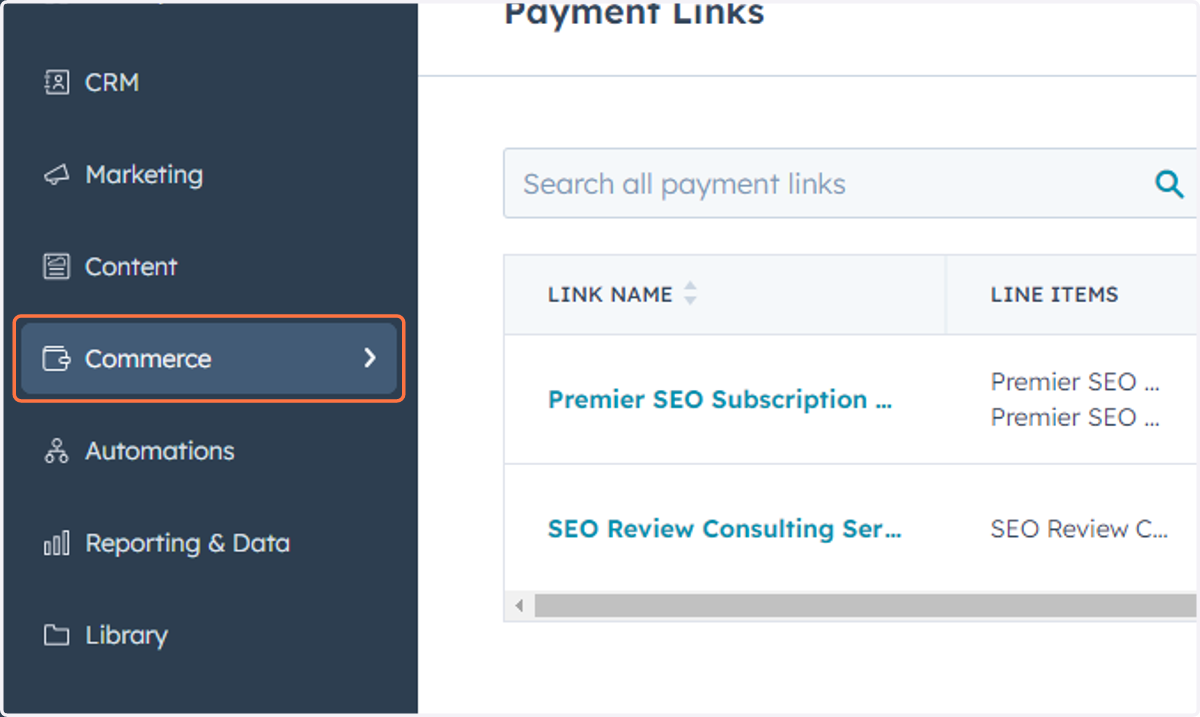
42. Click on Quotes
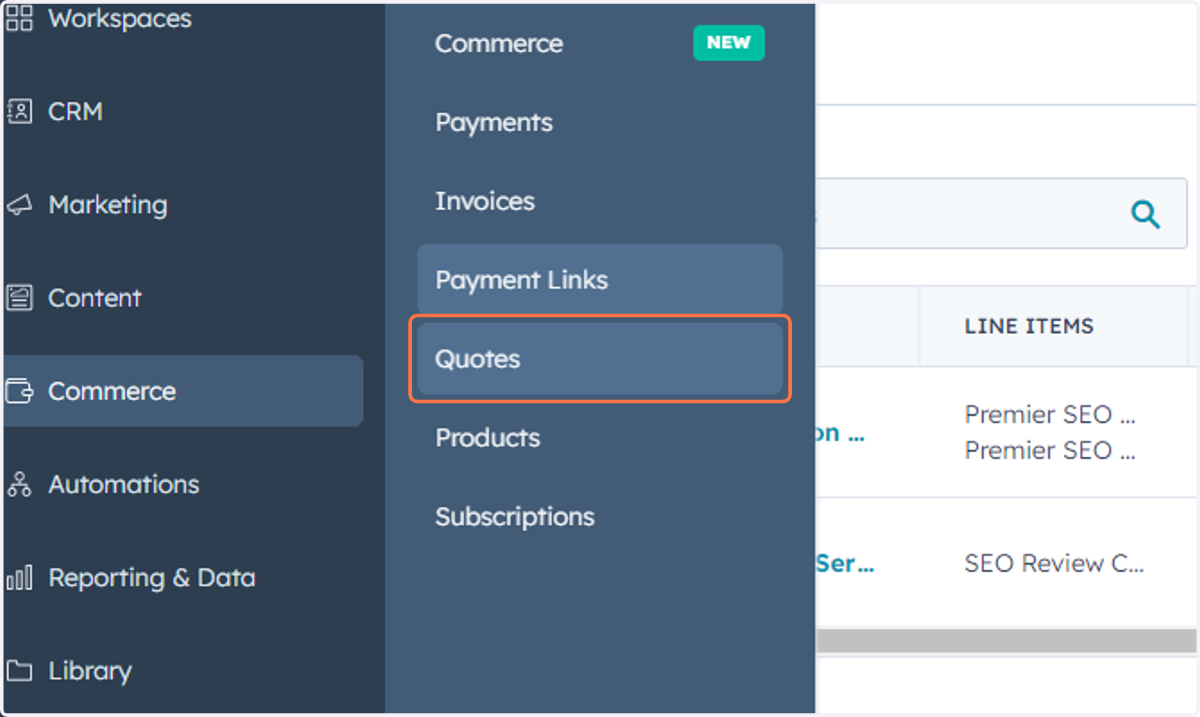
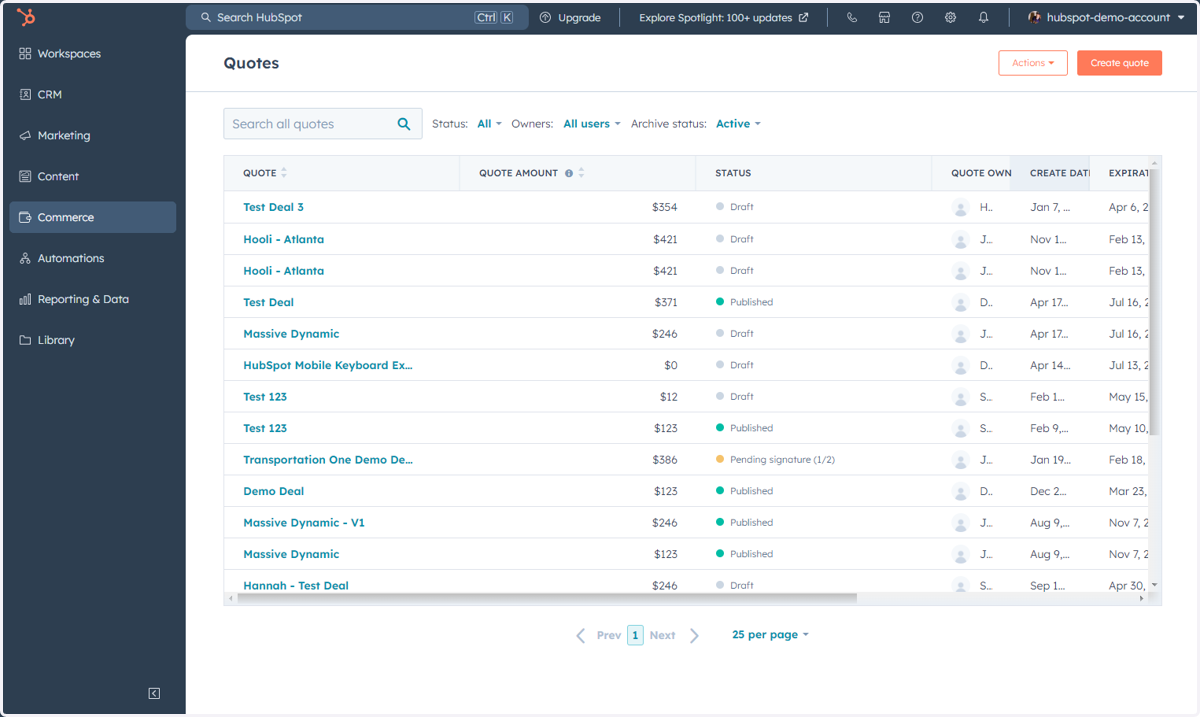
43. This is where you can access, manage and create Quotes
44. Click on Commerce
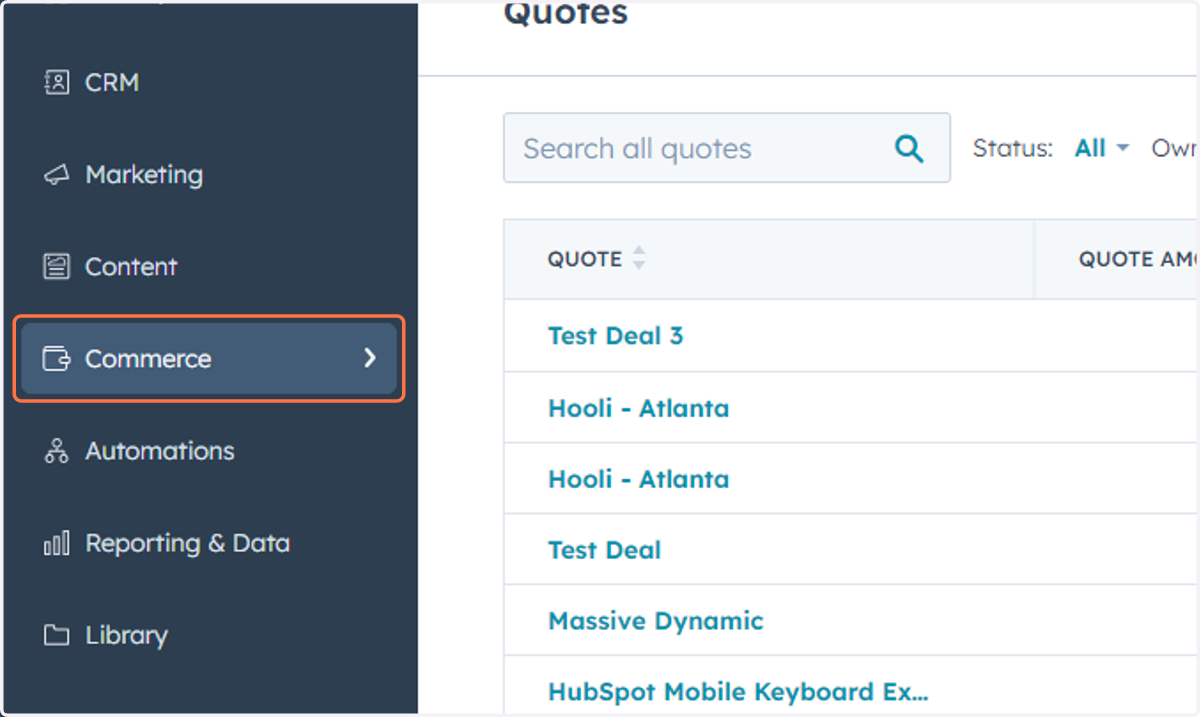
45. Click on Products
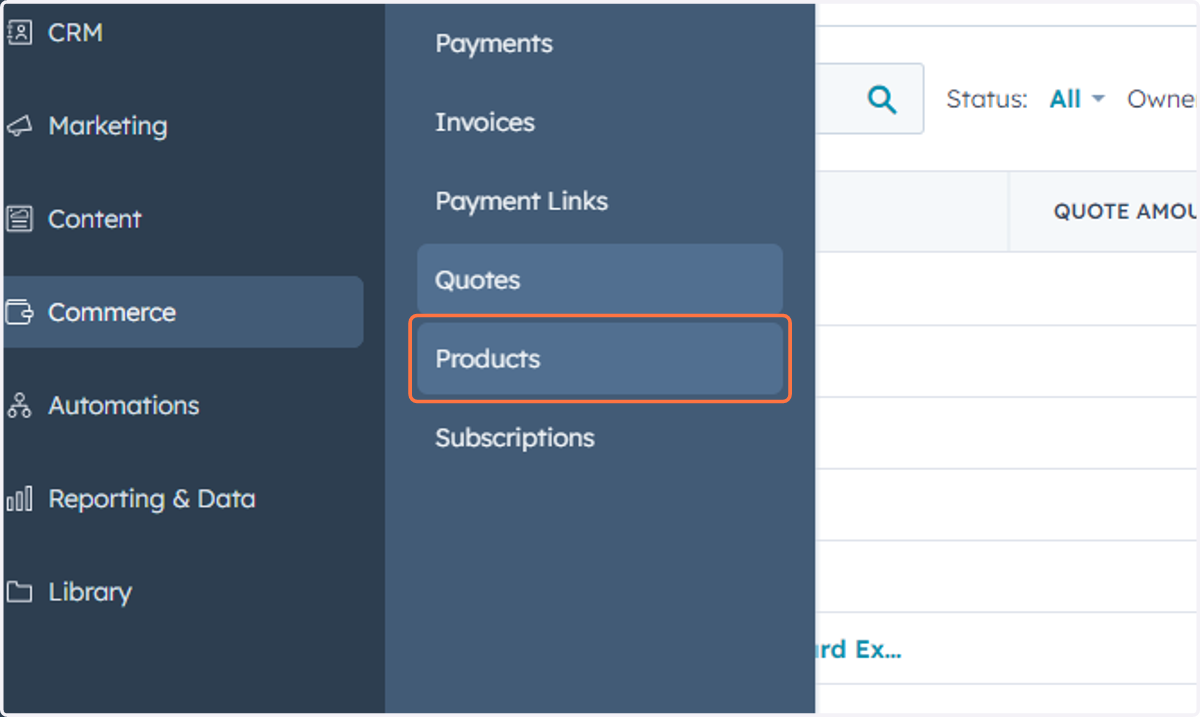
46. This is where you can access, manage and create Products
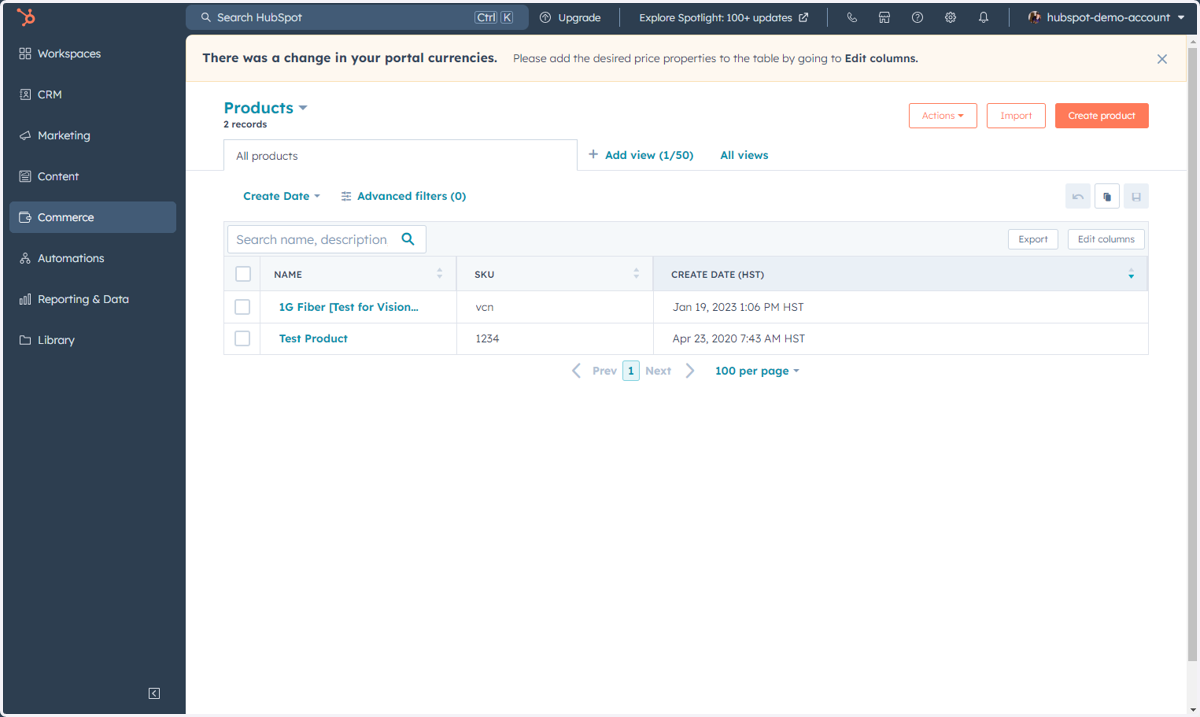
47. Click on Commerce
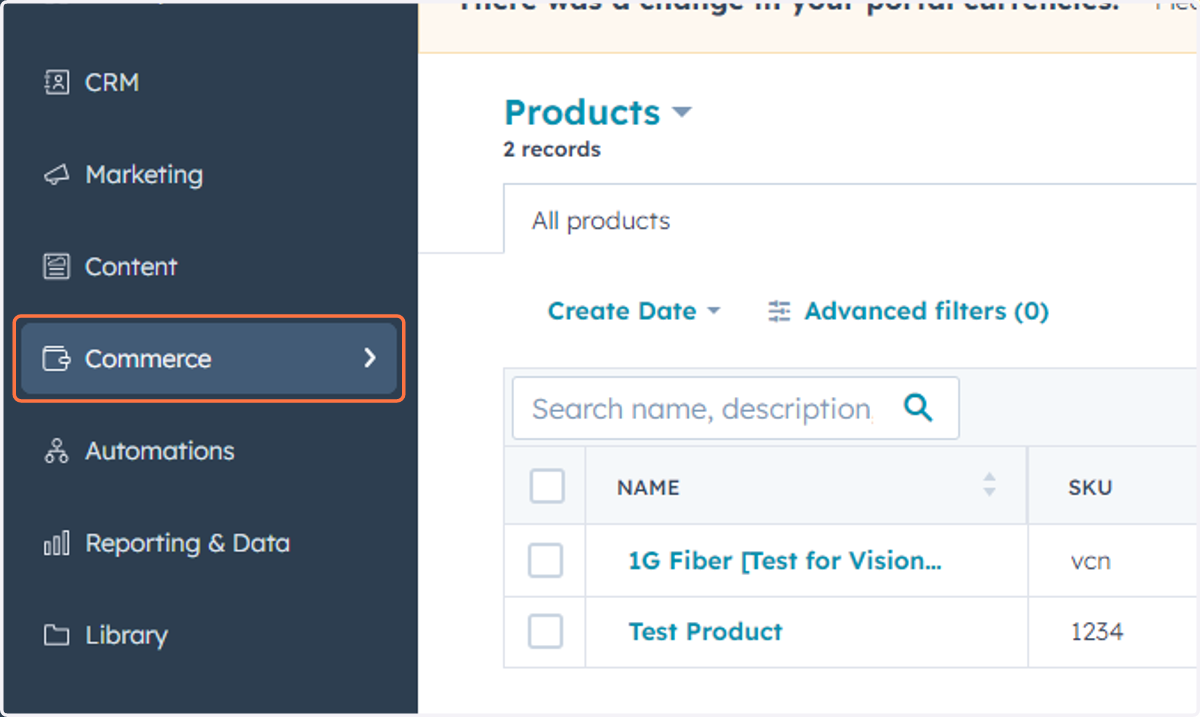
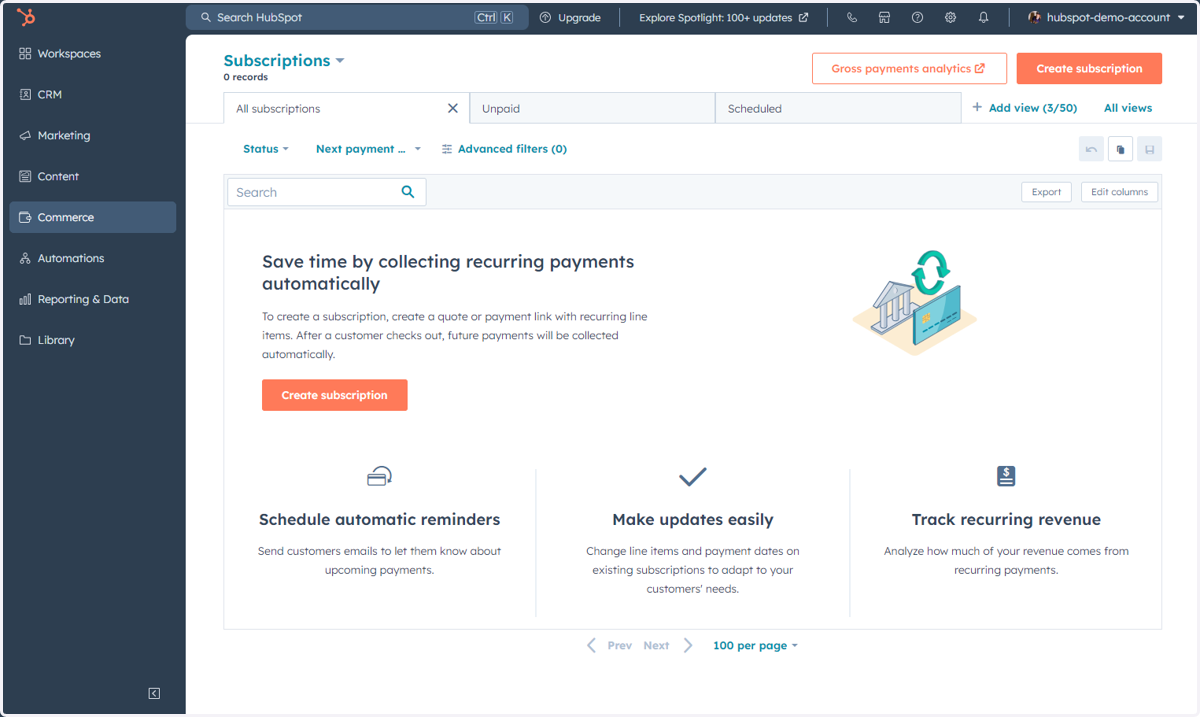
48. Click on Subscriptions
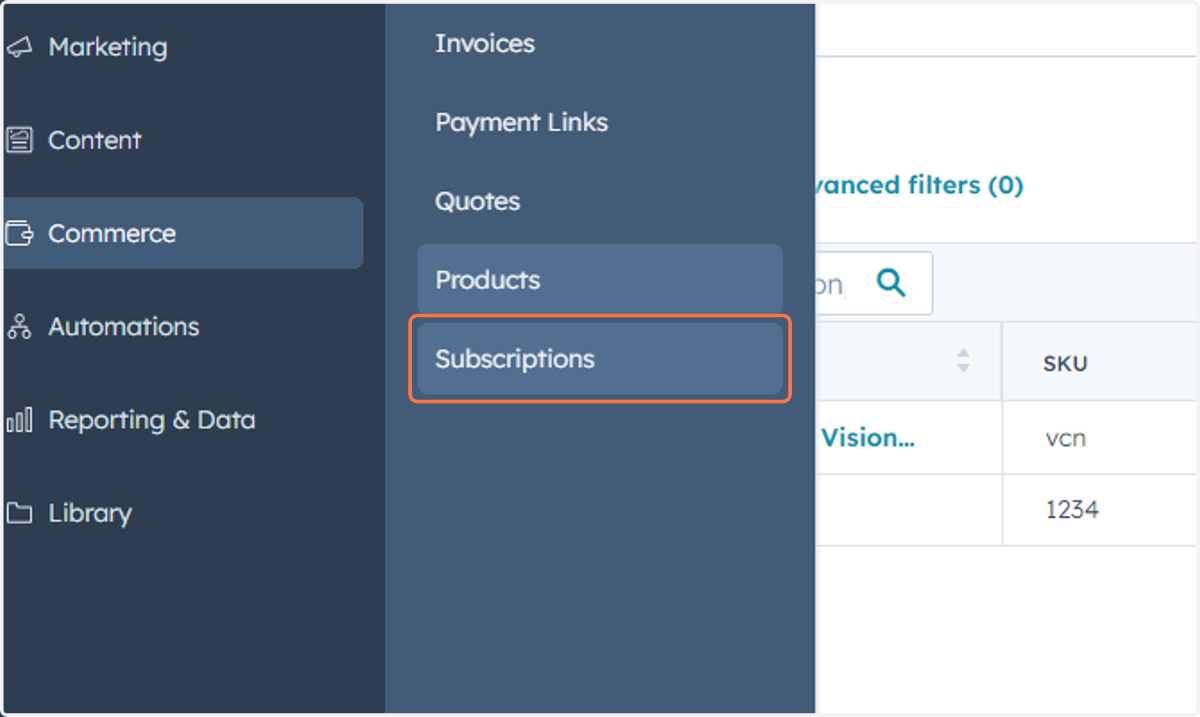
49. This is where you can access, manage and create Subscriptions
Accessing Items Under Automations
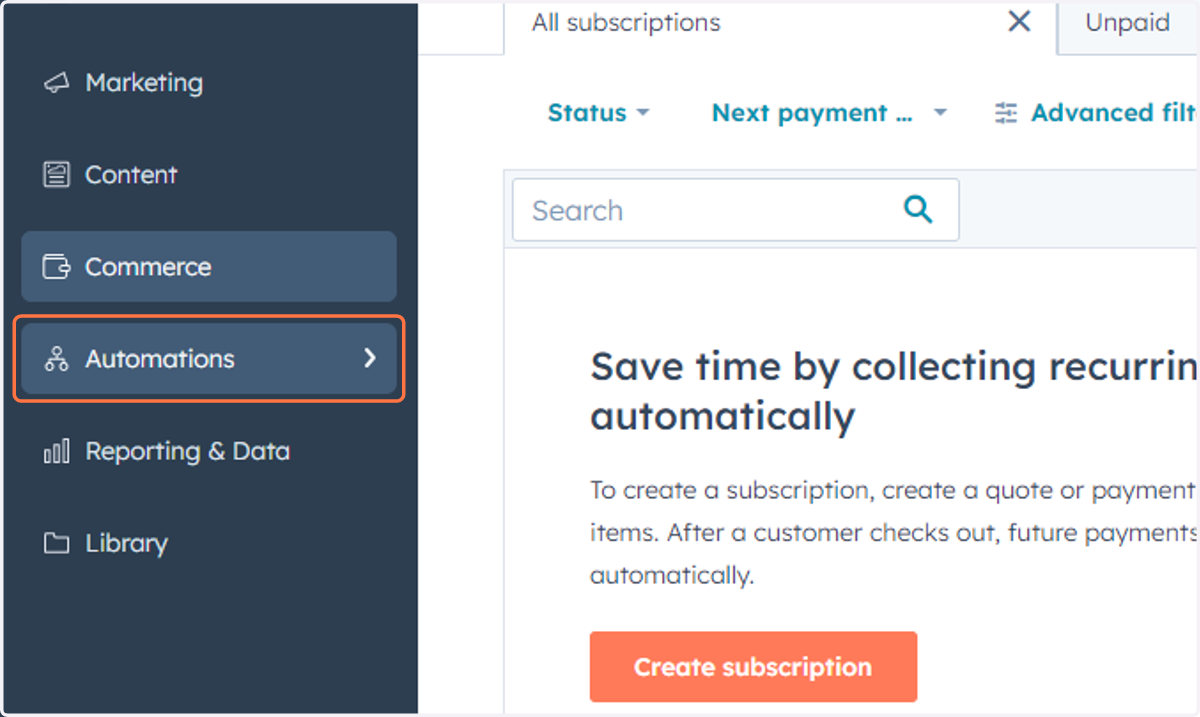
This includes accessing Workflows.
50. Click on Automations
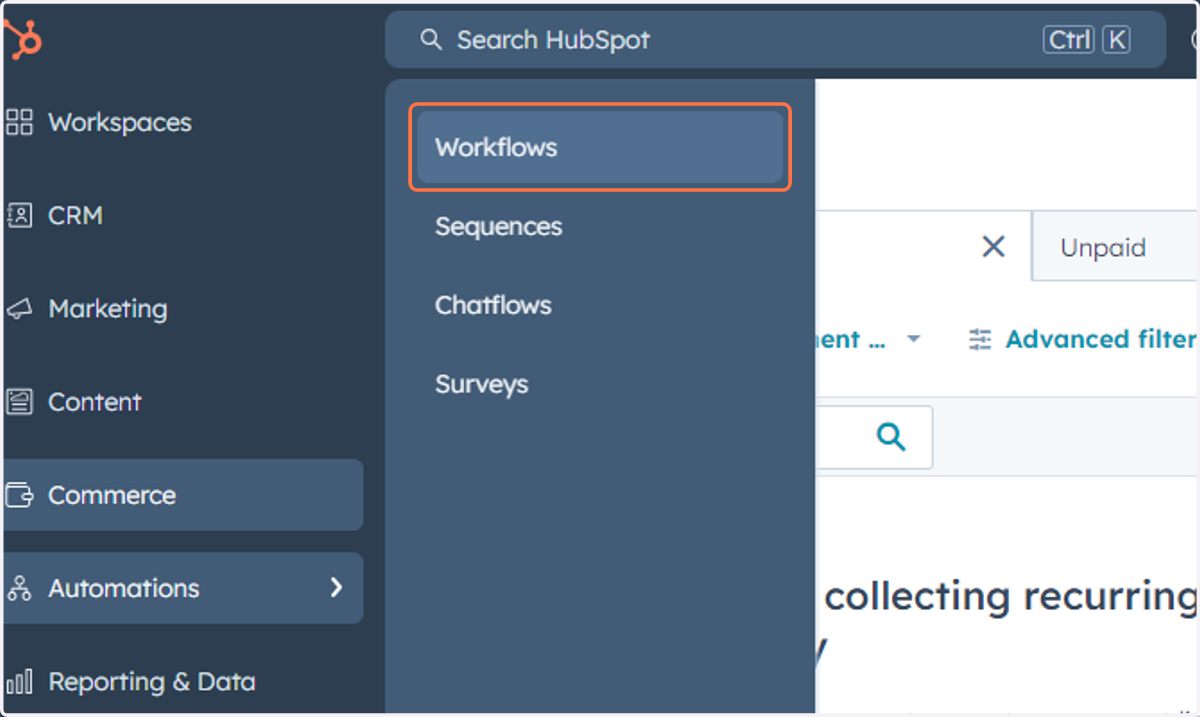
51. Click on Workflows
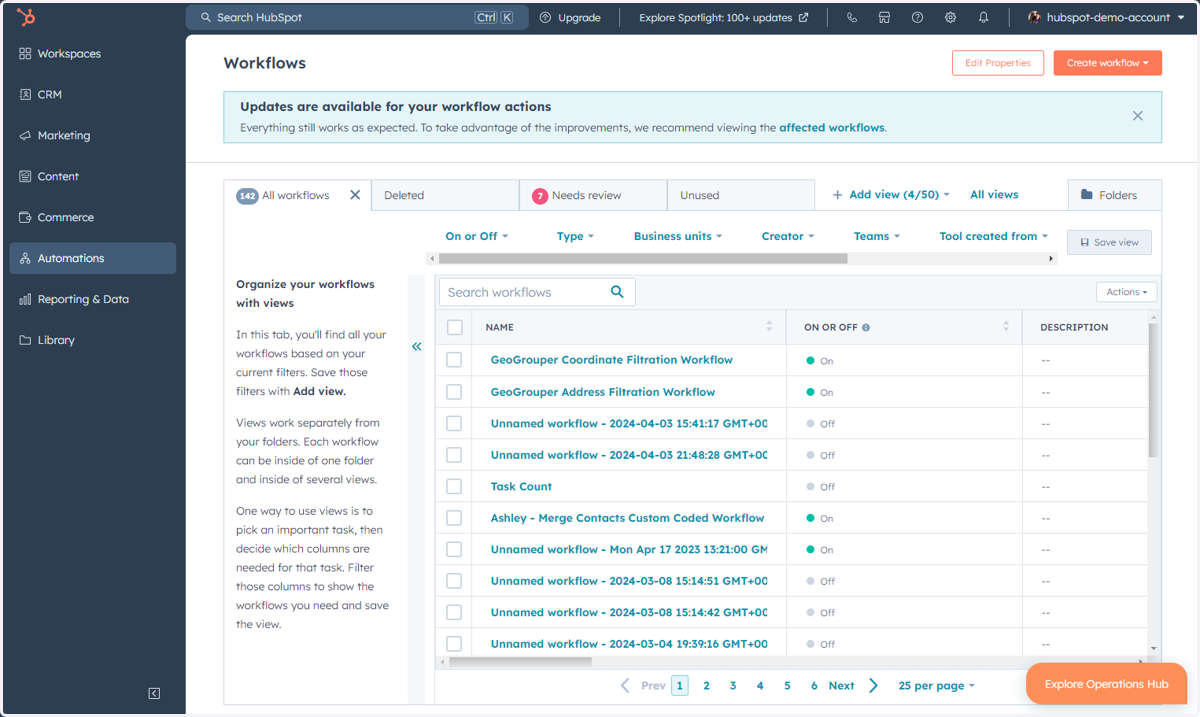
52. This is where you can access, manage and create Workflows
Accessing Items Under Reporting & Data
This includes Dashboards, Reports, Forecast, Goals, Integrations, Data Quality, Datasets, and Data Model.
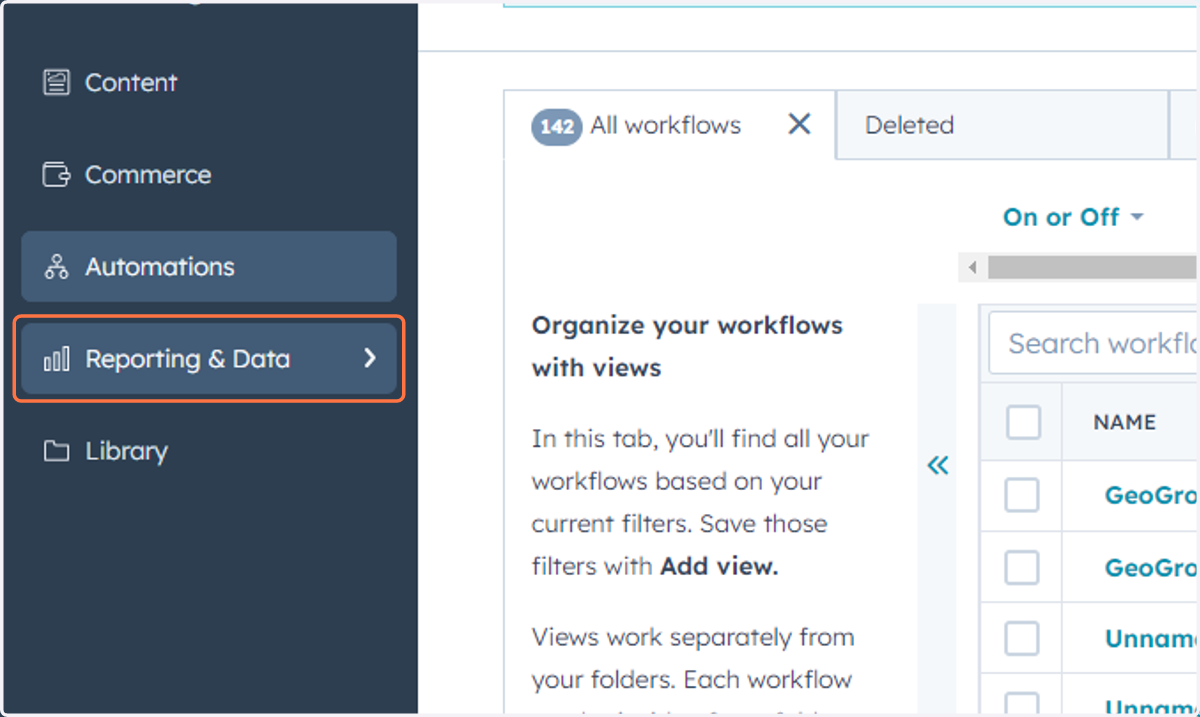
53. Click on Reporting & Data
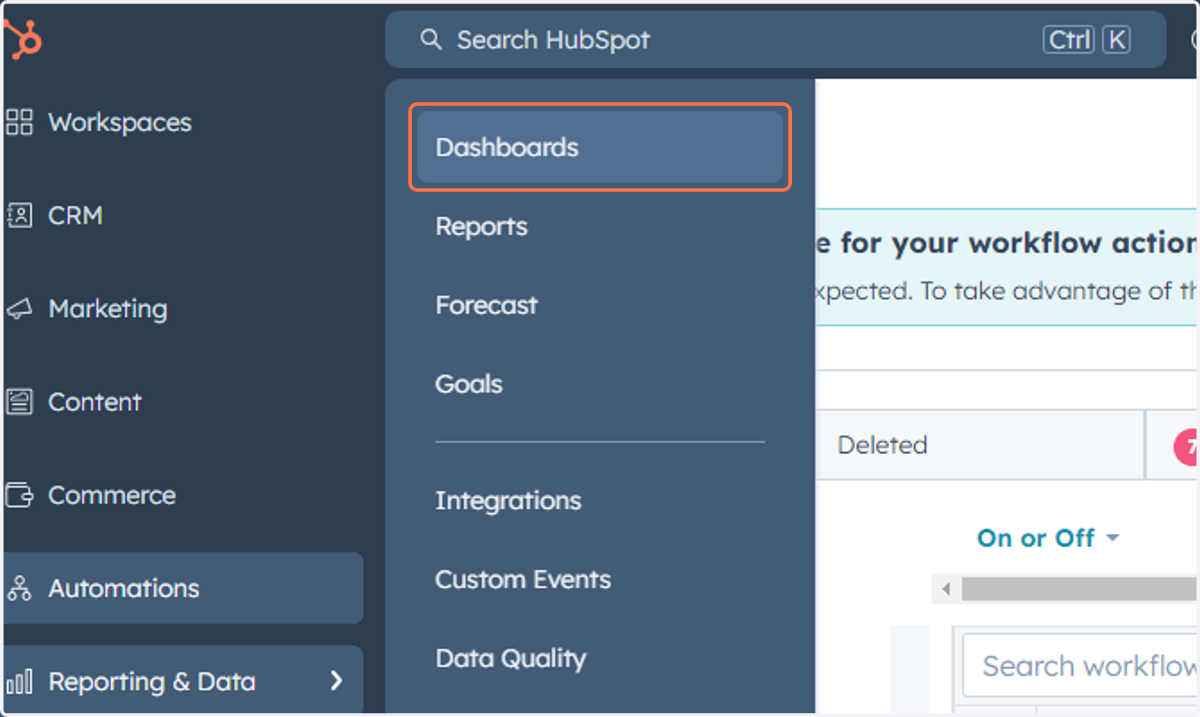
54. Click on Dashboards
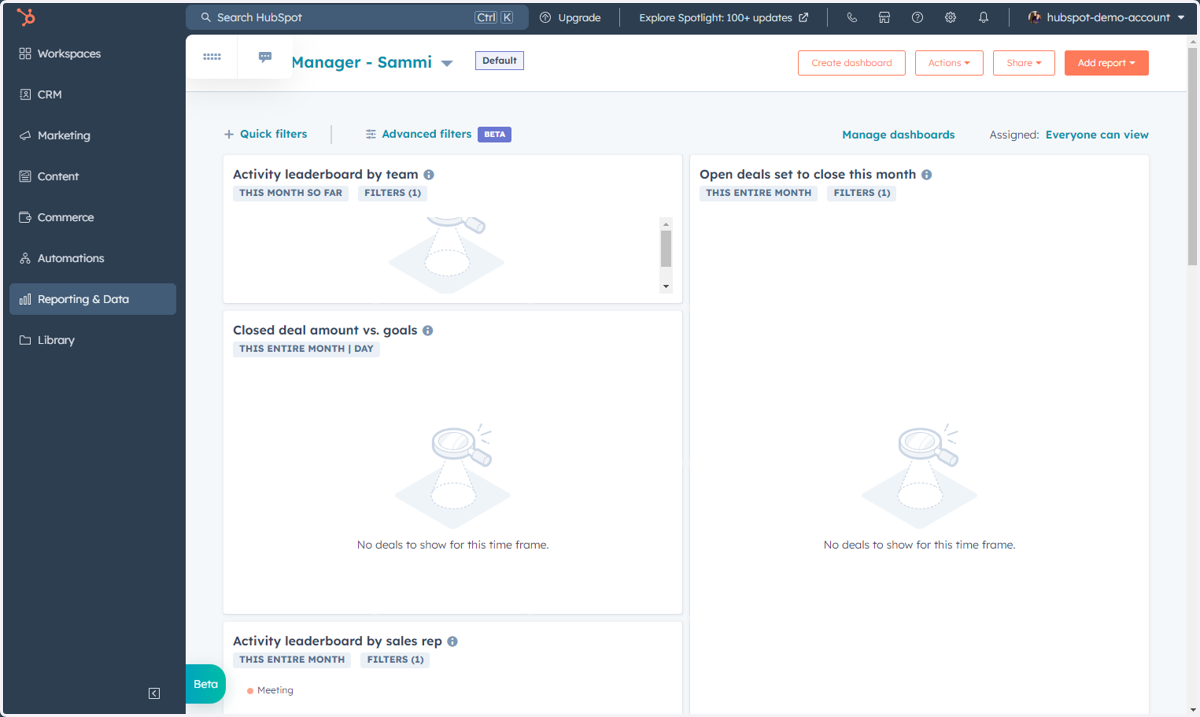
55. This is where you can access, manage and create Dashboards
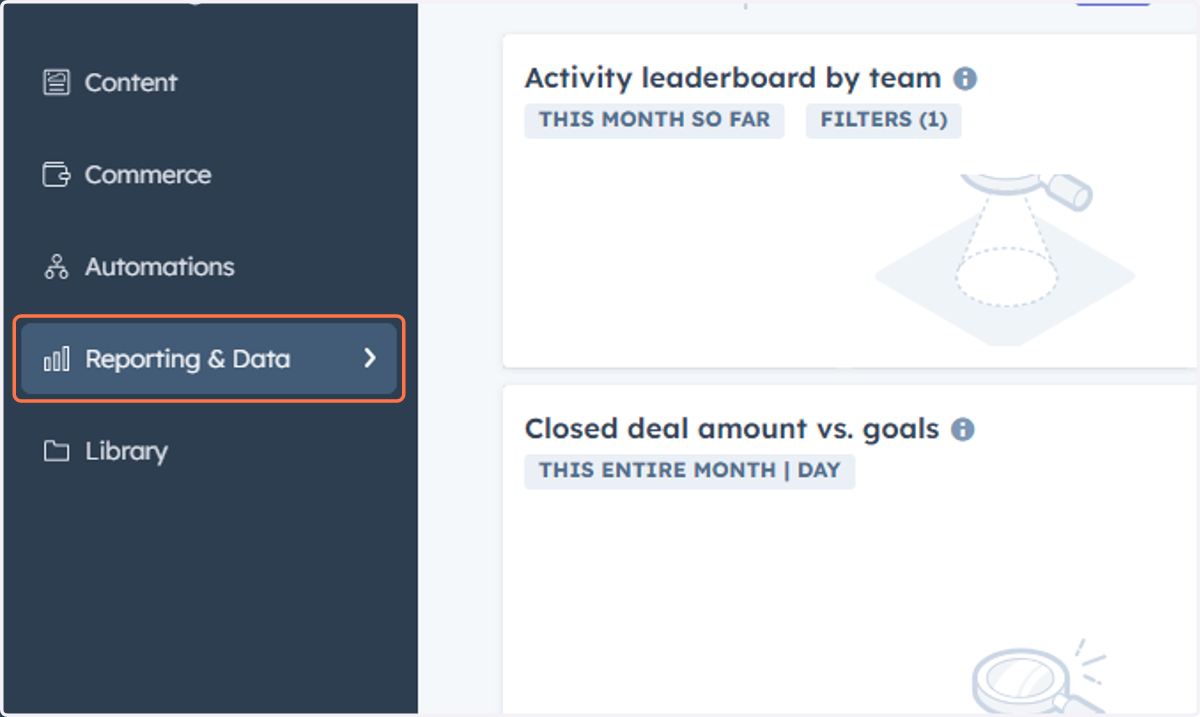
56. Click on Reporting & Data
57. Click on Reports
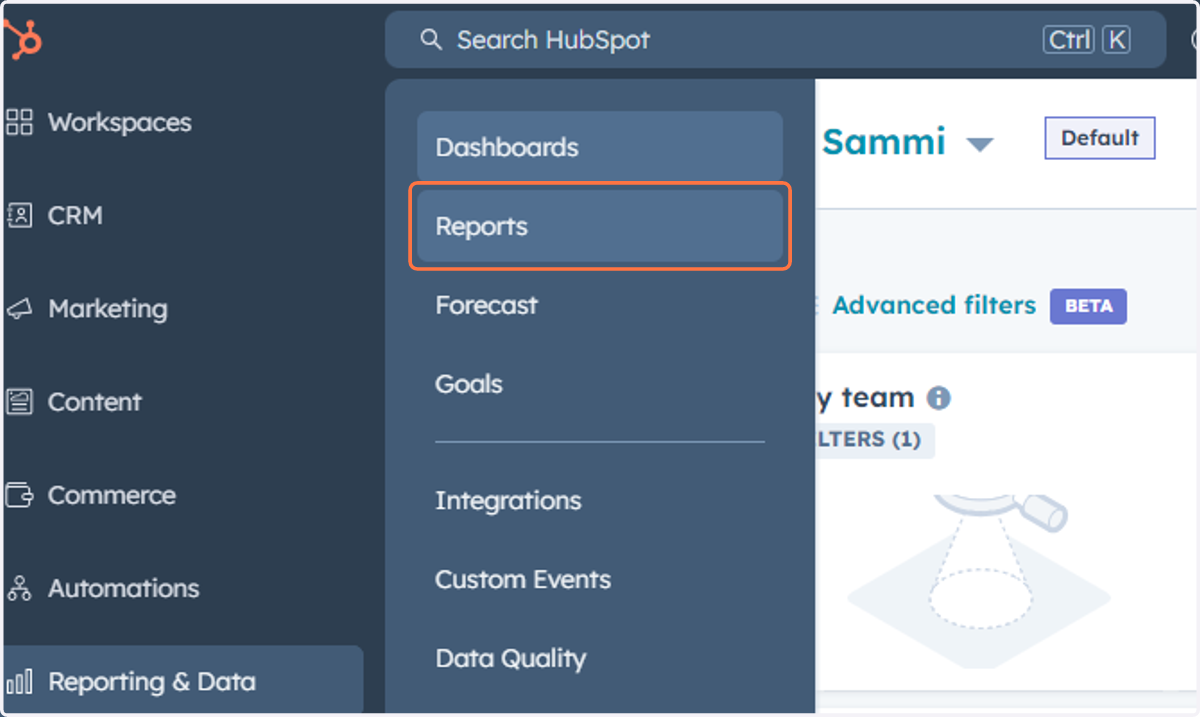
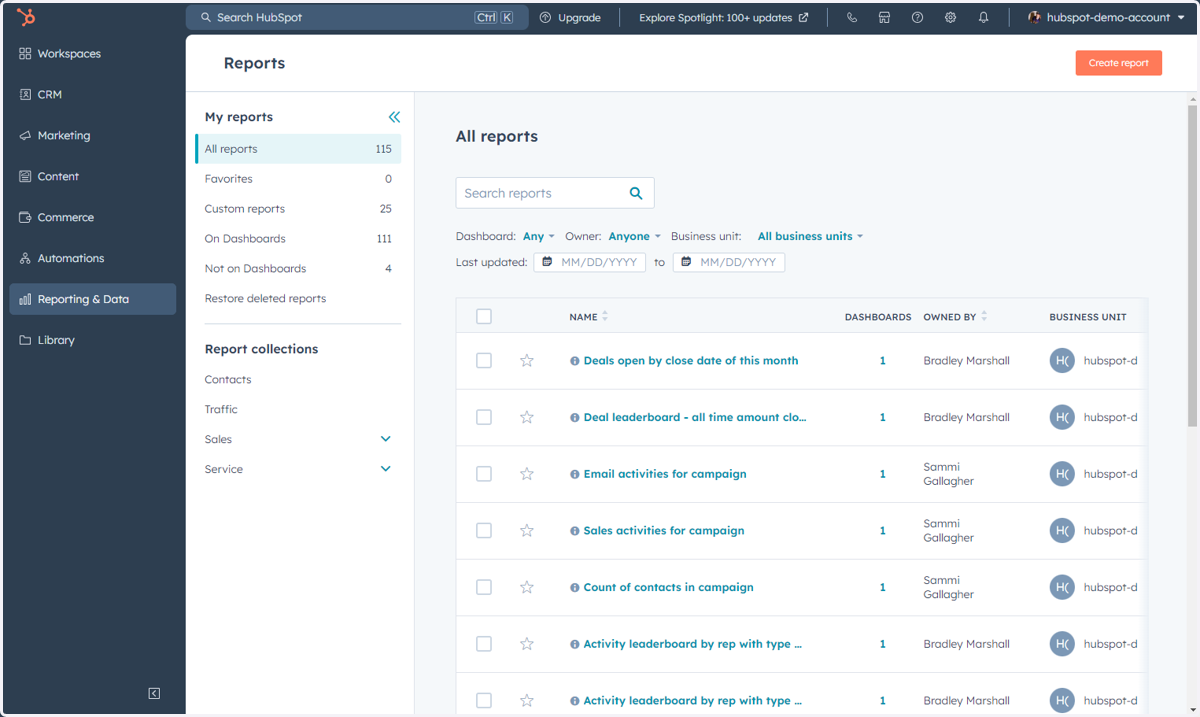
58. This is where you can access, manage and create Reports
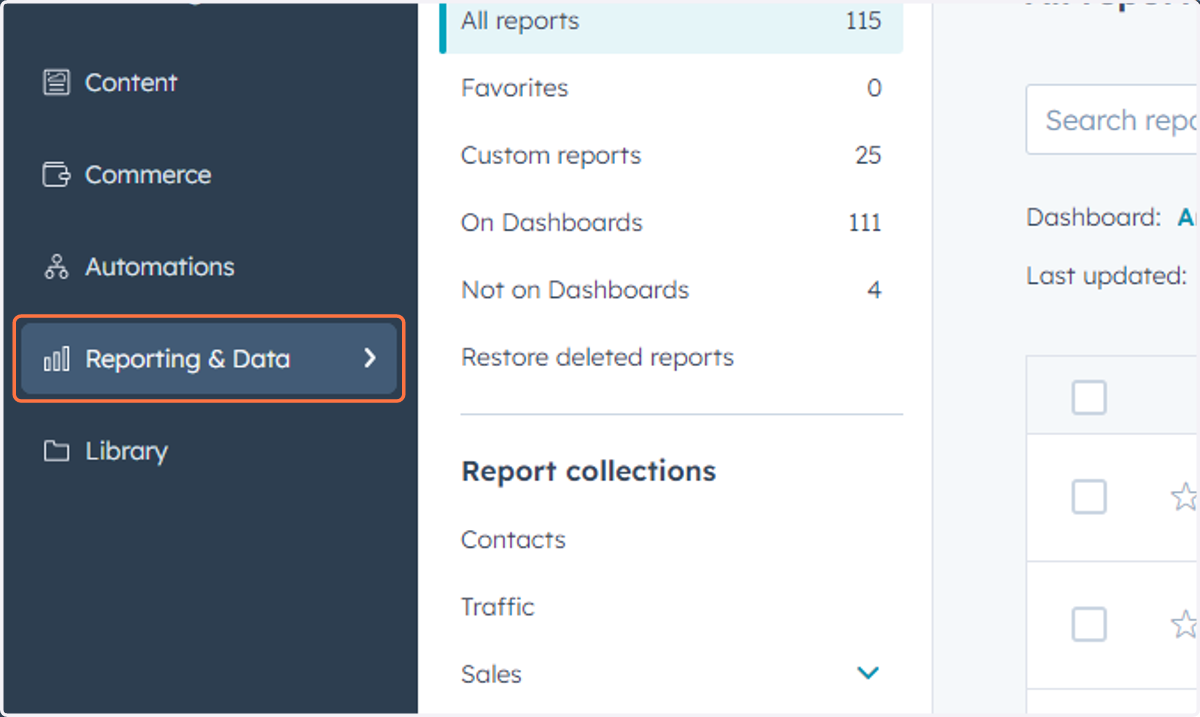
59. Click on Reporting & Data
60. Click on Forecast
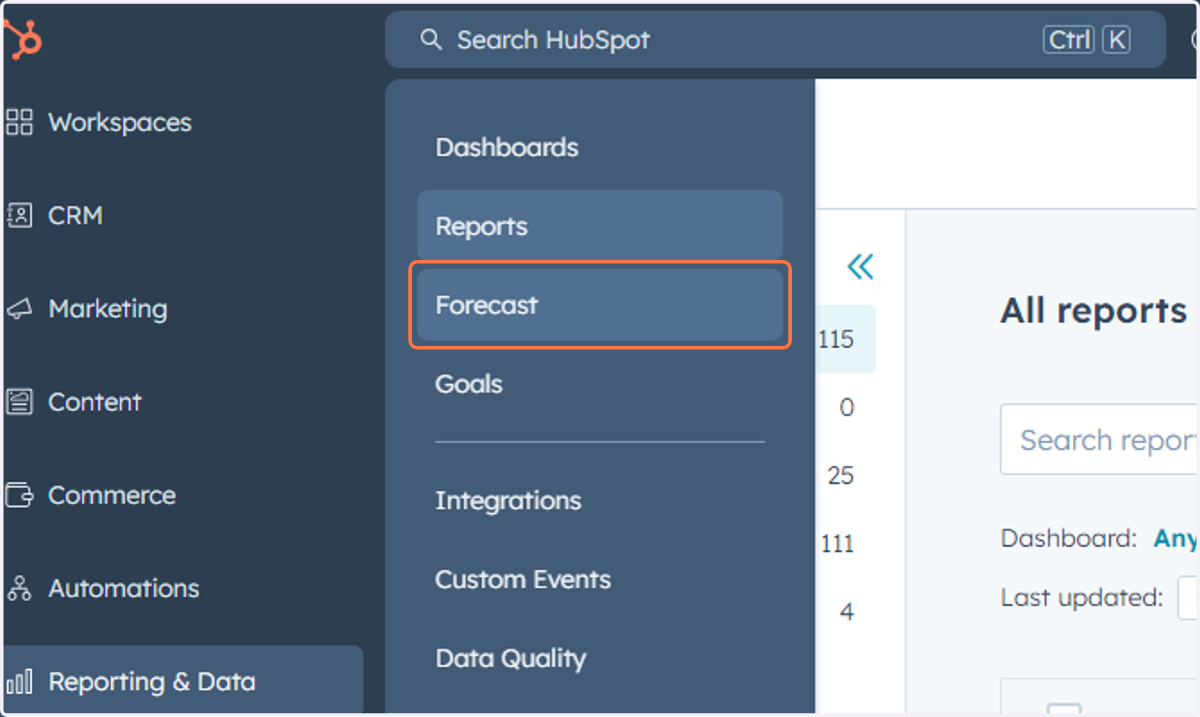
61. This is where you can access and monitor your Forecast along with create and edit your goals
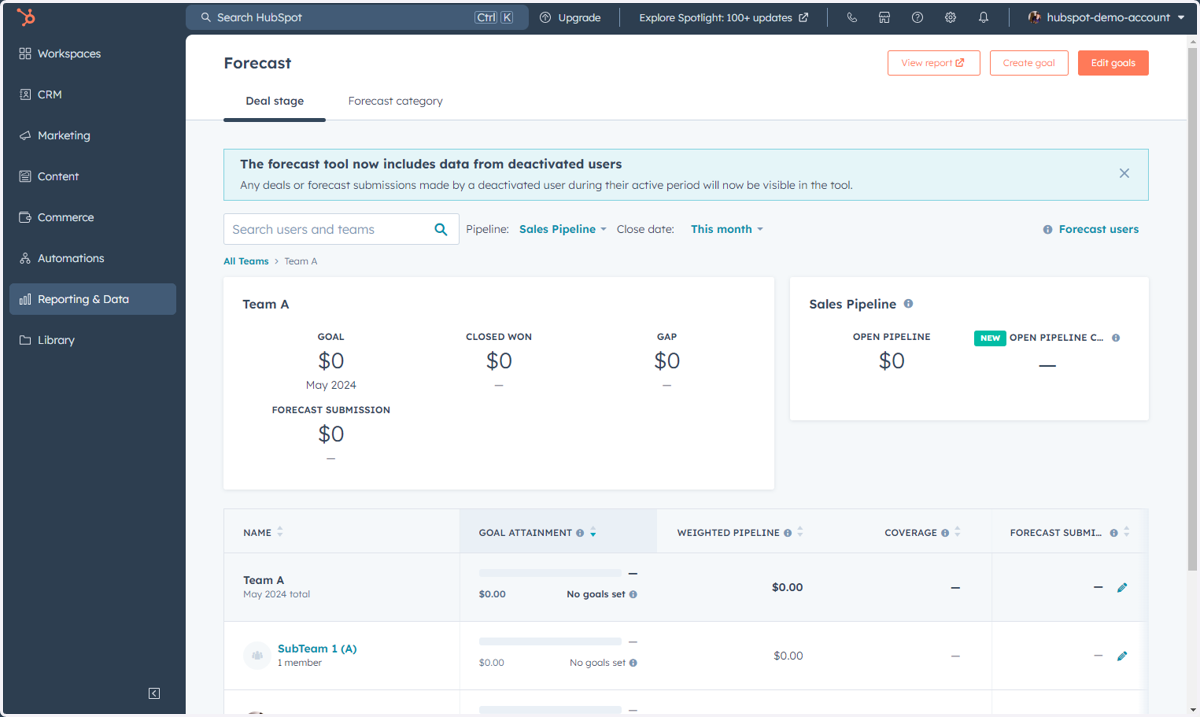
62. Click on Reporting & Data
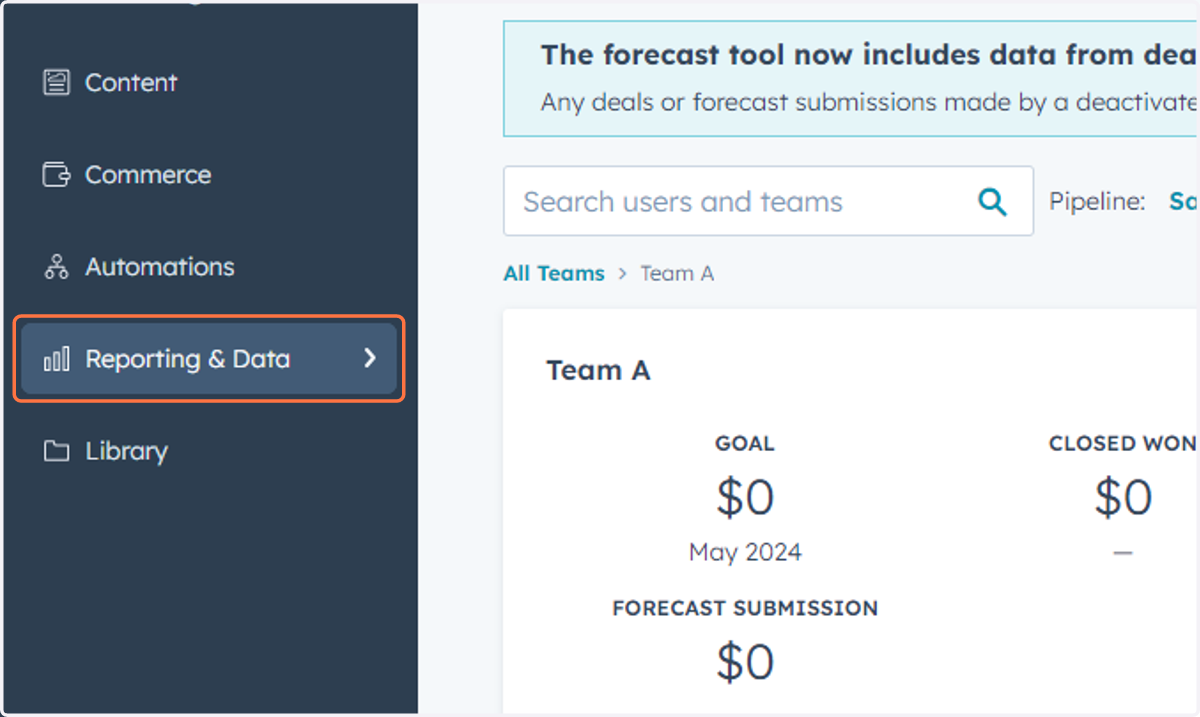
63. Click on Goals
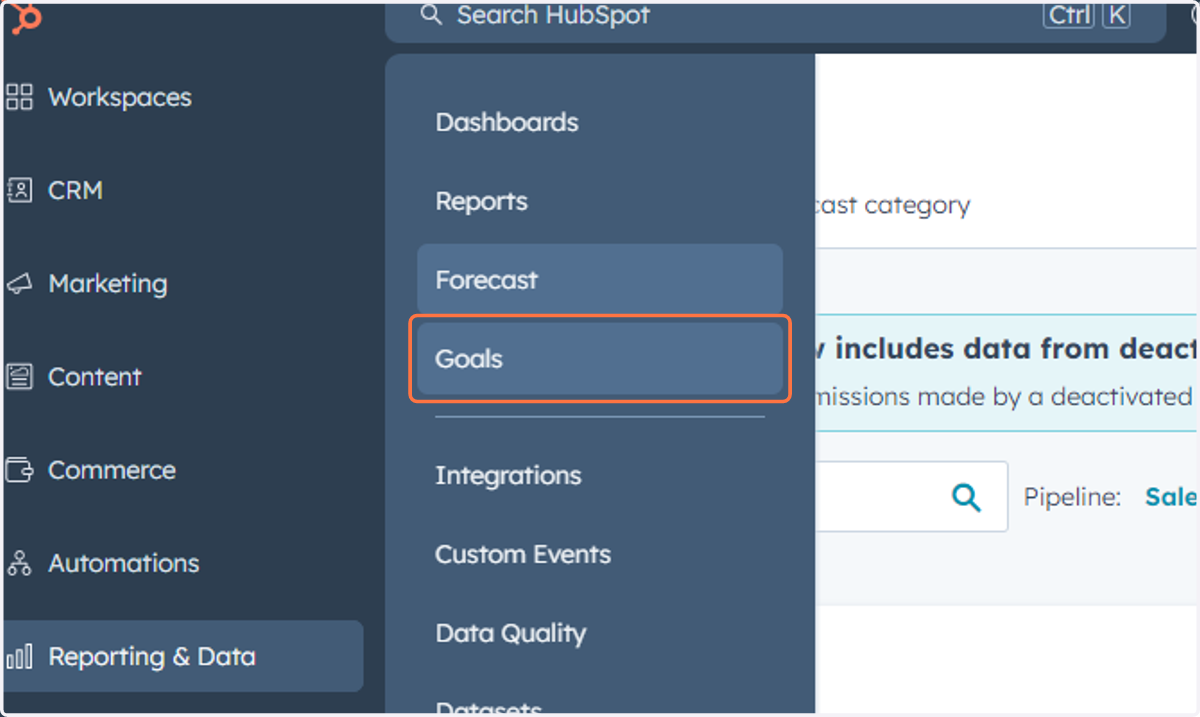
64. This is where you can access, manage and create Goals
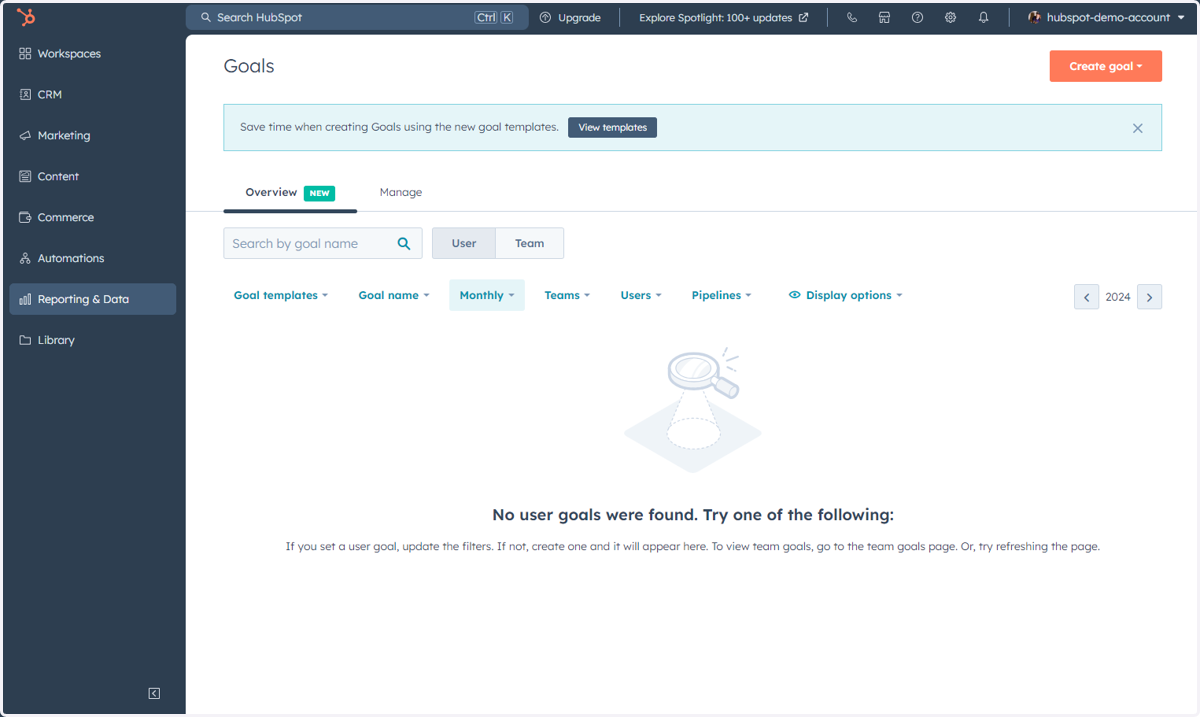
65. Click on Reporting & Data
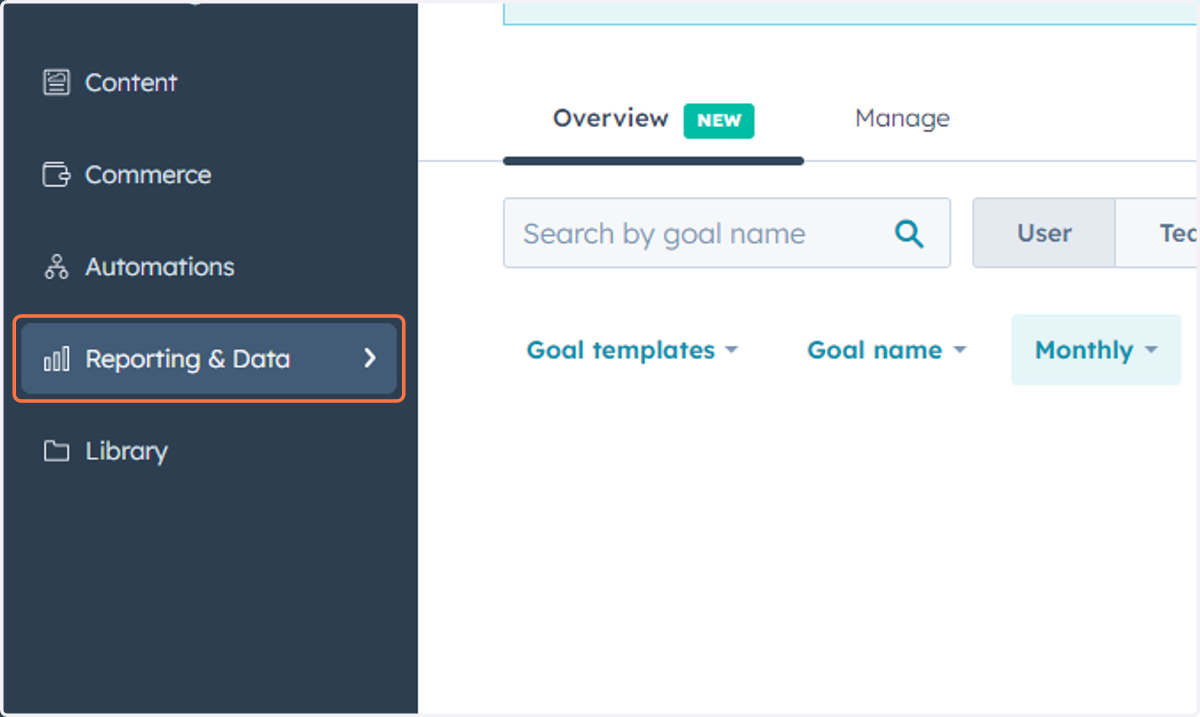
66. Click on Integrations
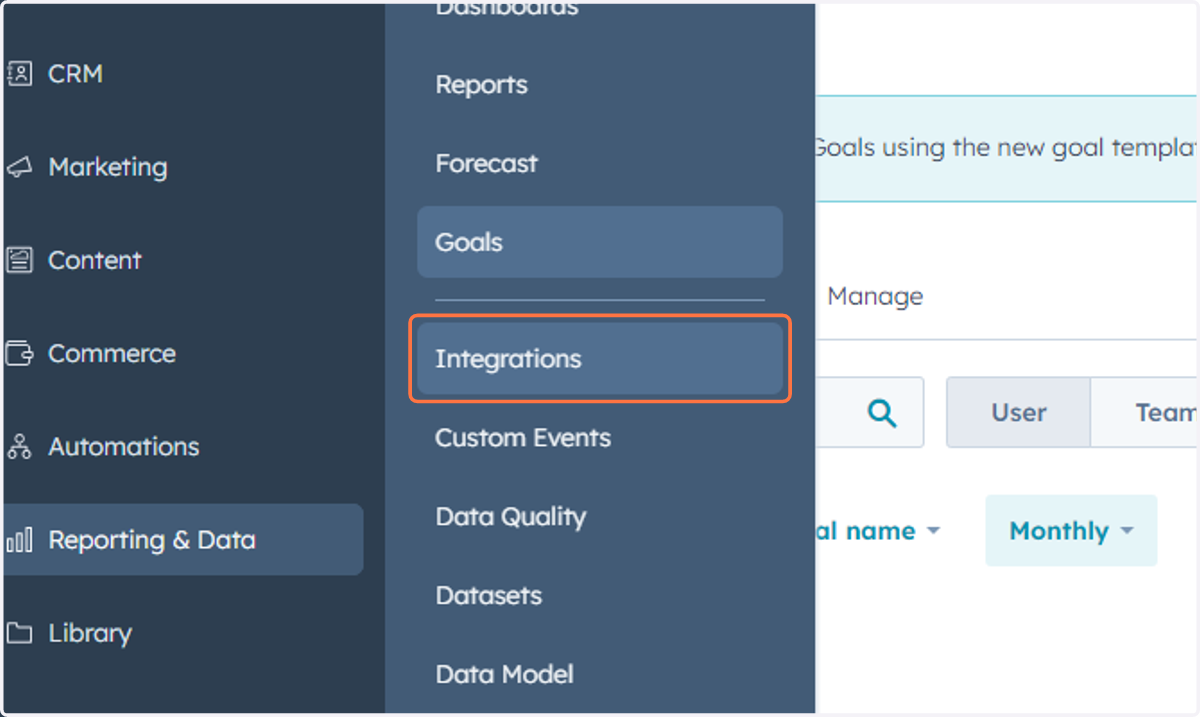
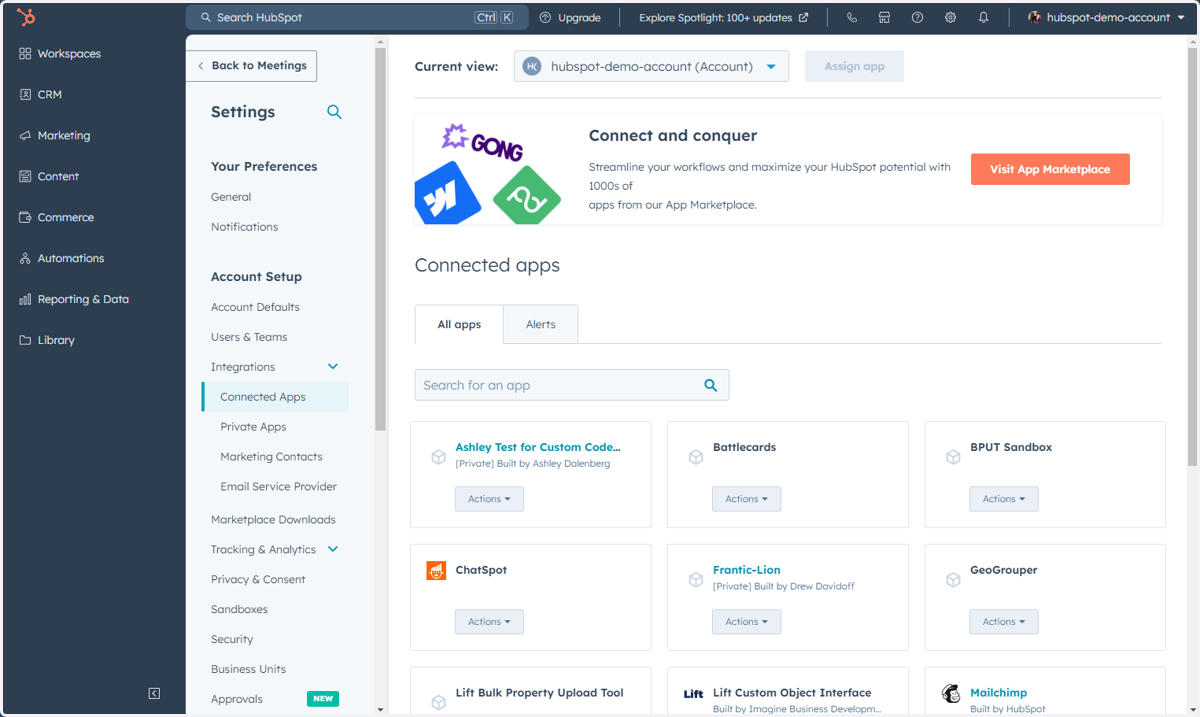
67. This will bring you into Settings where you can manage your Connected Apps
68. Click on Reporting & Data
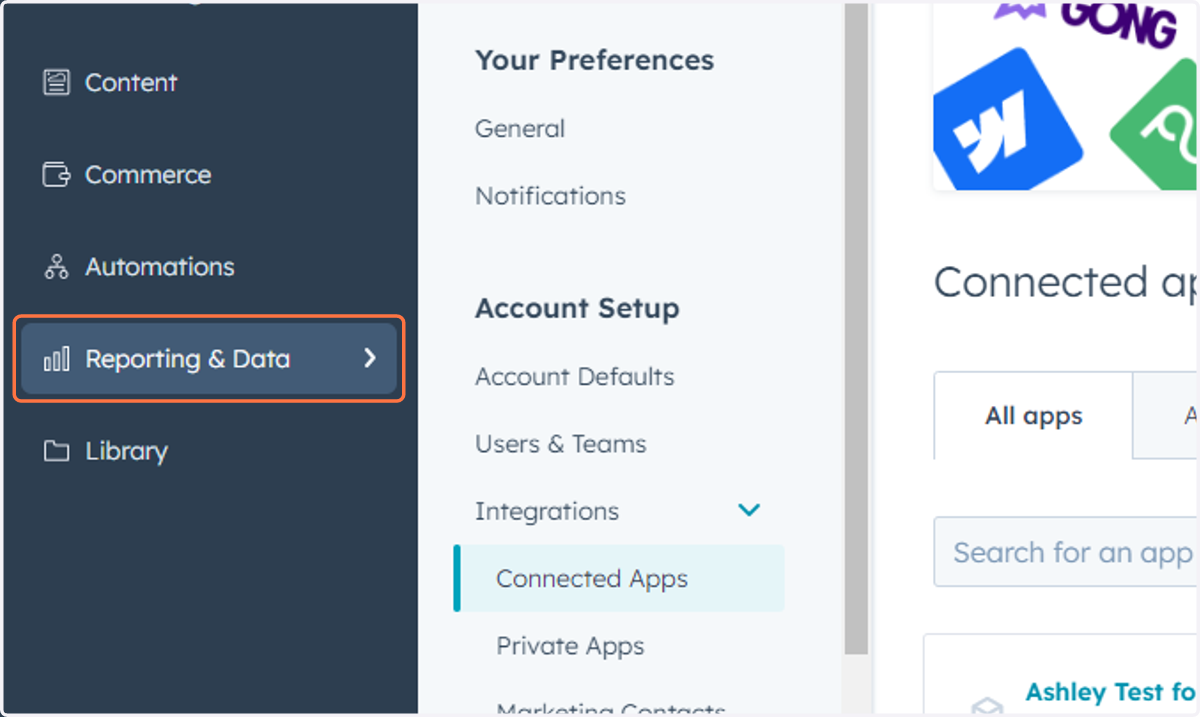
69. Click on Data Quality
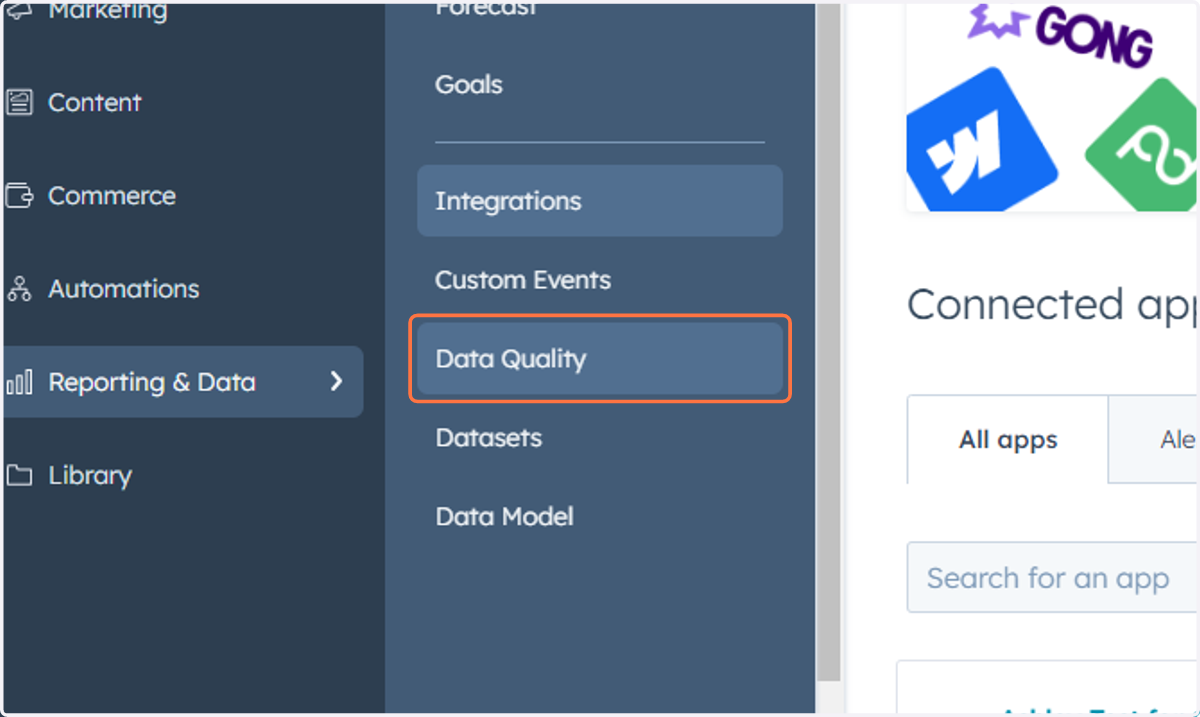
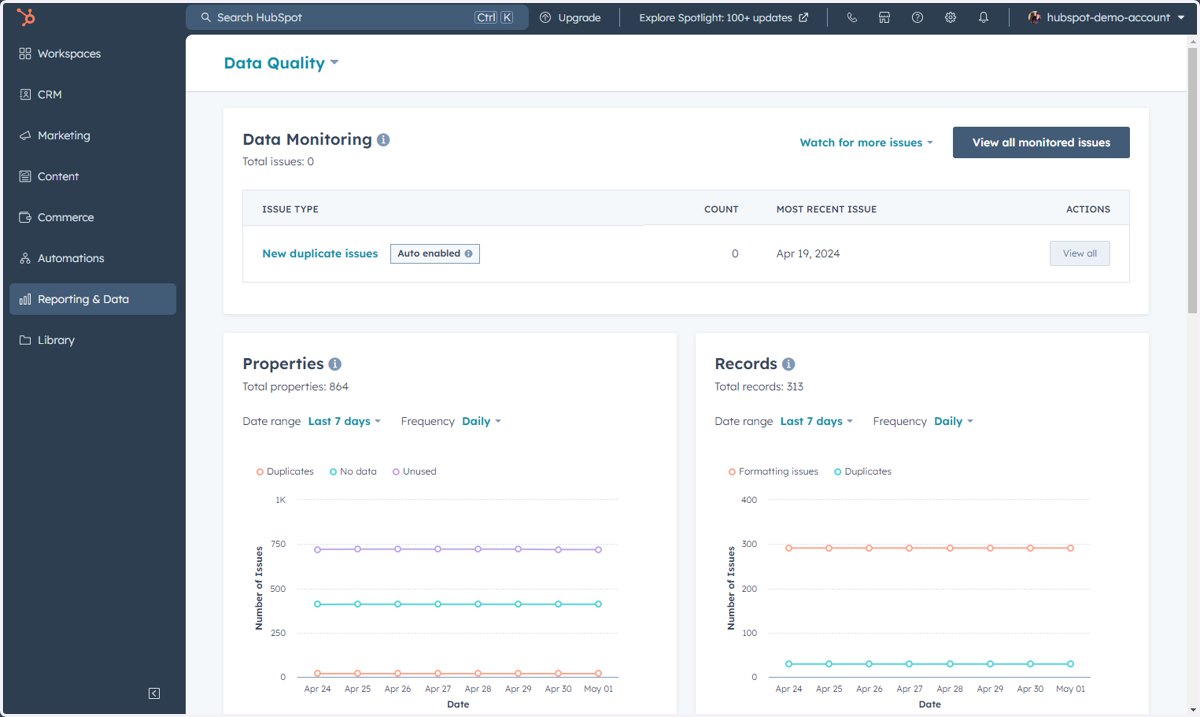
70. This is where you can access the Data Quality command center
The Data Quality command center shows an overview of how data is stored in your HubSpot CRM, and highlights potential issues with your data.
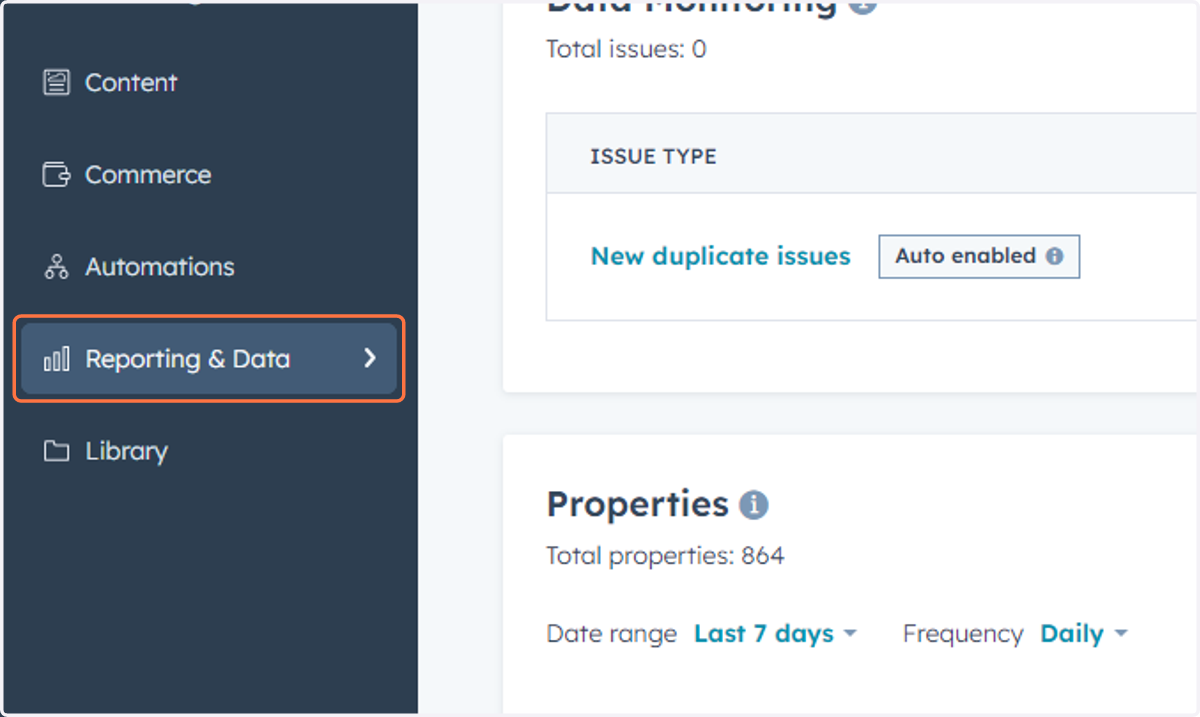
71. Click on Reporting & Data
72. Click on Datasets
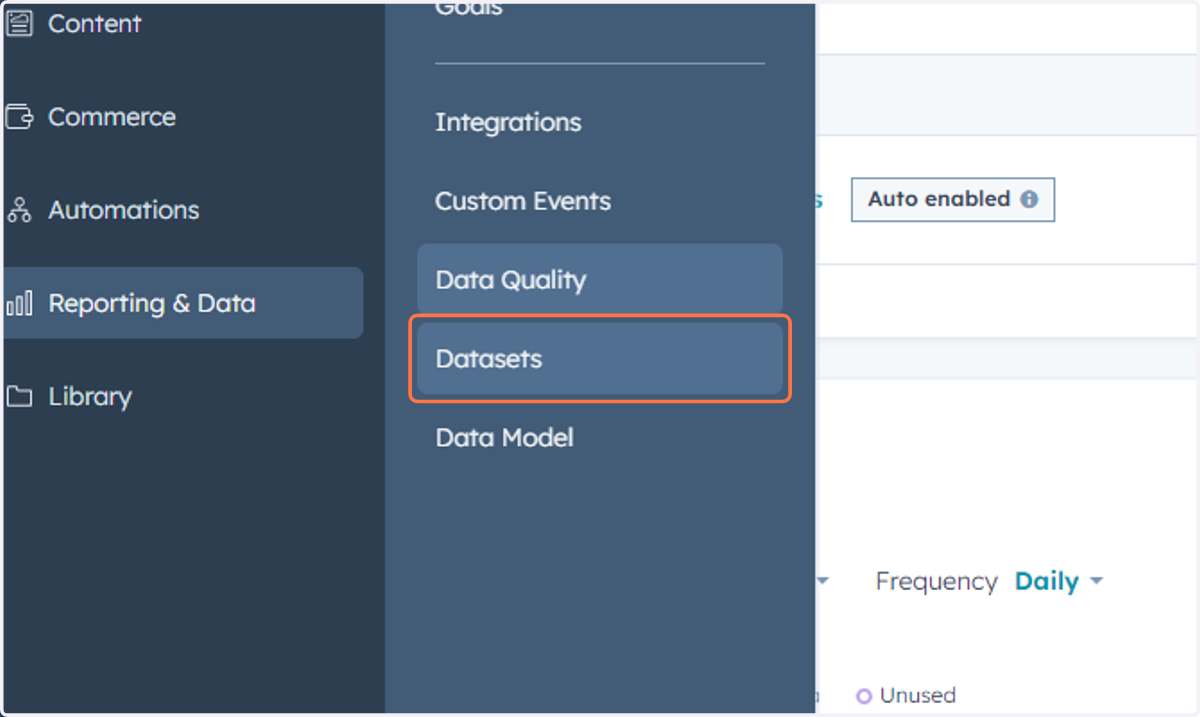
73. This is where you can access, manage and create Datasets
A dataset is a collection of data from across your HubSpot account that can be used in custom reports.
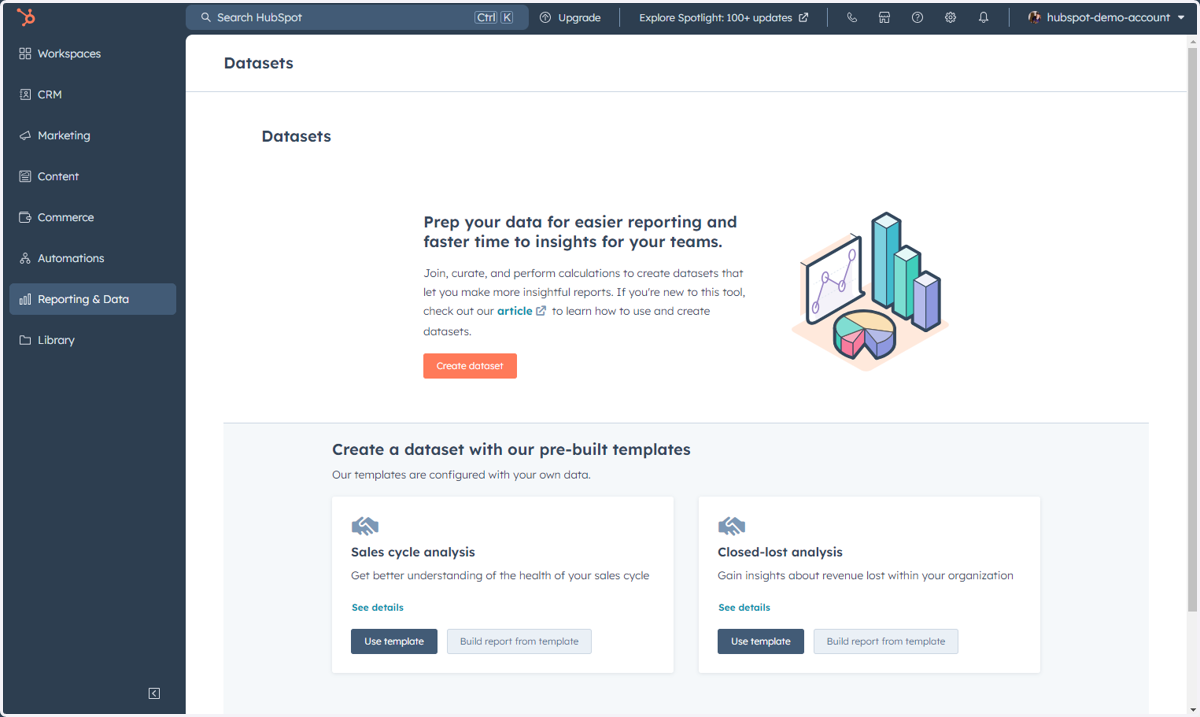
74. Click on Reporting & Data
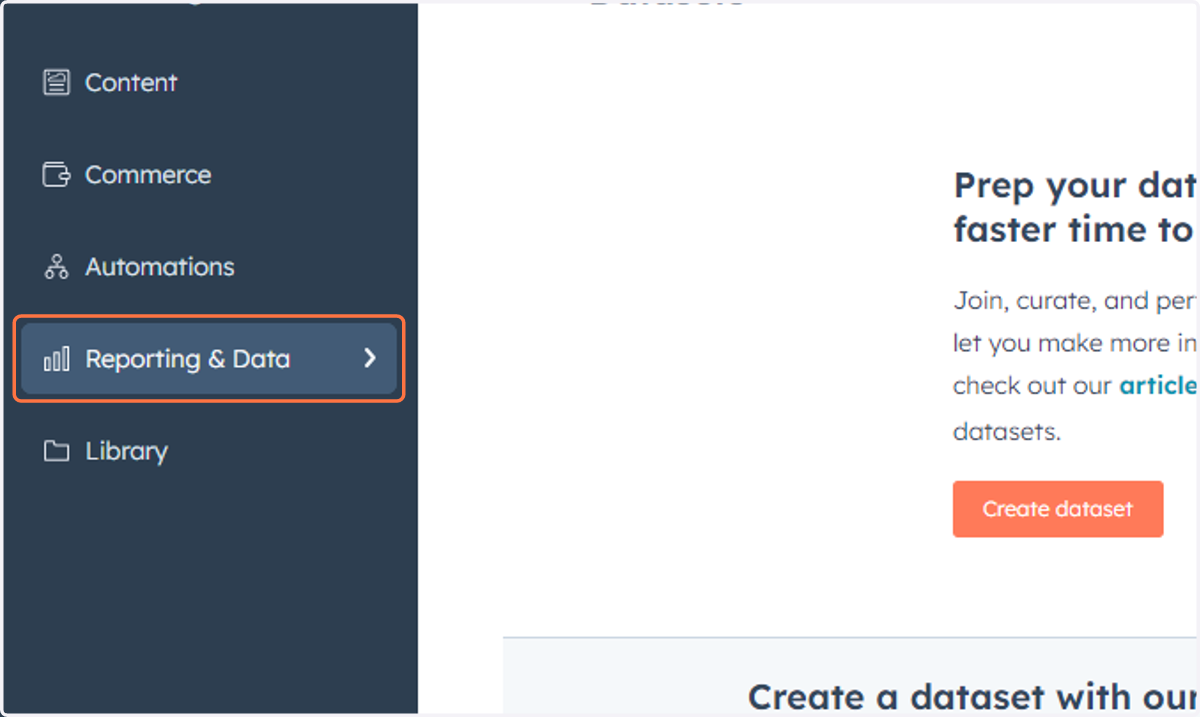
75. Click on Data Model
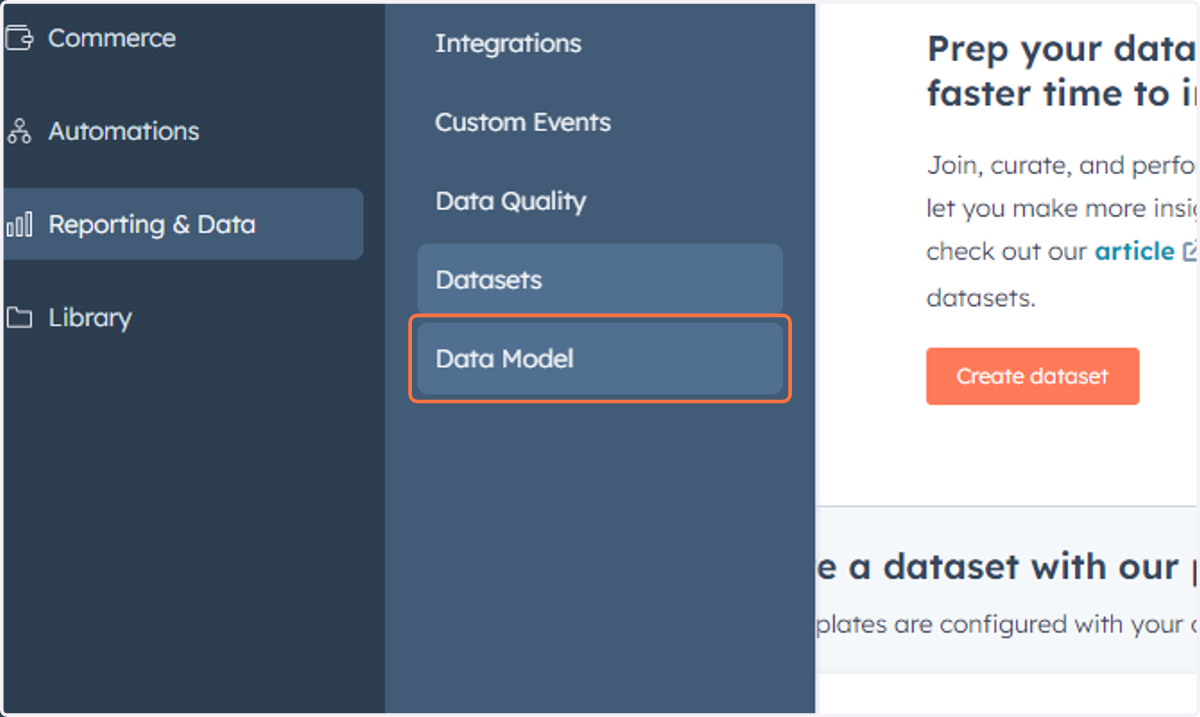
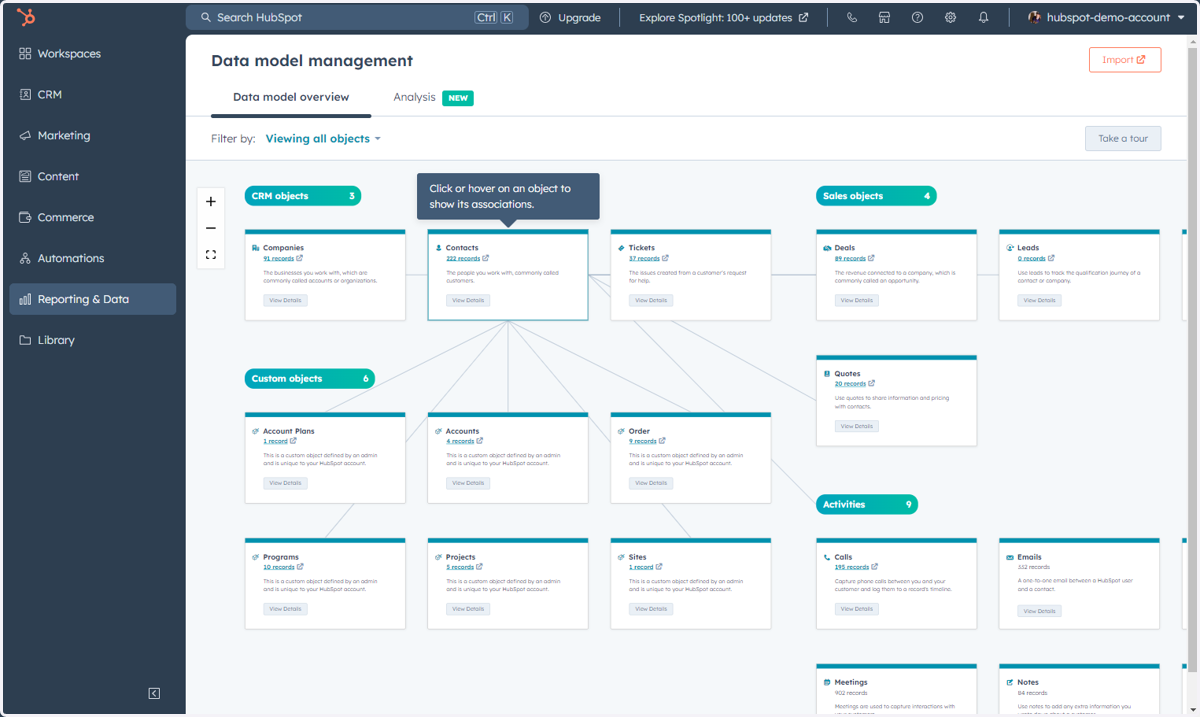
76. This is where you can access and manage your Data Model
The Data Model overview displays the relationships between your account's objects, properties and activities. This can help you set up imports, reports and autoation.
Accessing Items Under Library
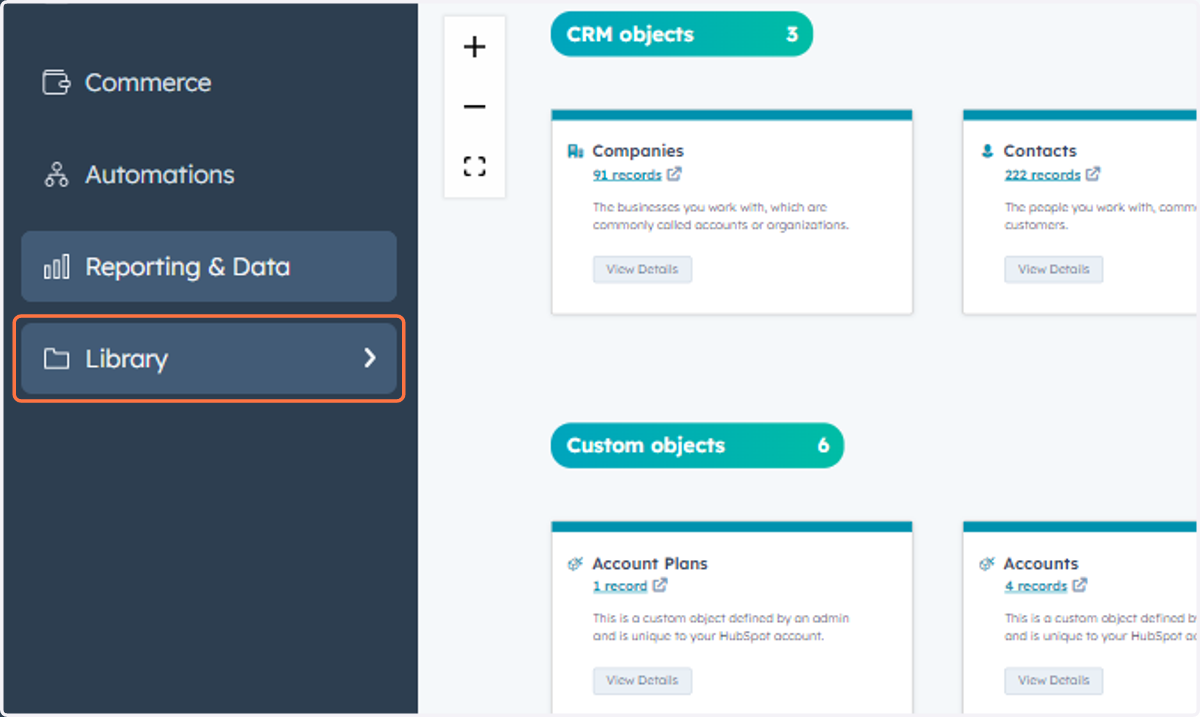
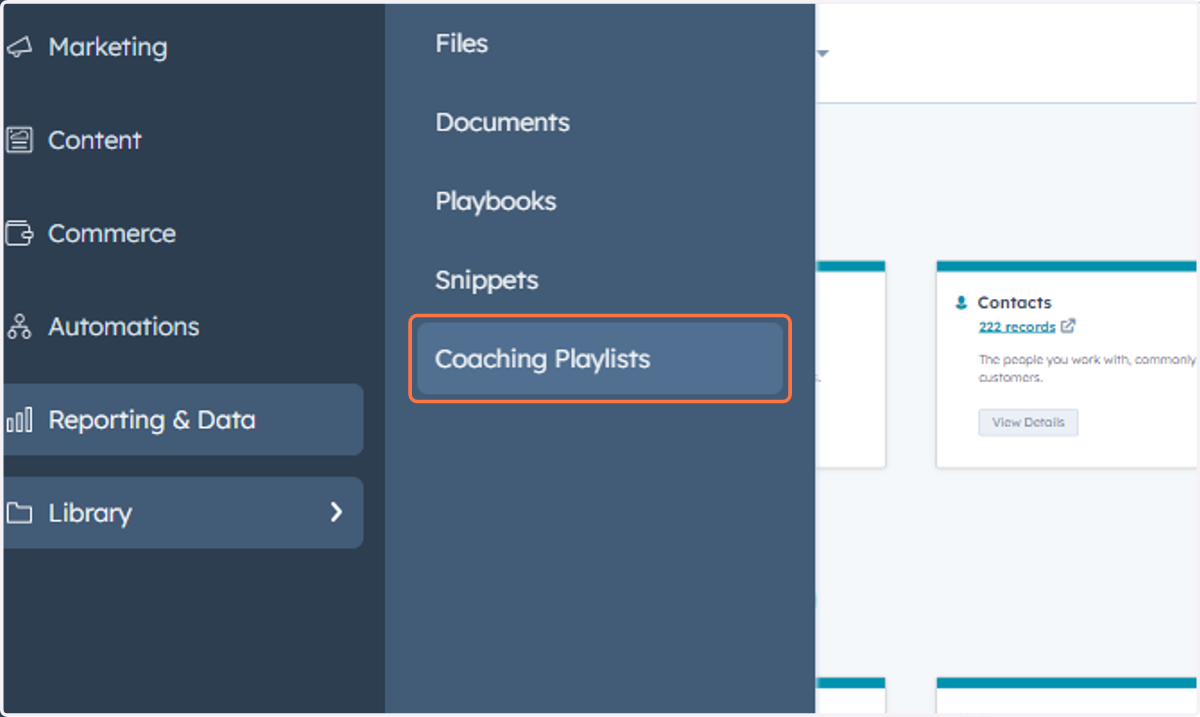
This includes accessing Coaching Playlists.
77. Click on Library
78. Click on Coaching Playlists
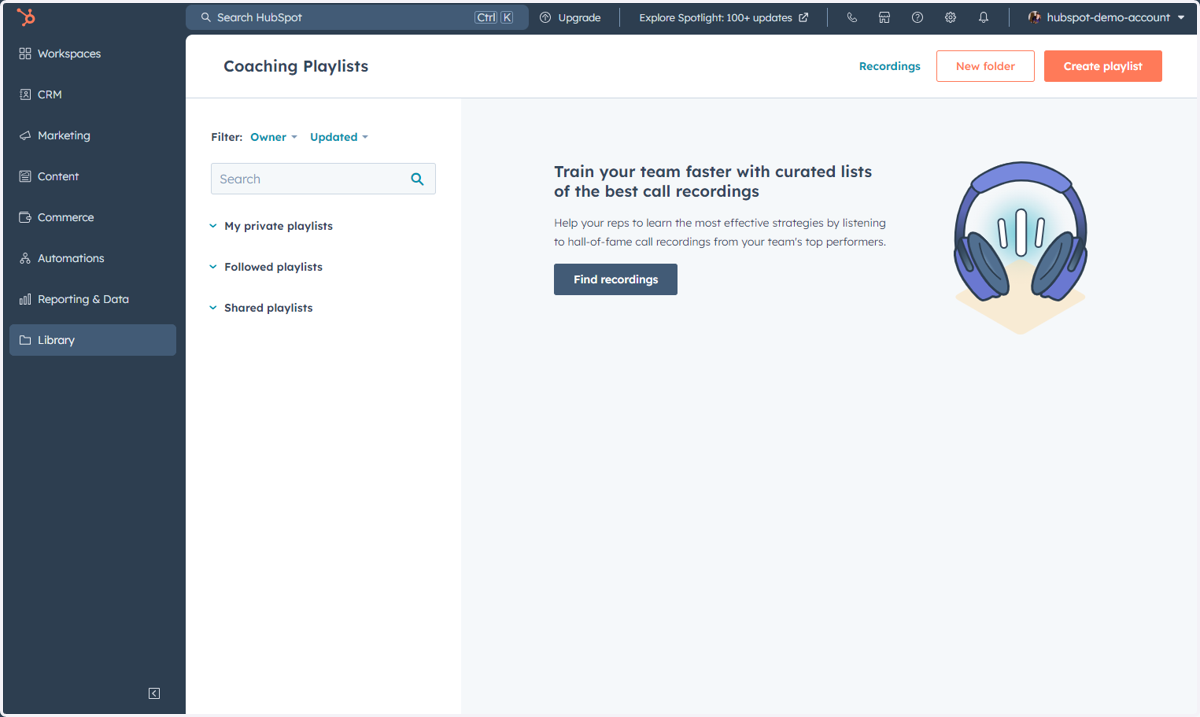
79. This is where you can access, manage and create playlists for coaching
Here you can create playlists of calls for your team to listen to to increase their sales performance.
80. Congratulations, you've made it to the end of the HubSpot navigation updates for Admins!