Online Baby Bottle Campaign Setup
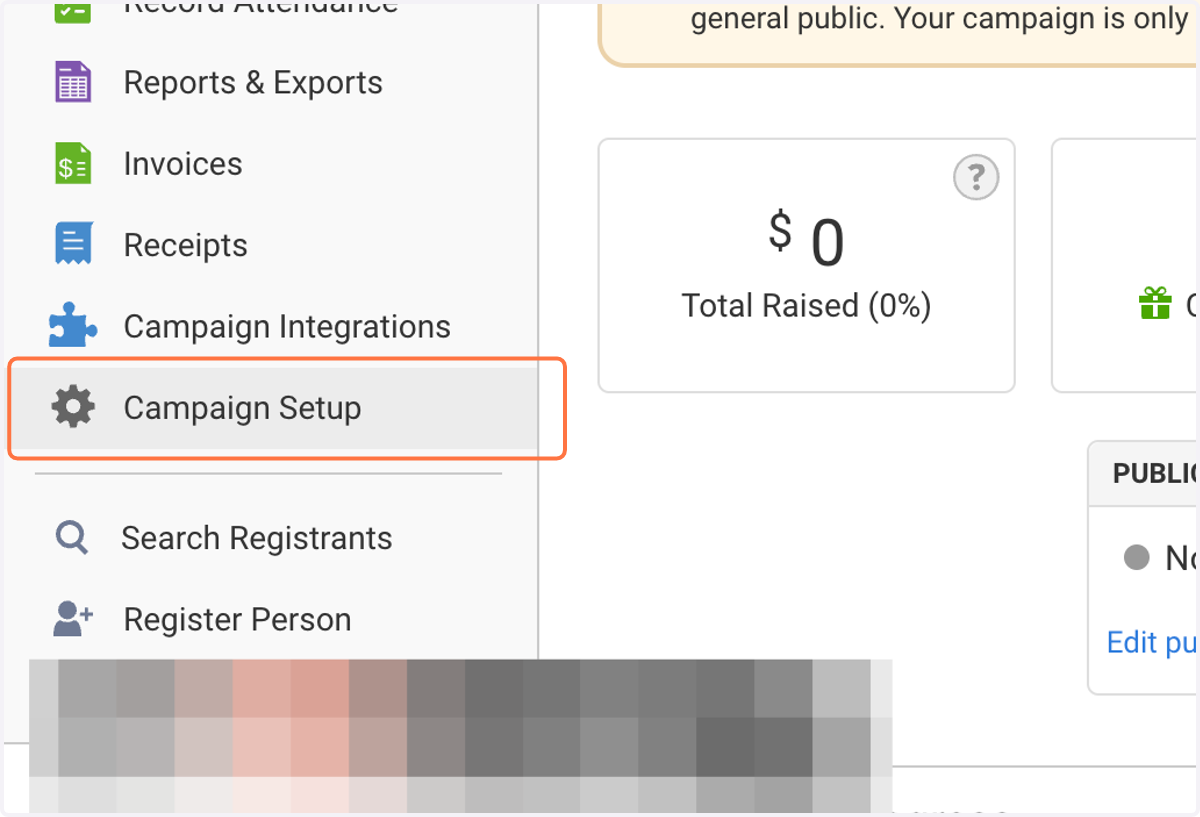
1. Click on Campaign Setup
2. Click on Start Campaign Setup
3. Review Campaign Details
This is what you set up when creating your event. If everything looks good, Click "Save & Continue"
Campaign Preferences
While there's only one change that we will highlight, be sure to review all options on this page as you may wish to make other edits to the selections.
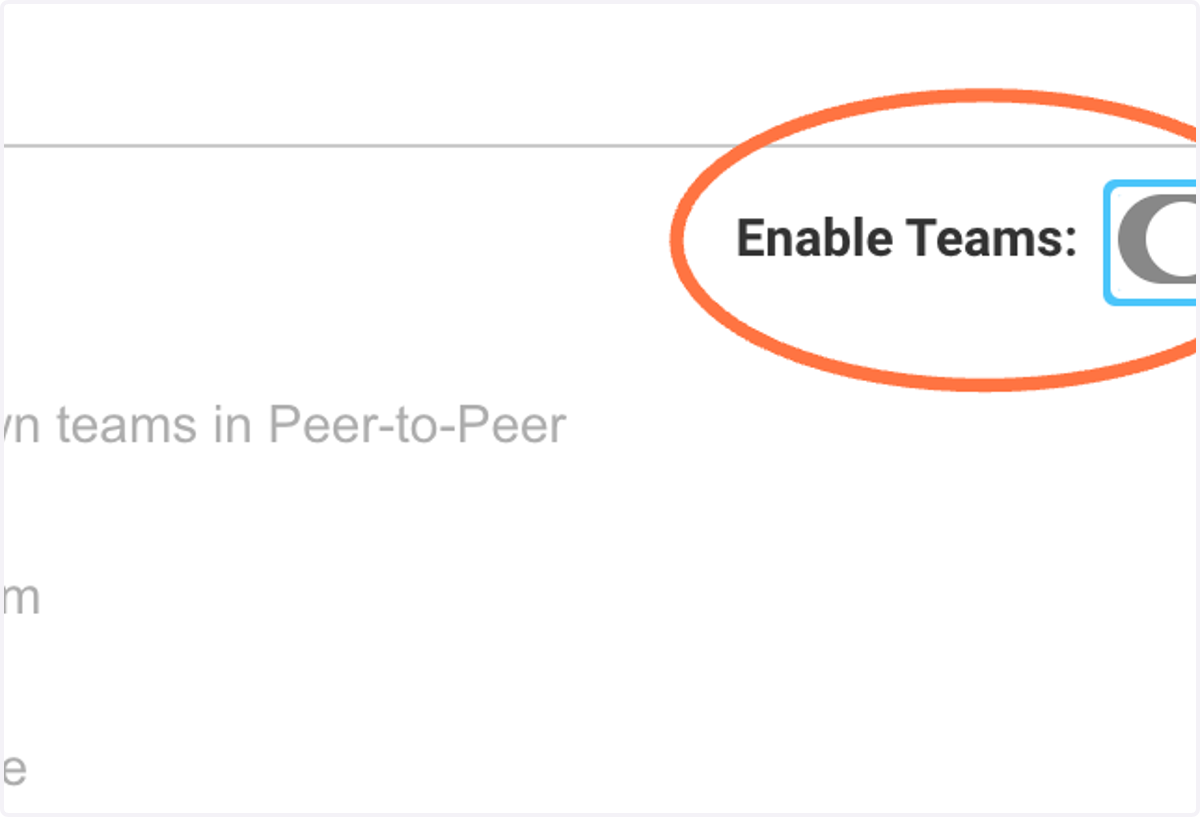
4. Toggle "Enable Teams" Off
5. Click on Save & Continue
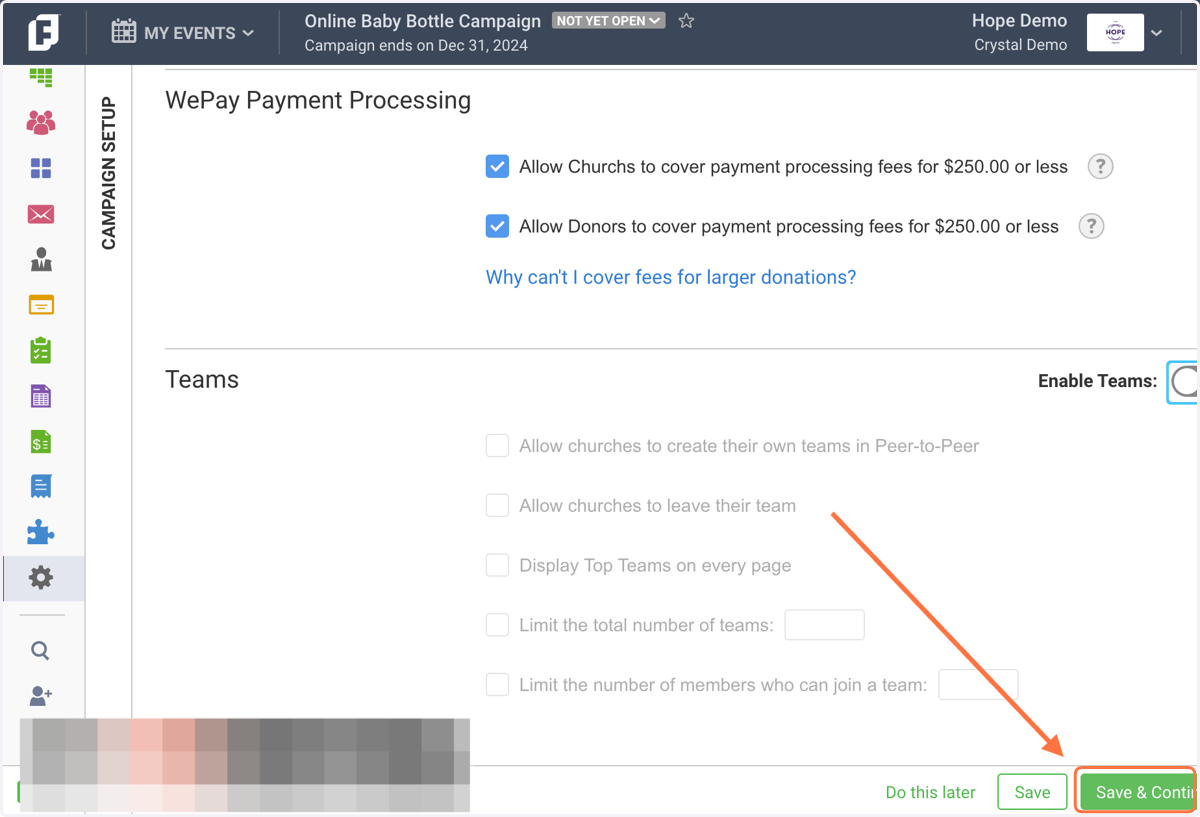
Campaign Design
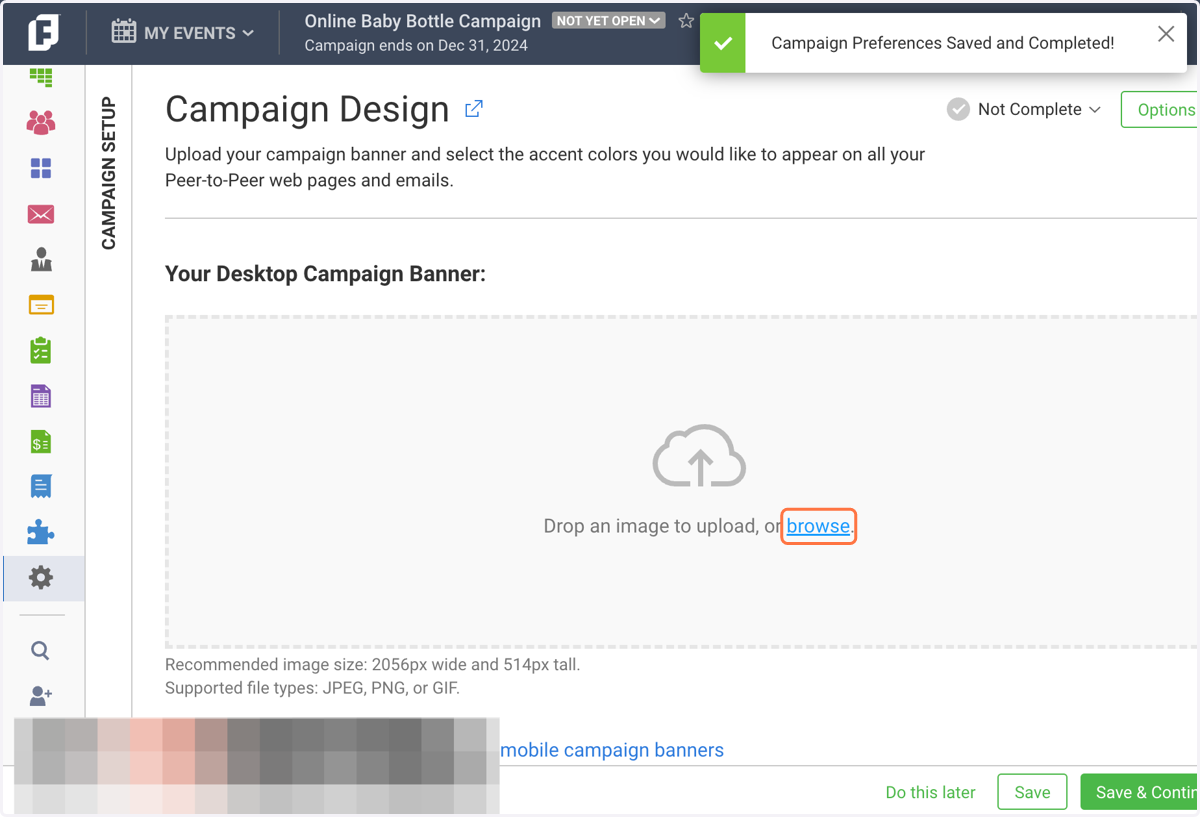
6. Upload Your Desktop Campaign Banner
7. Upload Your Mobile Campaign Banner
This version will be displayed when your event is viewed on Mobile.
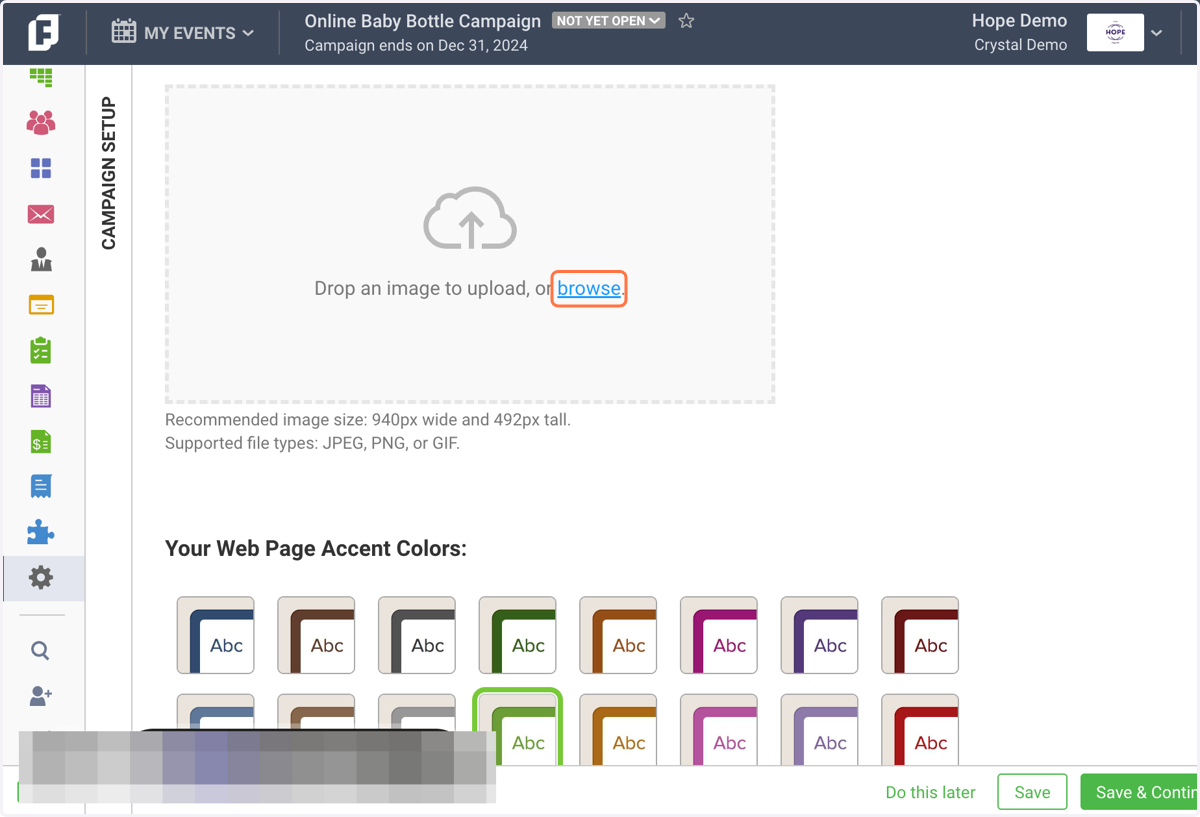
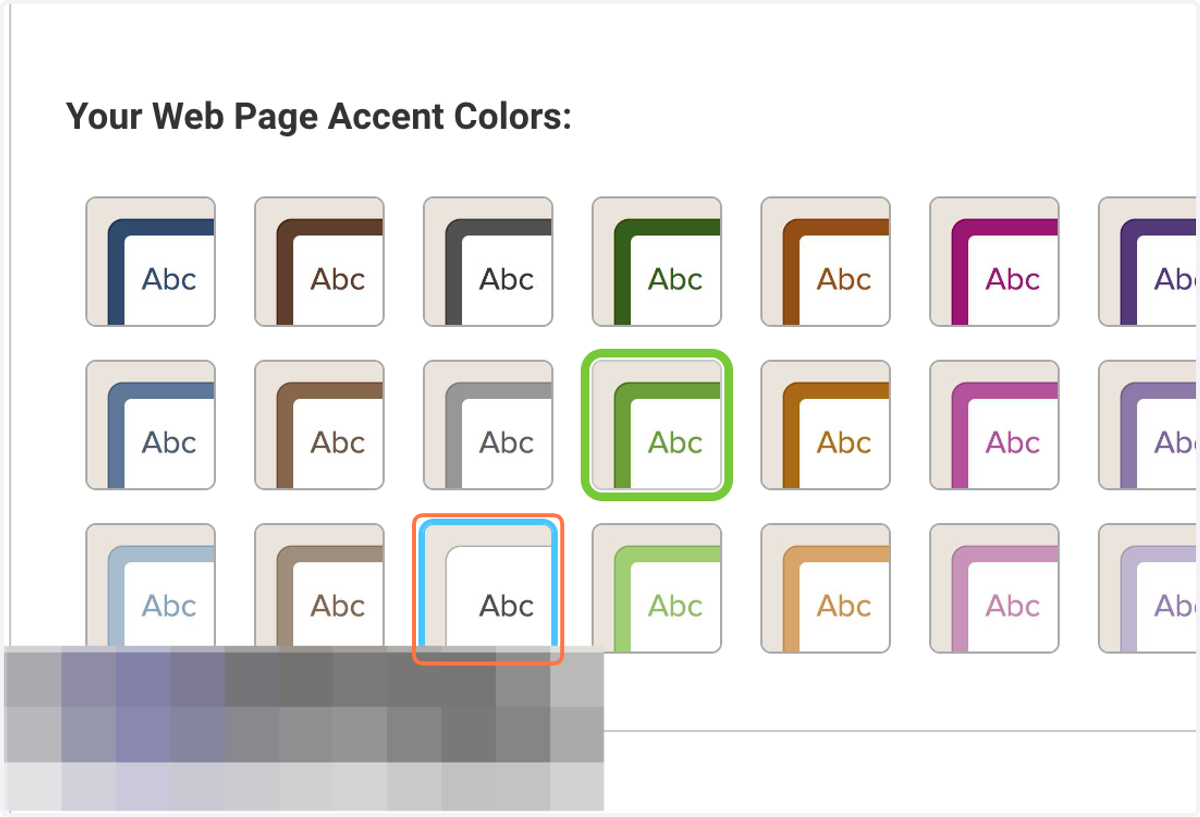
8. Choose a Web Page Accent Color to compliment your graphics
9. Click on Save & Continue
Peer-to-Peer Campaign Preferences
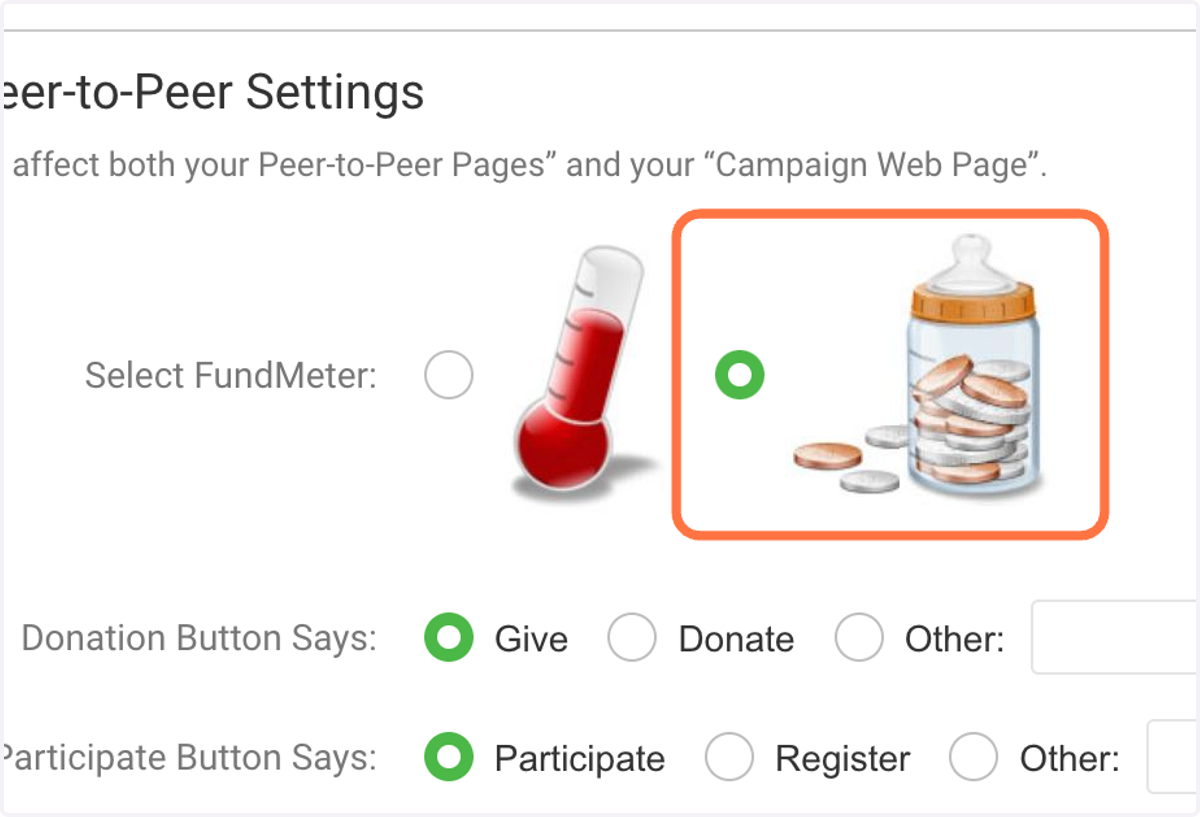
10. Select the Baby Bottle as your FundMeter
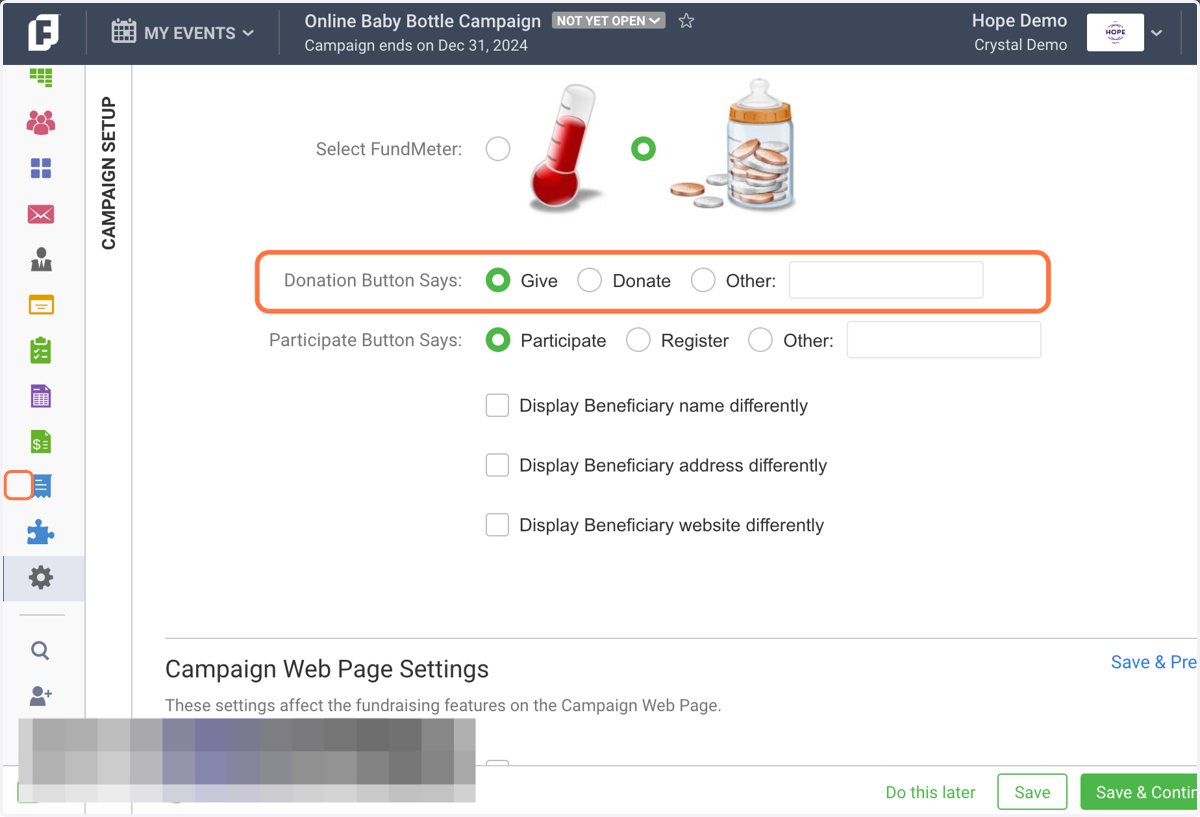
11. Define what you want your Donation Button to Say
This will be the Call To Action button on all fundraising pages
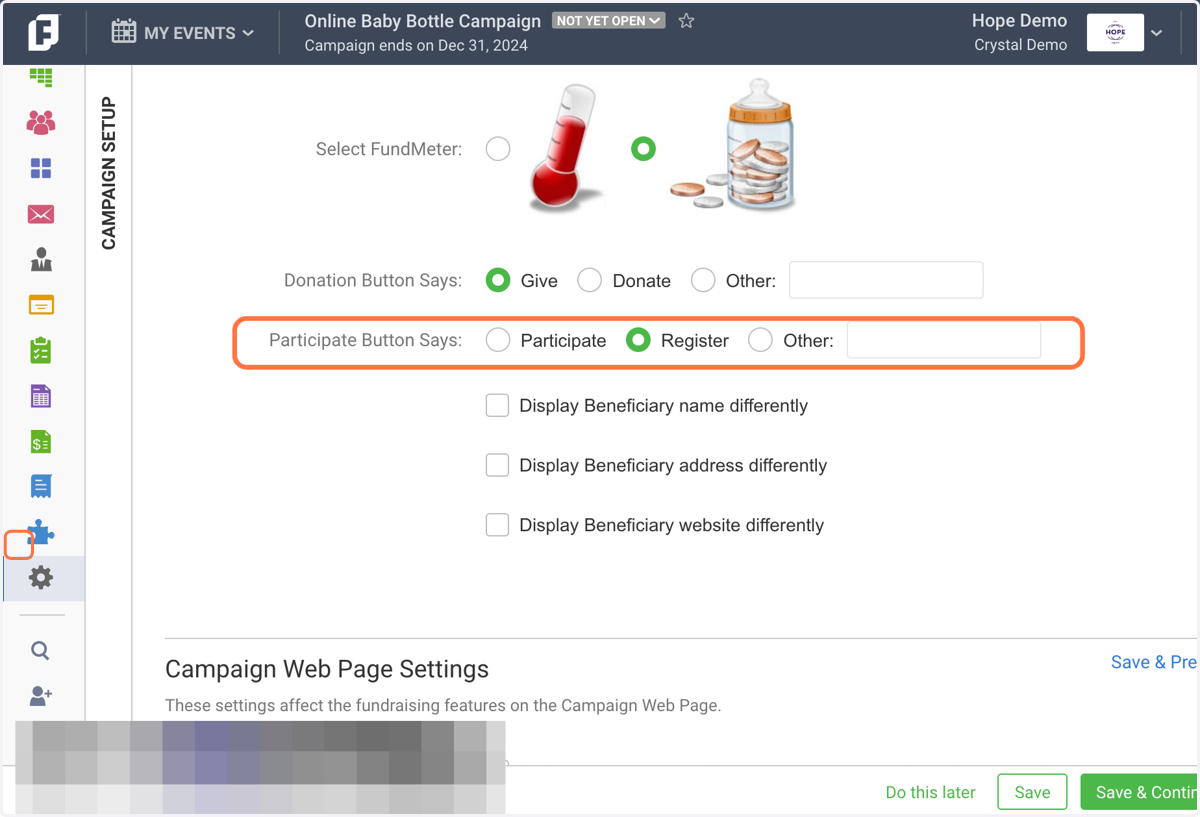
12. Choose what you want your participate button to say
Note - this is only relevant if you will be allowing churches/individuals to create fundraiser pages on their own.
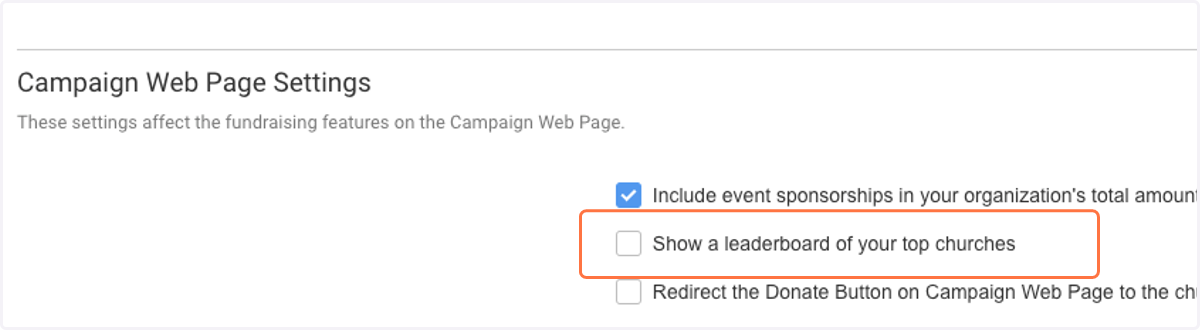
13. Uncheck "Show a leaderboard of your top churches" (optional)
If your campaign doesn't encourage friendly competition among churches, you may wish to hide the leaderboard. If the leaderboard is shown, the top 5 fundraising churches will appear in the sidebar of each church's fundraising page and the top 16 churches will appear on the Campaign Webpage.
Note: If enabled, churches will only start to appear in the leaderboard once they start getting donations.
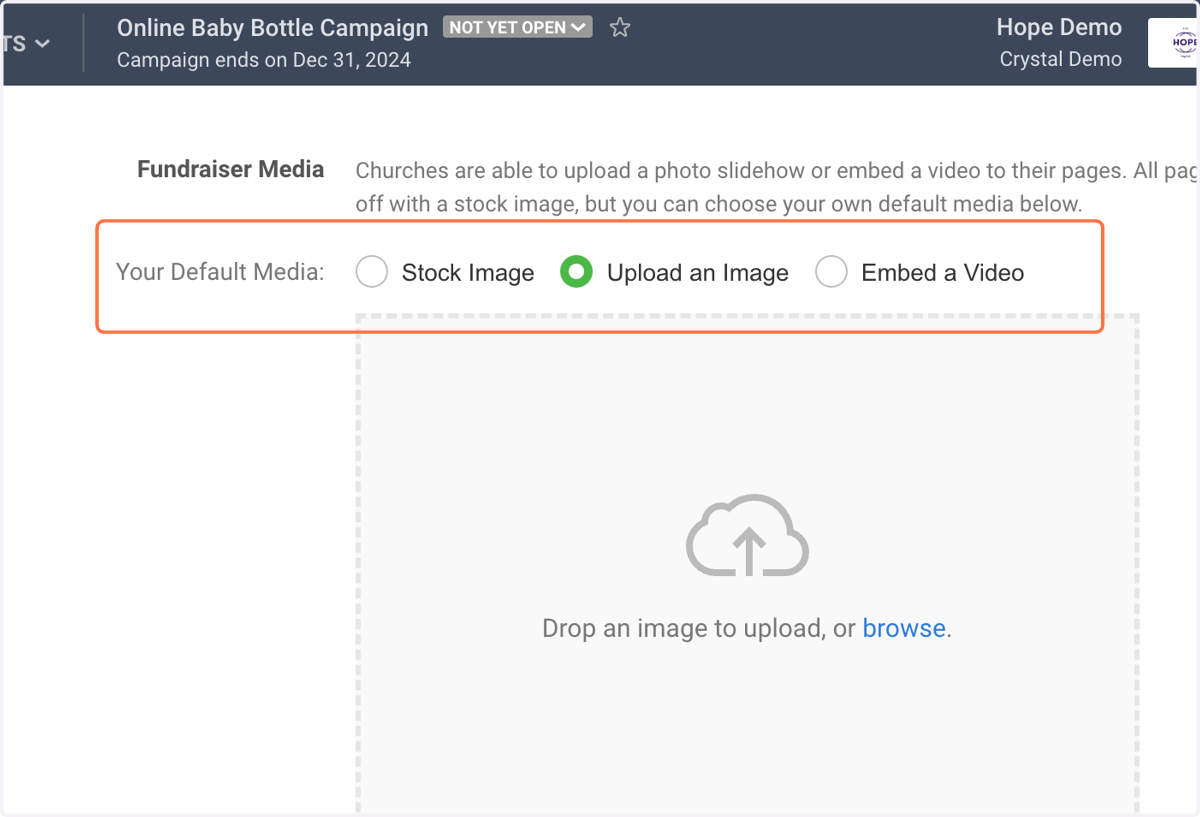
14. Upload Default Media
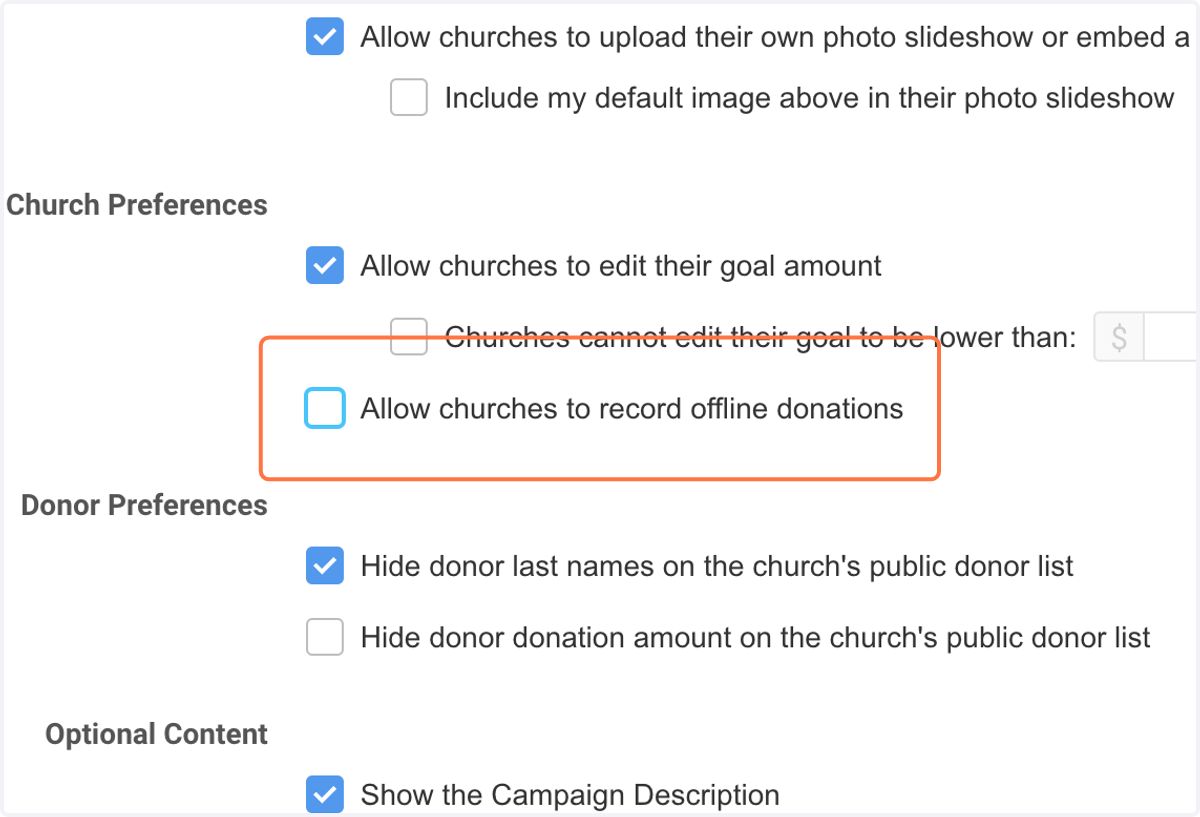
15. Uncheck Allow churches to record offline donations
You will still be able to record the funds you receive in physical baby bottles. This simply takes away the option for churches to record it themselves.
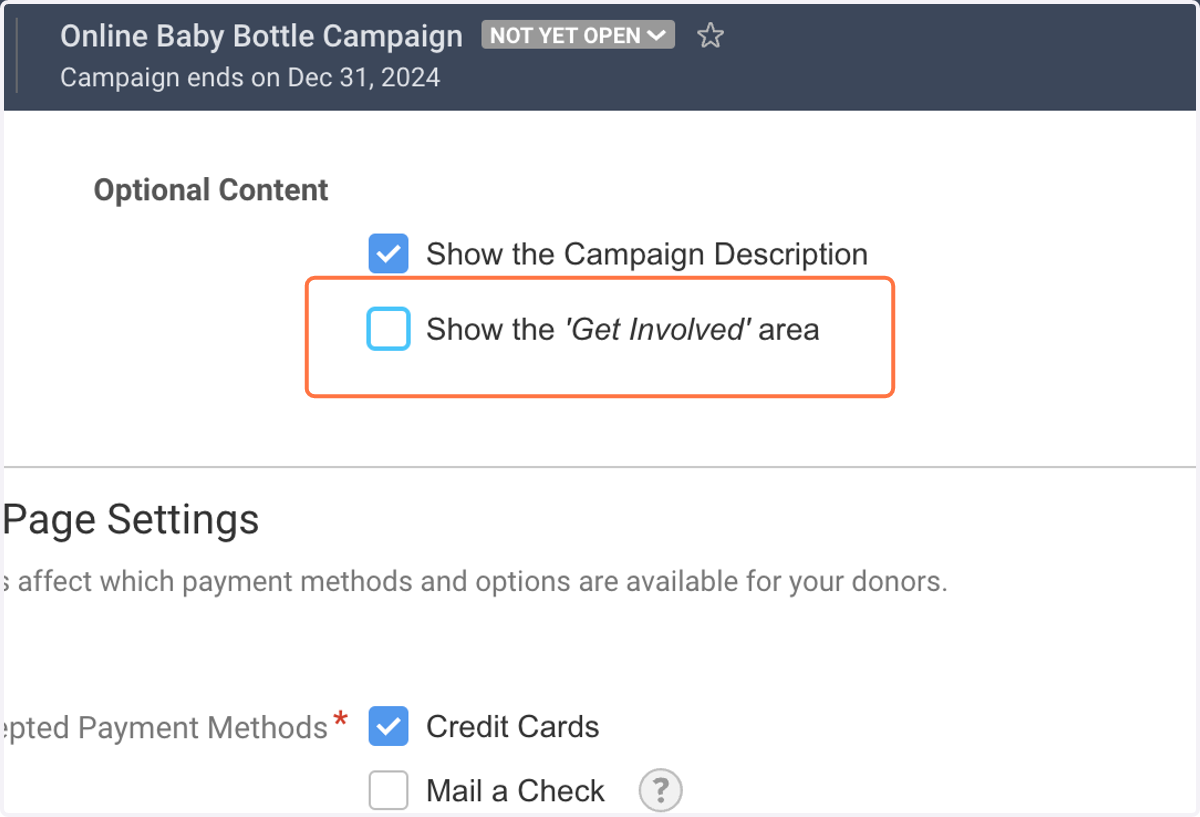
16. Suggestion: Uncheck Show the 'Get Involved' area
If you're not asking individuals to sign up as fundraisers, you may want to uncheck "Show the 'Get Involved' area", as that section of the fundraiser page encourages page viewers to become fundraisers themselves.
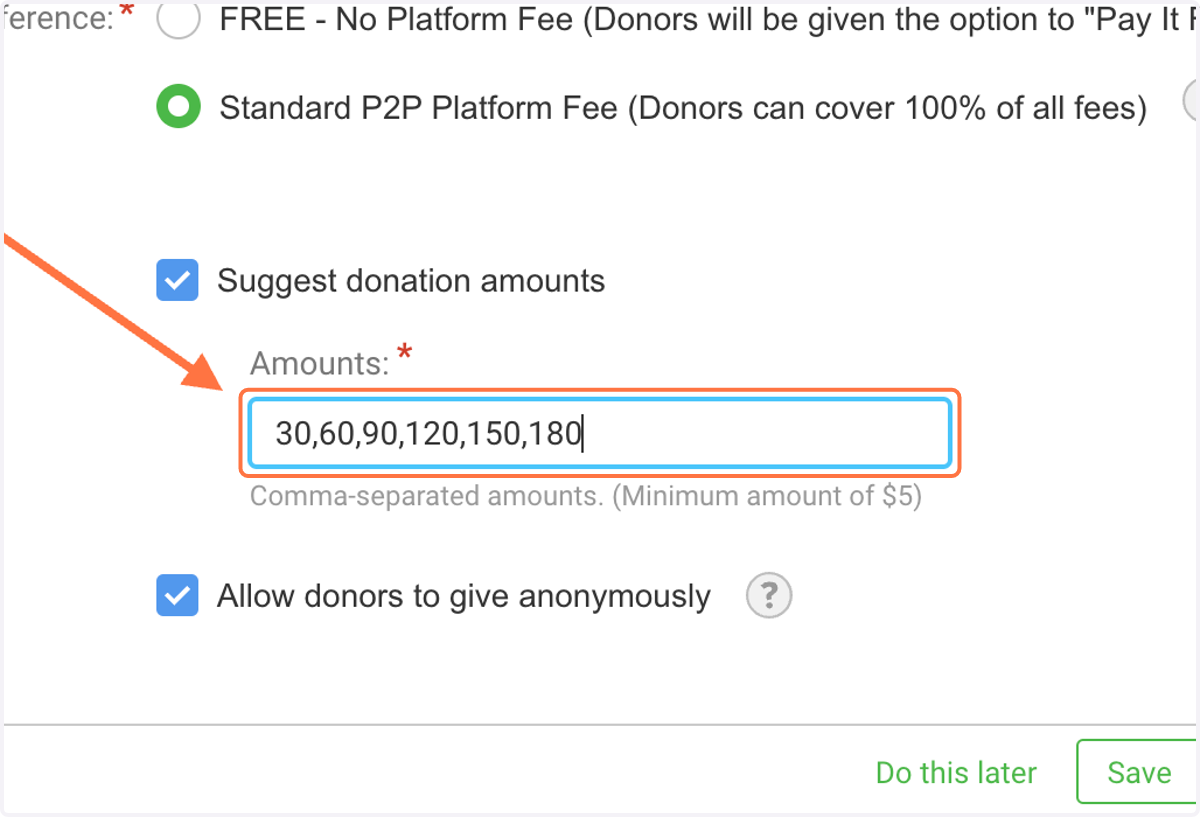
17. Define Suggested Donation Amounts
If you're encouraging donors to "fill bottles", then make each donation amount the estimated value of one bottle.
18. Click on Save & Continue
Registration Form
19. Click on Options
20. Click on Edit Form Fields
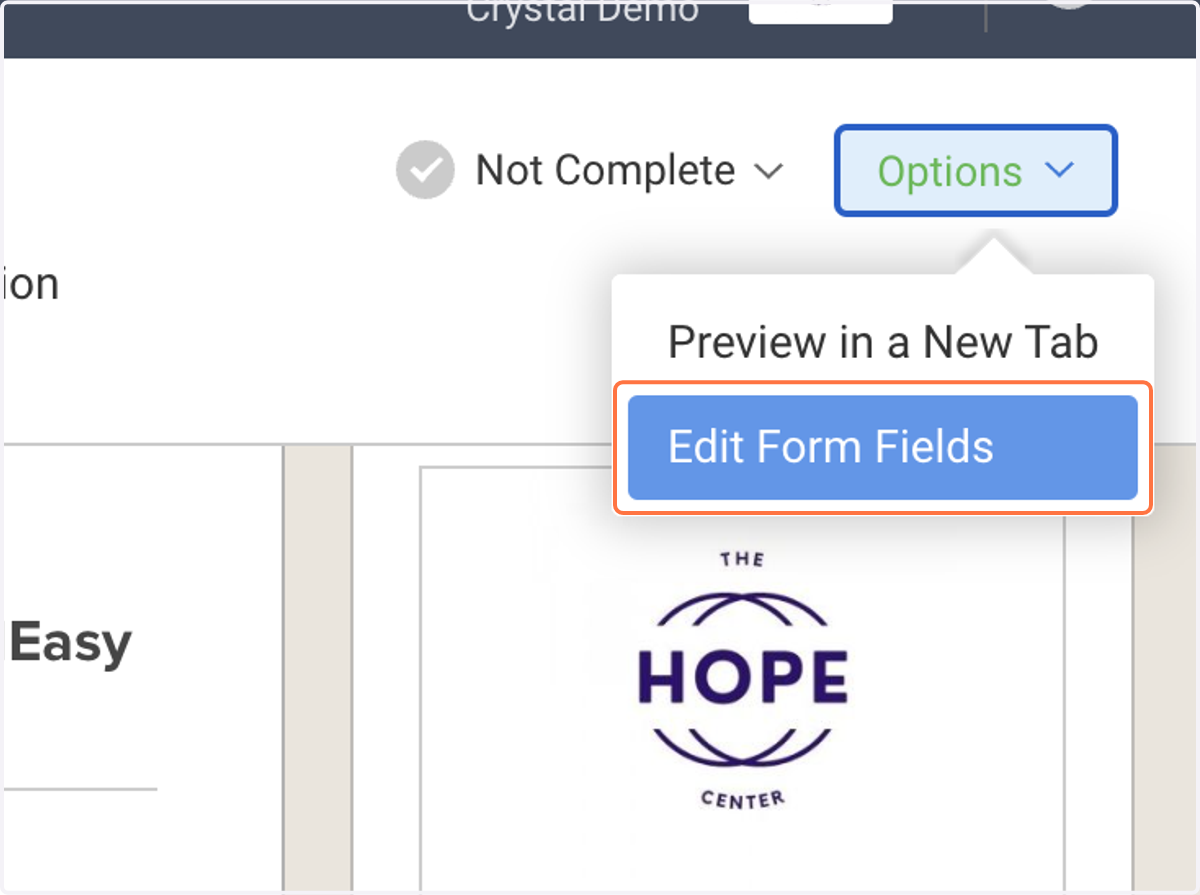
21. Click on the eyeball to Initially Hide `ChurchName`
Seem strange? Here's why. The "Church Name" field is a dropdown where a church AFFILIATION is selected. This is most commonly used when individuals are registering (ie "Walkers" in a Walk event) and you will want to report on their church affiliation.
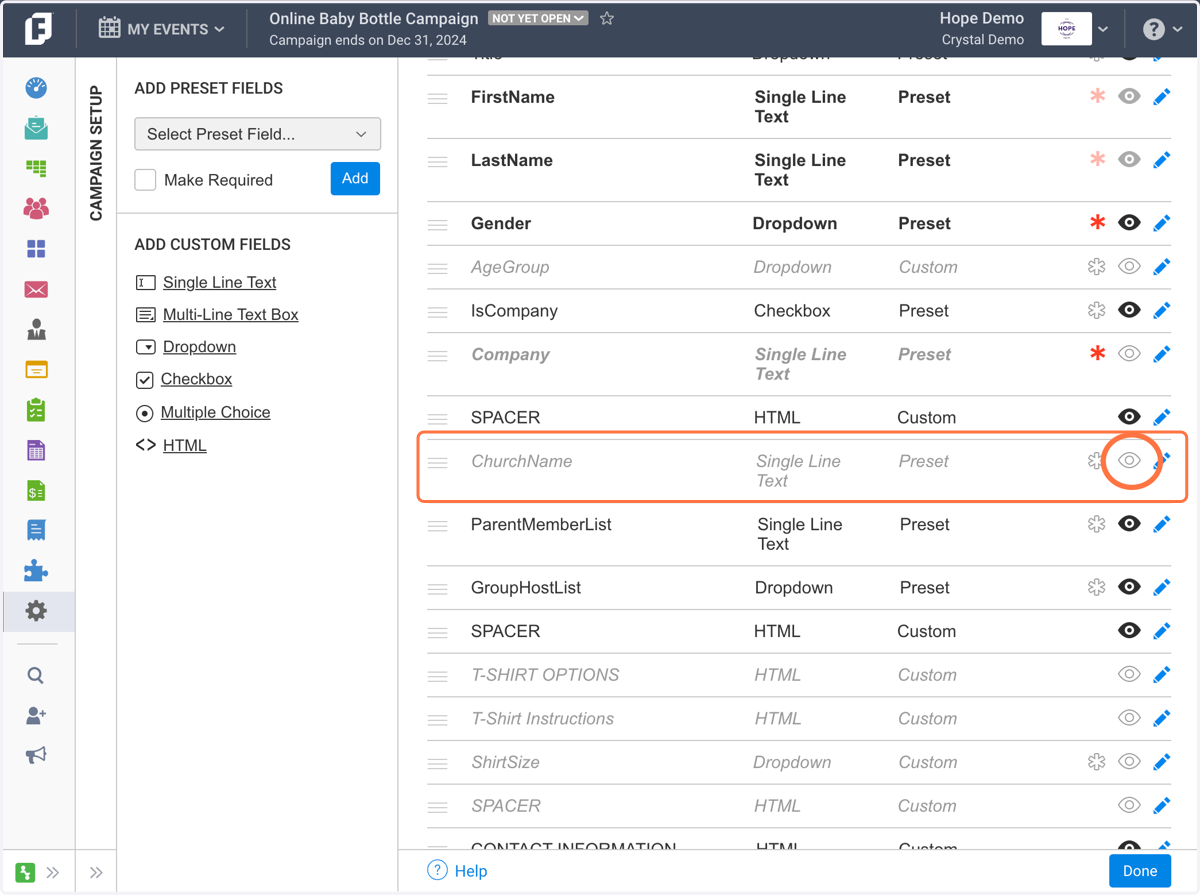
22. Click on the eyeball to Initially Hide `ParentMemberList`
This hides the liaison/recruiter/coordinator dropdown list
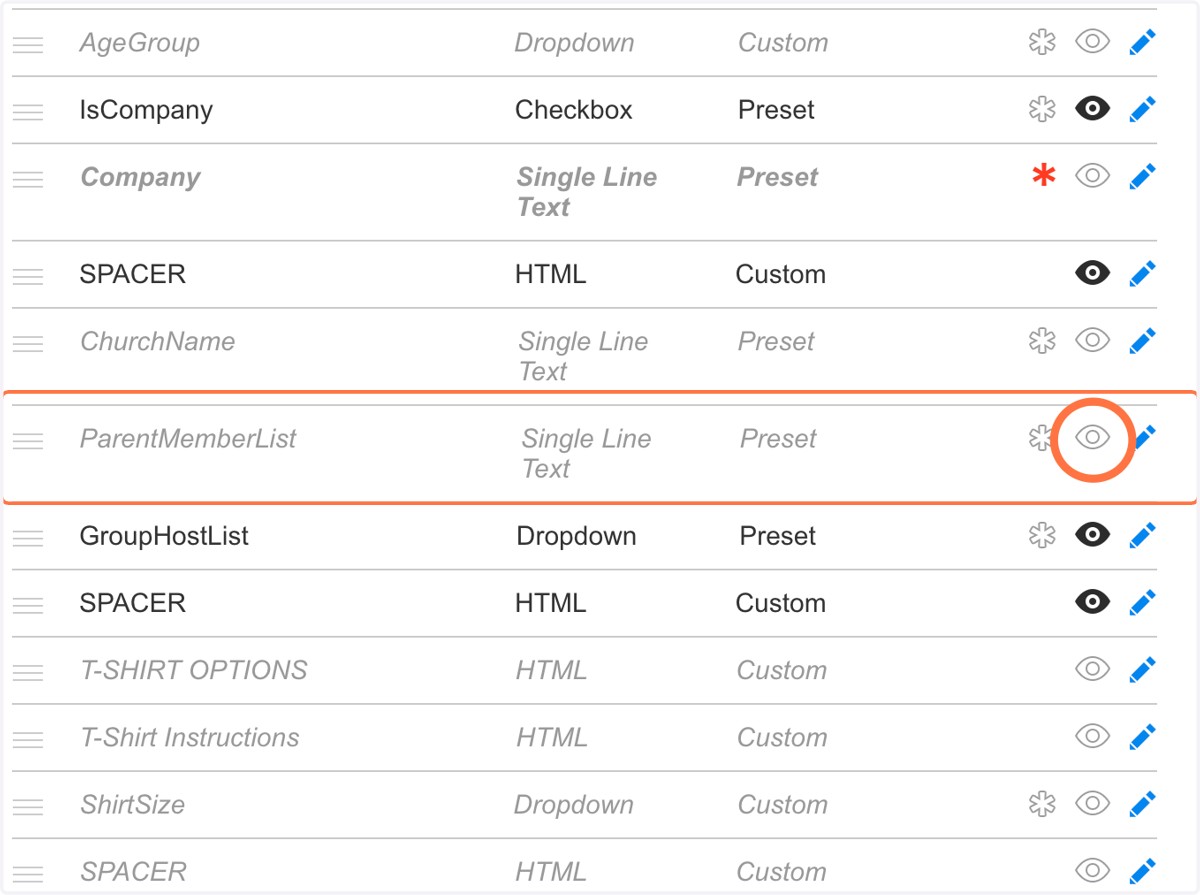
23. Click on Initially Hide `GroupHostList`
This hides the team list (which wouldn't be shown if teams are turned off, but hiding it here doesn't hurt)
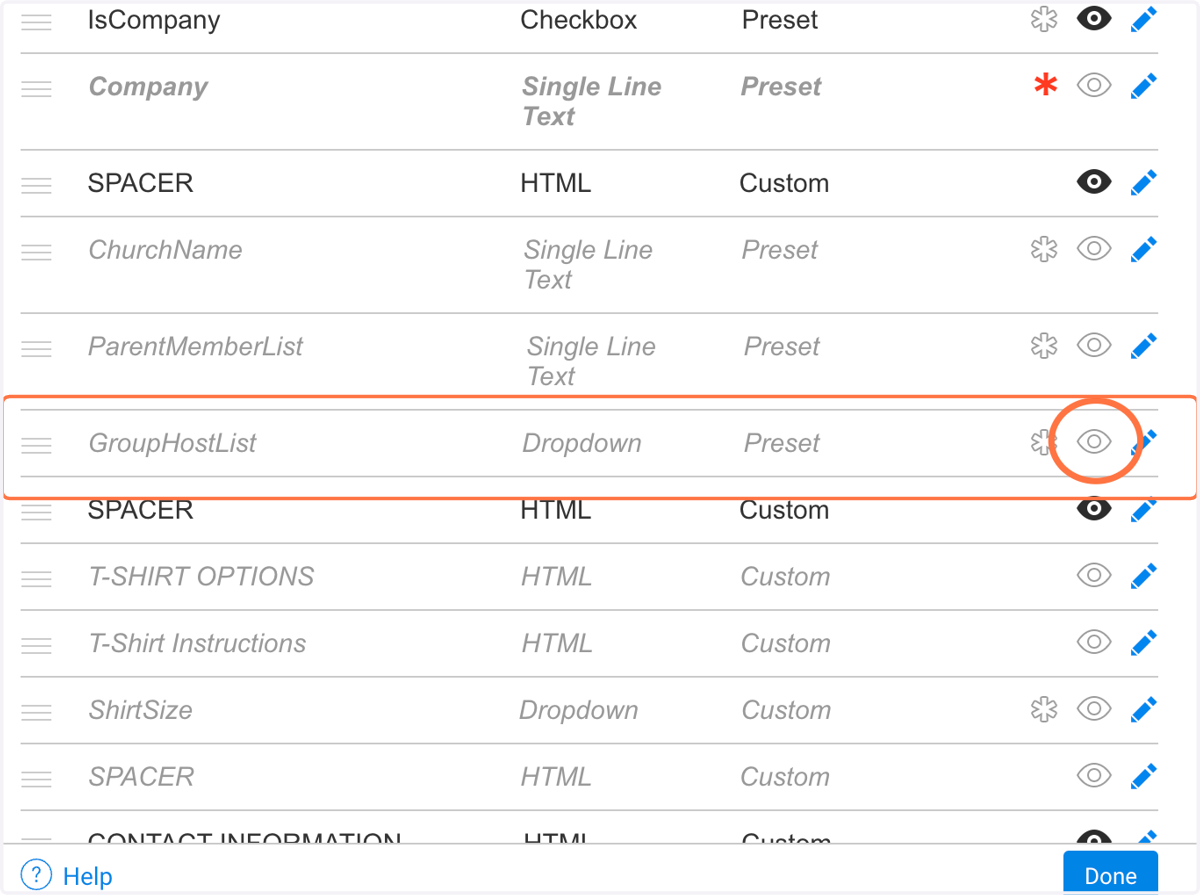
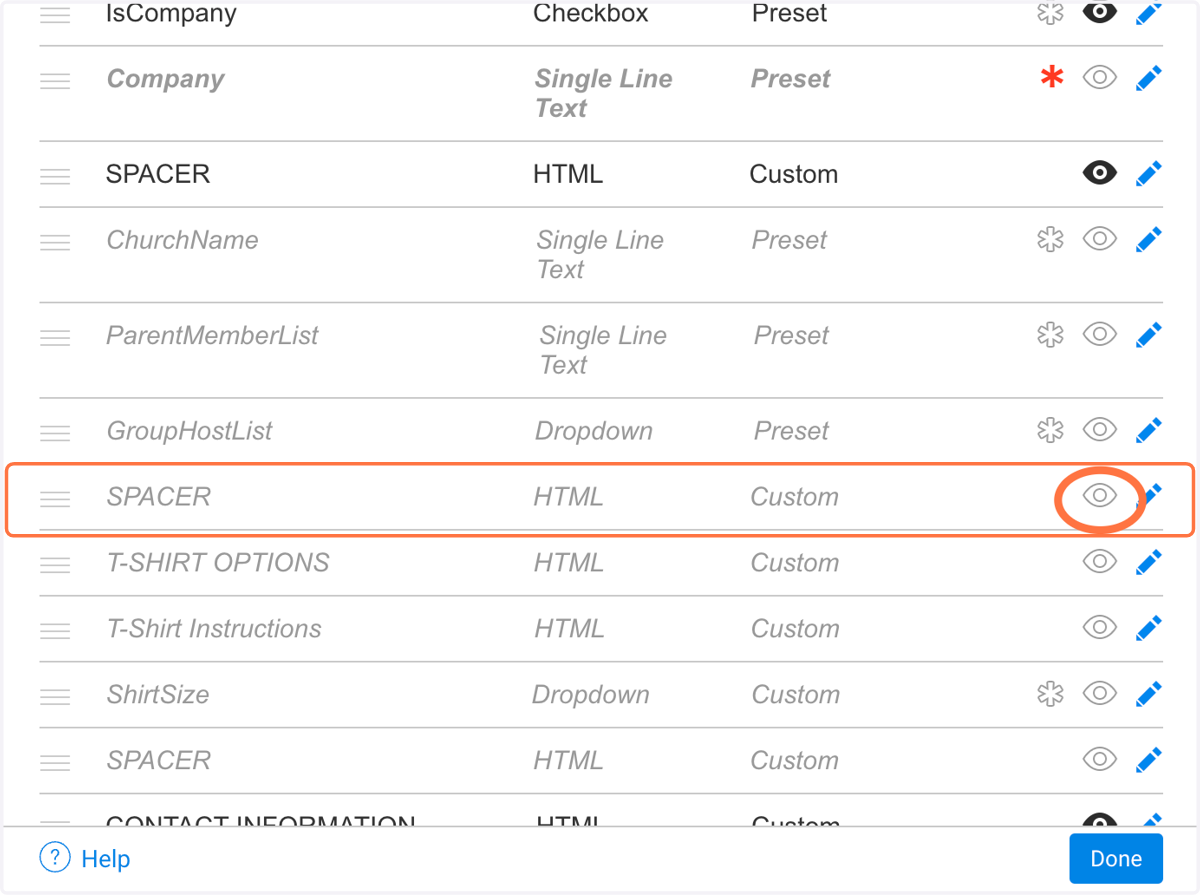
24. Click on the eyeball to Initially Hide `SPACER HTML`
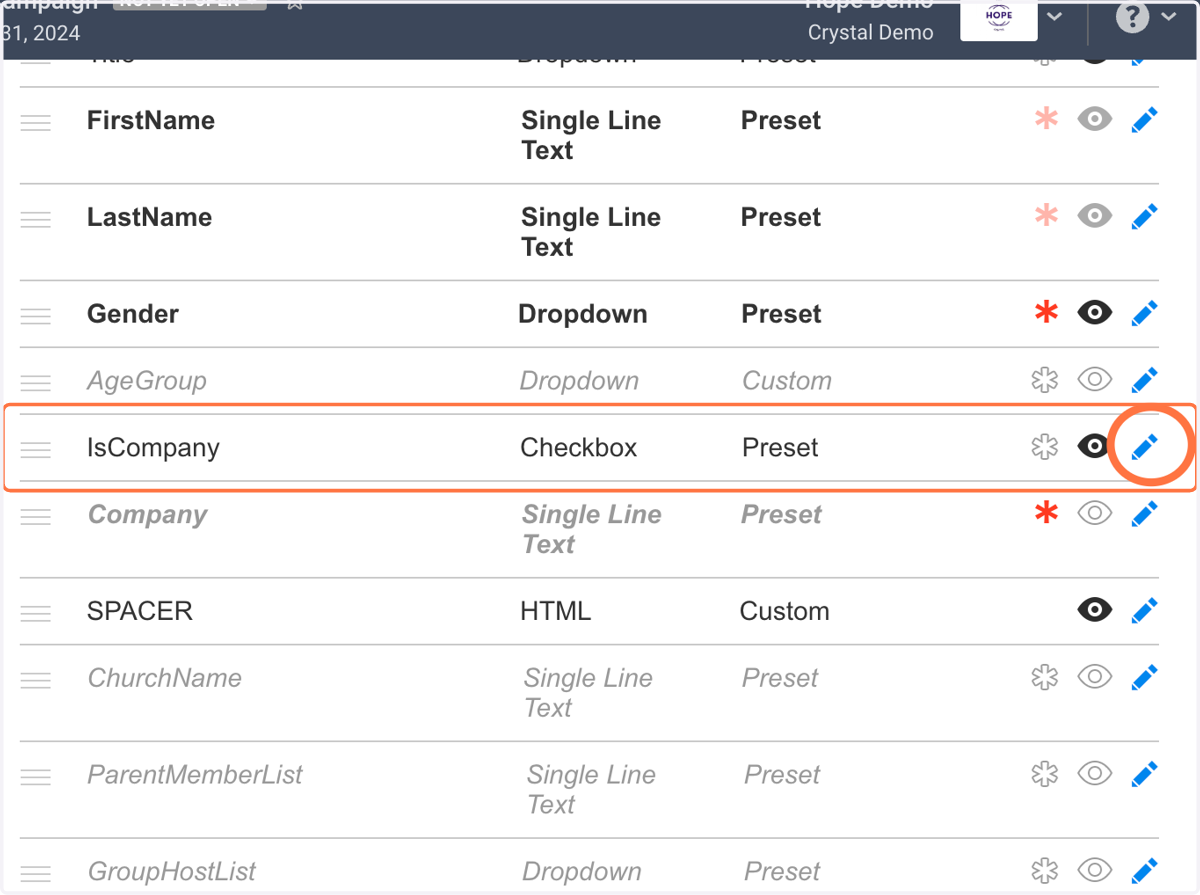
25. Click on the pencil icon to edit the IsCompany Field
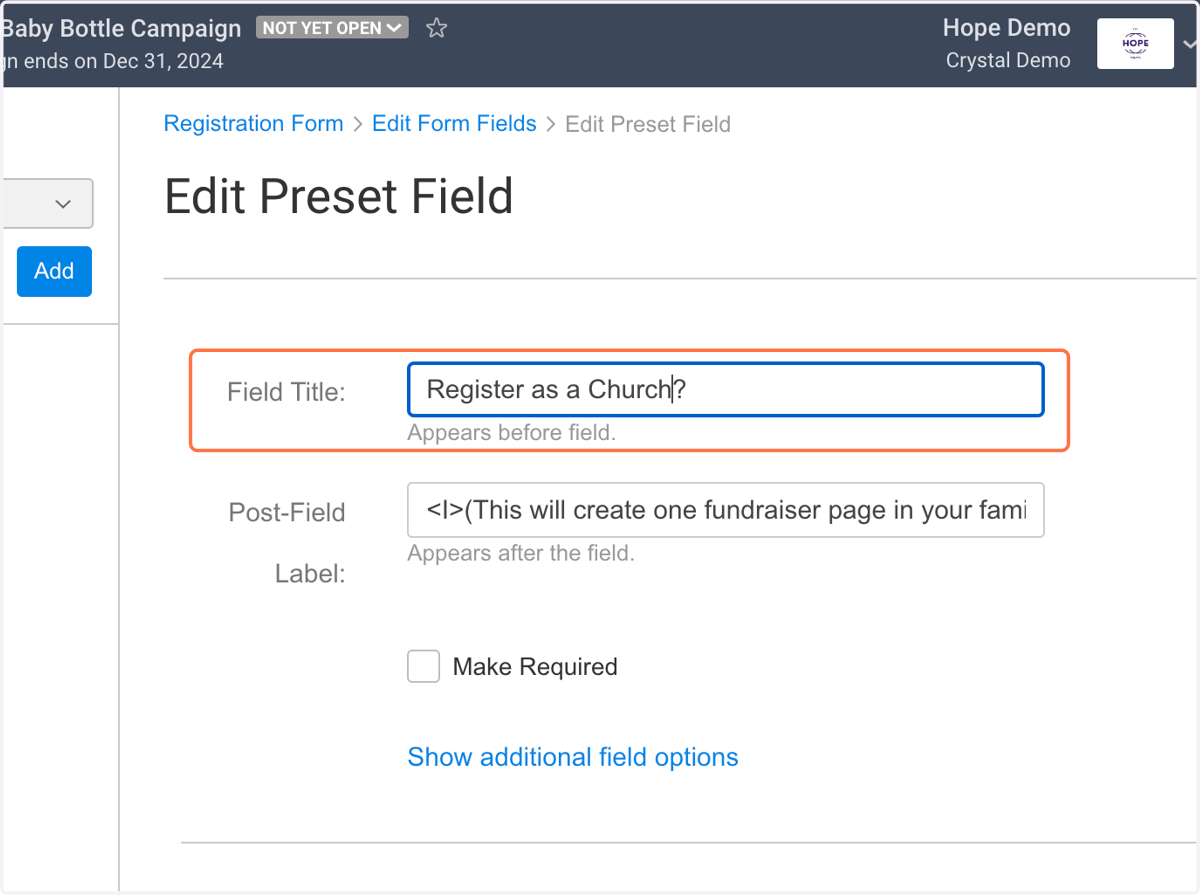
26. Change the default text from "Family" to "Church"
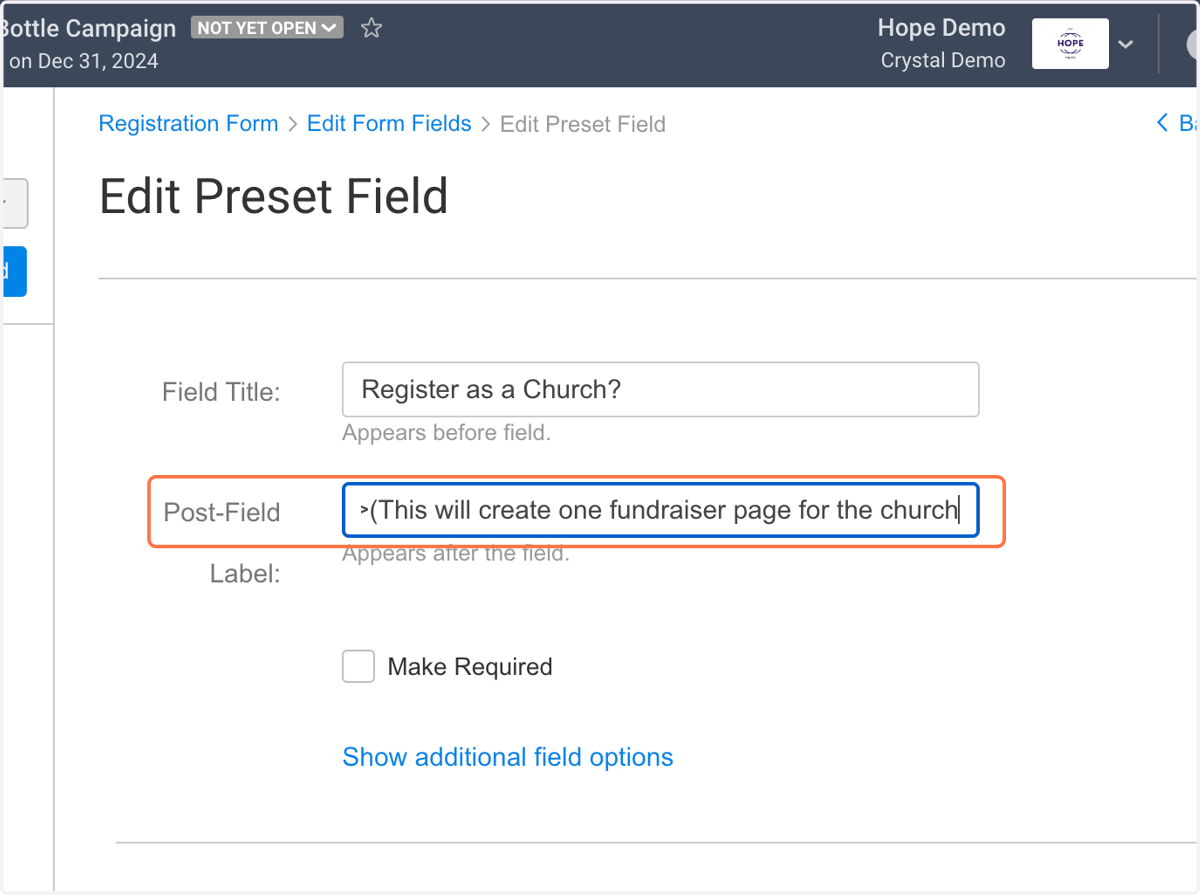
27. In the Post-Field text, again change "Family" to "Church"
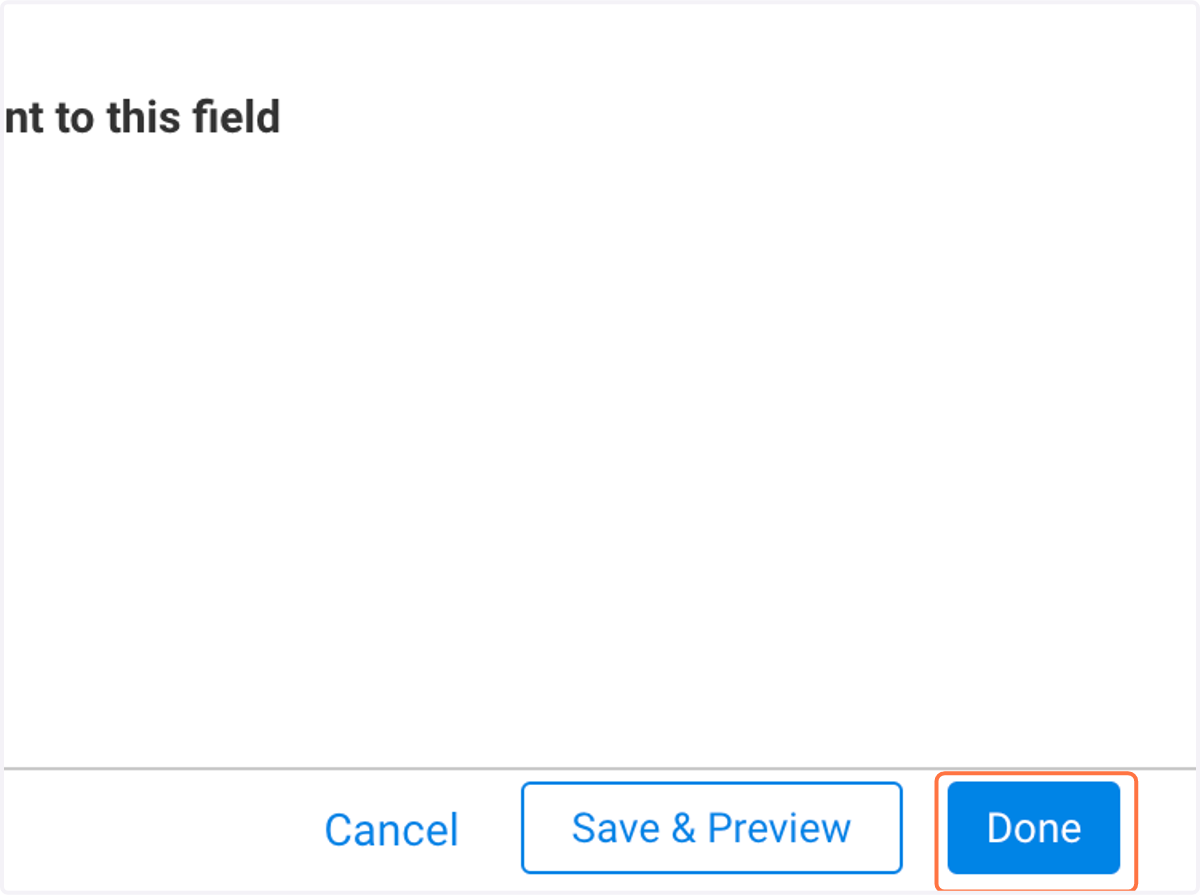
28. Click on Done
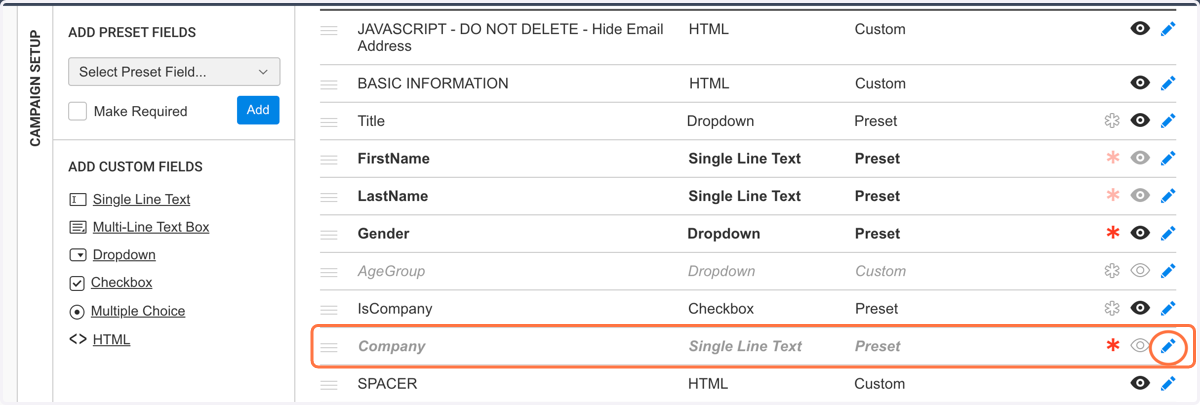
29. Click the pencil to edit the "Company" field
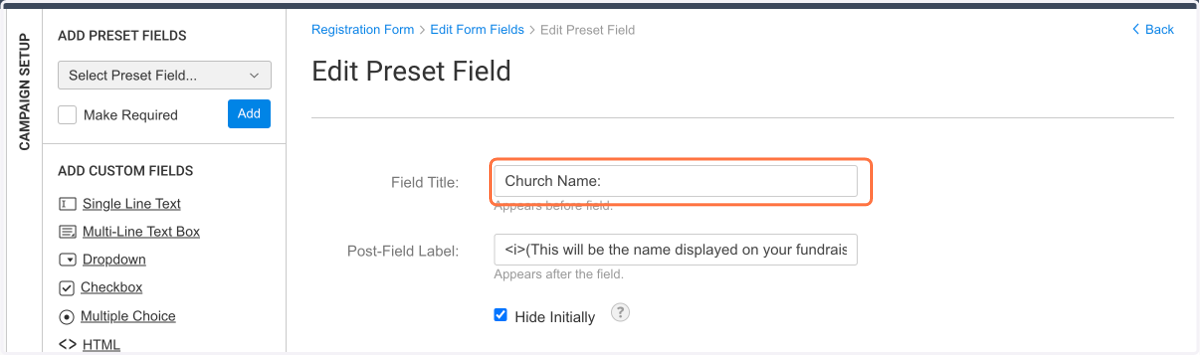
30. Change the Field Title to "Church Name"
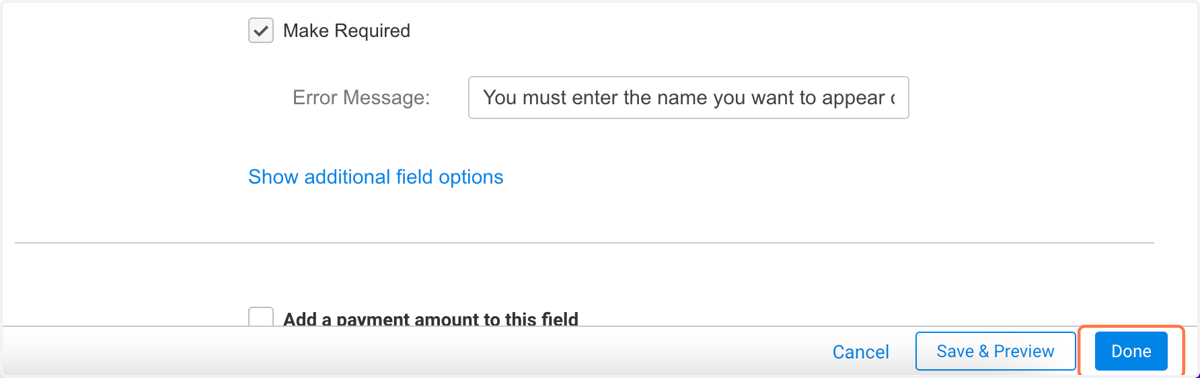
31. Click "Done"
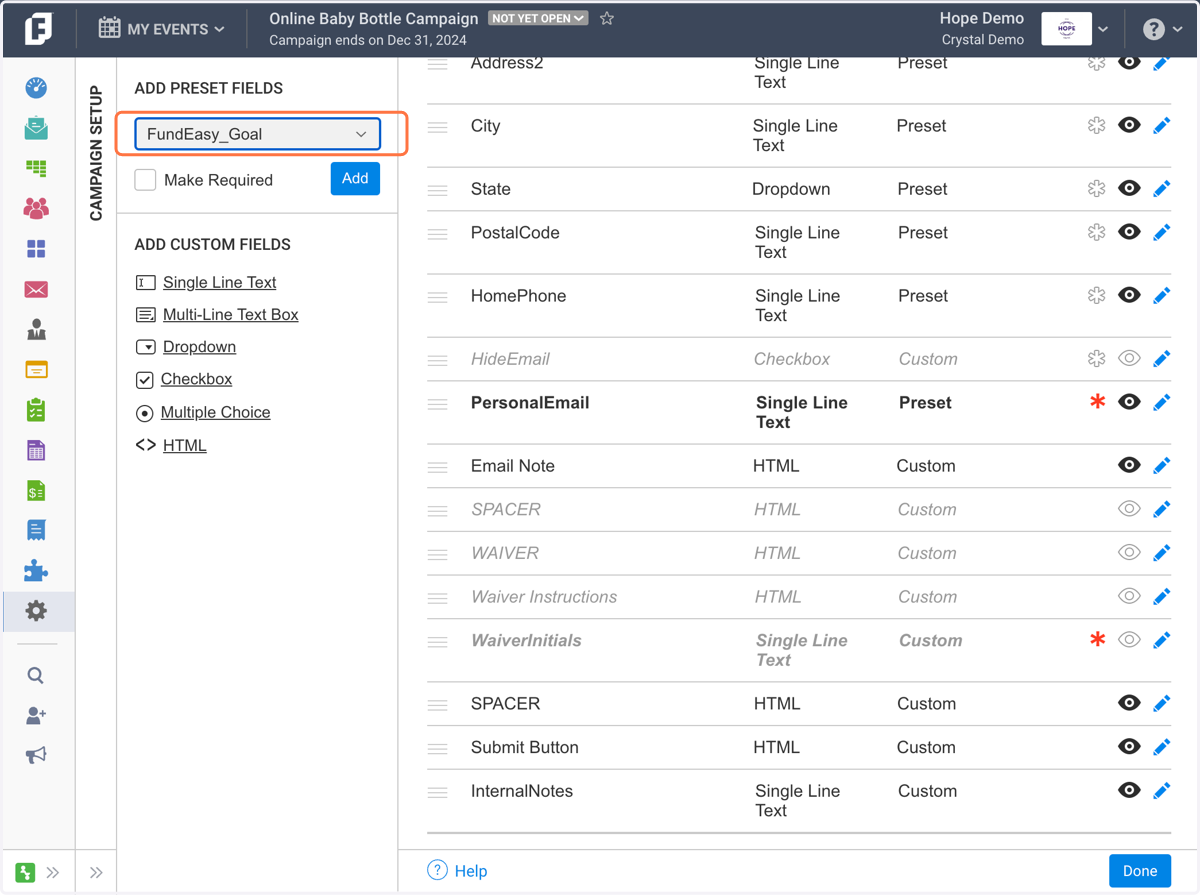
32. Select FundEasy_Goal from the "Add Preset Fields" dropdown list
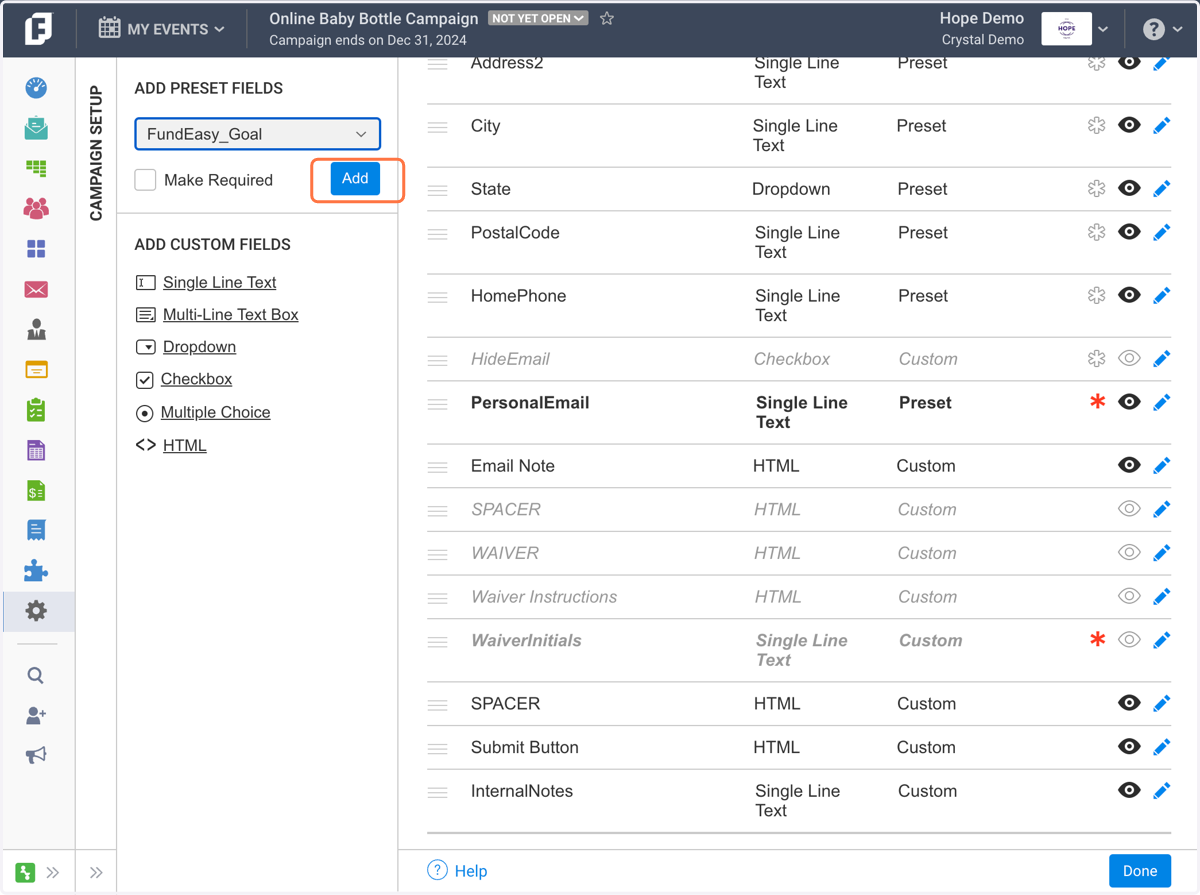
33. Select "Add" to add the field to your form
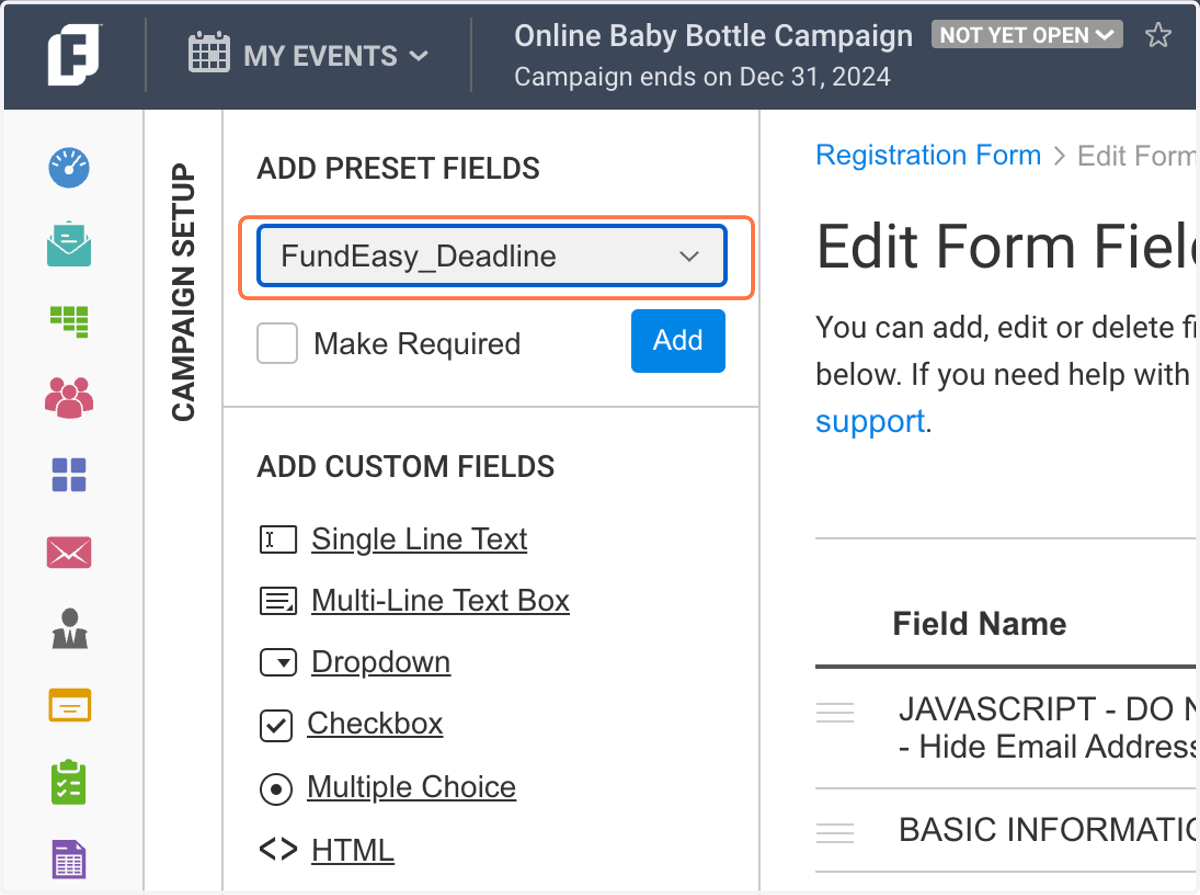
34. Select FundEasy_Deadline from the "Add Preset Fields" dropdown list
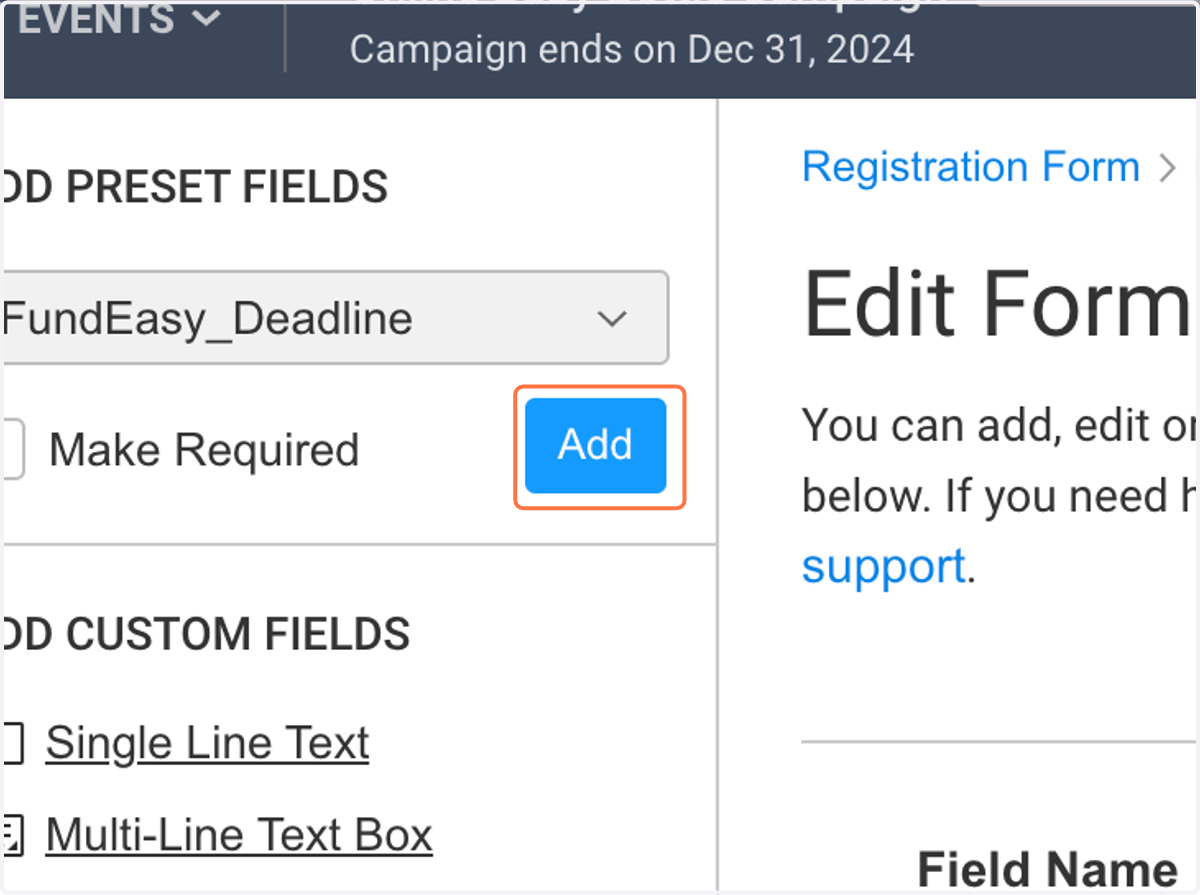
35. Select "Add" To add the field to your form
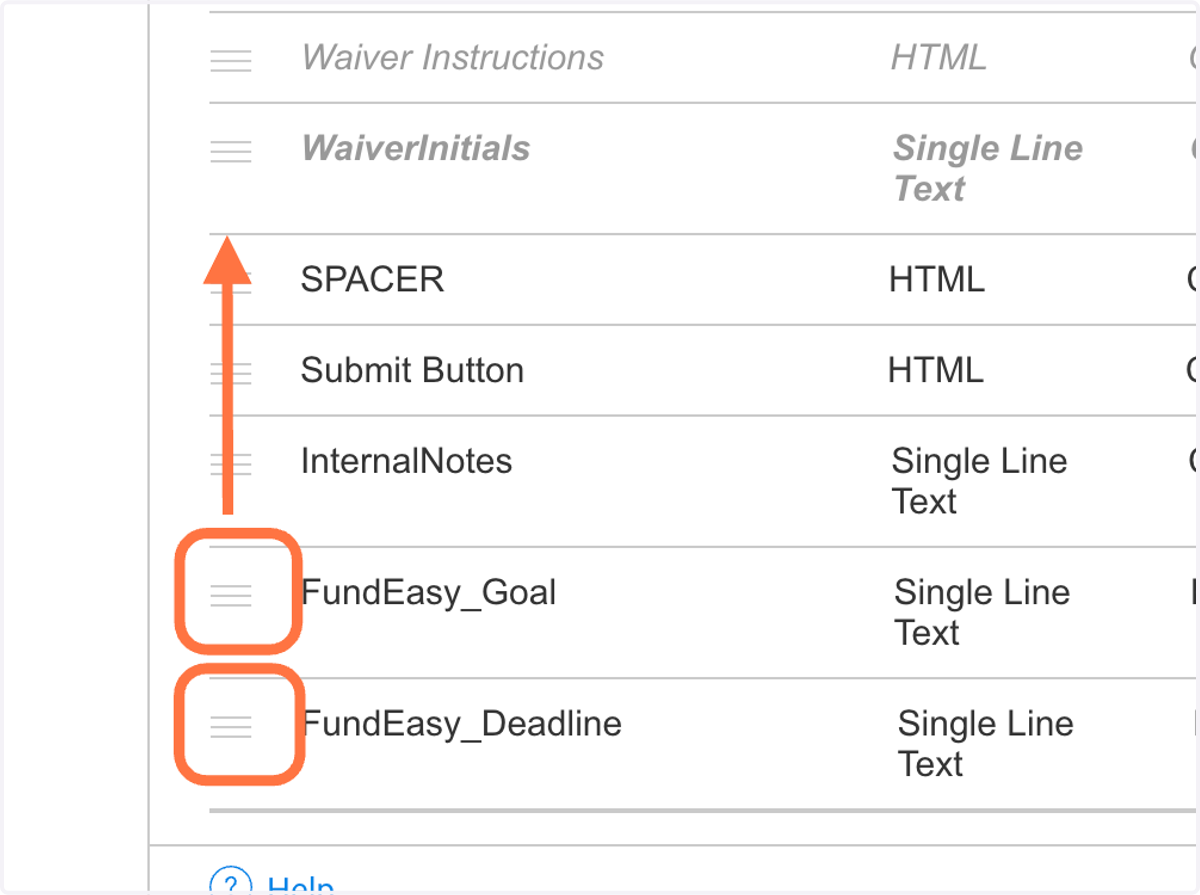
36. Click on the three lines to the left of the added field names, then drag each above the SPACER field.
This will move the new fields above the "Submit" button on the form.
37. Click on Save & Continue
Web & Email Templates
Preview all web and email templates for your campaign. Make any necessary edits either on the templates themselves or in the earlier steps of Campaign Setup (note: you likely won't need to make any edits, so don't be surprised if that's the case)
38. Click on Mark as Complete & Continue
Open Registration
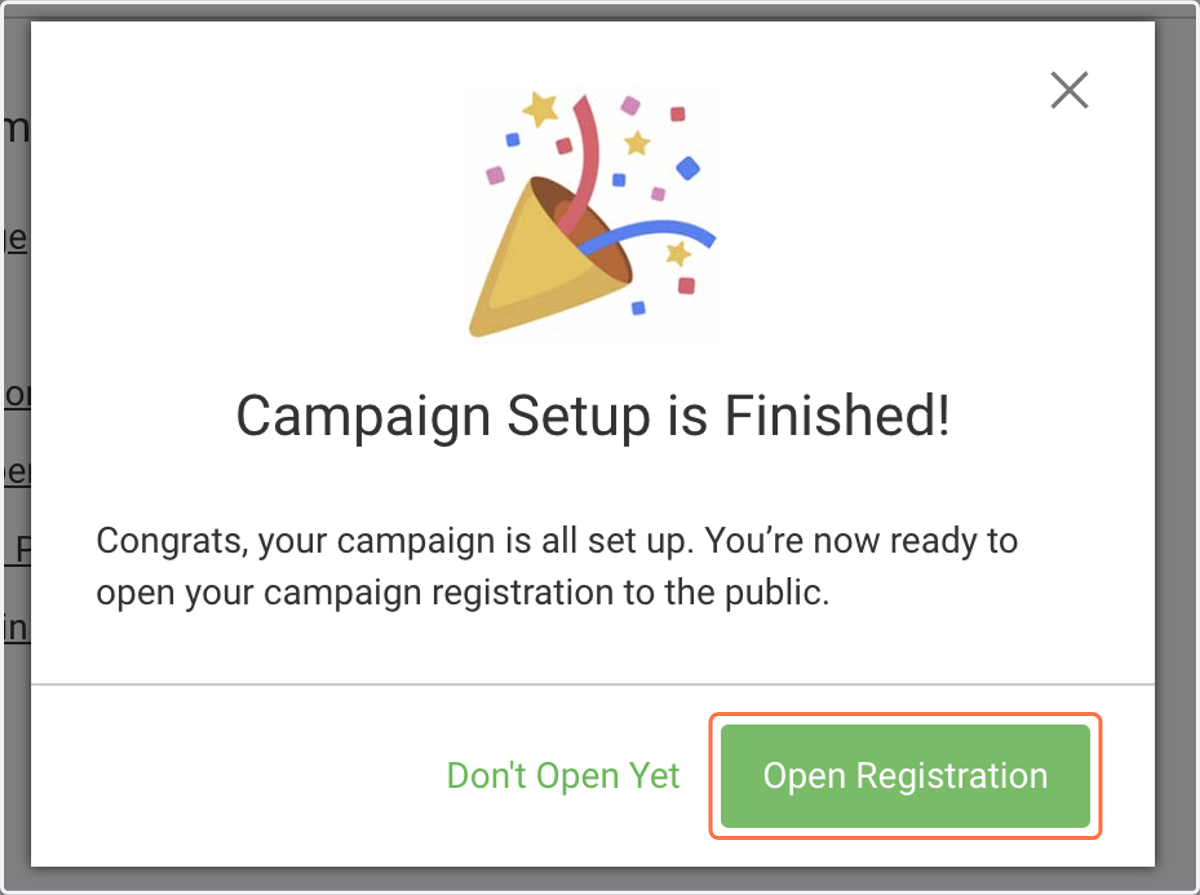
Setup is Complete! It's now time to Open Registration!
39. Click on Open Registration
40. Click on Copy Link to Copy your Campaign Link if you will be posting your Campaign Webpage.