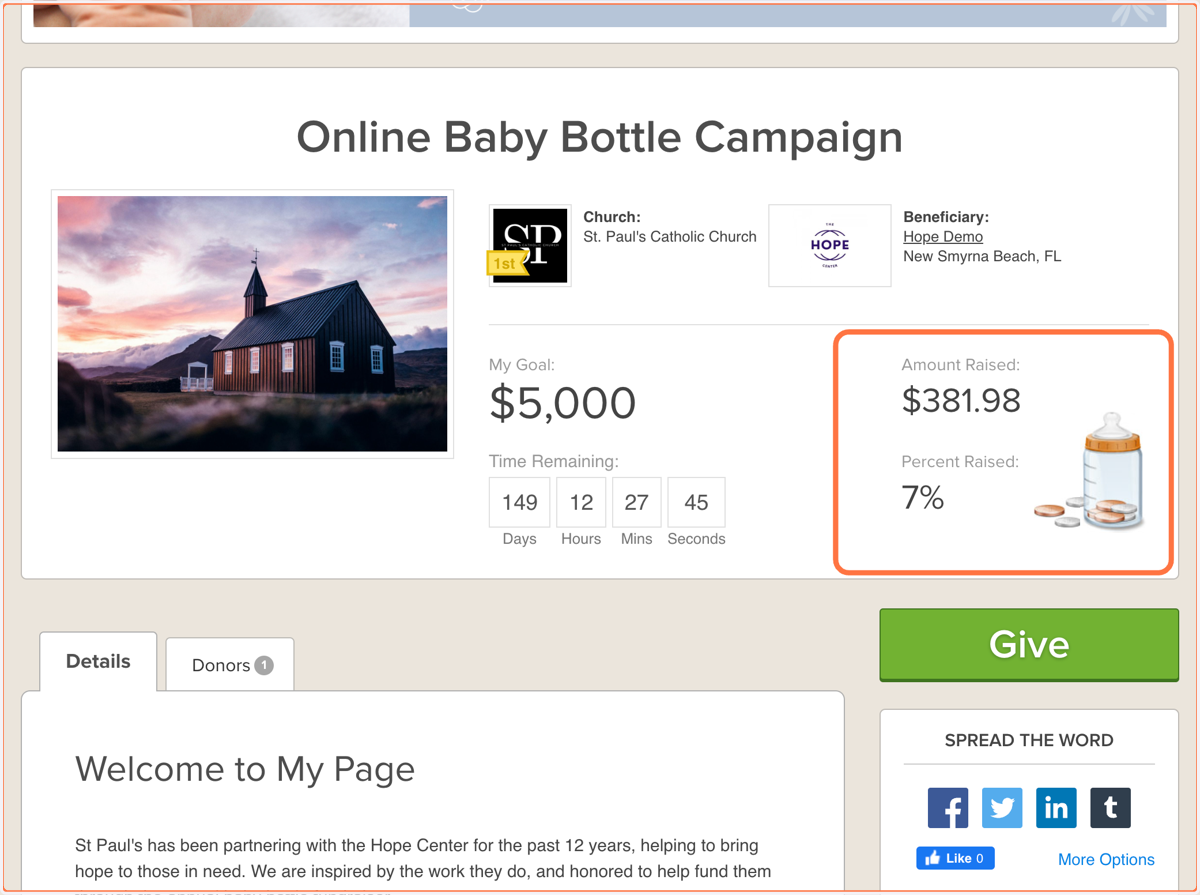
Managing an Online Baby Bottle Campaign
Register Your Churches
Online Baby Bottle Campaigns have been most successful when the ministry sets up the church's fundraiser page and simply gives the church the link and/or a QR code to share with the congregation. Here's How:
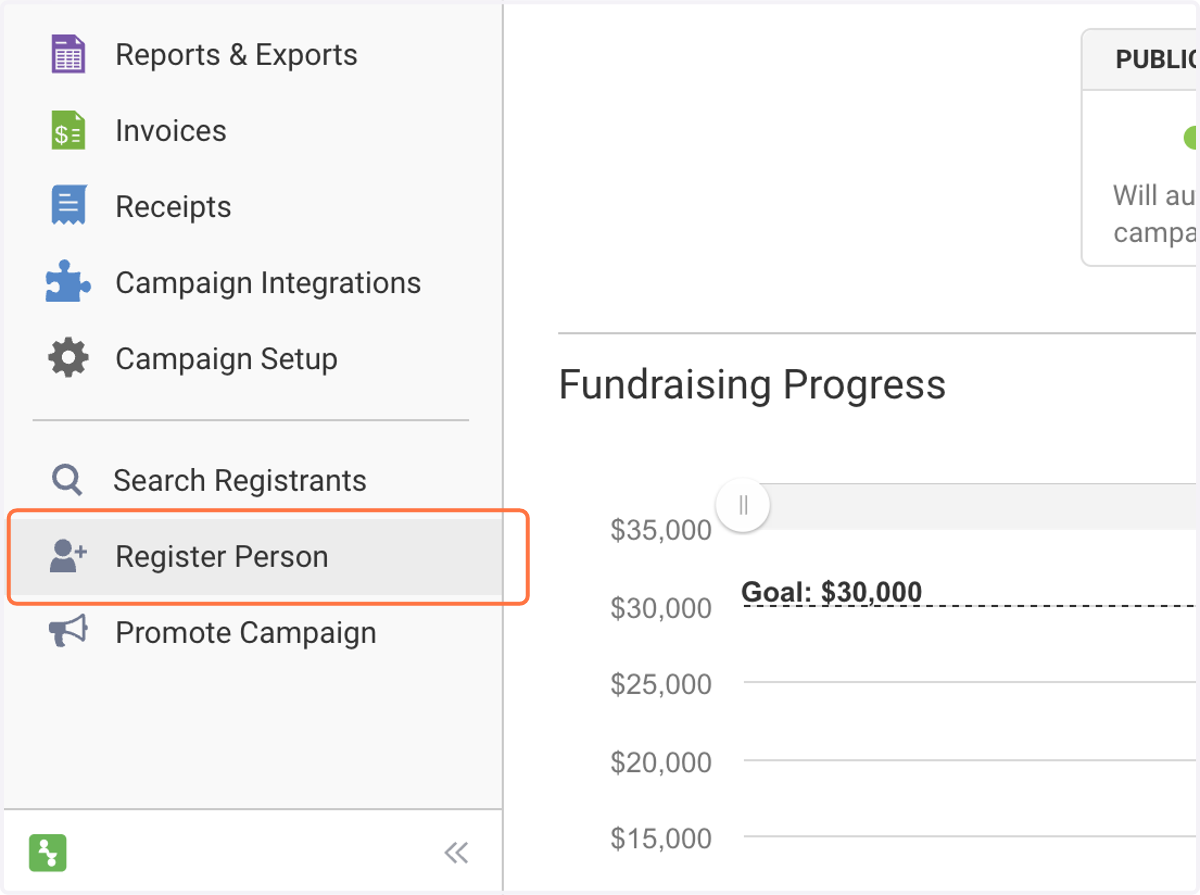
1. Click on Register Person
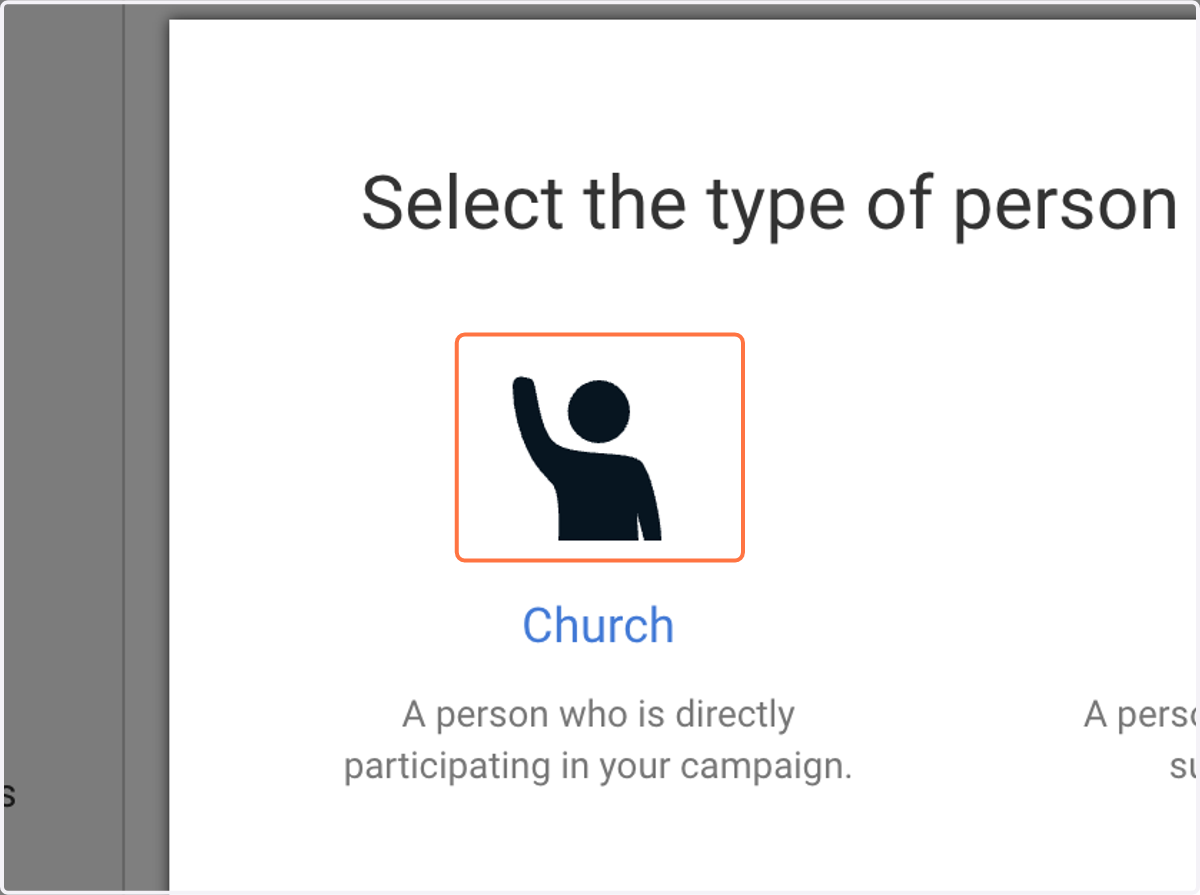
2. Click on Church…
3. Enter the name of the Church Contact
Don't have contact info for a representative at each church?
The Registration Form can be edited to automatically register everyone as a church (regardless of whether you have contact info for an individual at the church). Even though it's not a change you can make yourself, simply request that the registration form be edited from our Support Team, and they can make it happen for you.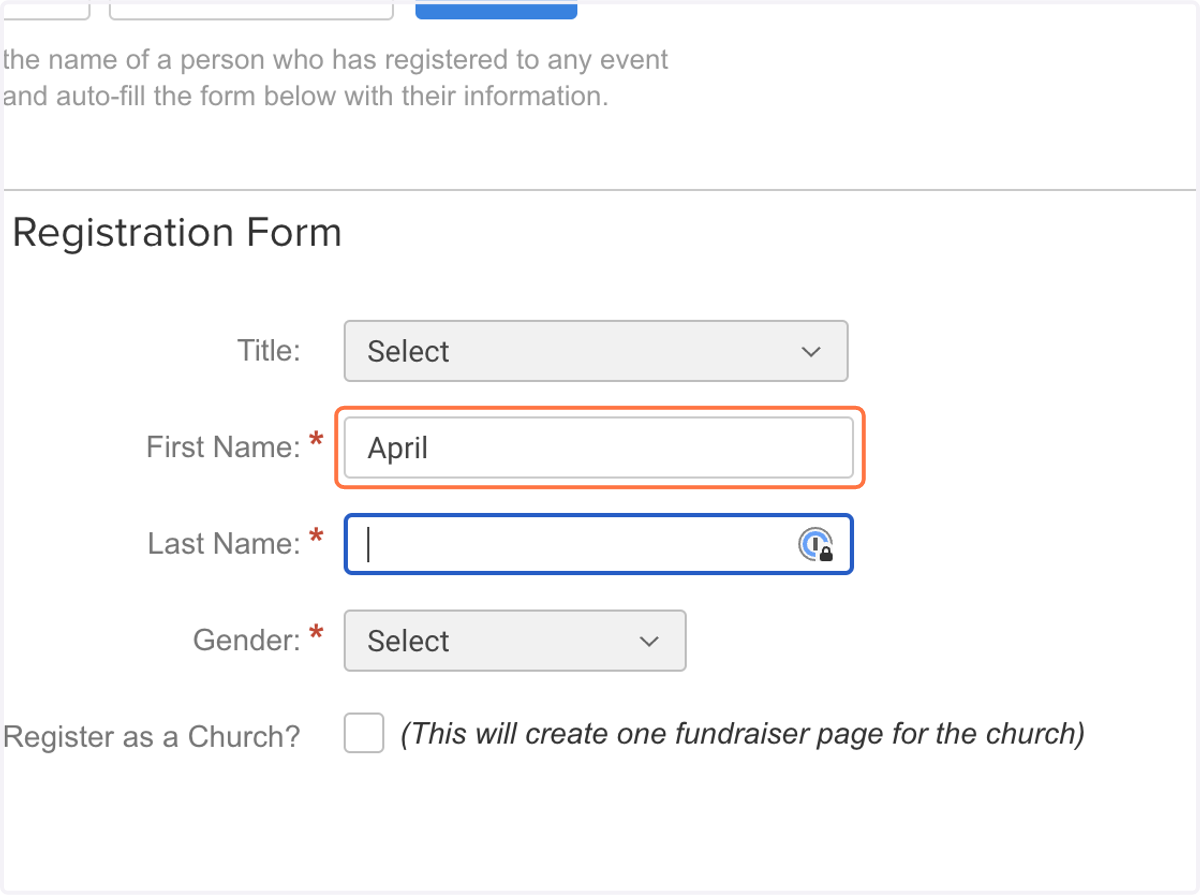
4. Select "Register as a Church?"
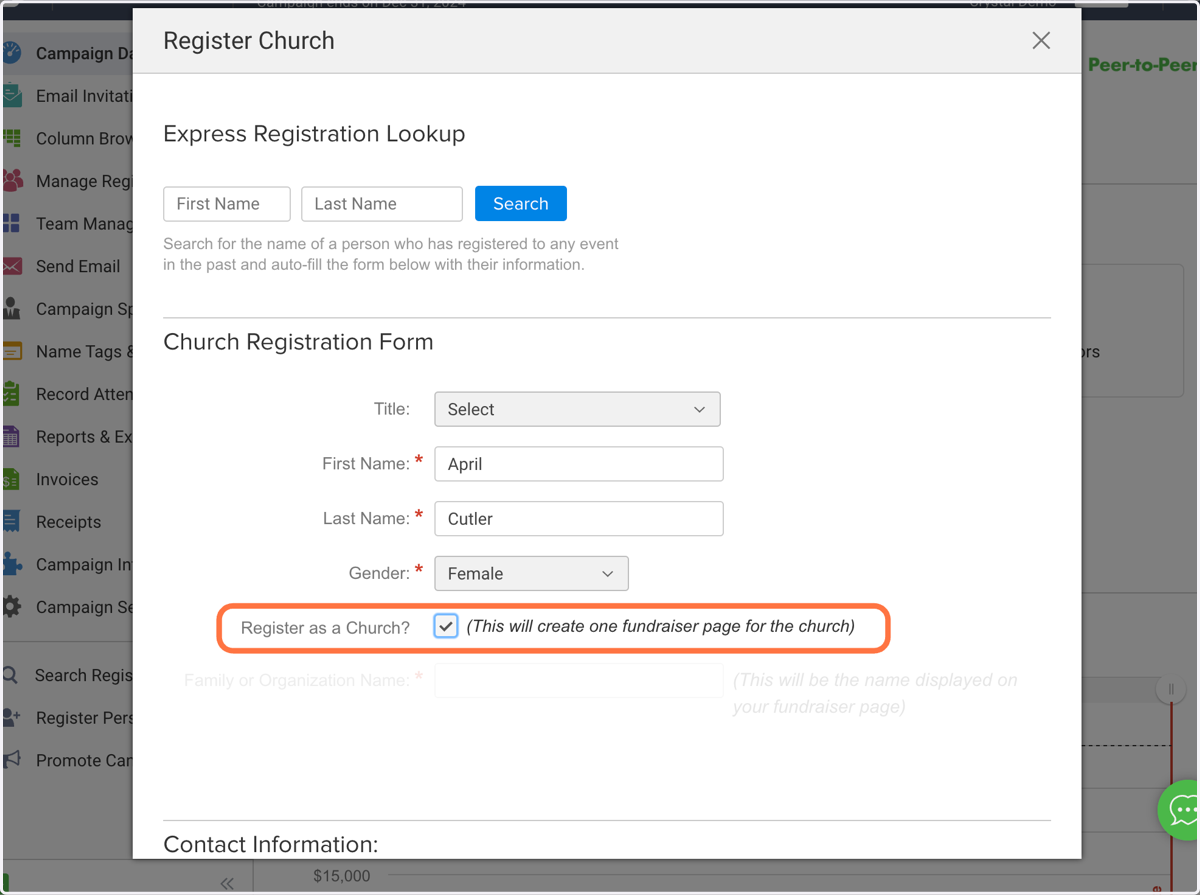
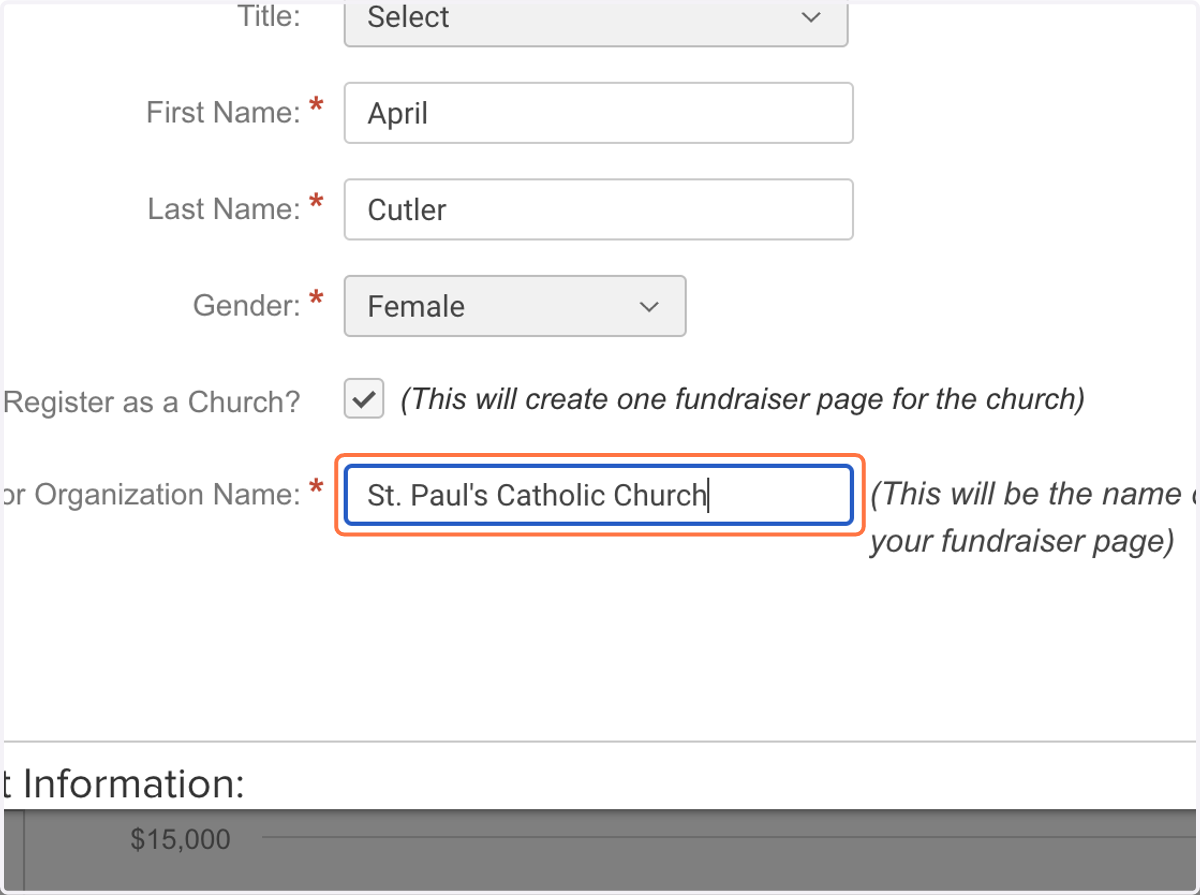
5. Type the name of the Church
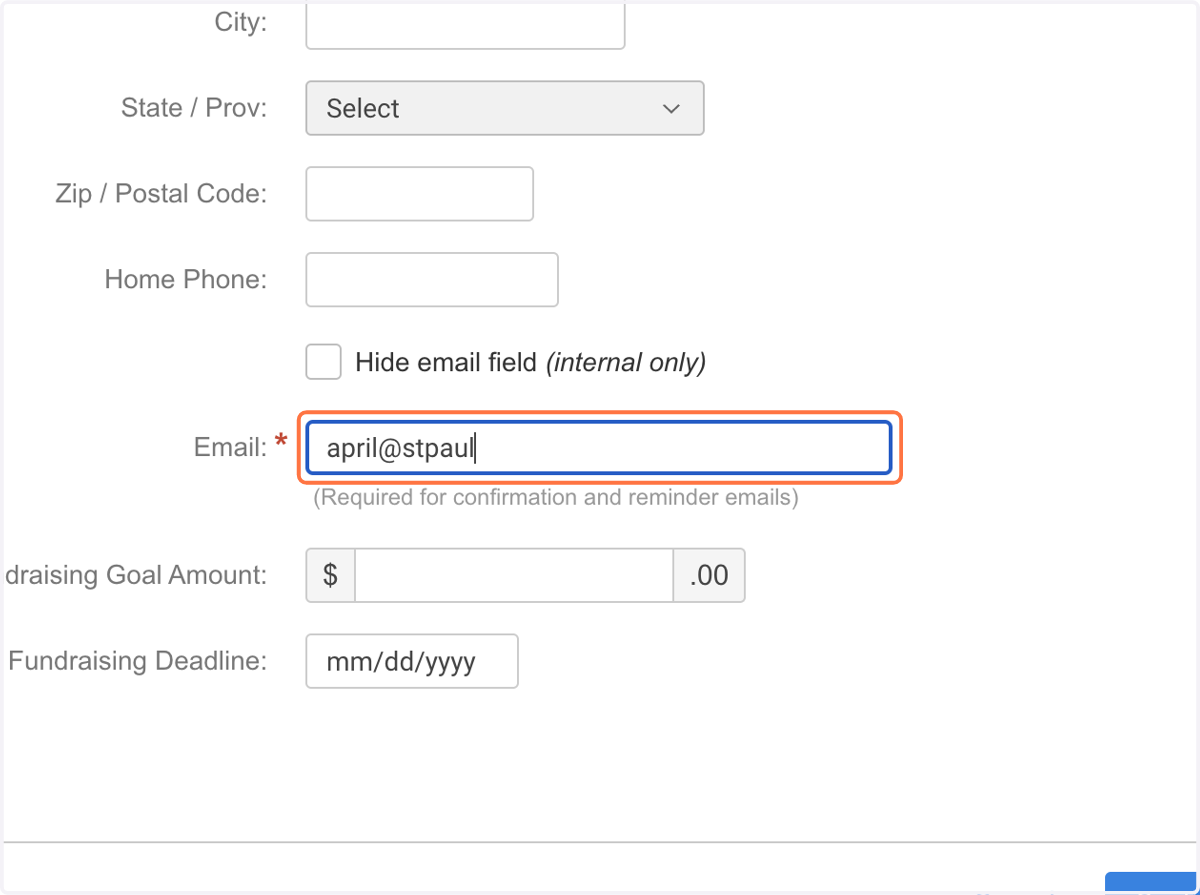
6. Enter the contact information for the Church Contact
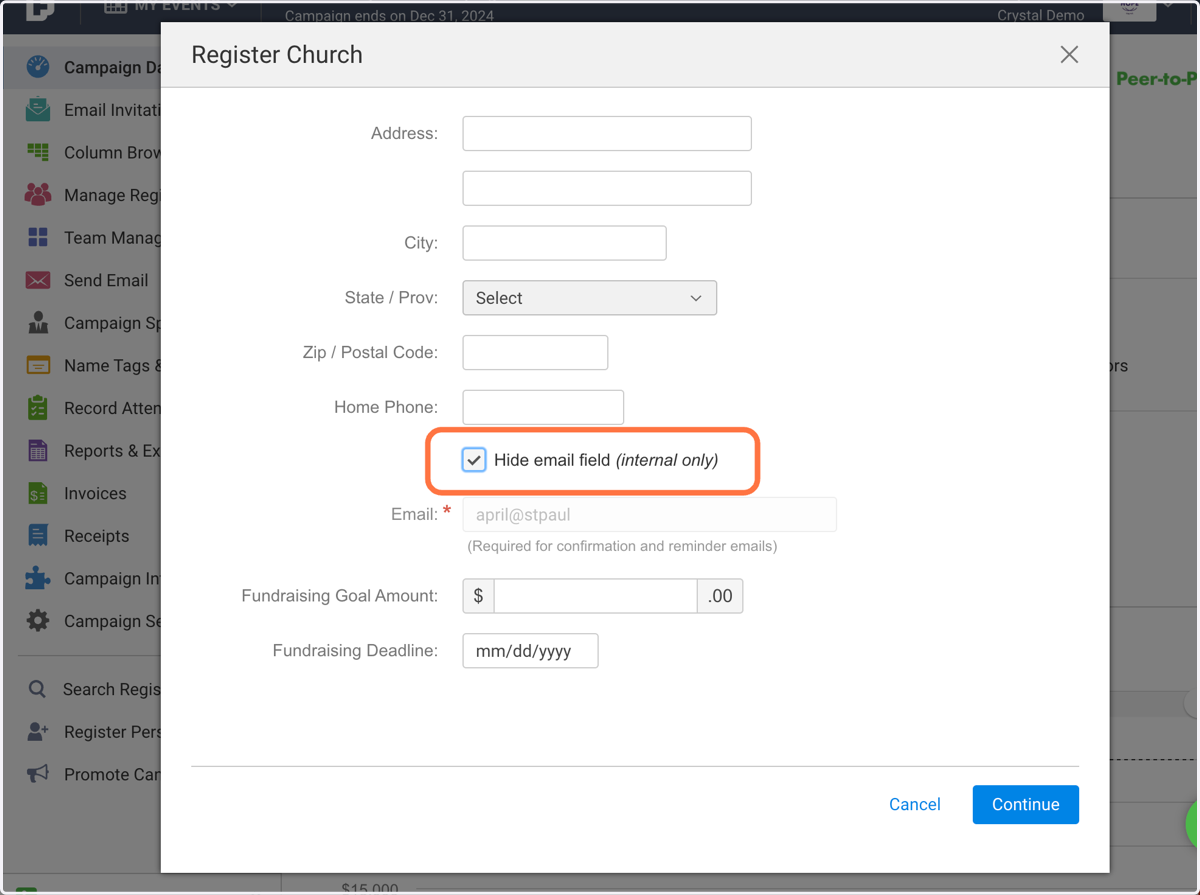
7. If you don't have an email address for the Church Contact, Check Hide email field (internal only)
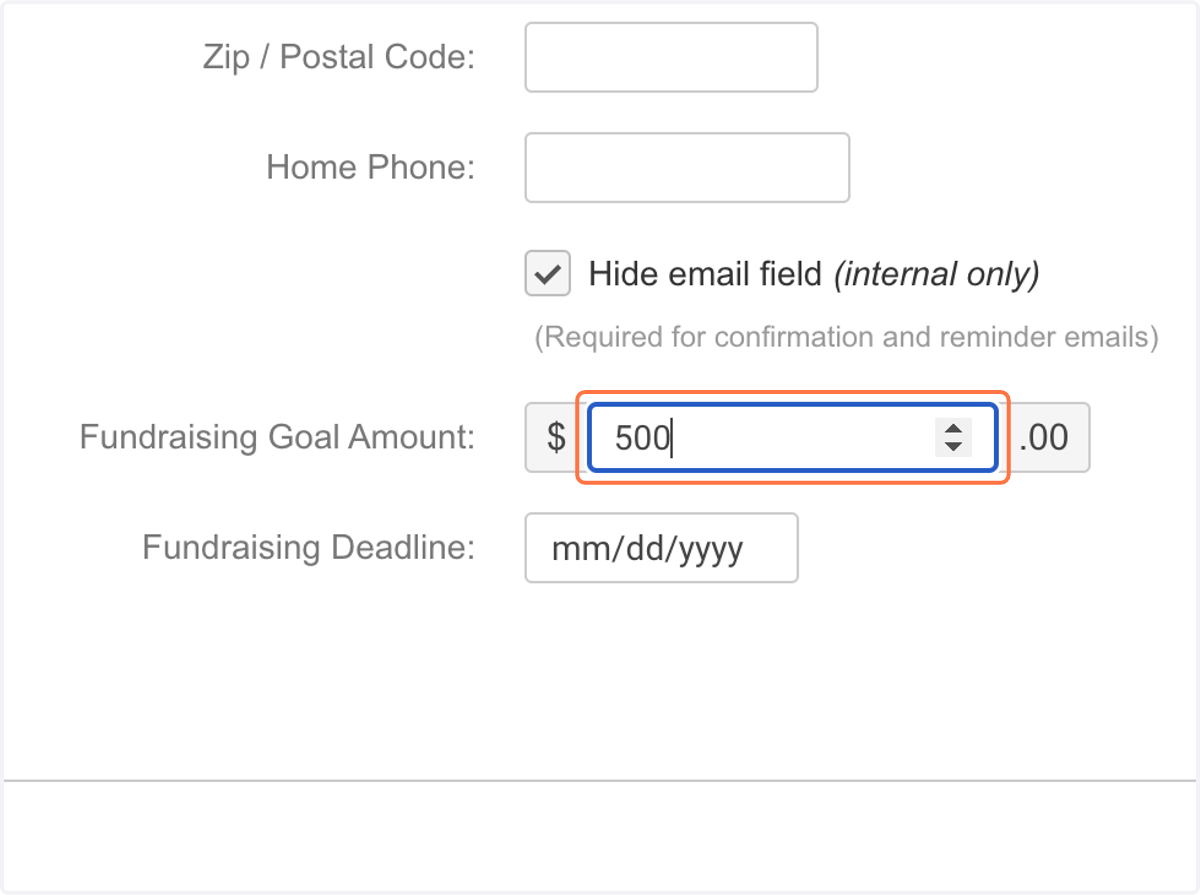
8. Set the Fundraising Goal Amount for the Church
Suggestion: Refer to your previous year's fundraising totals for each church, and set this goal accordingly (ie 10% or 20% increase)
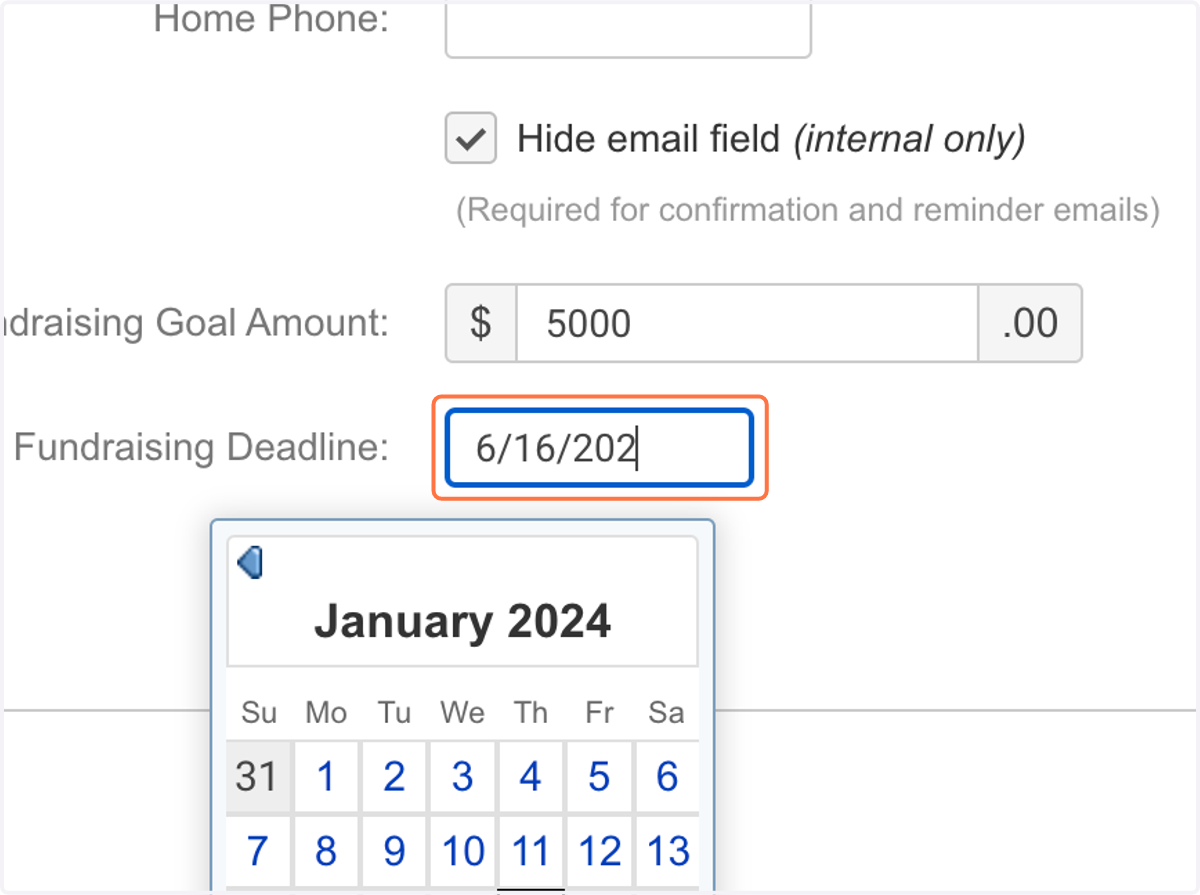
9. Set the Fundraising Deadline for the church
This is the day they're asking for bottles to be returned. Remember, the page will be able to accept donations beyond the deadline date as you defined in your campaign setup.
10. Click on Continue
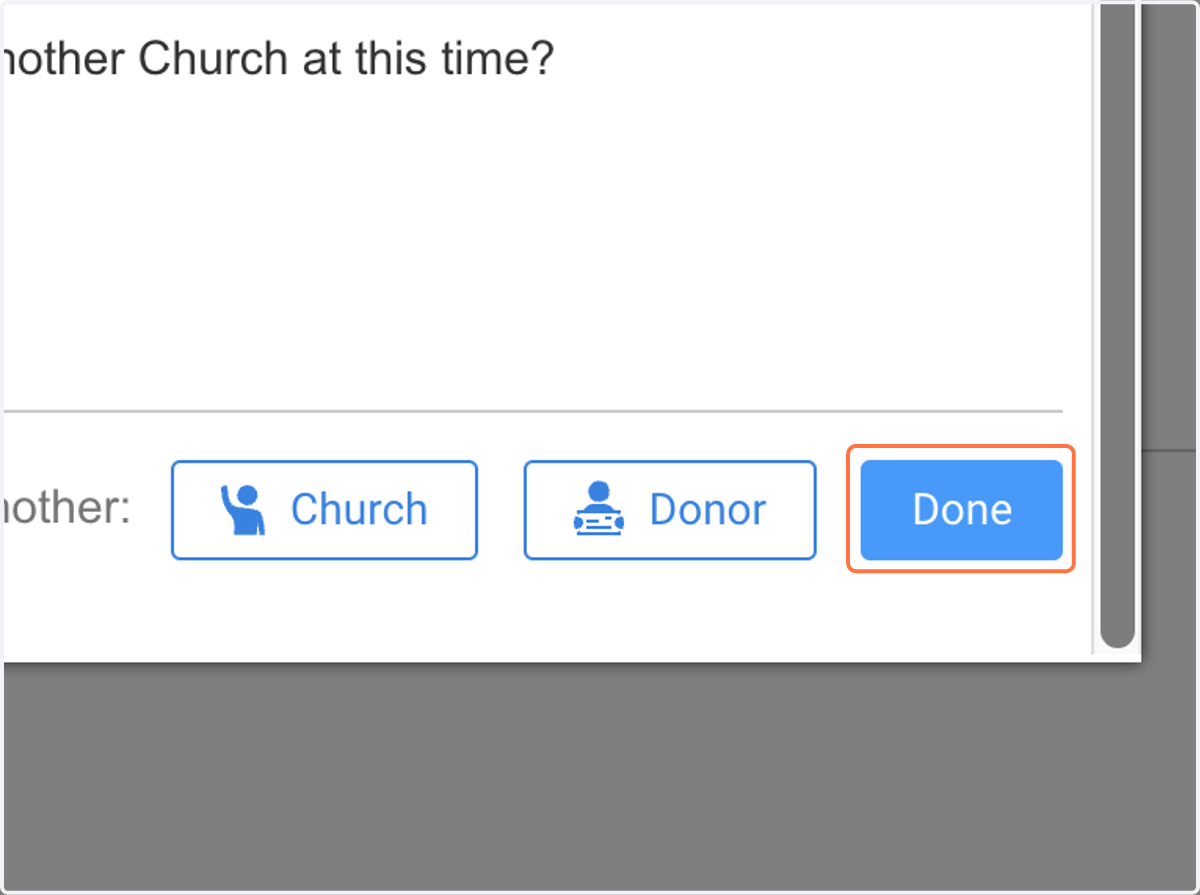
11. Register another church, or Click on Done
Accessing your Churches' Fundraising Pages
There are a few ways to access the church's fundraising page. Here's one.
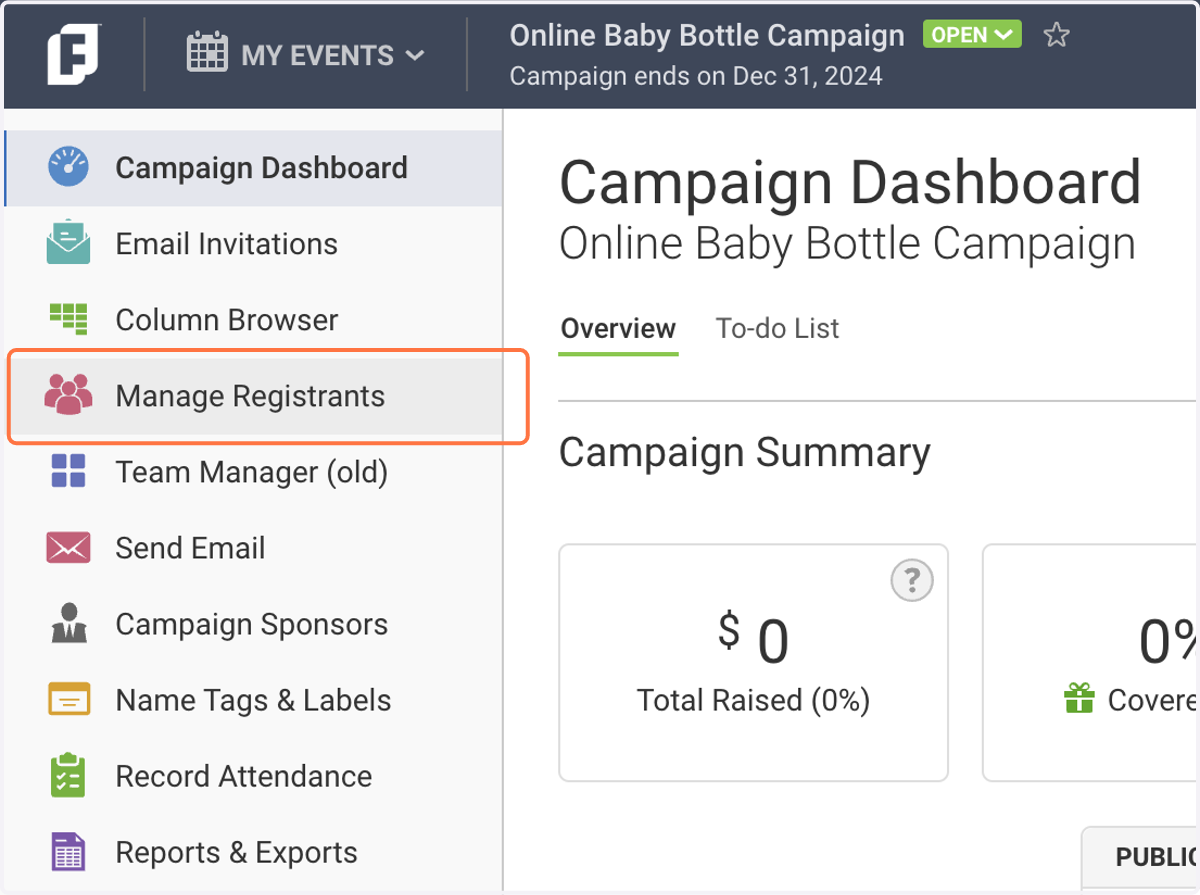
12. Click on Manage Registrants
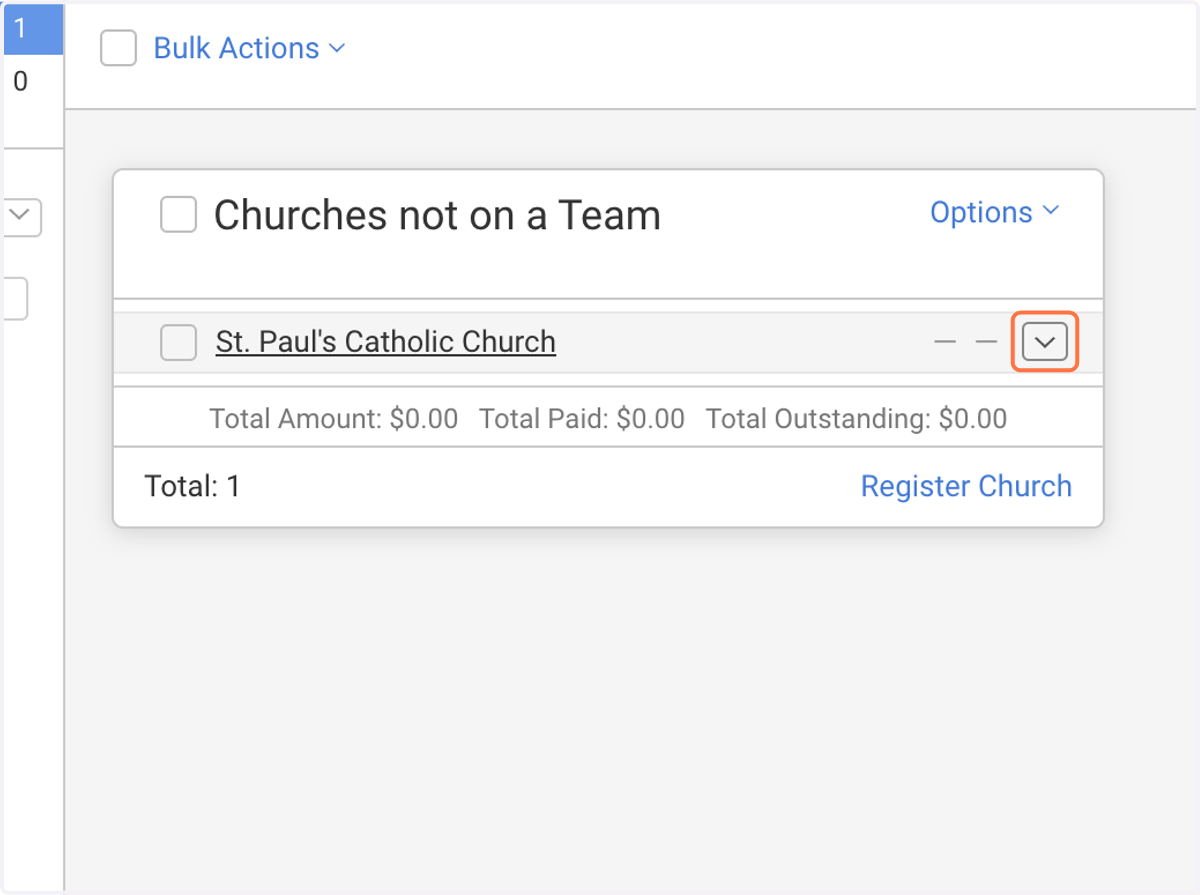
13. Click on the "V" next to the church's name to display a menu
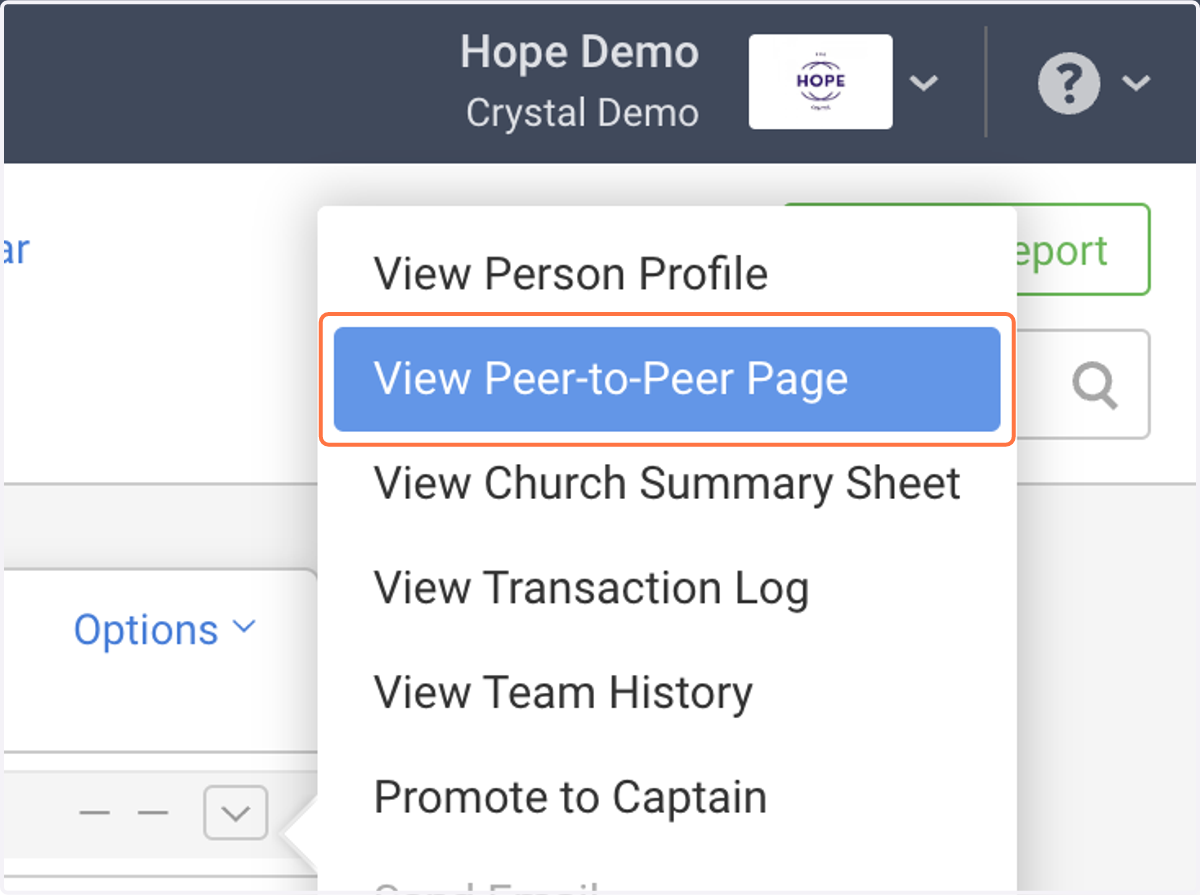
14. Select View Peer-to-Peer Page
This will open the Church's Fundraiser Page in a New Tab
Customizing the Church's Fundraiser Page
If you're managing each church's fundraiser page (recommended), then you'll need to create a username and password to be used for managing pages.
Note: This should be different than your administrator account.
You can either Log Out of your Administrator Account, or access the fundraiser page from a different browser (where you're not logged into FundEasy), or an Incognito Window.
The next steps will walk you through logging out of your Administrator Account and setting up a Username and Password for managing Church Pages.
Note: You can use one login to manage all church pages, it just shouldn't be the same as your Administrator login.
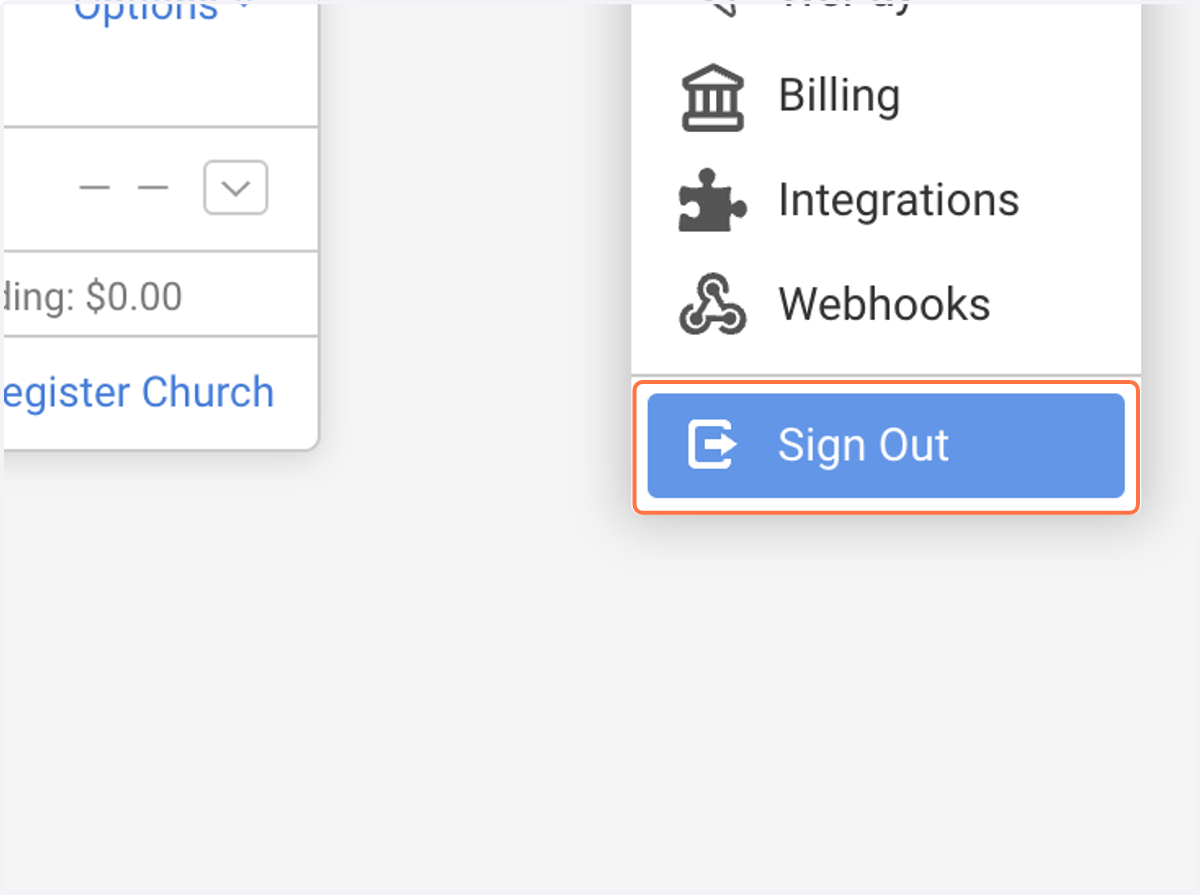
15. Click on the "V" to expand your Account Menu
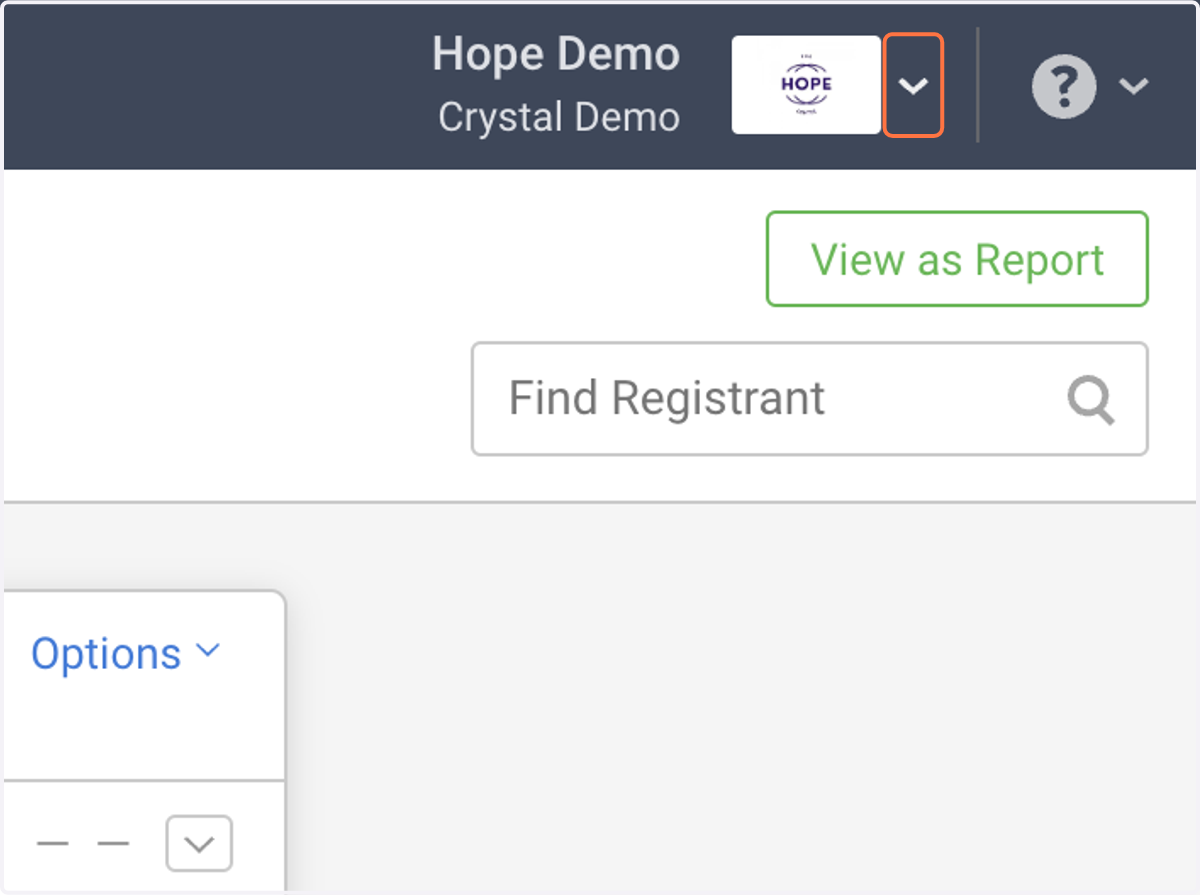
16. Click on Sign Out
Claiming And Logging Into the Church's Fundraiser Page
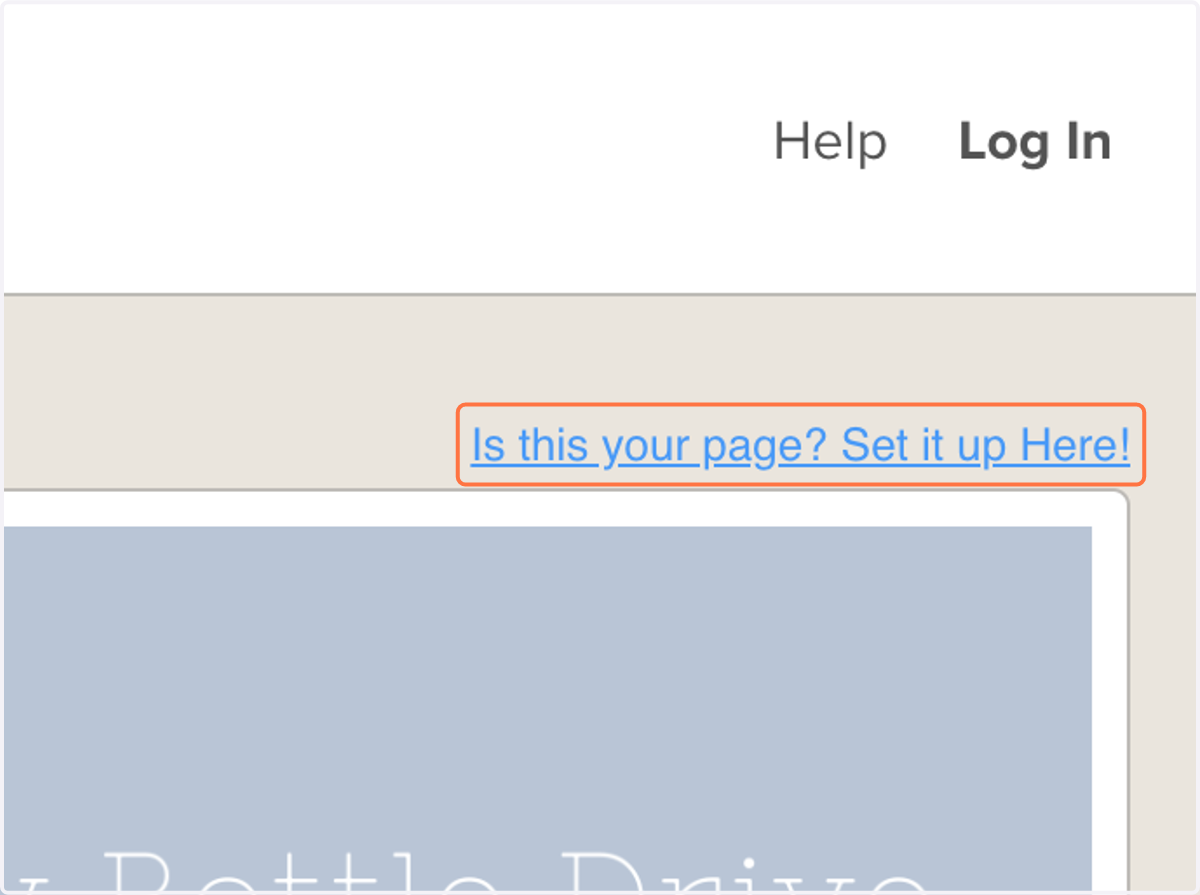
17. Click on Is this your page? Set it up Here!
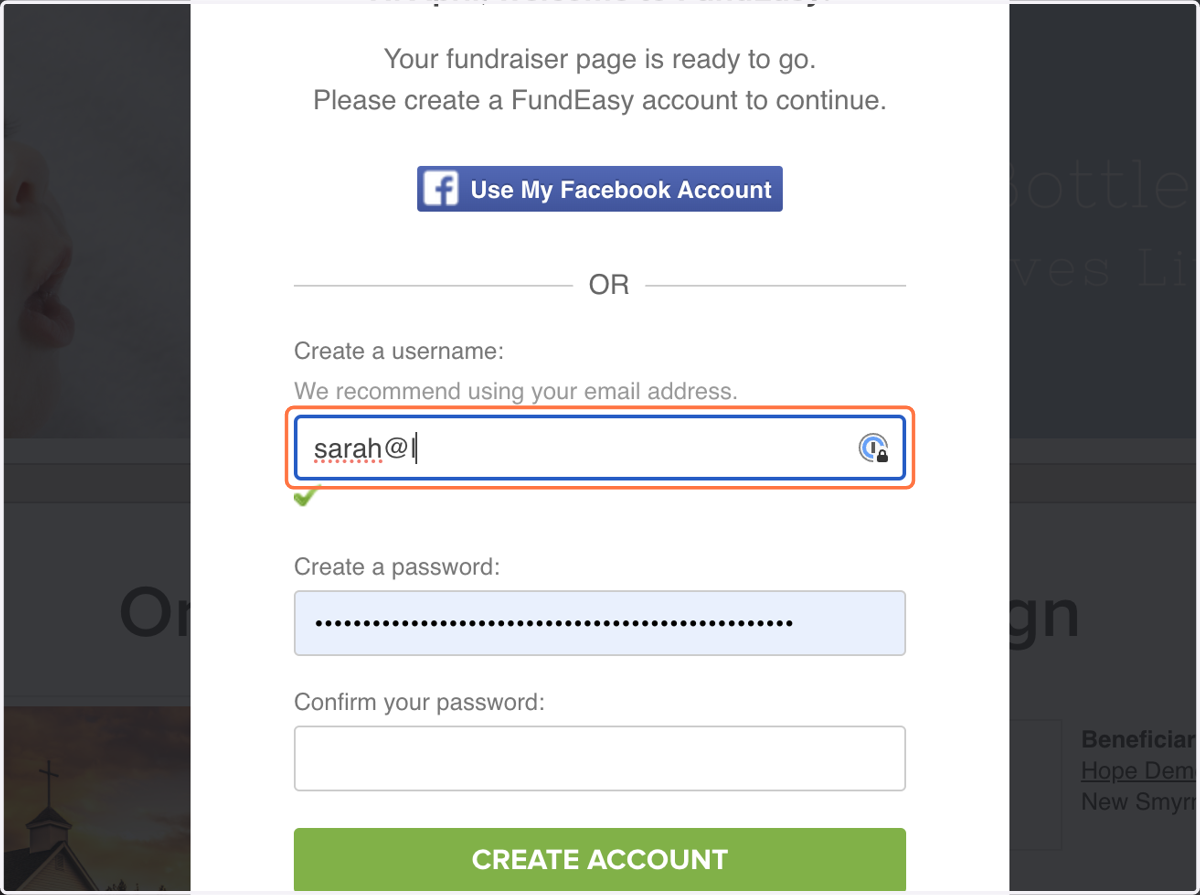
18. Create a Username
This username will be used for managing your church's fundraiser pages. You'll only need to do this once as you can manage all churches with one login. If you've already done this, skip this step and simply log in.
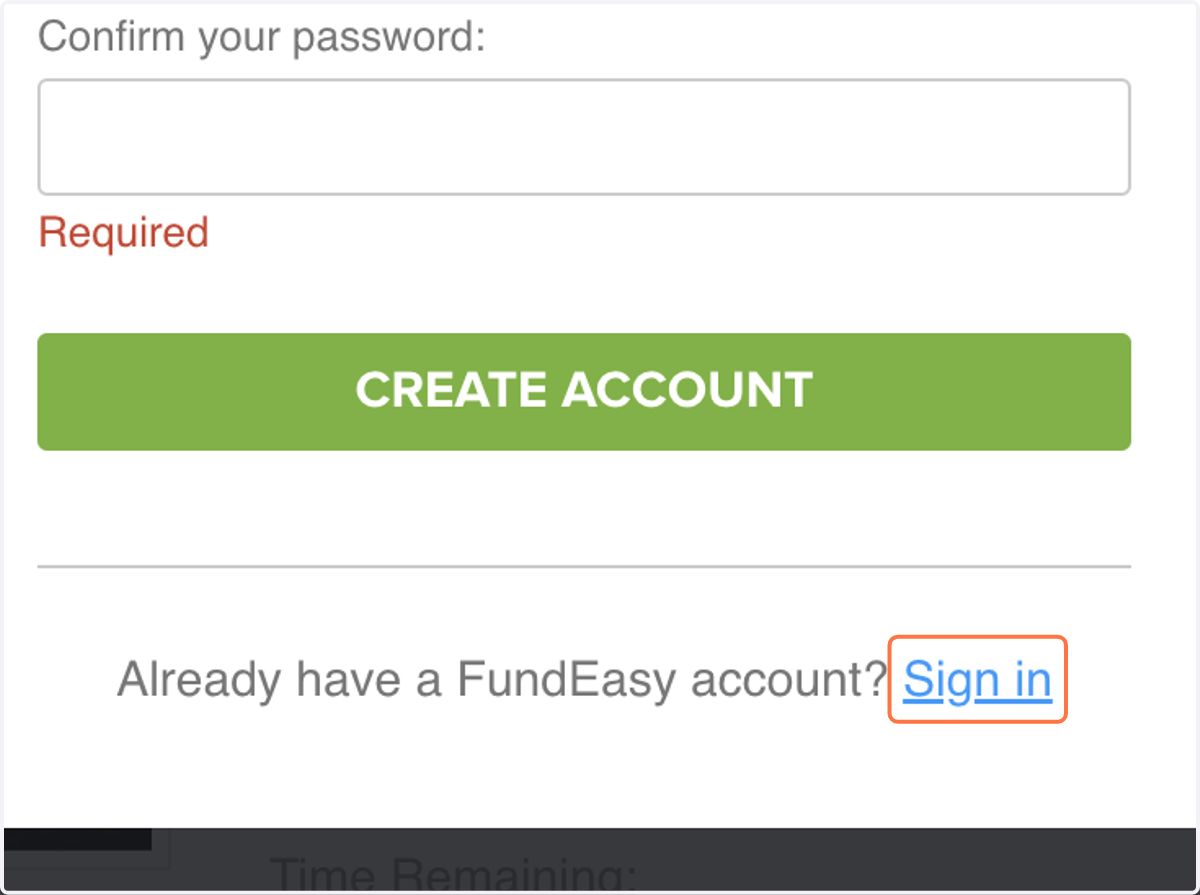
19. If you've already set up a P2P Username, Click Sign In
Customizing your Churches' Fundraising Pages
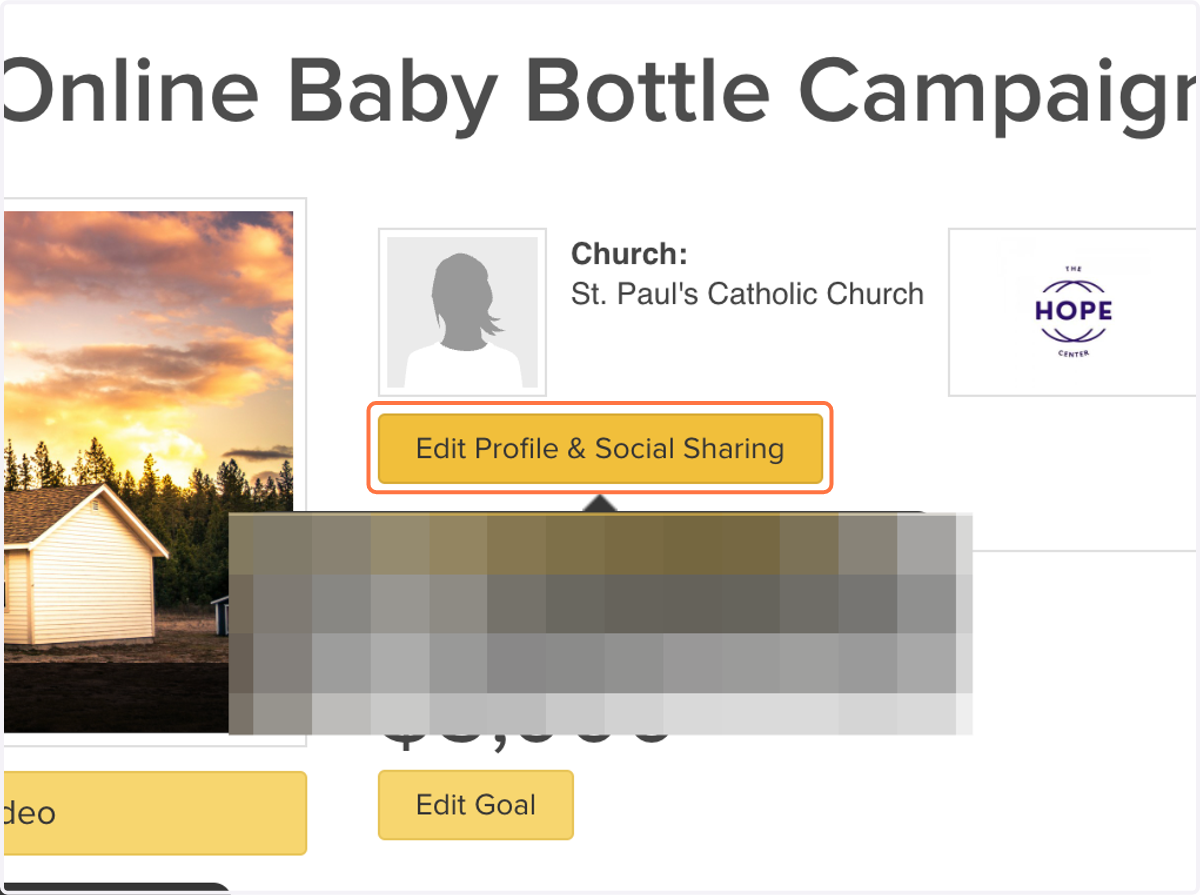
20. To upload a profile image, Click on Edit Profile & Social Sharing
This is where you will often upload the church's logo.
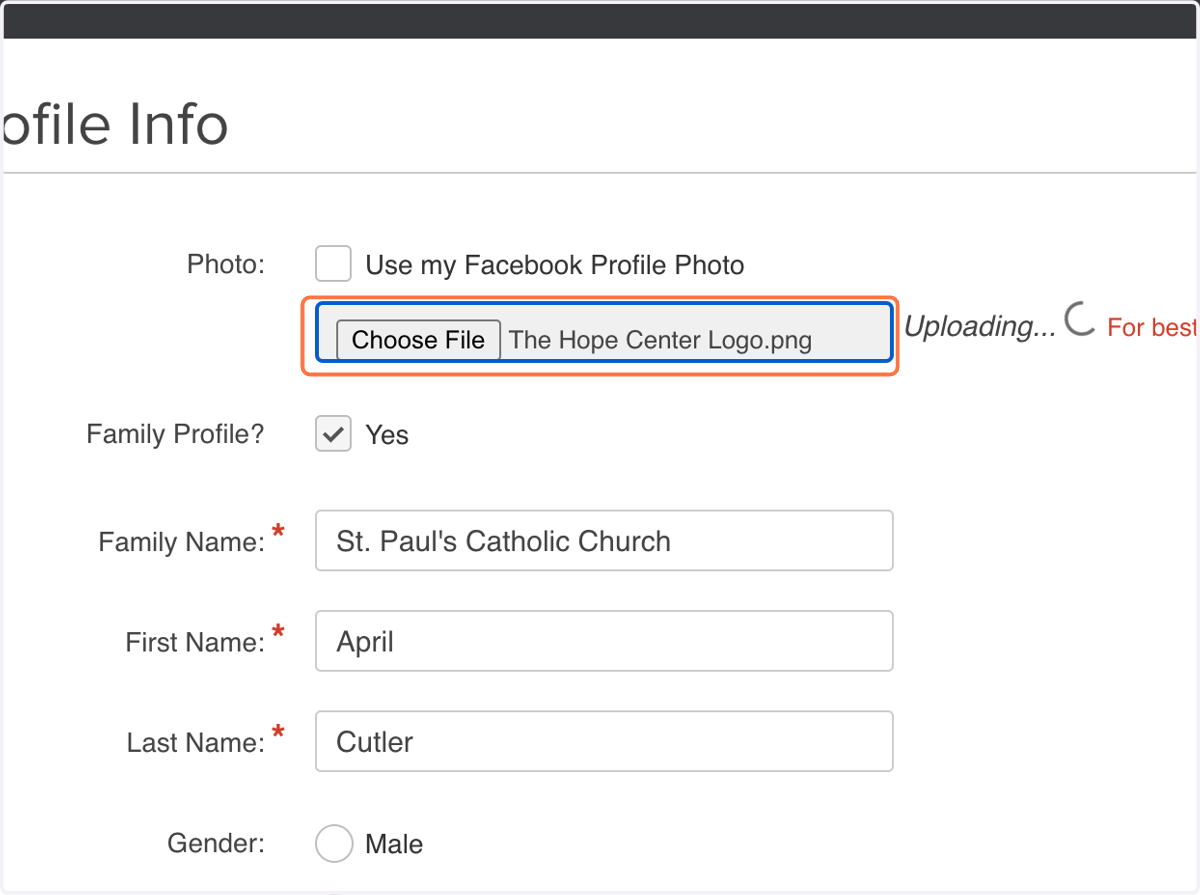
21. Click "Choose File" and upload the desired image
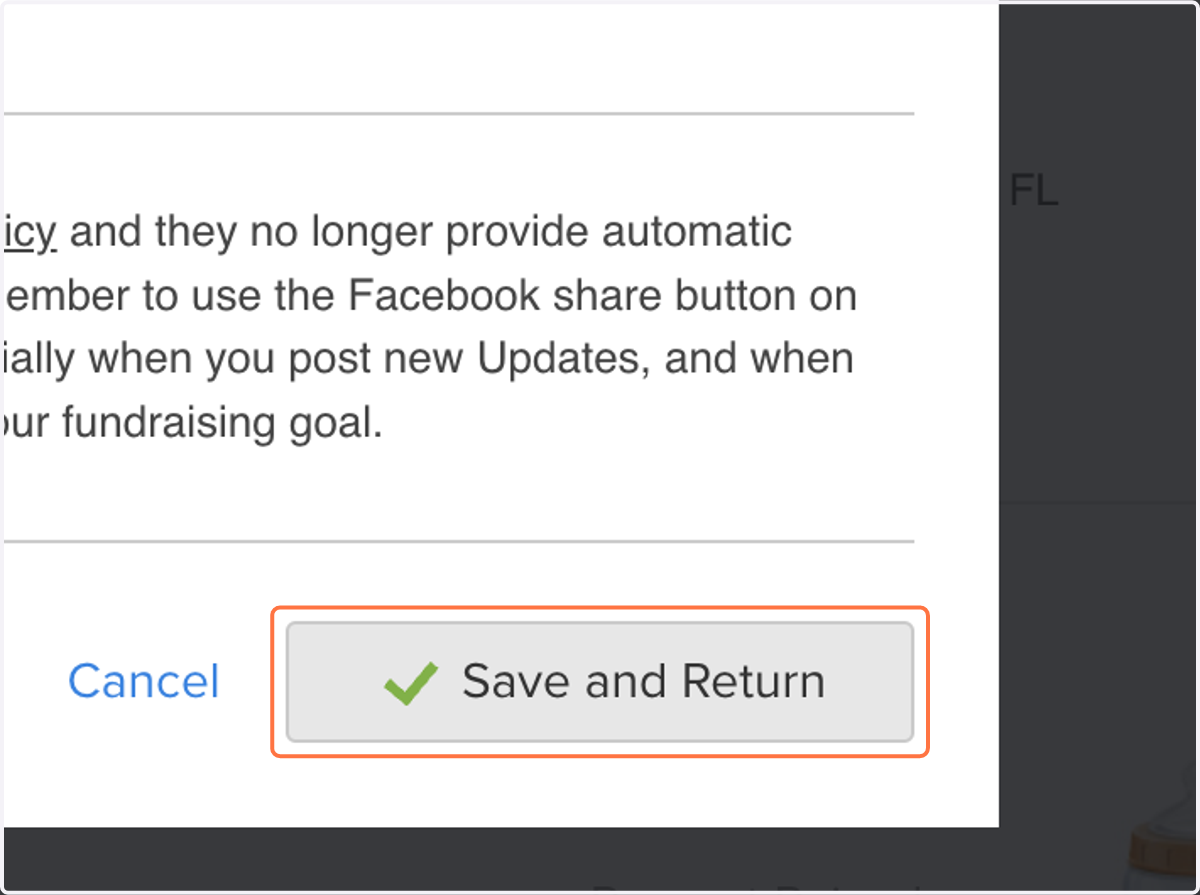
22. Click on Save and Return
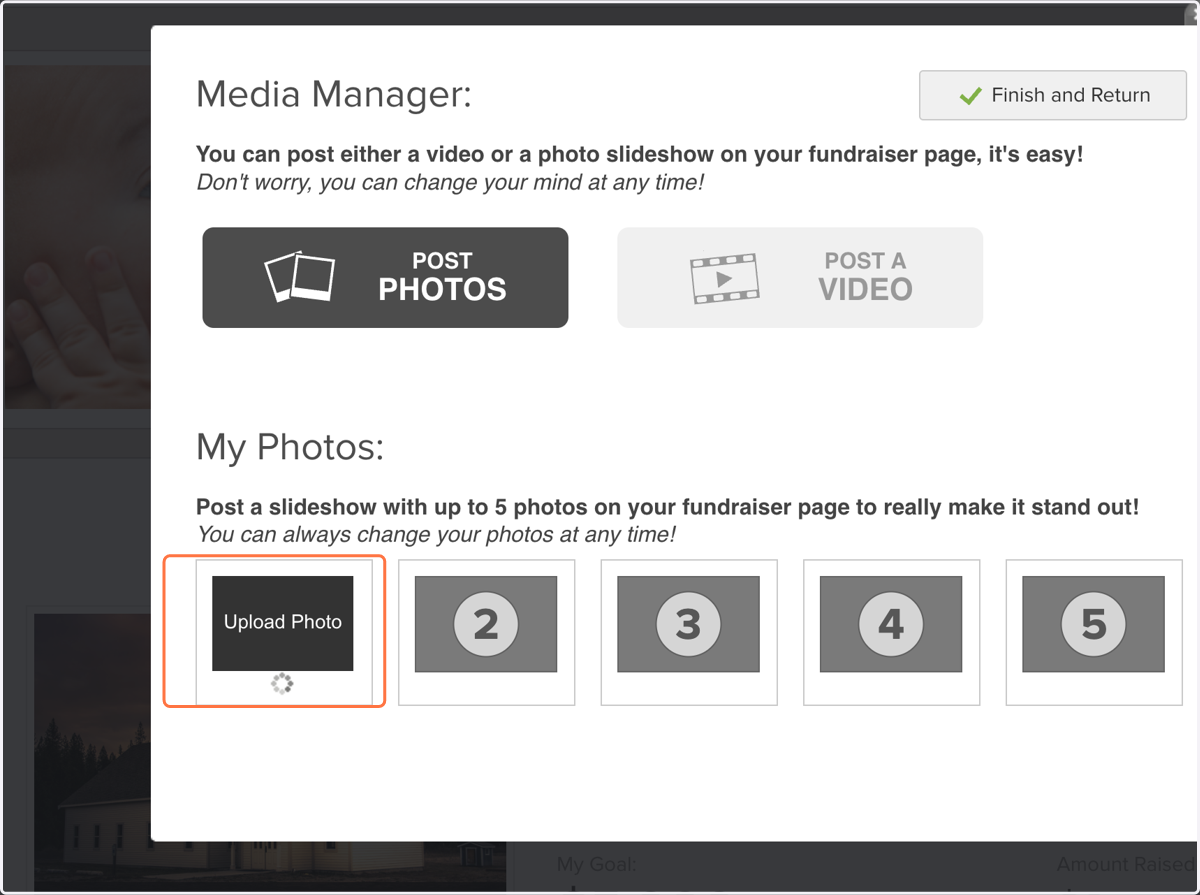
23. To customize the image or video displayed on the church's page, Click on Add Photos or Video
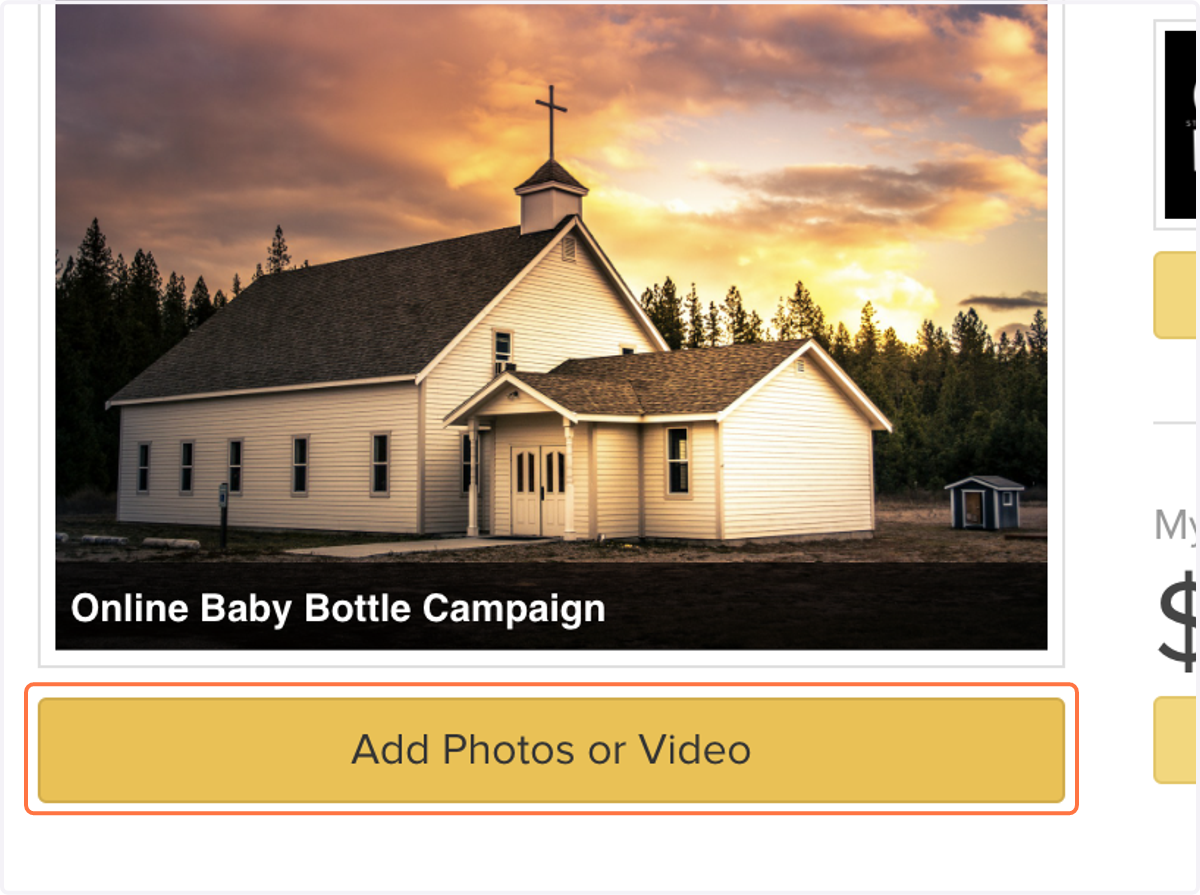
24. Add 1-5 photos to display as a slideshow. You can add captions if you'd like.
If you'd prefer to display a video instead, select "Post a VIDEO" then enter the URL for the video
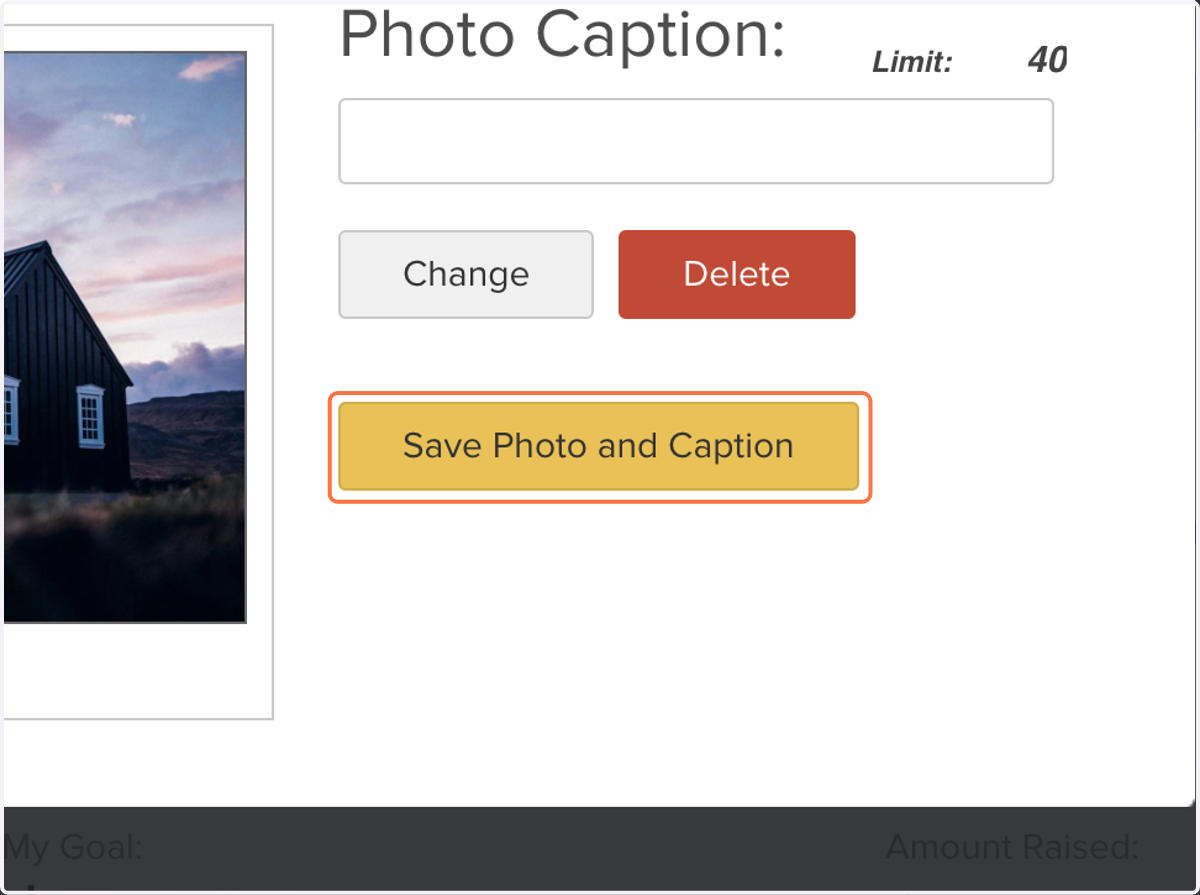
25. Click on Save Photo and Caption
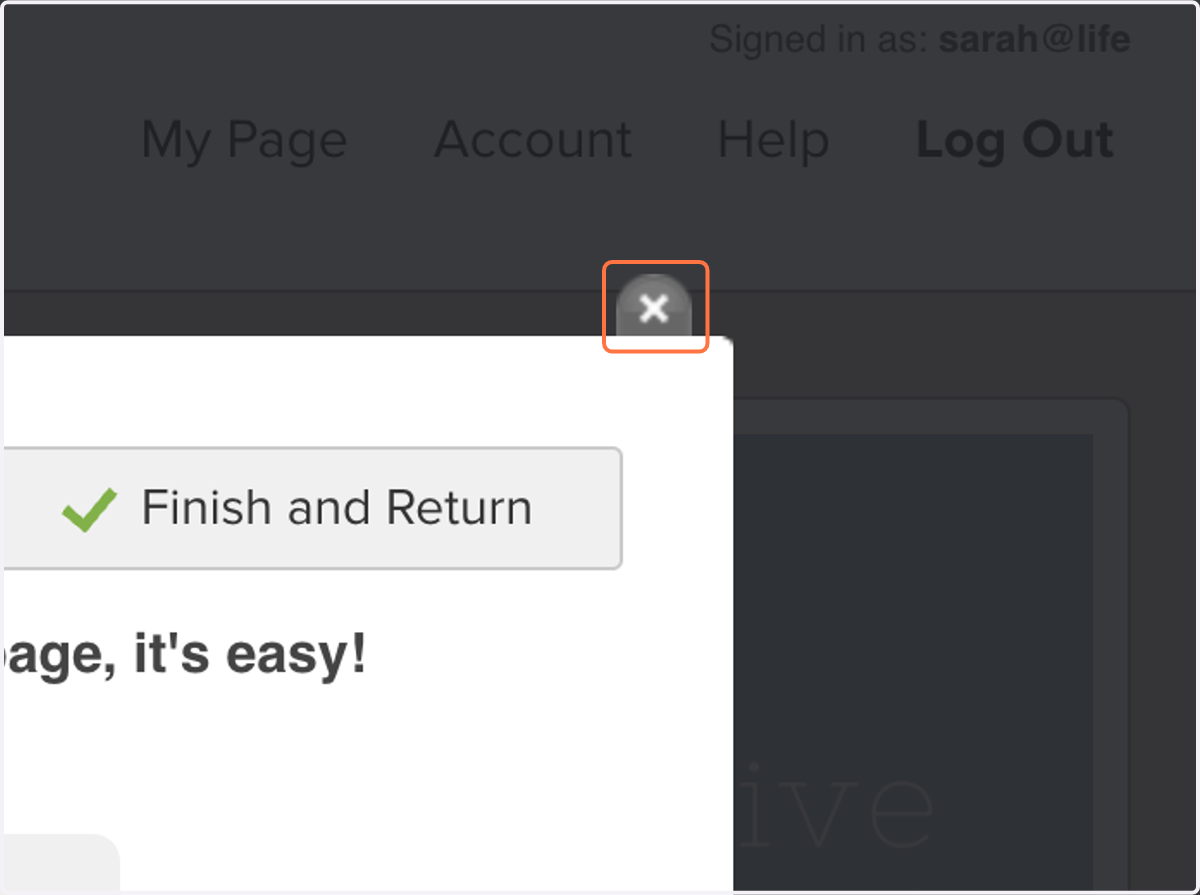
26. Close the Profile Editing Window
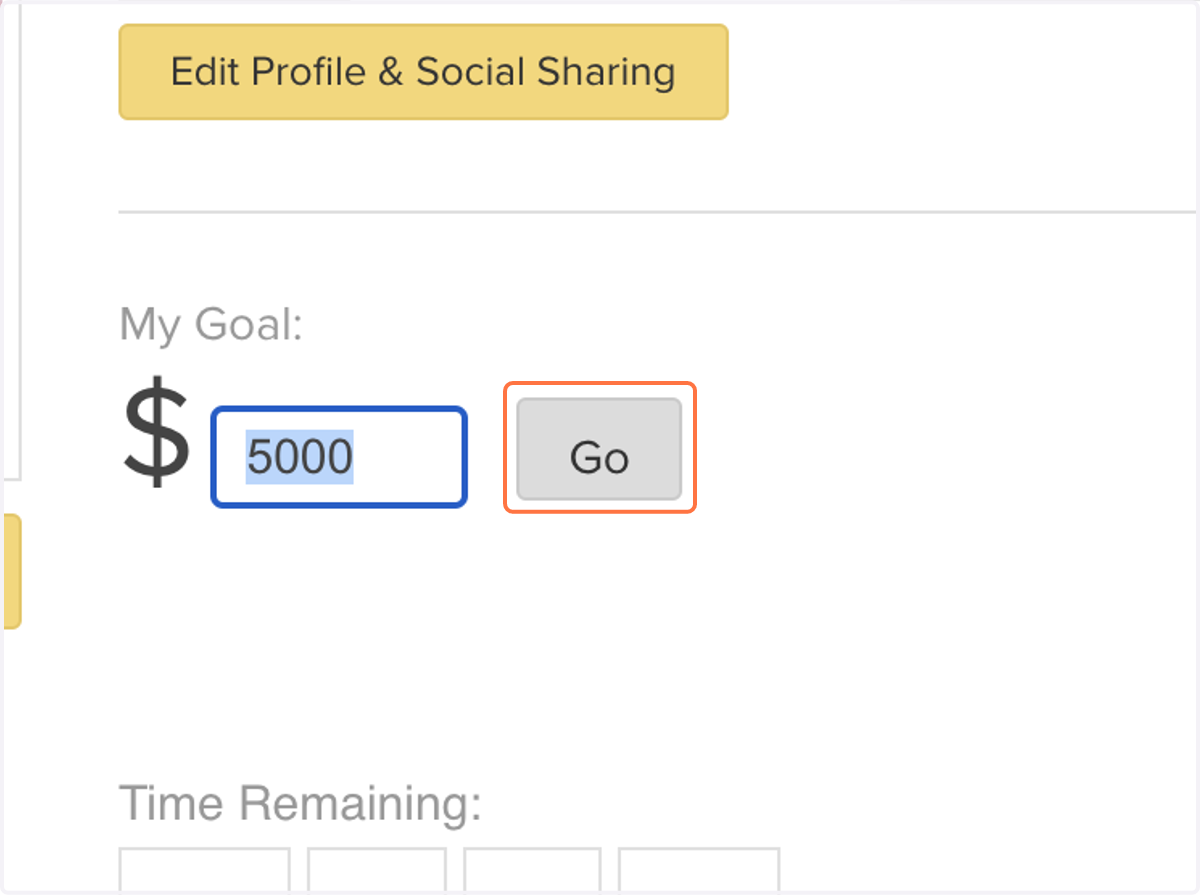
27. If you wish to edit the goal for the church, Click on Edit Goal
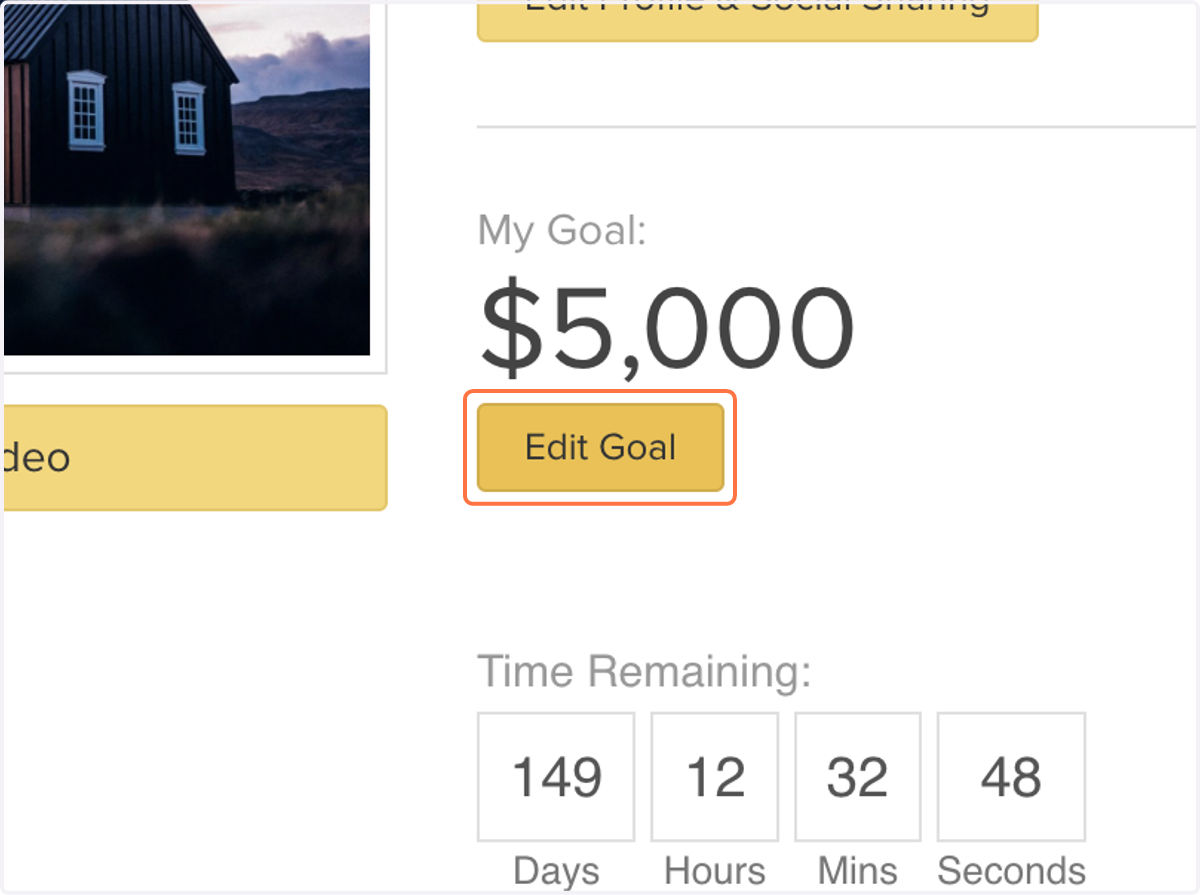
28. Enter the goal amount then Click on Go
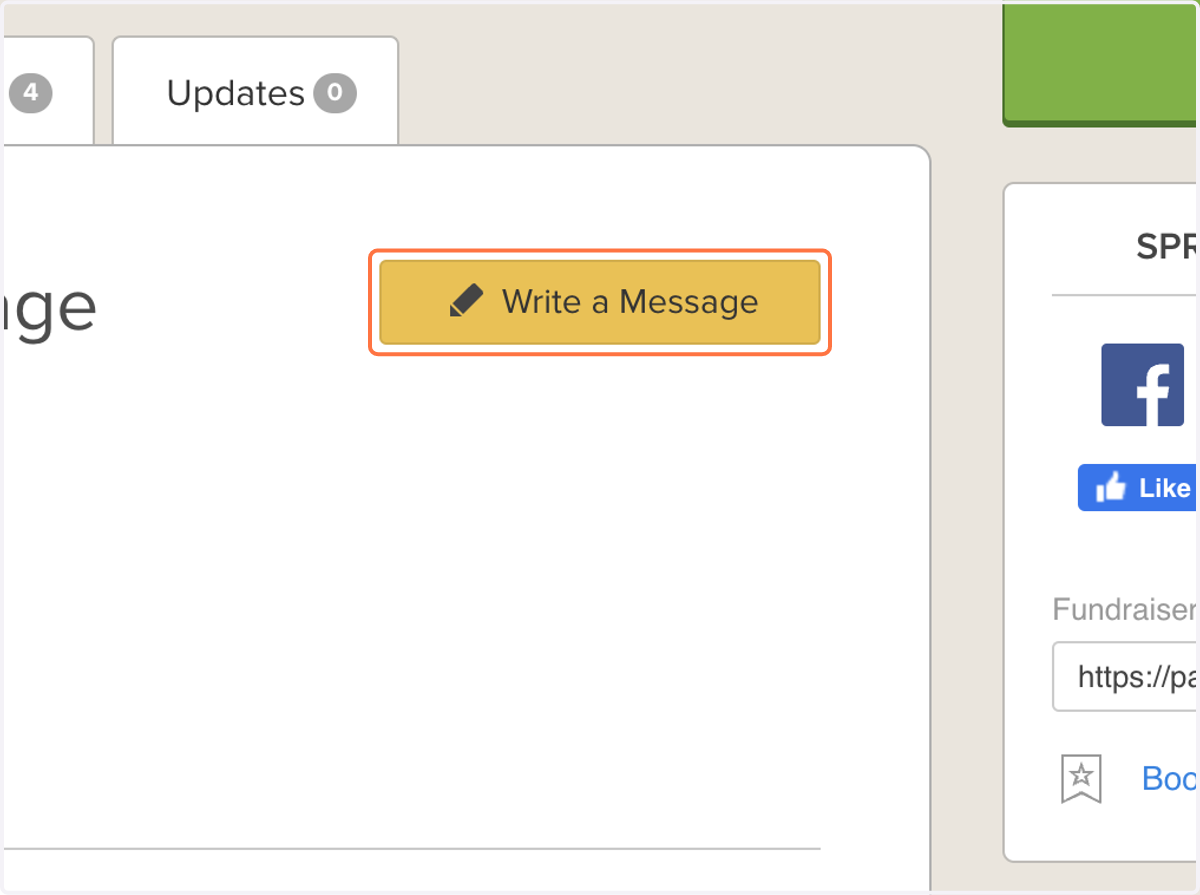
29. To add a Welcome Message, Click on Write a Message
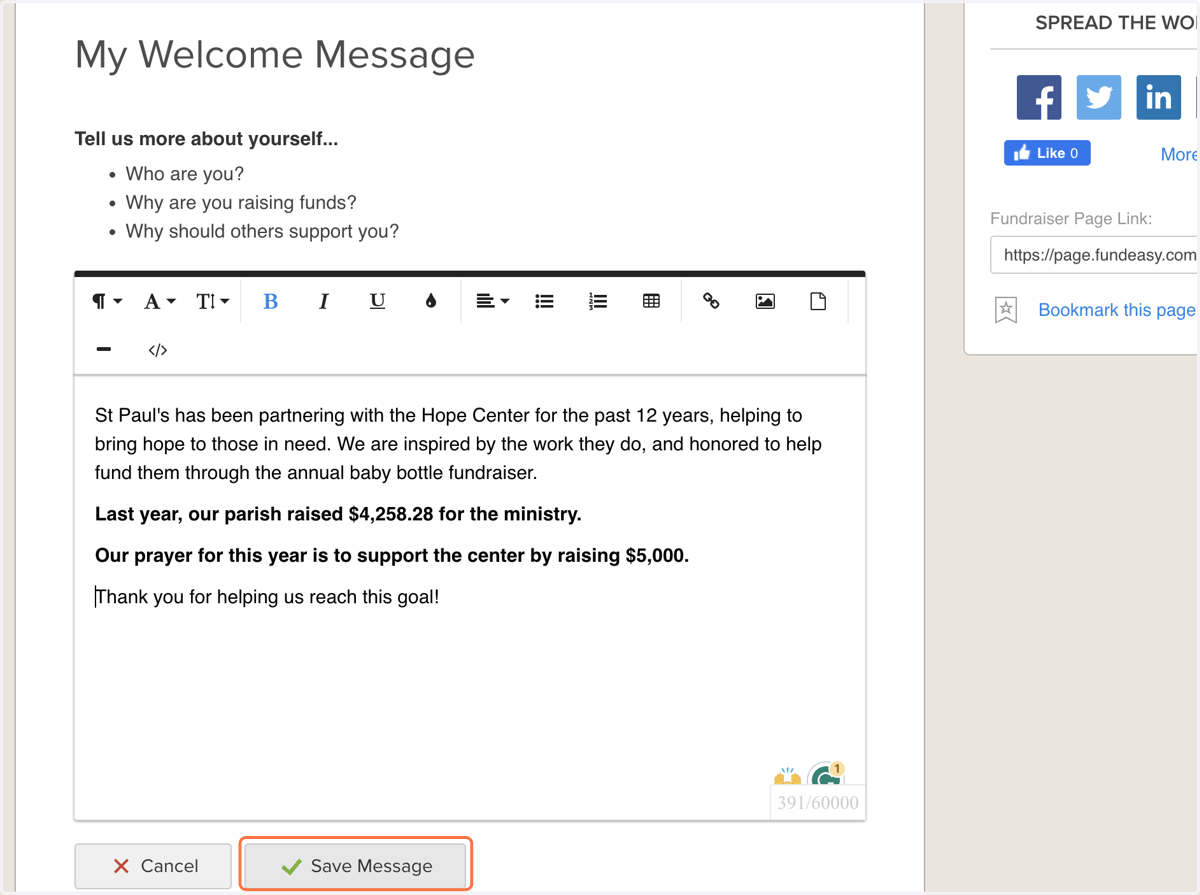
This message should be tailored to the church's congregation. If you don't add a welcome message or update those sections will not appear to the public.
30. Type the Message, then Click on Save Message
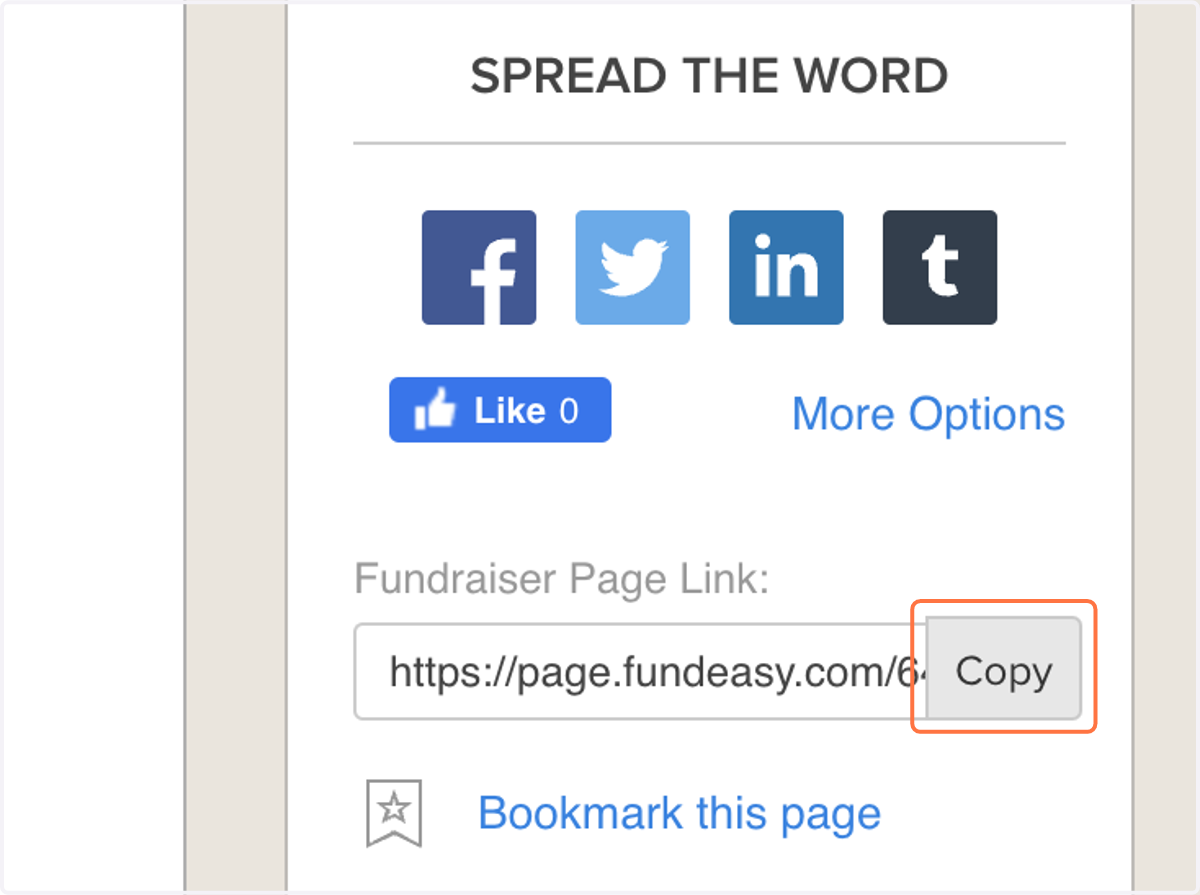
31. Click "Copy" to copy the direct link to the church's fundraising page
This is the link you will give to the church for them to advertise as their "Online Baby Bottle".
You may choose to give them a QR code as well. There are many QR code generators available to create that code - a quick internet search will give you options. This is the URL you'll need to generate the QR code.
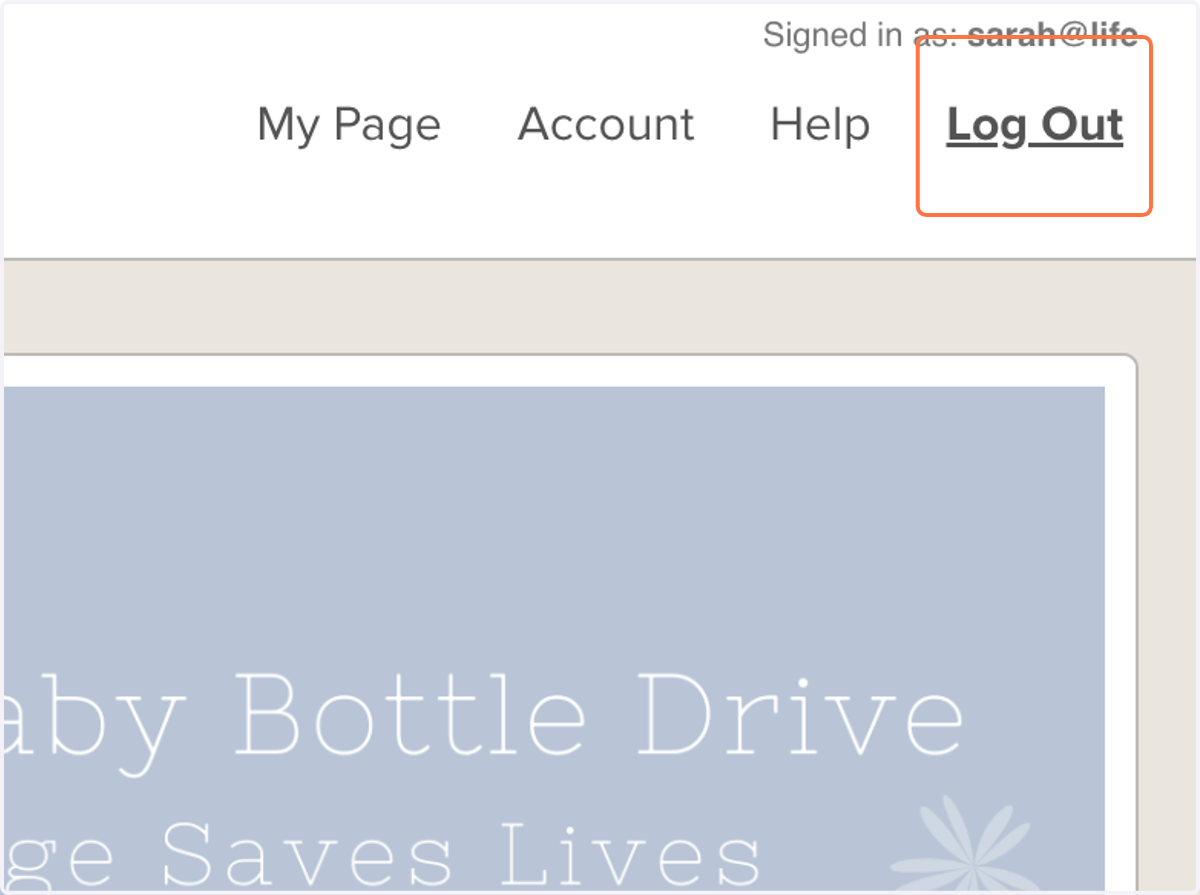
32. When you're finished, Click on Log Out
Managing Multiple Pages
When you're using one login to manage multiple pages, you can easily switch between the pages to make edits if needed. The instructions below show you how.
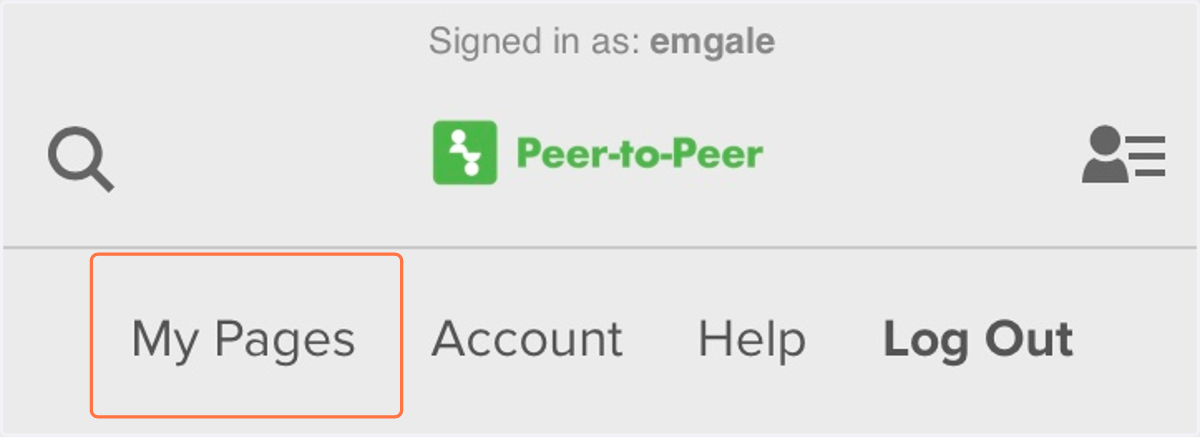
33. Click My Pages
To see this option, you must be signed into Peer-to-Peer and on a Peer-to-Peer page (ie a church's page or your campaign webpage)
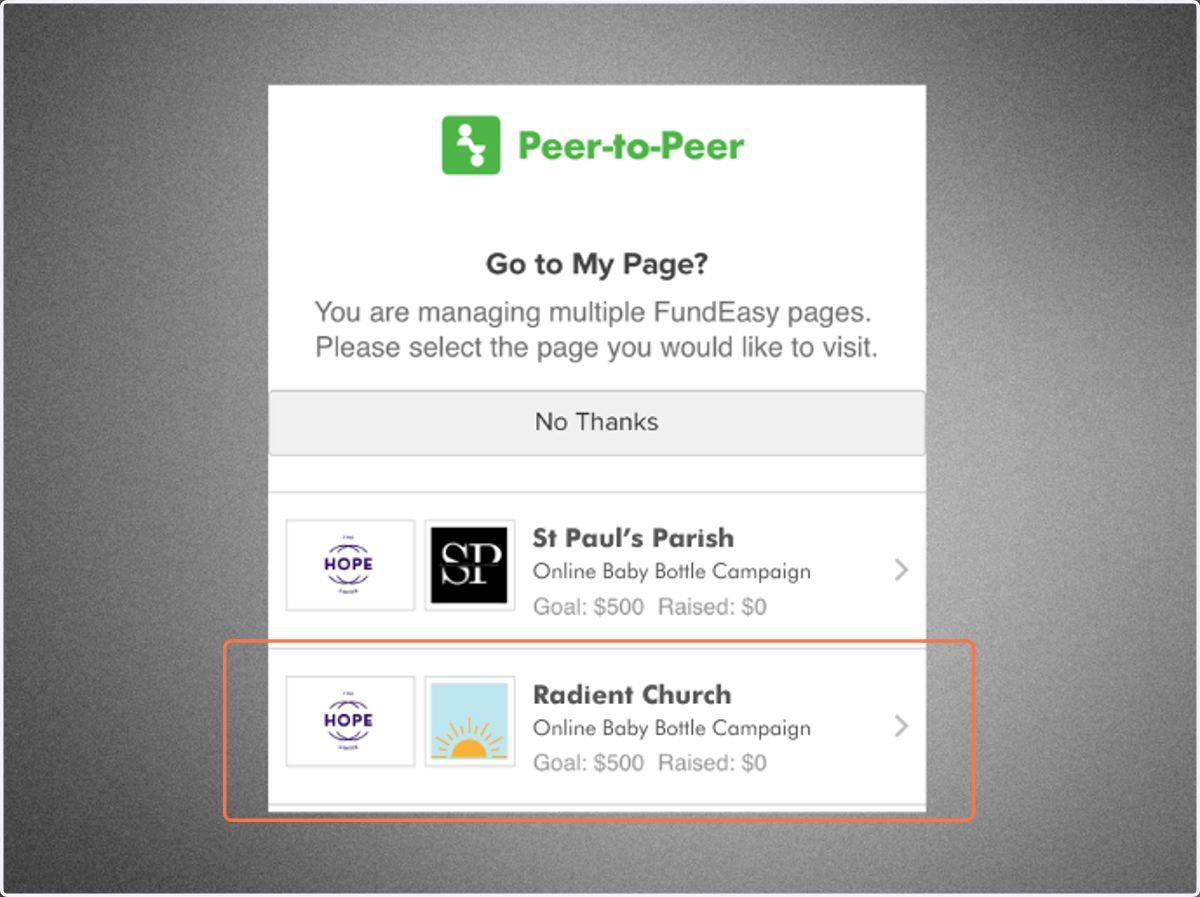
34. Click on the Church you want to manage
Recording Offline Donations
The following steps will show you how to record offline donations for your churches.
What are offline donations? Glad you asked.
They're the donations that come to you in physical bottles. They could be cash or check.
You can add them as a lump sum, or per bottle. You can also use our Receipt tool to send receipts to donors for whom you have addresses.
Below, you'll see how to record a lump sum cash donation.
35. Click on Register Person
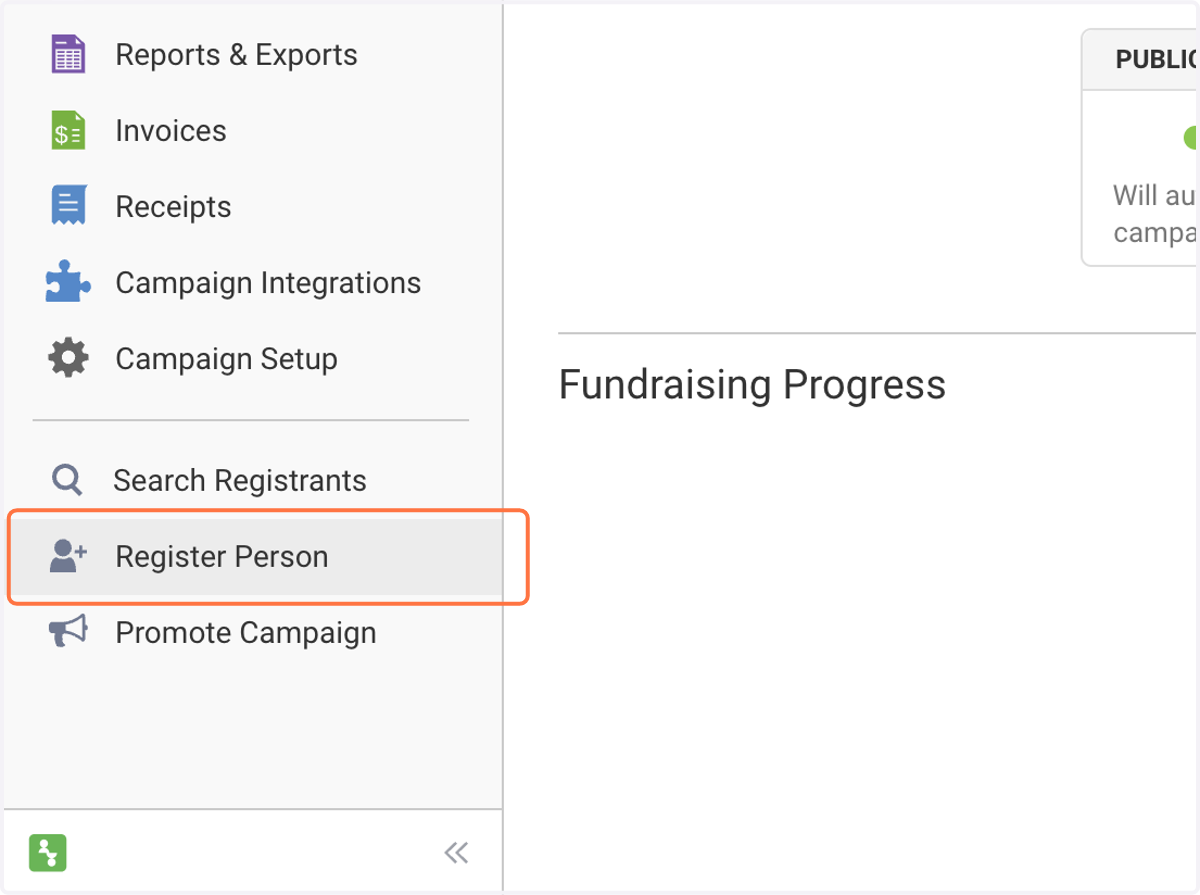
36. Click on Donor…
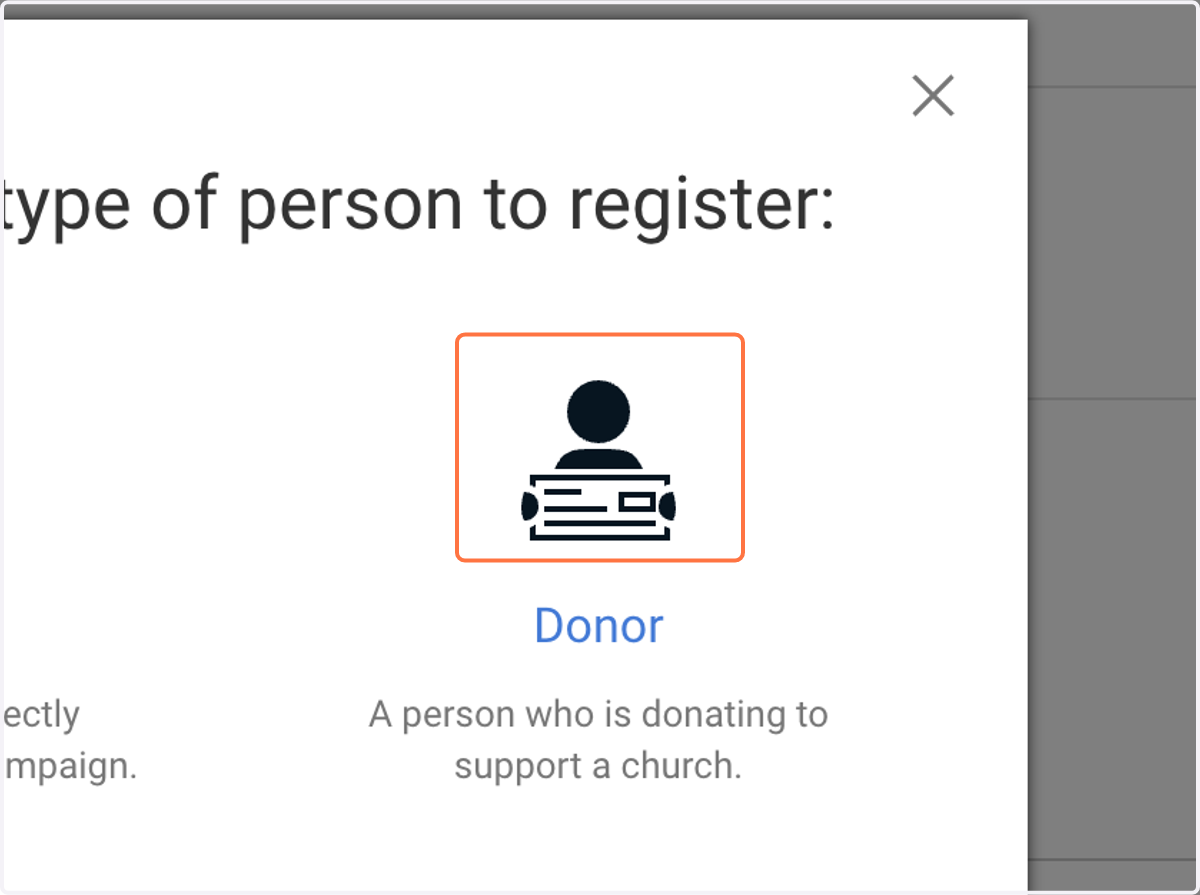
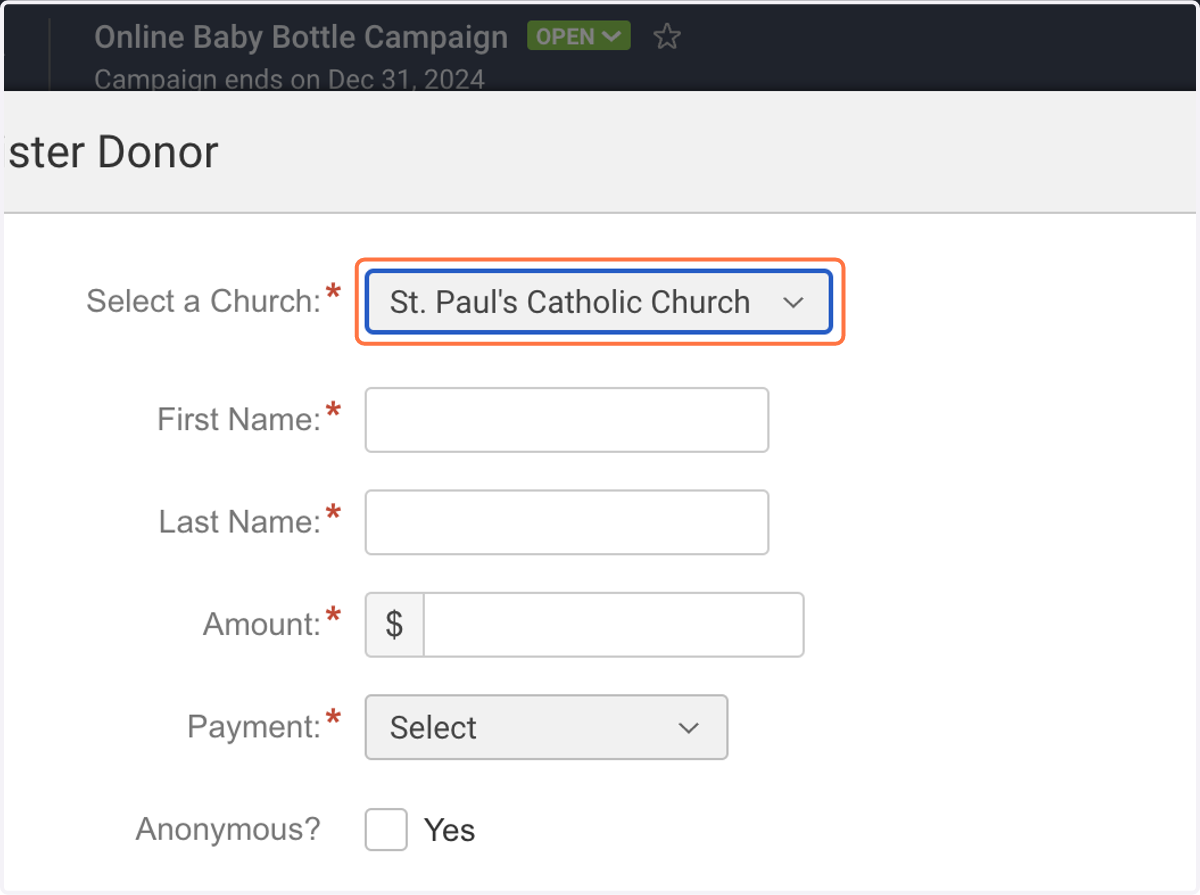
37. Select the Church the bottle(s) came from
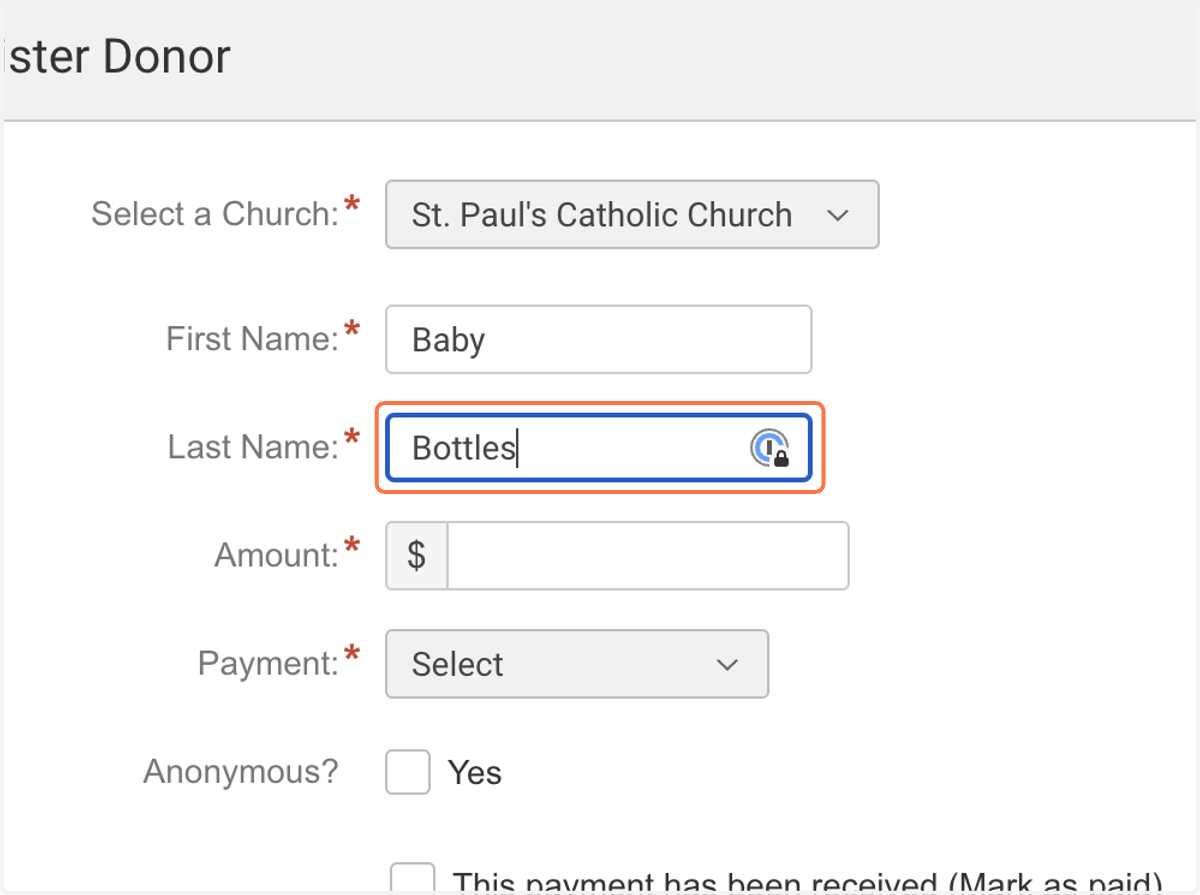
38. Type the donor's name, or a general term if unknown
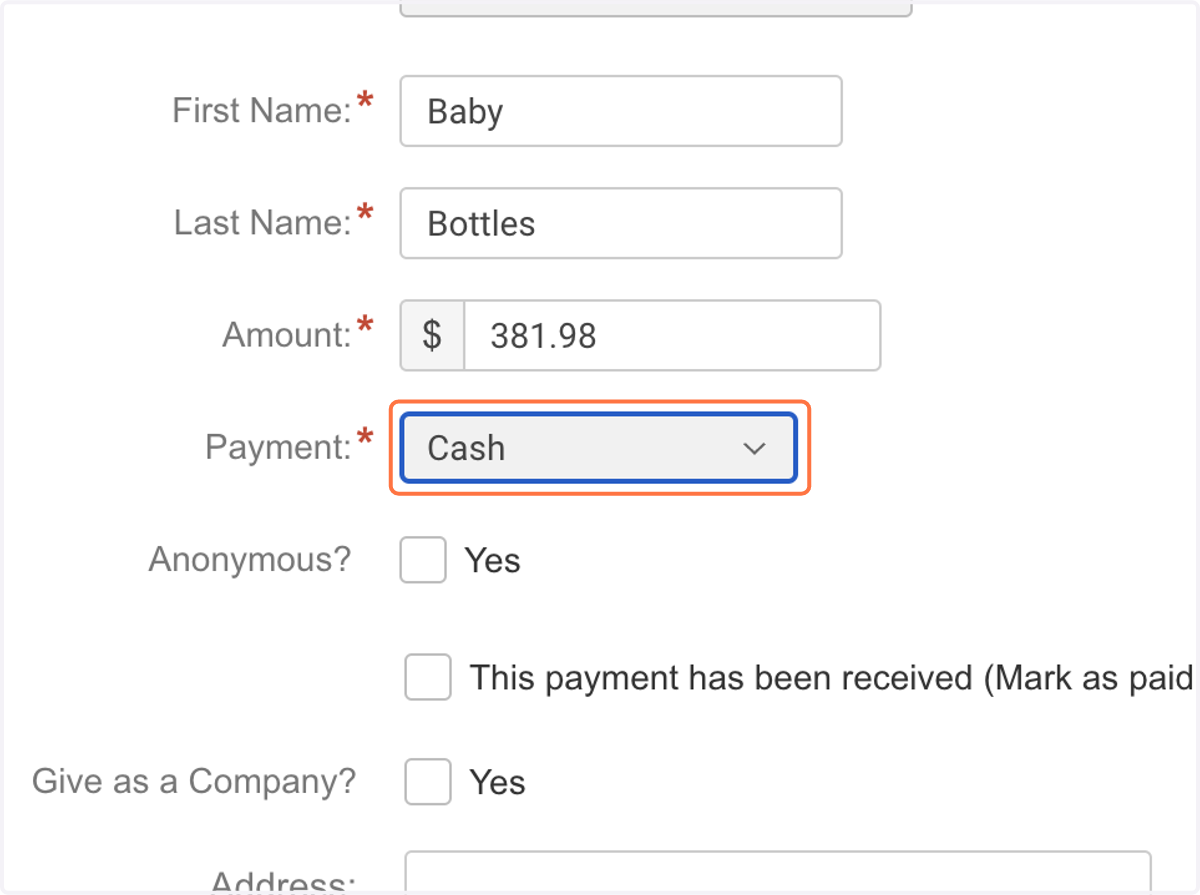
39. Enter the amount received.
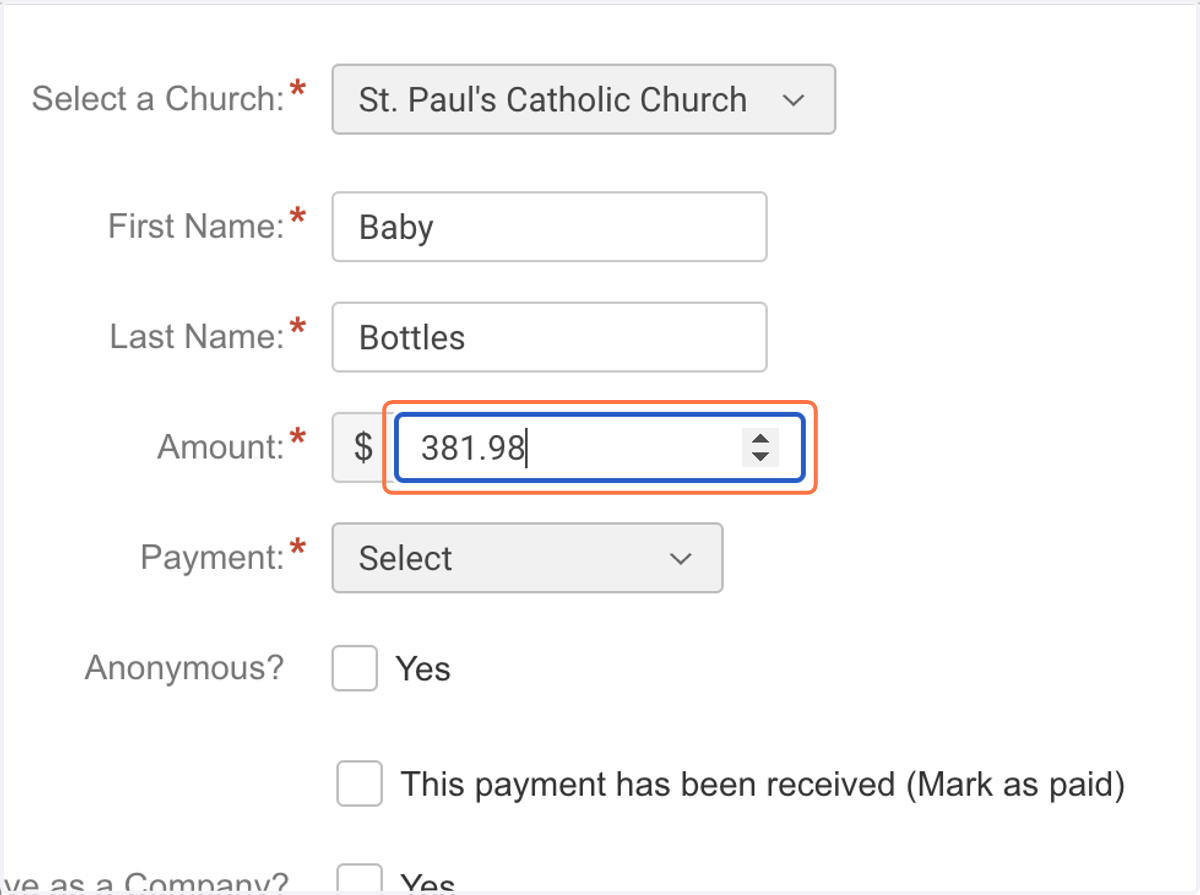
40. Select The Payment Type
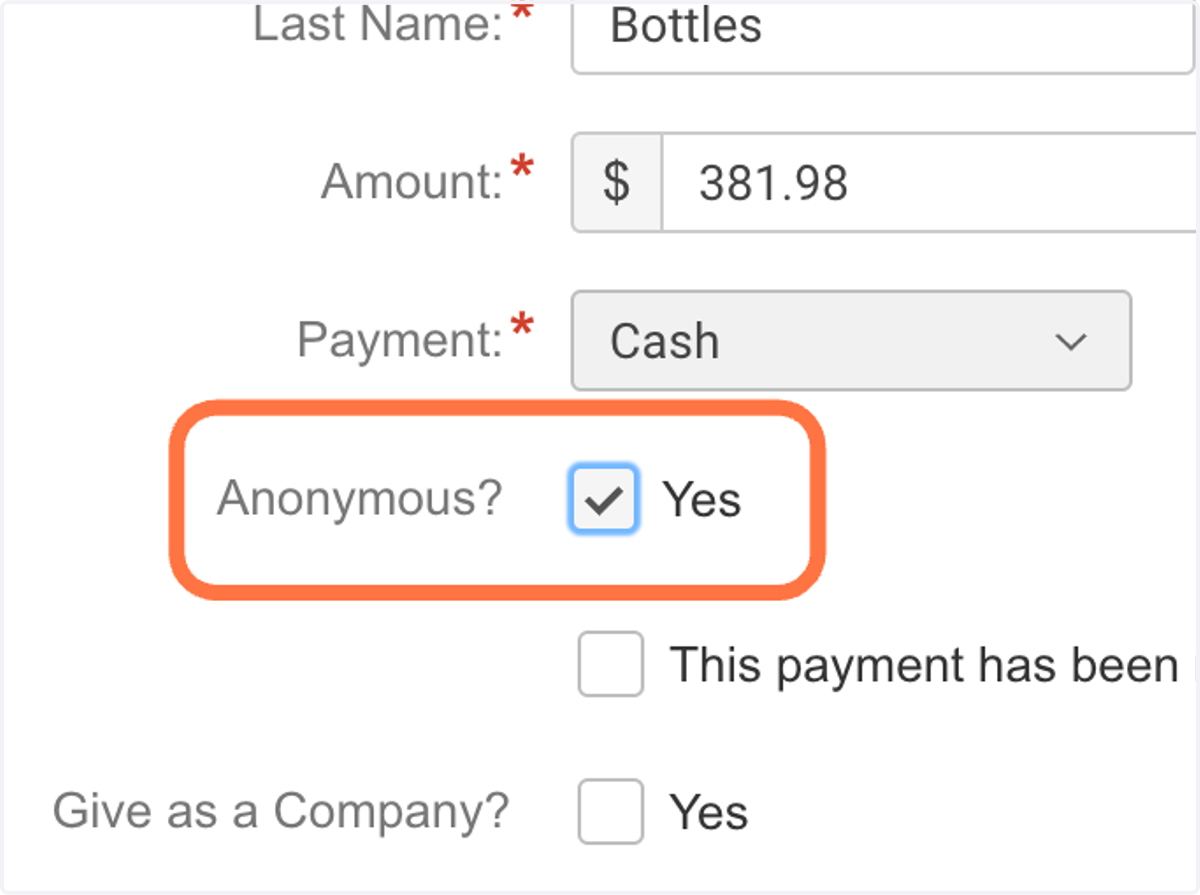
41. Optional: To keep the first and last name from showing on the church's donation form, select "yes" for Anonymous?
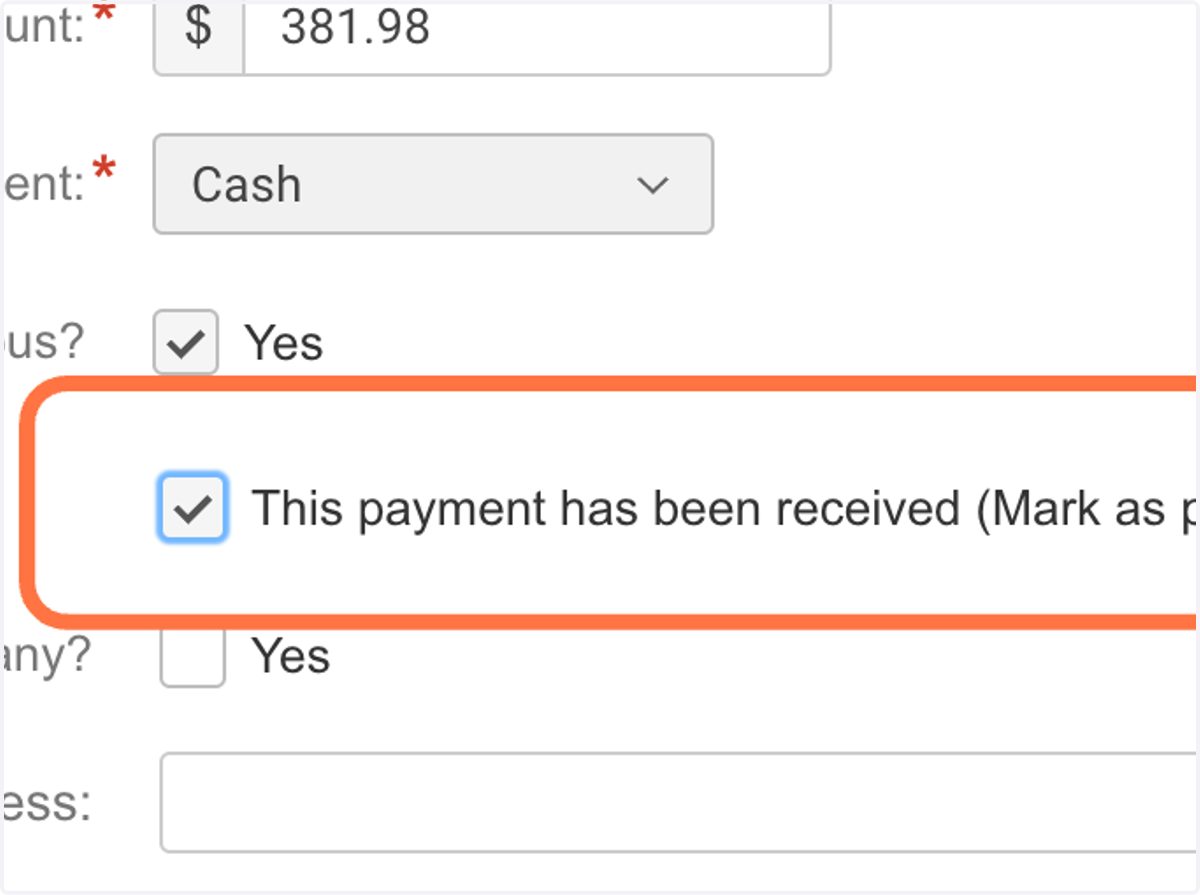
42. Check This payment has been received (Mark as paid)
43. Click on Register
44. Add another Donor, or Click on Done
45. Note that the donation will be represented in the "Amount Raised" section of the church's online baby bottle.