Management of Structures, Users and Data Upload to the SkySnap Geoportal
Management of Structures, Users and Data Upload to the SkySnap Geoportal
Creating an Sitte (Location) and a Project
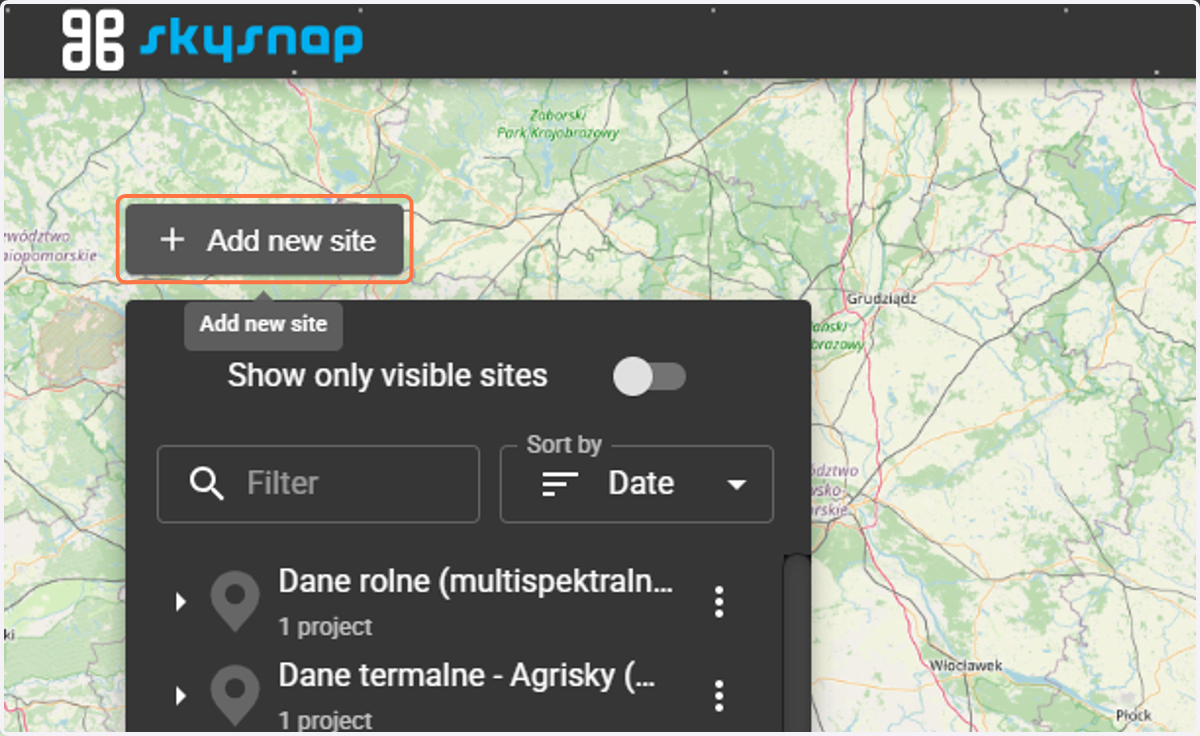
1. To create your own site (location), first, select the "Add new site" button in the main panel, which will create a new site (location).
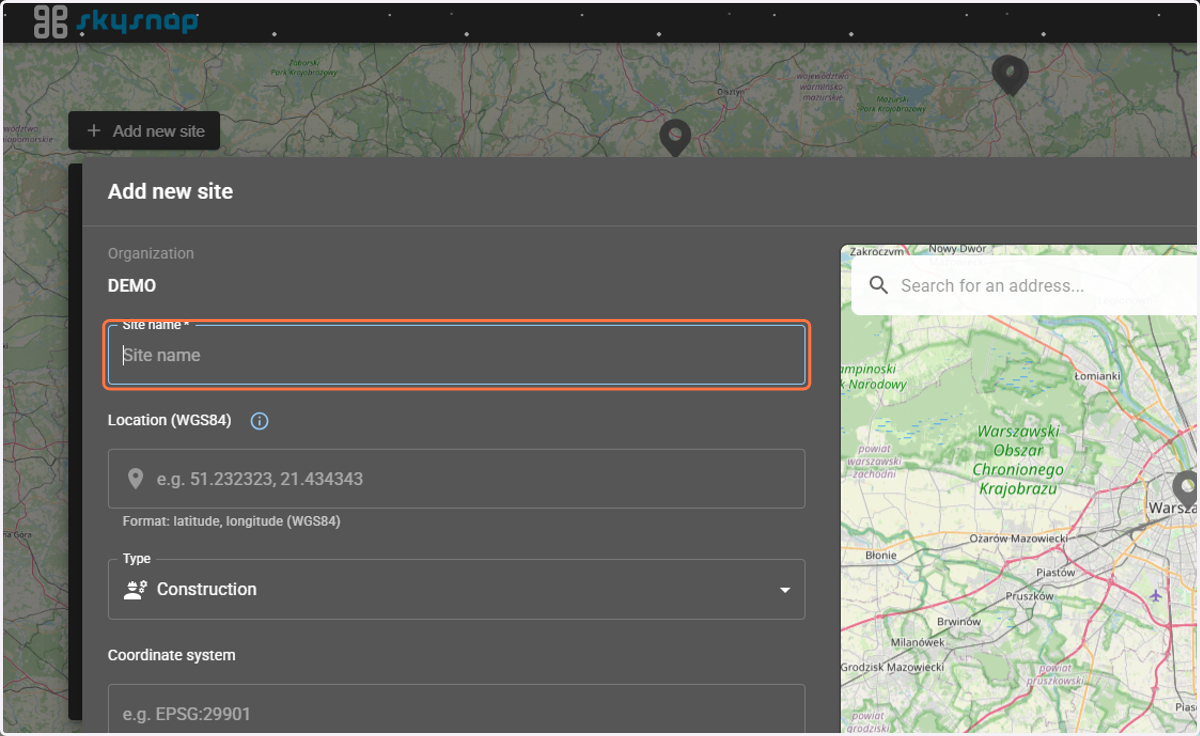
2. Next, you must provide the name of the site (location) – it should have a minimum of 4 characters.
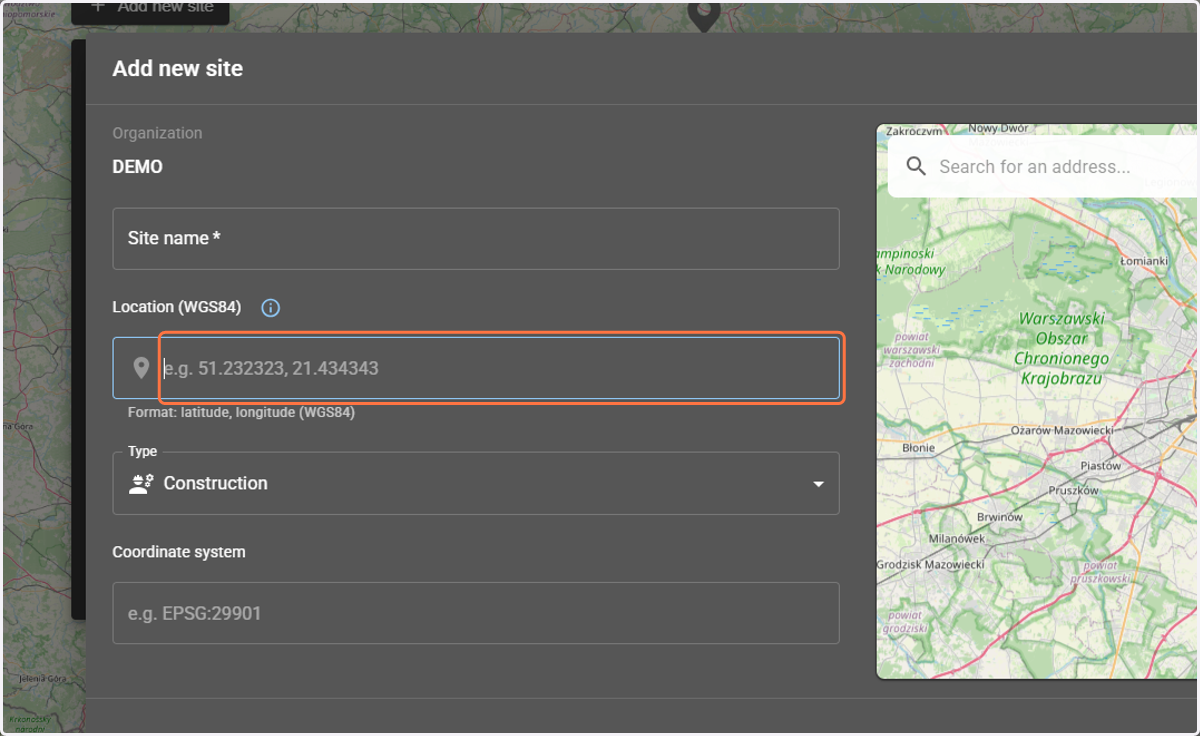
3. Set the location of the site (location) by entering coordinates or by searching on the map on the right side.
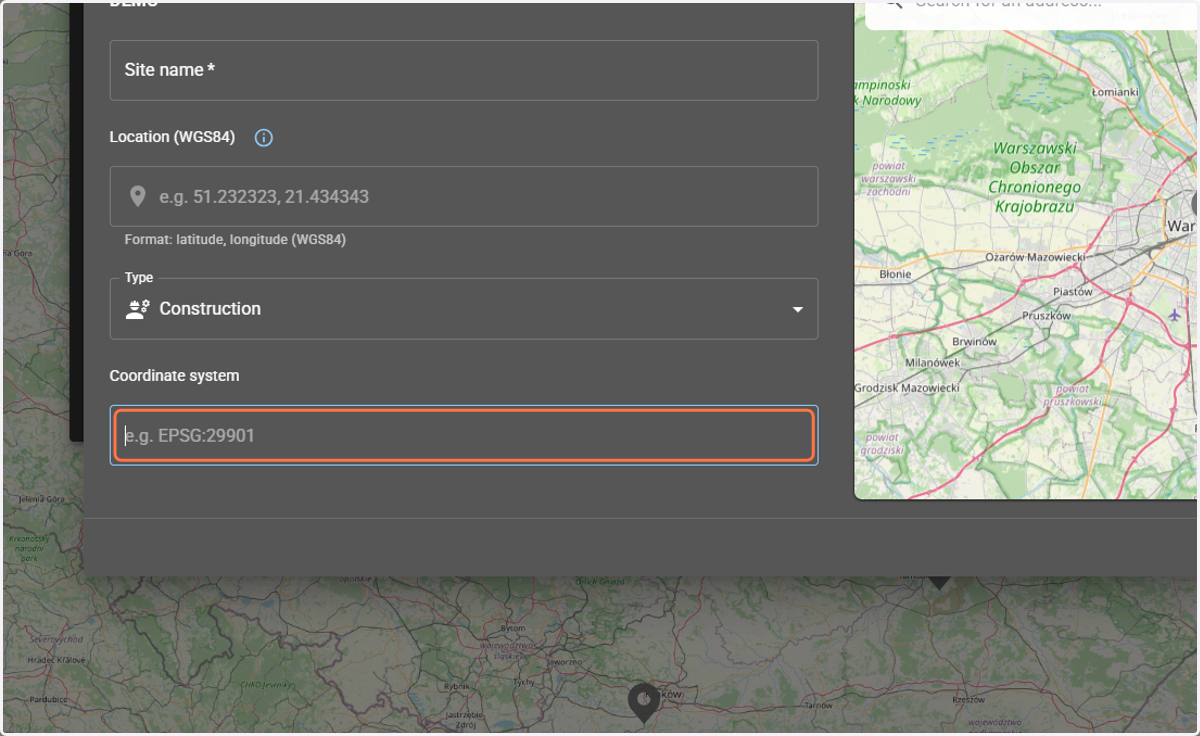
4. In the next step, you need to select the coordinate system for the site (location).
NOTE: If you know the EPSG code of the system, you should enter it and wait a moment for the values to be filled in the drop-down list, then select one of the coordinate systems.
When user enters the EPSG 4326 code, they will receive information in a drop-down list about coordinate systems that match the description. Select appropriate coordinate system.
NOTE: The coordinate system is assigned to the entire site, which means that all data imported to this site should have selected system. If you have any doubts about which system to choose, write to us at app@skysnap.com.
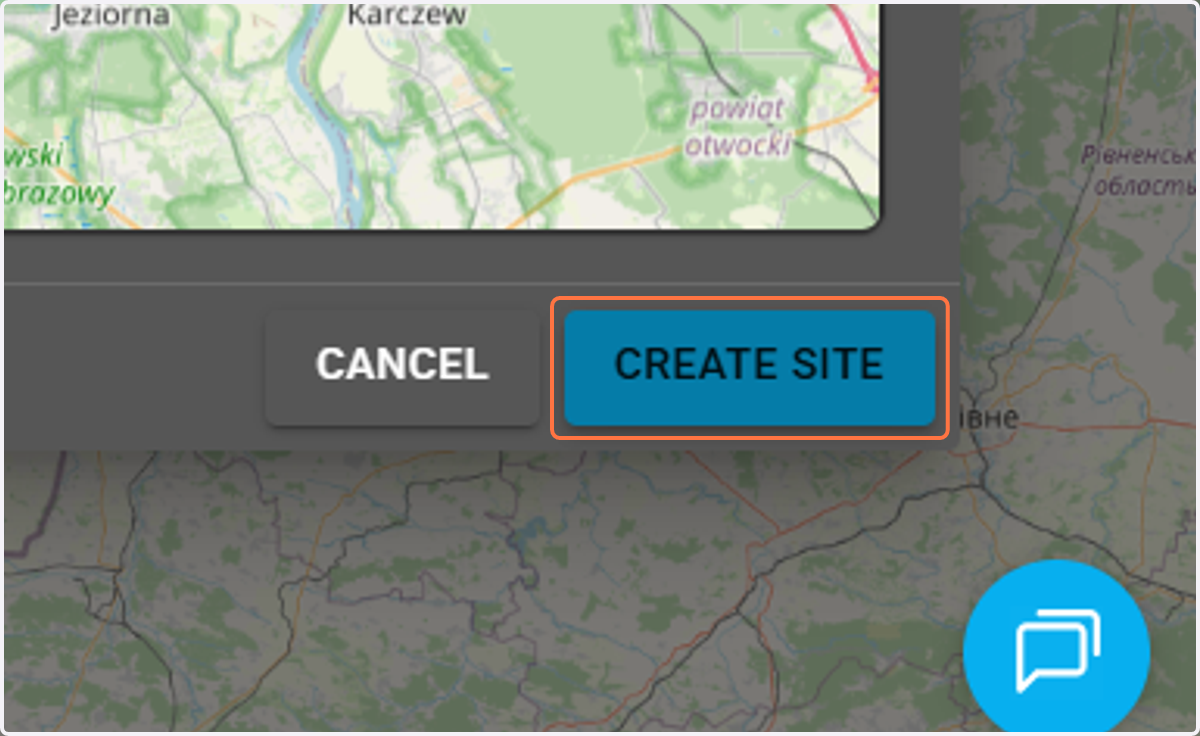
5. Confirm your selection with the "Create site" button.
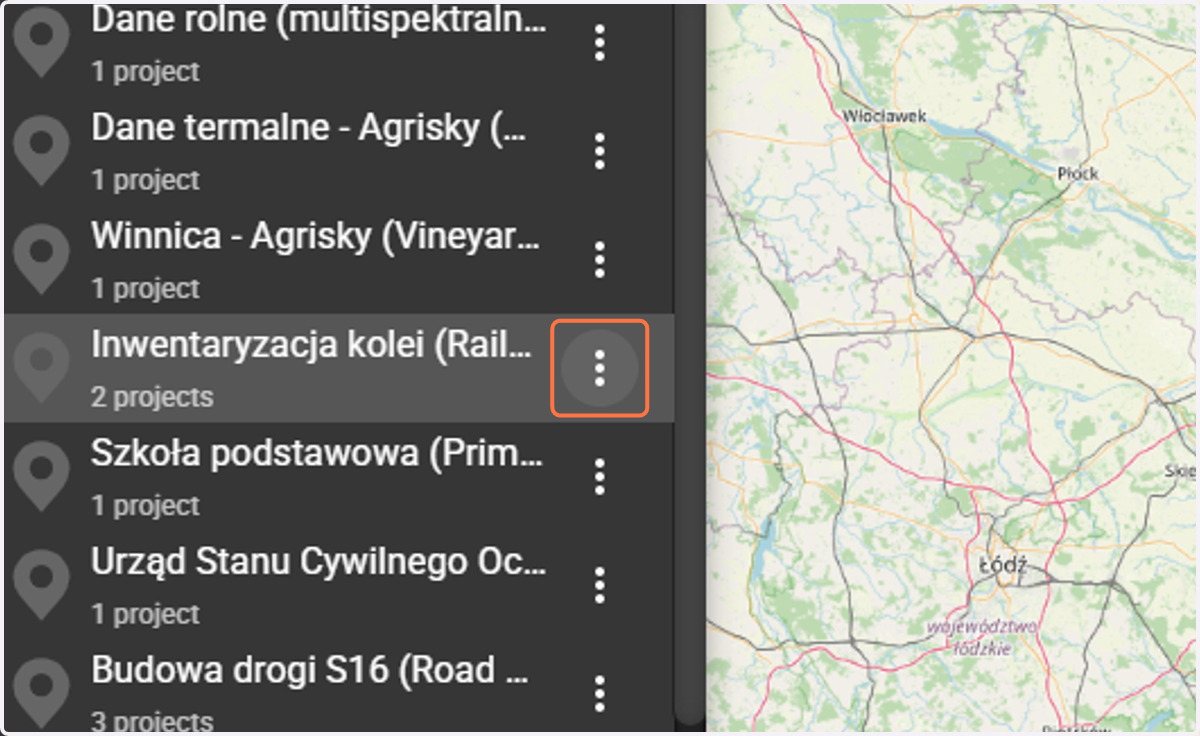
6. To create a new project, you need to click the 3 dots next to the specific site (location) to which you want to add the project.
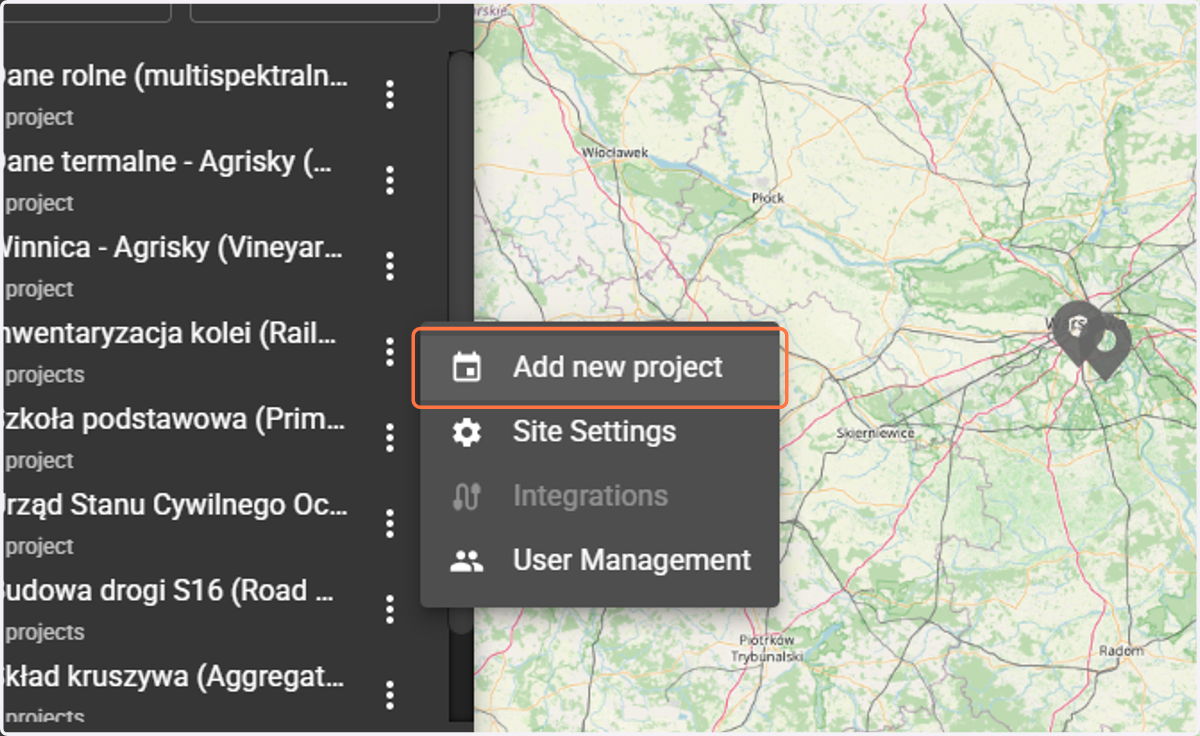
7. Buttons related to the site will appear; select the "Add new project" button.
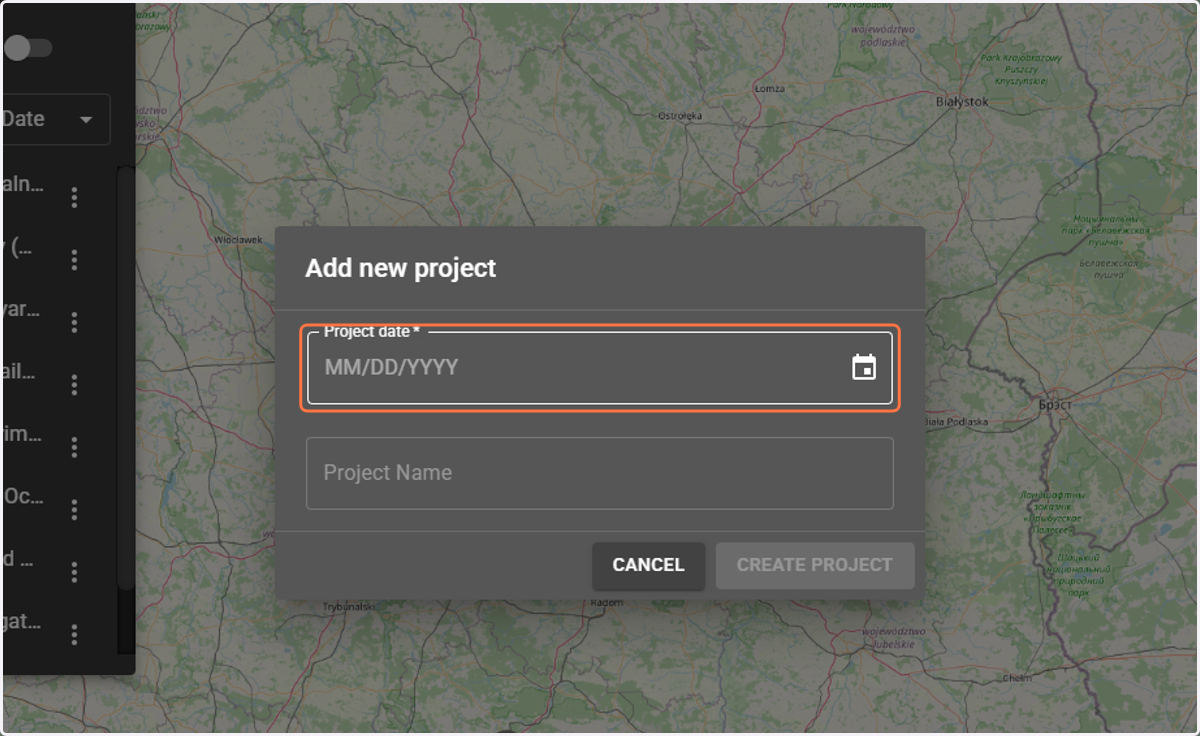
8. Enter the project date and optionally the project name.
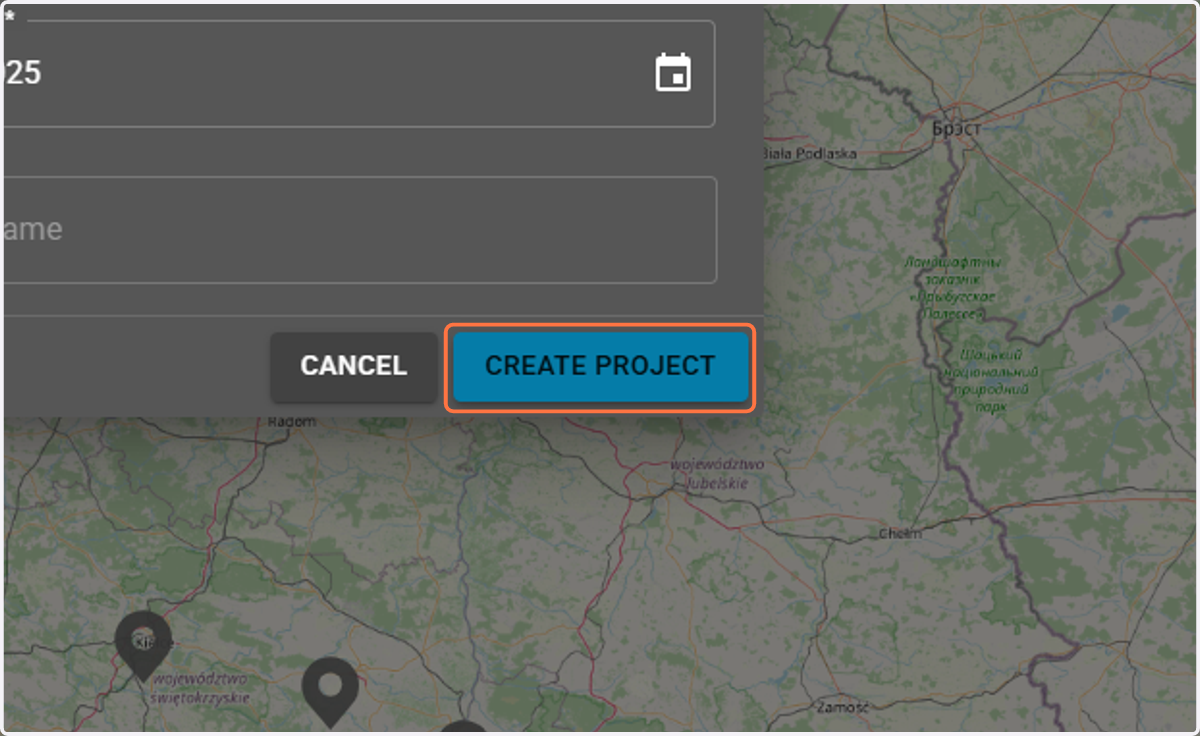
9. To create the project, click the "Create project" button.
Data Upload
10. After entering the site and the specified project, select the "Data upload" button in the project view.
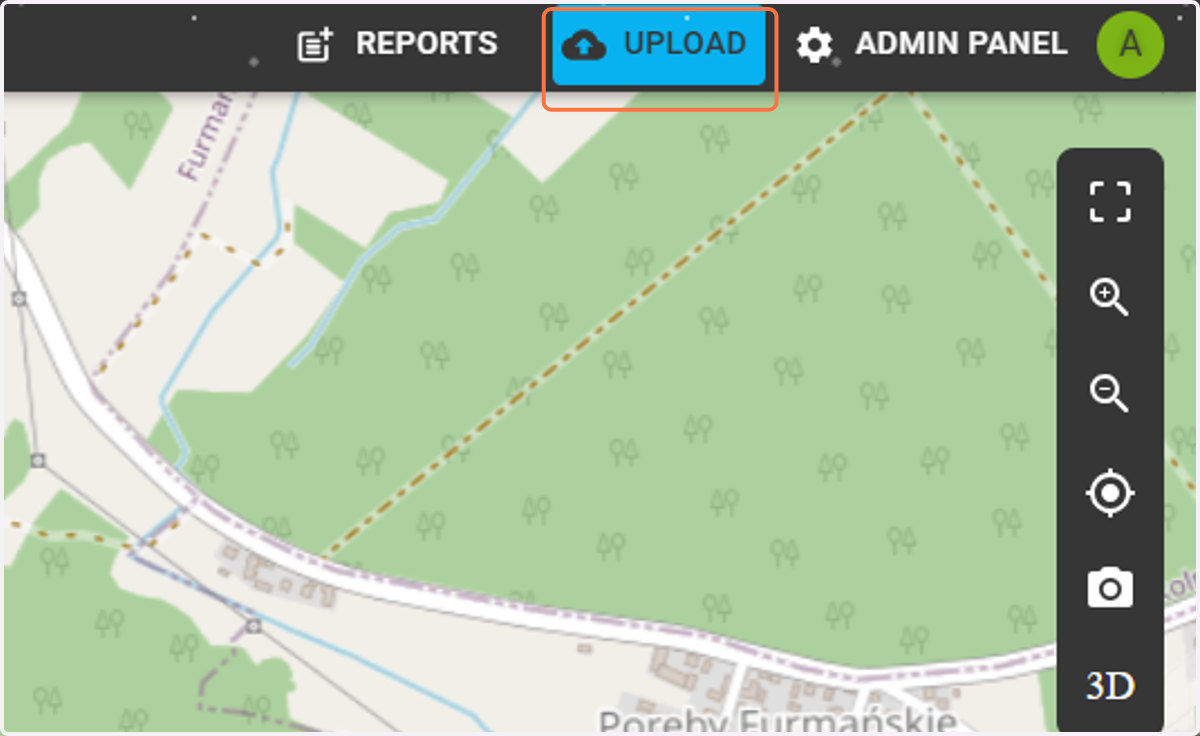
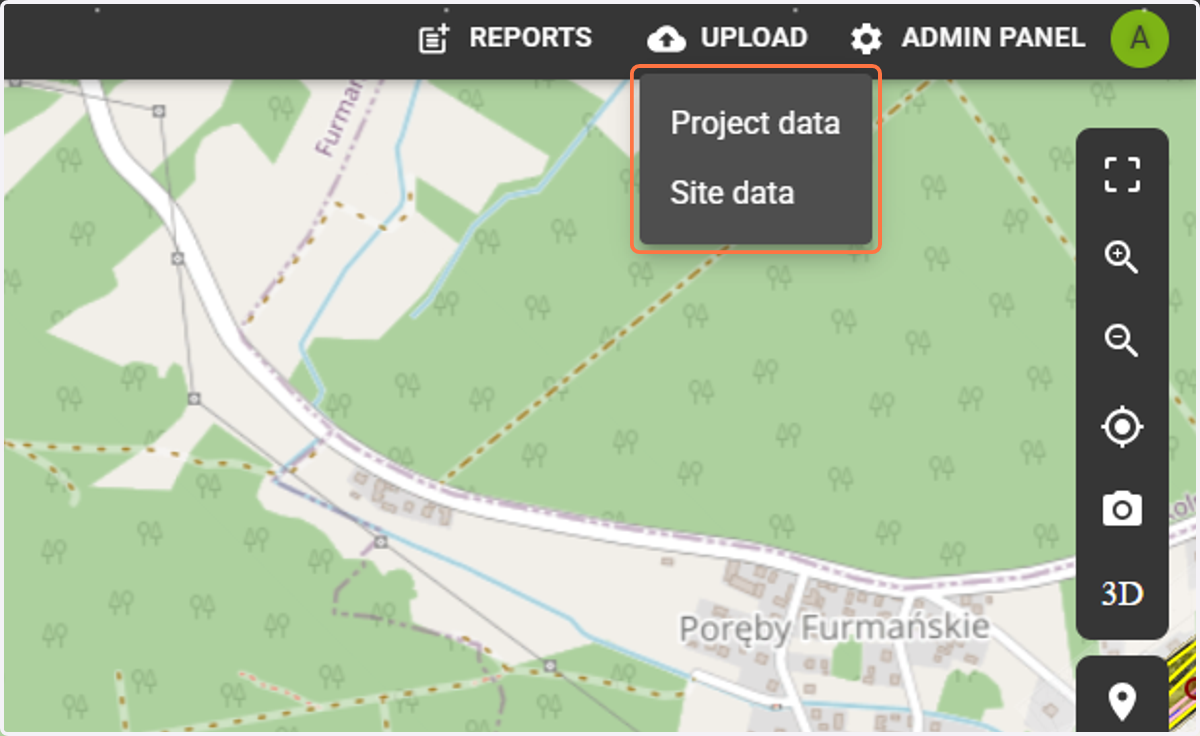
11. By selecting the "Upload" button, you have the option to upload data to two distinctions: to the project and to the site.
Project Level: Unique data, visible only for the selected date.
Investment Level (Shared): Permanent data, visible across every project within a given investment. Once uploaded, it remains accessible for every survey date in the investment.
12. Next, select the format of the data you want to import.
Available options are:
Vectors - .geojson vector data, .shp files (.shp files must be prepared in the form of a compressed ZIP file)
Elevation Rasters - .tiff, .geotiff files
CADs - .dxf and .dwg files
LandXML - .xml files containing terrain surfaces
Point Clouds in .las and .laz format
Orthophotomaps - .tiff, .geotiff files
Images - .jpg or .png files
360 Images - .jpg or .png files
BIM - .ifc files
Mileages - road axes for automated earthworks billing. If you are interested in automations, contact us at app@skysnap.com and we will help you prepare the files with the axes in the correct format.
NOTE: When uploading data in a single session, you can select only one file type. This means if you want to upload an orthophotomap and a point cloud, you must do it separately. For example, first upload the "Orthophotomap", confirm the data upload, and then select the "Point Cloud" type, select the cloud, and confirm again.
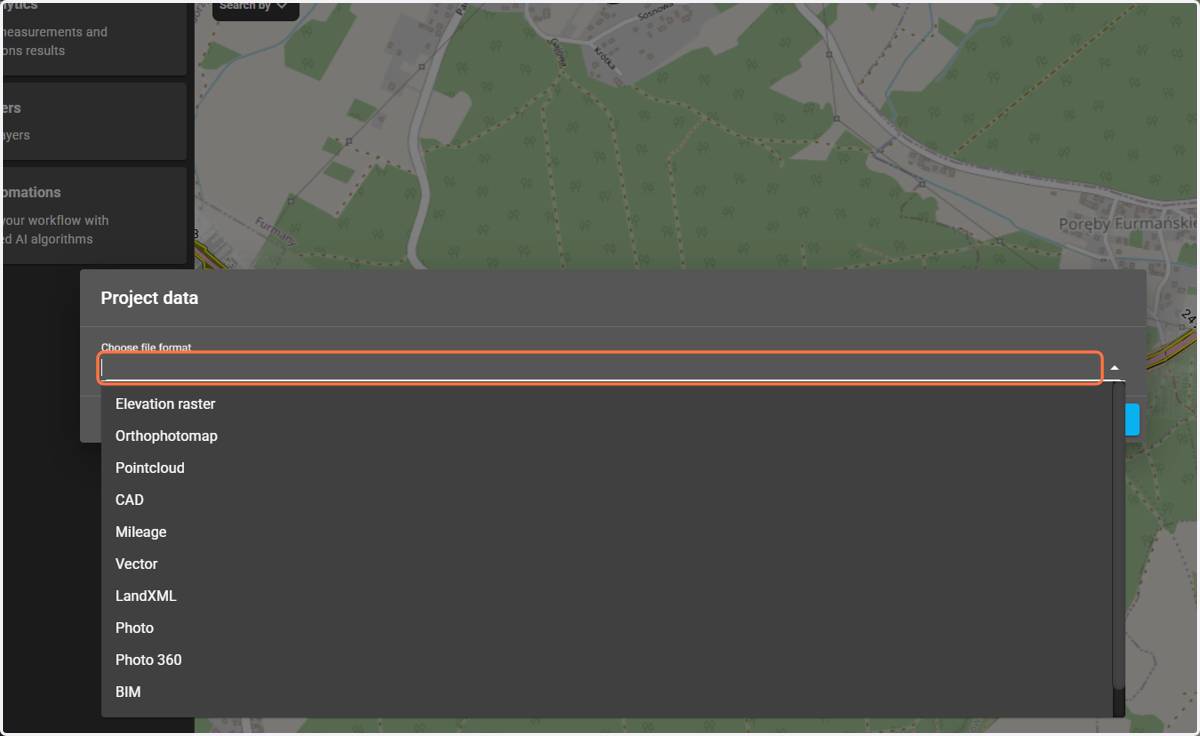
13. EXAMPLE - Uploading a CAD file to a project
After selecting the "Data upload to project" button, choose the data type "CAD". Click the "Select files" button to choose the appropriate file/files from your computer. Once selected, the appropriate file will appear on the list. When adding a CAD in .dwg format, the "Rasterize" option should be checked, while when uploading in .dxf format, this option should be unchecked if you want it to display in vector form.
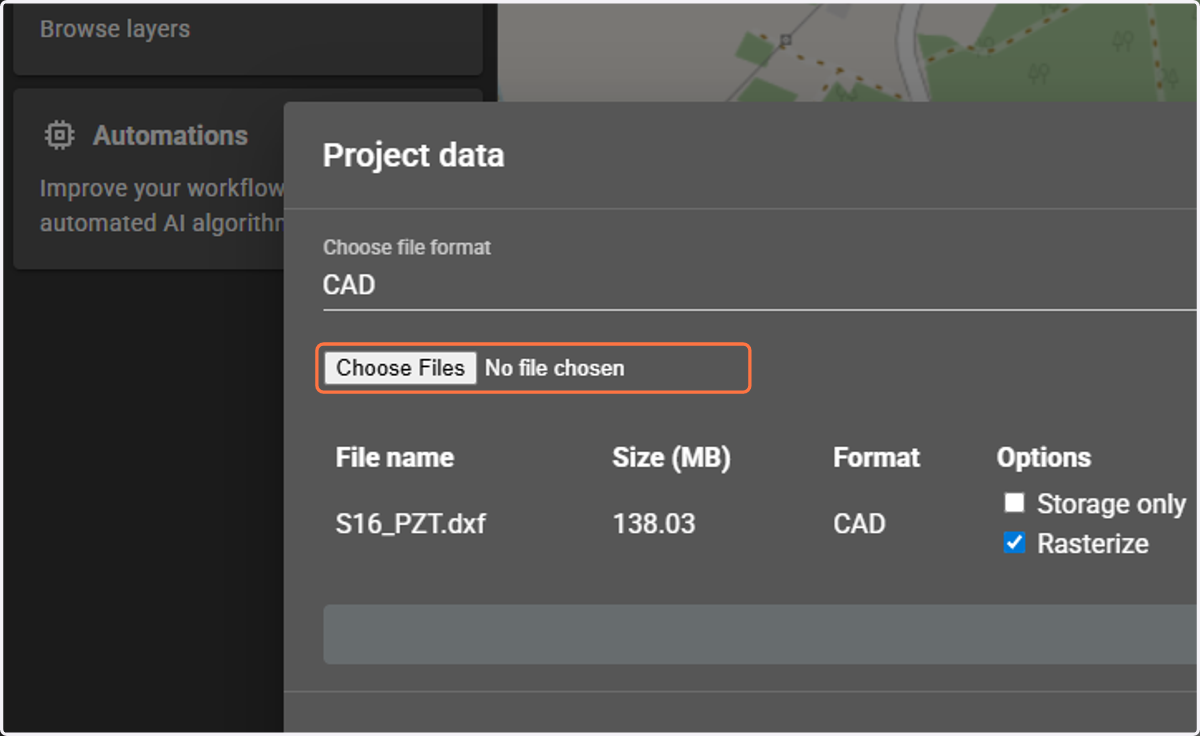
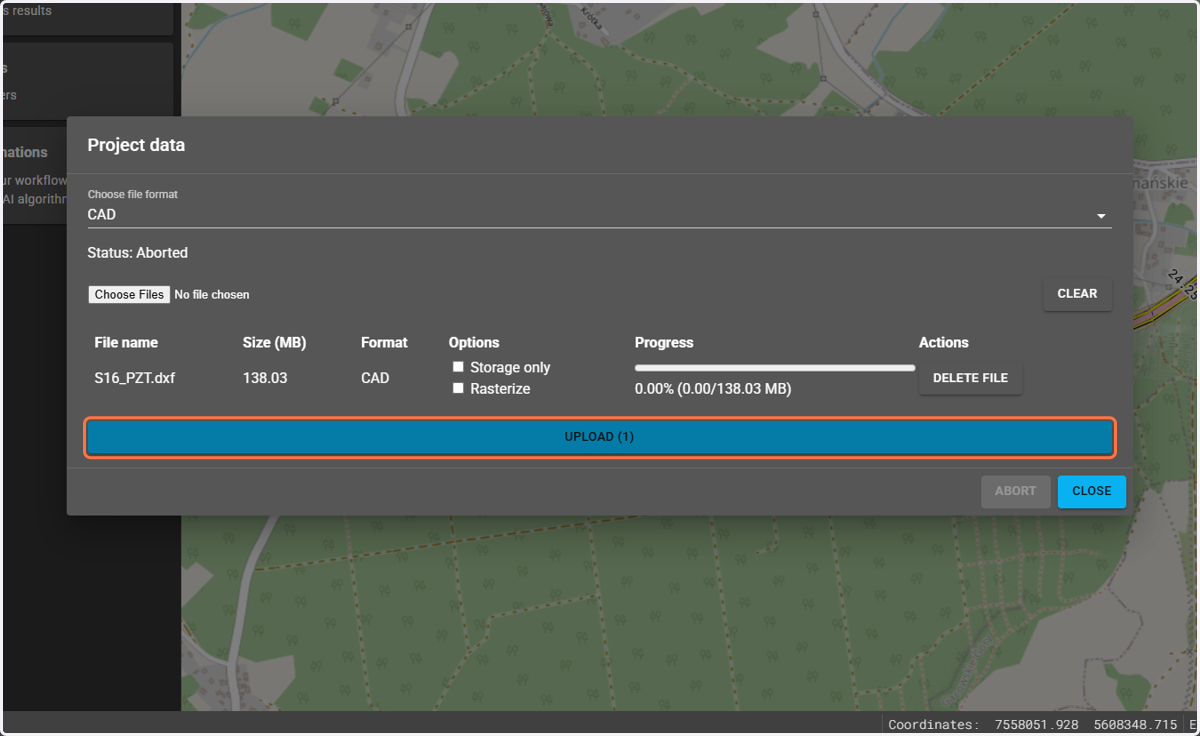
14. Next, select the "Data upload" button.
A progress bar is displayed while uploading the data file.
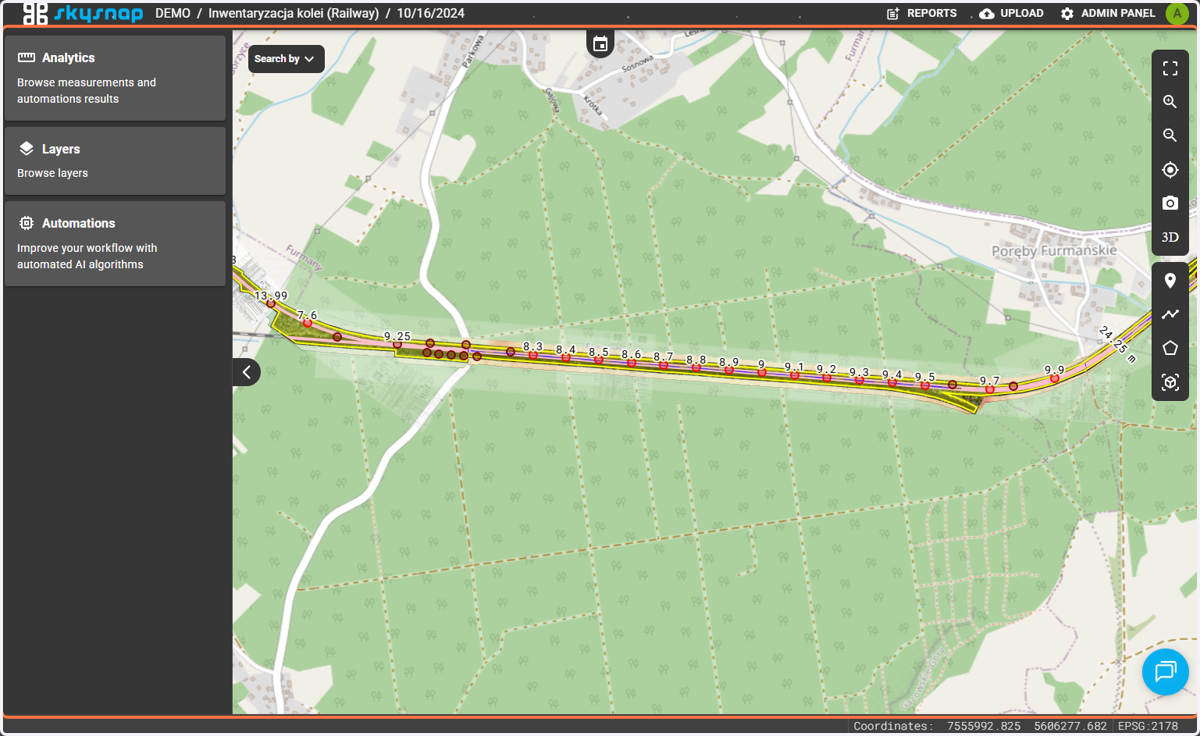
15. To access the data, you need to refresh the project view.
NOTE: If the data has been imported, but you still do not see it in the project, it may mean that it is currently being processed. The processing time depends on the type and size of the data. For data covering several hectares, this process takes a few minutes.
Organization Management
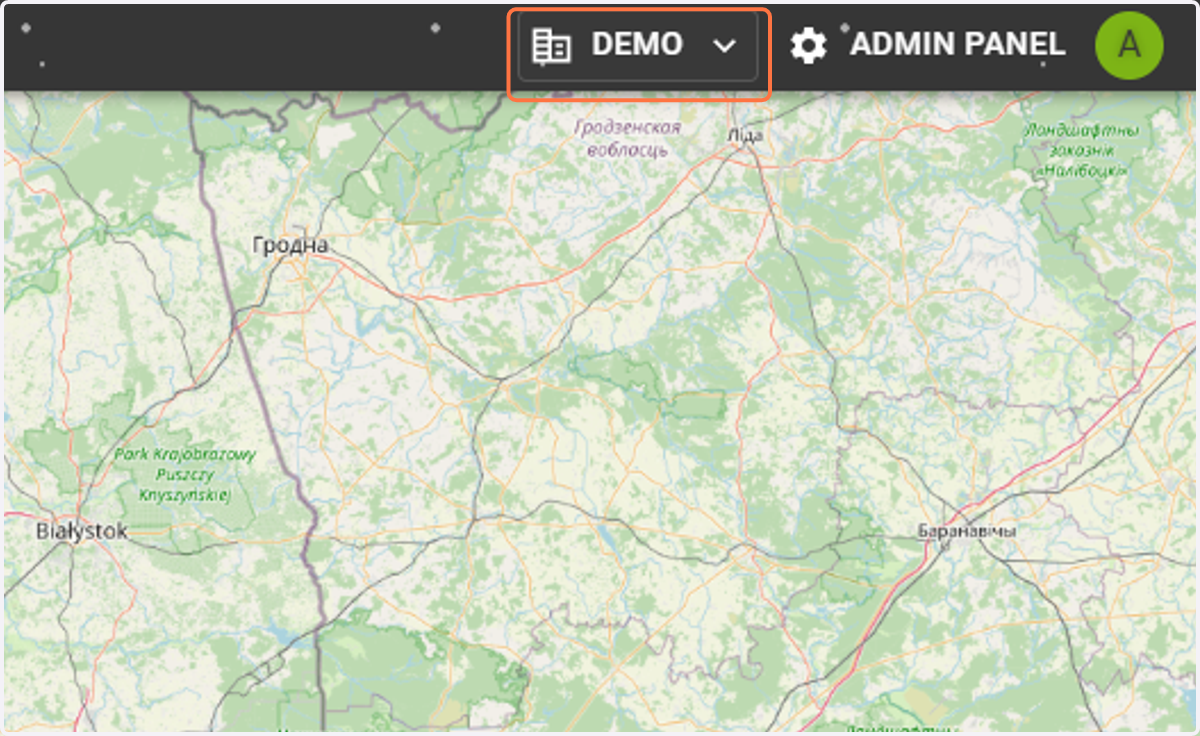
16. Select the button with the name of your organization.
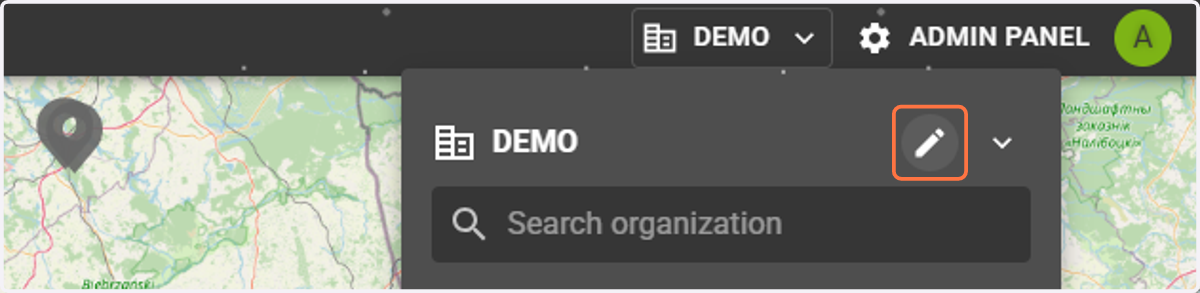
17. A dropdown list of organizations appears, where you select the pencil icon to edit.
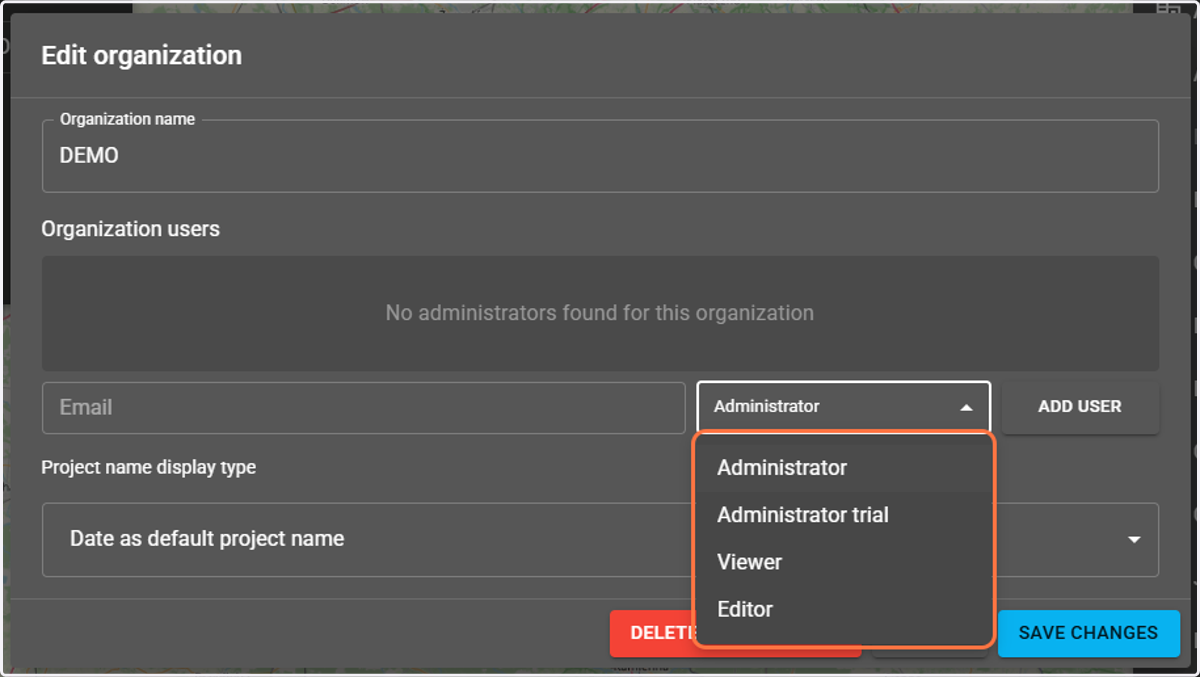
18. An organization management window opens, where you can change the organization name and add or remove organization users.
To manage site users, proceed to the steps below.
User Management
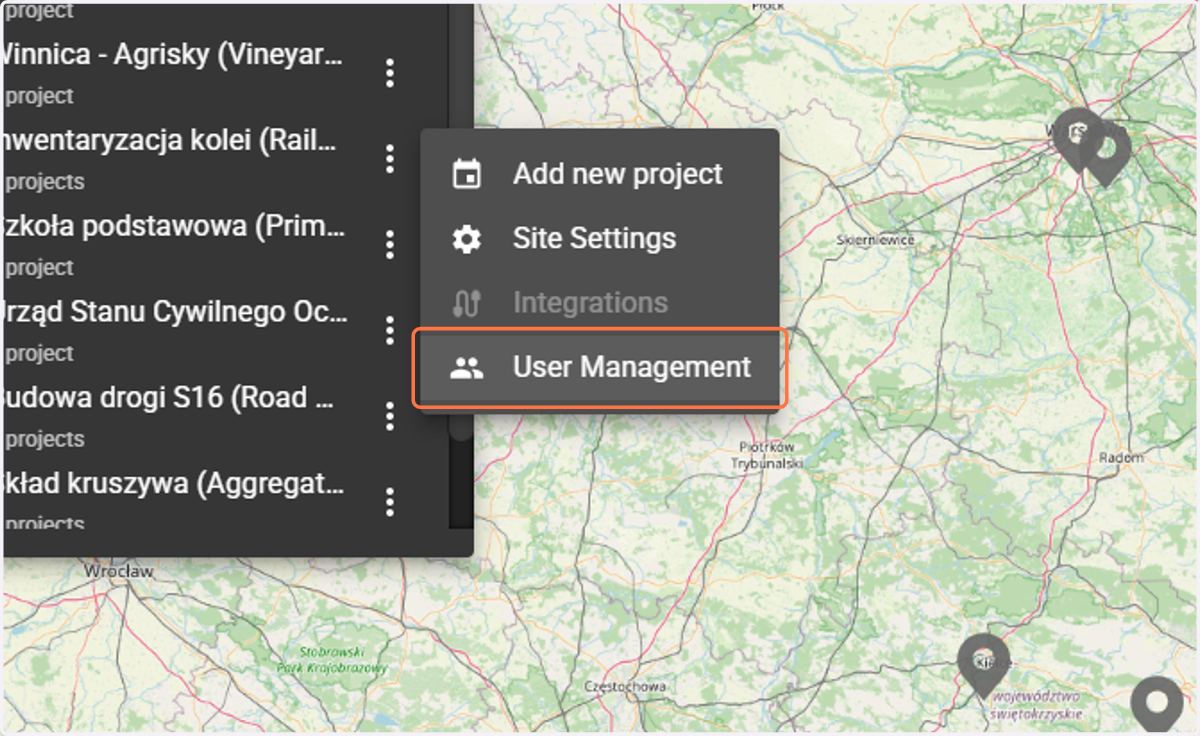
19. In the options concerning the site, you will find user management.
20. The management window contains a list of users and their roles in the site, as well as options for editing and adding users.
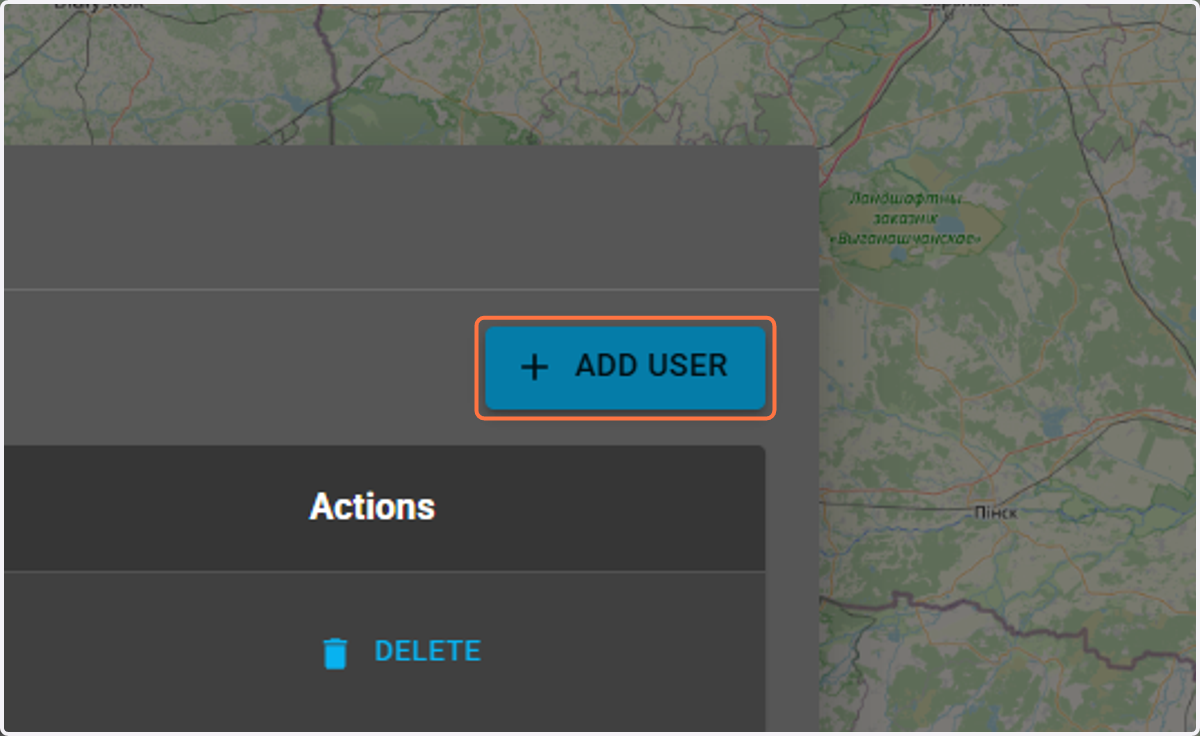
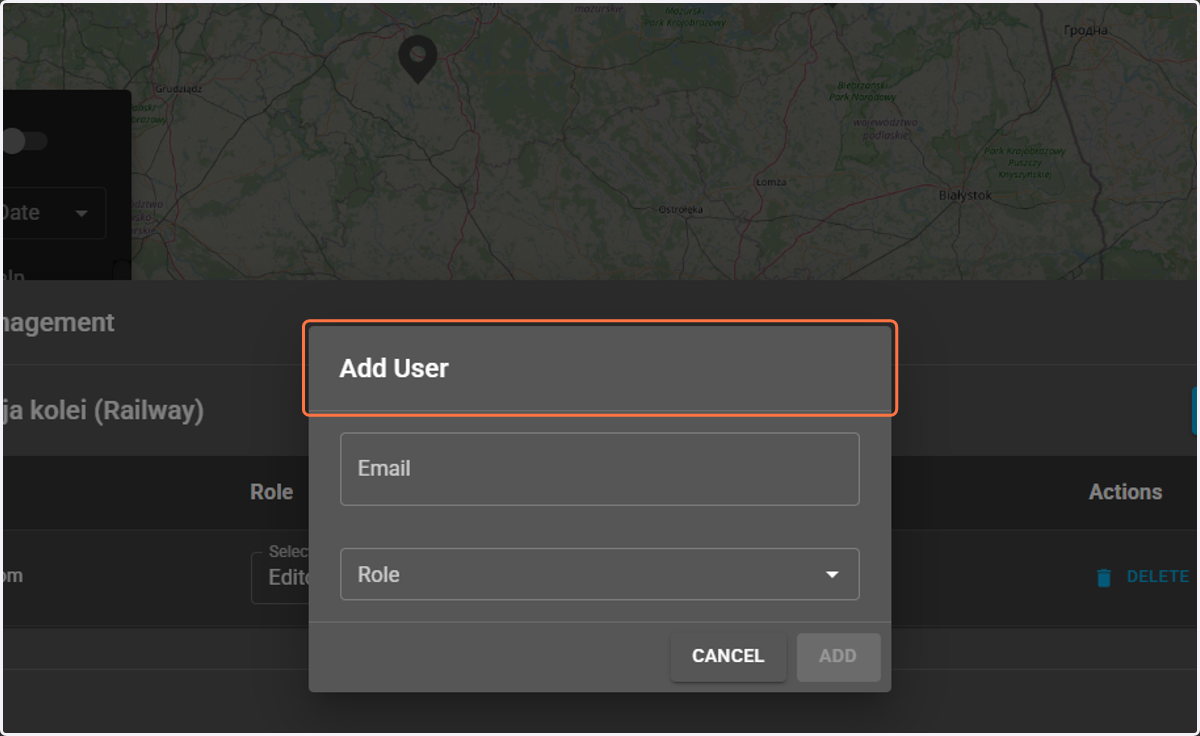
21. After selecting the "Add user" button, a window opens where you can enter the user's email and assign them a role.
For a site, you can add three user roles: Editor, Viewer, and Manager.