Kentucky How-To Guide
1️⃣ Opening a new search
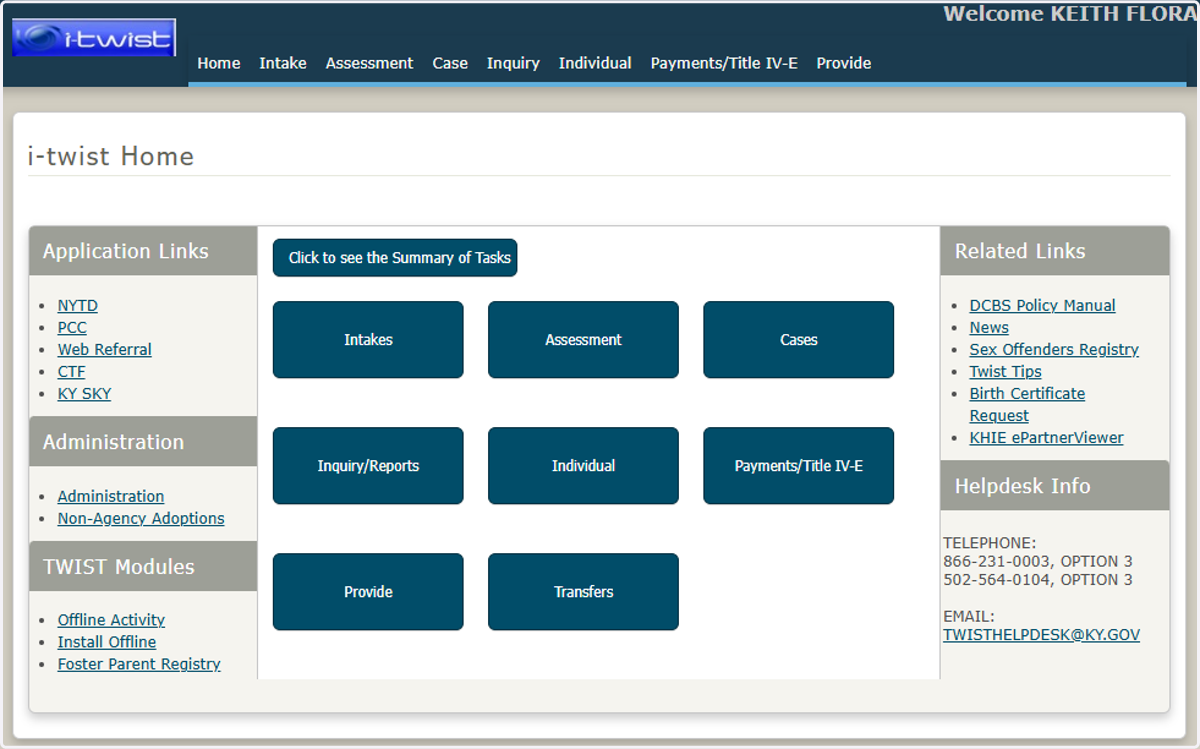
1. From the i-twist home screen you can select Case form the menu at the top or the Case button in the body of the screen. Then Case menu along the top of the screen will be selectable from most i-twist screens.
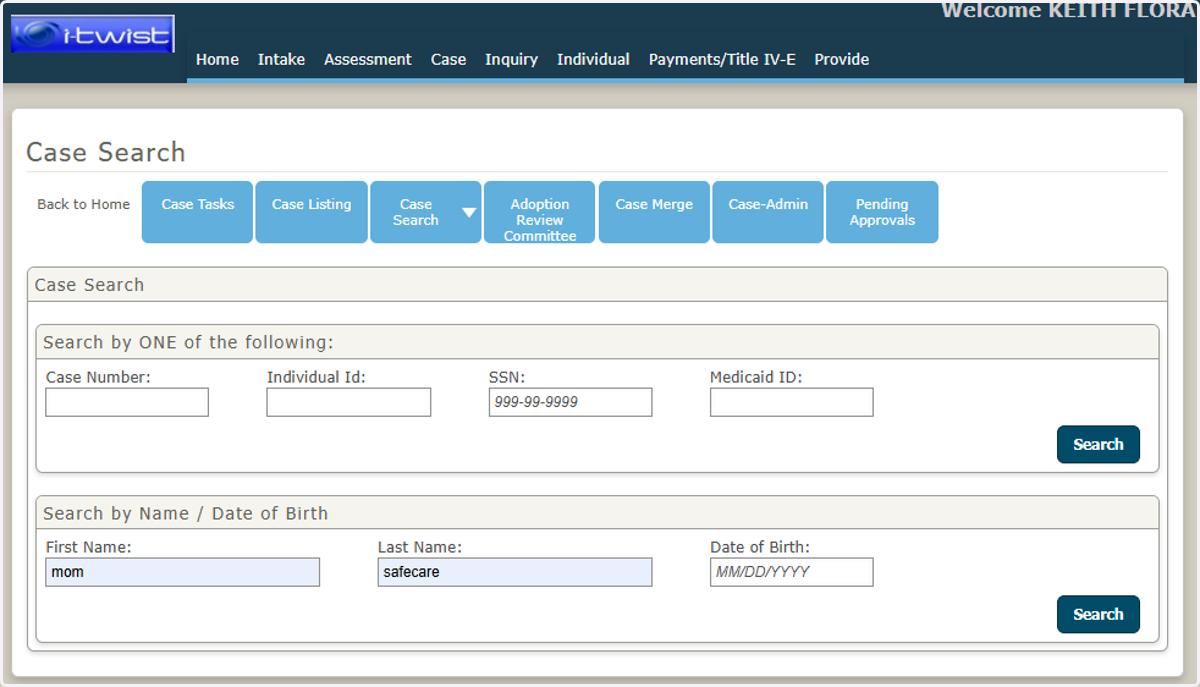
2. On the Case screen family, you can open a case from the Case Tasks, Case Listings, or Case Search progress bar. My screenshot is from Case Search where you can search by case number, Individual ID, SSN, Medicaid ID, or Name with DOB to limit results if name is common.
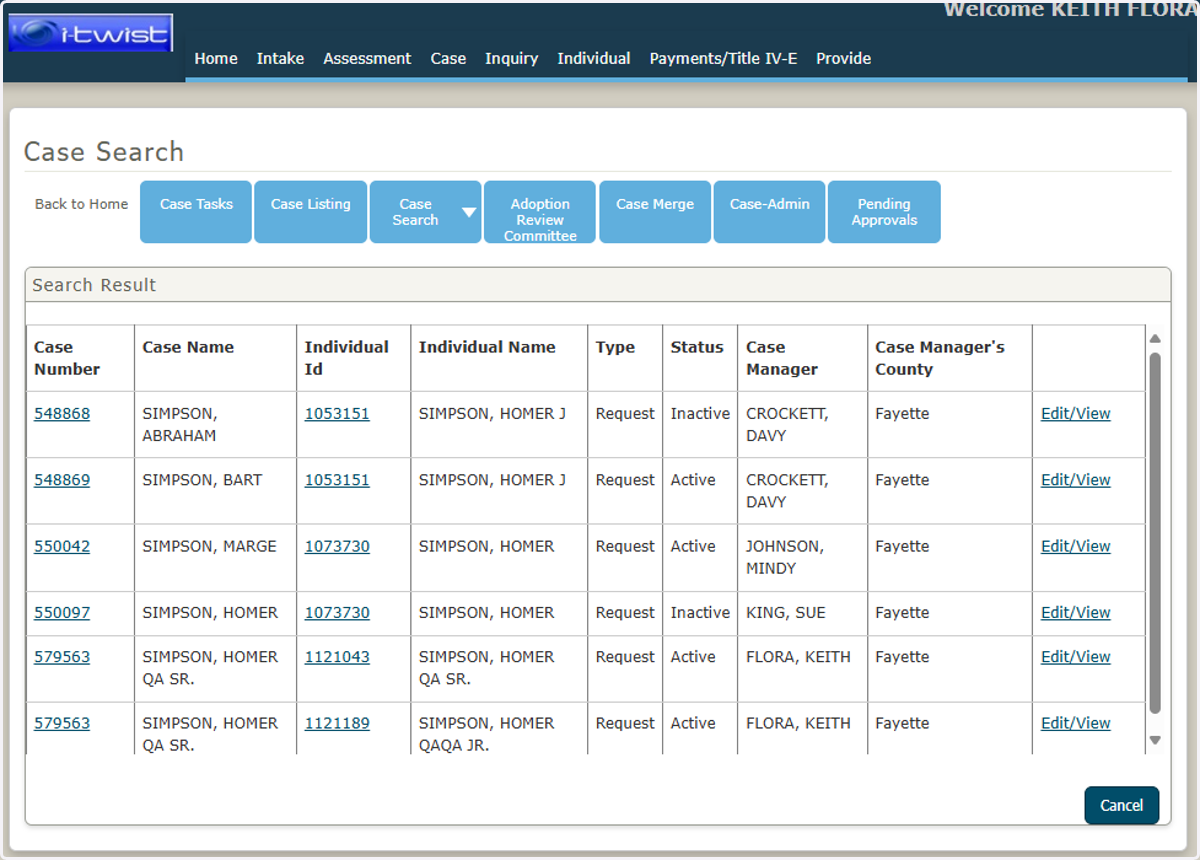
3. I searched by name here and then you click Edit/View on the case you want
4. After selecting the case, click the Case Composition progress bar
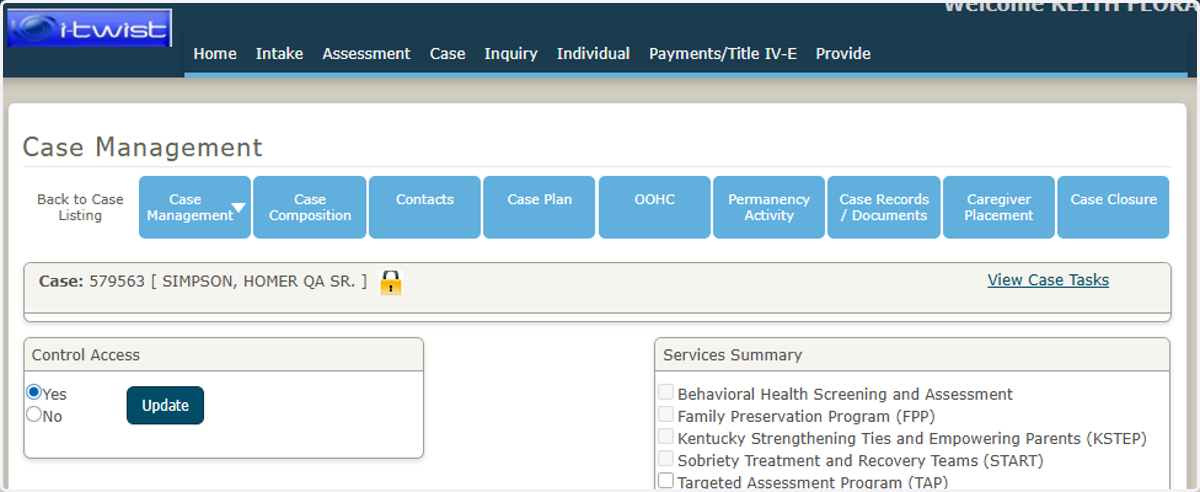
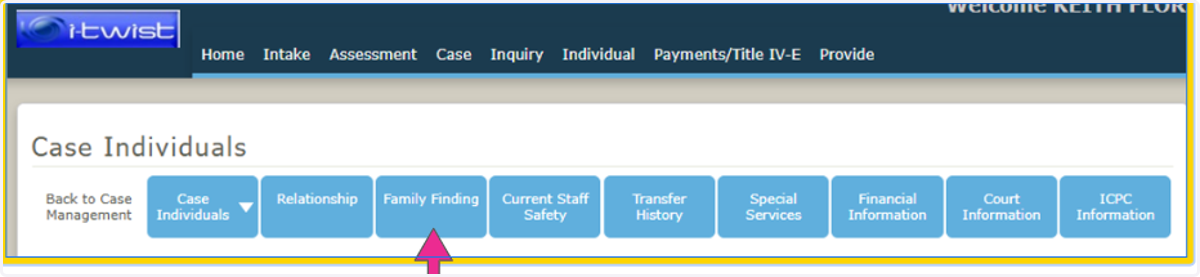
5. Next select the family finding button
This button has replaced the previous Relative Exploration tab
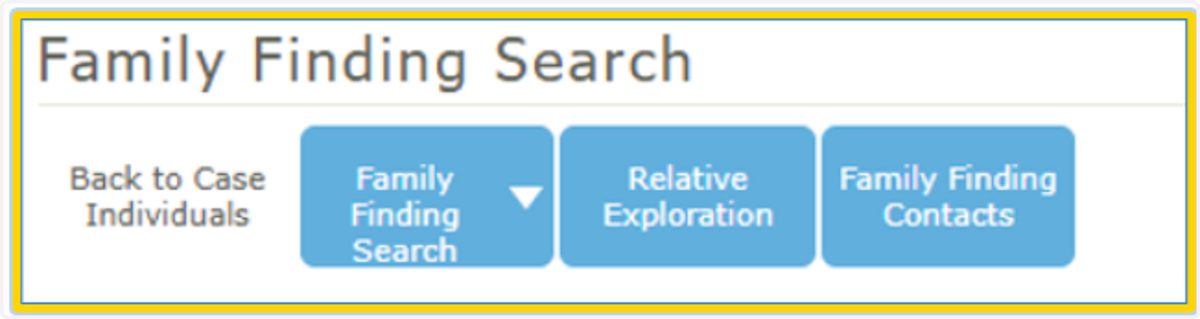
6. When this progress bar is selected, the worker will see the Family Finding screen family with 3 progress bars.
7. Under the three progress bars is a a grid of all active children (17 or under) in the case
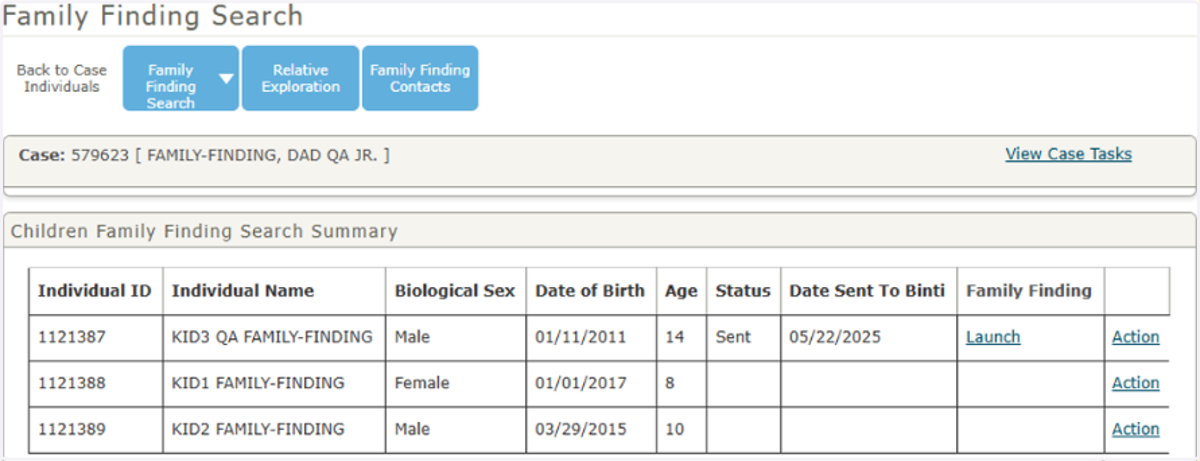
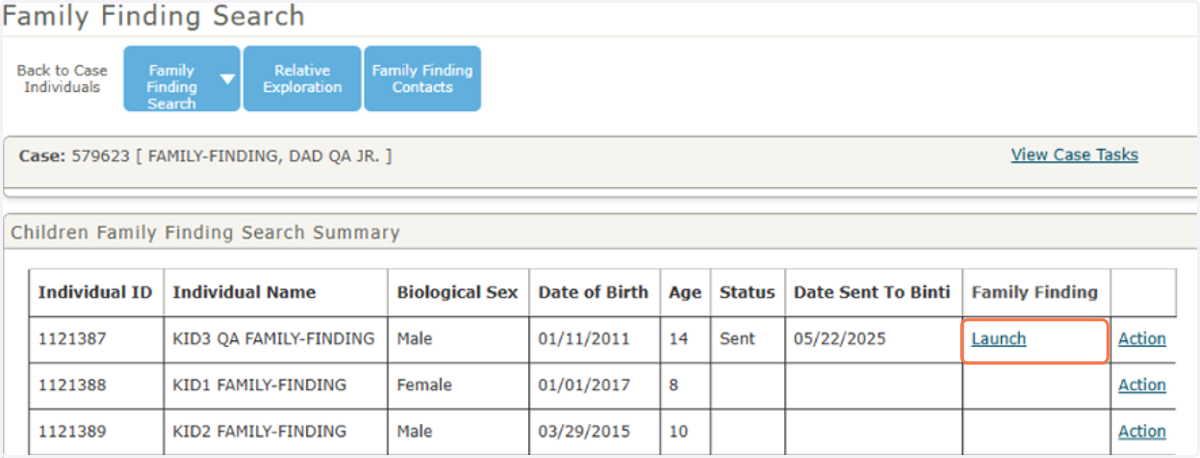
8. If the child has been sent to Binti for Family Finding, there will be a Launch link in the Family Finding column which will open the Binti Family Finding Search for that child.
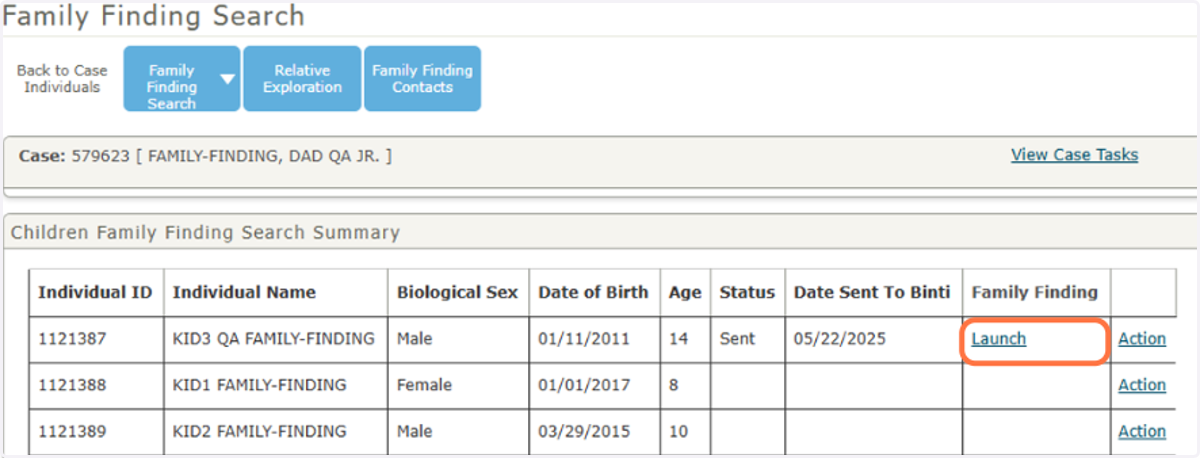
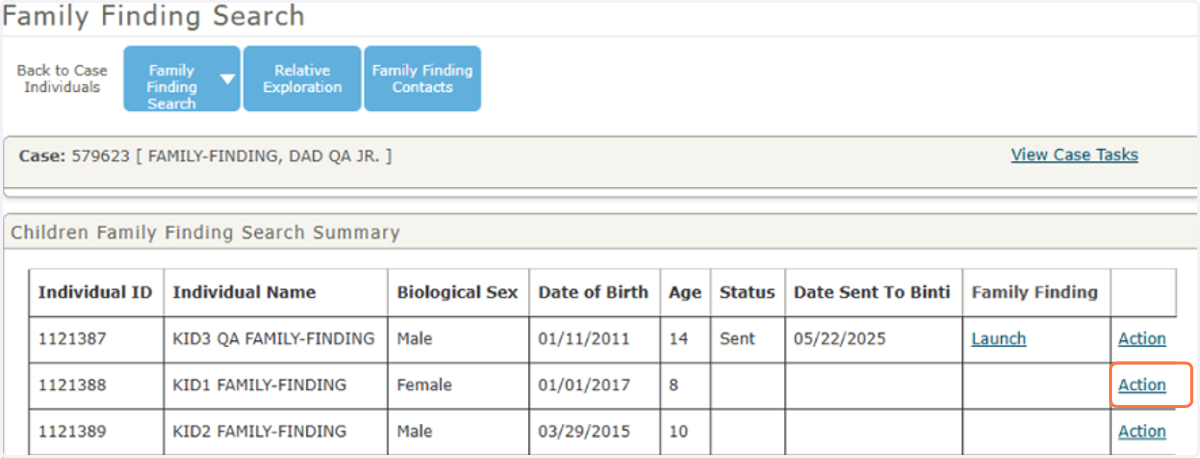
9. To send a child to Binti Family Finding (starting a search) select the action tab
10. When you click the Actions button, if the child doesn’t currently have an active Family Finding search, the screen will show details about the child and the list of defined adult relationships (Case Individuals 18 and over) that will be sent as connections for the child.
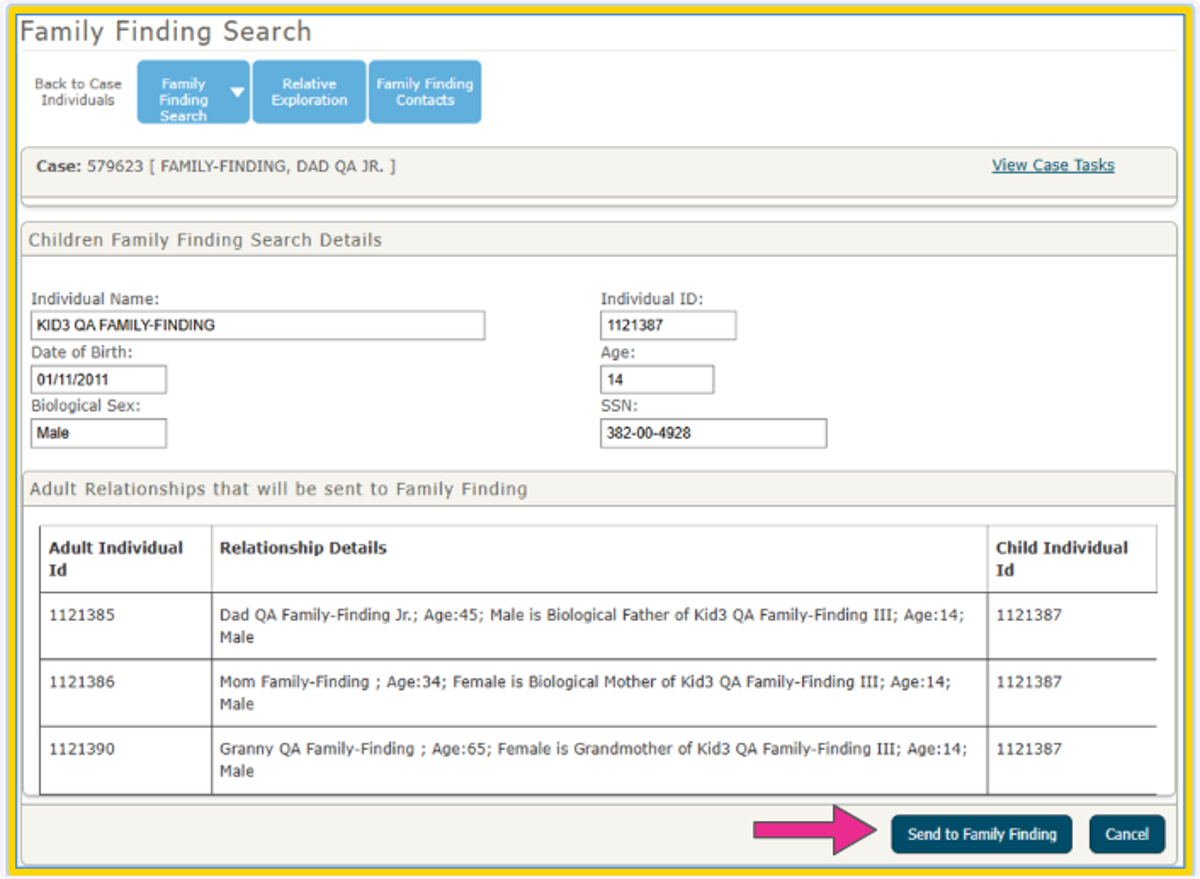
11. To start the search in Binti, click the Send to Family Finding button
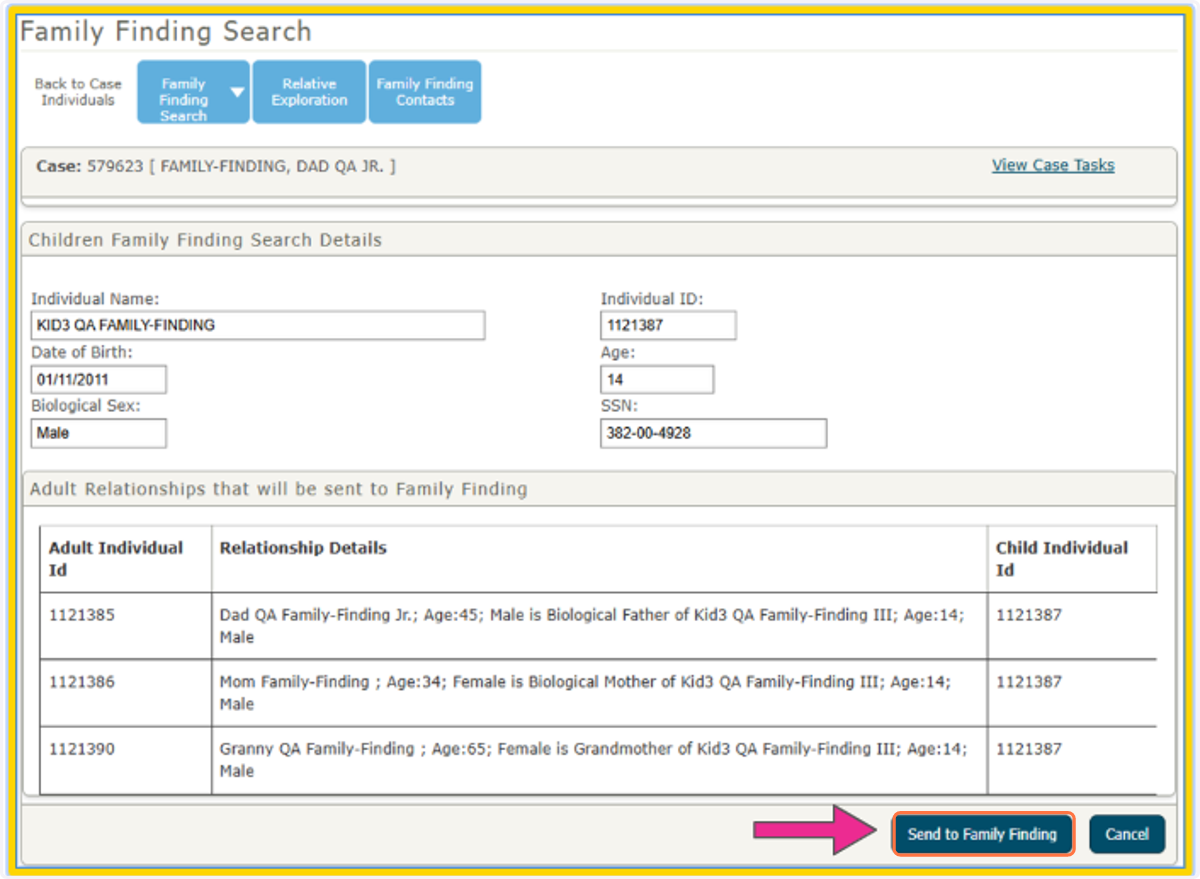
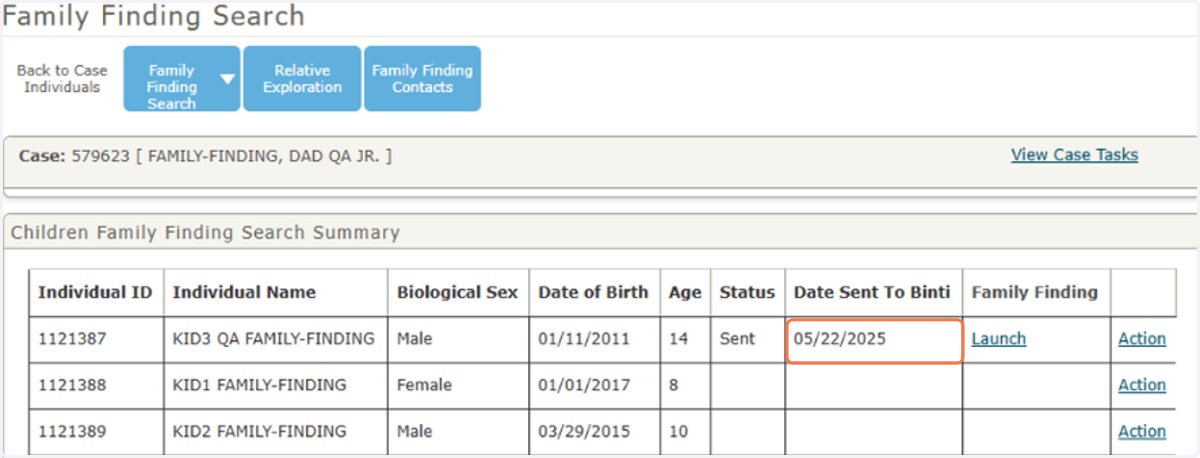
12. Once you hit "Send to Family Finding" you will see the Date Sent to Binti populated with today's date. The status will read "Send In Progress" Sending the search over to Binti can take up to 10 minutes
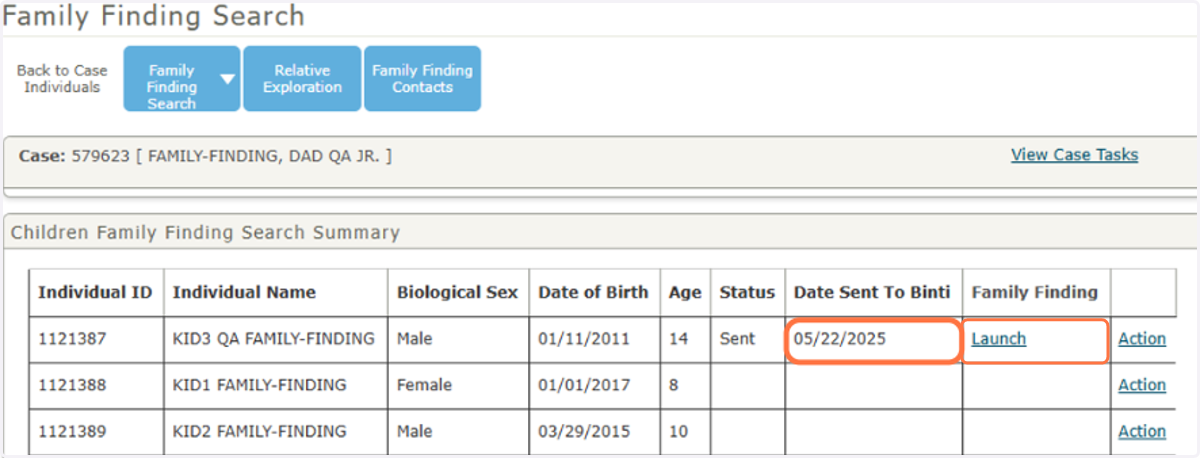
13. When the search has successfully been sent over to Binti, you will see a hyperlinked Launch button appear under Family Finding
2️⃣ Logging into Binti
14. Once "Launch" appears under the case in I-Twist, hit that button
15. You will be redirected to the Binti screen
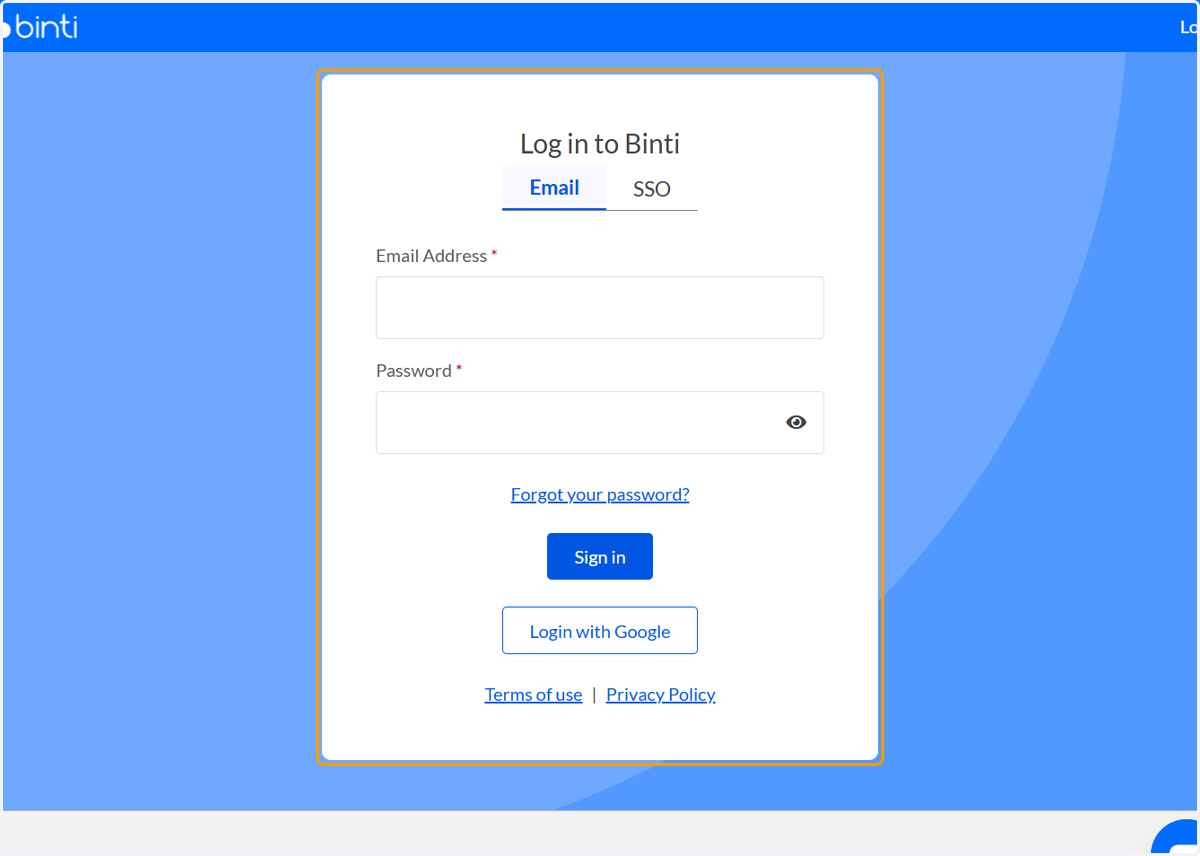
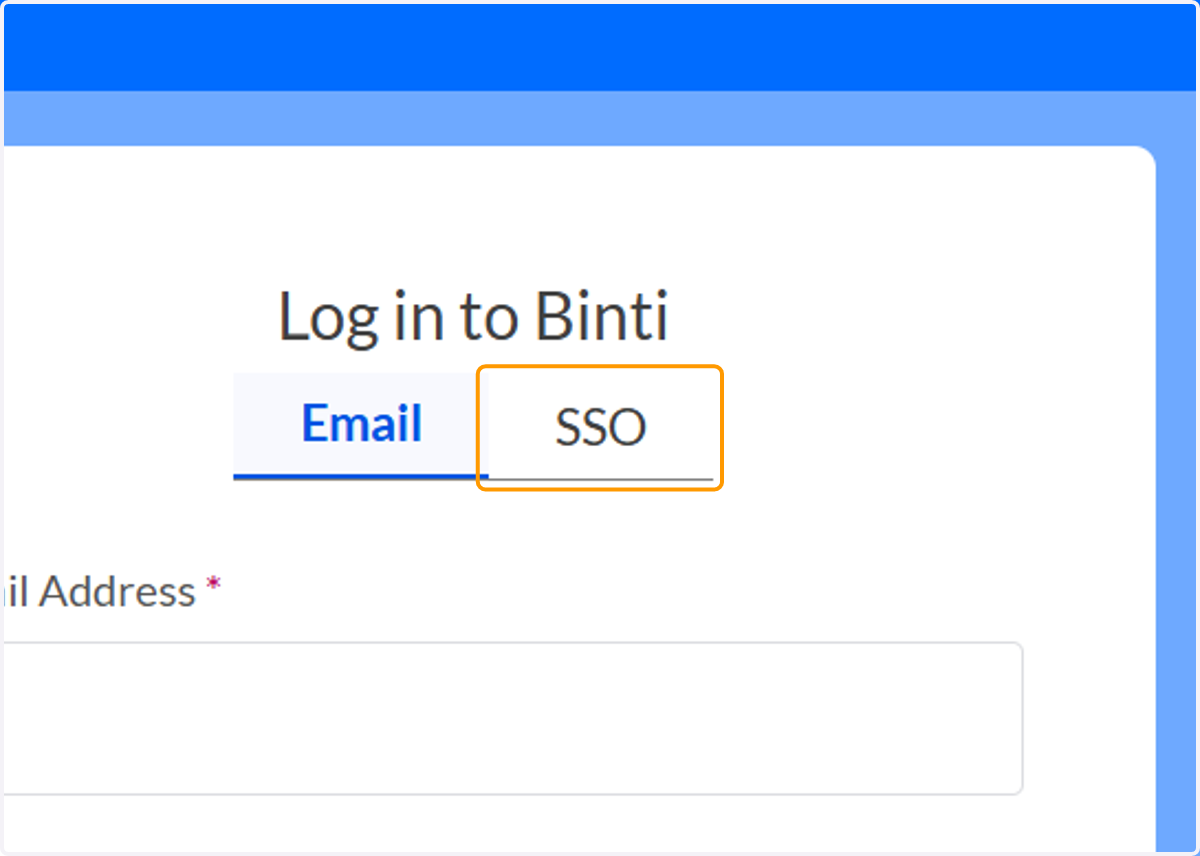
16. Click on SSO
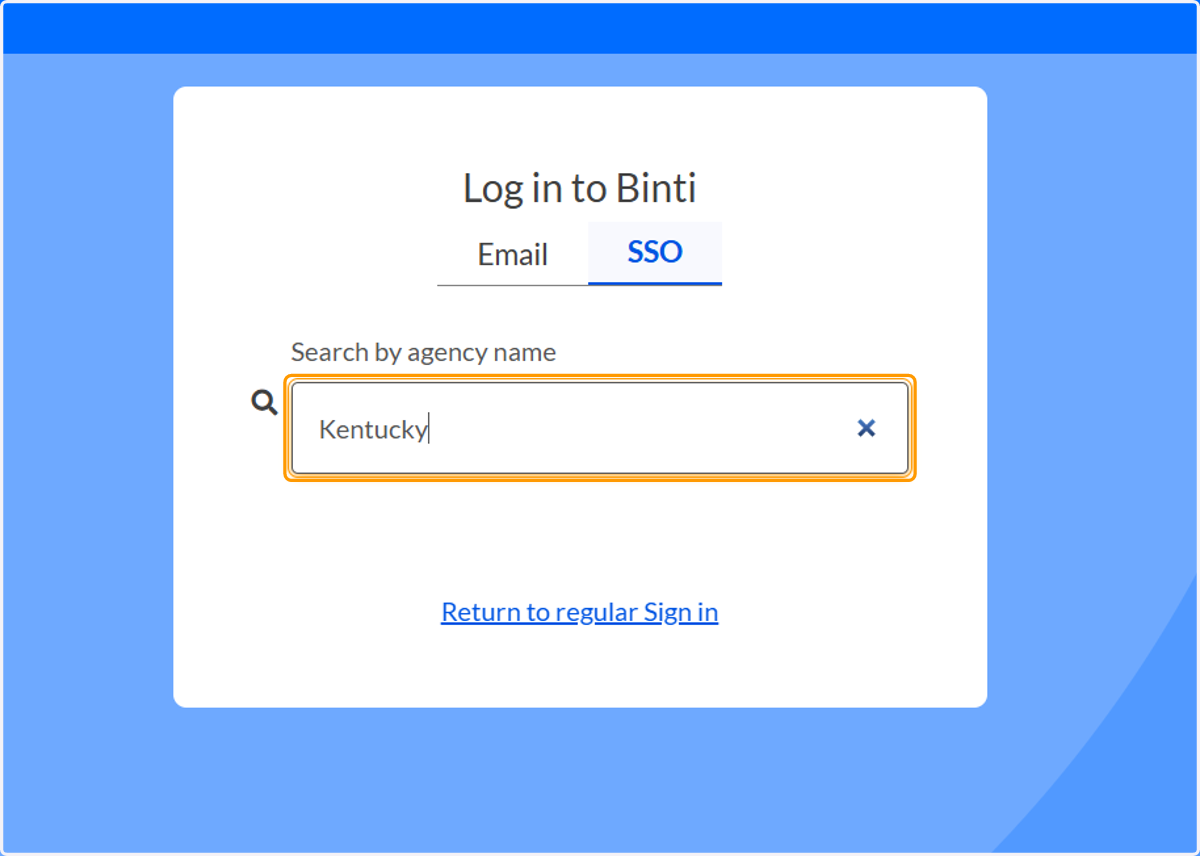
17. Type "Kentucky"
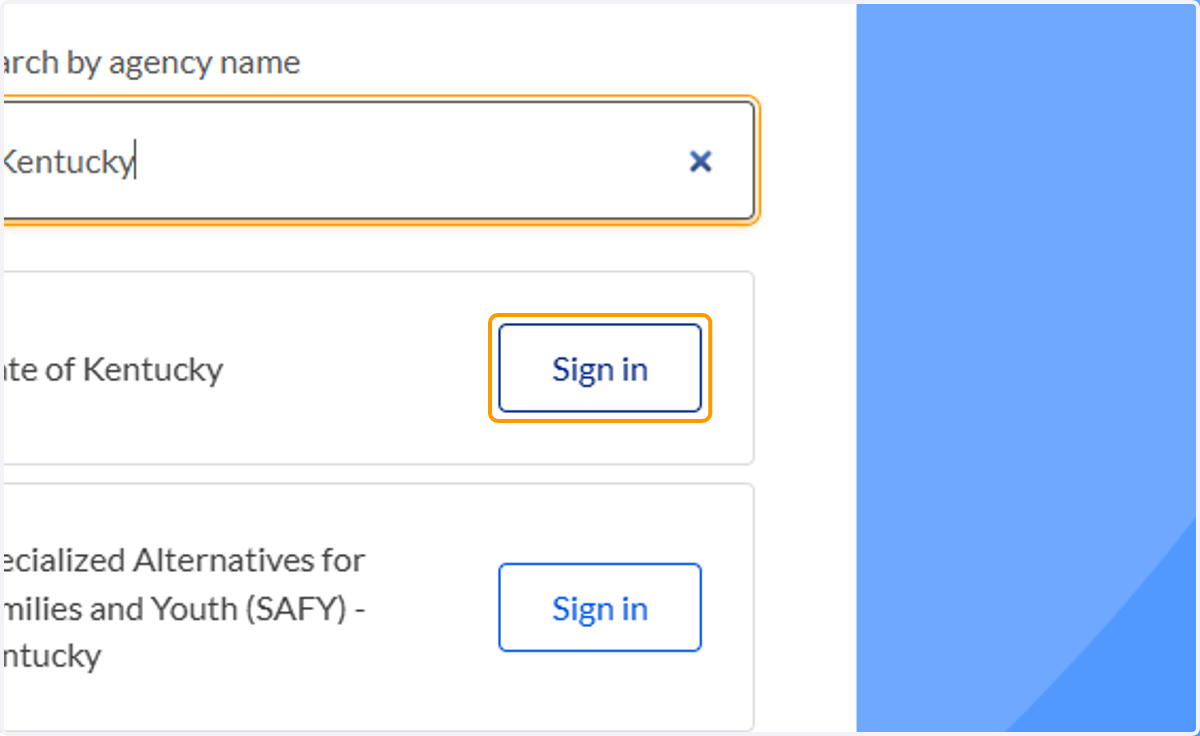
18. Click on Sign in
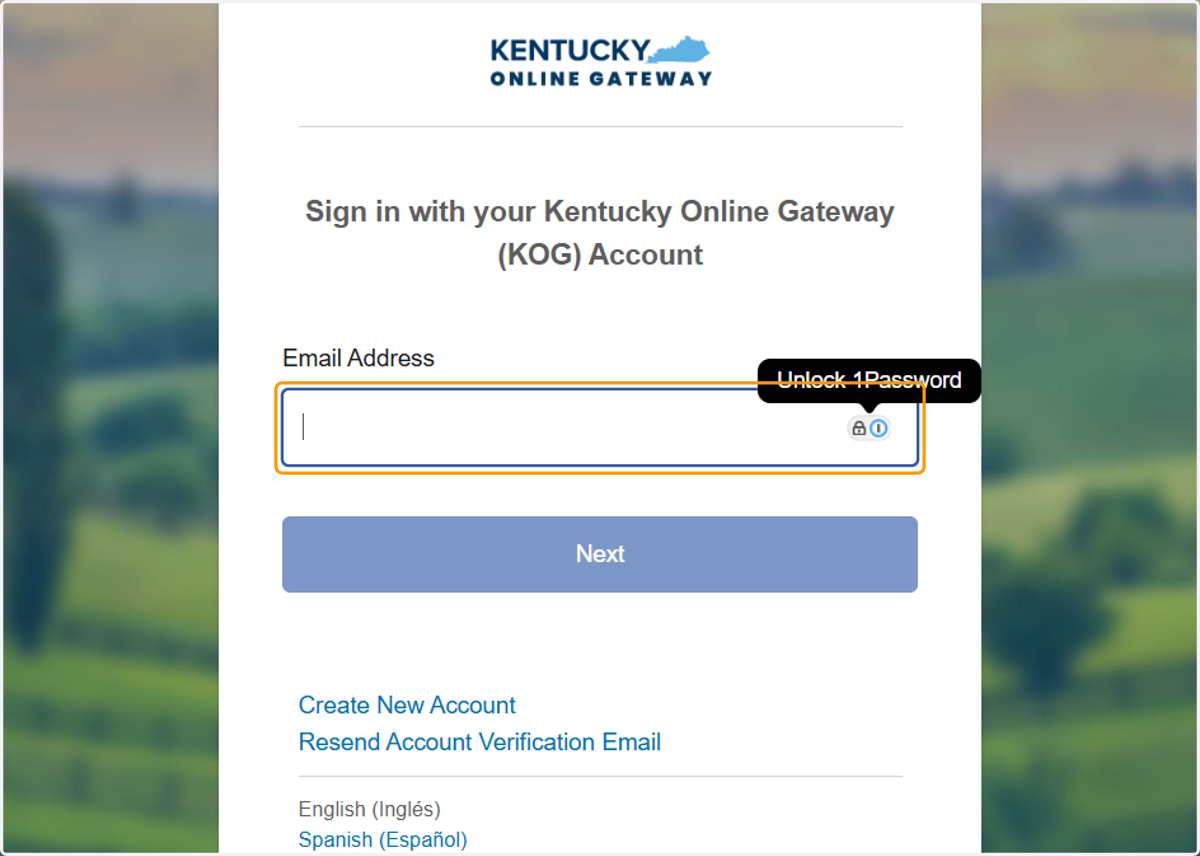
19. Sign in with your KOG account
20. You will land on the Relationships Dashboard for the youth you started a search for in TWIST
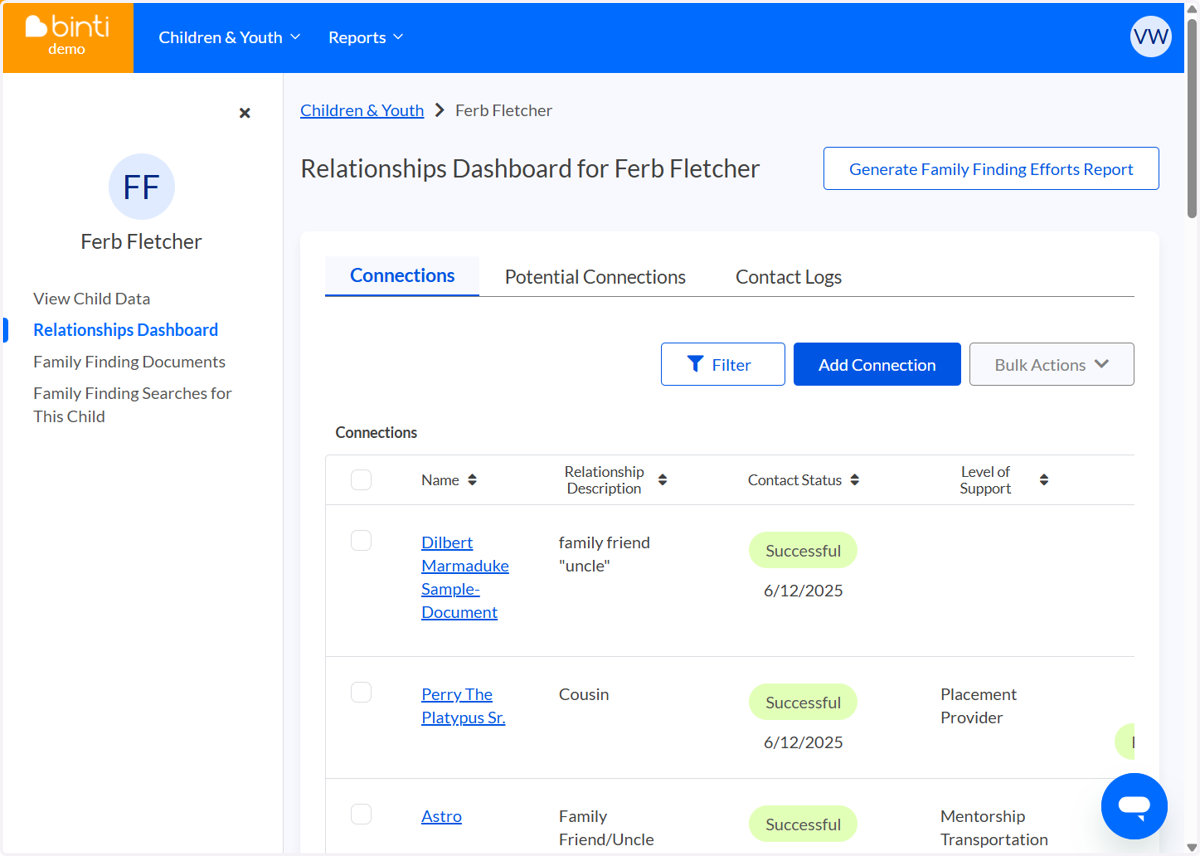
🔴 IF YOU ARE WORKING WITH YOUTH 18+, You will log into Binti and open a search in a different way
21. Navigate to family.binti.com
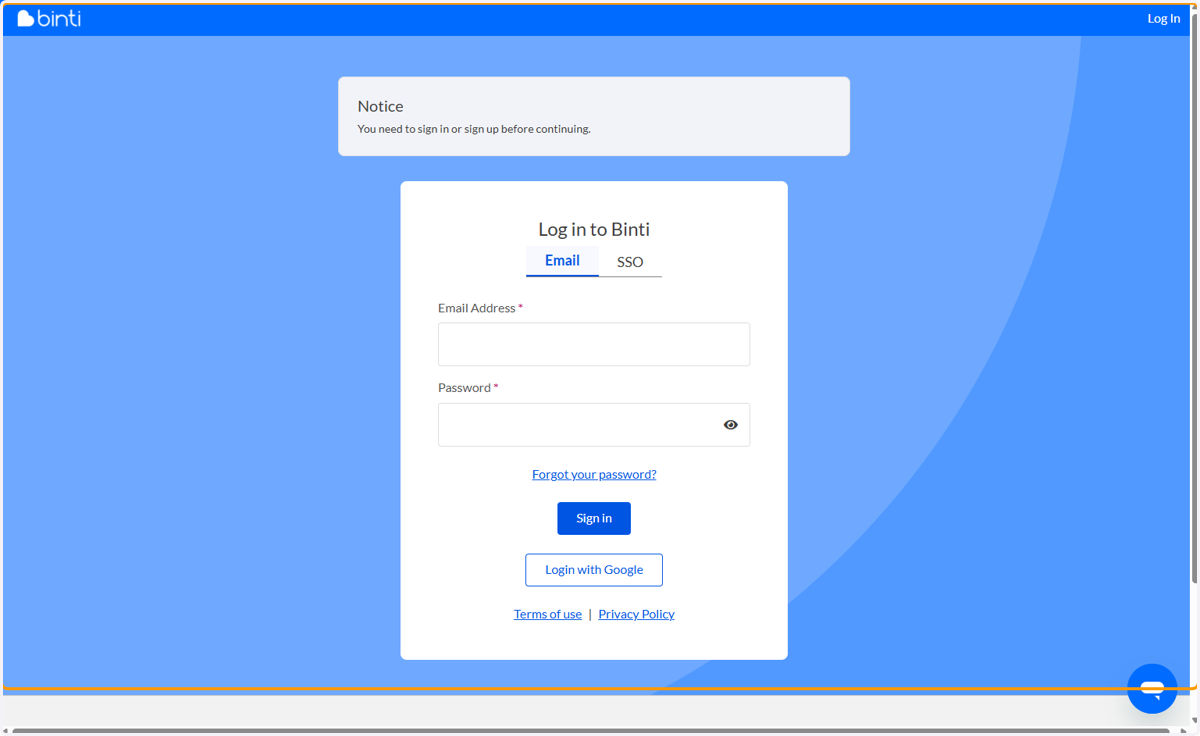
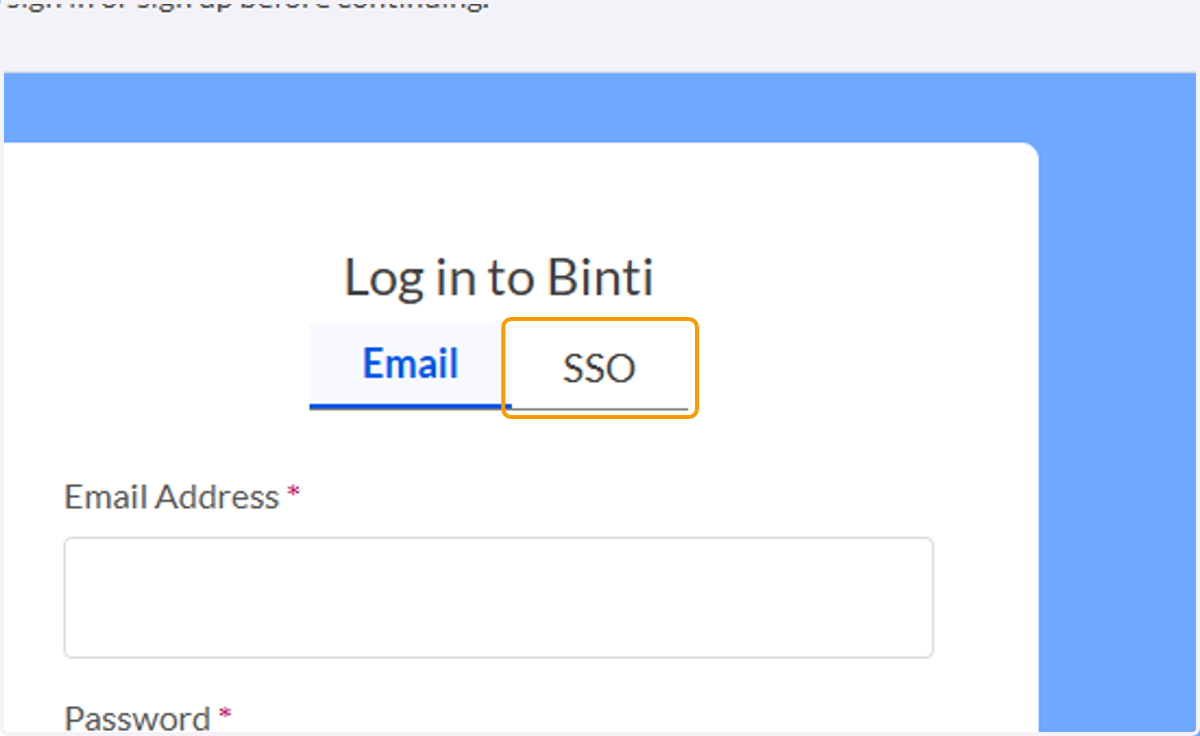
22. Click on SSO
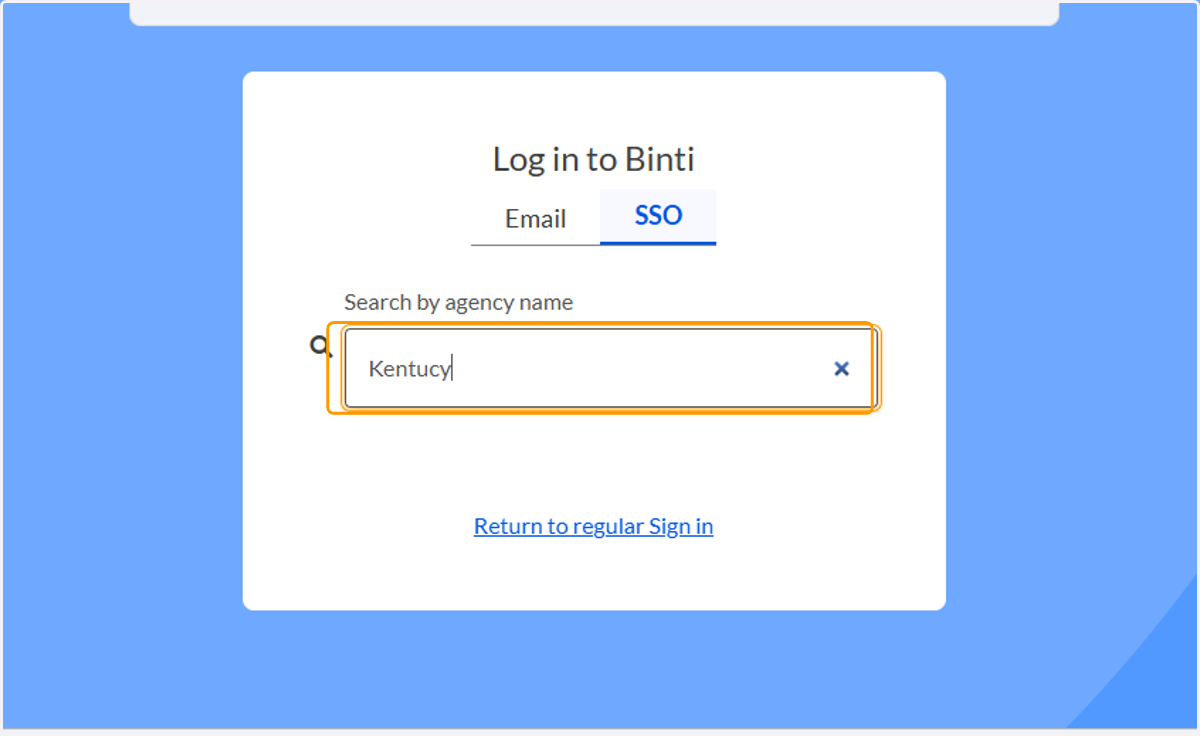
23. Type "Kentucky"
24. Click on Sign in
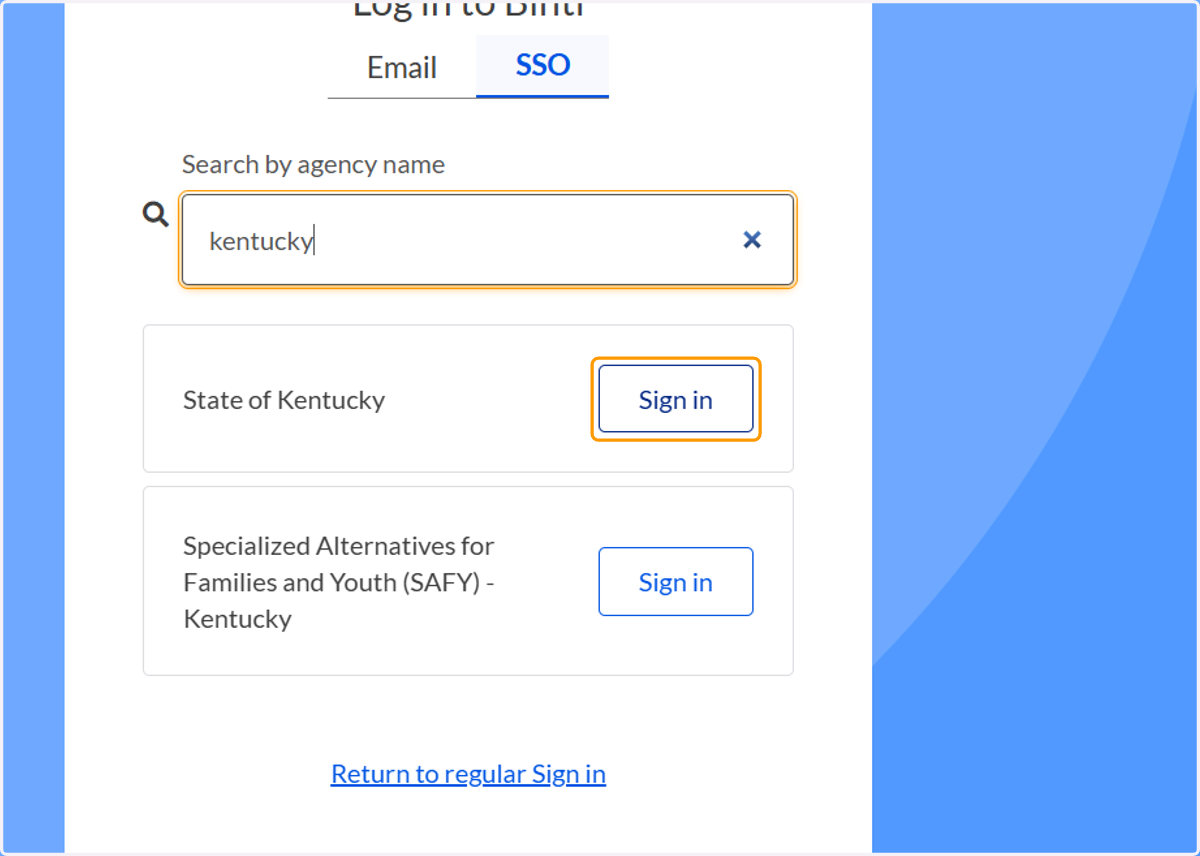
25. Click on Sign in with your Kentucky Online Gateway (KOG) Account. IF you have issues with this step, please reach out to the TWIST help desk and ask them to ensure your account is set up with Binti access
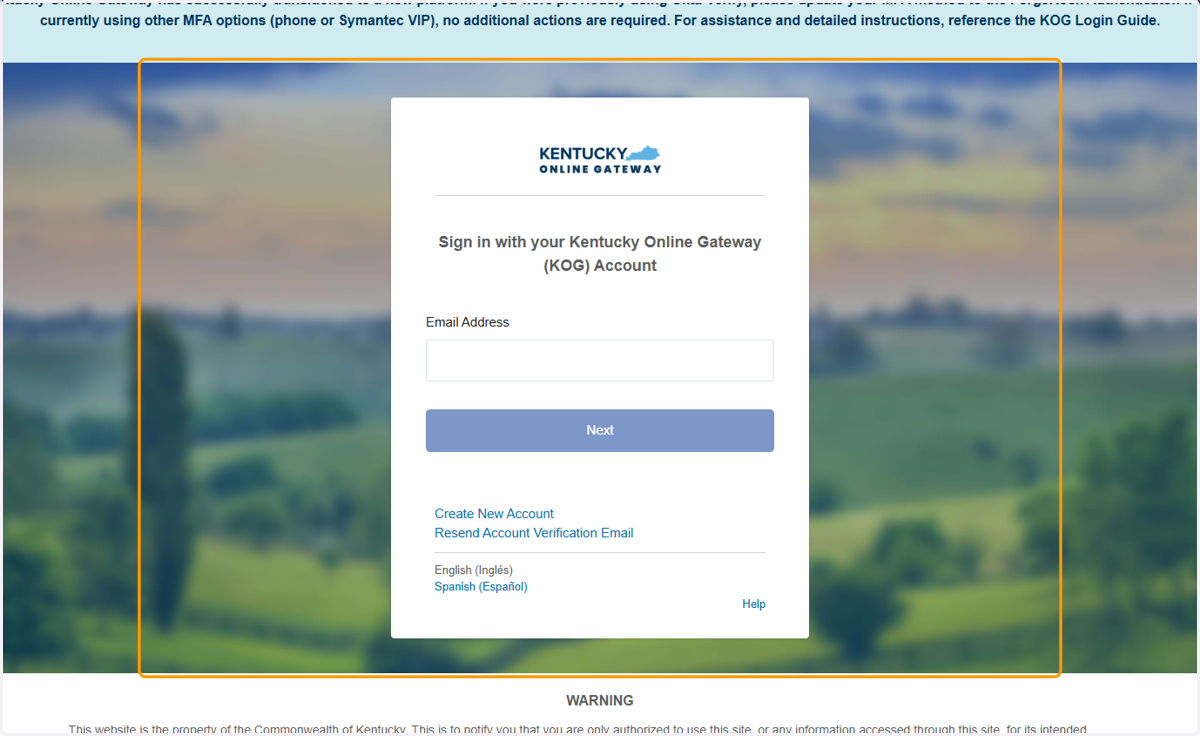
26. Click on Create New Search. You will only see this step if you work with youth 18+. If you do not see this button and think you should, email emily@binti.com
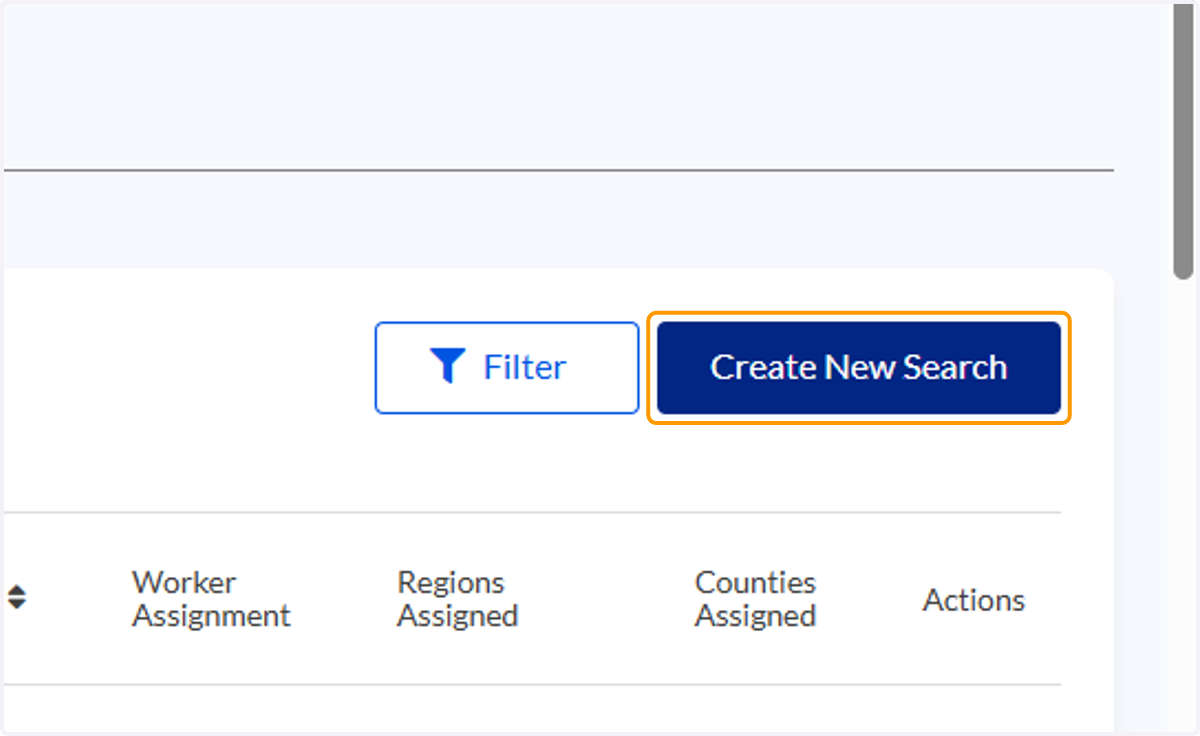
27. Type the name of the youth
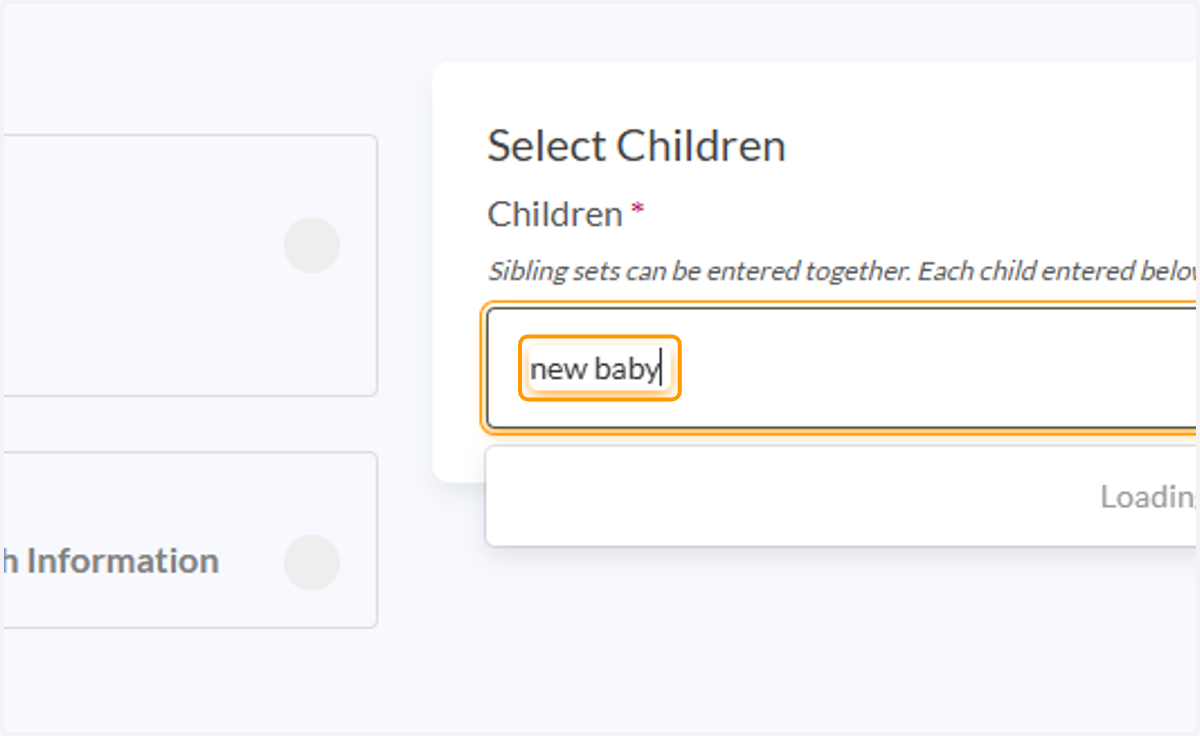
28. If the youth already has a search in Binti, their name will come up here. If they do not pop up, click on Intake Child or Youth
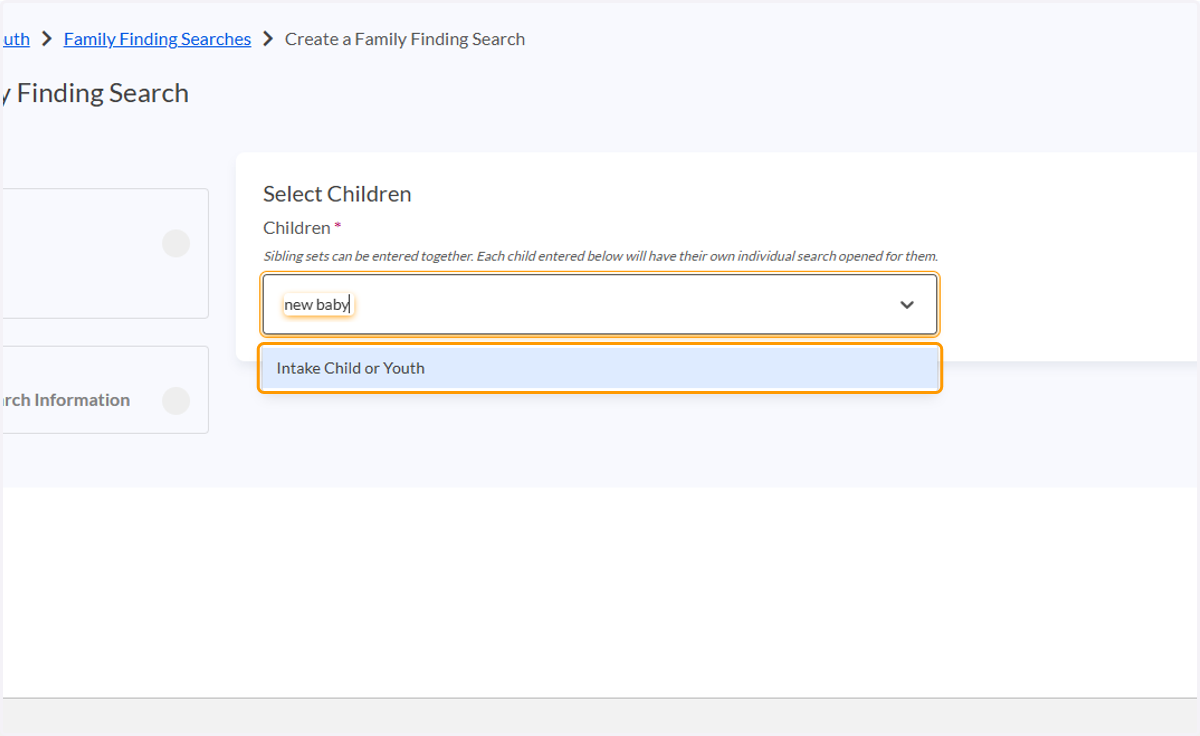
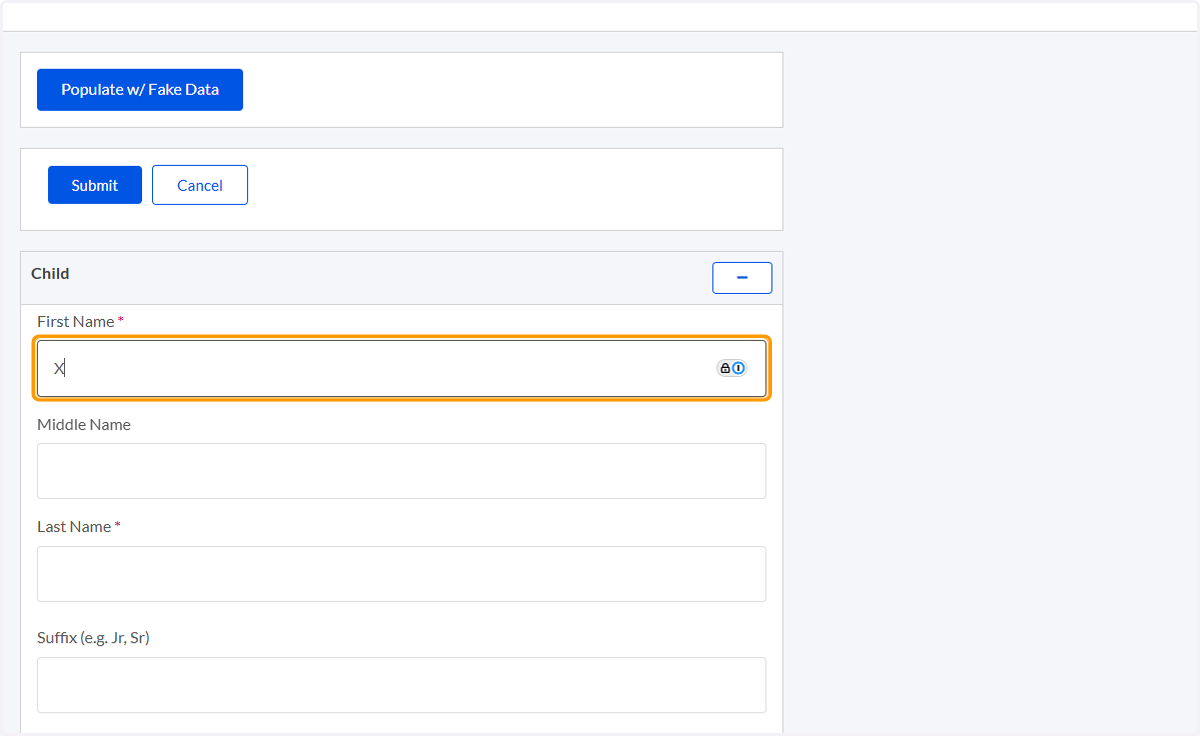
29. Type the youth's first and last name
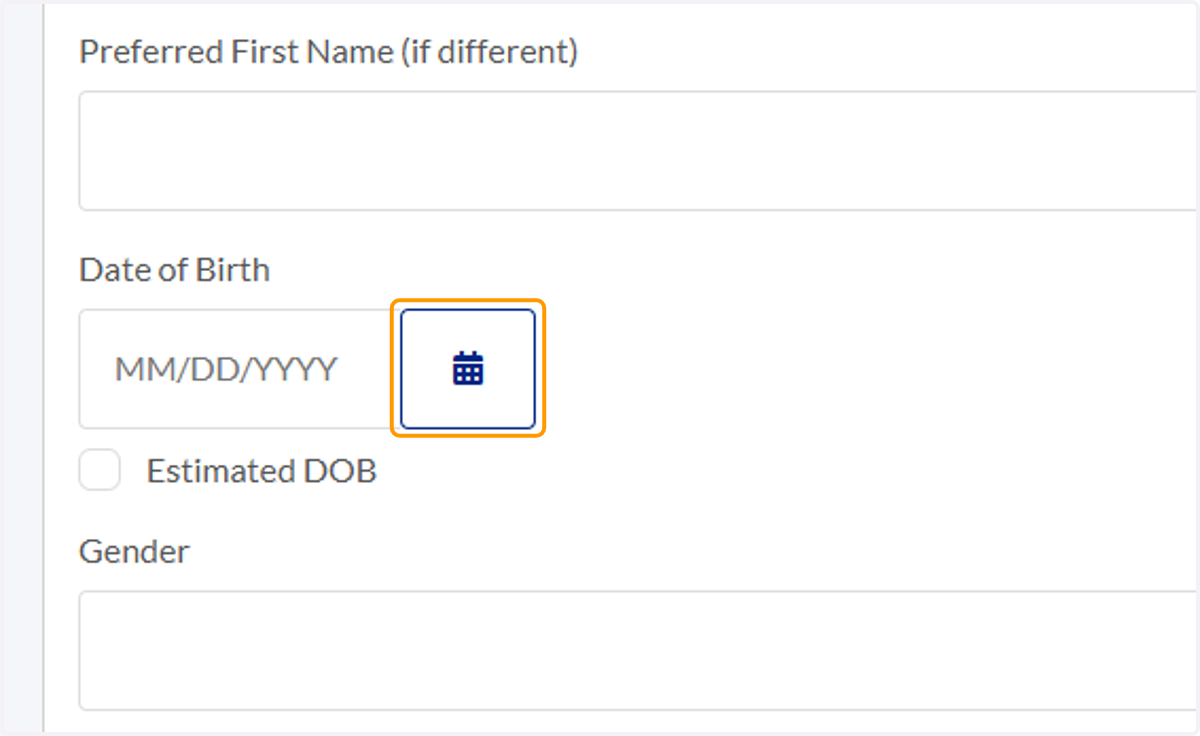
30. Enter their date of birth
31. Click on Toggle Ethnicity and ICWA Information Section
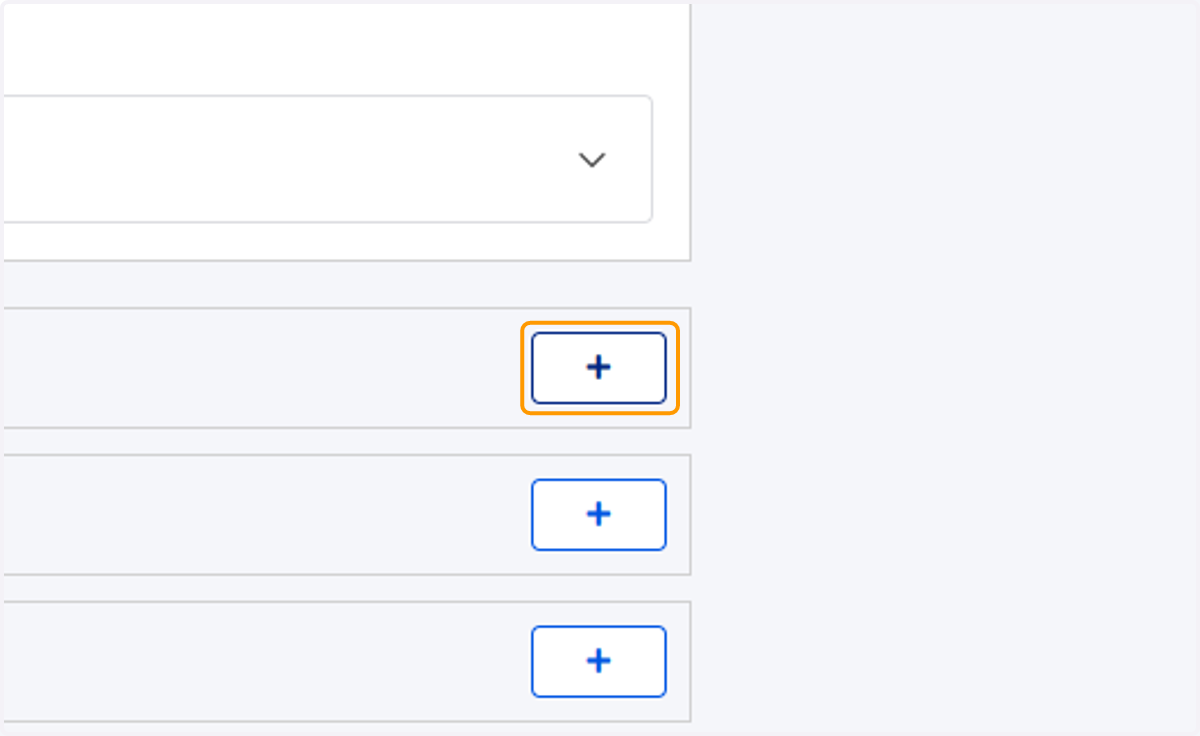
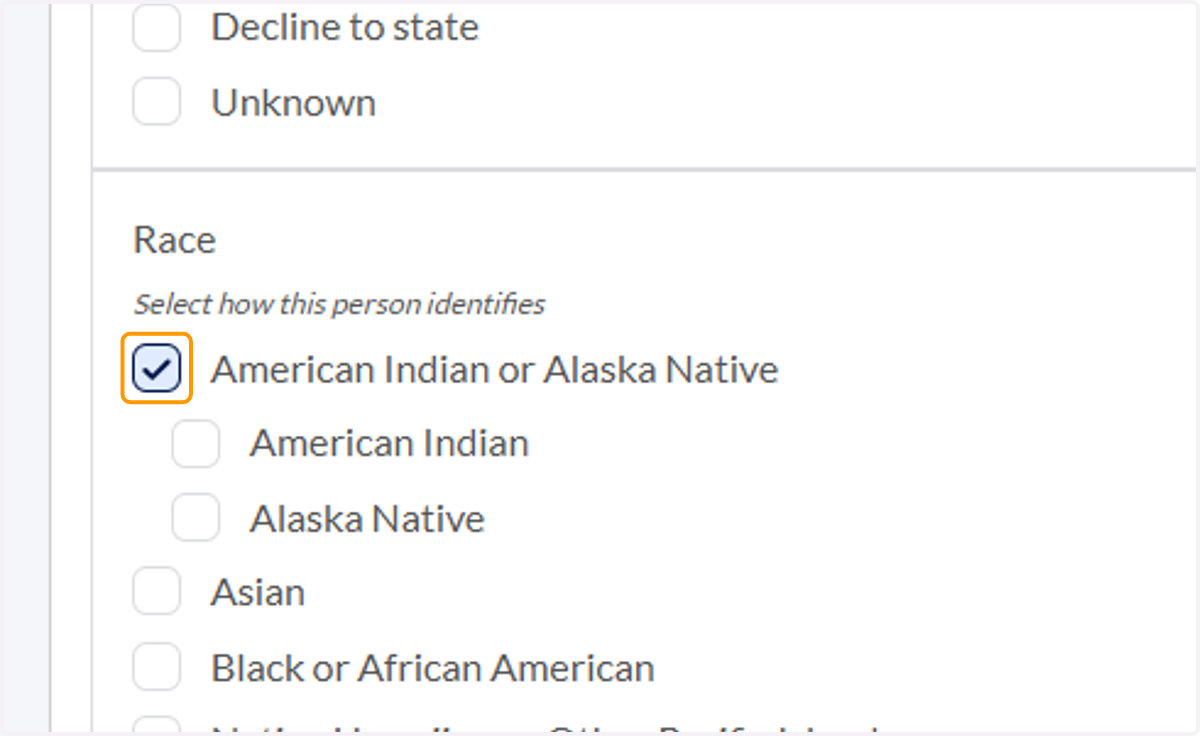
32. Add information on their race
33. Click on Submit
34. Click on Next
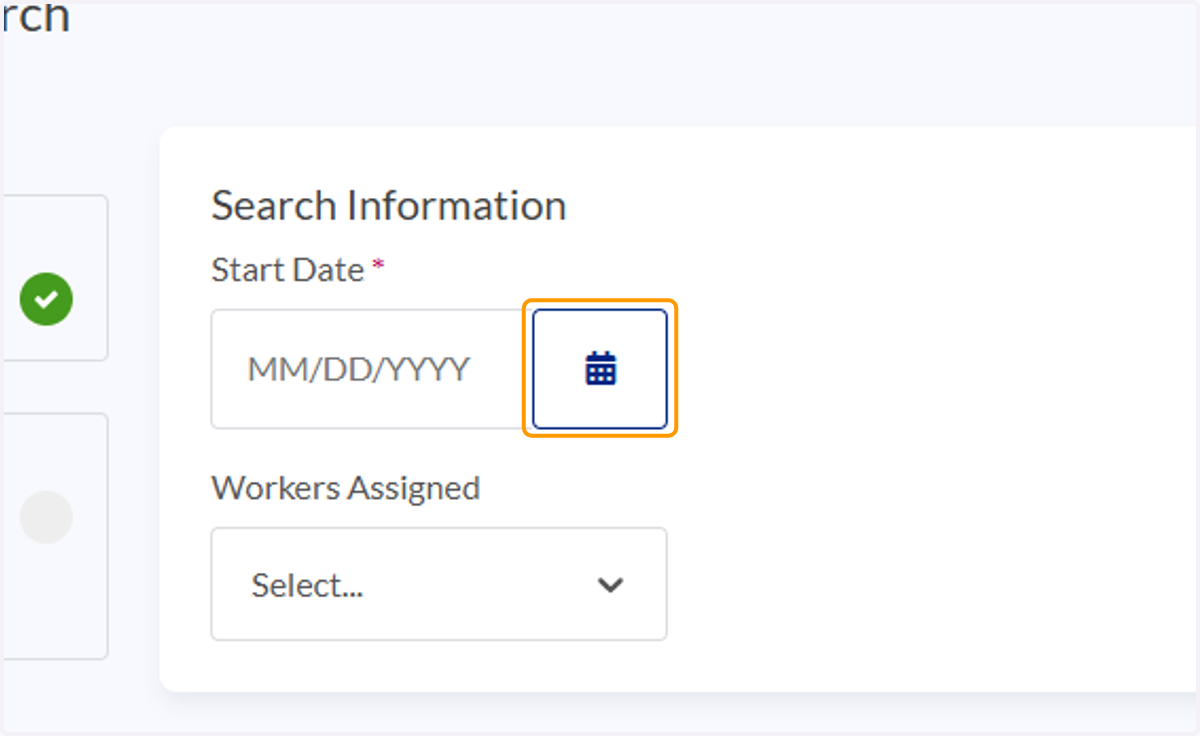
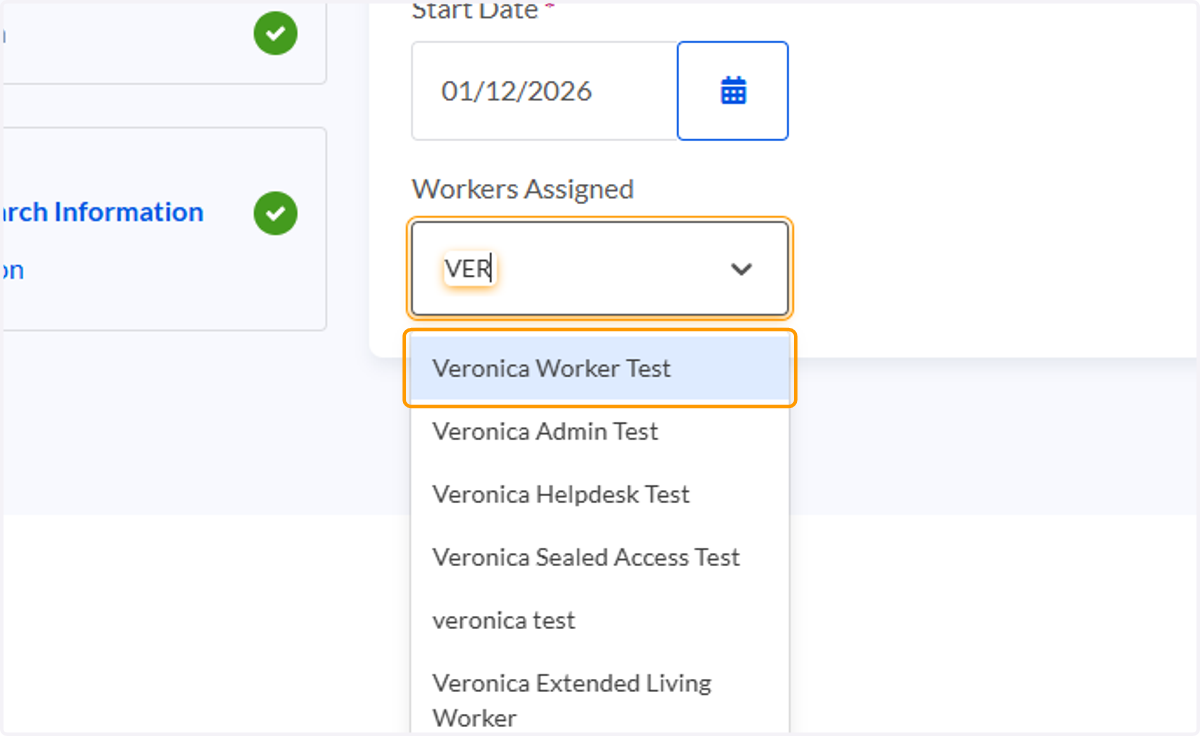
35. Enter the start date of the Family Finding search
36. Enter your name as the worker assigned
37. Click on Submit
38. Now the case is open in Binti!
3️⃣ Searching for connections
So you've started a search for a child and want to use Binti... here's how to get started
39. When you land in Binti after importing a child from TWIST, you will be in the Relationships Dashboard On that dashboard, you will see existing TWIST connections that were imported To start a search, we should have a known connection to search for relatives of (e.g., the mother)
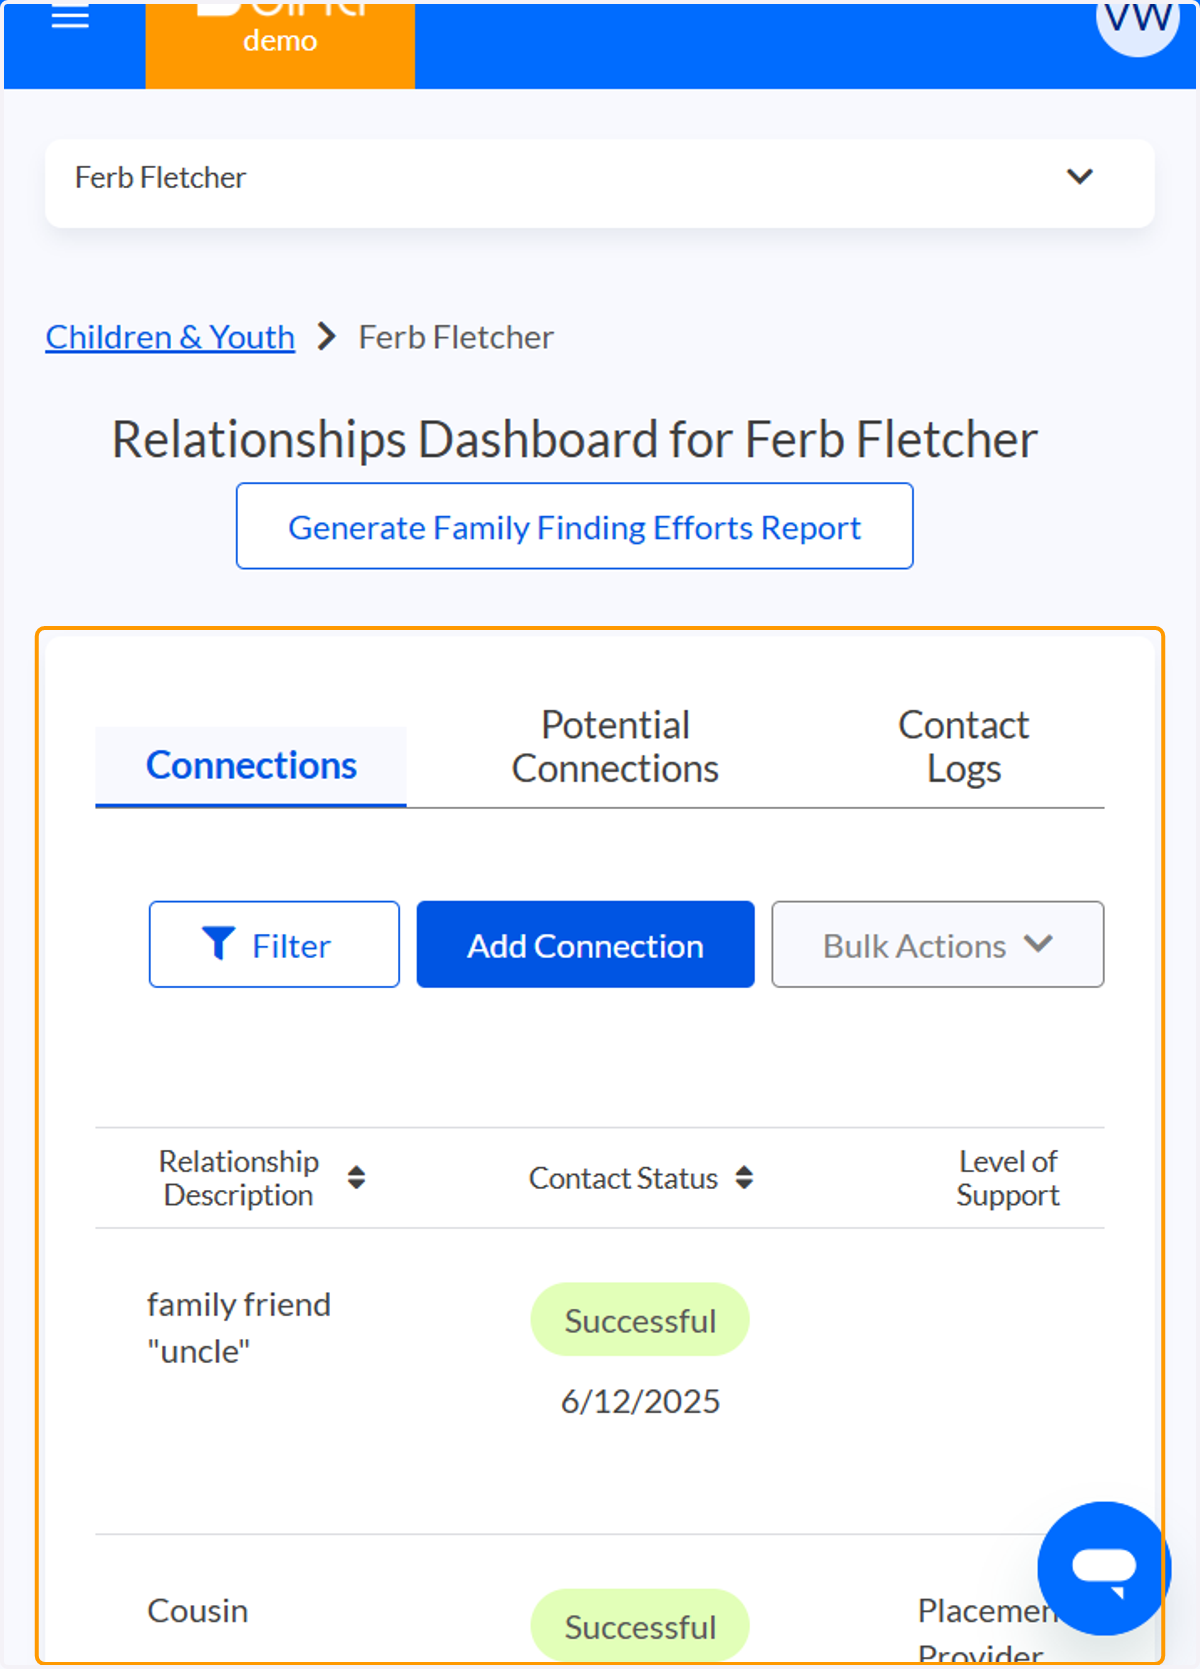
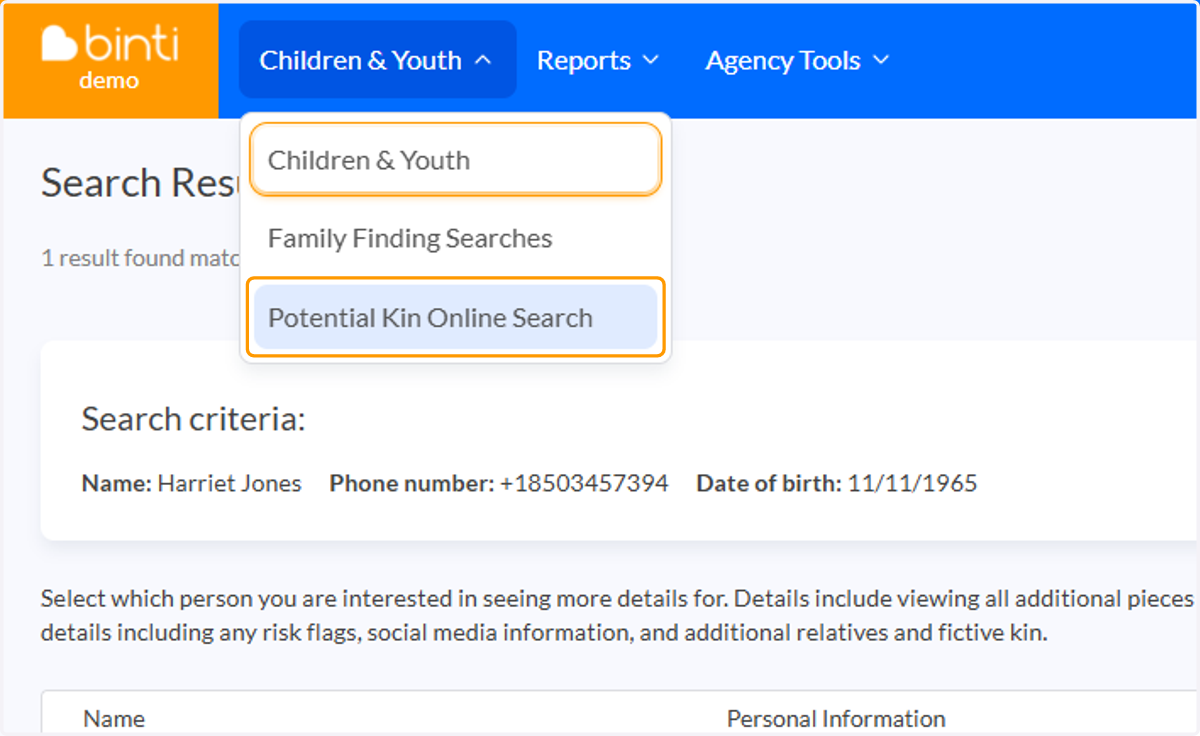
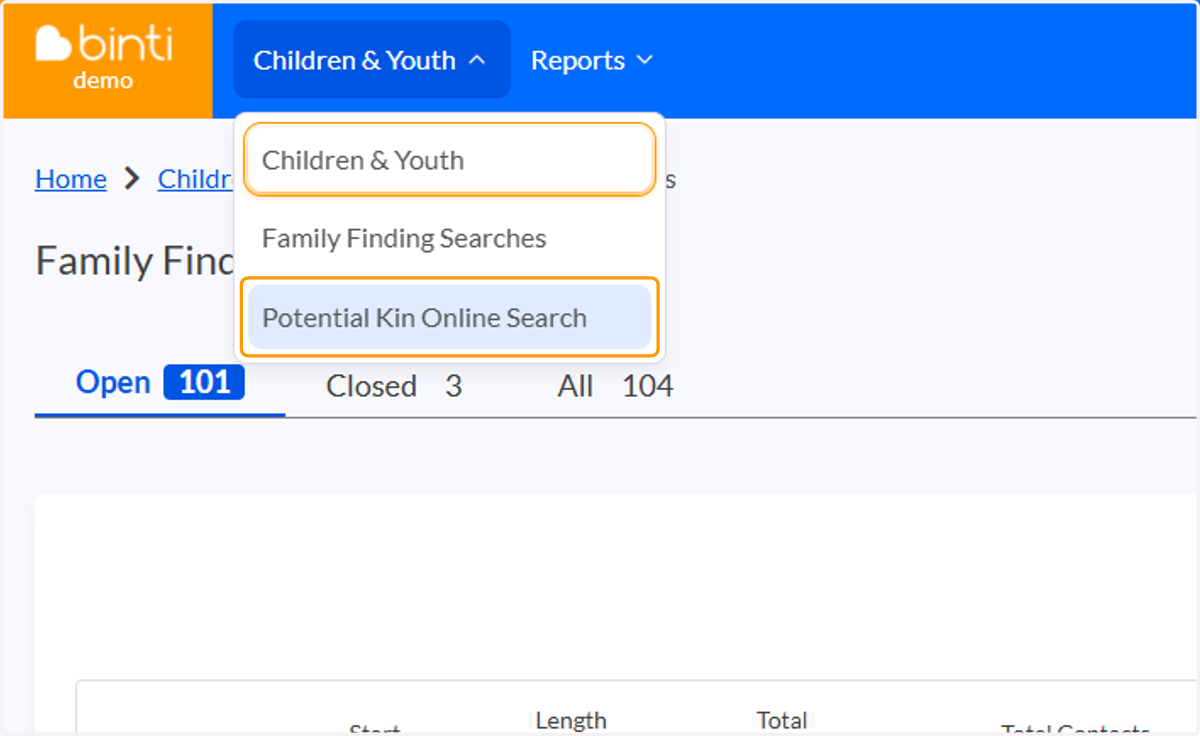
40. Now let's start our search. Navigate to the top bar and click on Children & Youth > Potential Kin Online Search
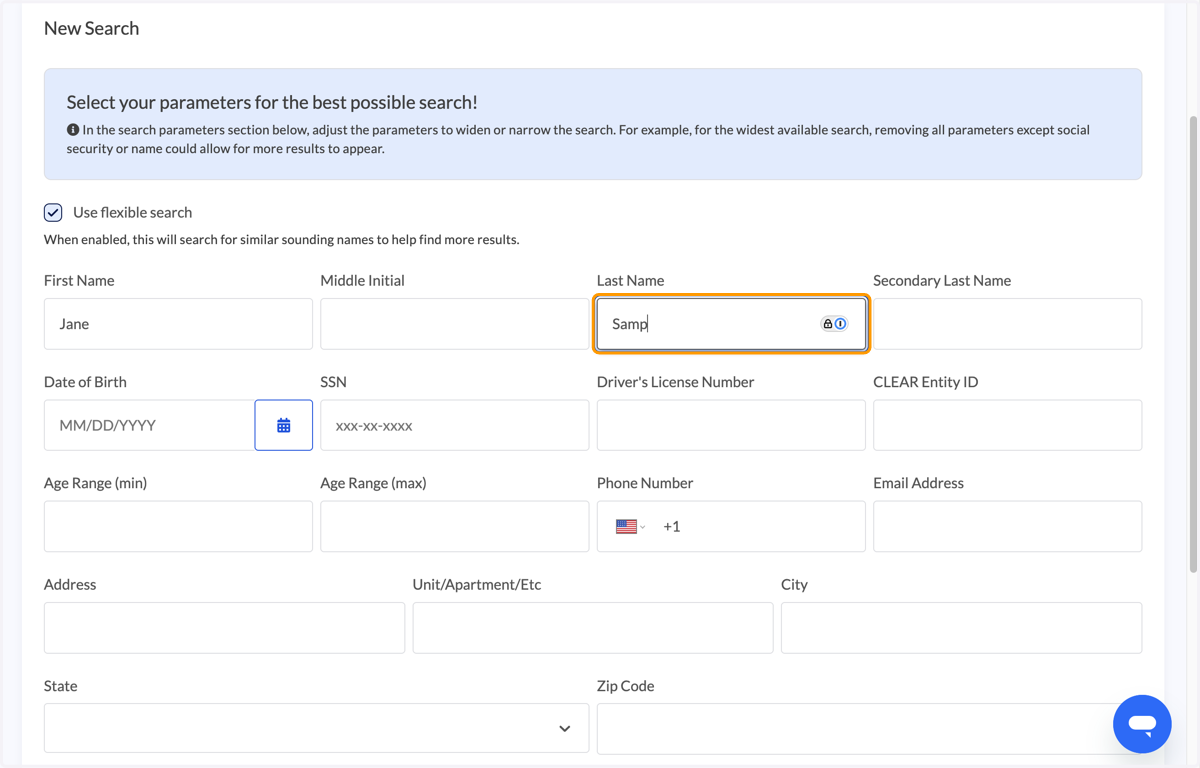
41. Type in the information you have about the individual you are basing your search off of e.g., We know Ferb's mother is named Jane Sample. I'll enter that into the boxes below
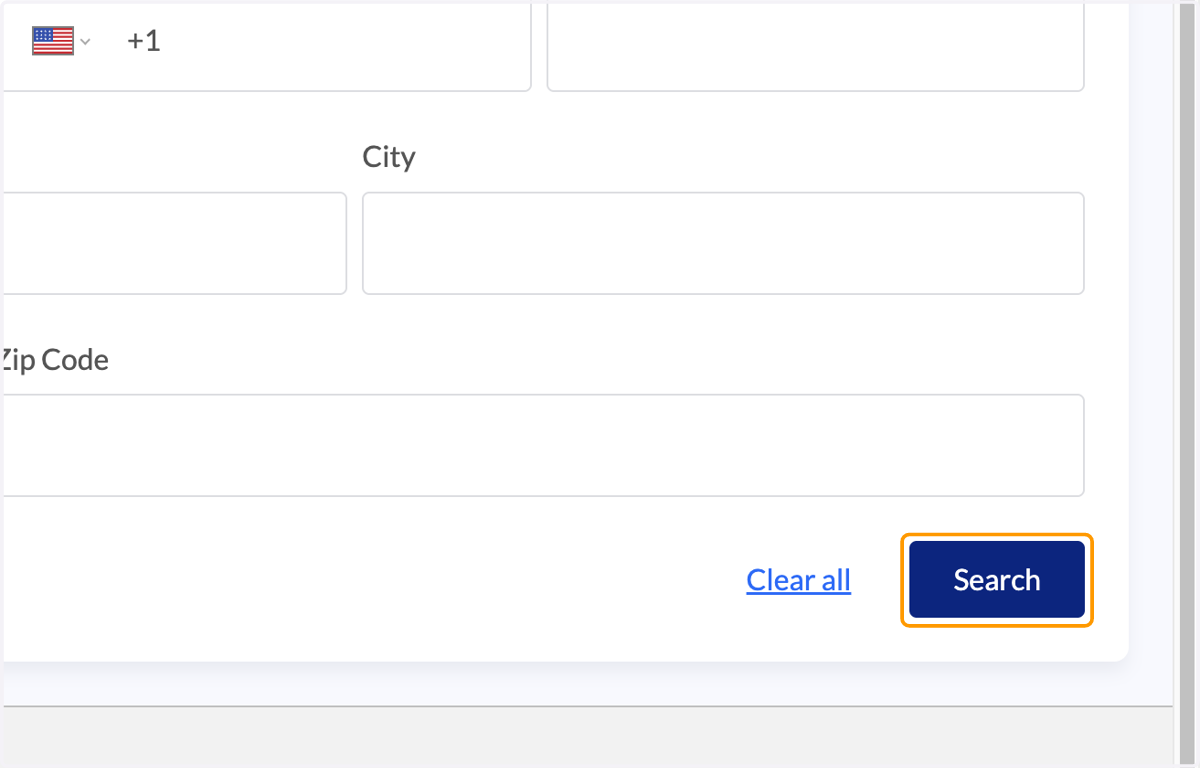
42. Once your information is entered, click on Search
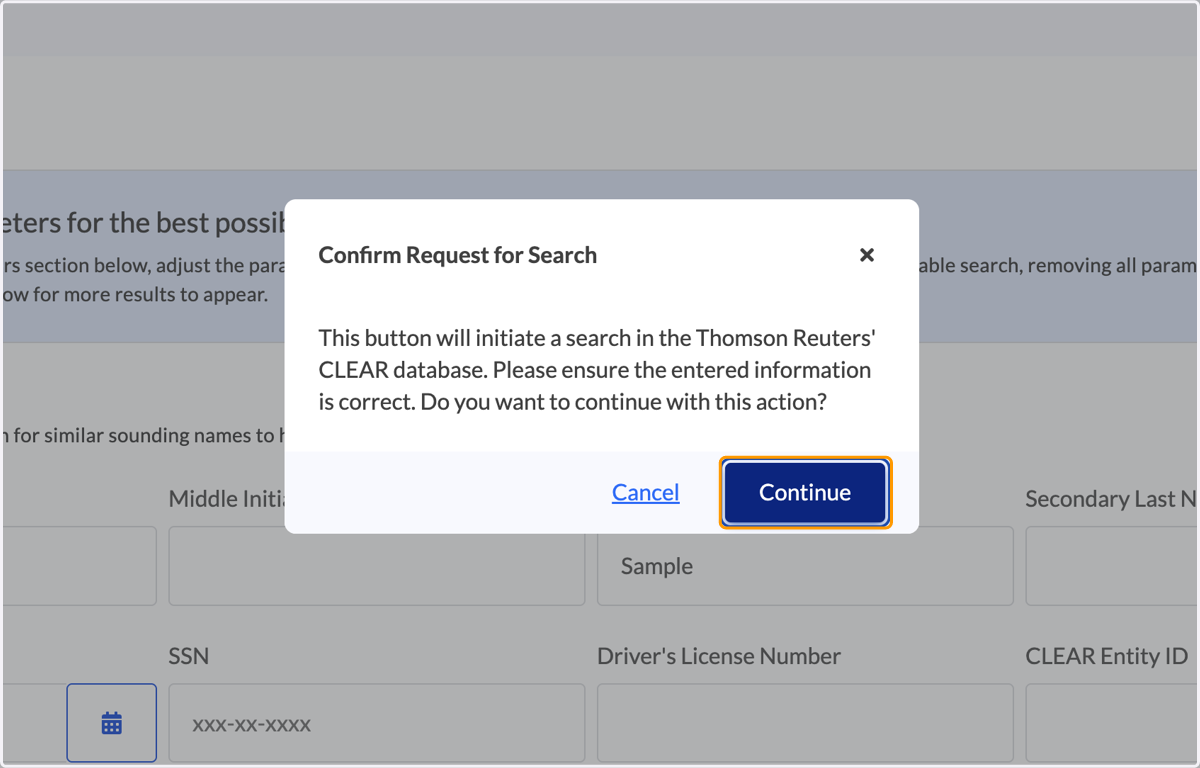
43. This will notify you that you are a running a search. Click on continue to proceed.
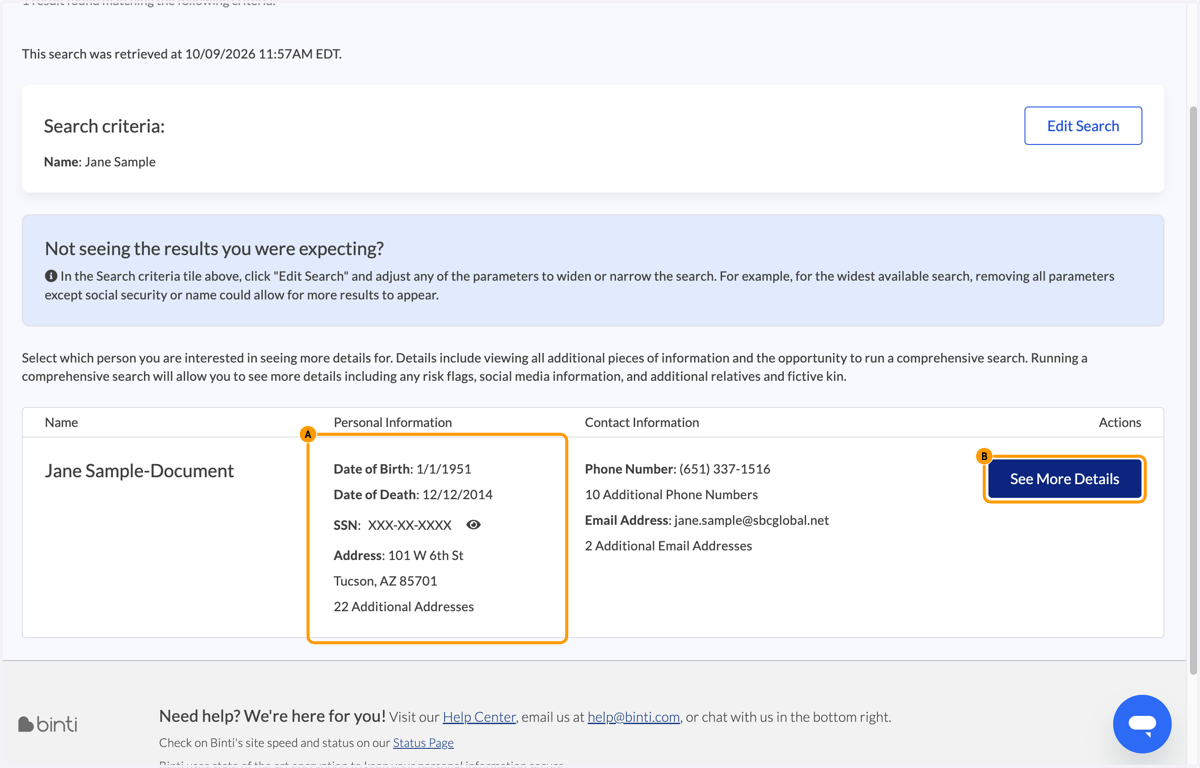
44. A. This will conduct a search to find that person in the Thompson Reuters Clear database. In this example we located the correct Jane Sample-Document and should click "See More Details" to see more about her
44. B. We could use things like date of birth, SSN, phone to identify the correct Jane
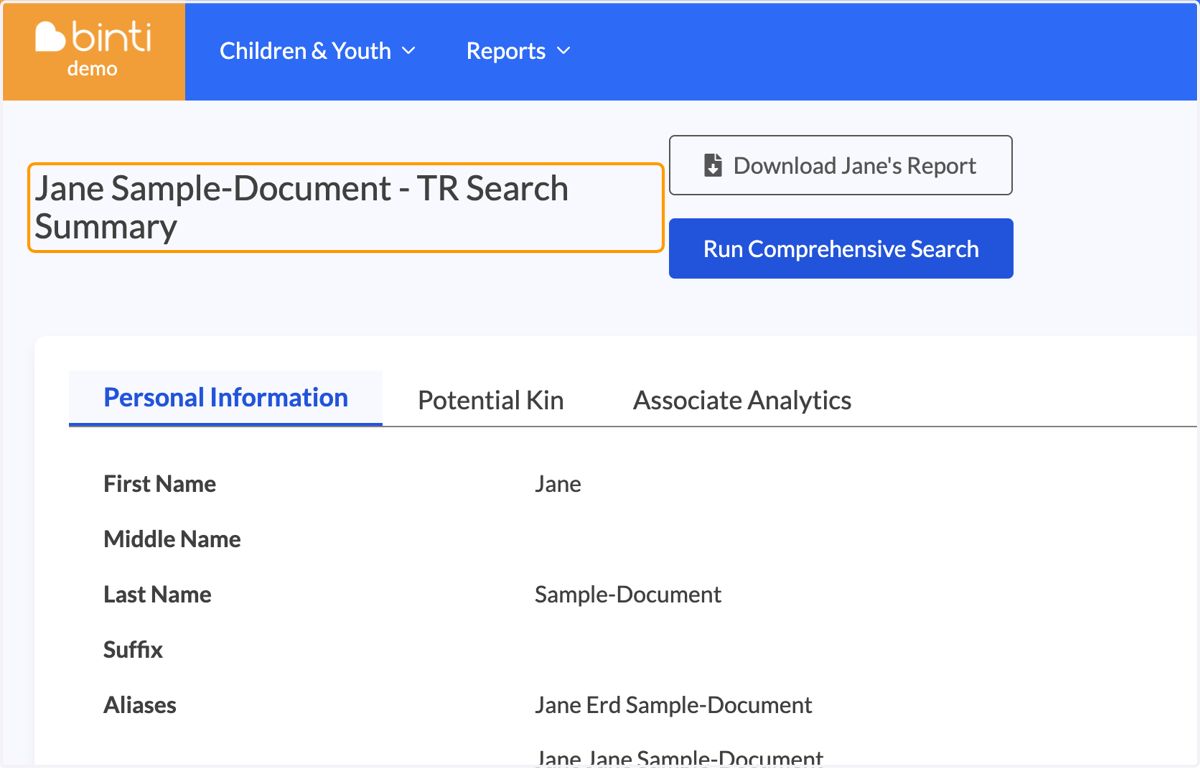
45. You will then land on Jane's in-depth report where you can find a summarized version of the key information for searching as well as the complete CLEAR report for download
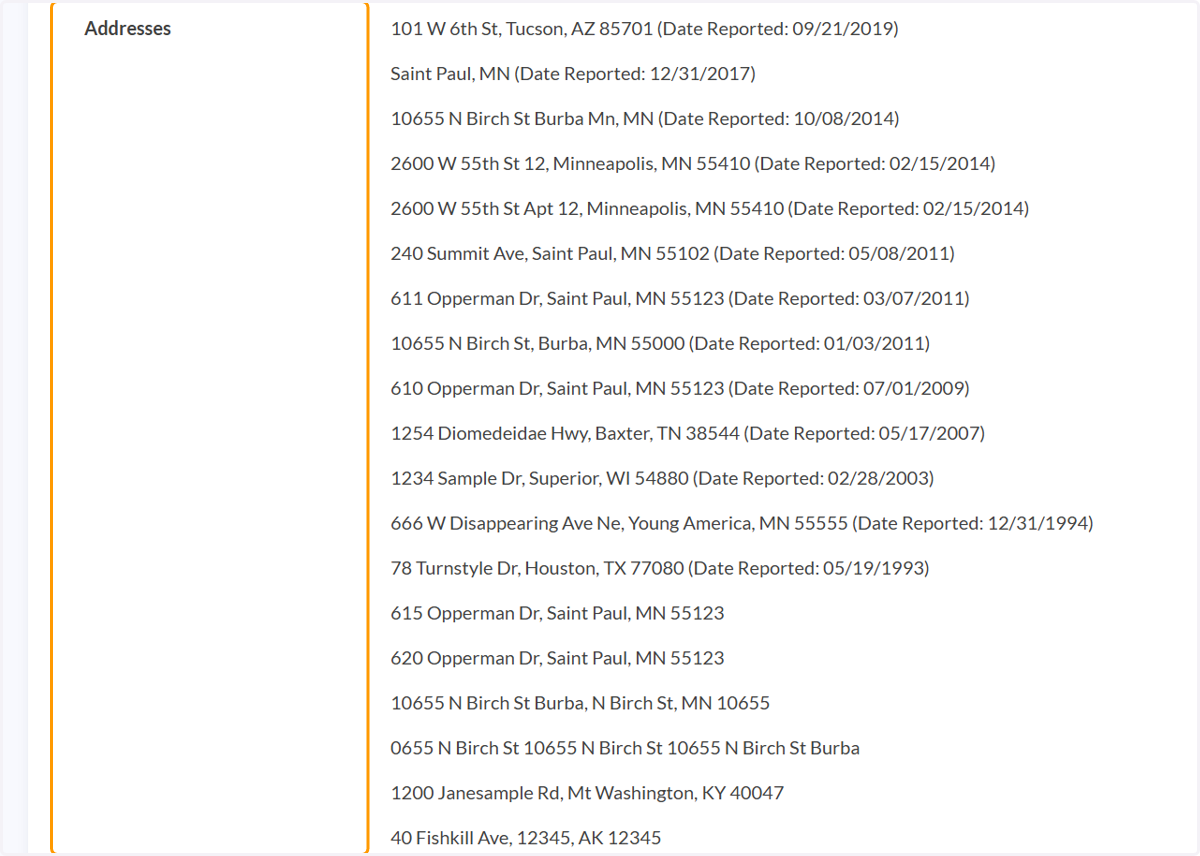
46. Scrolling down in the report, you will find a list of all known addresses...
47. ...all phone numbers...
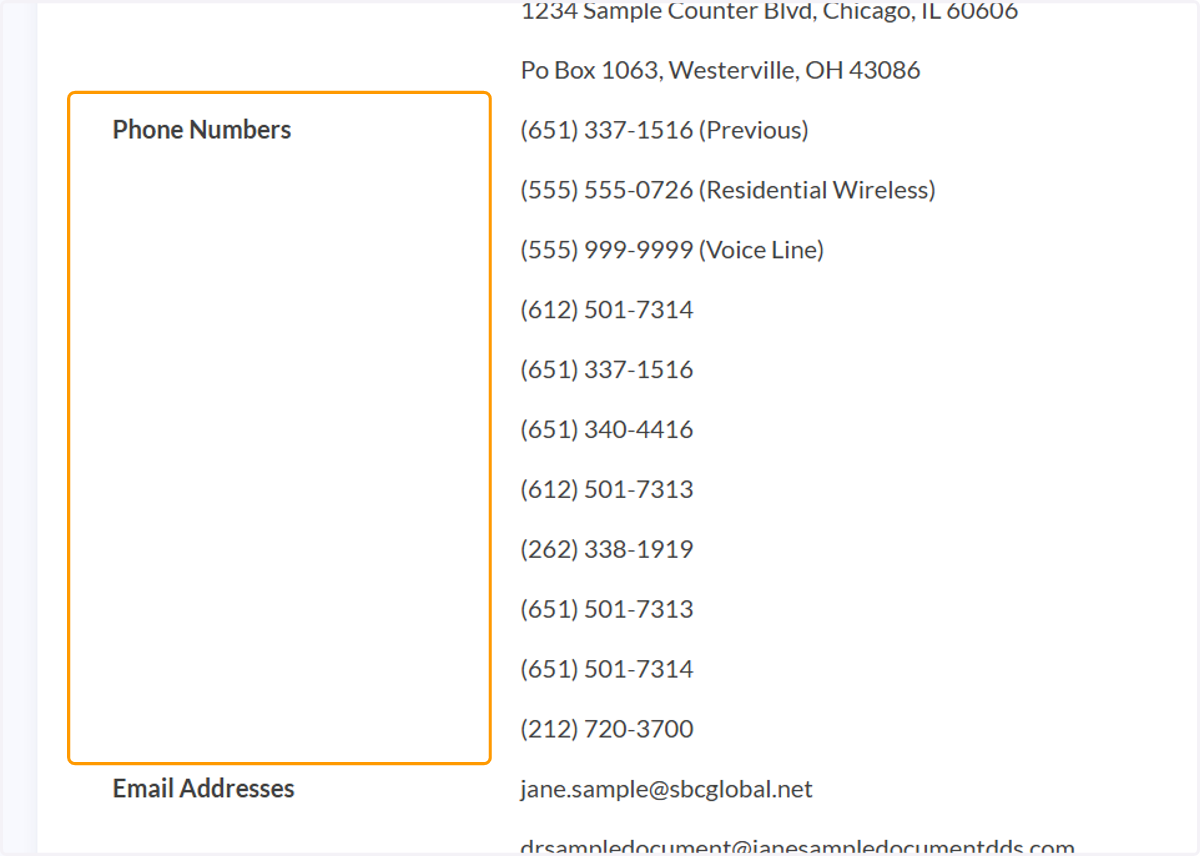
48. ...and all email addresses
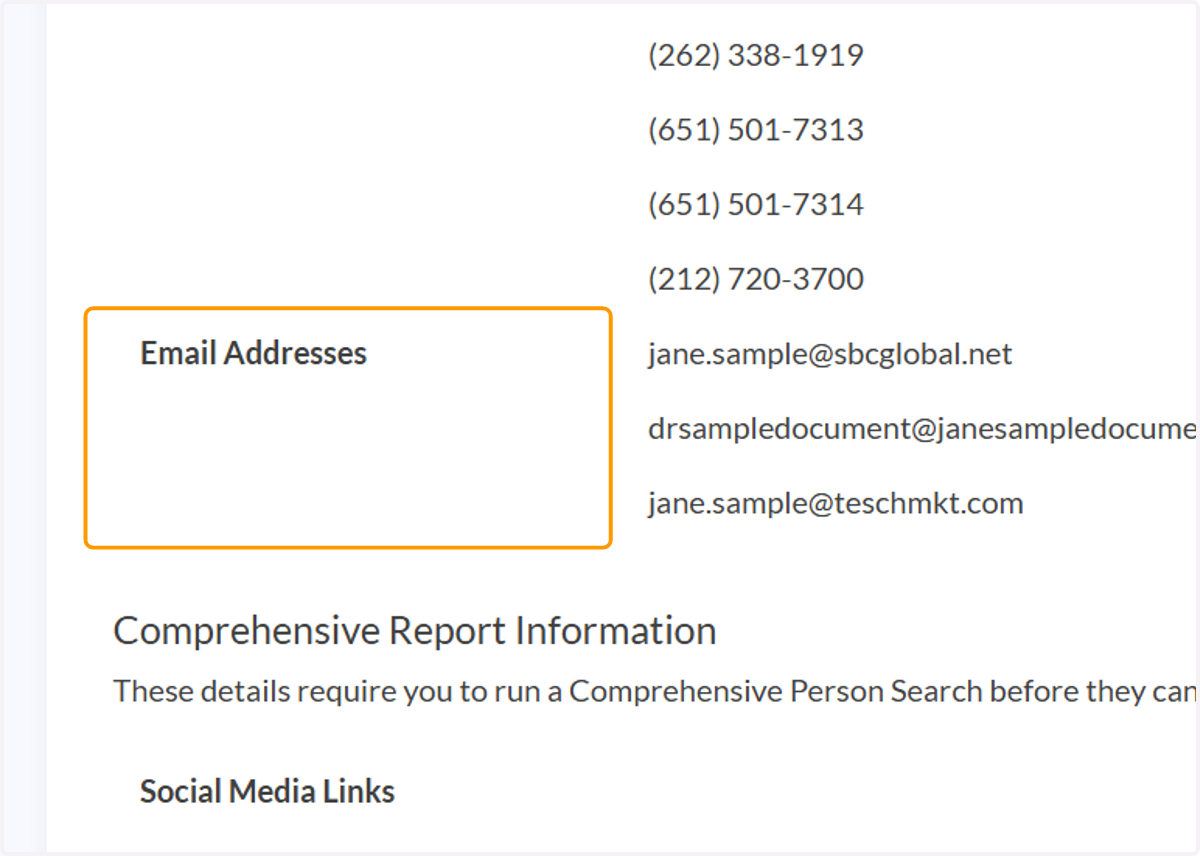
49. Once we have a sense that Jane might be connected to our child. We can start to dig into people who might be related to Jane by clicking "Run Comprehensive Search" at the top or bottom of page.
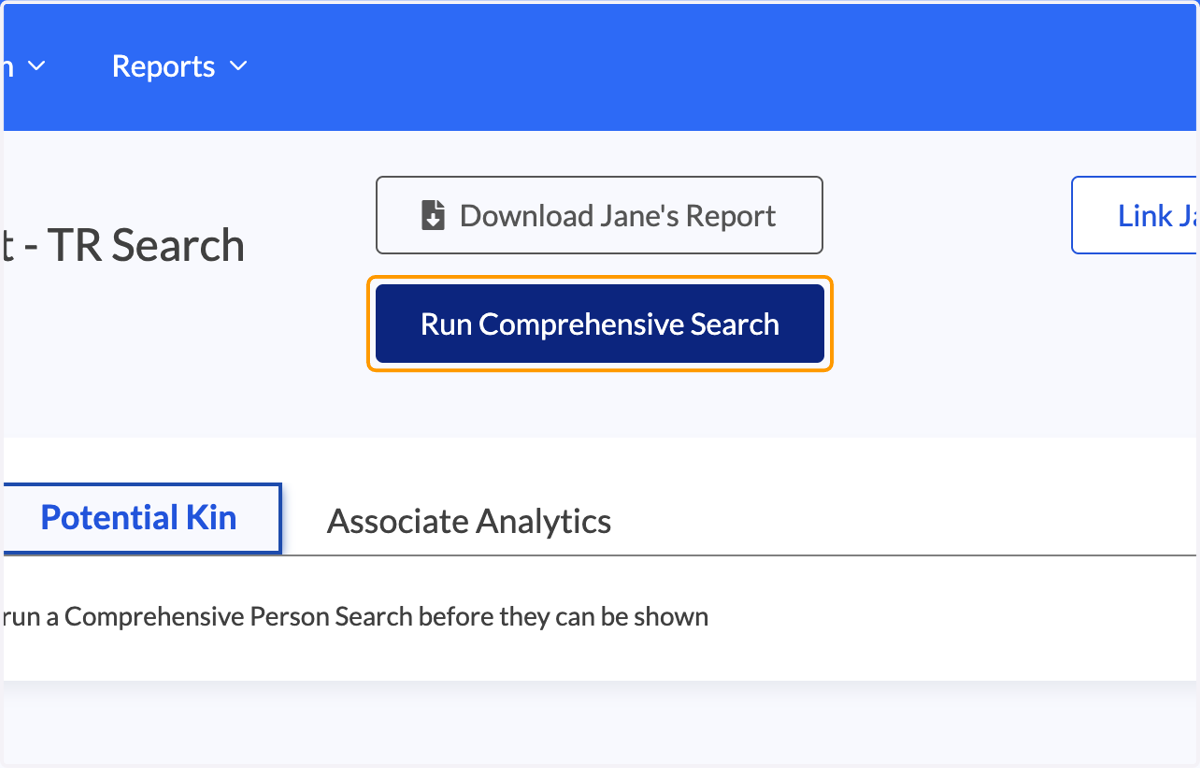
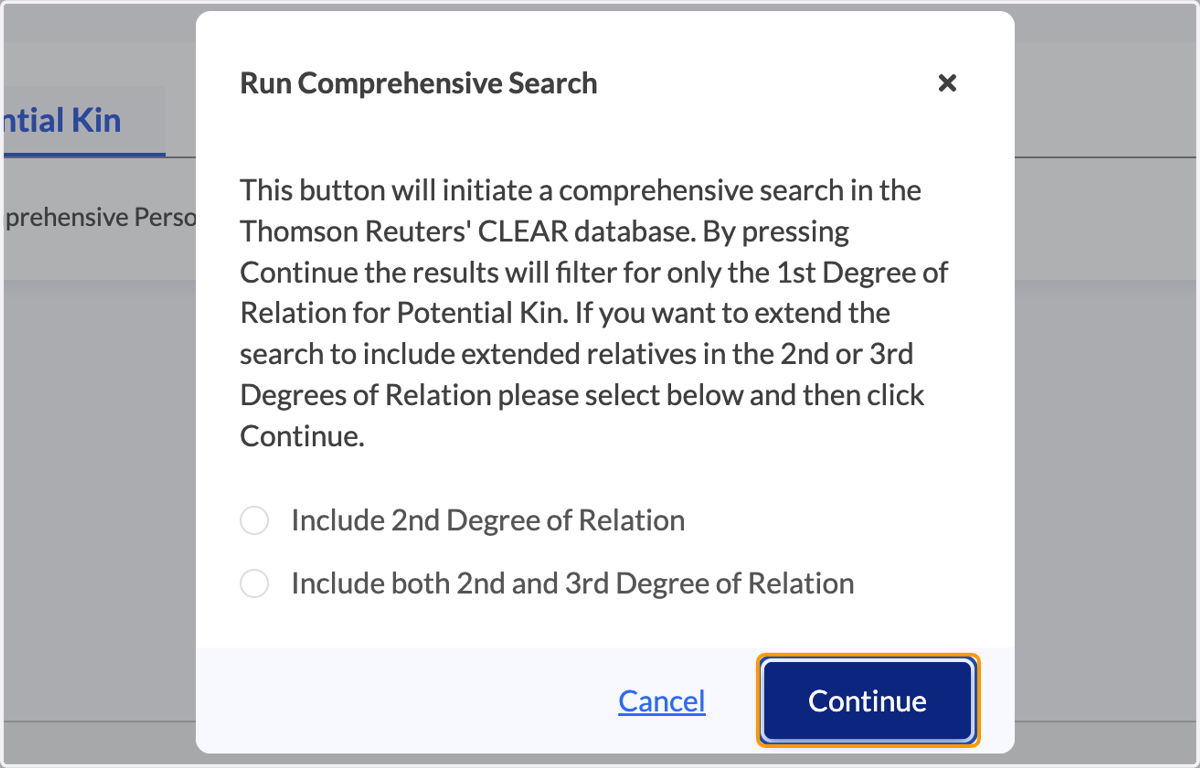
50. A pop-up window will let you know you will be accessing the official CLEAR database. Unless you want to add 2nd degree and 3rd degree relatives, simply click "Continue" to keep only 1st degree relatives (aka strongest matches)
51. The CLEAR search for bio mom Jane will return a list of people potentially connected to Jane. We can see more details for each of them by clicking See More Details under their name or Run a New [CLEAR] Search on that specific person.

52. You can always download Jane's report to see a full PDF of the CLEAR report with all known addresses, phone numbers, and more. This will give you all the same information as if you logged into CLEAR directly.
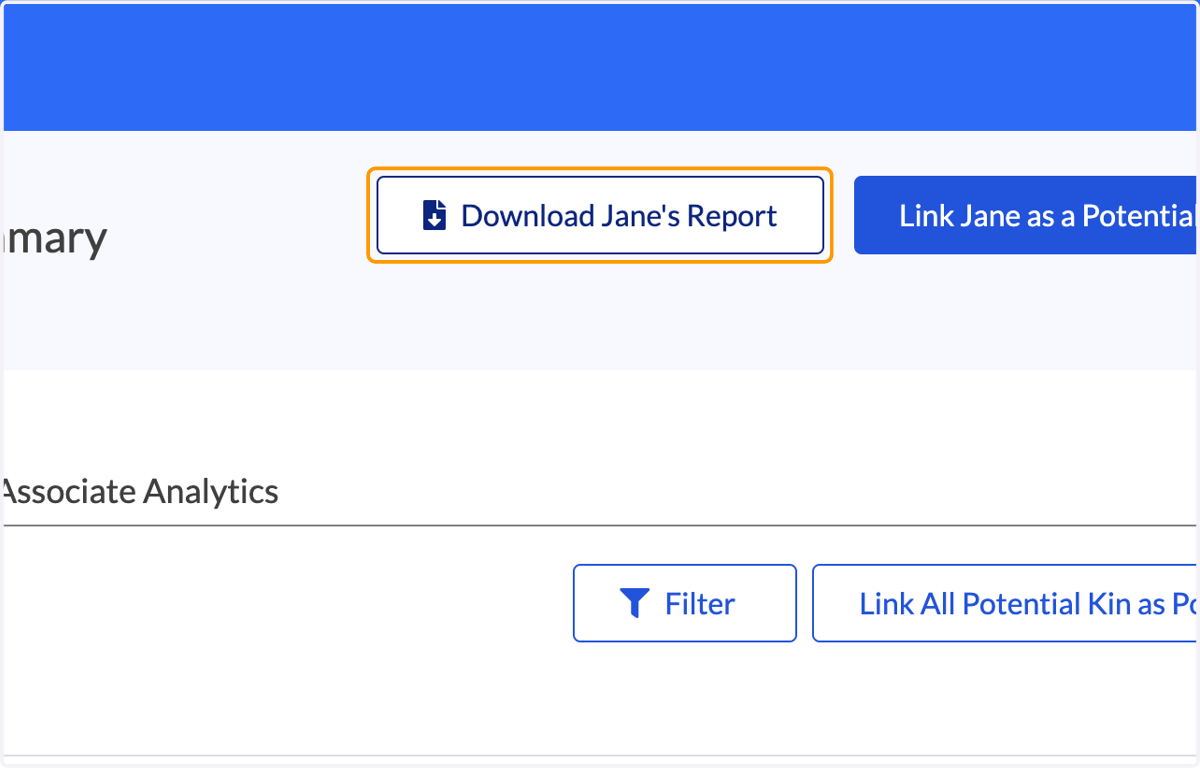
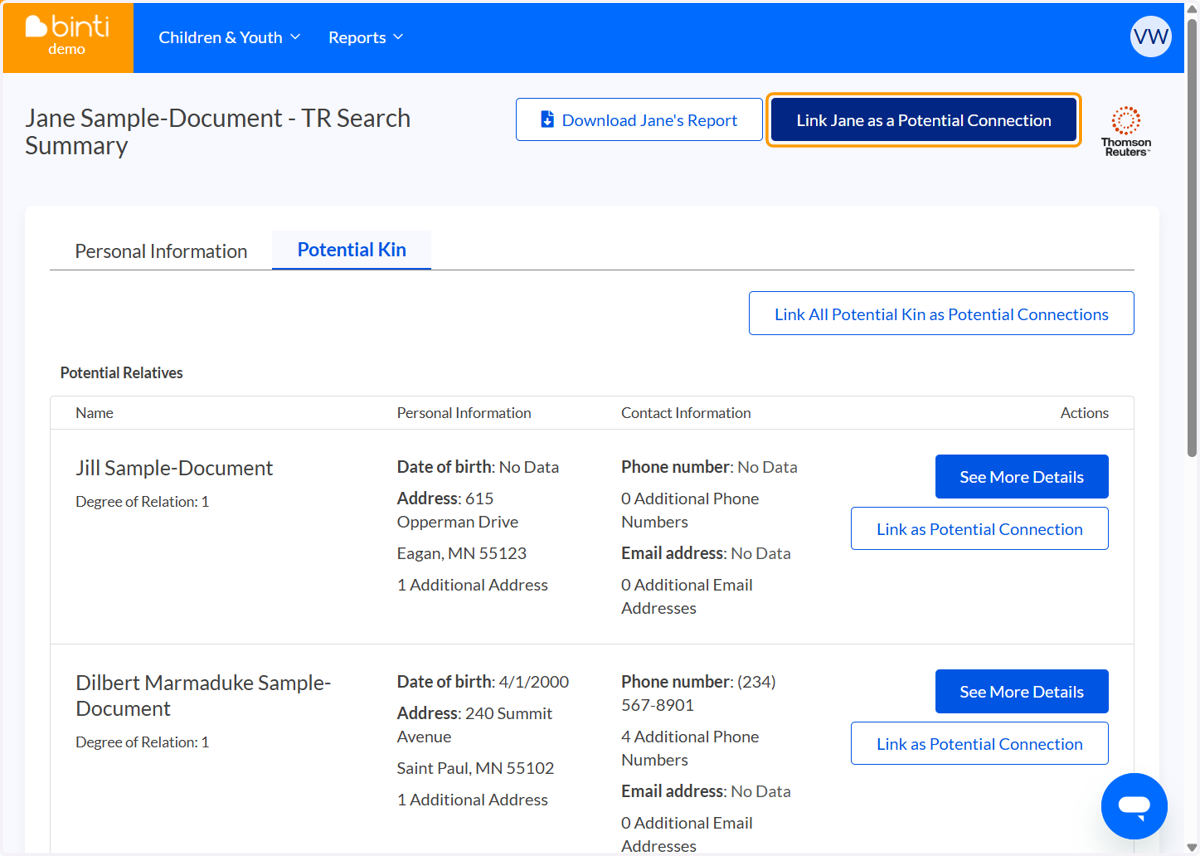
53. Now let's link Jane and her potential kin as a potential connection to send them back to the Relationships Dashboard In the top bar, click Link Jane as a Potential Connection
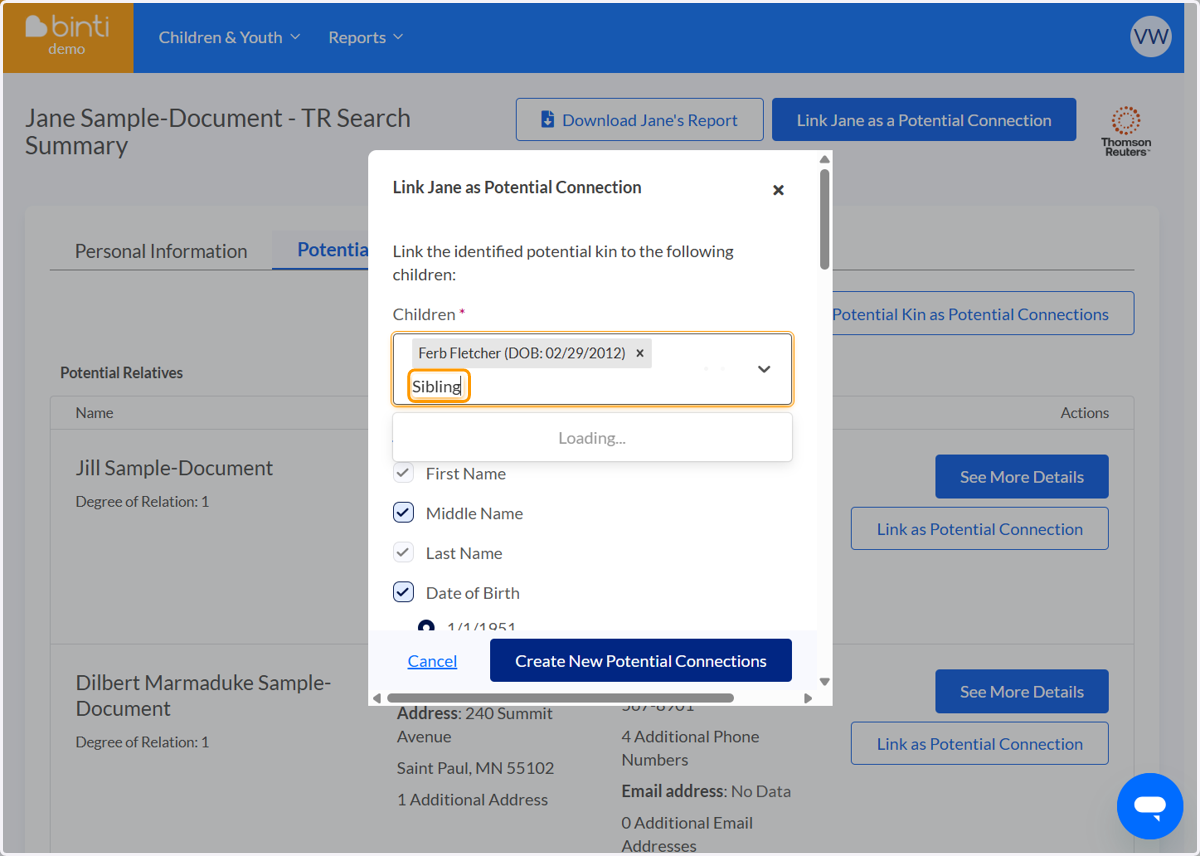
54. In the window that pops up, we can link Jane to the child as well as any siblings of the child that are already in Binti
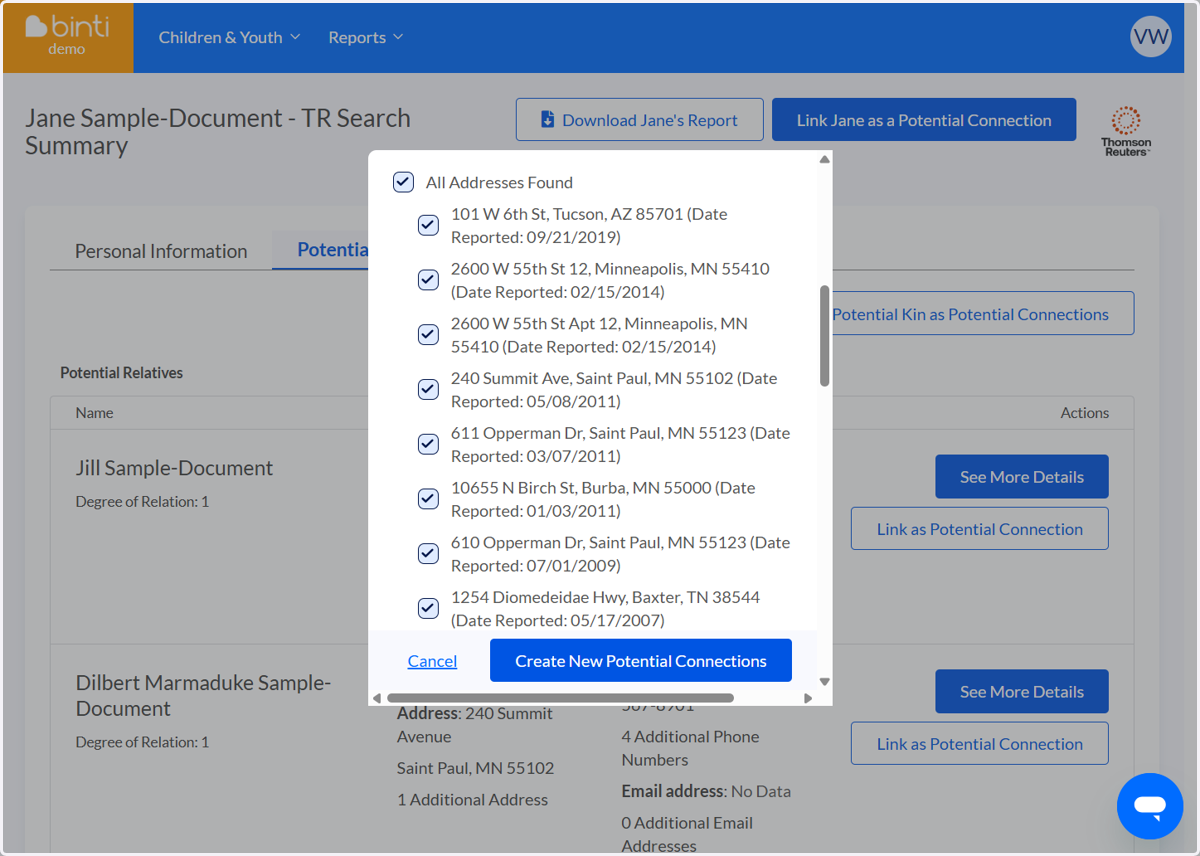
55. You can scroll down to the addresses and phone numbers found and unselect any that you do not want to pull into the Binti profile (e.g., addresses or phone numbers you think are outdated)
Note: you can also import all information and mark them as inactive/outdated later on the Edit Connection page
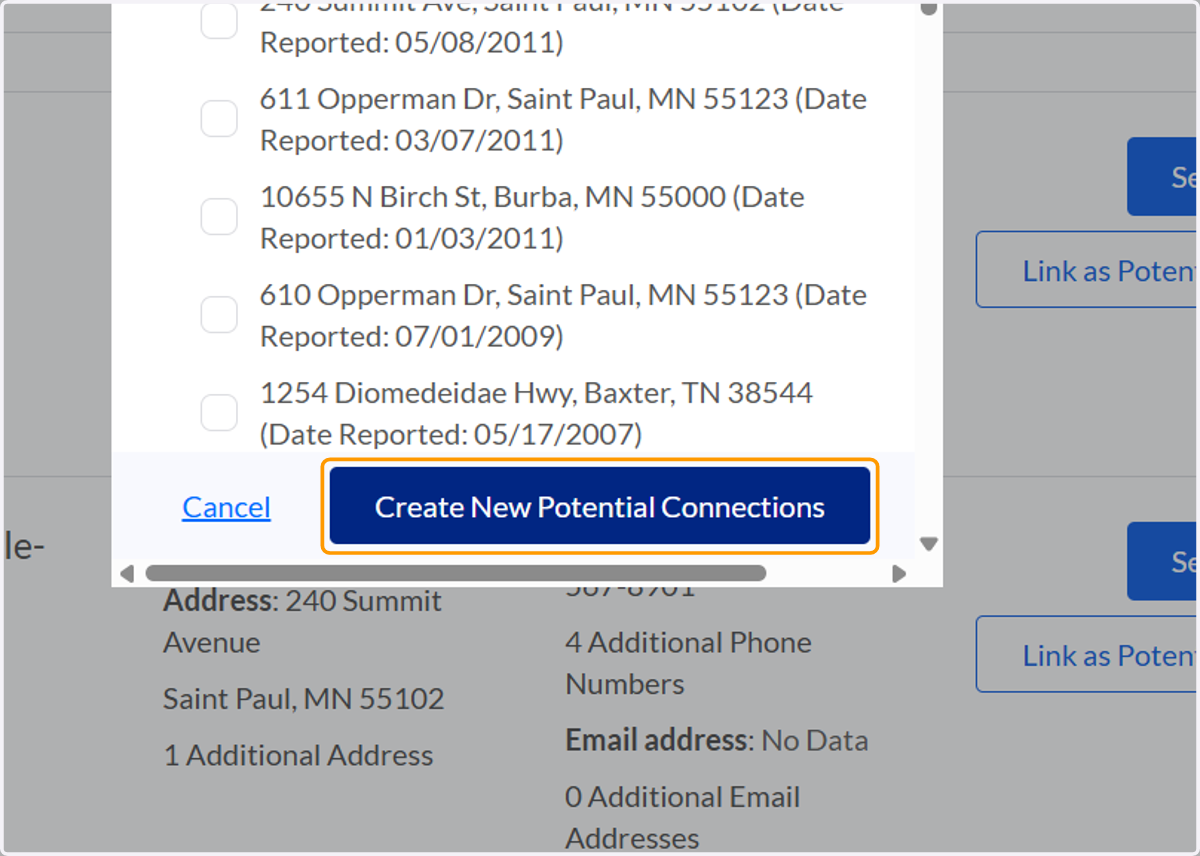
56. Click on Create New Potential Connections to import Jane
57. You can now click on the hyperlinked child's name to return to Ferb's relationship dashboard or click the "x" to go back to your PKOS search and linkd additional potential kin
I'll select "x" so we can add Jane's potential kin to Ferb's case
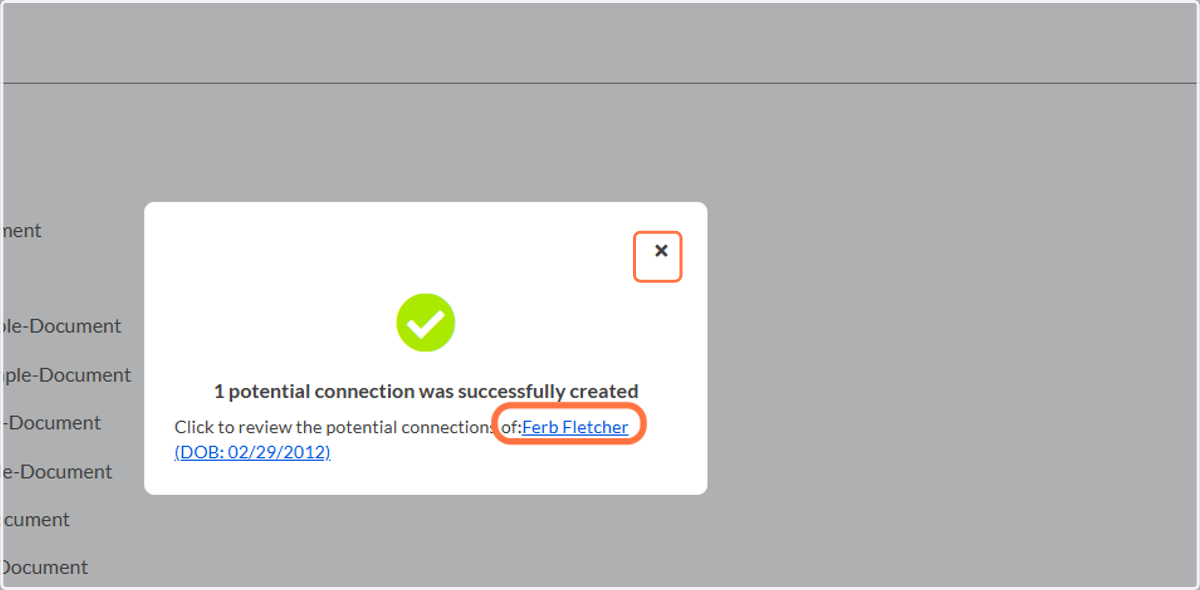
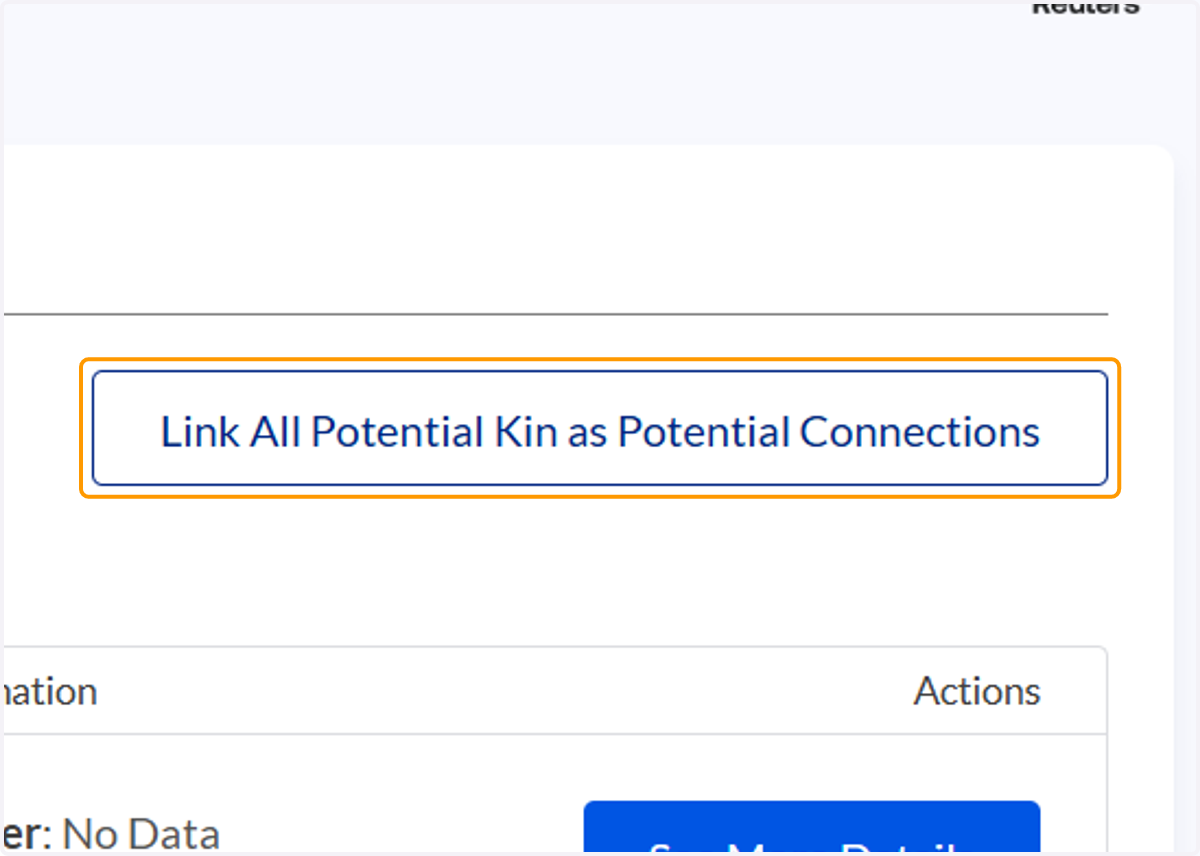
58. Now let's send Jane's Potential Kin back to the Relationships Dashboard Click on Link All Potential Kin as Potential Connections
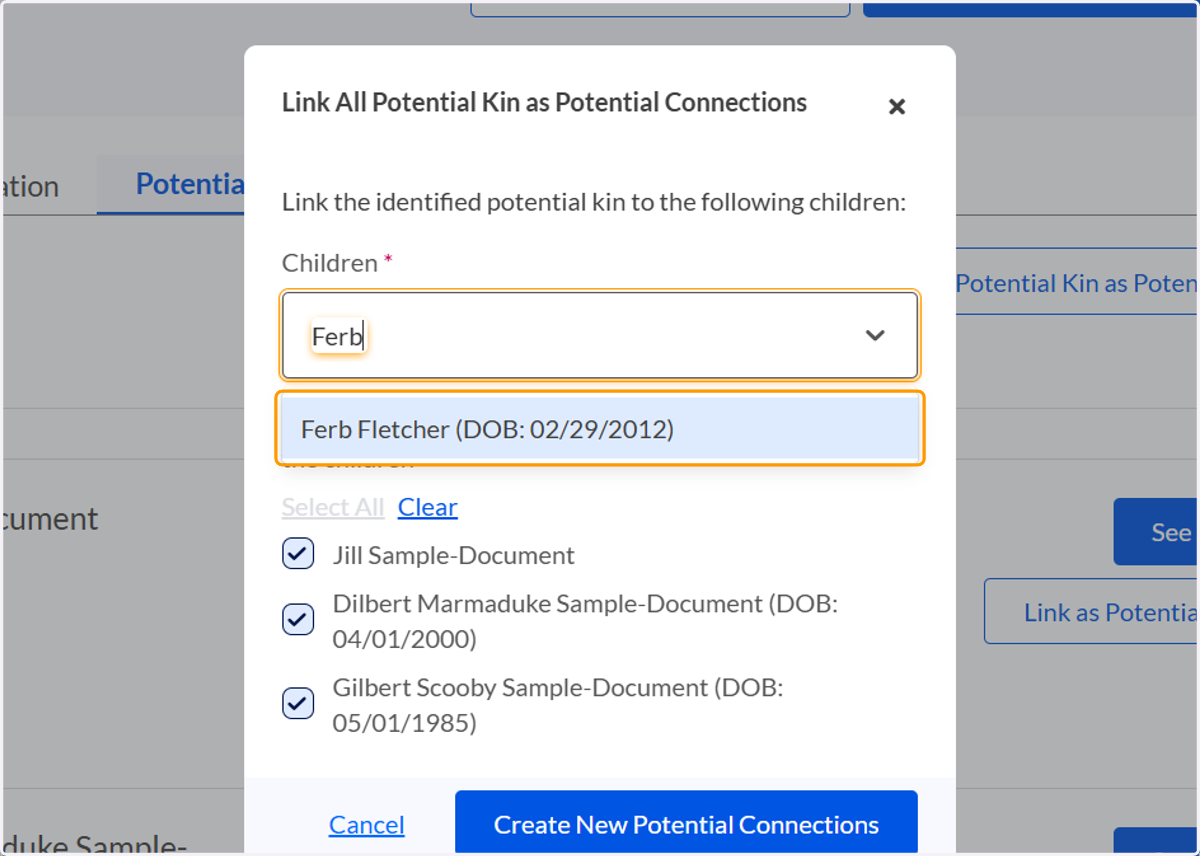
59. Follow the same process to link the potential kin to the child or children
60. You may see a pop-up window to Resolve Duplicates. This happens if there are any connections (relatives) already listed in the child's Relationships Dashboard confirmed connections.
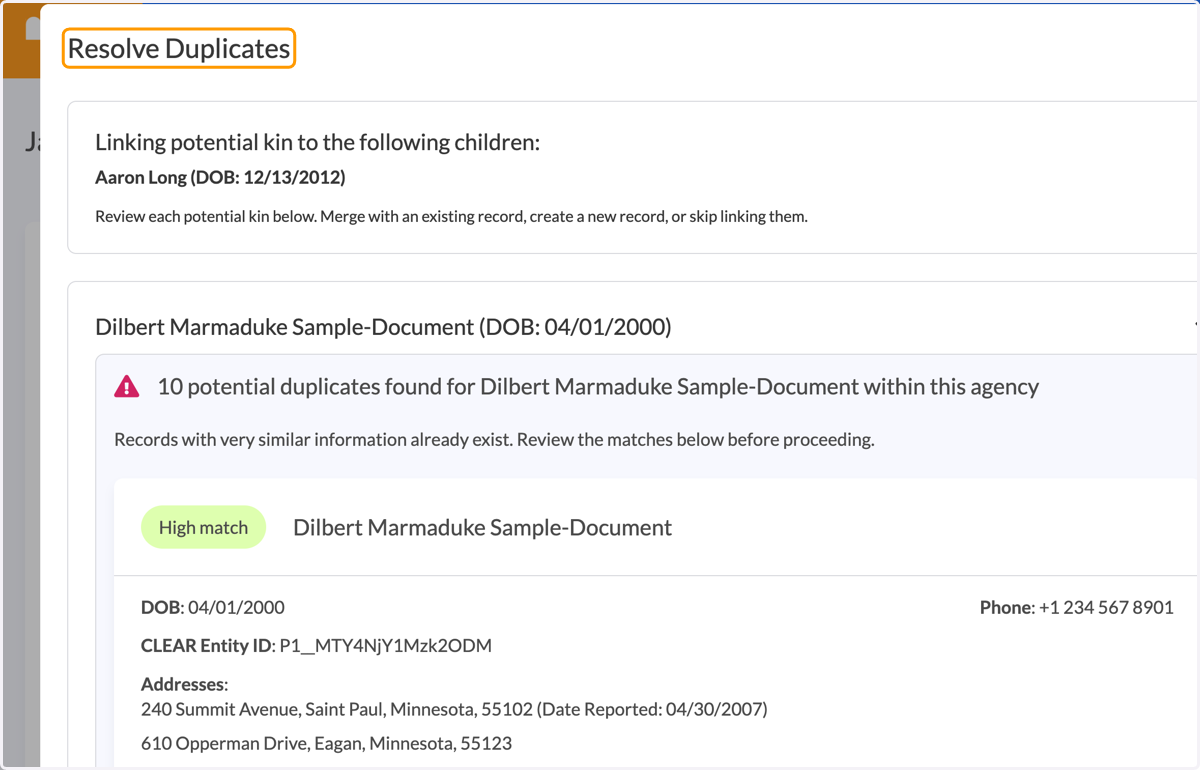
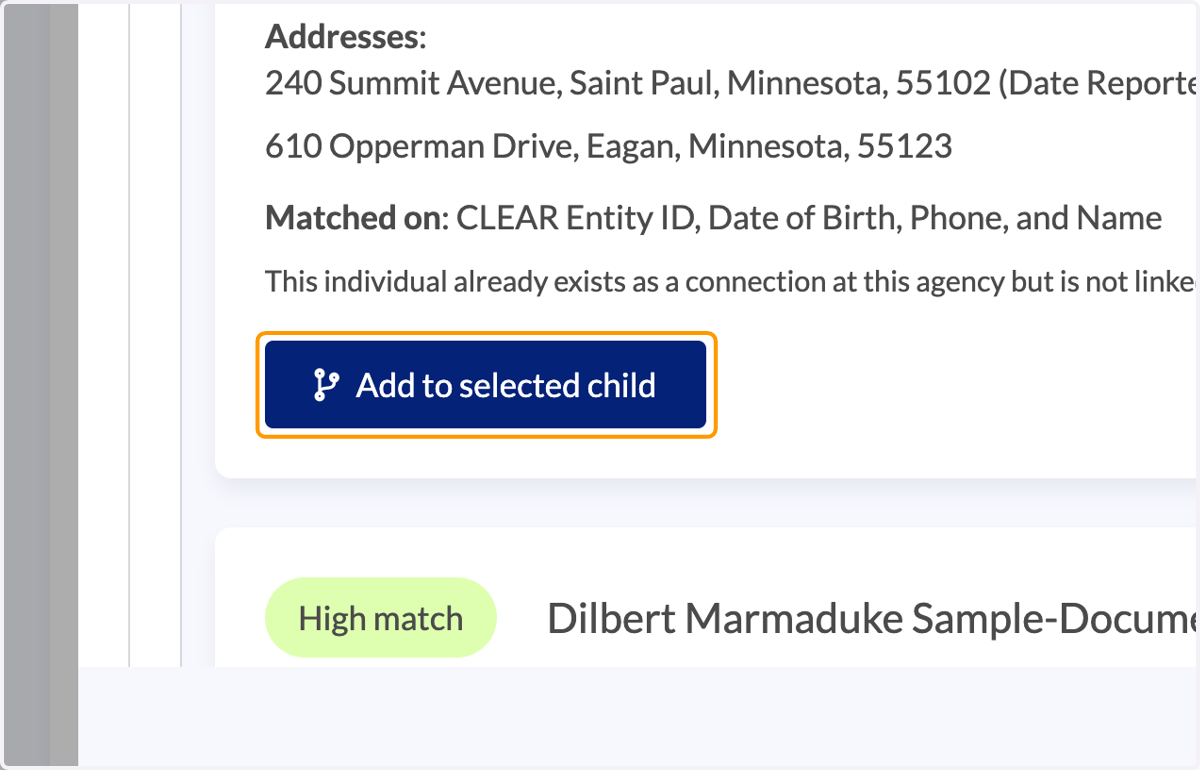
61. To merge the new info into the existing connection, click "Add to selected child".
62. Click on Confirm Merge
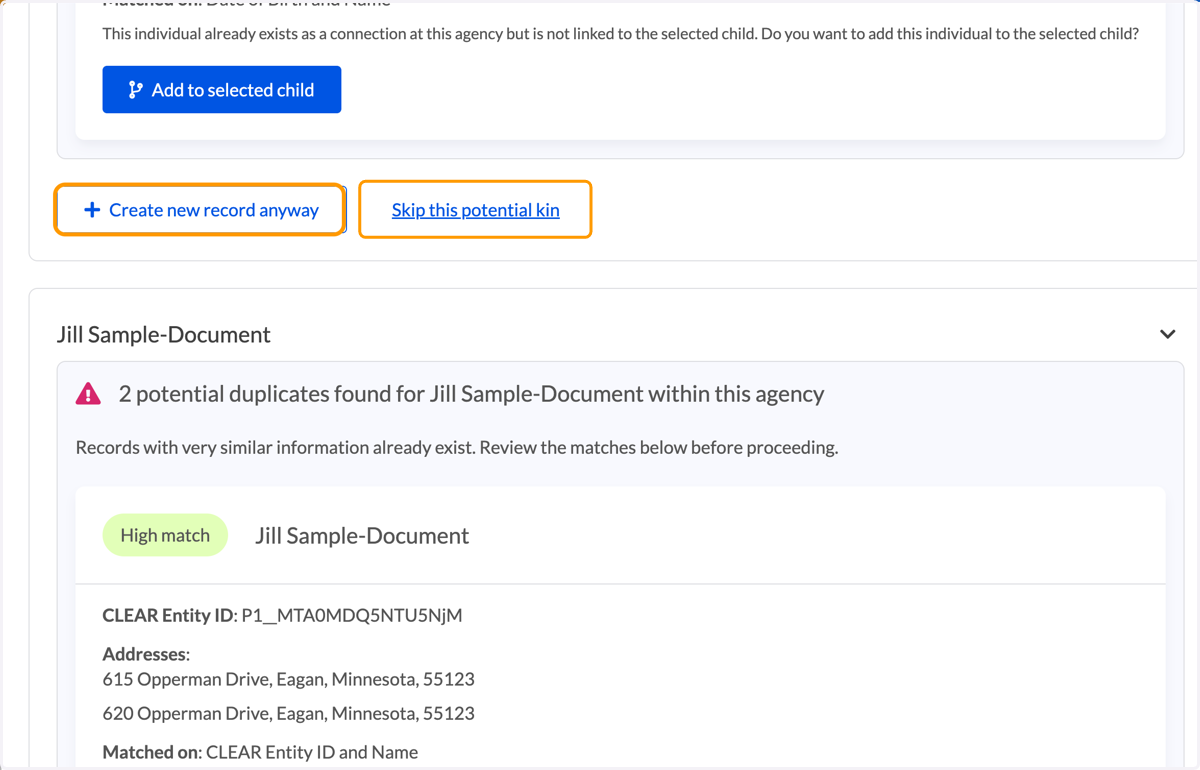
63. To create a brand new person (if this is not a duplicate), click "Create new record anyway". Or if you don't want to link this person to the child's record, click "Skip this potential kin".
64. Once you have confirmed the duplicates to merge info into an existing person's profile, created a new person anyway, or skipped adding a person, click Finish.
65. Now click the child's name to return to the Relationship Dashboard
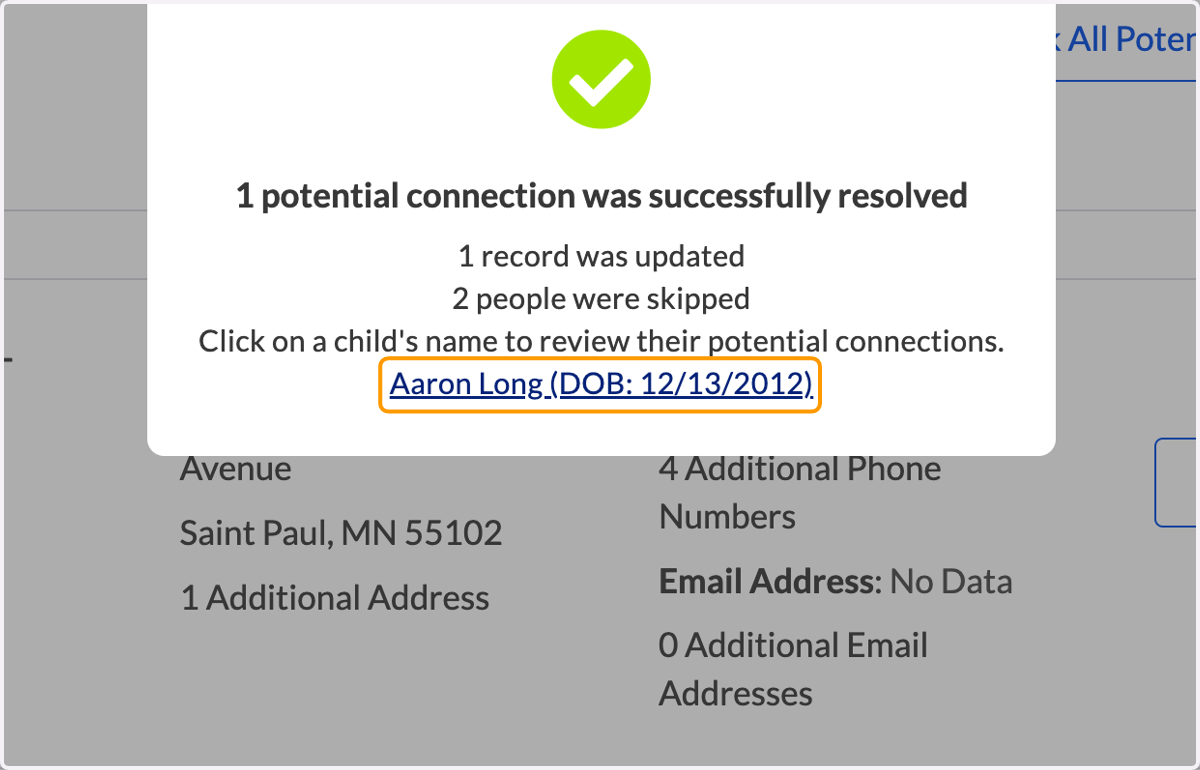
66. All of the individuals you linked will now be on the potential connections tab of the child's Relationship Dashboard
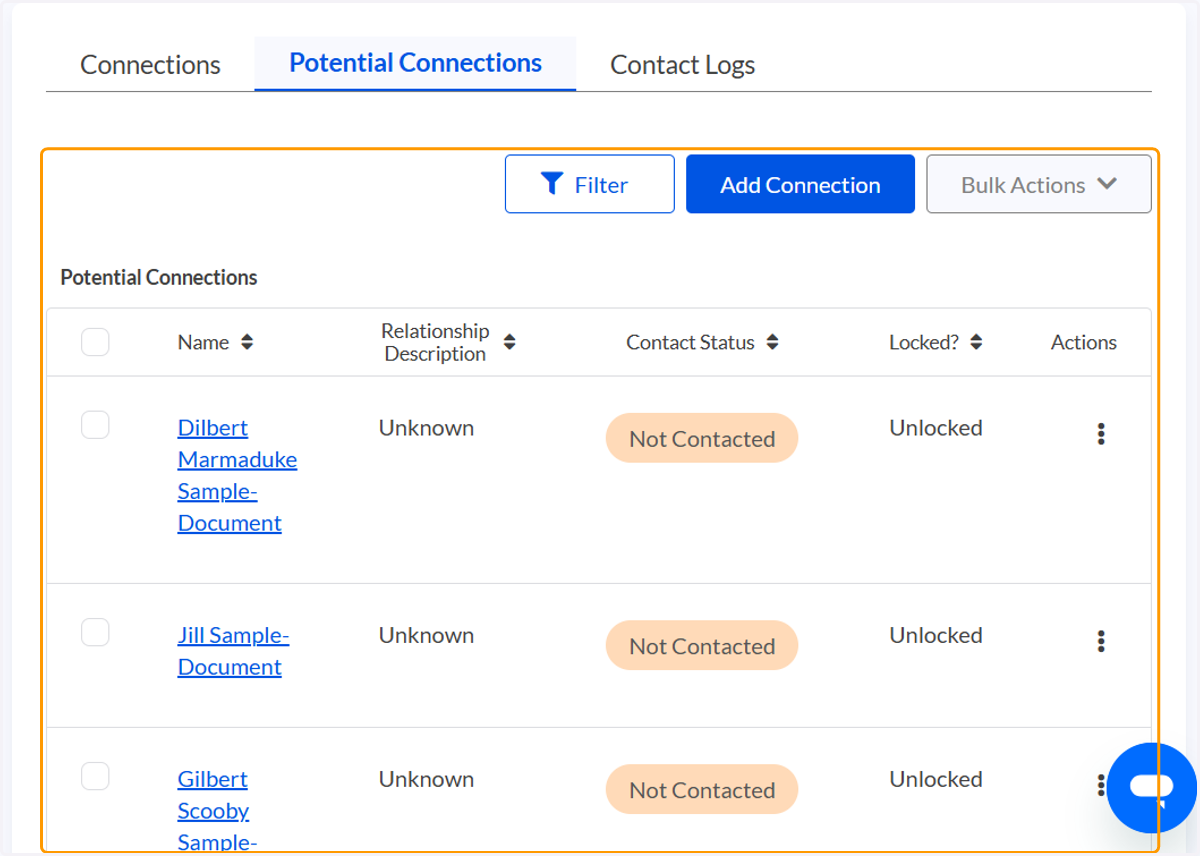
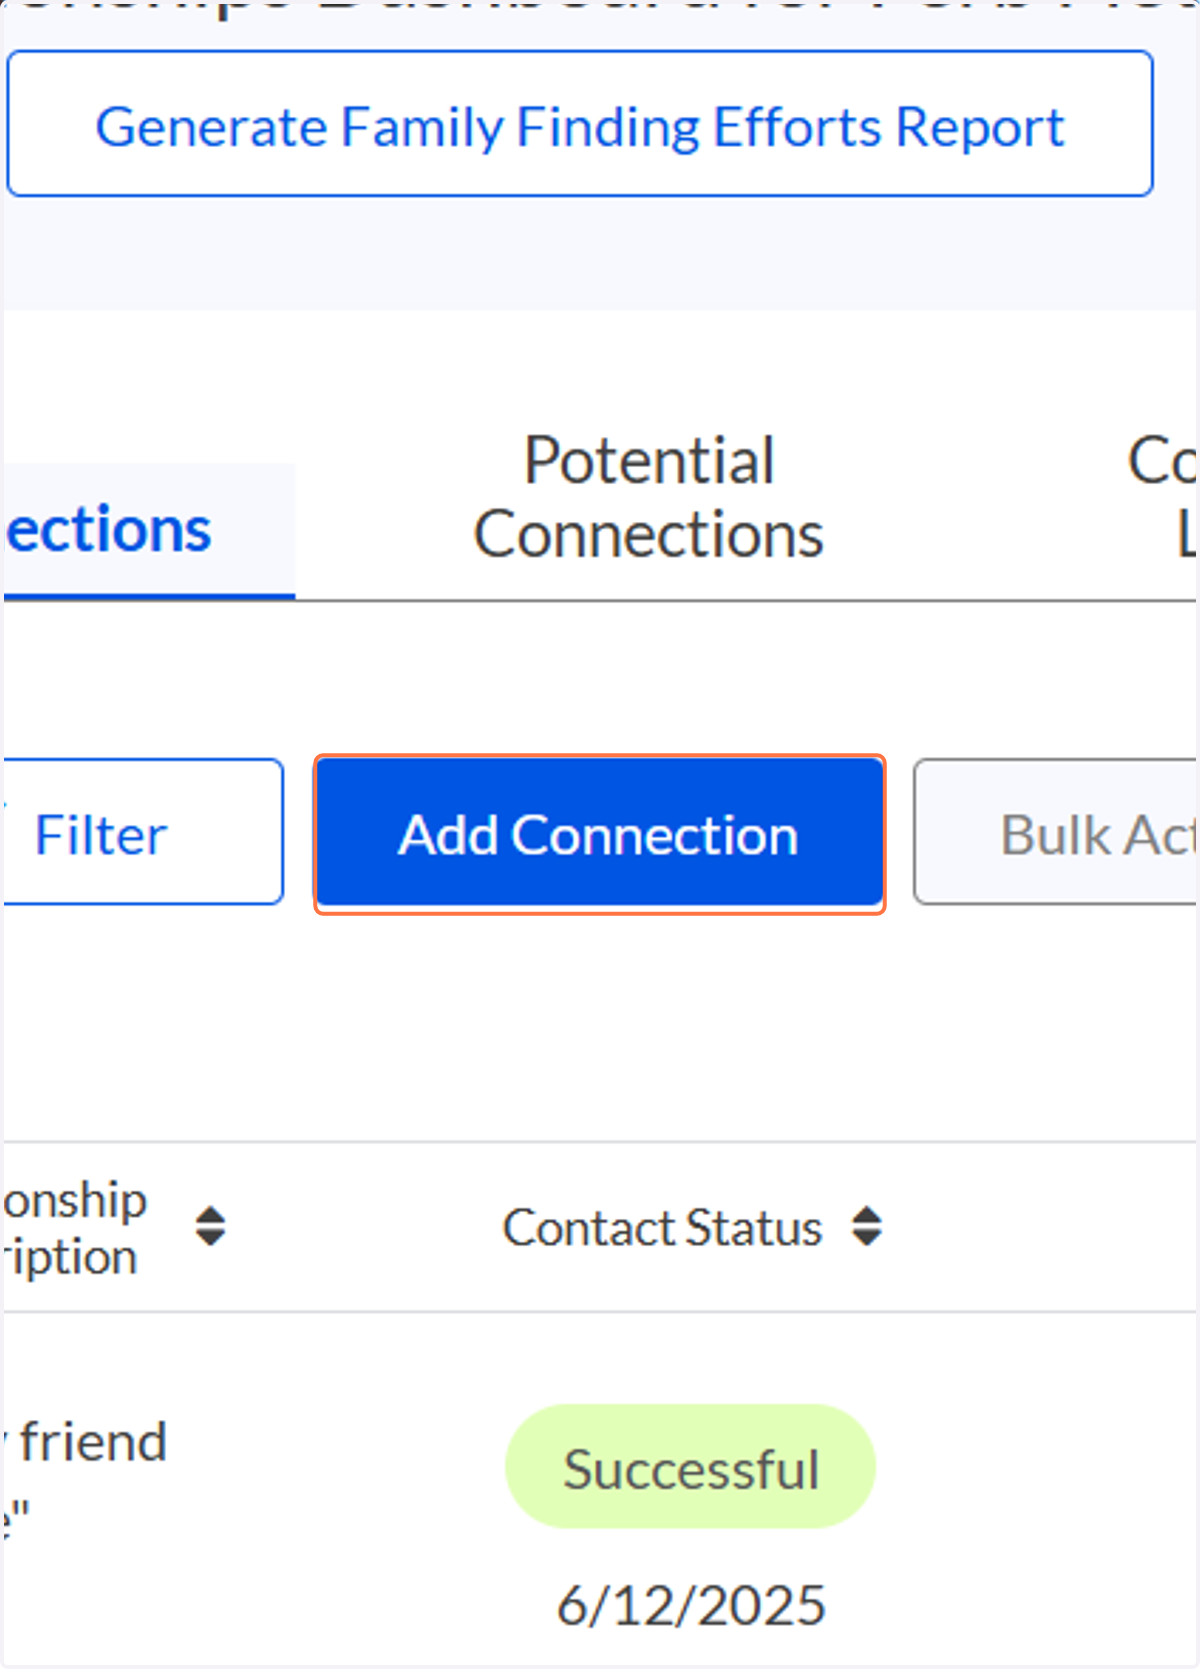
67. If there are known relatives that did not import from TWIST and were not found in the Potential Kin Online Search that you would like to add, you can add them via "Add Connection"
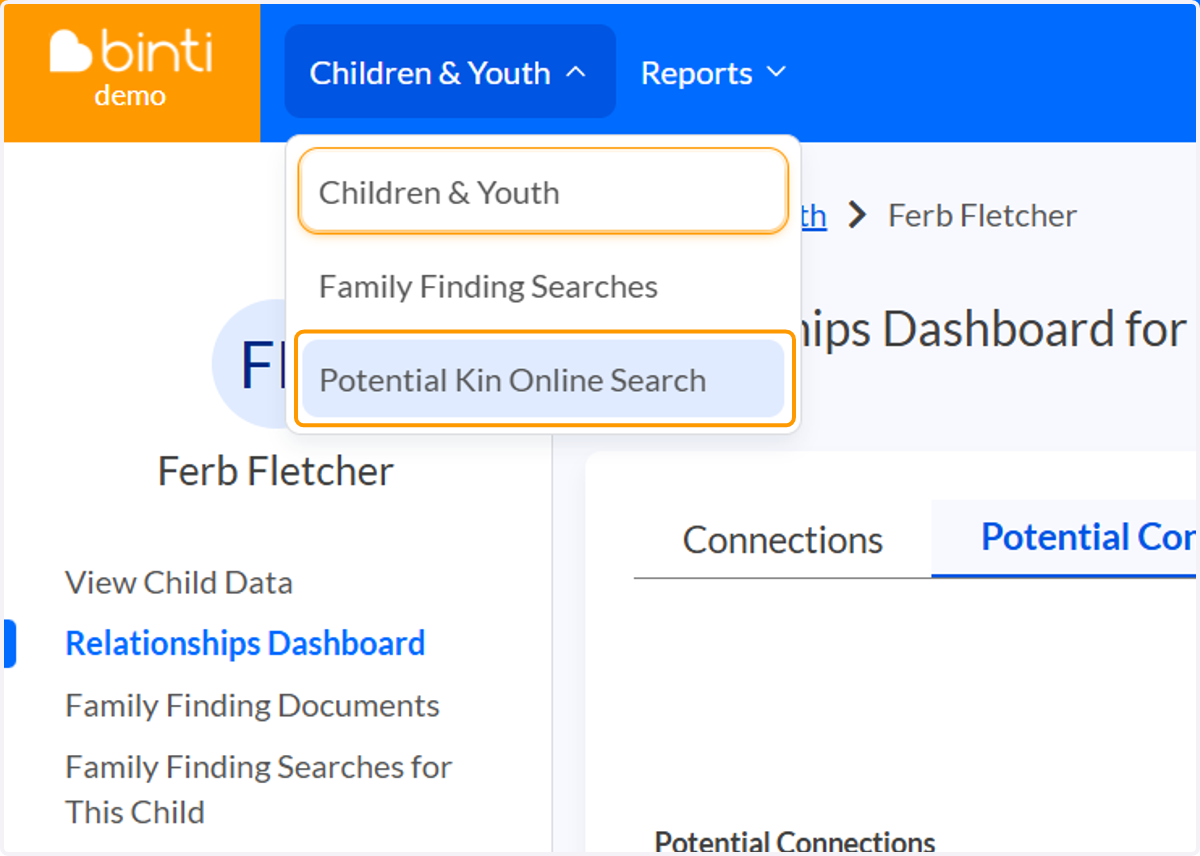
68. Throughout your search, you can always access the PKOS search tool by selecting "Potential Kin Online Search" under the Children & Youth dashboard
4️⃣ Contacting and confirming connections
So you have some potential connections! Here's how to start contacting & logging your contacts
✉️ Conducting Bulk Outreach
69. Before we get started, we need to make sure that you are assigned to the case, and that Binti has your contact information on file Click on View additional actions for search
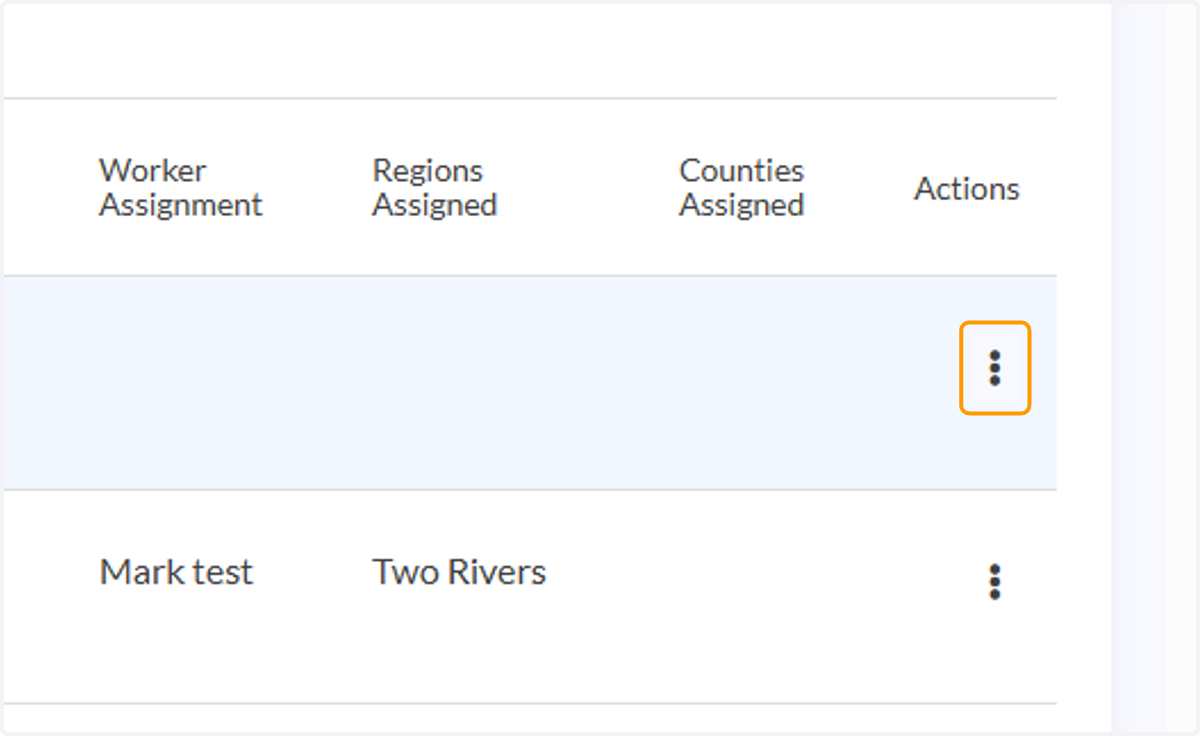
70. Click on Edit Search
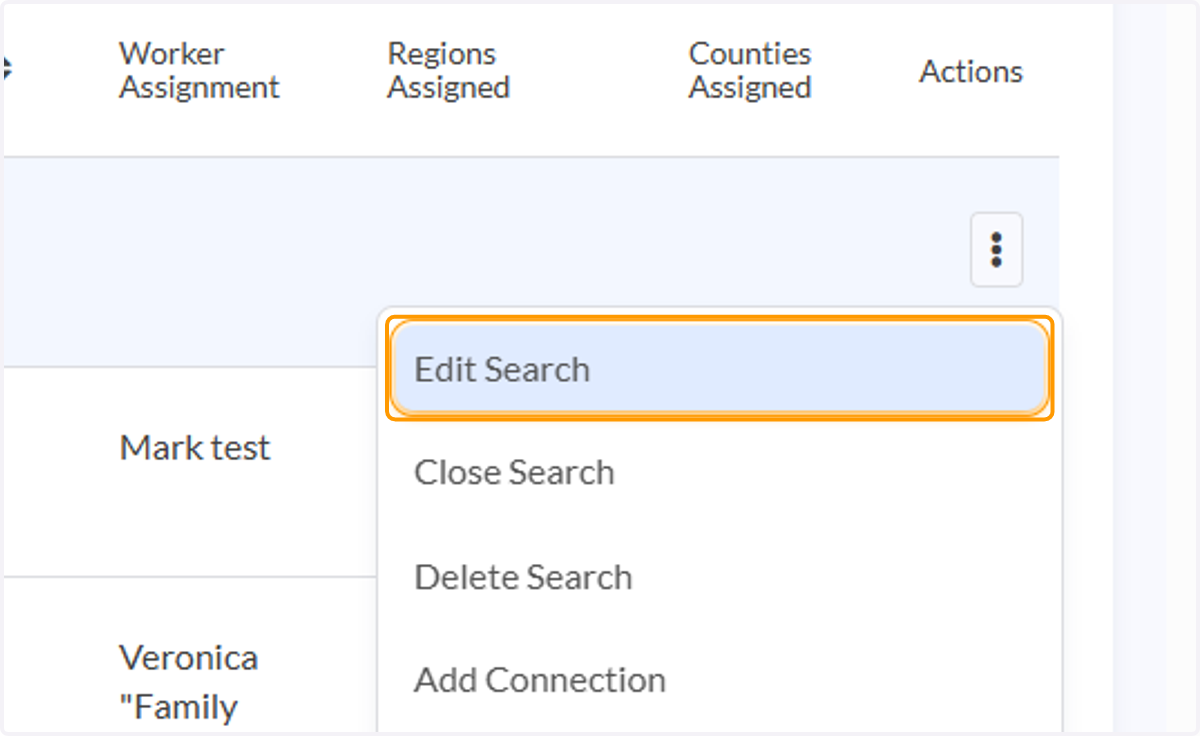
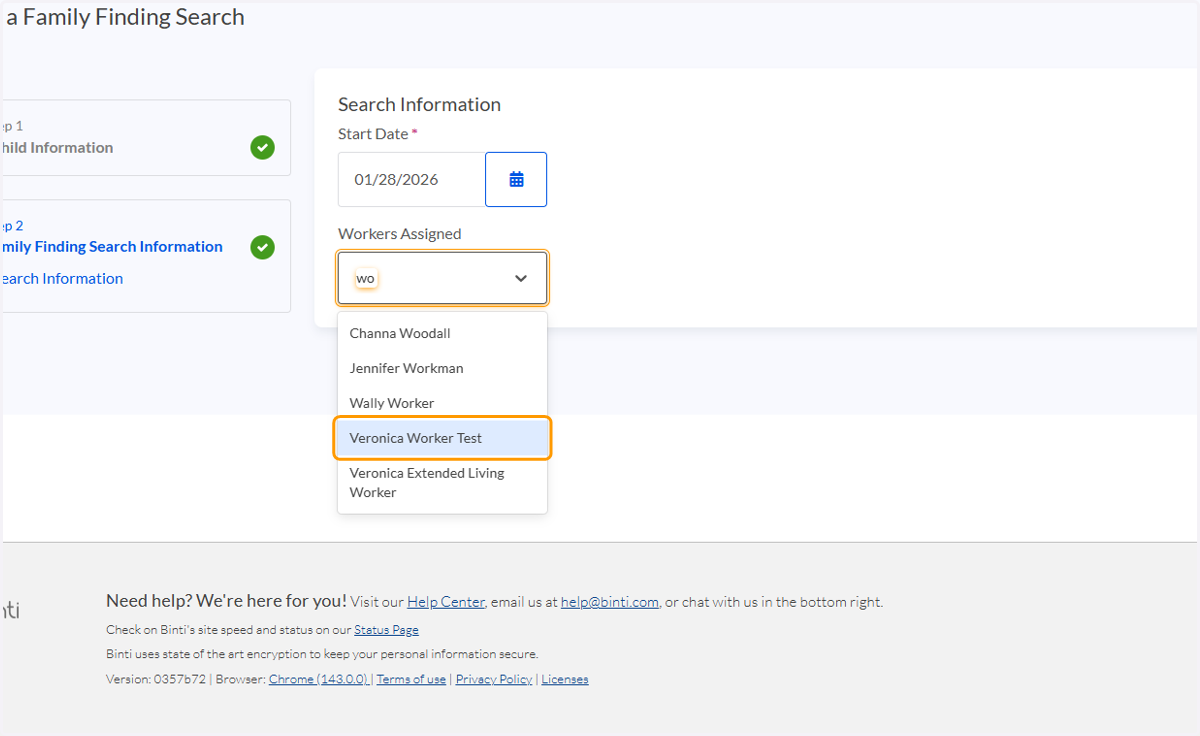
71. Type in the name of the worker assigned to the case (who's contact information should be listed on the Relative Notification Letter)
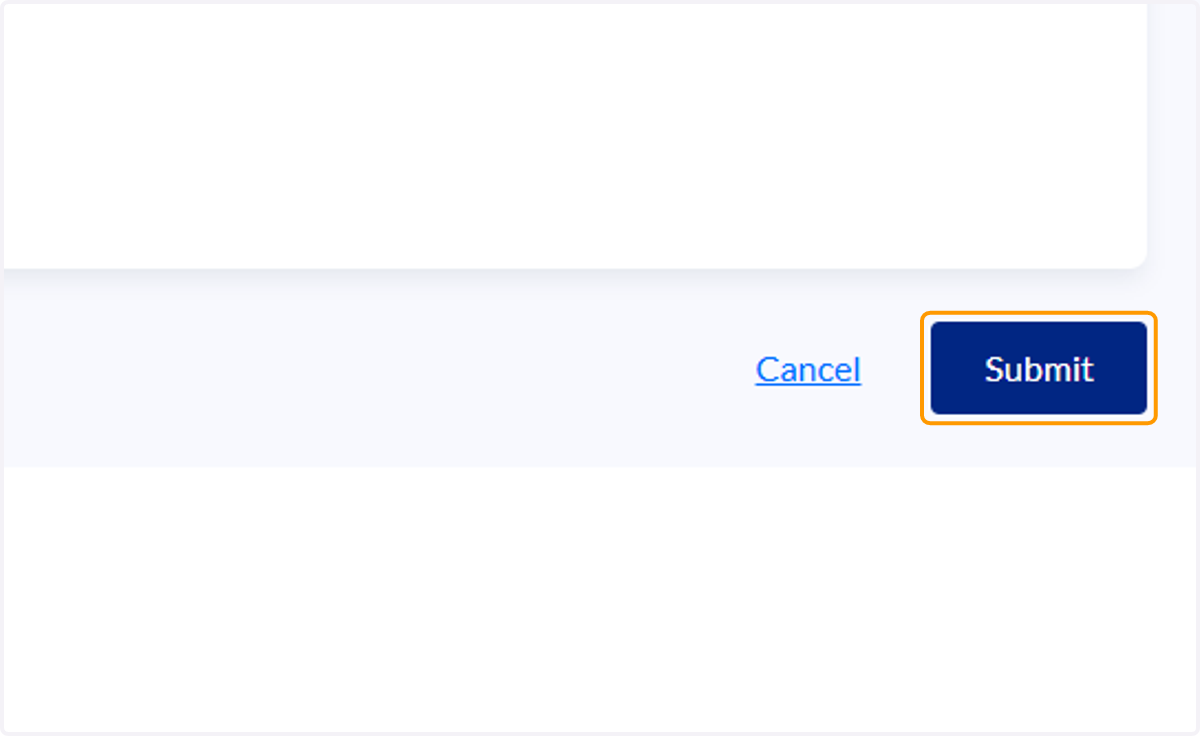
72. Click on Submit
73. Click on your initials in the top right corner
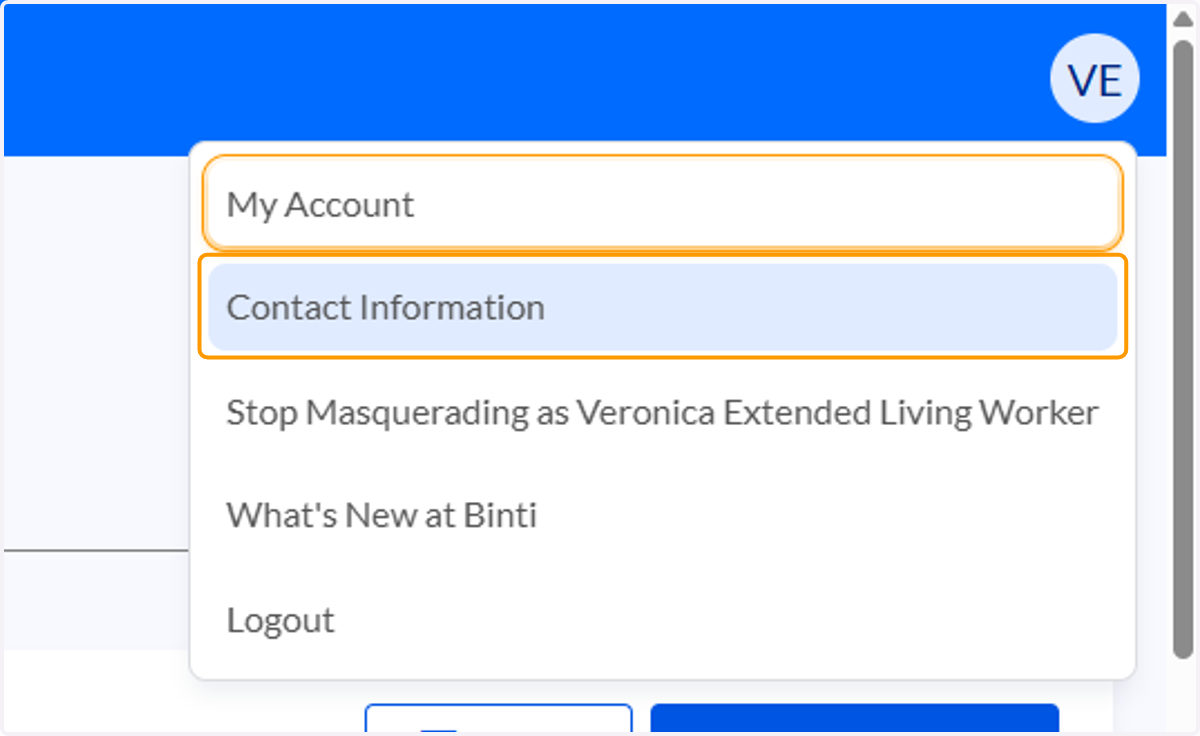
74. Click on Contact Information
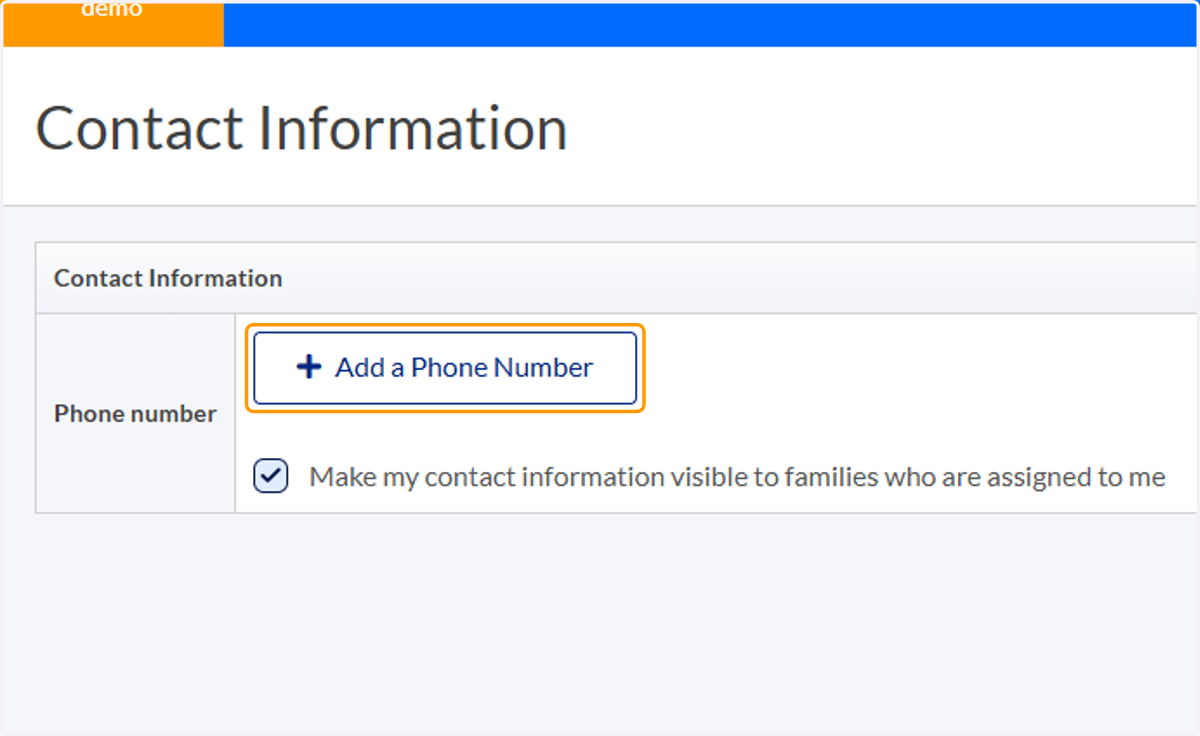
75. Add your Phone Number
76. Now you're ready to send some letters!
77. On the Potential Connections tab, you can conduct bulk outreach via email or letter to all or some of the connections.
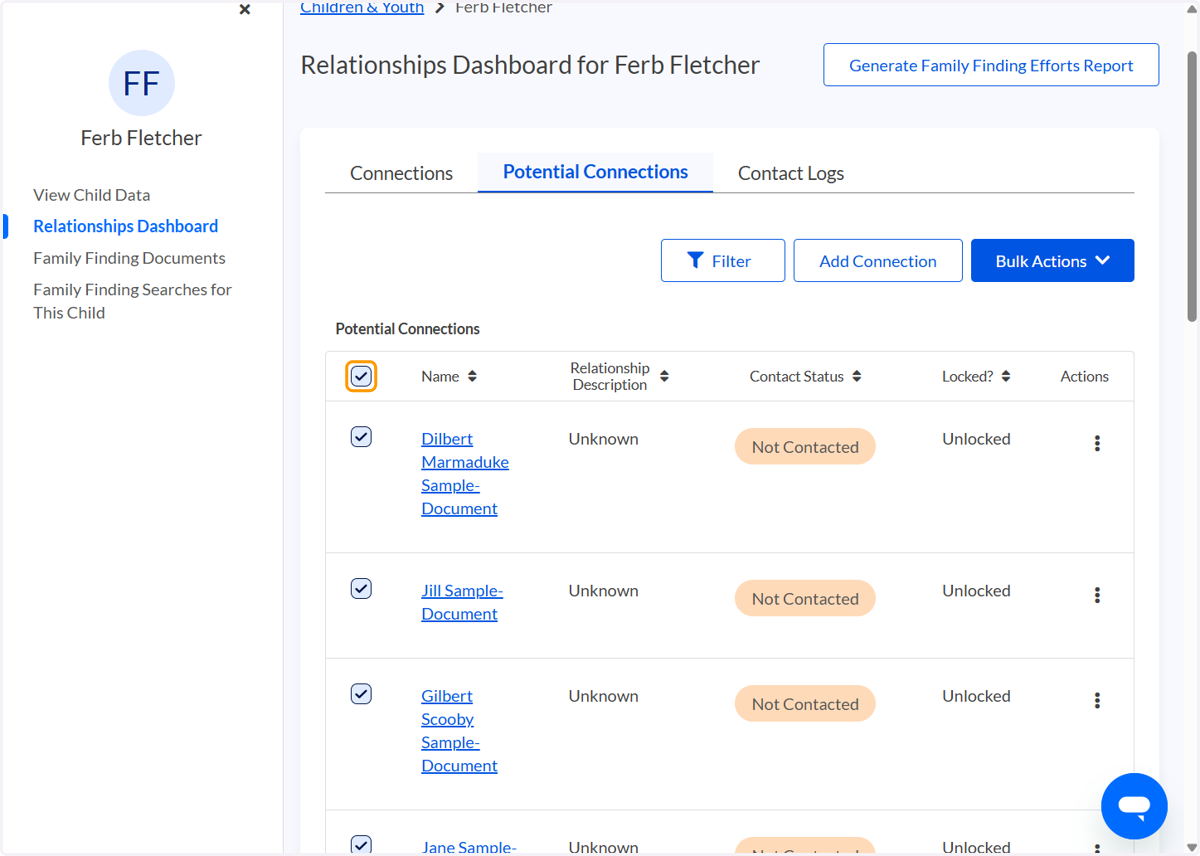
78. Click on Select all rows in Potential Connections table
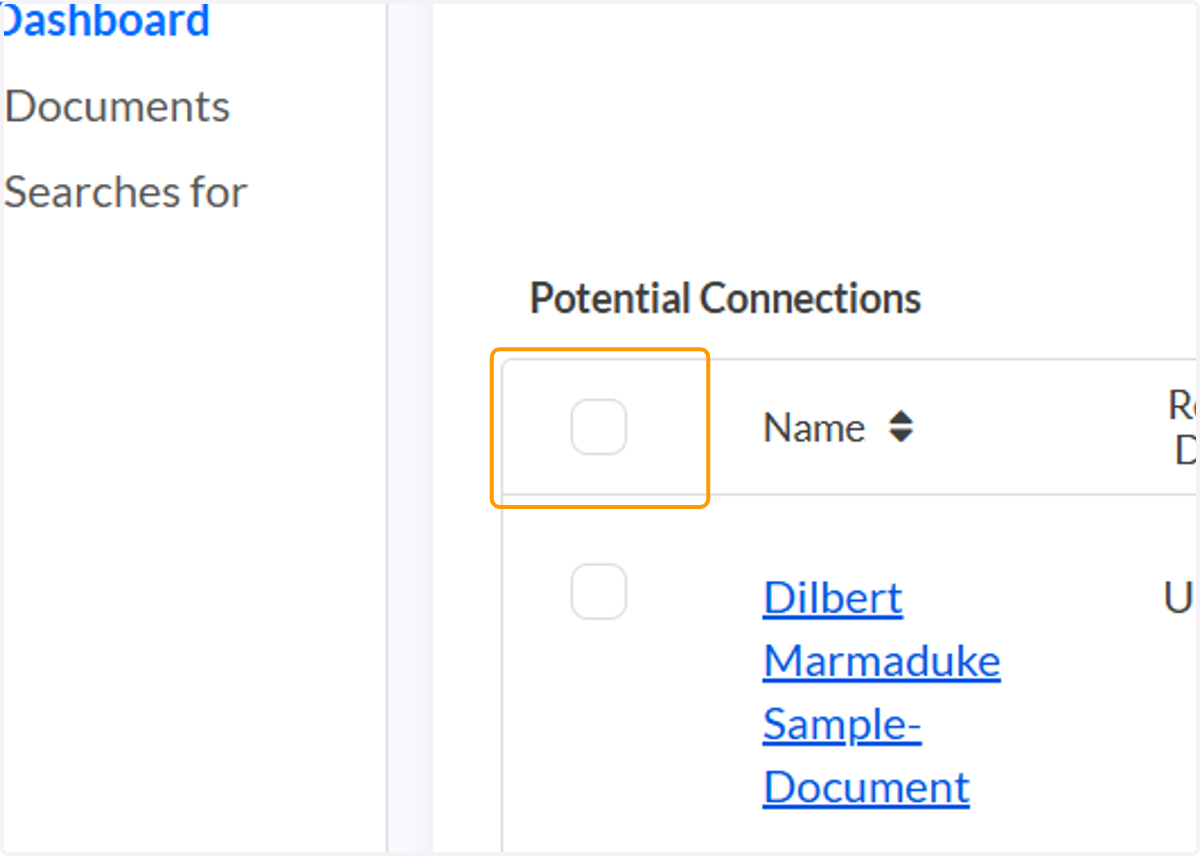
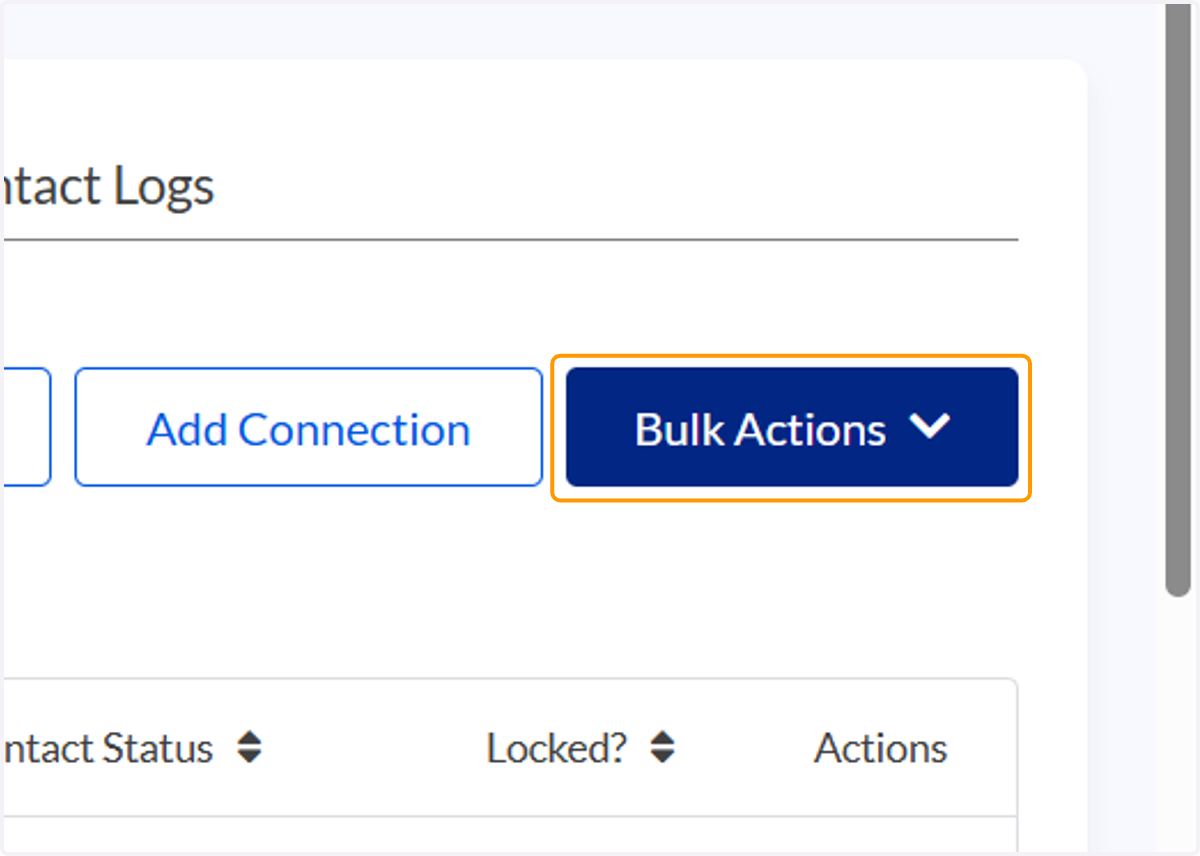
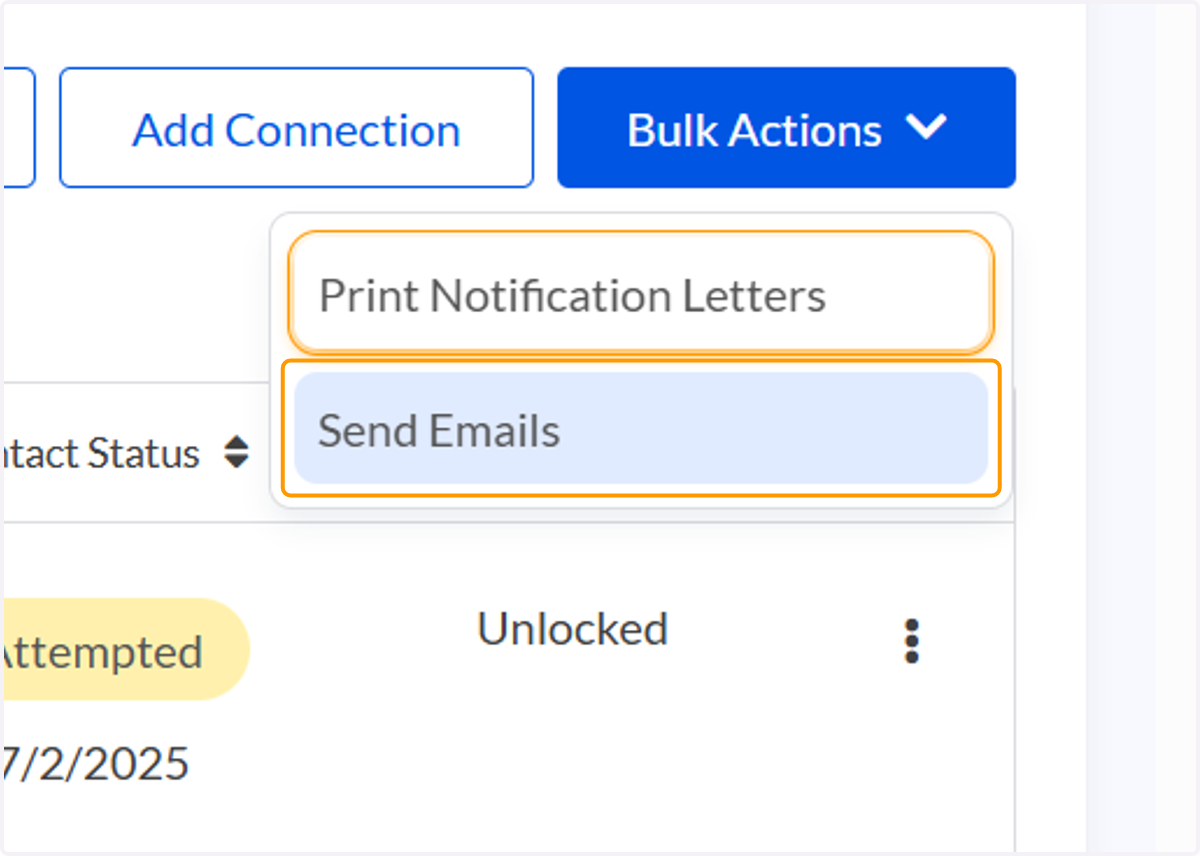
79. Click on Bulk Actions
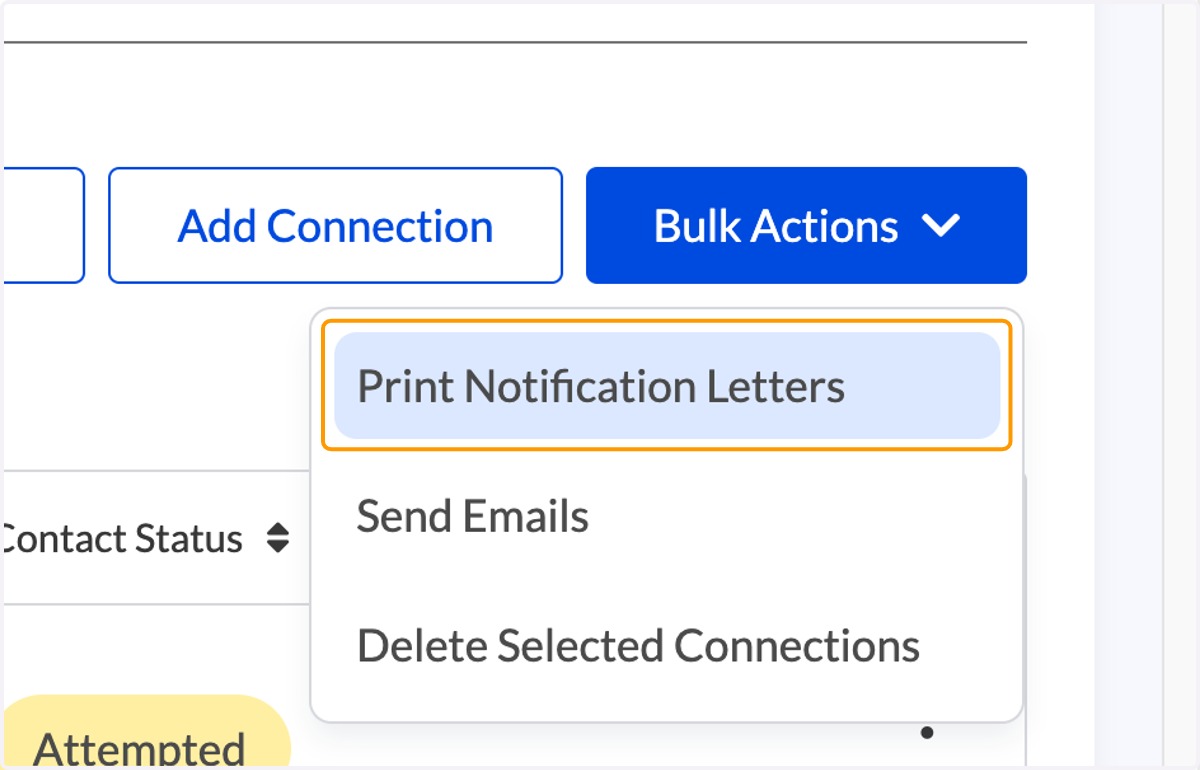
80. Click on Print Notification Letters
81. Select if you want to include any siblings names (if applicable)
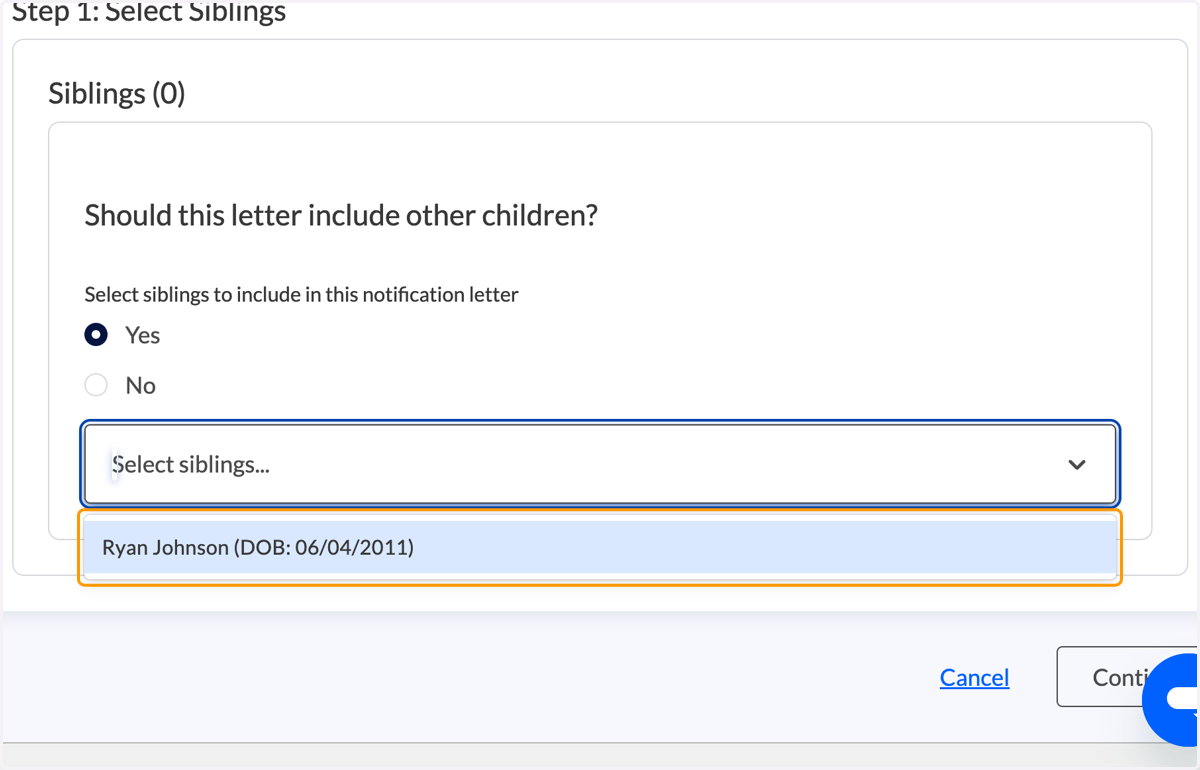
82. Click on Continue
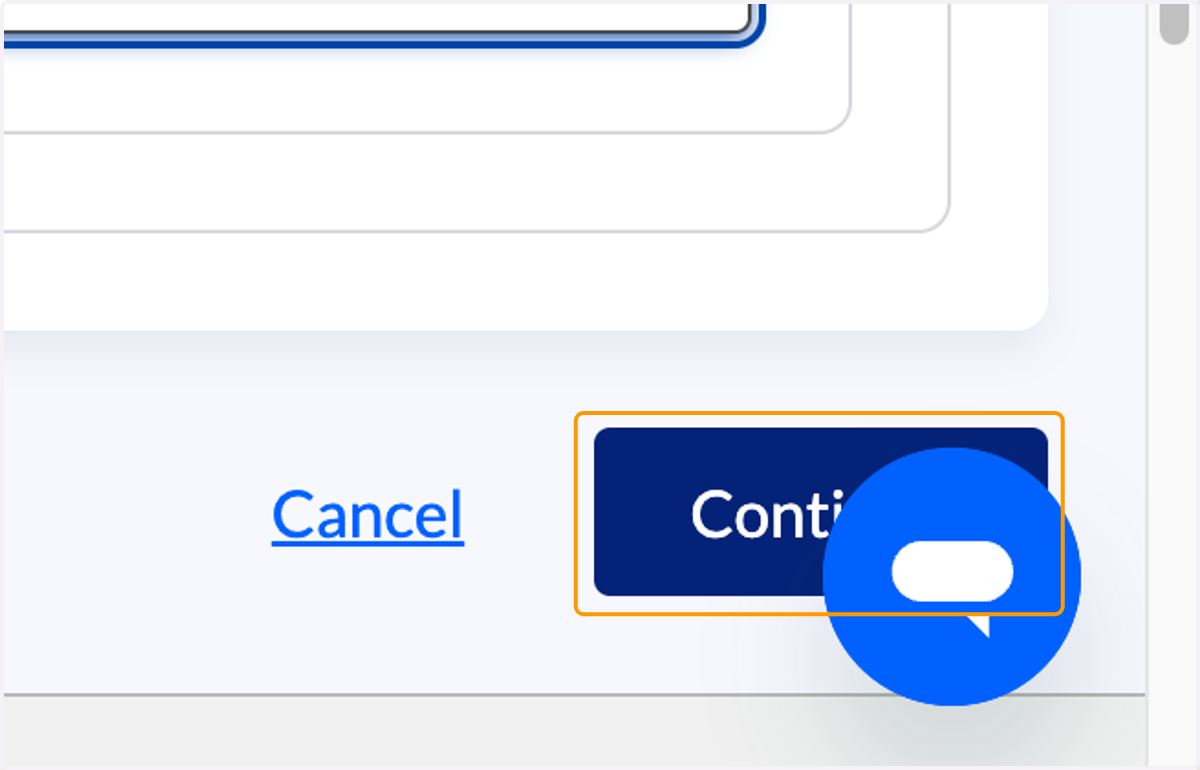
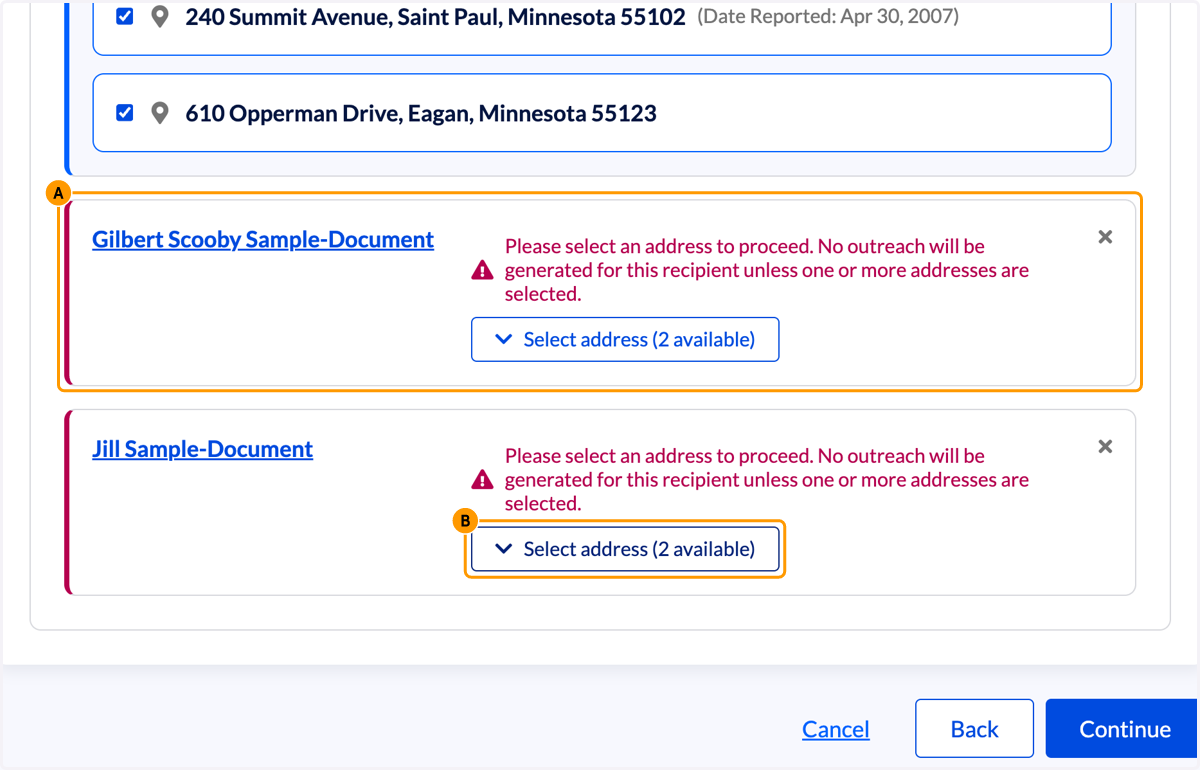
83. A. Confirm recipients addresses. If you do not select an address, that person will be skipped
83. B. Click on Select address to confirm the mailing address(es) for the person
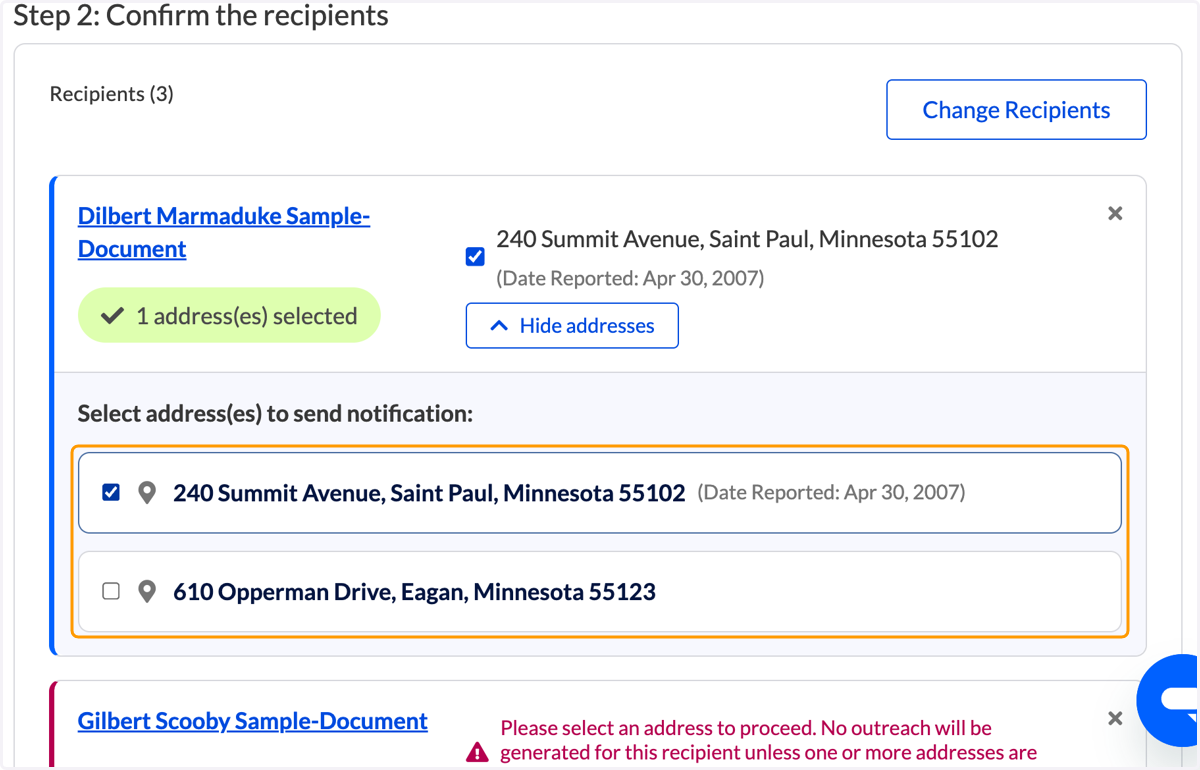
84. You can select more than one address. A green checkmark bubble will appear.
85. A. If you click on a recipient's name (blue link), a side bar will pop up to edit or remove, an address for that person.
85. B. Click the trash can icon if you want to remove an address.
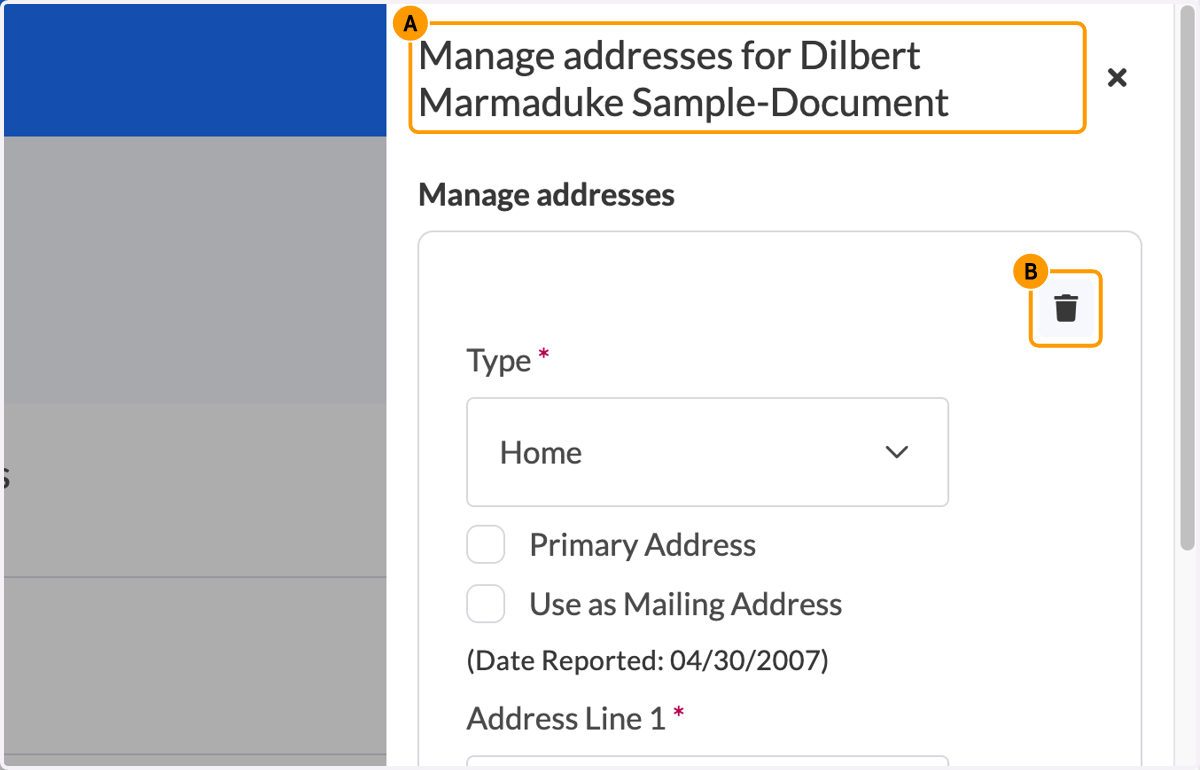
86. You can also click Add Address if an address is missing.
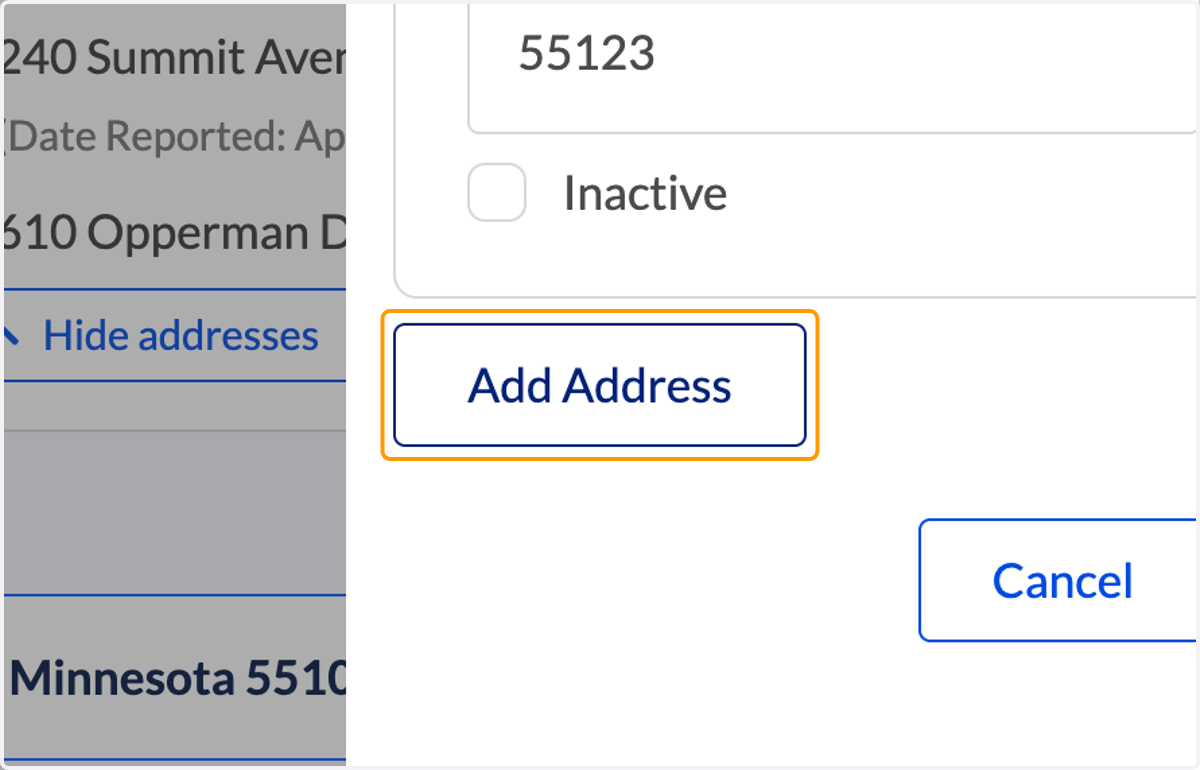
87. Once you've confirmed recipients/addresses, click Continue
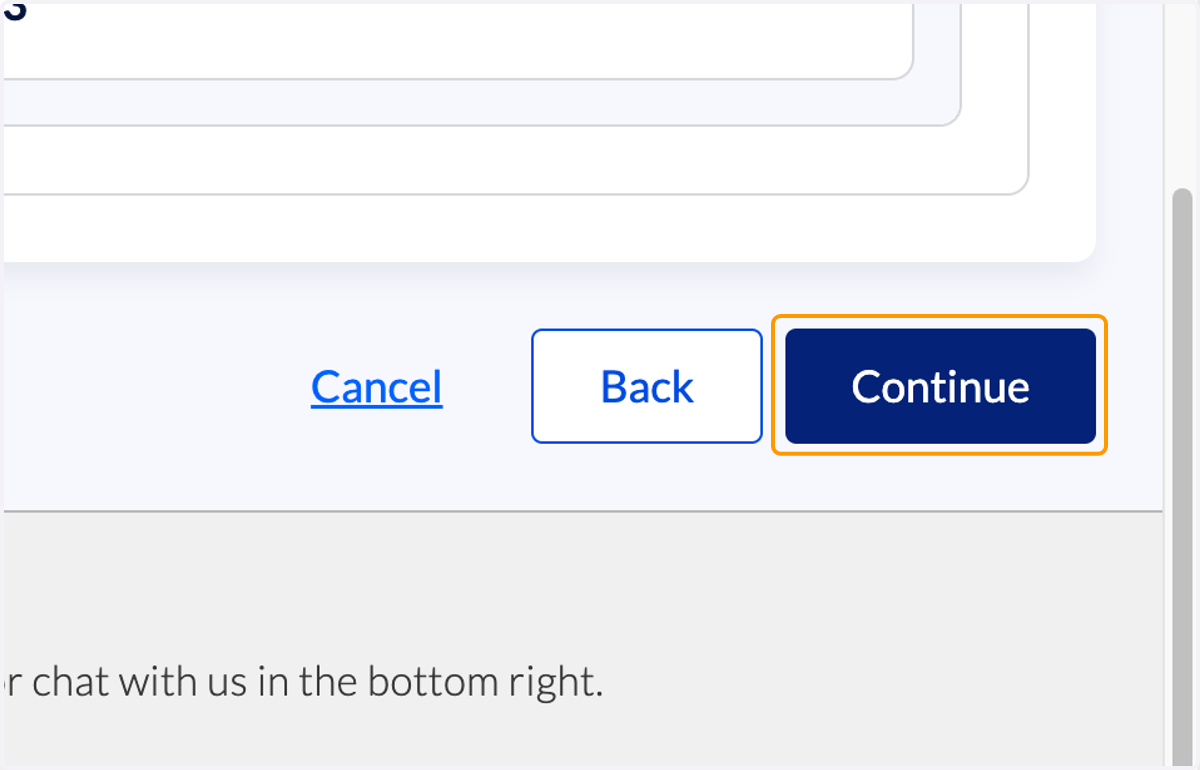
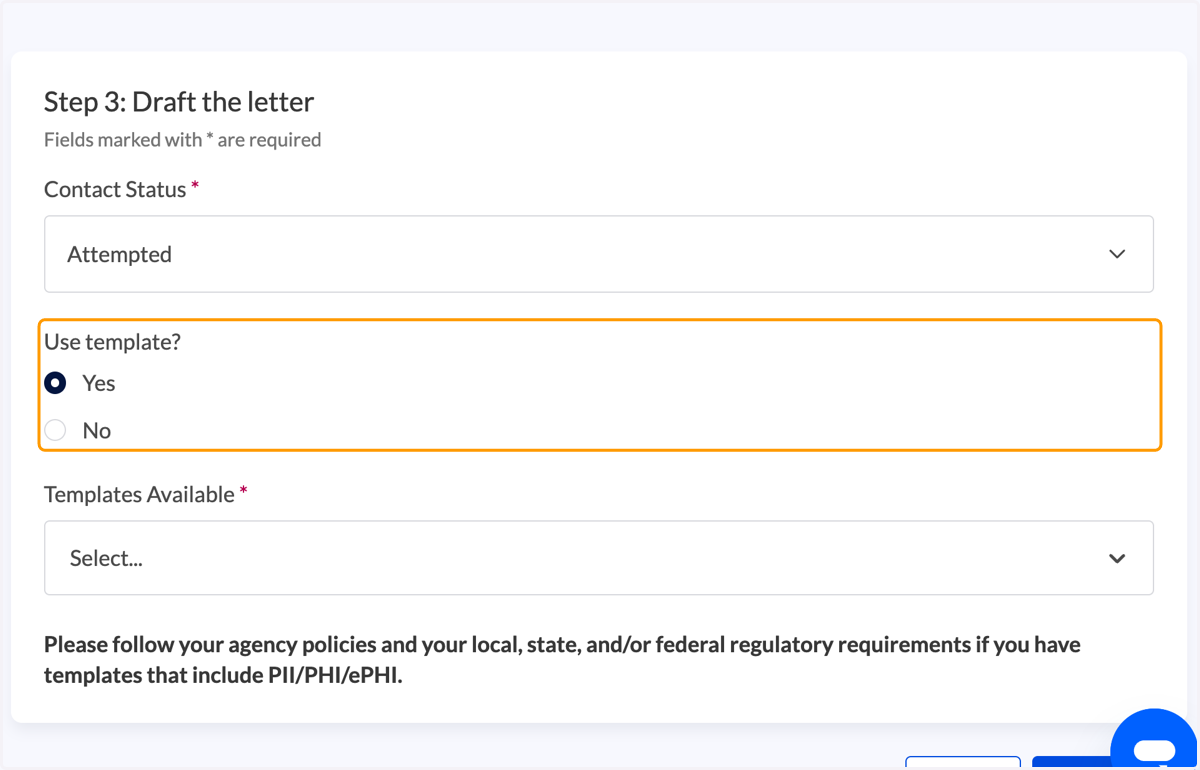
88. Under Use template? select "Yes"
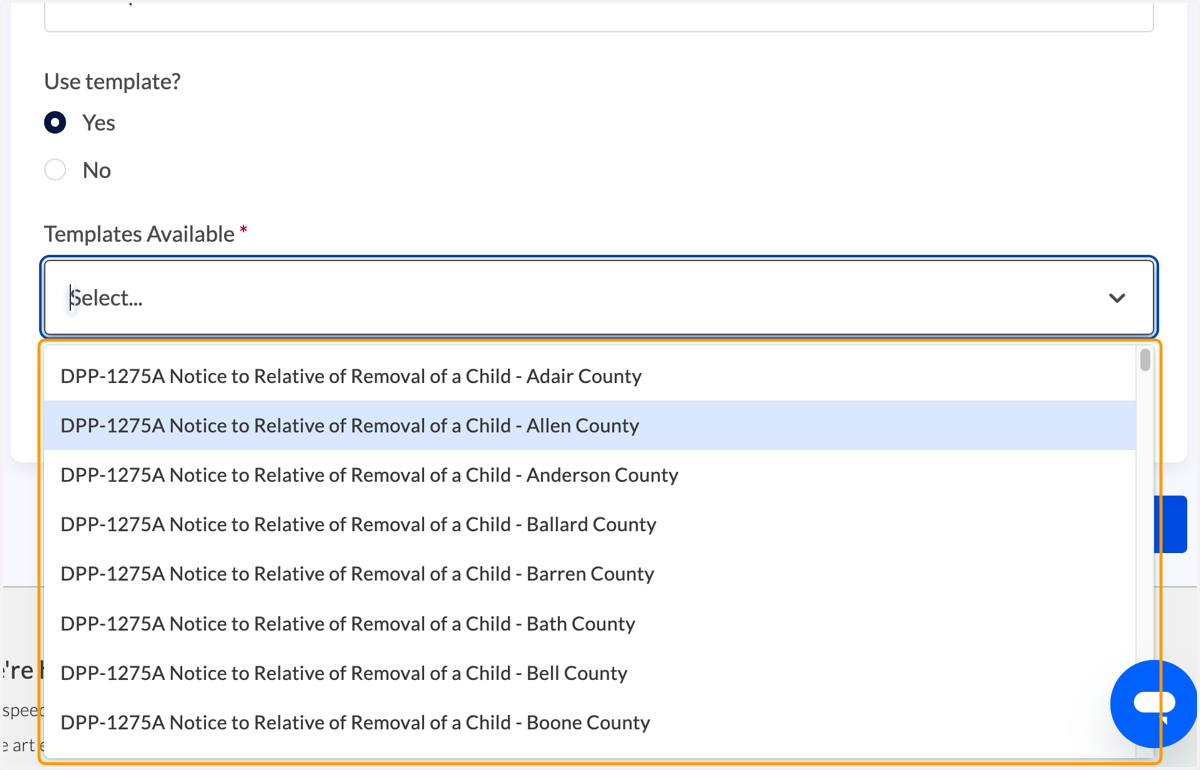
89. Select the county letter from the dropdown list or type the name to search.
90. If available: Type in the case number. It will be added into the letter.
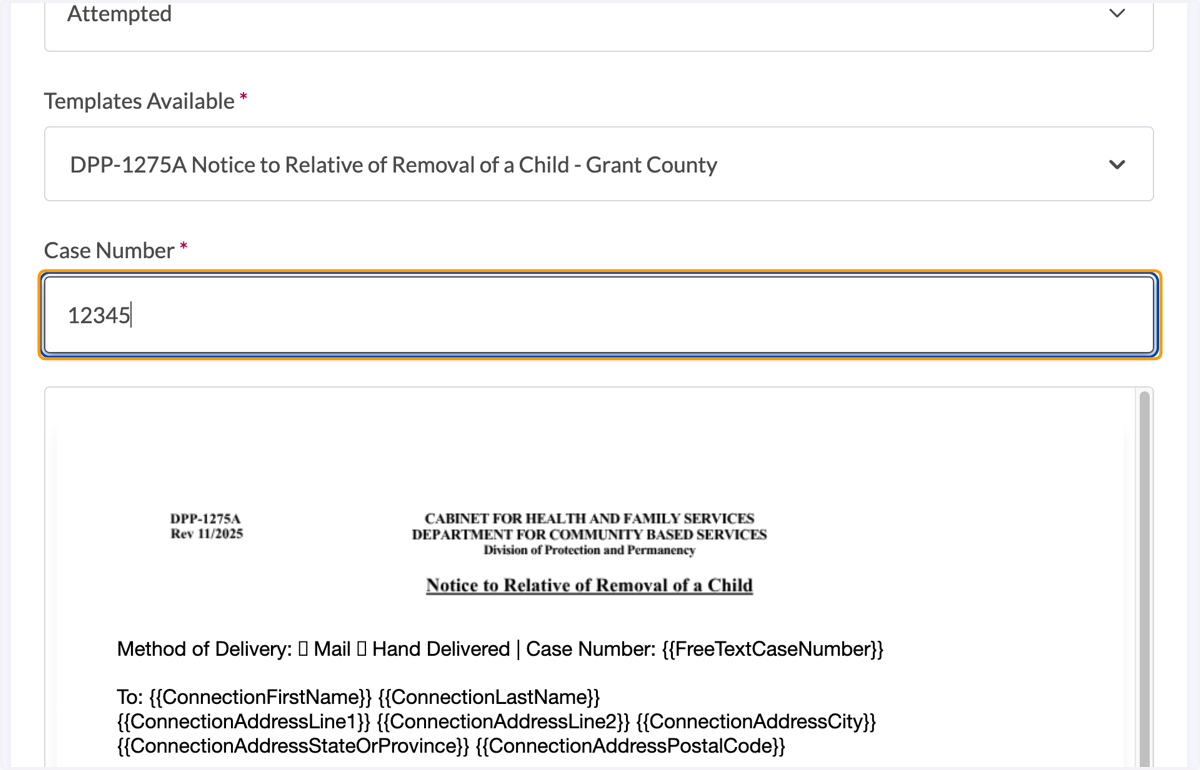
91. Click on Continue
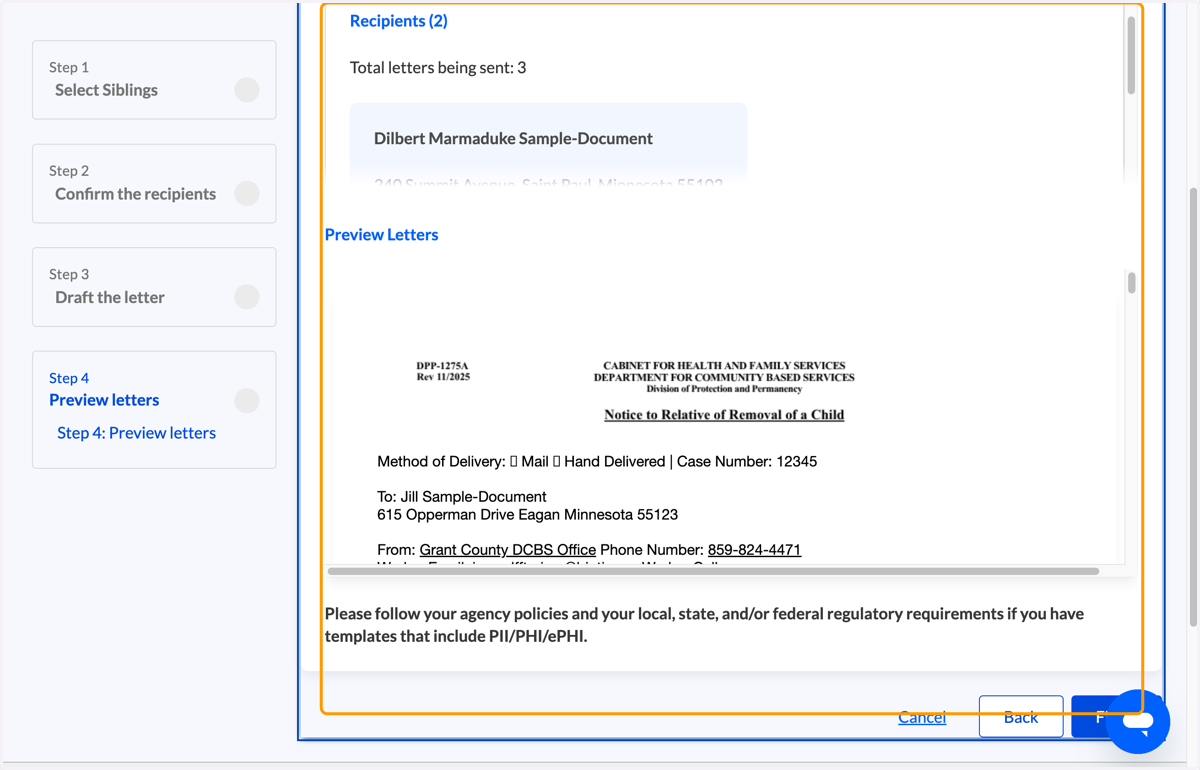
92. A preview of the letters will be shown.
93. Click on Finish to fully review the letters and print.
94. Review the letters including the recipient details, county office details, and worker contact info.
Note - in order for this to work, you have to have assigned the worker to the case first. See above for how to do this (steps 69-75).
If you are a KY admin who prints letters on other workers behalf, you can assign the worker who should recieve responses, and send the letters on their behalf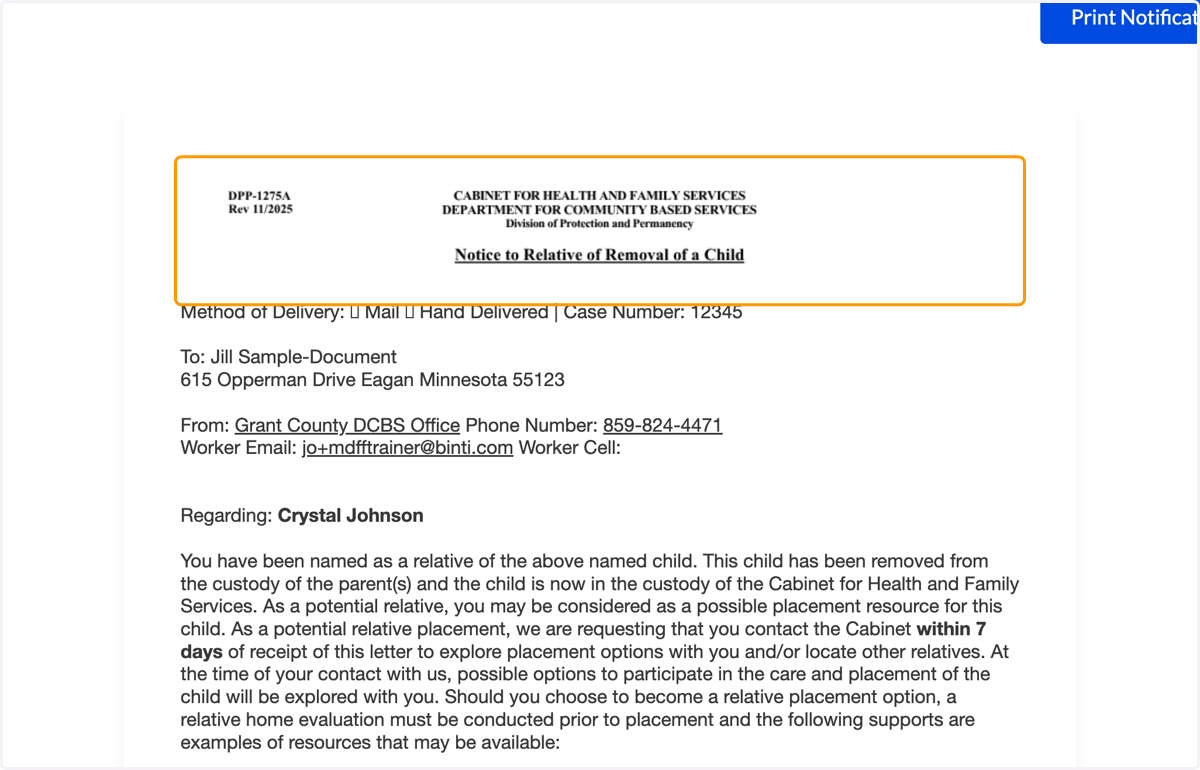
95. Click on Print Notification Letters
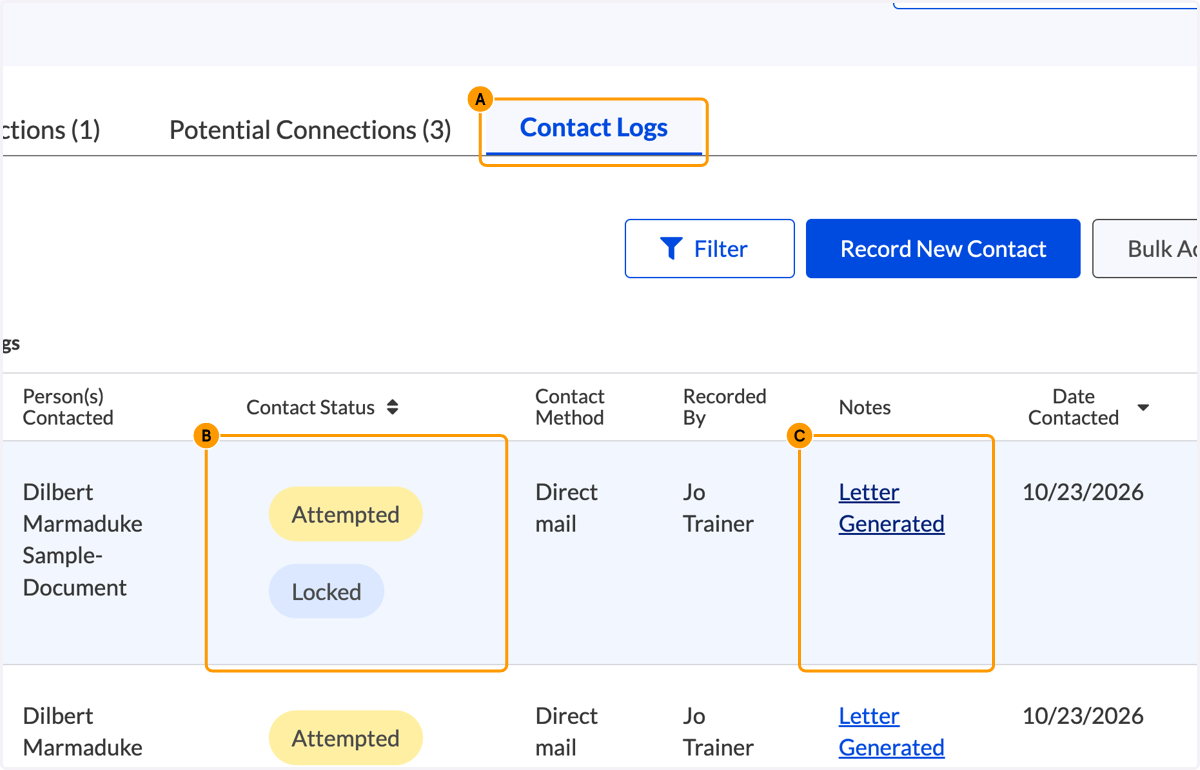
96. A. The letter(s) will now be logged under Contact Logs on the child's Relationships Dashboard
96. B. It will be labeled as 'locked" which means it is automatically sent over to TWIST
96. C. A copy of the letter will be saved if you need to print another copy for the same recipient. Click on Letter Generated to view it.
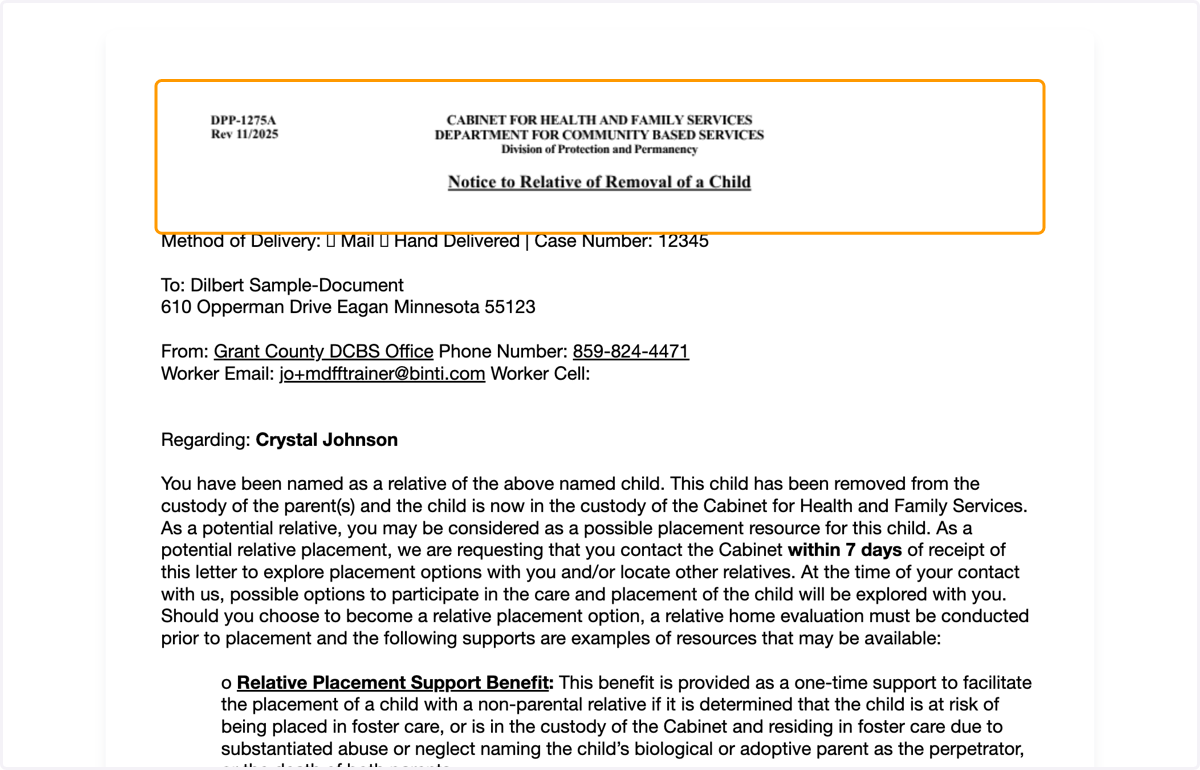
97. The copy of the same letter will be available to print.
Helpful if the first copy doesn't print correctly or if water/coffee is spilled on it!
98. You can also do this process with Send Emails
📲 Log a contact
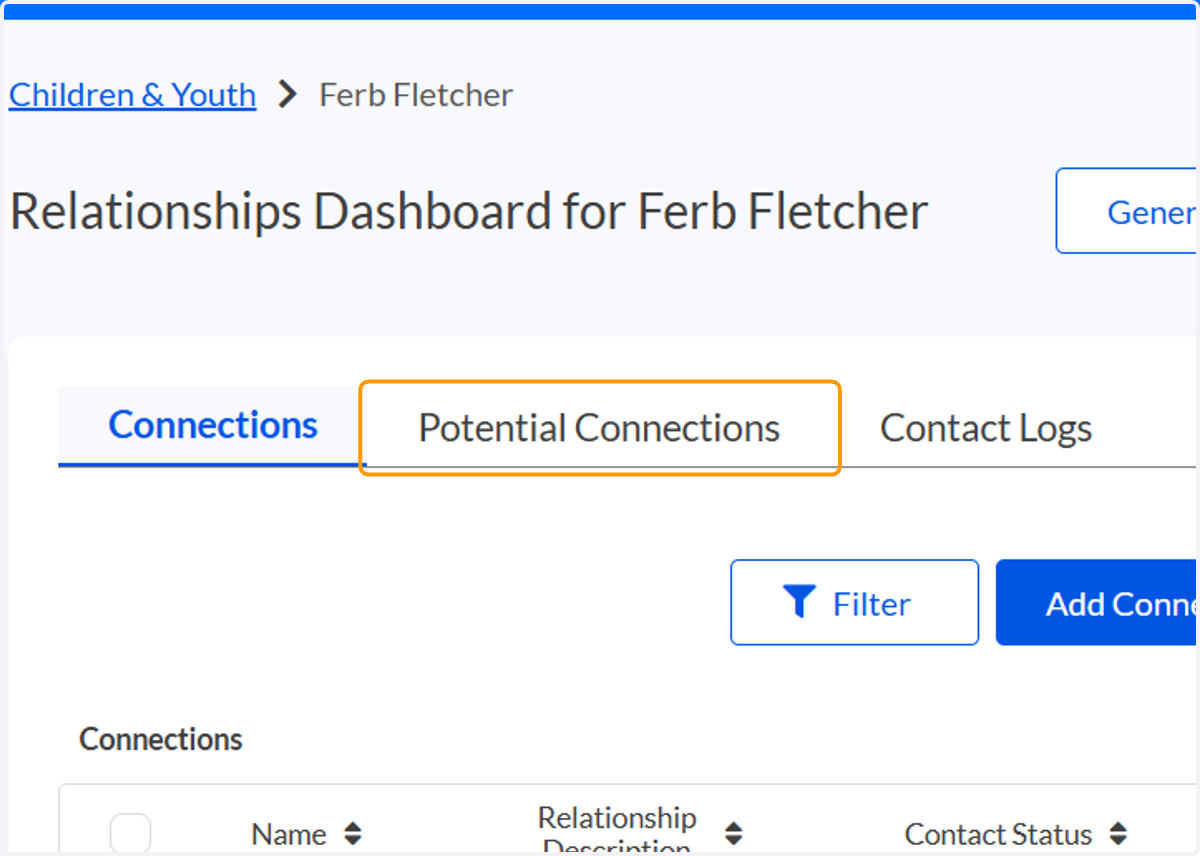
99. Click on Potential Connections
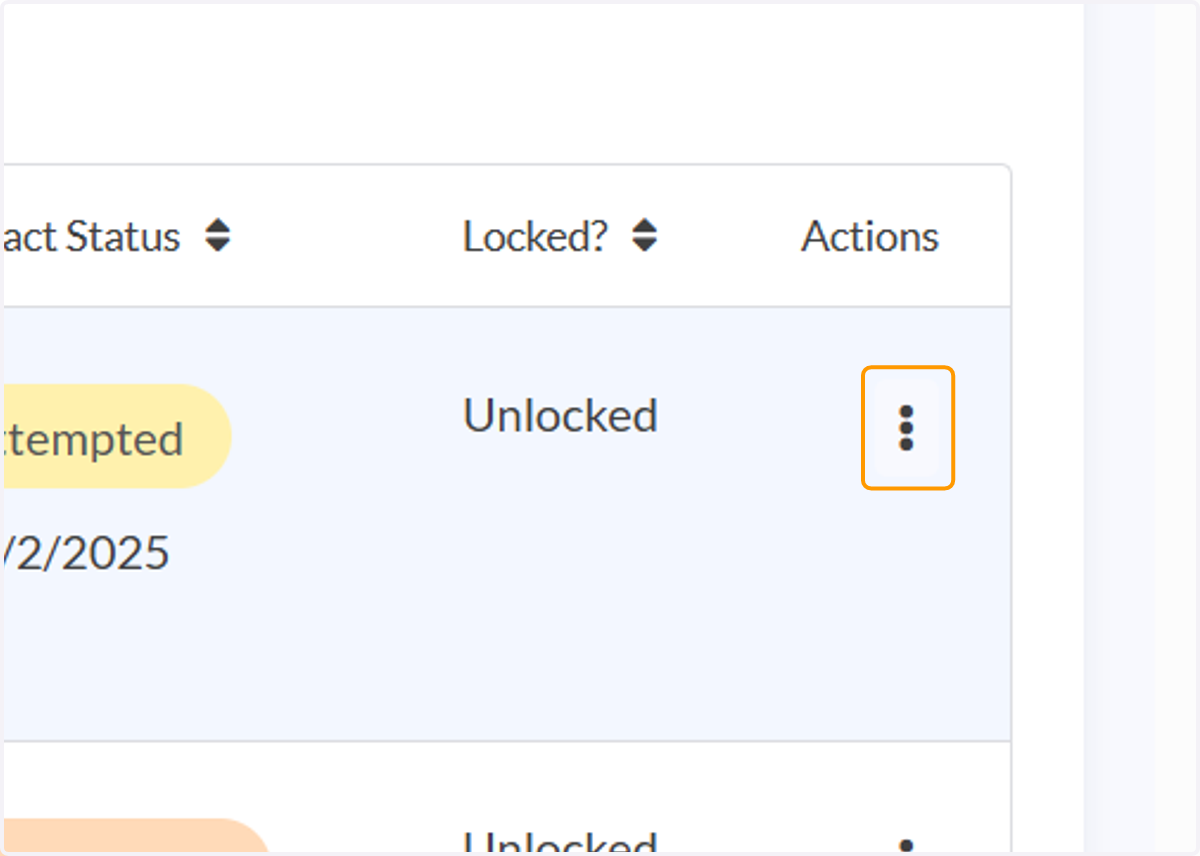
100. Click on the three dots under actions for the person you are contacting or have already contacted
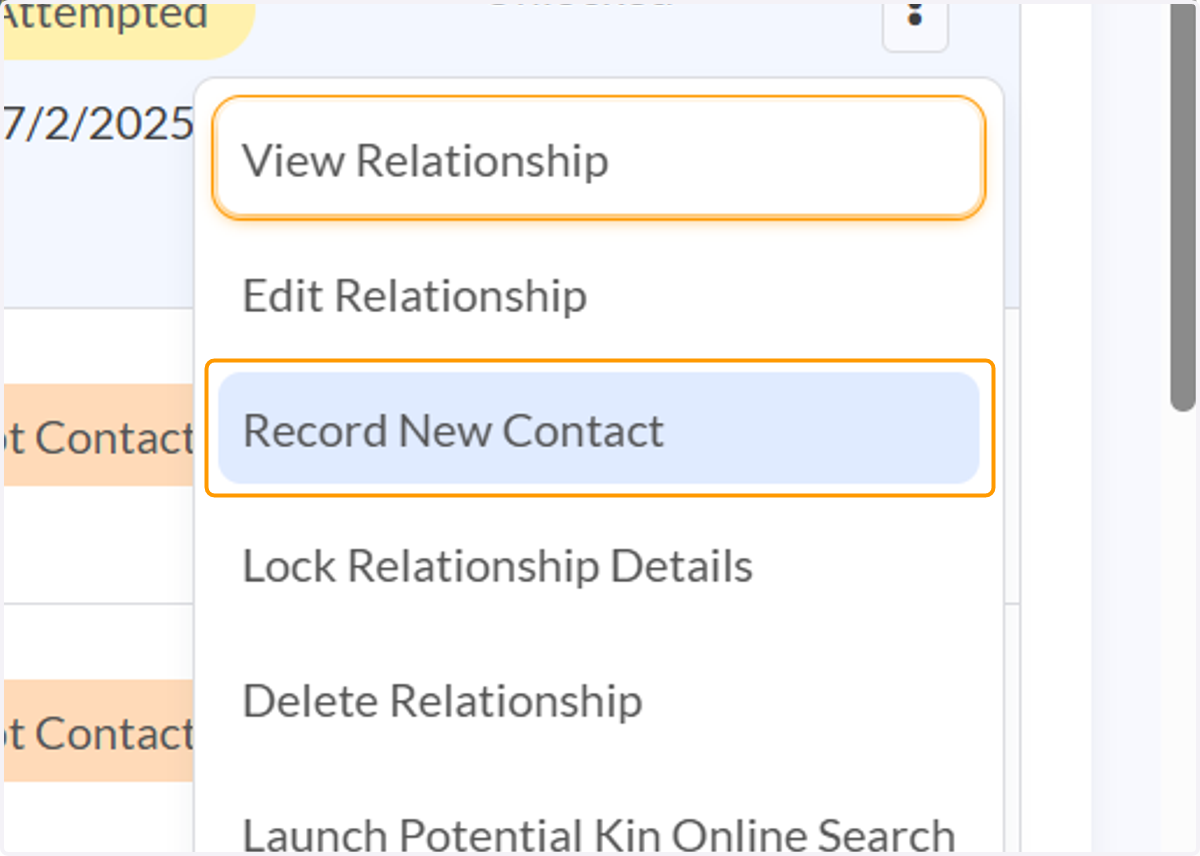
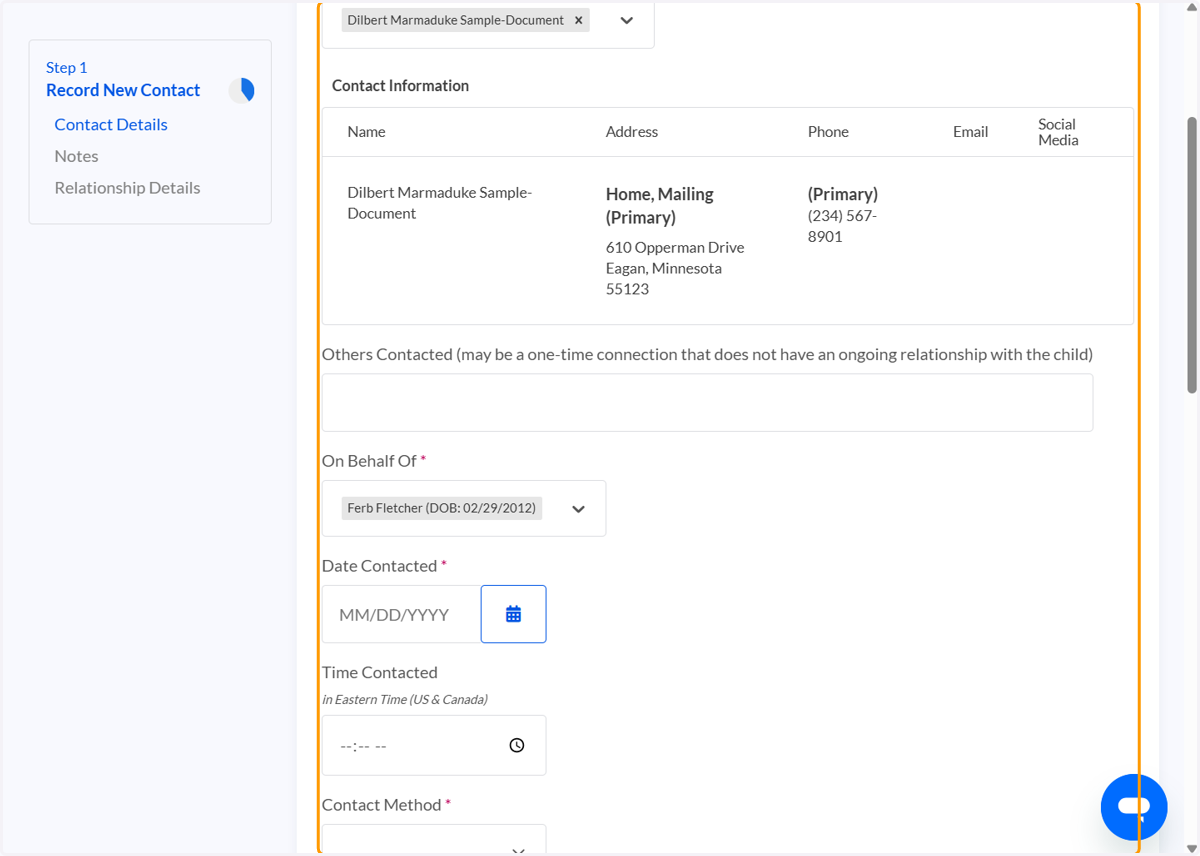
101. Click on Record New Contact
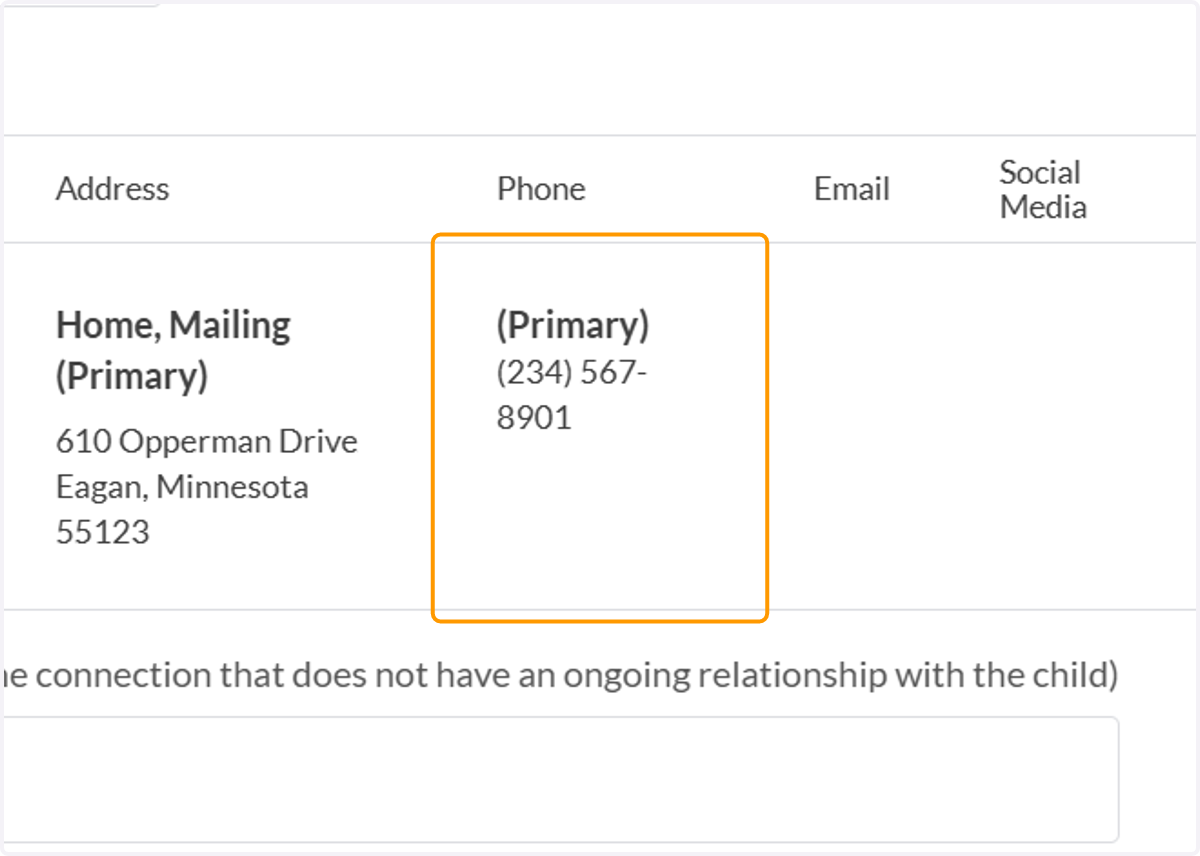
102. The phone number for the person is displayed for your ease of reference to make a call
103. Fill out the contact details and notes of the contact
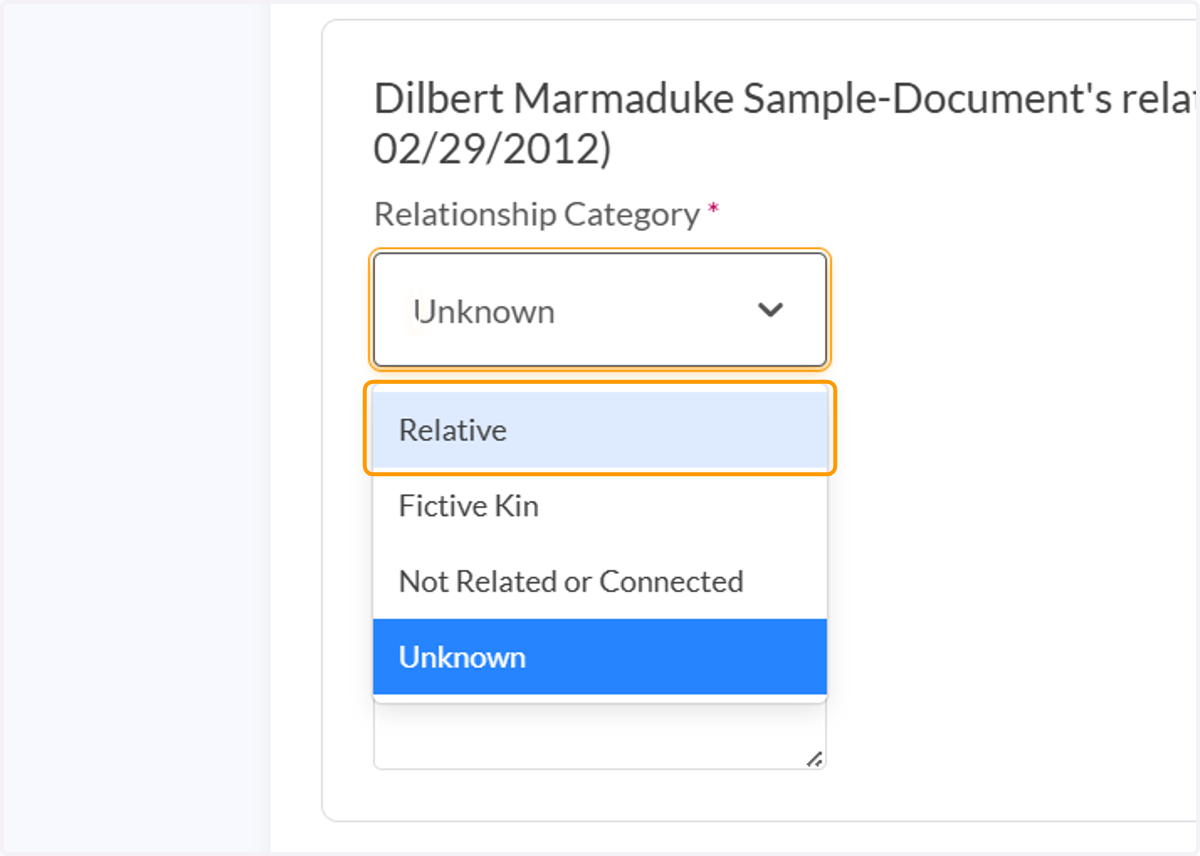
104. If you learn more about the relationship to the child during the contact, you can update the relationship under Relationship Details
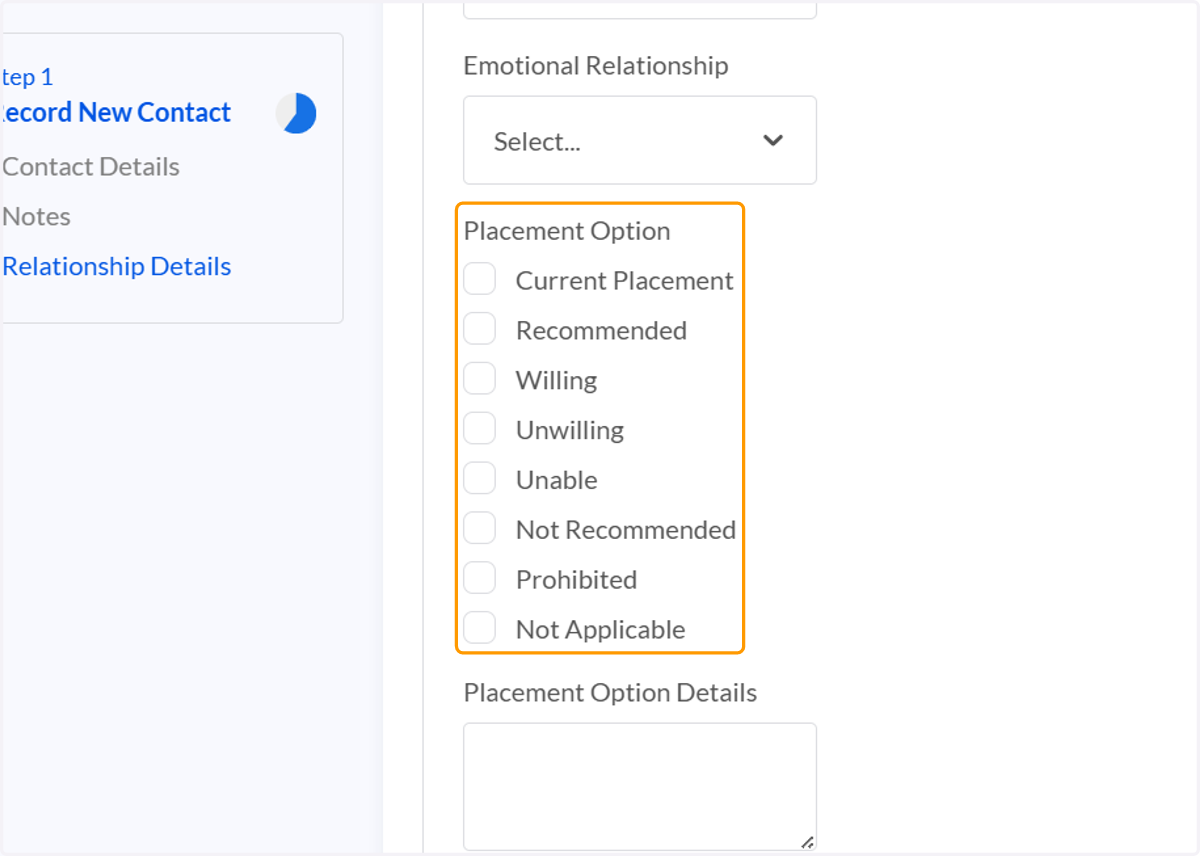
105. Once you update the relationship to Relative or Fictive Kin, you can also update the placement option details and level of support they are willing to provide
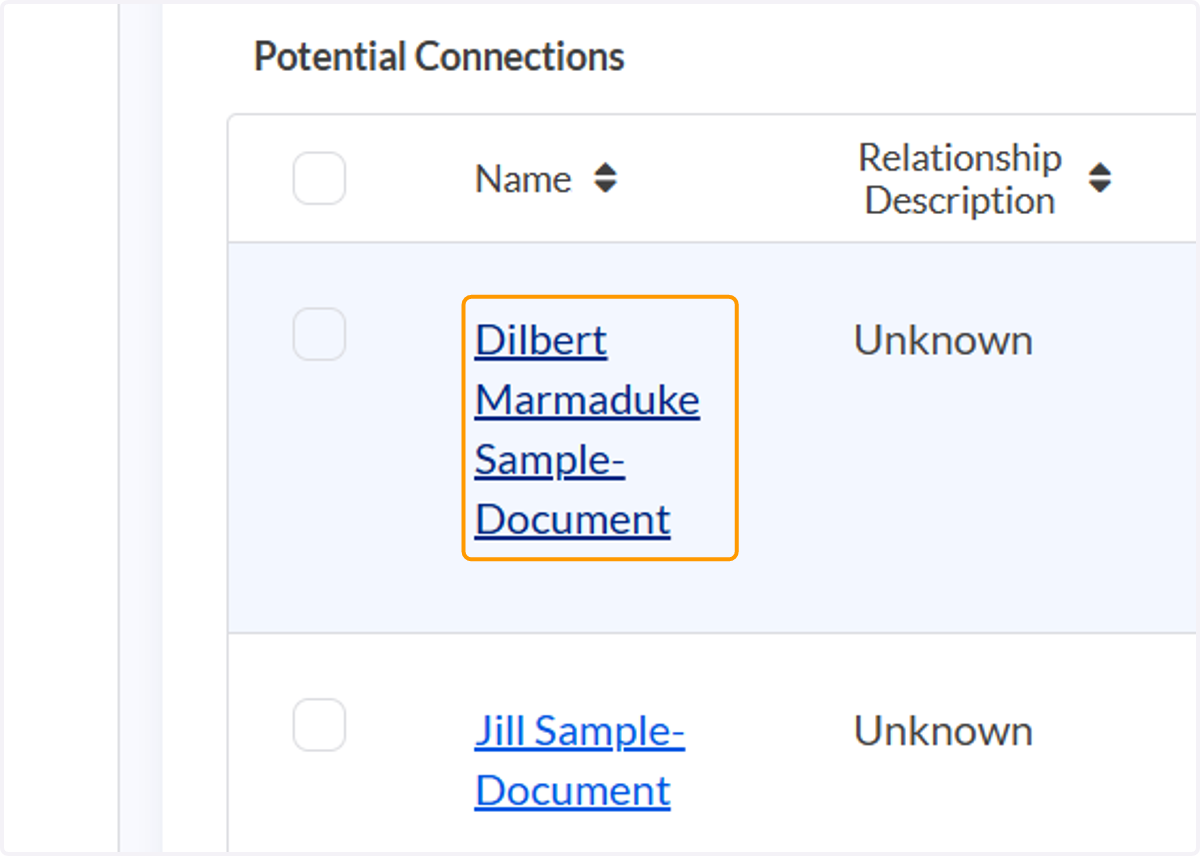
106. Click on the potential connection's name on the Potential Connection tab
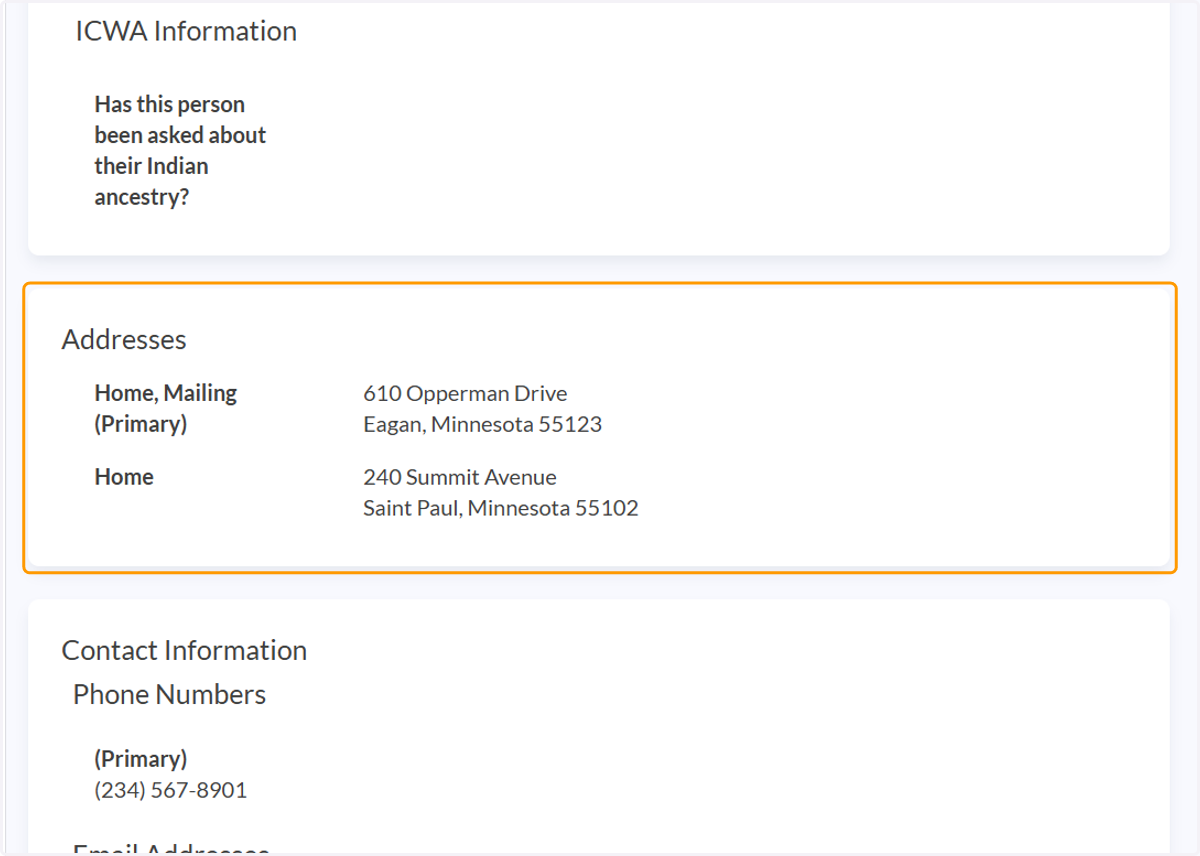
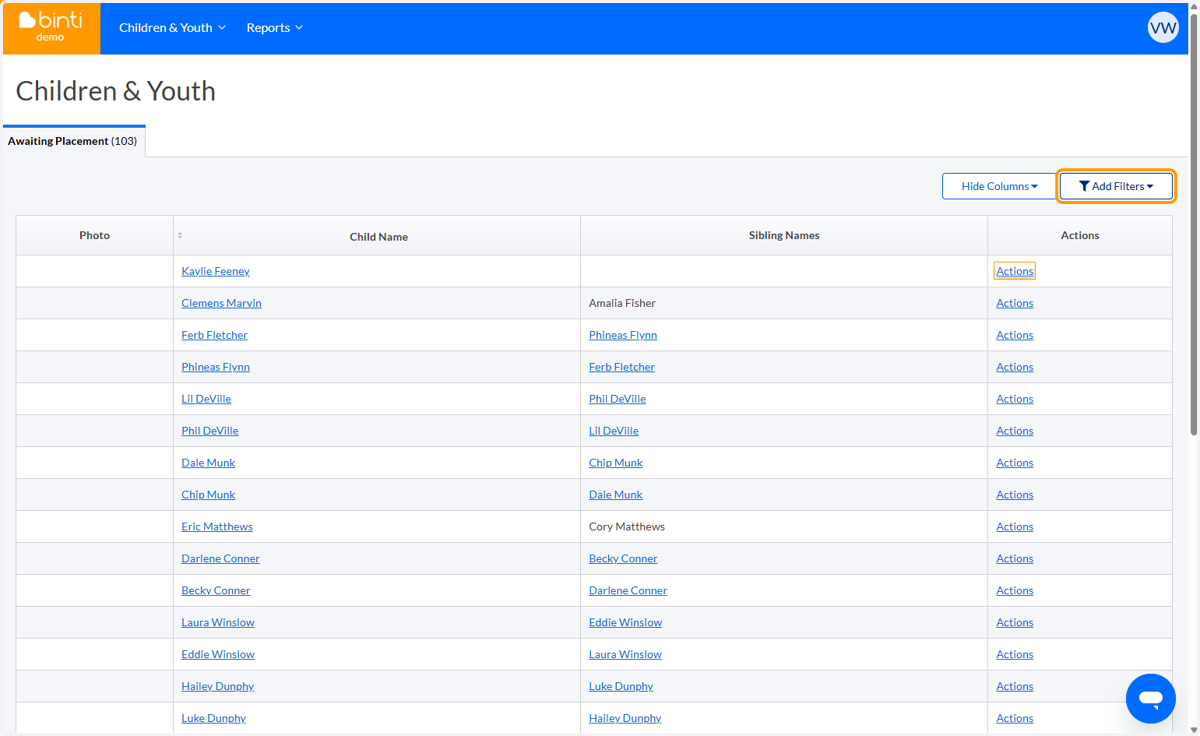
107. On that page you will find all known addresses and phone numbers, in-case the most-recent number and address listed on the record new contact page is inactive or inaccurate
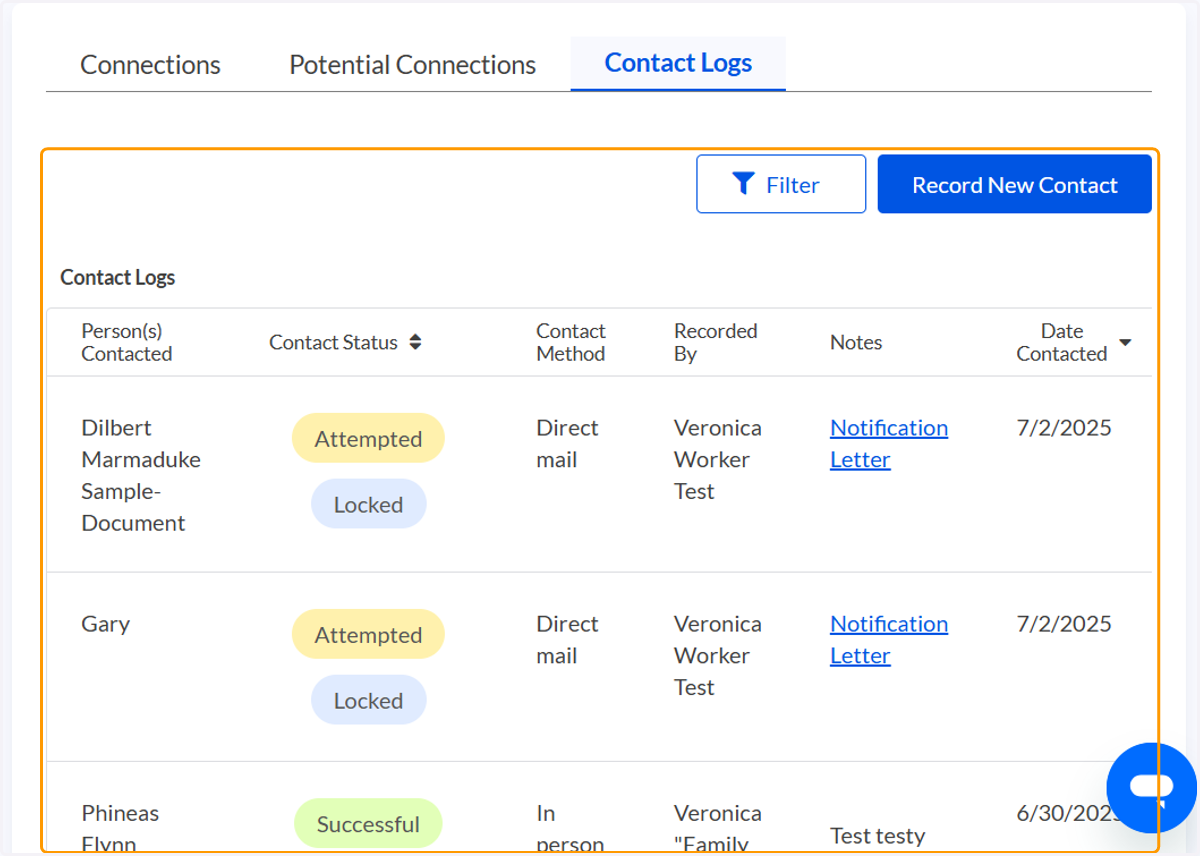
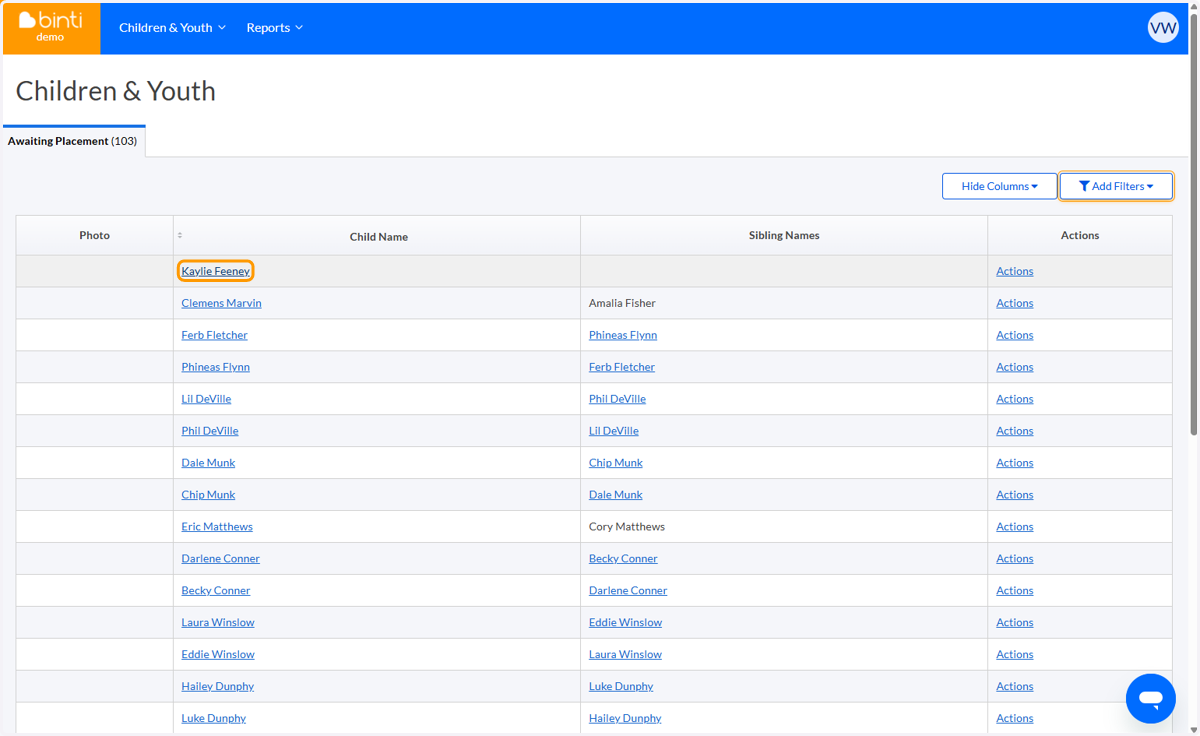
108. Your recorded contacts will be on the Contact Logs page
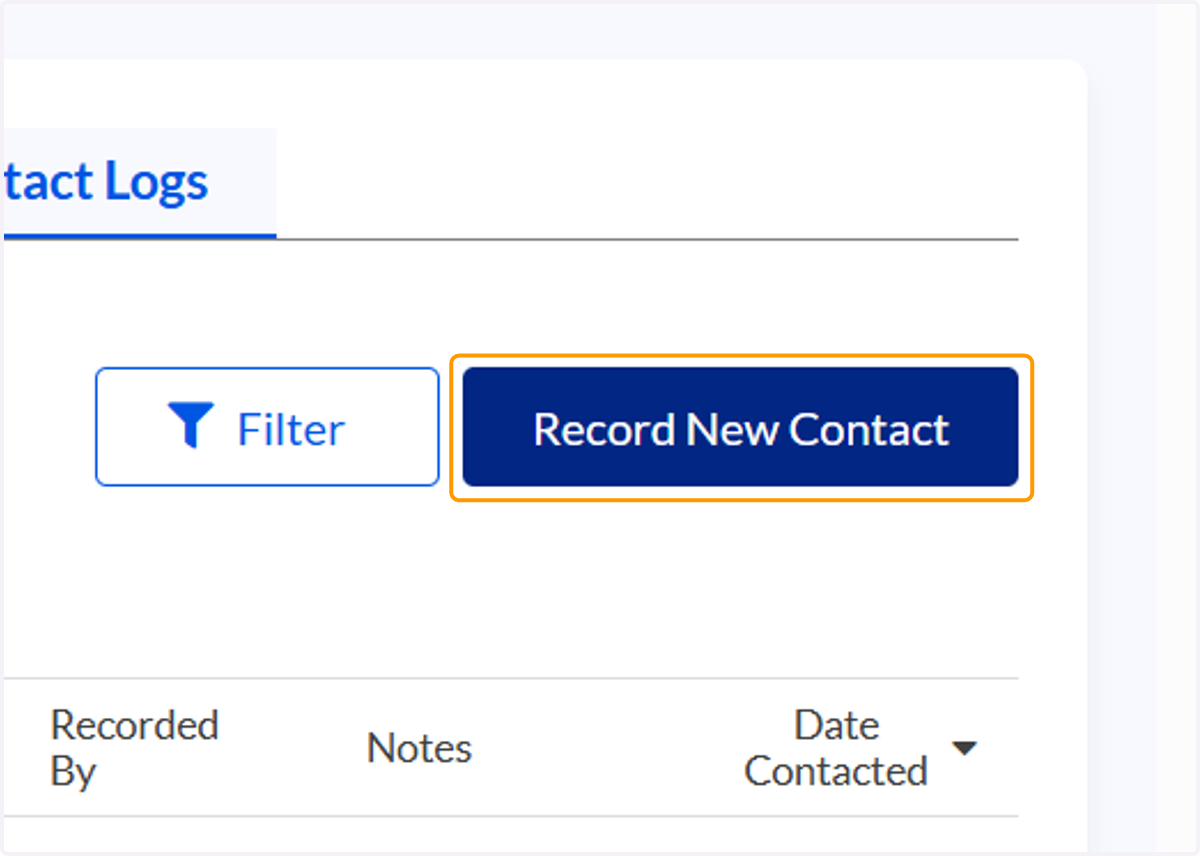
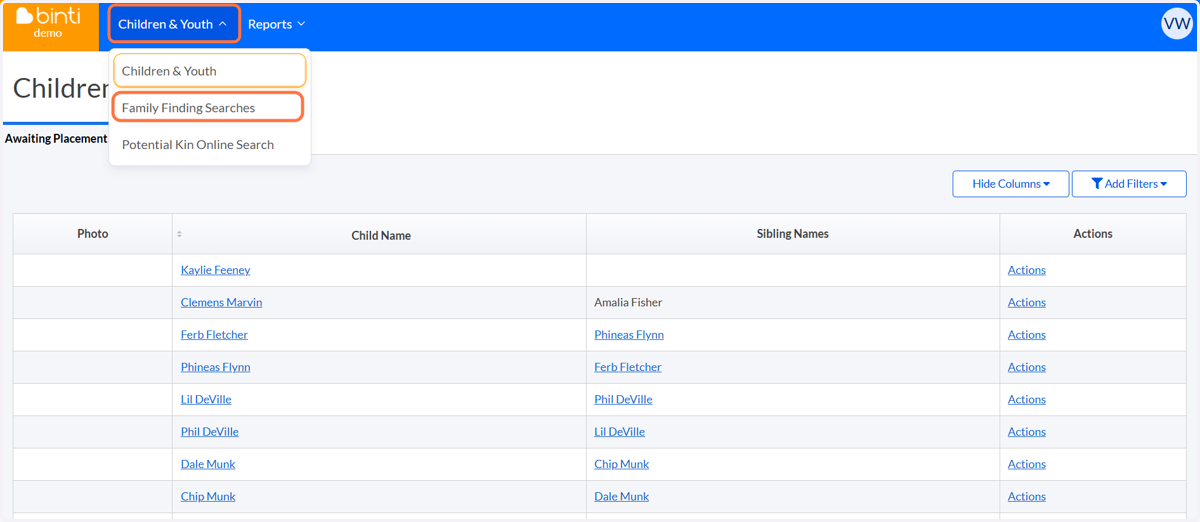
109. You can also record a new contact directly from the Contact Log page
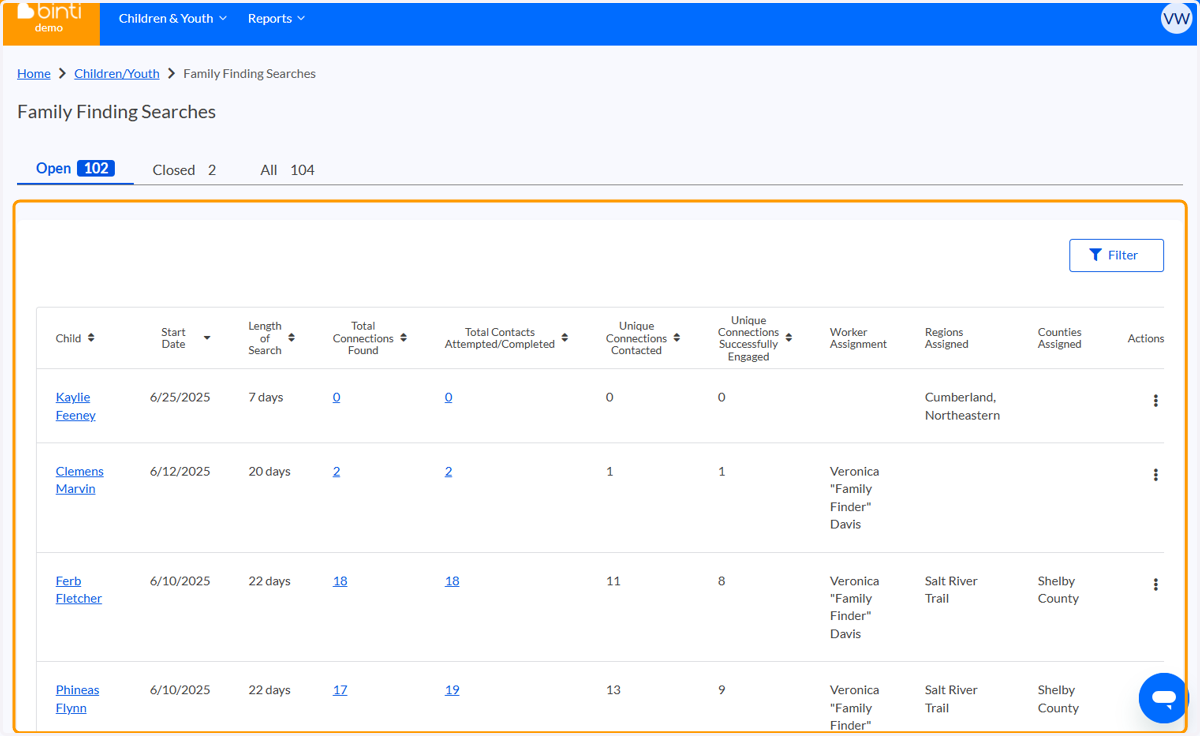
5️⃣ Sending information about a Family Finding search back to TWIST
110. On the Relationships Dashboard, select the three dots under actions for the connection you want to send to TWIST
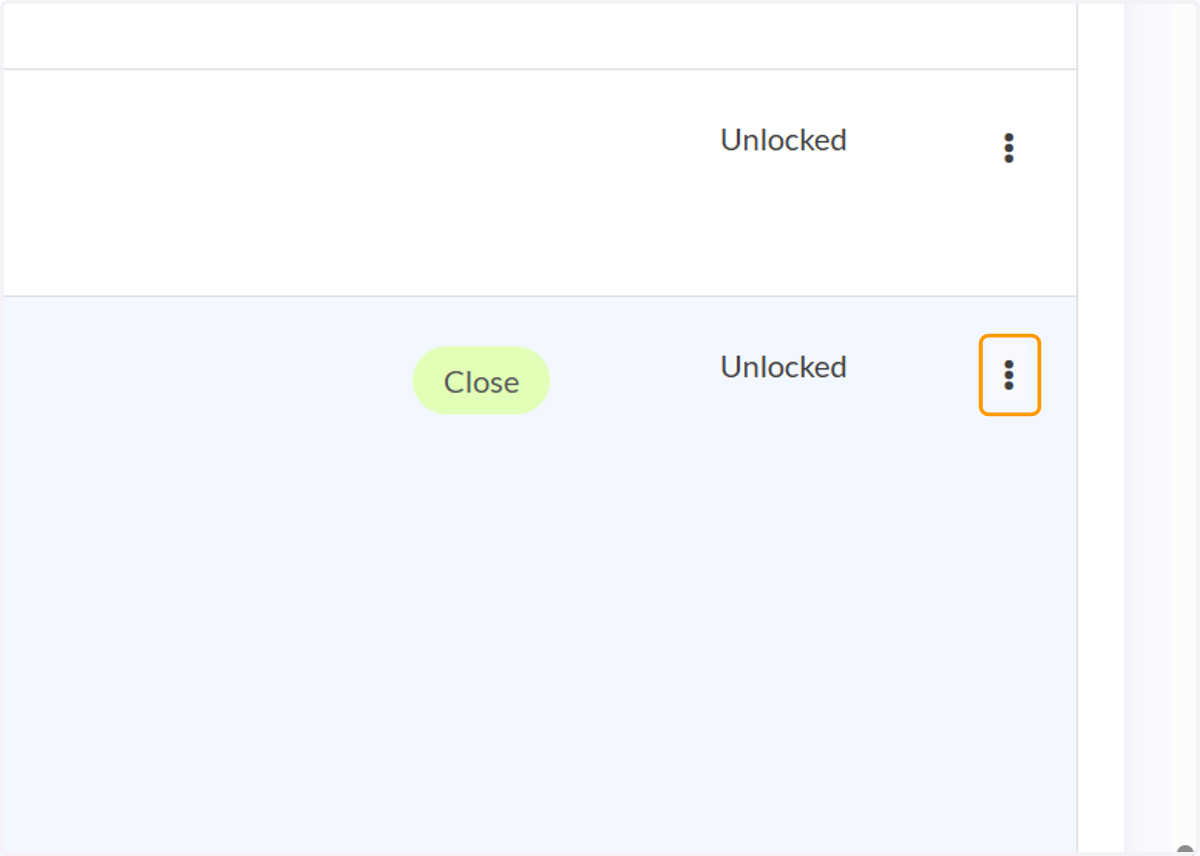
111. Click on Lock Relationship Details
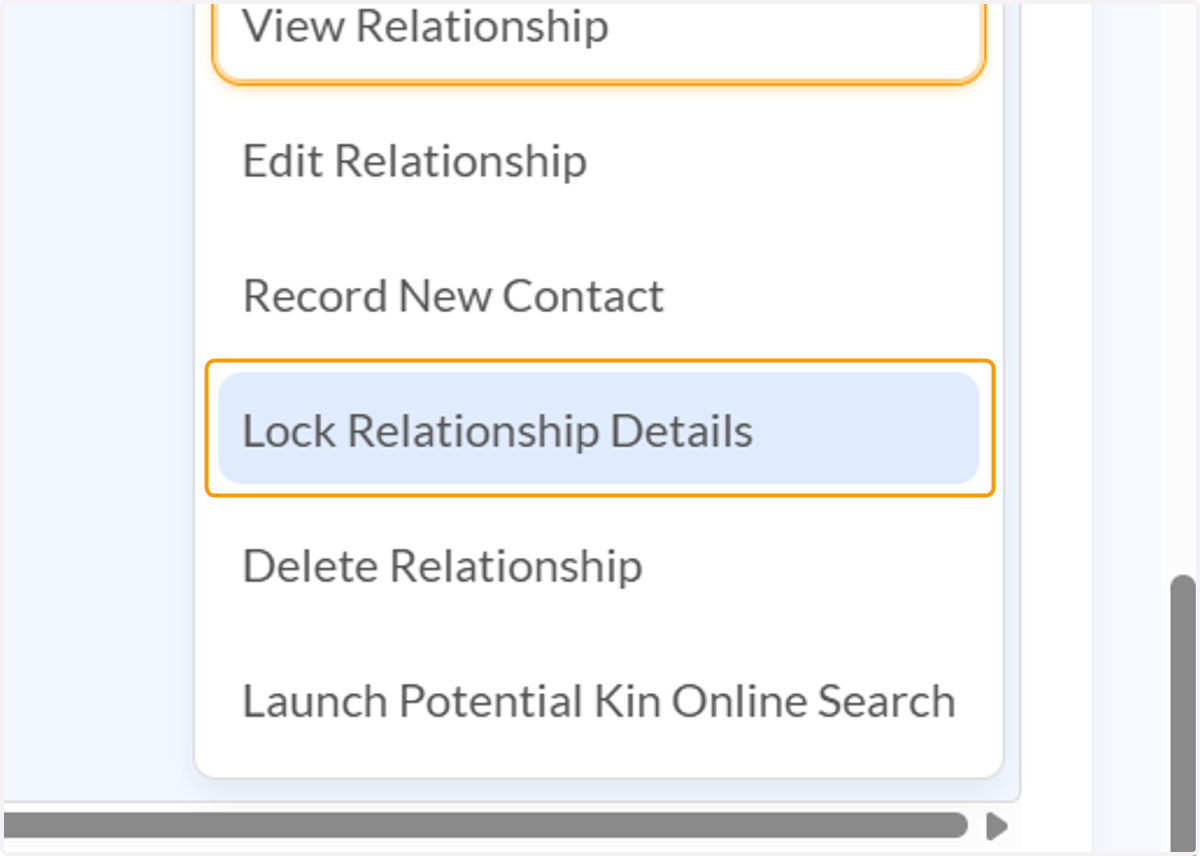
112. Click on Yes, lock
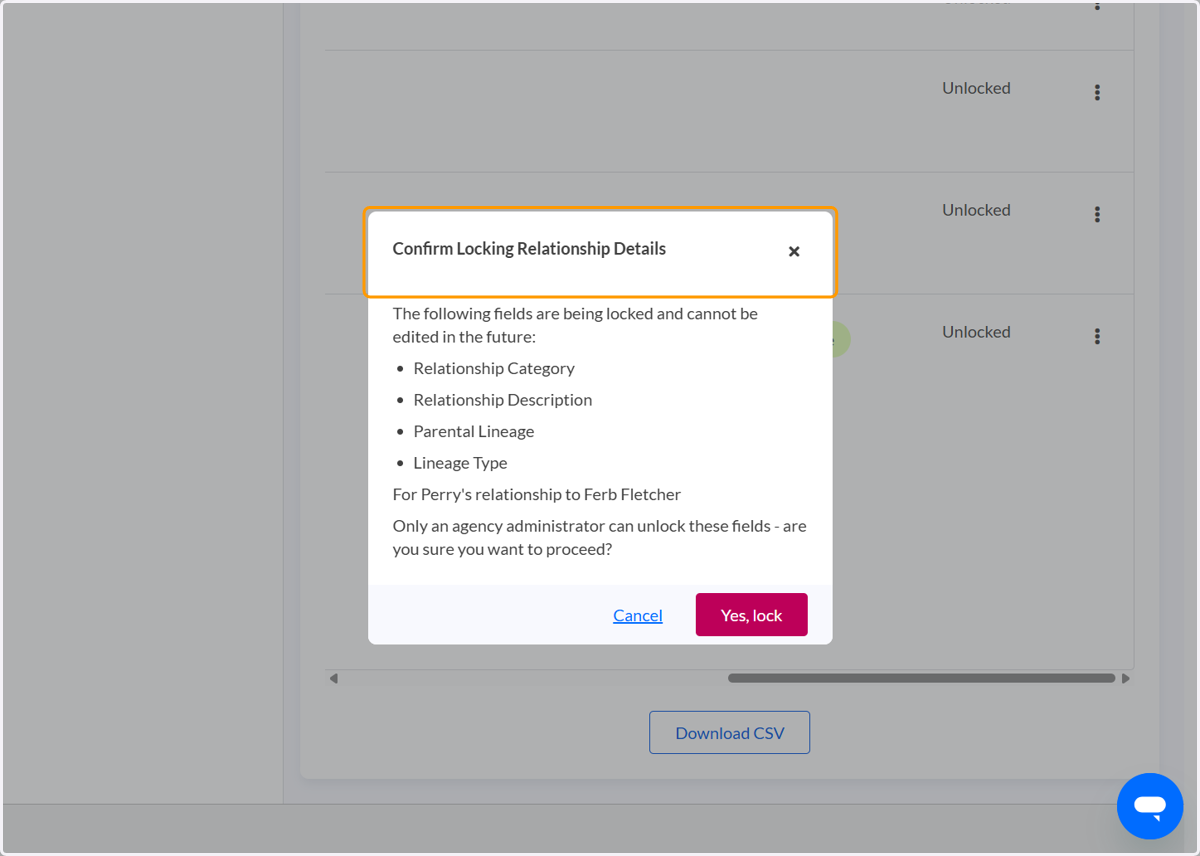
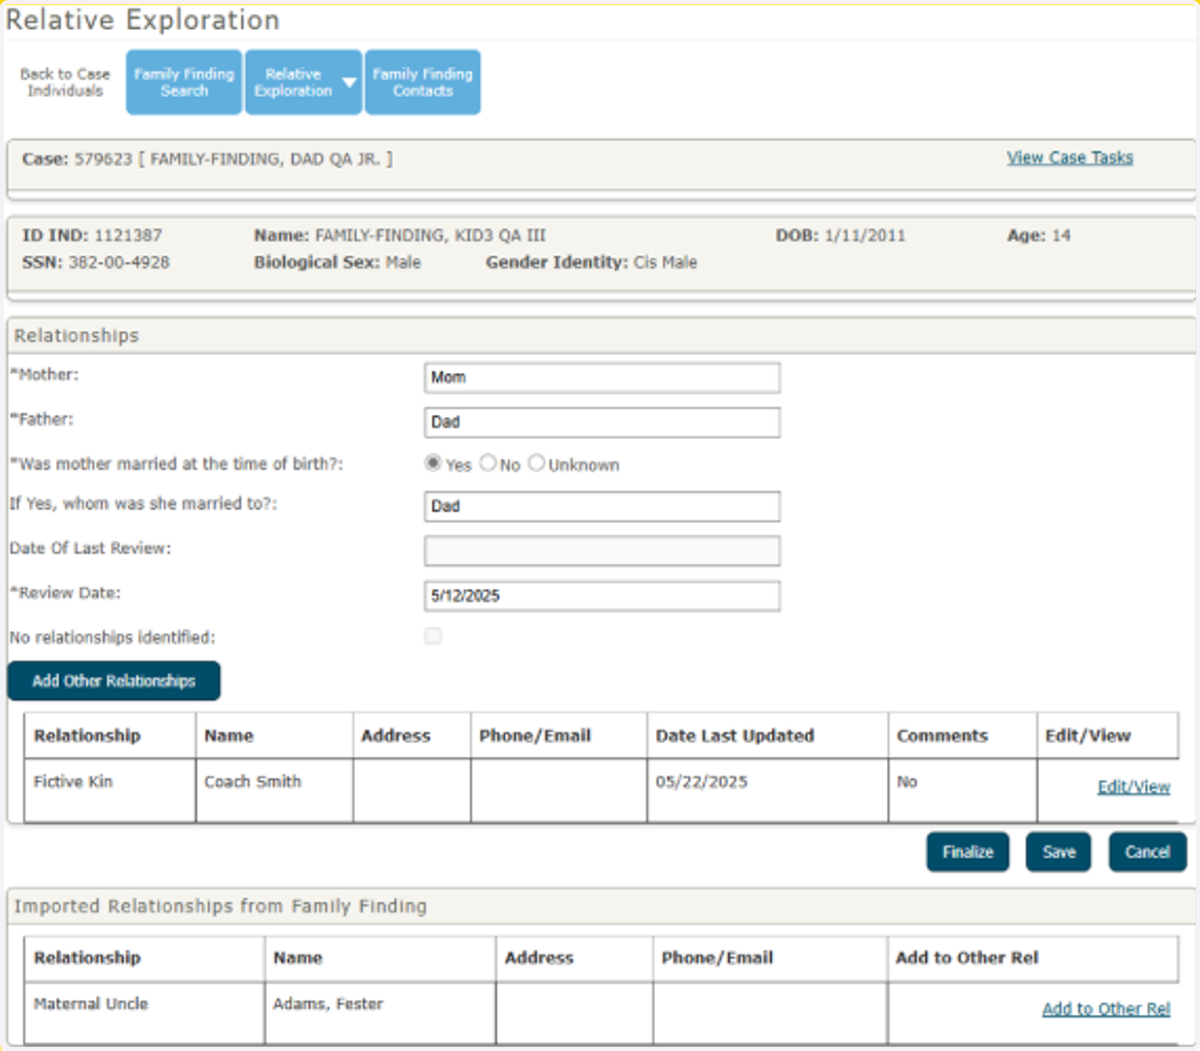
113. Locked relationships will be listed in a new grid label “Imported Relationships from Family Finding”
The Relative Exploration screen will be moved to this progress bar. This screen will continue to function as it did before Release 18.28. When a relative is identified and the relationship is locked (finalized) in Binti, the details of the relative will be sent to i-twist periodically throughout the day.
The worker can click the “Add to Other Rel” link to add the relative to the 1275 report. Once added the relationship can be edited like any of the Relationships identified in the Other Relationships grid.
114. For sending Contact Logs to TWIST, navigate to the Contact Log page
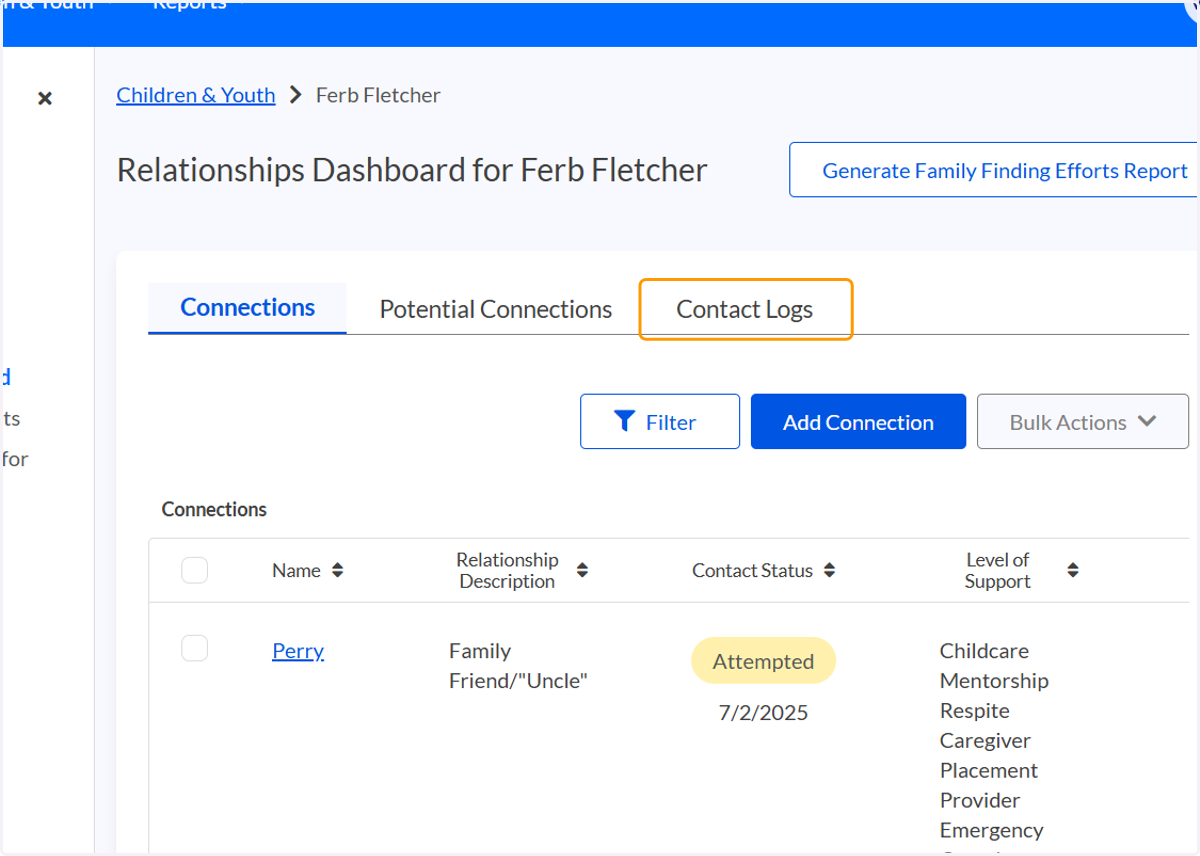
115. Click on View additional actions for contact
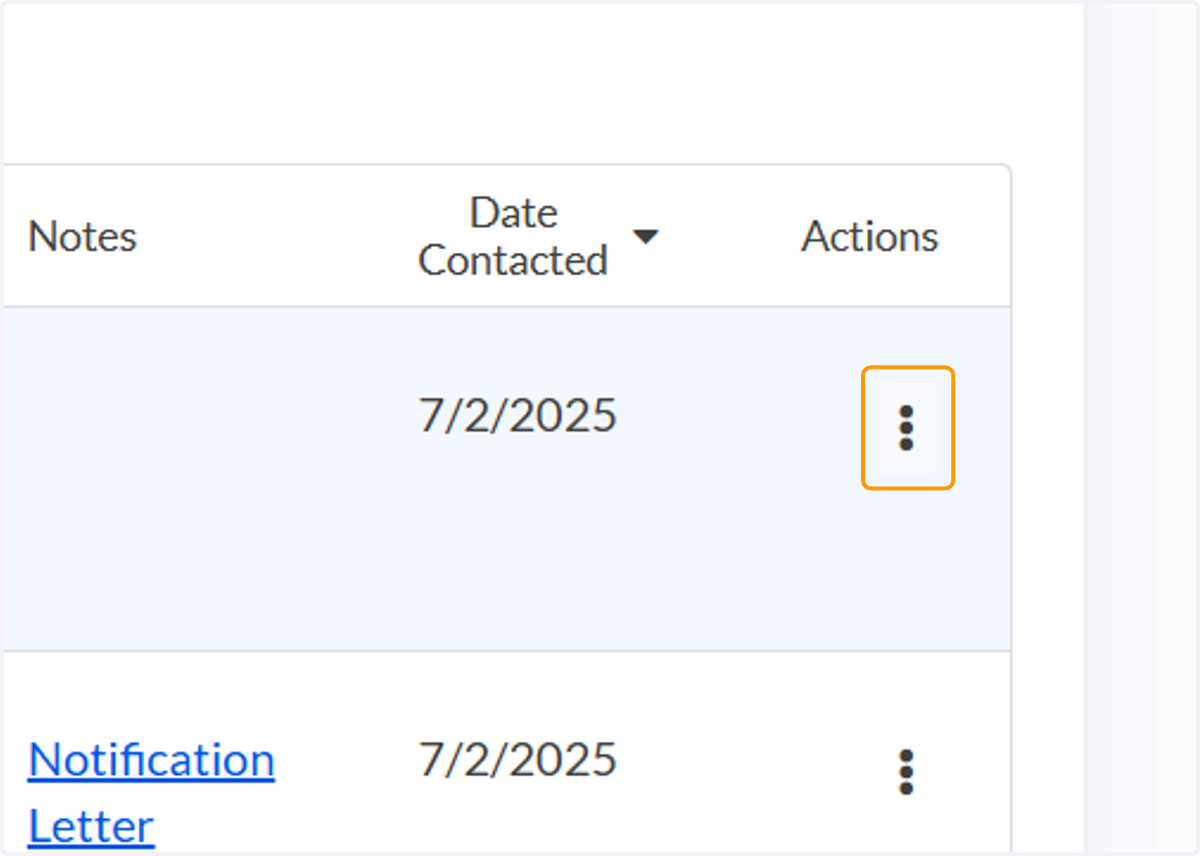
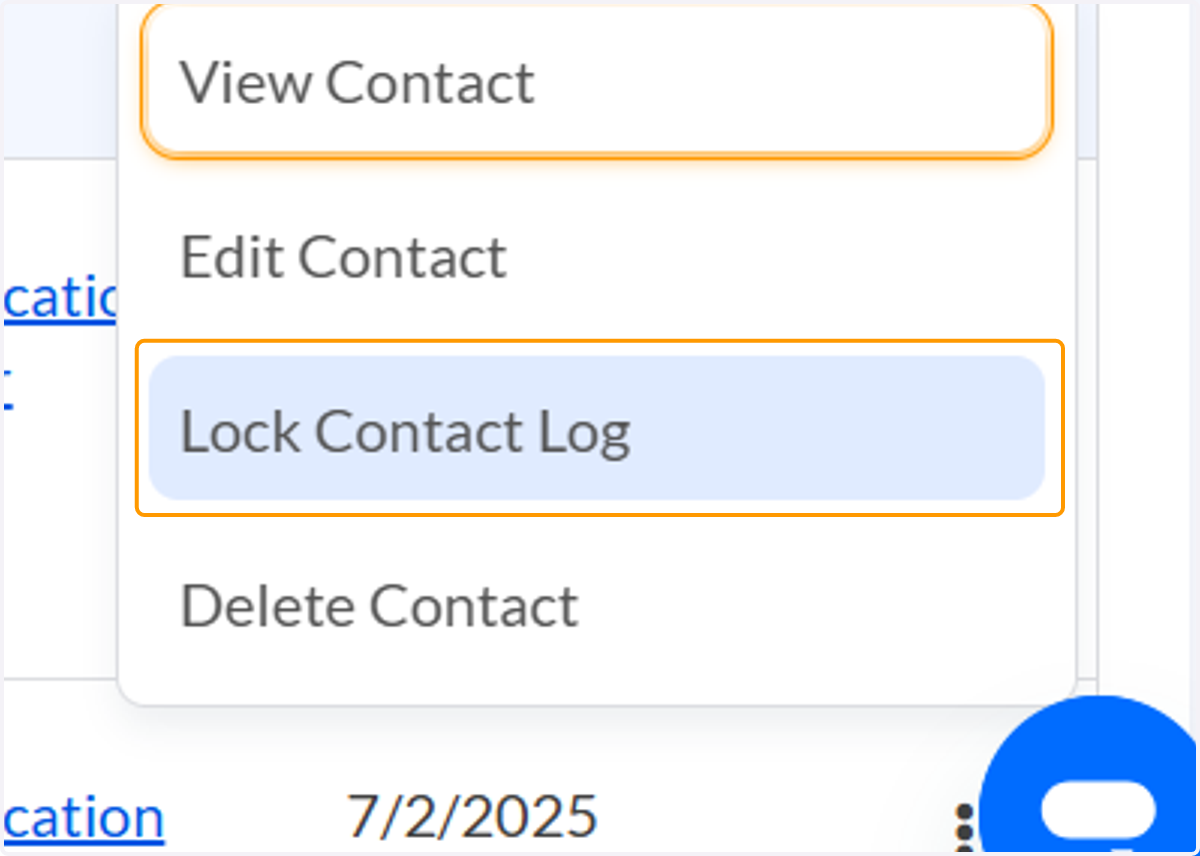
116. Click on Lock Contact Log
117. Click on Yes, lock
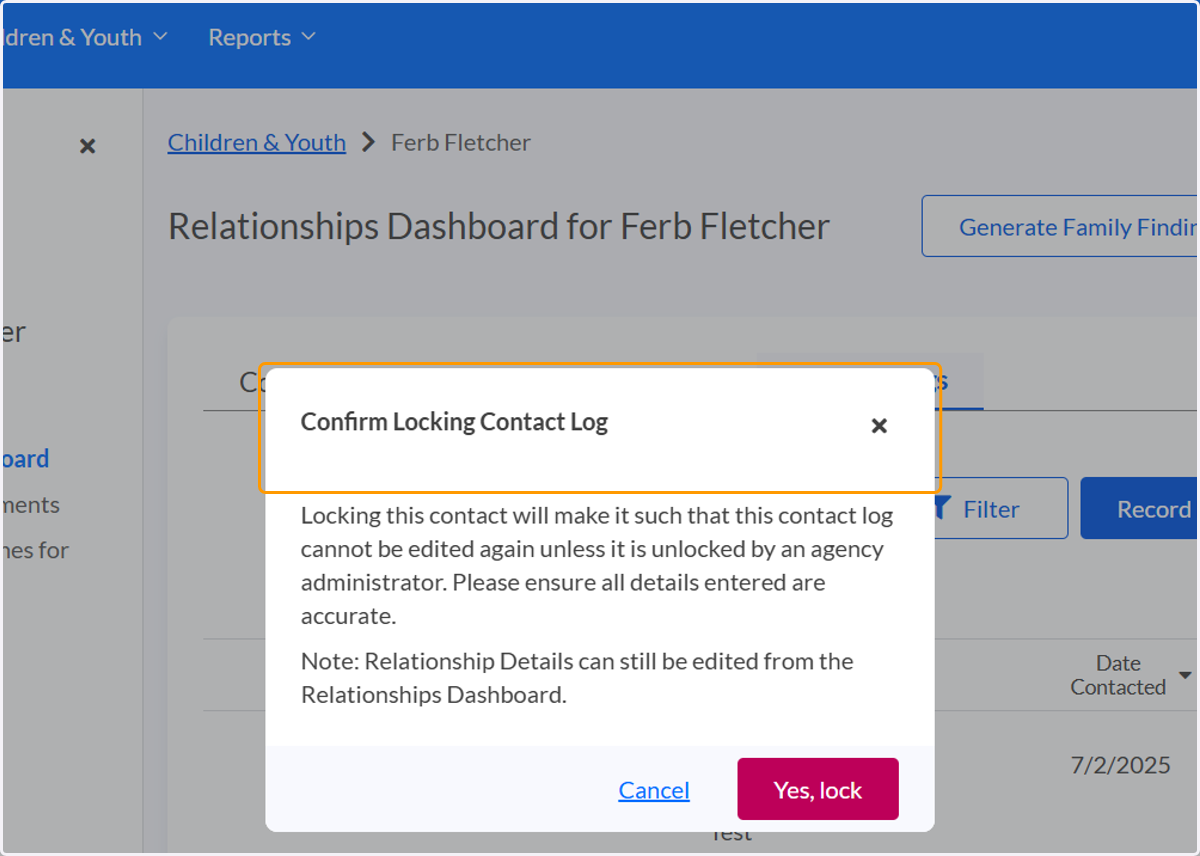
118. The locked contact will now be send to TWIST
✅ Case Individual
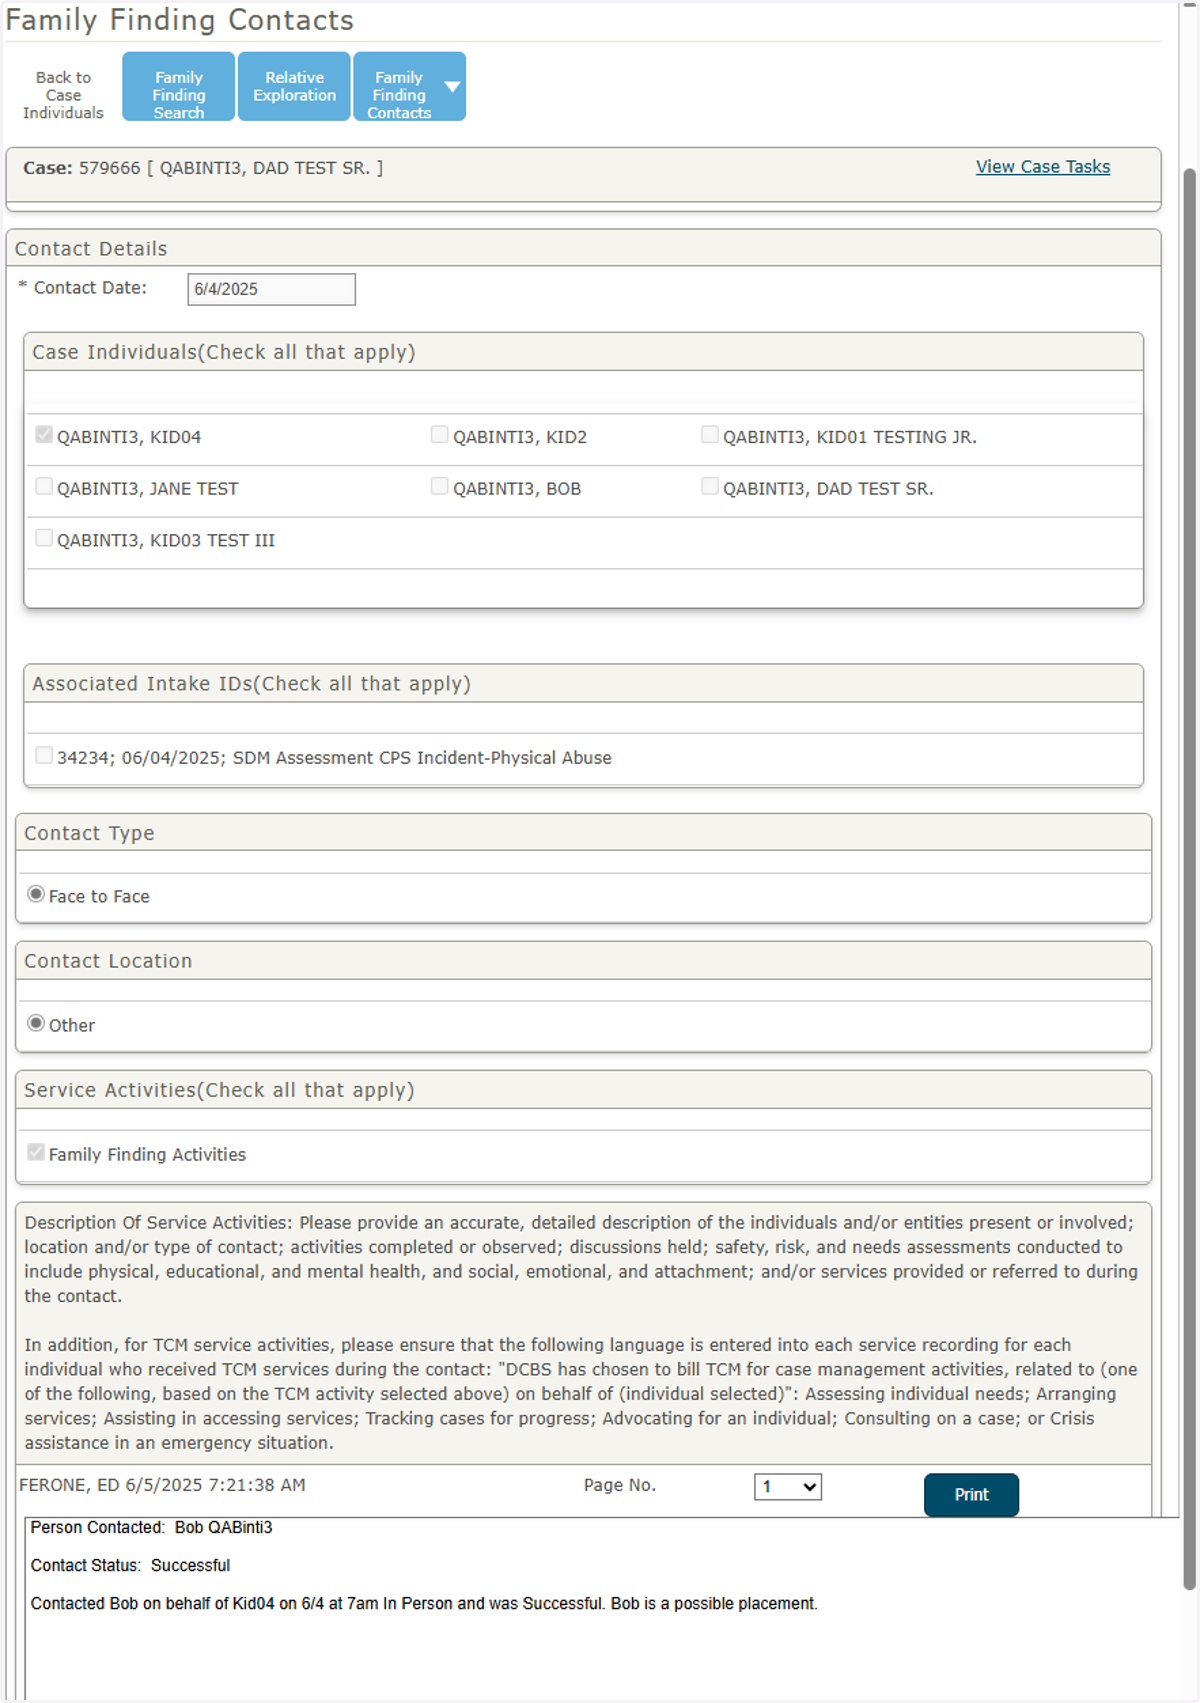
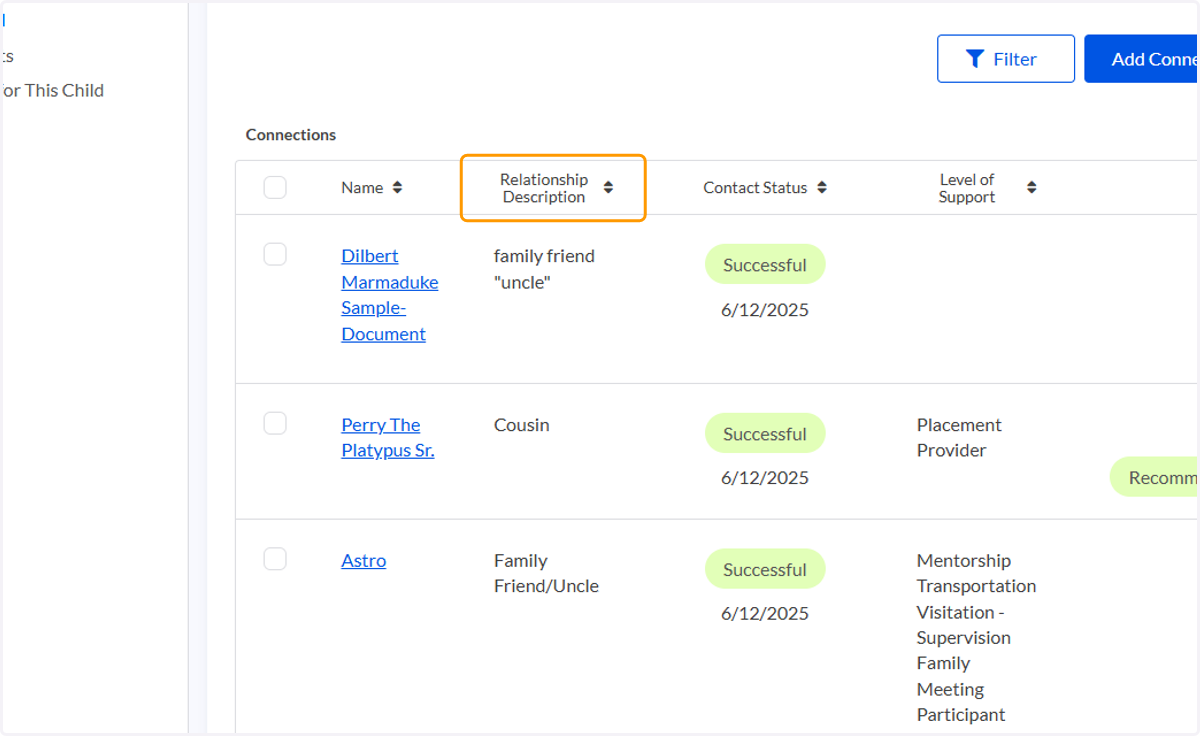
• Will be set to the Child — even if the Connection in Binti is not a Case Individual.📅 Contact Date
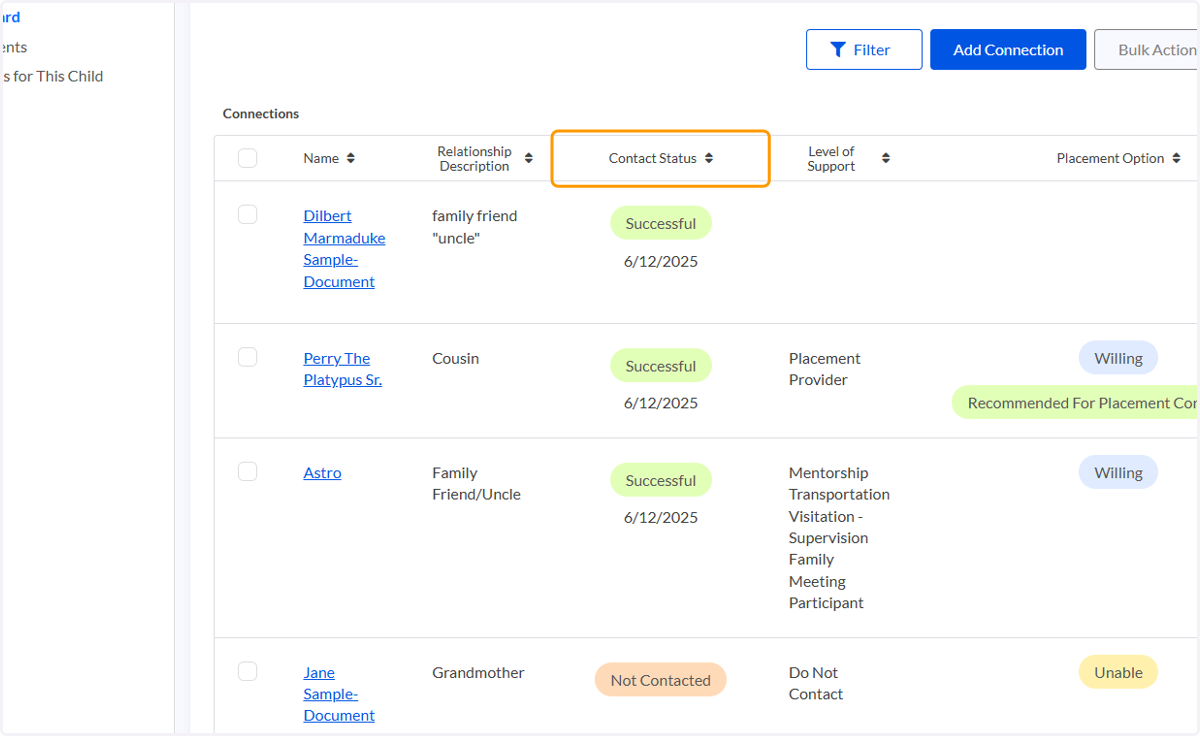
• Will match the Date Contacted in Binti.🛠 Service Activity
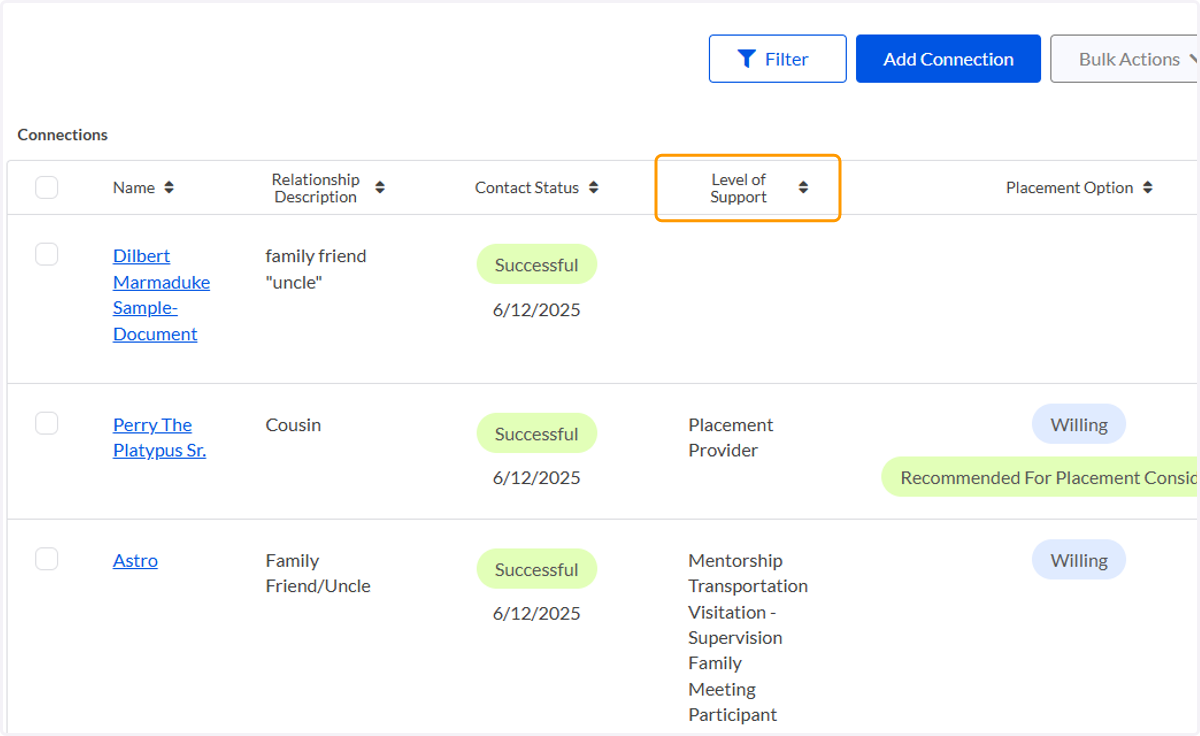
• Always set to: Family Finding Activities☎ Contact Type
• Determined by Contact Method in Binti:e.g.,
Phone Call→ Telephone
📝 Contact Notes Box
• Will include combined details from Binti:Person Contacted
Contact Status
Notes
👨👩👦👦 Genogram / Family Tree
119. A. To view the genogram for a family, go to the Relationships Dashboard for [child's name]
119. B. Make sure you are under the first tab, the confirmed Connections

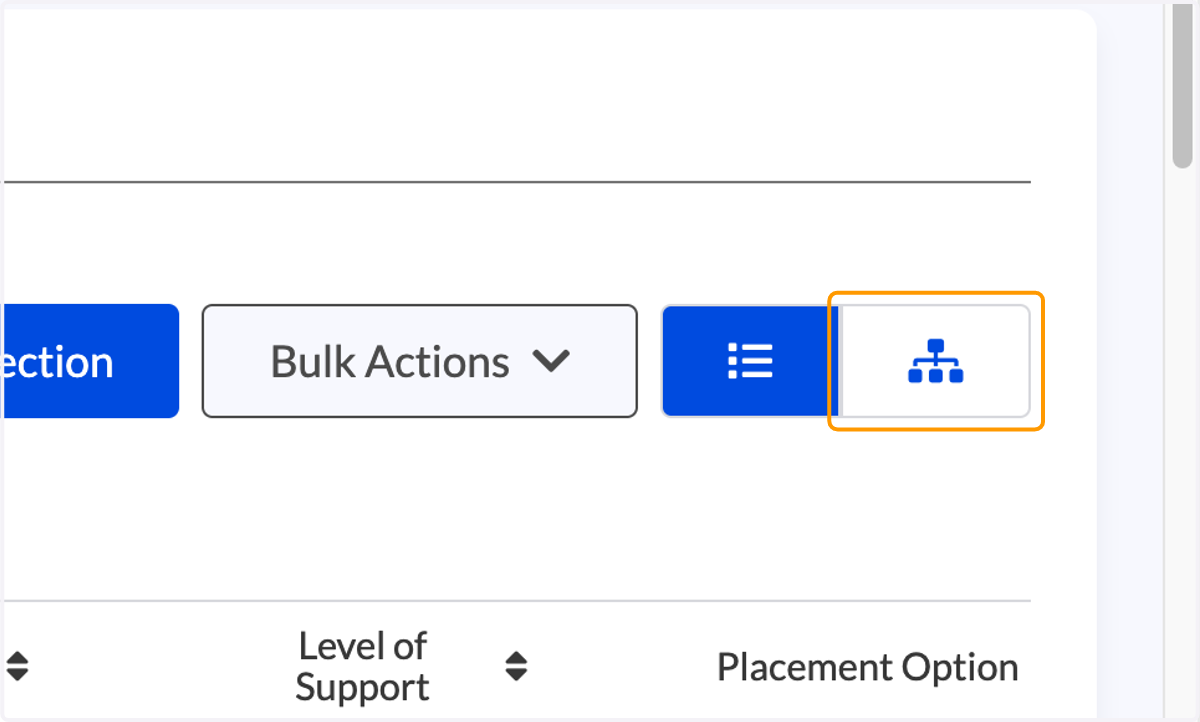
120. Click on the View Genogram icon to the right
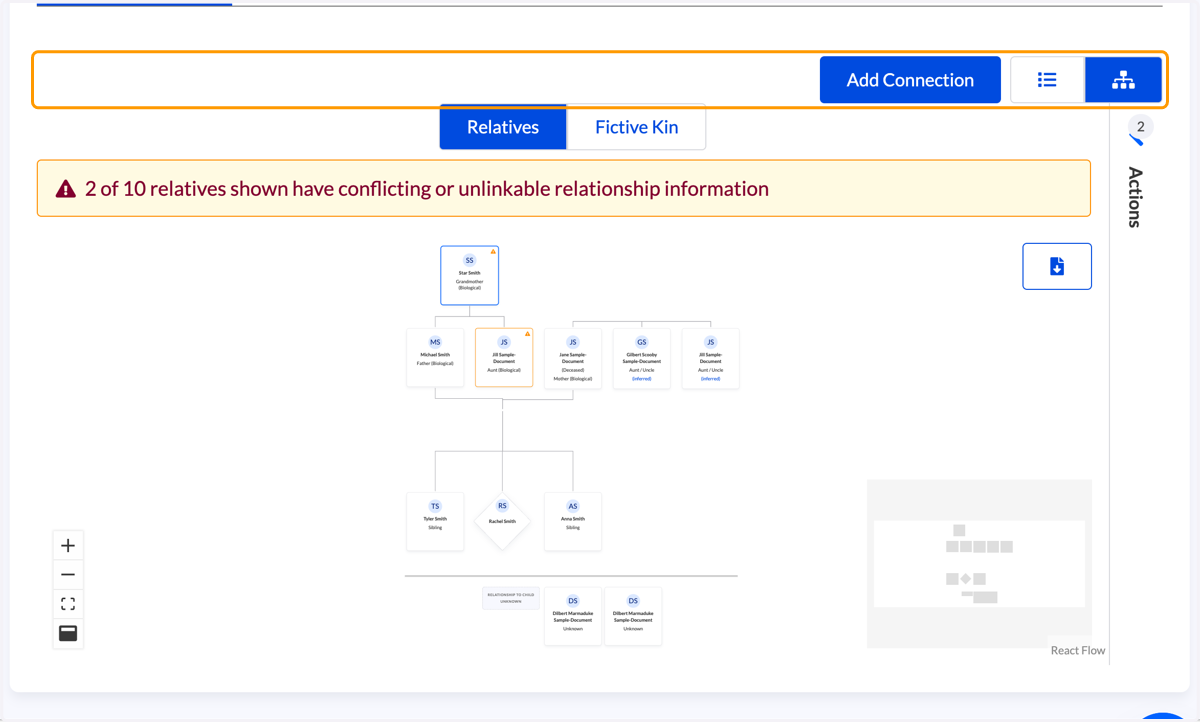
121. You will now see the genogram with the generations displayed and connecting lines to define how the family members are related
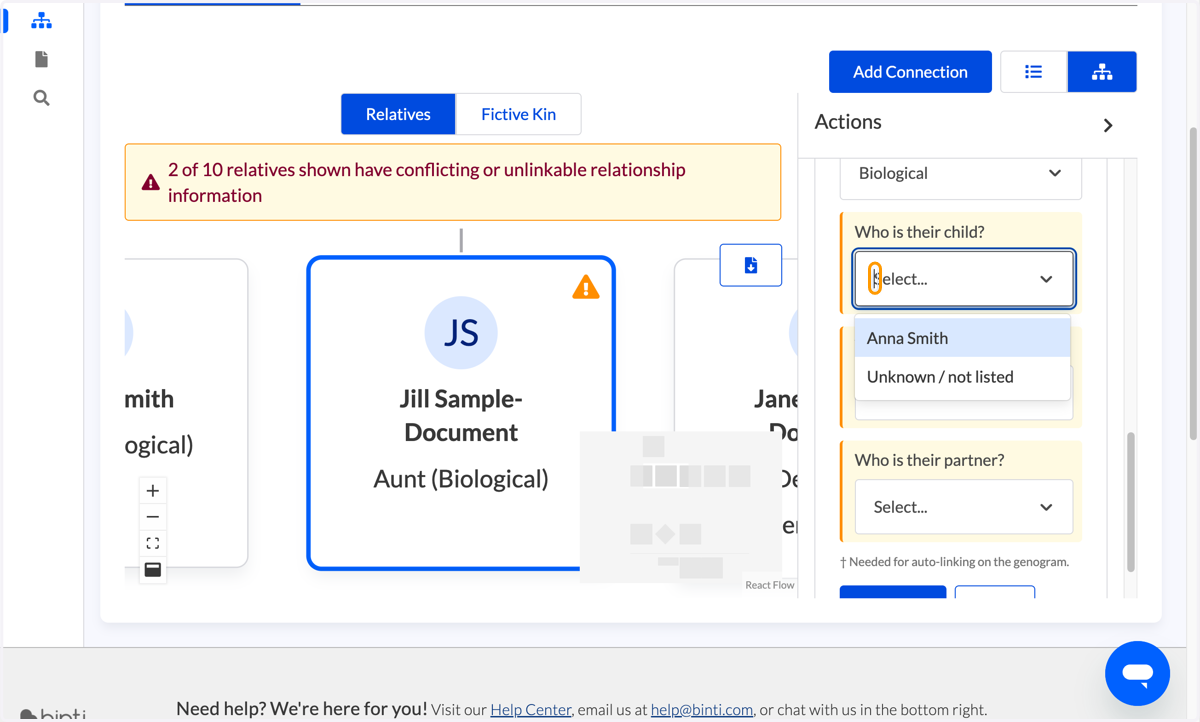
122. If a family member has an orange triangle alert, click on their name and a pop up will show on the left to add additional details for this person
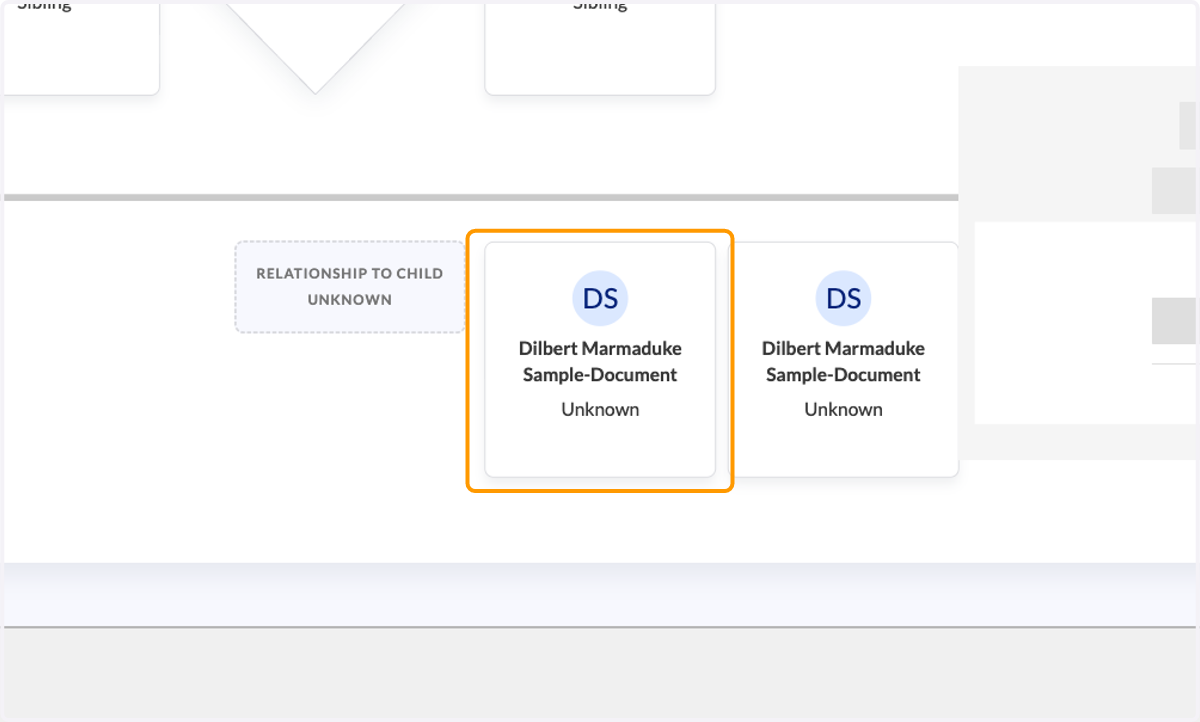
123. Any connections marked as "Unknown" will sit at the bottom under the line
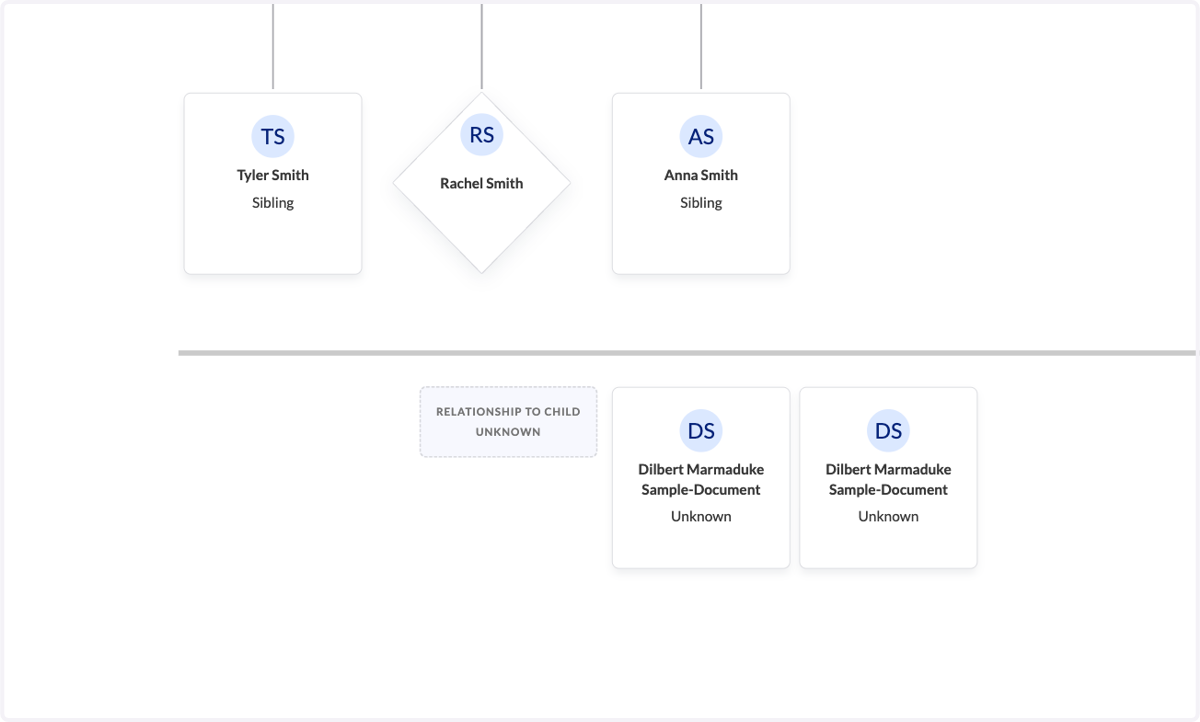
124. Click on the person's name to edit their relationship to the child
💻 Navigating Binti
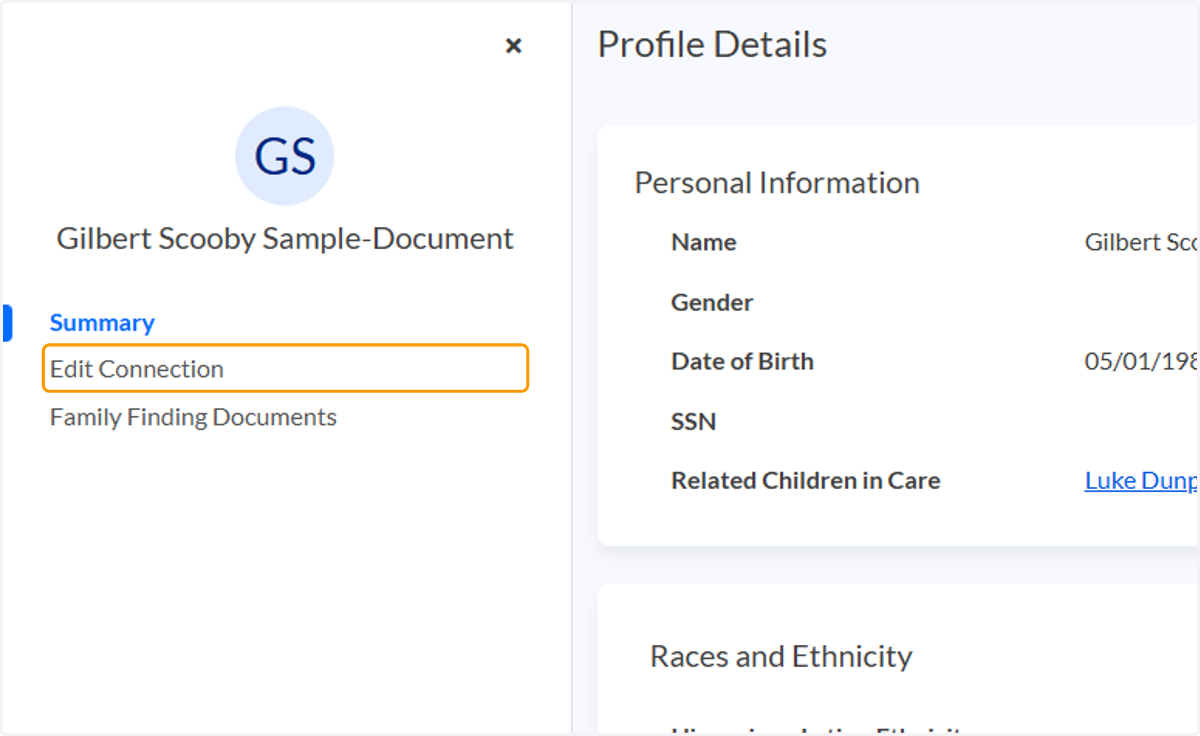
125. There are four key dashboards to keep in mind in Binti:
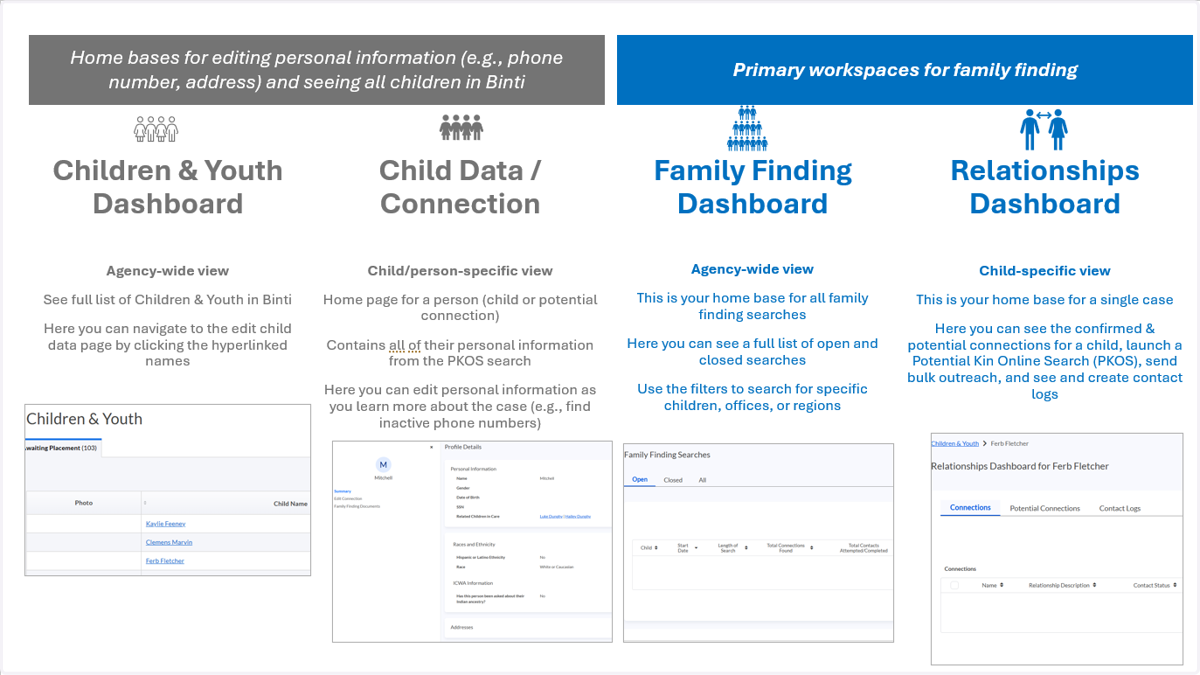
126. Children and Youth Dashboard (C&Y)
This is your agency-wide view of all children in Binti across Kentucky
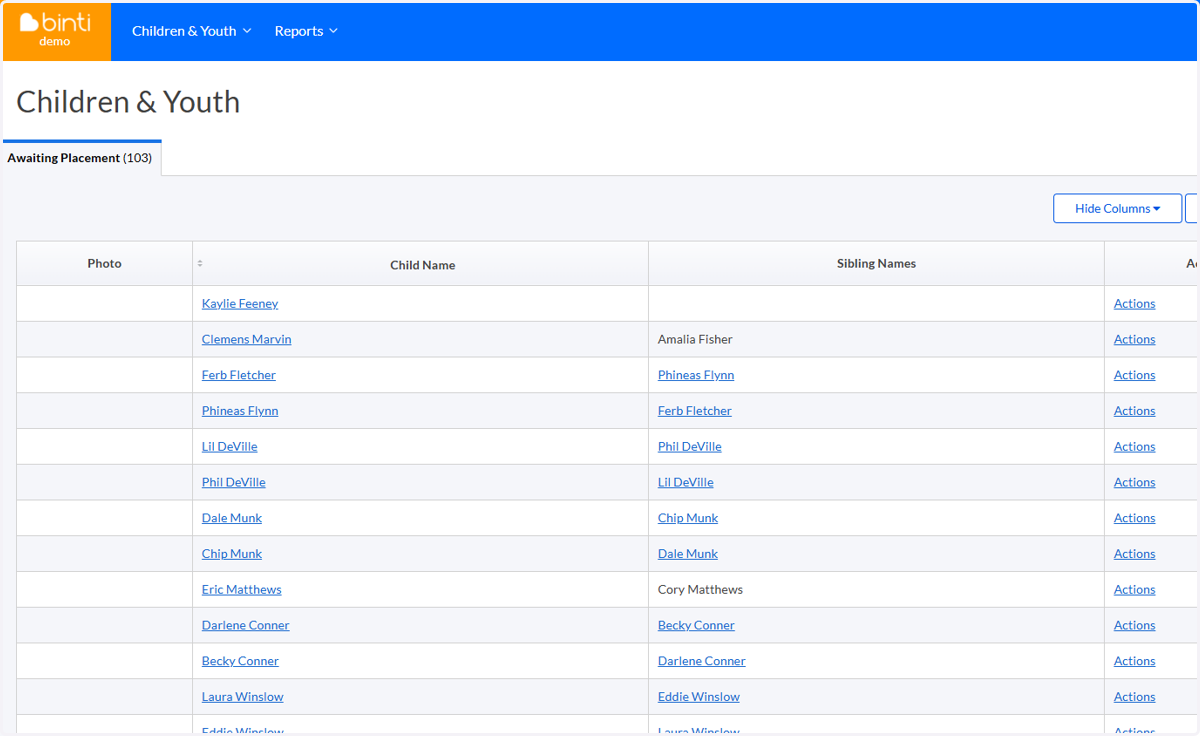
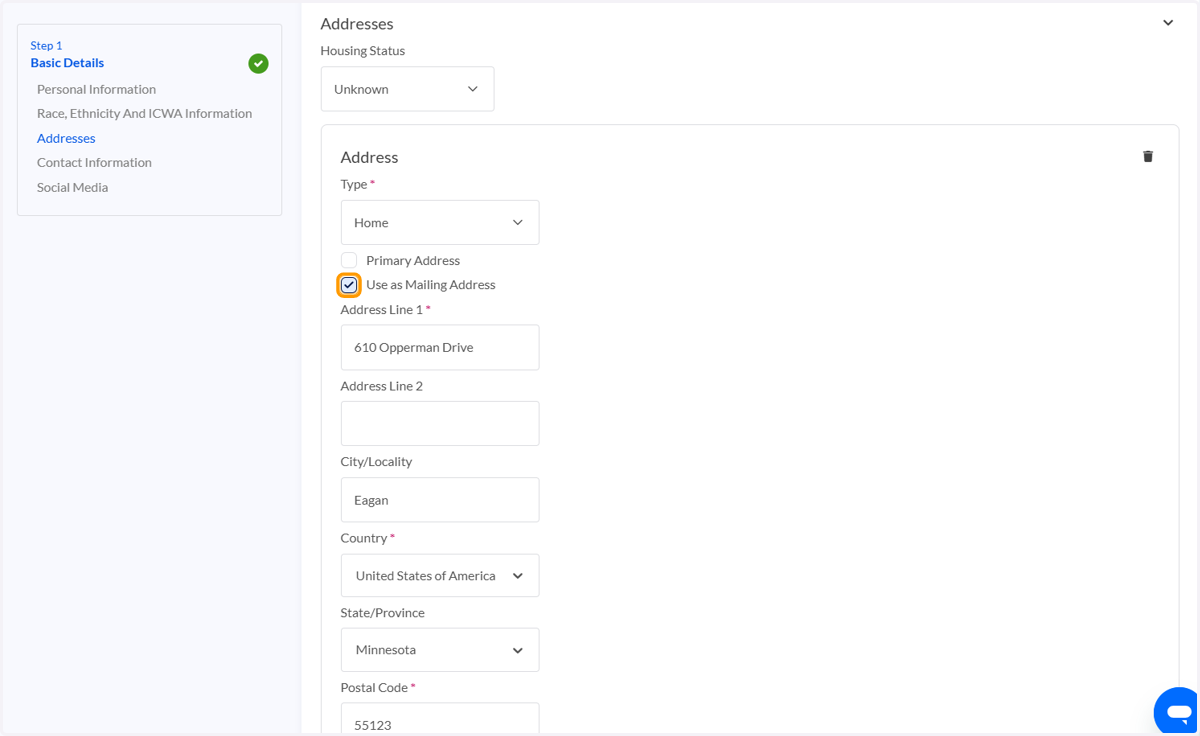
127. C&Y: You can search for specific children on this view using the add filters button
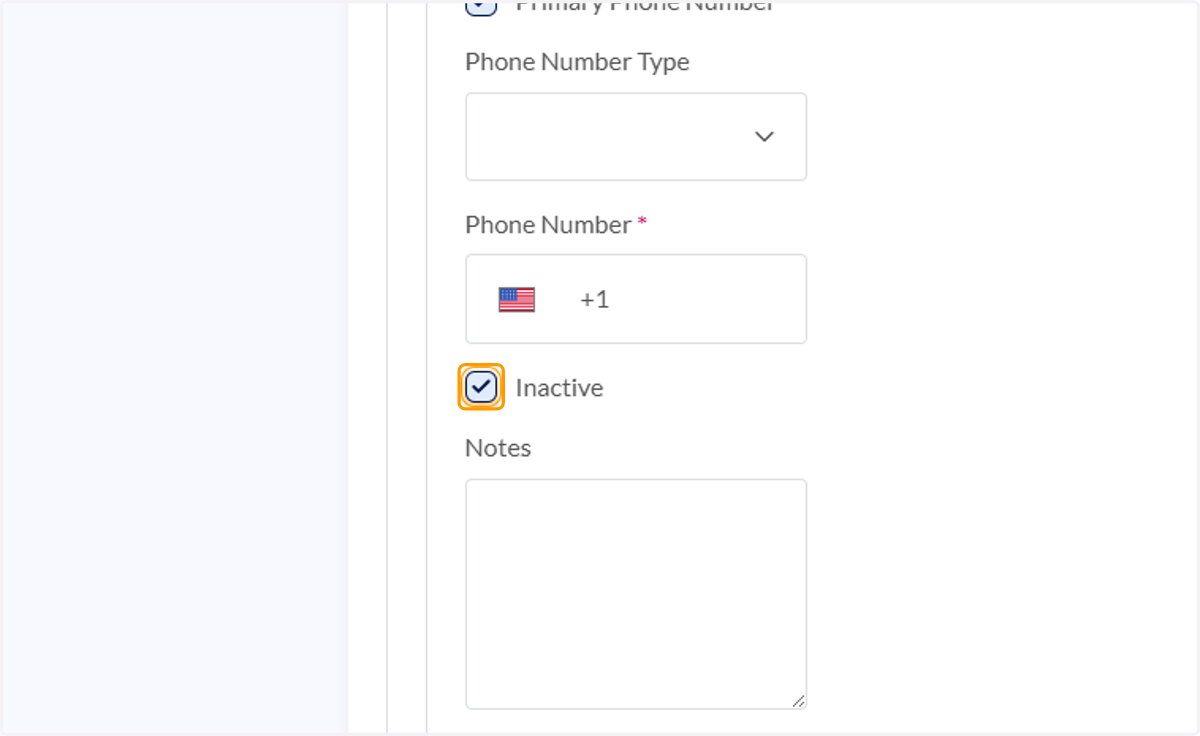
128. C&Y: From this page, you can access information about specific children by clicking on their name
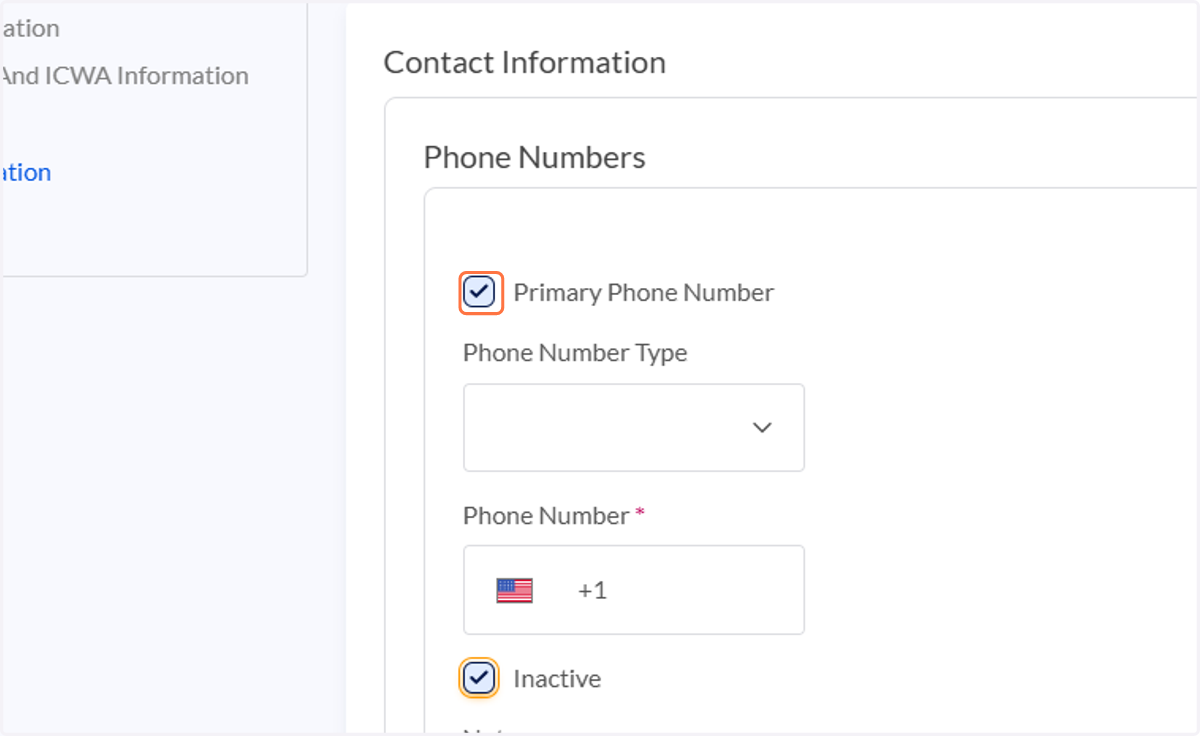
129. To get from the C&Y page to the home base for Family Finding searches, you can click Children & Youth > Family Finding Searches in the top of your Binti screen
130. Family Finding Searches Dashboard (FSS):
This is your KY-wide view of all family-finding searches
131. FSS: You can use the filter button to search for specific children
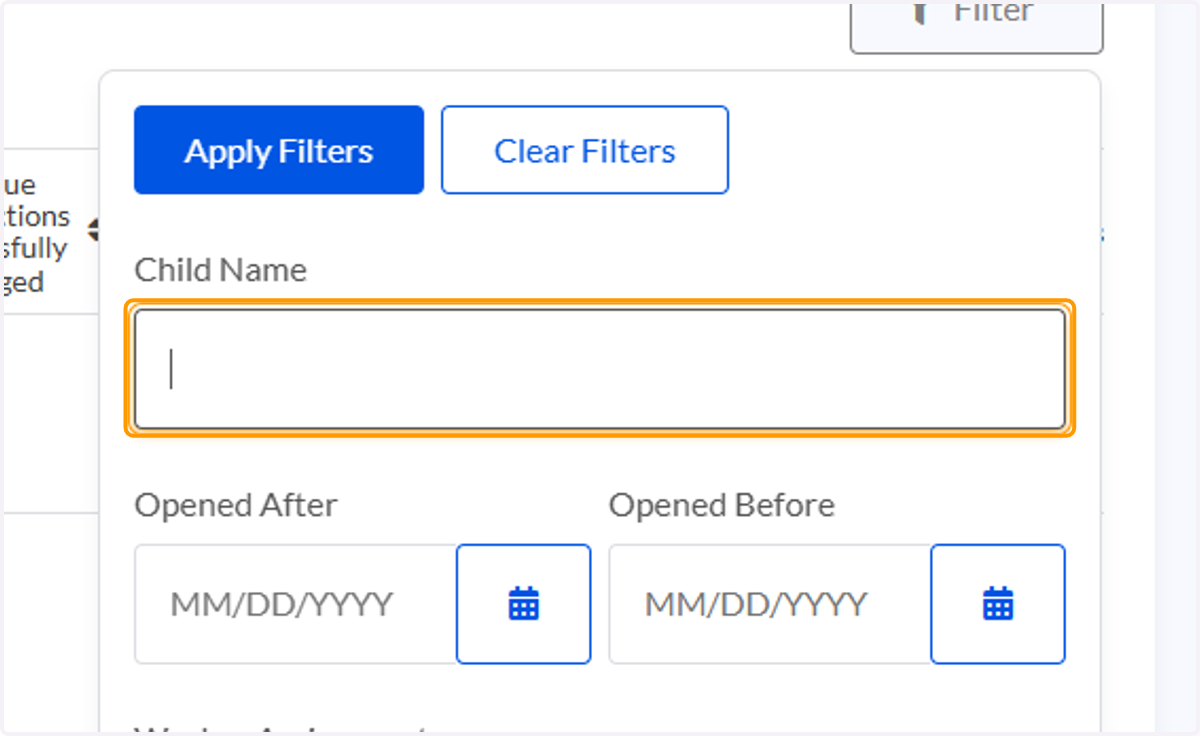
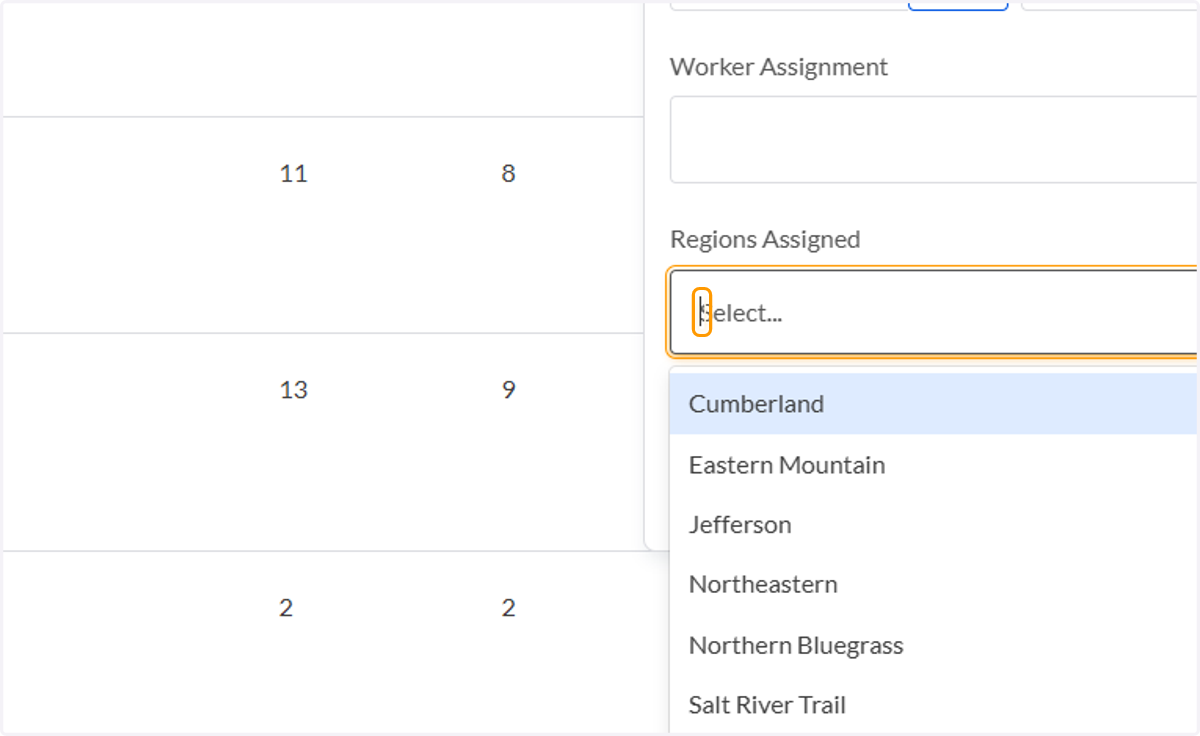
132. FSS: You can also search by region or county
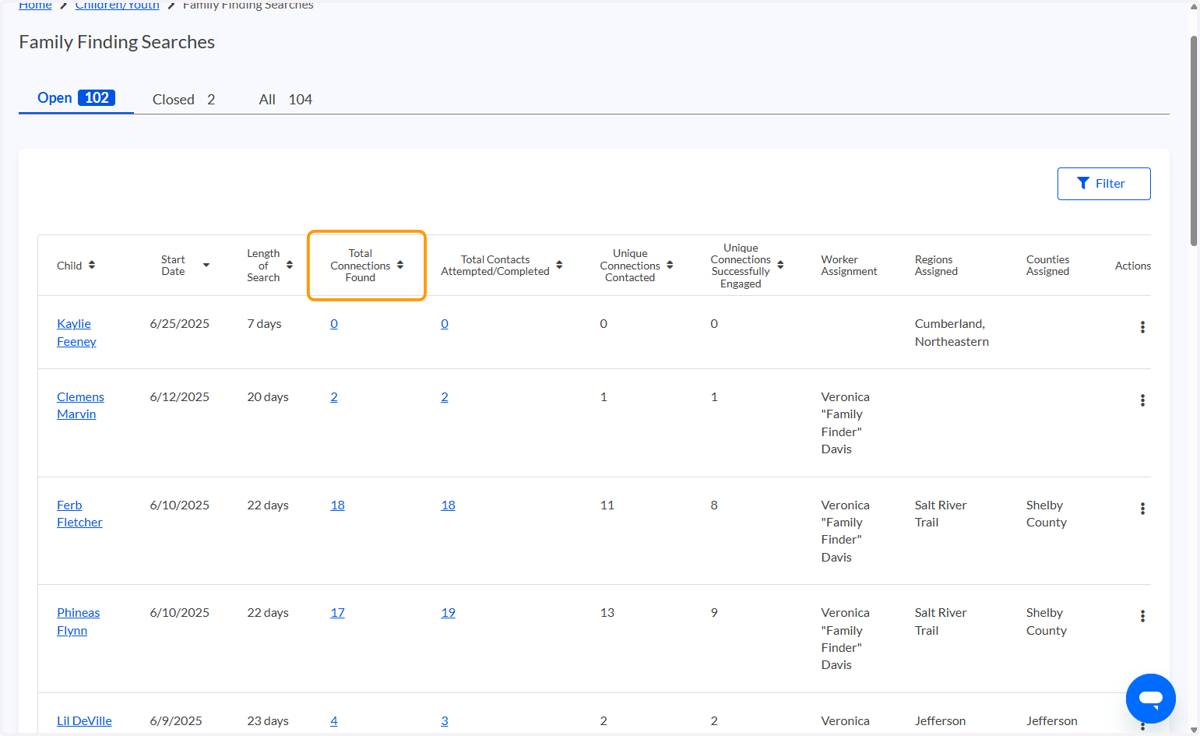
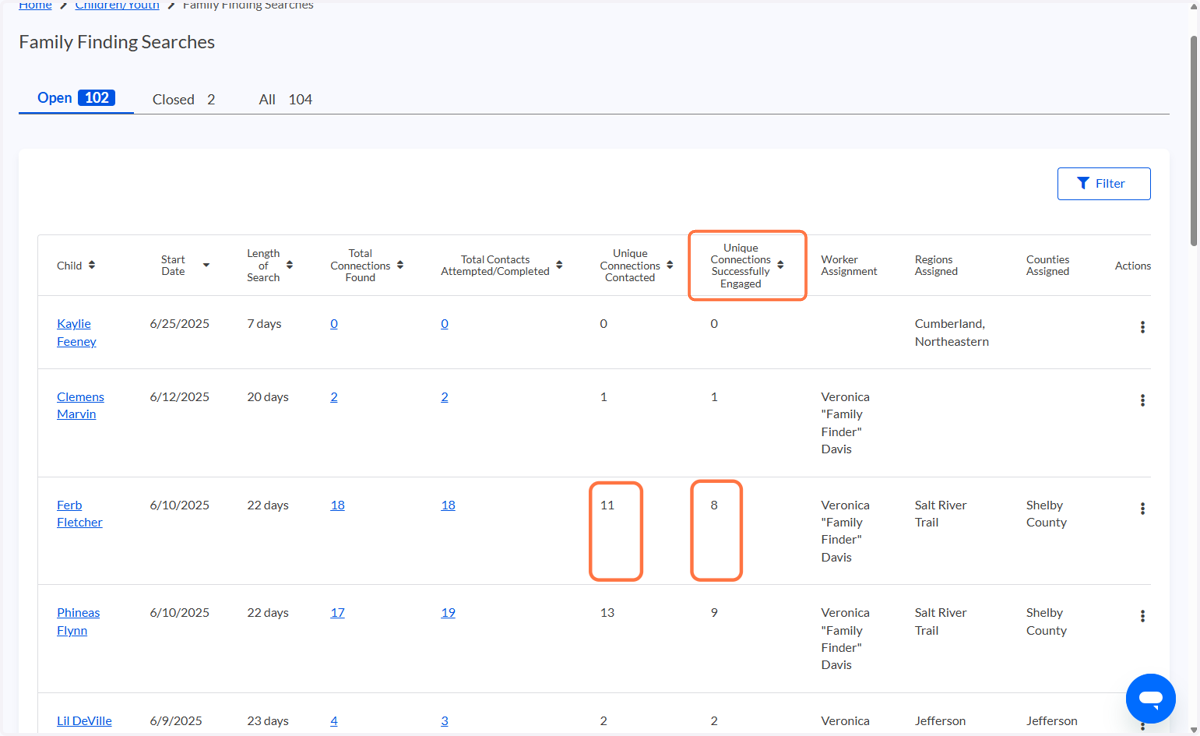
133. FSS: There are a few key columns in the dashboard. Total Connections Found shows the number of confirmed relative or fictive kin found
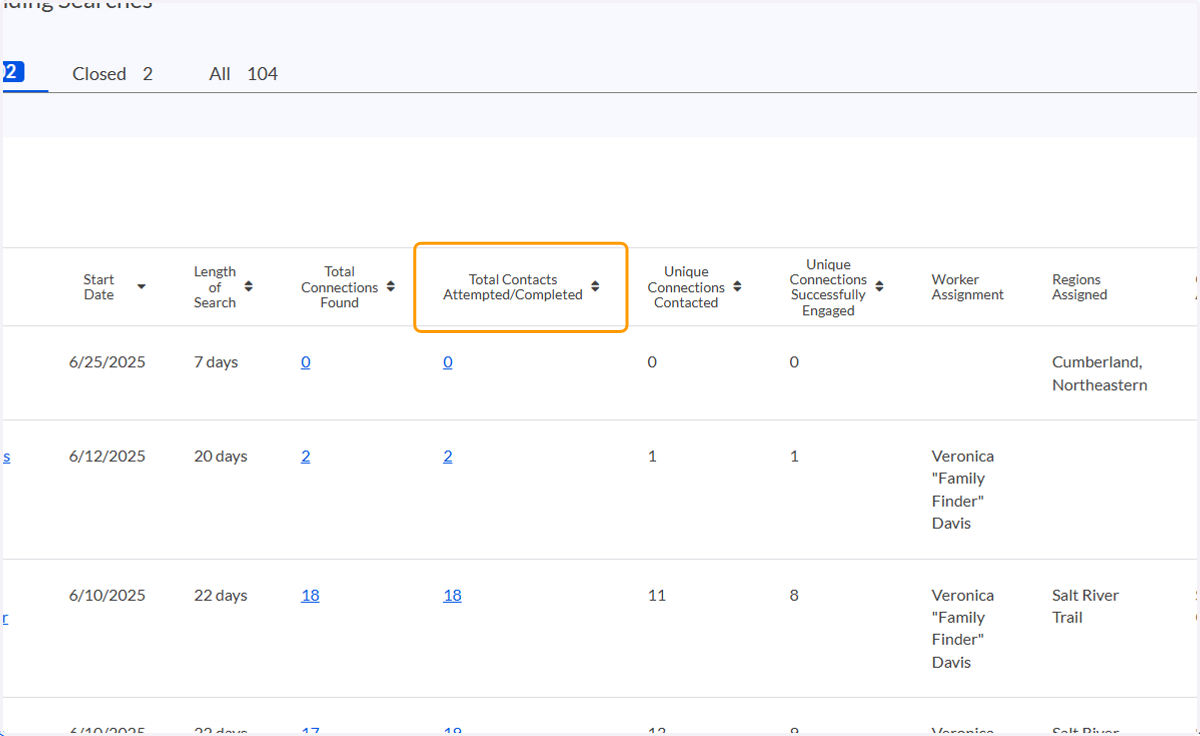
134. FSS: Total Contacts Attempted/Completed means the total number of contacts sent out for this child's case
135. FSS: Unique Connections Contacted means the number of unique individuals contacted (e.g., Ferb has 18 connections found but only 11 contacted)
Note: some connections may not be contacted if they are deceased or minors
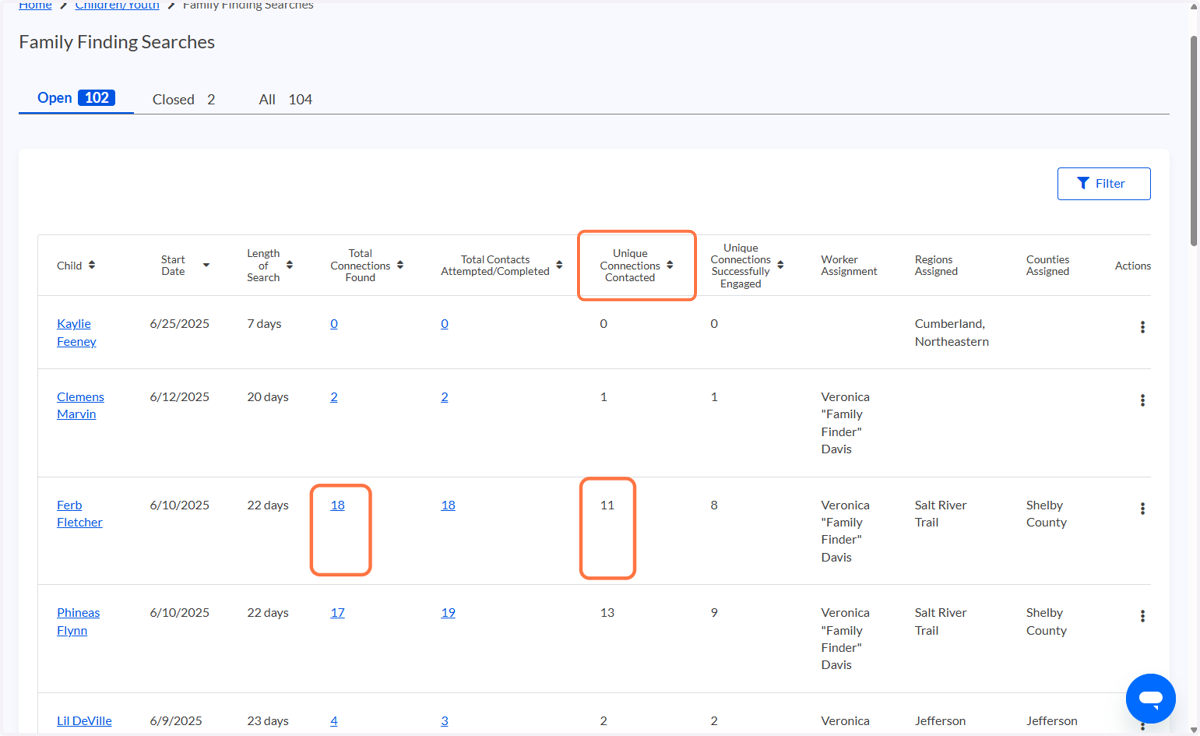
136. FSS: Unique Connections Successfully Engaged means the number of unique individuals who have been successfully reached (e.g., Ferb has 11 connections that have been contacted but only 8 have been successfully reached)
137. Relationships Dashboard (RD):
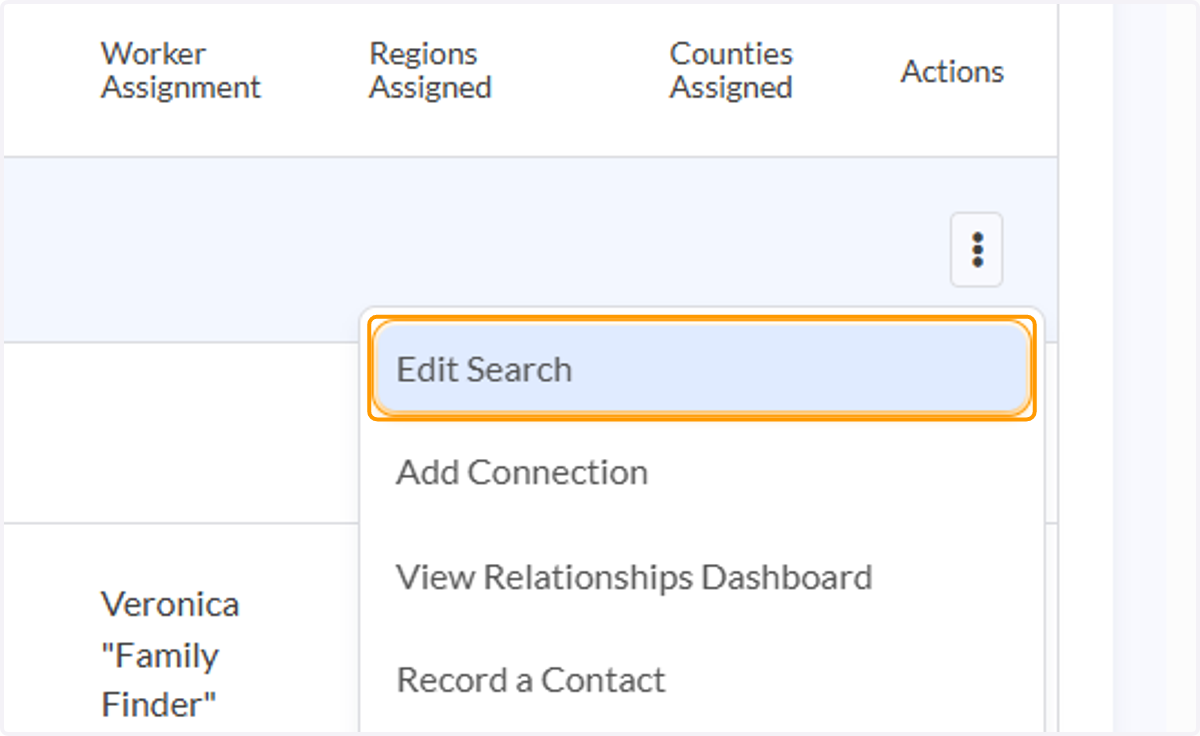
This is the child-specific Family Finding home base. You can think of this as the key location for all details of a single child's Family Finding search
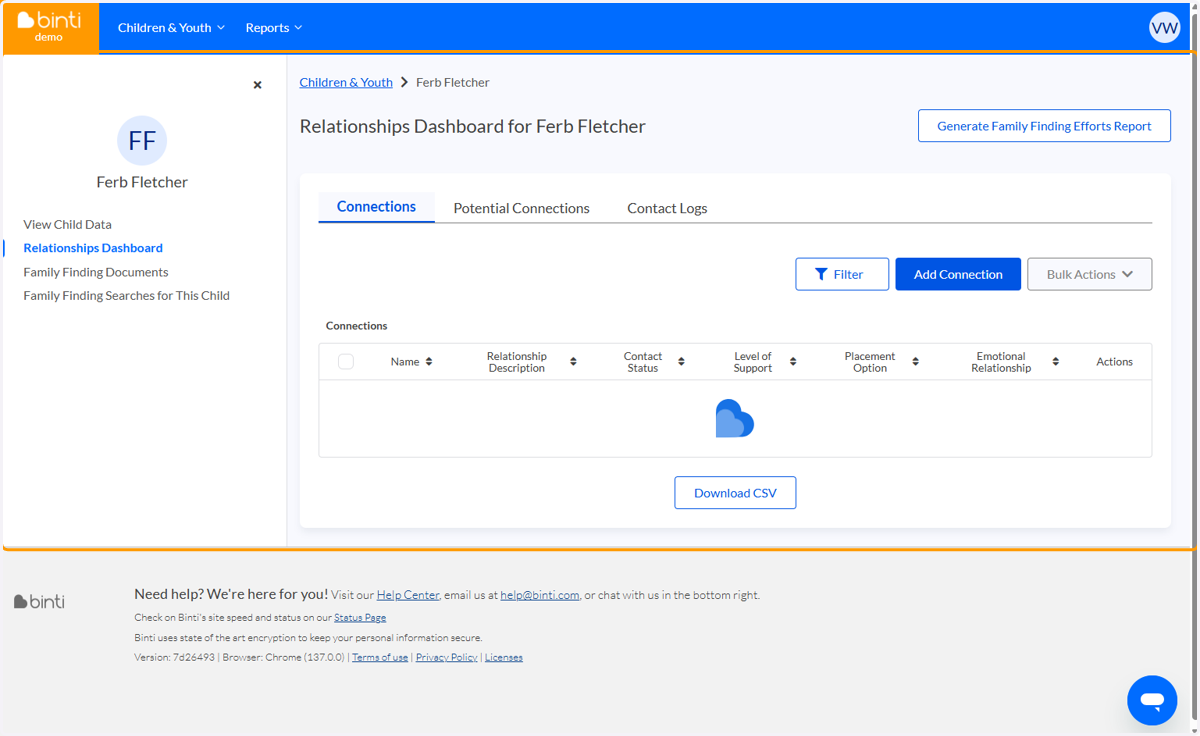
138. RD: You can access this page by clicking the child's name on the FFS dashboard
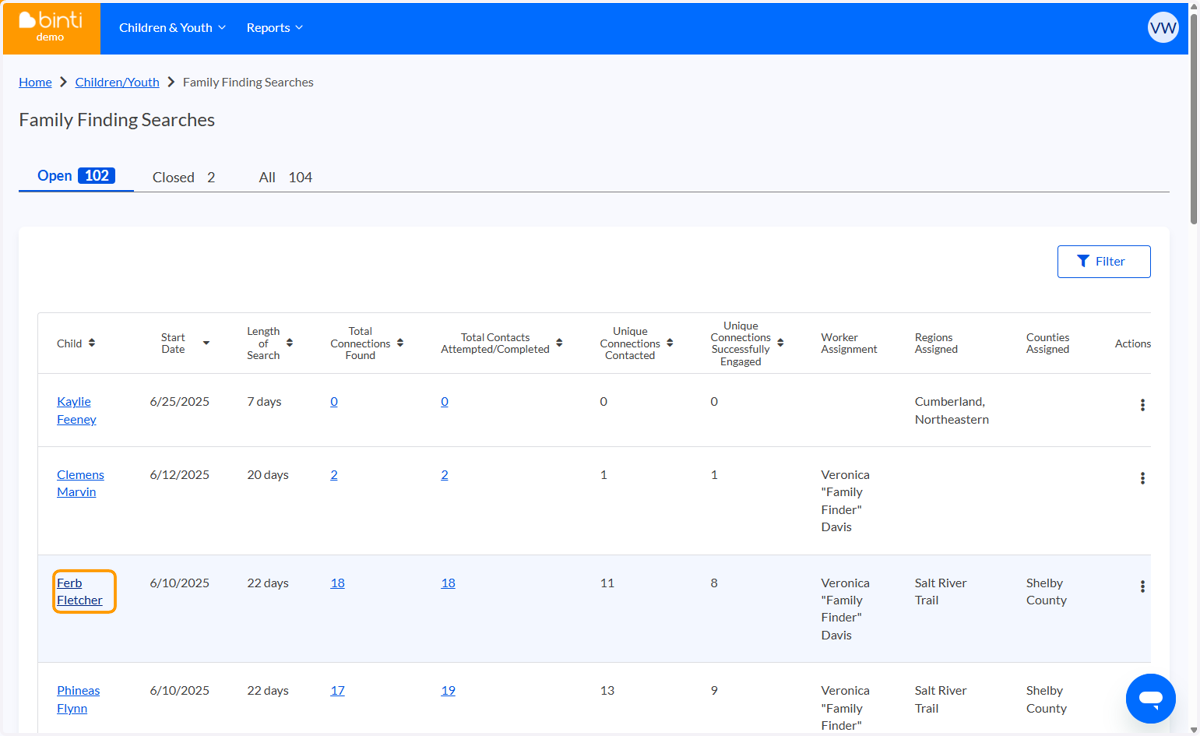
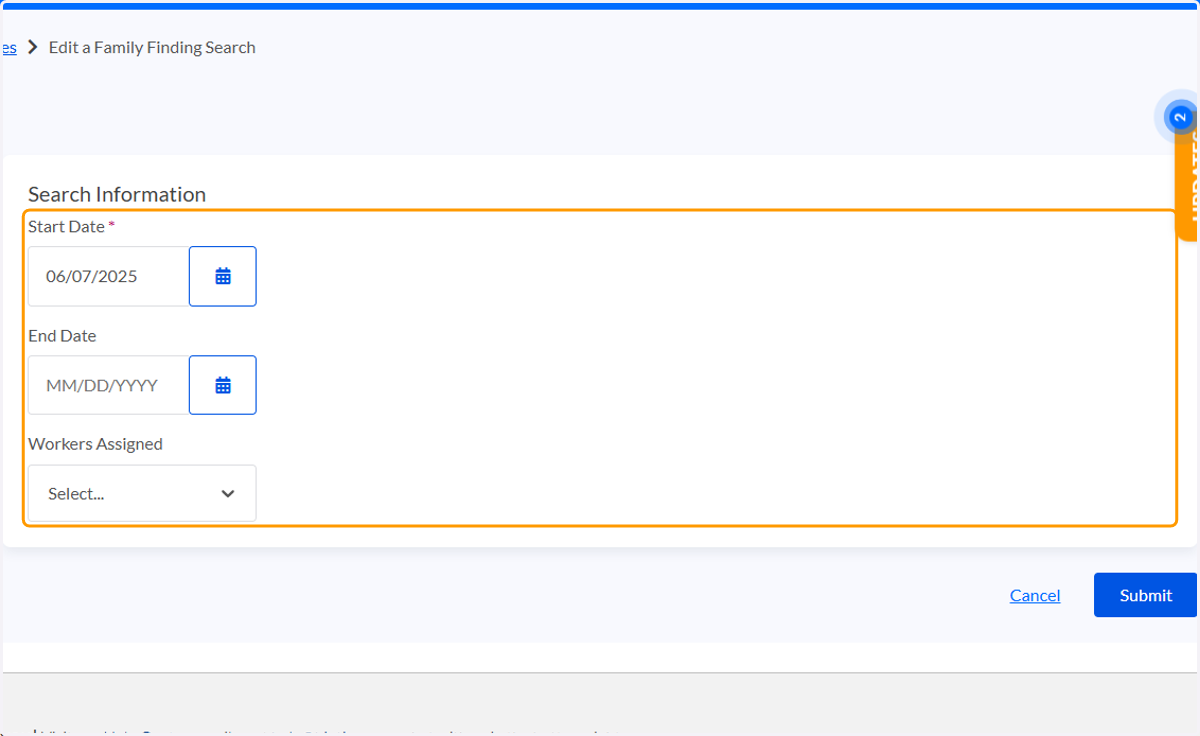
139. RD: The first page on the Relationships Dashboard shows confirmed connections to a child (e.g., Dilbert is known to be a fictive kin to Ferb)
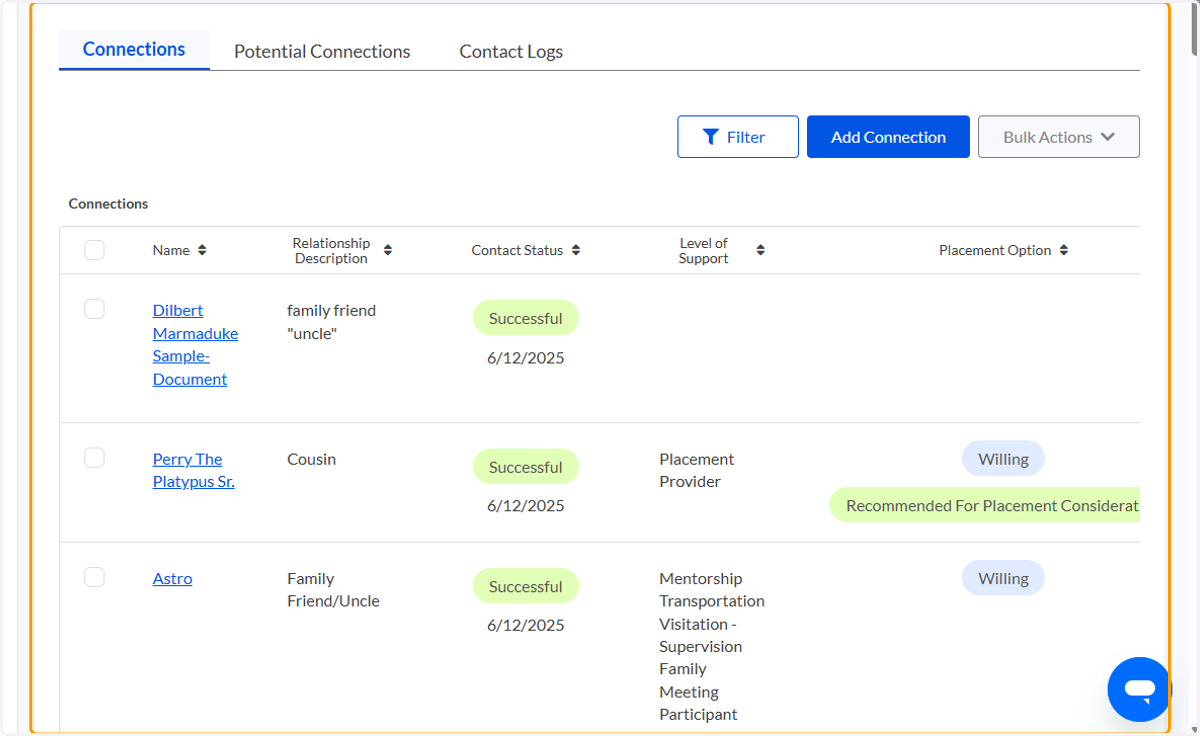
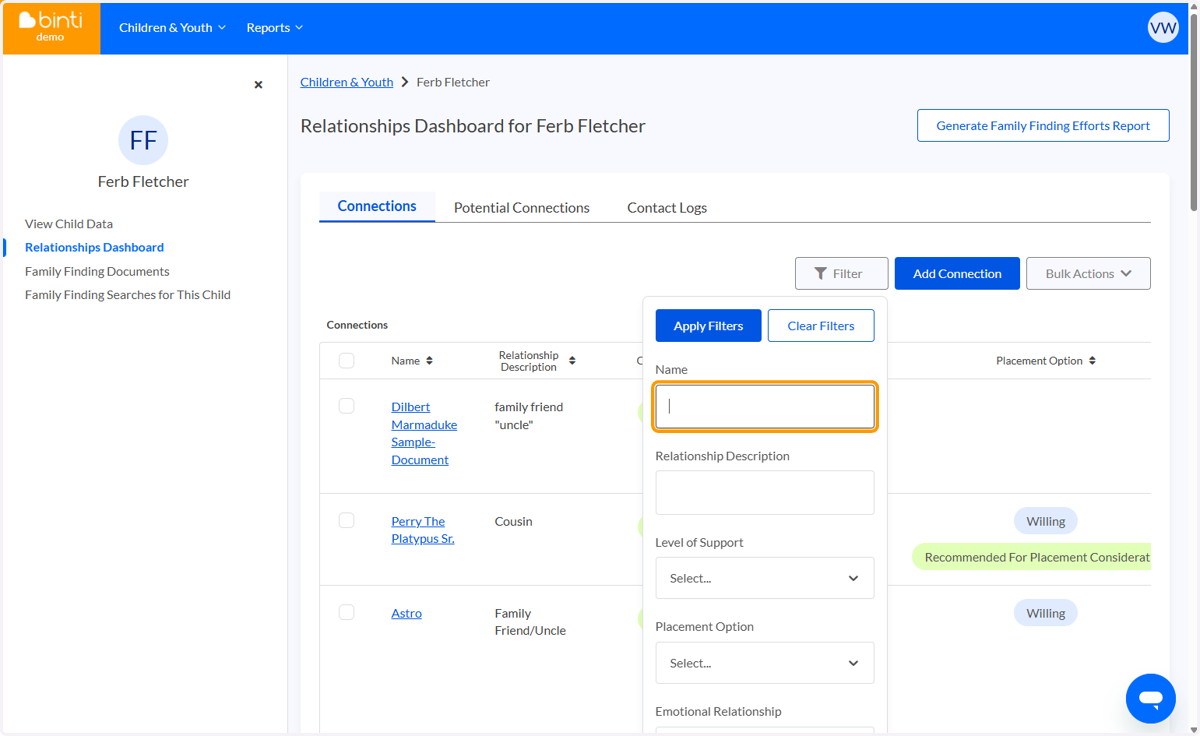
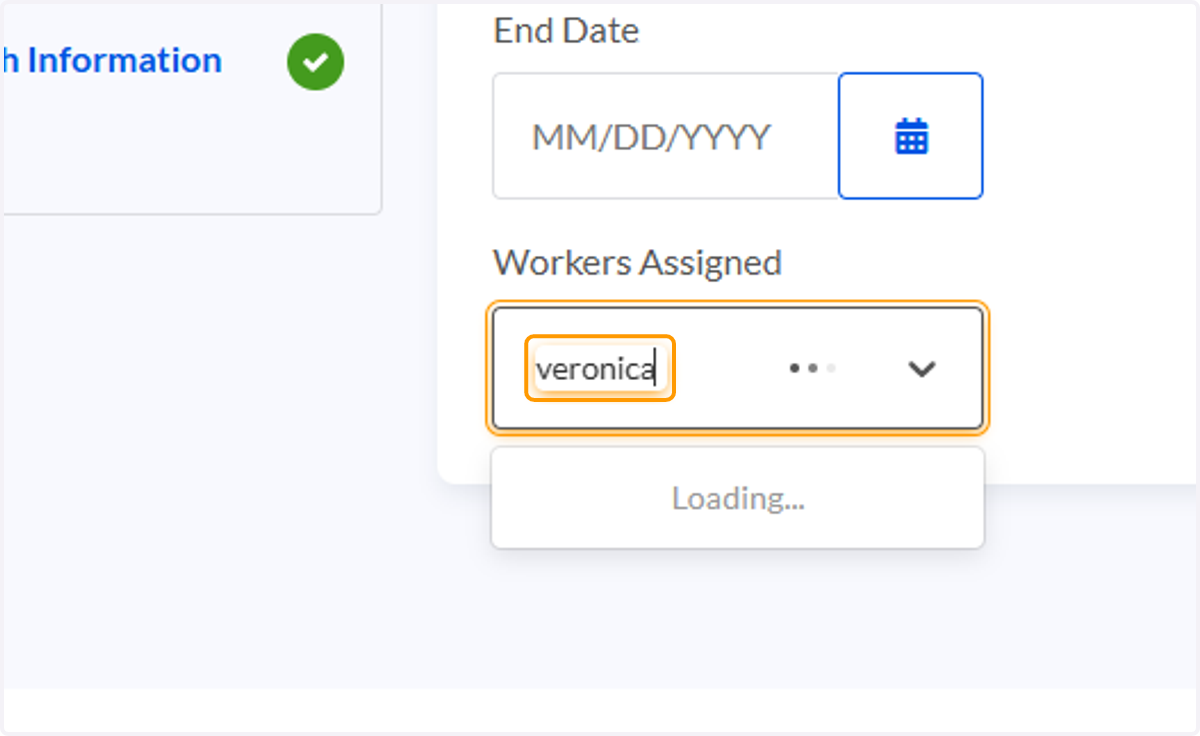
140. RD: You can filter the relationships dashboard to find specific people, or people open to certain levels of support or placement types
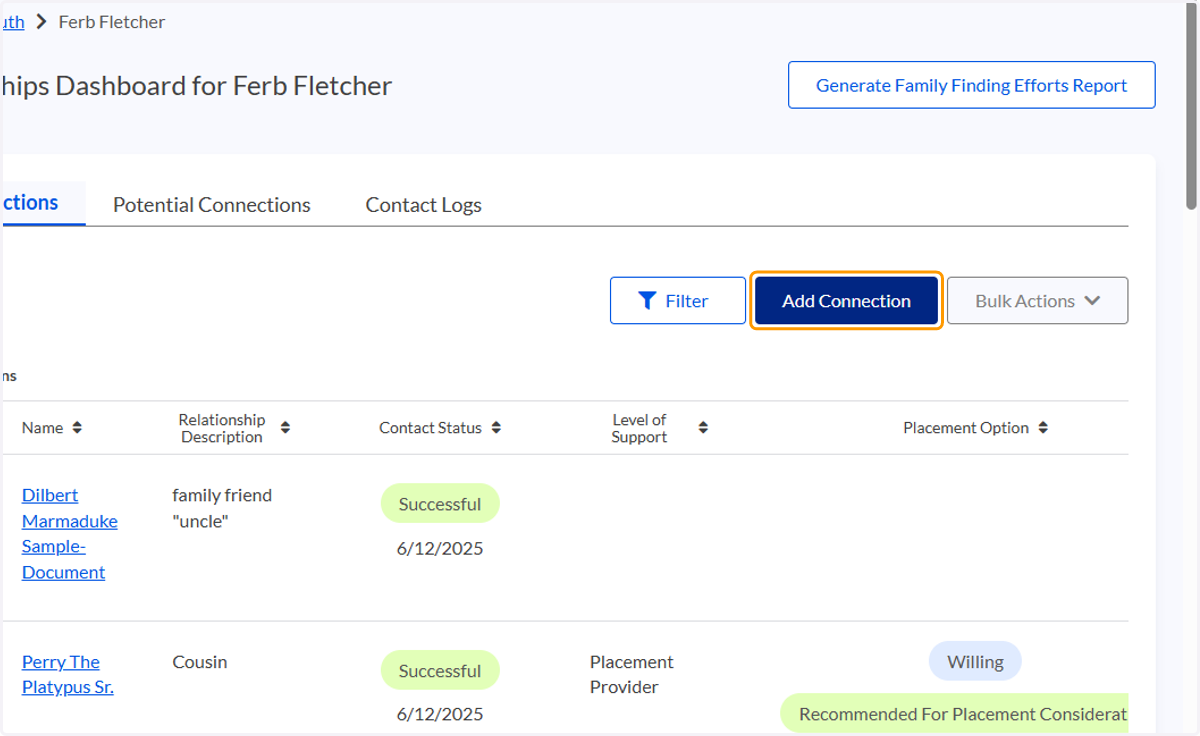
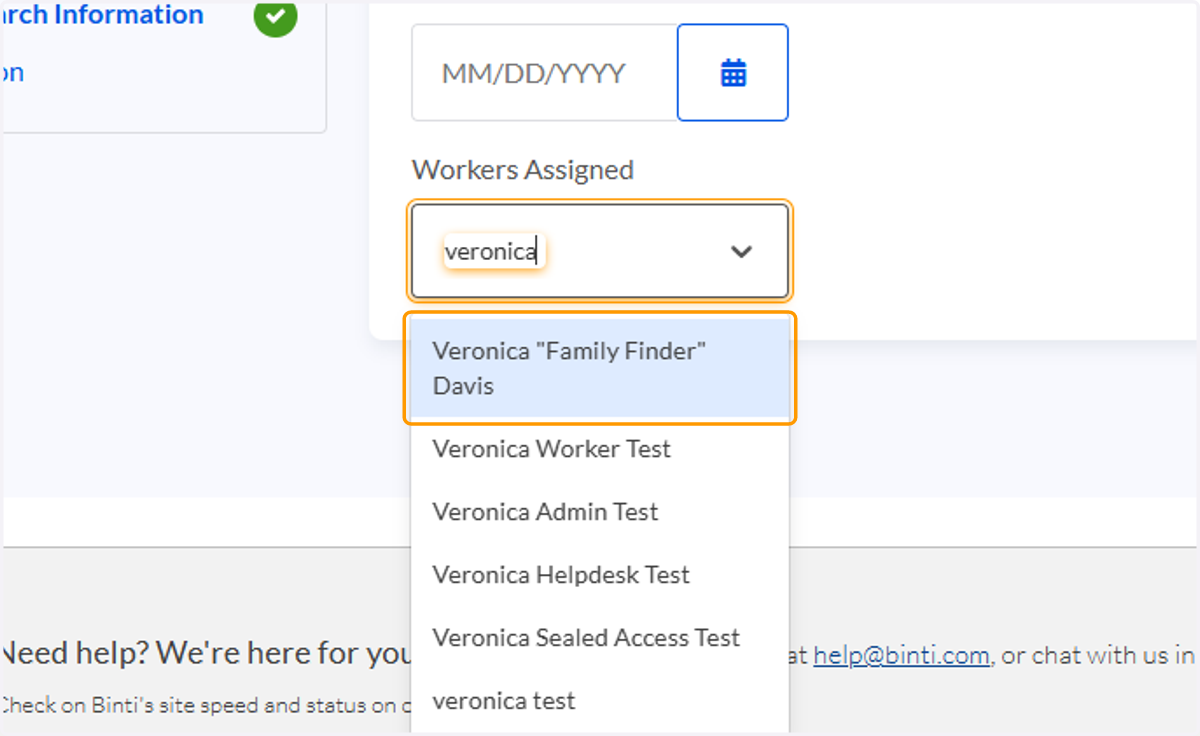
141. RD: You can also add new connections to this page as you run your search and find out about other connections
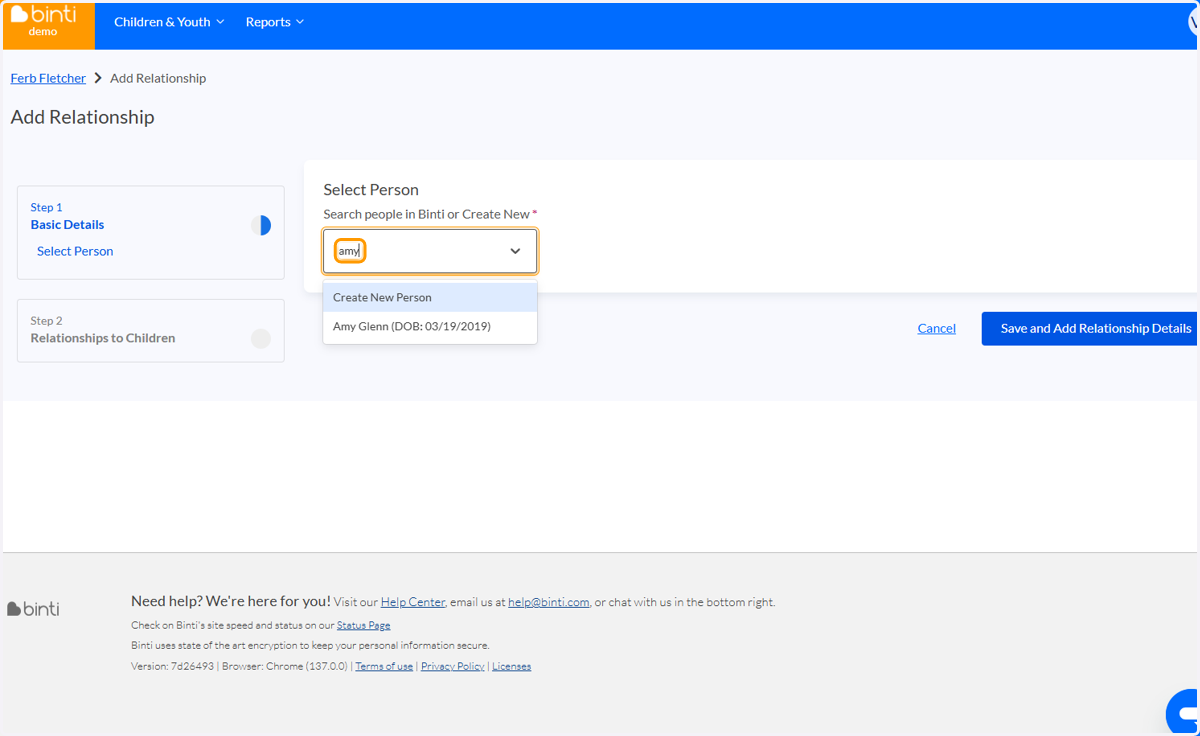
142. RD: When adding a new connection you will either add them as a new person or link them to this case if they already exist in Binti under another case (they will pop up as you type their name)
e.g., Amy is already in Binti for another child. By clicking her name I can add her as a relationship for this child
143. RD: Back on the Relationship Dashboard, you can find the Relationship Description which describes who this person is to the child
144. RD: You can see if you have attempted or successfully contacted the person
145. RD: We offer the ability to track all kinds of support connections can provide, from placement to just being open to communication. You can find the level of support this individual will provide on this dashboard
146. RD: You can also see if they are a potential Placement Option
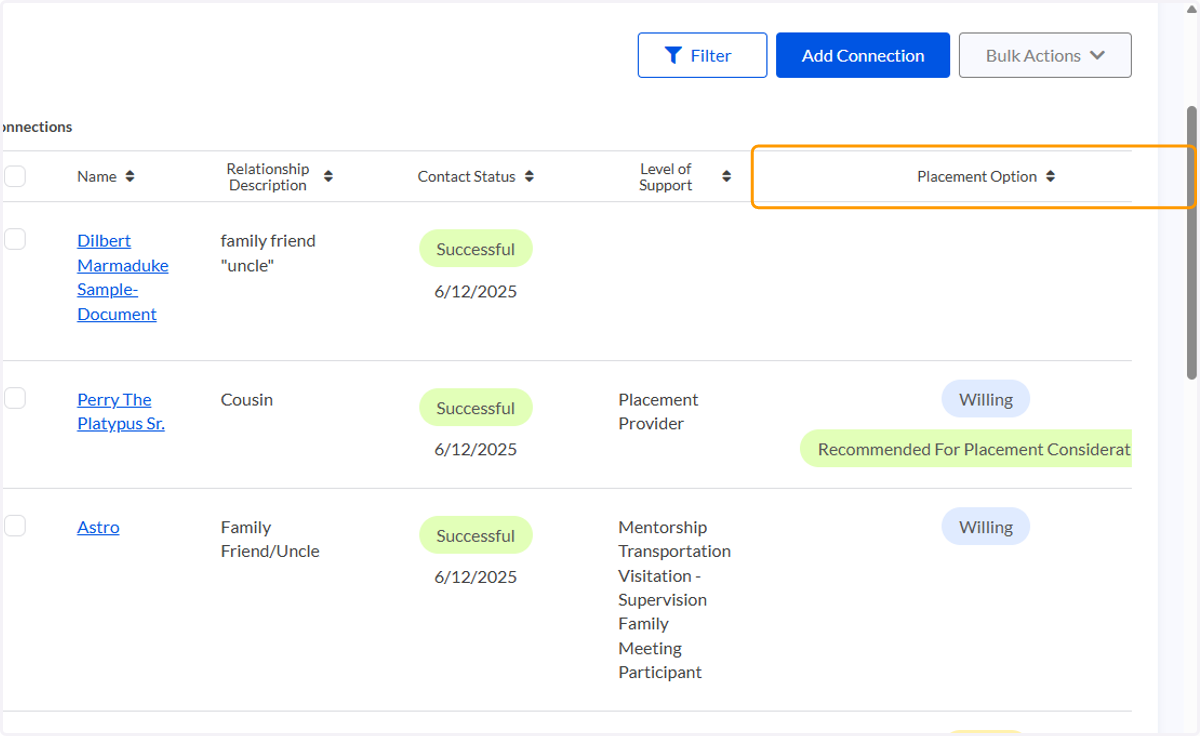
147. RD: ⭐ NAVIGATION TIP
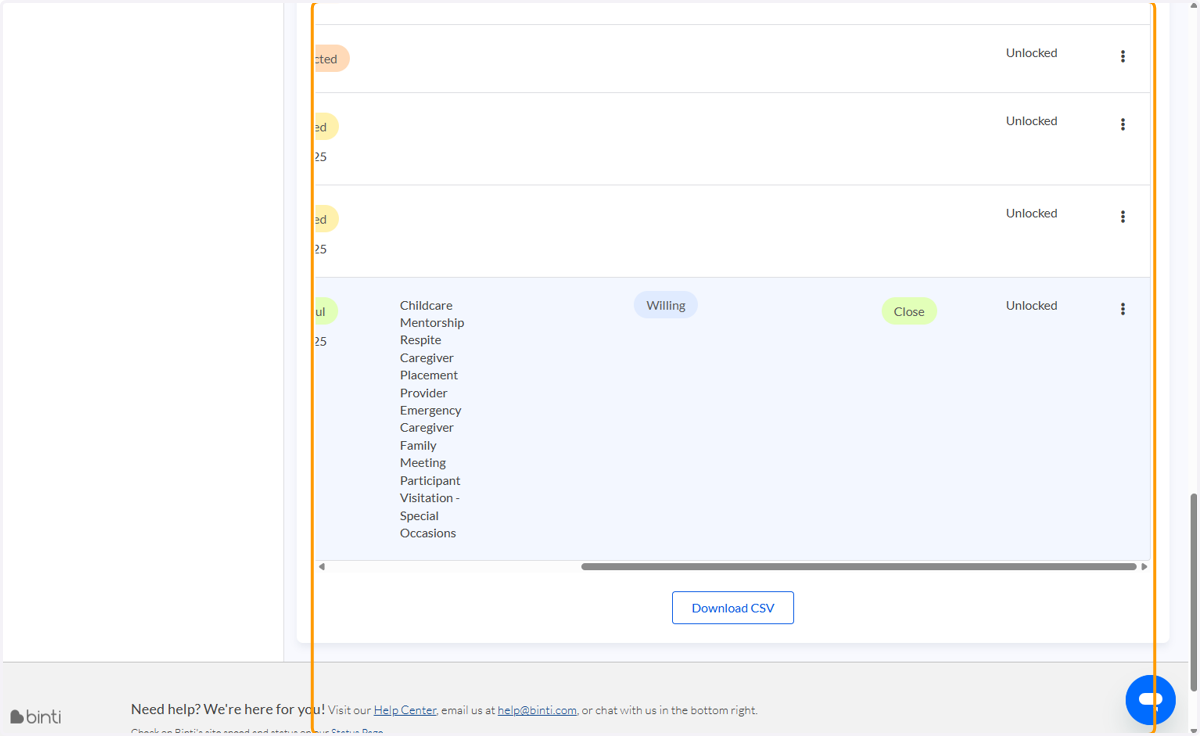
If you can't see the three dots, scroll to the bottom of the page and use the horizontal scroll to toggle over to the far righthand side of the Connections page
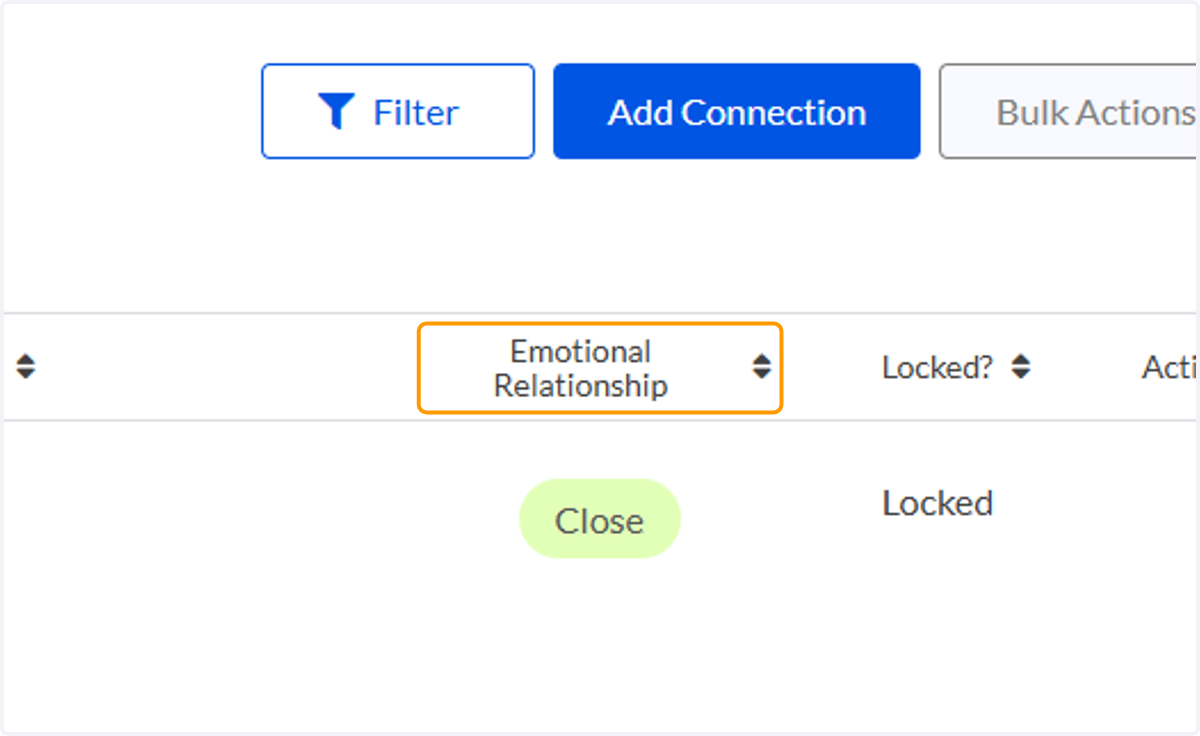
148. RD: We also gather information on Emotional Relationship to the child
Note: We know this can change! Until a contact is locked, you can change this under the actions tab > Edit Relationship
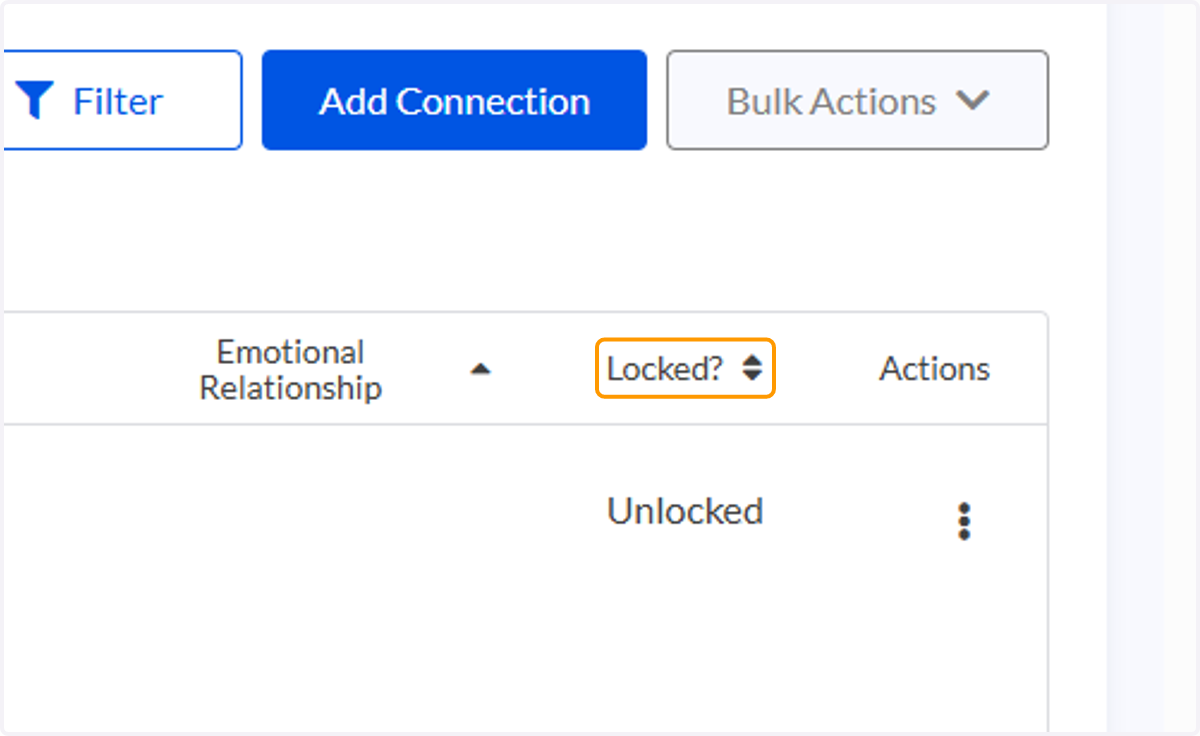
149. RD: You can also see if a contact has been Locked. Locking a contact is the trigger for sending the information about that contact back over to TWIST
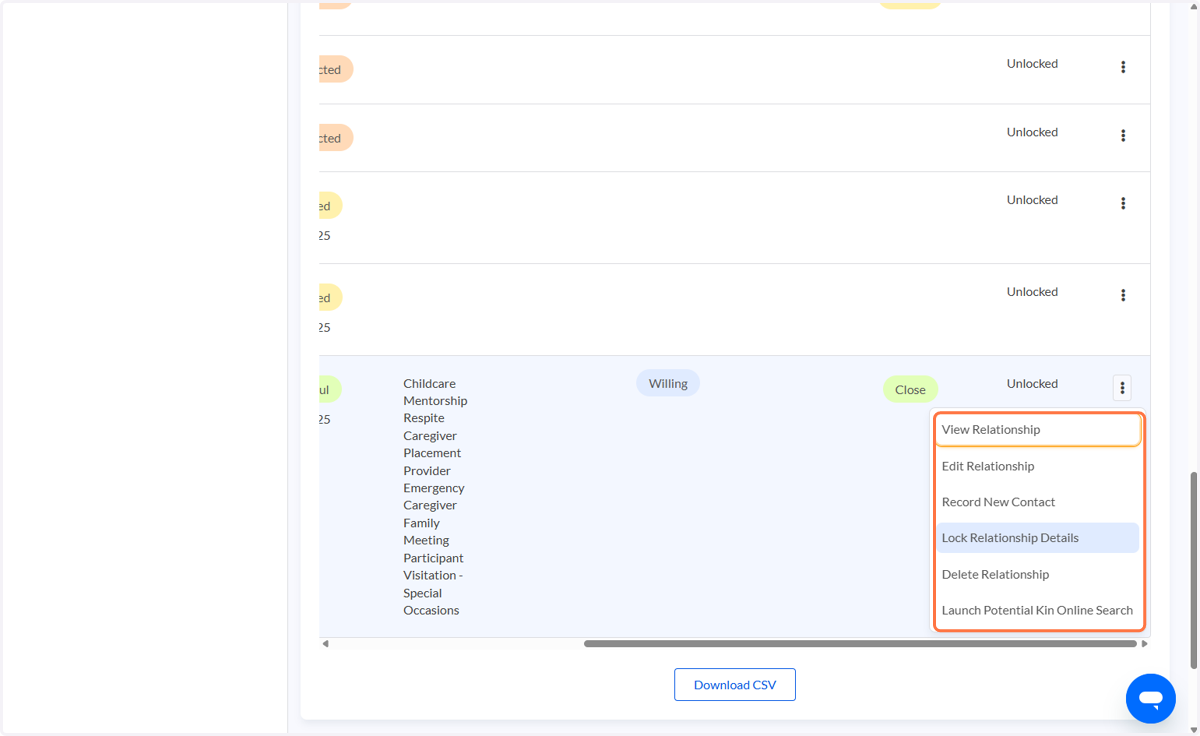
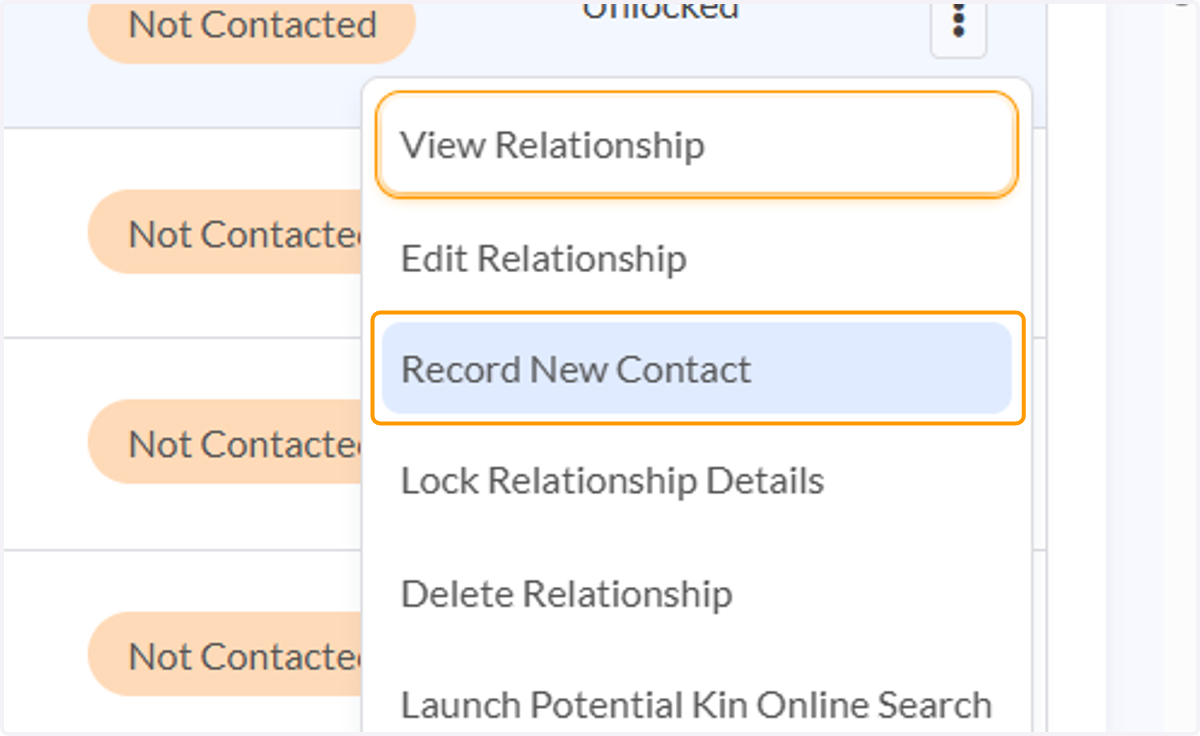
150. RD: Click on the three dots under Actions. On this Menu you can do a number of things:
View Relationship: This creates a pop-up of the relationship information on file
Edit Relationship: Edit this person's connection to the child including emotional relationship, level of support, and if they are a placement option
Lock Relationship Details: This sends the relationship to TWIST. Please only select this when you are done adding information or contacts with this person
Delete Relationship: Removes the person from Binti if they are erroneously added
Launch Potential Kin Online Search: Launches a search for potential kin (a database similar to LexisNexis Accurint called Thomson Reuters: Clear) - more on this below in section "Searching for Connections"
151. RD: Potential Connections contains any individuals who are potentially connected to a child, but are not confirmed relations
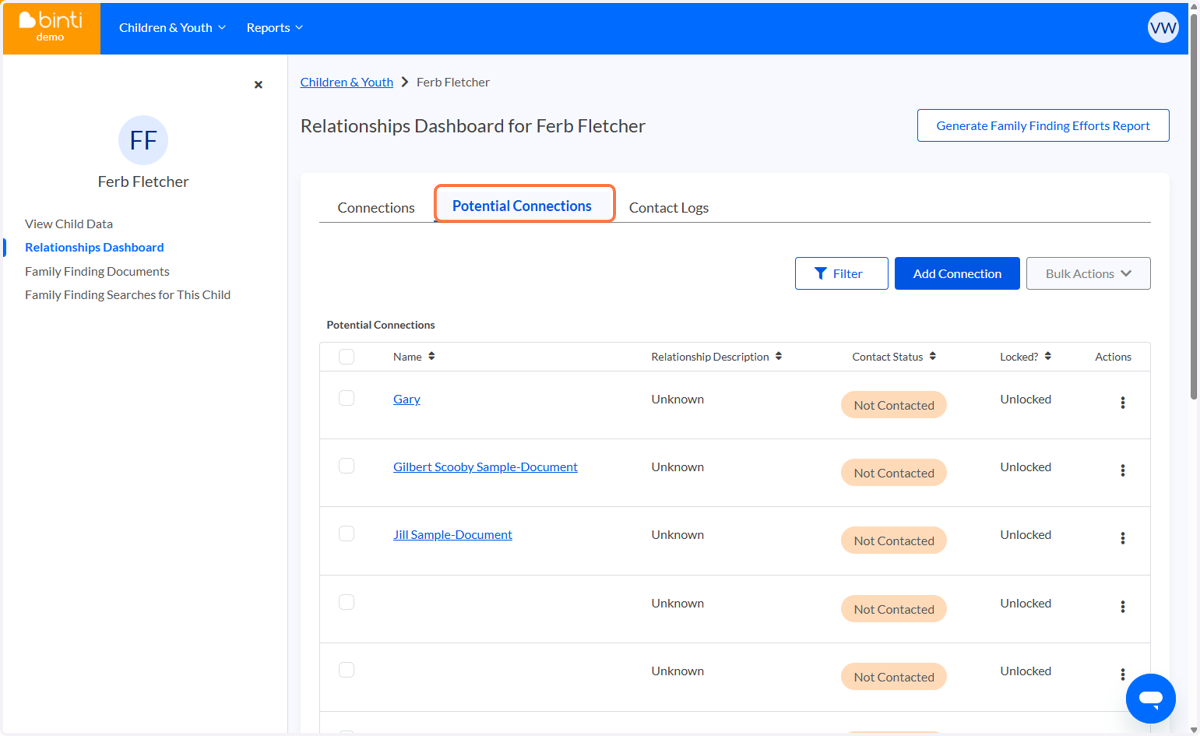
152. RD: You can also see whether a Potential Connection has been contacted
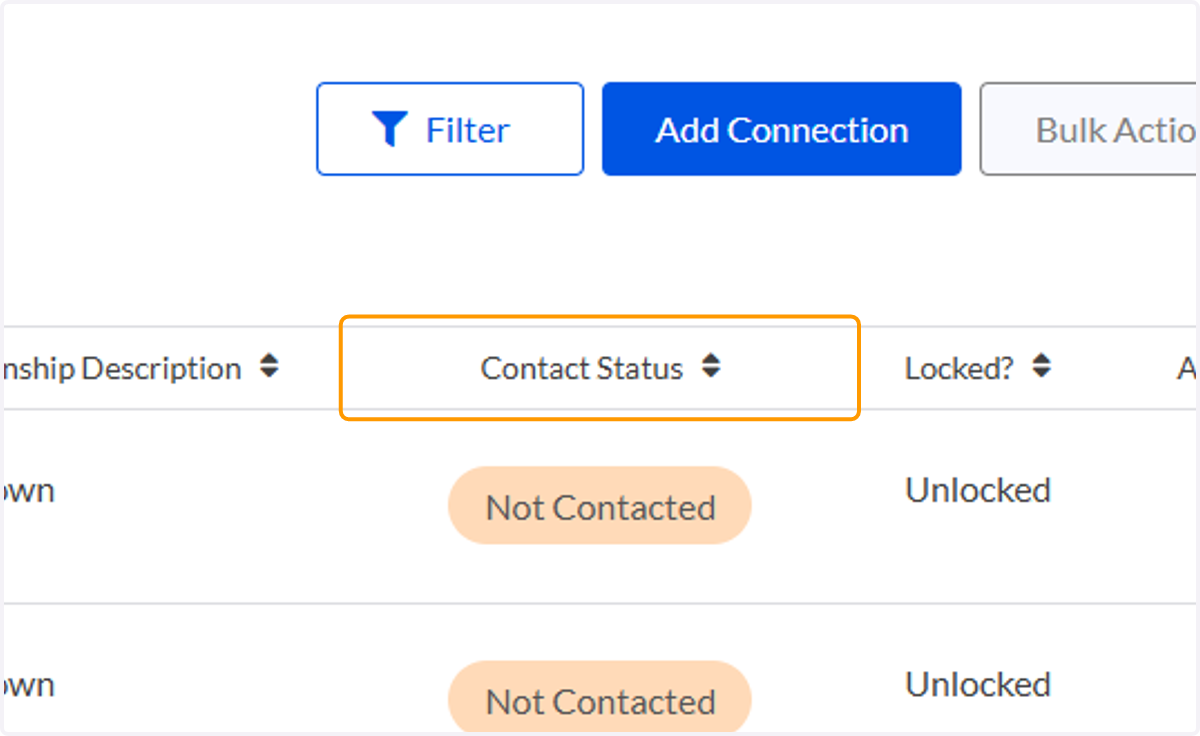
153. RD: Similarly to the Connections tab, you can use the Action menu under the three dots to view, lock, delete & edit relationships, record contacts, and launch a Potential Kin Online Search
154. RD: The third tab on the Relationship dashboard is contact logs
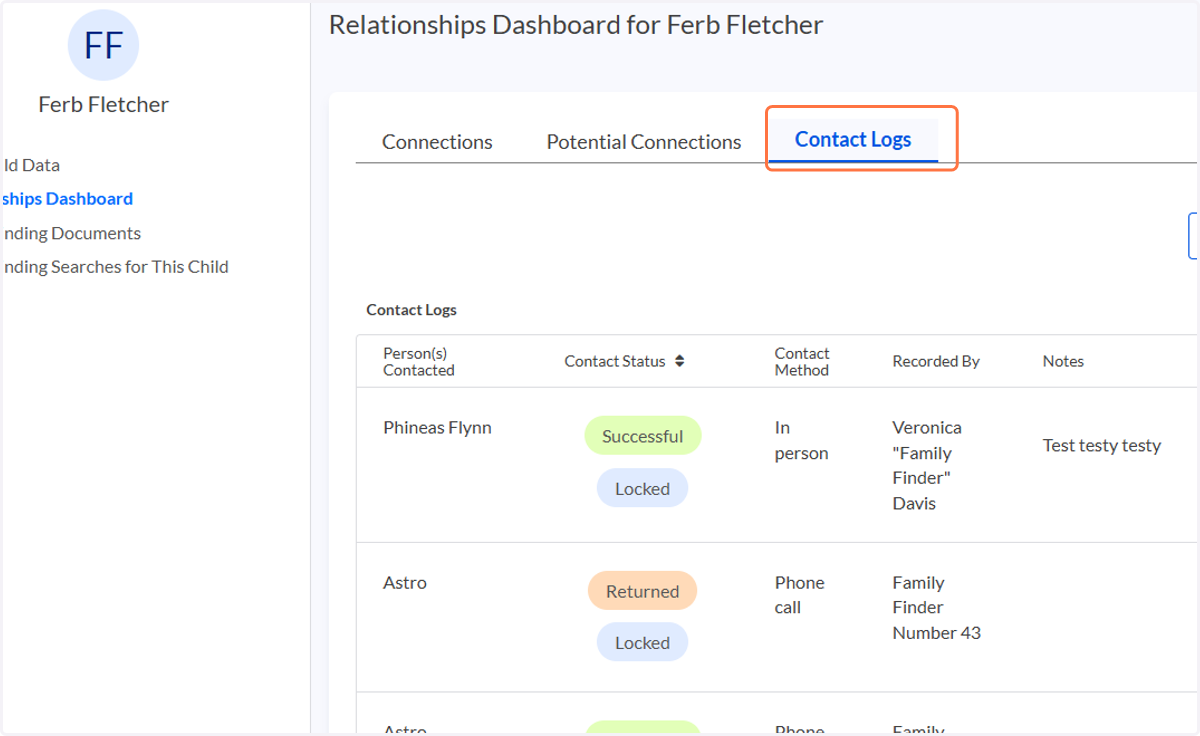
155. RD: On this tab you can see the contact method, who conducted it, notes from the contact, and the date
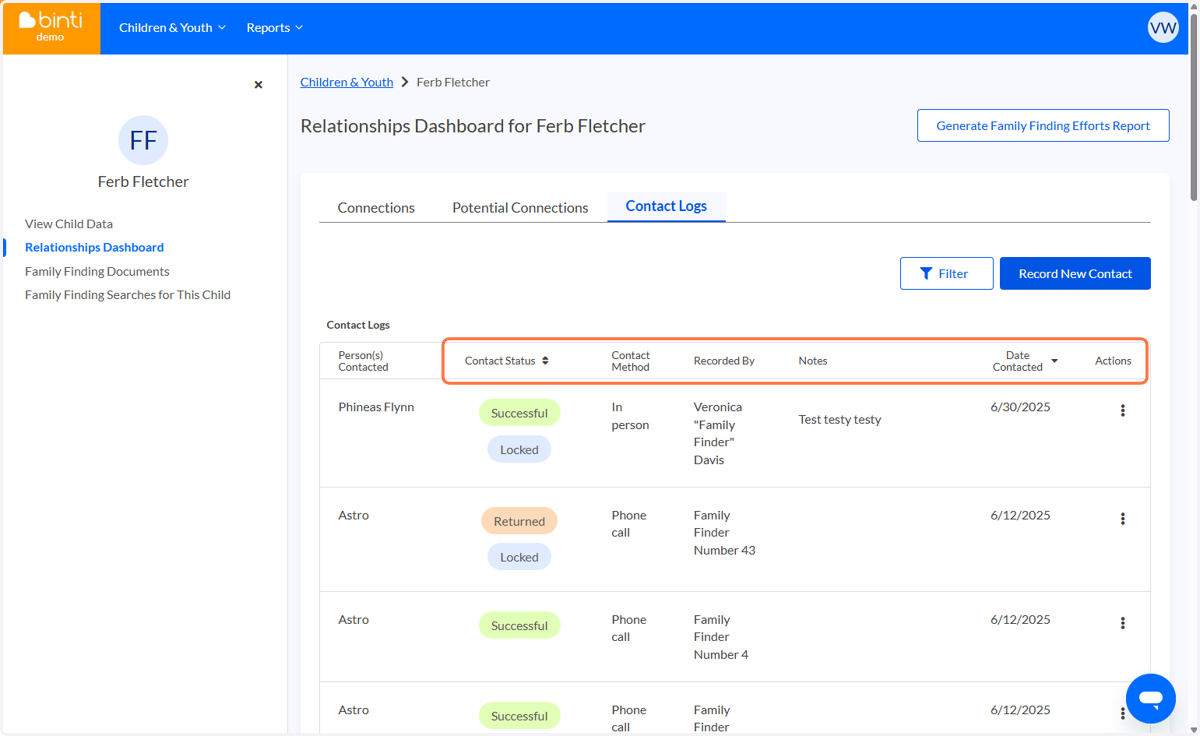
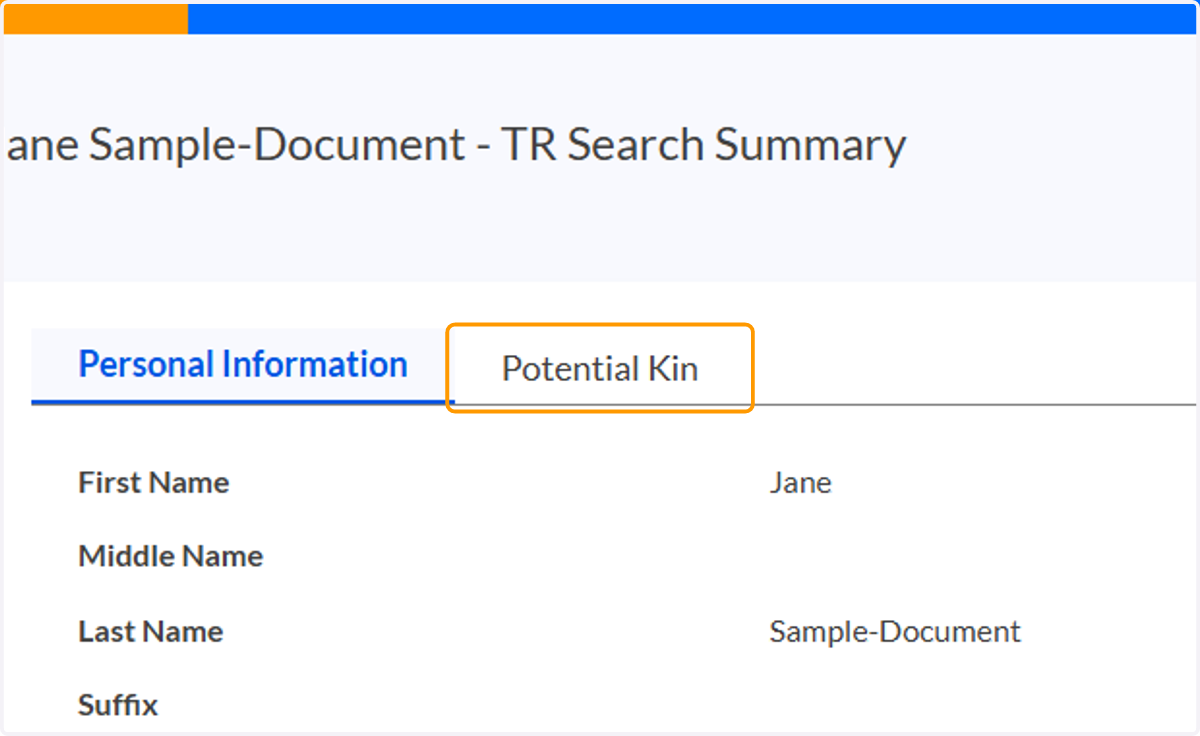
156. RD: To access information about the child's demographic information click on View Child Data
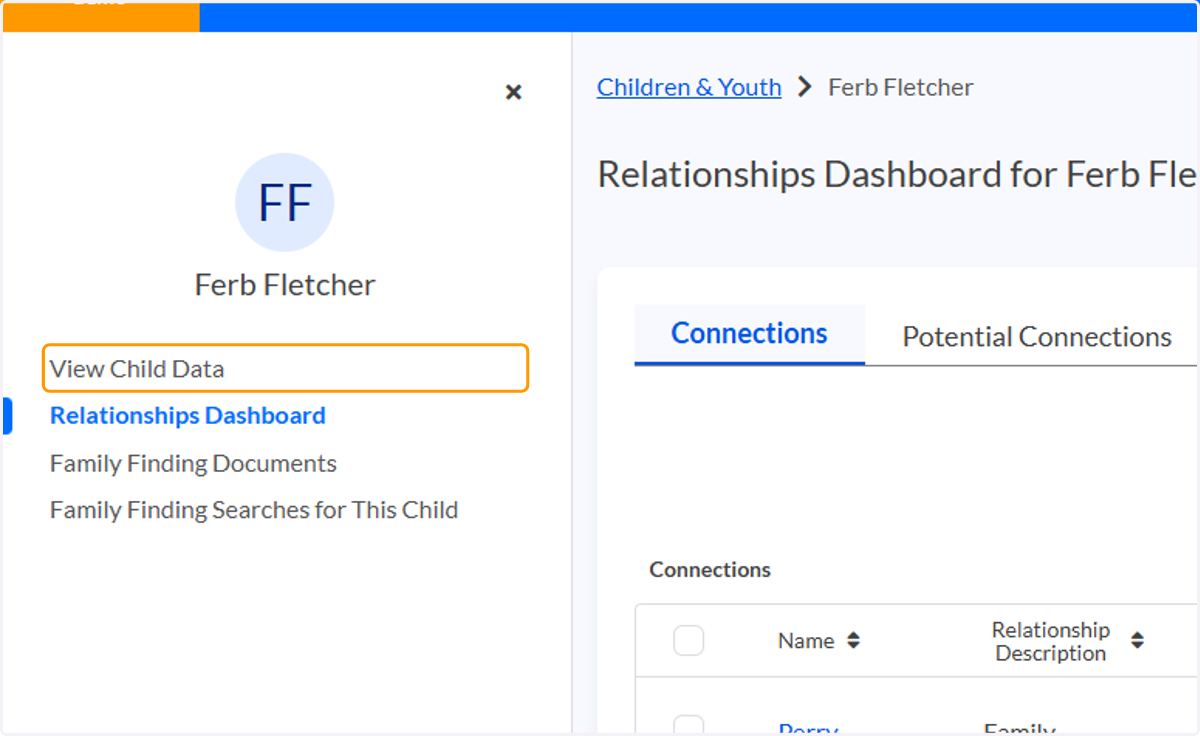
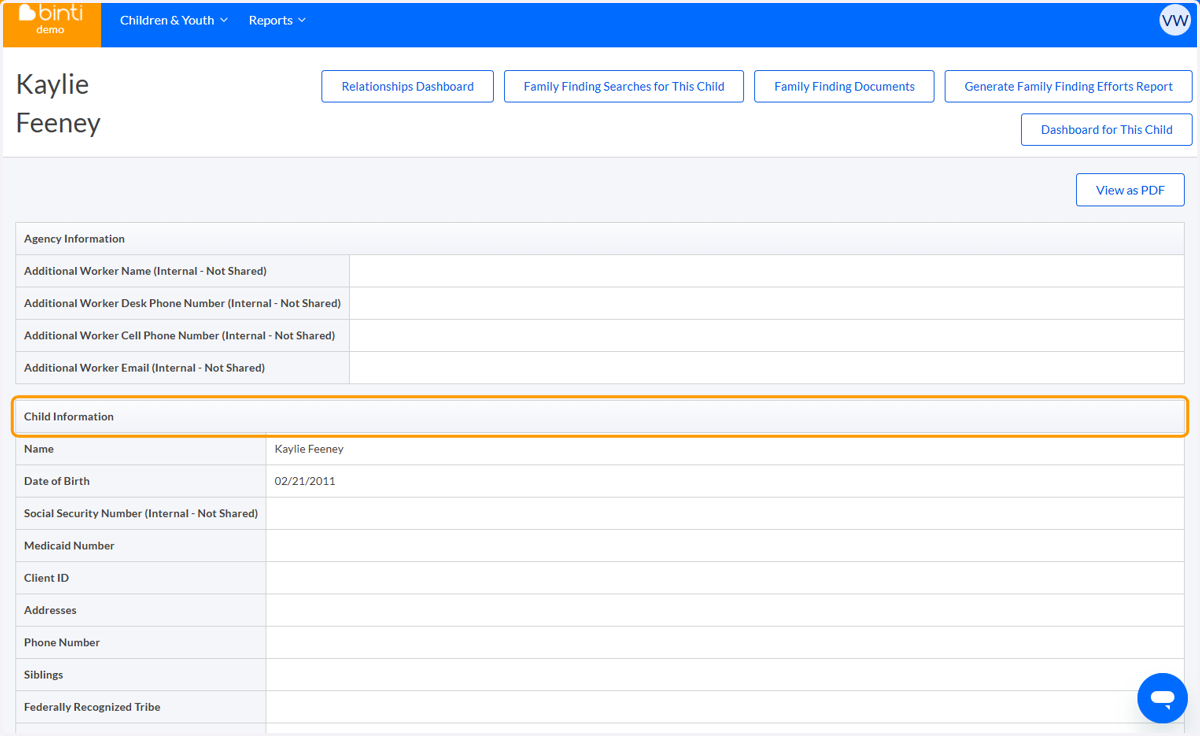
157. Child Data Page (CDP)
This will take you to their Child Data page which contains information about the child's date of birth, age, etc.
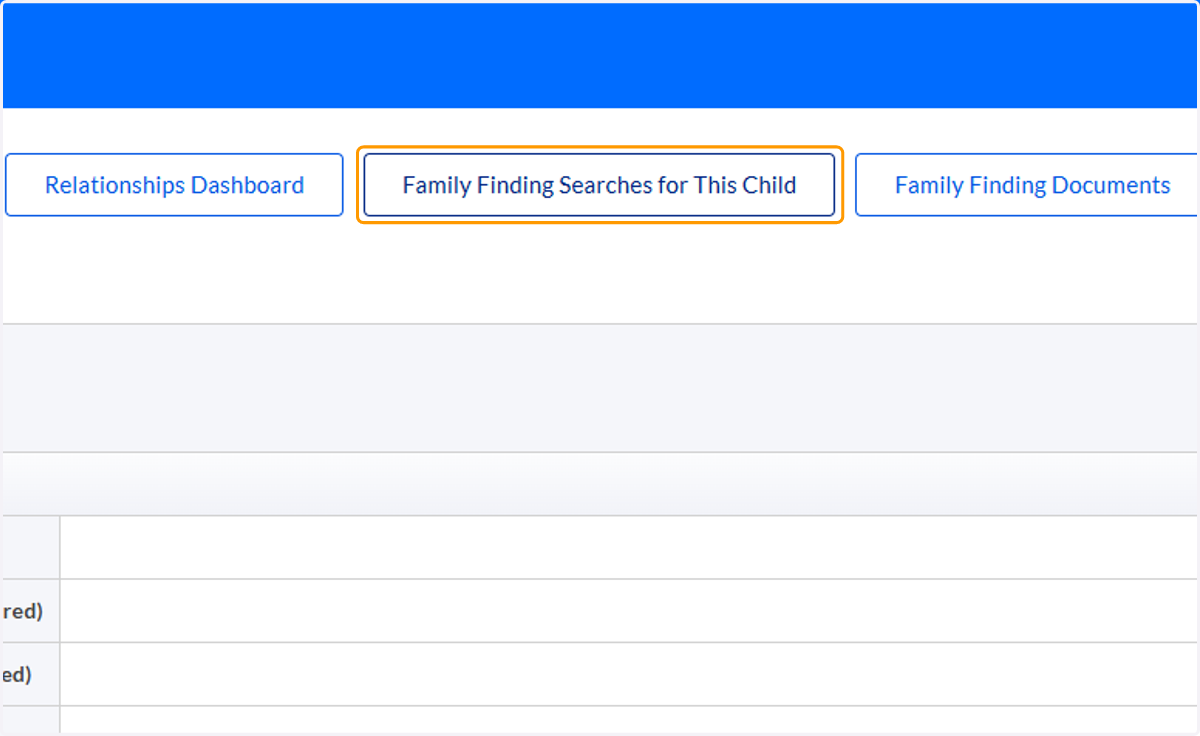
158. CDP: From the child data page you can navigate to the Family Finding Searches that have been opened for this child
159. CDP: From the child data page you can navigate to the Relationships Dashboard of all connections for a child
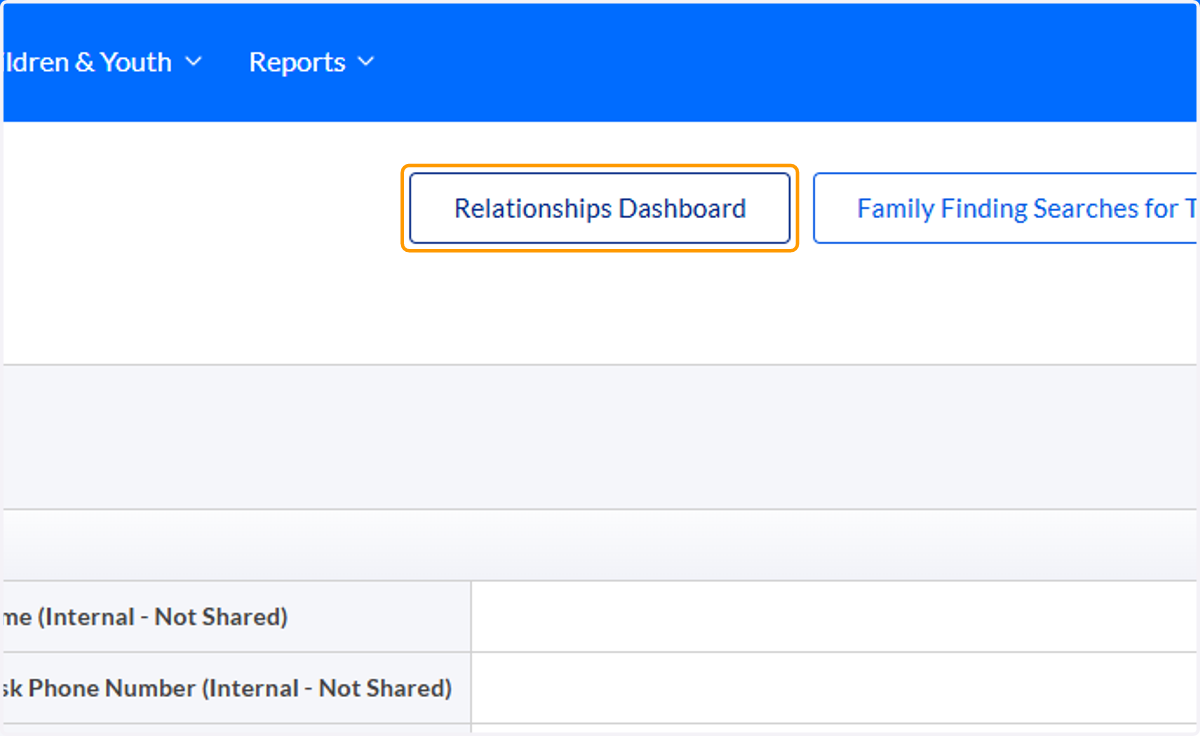
160. CDP: Adult Connections to children with Family Finding searches also have their own data pages
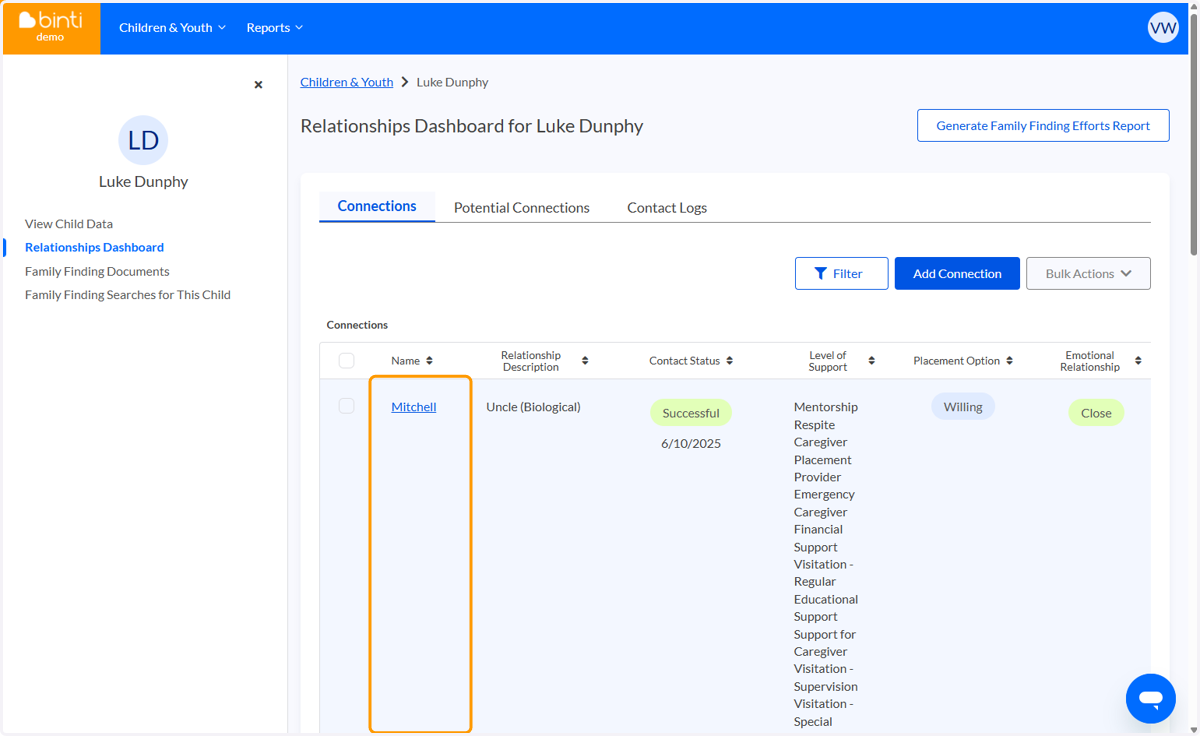
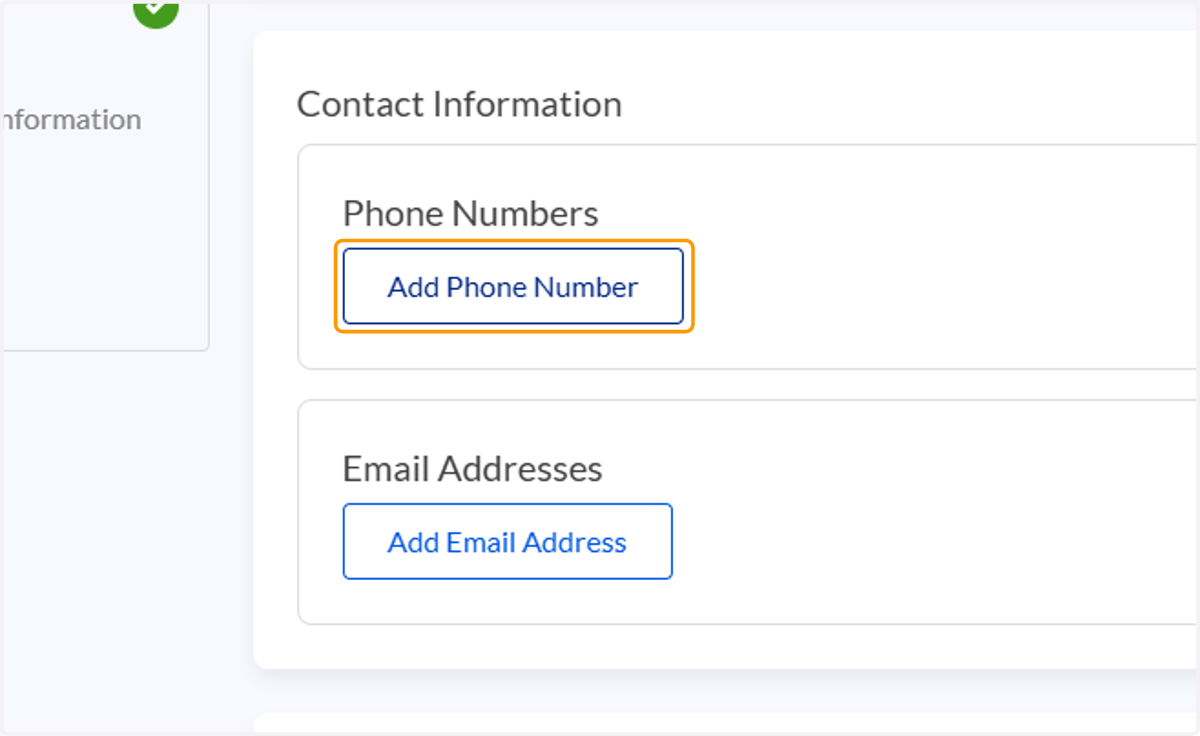
161. CDP: On this edit connection page you can add phone numbers as well
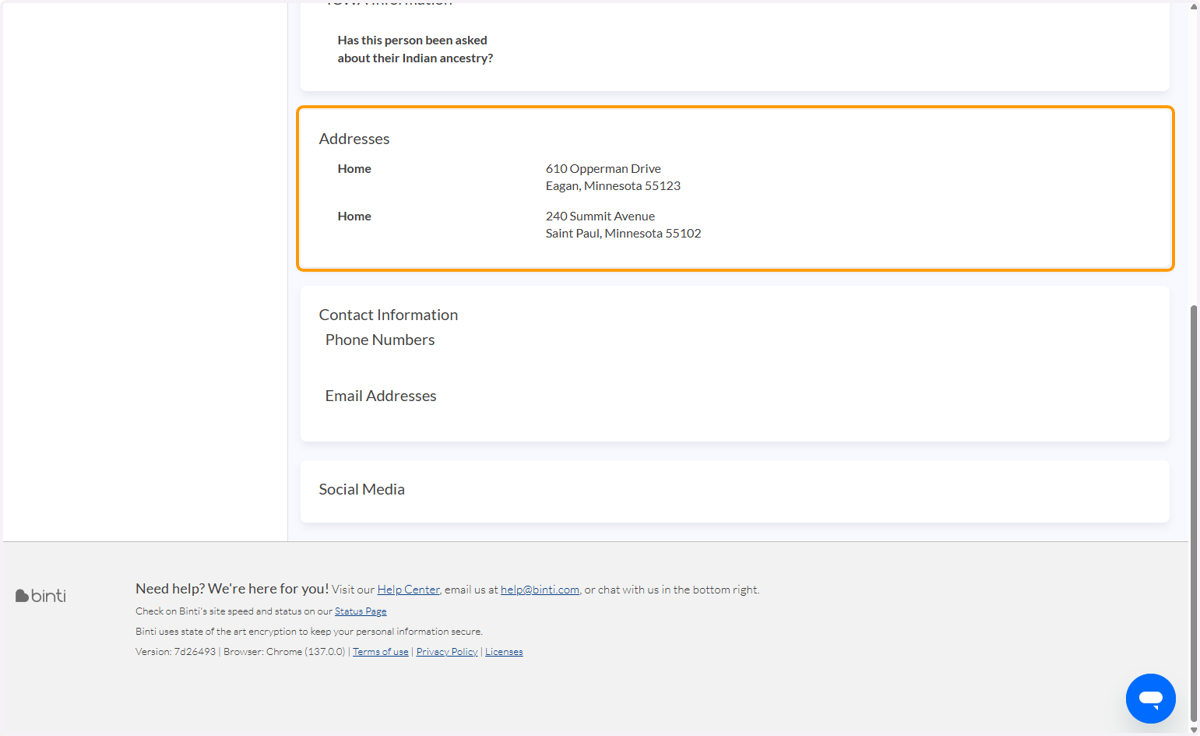
162. CDP: Connection data pages have all addresses, phone numbers, social media, and demographic information that has come in from TWIST, been added by workers, or sourced from the Potential Kin Online Searches feature in Binti
163. CDP: You can use this page to add or make updates to this contact information as you learn more about connections
164. CDP: On this edit connection page you can add addresses or mark current addresses as mailing and primary address
165. CDP: If you call and find numbers to be inactive or incorrect, you can use this page to remove them or mark them inactive
166. CDP: You can also mark the primary phone number for each contact
Frequently Asked Questions - to be updated as questions arise
‼️ FAQ: I need help, and I don't see my answer here
167. Click the chat icon in the bottom right hand corner or email help@binti.com to speak with a Customer Service representatitve. They're available 9am - 10pm EST and often respond in under a minute!
🧑🤝🧑 FAQ: I can't link some potential kin to my child's case
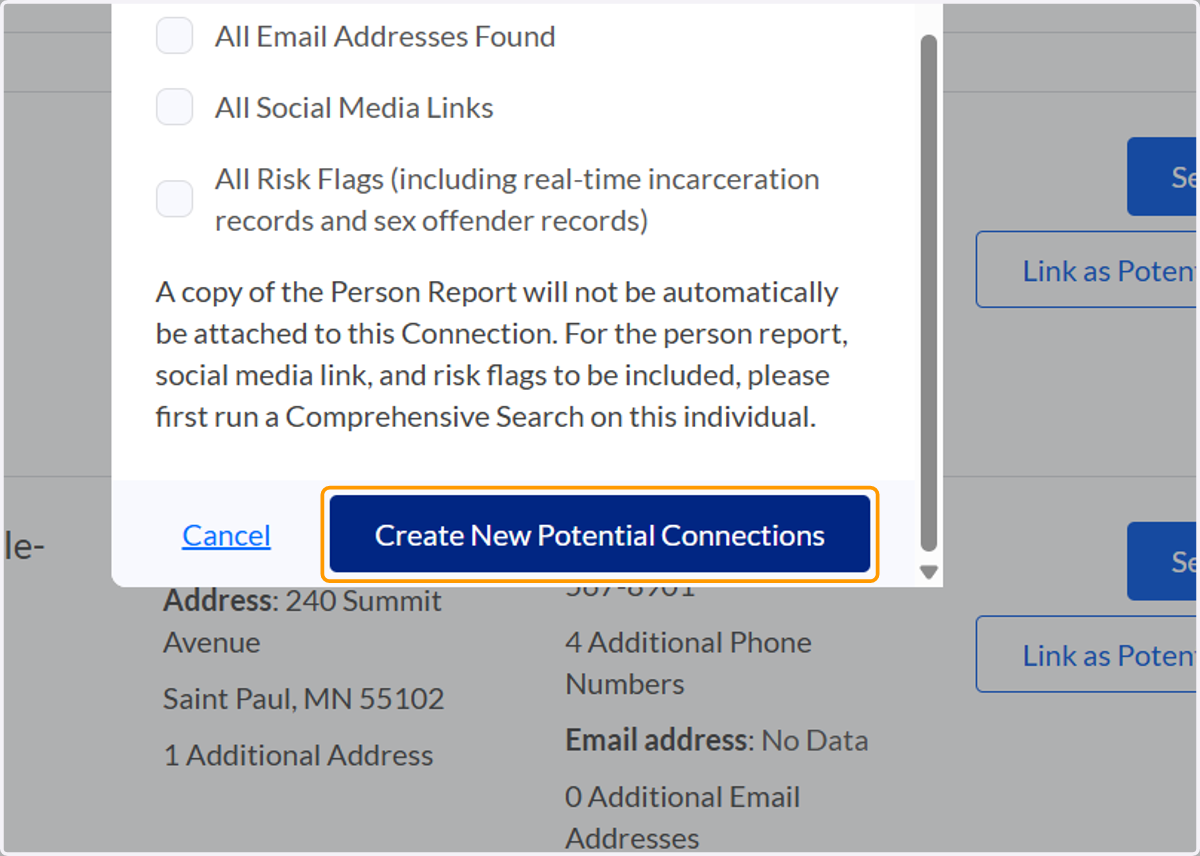
168. Sometimes when you link potential connections to a case you will get this pop-up error message
Click to review the potential connections of: [CHILD'S NAME]
The following could not be created as potential connections: [NAME OF CONNECTIONS]. Contact Binti Customer Support for questions on the connections who were not successfully created.
169. This is often because the person has an invalid phone number or address tied to their record
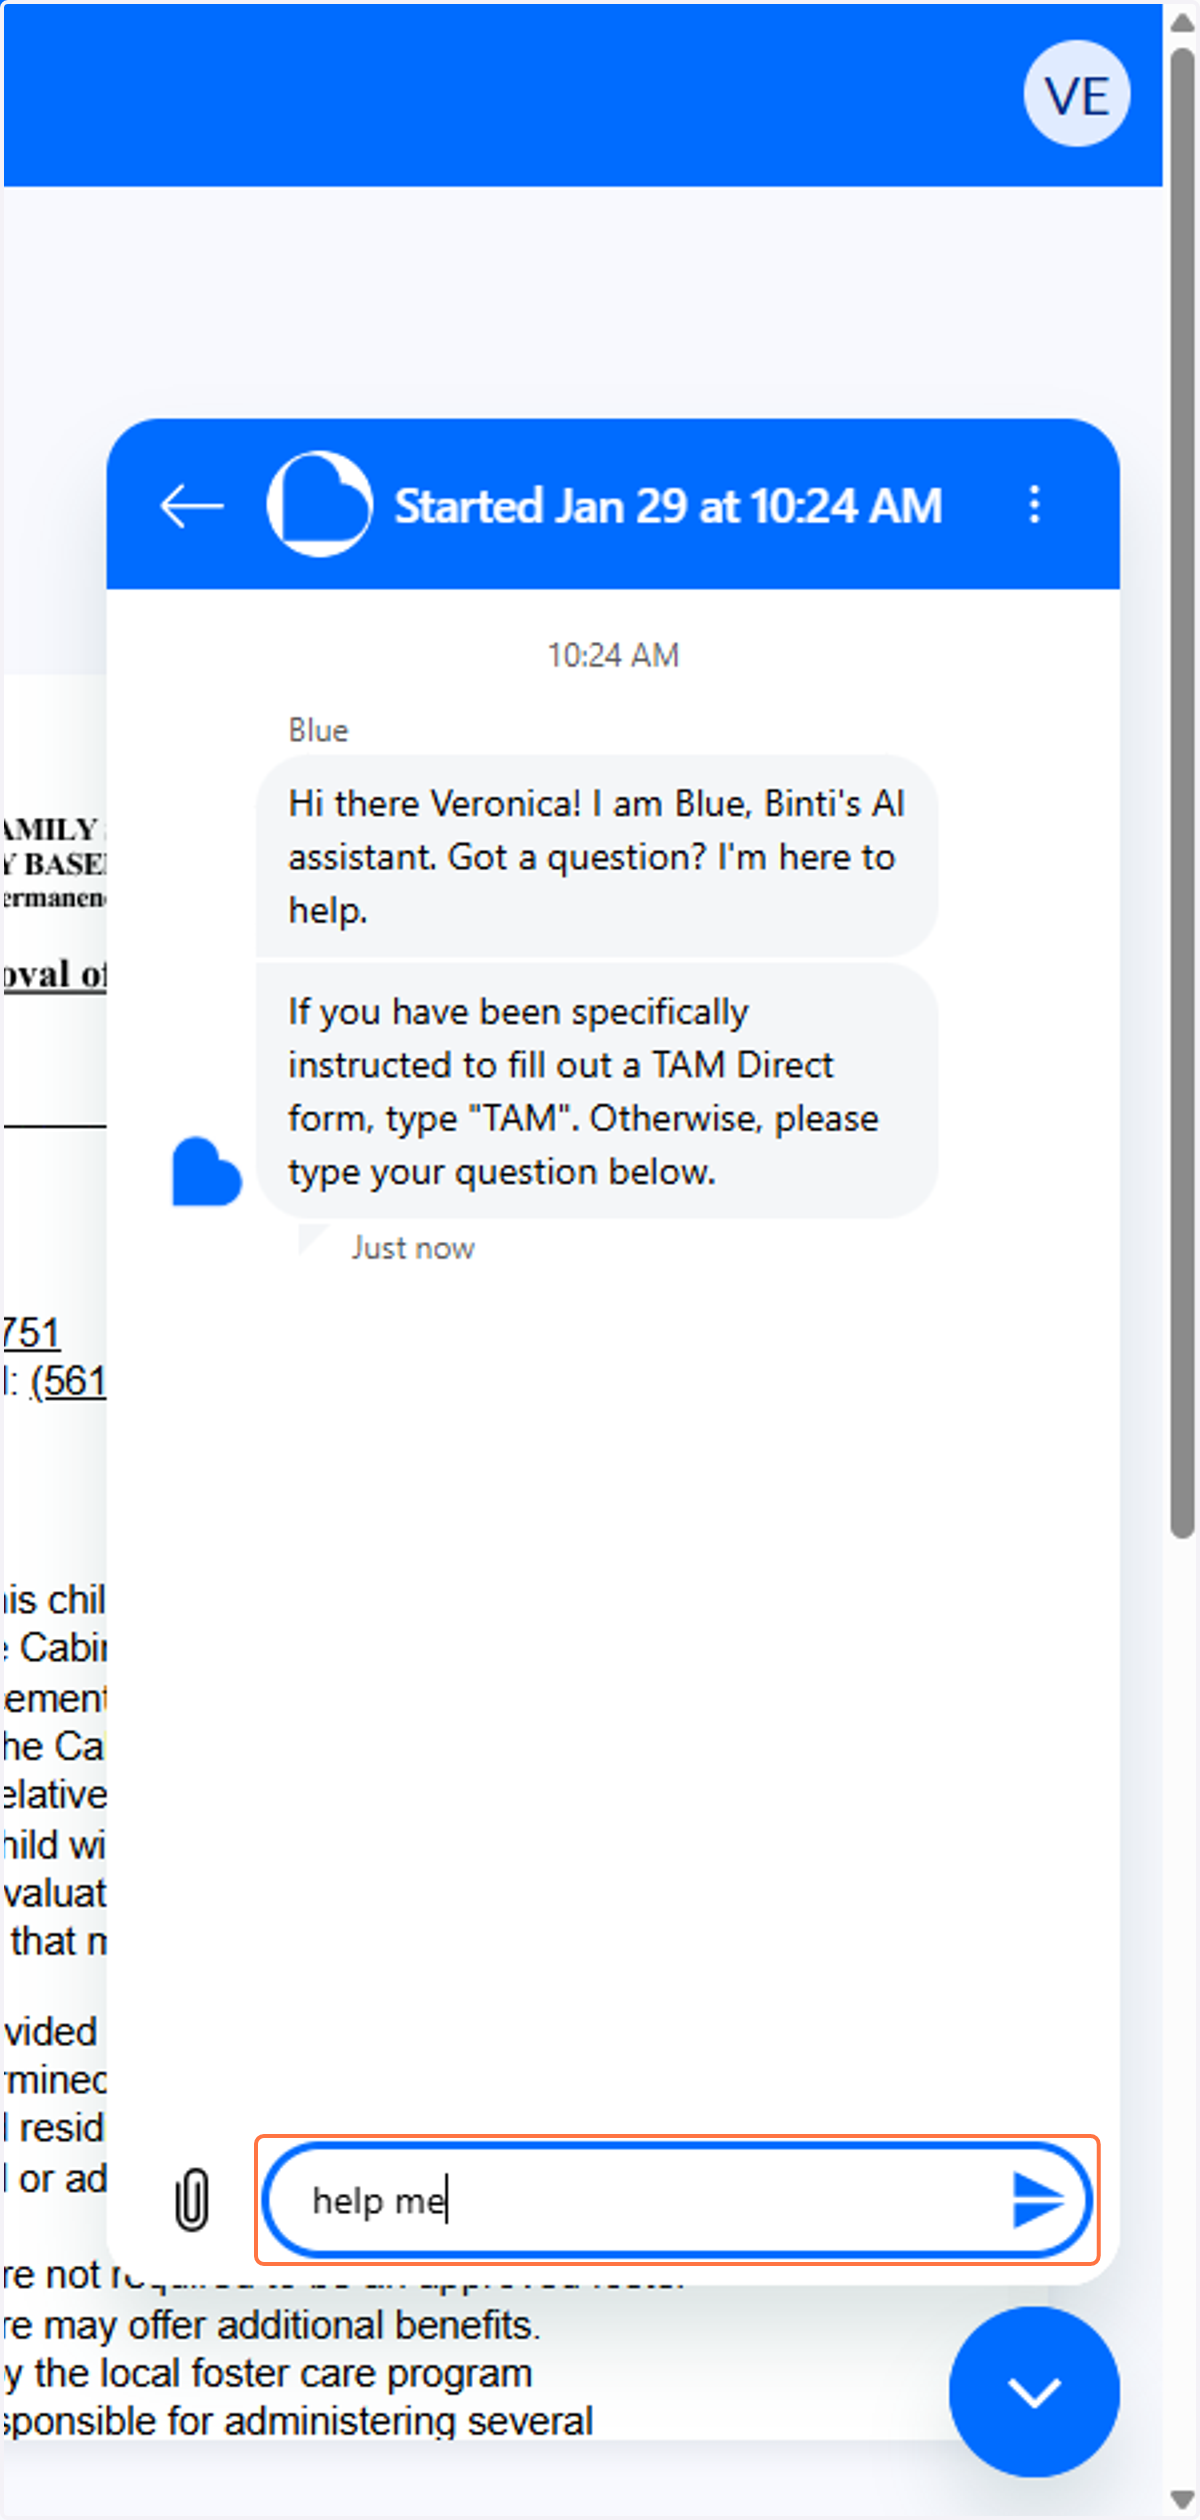
170. If this happens, BEFORE clicking "x" on the error message, open the customer chat bubble in the bottom right hand corner and select "Talk to a Human
171. Type "Hello! I am trying to run a PKOS search and I got an error message saying I could not link [NAME], [NAME], and [NAME] to [CHILD]'s record"

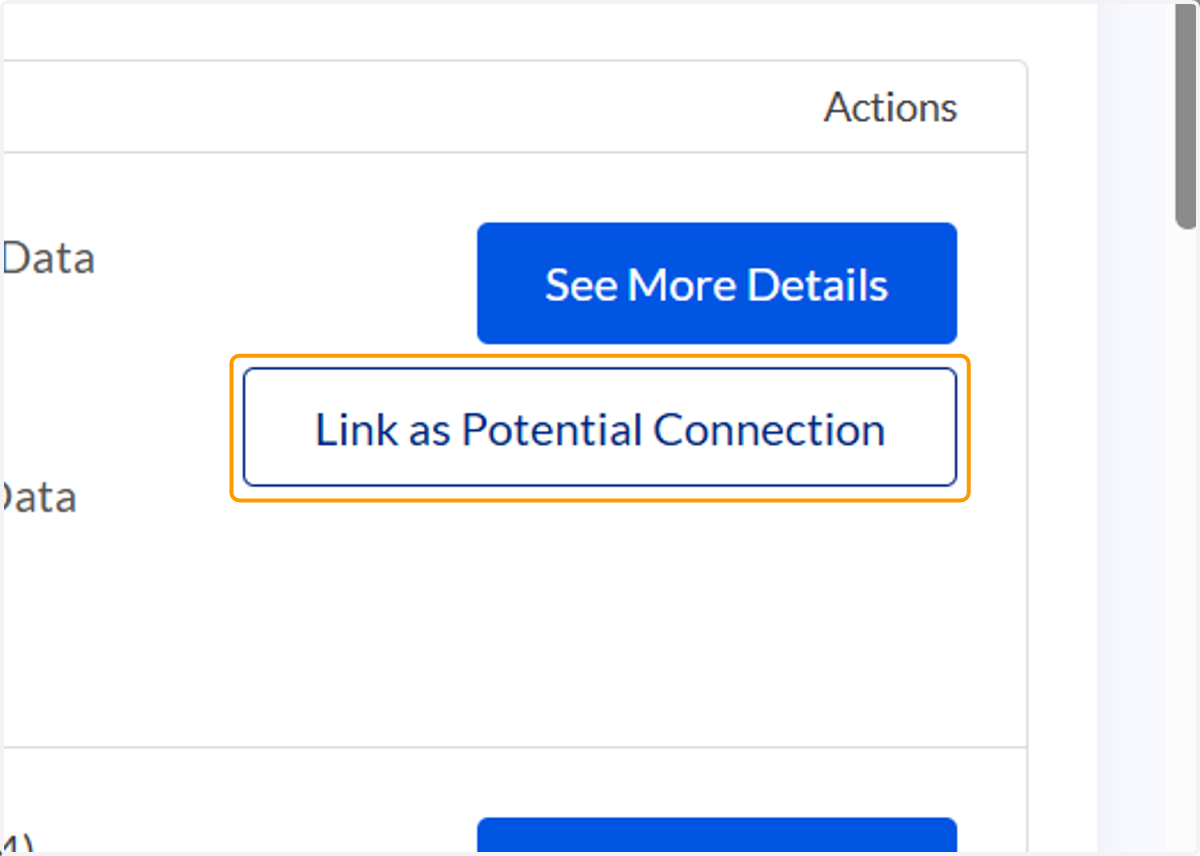
172. Hit "x" on the error message and navigate to the people that could not successfully be linked. Click "Link as potential connection" next to that person
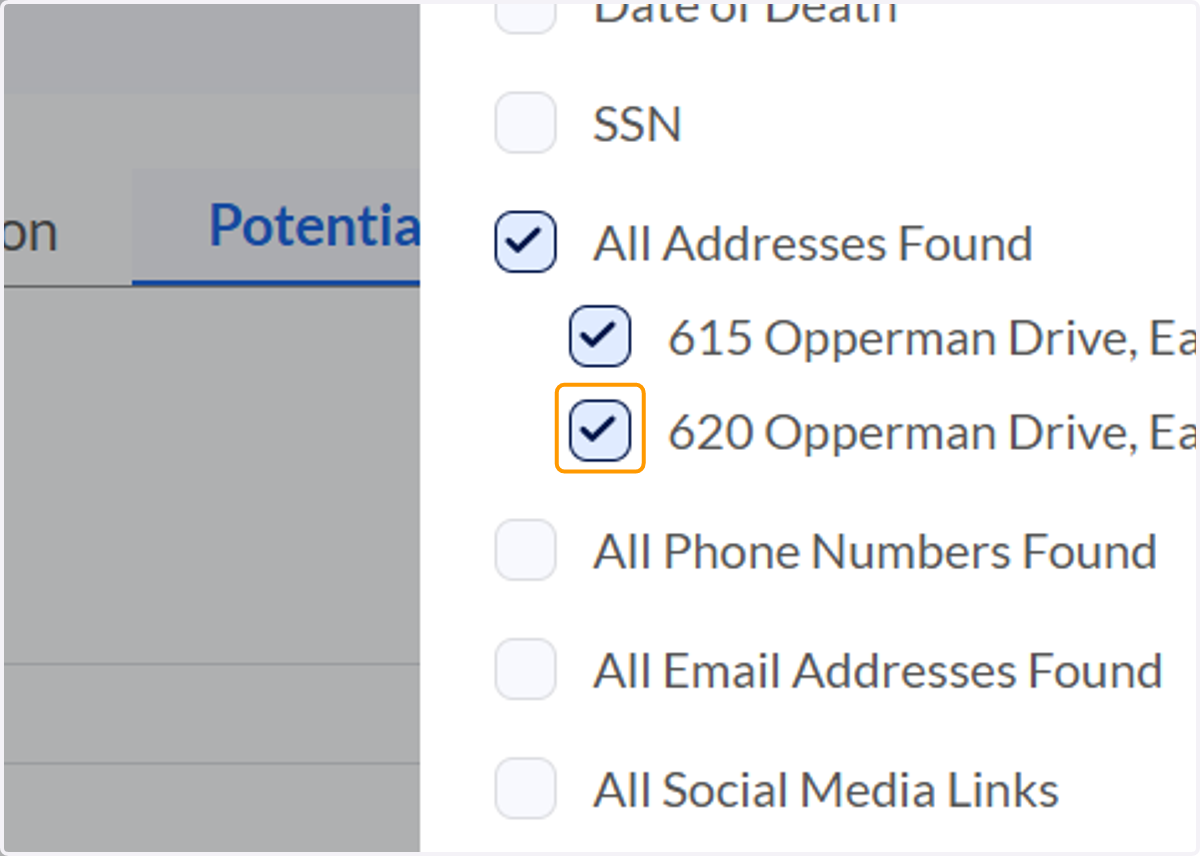
173. Deselect any data that looks improperly formatted or erroneous (e.g., misformatted addresses, phone numbers with not enough digits)
174. Click on Create New Potential Connections
🔐 FAQ: How do I assign workers to a controlled access case?
Workers need to be assigned to controlled access cases by their supervisors
175. Controlled access cases must be manually assigned by an agency admin to the workers.
Controlled access cases will have the "confidential" banner on them
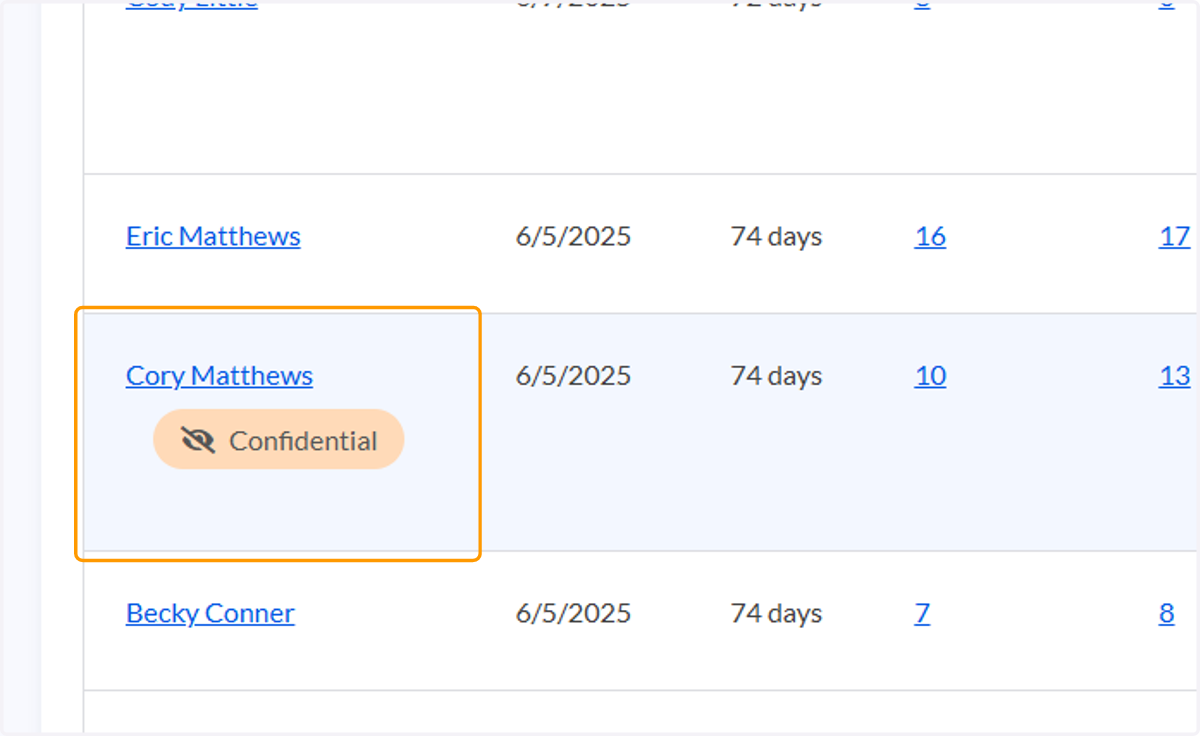
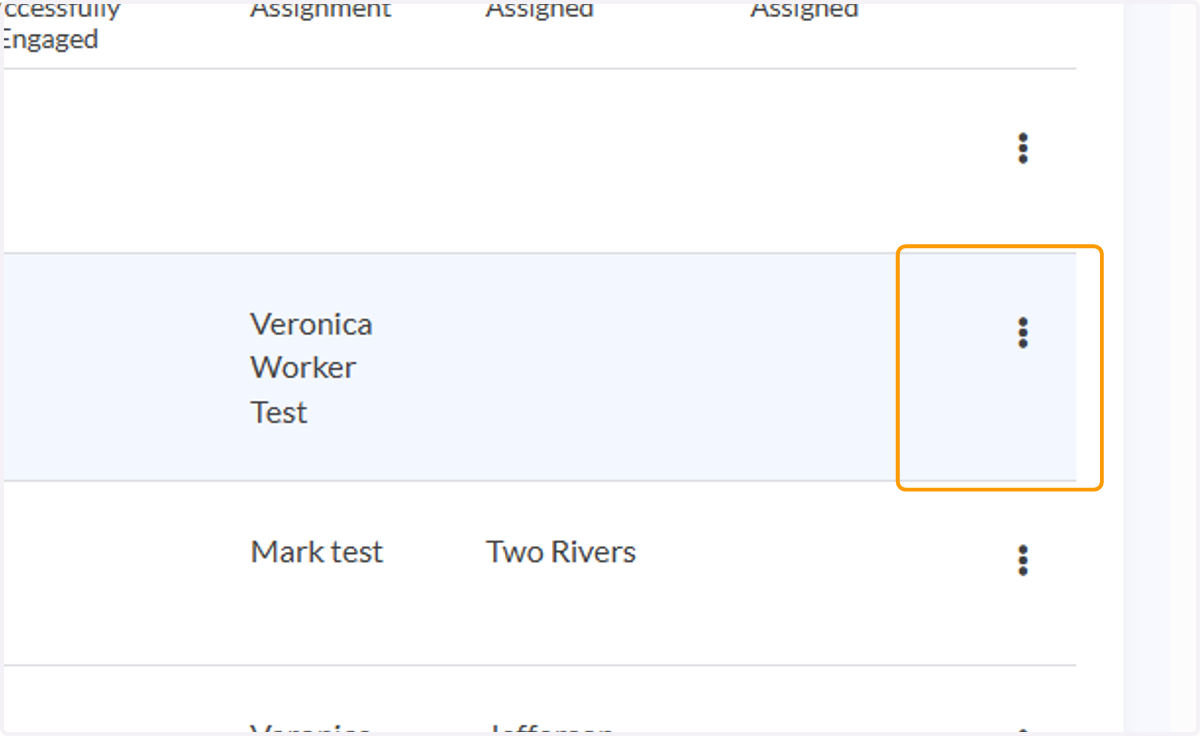
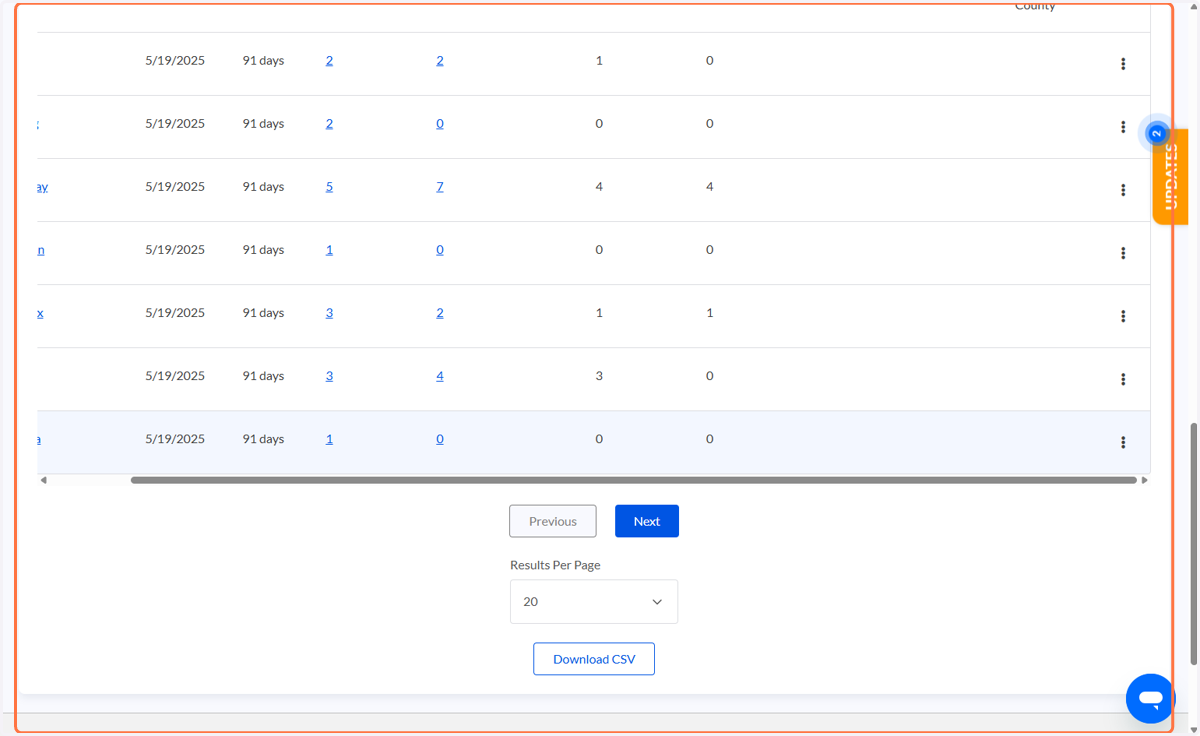
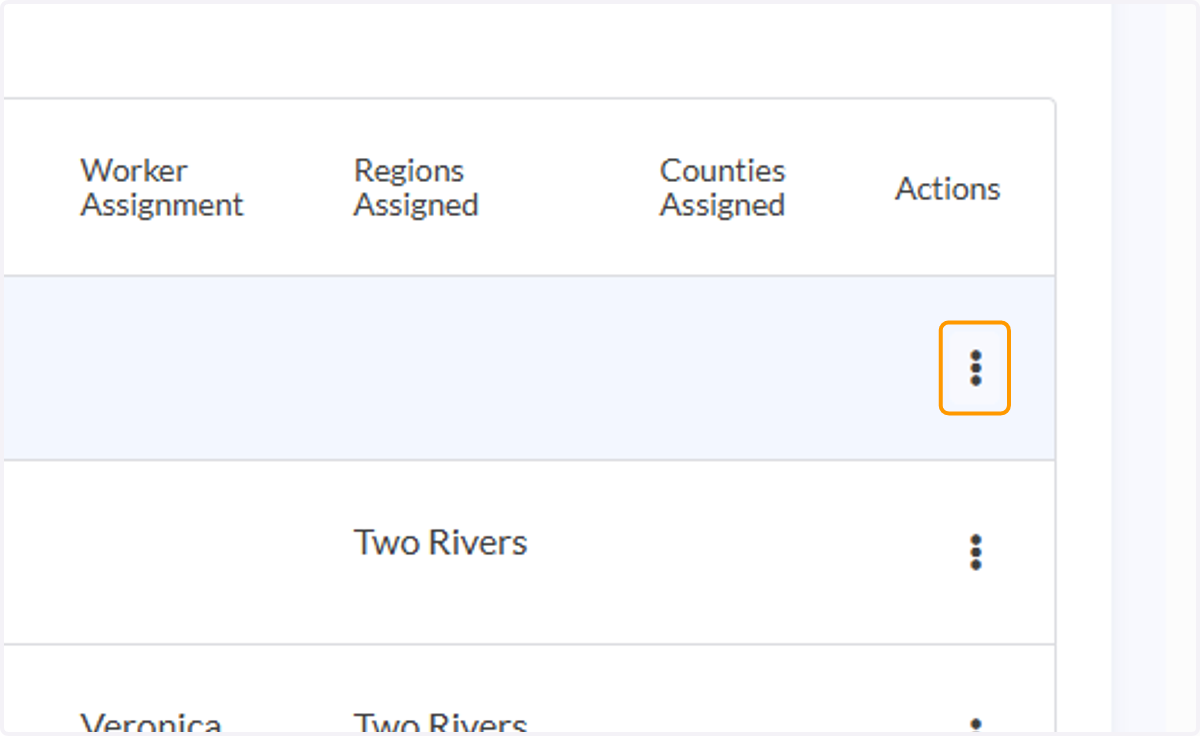
176. Start on the Family Finding searchs dashboard. Drag the bottom bar until you can see the three dots under action
177. Click on View additional actions for search
178. Click on Edit Search
179. Click on Search Information
180. Type the workers name to assign them
181. A list of workers will pop up as you type - select the correct one
182. Click on Submit
🧑🤝🧑 FAQ: How do I assign siblings to a case
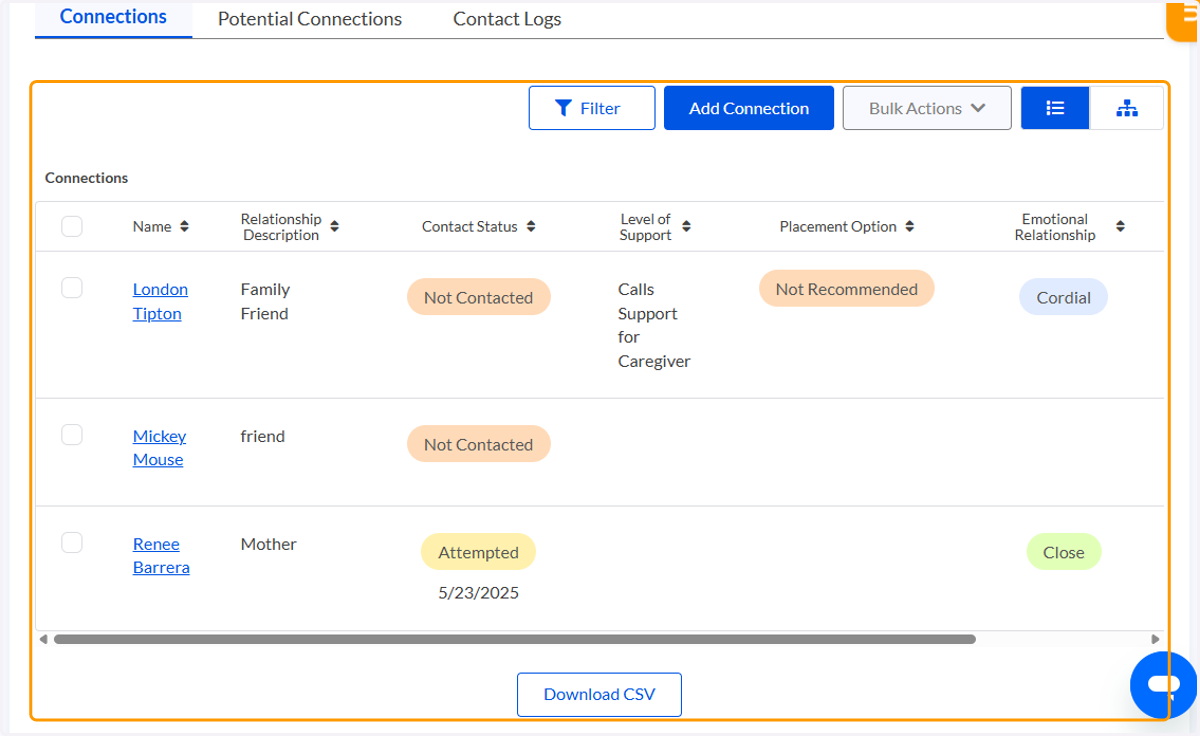
183. Start on the relationship dashboard for that case
184. Click on Add Connection
185. Type the sibling's name
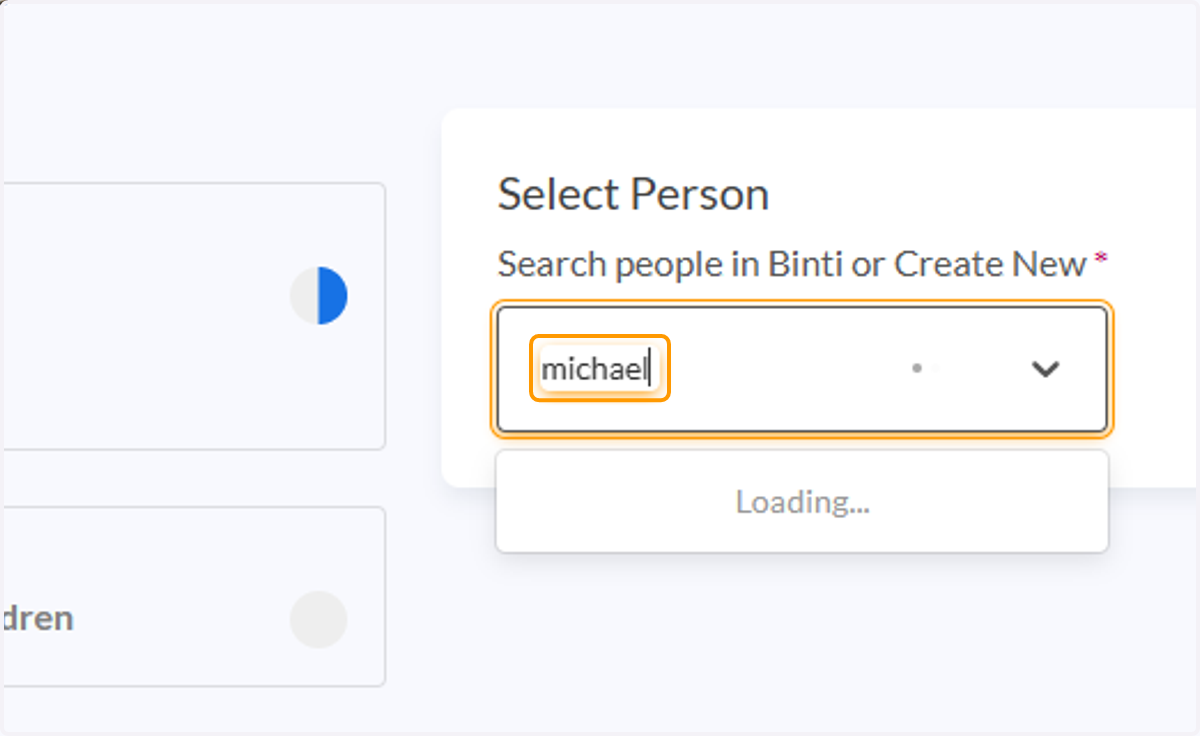
186. If the sibling has an open search in Binti, they will appear as you start to type their name
Click the correct name
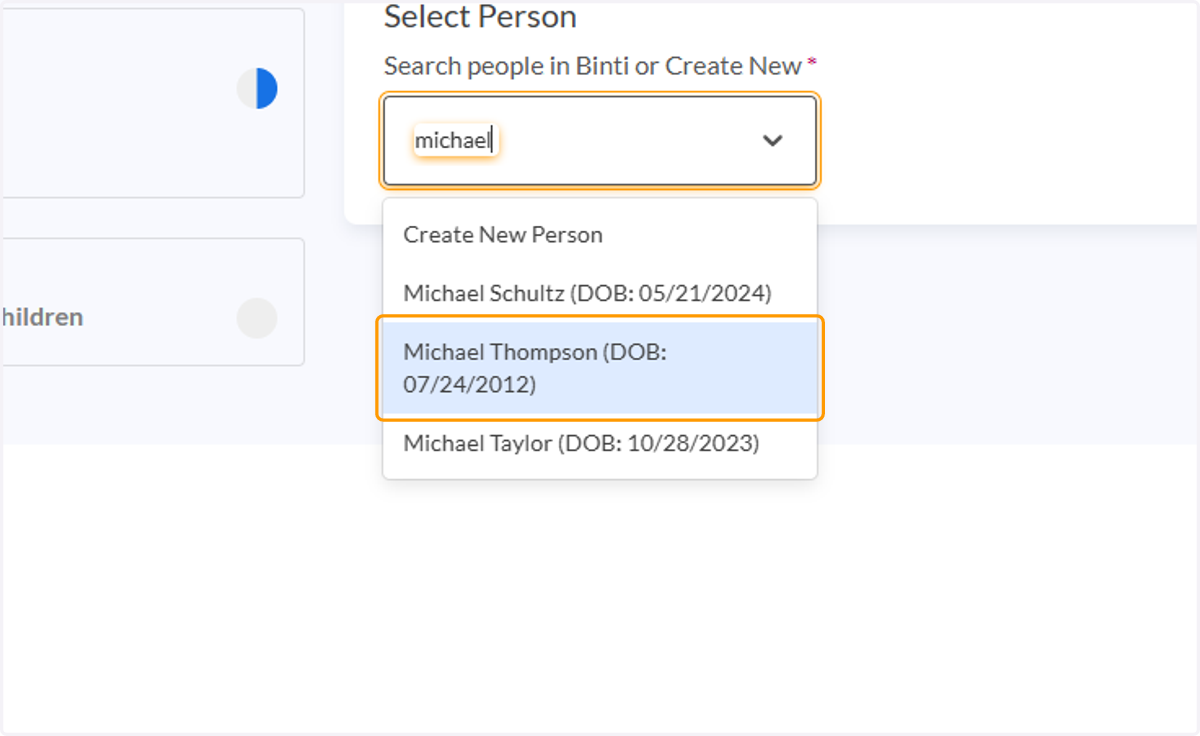
187. This will take you to their profile page. Click on Continue
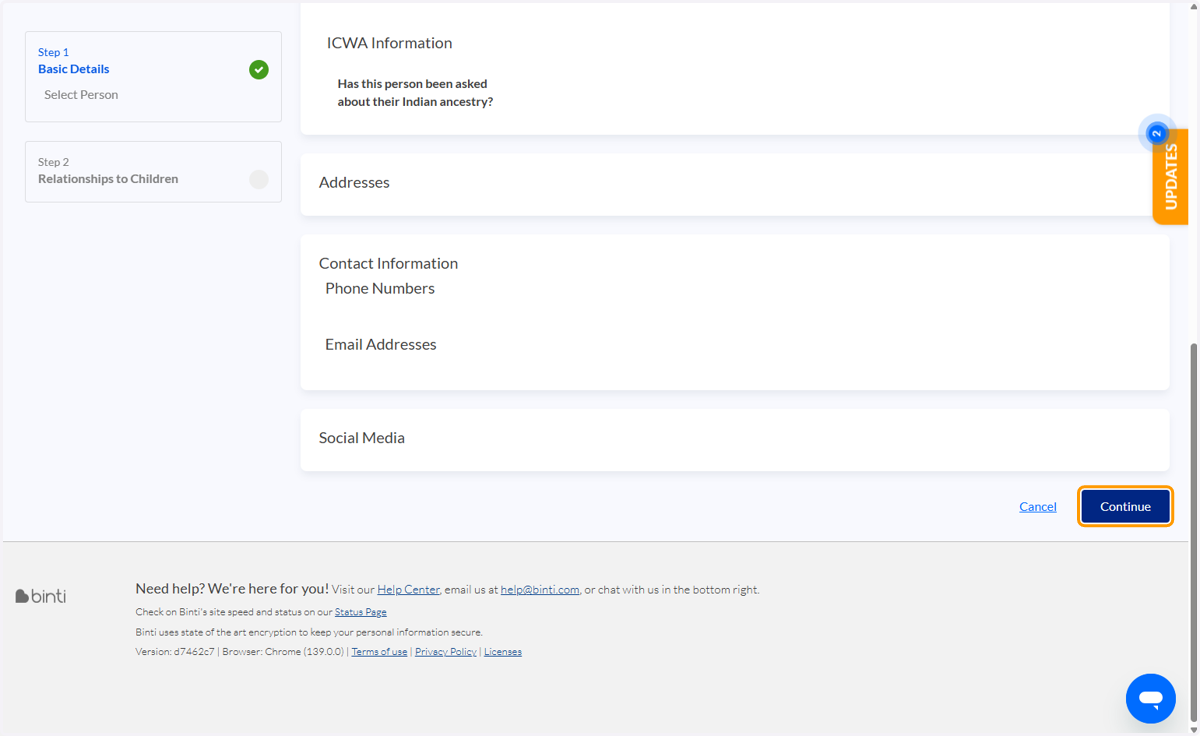
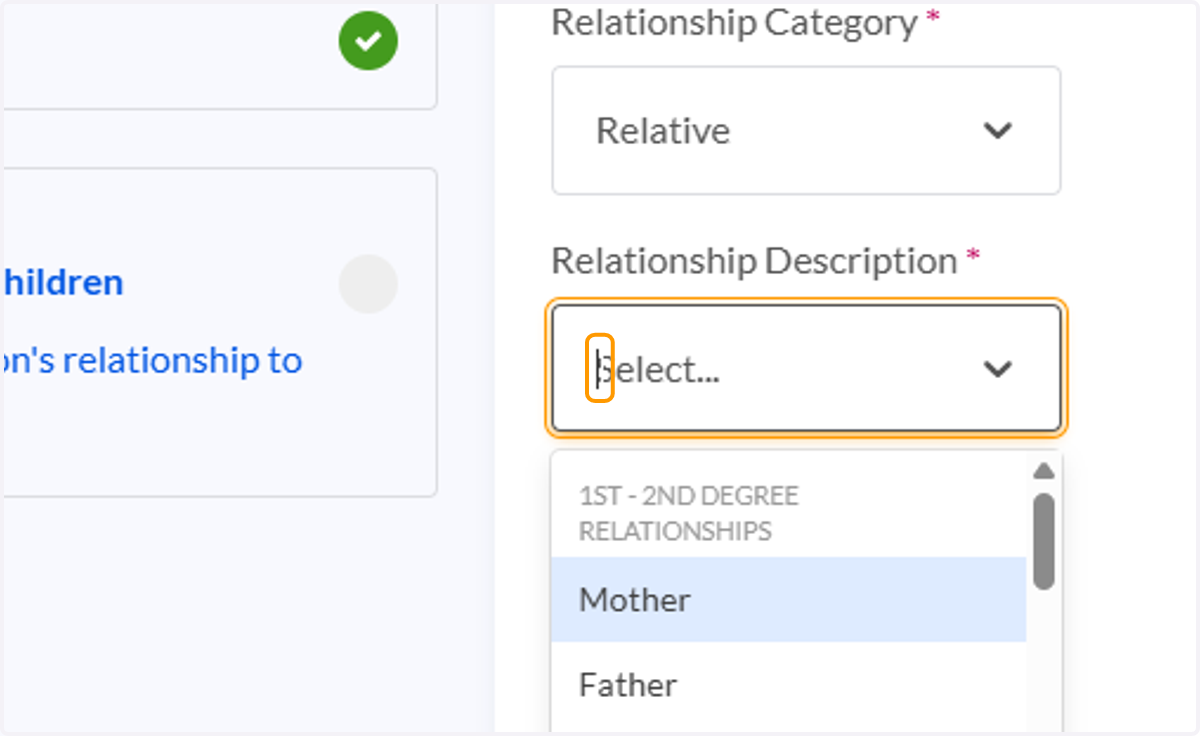
188. Click on Relationship Category
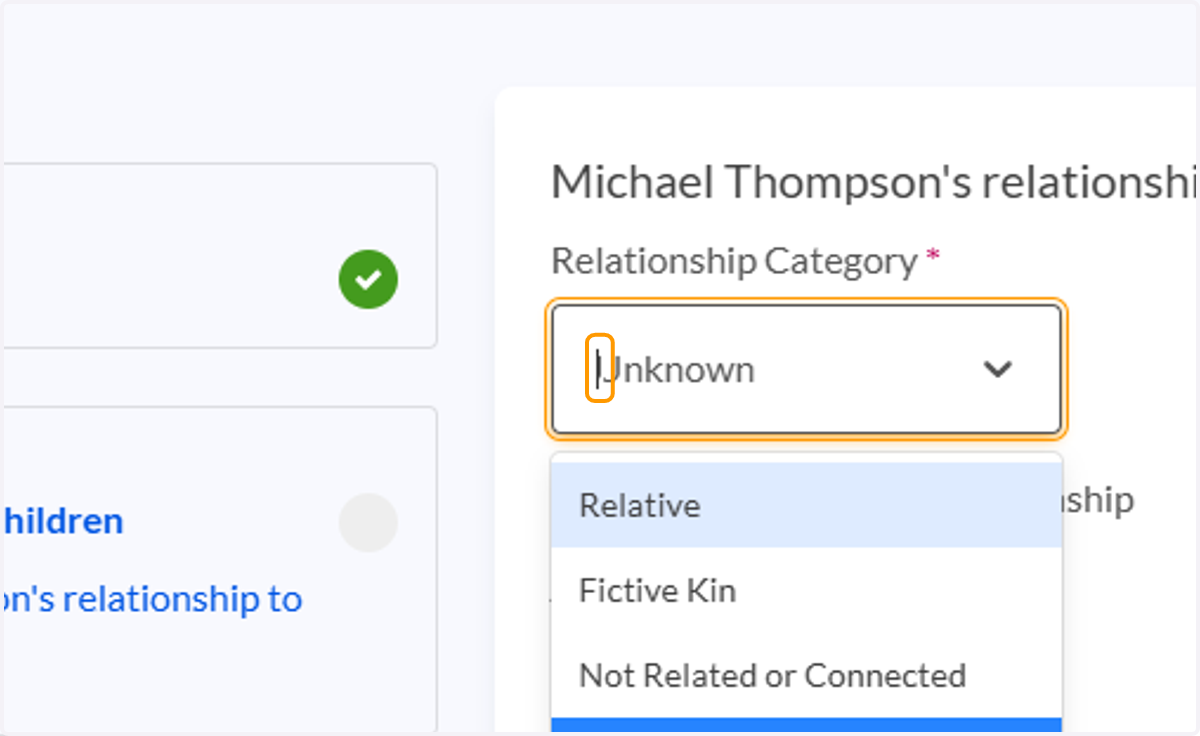
189. Click on Relative
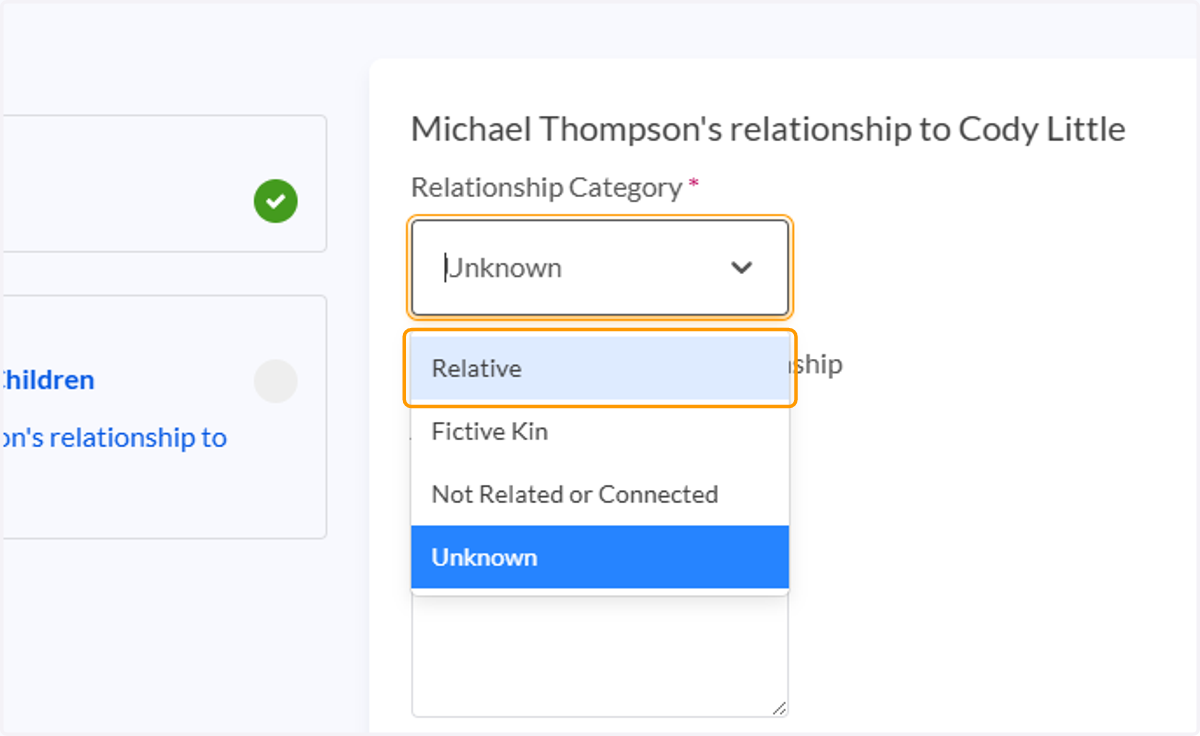
190. Click on Relationship Description
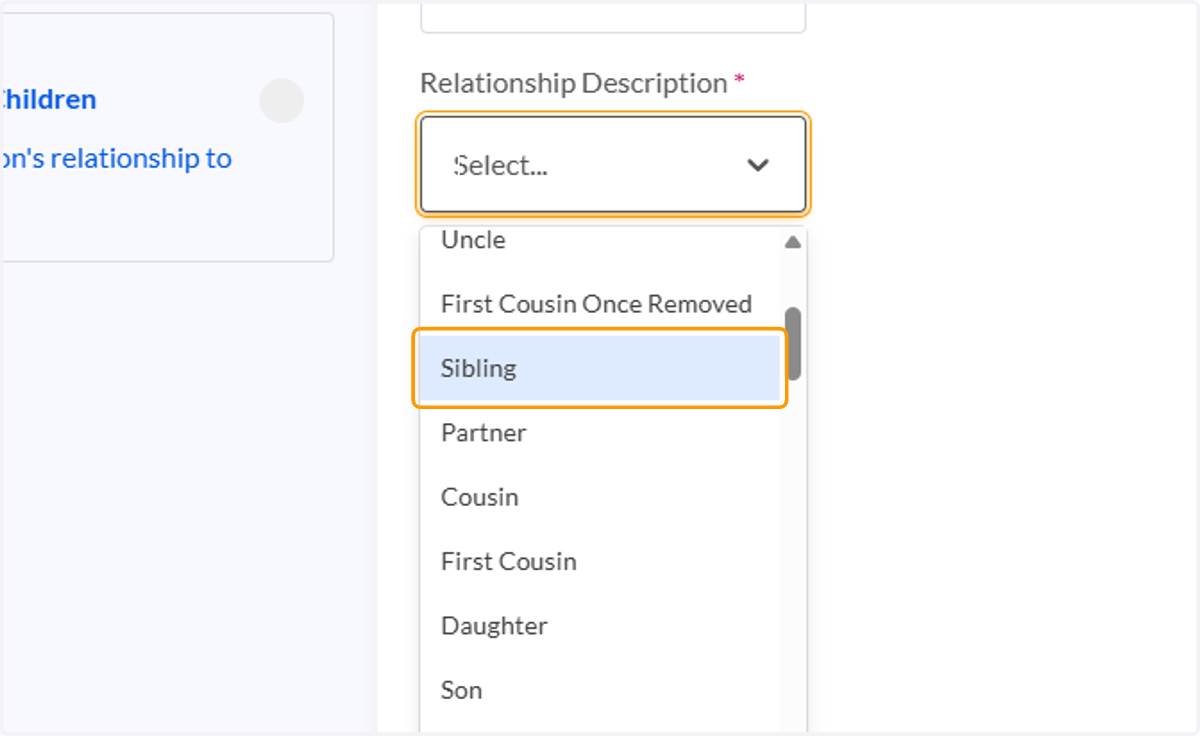
191. Click on Sibling
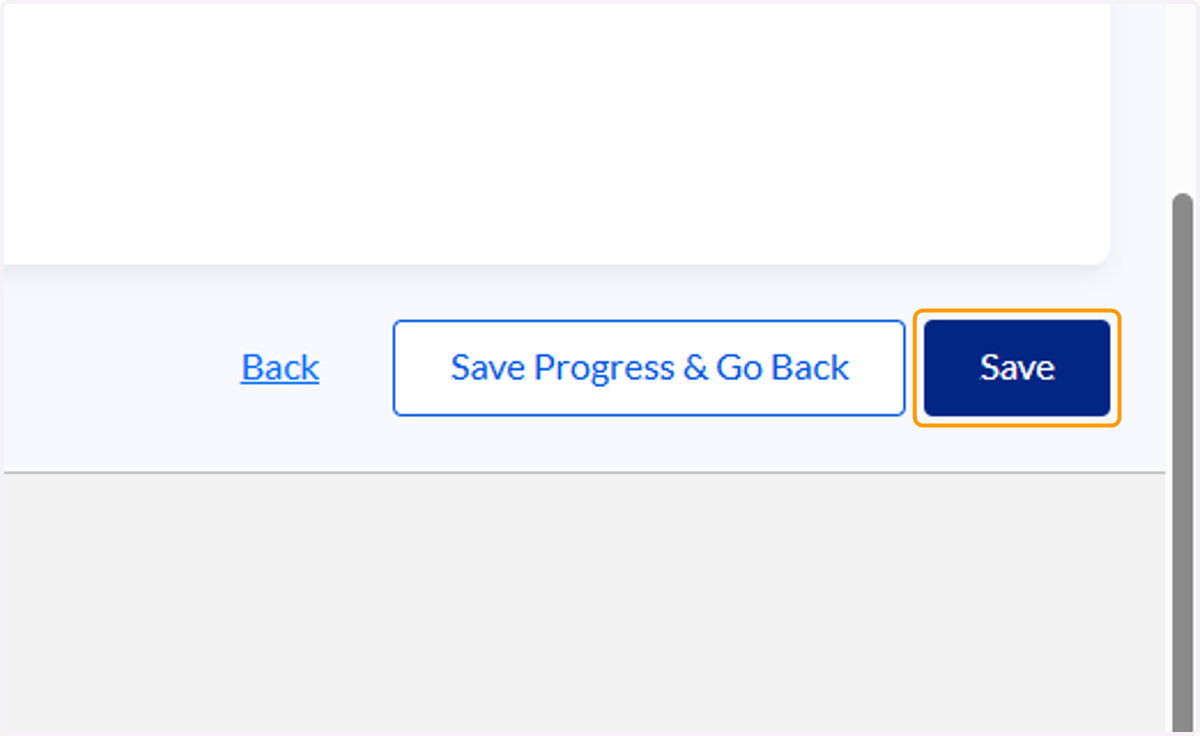
192. Click on Save
💻 FAQ: I'm logging in with the SSO button, but I keep getting an error on the gateway page
If you joined the agency / your role post 6/15/2025, you might not have a Binti account
193. Ask your supervisor to follow these steps to add you
Note - Binti is not a "seat" model - KY can add unlimited users to Binti
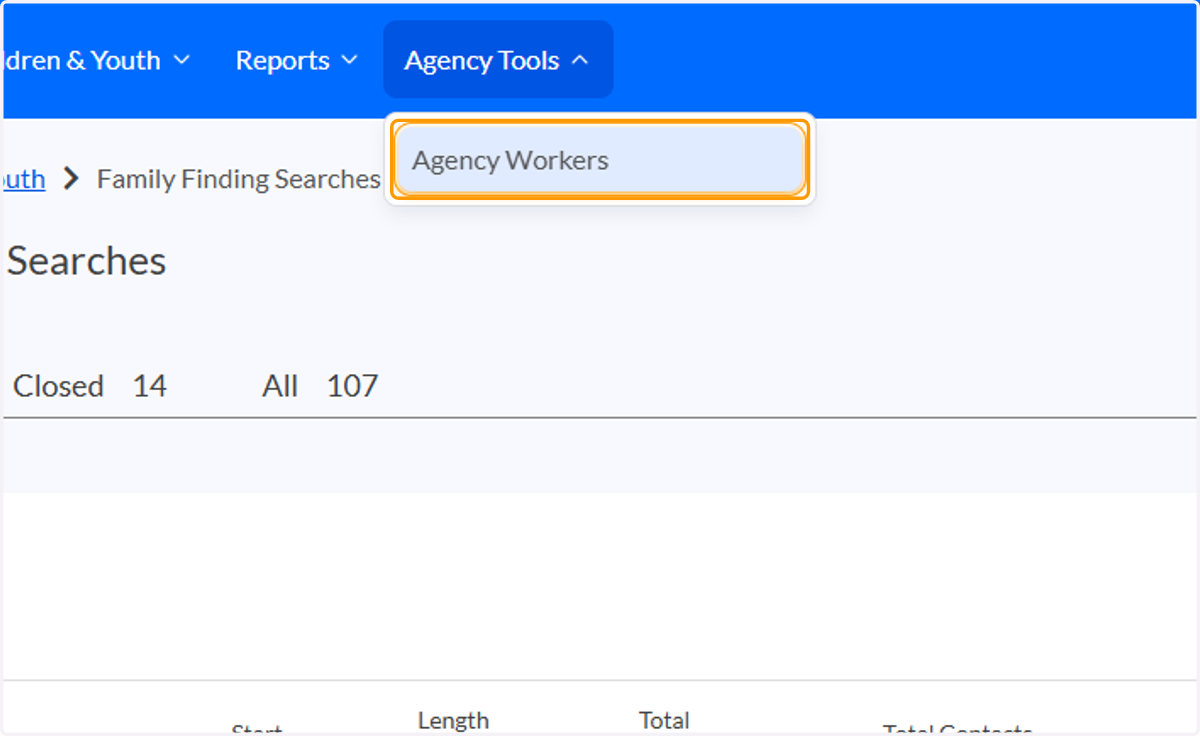
194. SUPERVISORS: Log into Binti and Click on Agency Tools
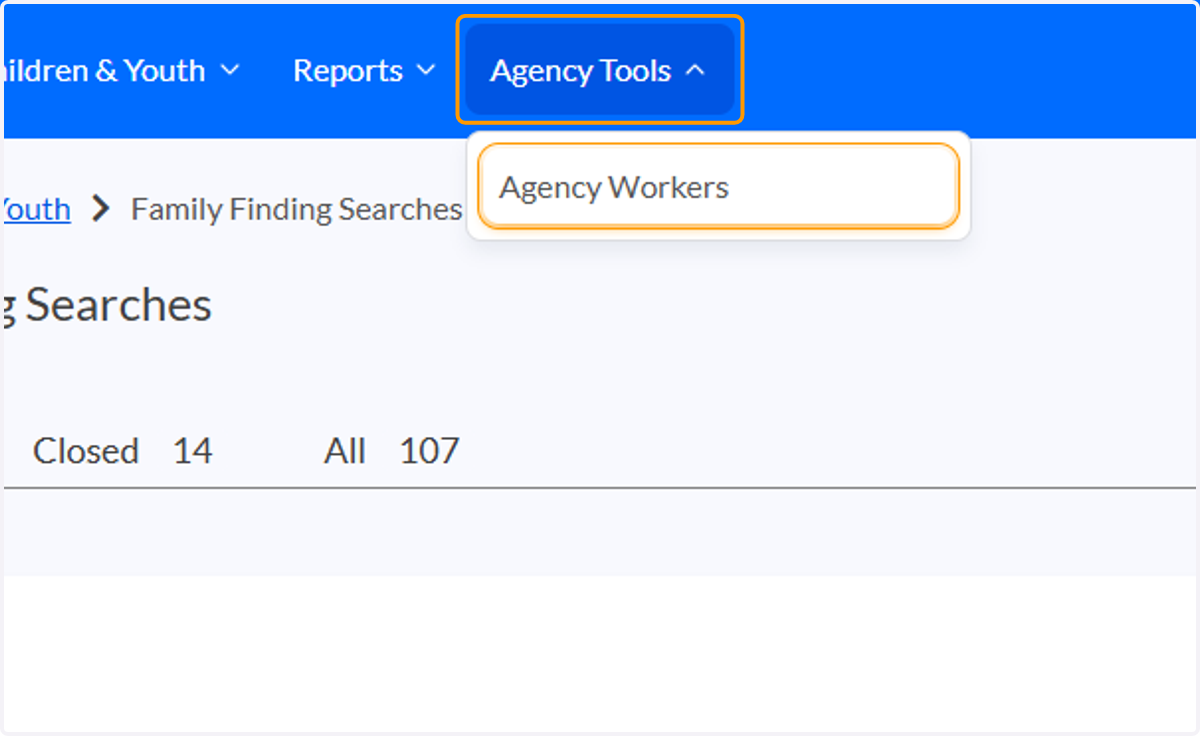
195. Click on Agency Workers
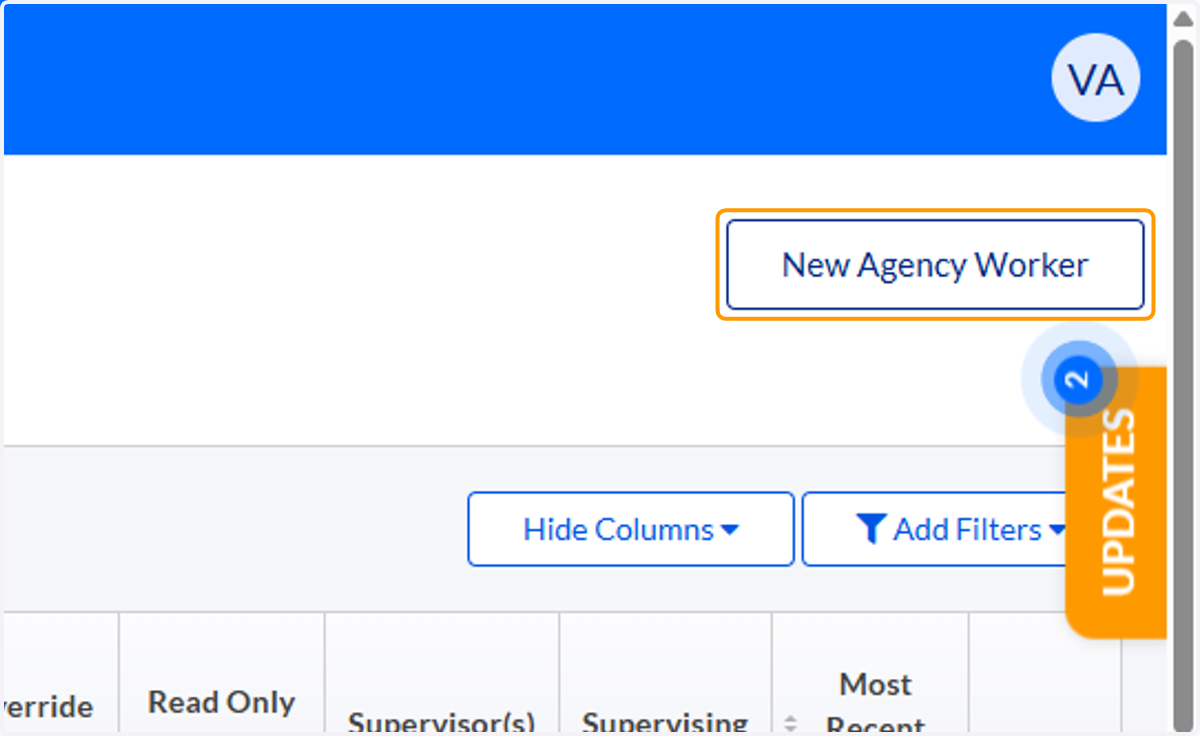
196. Click on New Agency Worker
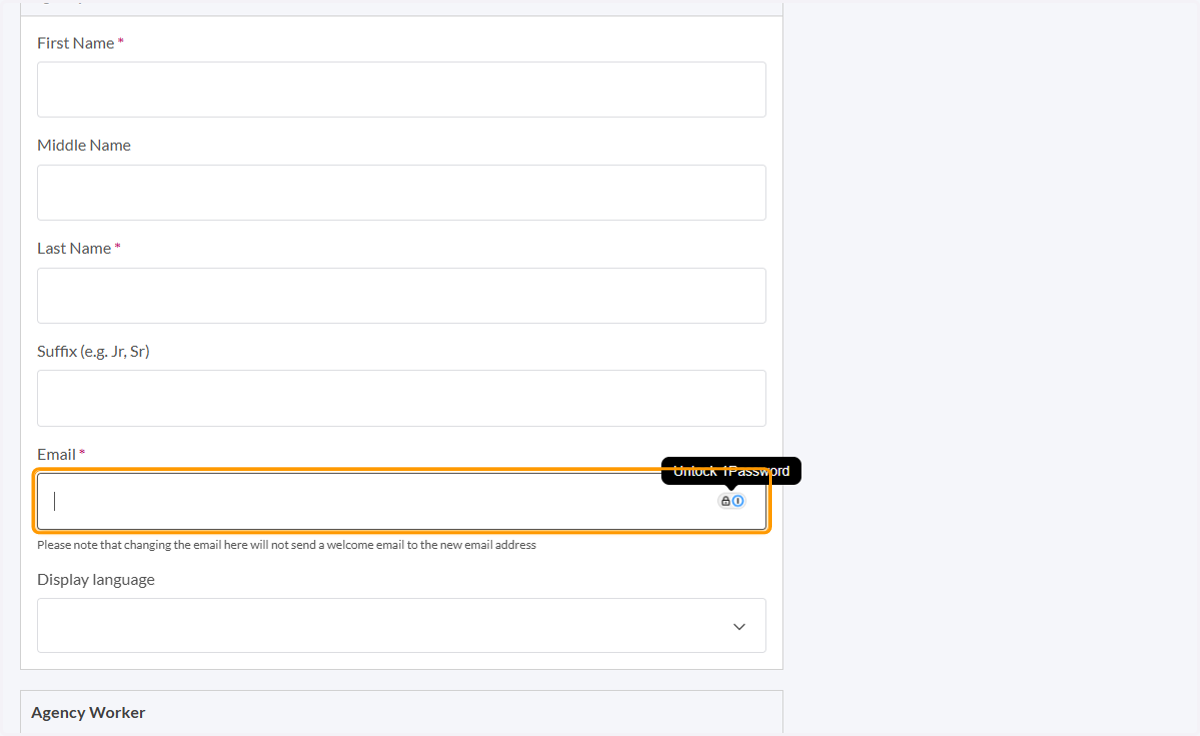
197. Add the worker's name and email
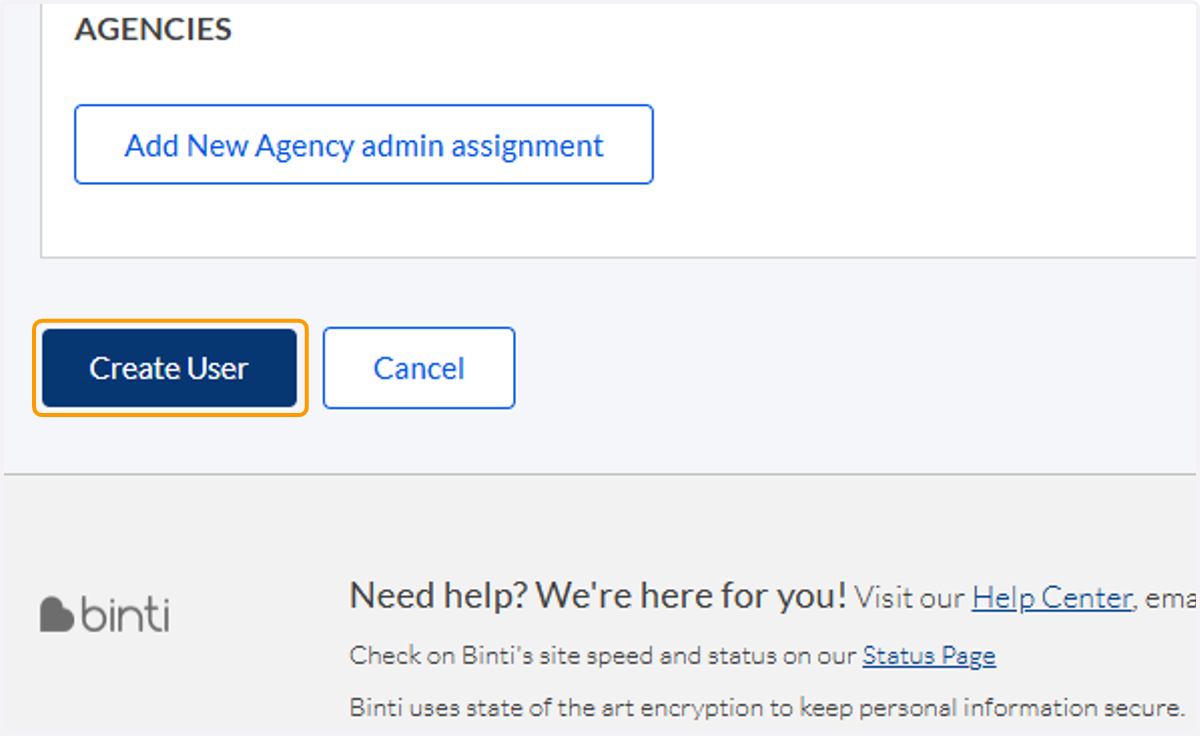
198. Click on Create User
199. Confirm with your supervisor that your KYID/KOG account has one of these i-Twist roles: i-Twist Social Services Worker, i-Twist Supervisor Approval Authority, i-Twist Support Services, or i-Twist Full Access
Once one of these roles is assigned, Binti access is added automatically. If you do not yet have one of these roles, your supervisor (or their designee) will need to submit a user access request in KYID/KOG to assign the appropriate role. Once one of these roles is assigned, Binti access is added automatically.
🔎 FAQ: I need to run a search, but there isn't an open case yet in TWIST to send to Binti
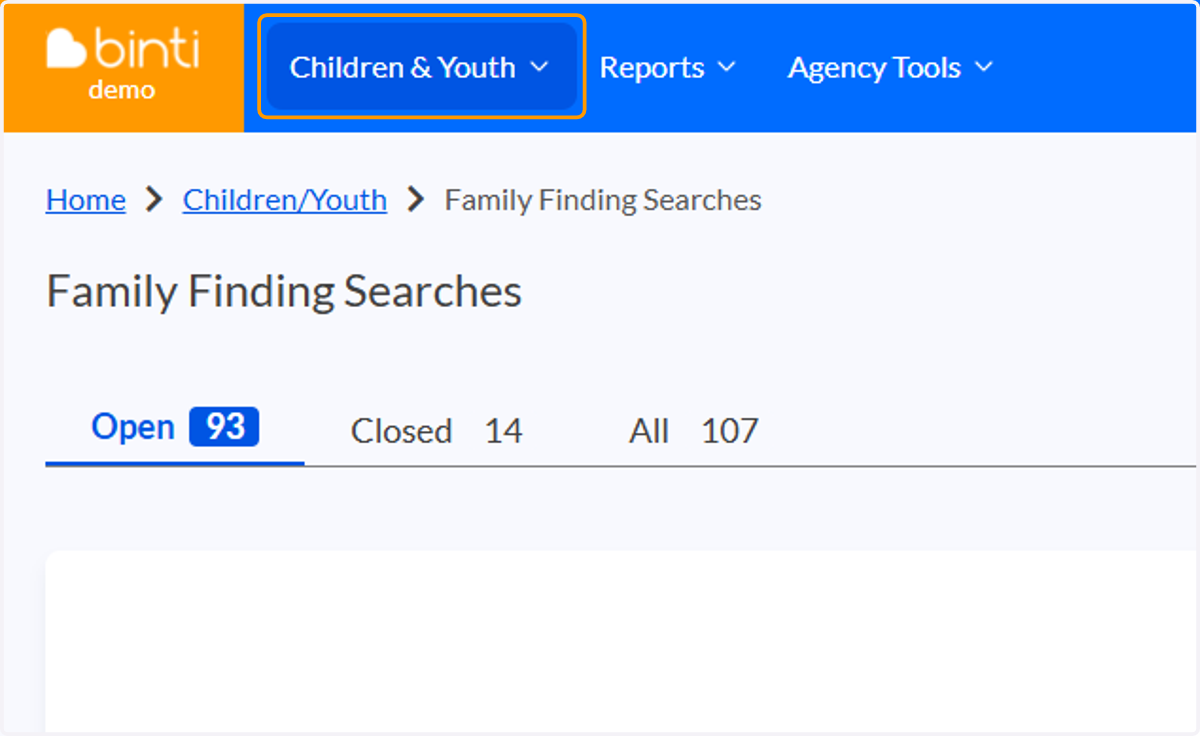
200. You can run a search without saving it down to a case. Stary by clicking on Children & Youth
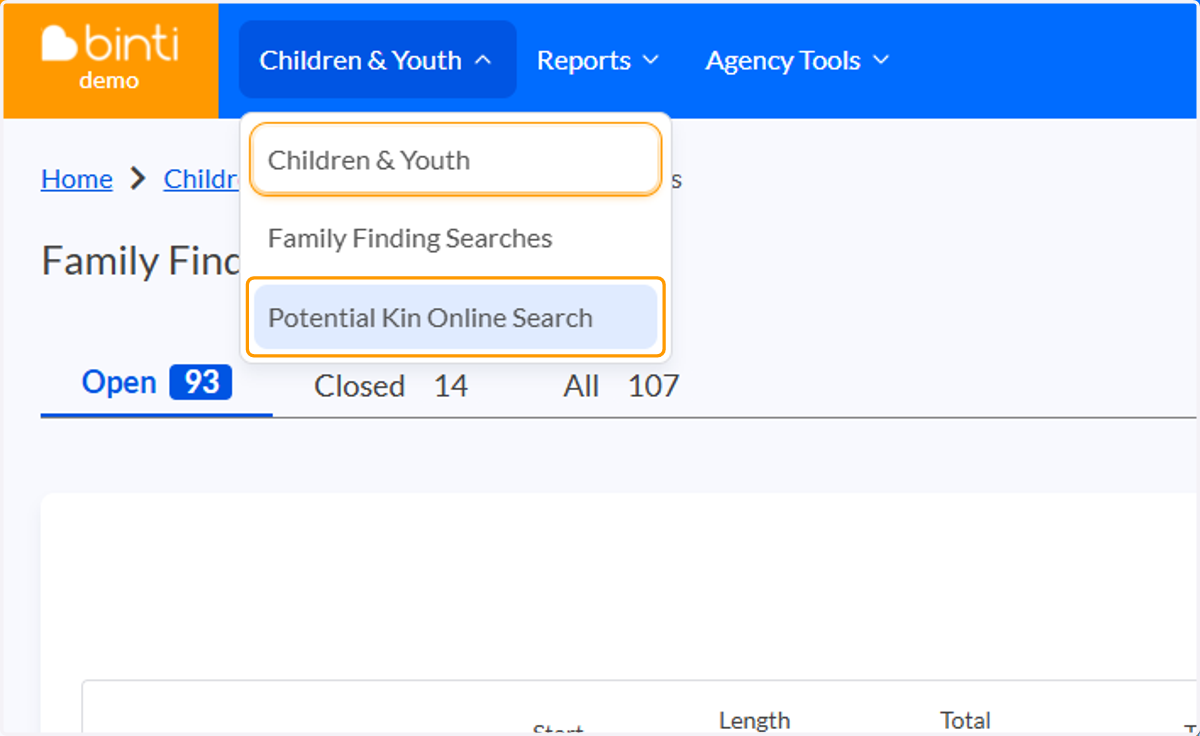
201. Click on Potential Kin Online Search
202. Type in the search criteria and click on Search
203. Click on See More Details
204. Click on Potential Kin
205. Click on Run Comprehensive Search
206. Click on Continue
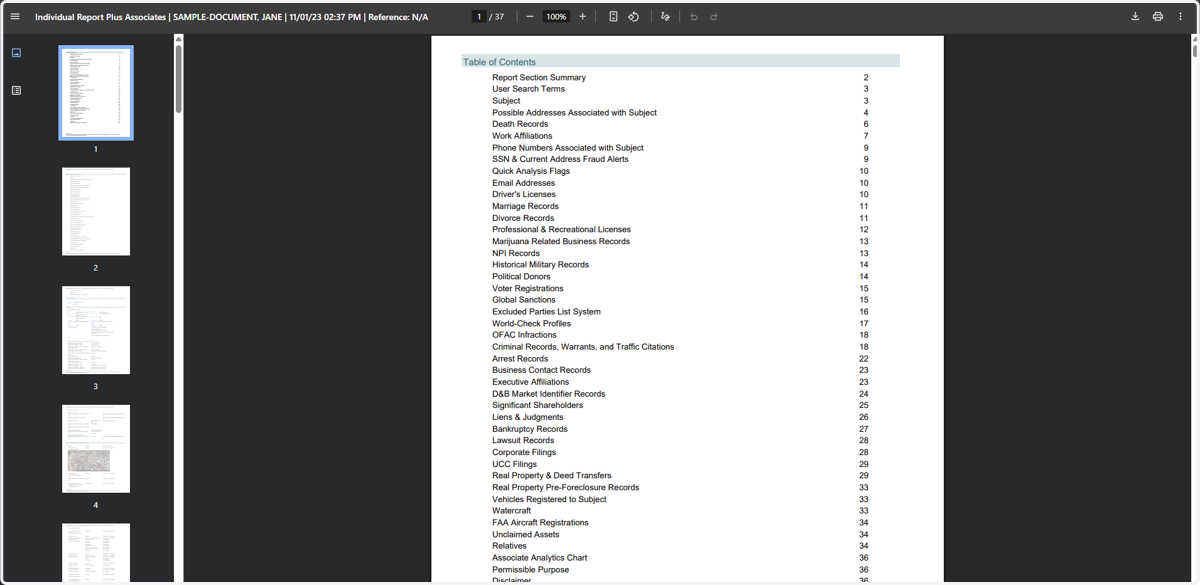
207. You can now download and save their comprehensive report
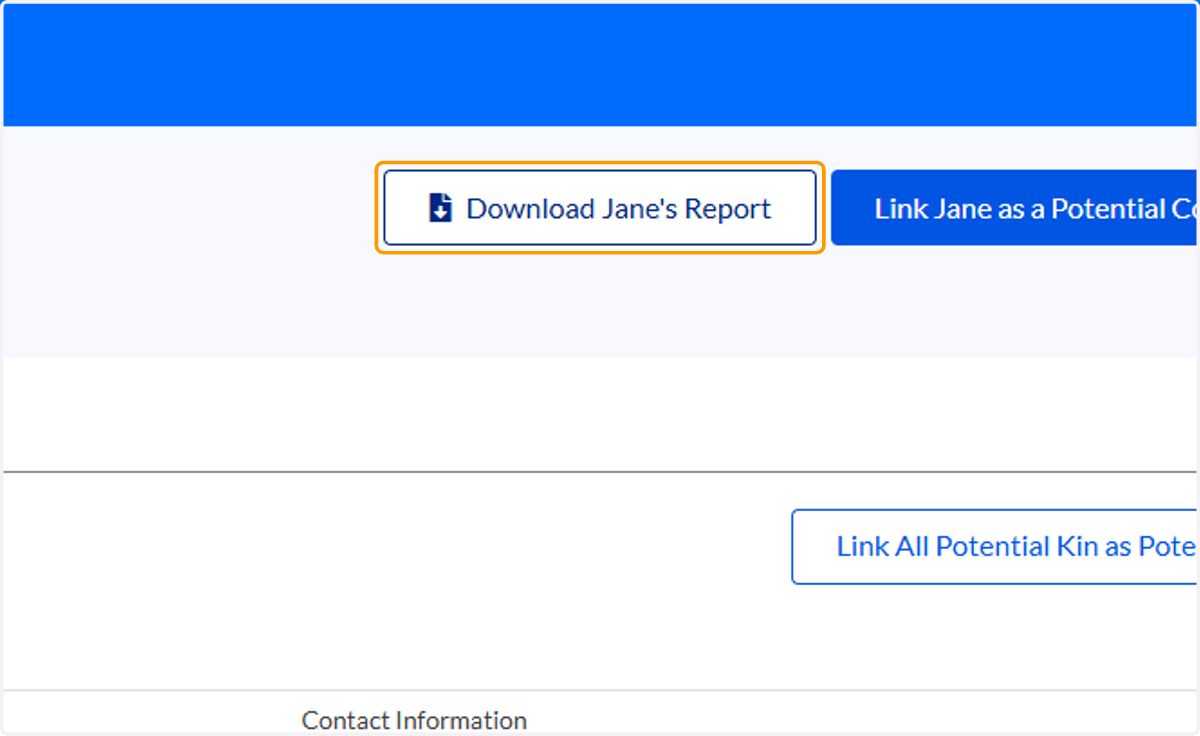
208. This is what the report looks like
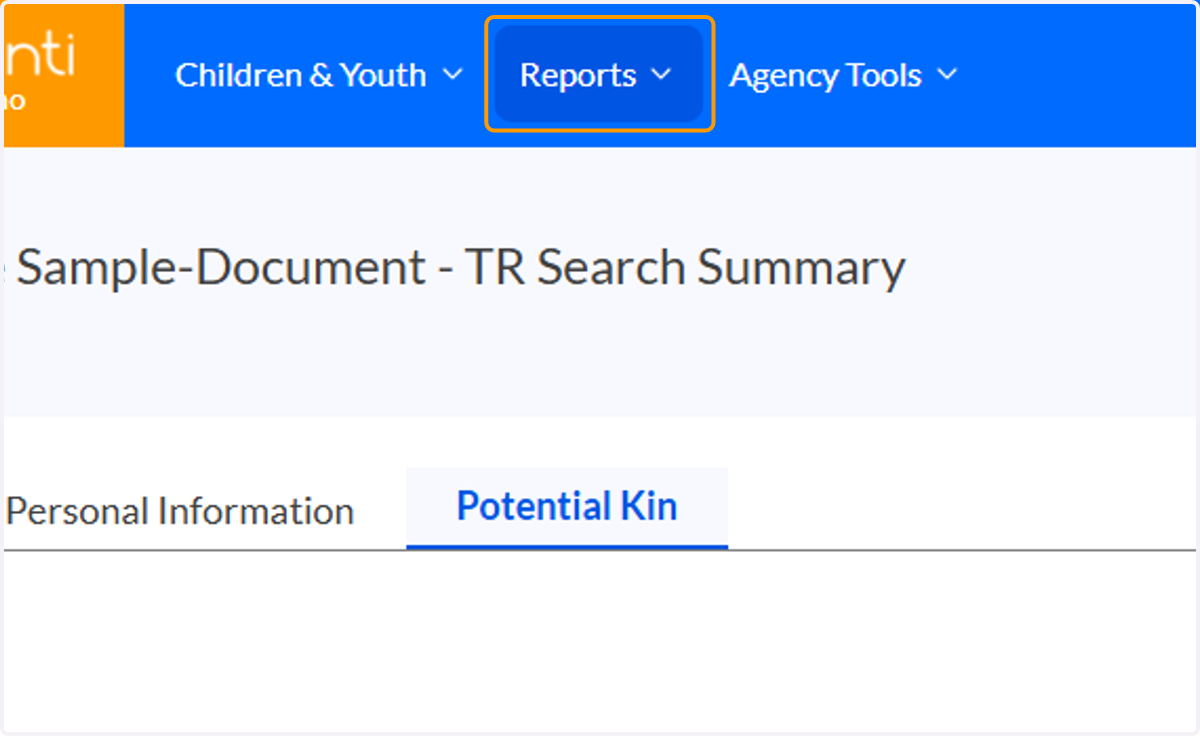
209. If a case opens and you want to access your search results, go to Reports
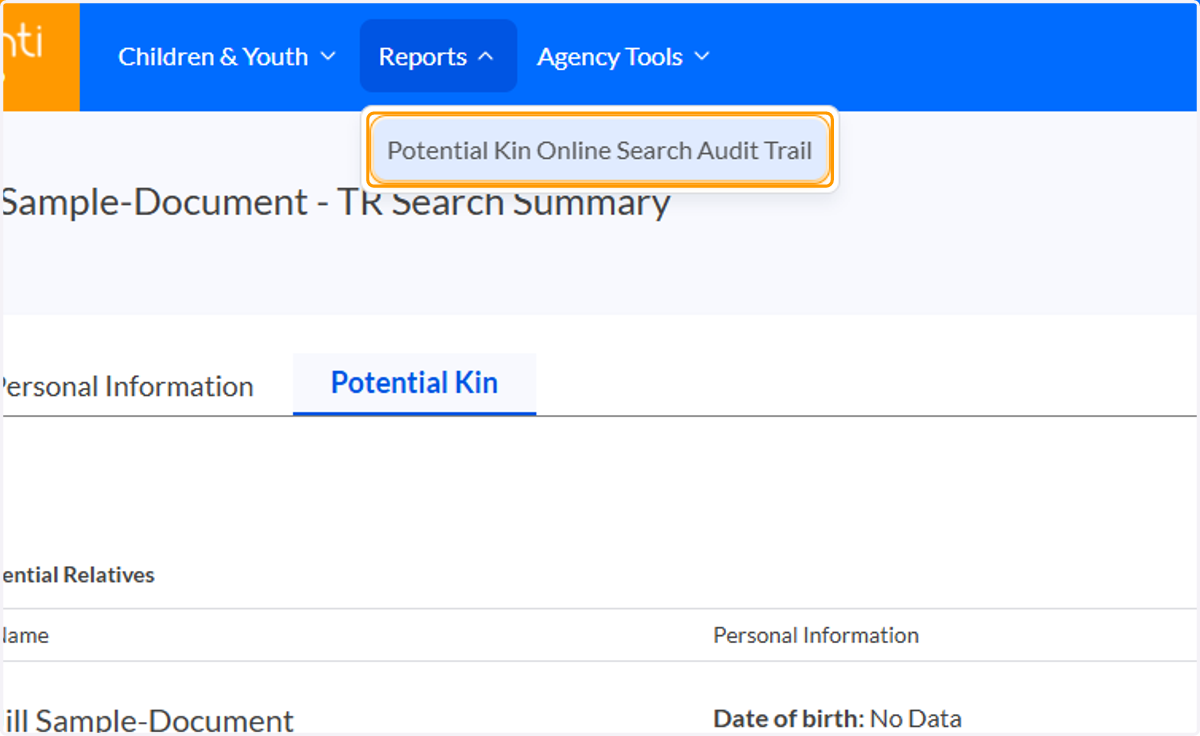
210. Click on Potential Kin Online Search Audit Trail
211. If you ran the search recently, your saved search results will be hyperlinked on this report
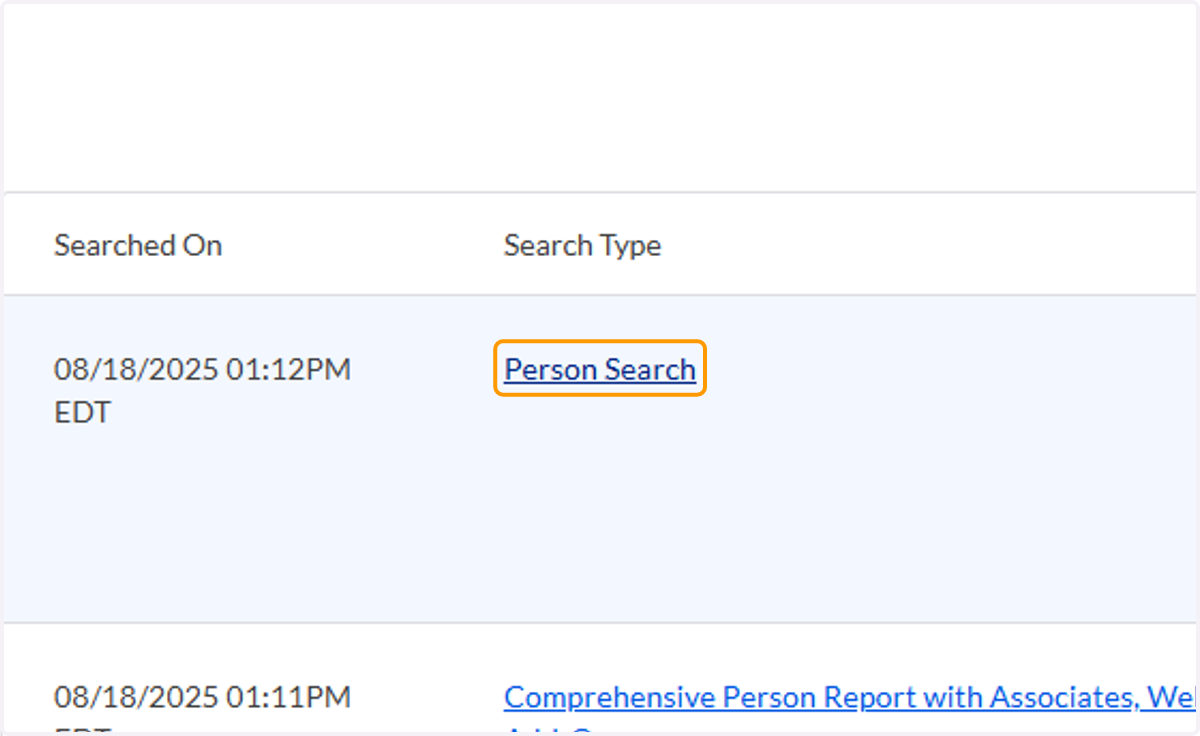
212. If you did not run the search recently you can re-run it under Potential Kin Online Search, then follow the steps above to link the results to the case you sent to Binti