How to write Conventional Commits easily
Visualstudio
1. Open VS Code
You should have opened the whole repository, not just one file.
Github
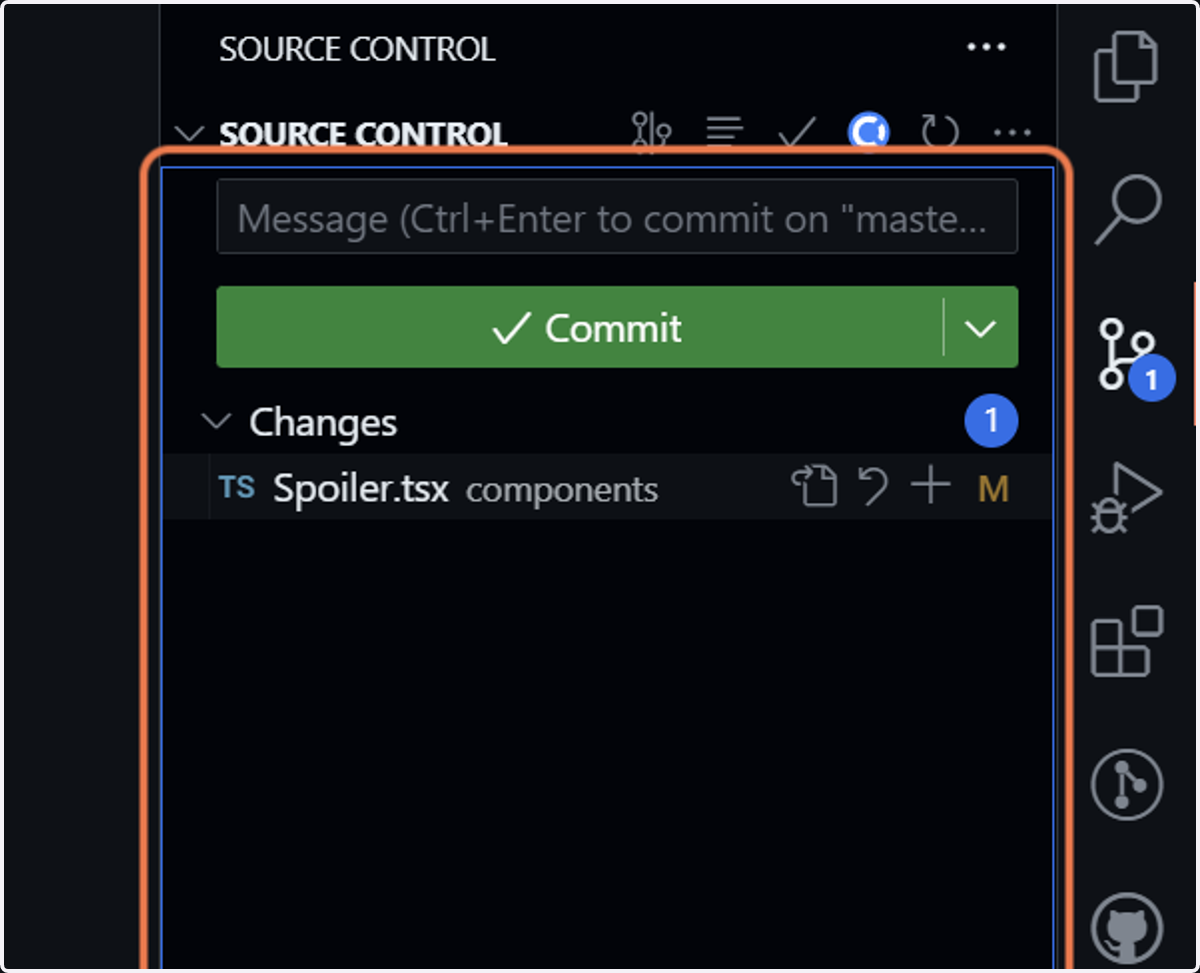
2. You can see the change in Source Control (Ctrl + Shift + G)
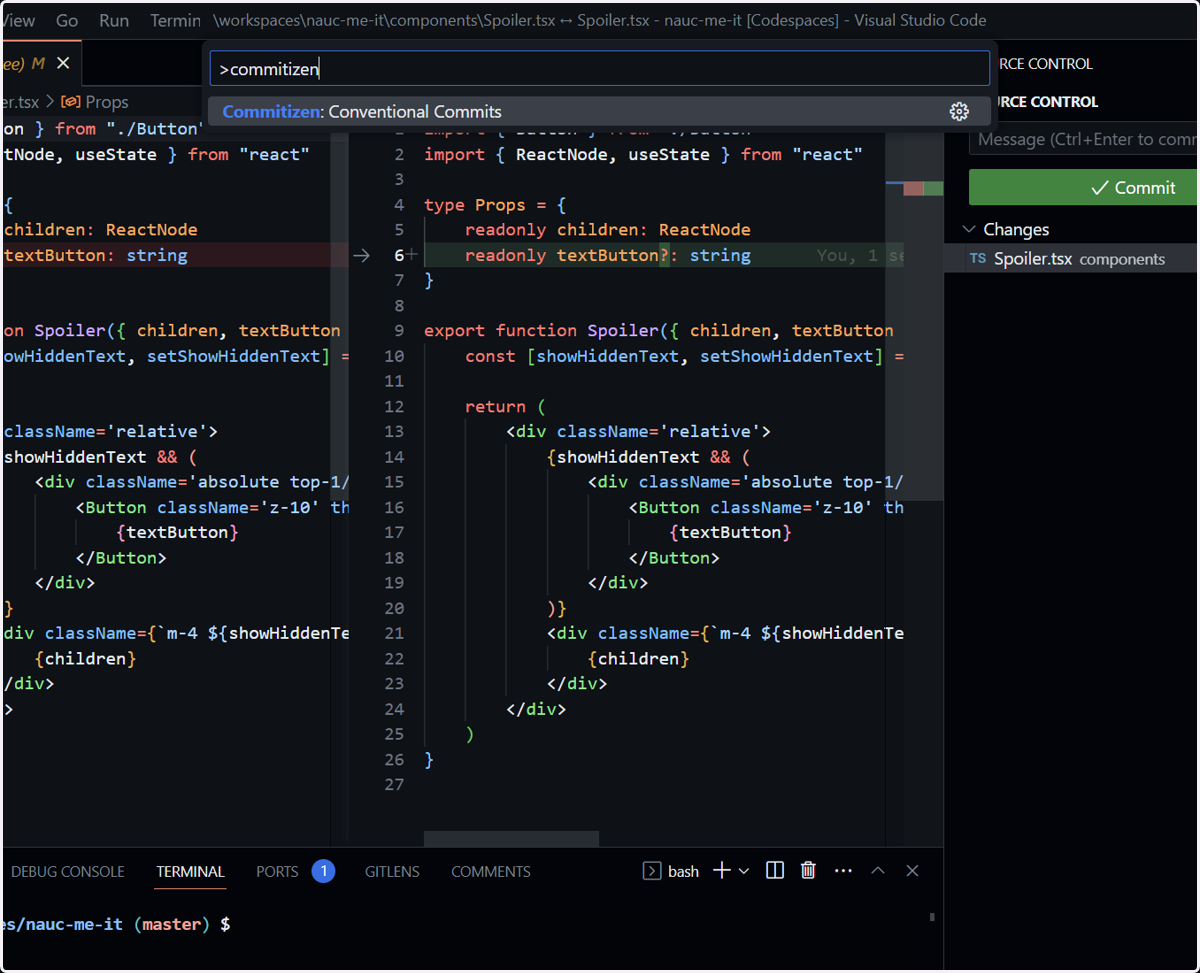
3. Press Ctrl + Shift + P, type ">commitizen" and press Enter
Ctrl + Shift + P opens VS Code navigation menu for commands.
4. Choose a type of the commit
More information can be found here:
https://www.conventionalcommits.org/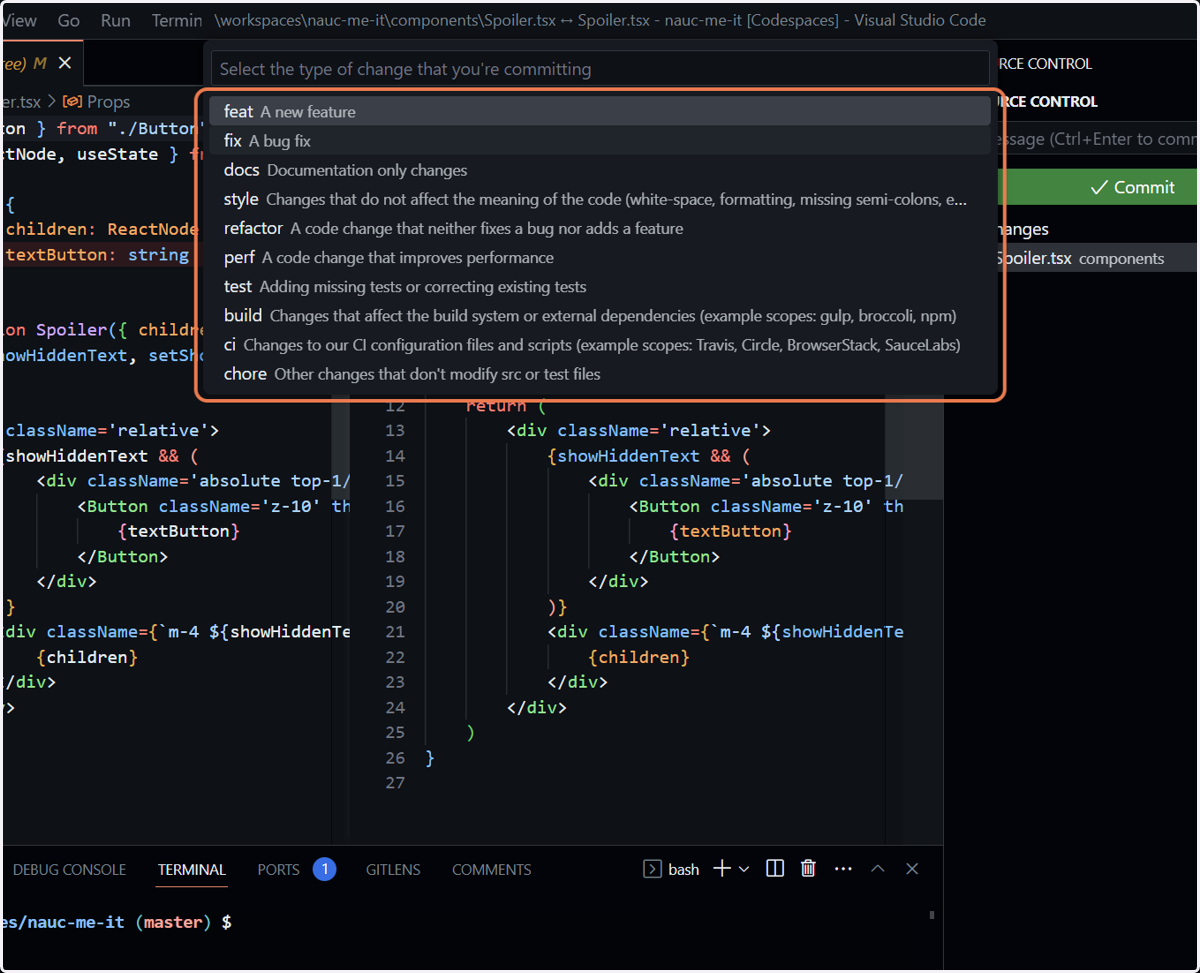
5. Add the scope of the change (usually ticket number from JIRA) and press ENTER
PS: The text is "Denote the SCOPE of this change (optional)", a tutorial app had some bug.
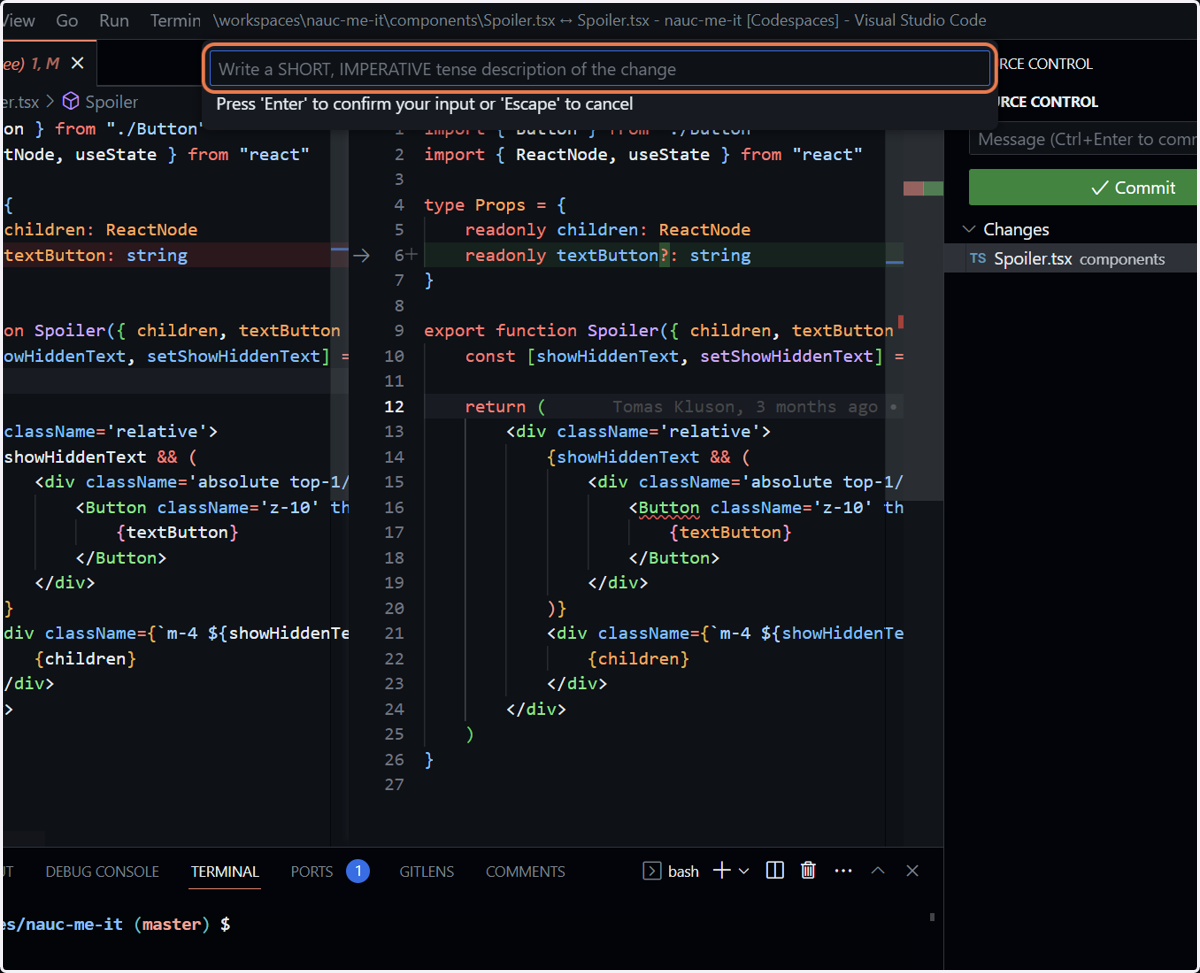
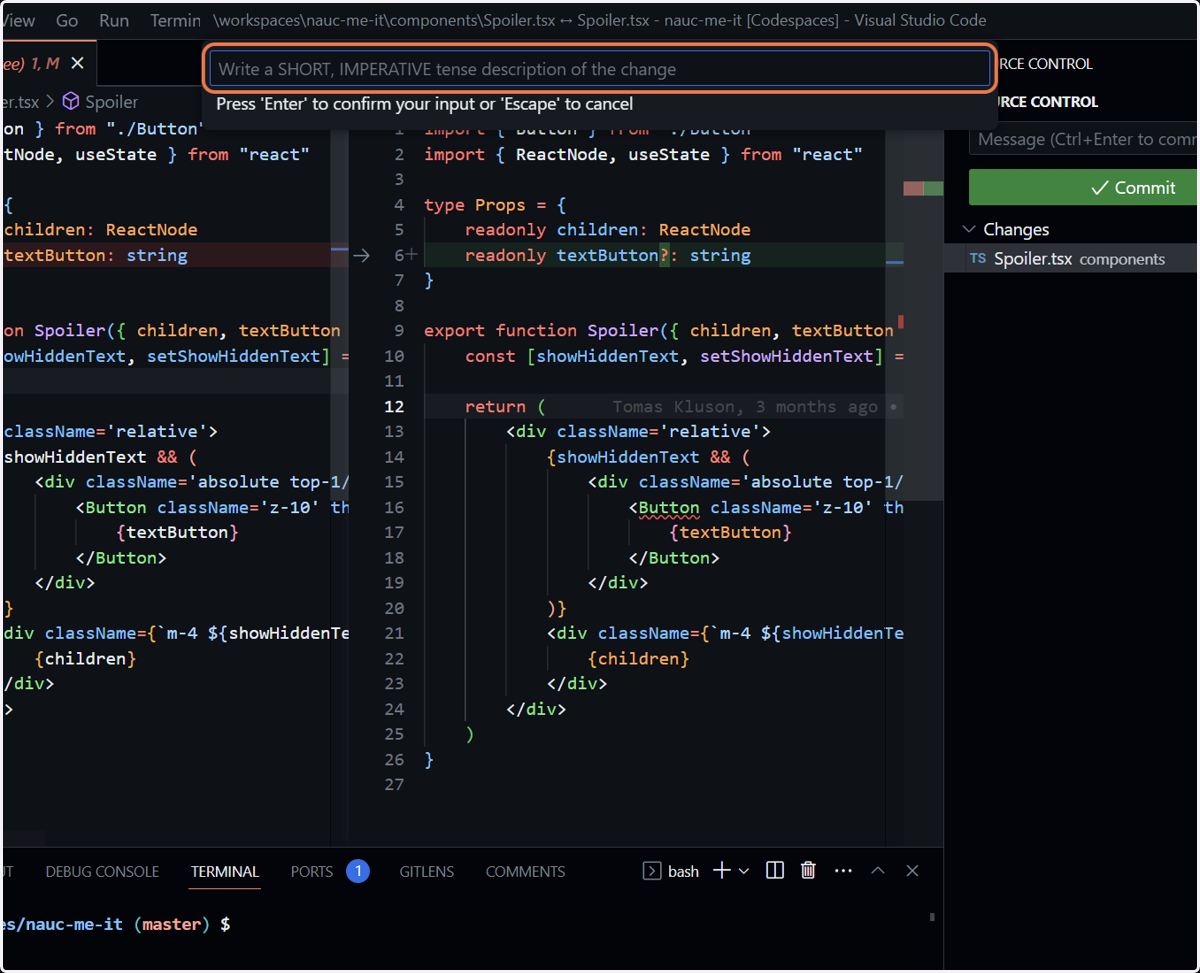
6. Write a SHORT, IMPERATIVE tense description of the change and press ENTER
Should be less than 50 characters (it will warn you).
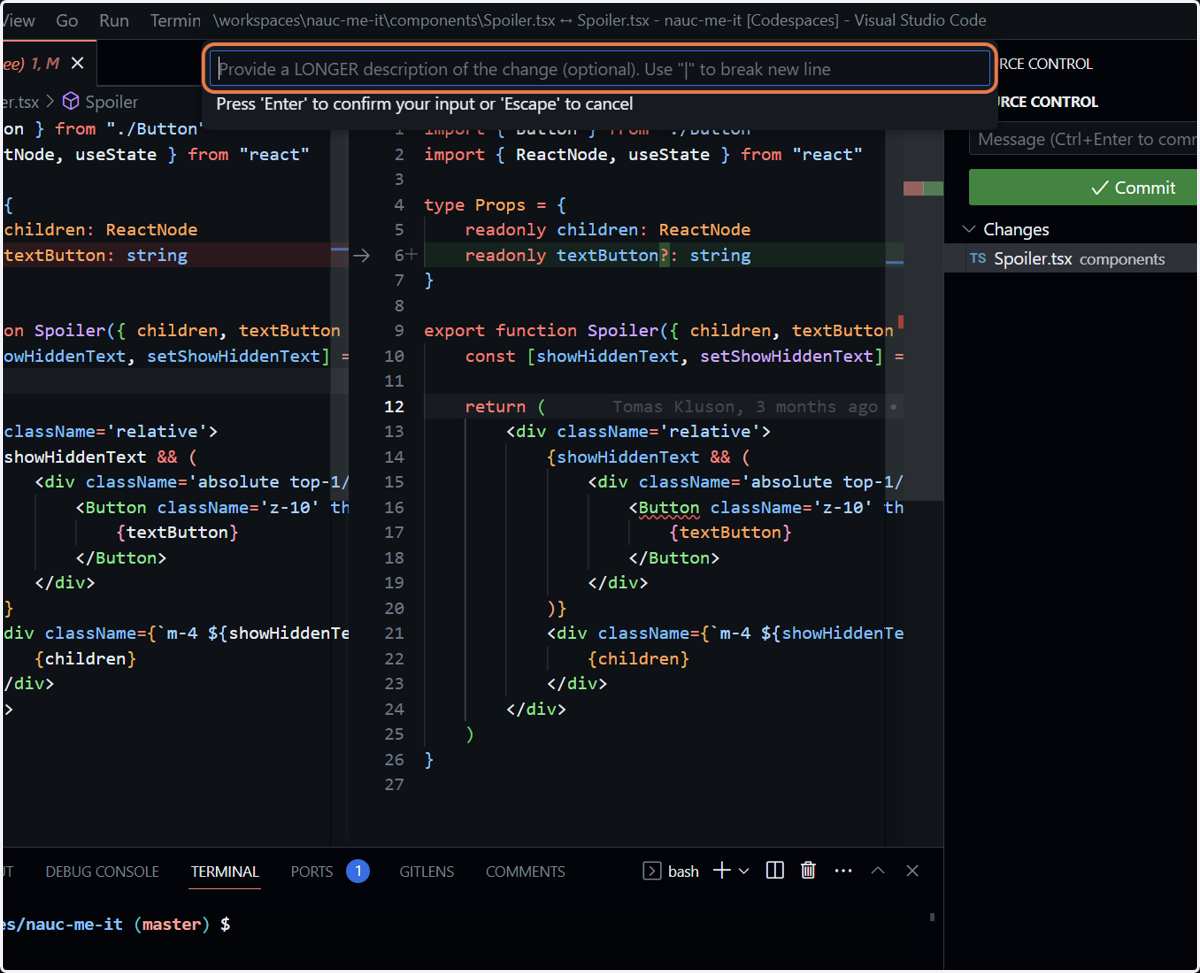
7. Optionally provide a LONGER description of the change. Use "|" to break a new line. No spaces around!
I incorrectly added spaces around, you will the result in the end.
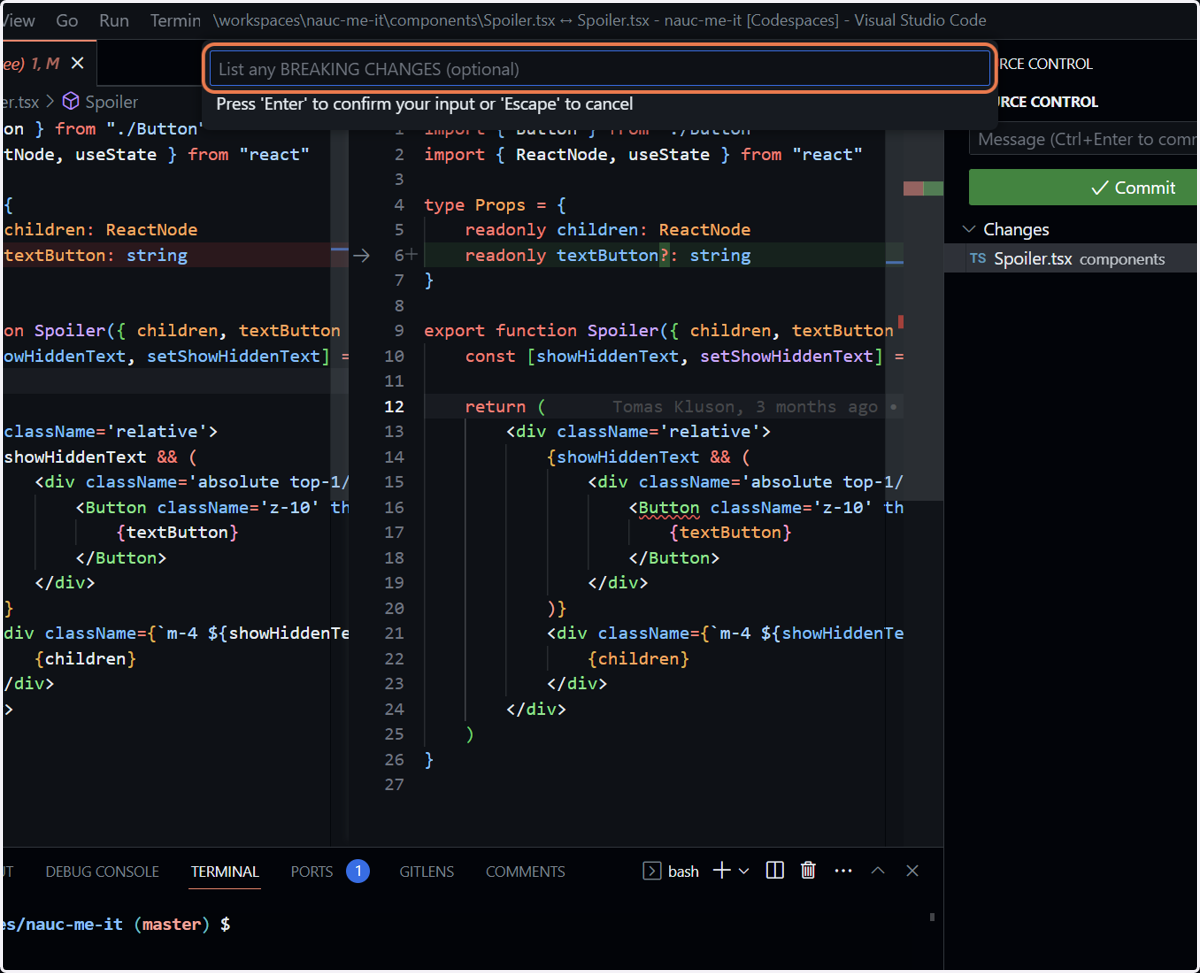
8. If you did some BREAKING CHANGES write them here
It is great for clean history to know if there were some breaking changes (e.g. API).
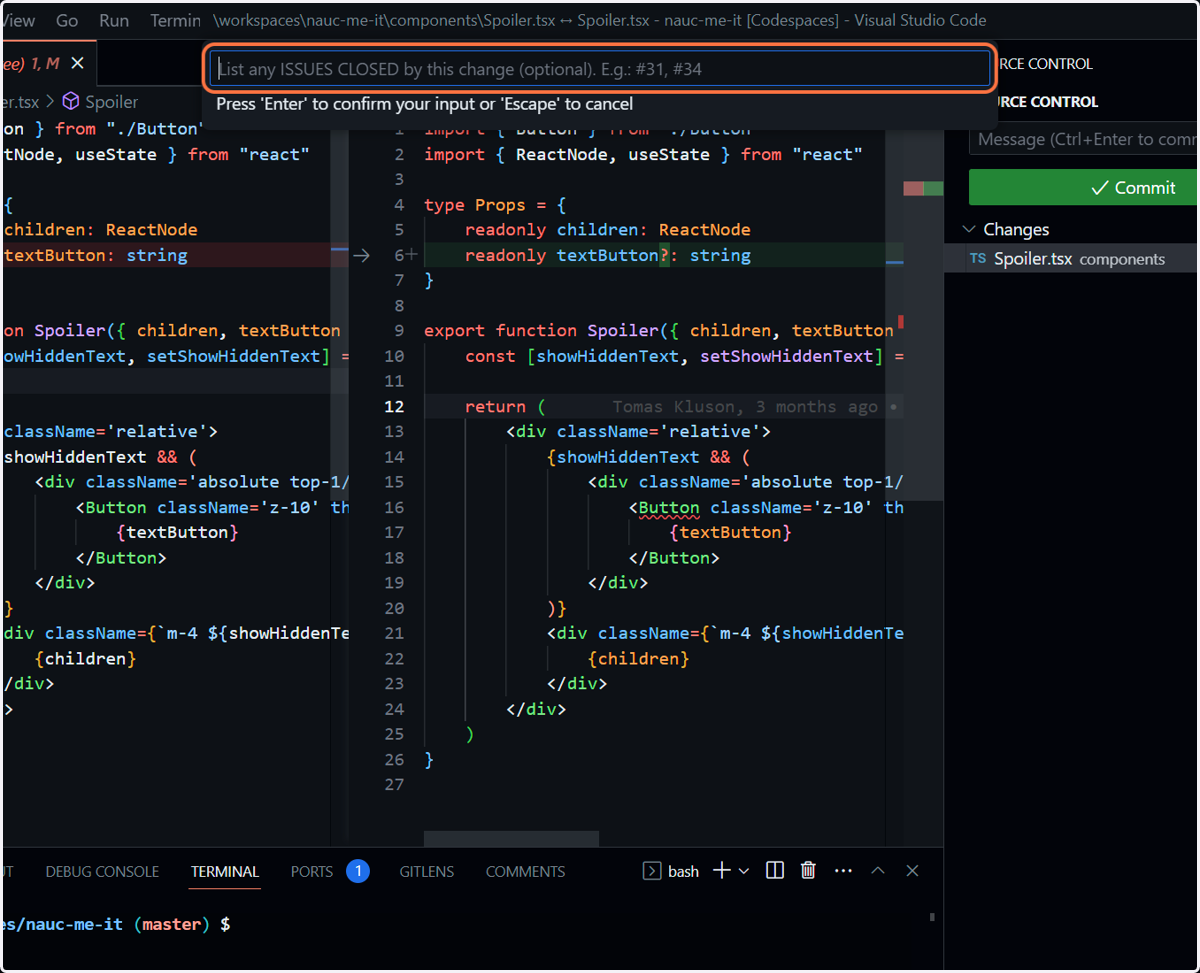
9. We do not use ISSUES CLOSED, it is a Github feature for automatic linking
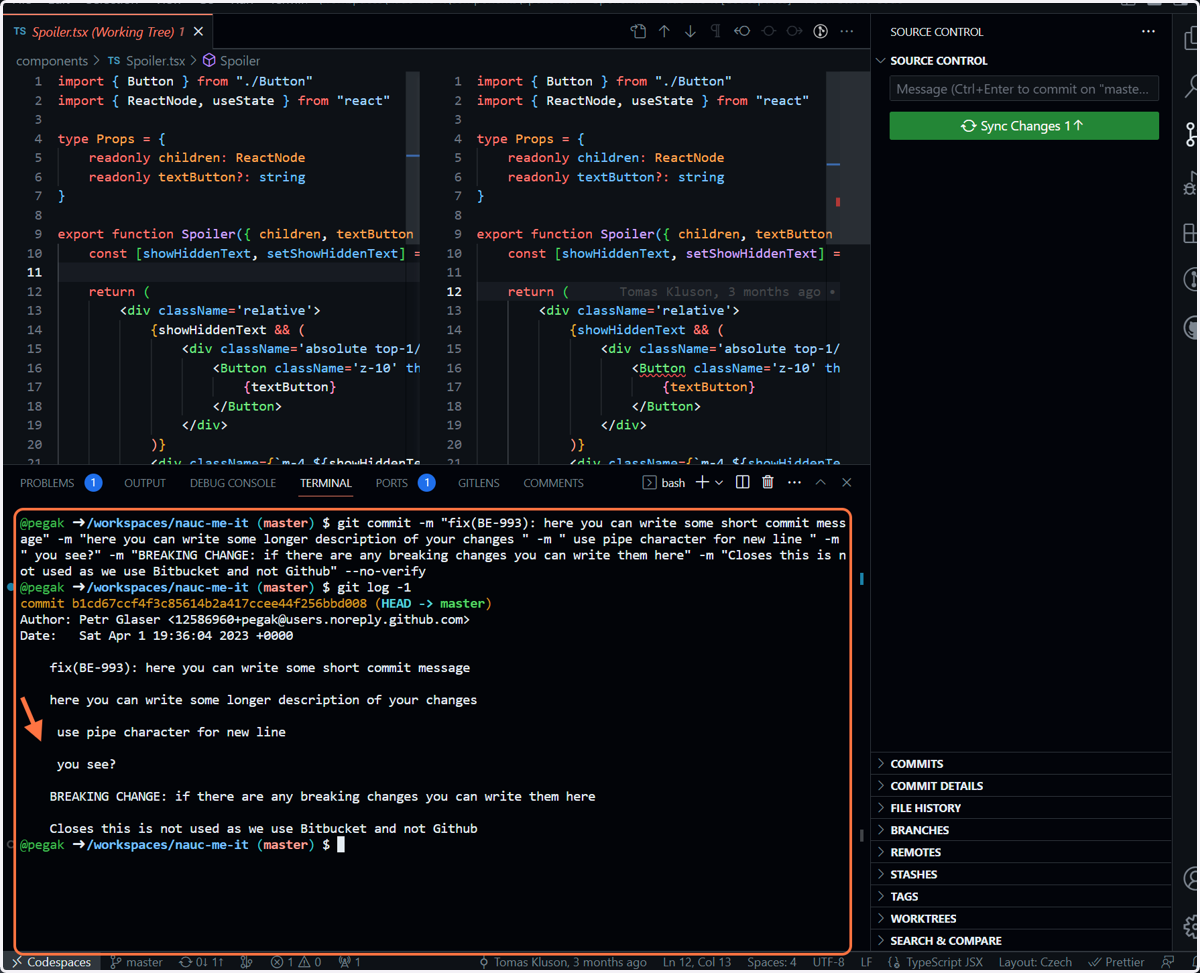
10. This is the final result of a commit with Commitizen
As you can see, there are spaces at the start of lines "use pipe" and "you see", because I used " | " for separation