How to Update Collections Built with 'Individually Select'
This guide explains how to update an existing Collection in Buddi that was built using the 'Individually Select' function. In this demo, we are updating a Collection for 'Disposable Vapes', as the store just received a new batch of disposable vape inventory.
NOTE: This process is only required for Collections built using the 'Individually Select' function. On the other hand, Collections built with 'Select Using Logic' do not require manual updates since the process is automated based on pre-defined parameters. For more info, see this article: Select Using Logic vs. Individually Select
1. Go to the Admin Portal > Promotions.
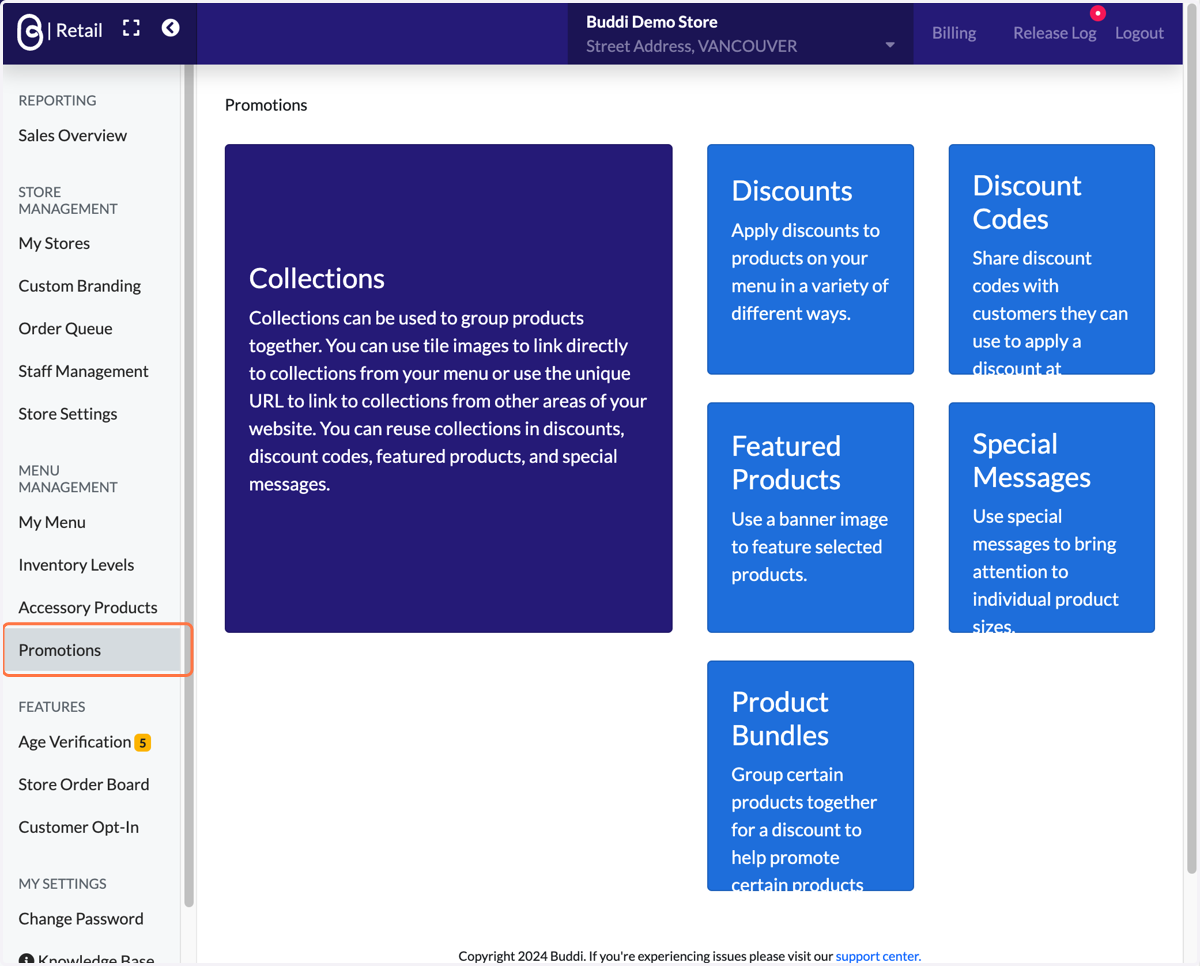
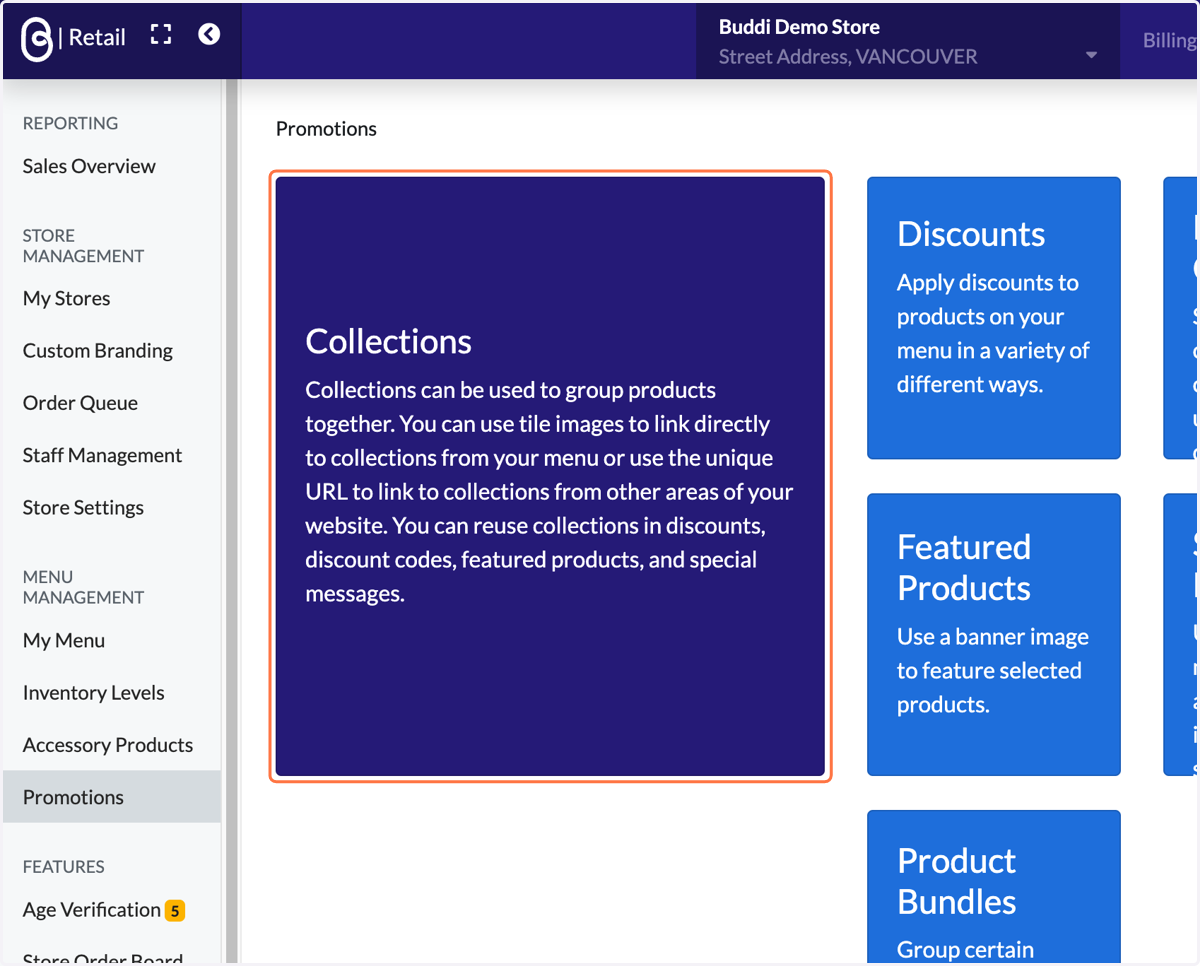
2. Access the 'Collections' section.
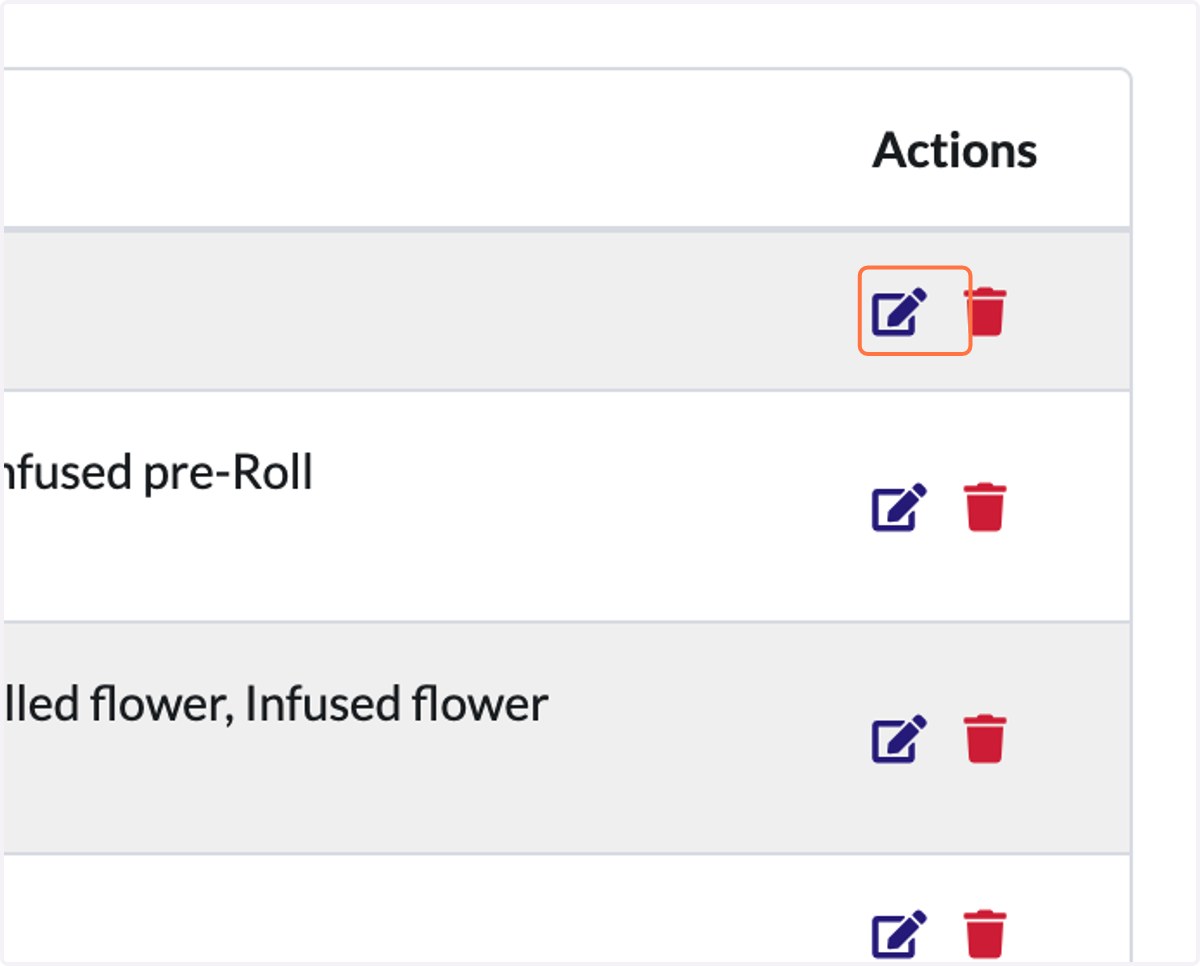
3. Identify the Collection that you want to update. Click on its edit icon.
In this demo, we are editing the 'Disposable Vapes' Collection.
4. Shown: Collections edit page of an existing Collection
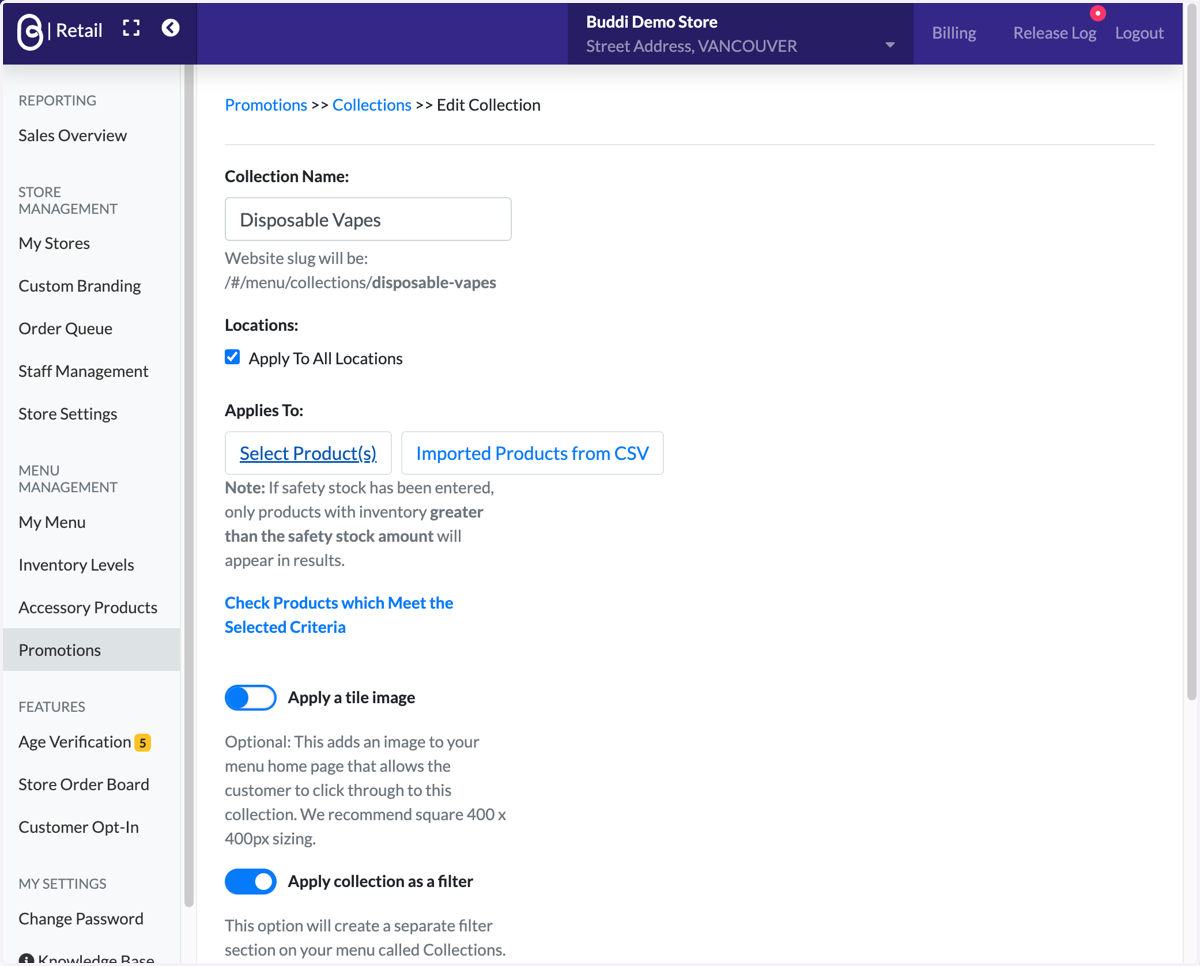
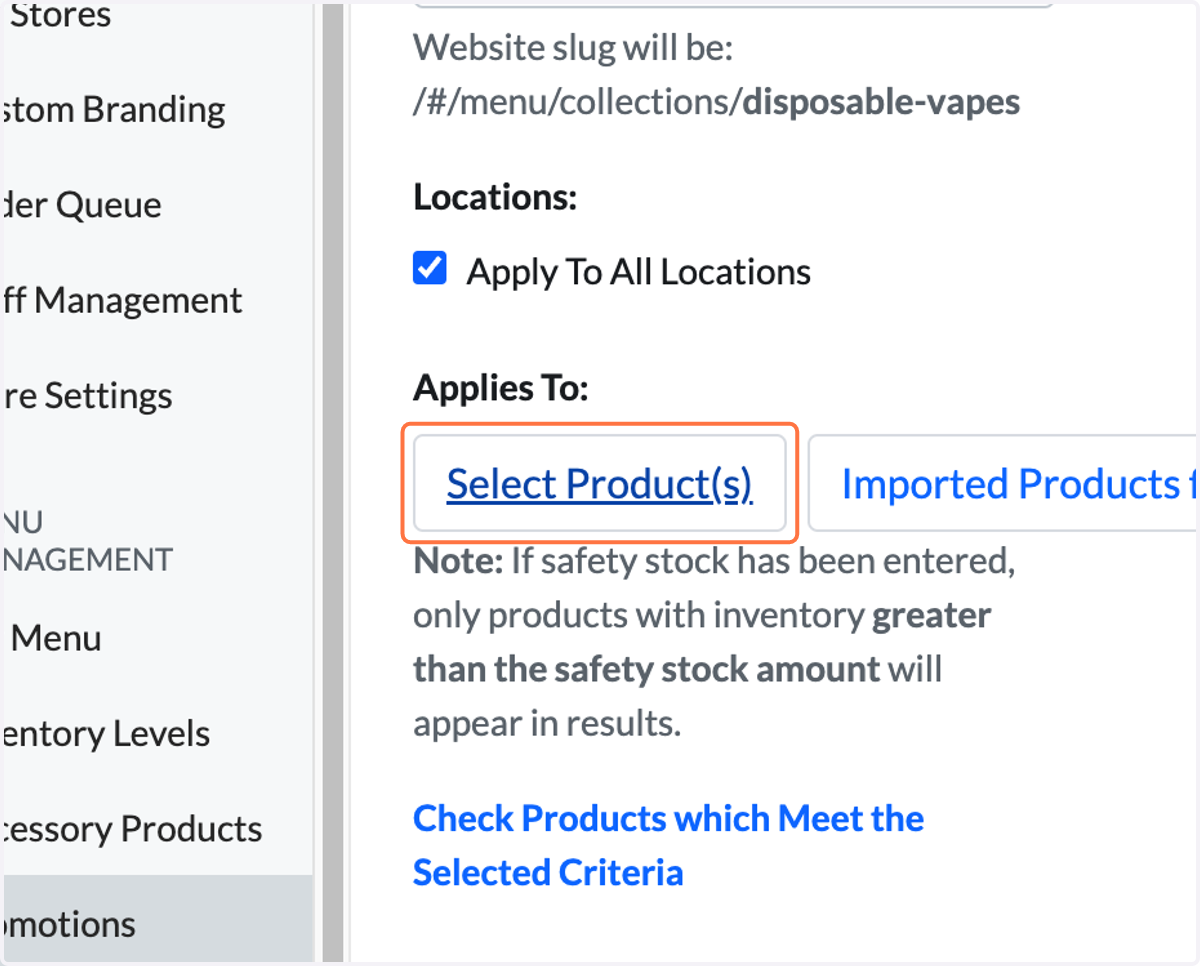
5. Click on 'Select Product(s)'.
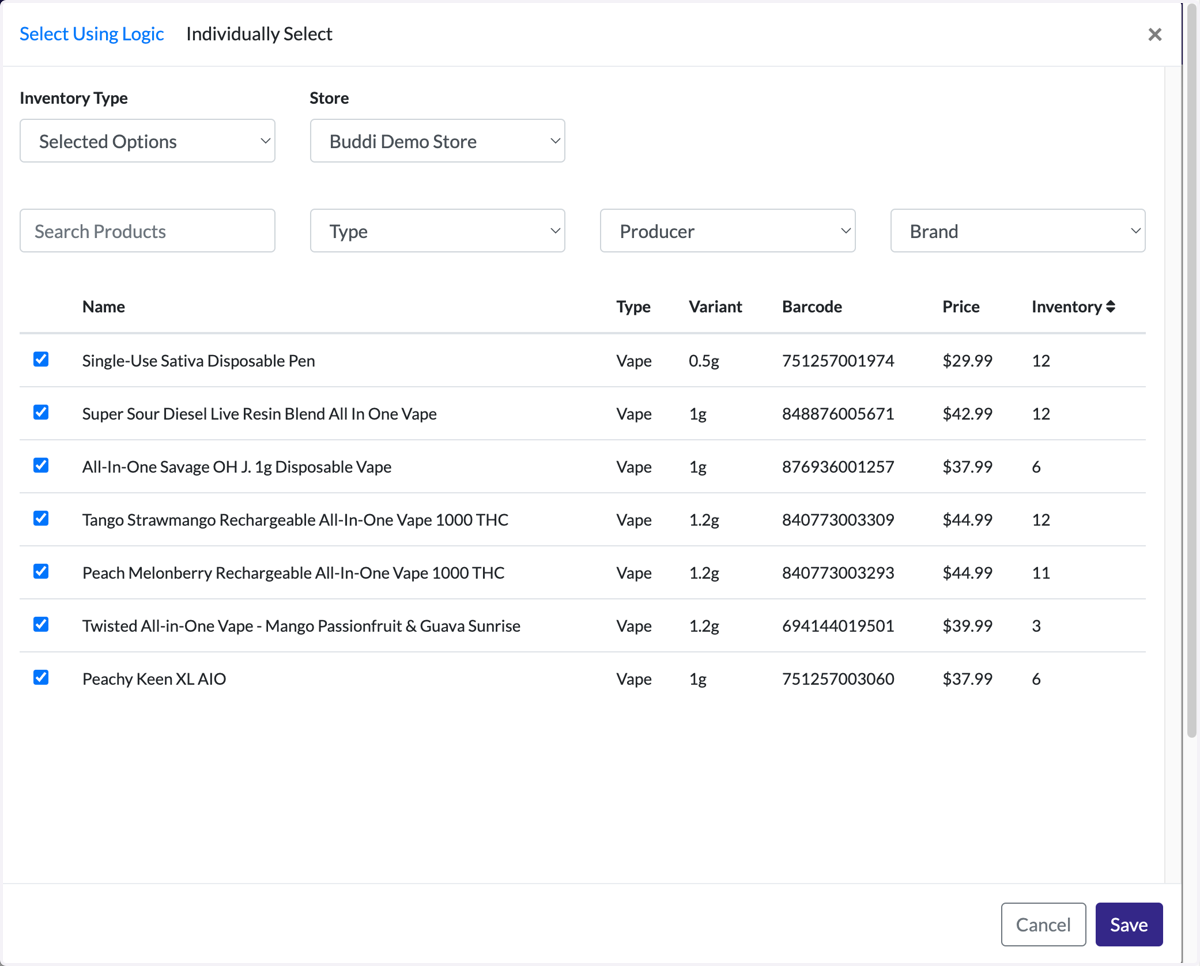
6. The 'Individually Select' tab will already be active, displaying 'Selected Options' (existing products in the Collection).
Note: If you would like to remove an existing product from a Collection, simply uncheck its box from this screen.
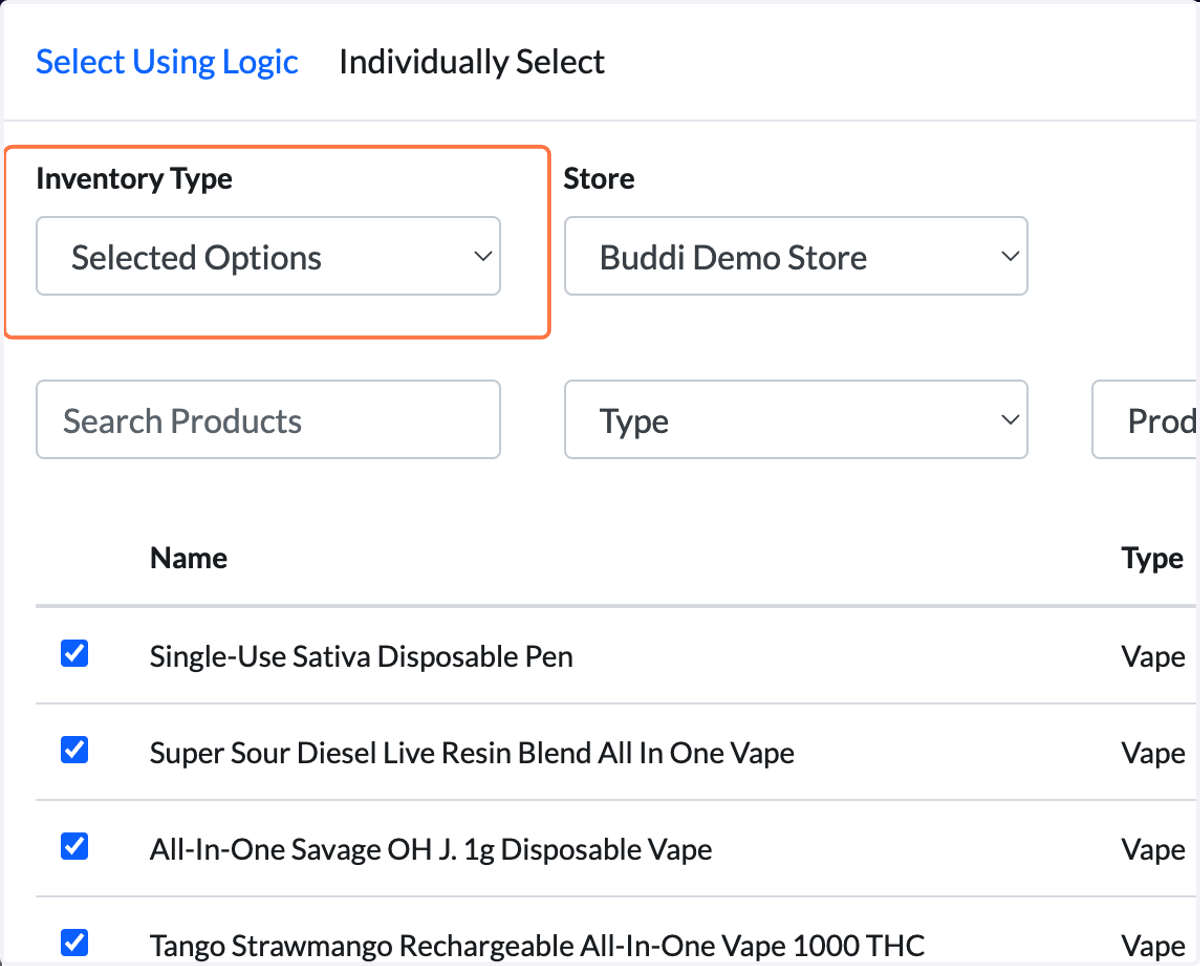
7. In the Inventory Type dropdown, click on 'Selected Options' to select either 'Store' or 'Chain' (if you have multiple locations). ***This is an important step when updating a Collection!***
We will select 'Store' for this demo.
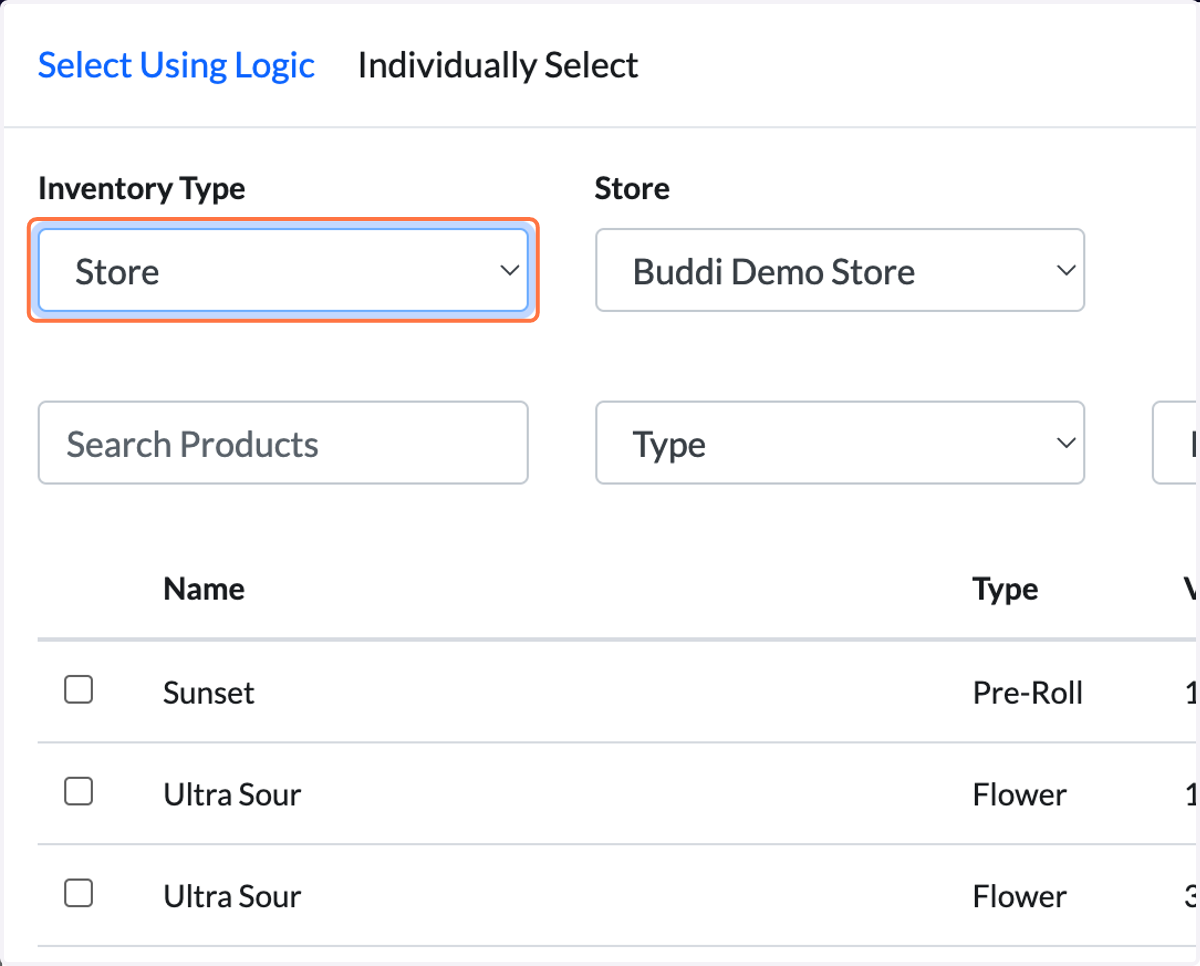
8. This will reveal the full product list so that you can select more products for the Collection.
If you just need to know how to add more products to the Collection, skip to step 11. Review steps 11 to 15.
If you are actually trying to update your a Disposable Vapes Collection, please continue. You can refer to all steps in this guide.
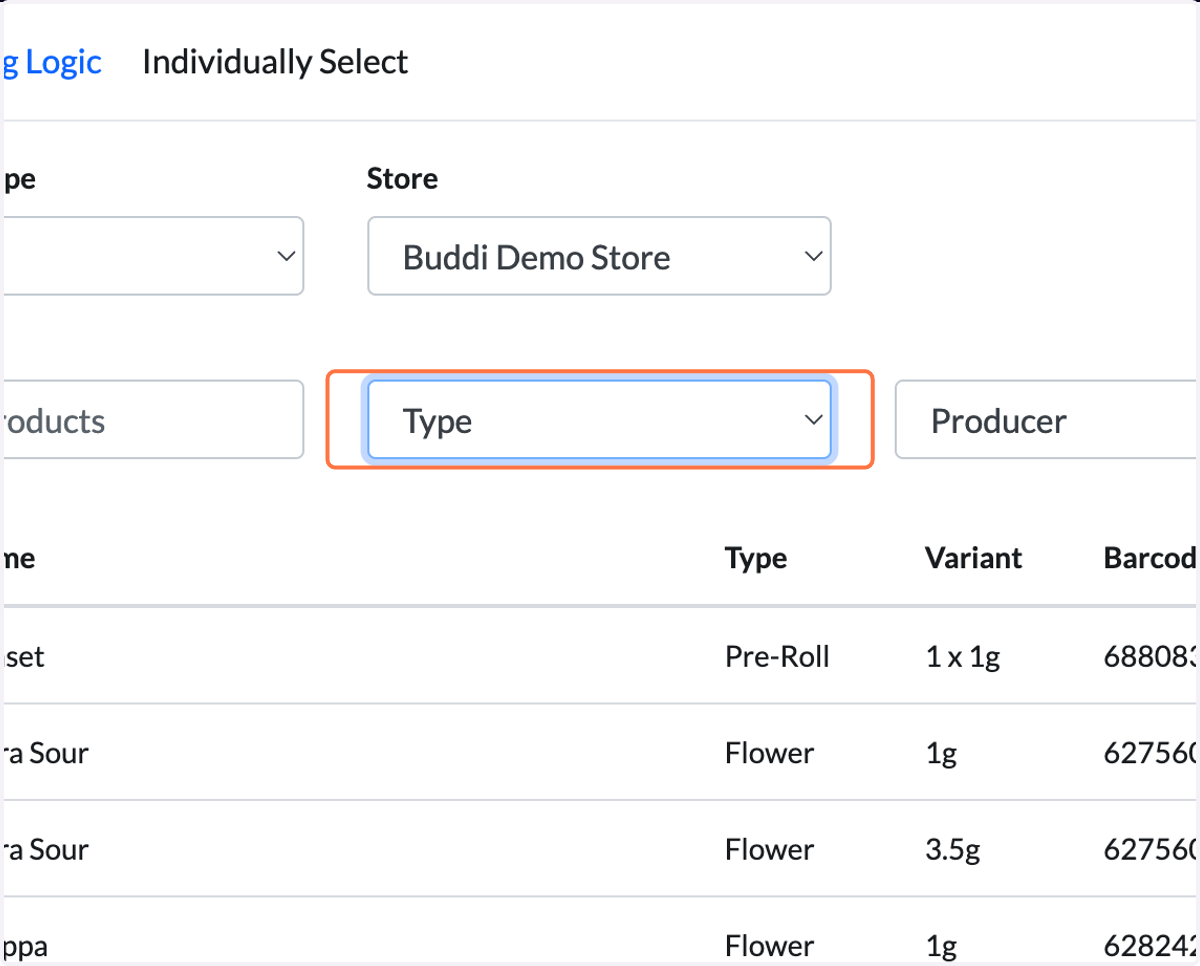
9. To filter products by category, select 'Type'.
10. Select 'Vape' in the dropdown.
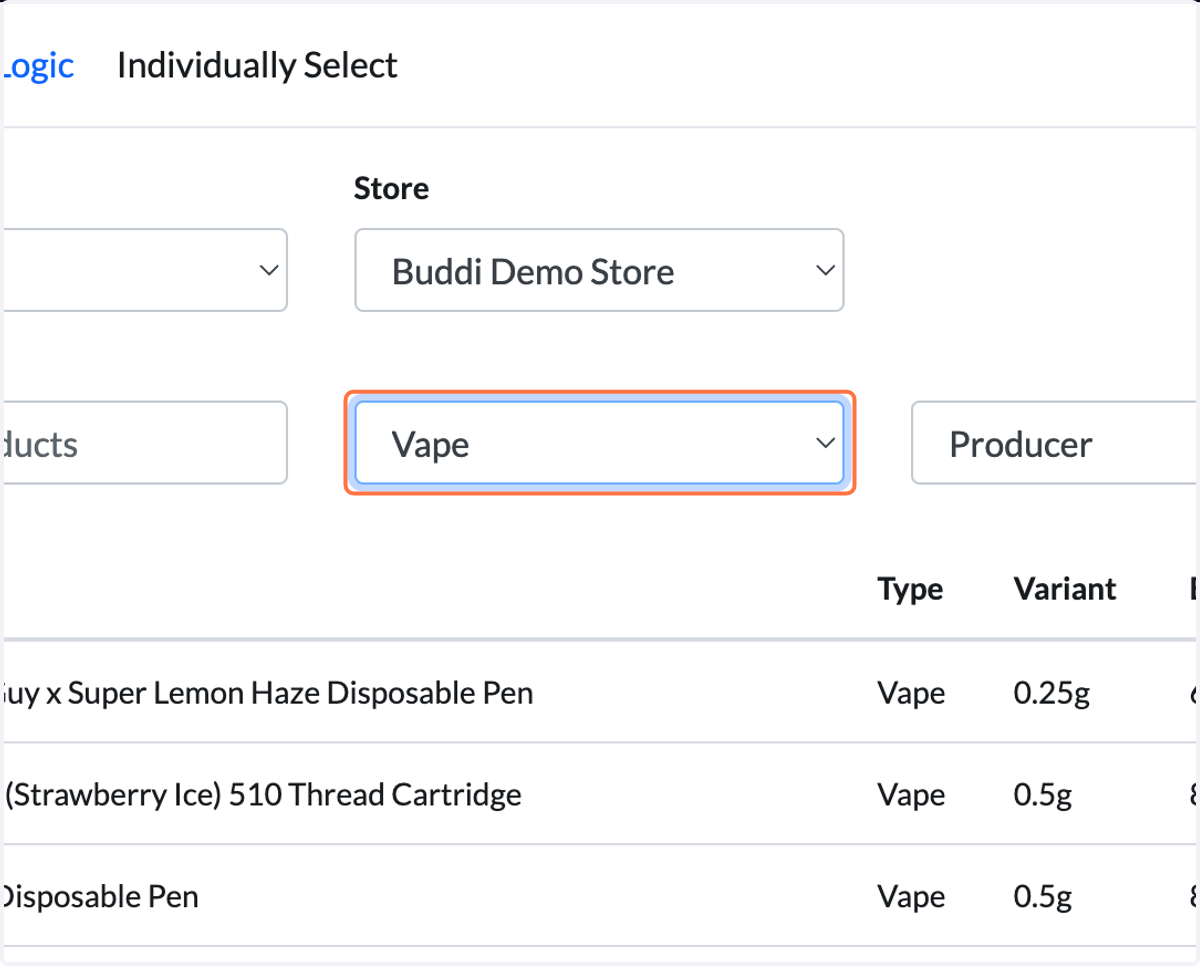
11. This will reveal a full list of vape products, both In Stock and 'Not In Stock'.
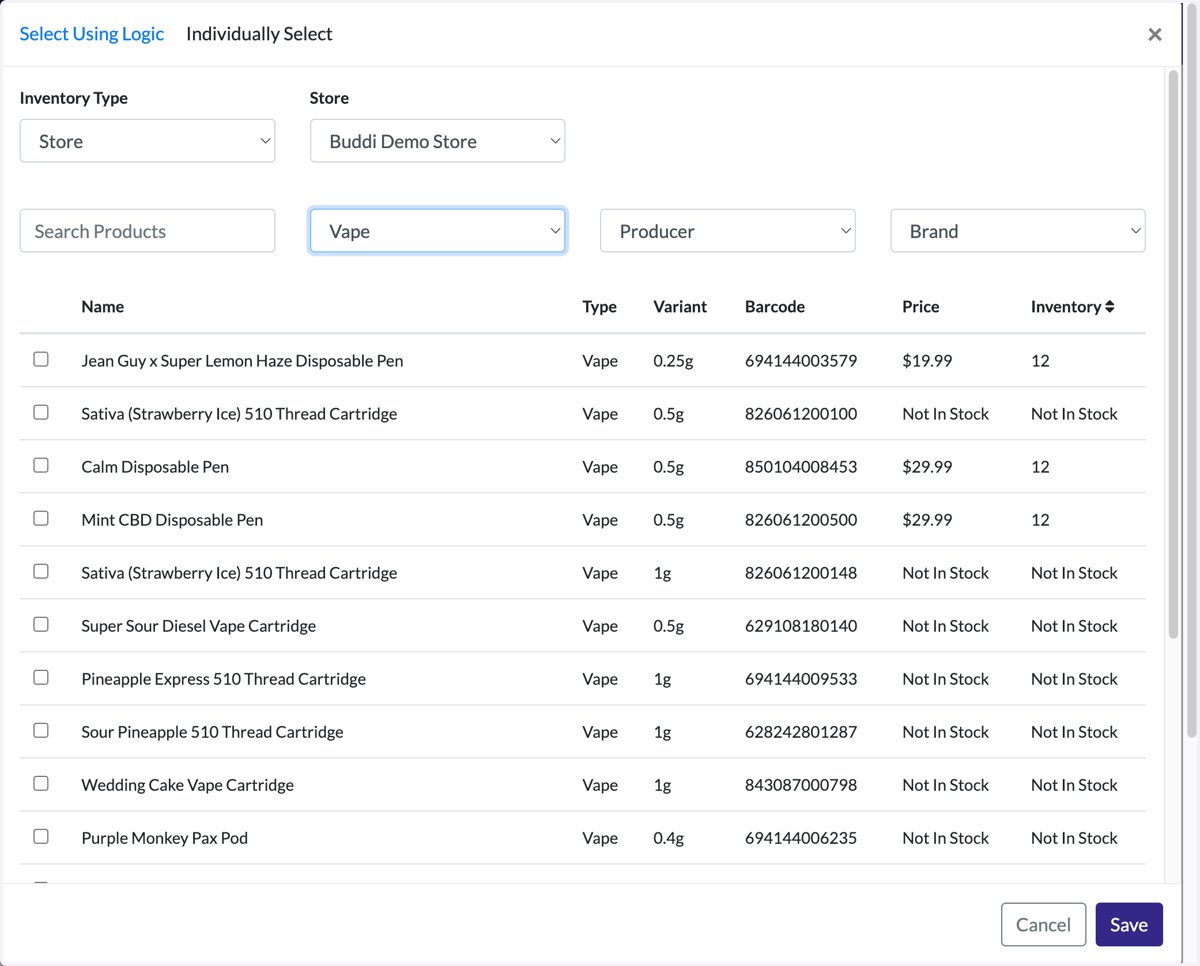
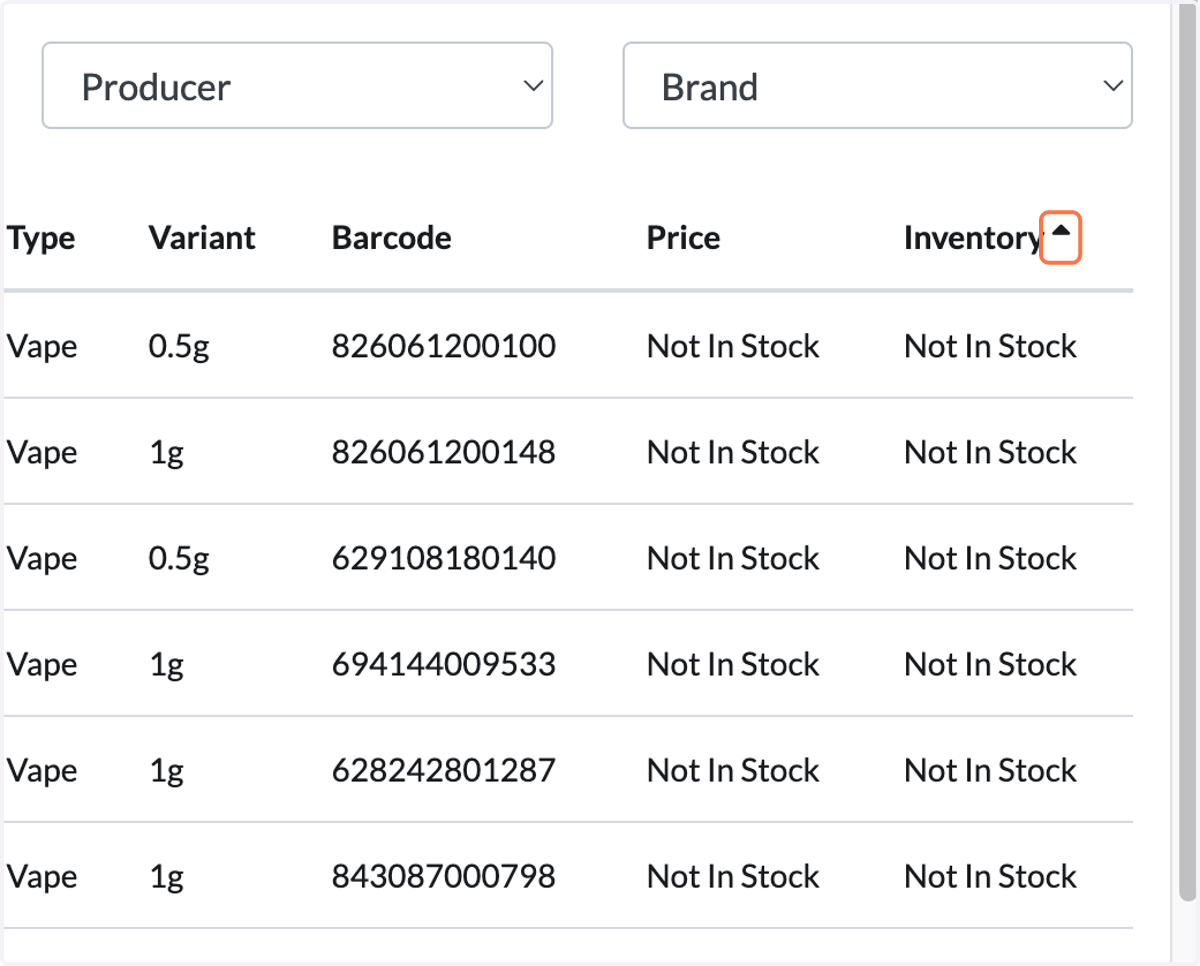
12. To sort In Stock products to the top, click on the two arrows icon (beside 'Inventory').
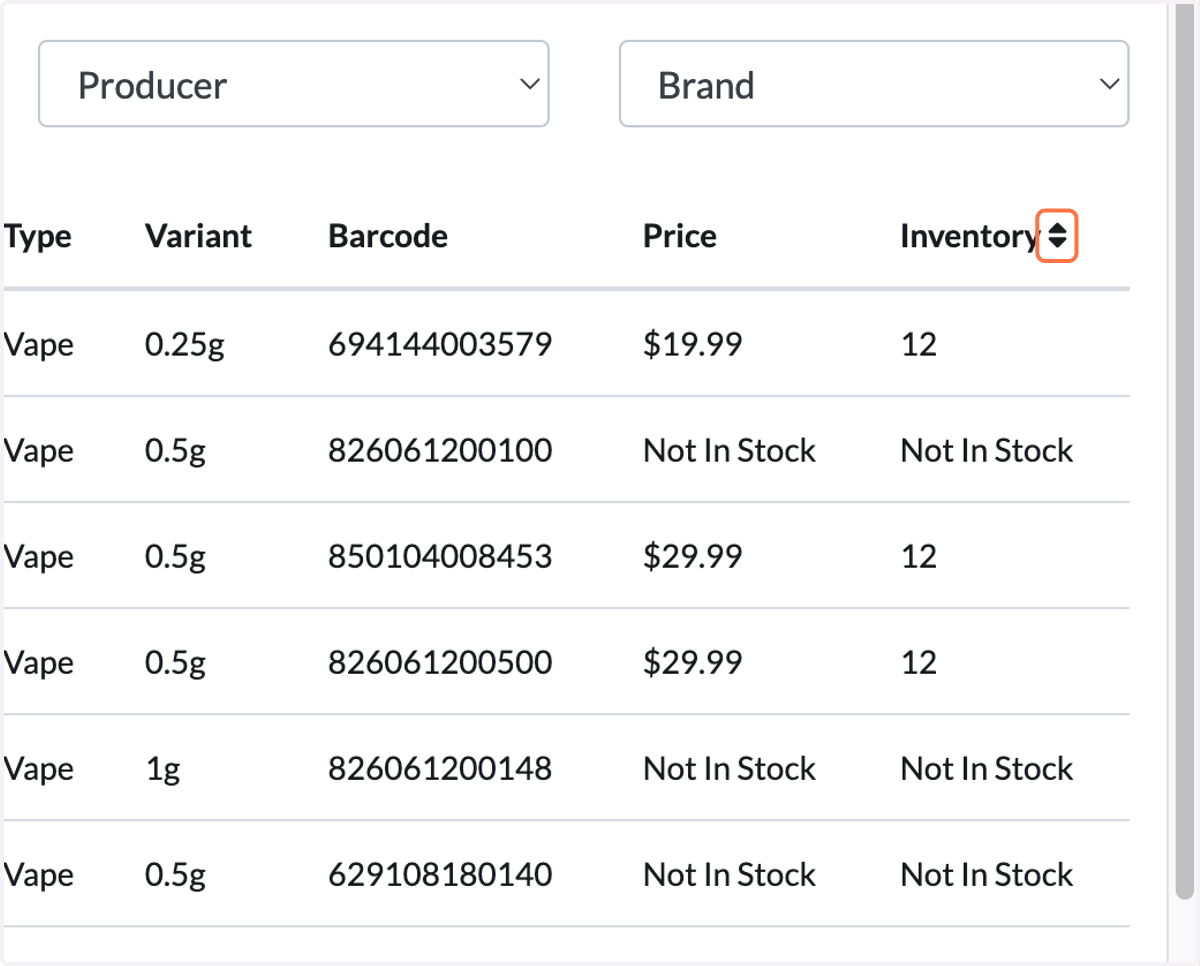
13. This will initially bring 'Not In Stock' products to the top.
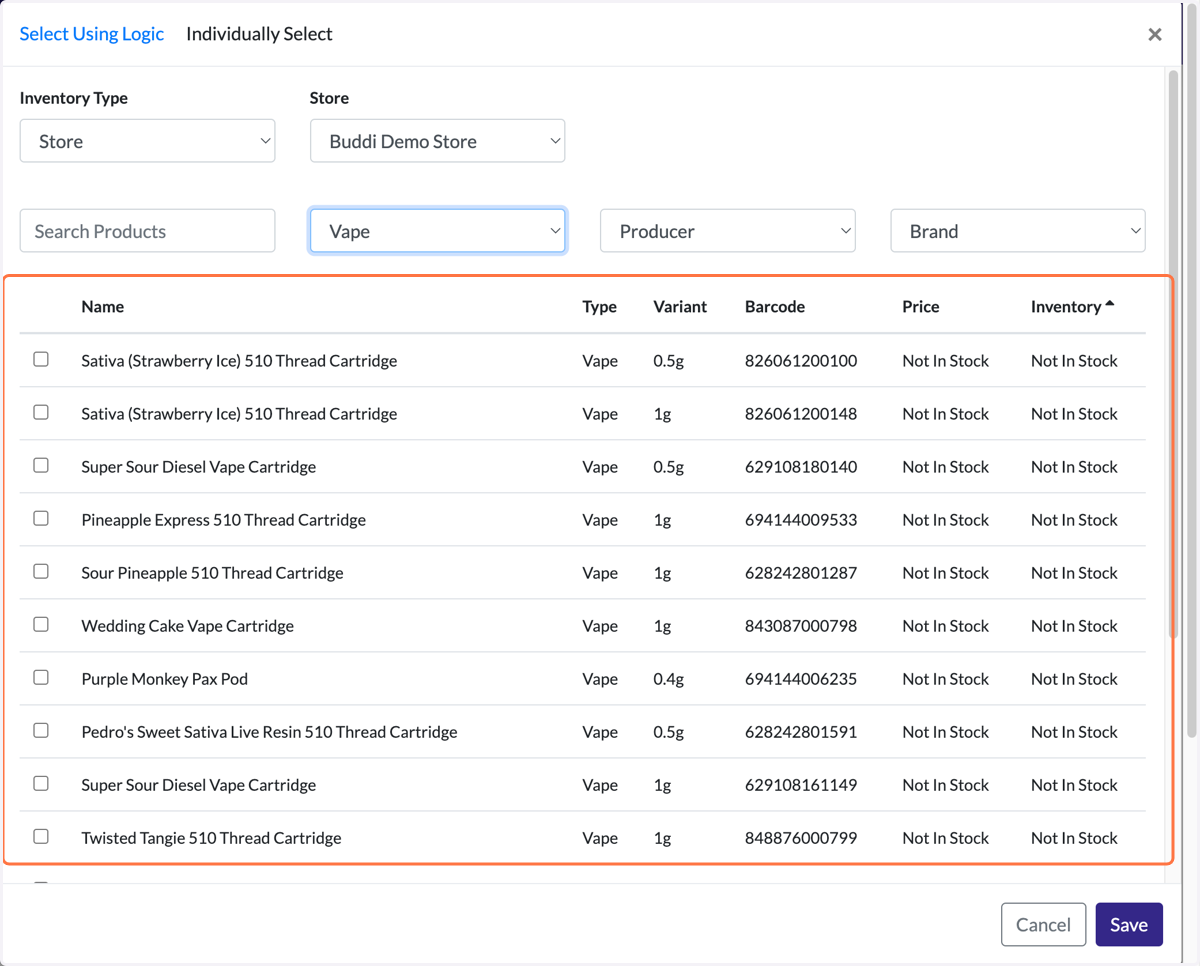
14. Click on the arrow icon beside 'Inventory' again.
15. Now, all of the In Stock products will be sorted to the top for easy selection.
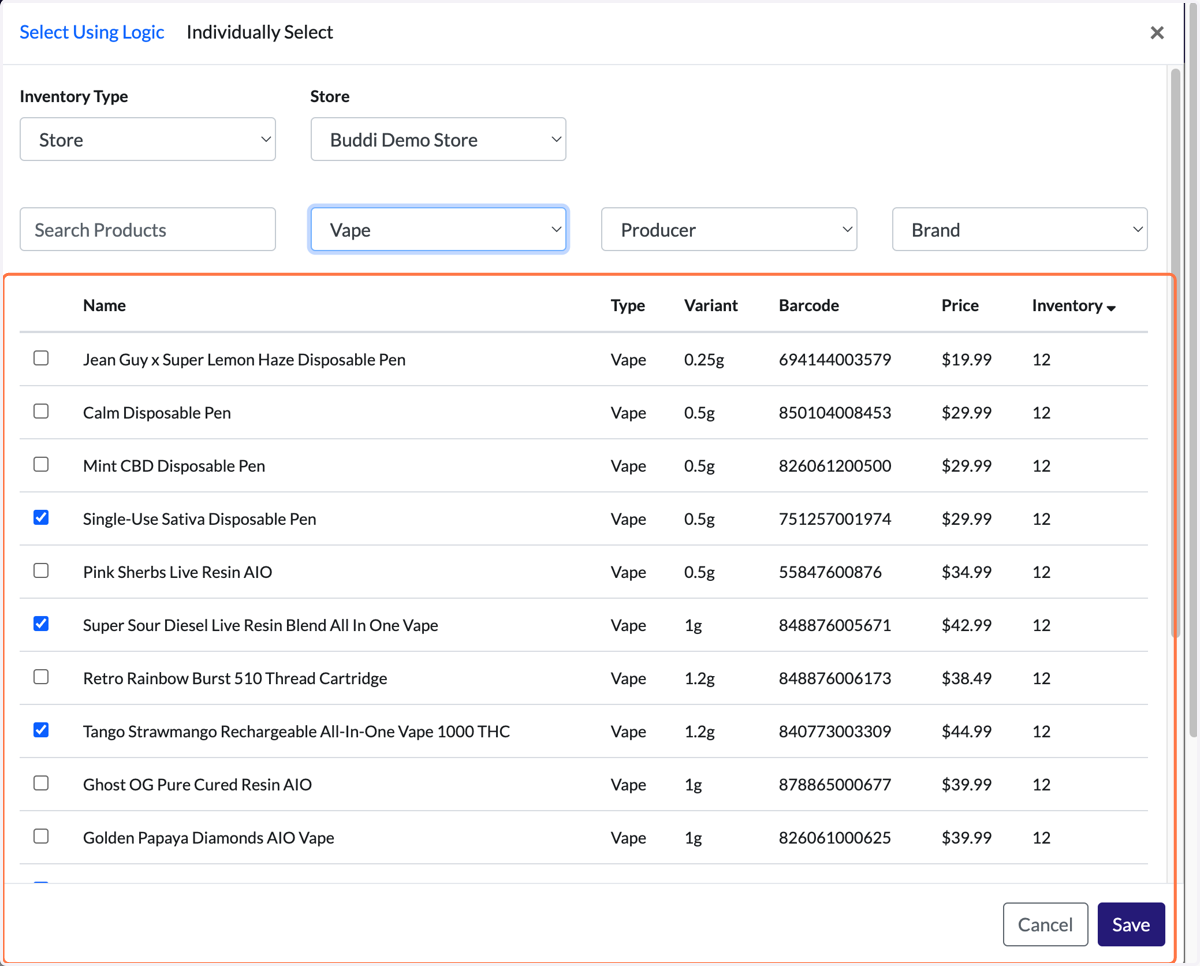
16. From here, you will enter keywords into the Name search field, one-by-one. Hit 'Enter'.
For the Disposable Vapes demo, let's start with "disposable" (type it in and press 'Enter').
Let's say your new stock of disposable vape products contain these keywords:
"disposable""AIO"
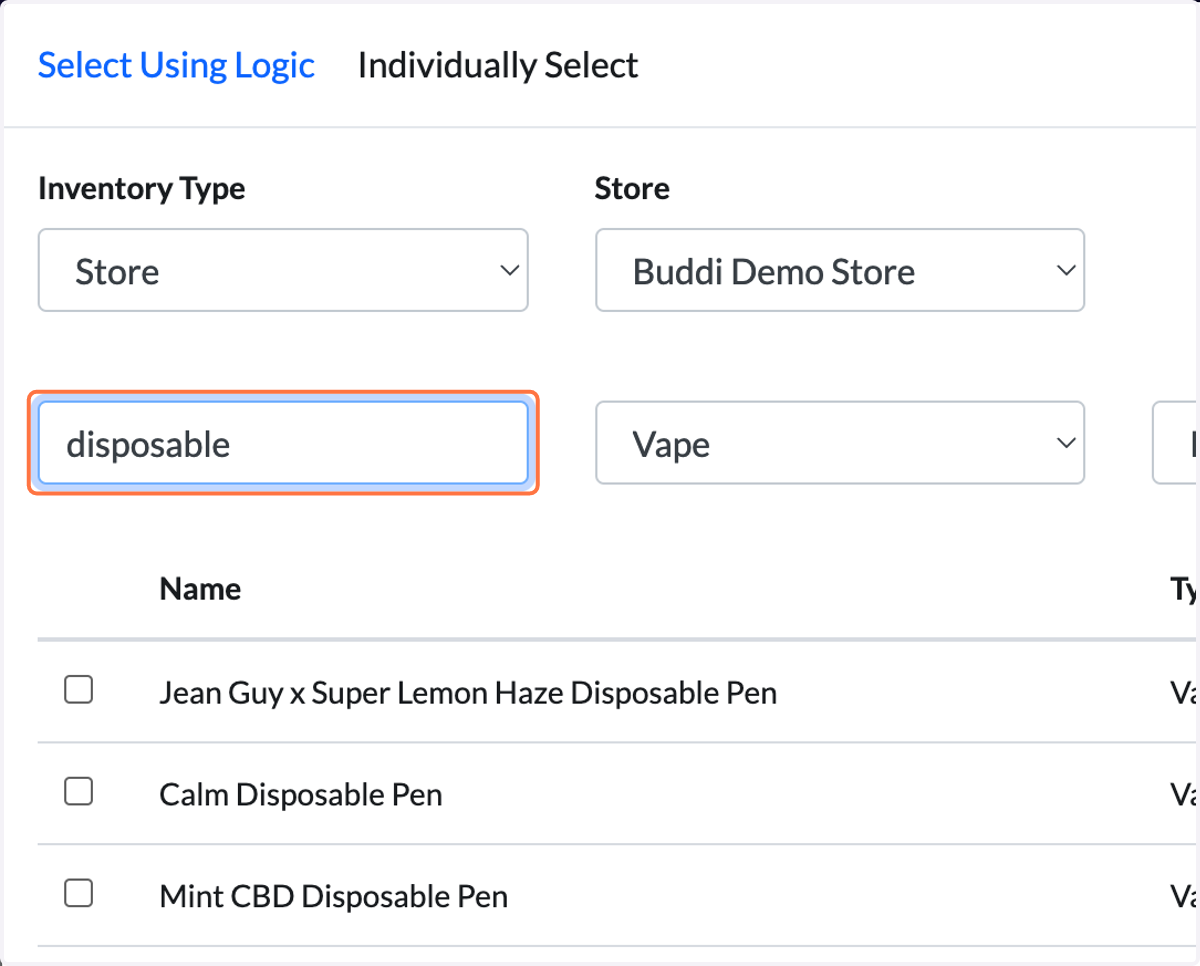
17. This will bring up all products containing the keyword.
e.g. "disposable"
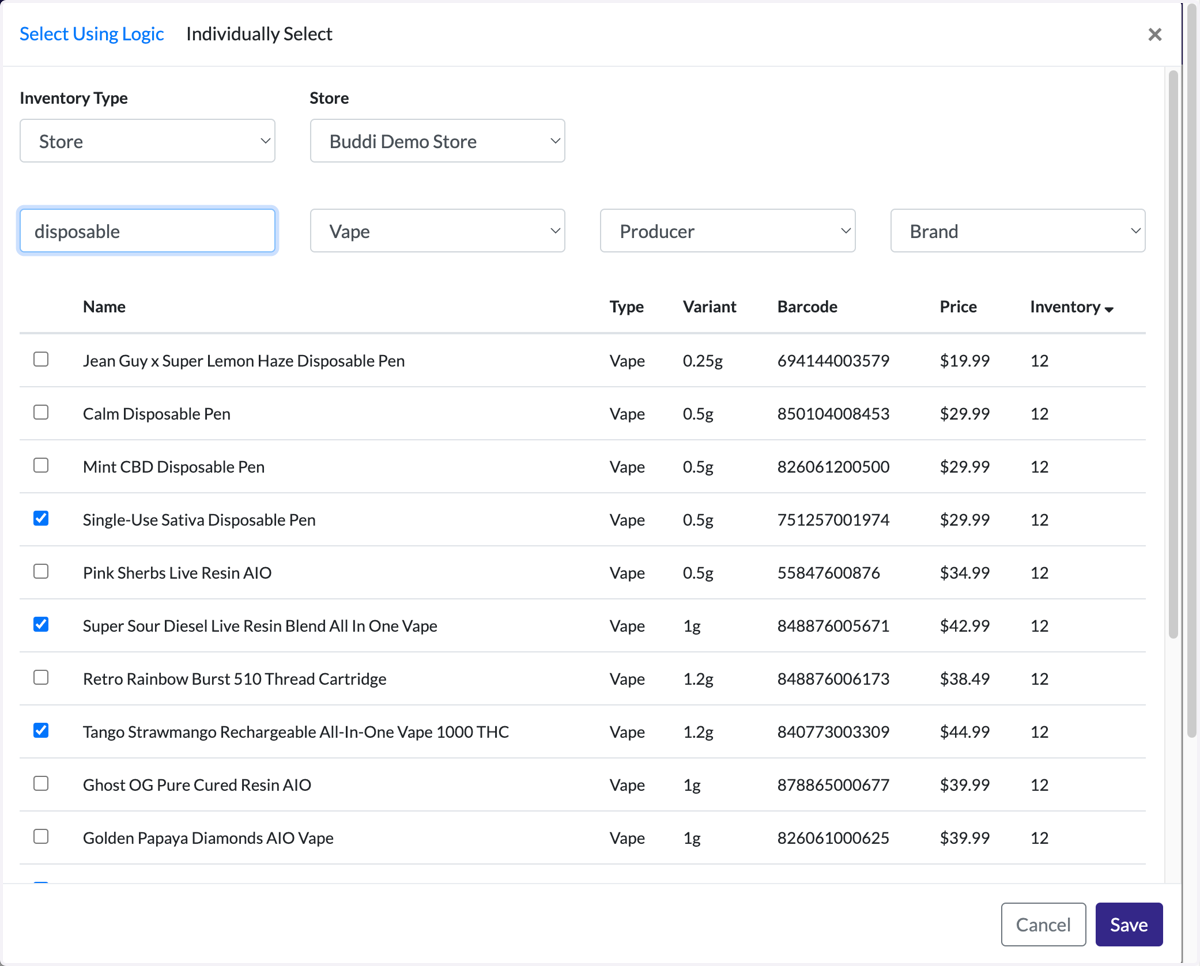
18. Identify all applicable products.
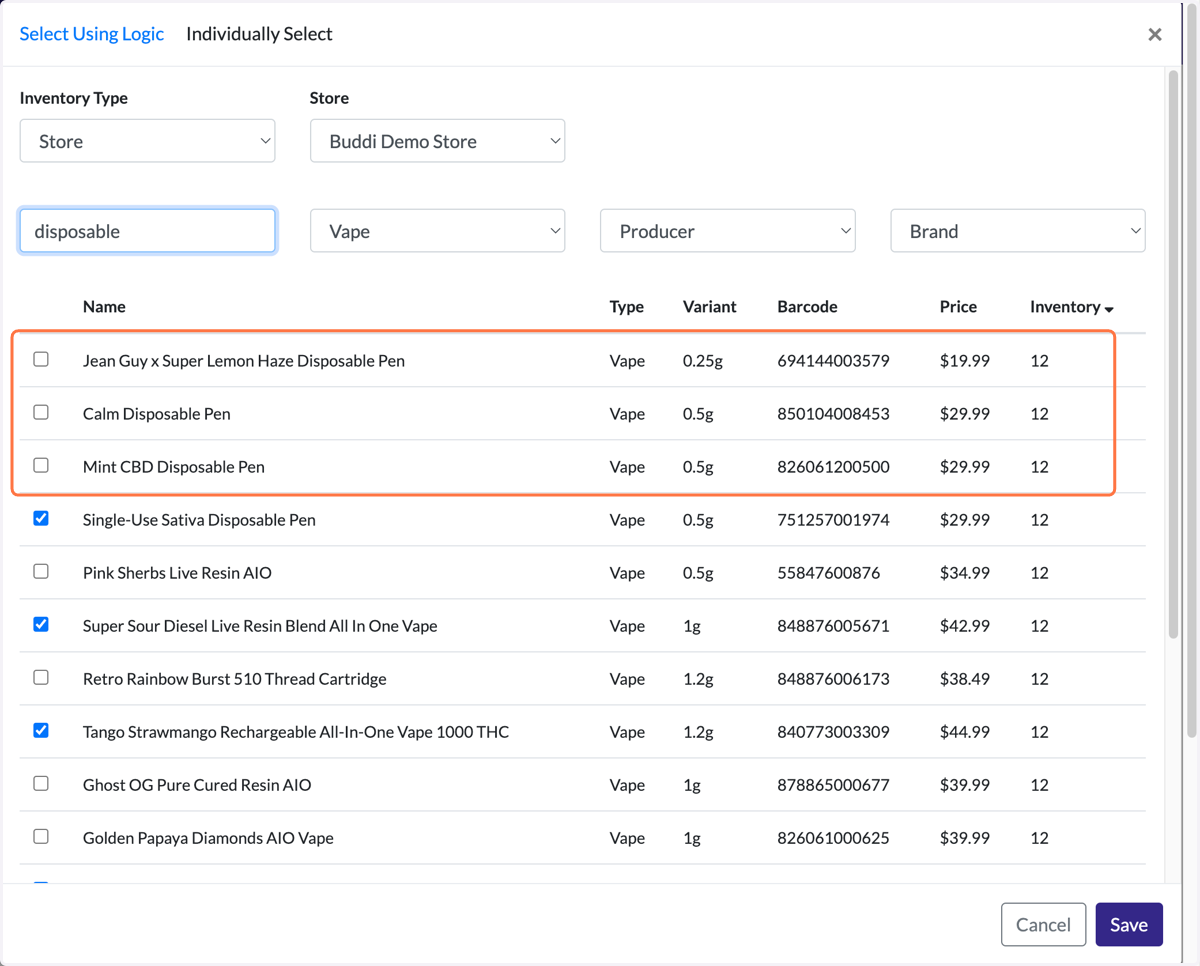
19. Checkmark those products.
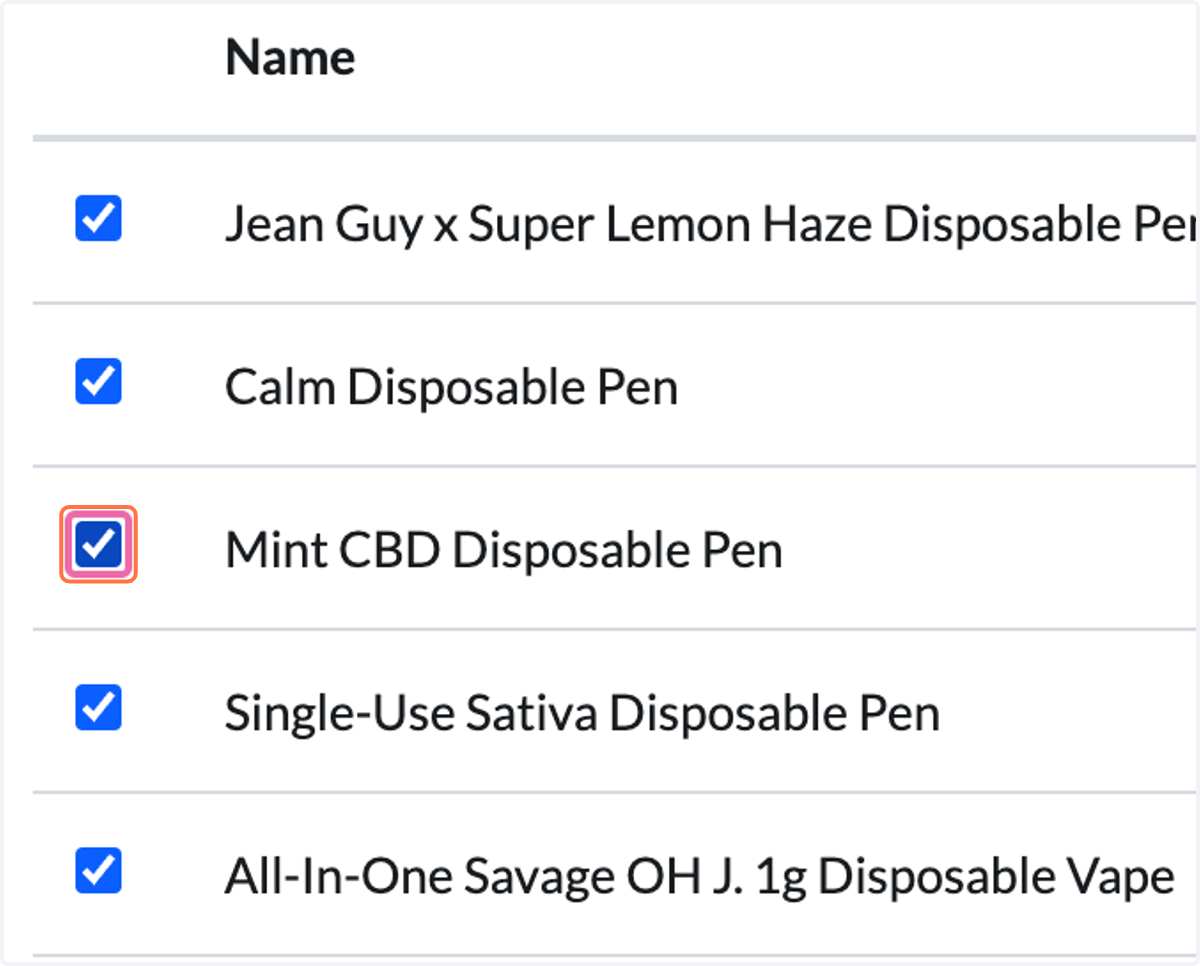
20. If there are more products to search, repeat the process of typing in specific keywords.
e.g. Type in the next keyword: "AIO" > Hit 'Enter'.
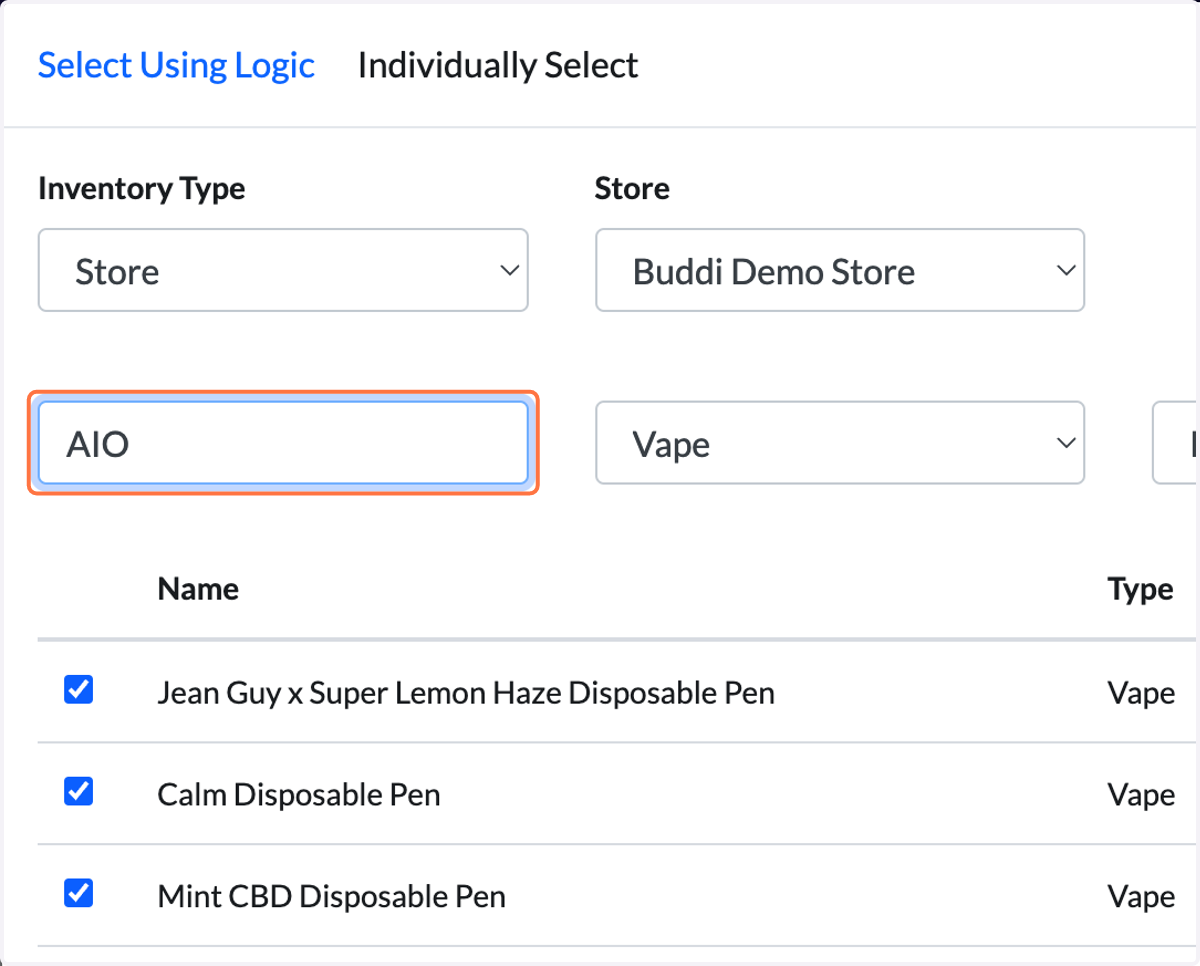
21. Again, identify all new products containing the keyword.
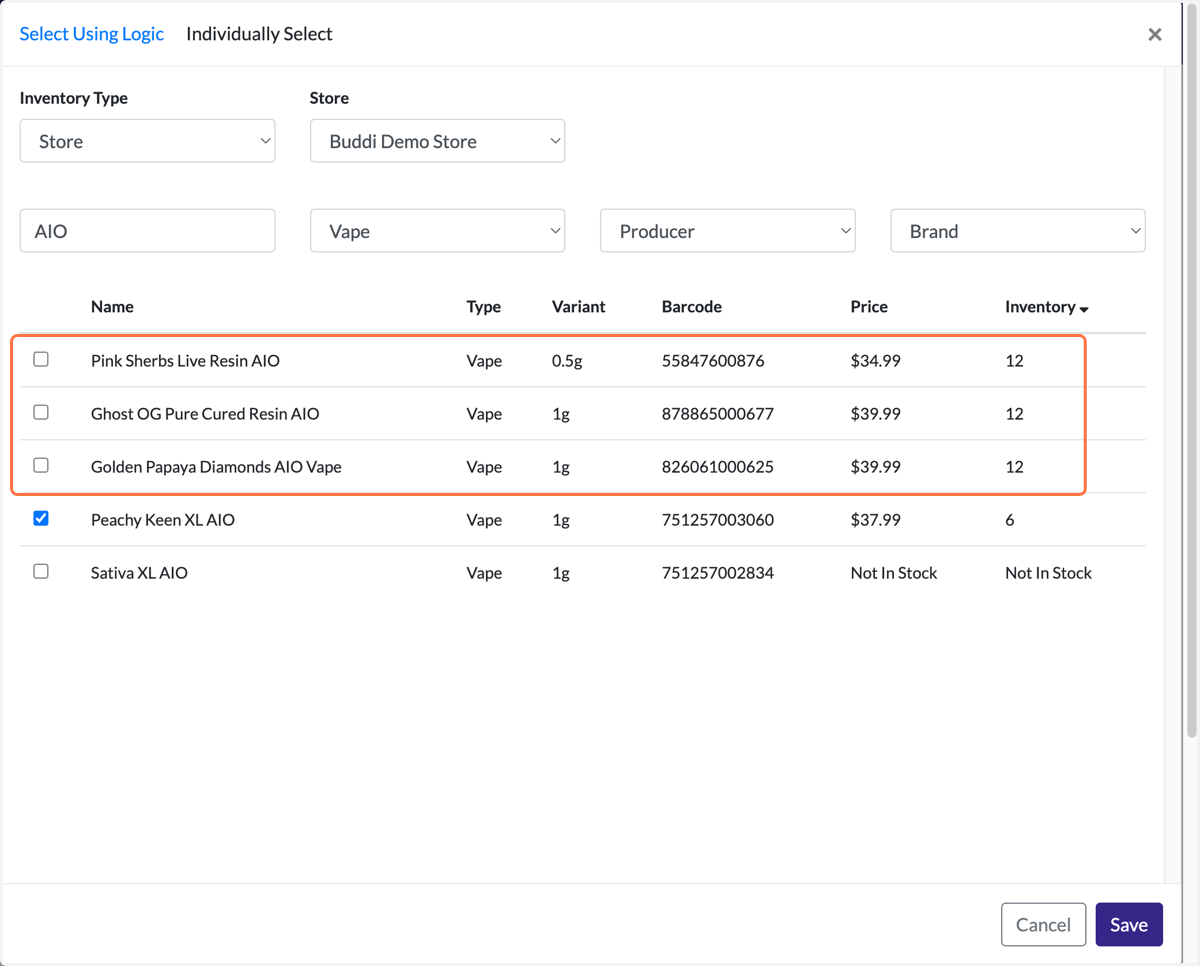
22. Checkmark those products.
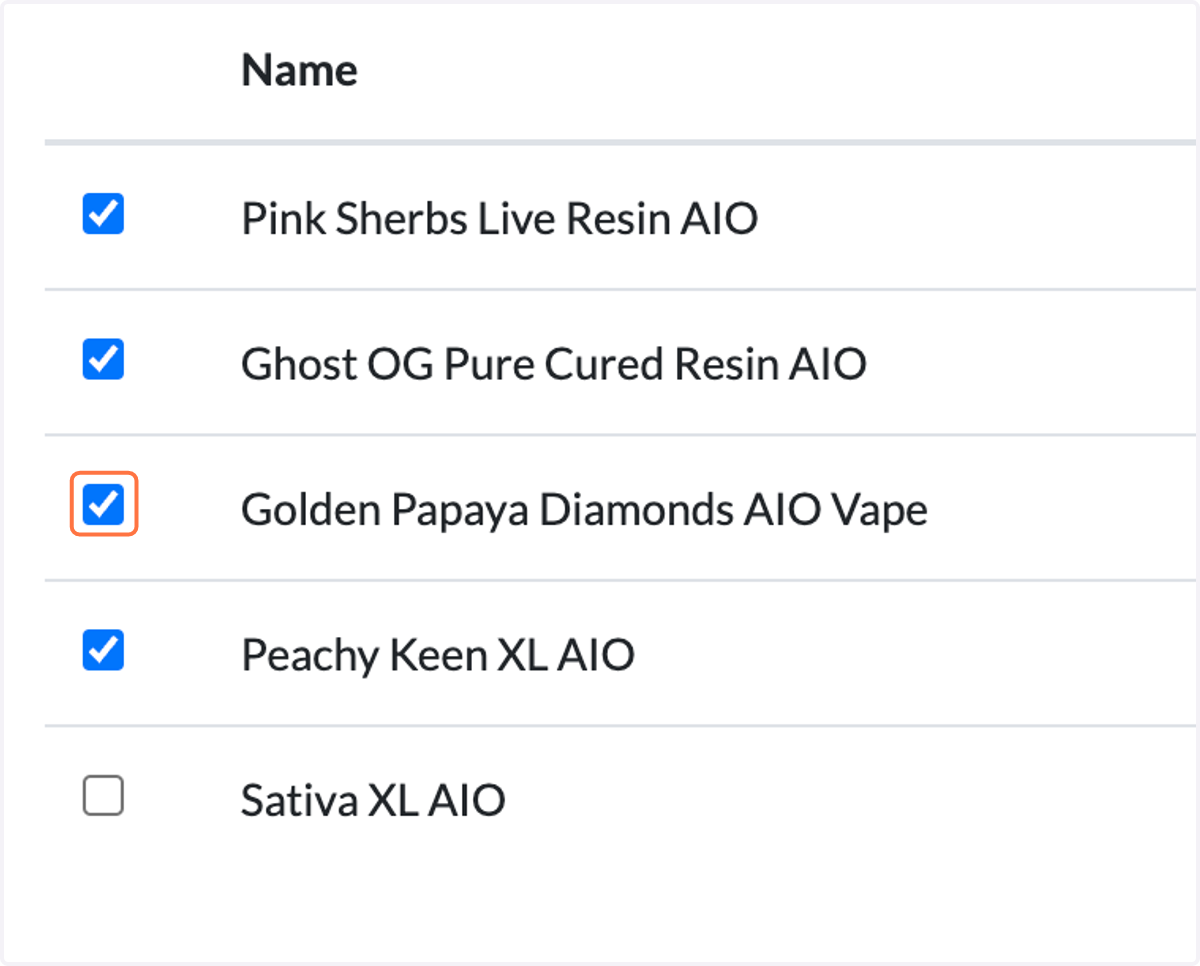
23. We have finished selecting the new inventory!
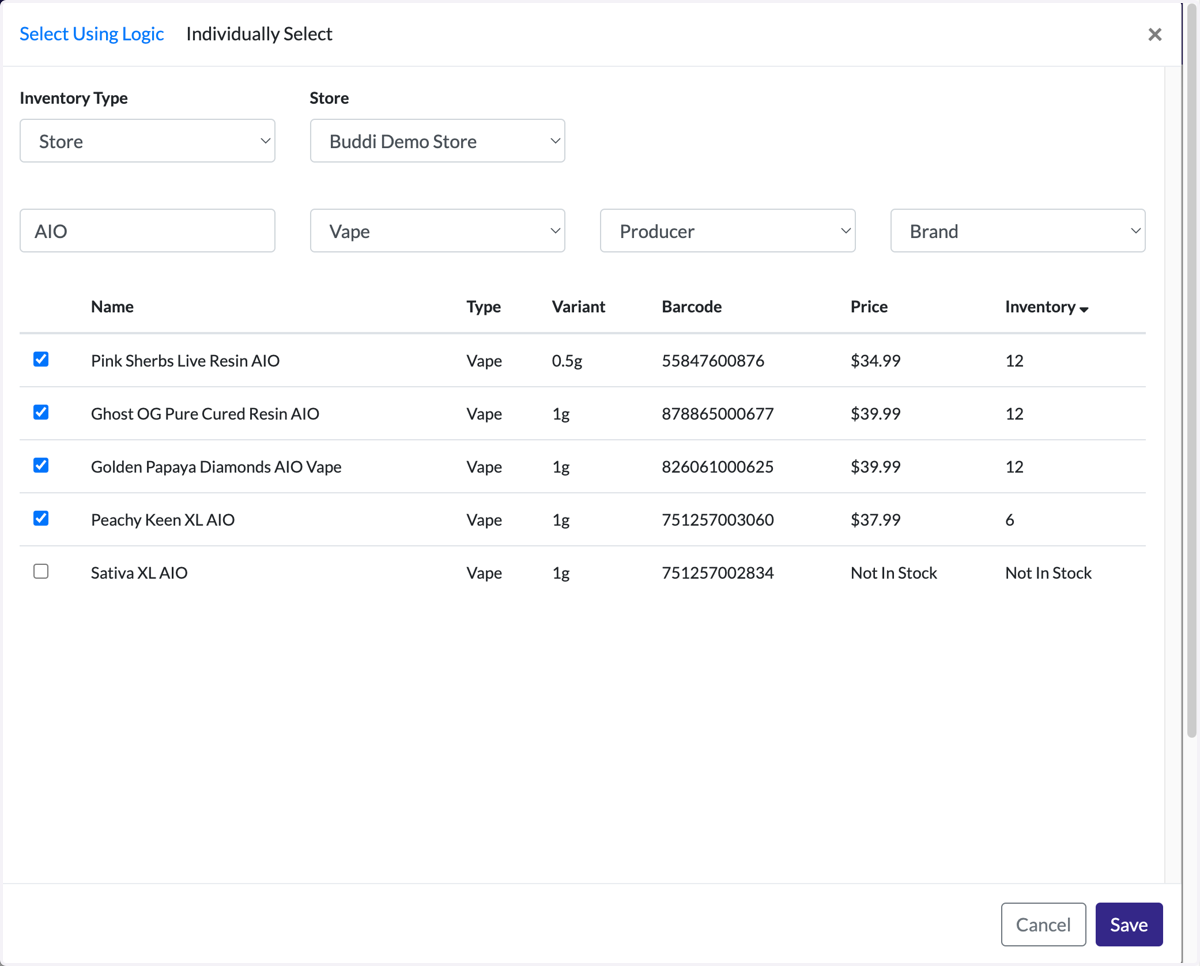
24. Hit 'Save'.
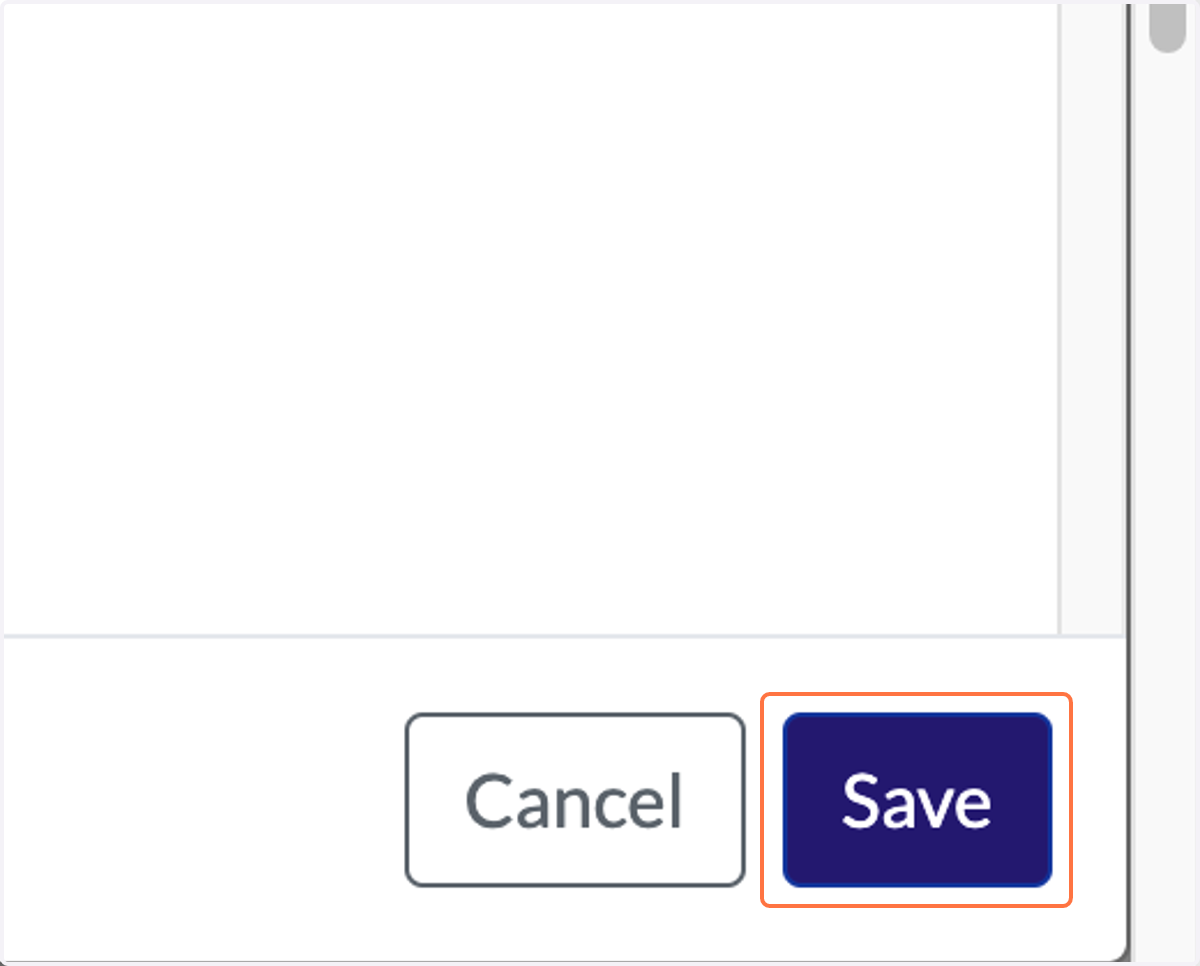
25. This closes the 'Select Product(s)' pop-up. Scroll down.
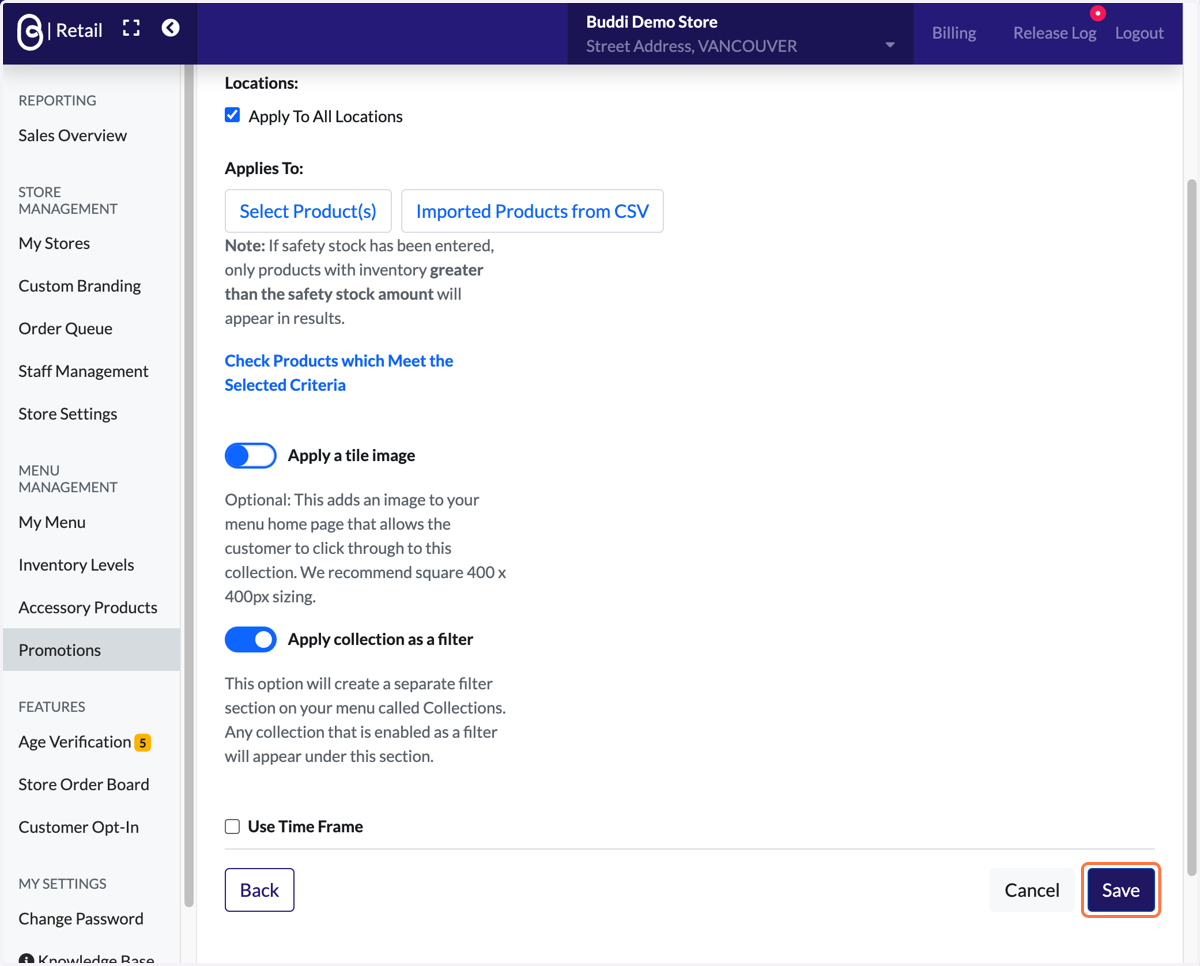
26. Hit 'Save'.
27. That's it! New inventory has been added to the Collection.