How to Submit an Impact Statement to the NIDB
➡️ Setting Up Your Statement
Log in to the NIDB.
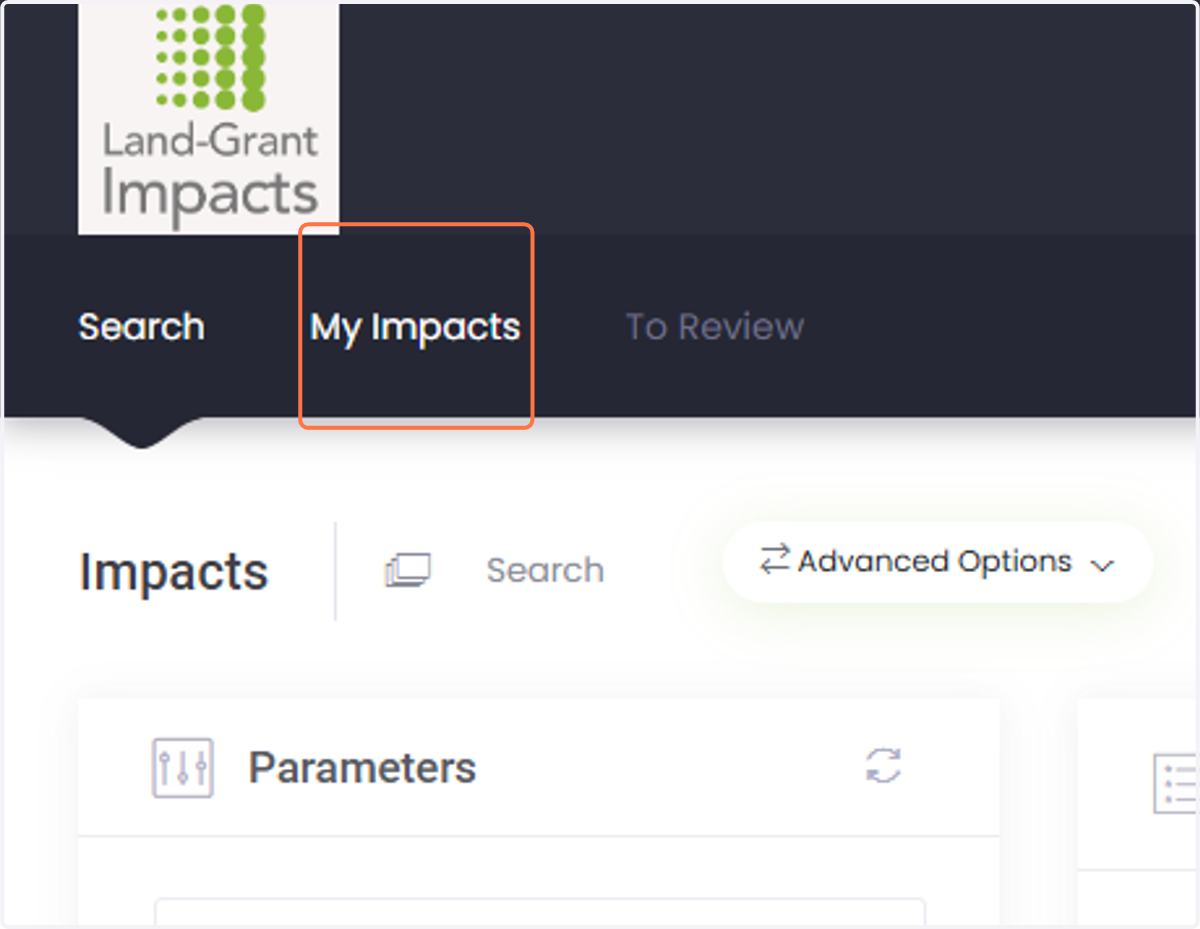
1. Click on "My Impacts."
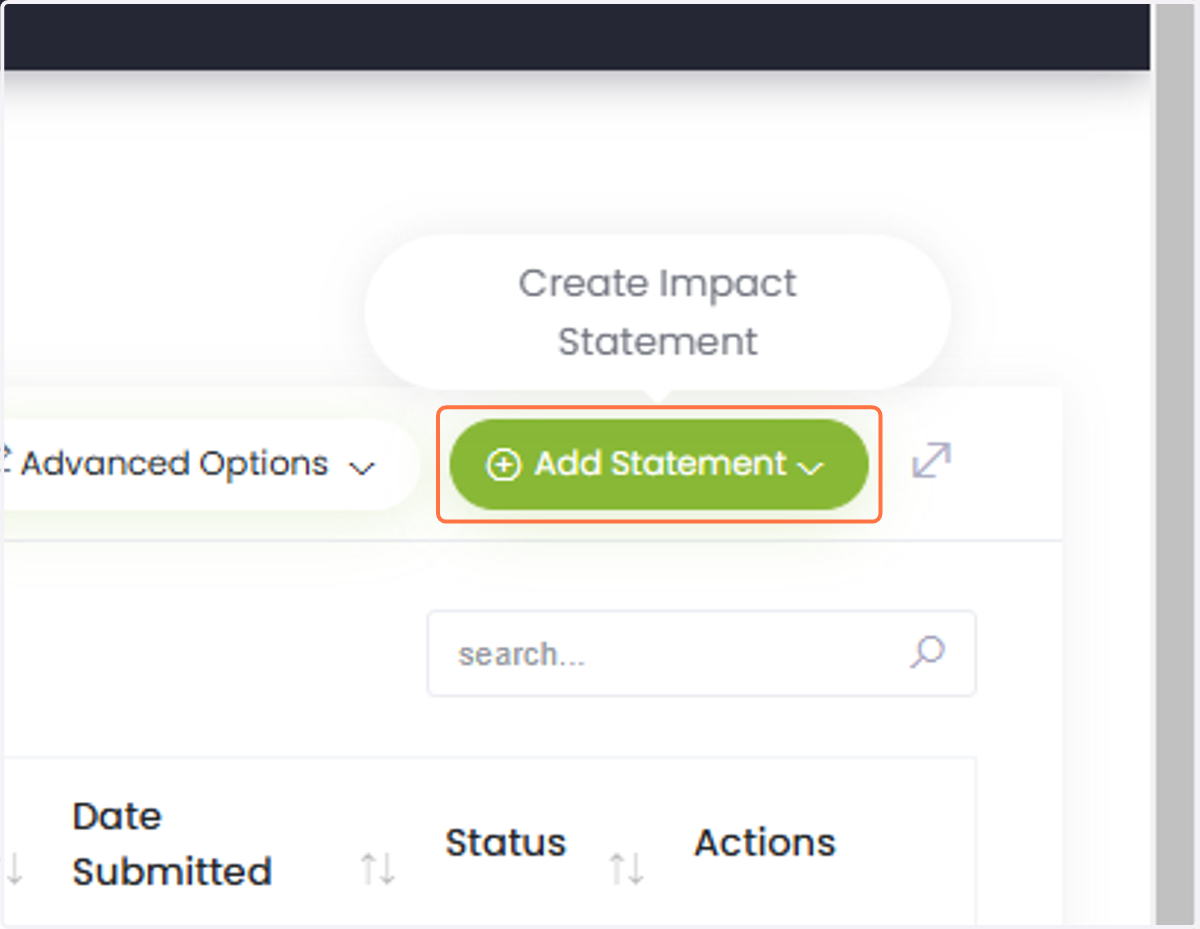
2. Click the "Add Statement" button.
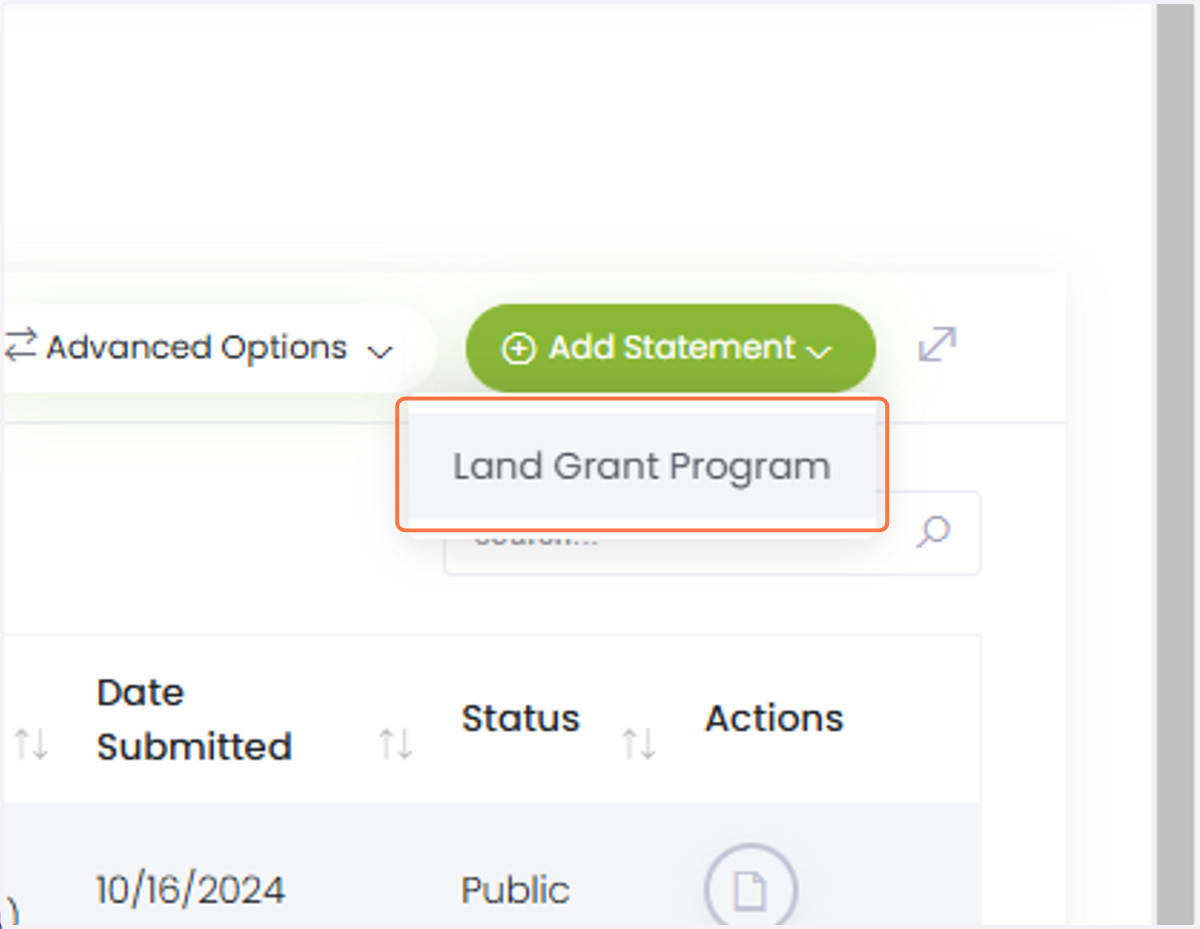
3. Select your institution.
If you are an inputter for multiple units within your university (research and Extension), you will see both options. Please make sure you choose the appropriate one for your statement.
➡️ Writing/Uploading Your Statement Body
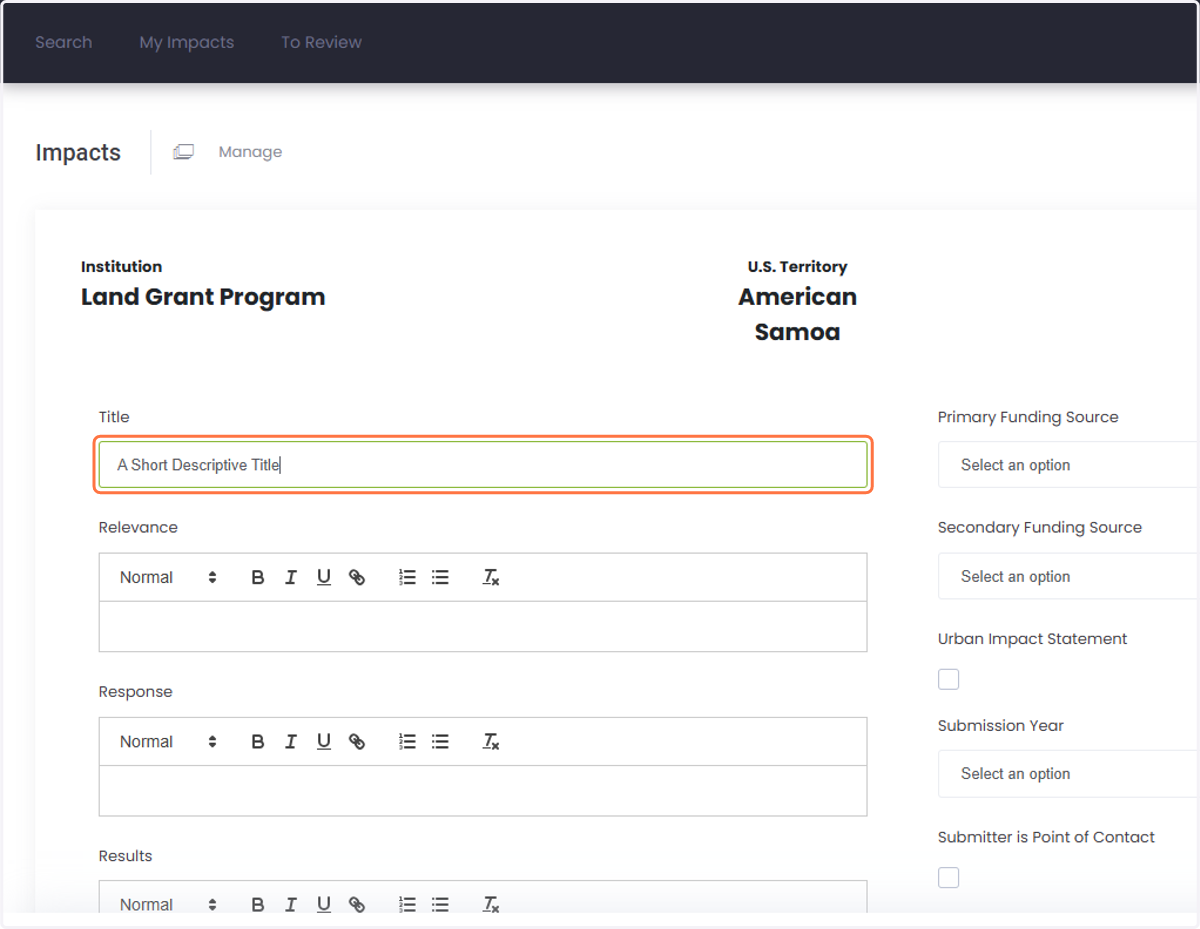
4. Type your impact statement title.
This should be a short, descriptive title that will help database users know what the impact statement is about when it appears in searches.
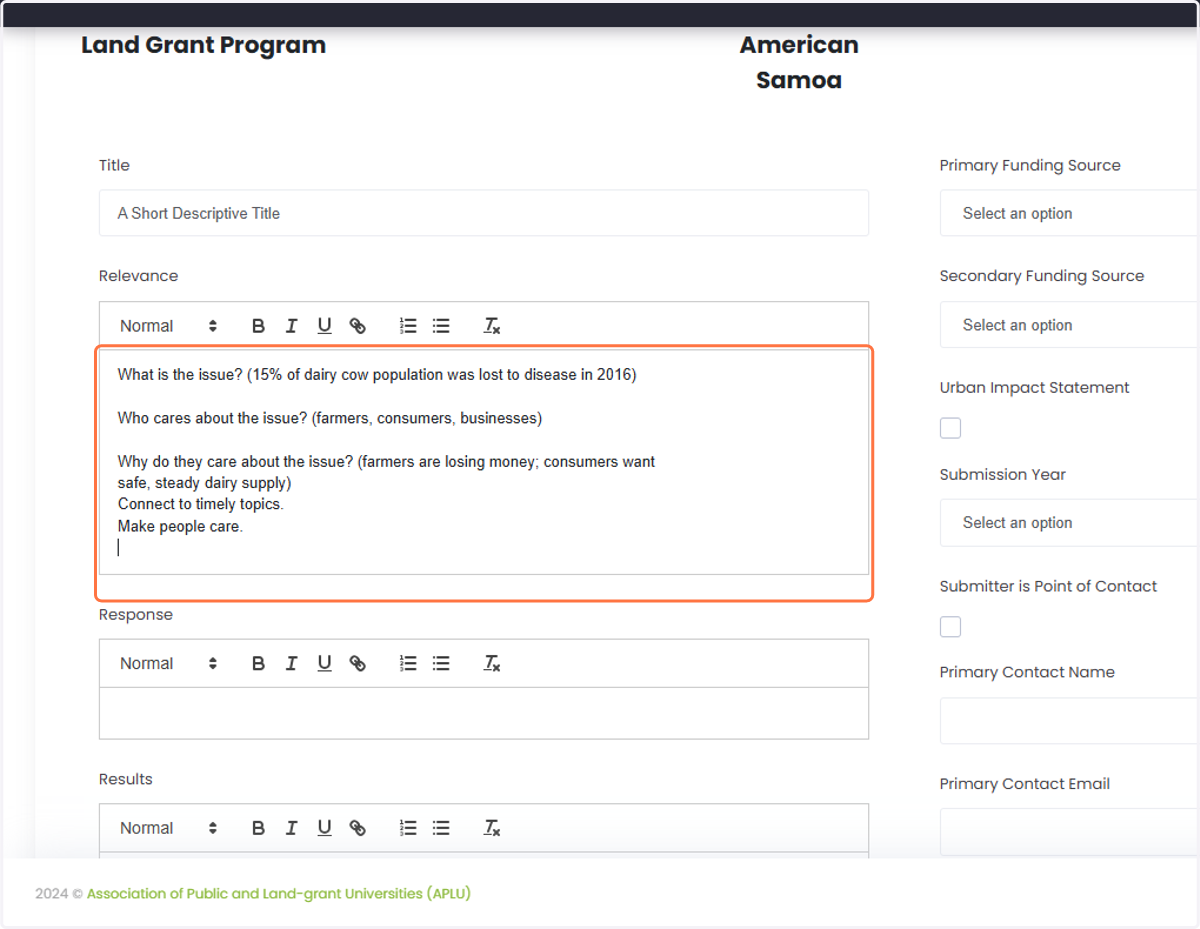
5. Paste your content as plain text into the editor.
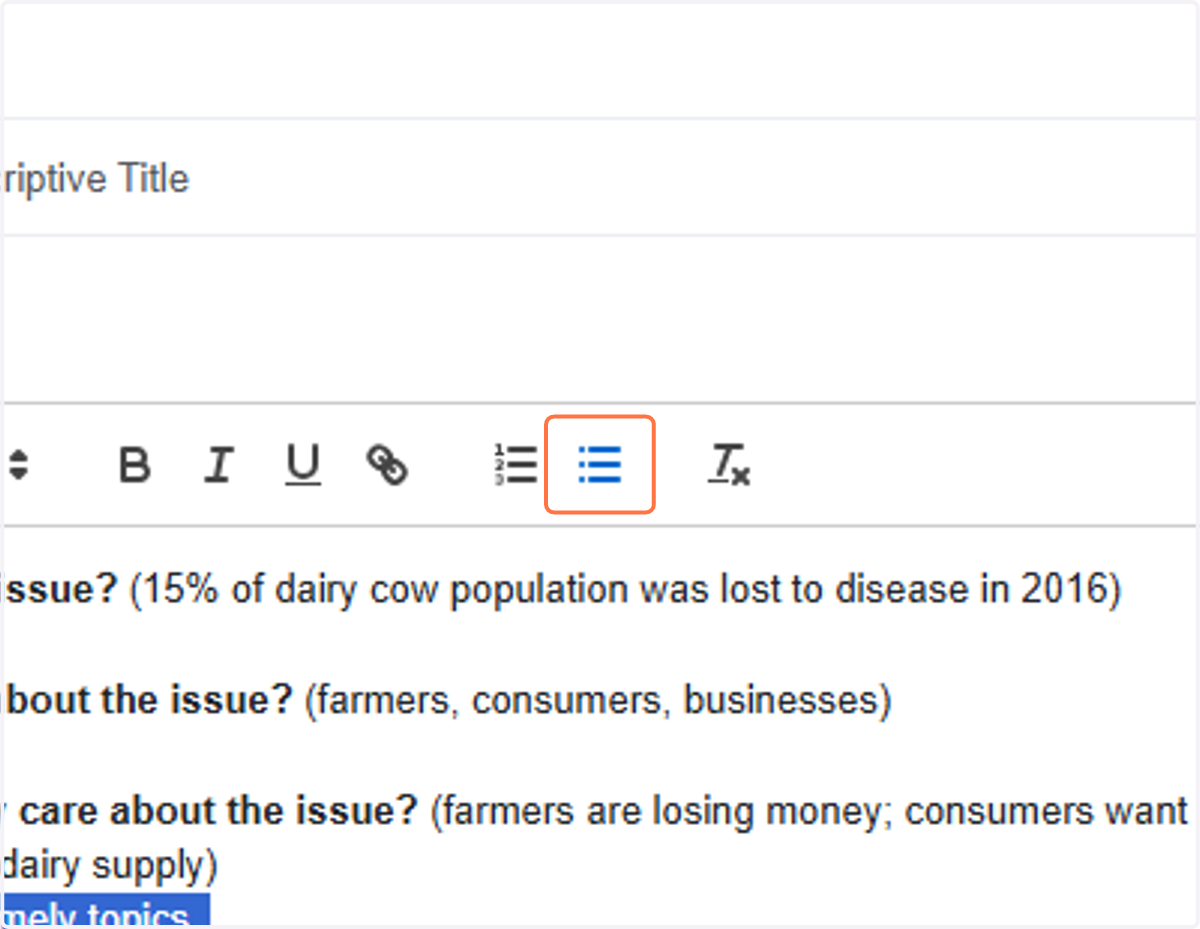
6. Now, you can add your own formatting within the WYSIWYG editor, including bolding, italicizing, underlining, adding links, and lists.
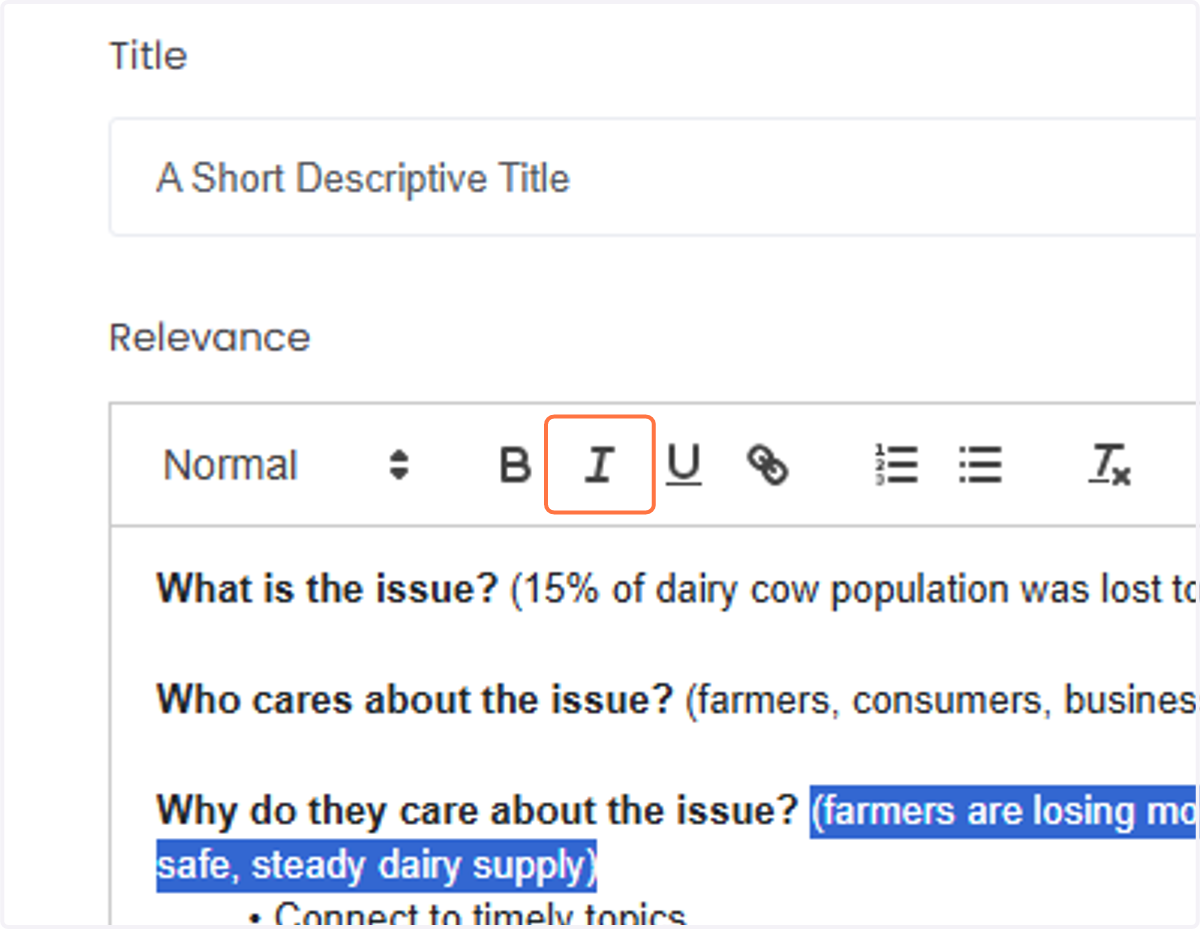
7. Be sure to italicize species names.
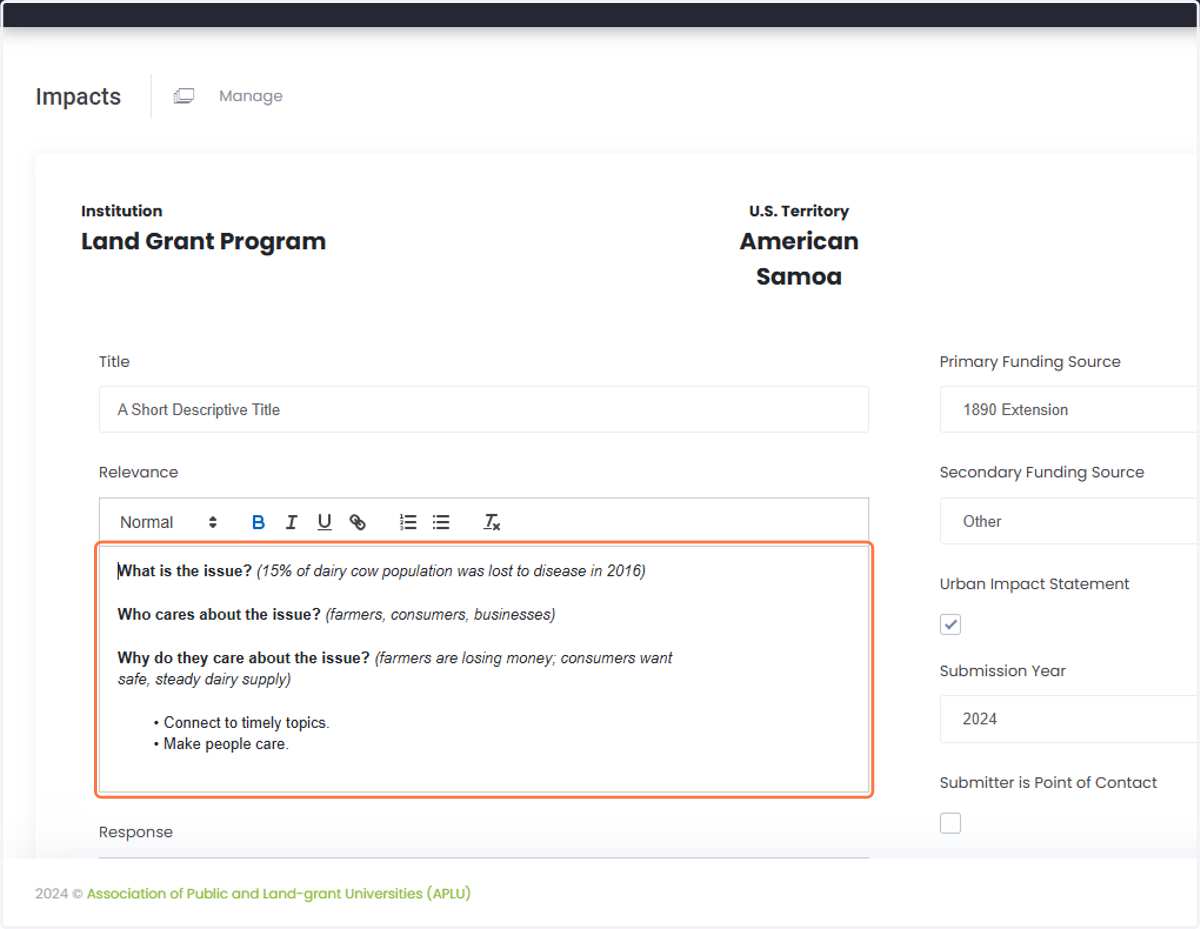
8. For the "Relevance" section, be sure to cover what the issue is, who cares about the issue, and why they care about it.
Connect to timely topics.
Make people care.
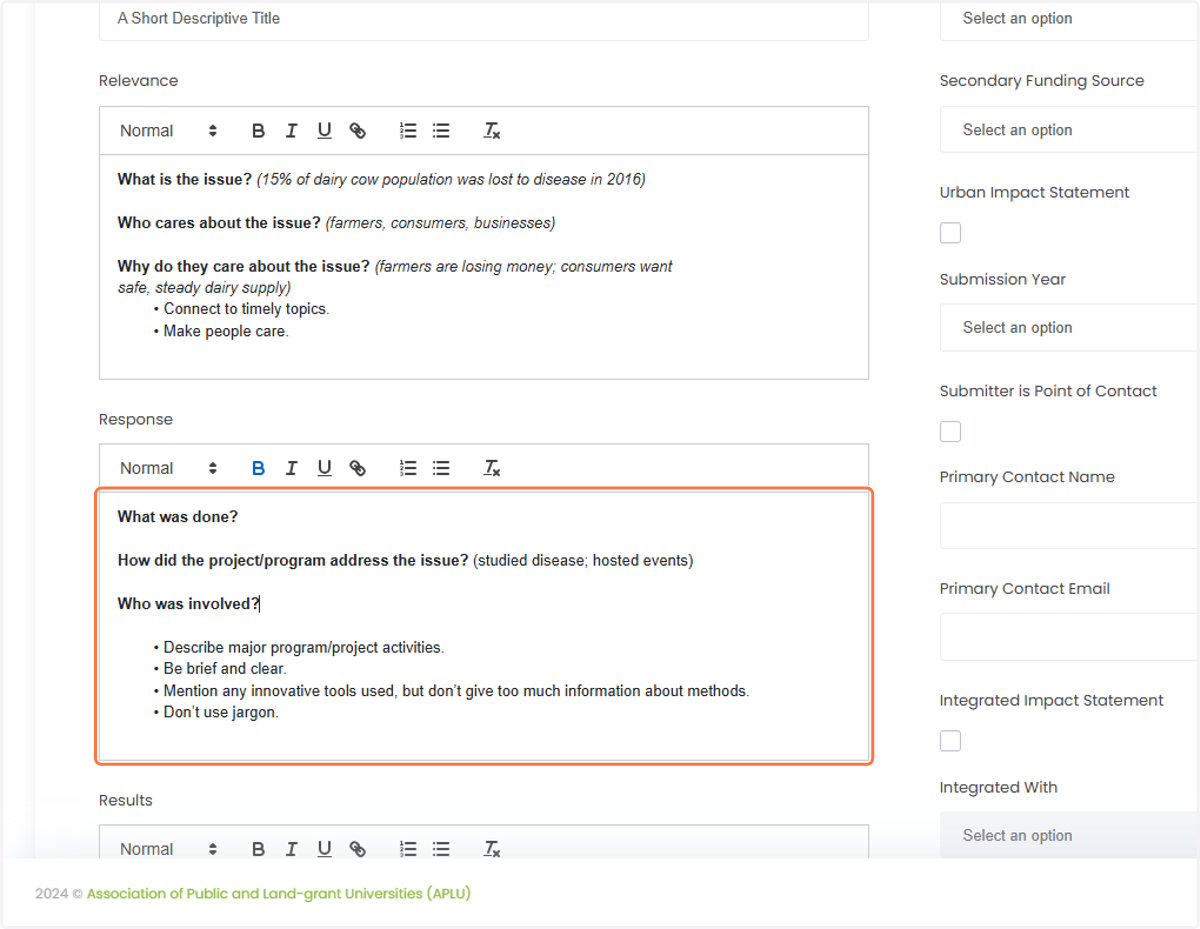
9. For the "Response" section, be sure to cover what was done, how the project/program addressed the issue, and who was involved.
Describe major program/project activities.
Be brief and clear.
Mention any innovative tools used, but don’t give too much information about methods.
Don’t use jargon.
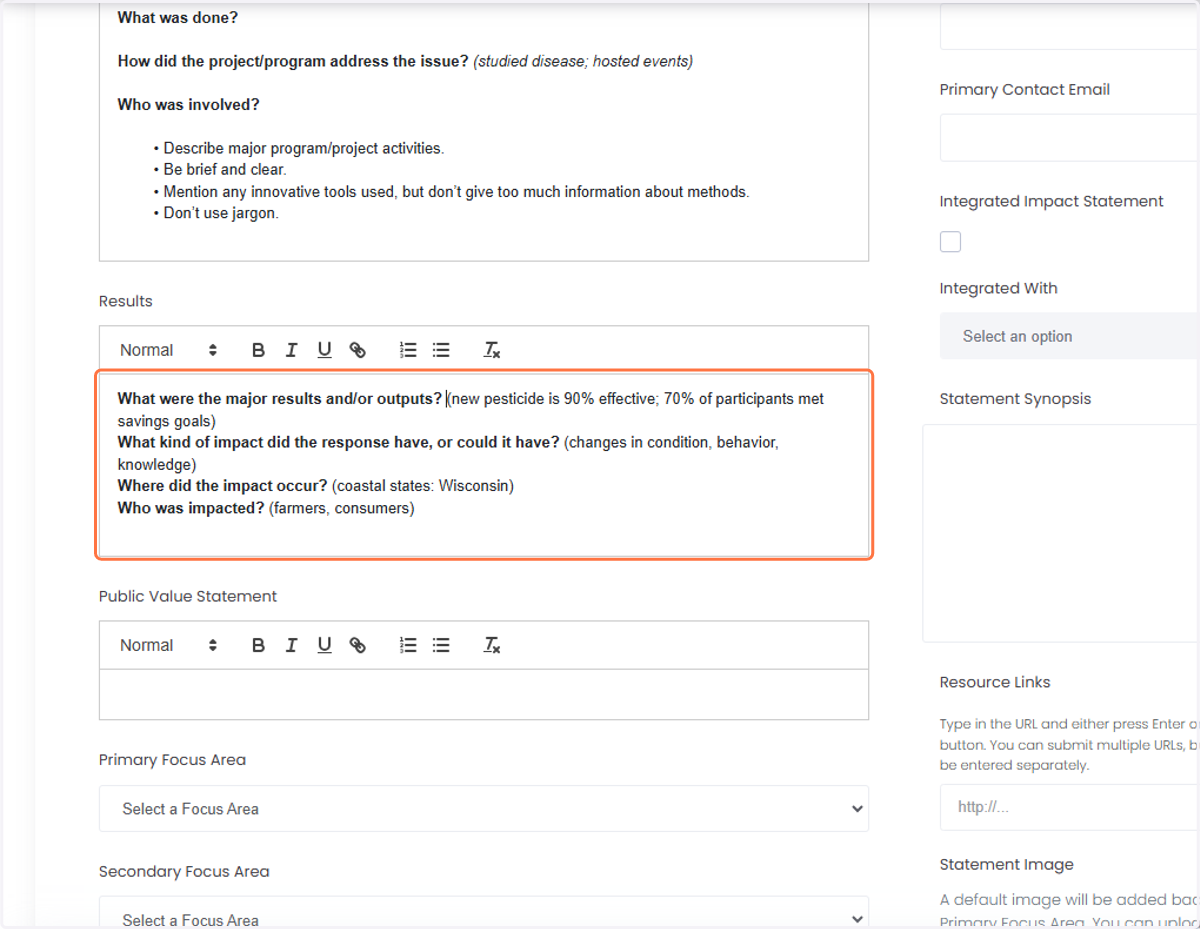
10. For the "Results" section, be sure to cover the major results and/or outputs, what kind of impacts your response had, where it occured, and who was impacted.
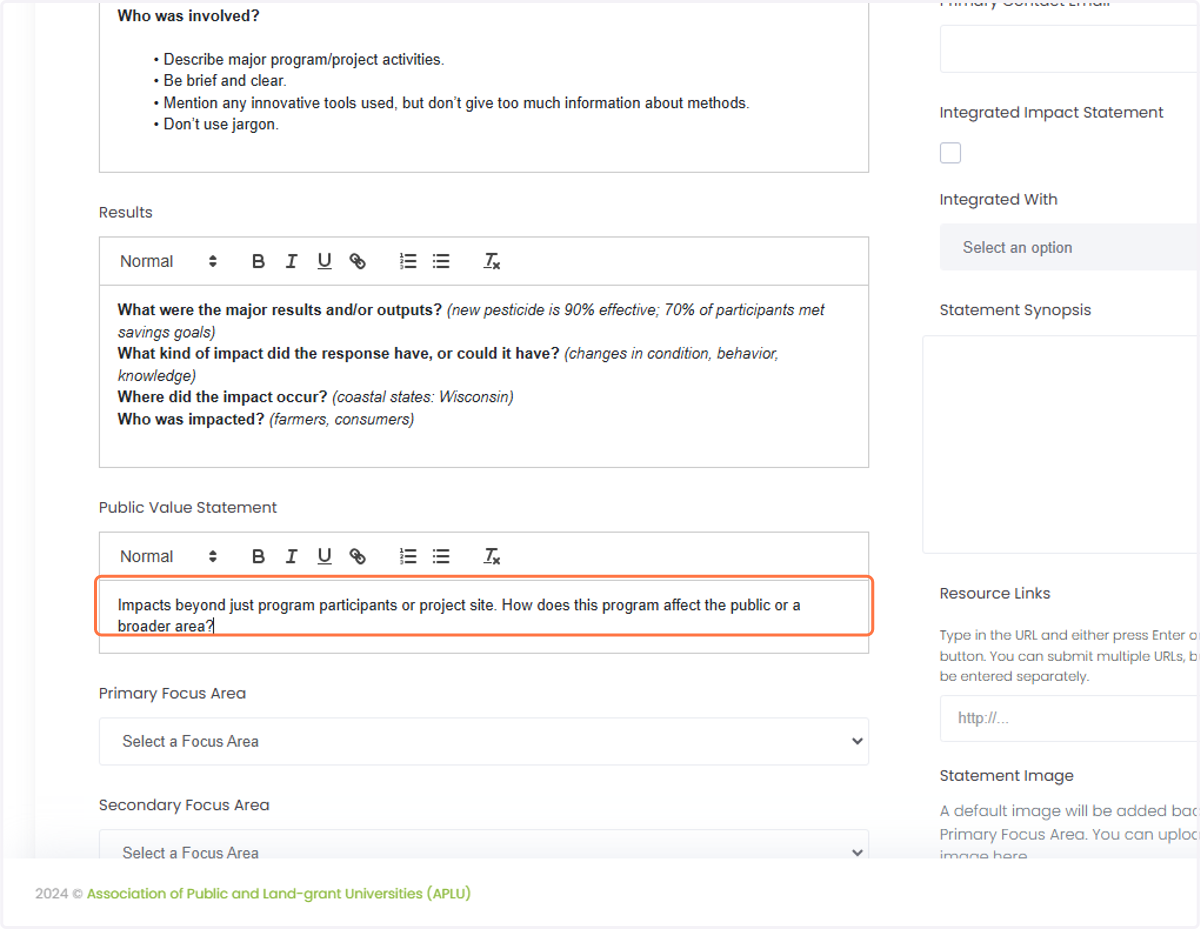
11. For the "Public Value" section, be sure to cover the impacts of the project/program on the general public, subject matter, etc. to provider a broader context.
➡️ Tagging and Categorizing Your Statement
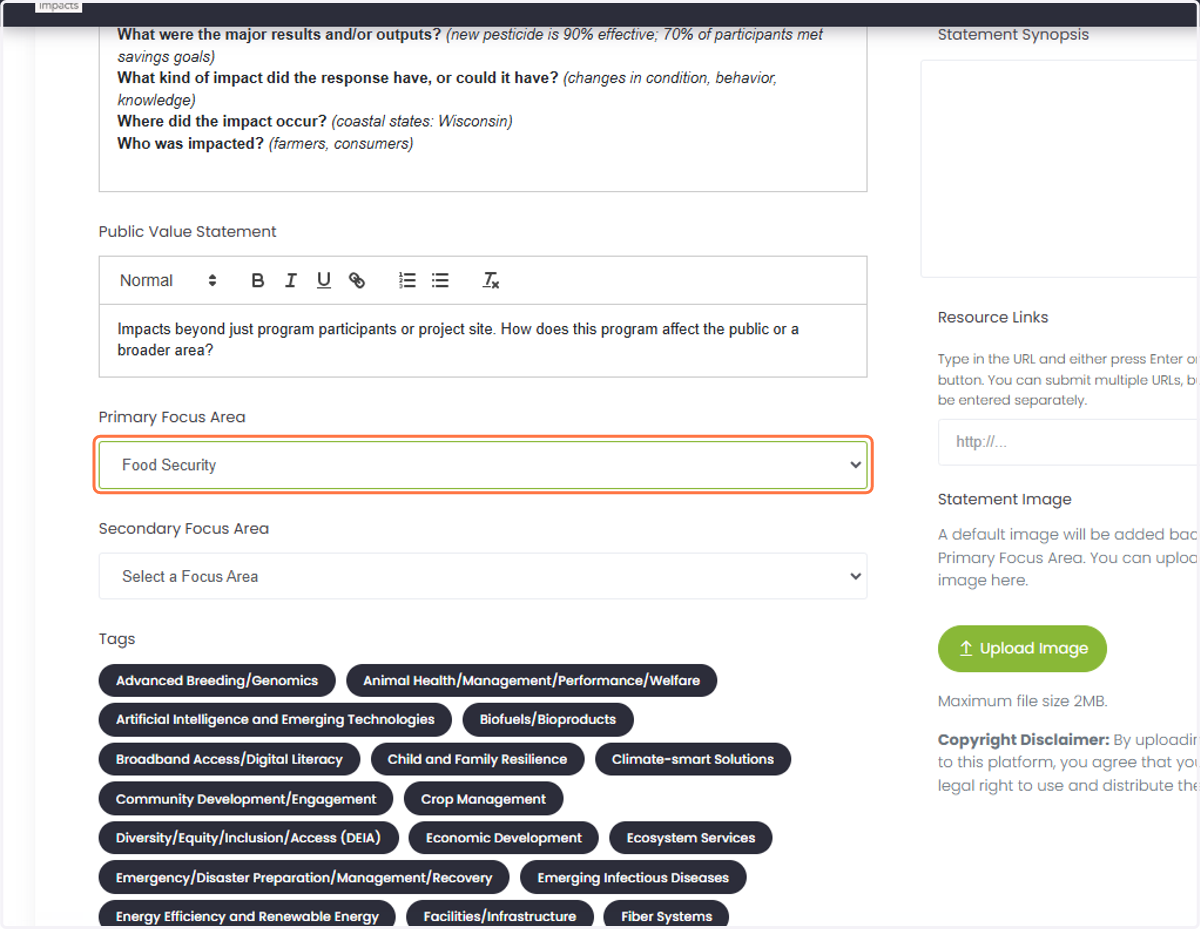
12. Select the Primary Focus Area of your impact statement.
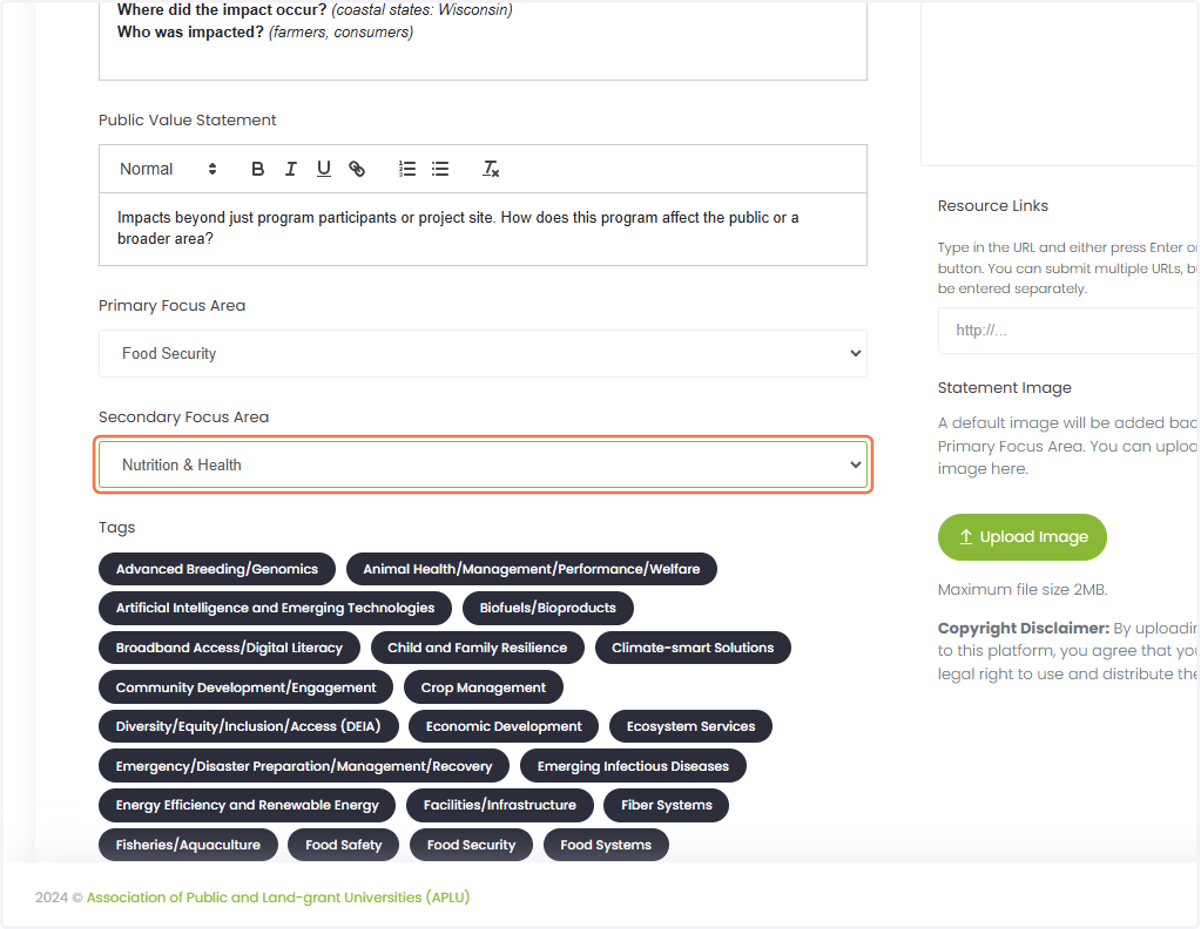
13. If relevant, select a Secondary Focus Area.
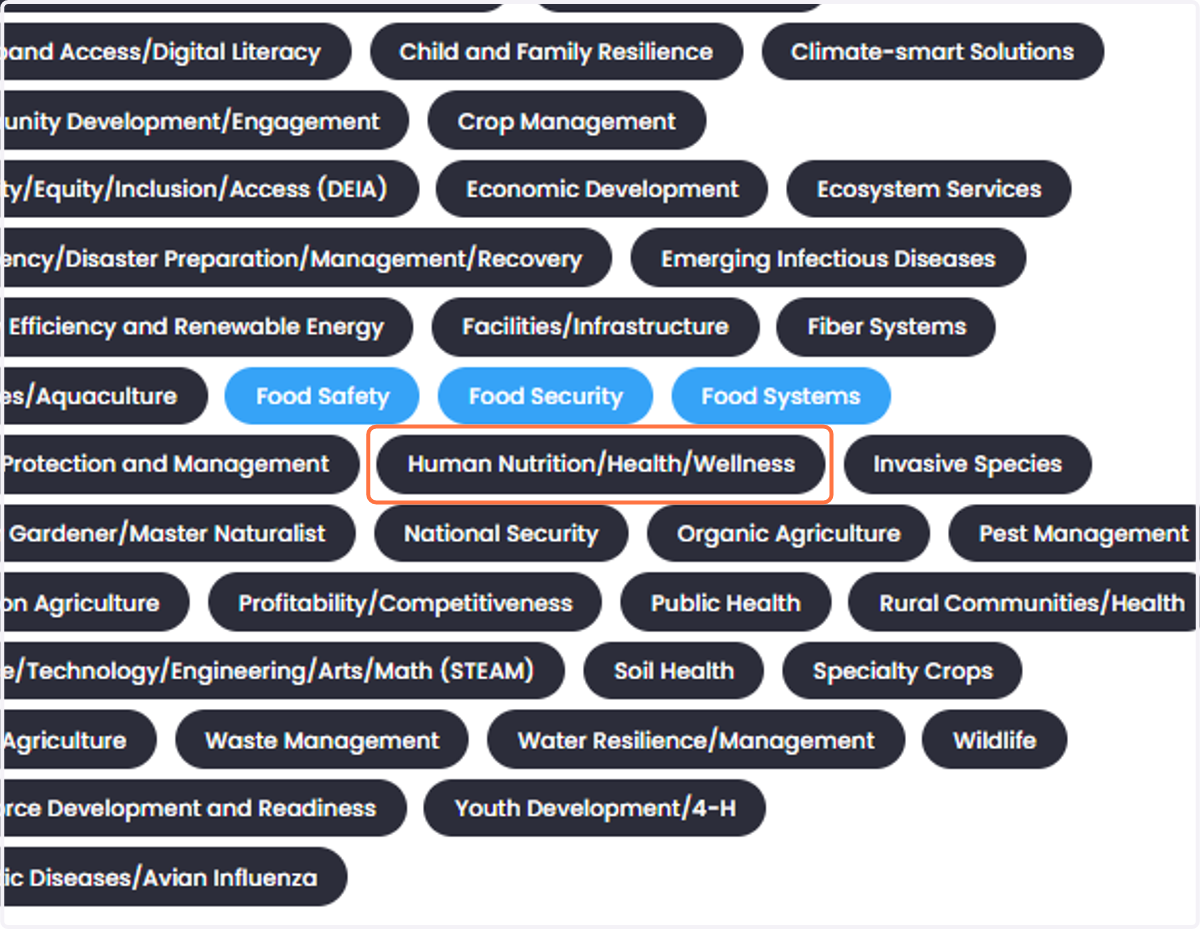
14. Select your tags.
There is no limit to the number of tags you can use, as long as they are relevant. Selected tags will highlight in blue.
➡️ Selecting Your Funding Source
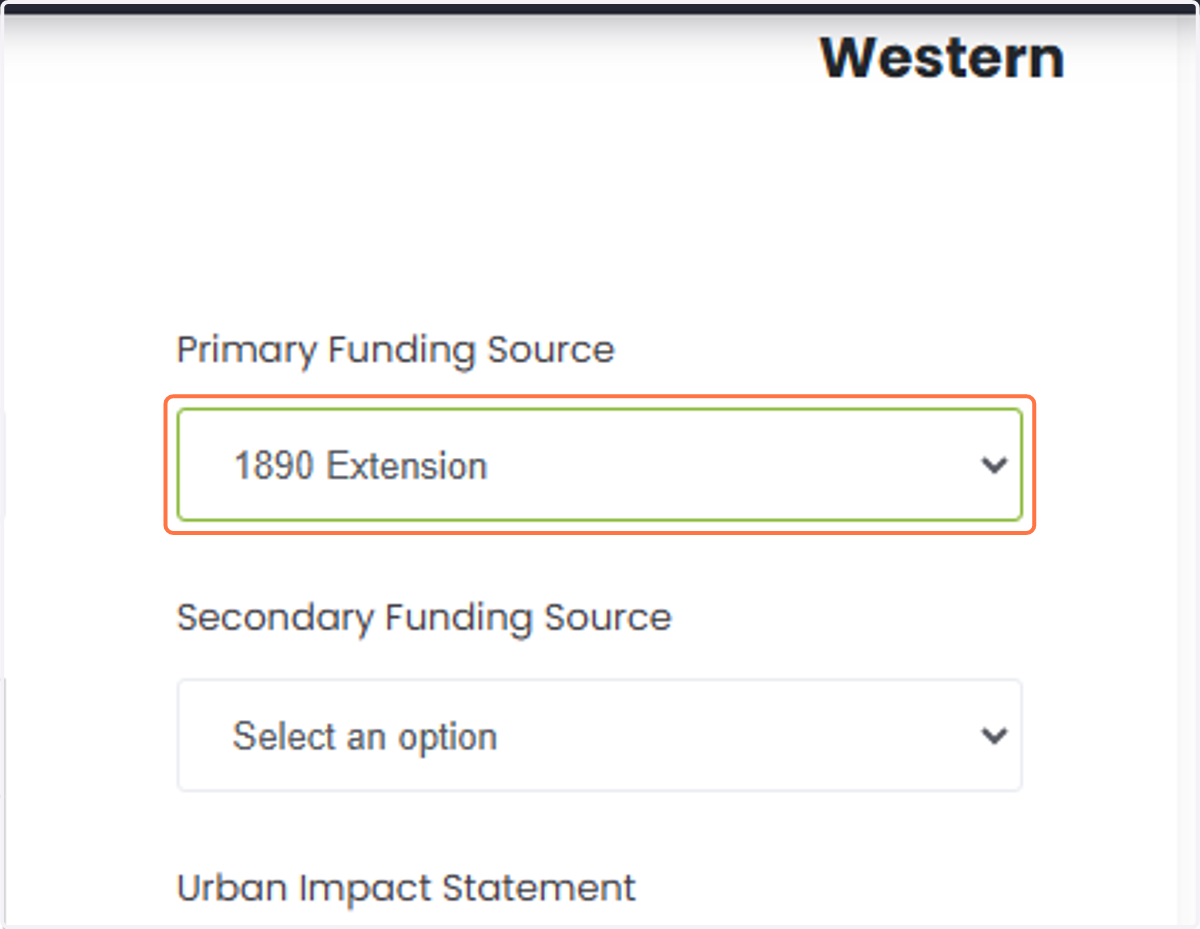
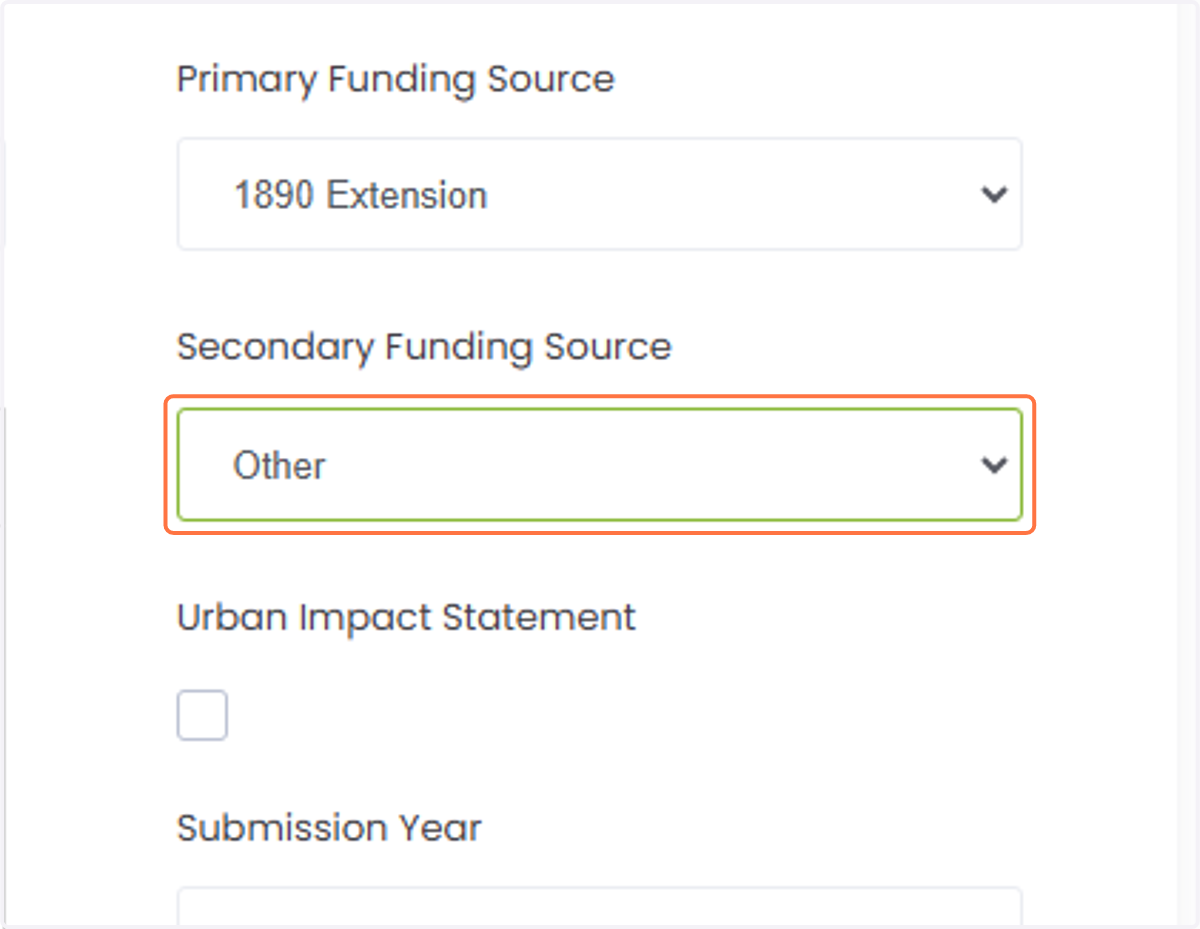
15. Select the primary funding source for the program or project.
You are welcome to provide additional information about the funding source within the body of the impact statement.
16. If relevant, select a secondary funding source.
➡️ Urban Impact Statements
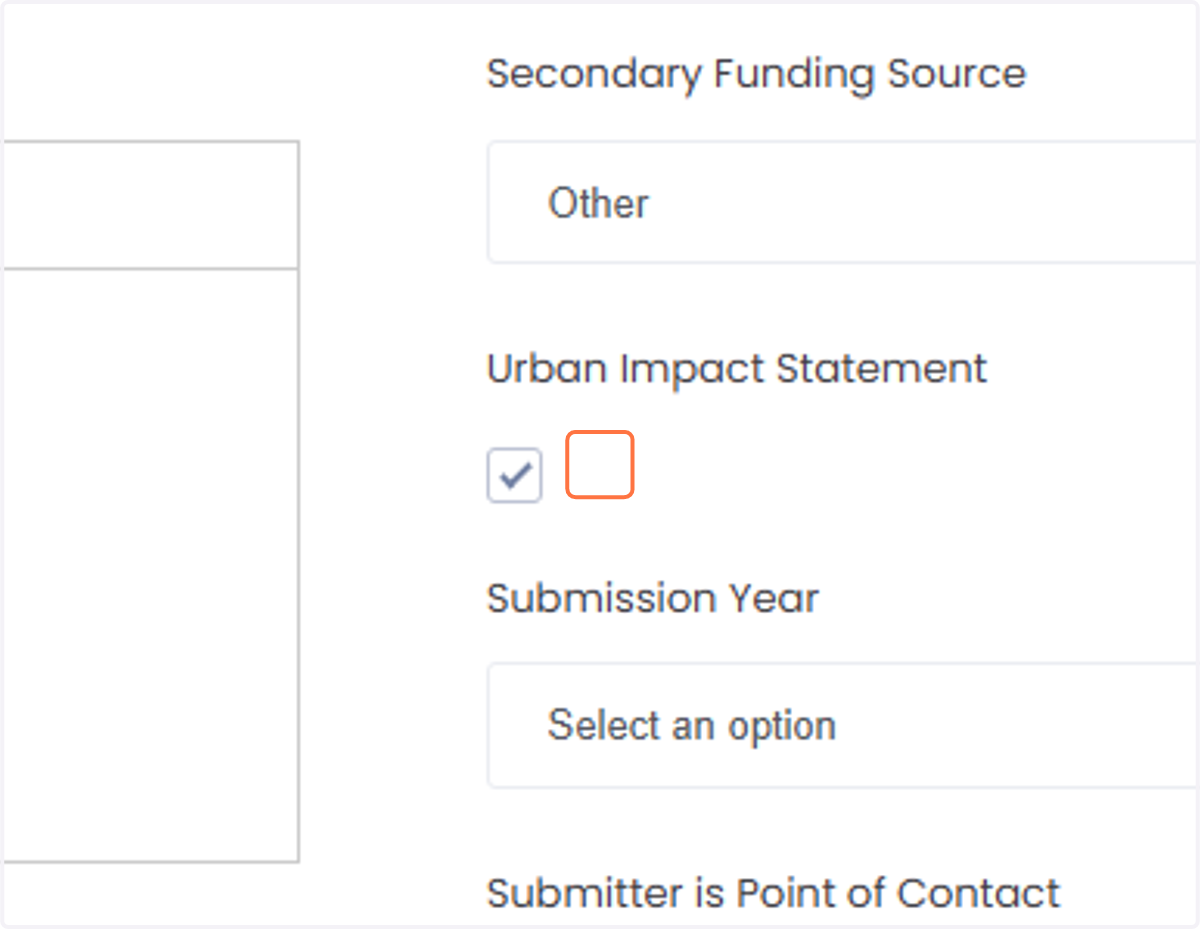
17. If you have an urban impact statement, check the "Urban Impact Statement" box.
➡️ Submission Year
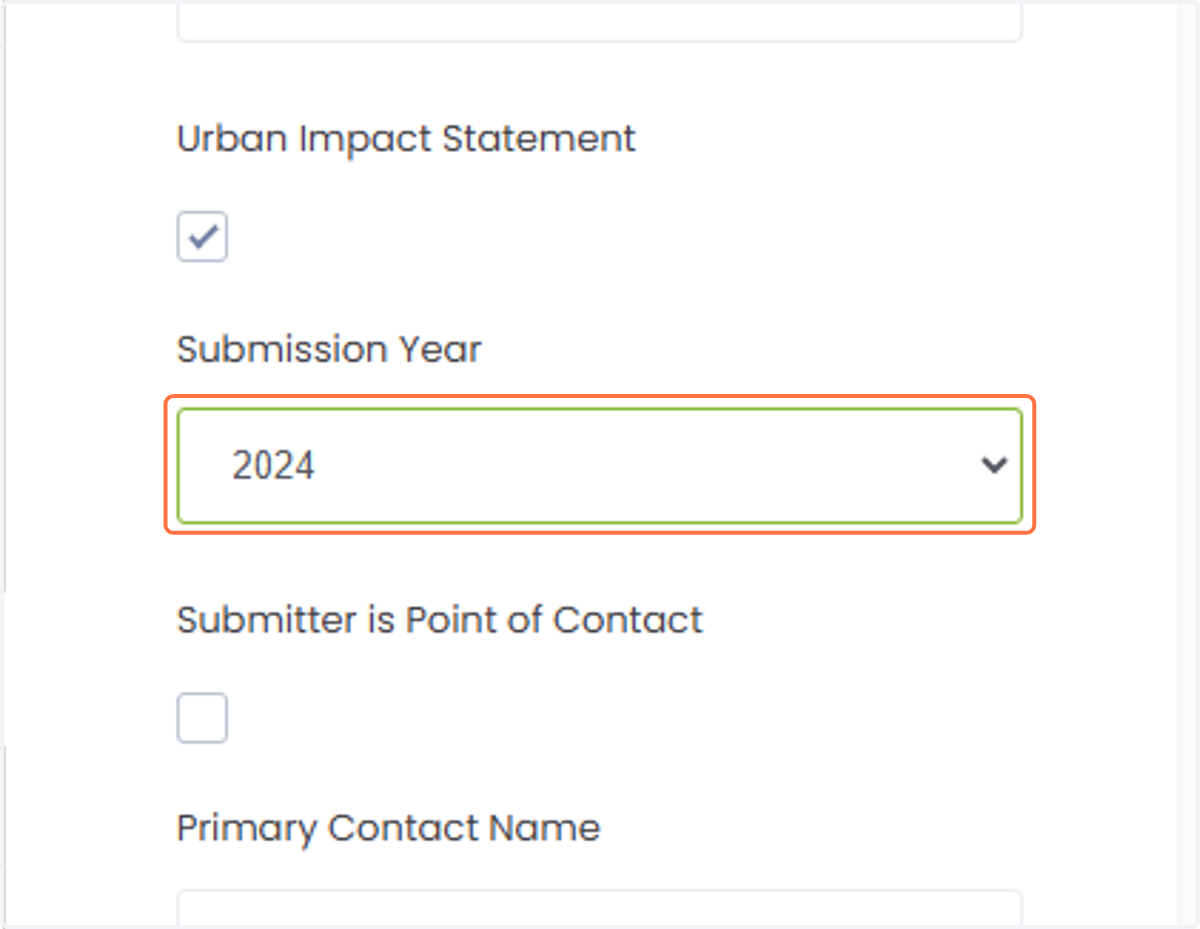
18. Select the year that you are submitting the statement.
Please select the year that you are submitting the statement. You are welcome to add additional details about the year(s) the project/program took place within the body of the impact statement.
➡️ Point of Contact
19. Should you be the point of contact for any media or other requests? If so, check "Submitter is Point of Contact."
Your user information will autofill.
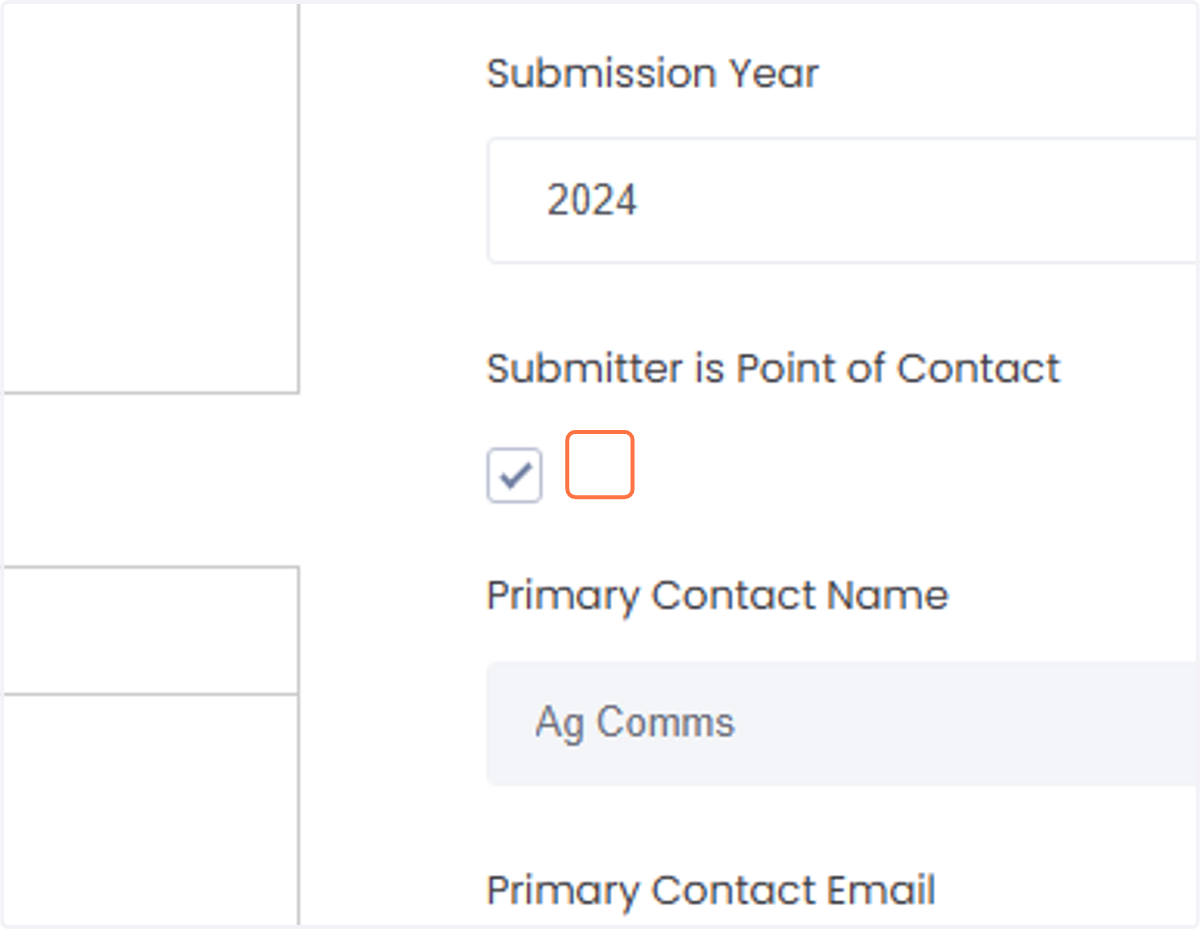
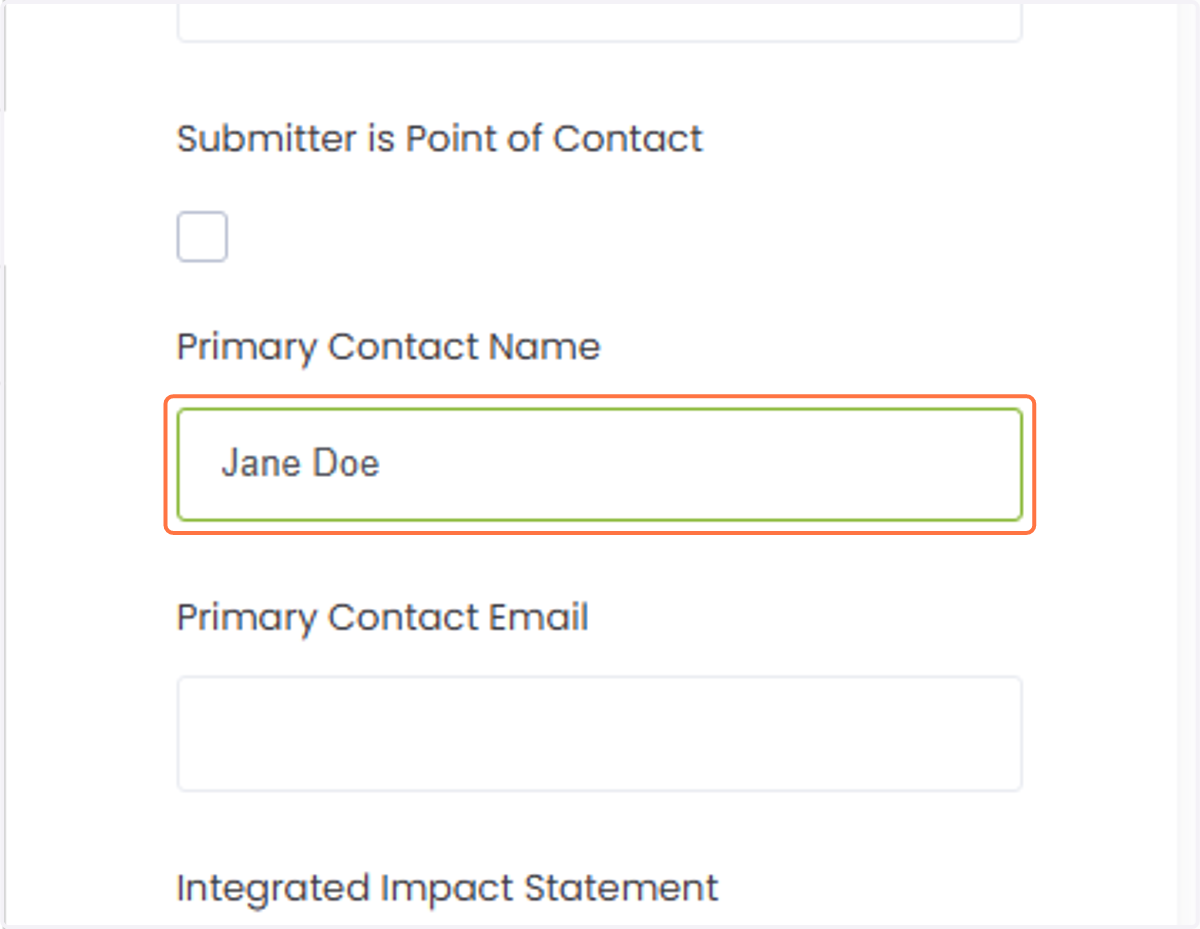
20. If someone else should be the Point of Contact, type their name.
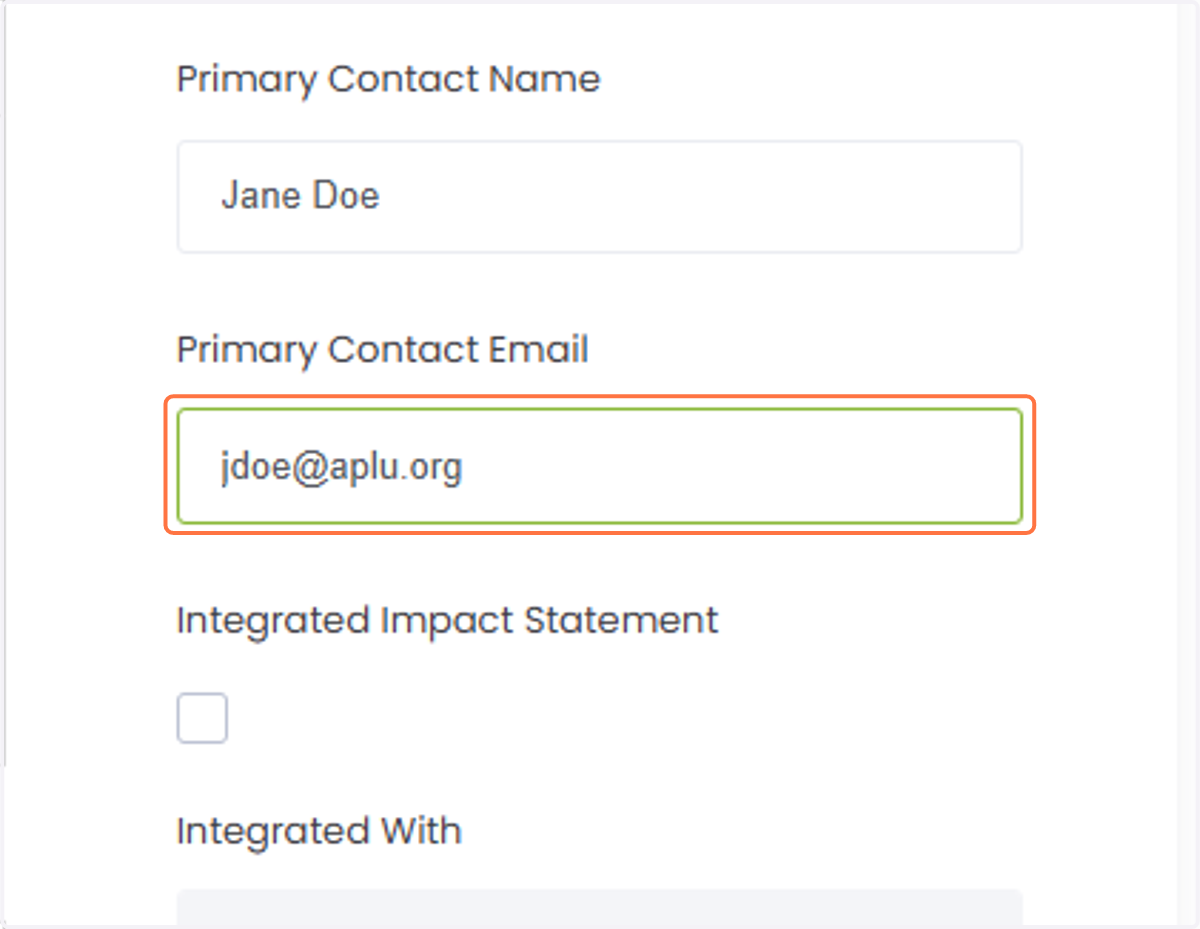
21. And their email address.
➡️ Integrated Impact Statements
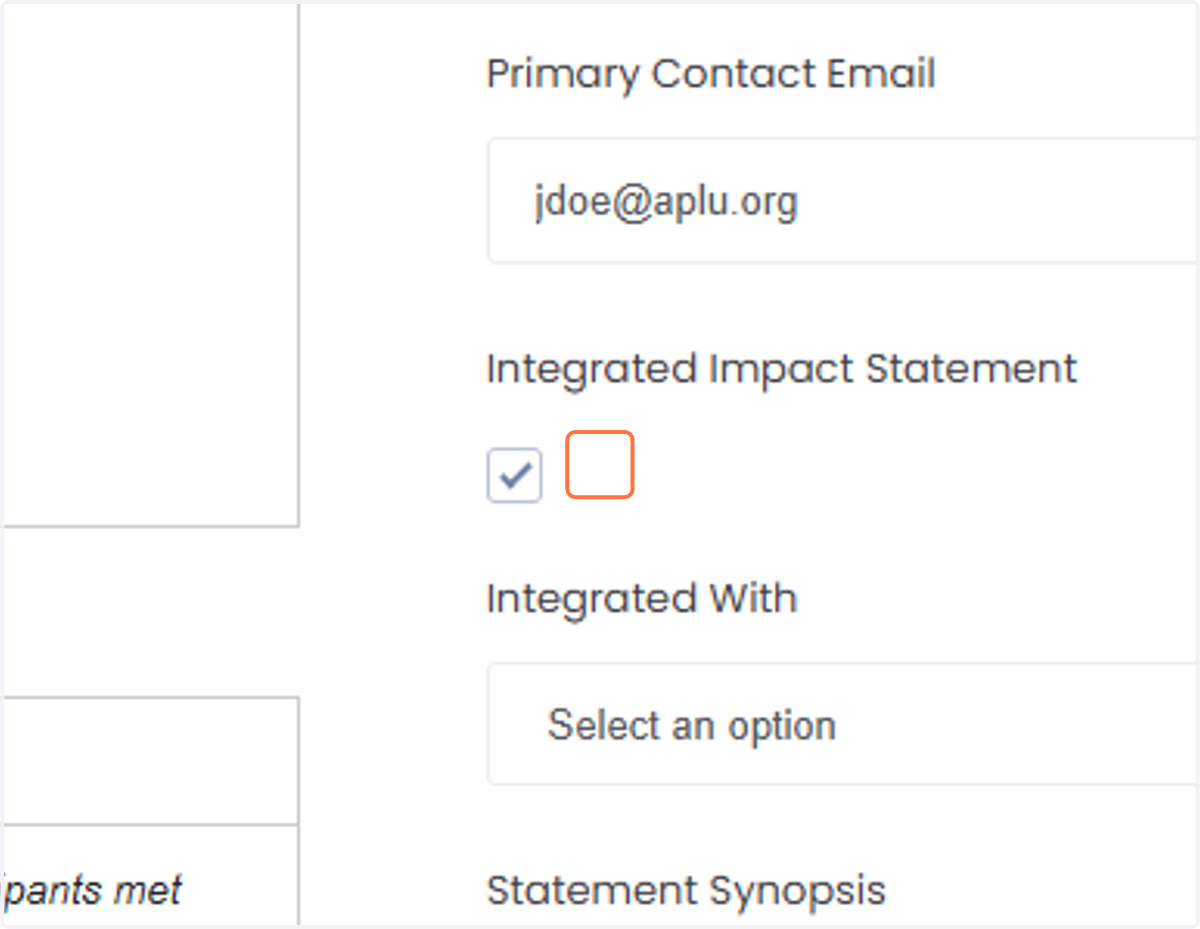
22. Check the "Integrated Impact Statement" box if your impact statement is integrated with another unit and/or institution.
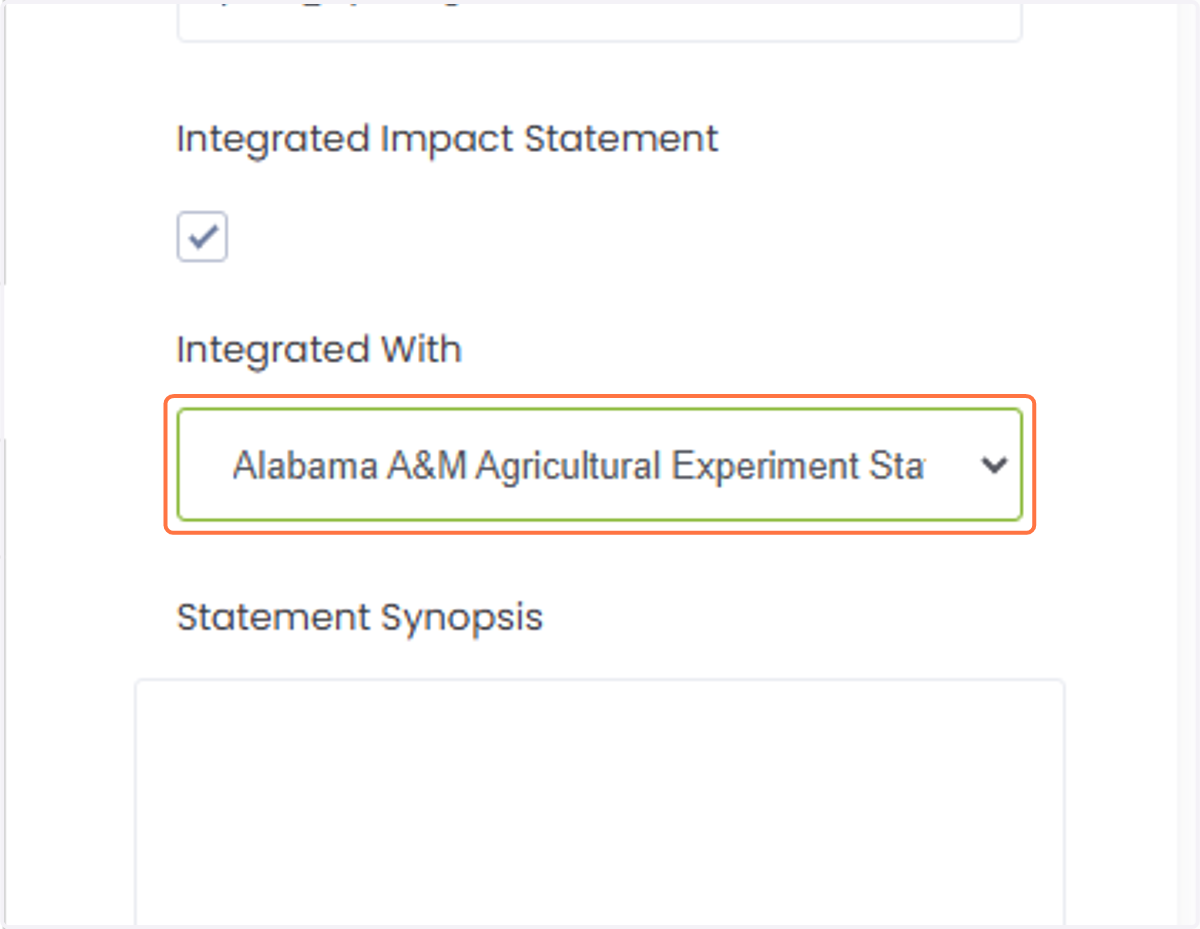
23. Select the appropriate institution. This could be another unit within your university (research or Extension) or a unit at another university.
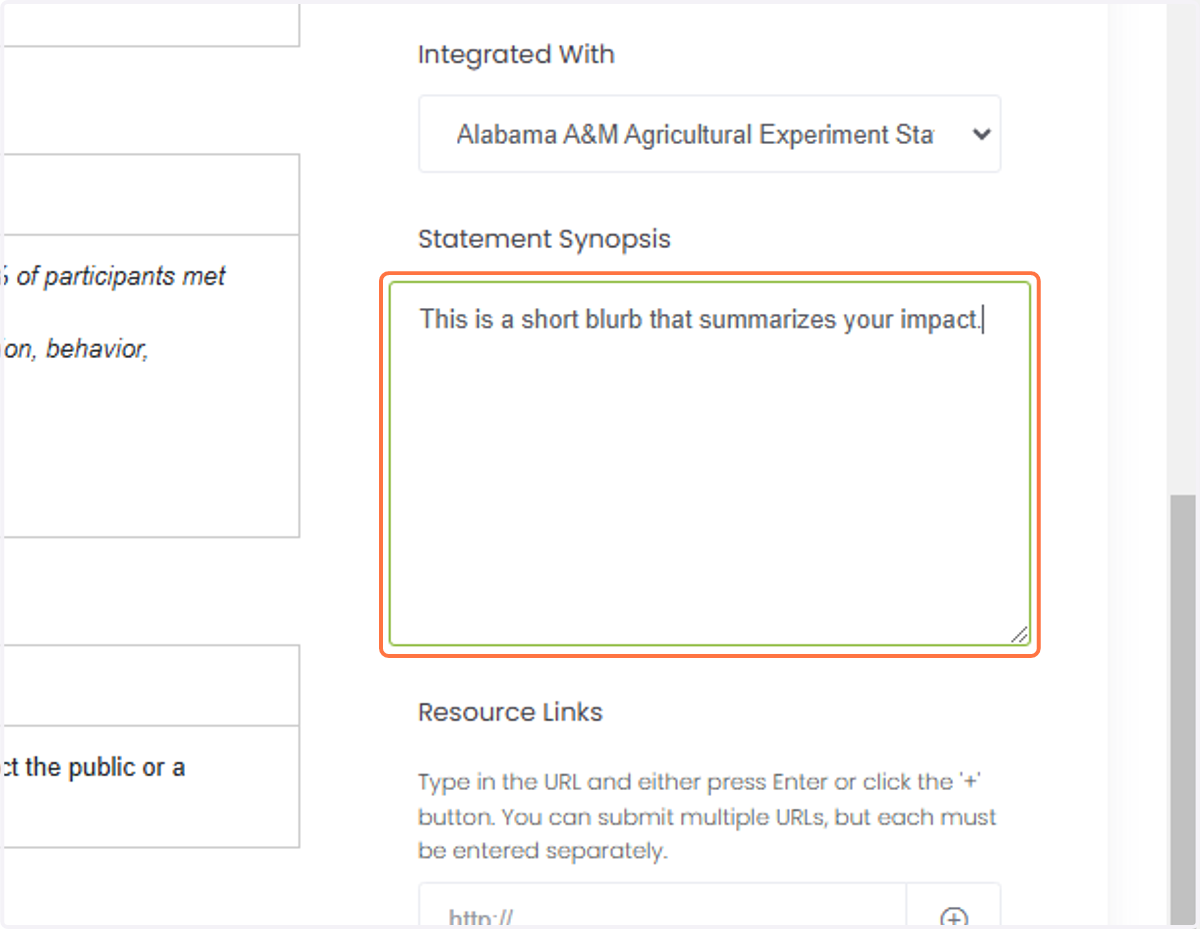
➡️ Statement Synopsis
24. Add your Statement Synopsis.
This is a short blurb that summarizes your impact. It will be the preview text for your impact statement when users are filtering the database.
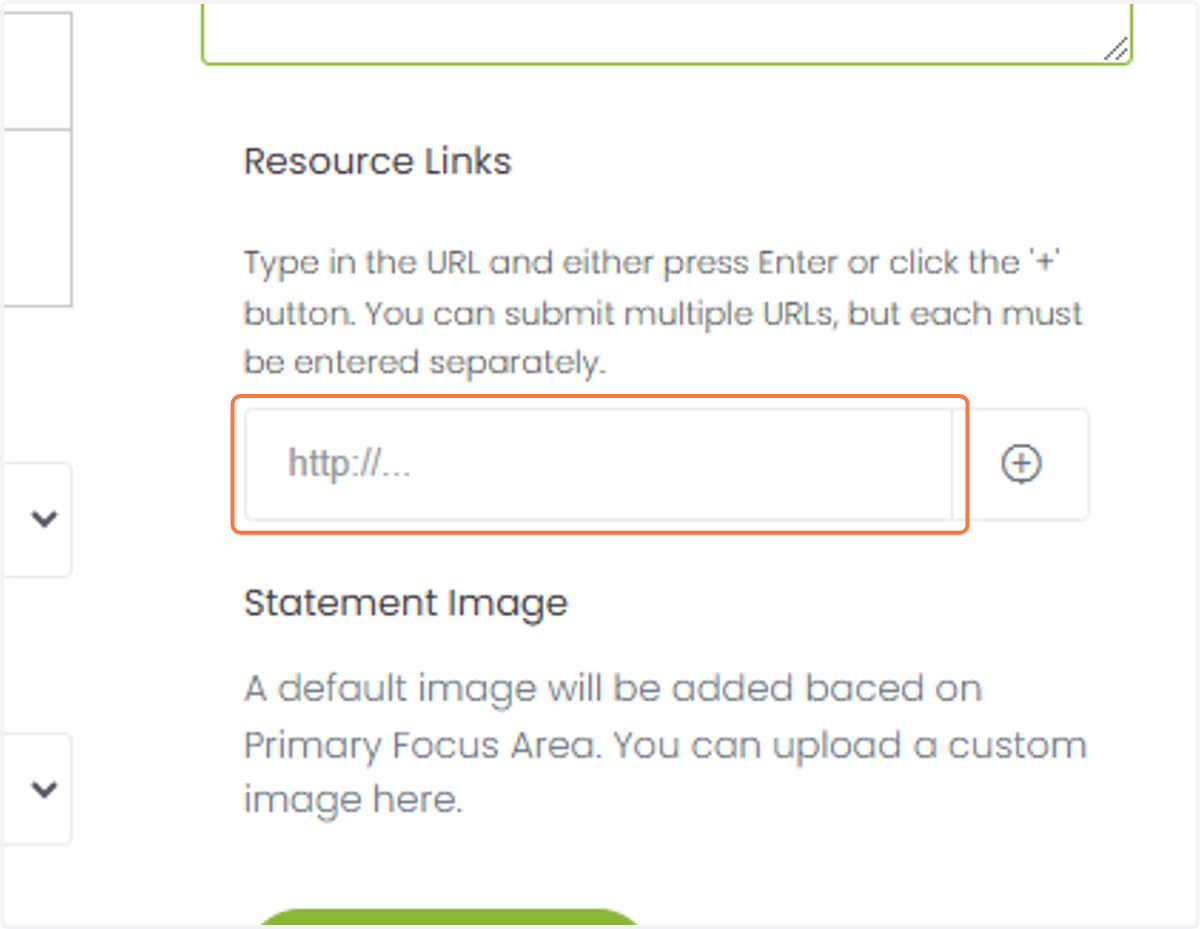
➡️ Links
25. Do you have any relevant press releases, program websites, or publications? Add these links here.
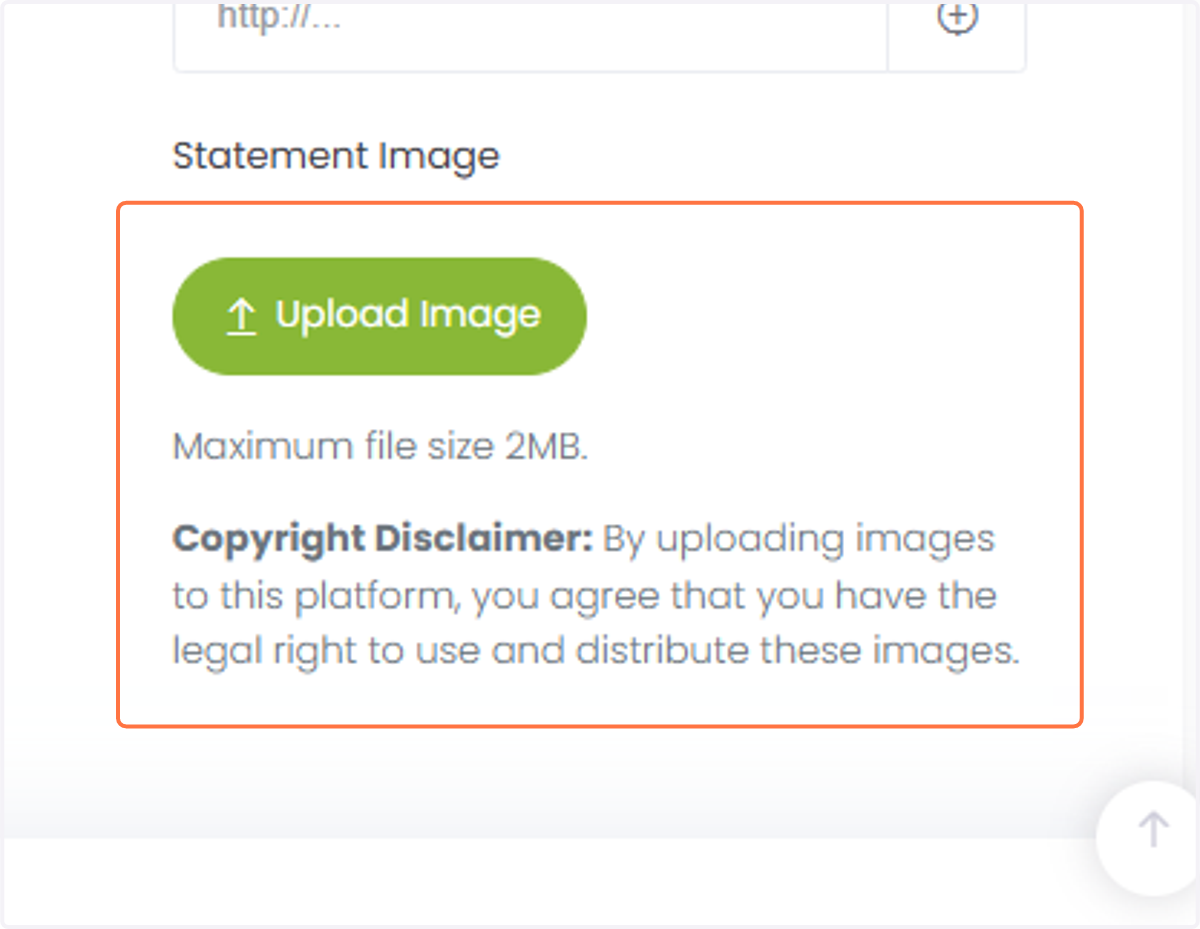
➡️ Images
26. To add a custom image from your university, click on "Upload Image."
By uploading an image, you are agreeing that you have the legal right to use and distribute the image and that APLU may use the image. APLU may repost these photos on our social media or website (with proper attribution) when spotlighting impact statements. Please do not use AI generated images.
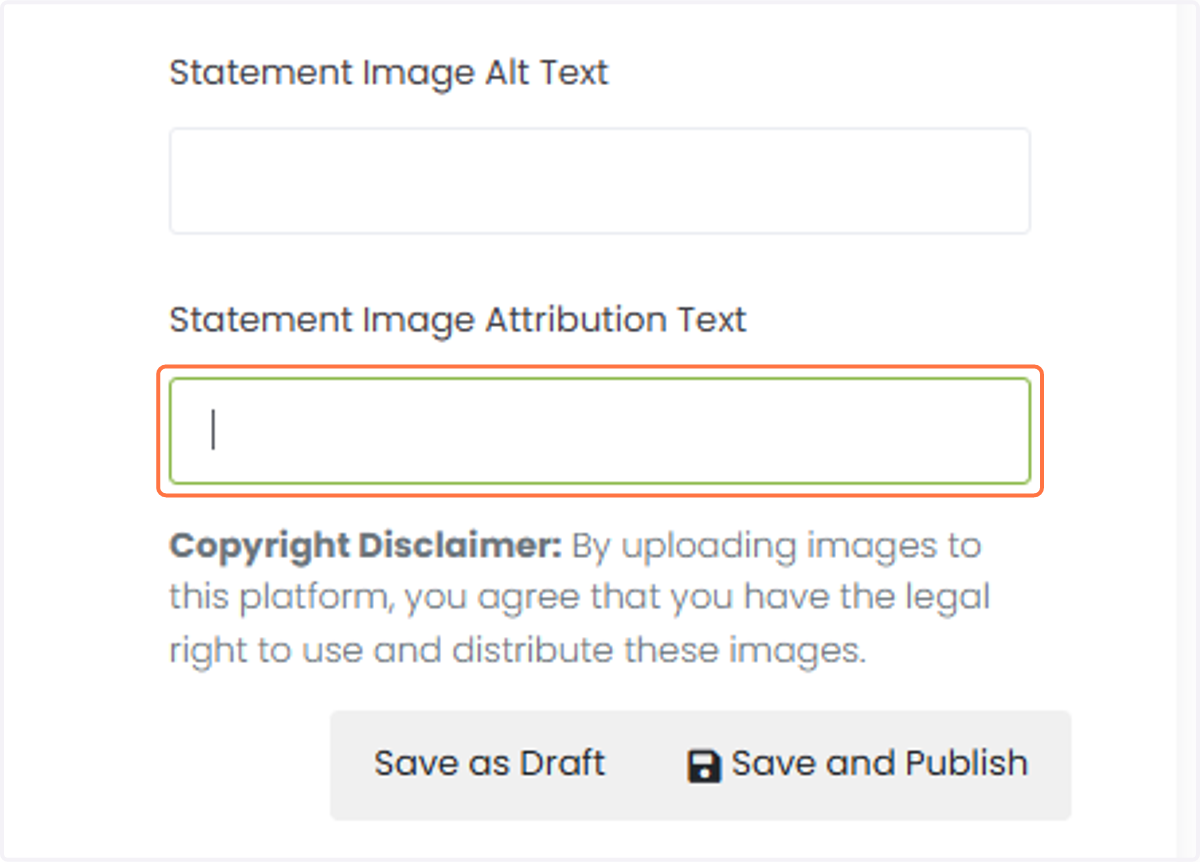
27. Add alt text that describes the image, for accessibility purposes.
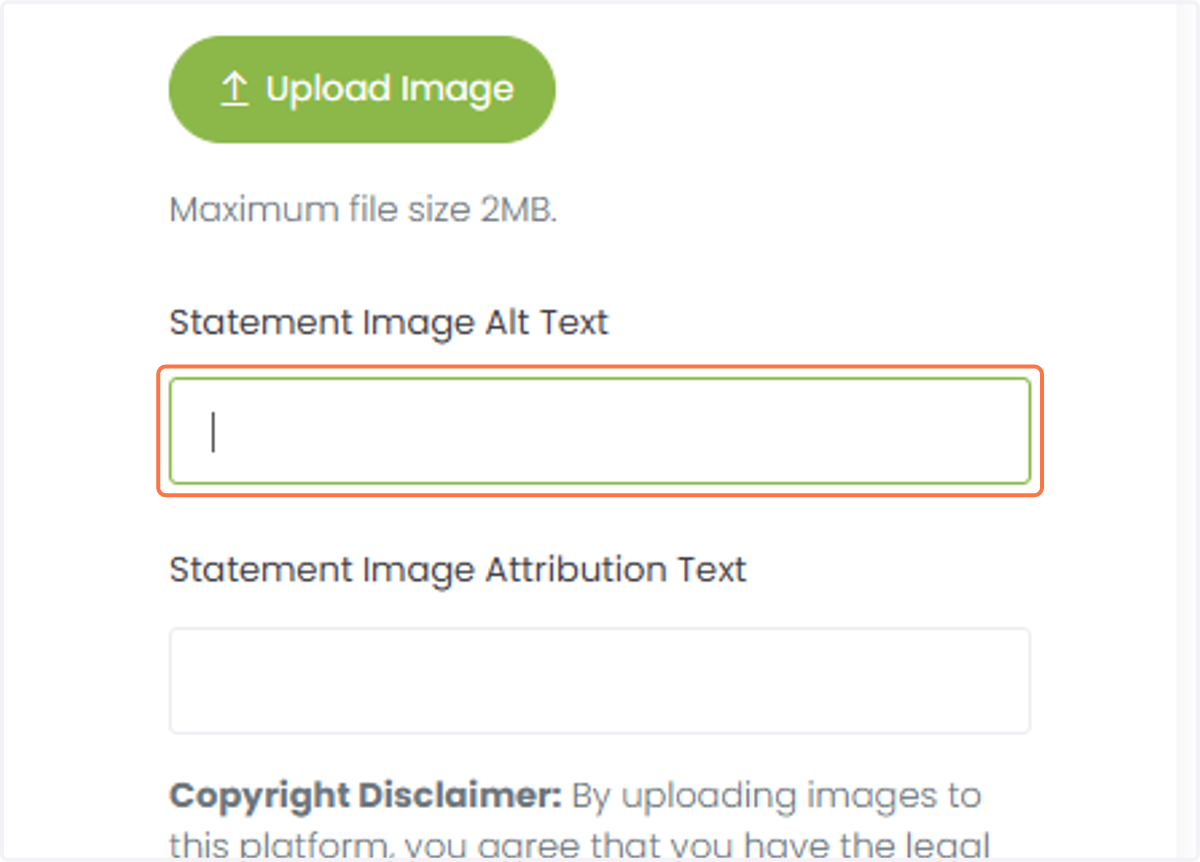
28. Add your photo attribution and/or caption. This will be visible to all users.
➡️ Proofreading Your Statement
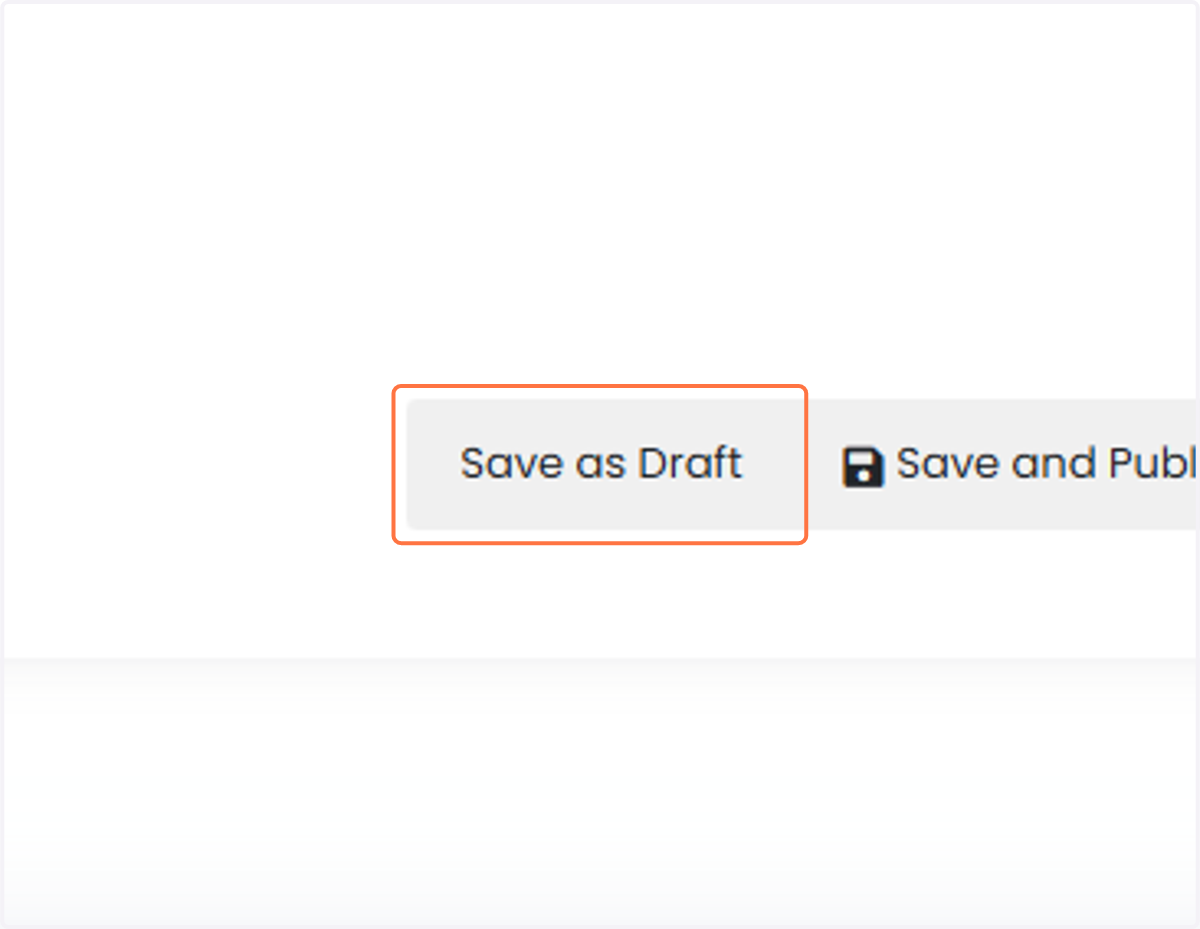
29. Before publishing, please save your statement as a draft by clicking "Save as Draft."
30. You will be directed back to the "My Impacts" page.
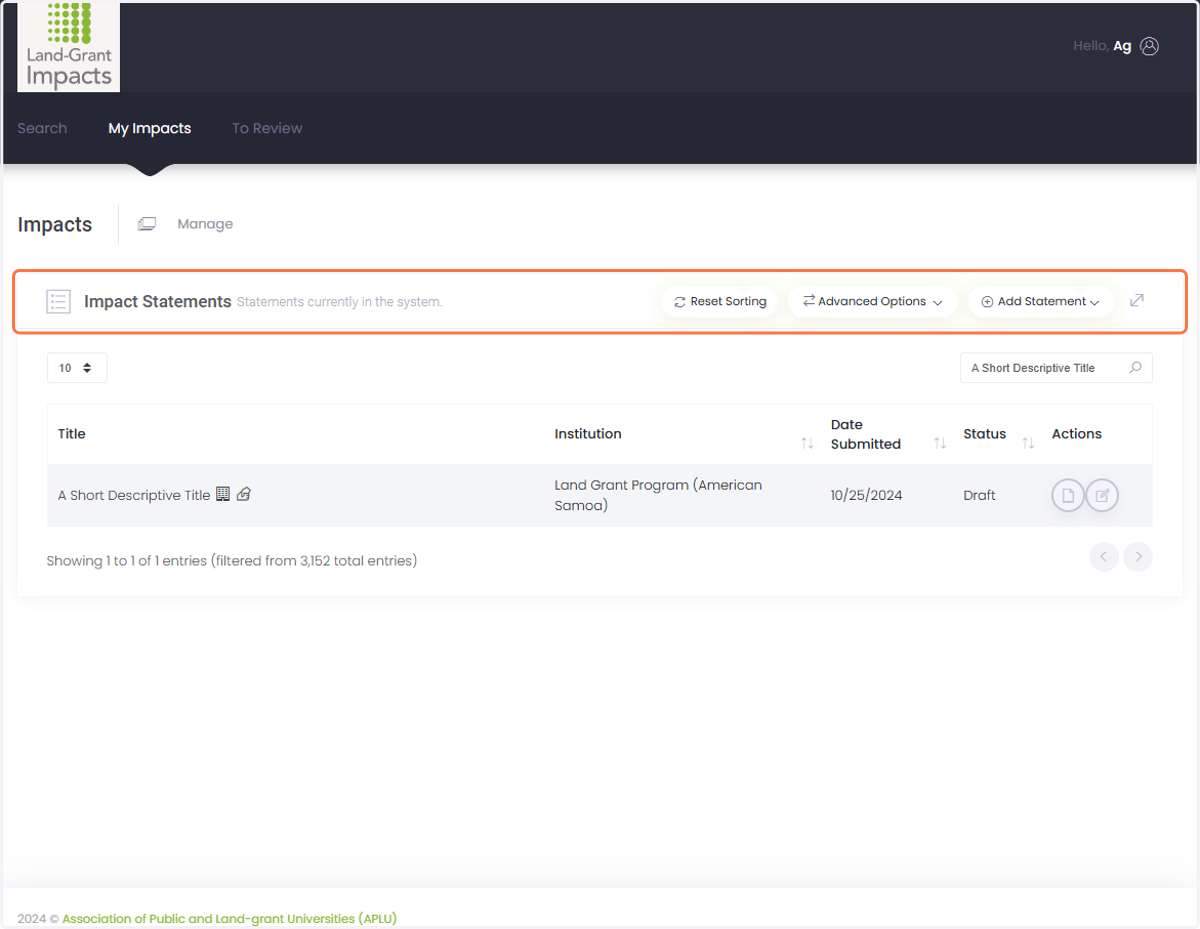
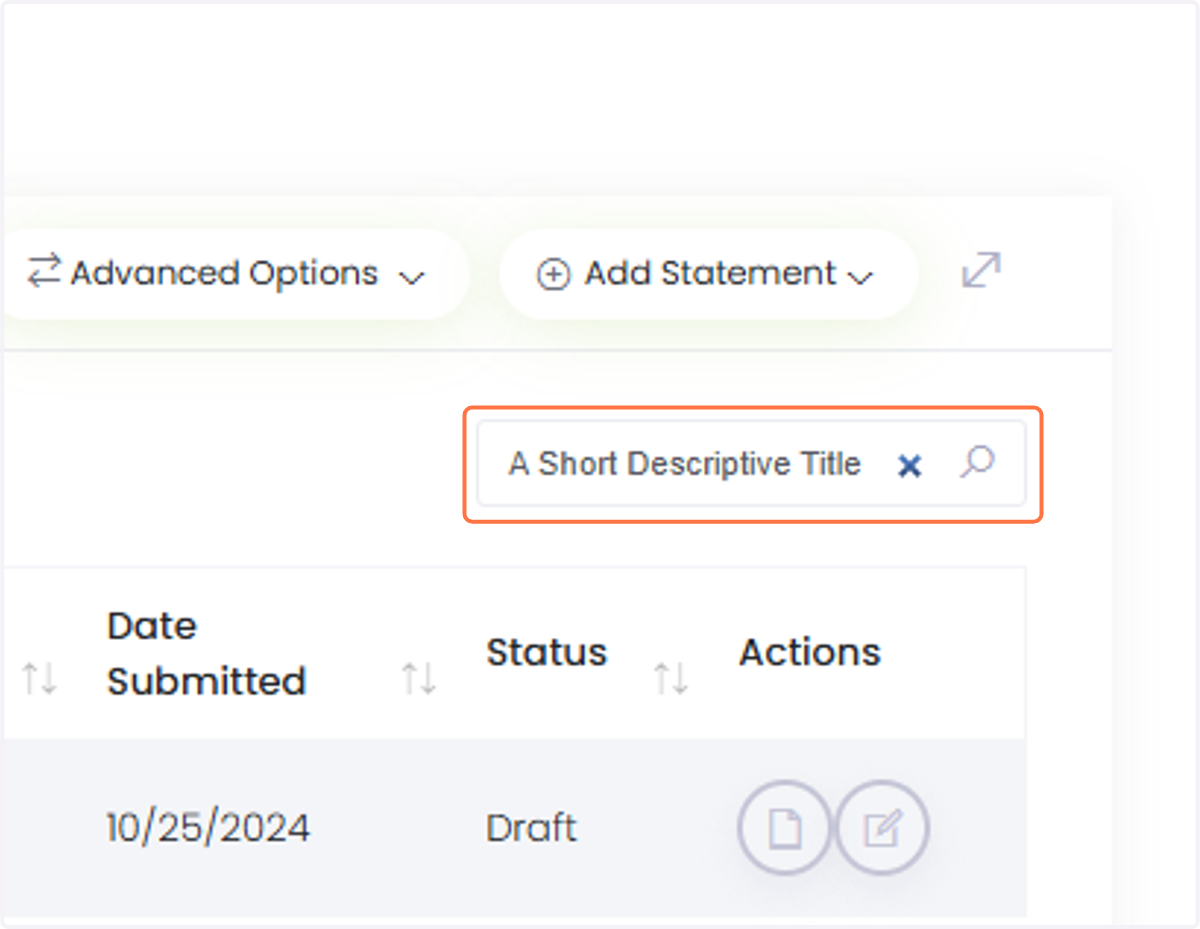
31. If needed, search to find the statement.
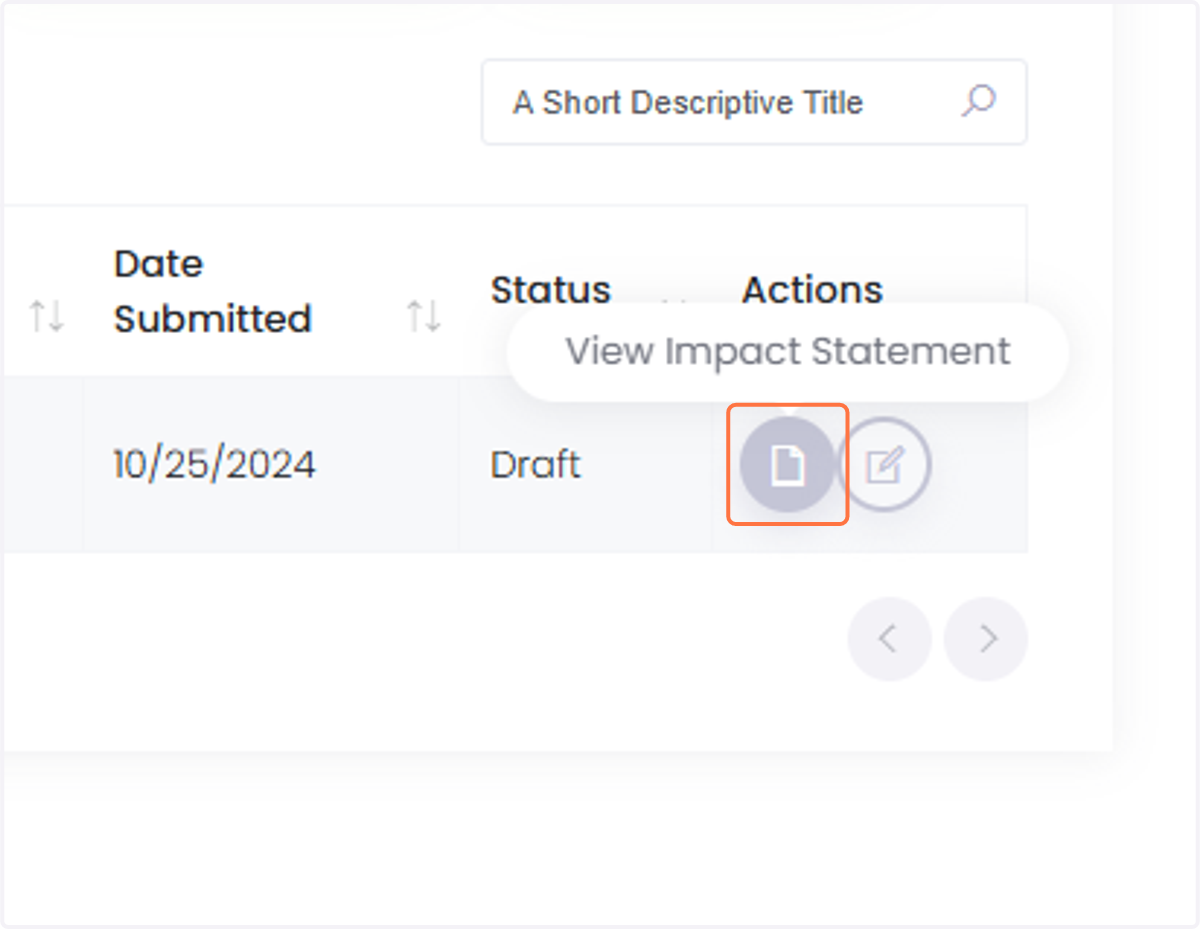
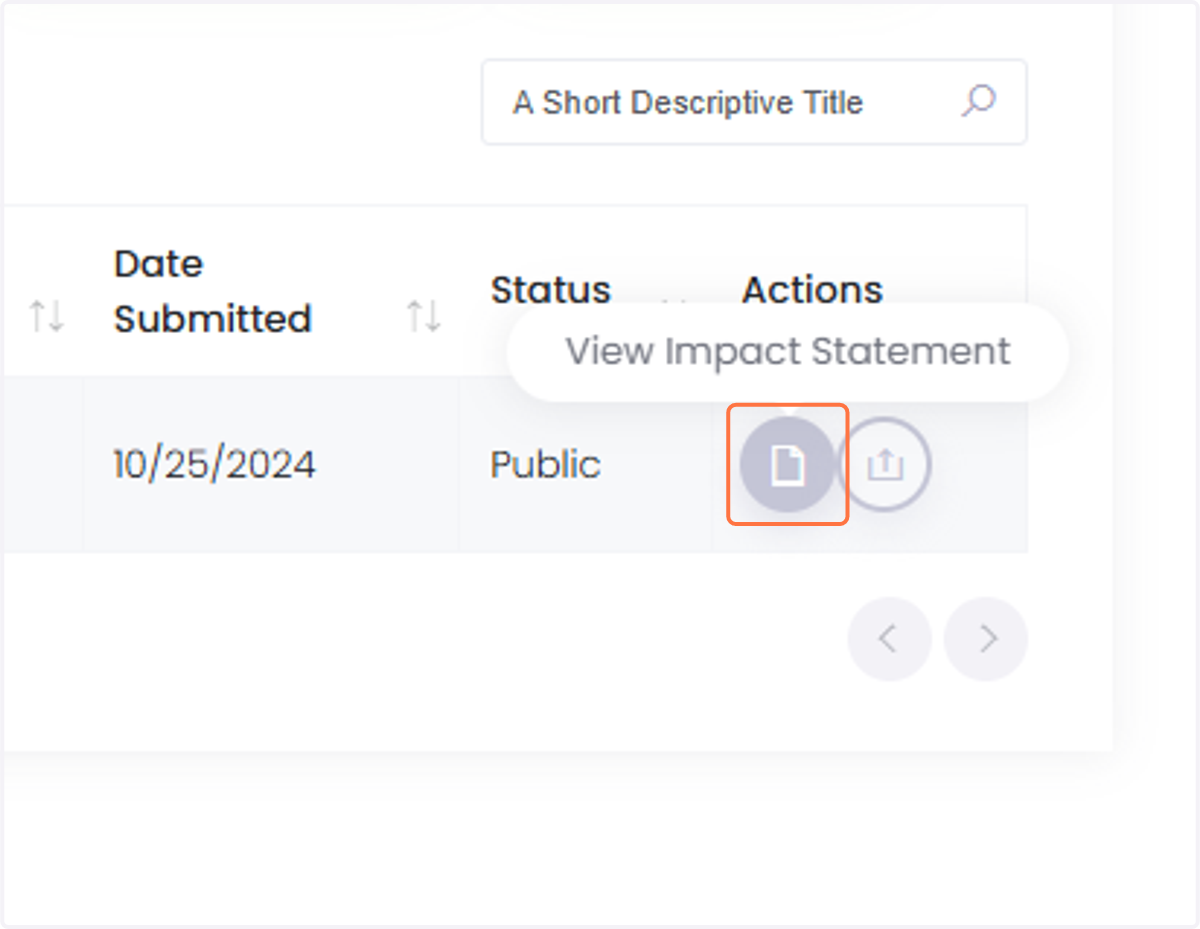
32. Click on "View Impact Statement" to ensure that your statement looks as desired.
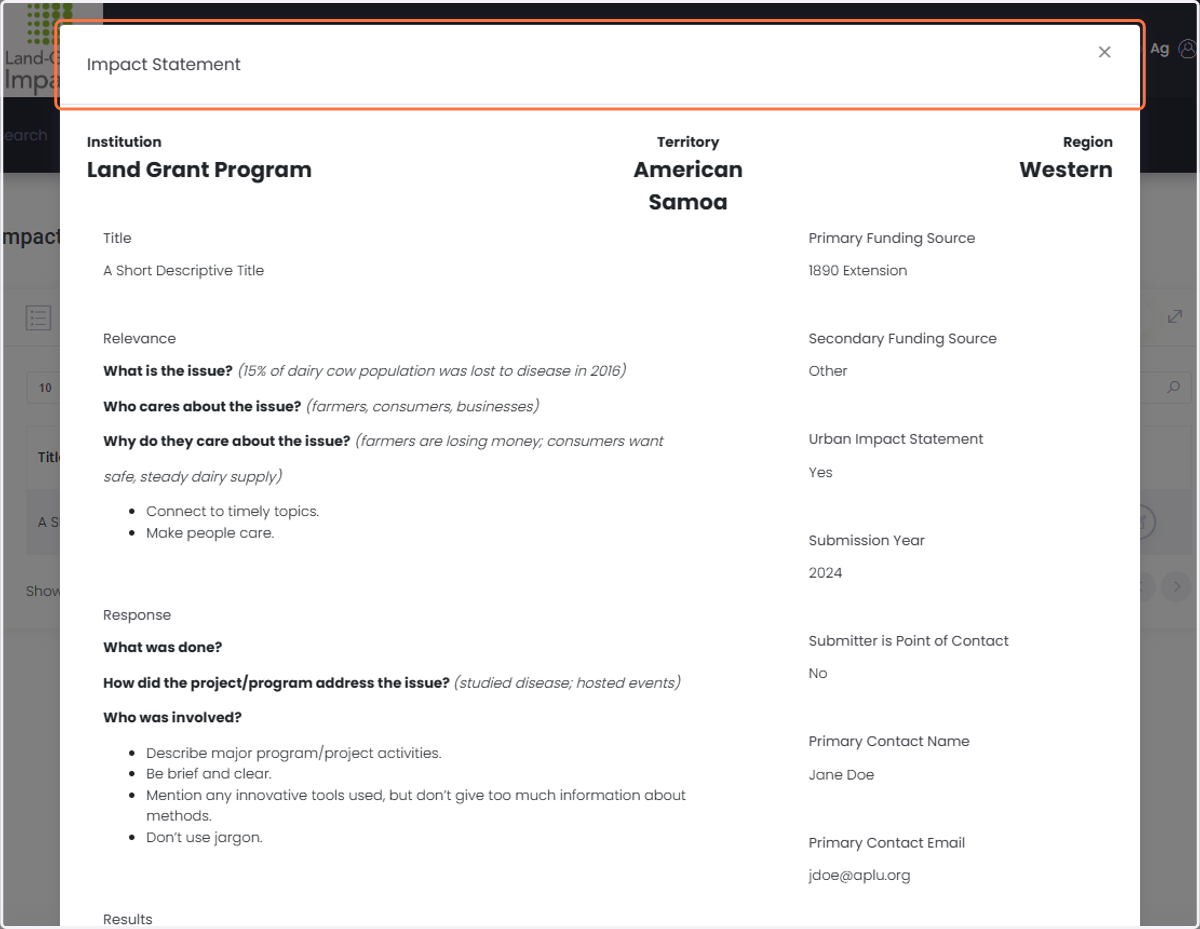
33. Review your impact statement. Please make sure that all the formatting has been applied correctly.
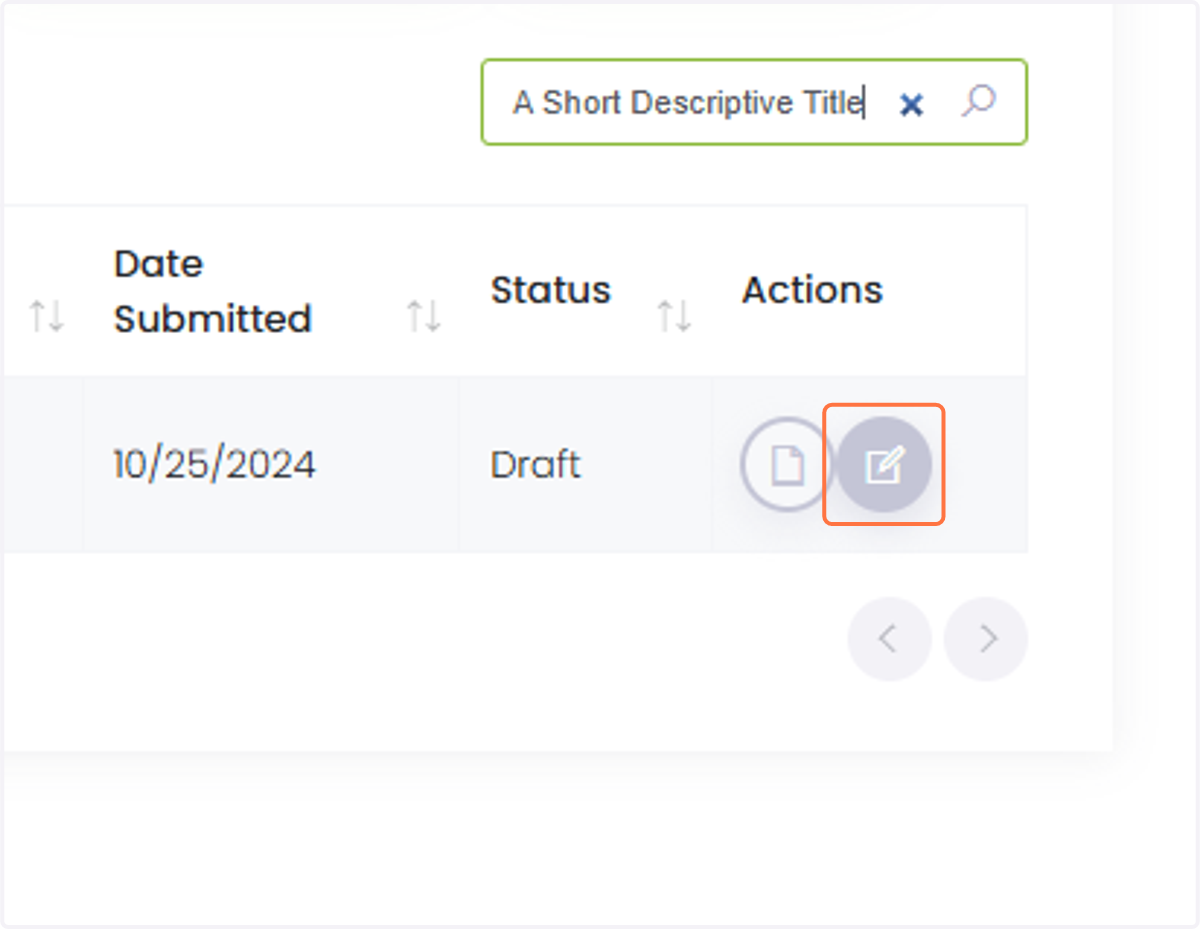
34. If you need to make any adjustments, or are ready to publish, click on the "Edit" button.
➡️ Publishing Your Statement
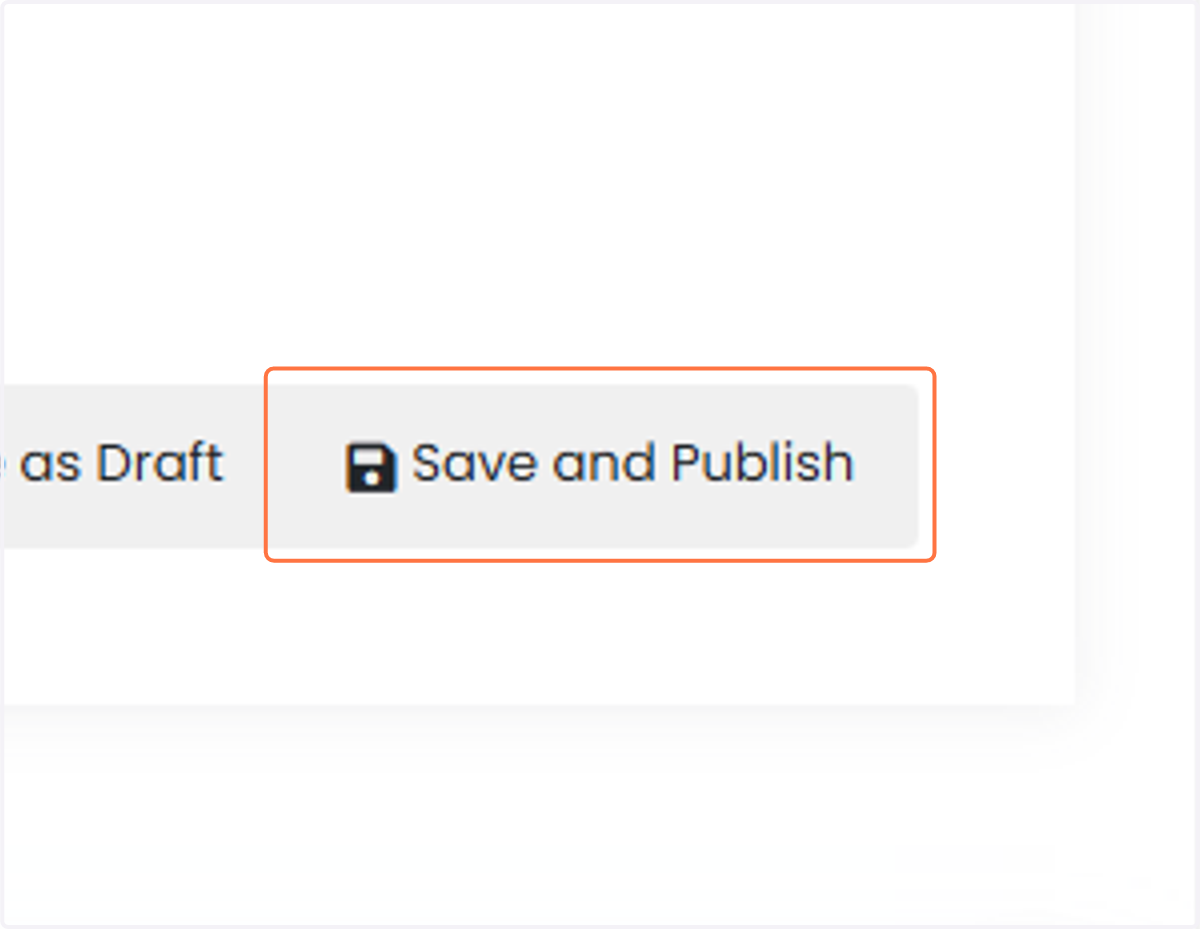
35. After making any necessary changes, to immediately publish your impact statement, click on "Save and Publish."
➡️ View Your Impact Statement
36. After publishing, you can view and share your impact from the "My Impacts" page.
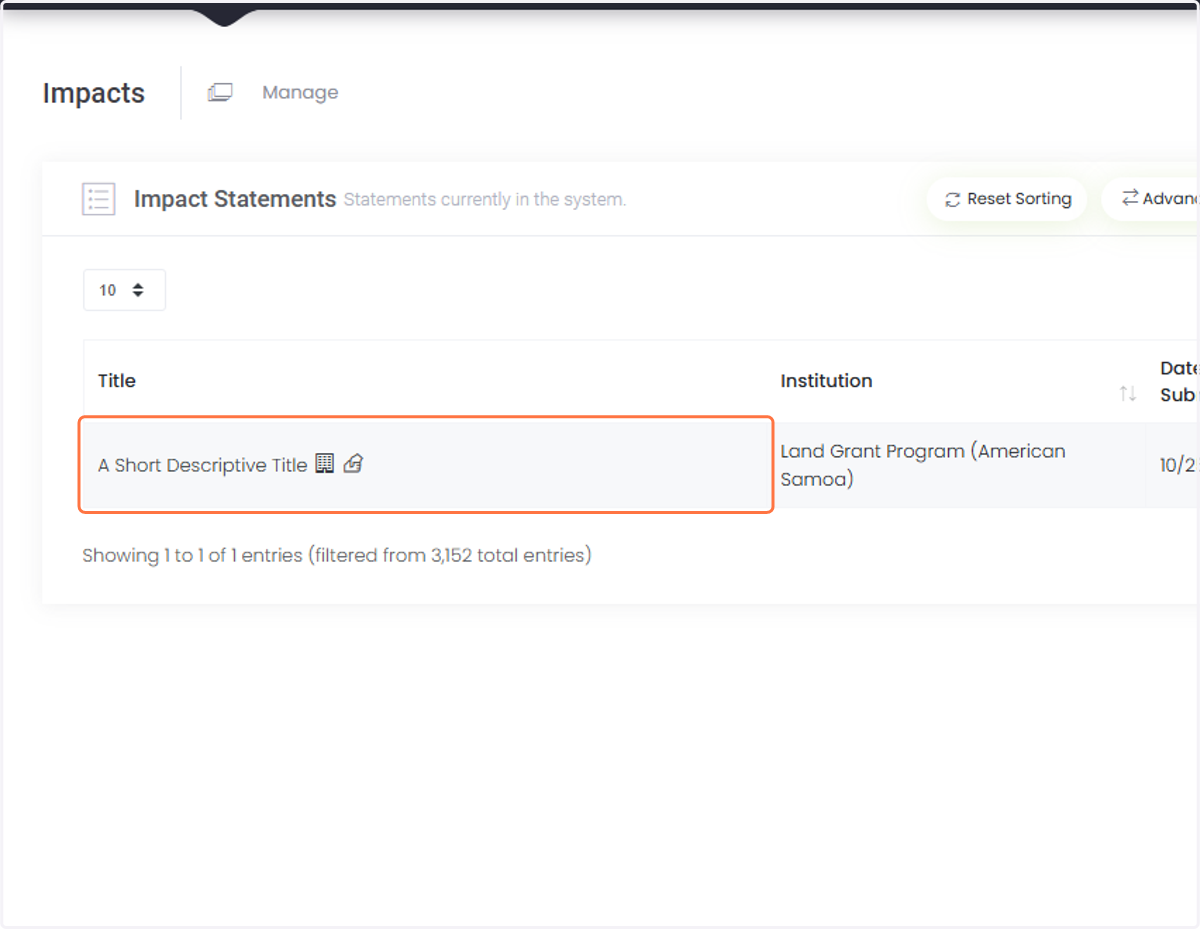
37. Click on "View Impact Statement."
38. View your impact statement.
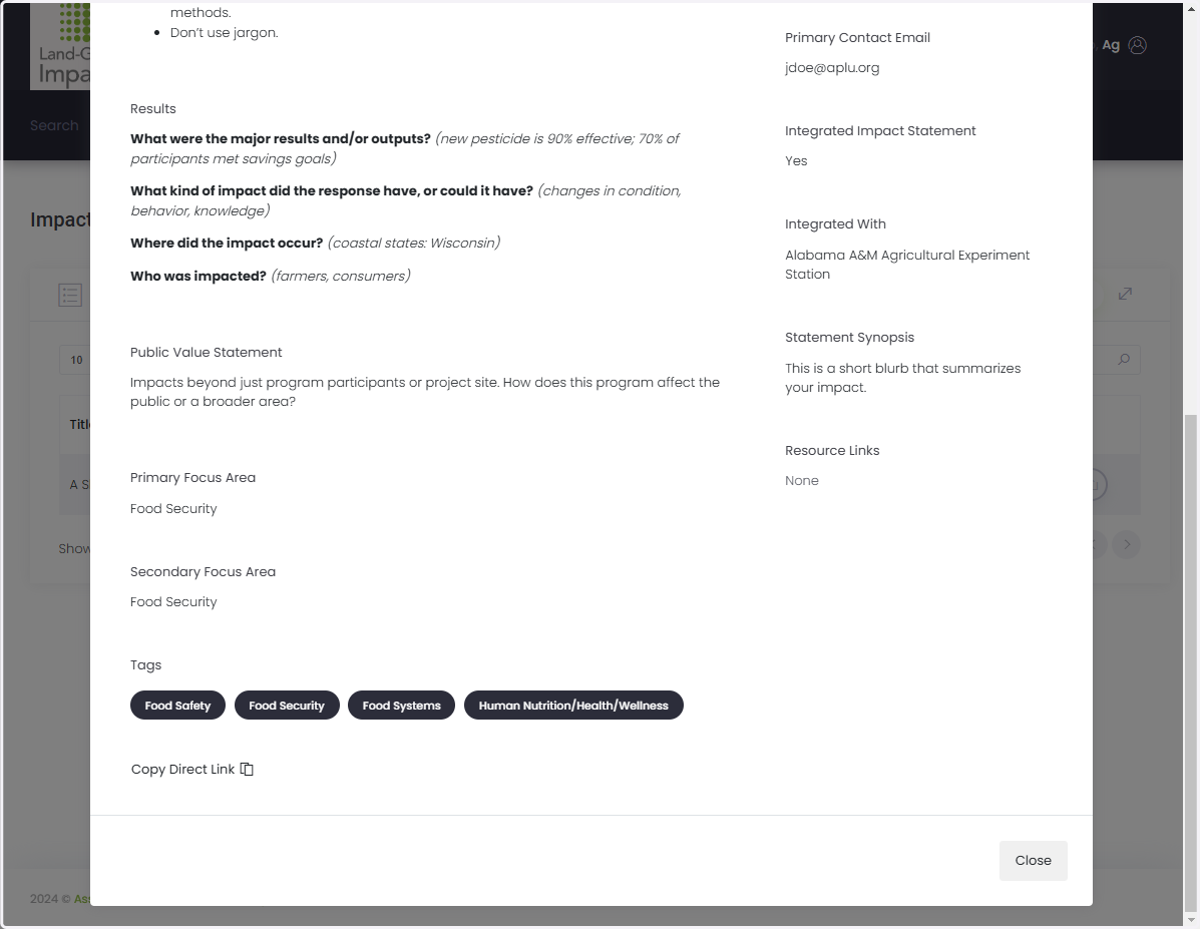
➡️ Share Your Impact Statement
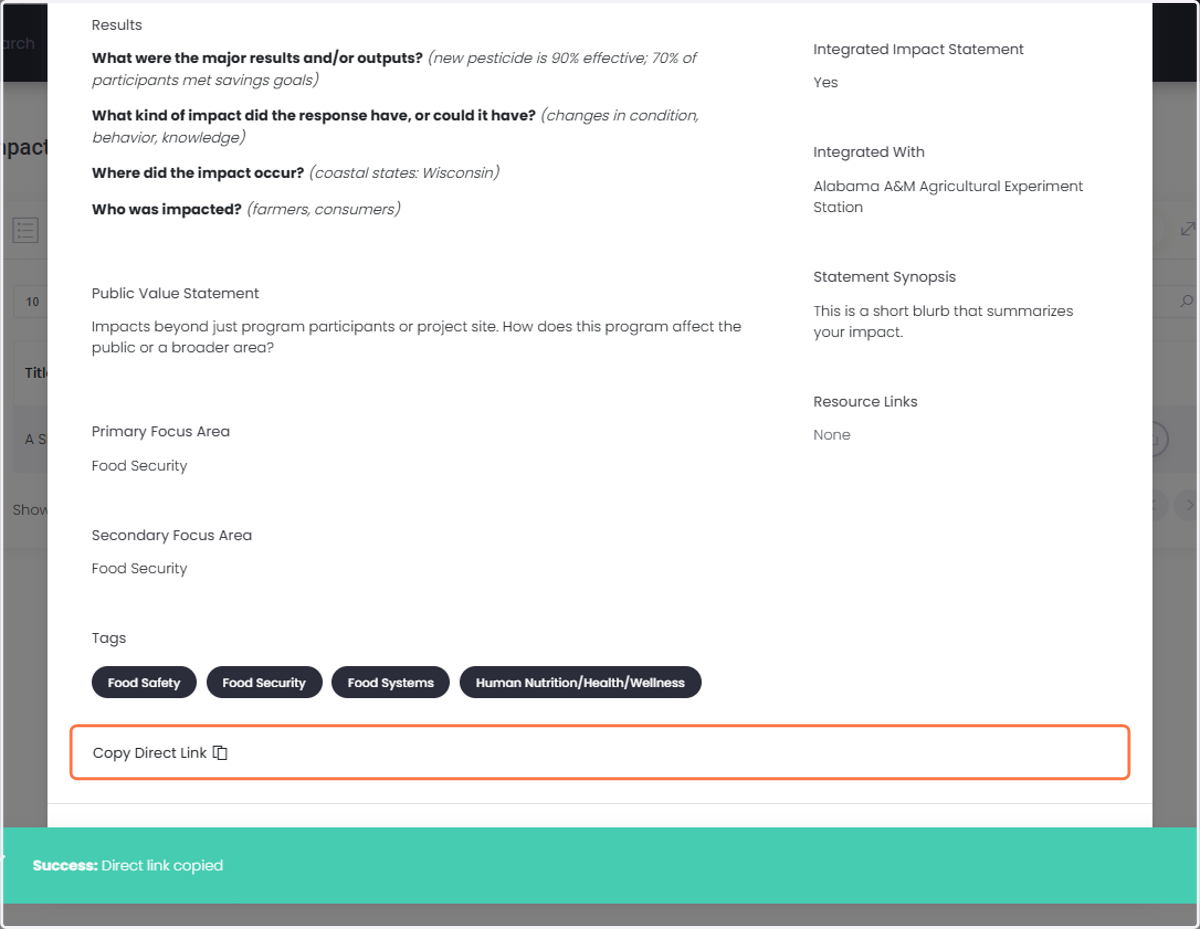
39. To share the statement, click on "Copy Direct Link."
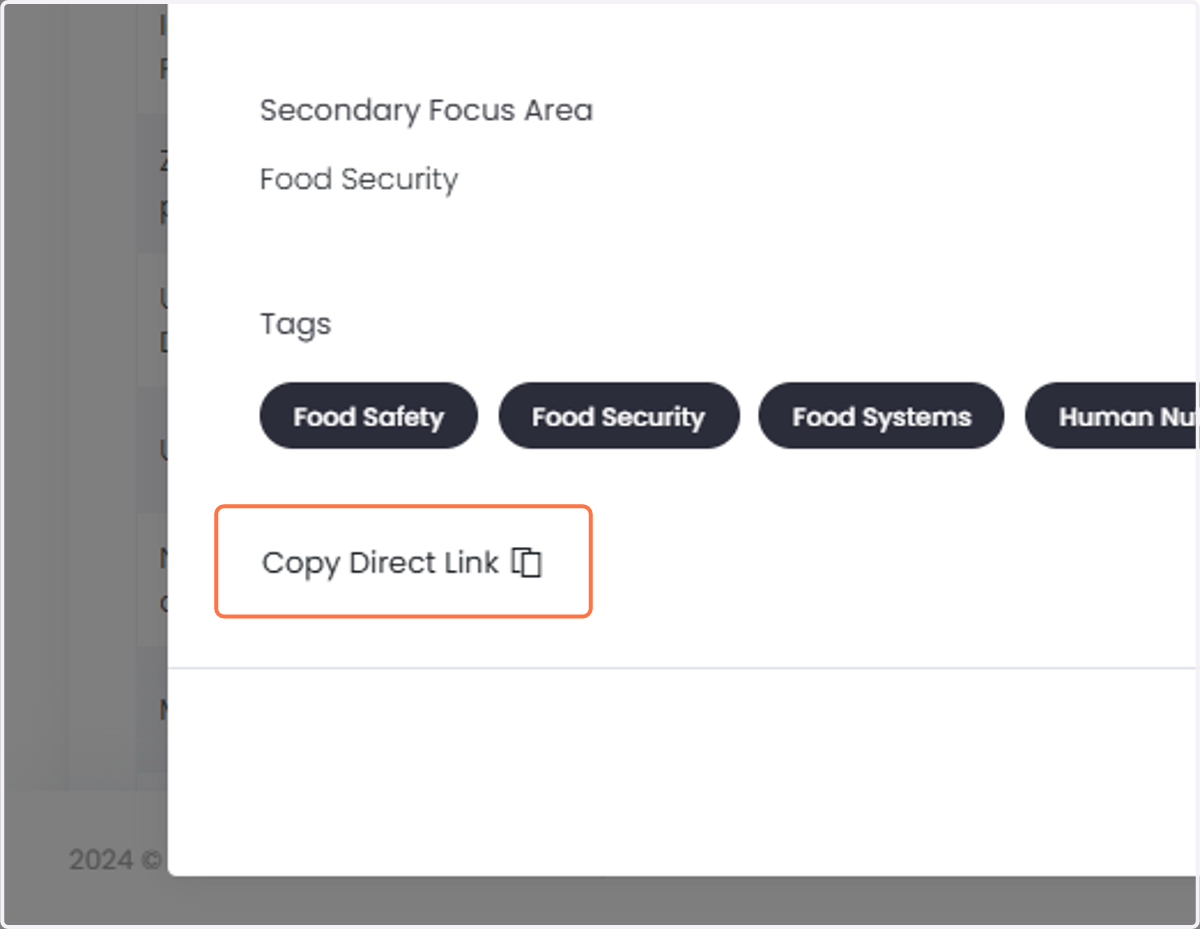
40. A pop up will appear to let you know the link is in your clipboard, ready to be pasted.