Employee: Request Absence
Time Offs in Workday are referred to as Absences. An employee will only be able to request Time Off. Please talk to your manager or HR if you need to request a Leave of Absence.
From the Workday Home screen
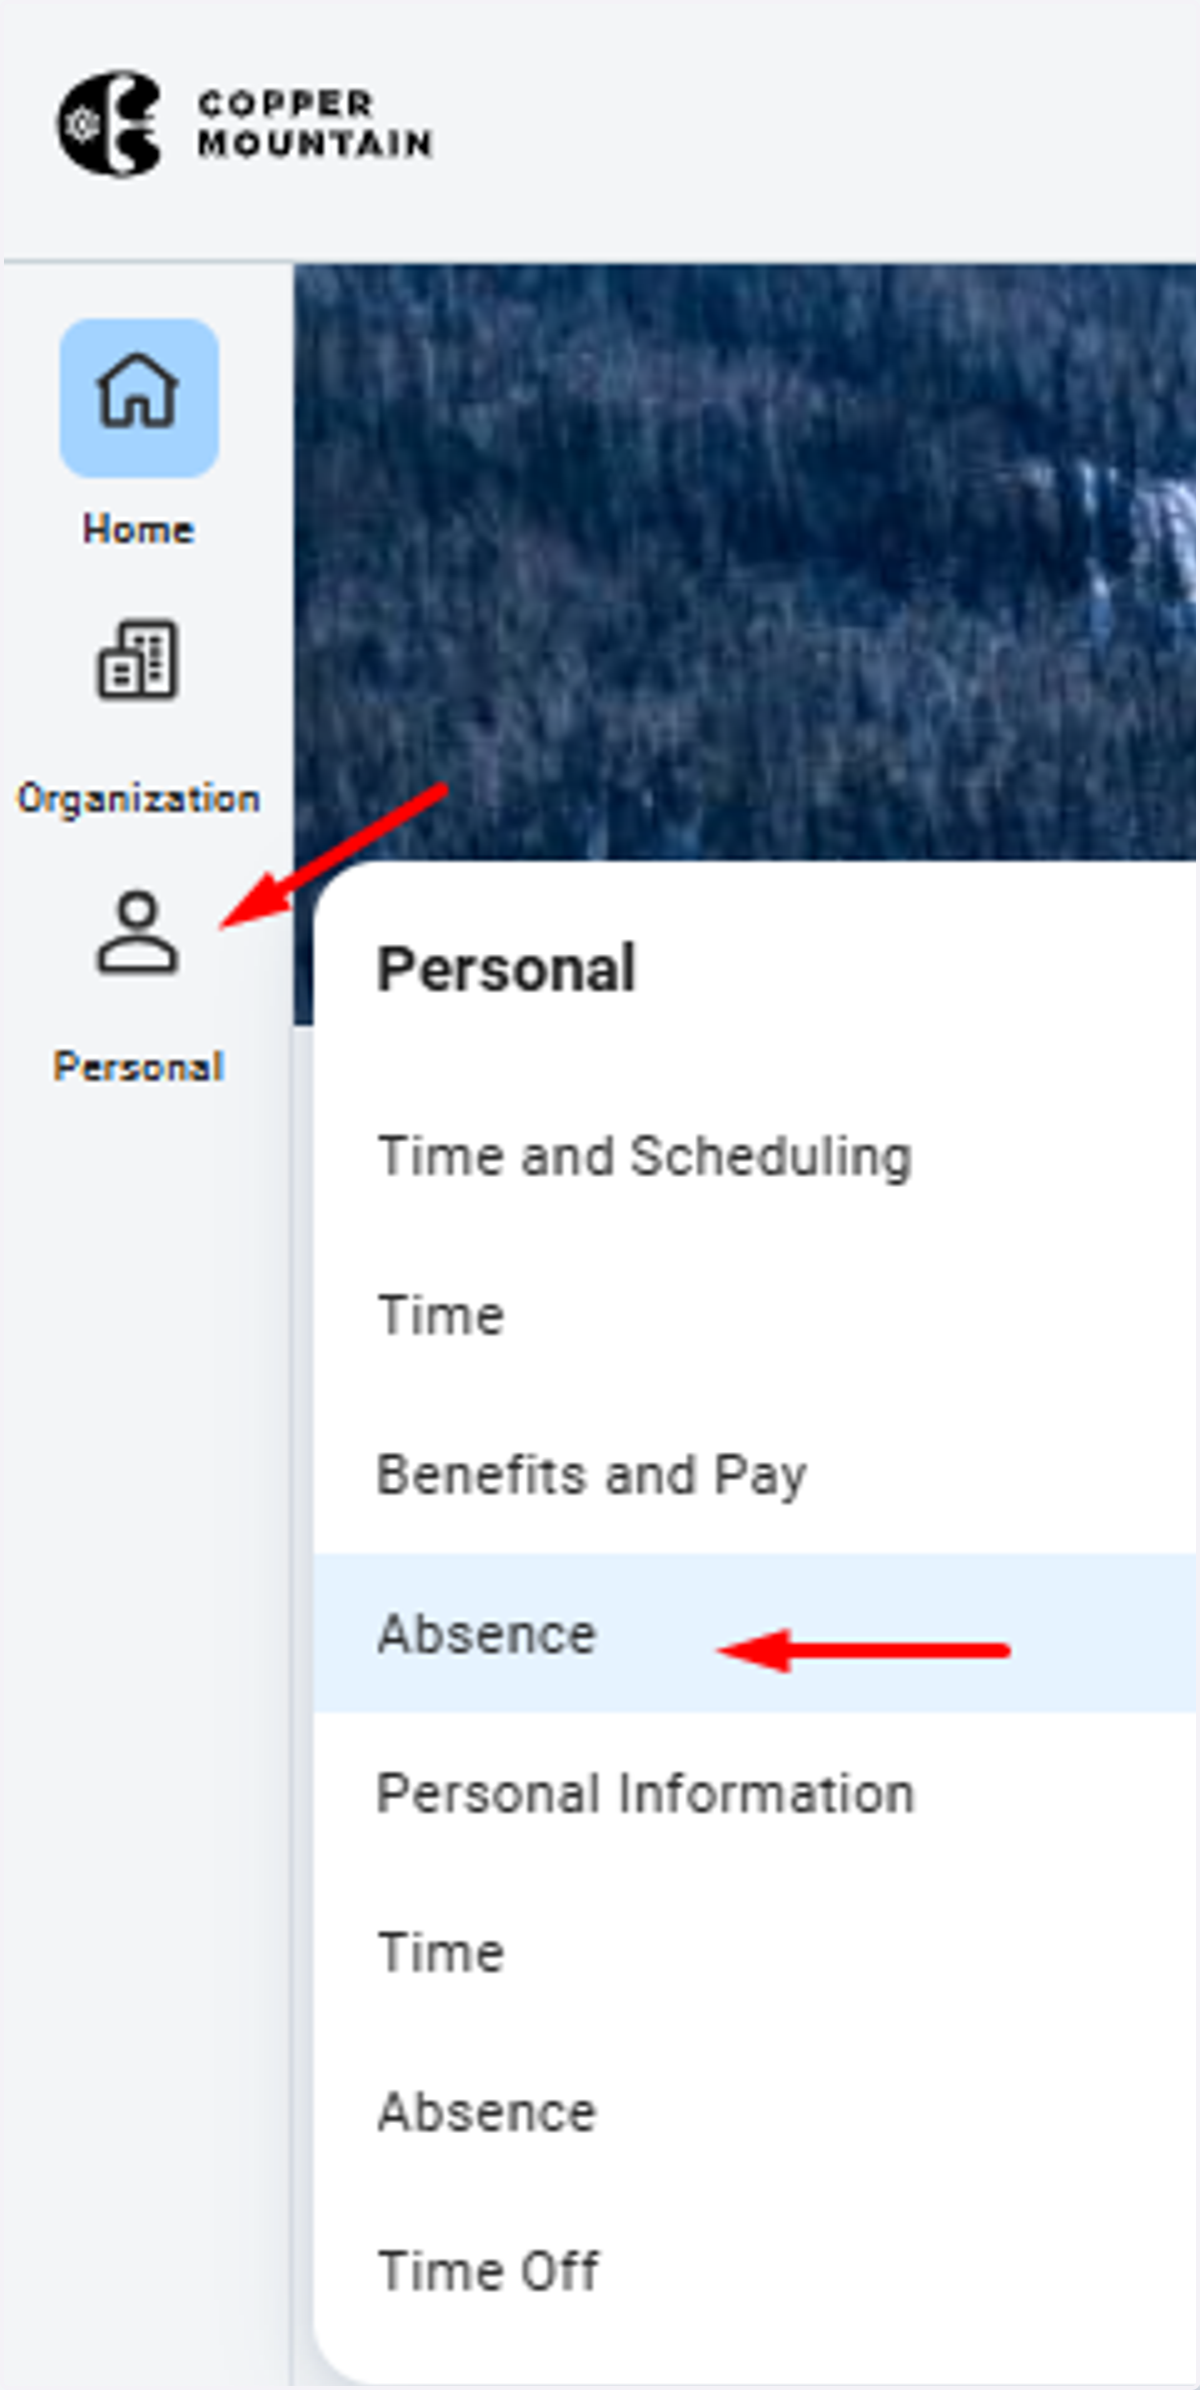
1. From Home Screen, navigate to Personal > Absence
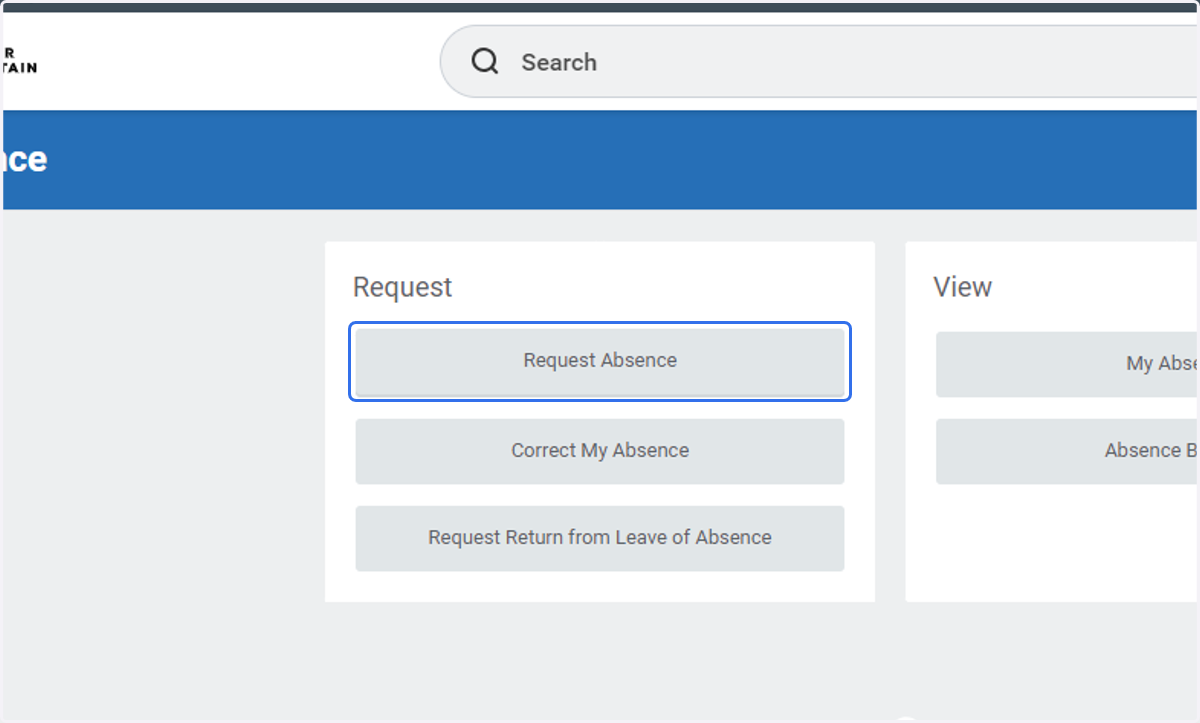
2. Click on Request Absence
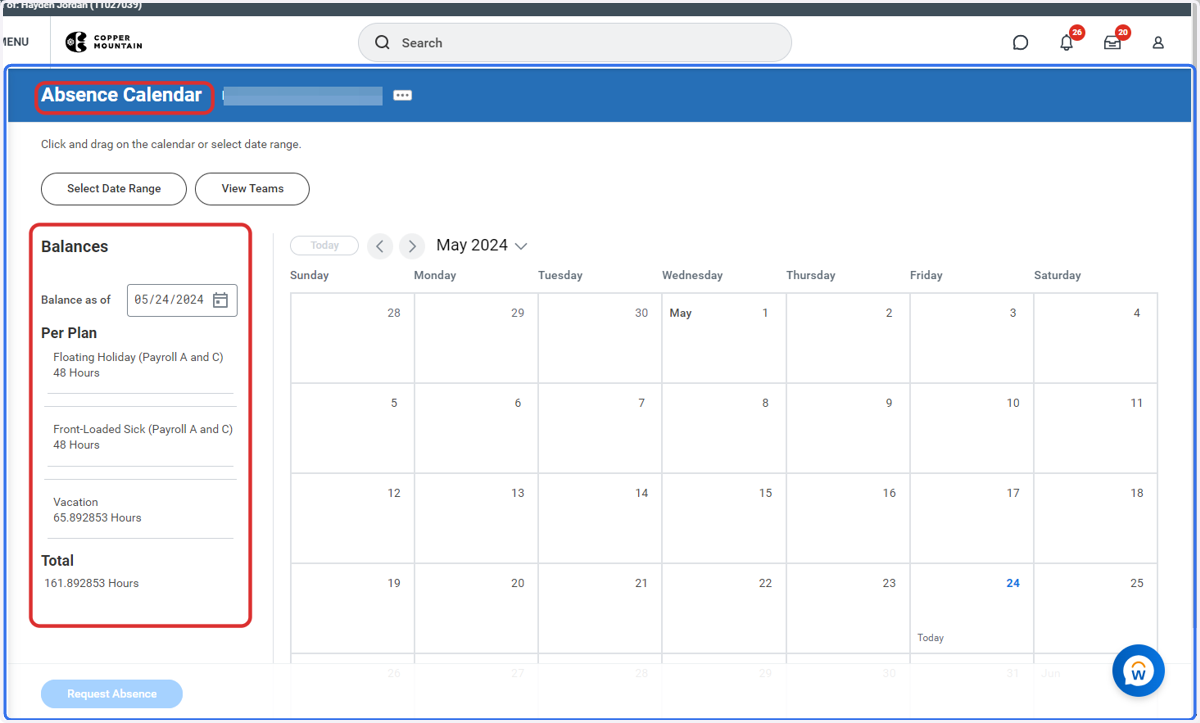
3. Absence calendar and current balances are displayed
4. Click into the calendar, on the day (or days) you wish to take a paid absence
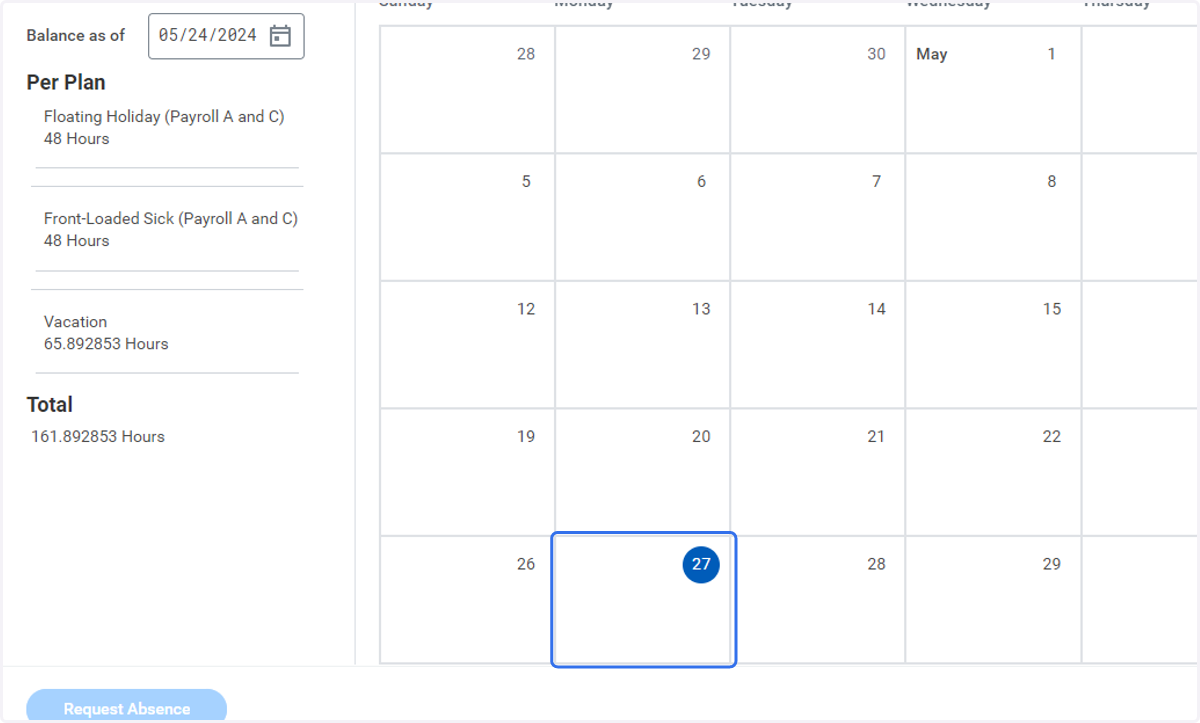
5. Click multiples dates if needed
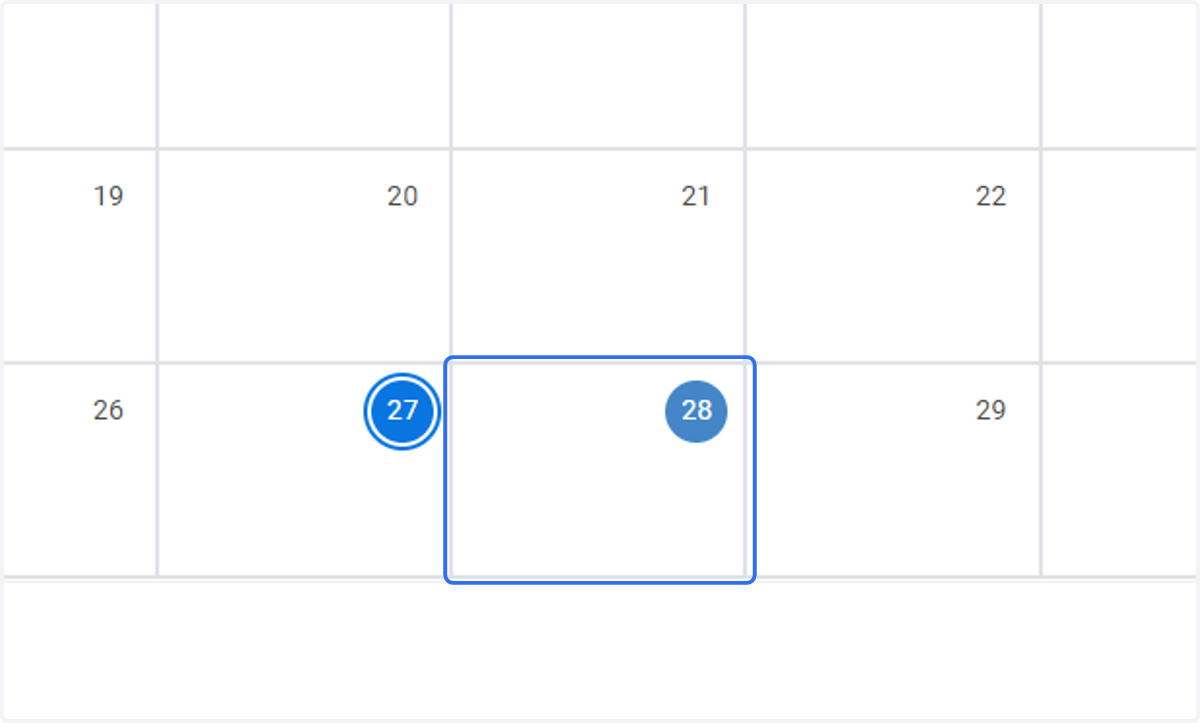
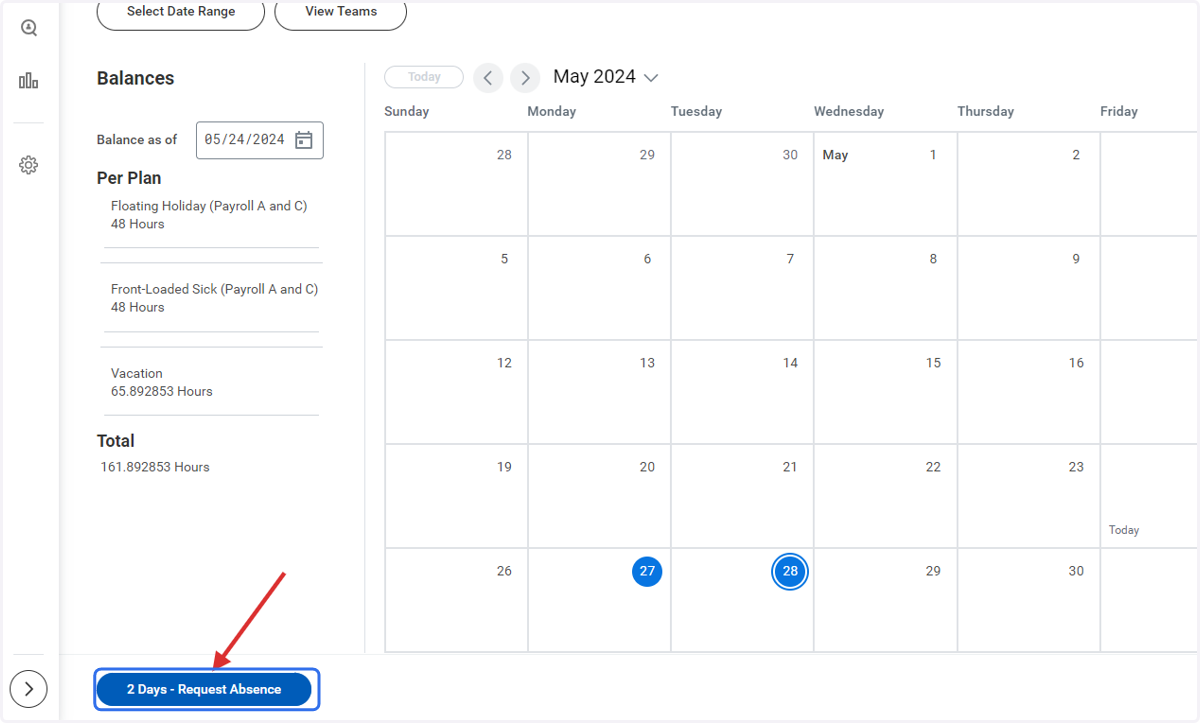
6. Your selected number of days will be indicated in the lower left of Absence Calendar. Click on the highlighted Request Absence button
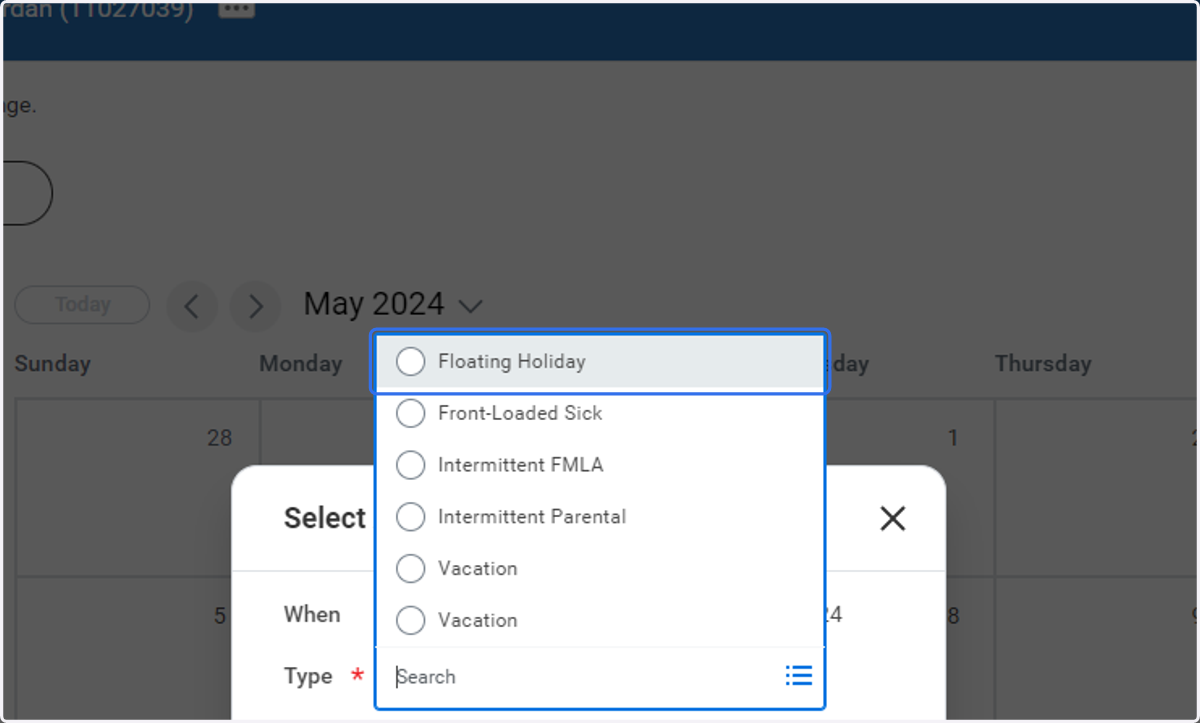
7. Use the dropdown menu to select the type of absences you wish to use
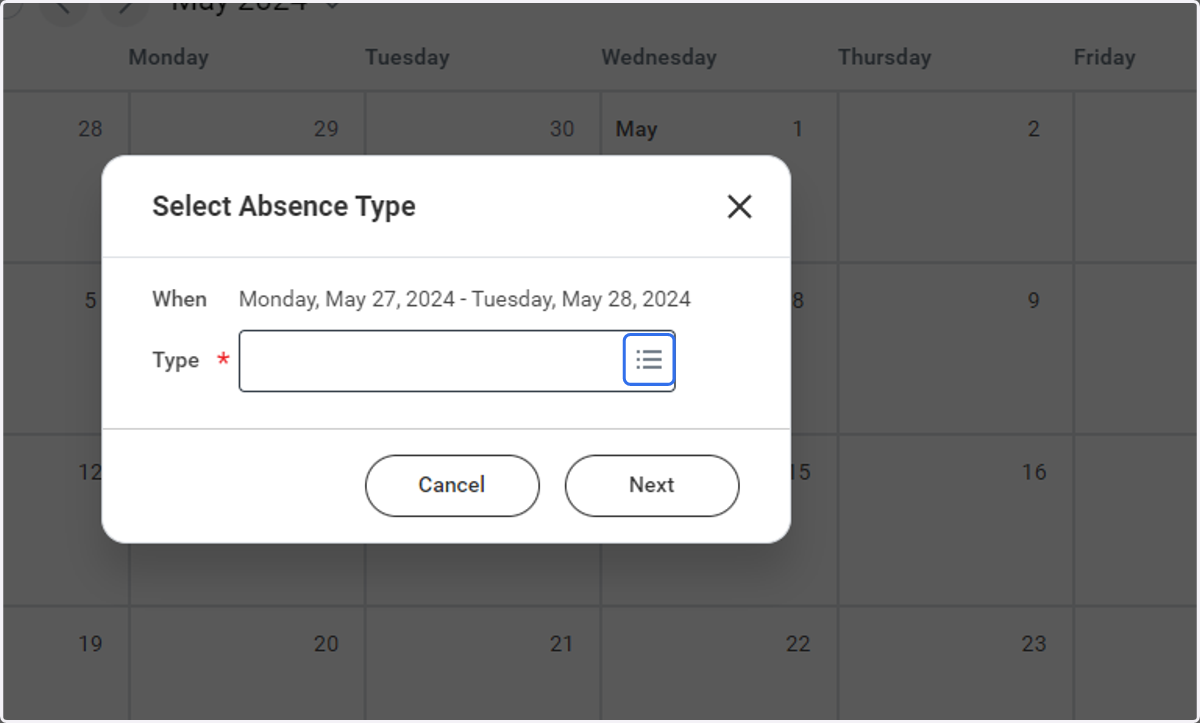
8. In this example, click on the Floating Holiday radio button [ please note, Floating Holiday is no longer a type of absence, however the SOP still works in the same manner.
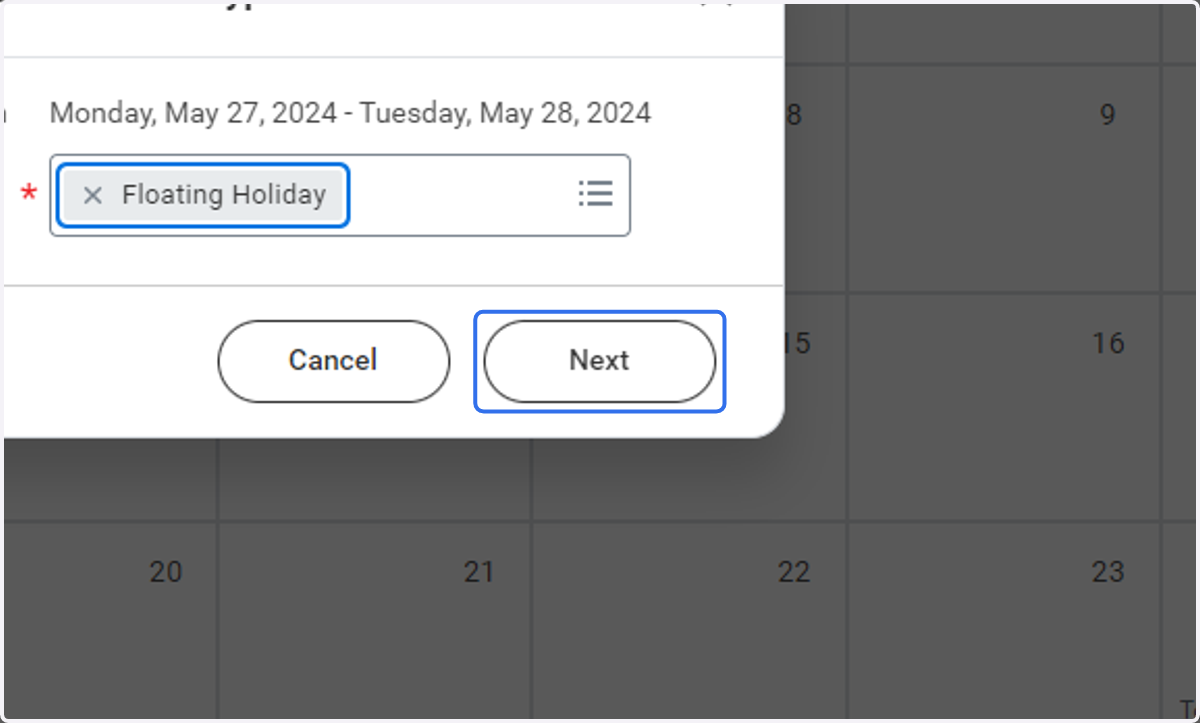
9. Absence type will autofill; click Next
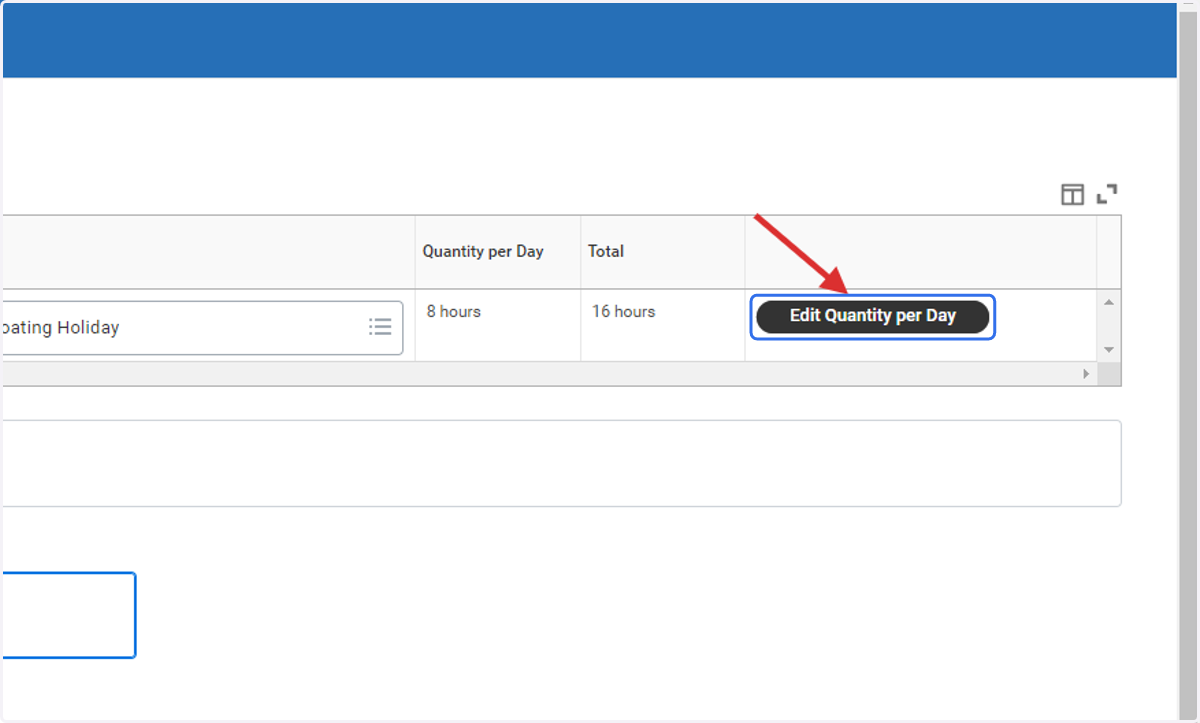
10. If you are using less than a full 8 hours per day, click on Edit Quantity per Day to adjust totals
11. Select date you wish to adjust the Absence Hours being requested
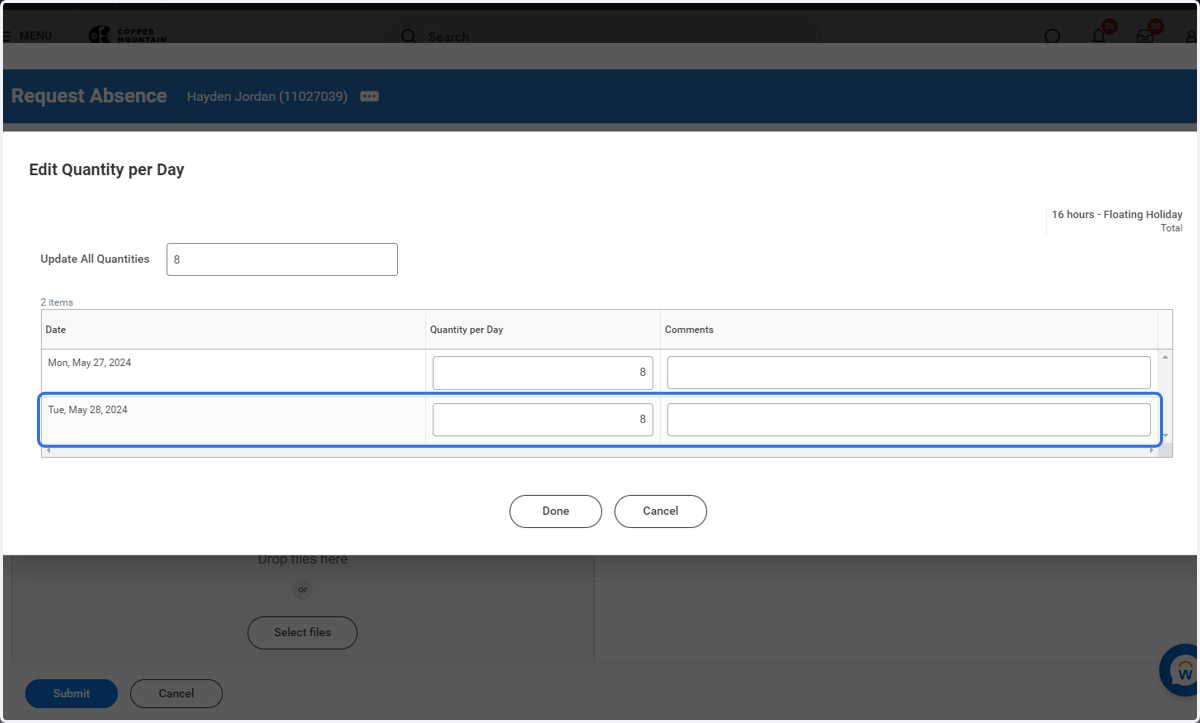
12. Adjust hours as needed
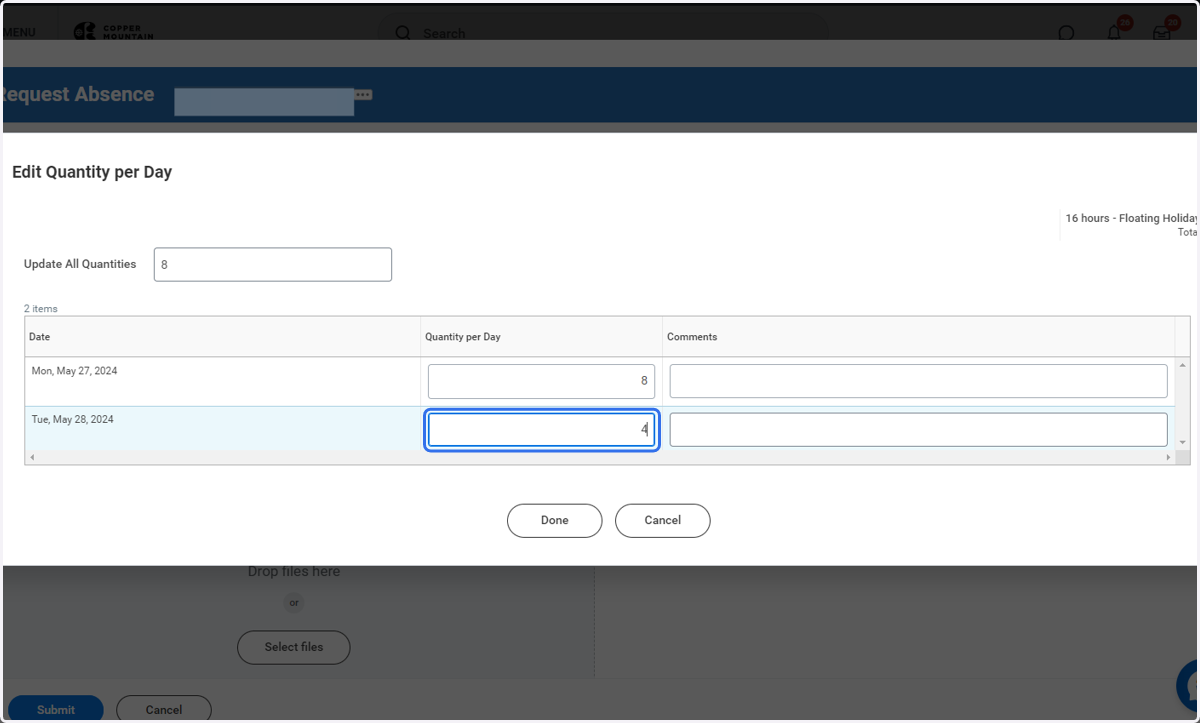
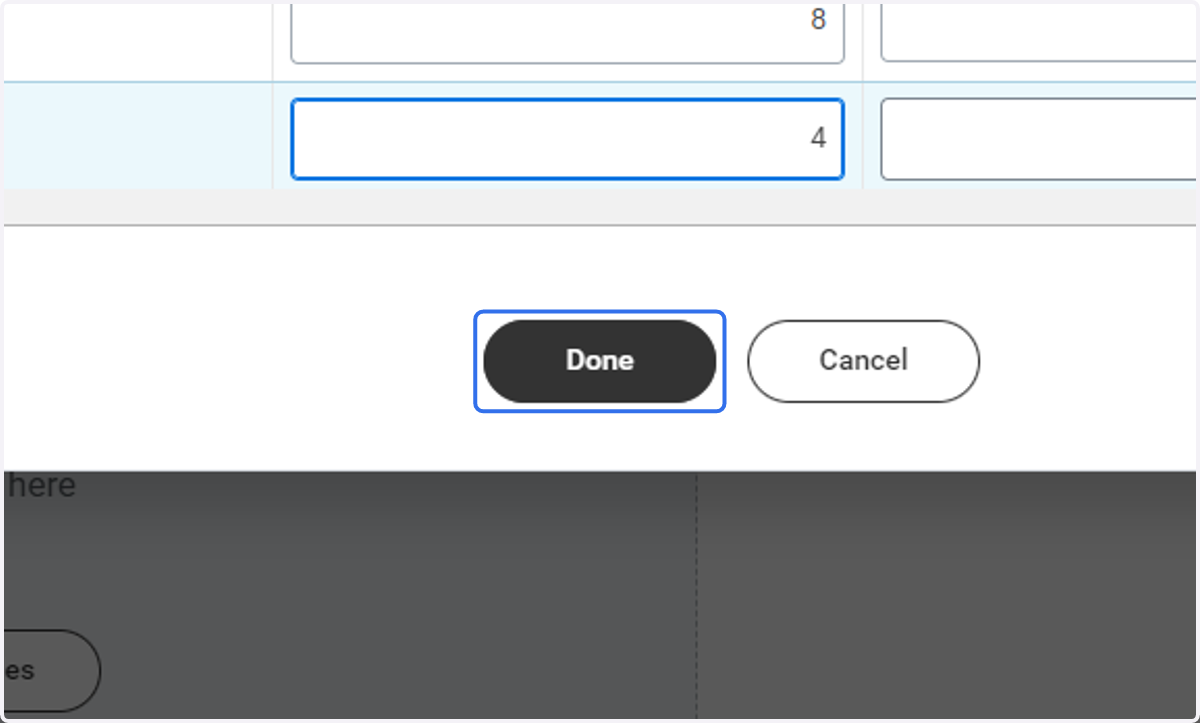
13. Click on Done
14. Enter a comment to your manager/approver if applicable
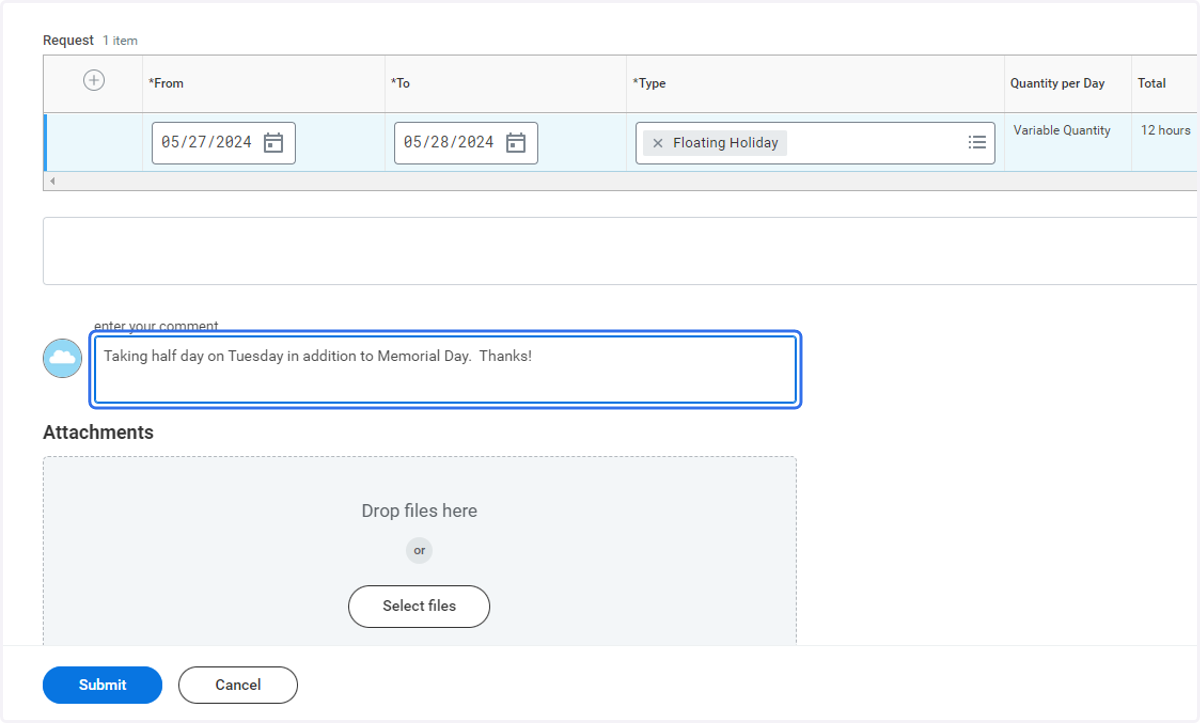
15. Click on Submit
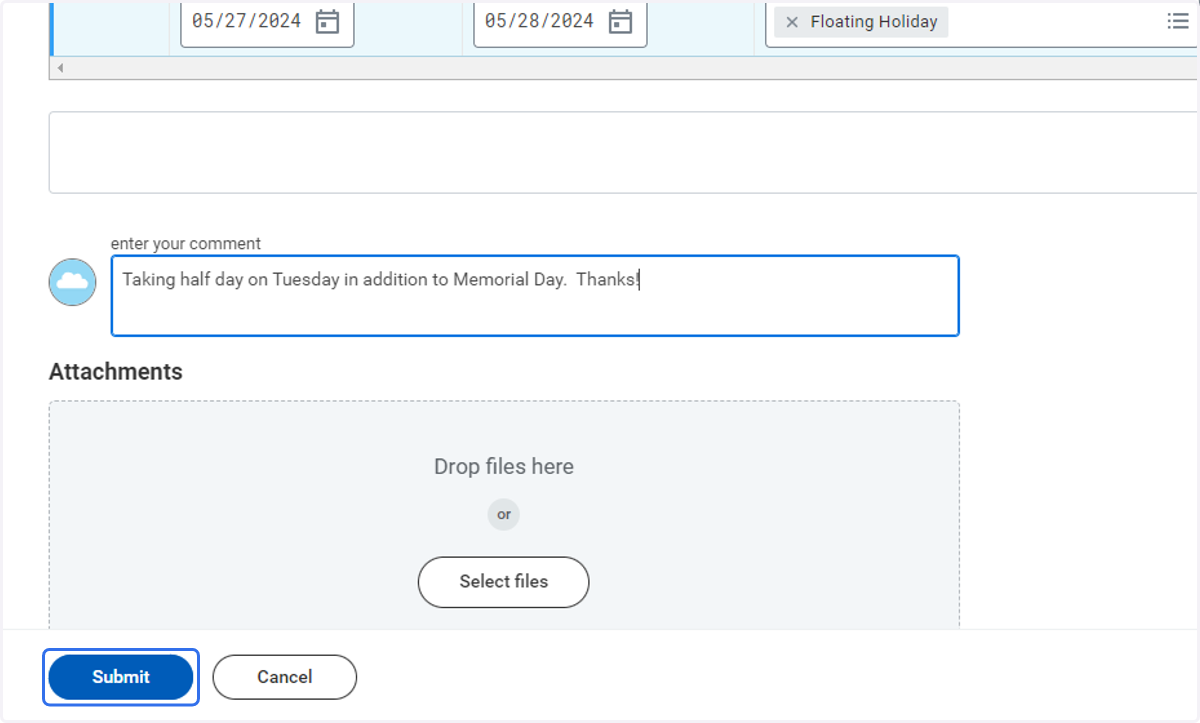
16. Your request will go to your manager for approval
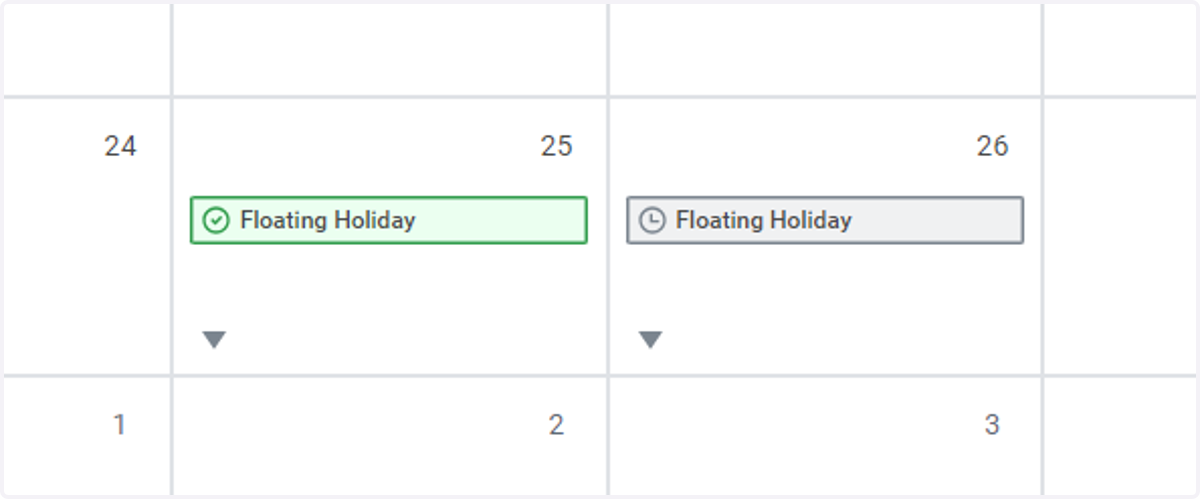
17. View calendar
Gray= Not yet approved
Green= Approved