How to Plan Your Courses Using LibertyLink
Hudson County Community College
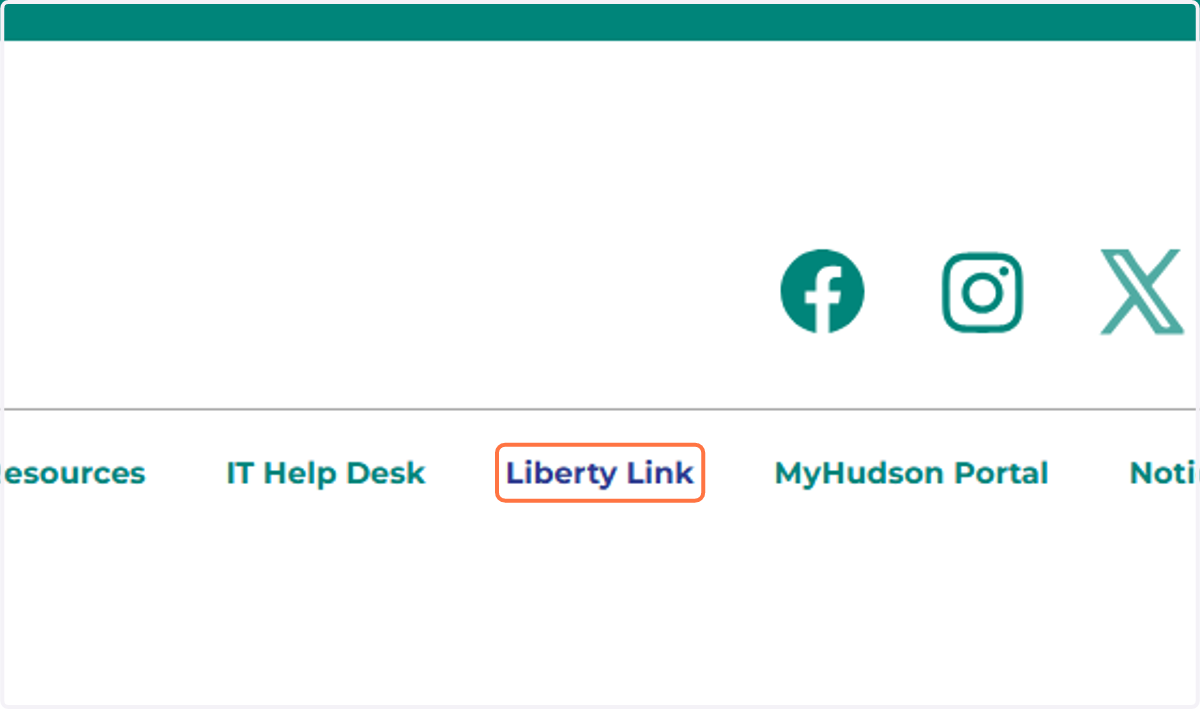
1. Visit https://www.hccc.edu/, scroll to the bottom of the page and click on the LibertyLink button
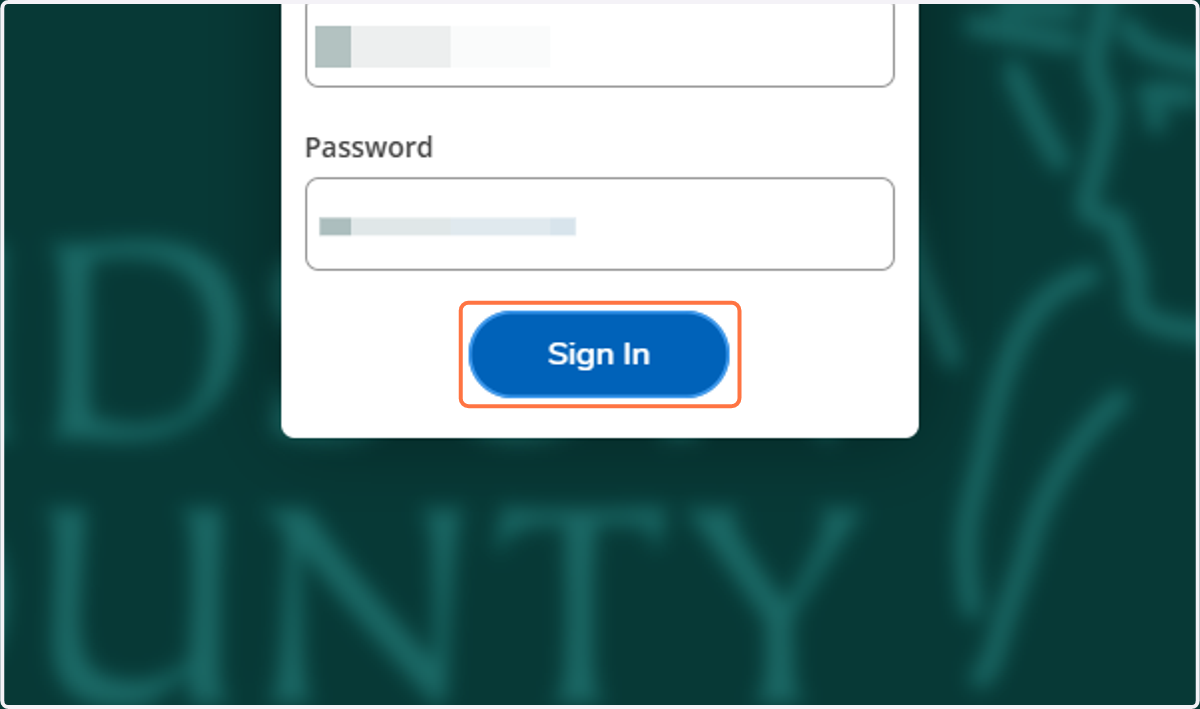
2. Enter your HCCC User name (the part of your HCCC e-mail address before the "@") and your password
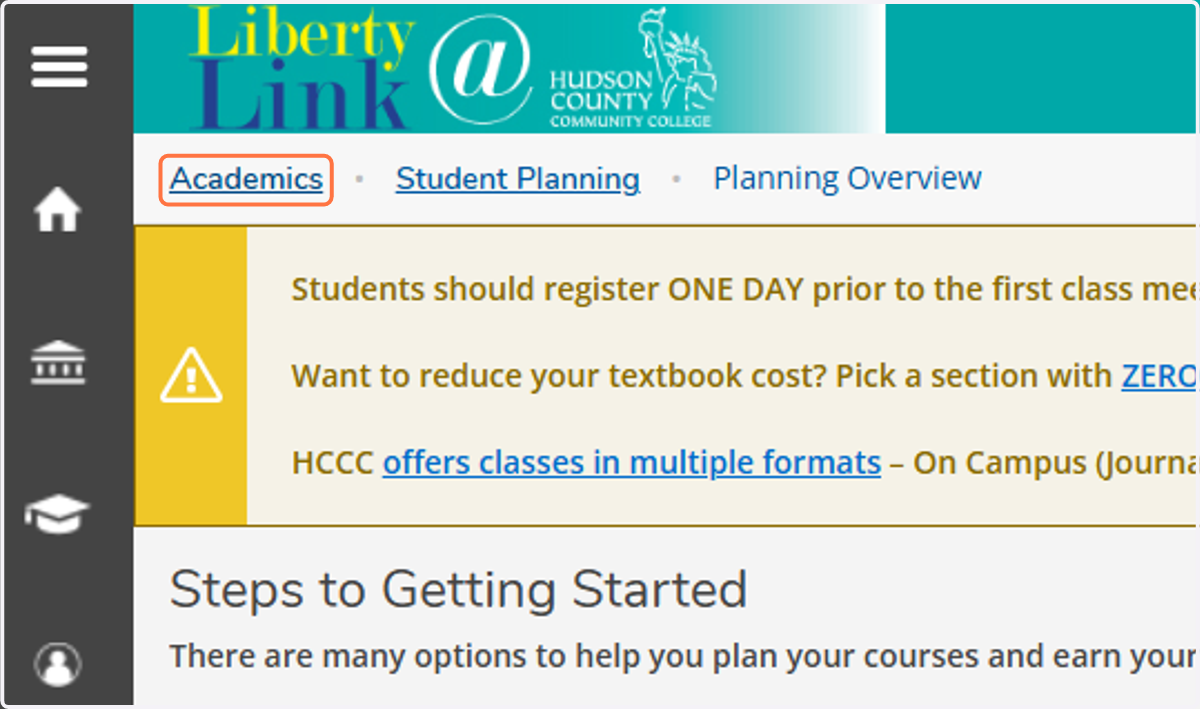
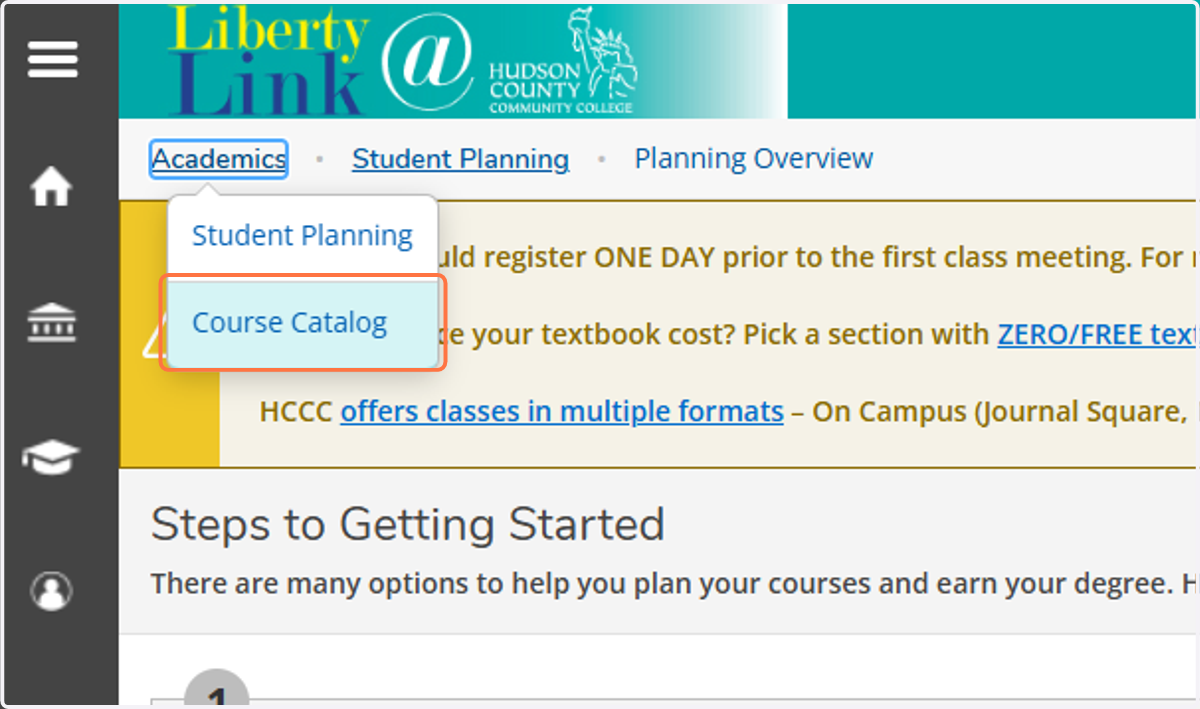
3. Click on Academics
4. Click on Course Catalog
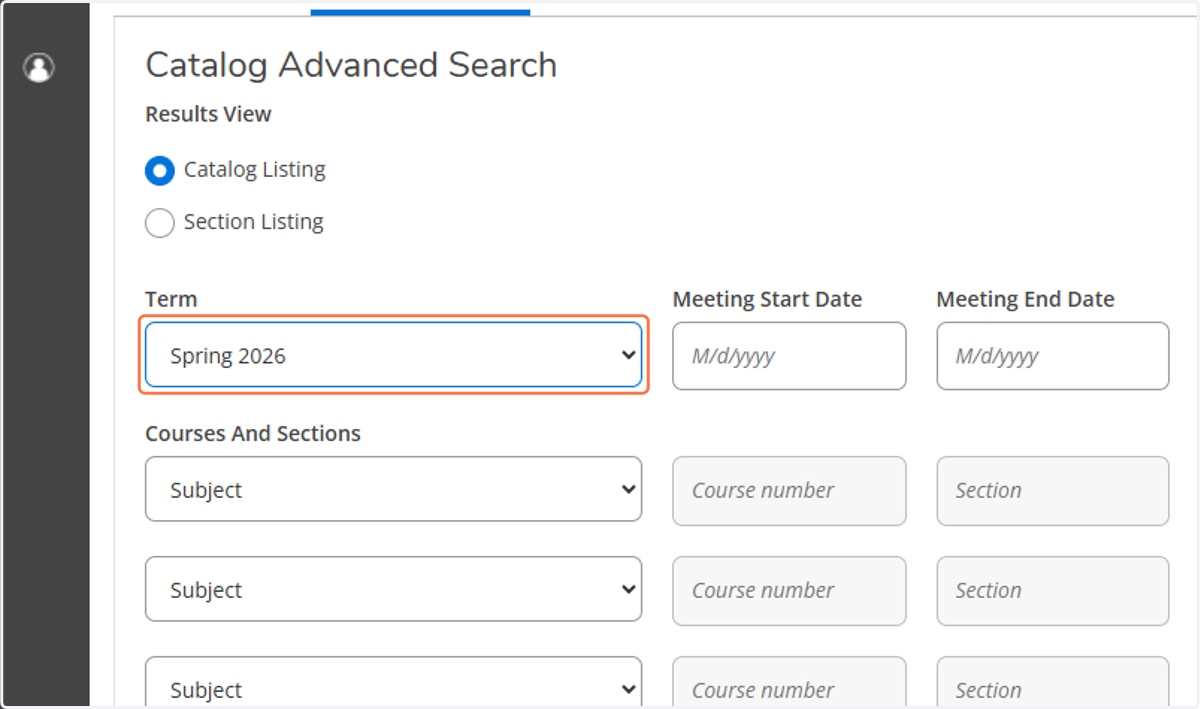
5. Choose the semester or "term" you want to search for classes in
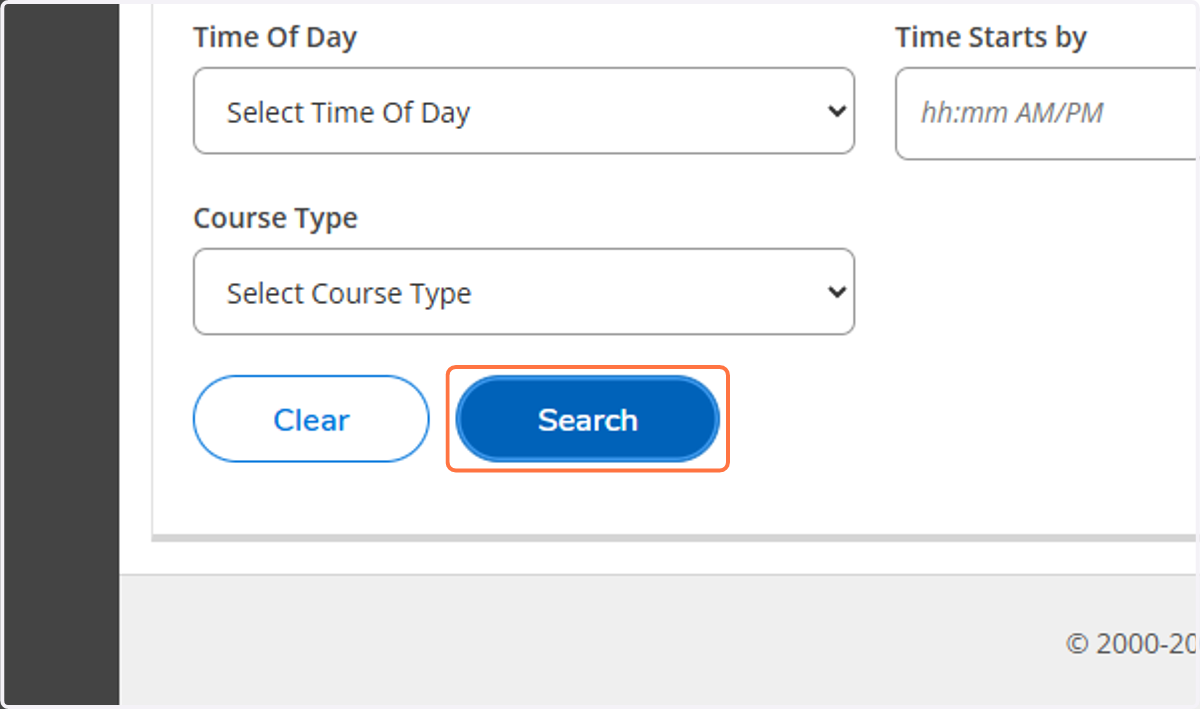
6. Click on Search
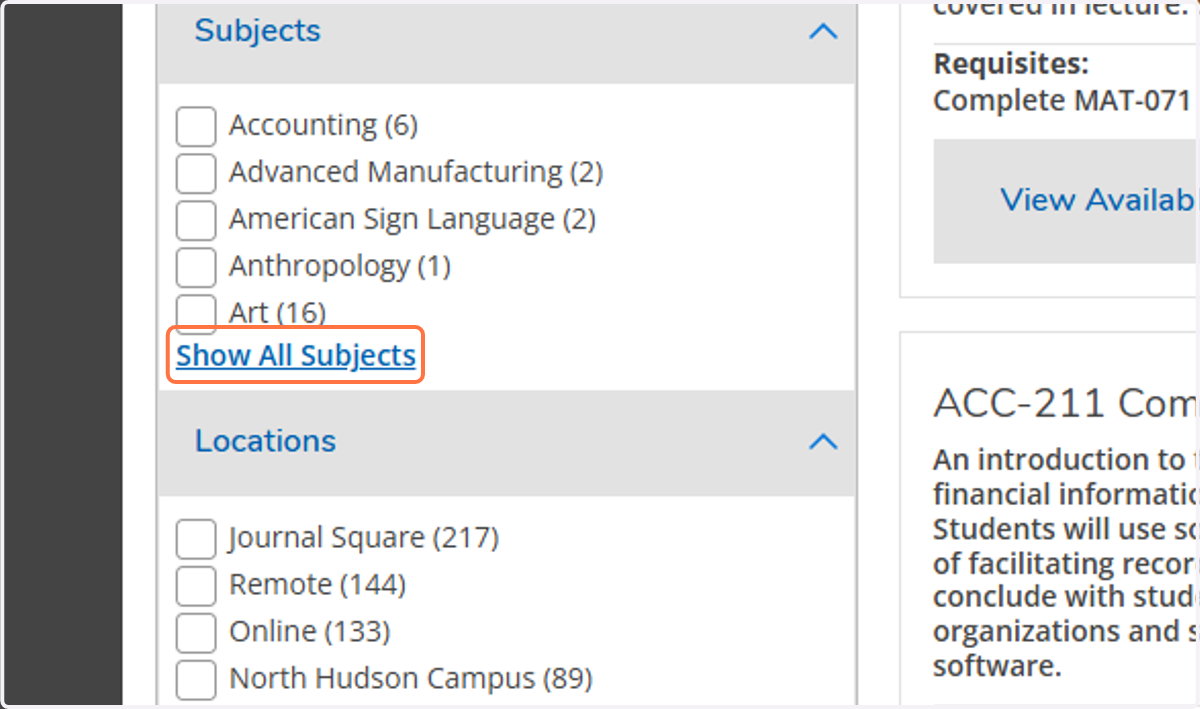
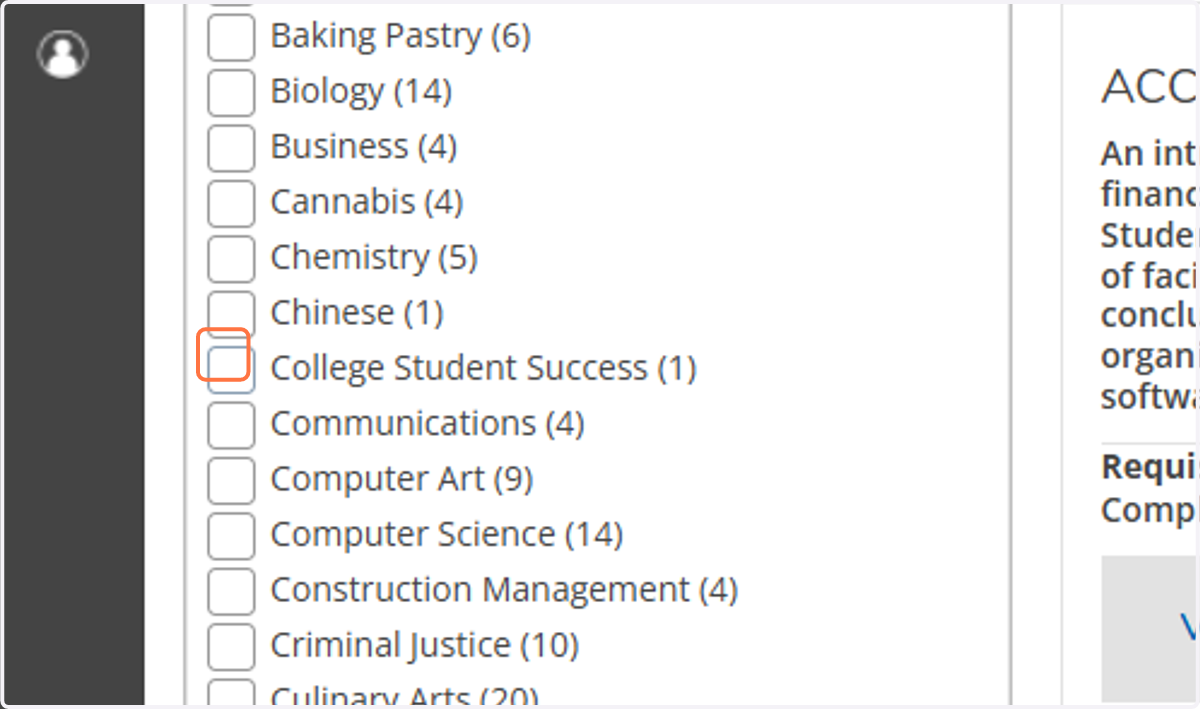
7. To expand and see all subjects, click on "Show All Subjects"
8. You can then filter to the specific course you want to take
In this example, we will look for College Student Success
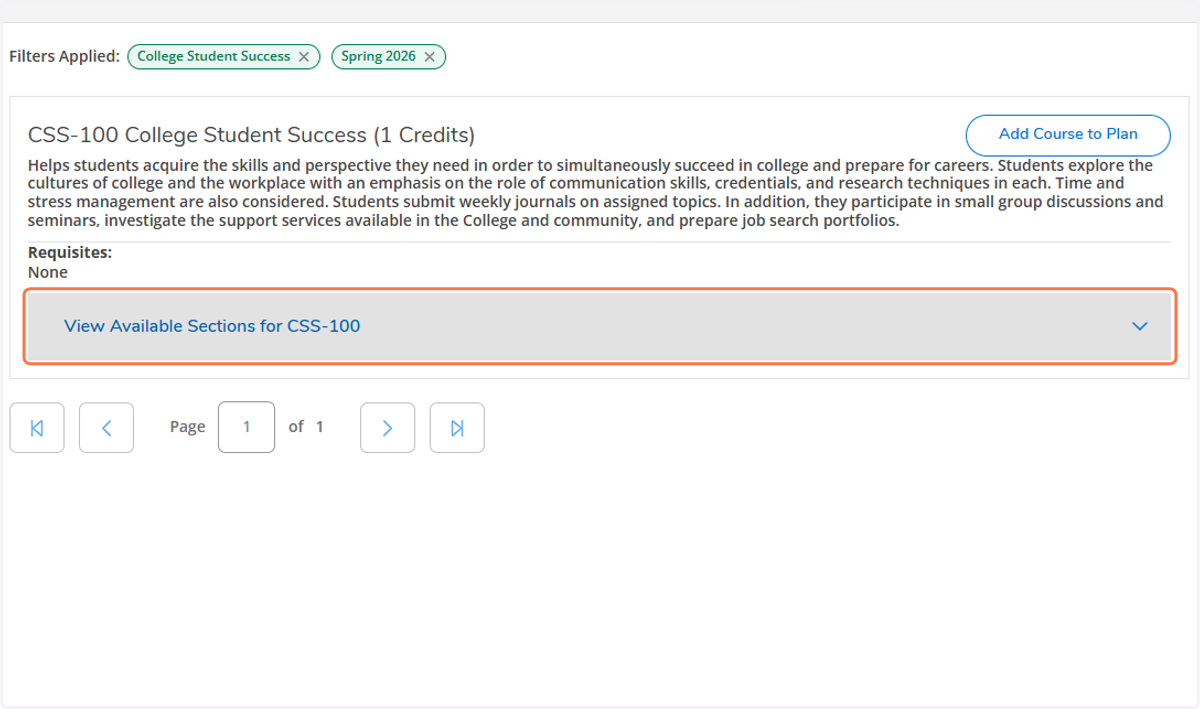
9. Click on View Available Sections
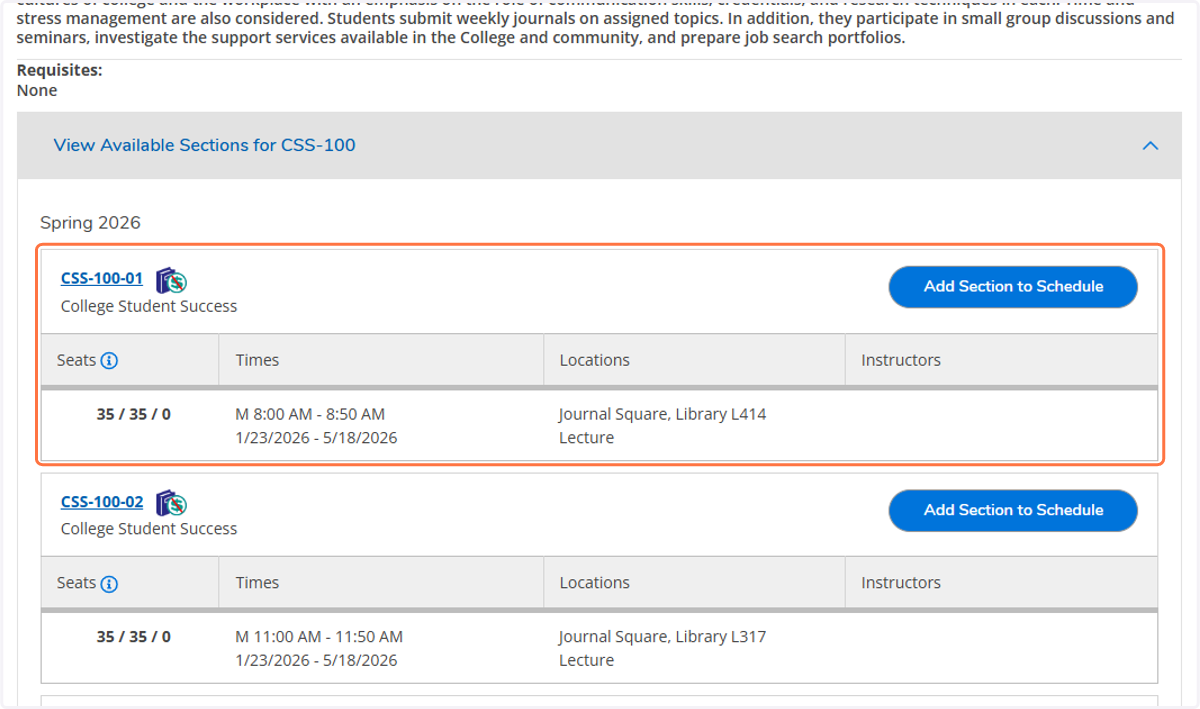
10. Here are All Available Sections
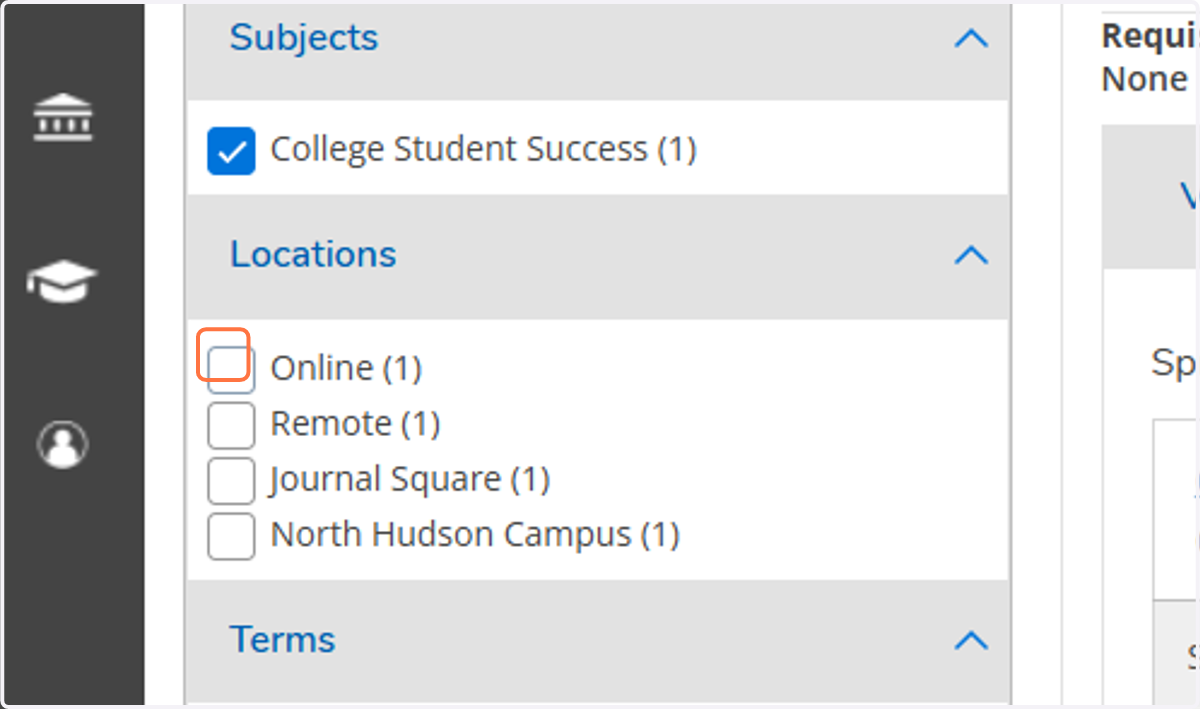
11. Filter the Type of Class
Here you can filter to how you would like to take the class. Online is fully virtual, with no set meeting times. Remote is also virtual, but with live meetings with the professor. Or, you can select one of two campuses to take classes in person.
12. Click on View Available Sections
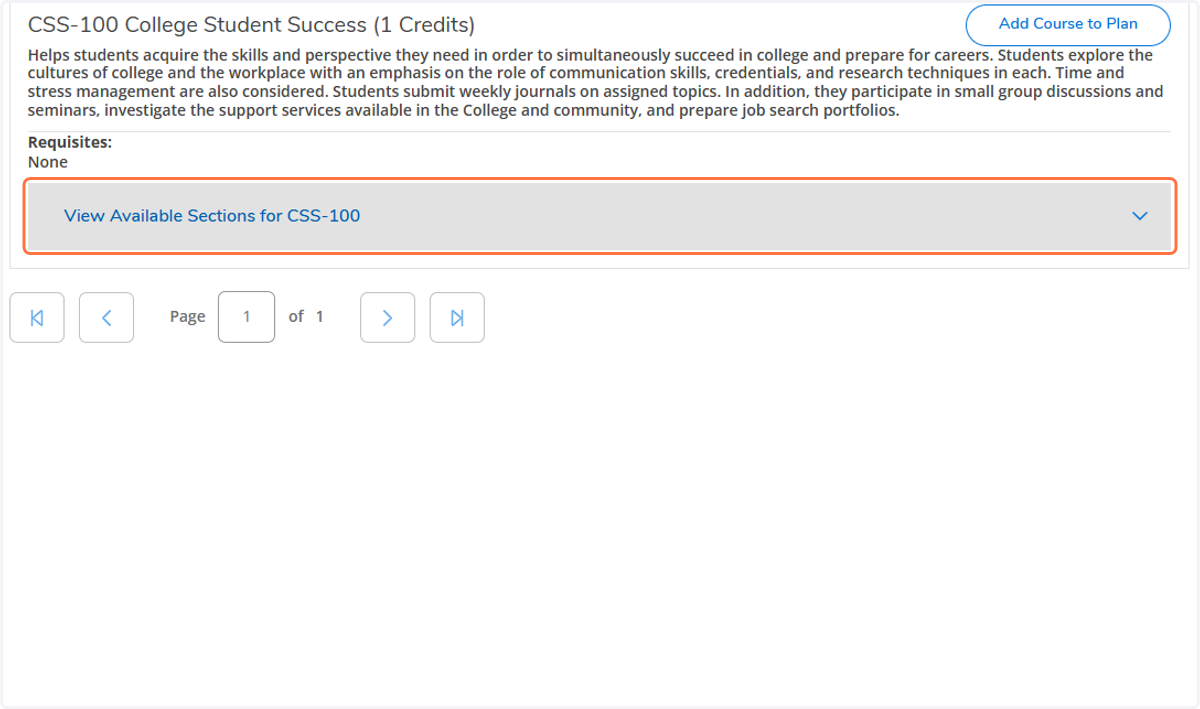
13. Click on the Section You Are Interested in Taking
Pay attention to the Seats. The first number indicates the number of seats remaining in that class.
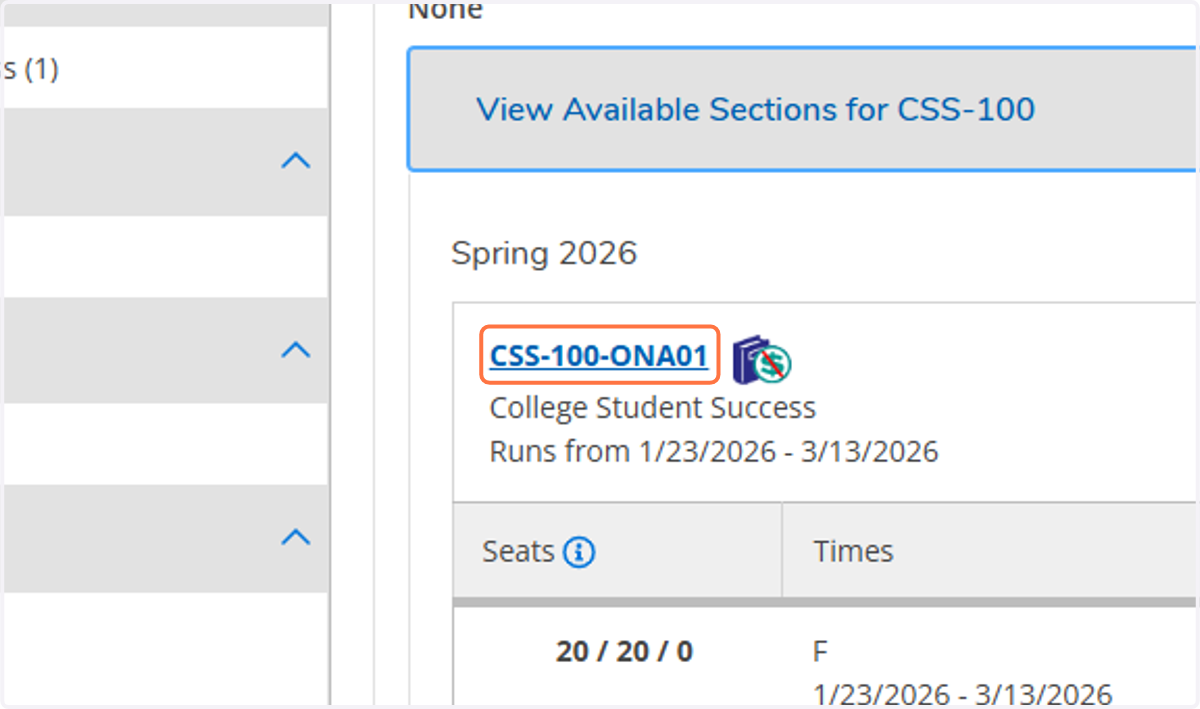
14. This Icon Indicates the Class uses Open Educational Resources
That means that you will not need to purchase a textbook for this class
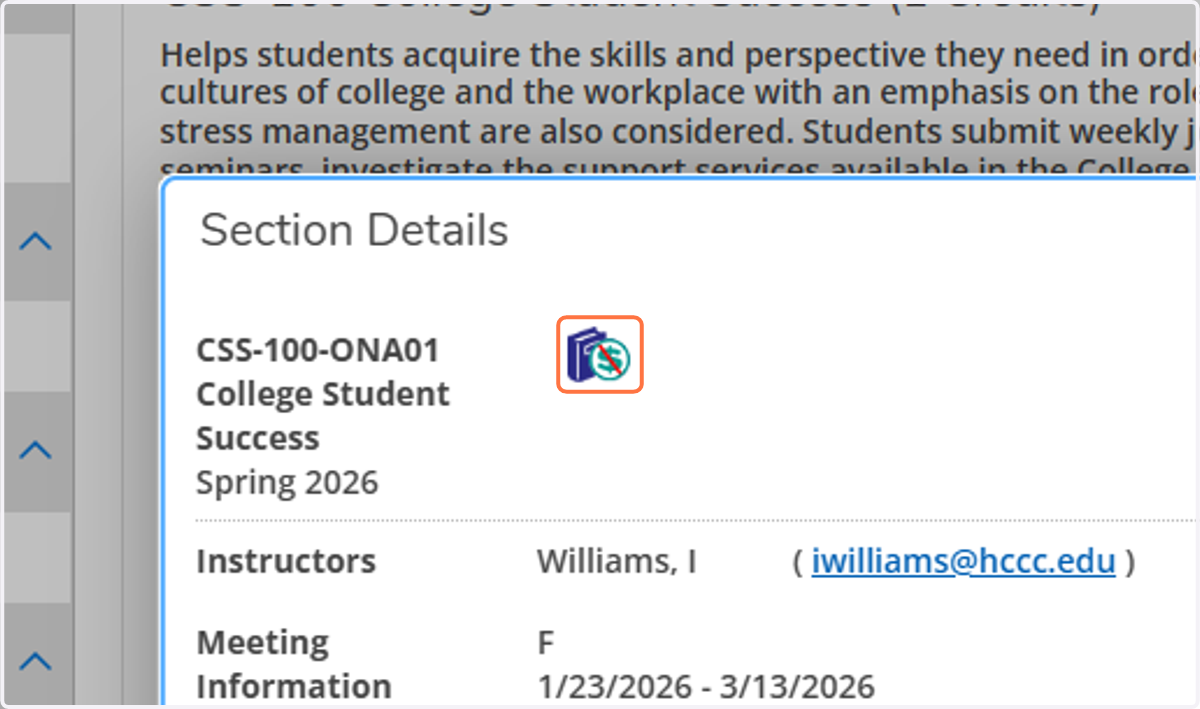
15. Click on Close
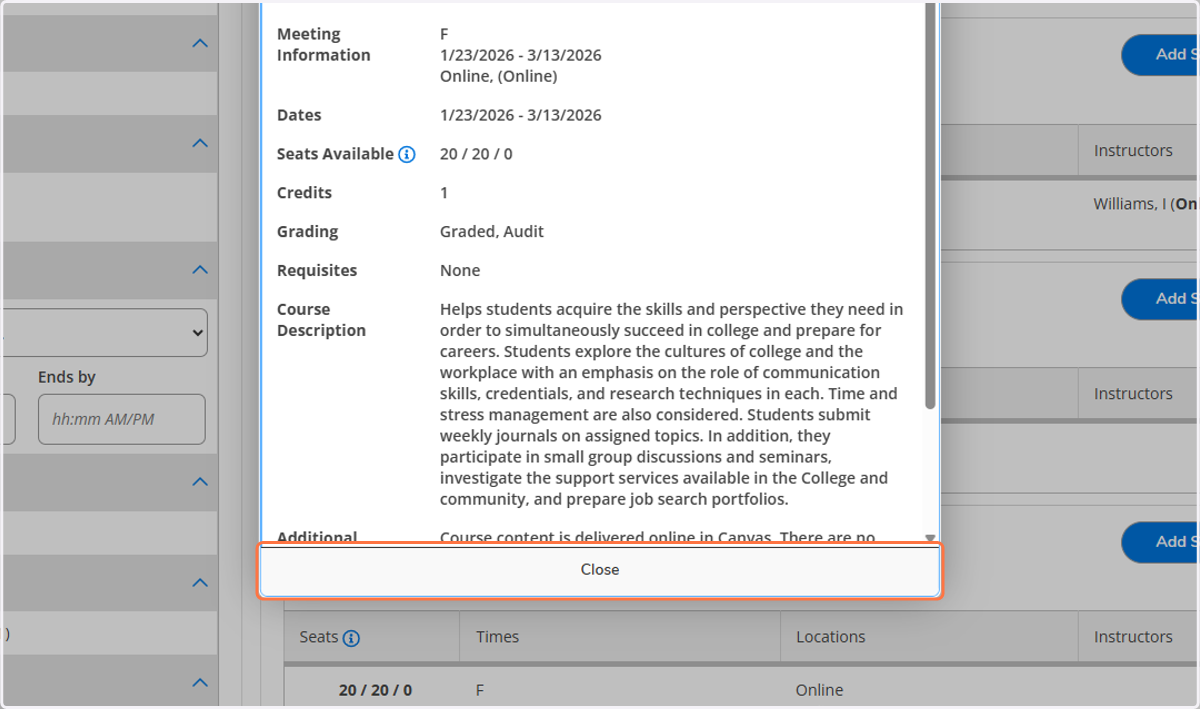
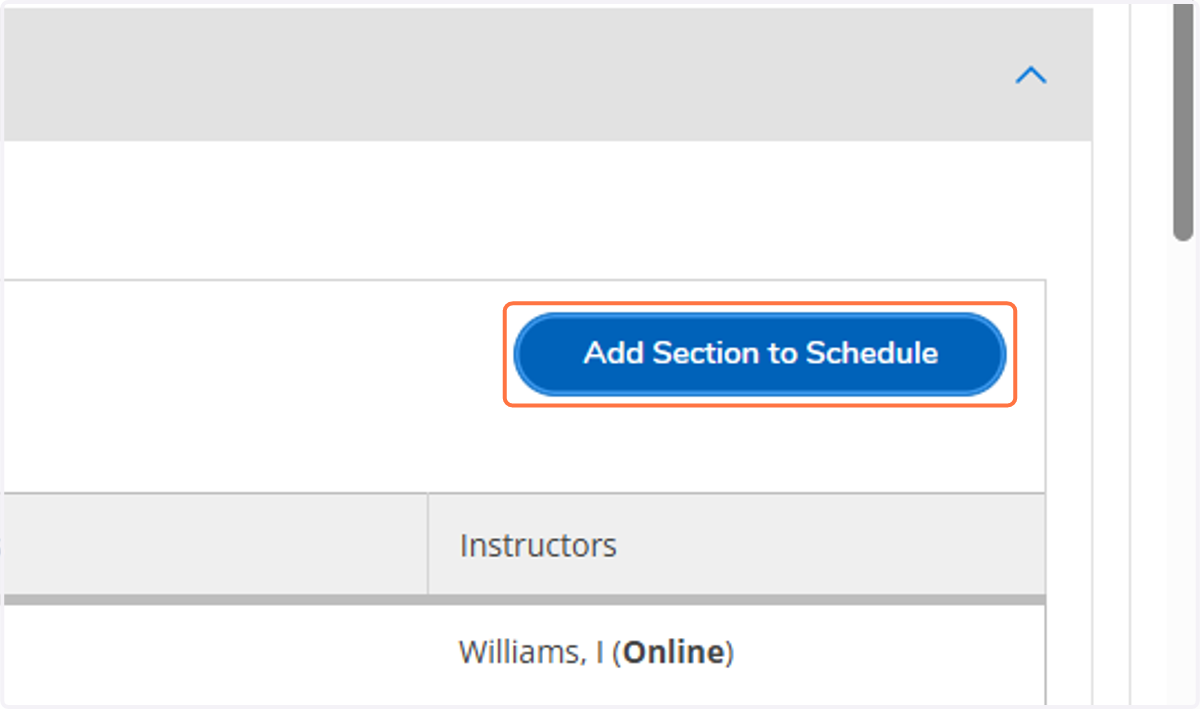
16. Click on Add Section to Schedule
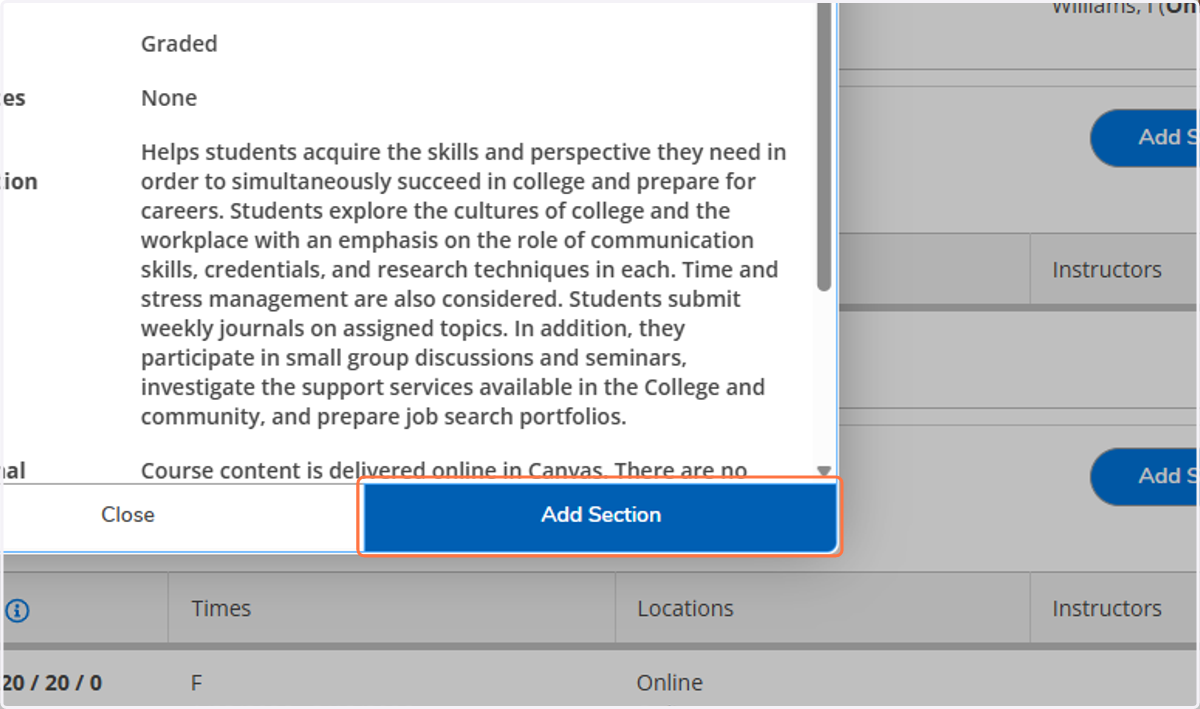
17. Click on Add Section
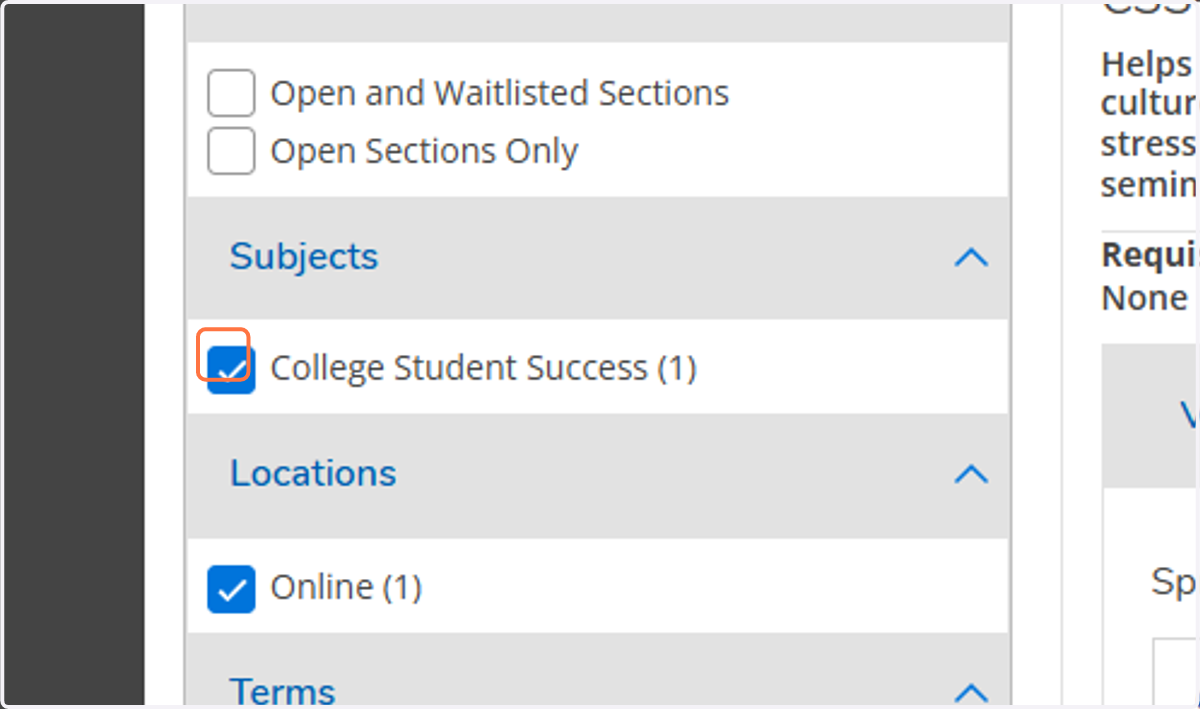
18. Let's Look for Another Class
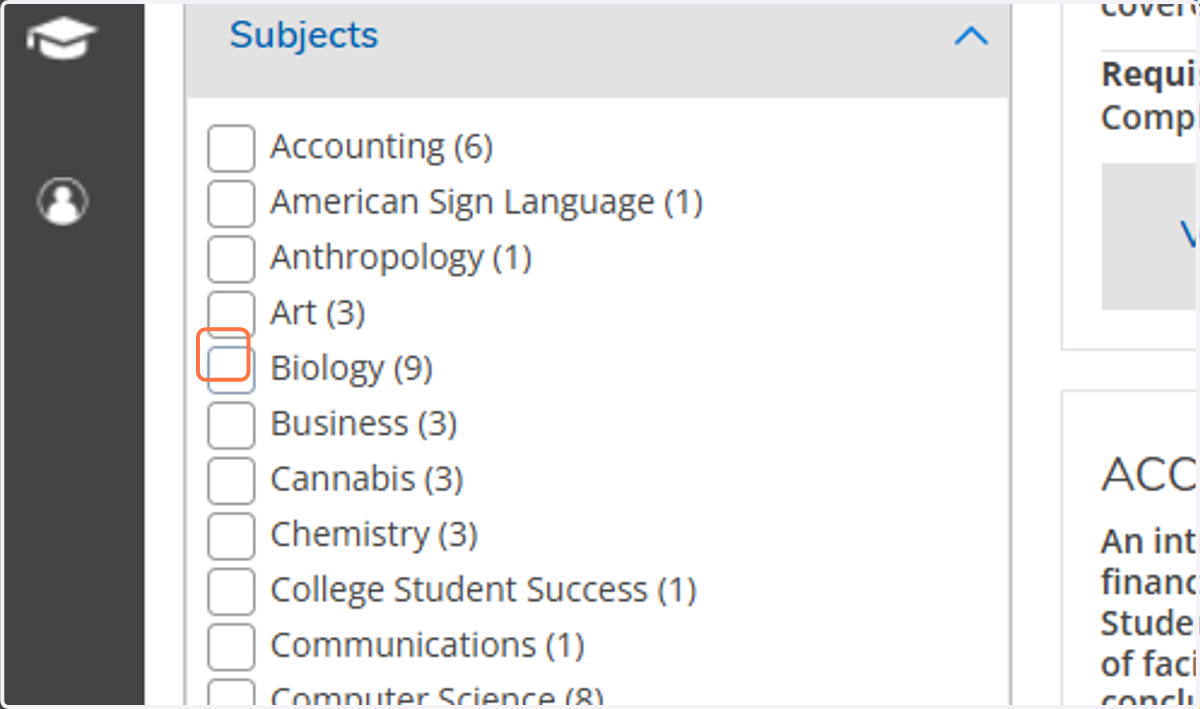
19. This time, we will search for sections of Biology
20. In this example, we are interested in Human Biology: BIO-108
You will also see the word "requisites". That means you need to have completed the class listed there before you are eligible to register for this class. In the example of BIO-107, it says "Requisites: None" which means it does not require a previous class taken.
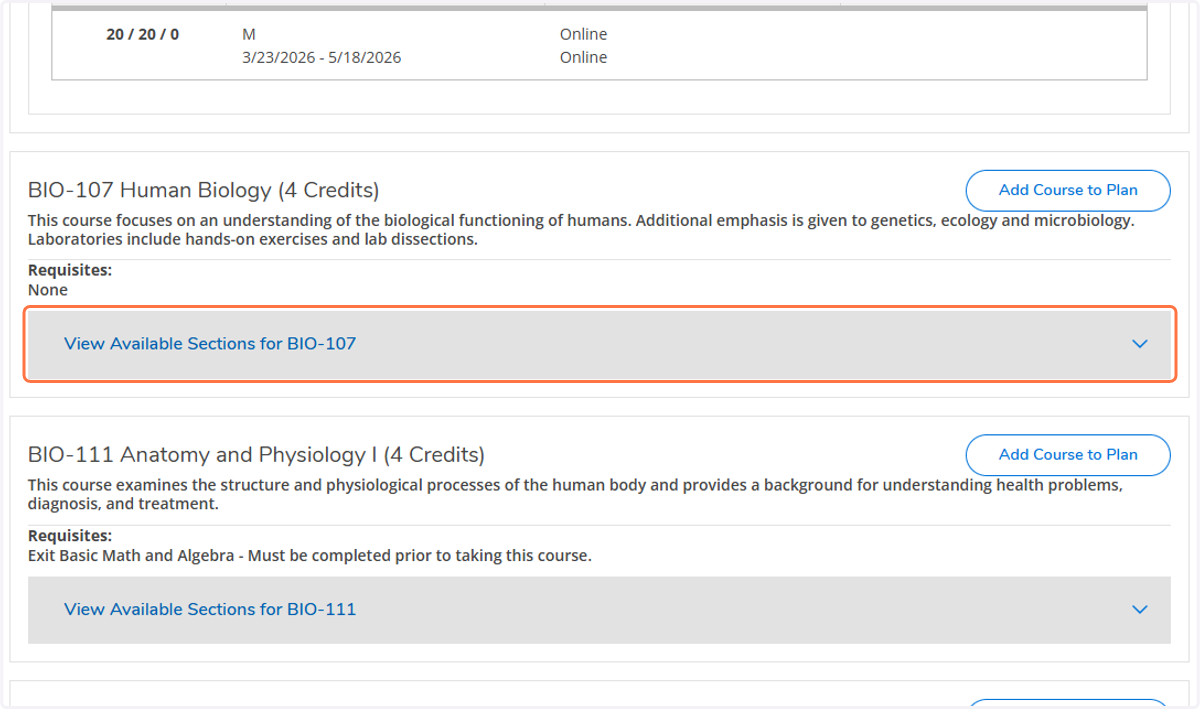
21. Click on View Available Sections for BIO-107
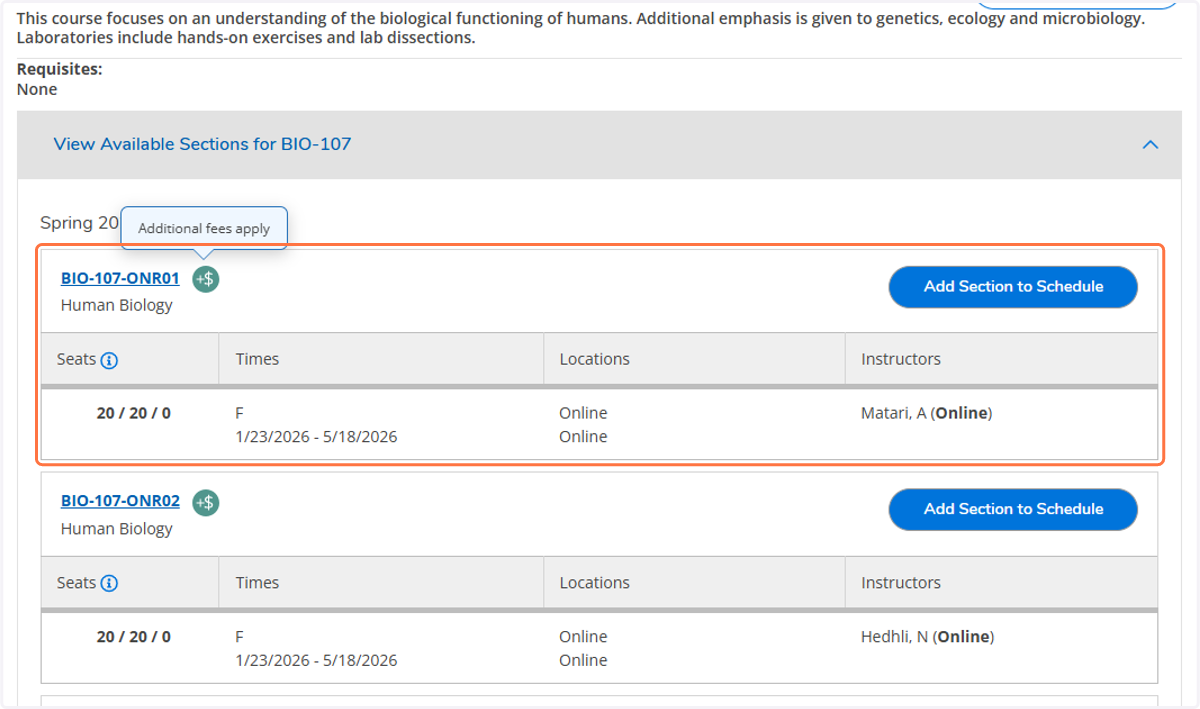
22. When you see the dollar icon next to a course section, that means there are fees in addition to the tuition for that class.
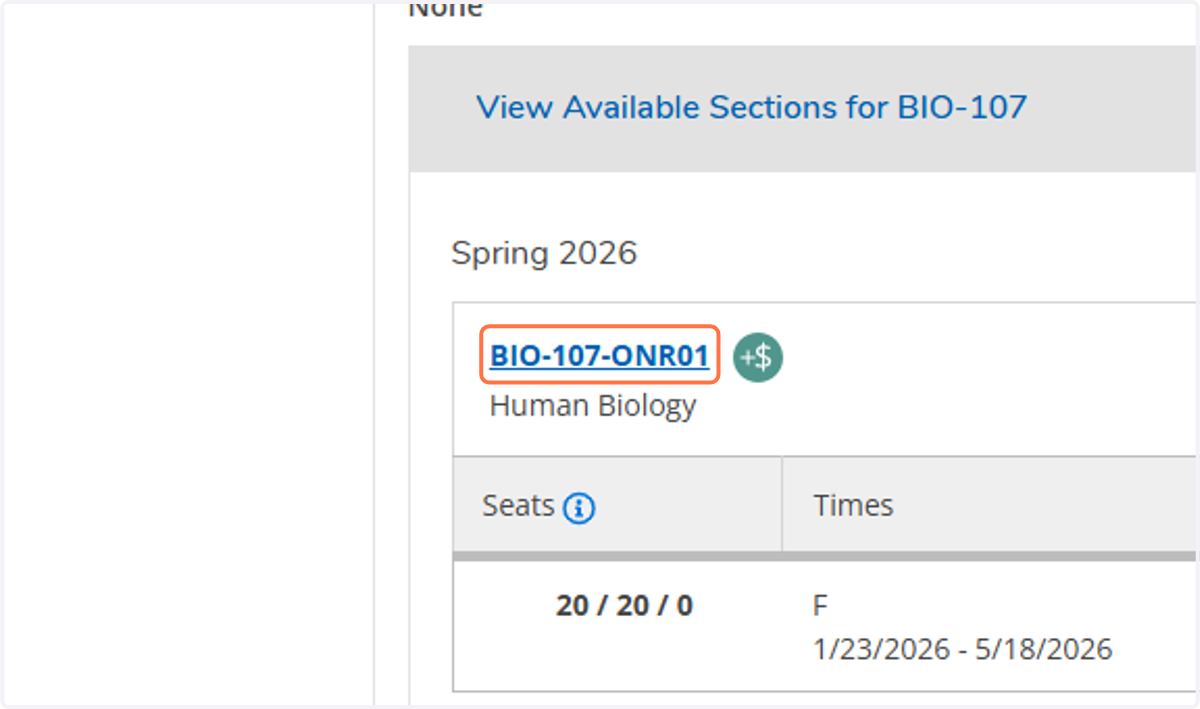
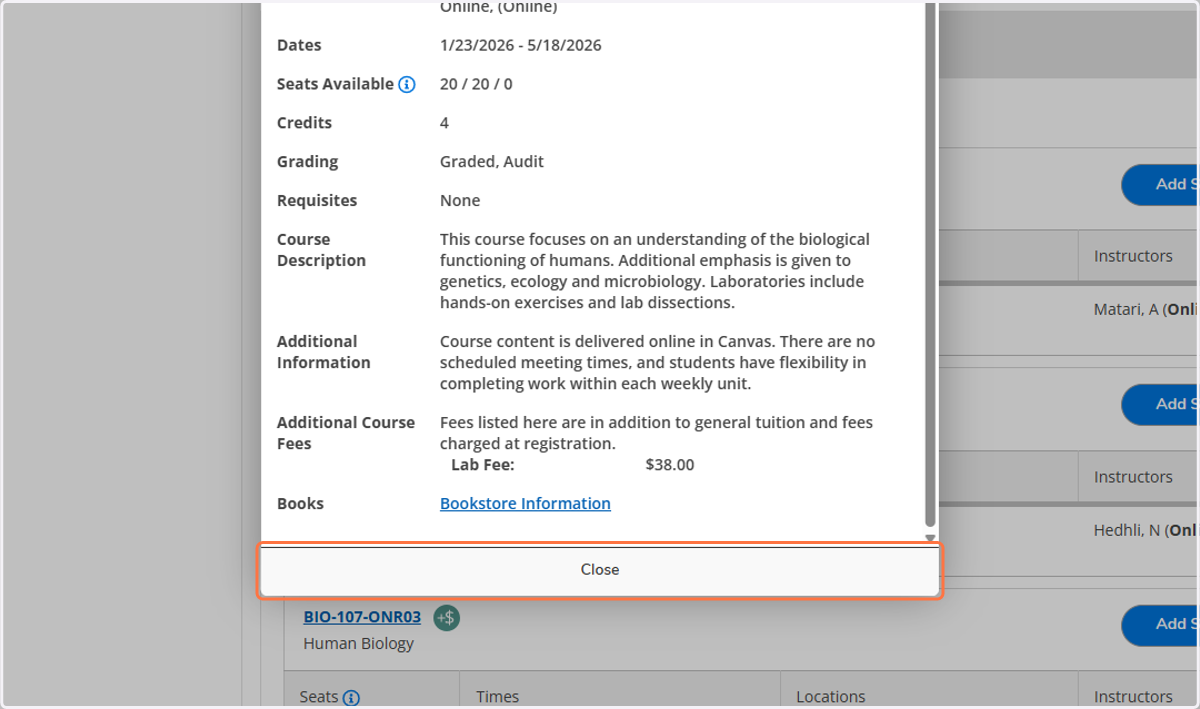
23. Select the Section
This will display additional information about the course, any additional fees for that course, and a link to the Bookstore to view the required textbooks you may need to purchase for that class.
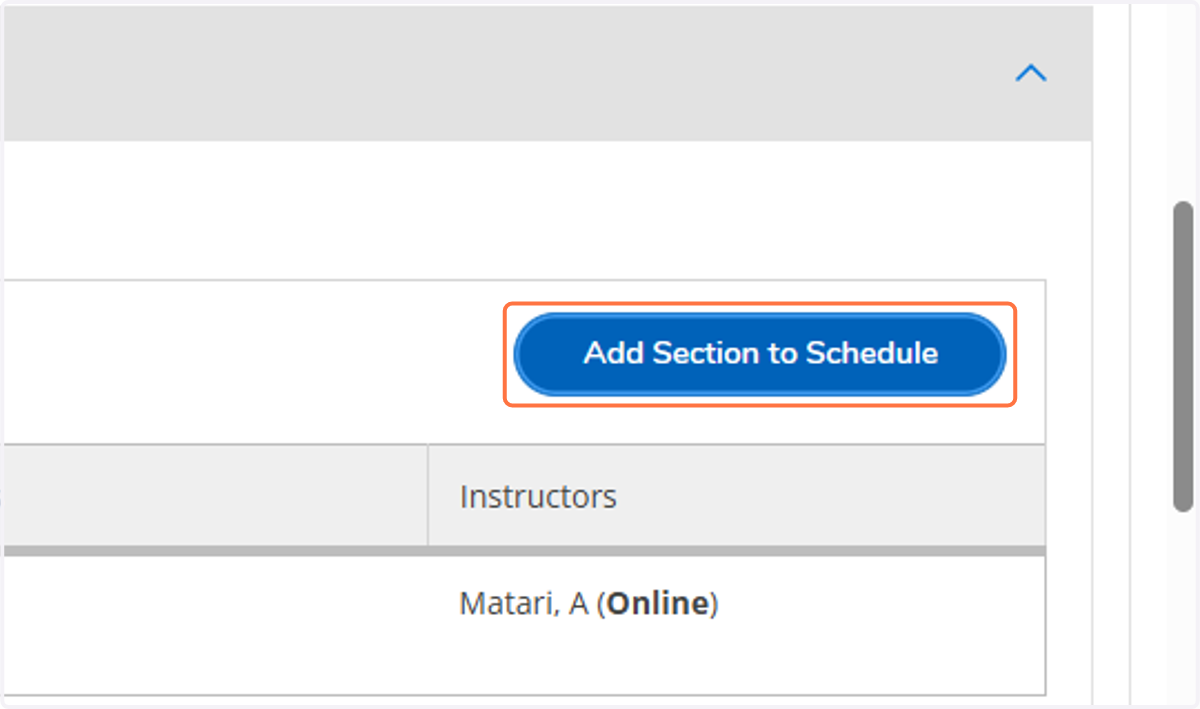
24. Click on Add Section to Schedule
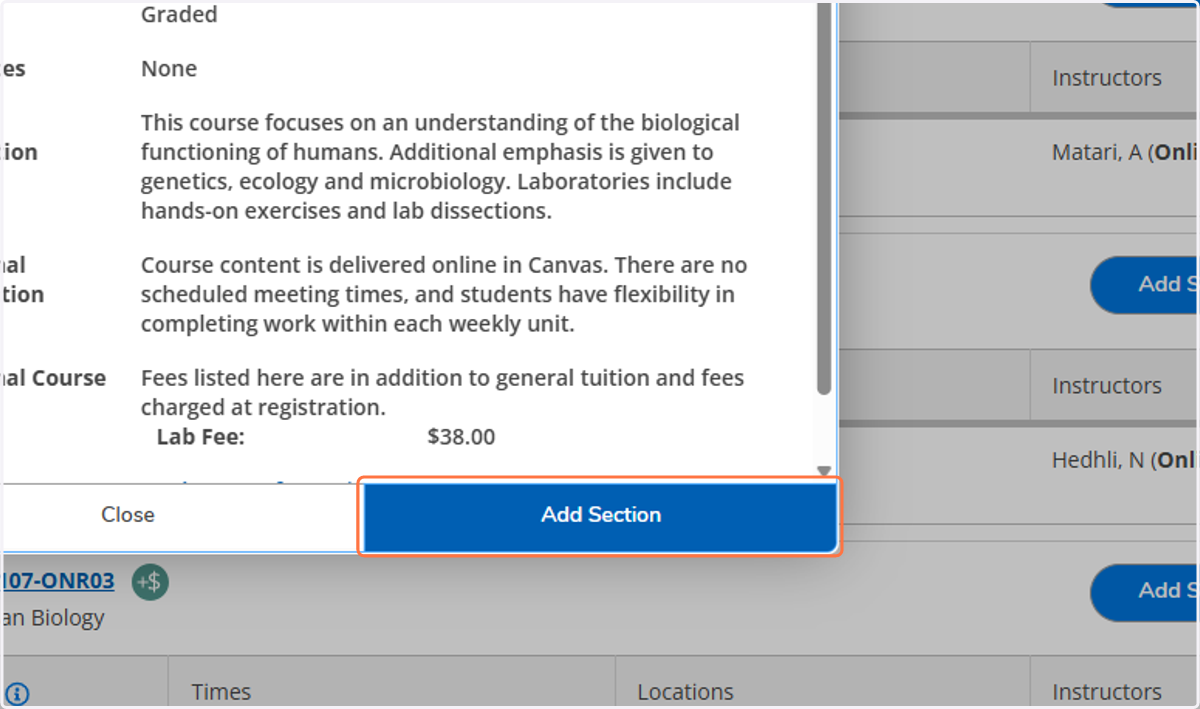
25. Click on Add Section
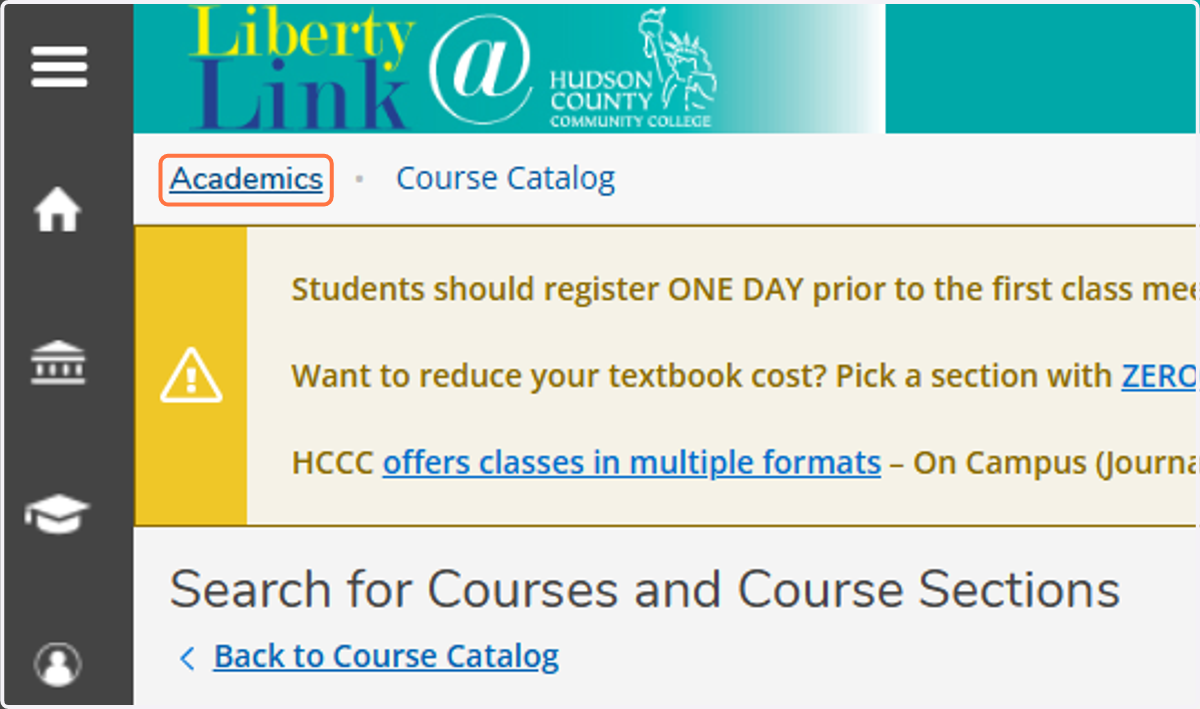
26. To Submit Your Courses to Your Academic Counselor for Review and Approval
Click on Academics at the top of the page
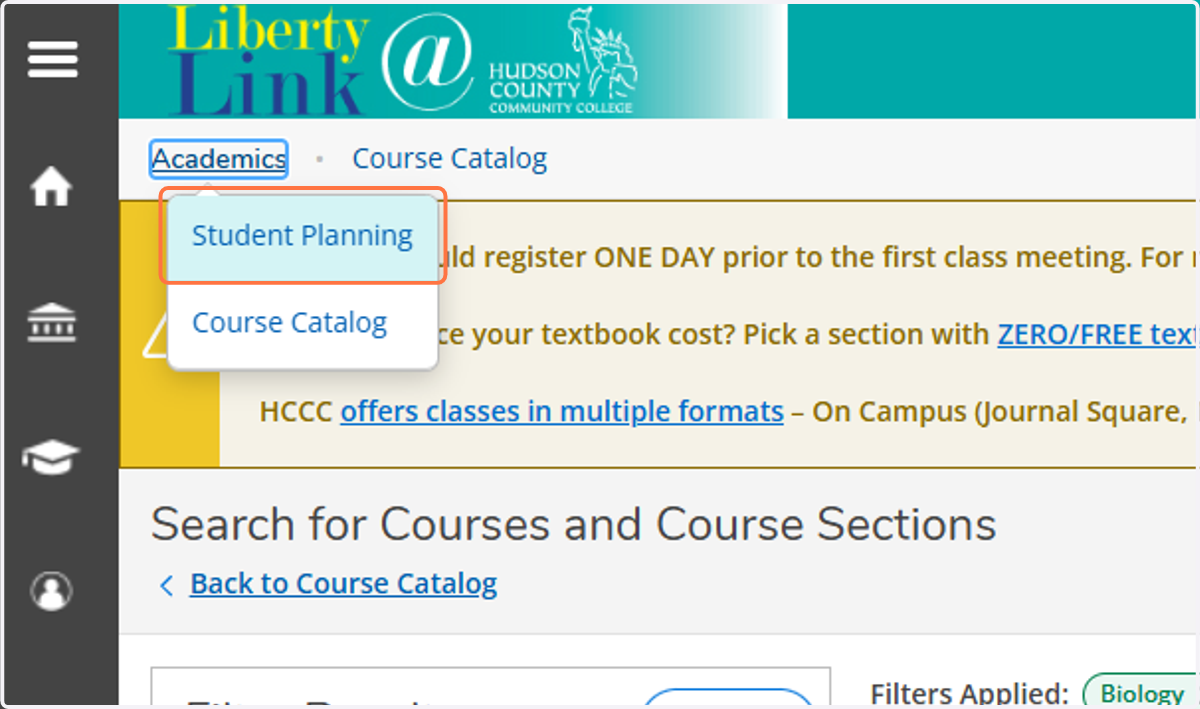
27. Click on Student Planning
28. Click on Plan your Degree & Register for Classes…
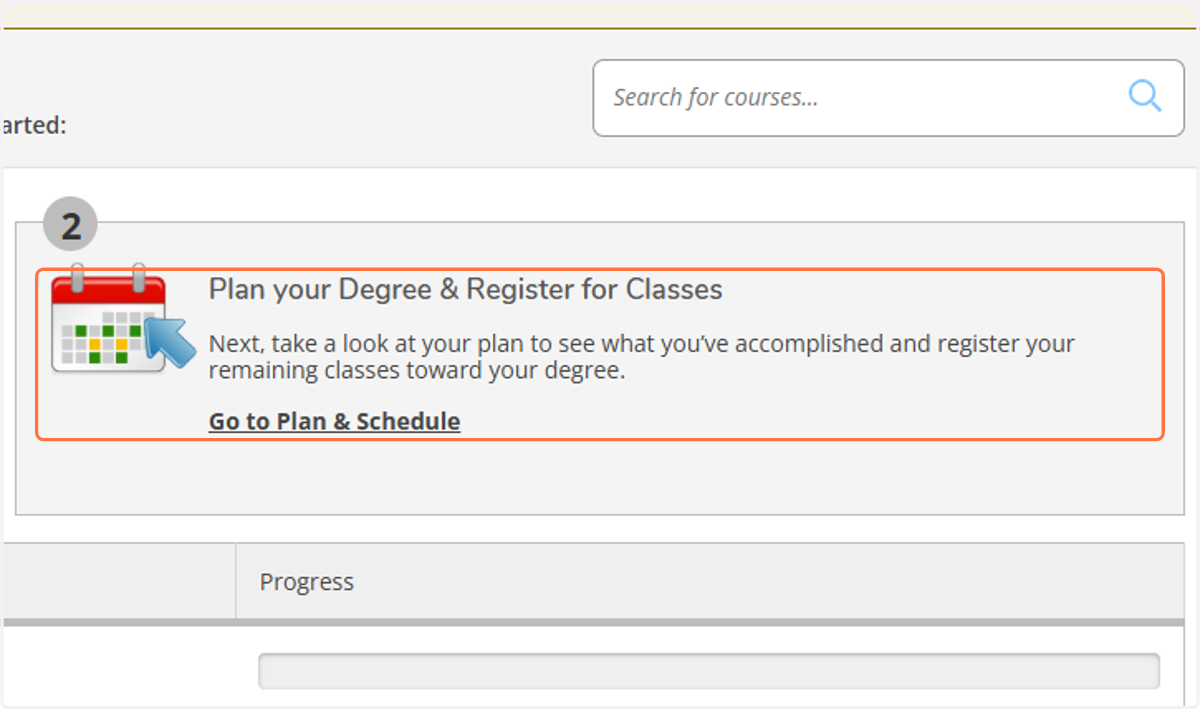
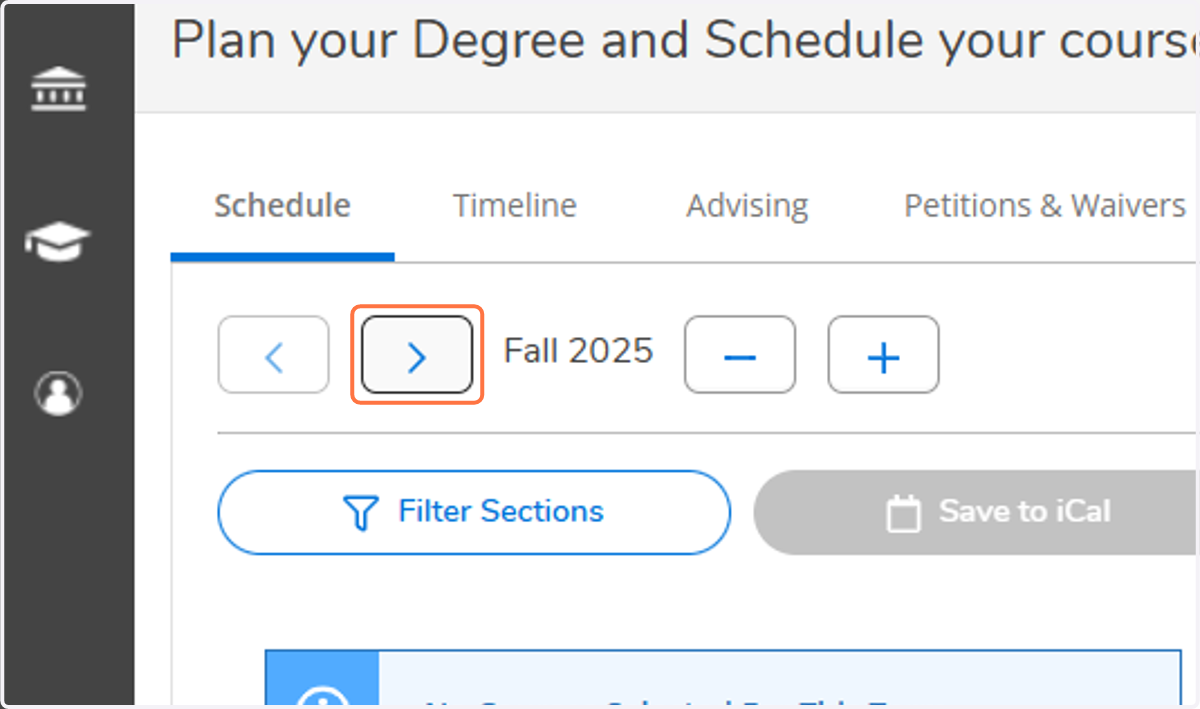
29. Select the Term you Planned Courses For
30. Click on Advising
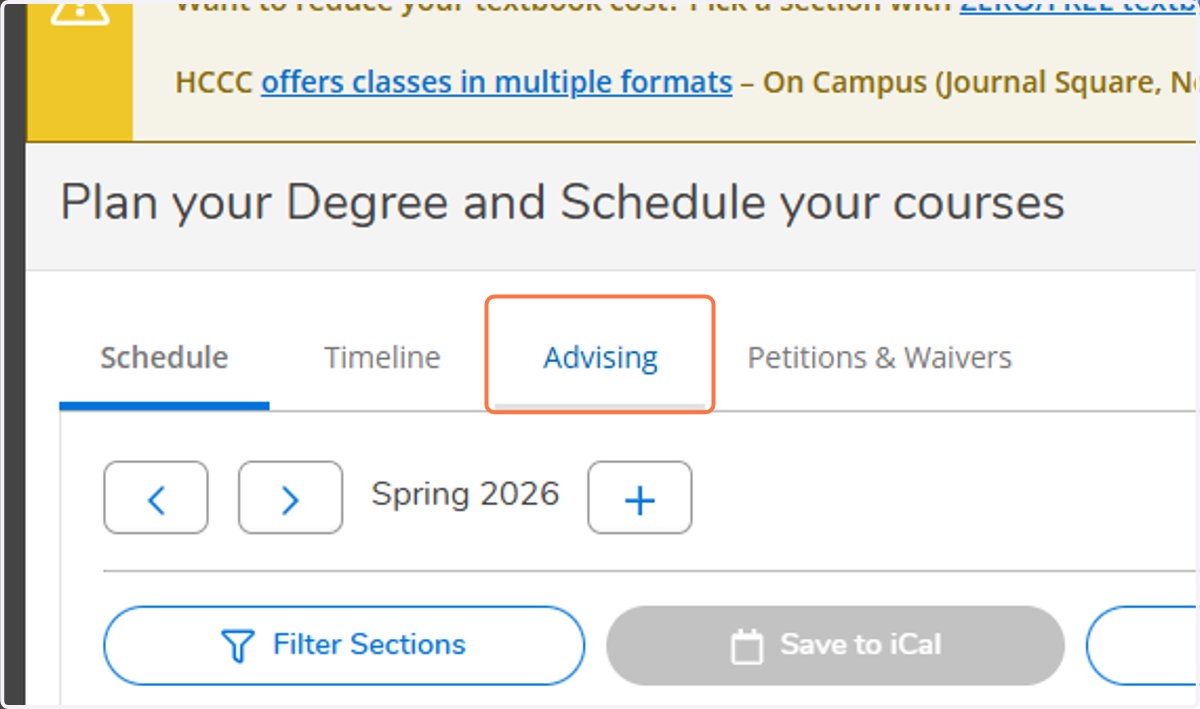
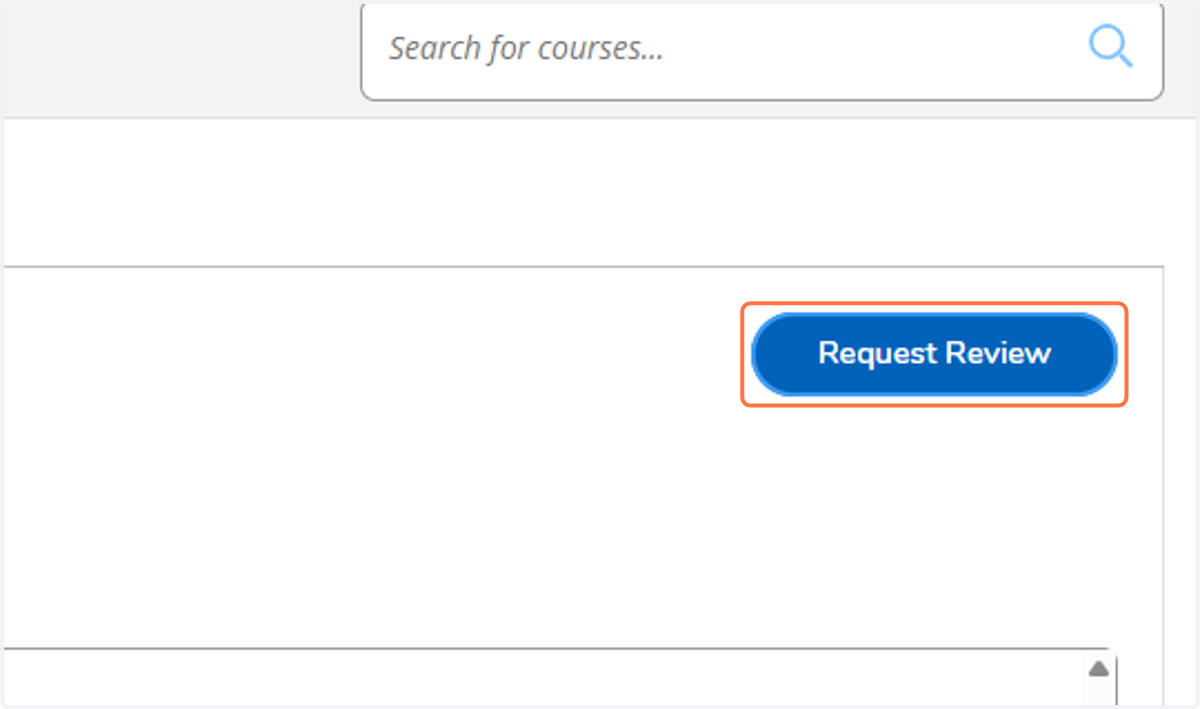
31. Click on Request Review
This will notify your academic counselor that you would like them to review the courses you planned. If you are a degree-seeking student, you will be able to register for the courses yourself once your registration period opens. If you are not a degree-seeking student, your academic counselor will register you or reach out with questions.