How to Manage Admin Access Roles in Affinect
Managing admin roles in Affinect allows you to control access to different features and venues on your platform. This guide walks you through creating admin accounts, assigning roles, managing venue access, and configuring security settings like Multi-Factor Authentication (MFA).
Affinect
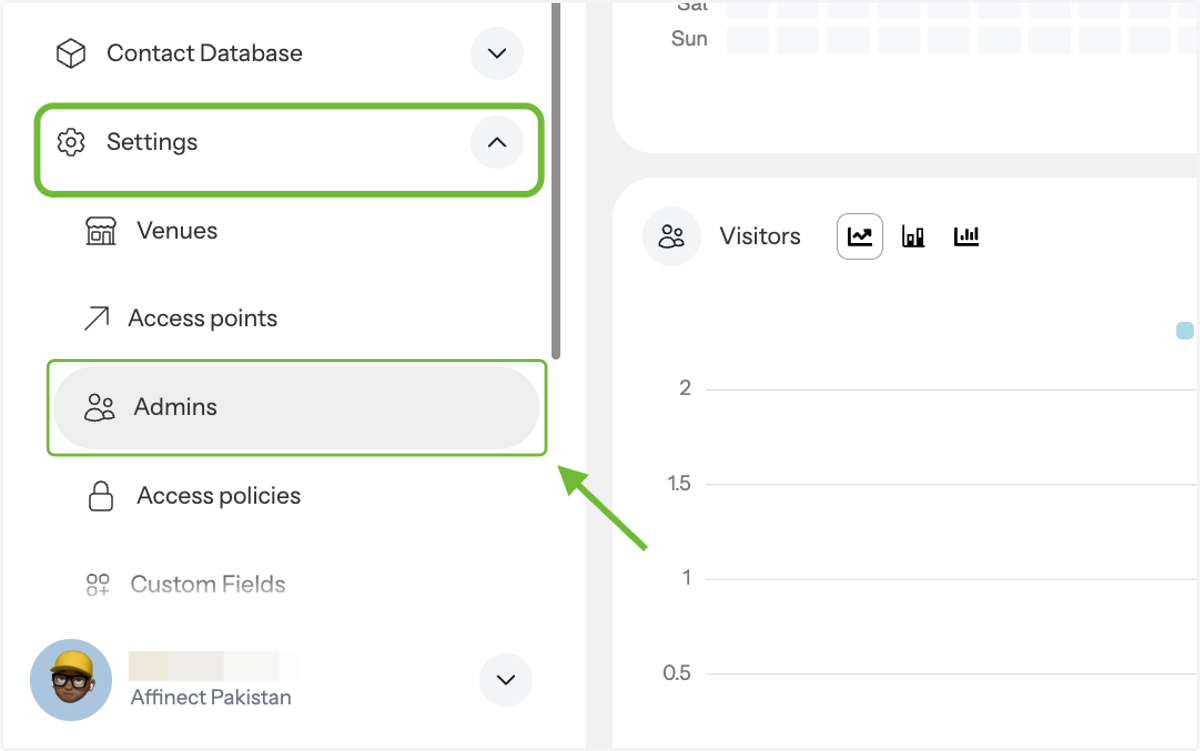
1. Navigate to Admin Settings
Go to Settings and select Admins from the menu to access team management.
2. Create a New Admin Account
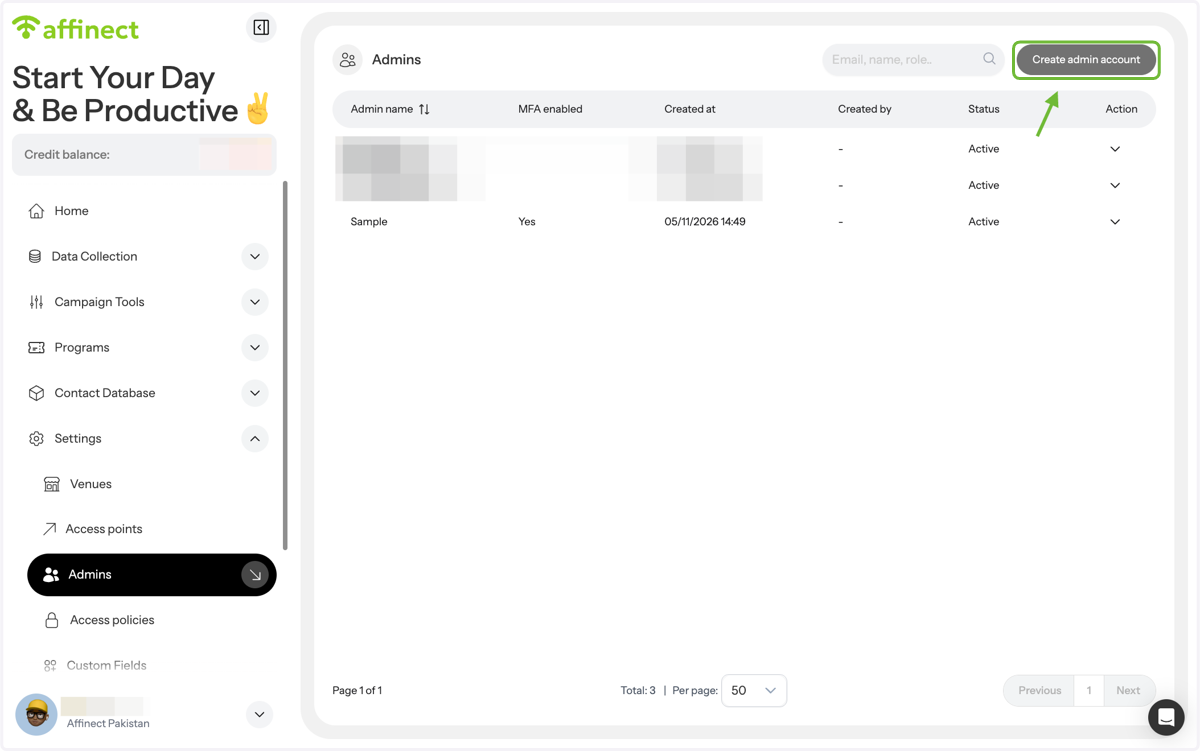
You can create a new admin account for a team member directly from this section.
3. Edit Existing Admin Profiles
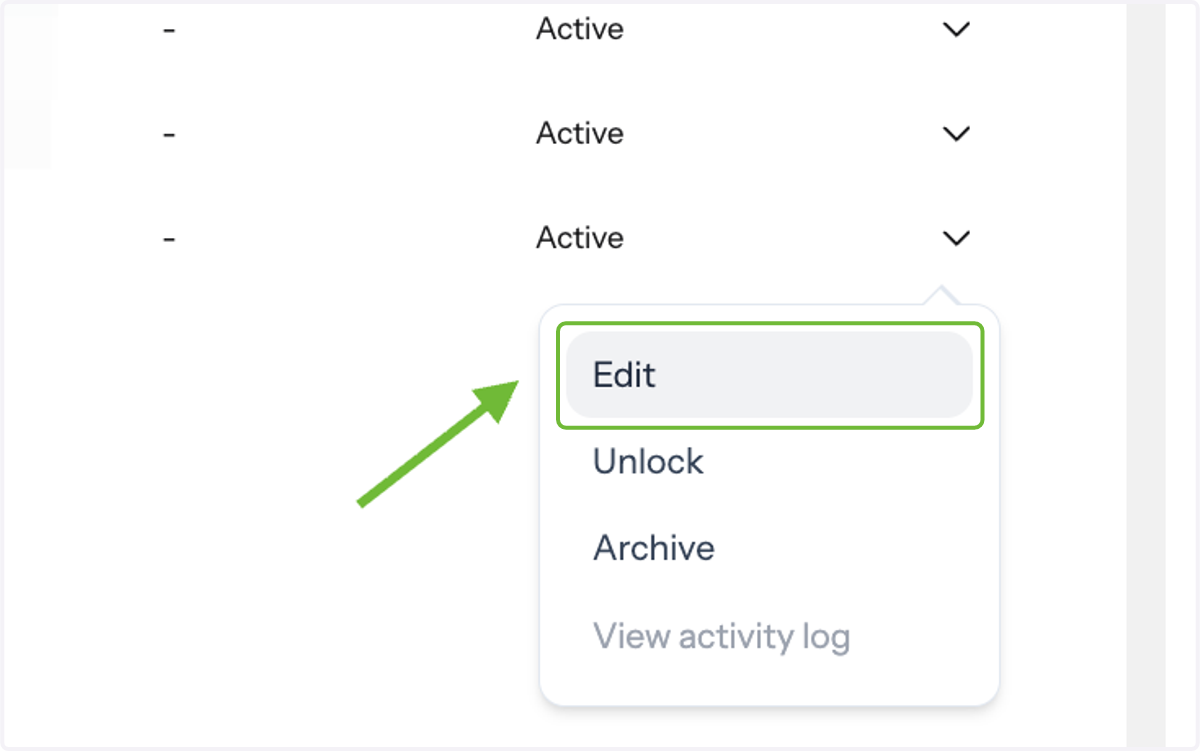
To make changes to an existing admin account, locate the team member and select Edit from the Action dropdown menu.
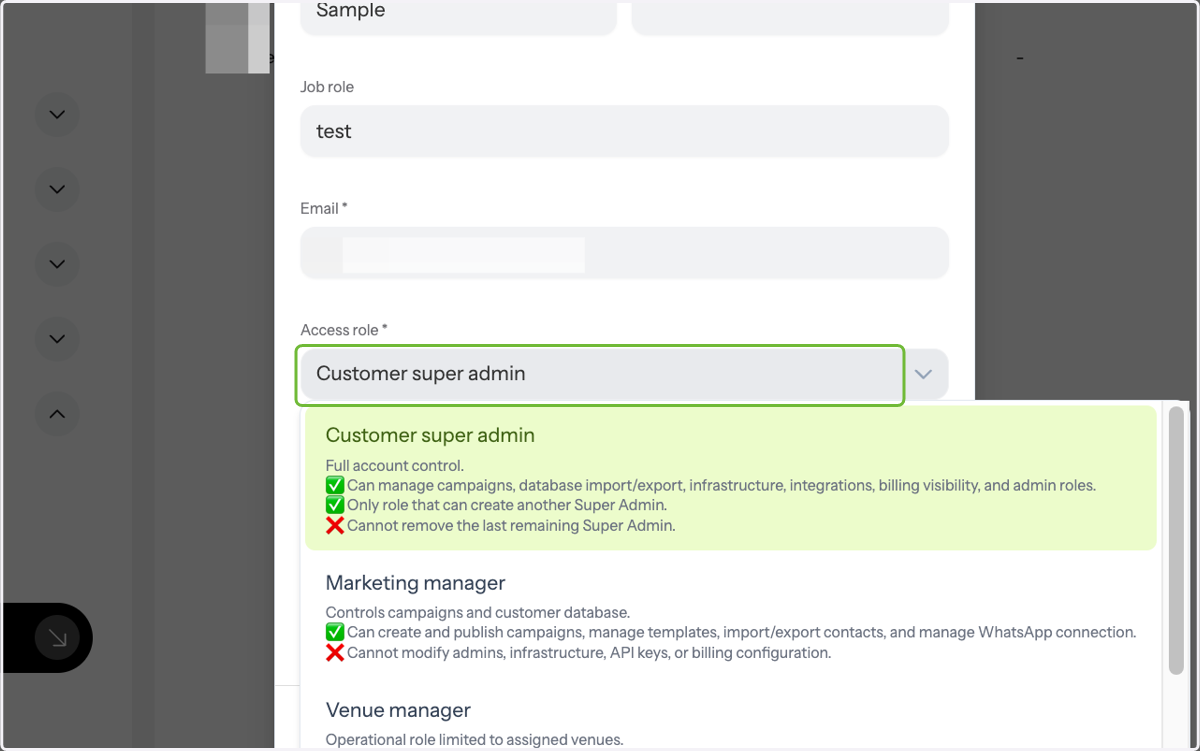
4. Assign Access Levels
Choose the appropriate role for each team member, such as Customer Super Admin, Marketing Manager, Venue Manager, IT Manager, or Accountant, based on their responsibilities.
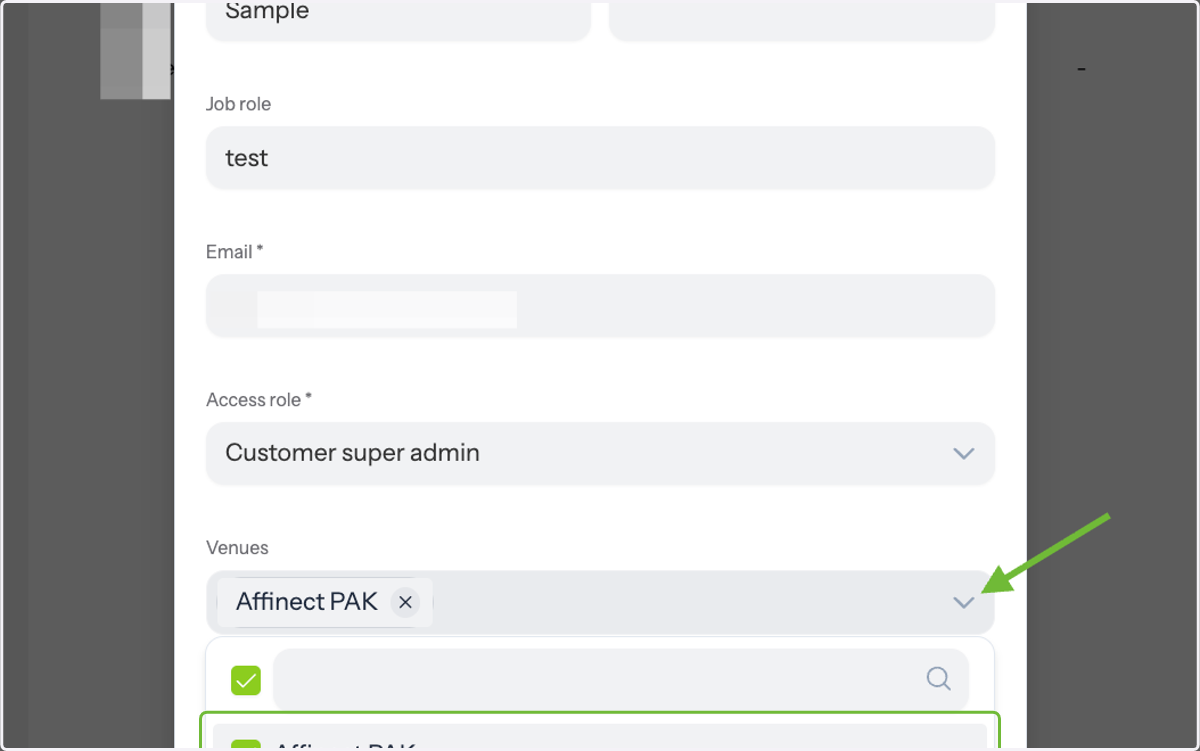
5. Manage Venue Acces
You can control which venues an admin can access by selecting specific venues from the available options.
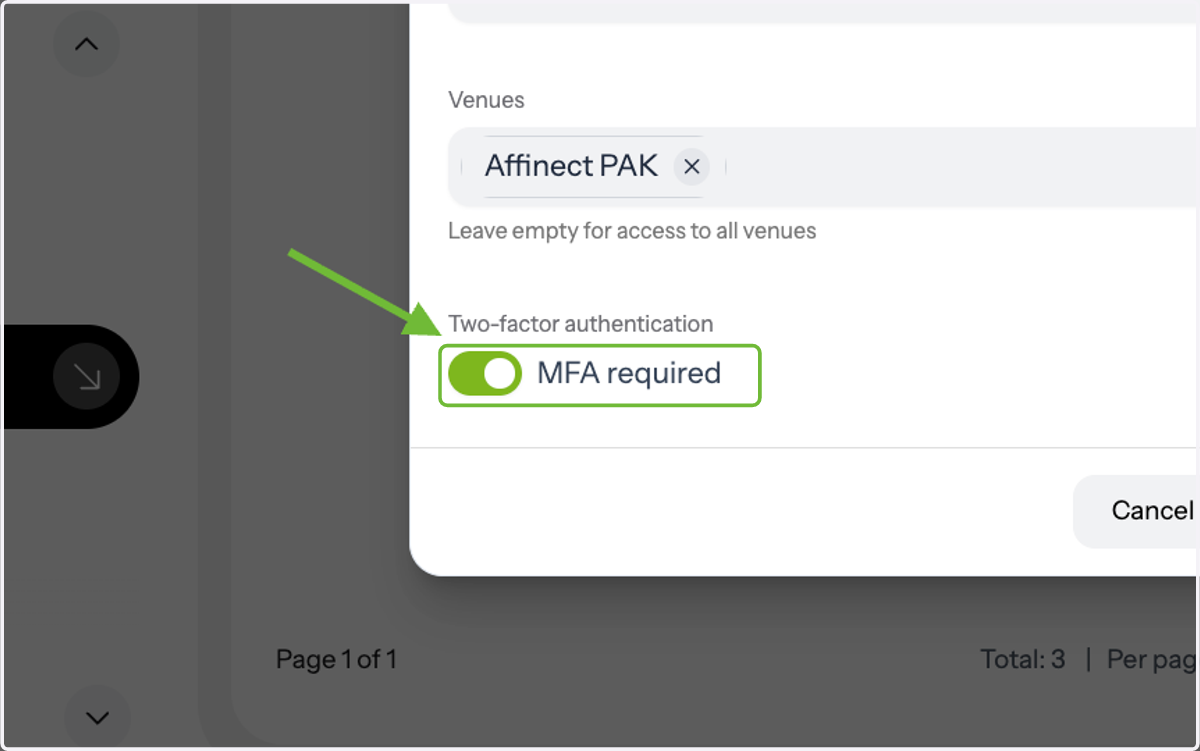
6. Enable MFA for Security
You can make Multi-Factor Authentication (MFA) mandatory by enabling the MFA Required toggle for added security.
7. Save and Update Changes
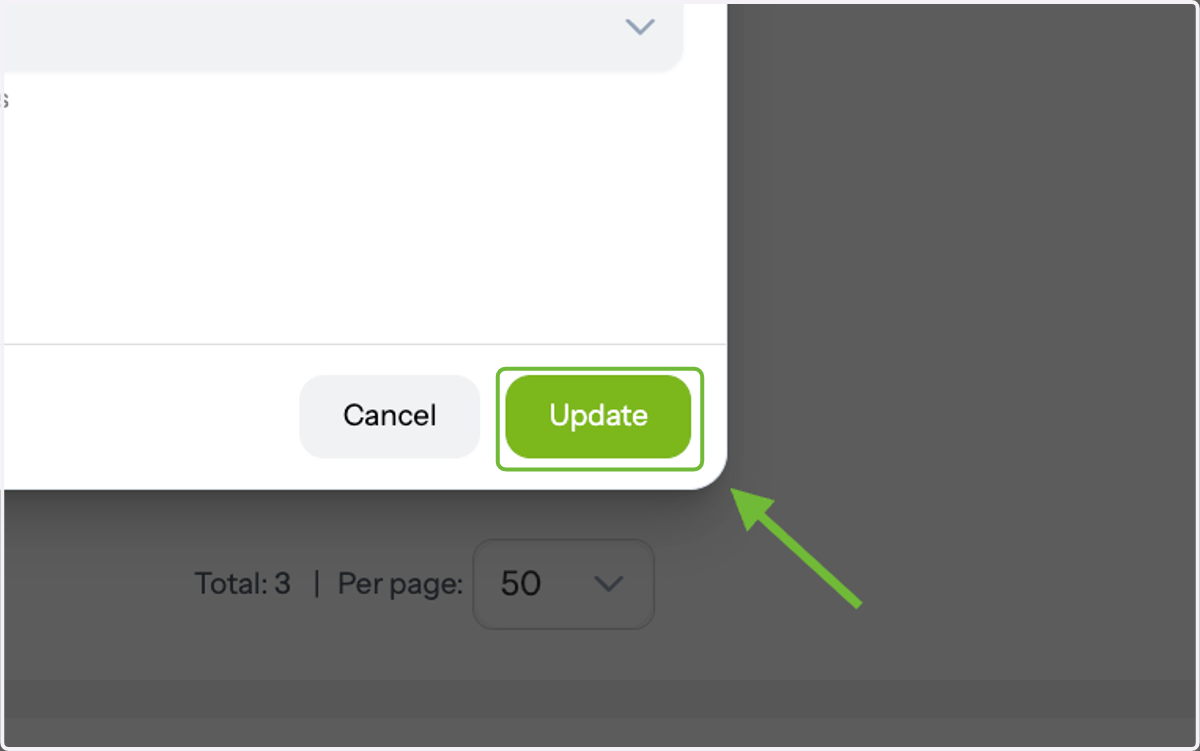
Click Update to save your changes.
You're all set! You now know how to assign and manage admin access roles and venue permissions for your team in Affinect.