How to Change Fonts and Font Colours
In the website editor
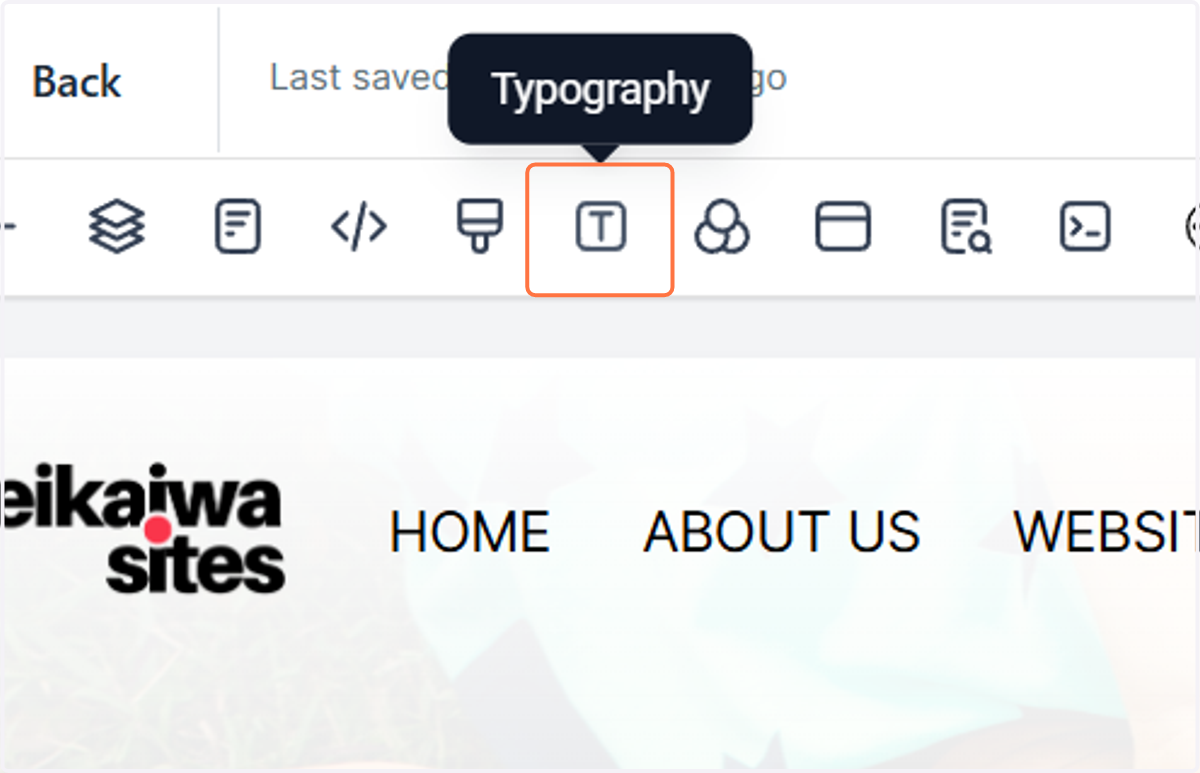
1. Click on Typography
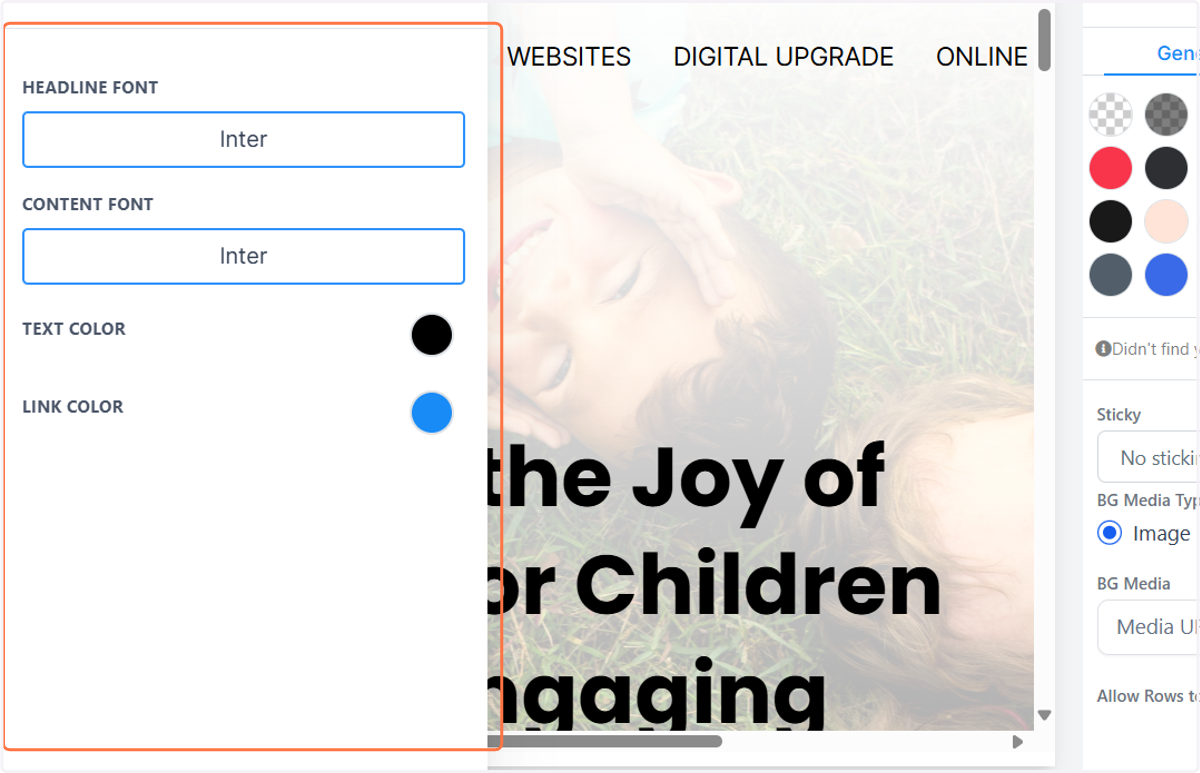
2. These are the fonts that currently appear on your website
If fonts other than these are appearing on the website, a 3rd option “custom fonts” has been selected in the different elements. Skip to step 12 to see how to change this.
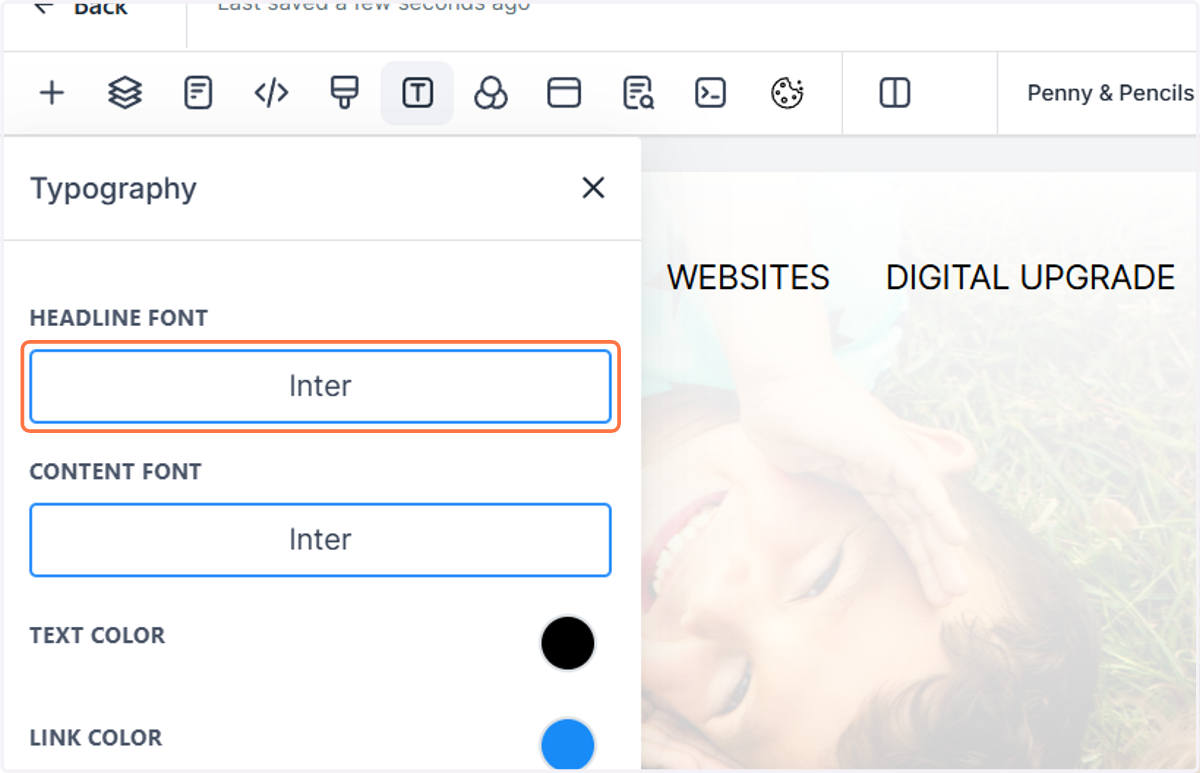
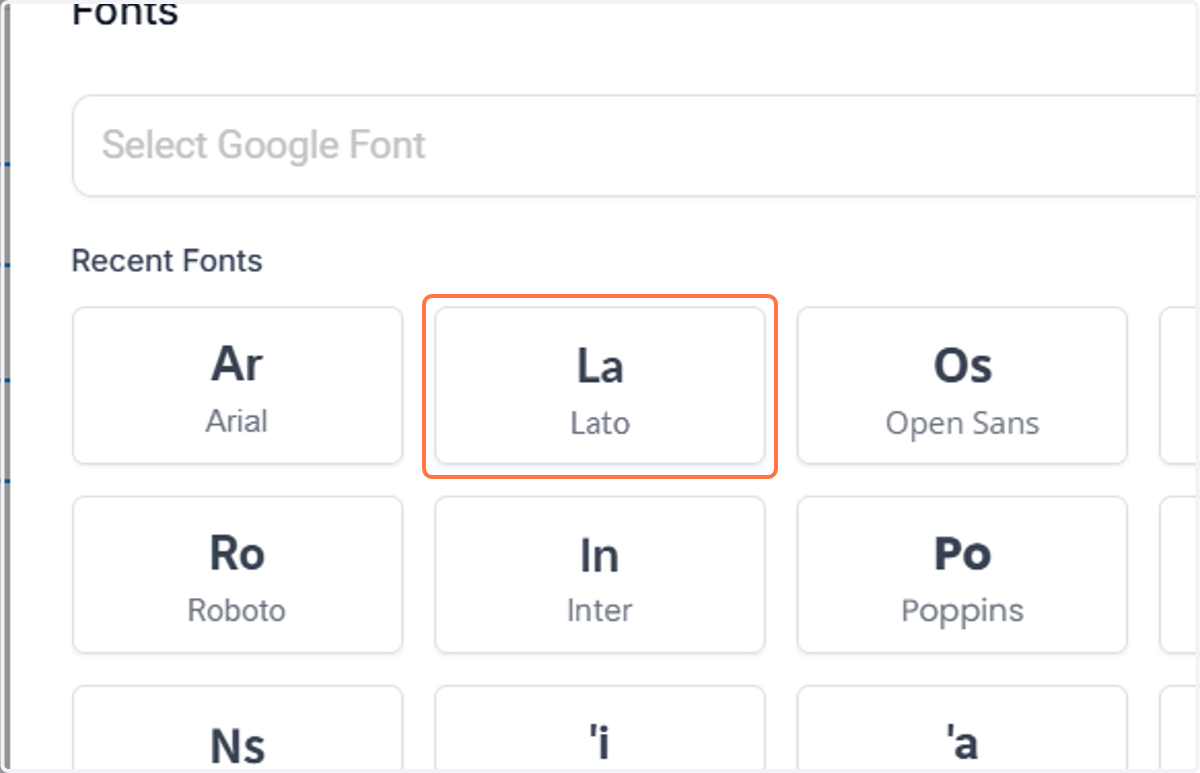
3. Click on the Headline Font
4. Choose a different font. Now, any text on the website that is has a font selected as “headline” will use this font.
5. Click on Content Font
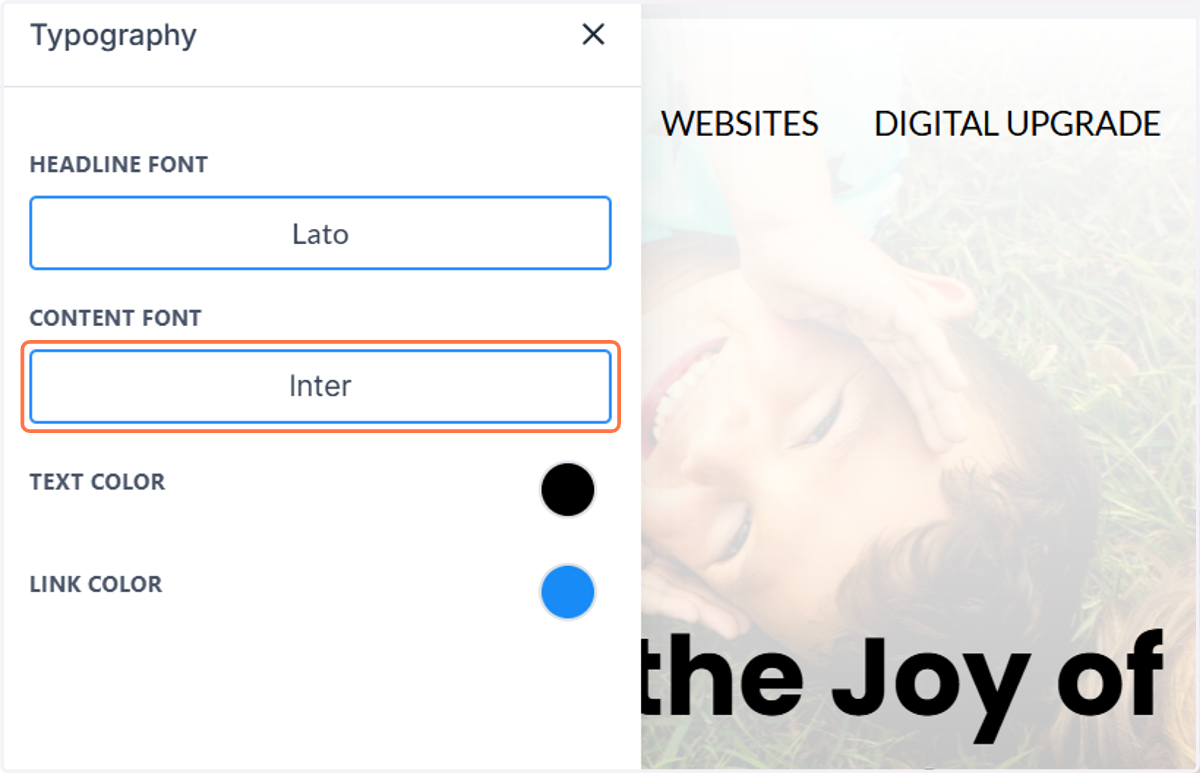
6. Choose a different font. Now, any text on the website that is has a font selected as “content” will use this font.
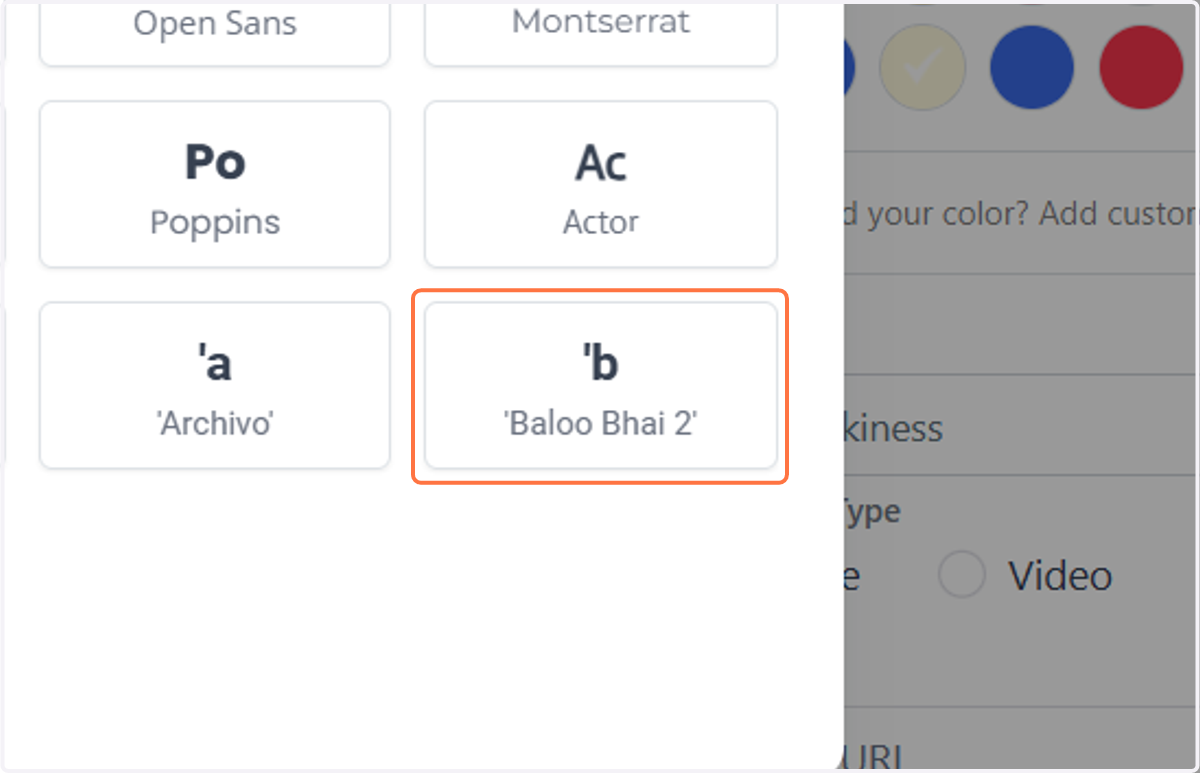
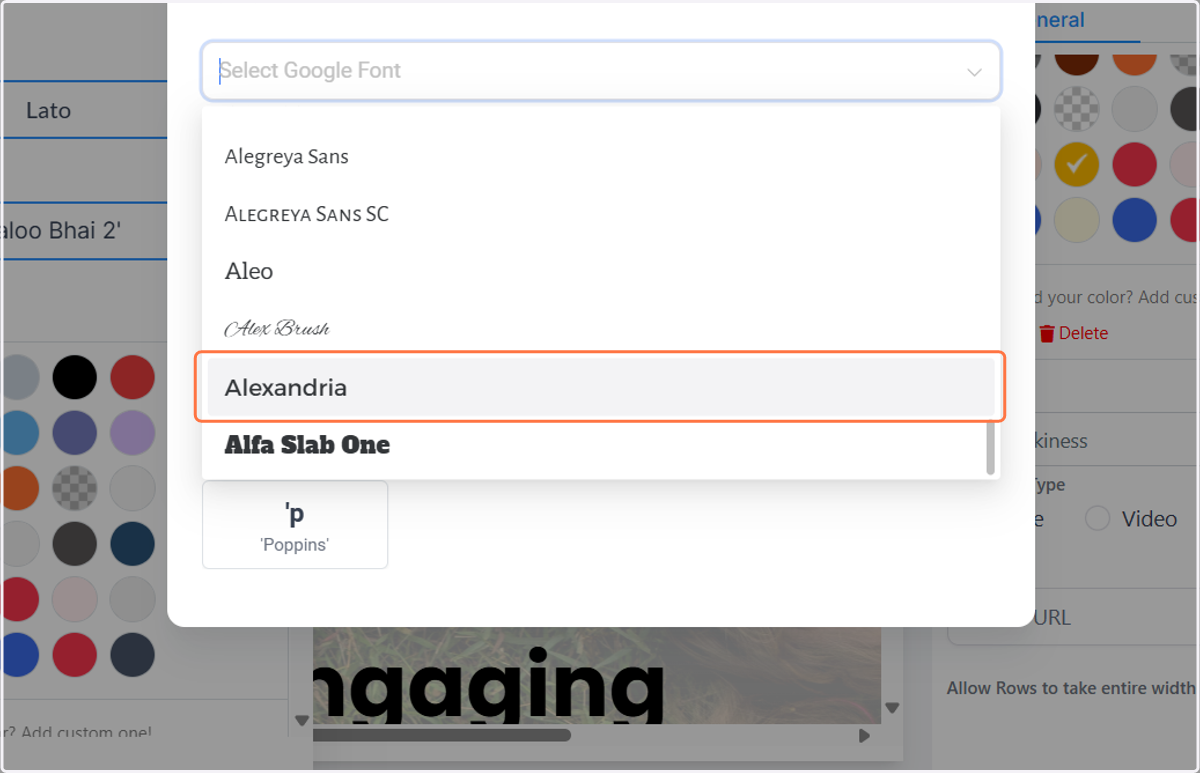
7. To add a new font, click on Select Google Font…
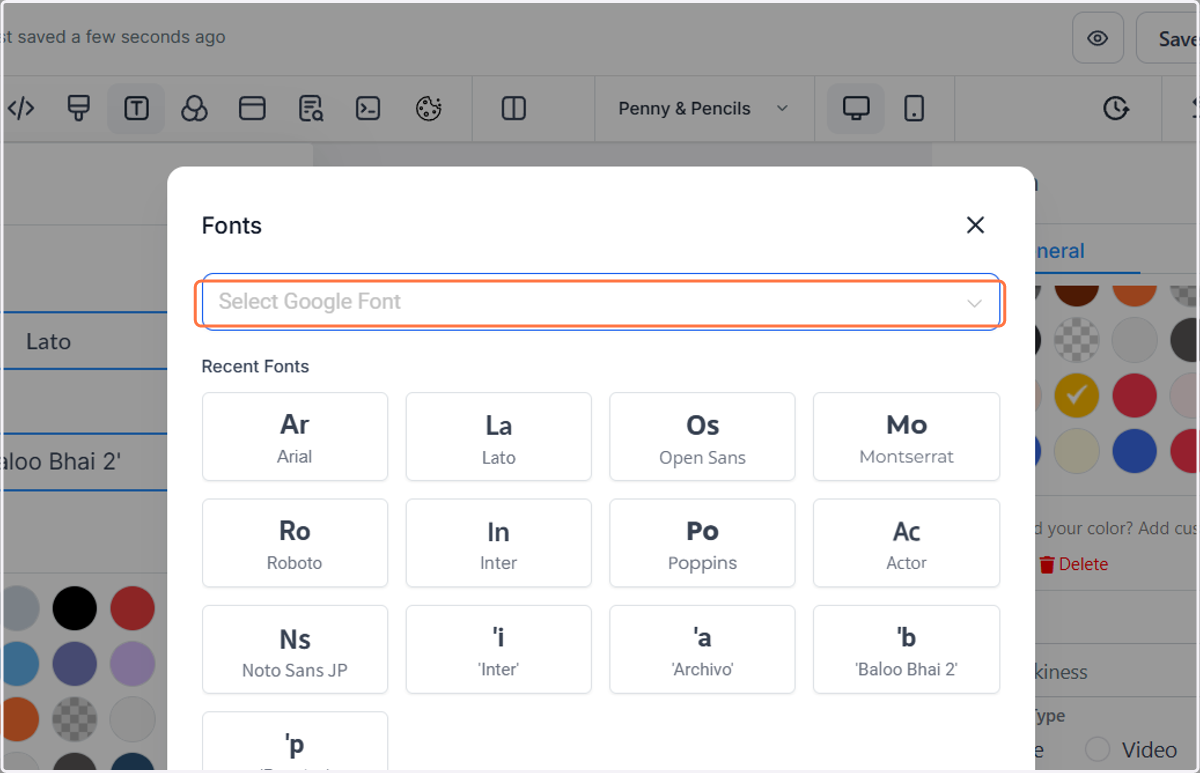
8. Search for a different font
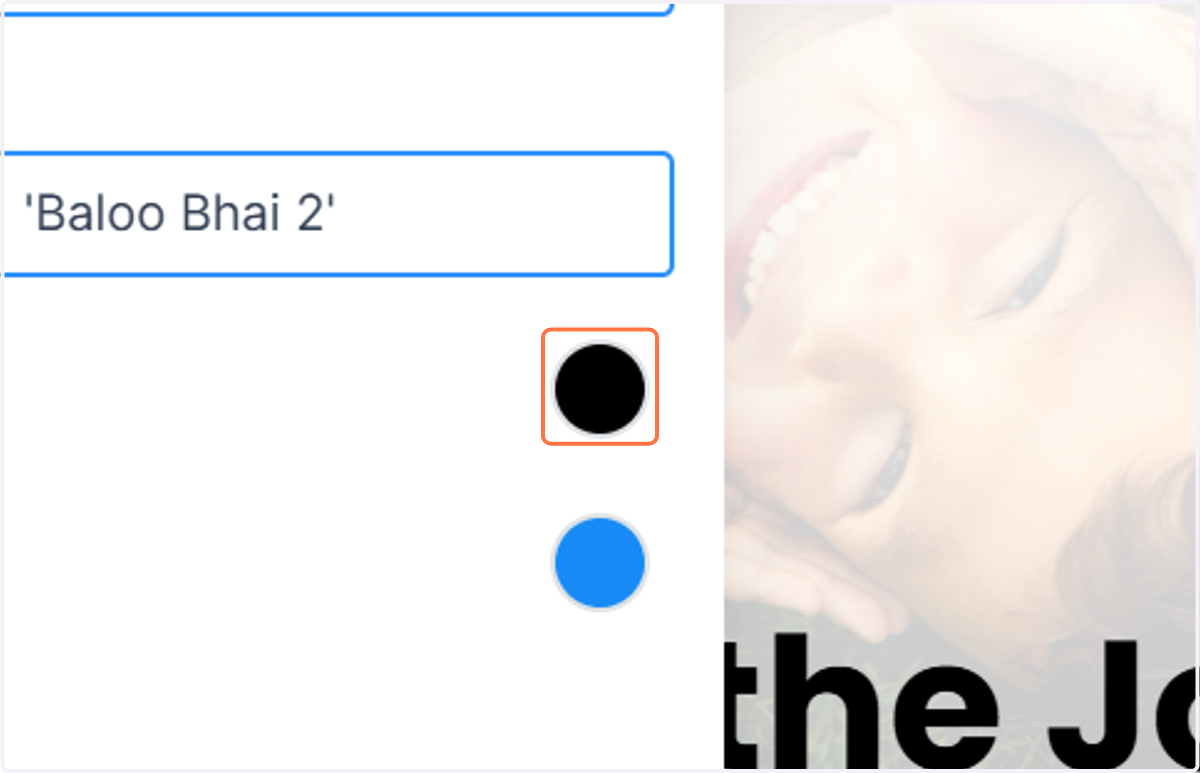
9. Click on the colour to change the default font colour
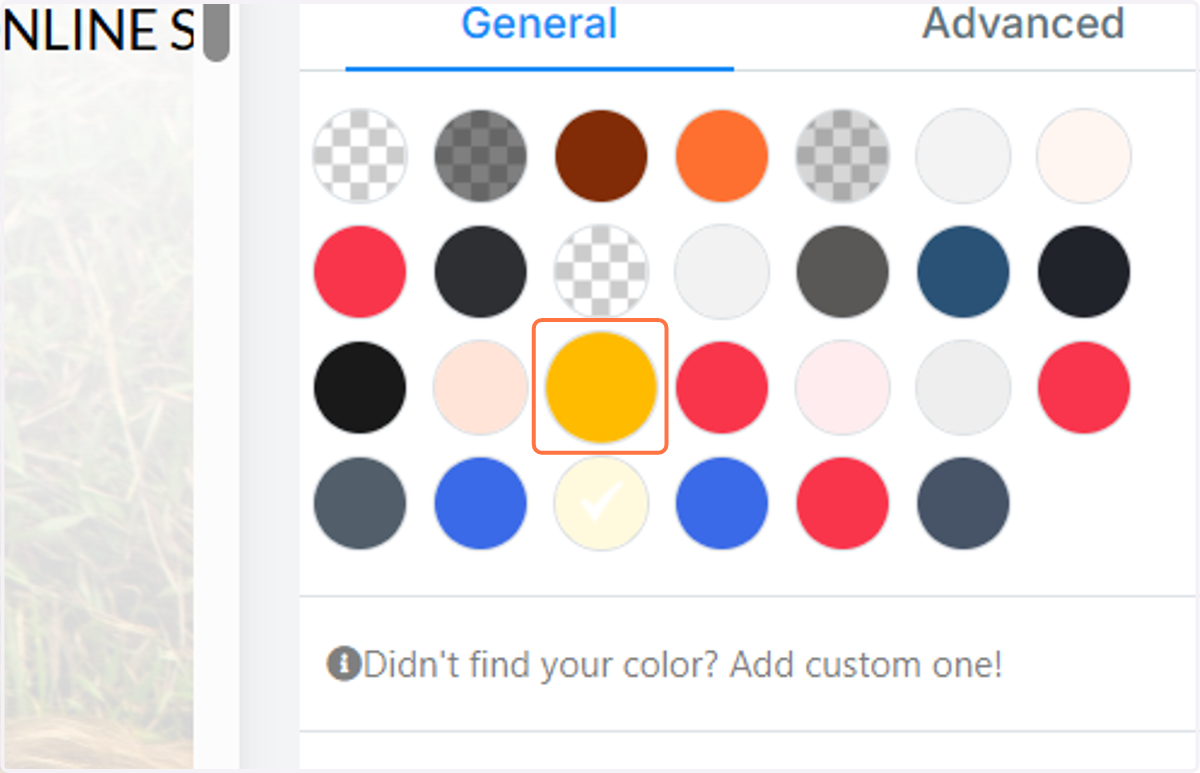
10. Choose or add a new colour
11. To change the font or colour of any text, click on it

12. On the right, select which font to use

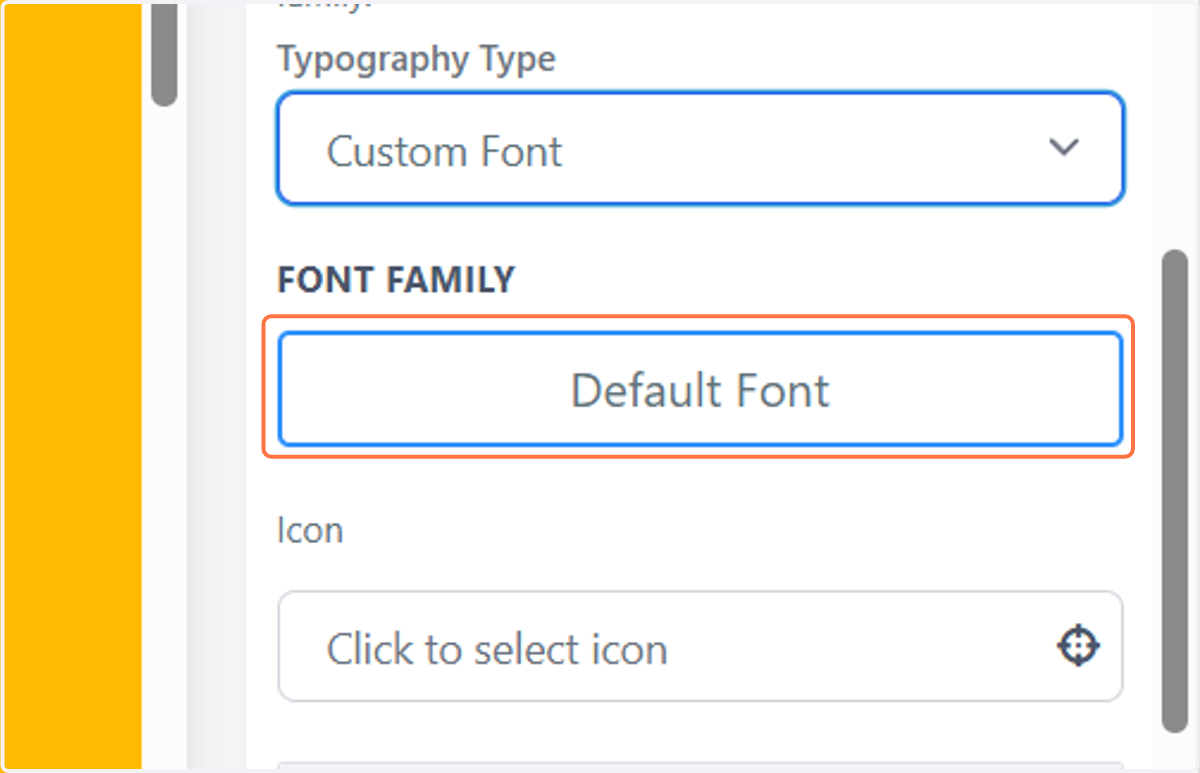
13. You can add a custom font, just for this text, here
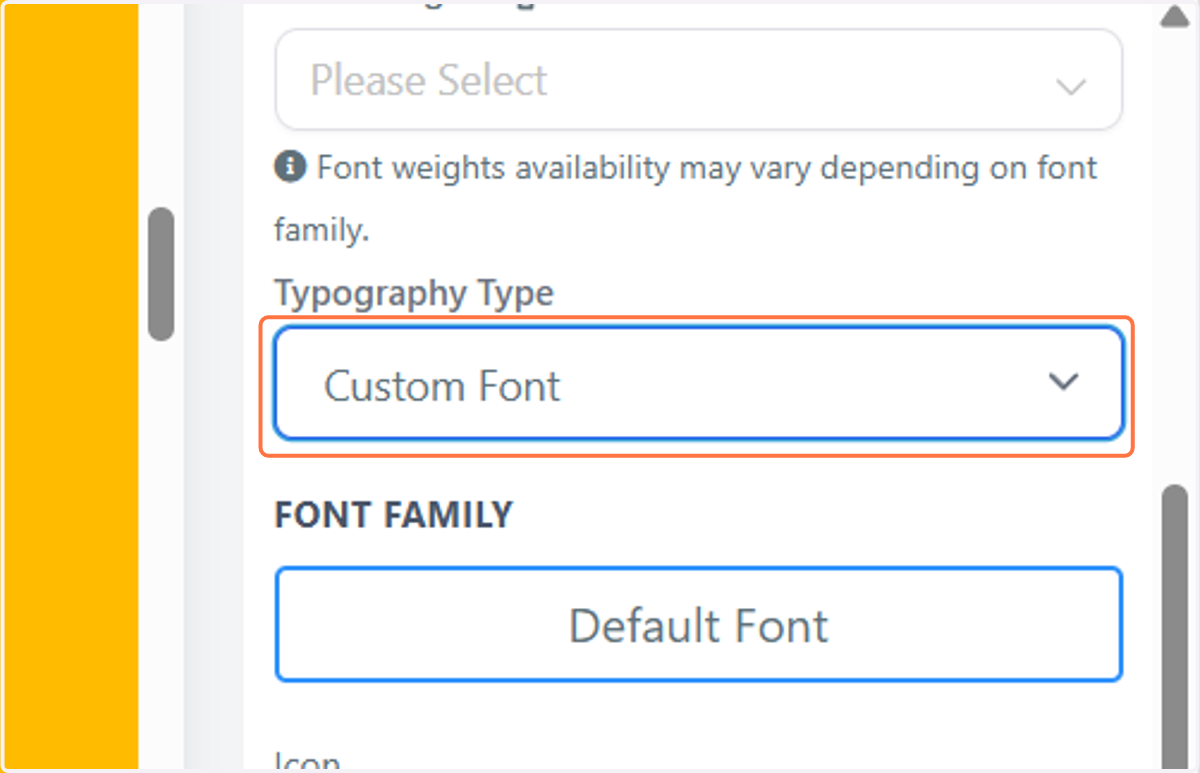
14. Click on Default Font
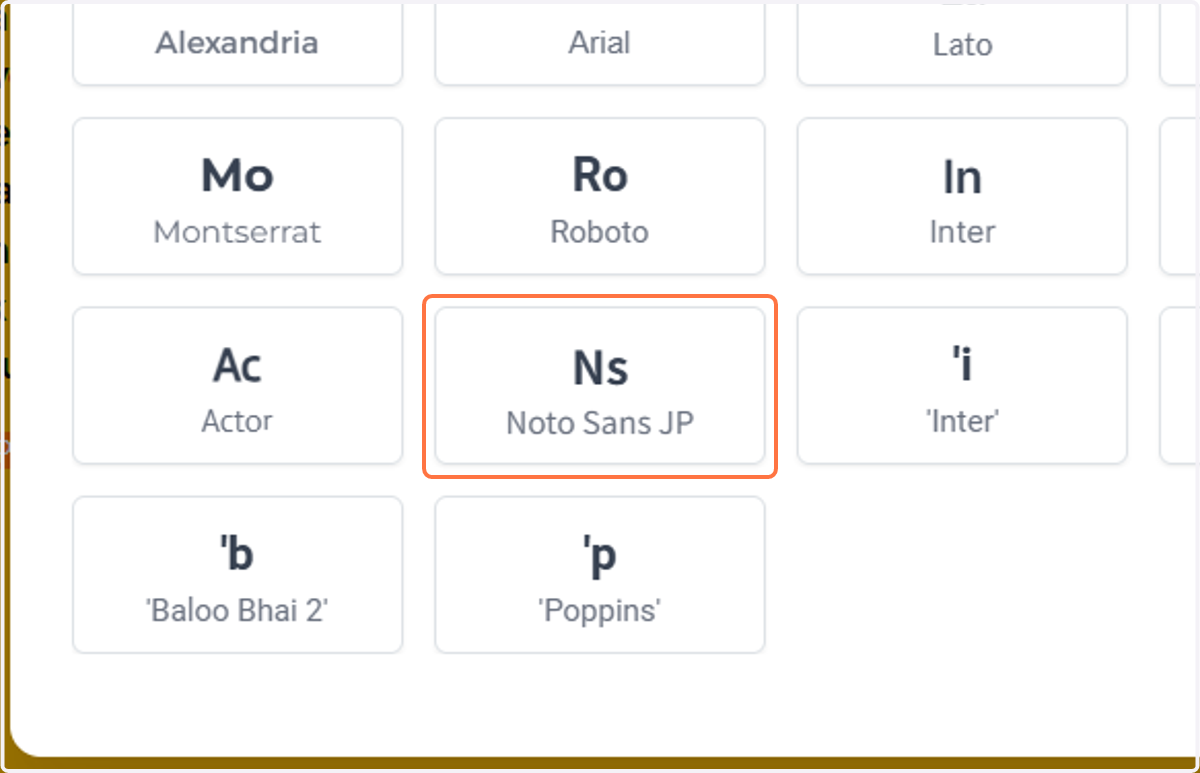
15. Click on the font you want to use
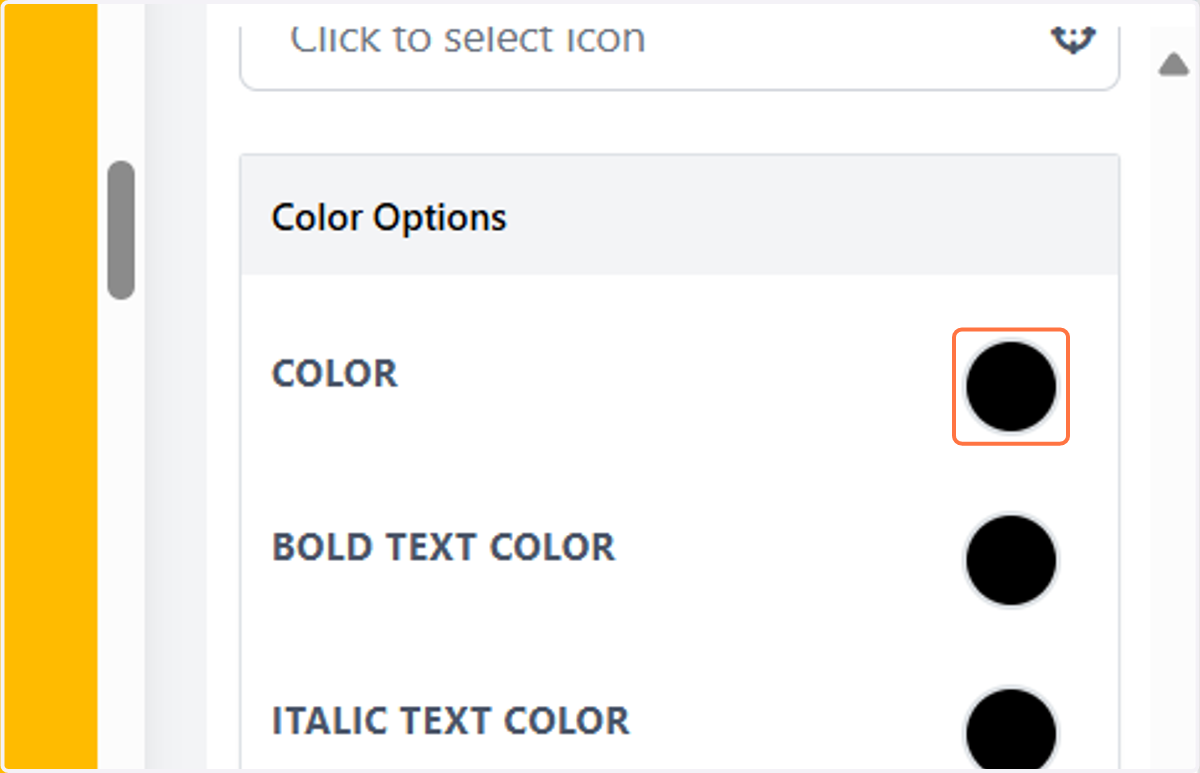
16. To change colours, use these.
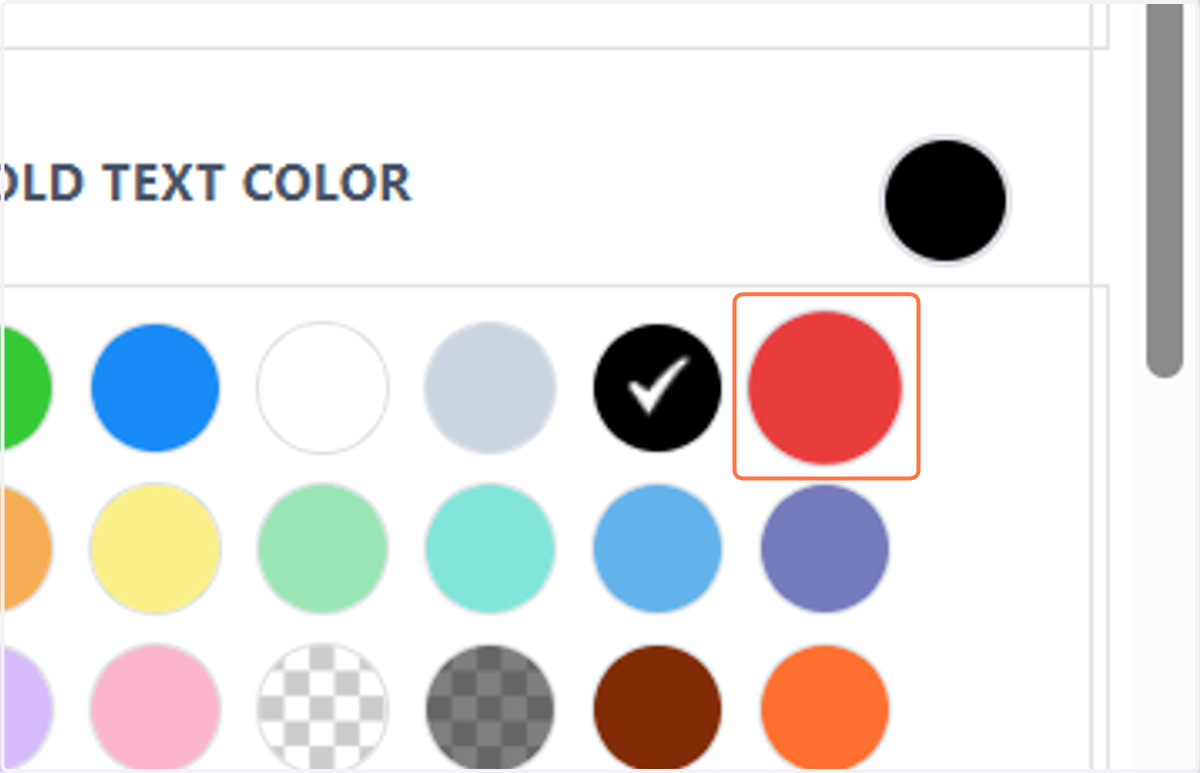
17. Click on a new colour
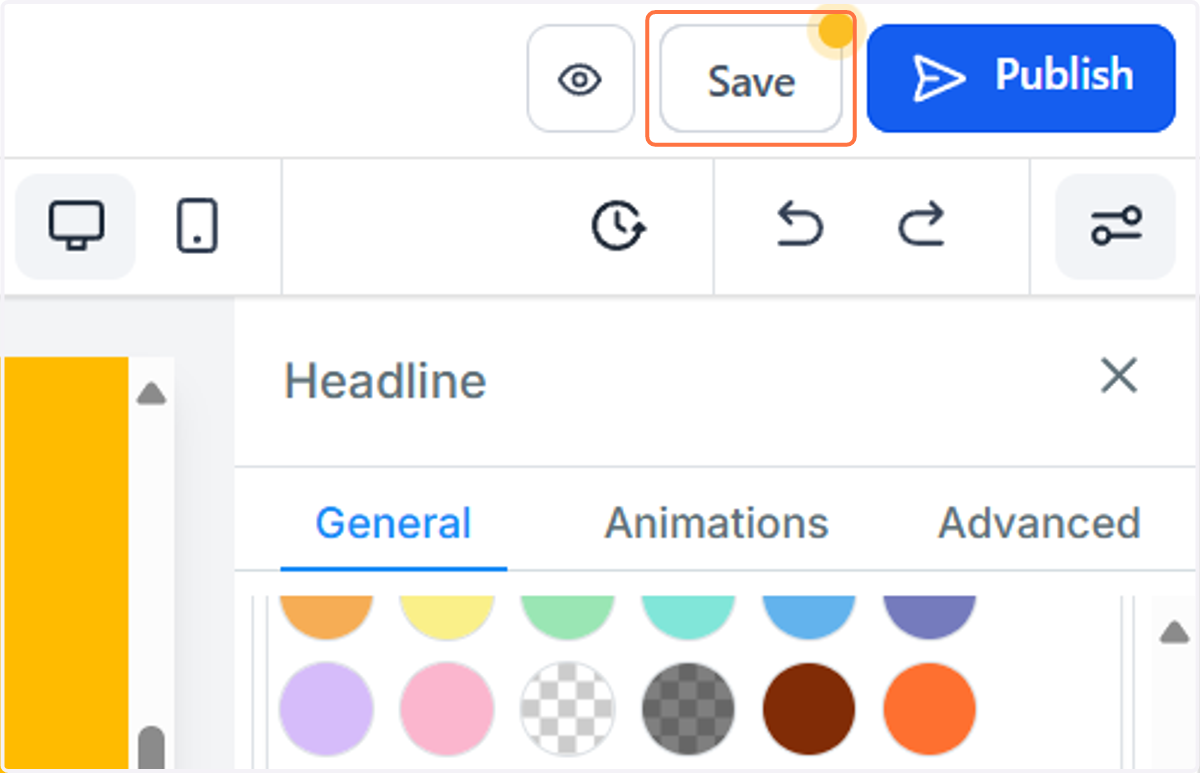
18. Save, or Publish to go live