How To Apply To The Redstone Lofts & Redstone Commons
1. Applicants: Open Your Web Browser, navigate to MyRedstoneLofts.com or MyRedstoneCommons.com
Note: Please be sure to submit only one application to avoid technology errors. You can contact our team if you need to make adjustments to your room type preference.
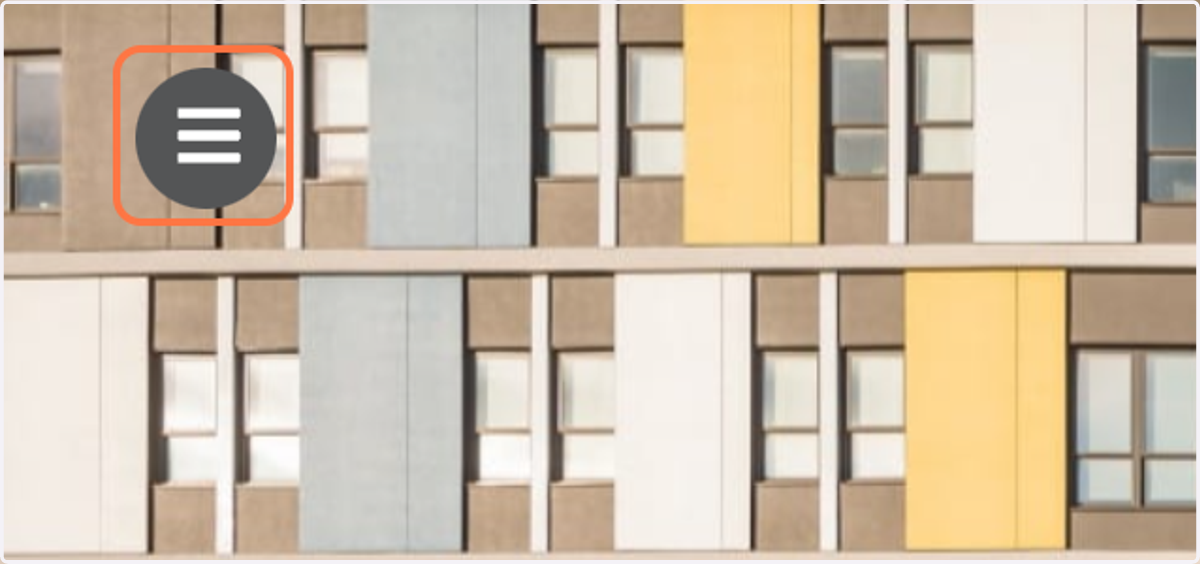
2. Applicants: Click on Toggle navigation
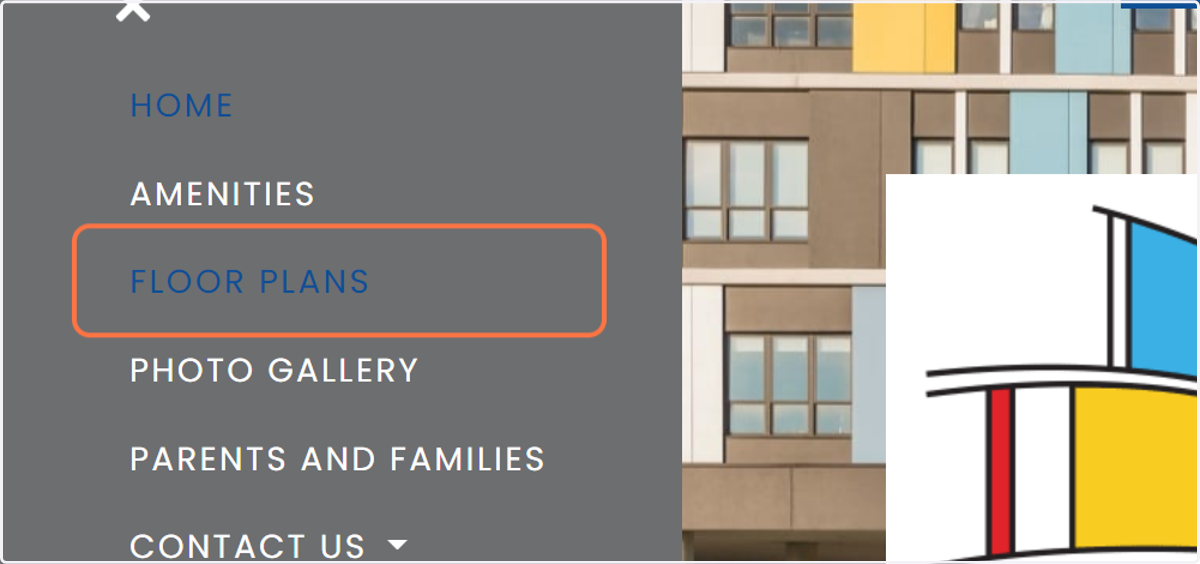
3. Applicants: Click on FLOOR PLANS
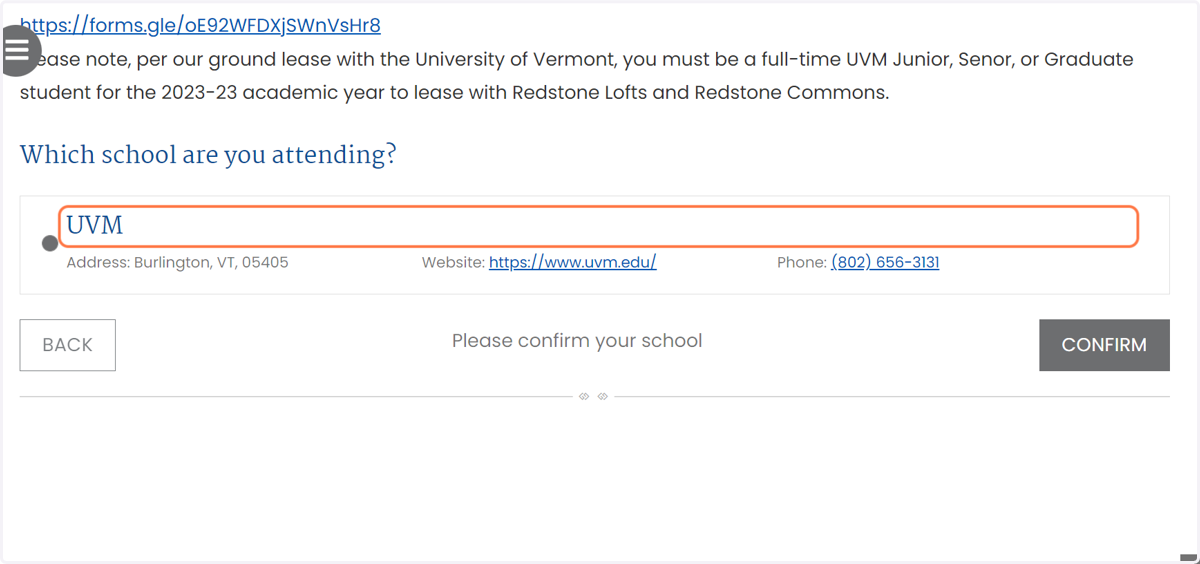
4. Applicants: Confirm Your School By Selecting "Confirm"
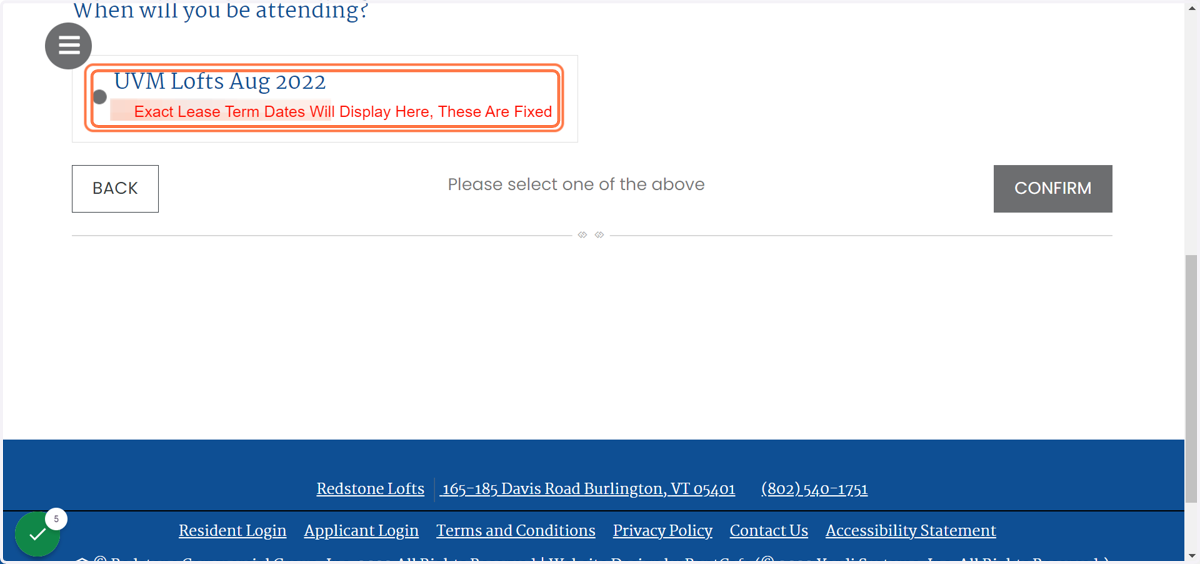
5. Applicants: Choose Your Lease Term and Select "Confirm"
6. Applicants: Select Room Type To Apply For
Please note: If you have multiple room types in mind, you can apply to your top-choice room and reach out to our team at studentleasing@redstonevt.com if you change your mind and would like us to adjust your application.
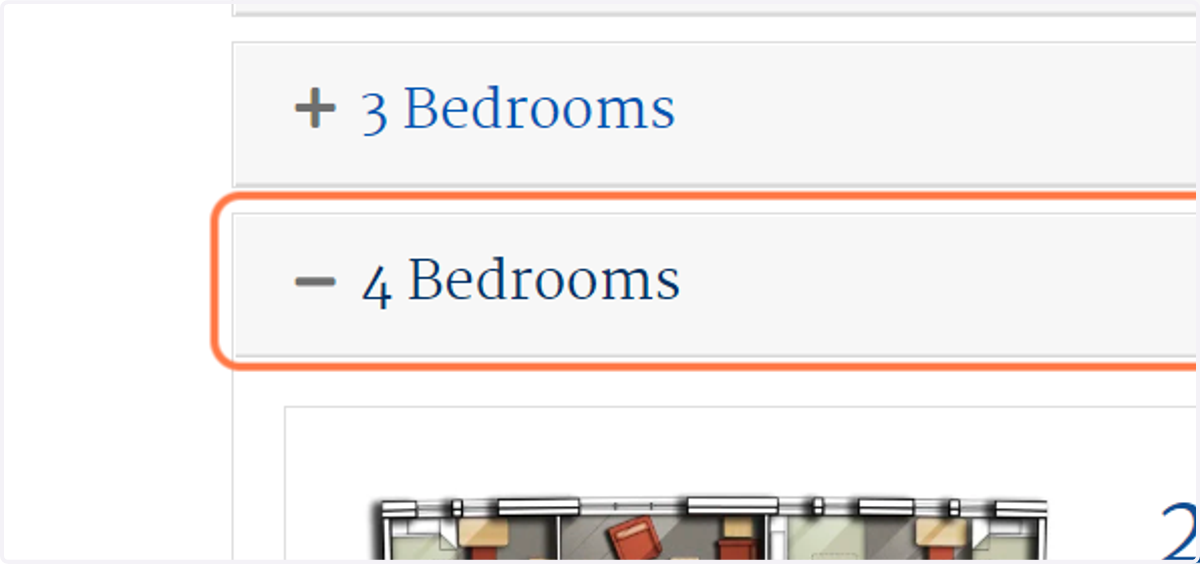
7. Applicants: Apply for Any Room That Lists "Availability"
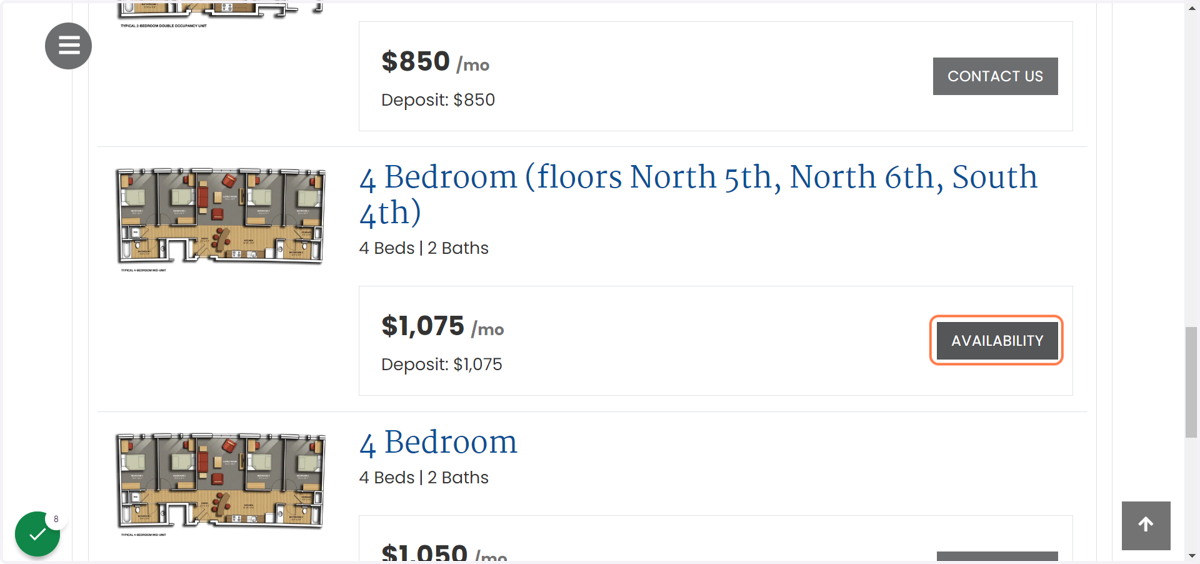
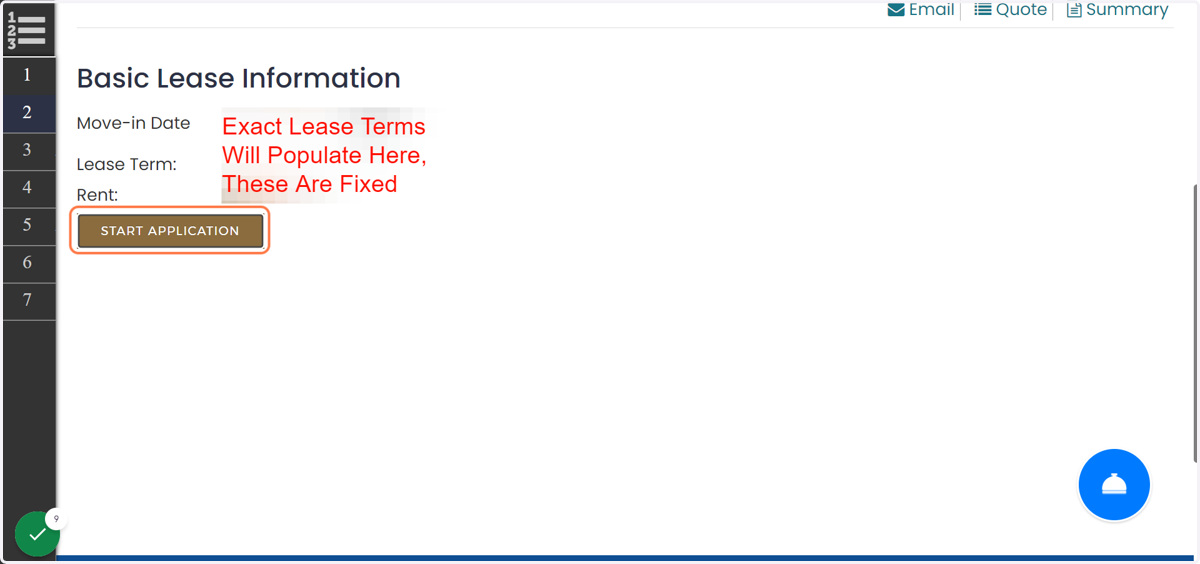
8. Applicants: Click on START APPLICATION
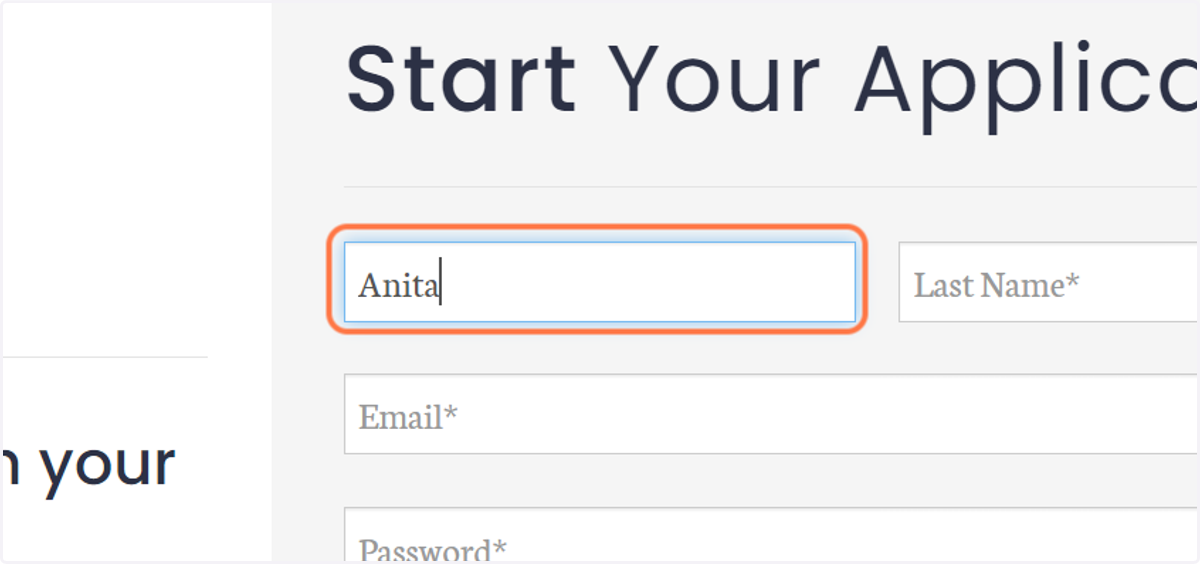
9. Applicants: Fill Out All Fields Under "Start Your Application."
PLEASE NOTE: THIS WILL BECOME YOUR LOGIN INFORMATION AS A RESIDENT
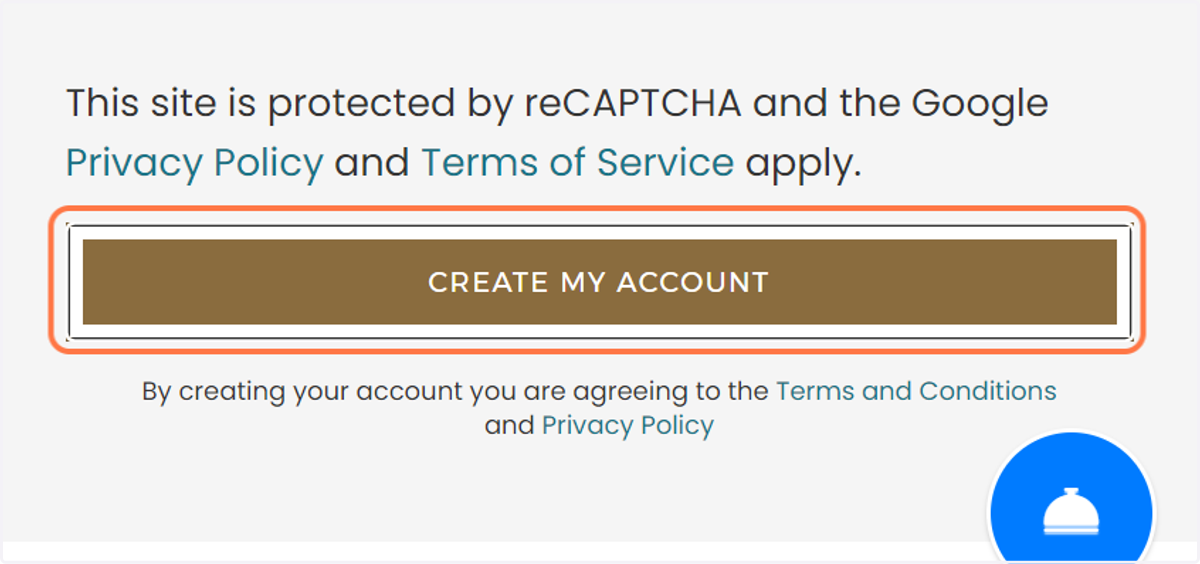
10. Applicants: Click on CREATE MY ACCOUNT
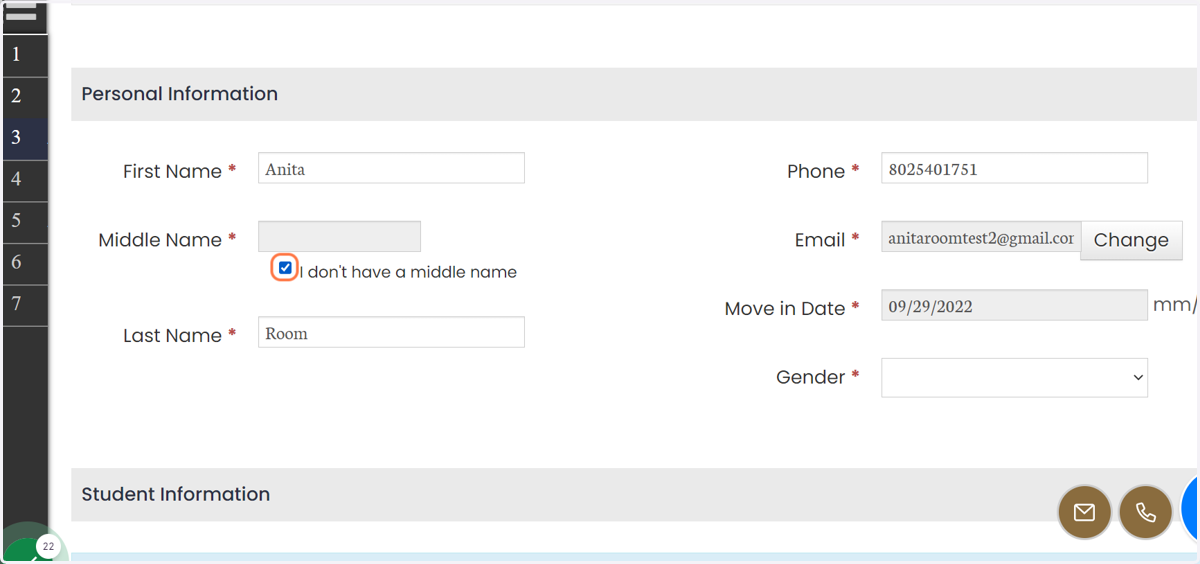
11. Applicants: Fill Out Your Profile
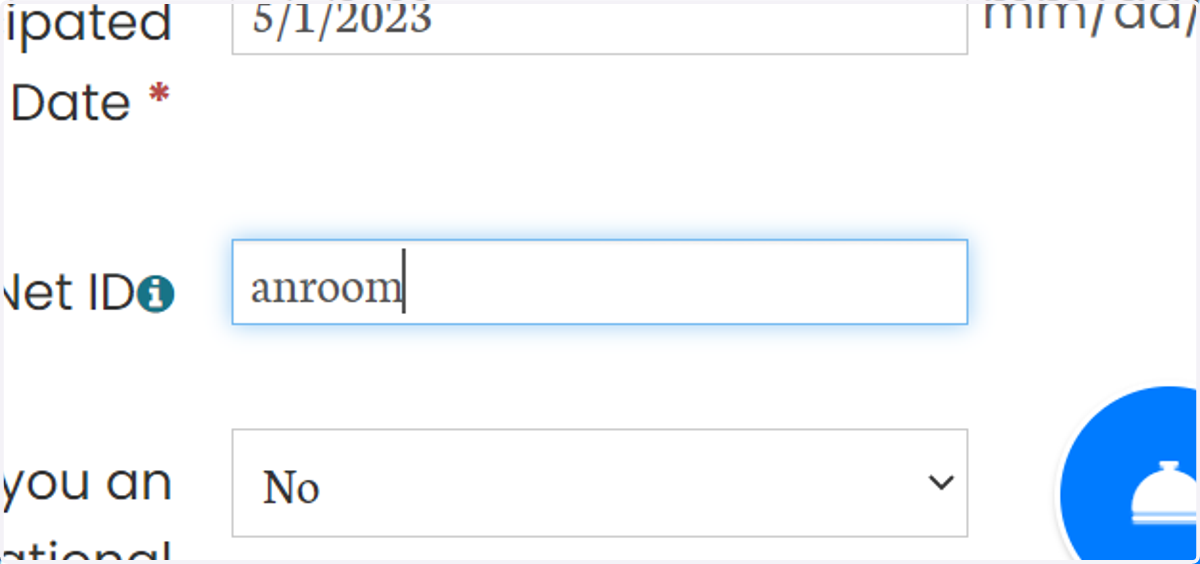
12. Applicants: Be Sure To Enter Your UVM NetID, Not Your UVM 95 Number
We cannot process your application without your UVM NetID
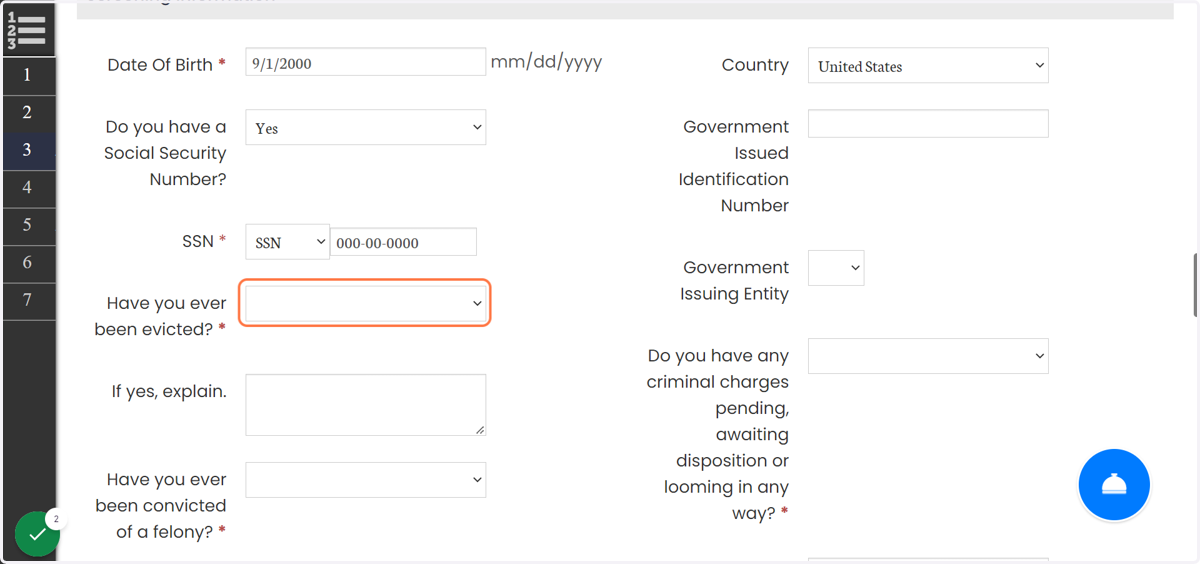
13. Applicants: You'll Be Asked A Variety of Questions Related To Previous Renting History
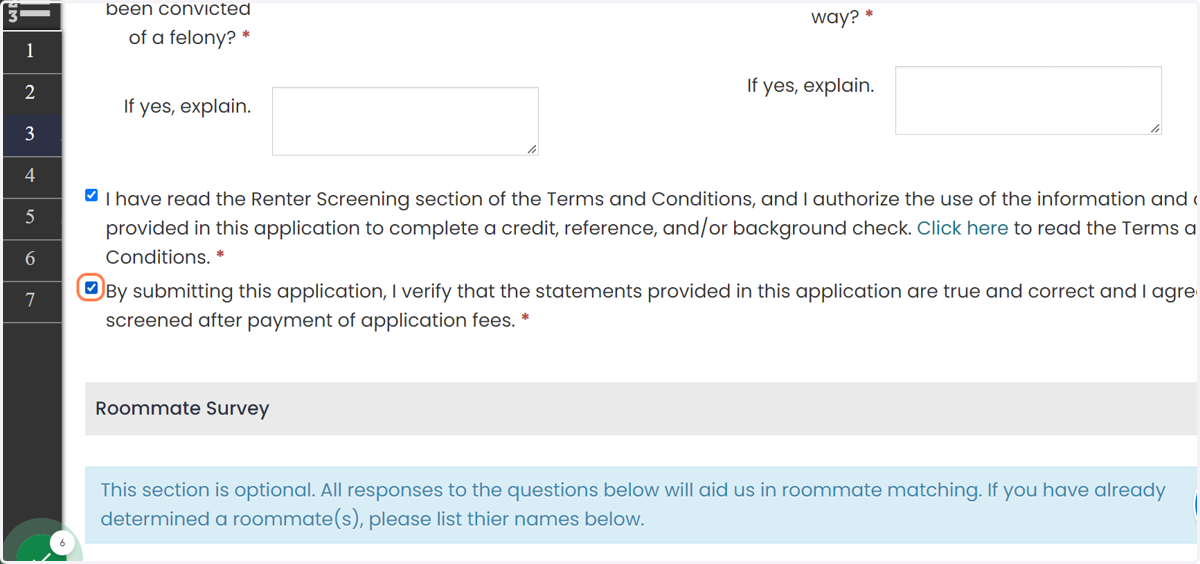
14. Applicants: Be Sure To Check On The Terms And Conditions Boxes
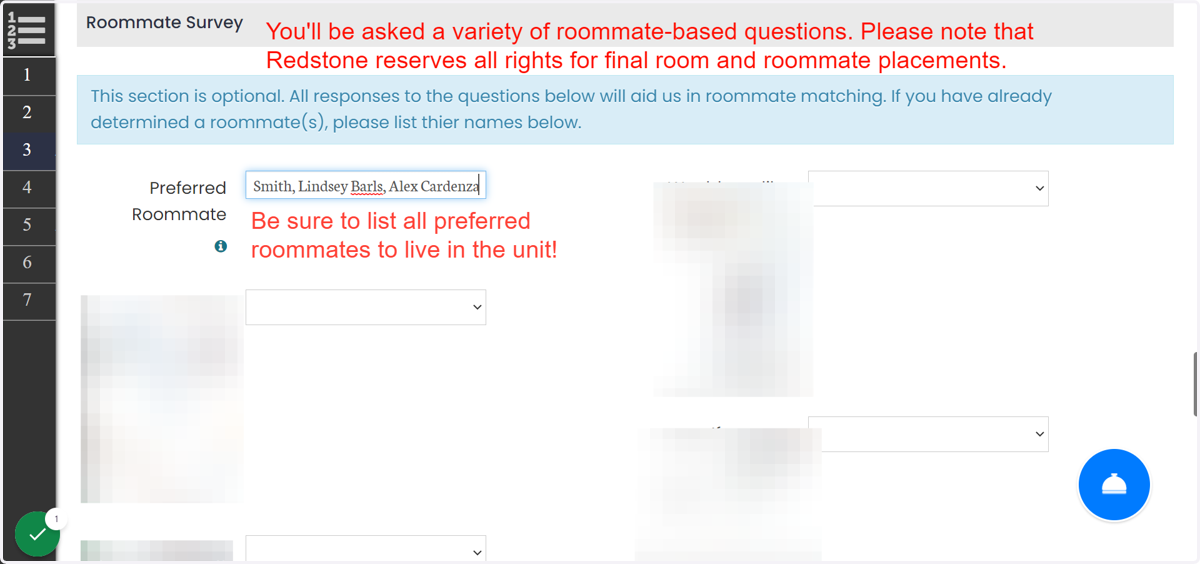
15. Applicants: List Any Roommate Preferences (Please o
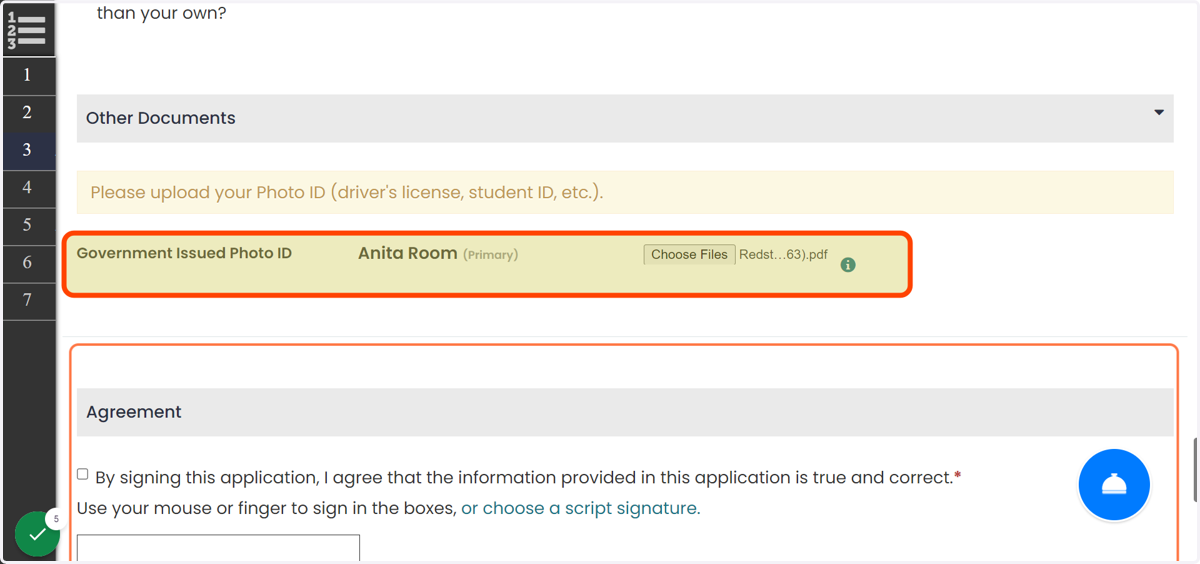
16. Applicants: Be Sure To Add A Photo ID
Please note that this is a required portion of the application
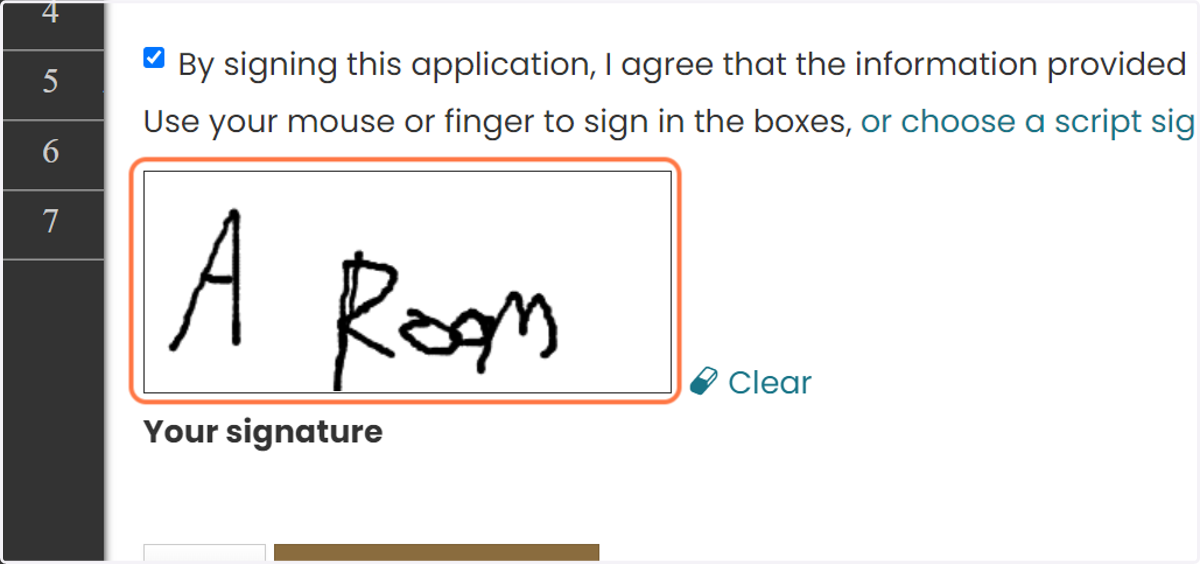
17. Applicants: Check The Signature Box & Add your Signature
18. Applicants: Click on SAVE & CONTINUE
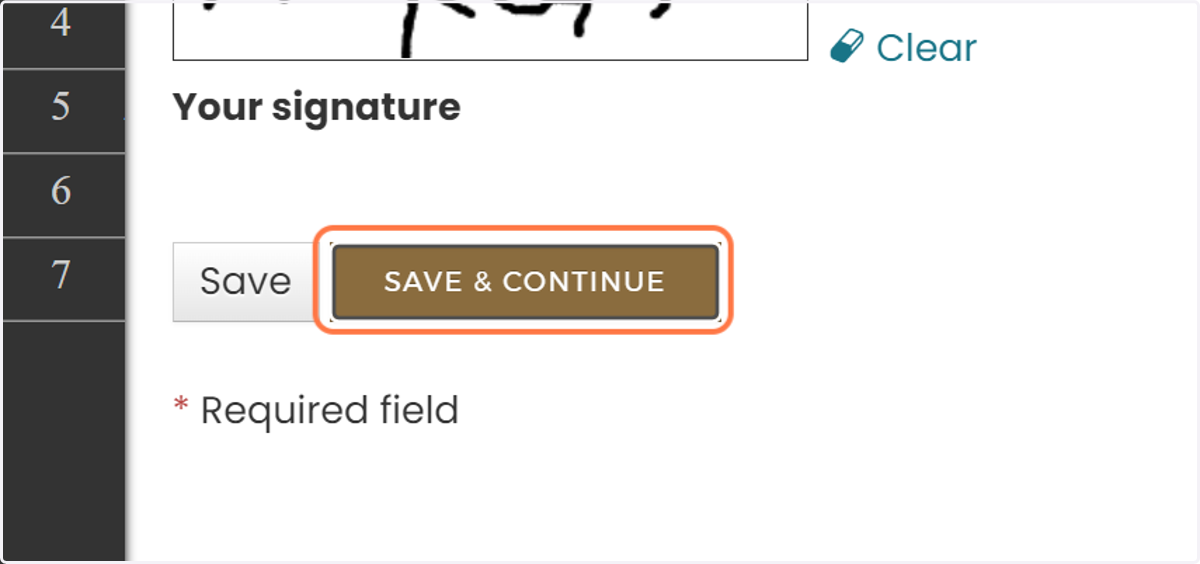
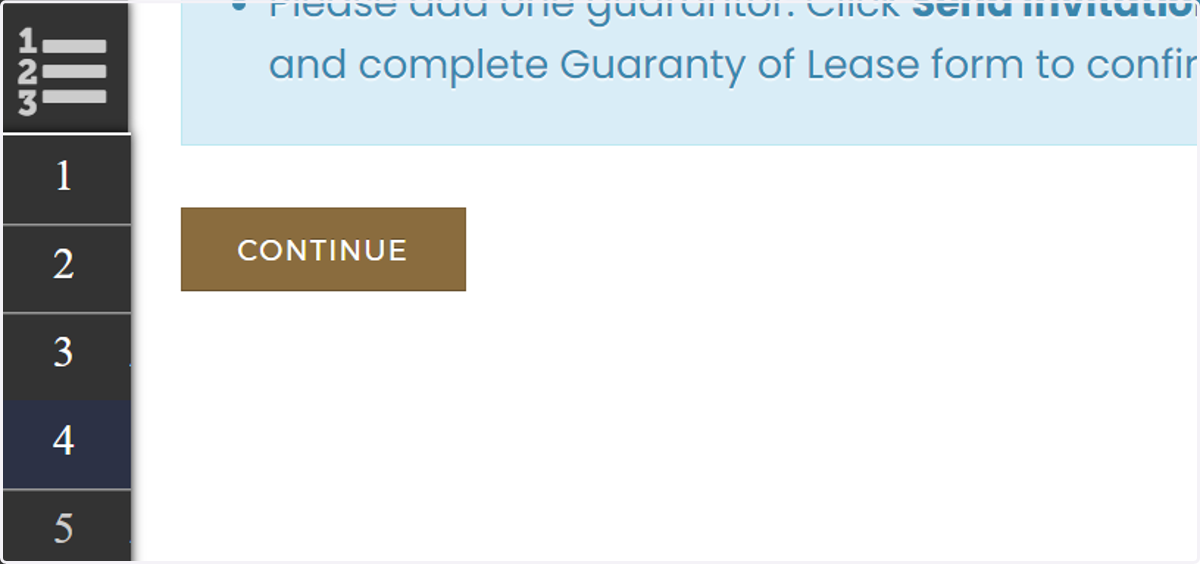
19. Applicants: This Is A VERY Important Step: Click on Add Guarantor. Please add only one guarantor to avoid application errors.
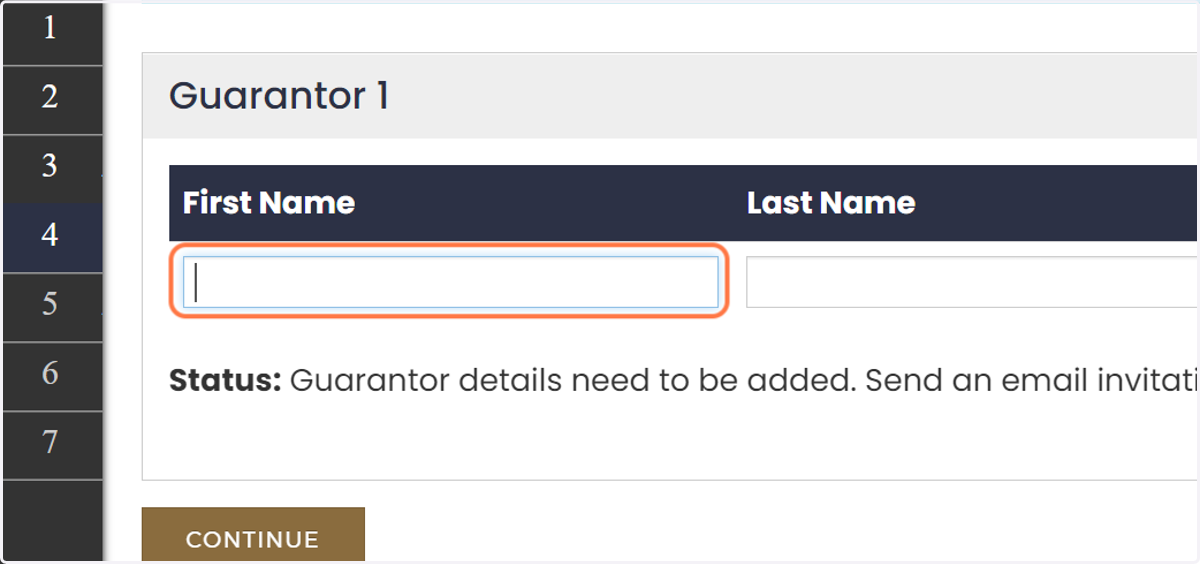
20. Applicants: Add Guarantor Name
21. Applicants: Add Guarantor Email
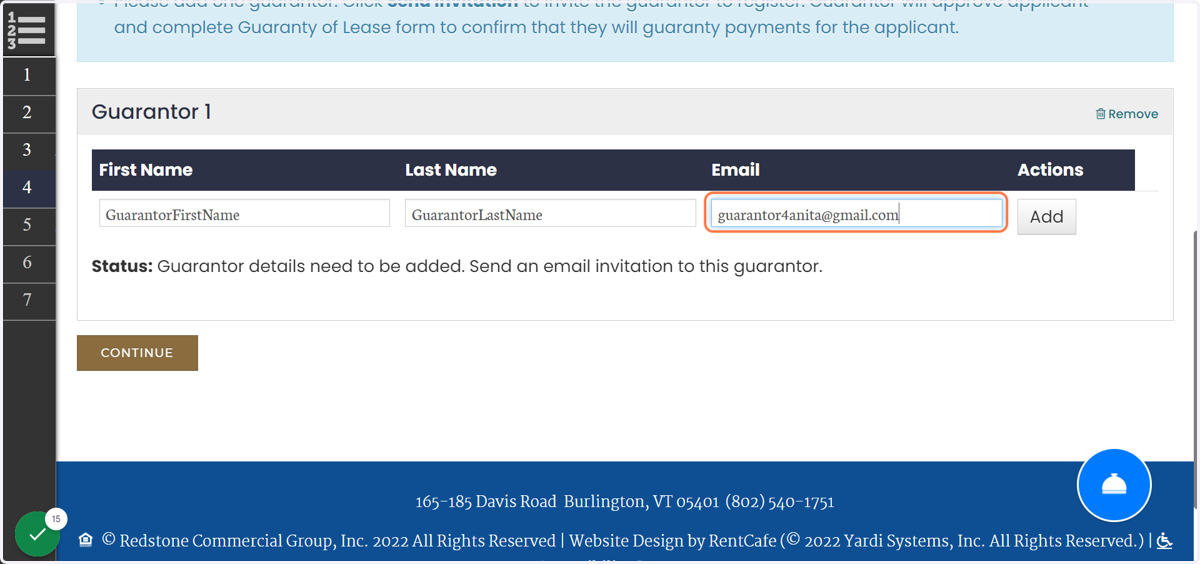
22. Applicants: Click on Add, Then Wait For The Page To Load
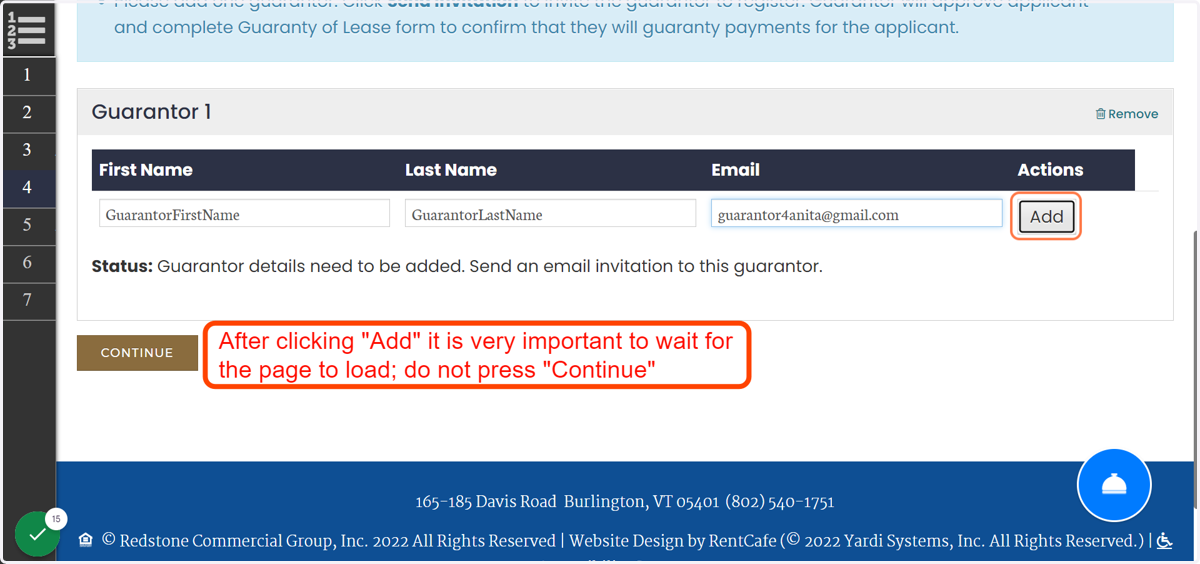
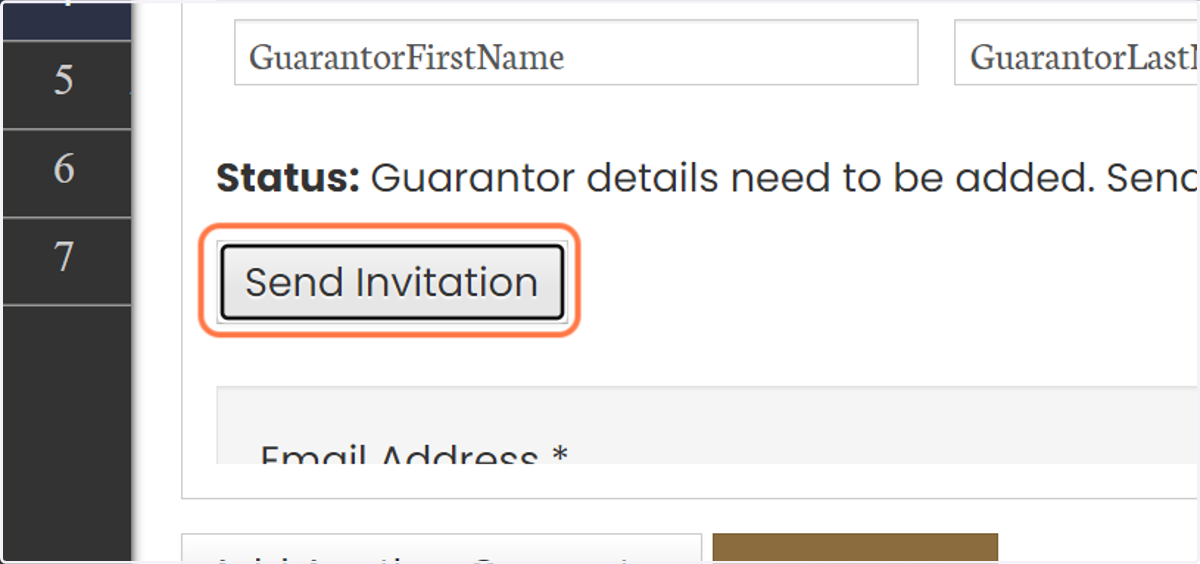
23. Applicants: Click on Send Invitation
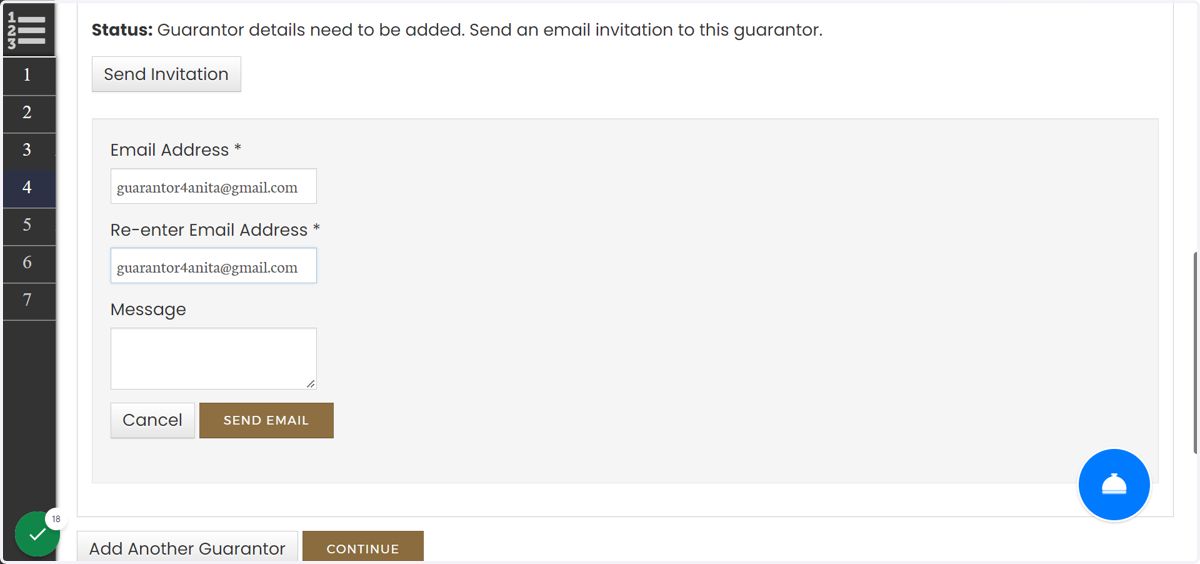
24. Applicants: Type Your Guarantor's Email, Then Press "Send Email"
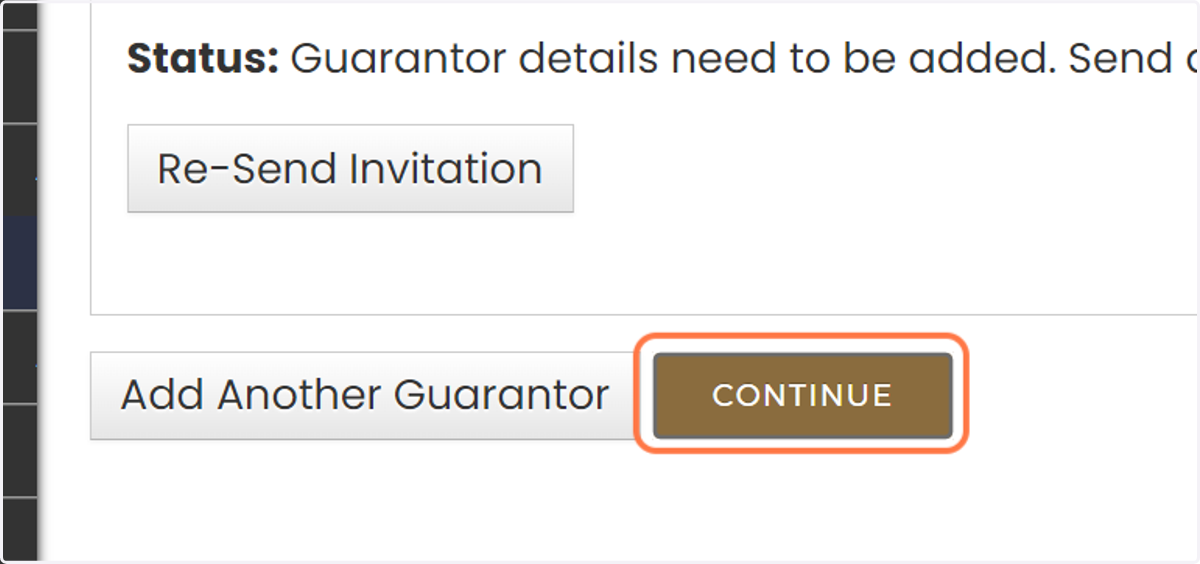
25. Applicants: Click on CONTINUE, Do Not Add Second Guarantor. Then, Log Out.
Each account can only have one guarantor, please be sure to list the guarantor that you would like on your account.
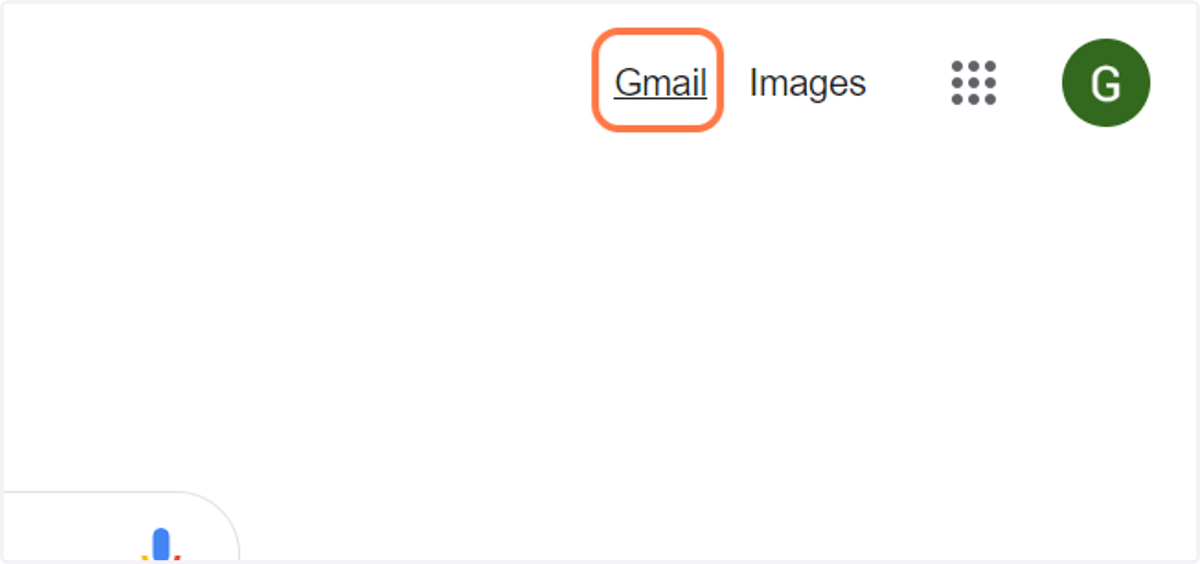
26. Guarantors: Login To Your Email The Applicant Provided On Their Application
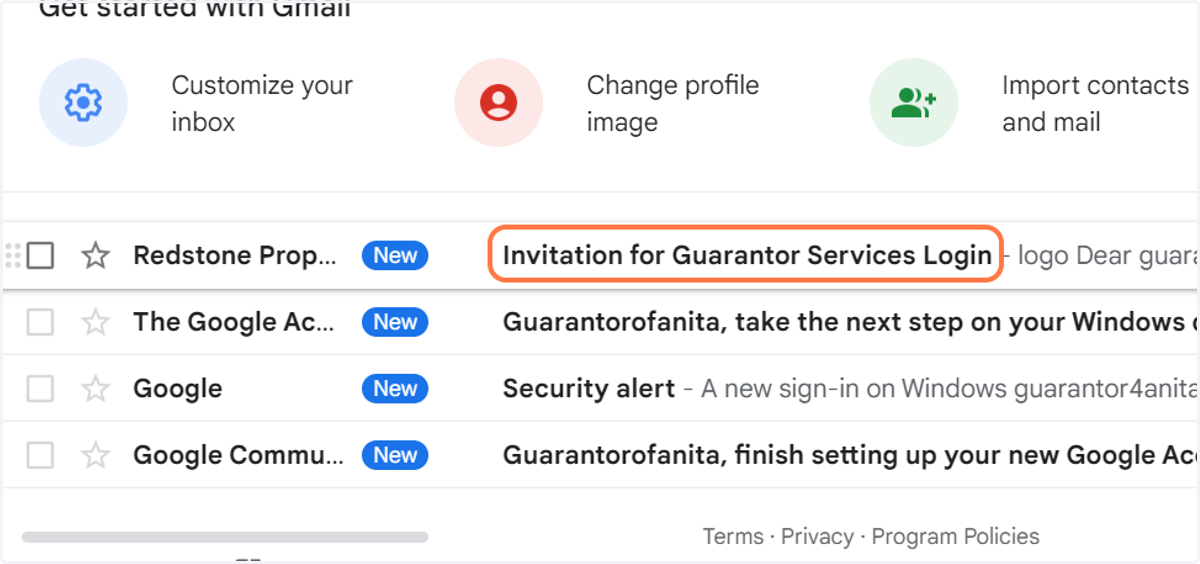
27. Guarantors: Will Click on Invitation for Guarantor Services Login
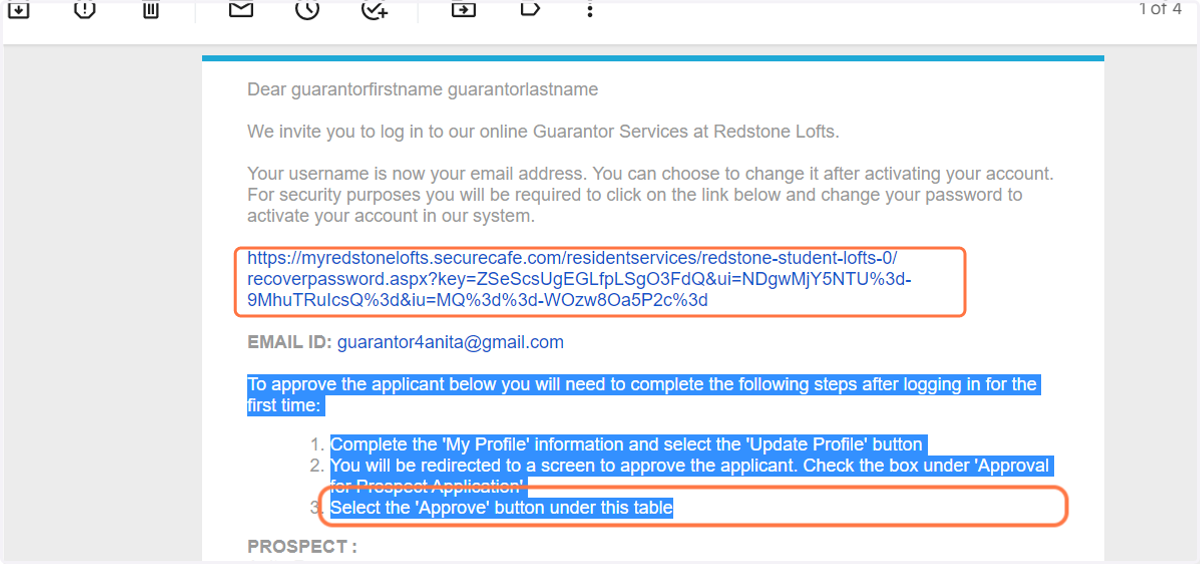
28. Guarantors: Read This Email Carefully, Then Click The Link In The Email
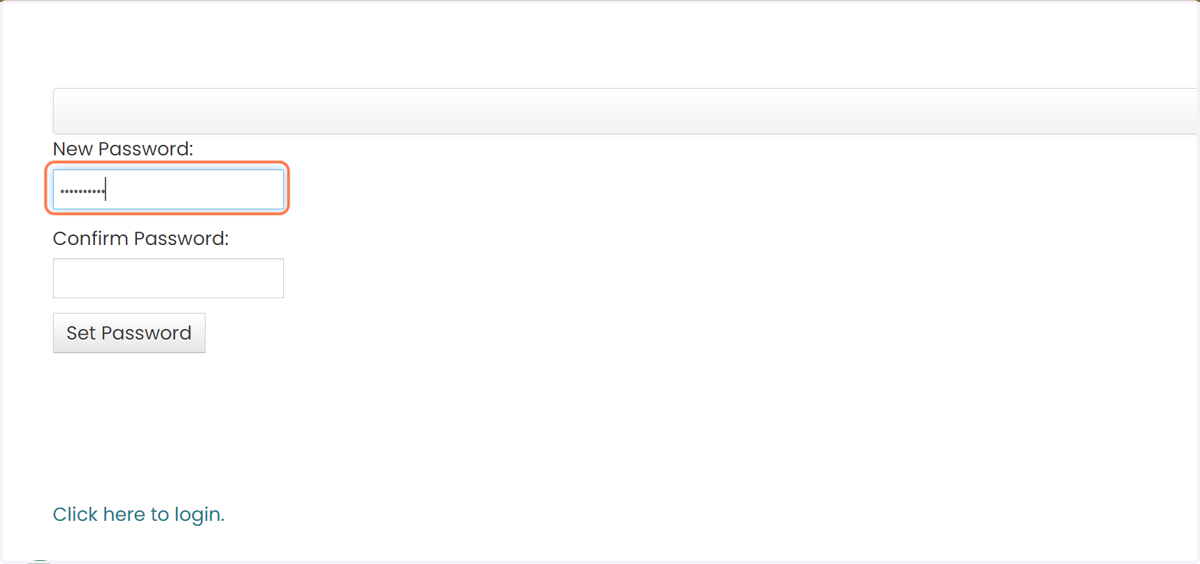
29. Guarantors: You Will Be Prompted To Create A New Password, Then Select "Set Password"
30. Guarantors: Once Your Password Is Set, The Page Will Automatically Reload. Enter Your Login Information
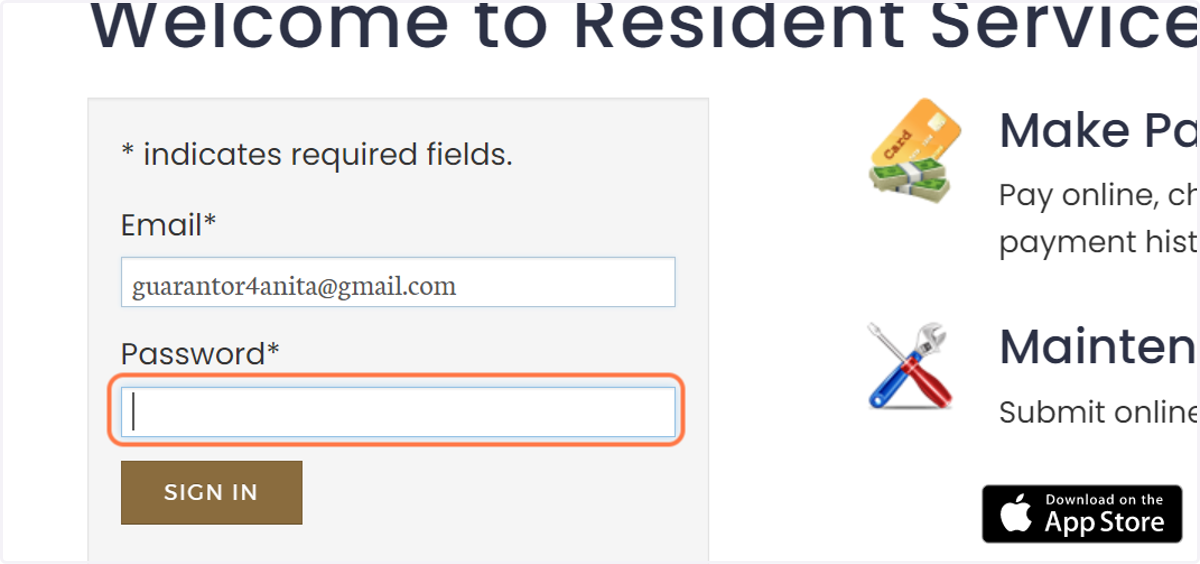
31. Guarantors: Complete Your Guarantor Profile
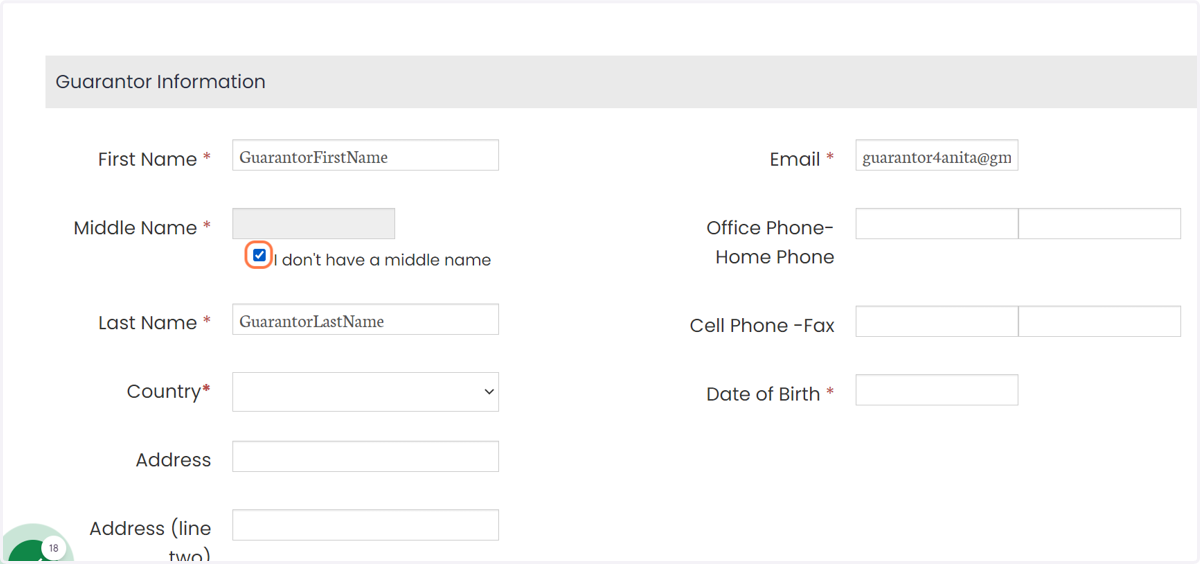
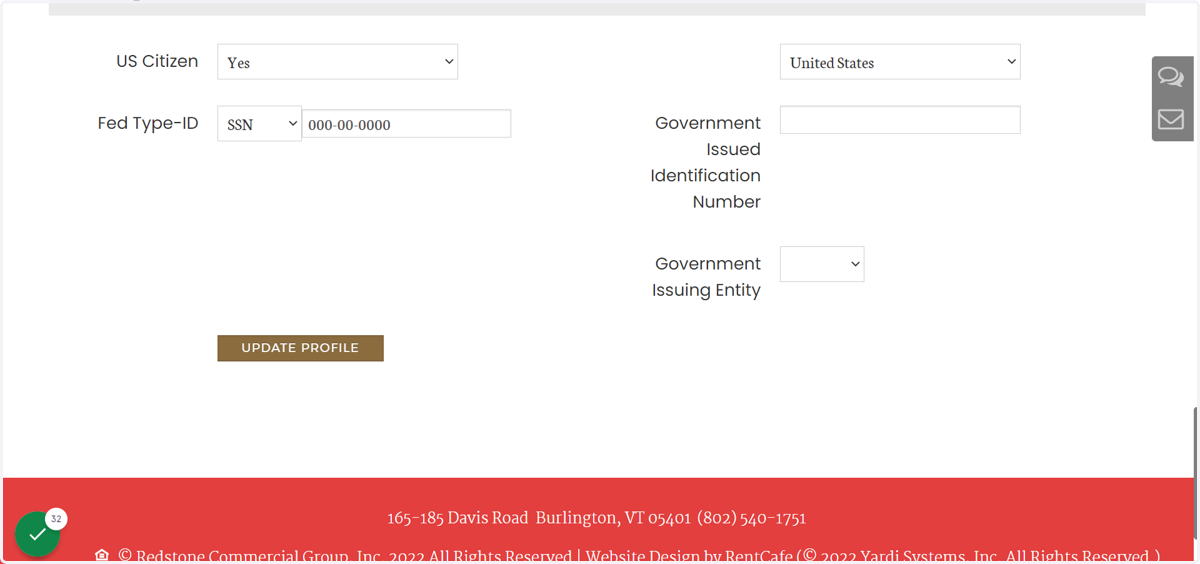
32. Guarantors: Once Completed, Click "Update Profile." The Page Will Automatically Reload
33. Guarantors: Read This Section Carefully.
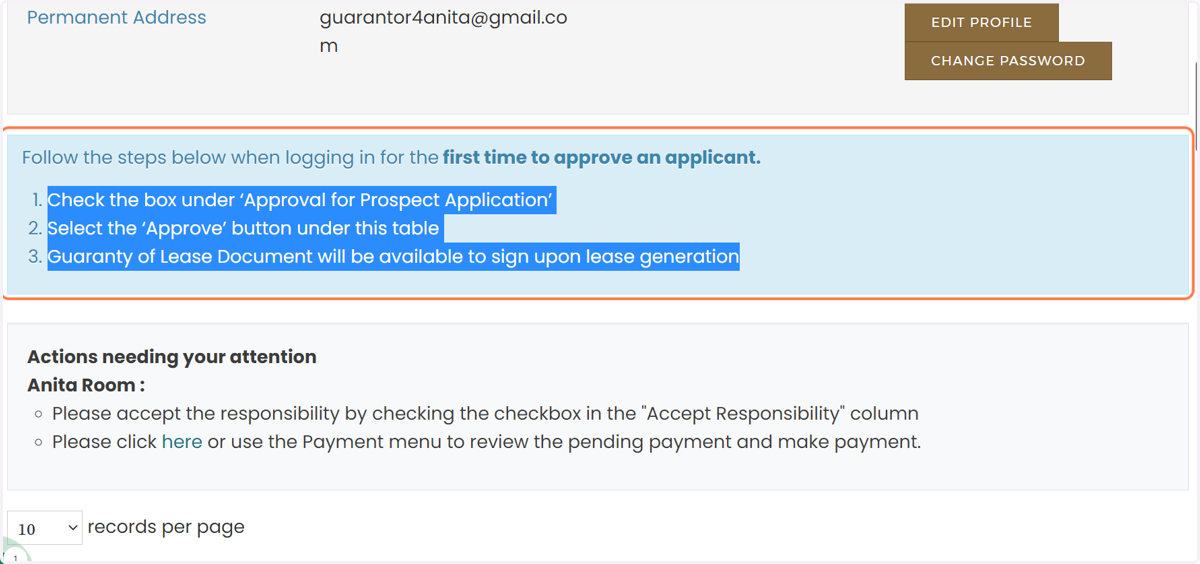
34. Guarantors: Scroll To The Bottom of Page, Select "Accept Responsibility"
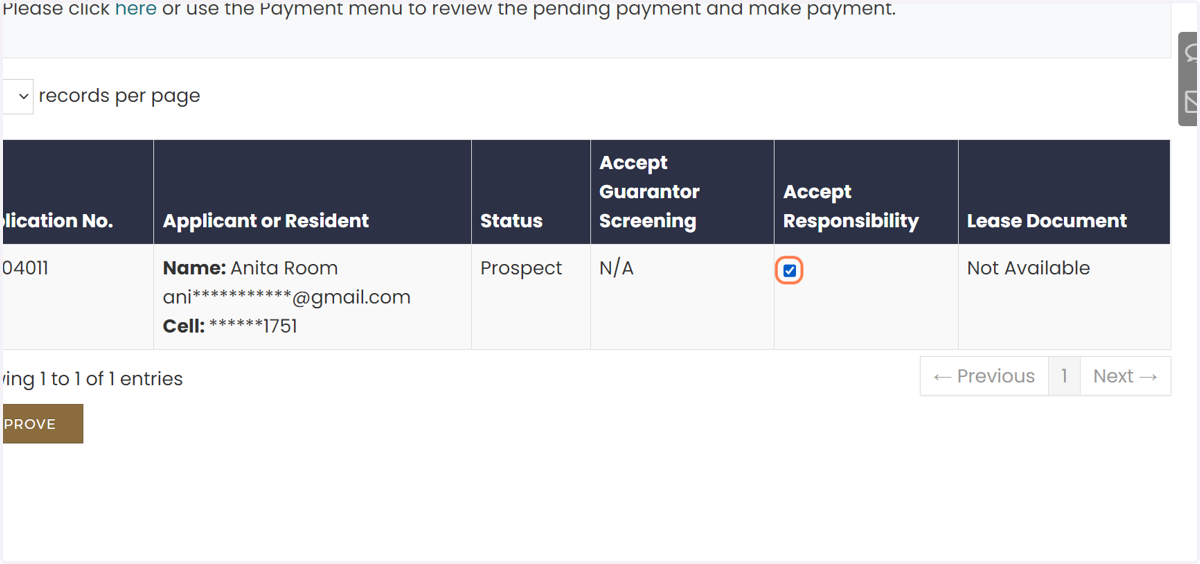
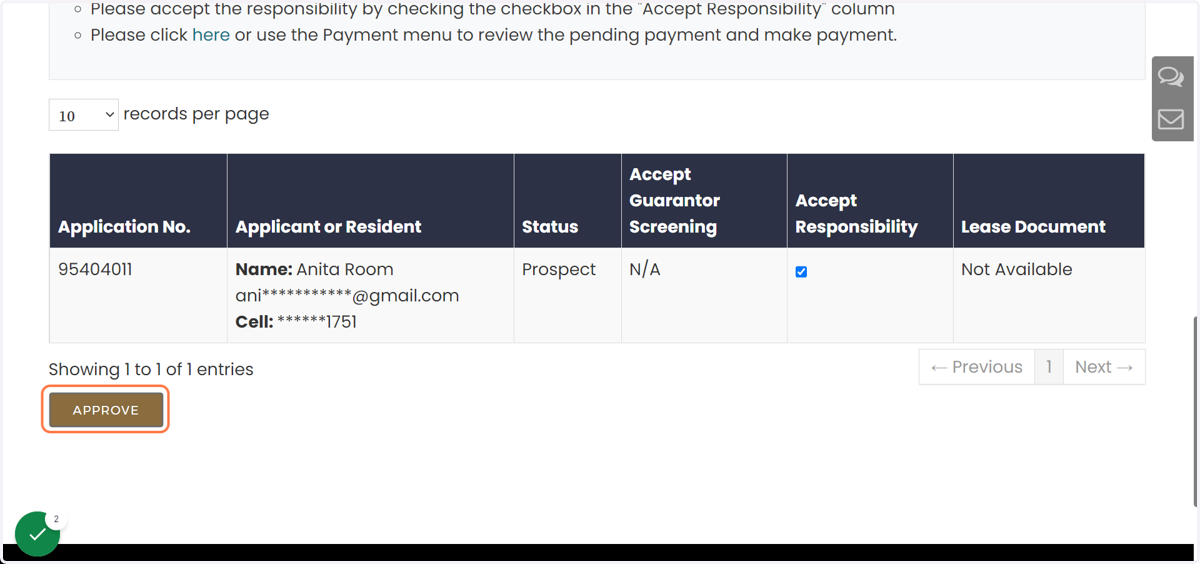
35. Guarantors: Click on "Approve." If this box is already checked, there is no need to check the box. Log Out.
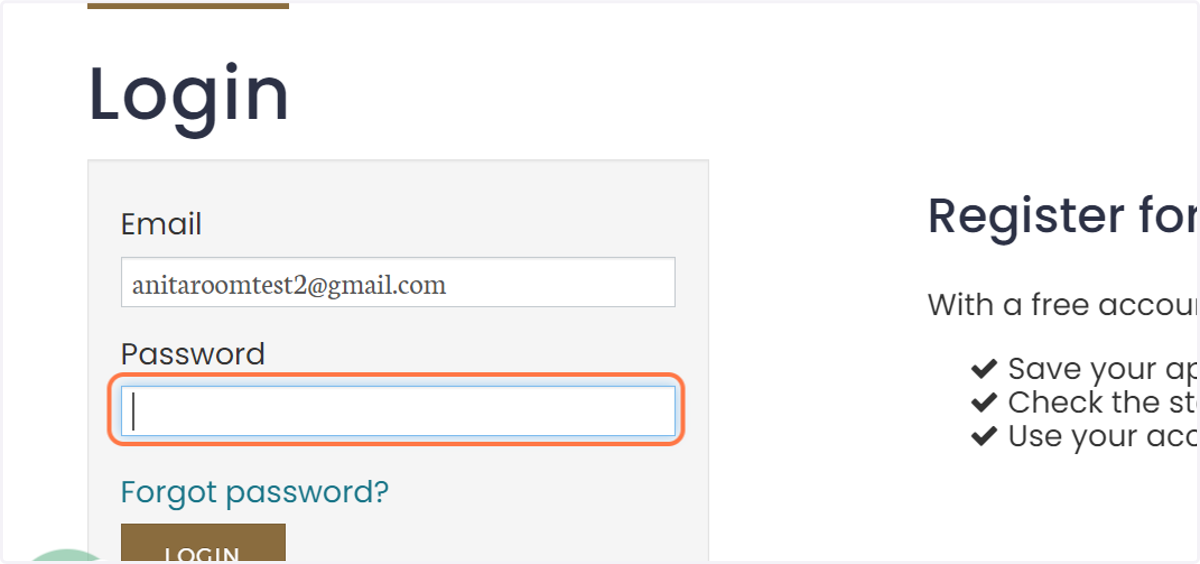
36. Applicants: Go To MyRedstoneLofts.com or MyRedstoneCommons.com. Select "Applicant Login"
37. Applicants: Enter Your Login Information
38. Applicants: Click on "Submit Application."
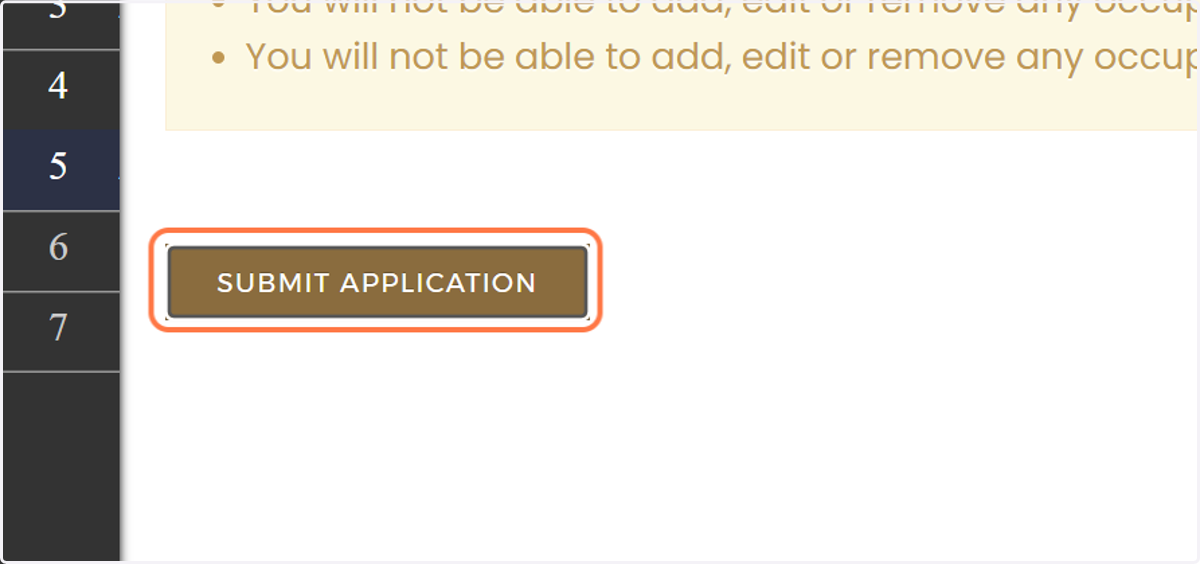
39. CONGRATS! APPLICATION SUBMISSION COMPLETE.
If you are applying during our application open date in October, we typically begin our follow up to the majority of applications during the November academic break and often will continue reaching out to folks throughout December. Please note that our team receives a large volume of applications for each application group. We appreciate your patience as we process applications, and encourage you to monitor your email daily for updates.